-
Forum Statistics
7.9k
Total Topics52.3k
Total Posts -
Member Statistics
136,239
Total Members16,800
Most Online


Dirty South PC Mods
-
Posts
35 -
Joined
-
Last visited
-
Days Won
10
Content Type
Profiles
Forums
Downloads
Events
Gallery
Blogs
Posts posted by Dirty South PC Mods
-
-
-
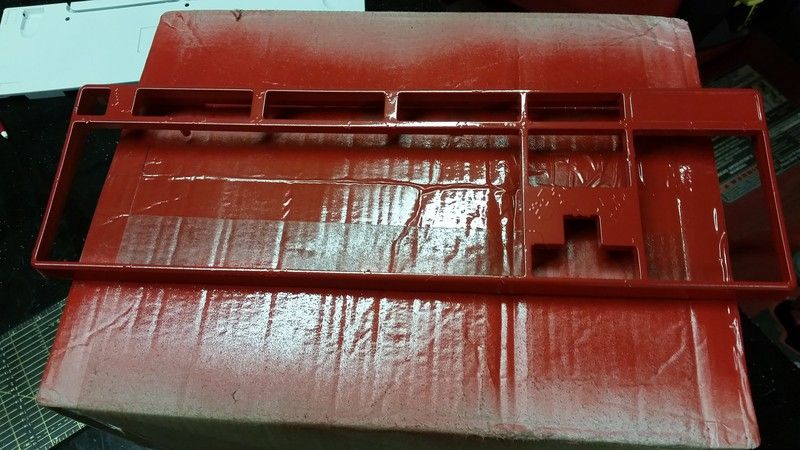
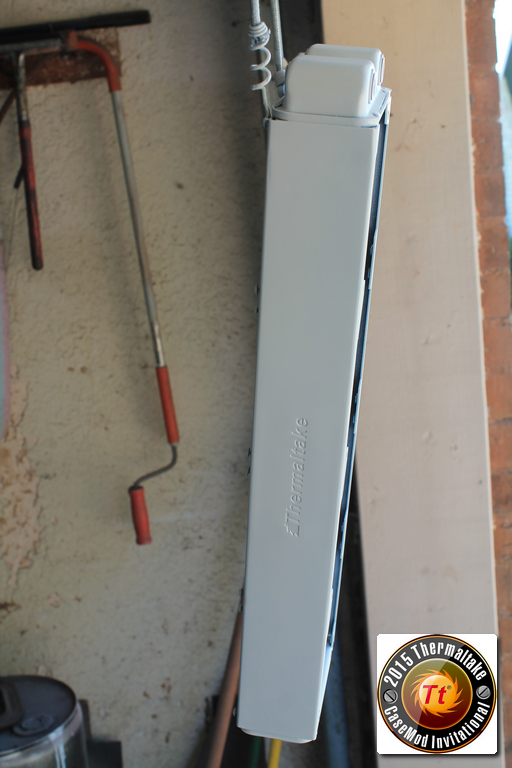
Hey guys nick here just though I would share my custom digital camo paint job on my Poseidon Z RGB.
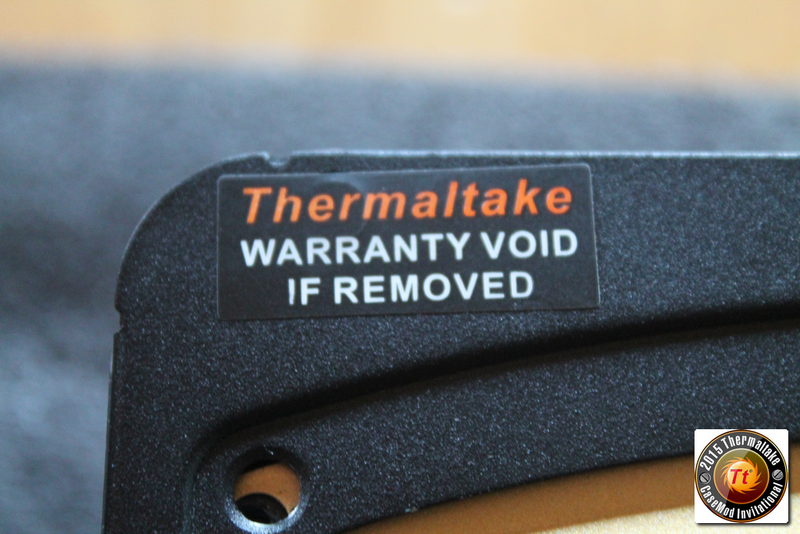
Keep in mind doing so as far as I know will void your warranty.
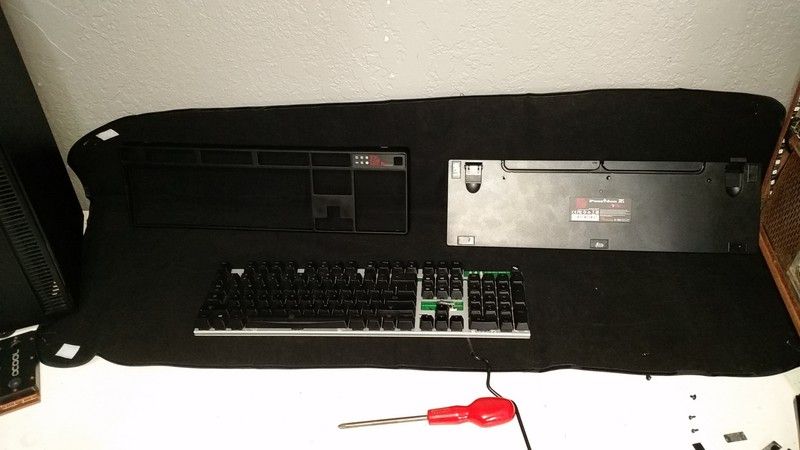
3 screws and some very careful prying, and the two halves come right apart.
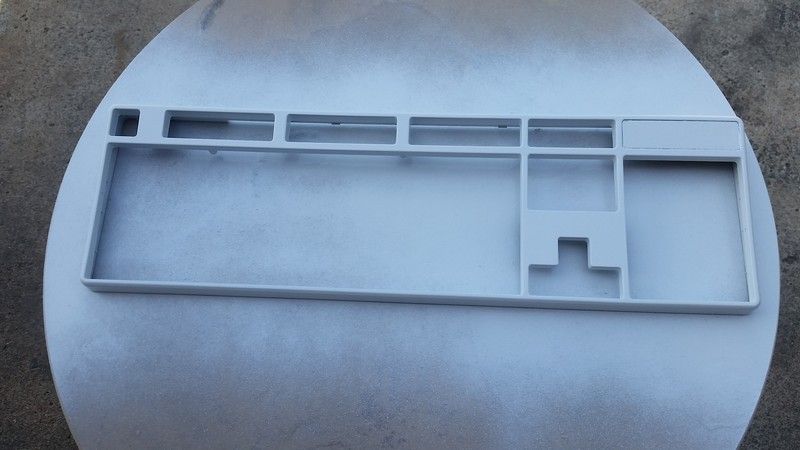
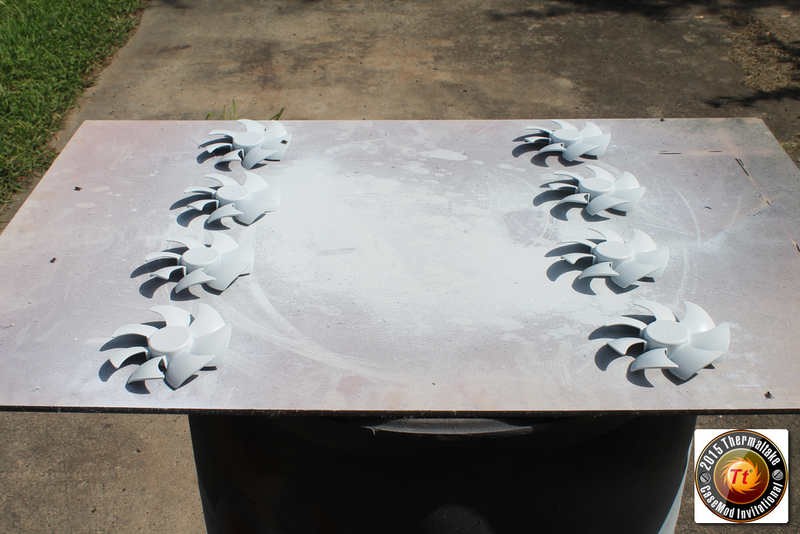
First up some White Primer, When doing a camo you want to start with the lightest color first. This is so that the darker colors don't bleed through.
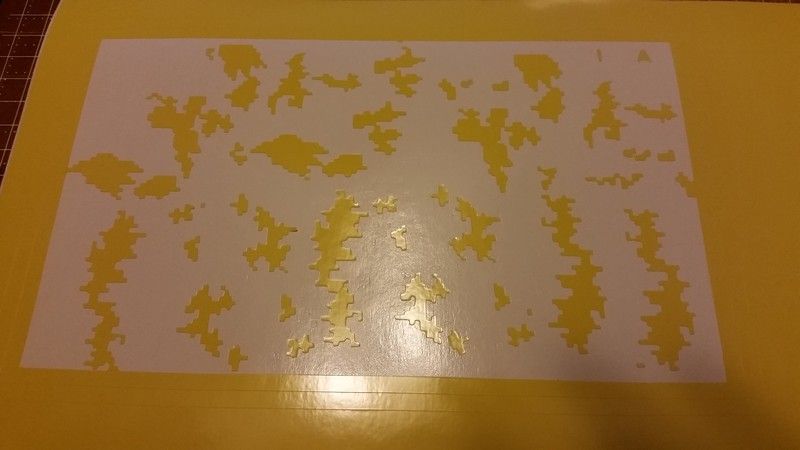
I found a template online so I vectored it and cut some out with my vinyl cutter.
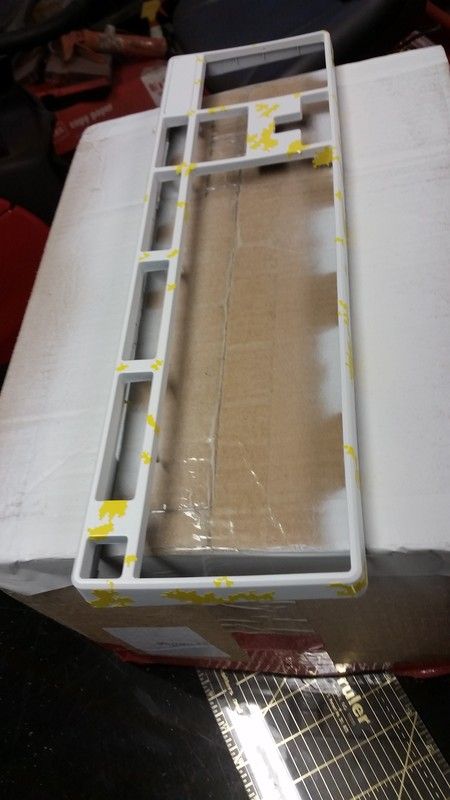
Placed some of the decals in random places around the frame of the keyboard.
Once you have the desired amount of decals. Go ahead and lay down your second color. In this case Red.
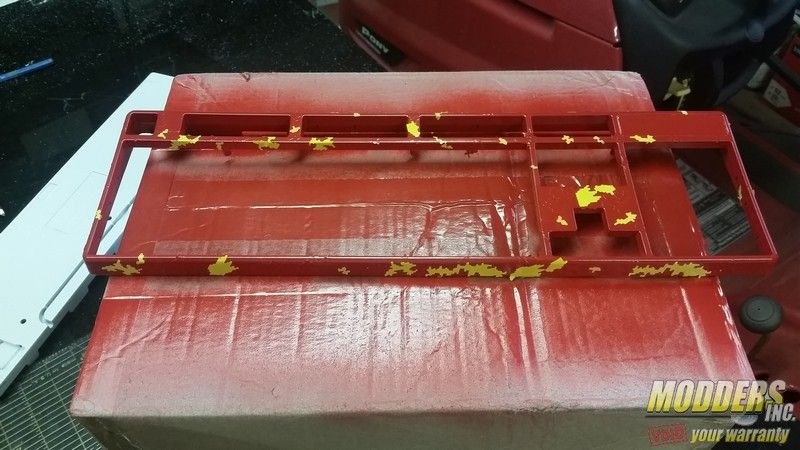
Once the second color has dried. It's time to add another layer of stencils.
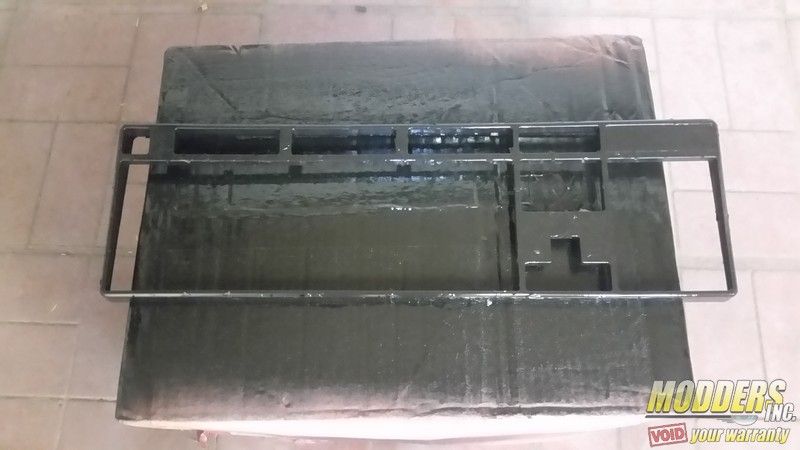
Once you have your desired amount of stencils, It's time to lay down the darkest color. I chose Black in this case.
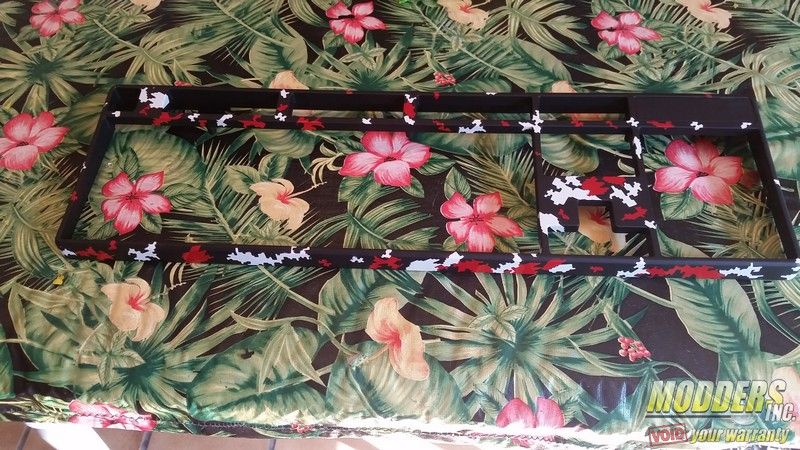
Once the Black paint has dried. Get a set of tweezers and carefully take off the stencils. Don't worry if you make a few scratches with the multi layer colors you can barely tell. If you want to protect all your hard work I would suggest shooting a clear coat over it.


Once the clear coat has dried carefully put your devices back together.
-
I'm going with my homeboy Jessie P. Go get them bud.
-
-
nice mod bro
-
Hey guys whats up The Mad Modder coming back at you with a quick look at the LUXA2 E-One Headset stand.
There are a few headset stands out there. Most of the good one are usually found in most Pro-Audio shops with a hefty price tag. There have been a few made for gamer's however most of them were made of sub-par materials and didn't last long. With that lets take a look at the LUXA2 E-One.
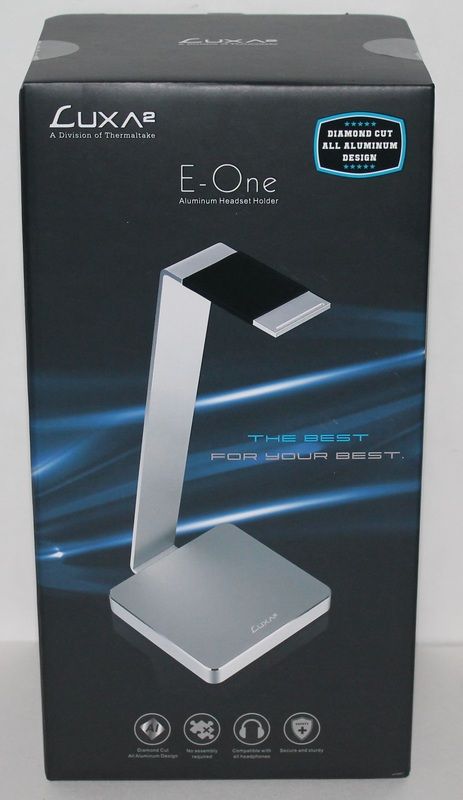
The box is brightly and clearly illustrated. The front of the box has a large illustration of the product.
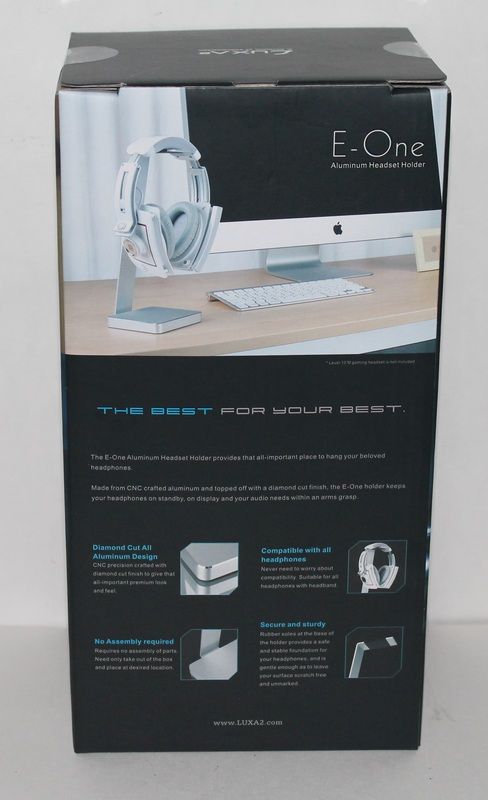
Around to the rear we see another brightly colored illustration of the product. Below that are highlights of the 4 key features of the product.
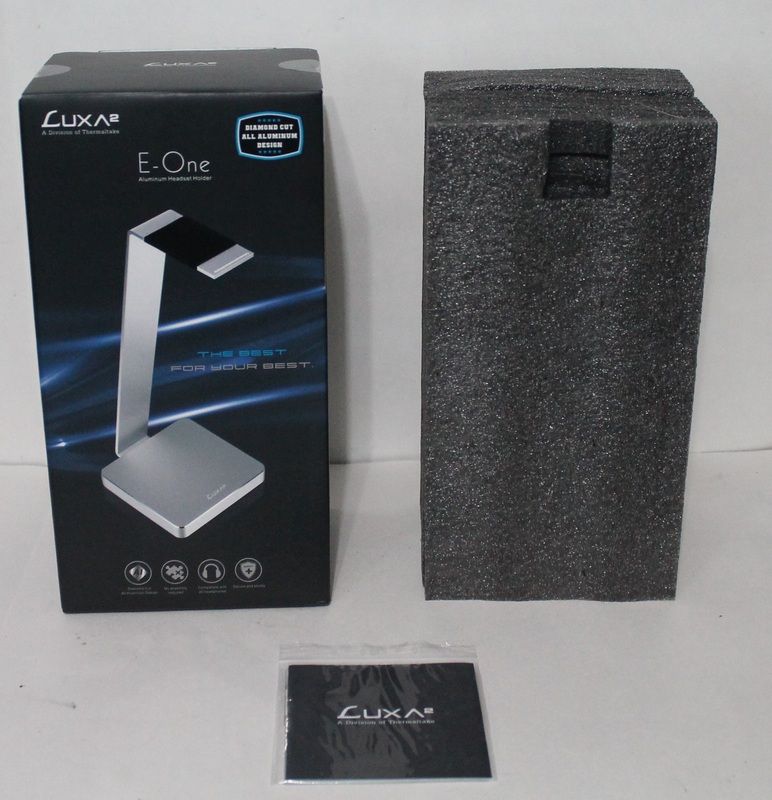
Inside the package we find the product encased in a foam cocoon, and a users manuel.
As you can see the product is very carefully packed in a special foam sarcophagus to keep it safe from the evil delivery company on it travel to your desktop.
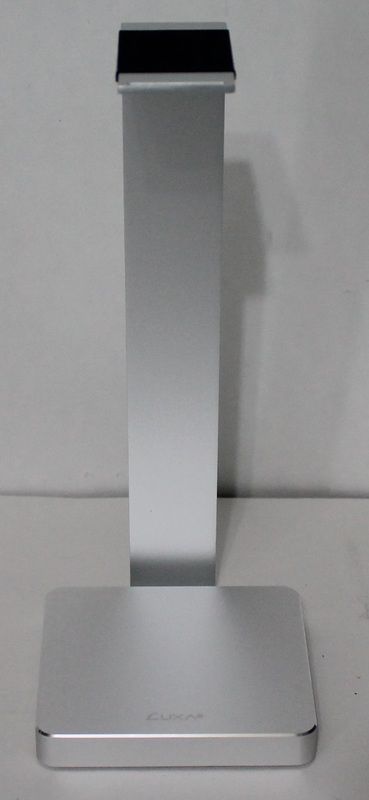
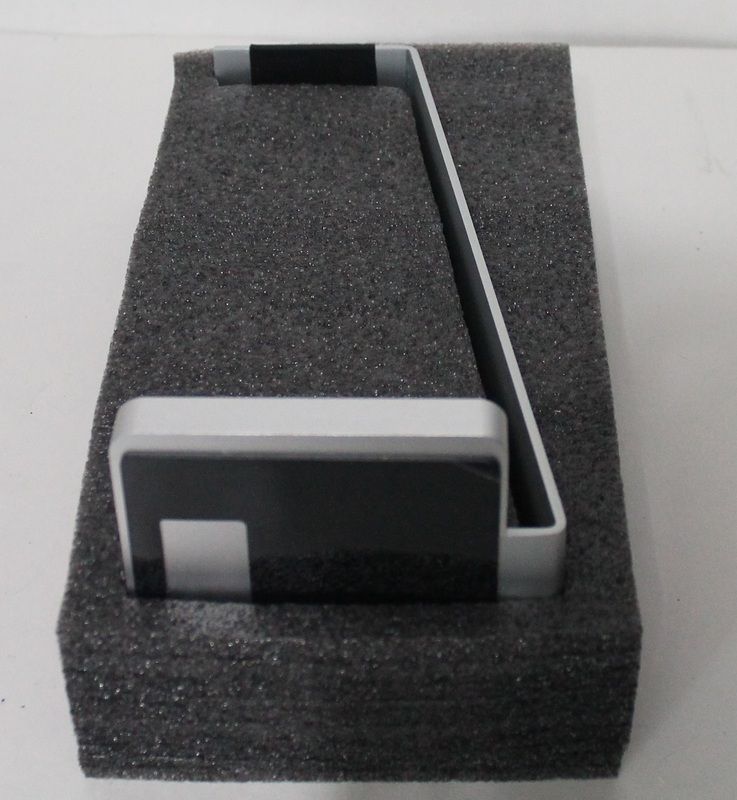
Once we take the headset stand out of the foam tomb. You get to feel the actual weight and how solid it actually is. The Metallic Silver gives it a high quality look to it.
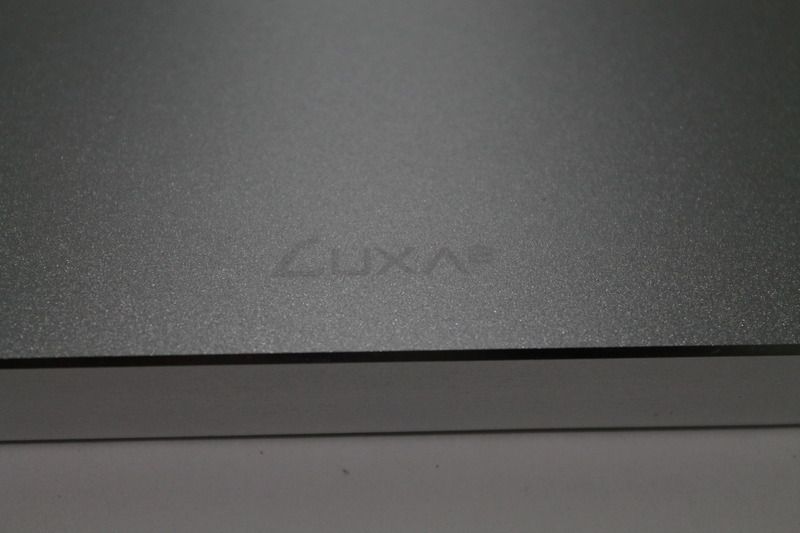
Here is a close up of the LUXA2 logo and the high quality finish.
The bottom has a massive rubber padding the covers 90% of the surface to make sure you headset stand doesn't slide around, and stays where you put it.
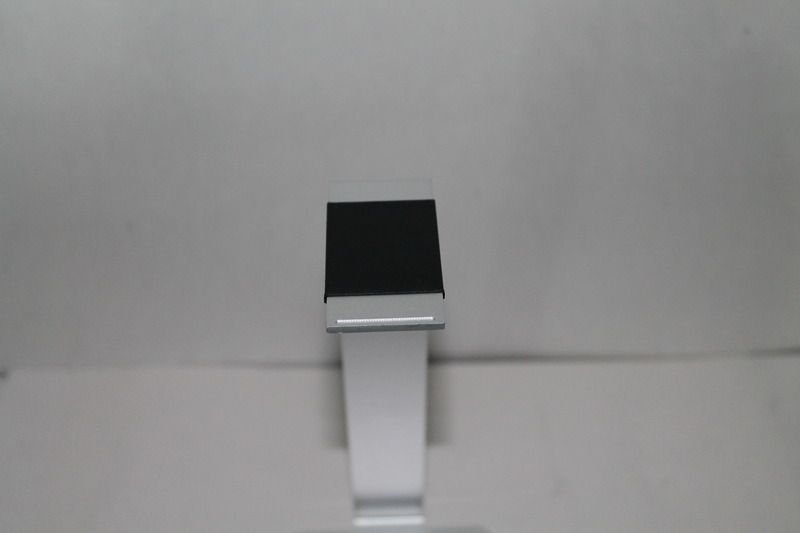
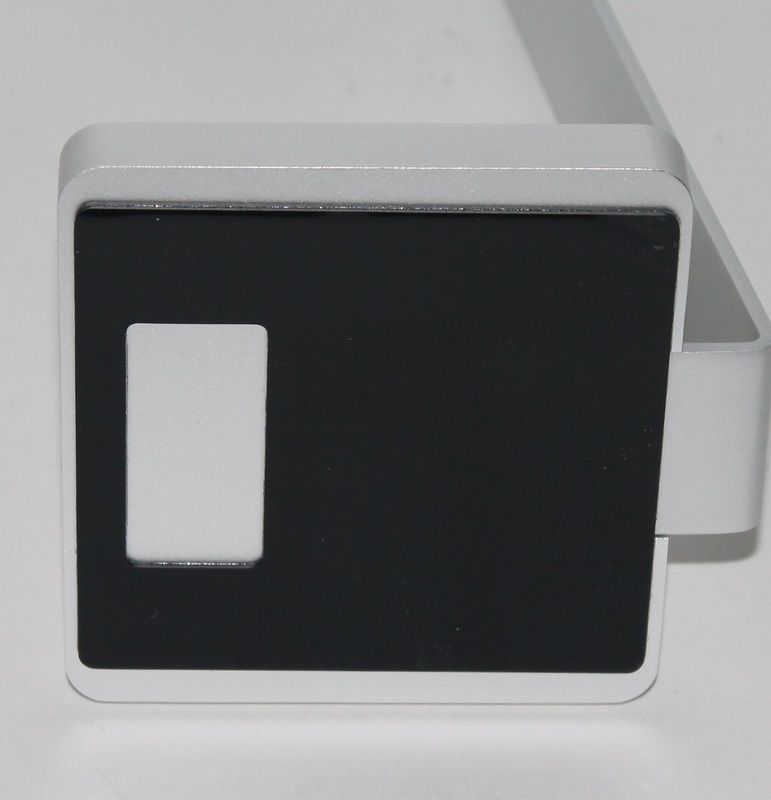
The top of the headset rest has the same rubber padding as the bottom to protect your headrest on you favorite headphones.
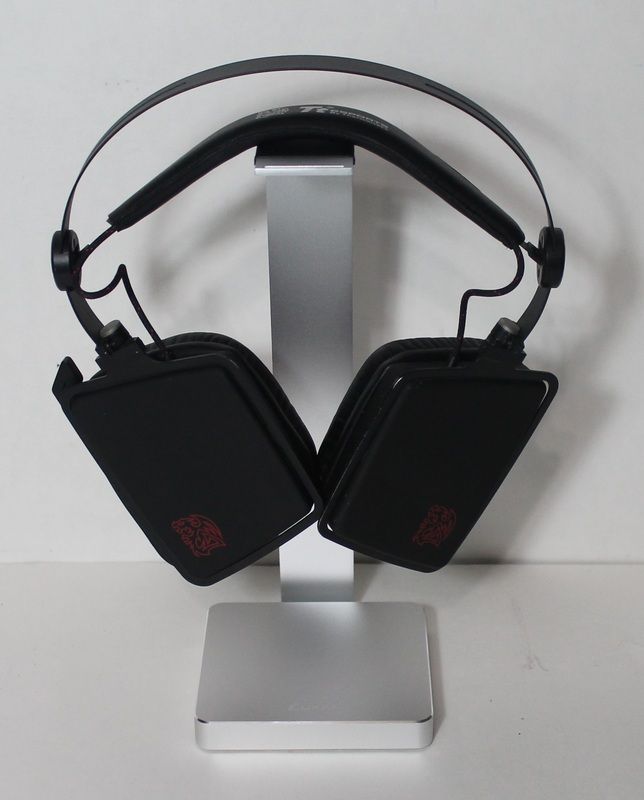
And as you can see it does an excellent job of keeping my headset nice and safe.
Well there you go guys. The LUXA2 E-One Aluminum Headset Holder. I can defiantly recommend this product. It's solid construction, quality materials and luxury appearance set it apart from it's competitors. I also have the Hyperion from Tt eSports. I like it a lot as well but this fits my Modern Minimalist style better.
See you next Mod.
Nick Blackwell
The Mad Modder
- Jeremybbhess, Josephliz, Johnnysype and 6 others
-
 9
9
-
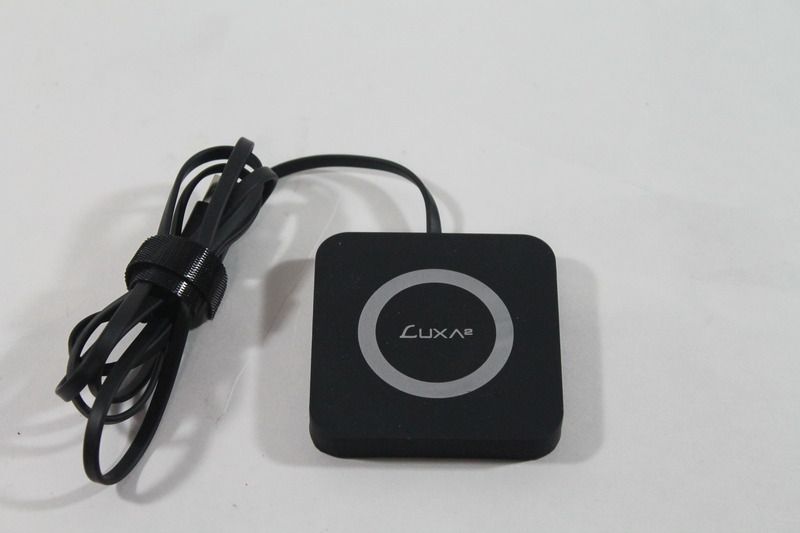
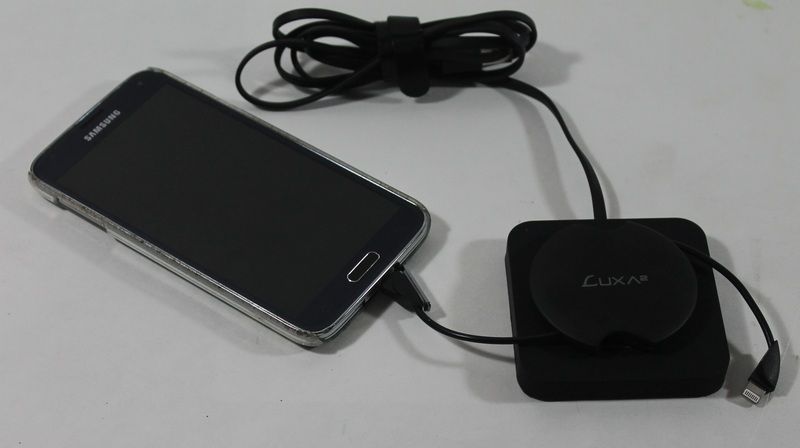
Hey guys The Mad Modder here. I got this killer little wireless charger from Thermaltake Technology Inc LUXA2 as a gift. Thank you very much.
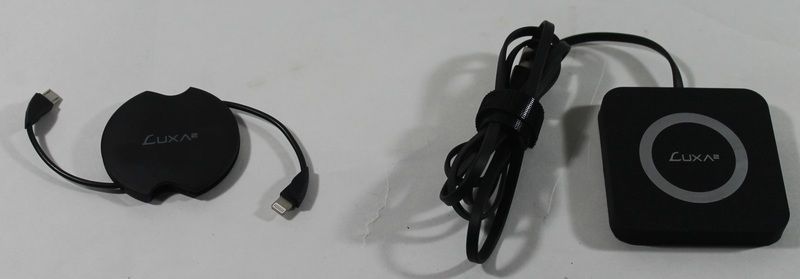
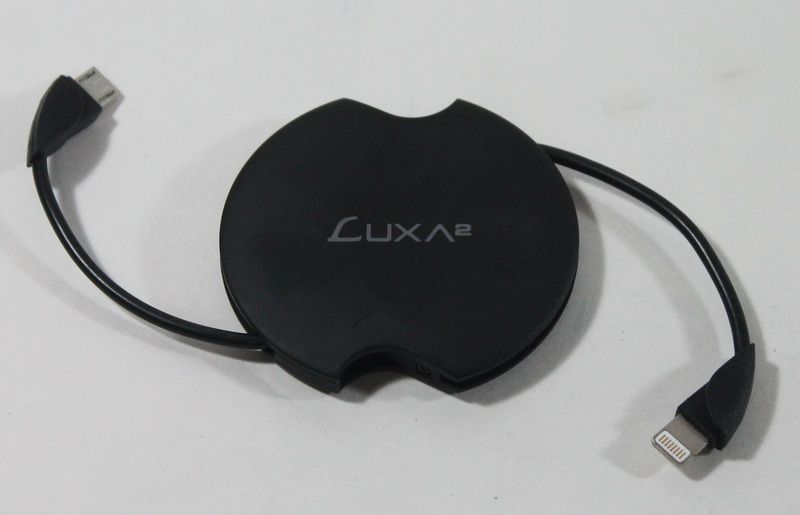
 It's the S100 Wireless Charging Pad and Receiver Kit....It is pretty interesting it is a two piece kit comprised of a charging pad that plugs into your USB ports(USB 3.0 provides the 1.5 amp charge rate that most new Smartphones use.) The other piece is a small round Puck that acts as a receiver. The little puck has connections for both Android, IOS and other Micro USB compatible devices...... What I really like about it is you can be charging your phone and it rings...You don't have to unplug the cable just pick it up. When your done just set it back down on the charging pad, and it continues charging...Pretty nifty device....now I just need one for the Shop, Garage and Office.
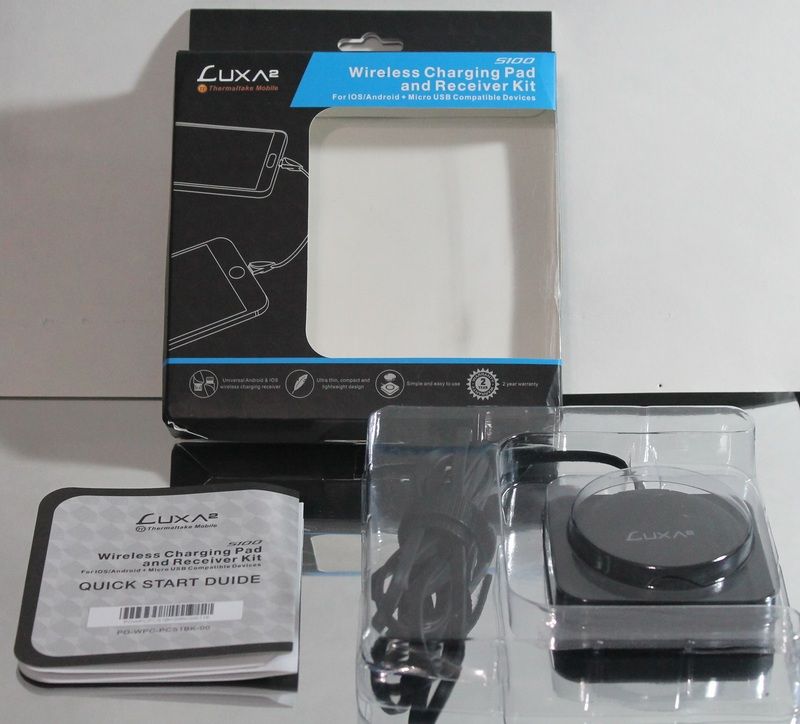
- nataGomb, Richardsaky, Johnnysype and 3 others
-
6
-
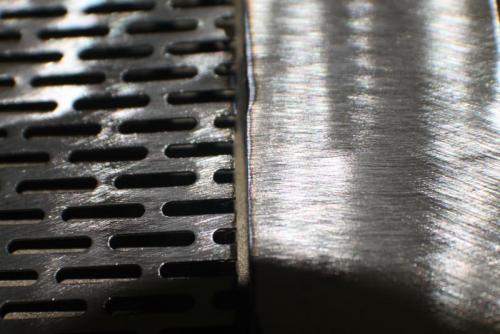
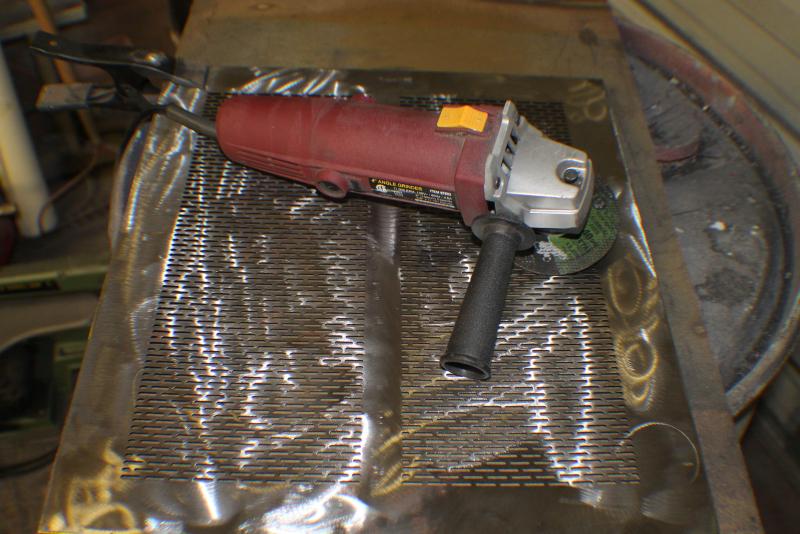
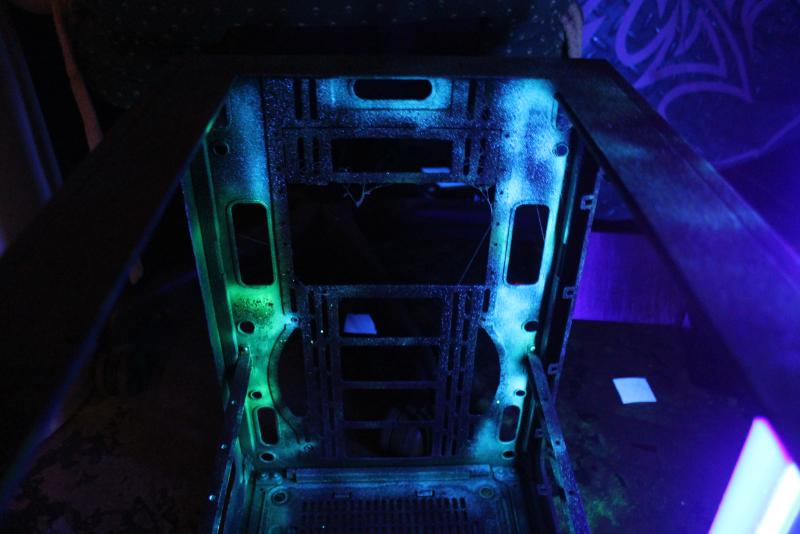
Alright first thing is to remove the factory paint form the case...To do what I want to do I need to get to the bare metal.
Ok so the paint stripper doesn't work if there is a ceramic in the paint so Good ol Grinder with a flap disk gets that paint right off.


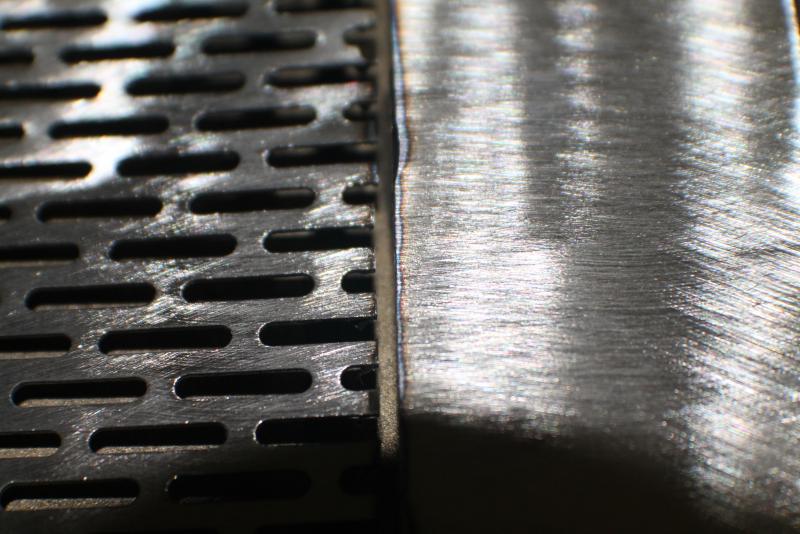
Ok used a cut off wheel on the grinder to cut two more window holes on the top and right side panels.

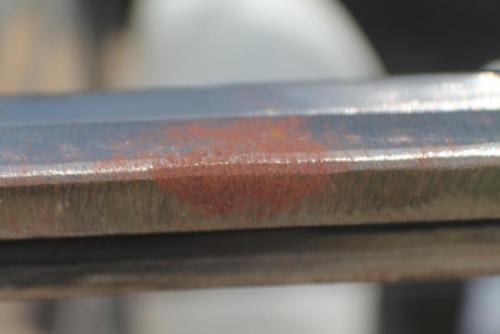
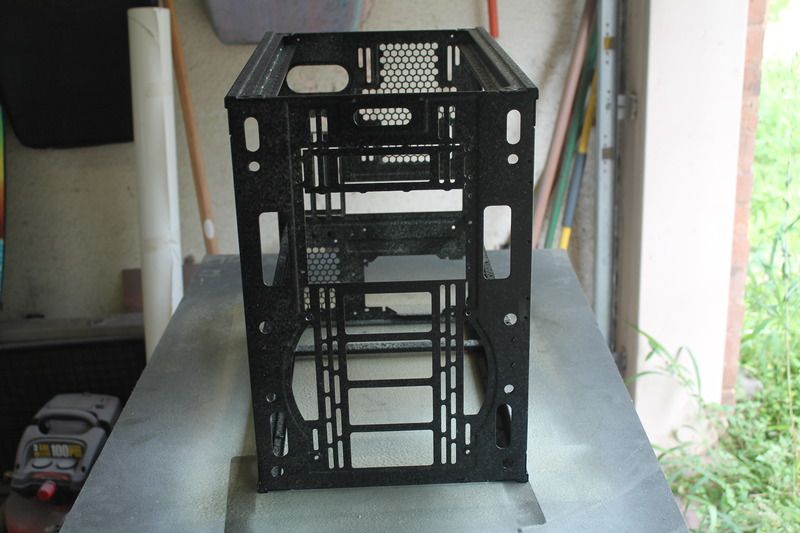
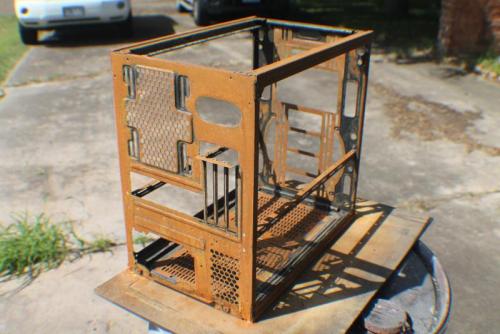
Now exposed metal will start to rust over time. That is something I don't have at the moment, so I need to accelerate the process.
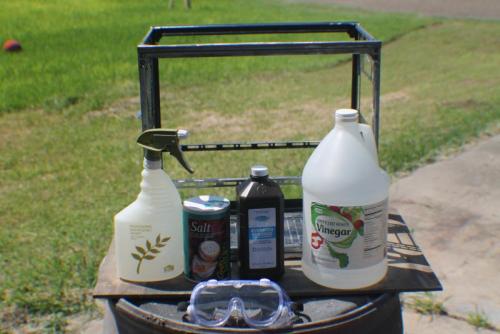
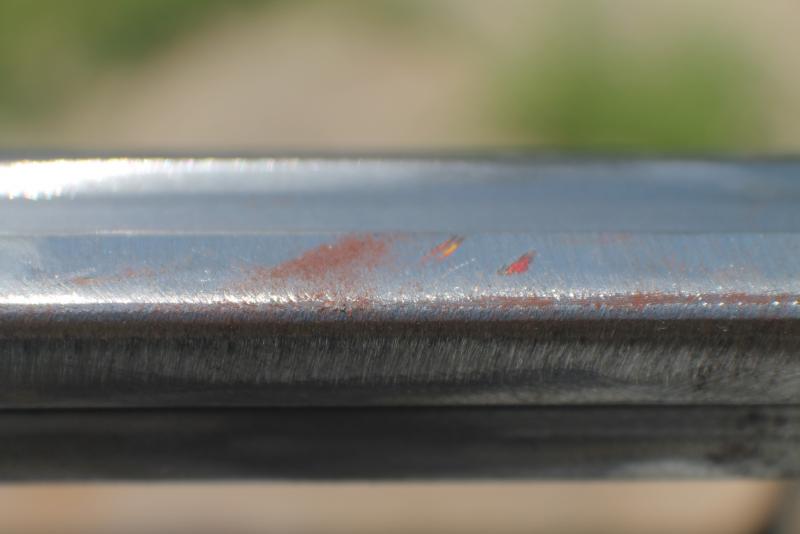
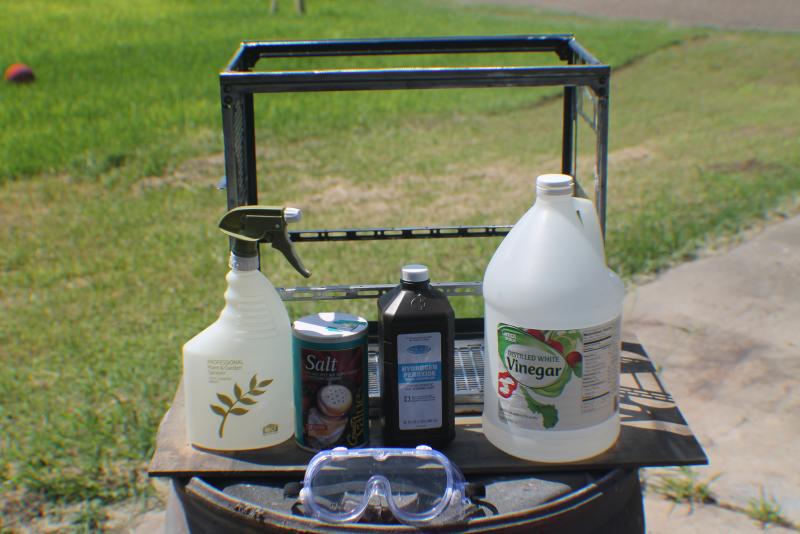
That's where this little mad scientist trick comes in handy. 1 x 32oz empty/clean spray bottle, 1 16oz bottle of 3% Hydrogen Peroxide, 2oz of Distilled Vinegar, and 2 oz of table salt. Don't forget to wear safety goggles as you don;t want this stuff getting into your eyes.


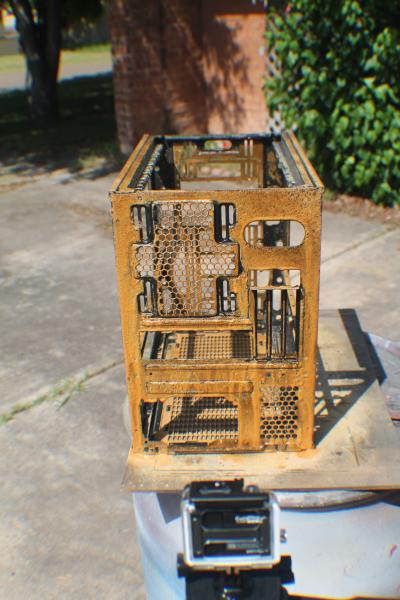
What this solution does is rapidly accelerate the oxidization process to a matter of seconds/min depending on the raw metal you are working with.
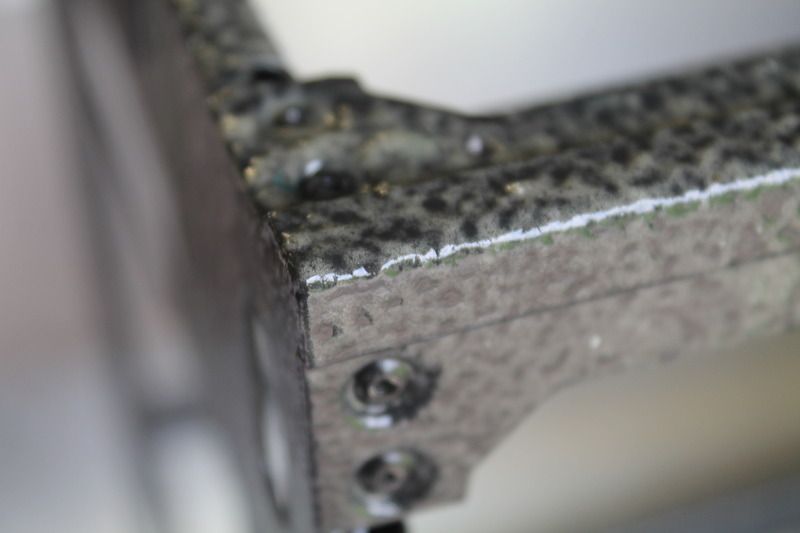
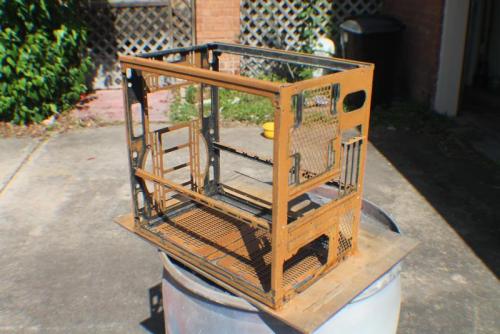
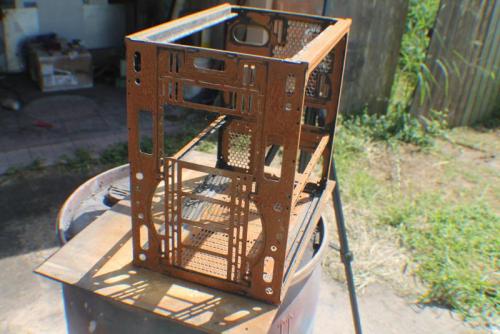
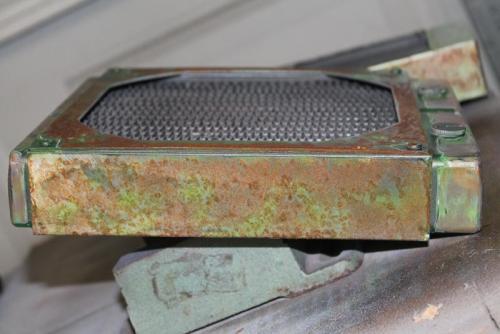
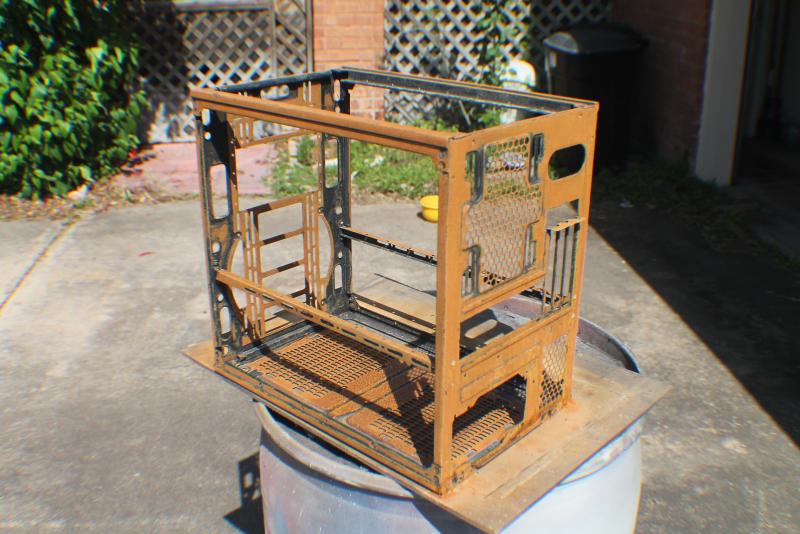
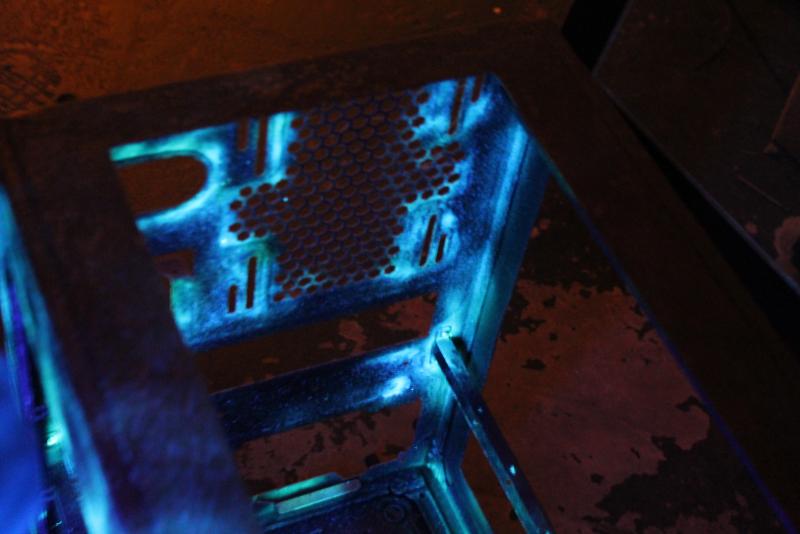
After about 20 min the rust starts off looking like a light orange color....but if you let it sit for a couple days it starts to develop the dark Redish-Brown more commonly seen.
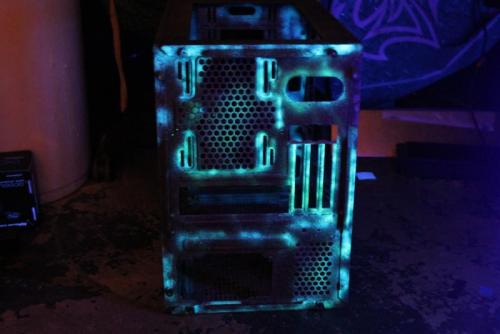


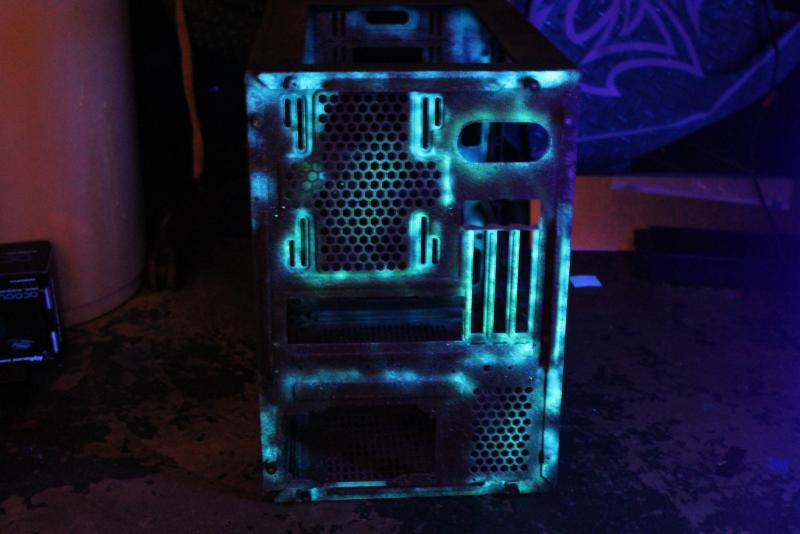
After we let the rust develop over a couple days. I went ahead and air-brushed some UV Green in some areas to make it look like there is still some corrosive on it, and then sealed it with Rustolium Matte Clear.
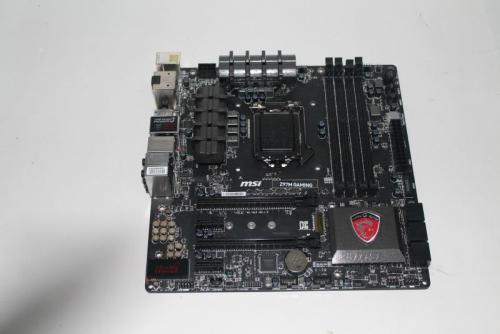
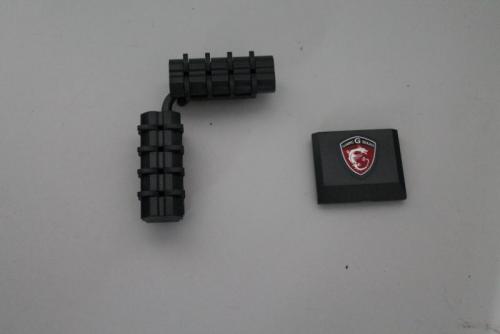
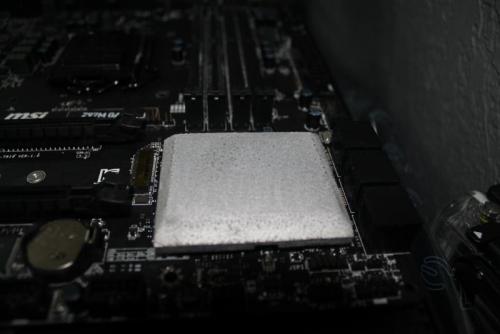
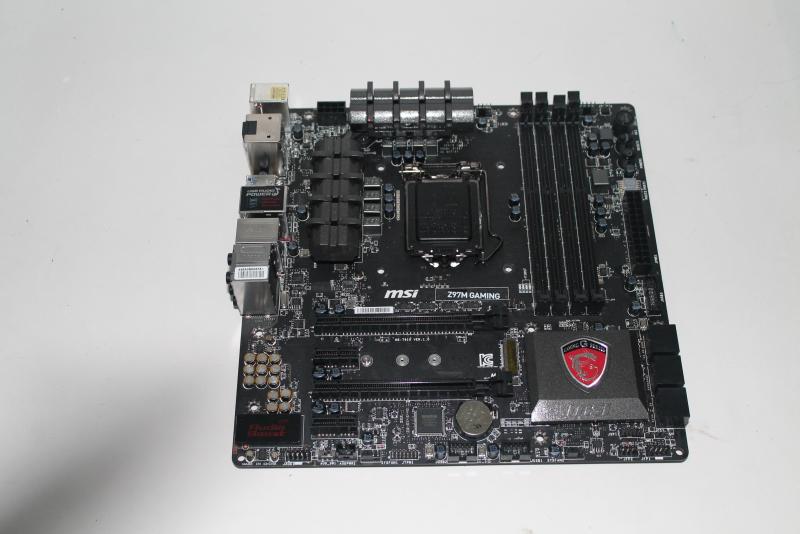
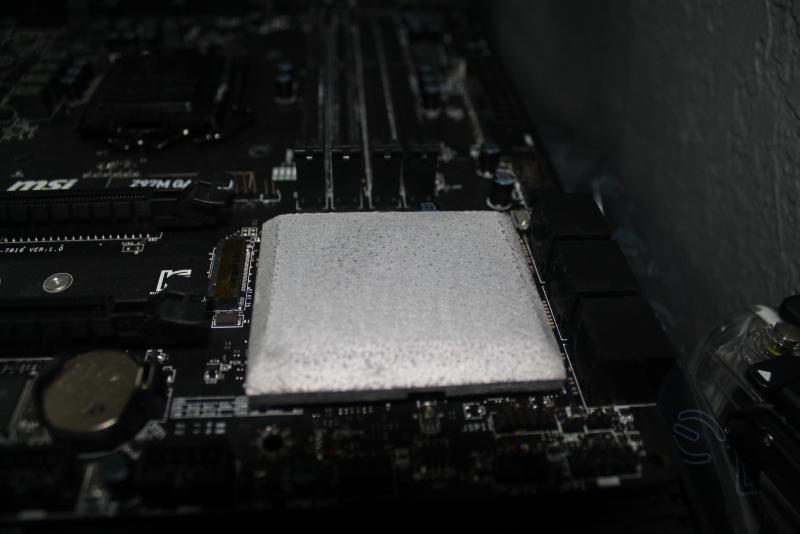
Alright time to turn my attention to the Motherboard I am going to be using in the build I decided to go with a MSi Z97M.
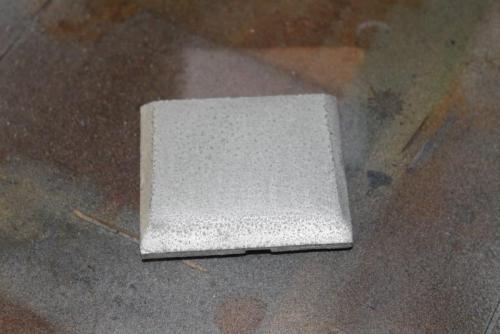
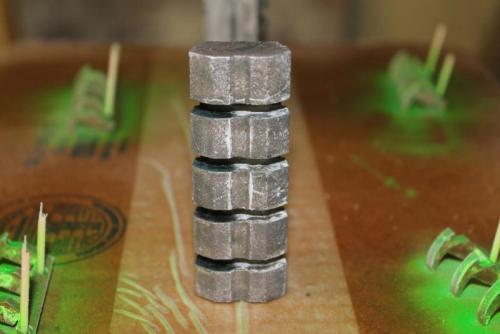
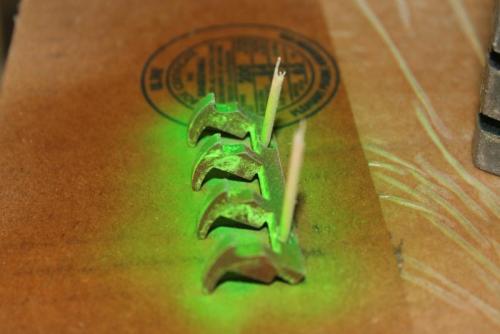
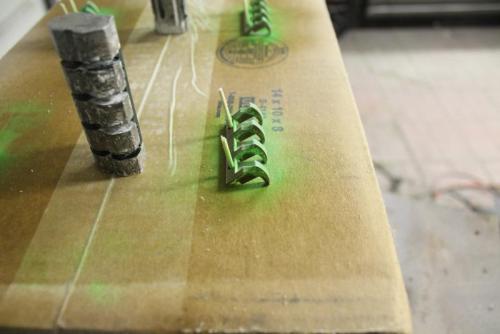
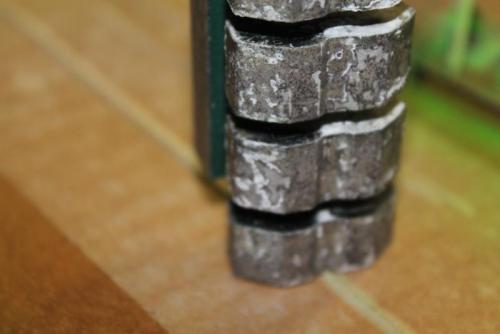
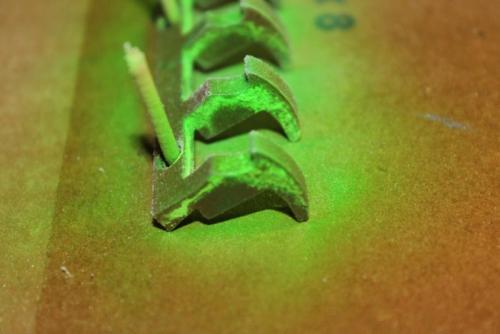
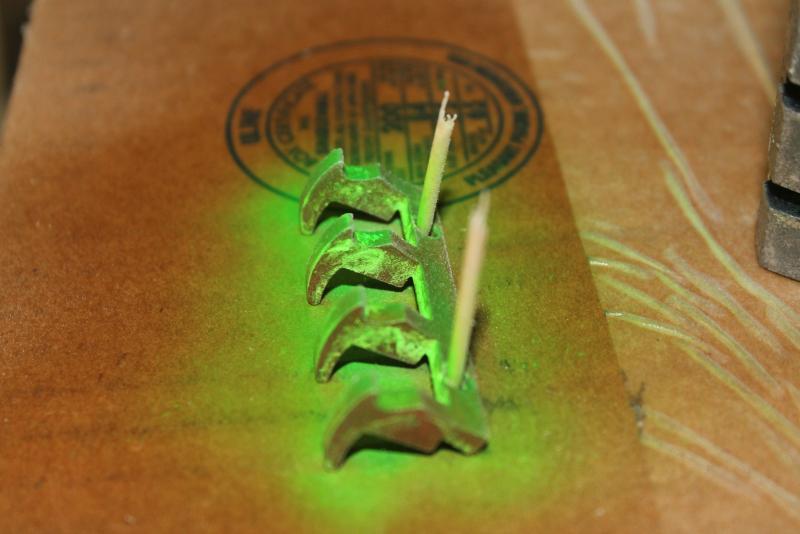
First up I removed the heatsinks and soaked them in paint thinner overnight to remove the paint on them. Then a quick hit with the grinder to get to the exposed metal. So the oxidation solution can do it's magic. The claw inserts I ended up spraying with some UV green.


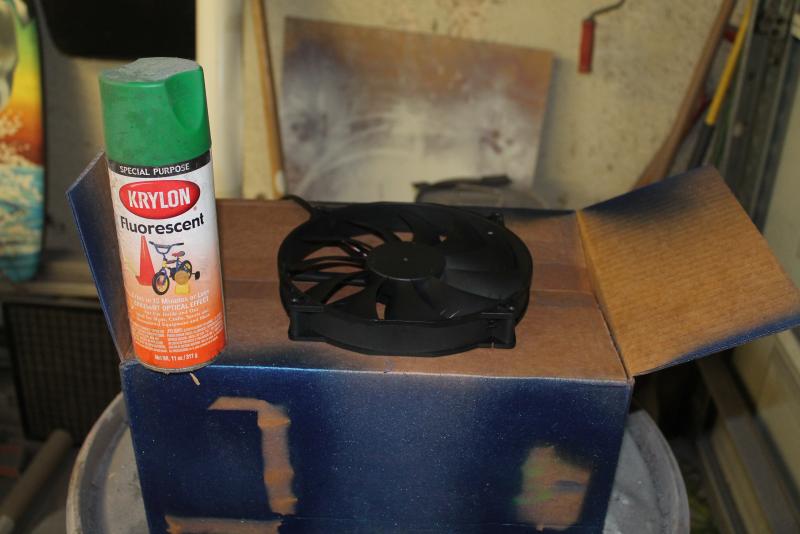
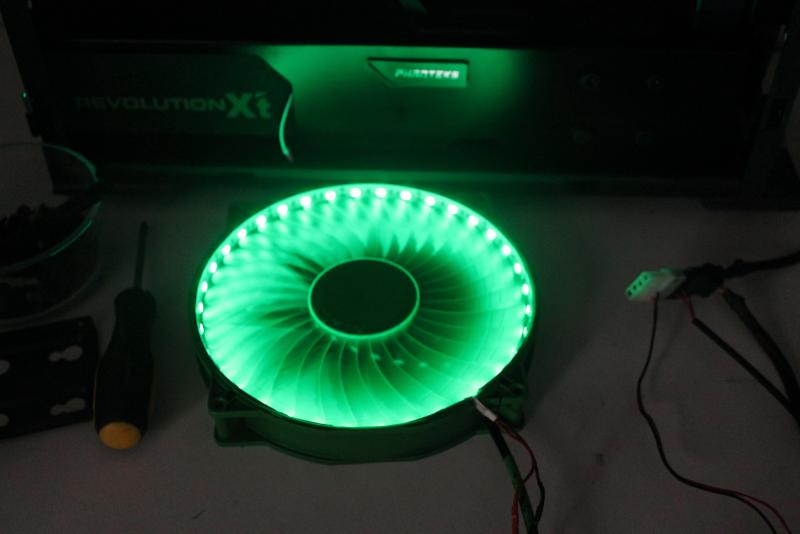
Now for the Front Fan I am going to use a Tt 200mm Fan first up paint it UV Green. after that I took a Green 5050 LED strip hooked up to a dimmer switch.


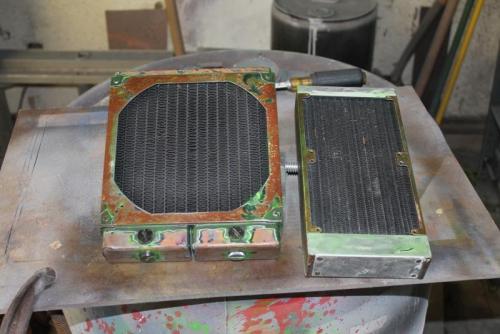
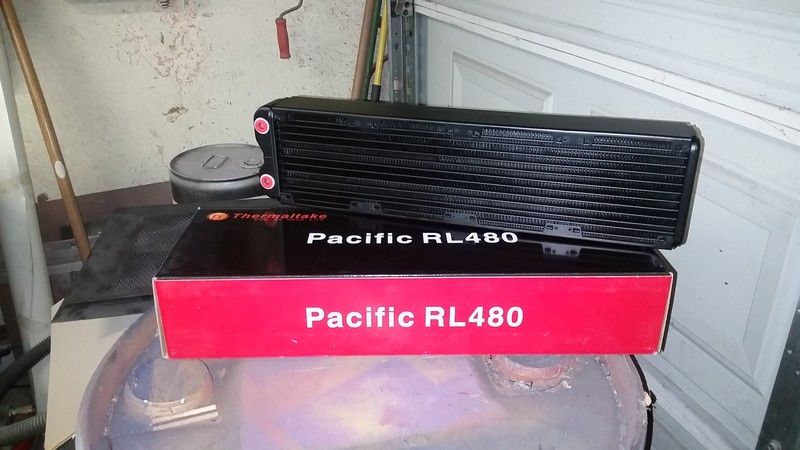
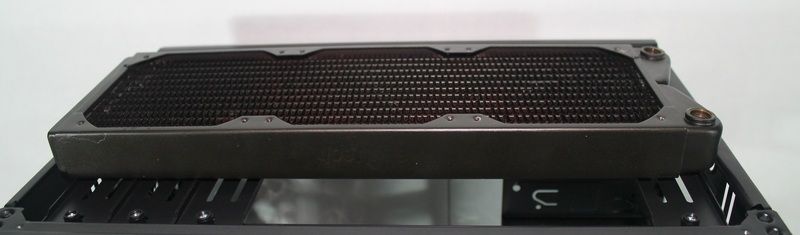
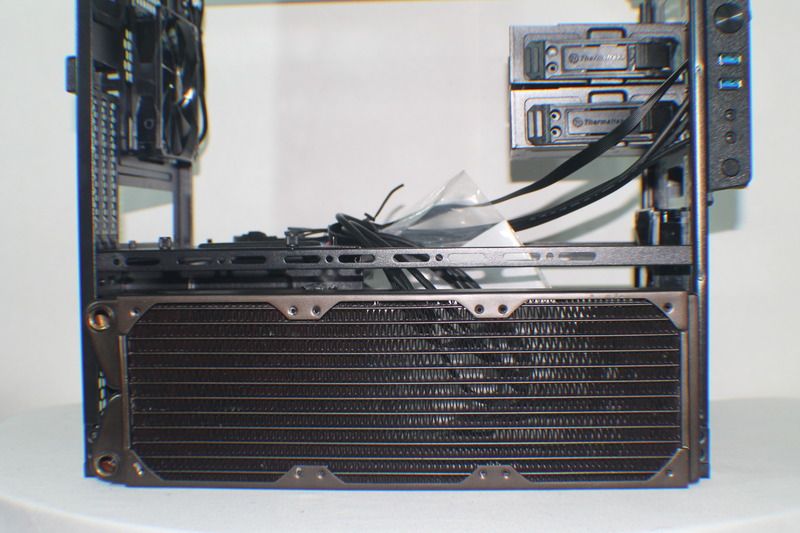
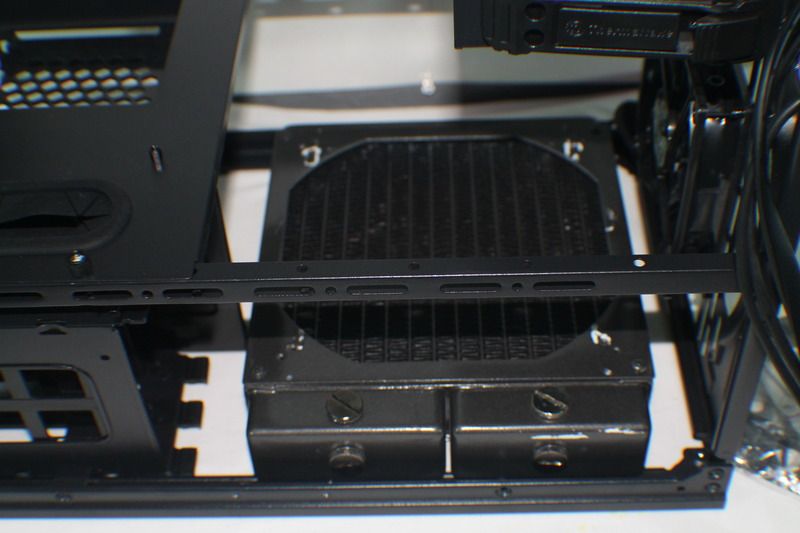
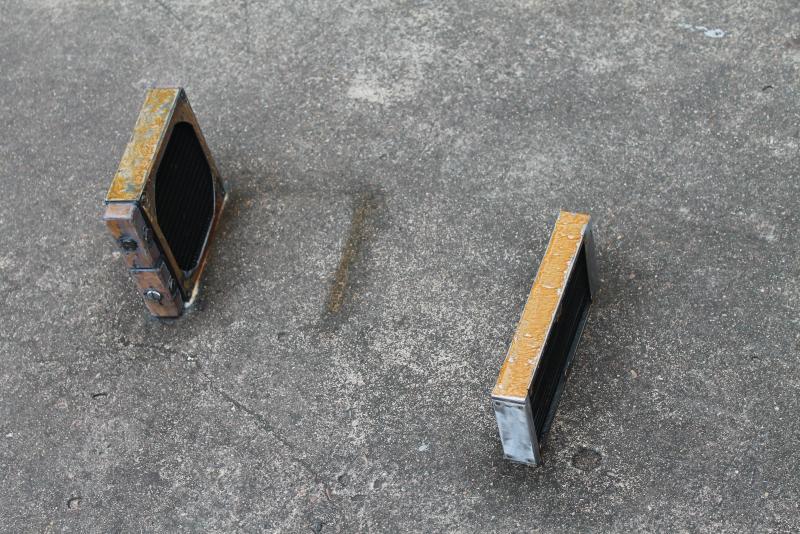
The two radiators I am going to be using are a 200mm Phobya Extreme and a EK 240mm PE.
The rads are getting the same treatment the rest of the metal. Stripped/Corroded/Sealed.
-
Gratz to the winners.
-
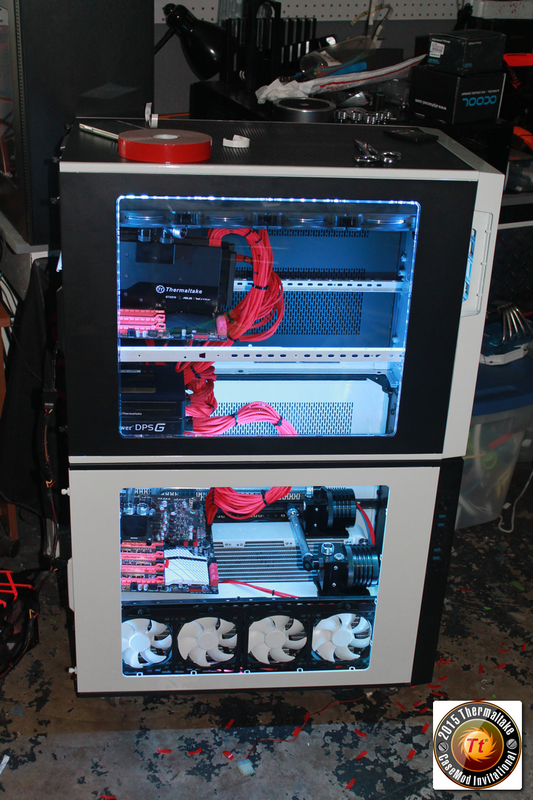
Alright guys the project is done. Here are the final pics.
- Orel Hardy and mrcapncaveman
-
2
-
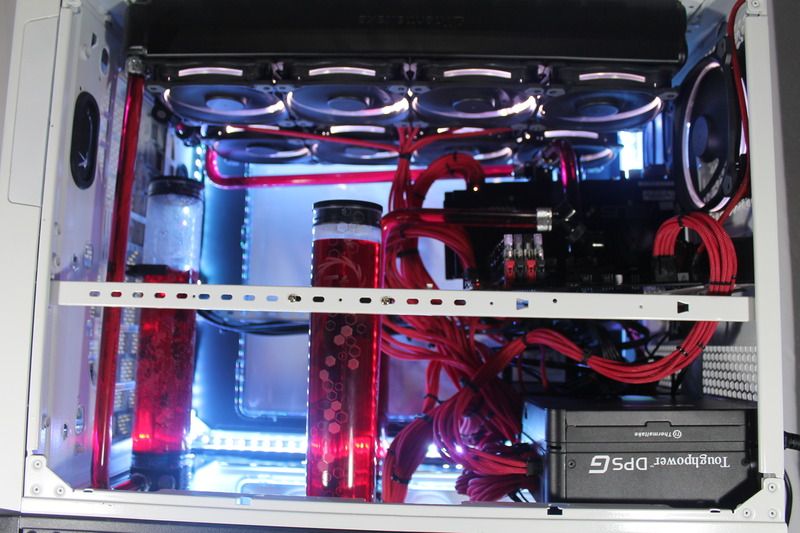
Hey hey I'm back.....Now after taming the Flying Spaghetti Monster...It's time to Install some Killer 5050 RGB LED's http://www.bsmods.com/Mod_Shop.php This is the only place I get LED strips. Each strip and controller is inspected to make sure it is in working order before it ships.
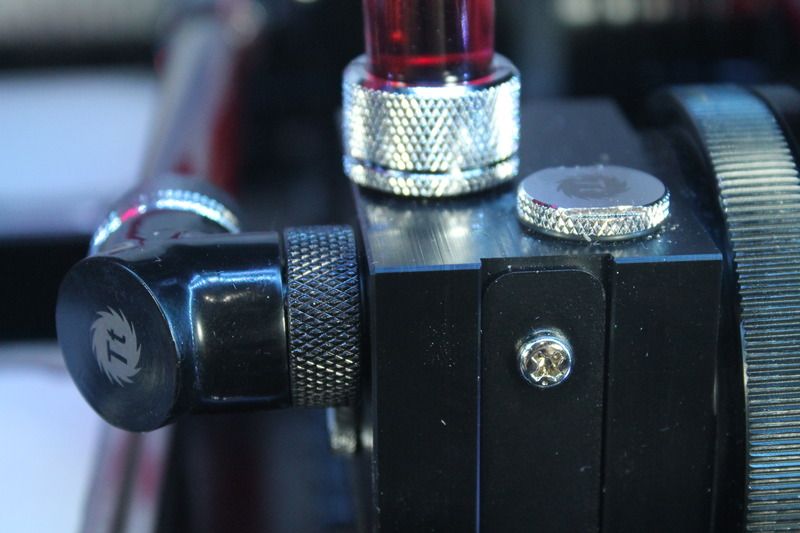
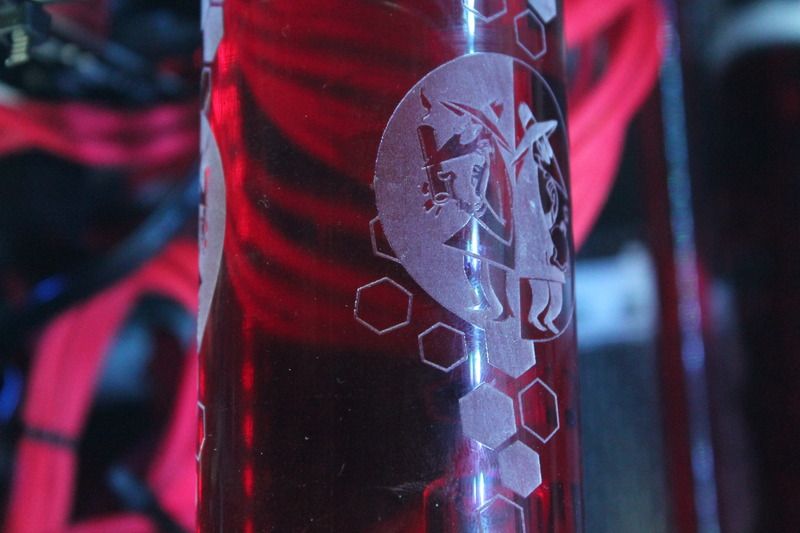
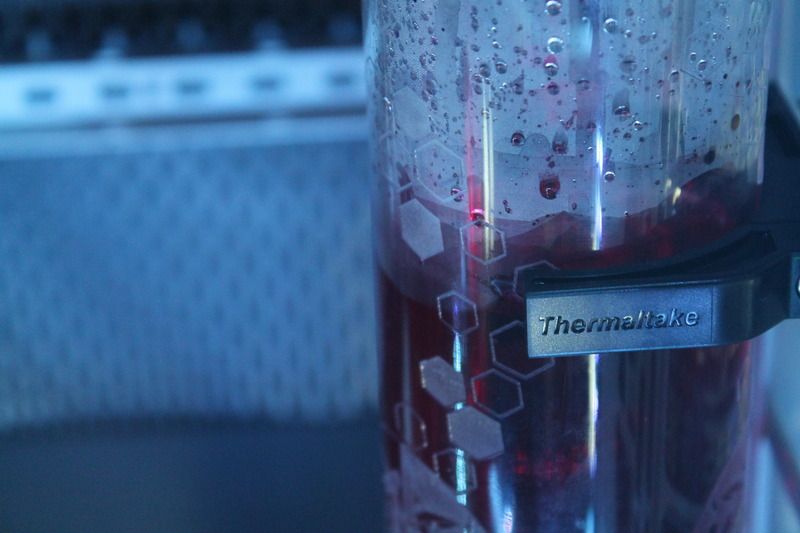
I sent the reservoirs off to V1 Tech http://www.v1tech.com/ ​to be laser engraved. So I am just waiting for them to arrive.
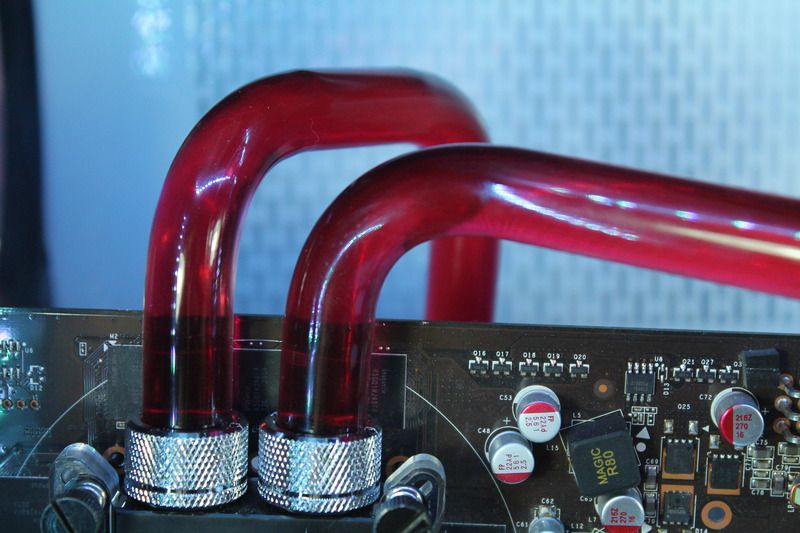
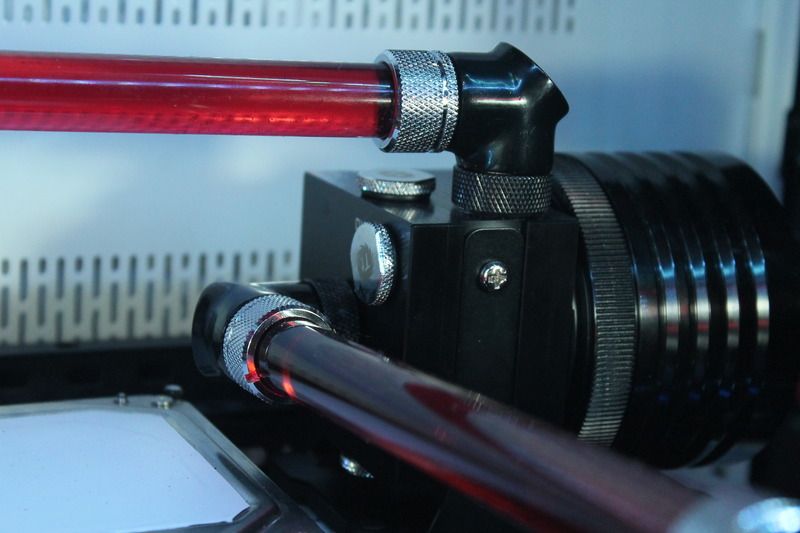
While I wait for the reservoirs to show up I went ahead and started on the rest of the tubing runs.
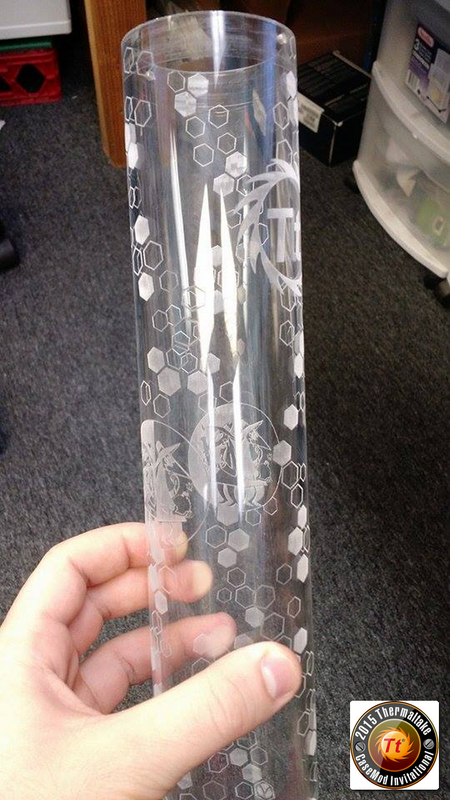
Here is a sneak peak at the designs we went with.
-
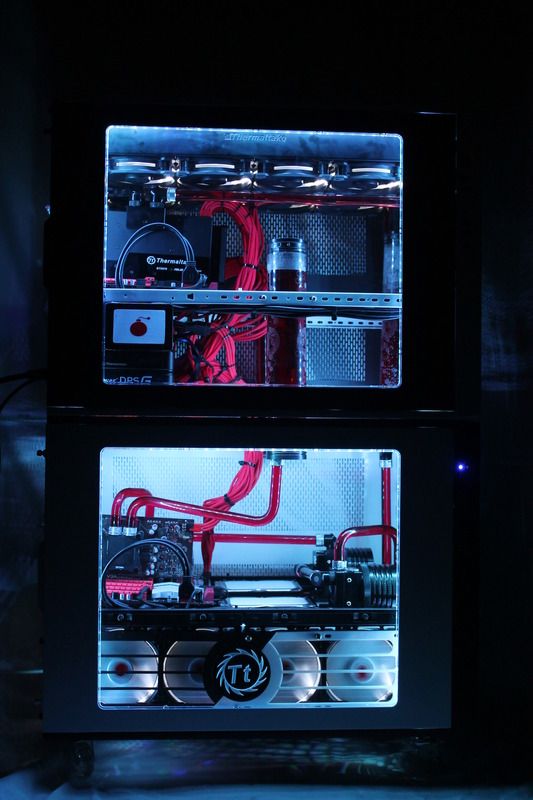
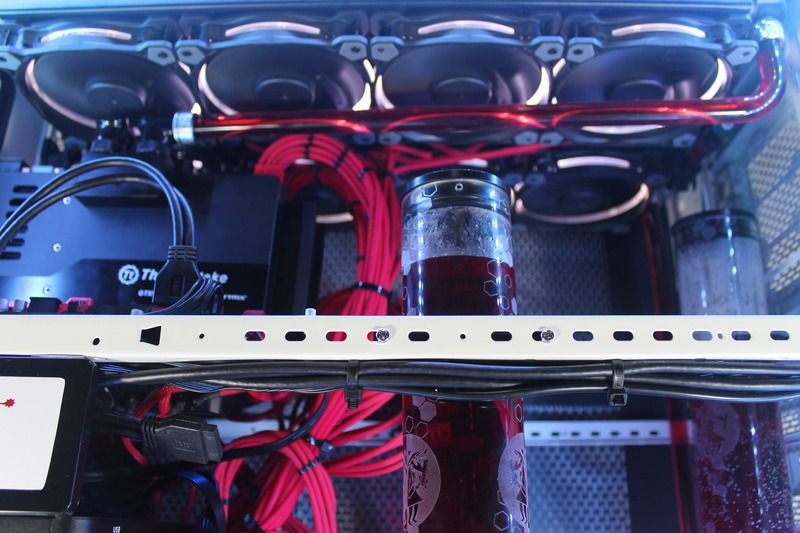
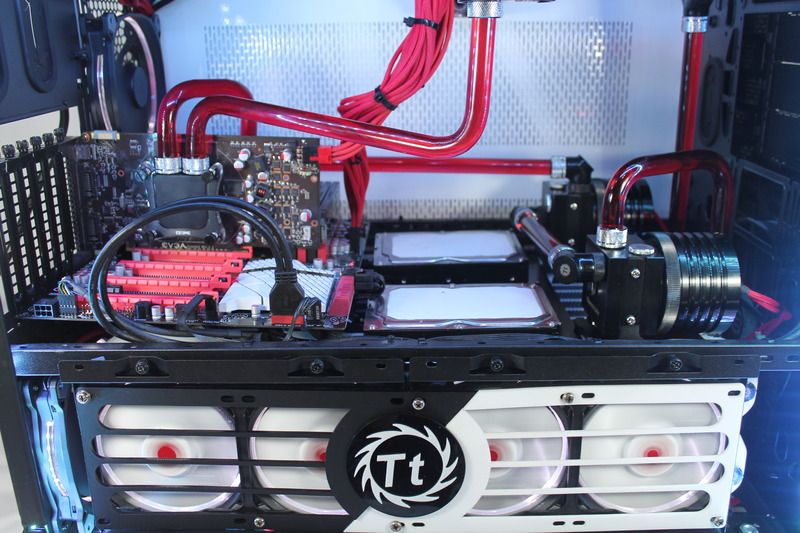
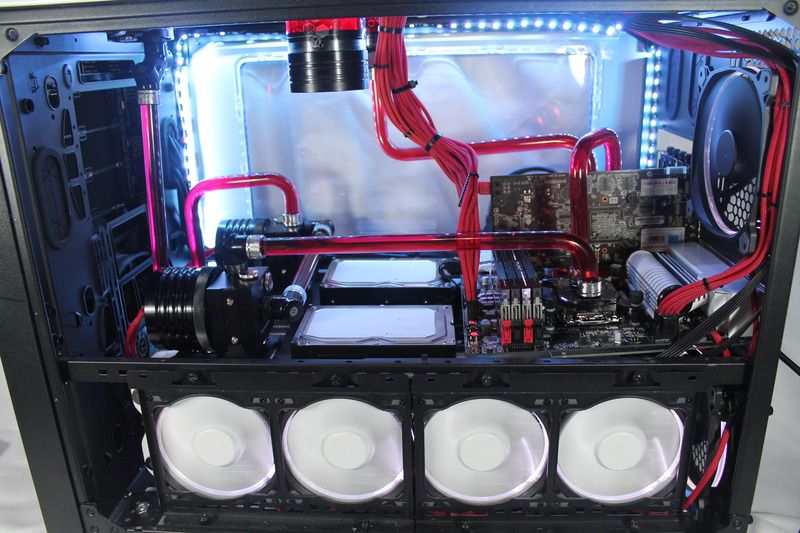
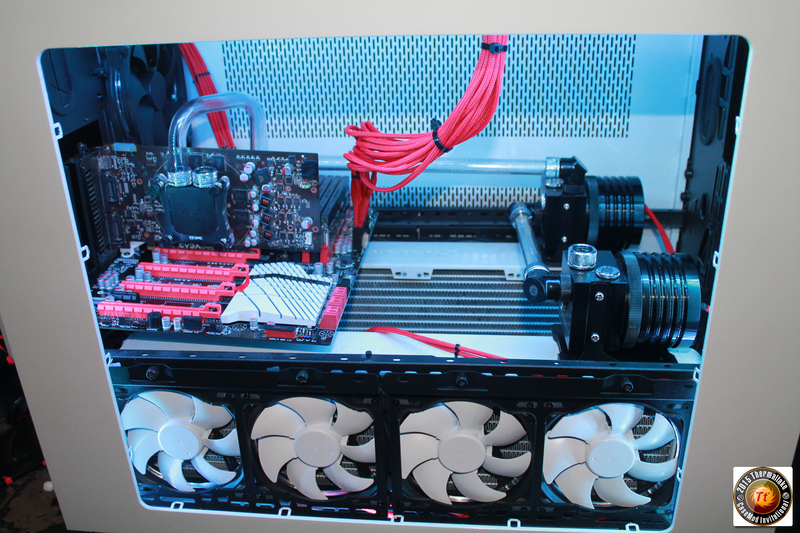
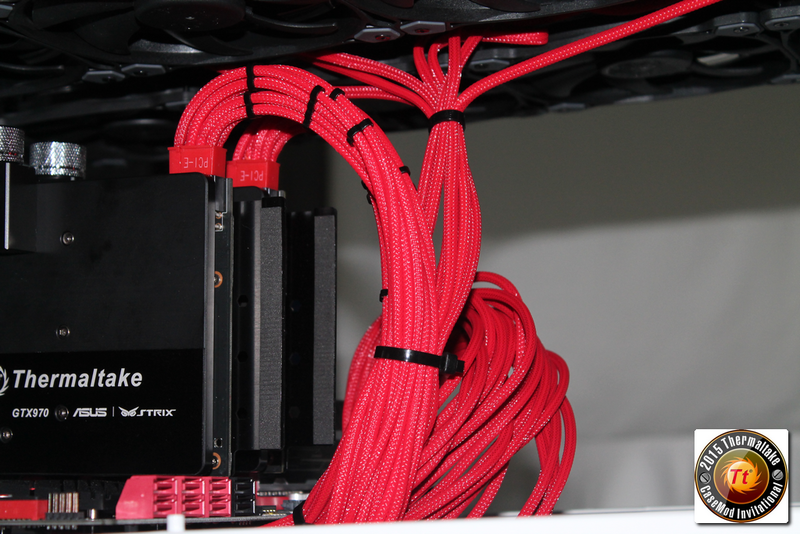
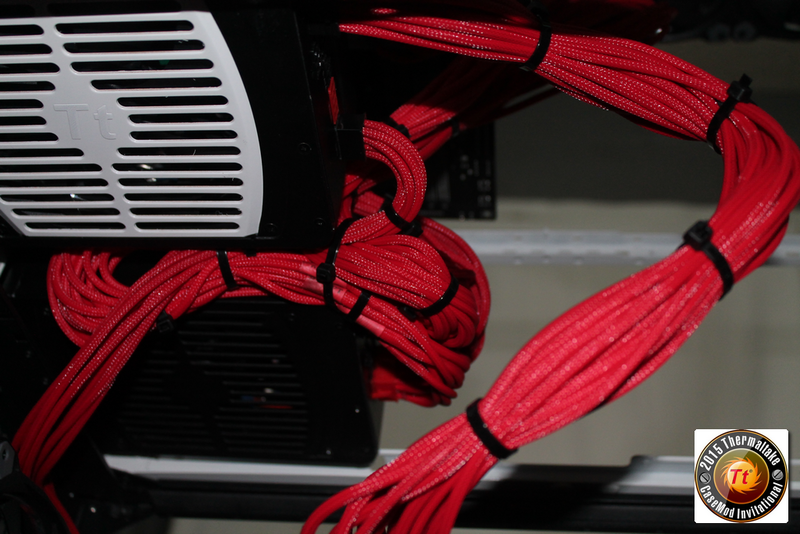
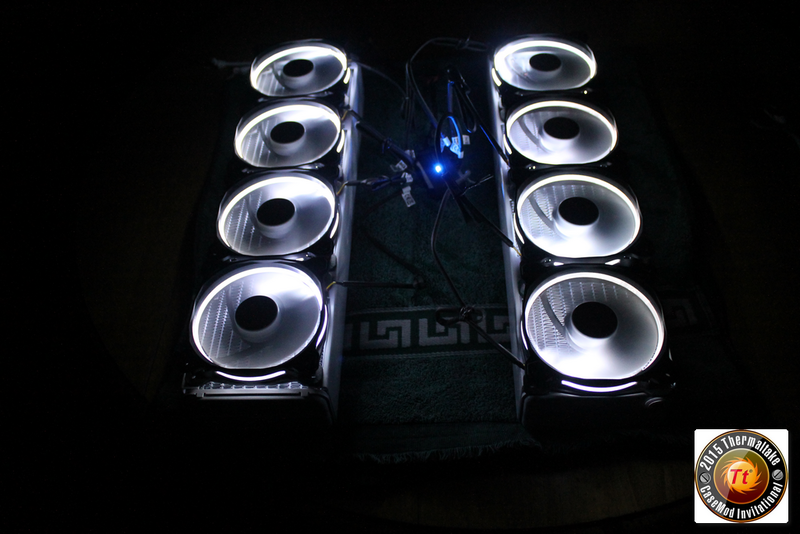
Now its crunch time Running Flat out on system integration.
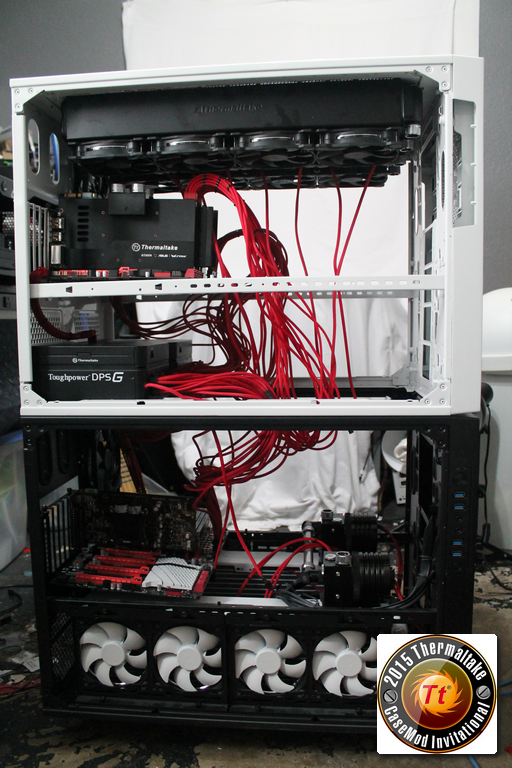
At first I was thinking. How in the world am I going to hide all those wires? Then I thought. Why would I want to hide all my beautiful hard work?
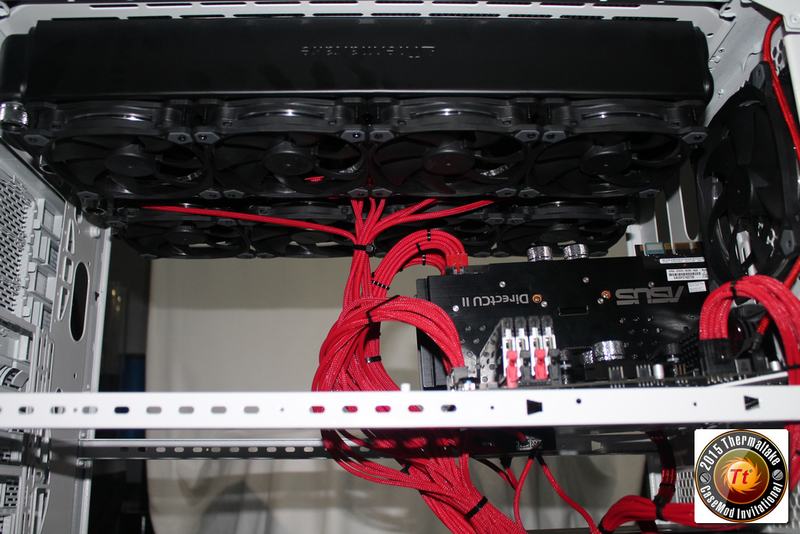
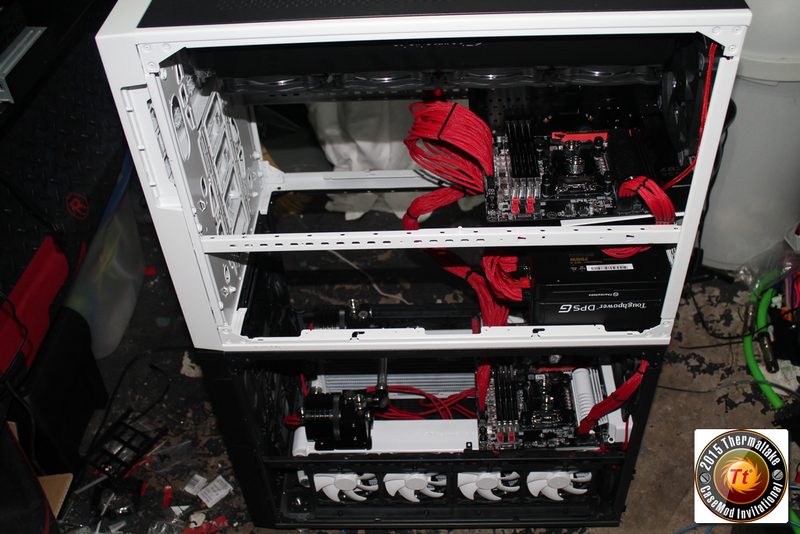
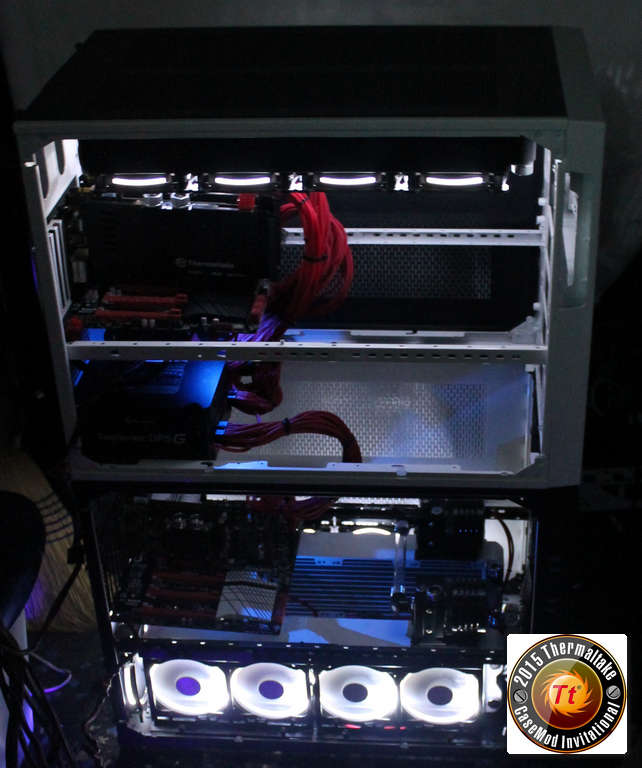
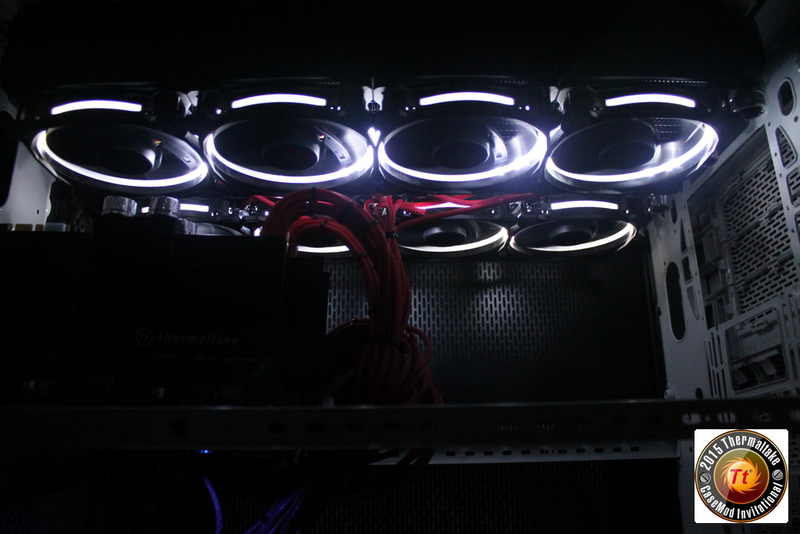
Man those Riing fans look SICK!!!
-
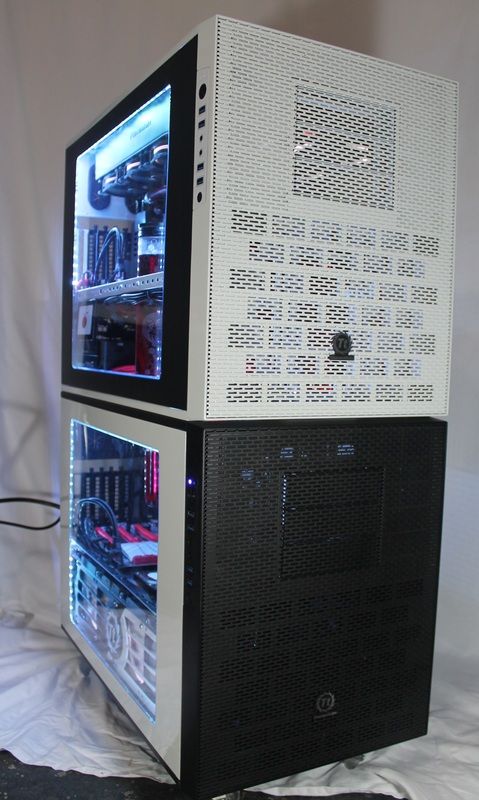
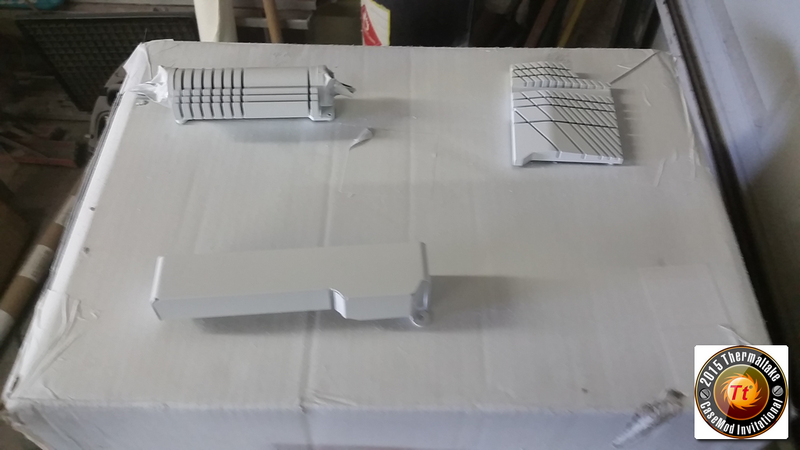
Ok after 5 days of prep-work, sanding and painting at Camco the now White Core X9 is back at the shop.
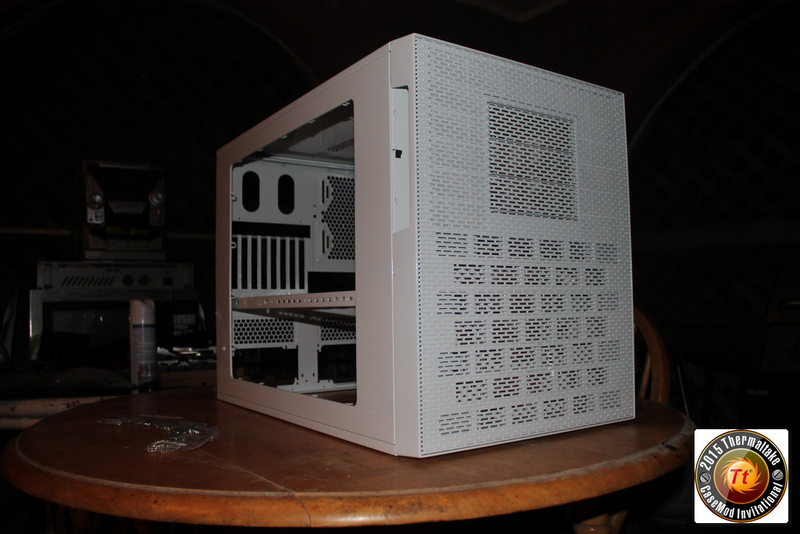
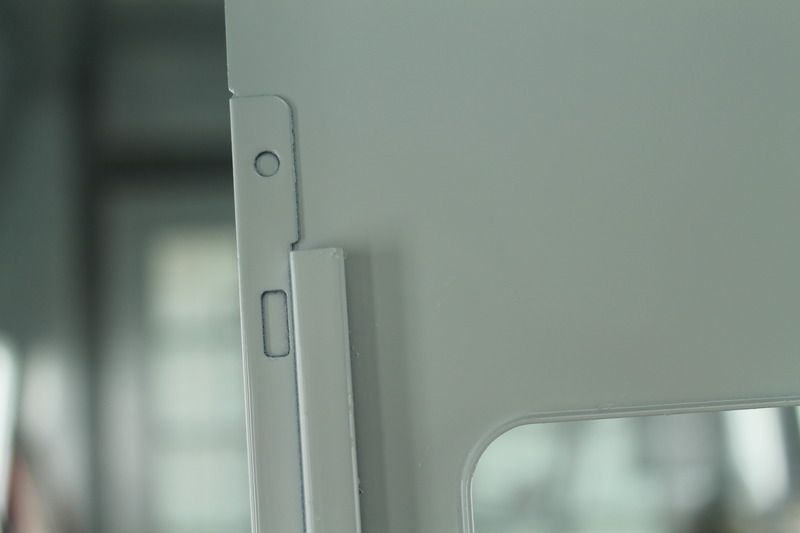
This is as close to a show-car finish as we could get with the amount of time invested.

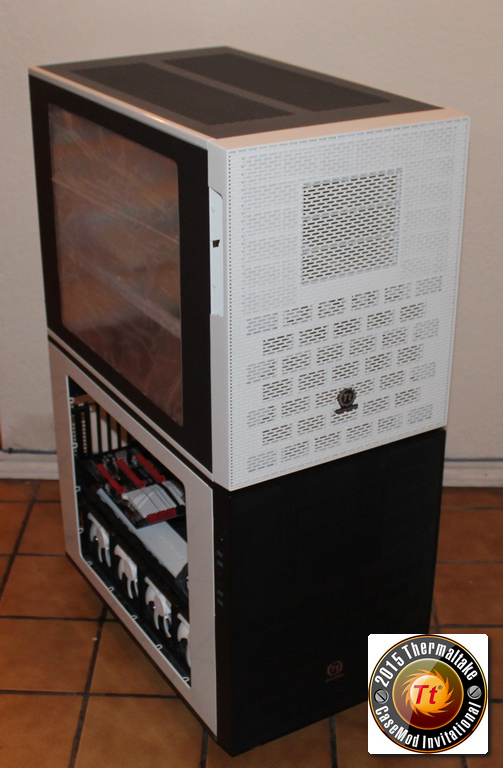
Now that both the cases are together you can see the theme start to come together. All that's left is to finish is sleeving the PSU's, pumps and a few of the front panel wires...Then I can get started on the system integration and the detail work.
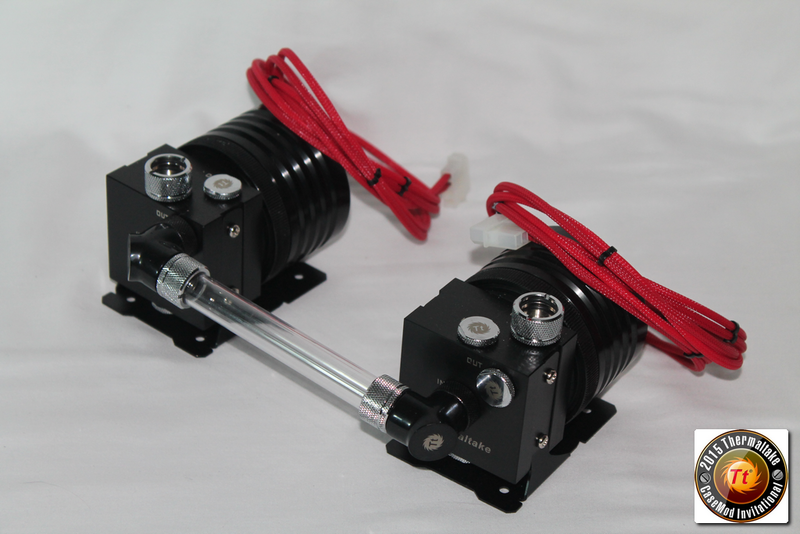
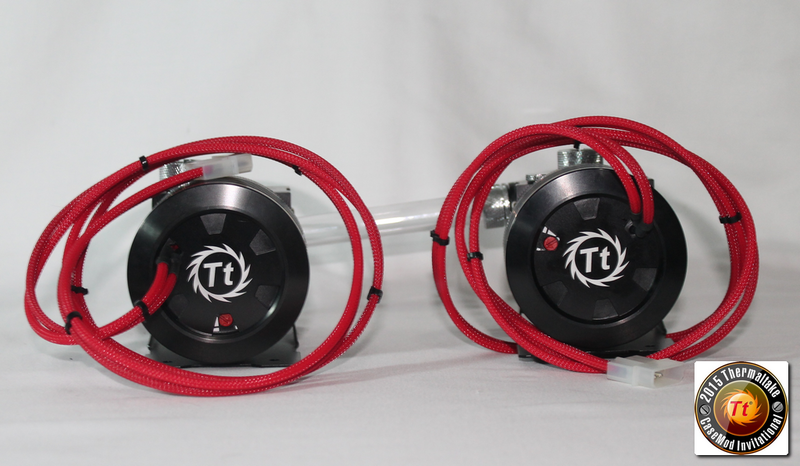
Both of the Pacific P1 Black D5 Variable Pumps kits have been sleeved. I really like the silencer look to them.
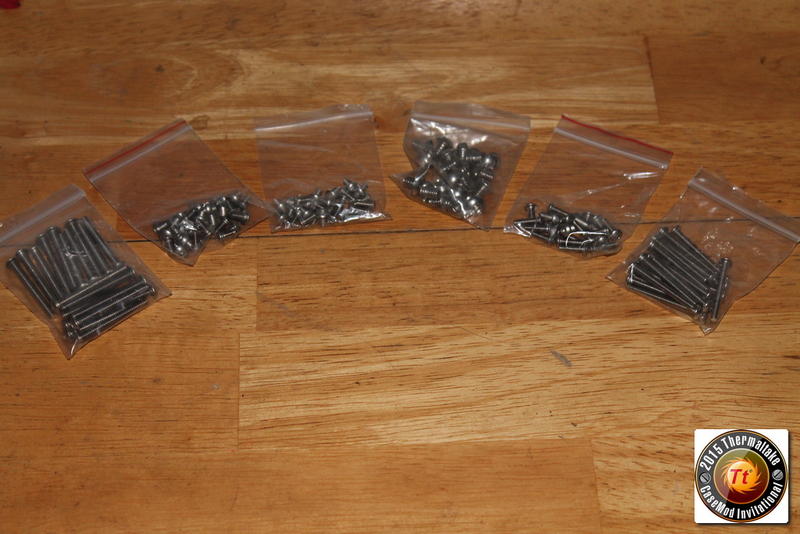
Sweeet the Button Head fasteners from Tek By Design (https://www.facebook.com/tekbydesign?fref=ts) have come in. Thank you for supporting the project.....I have used their fasteners in quite a few builds. It is getting to the point where I use them almost exclusively. They have almost every length and thread you would need for your PC.
-
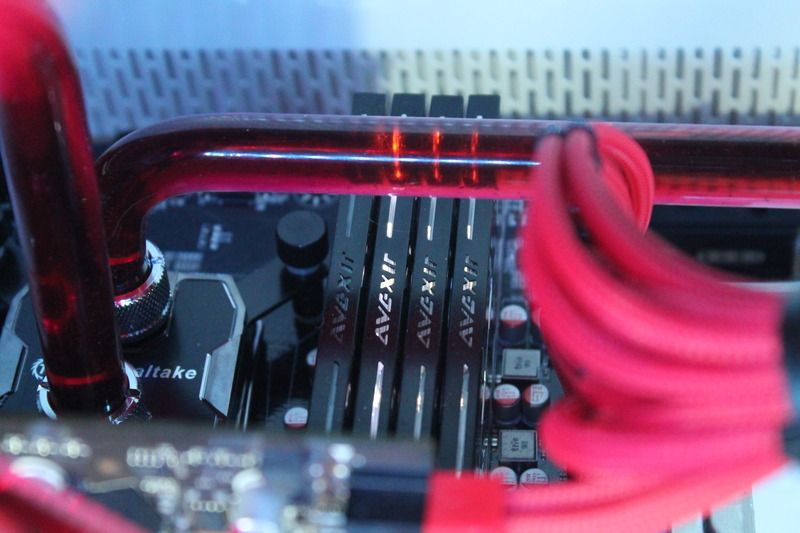
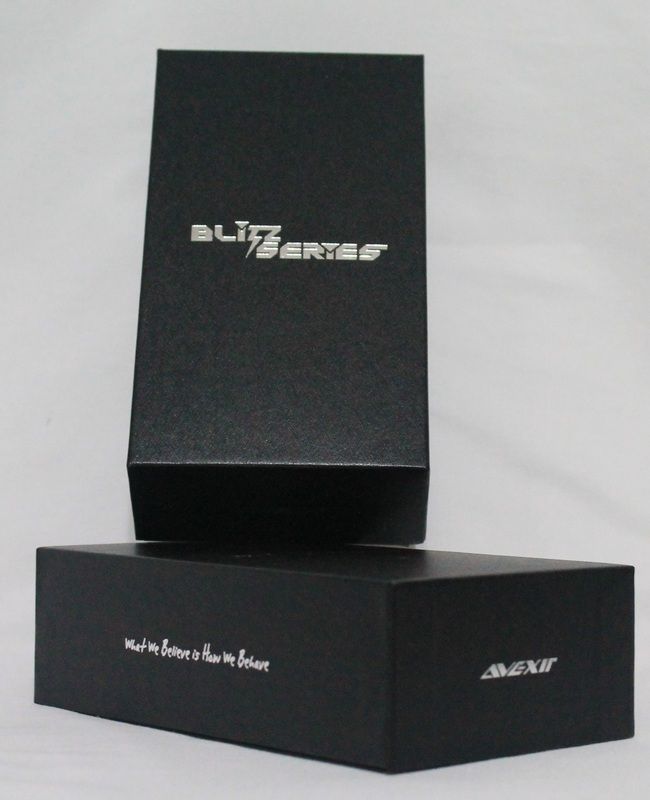
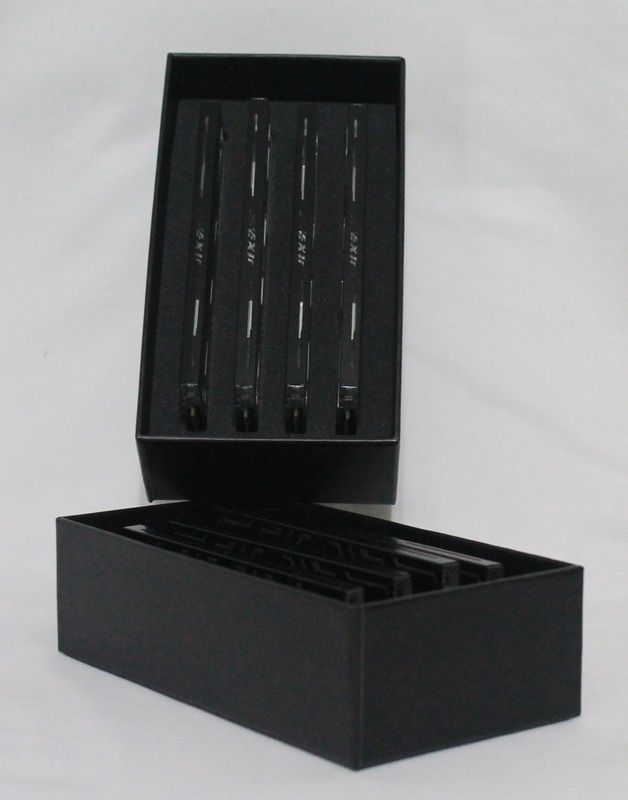
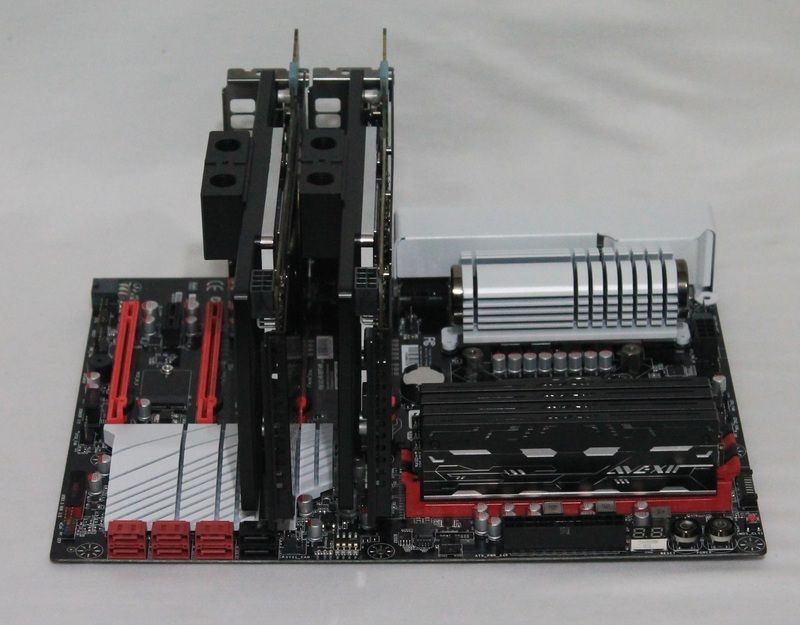
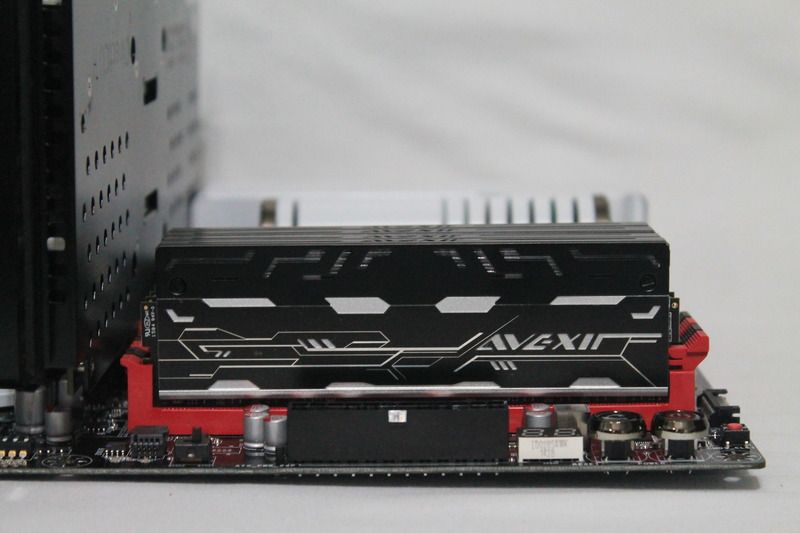
I am happy to announce I picked up another awesome sponsor Avexir was kind enough to send us out some beautiful DIMM chips.


-
Thanks Guys
 .......So the day has finally arrived. Today I get to use a real professional paint booth. A big Thank you to Camco Wheel and Axle for letting Me use their equipment. I really appreciate it.
Woot weeere heeeeere!!!
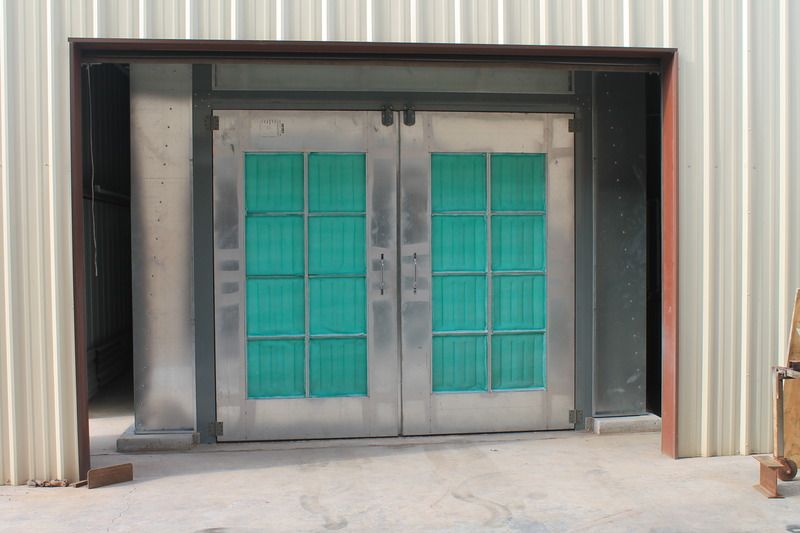
Ohhhhh Man!!!! That's a BIGGG paint booth. This is going to be EPIC!!!!!!!!!!
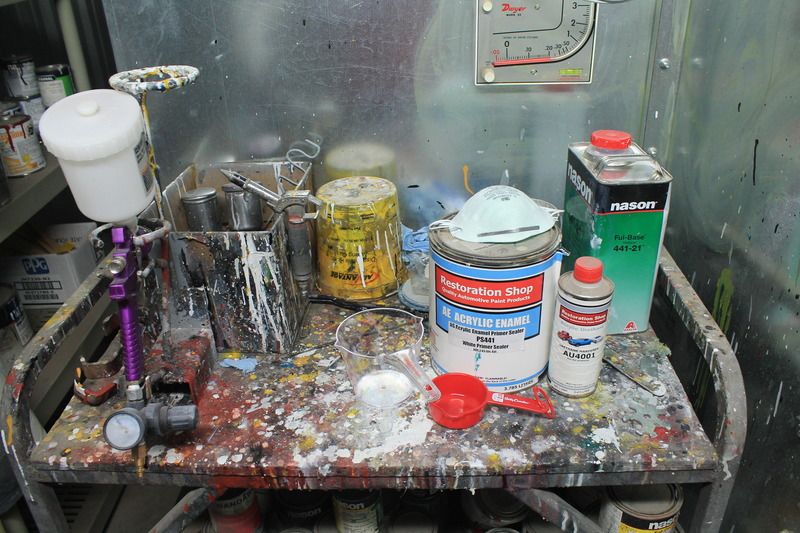
This is the paint mixing station located just behind the paint booth.
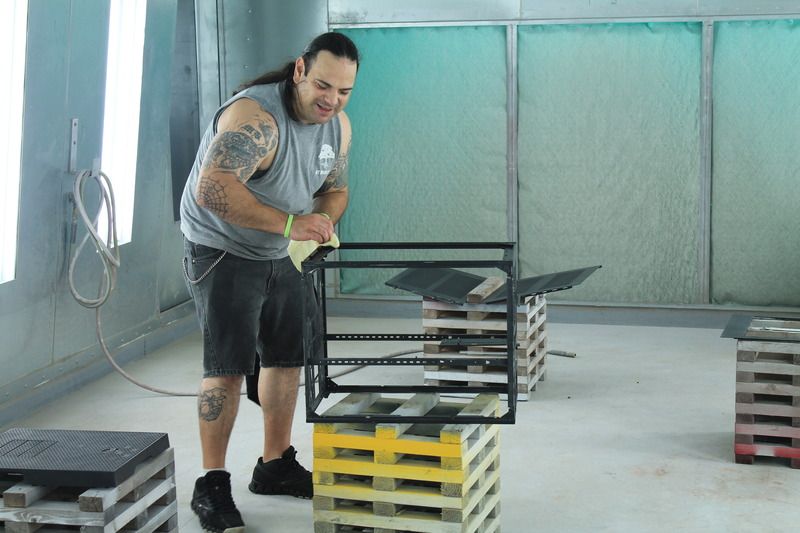
My good friend Memo. He helps me out a lot around the shop. If you see a picture of me in this build log it was most likely him that took it....Thanks a lot for all you help bro.
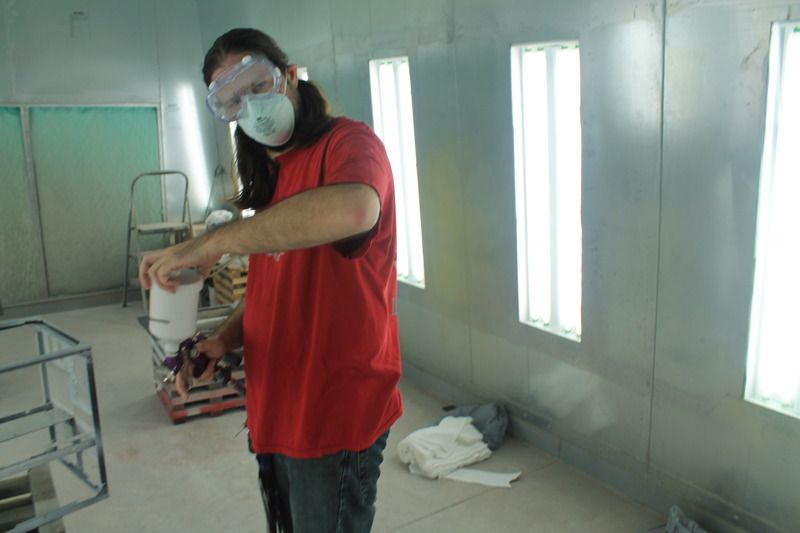
lol Memo said I looked like a mad scientist in this shot.
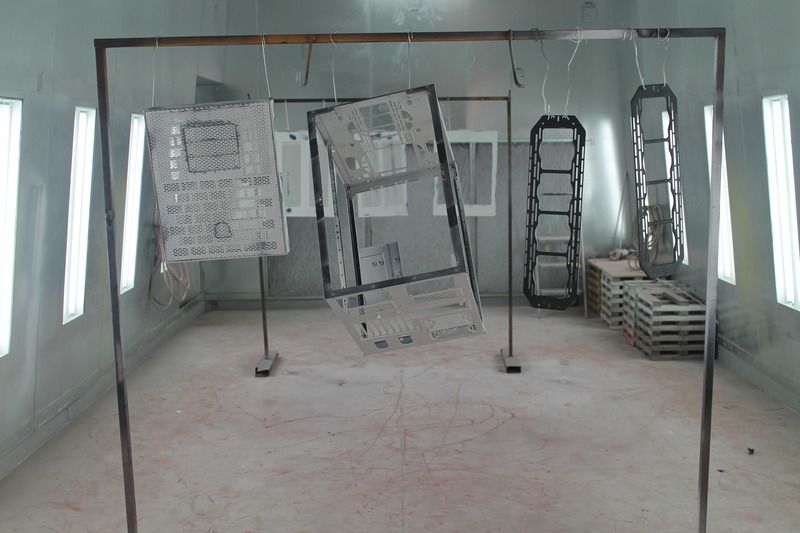
Alright at this point we have already shot the primer on most of the case was wet sanded it down with 400, 600, 1000 and 1200 grit sand paper. Used compressed air, a Wax and Grease Remover, and a Tack Rag to clean it off. It is now ready for the first application of the final color.
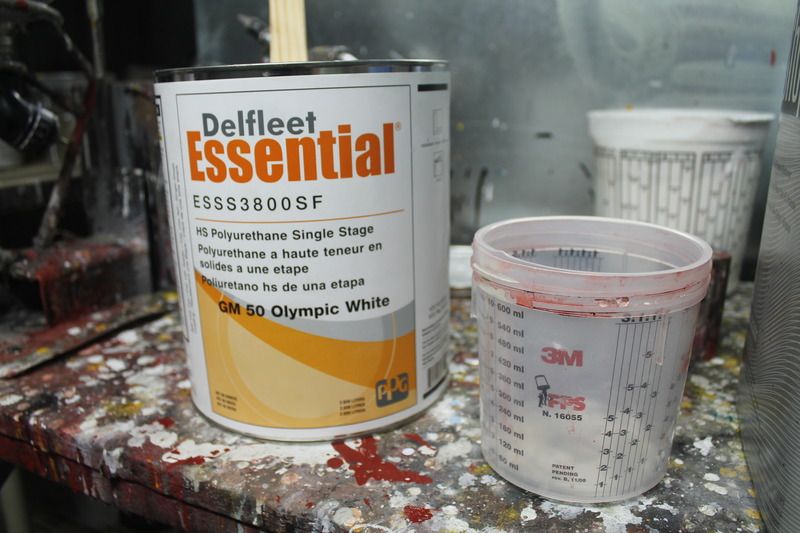
This is the paint Camco was kind enough to provide for the project. PPG DelFleet Essential in GM 50 Olympic White. It's a real Glossy Bright White.
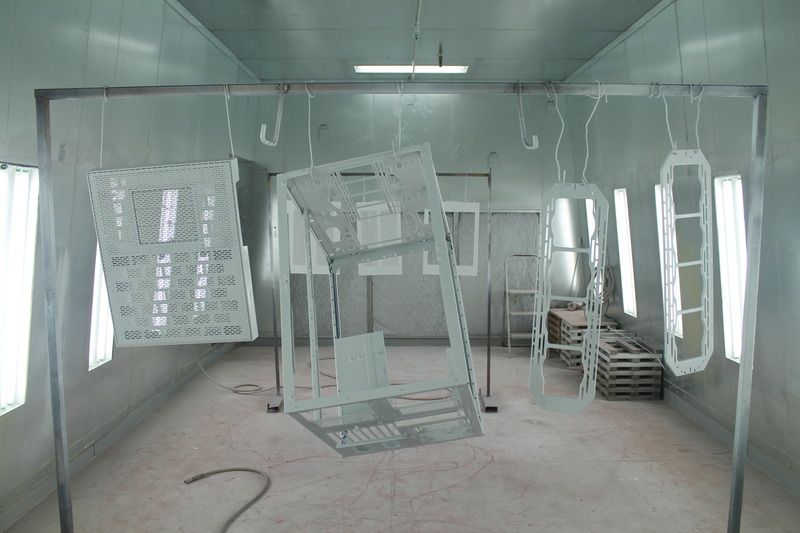
This is after the second coat. Going to sand it down one more time and shoot the last coat.
-
Hey guys whats up I just got this totally awesome headset. I took a few quick pics for ya....Bu sure to stay tuned for my review in a couple weeks.
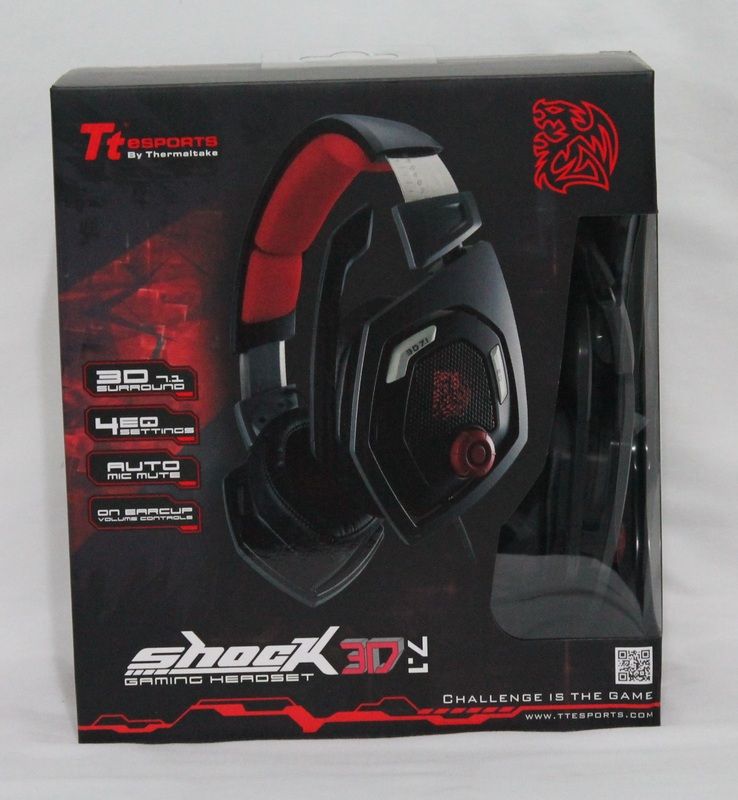
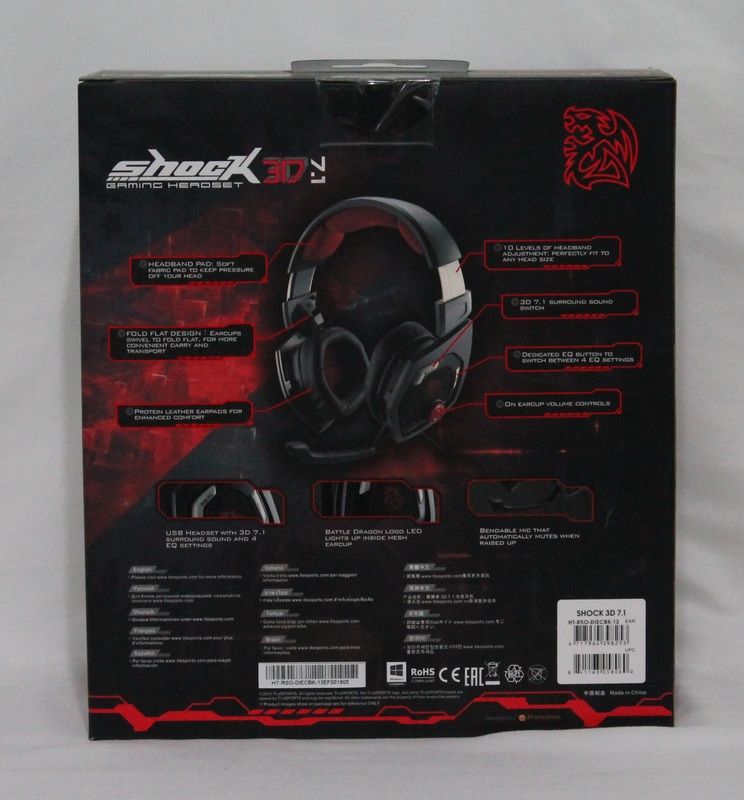
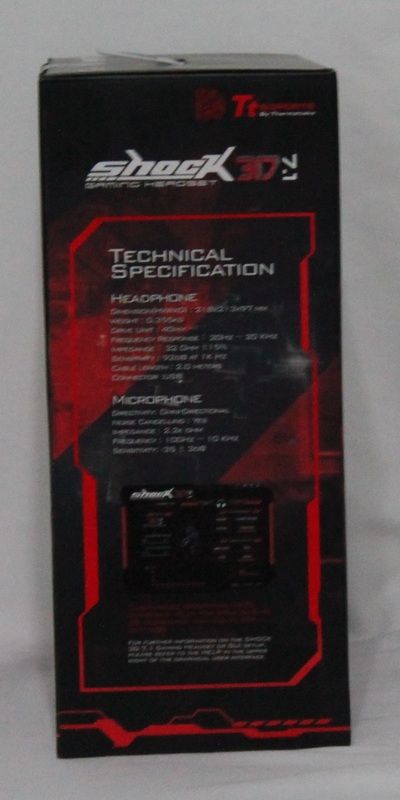
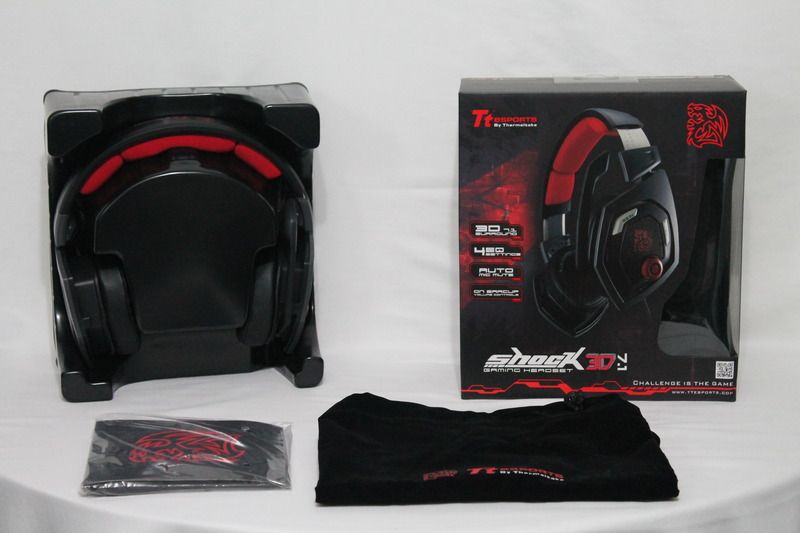
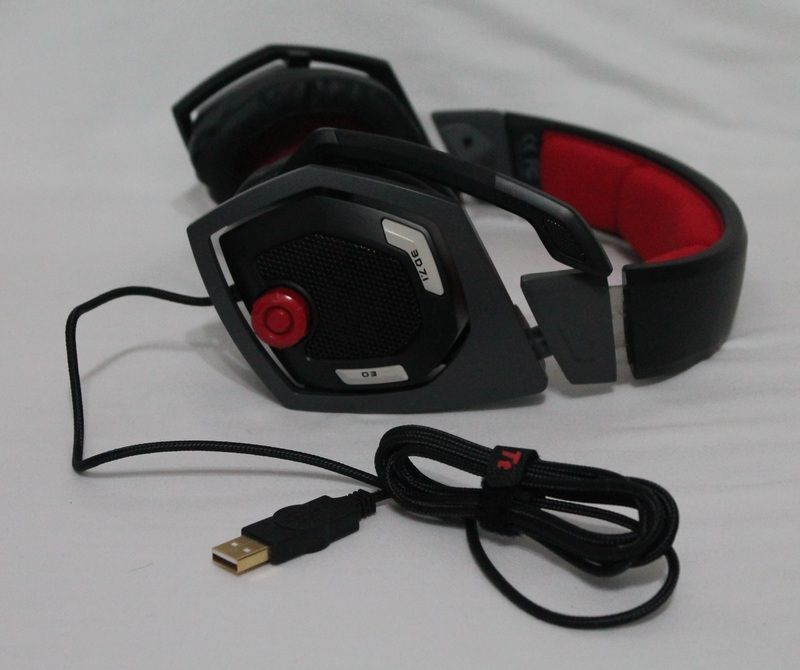
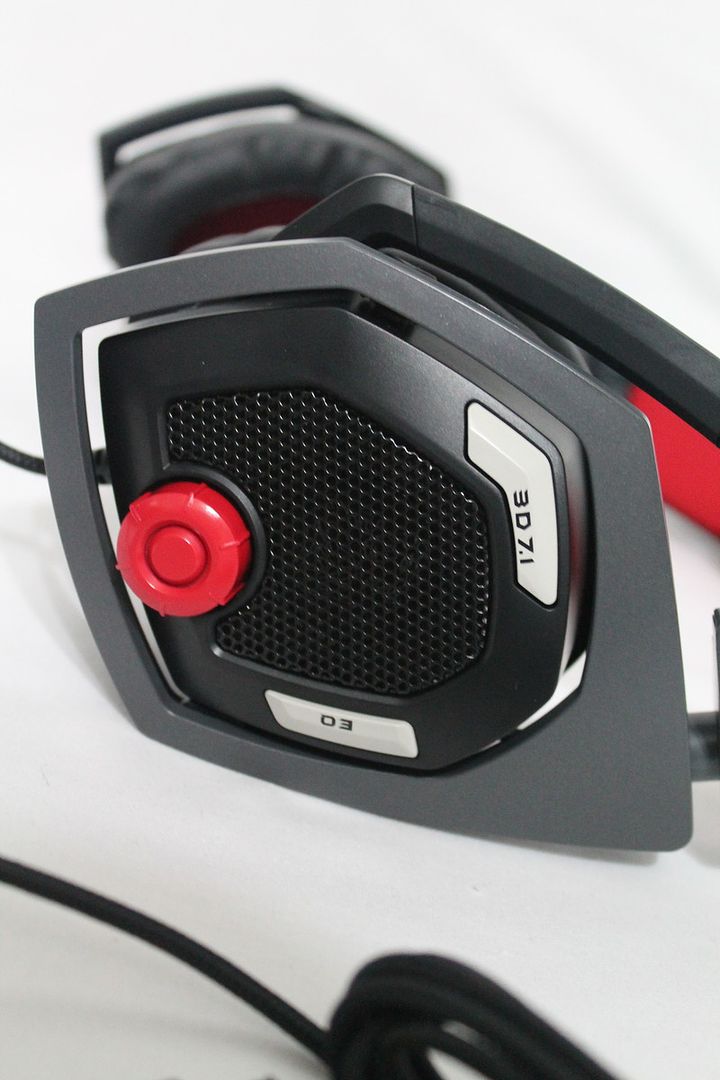
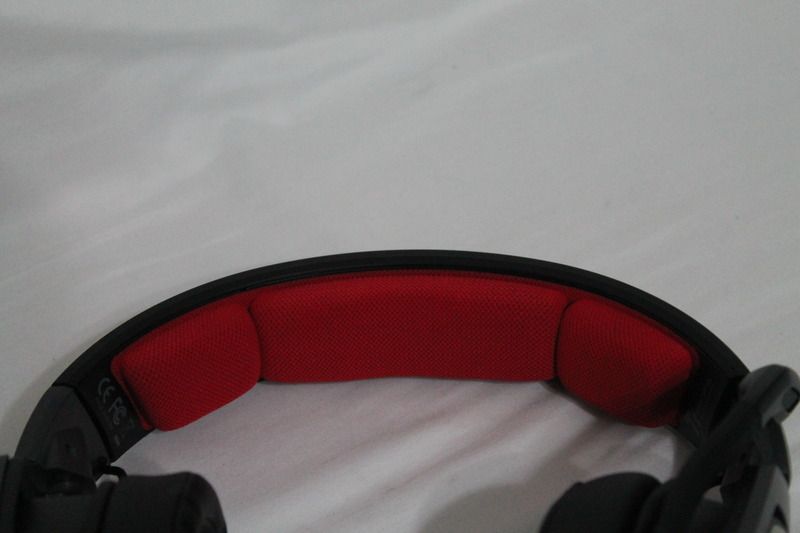
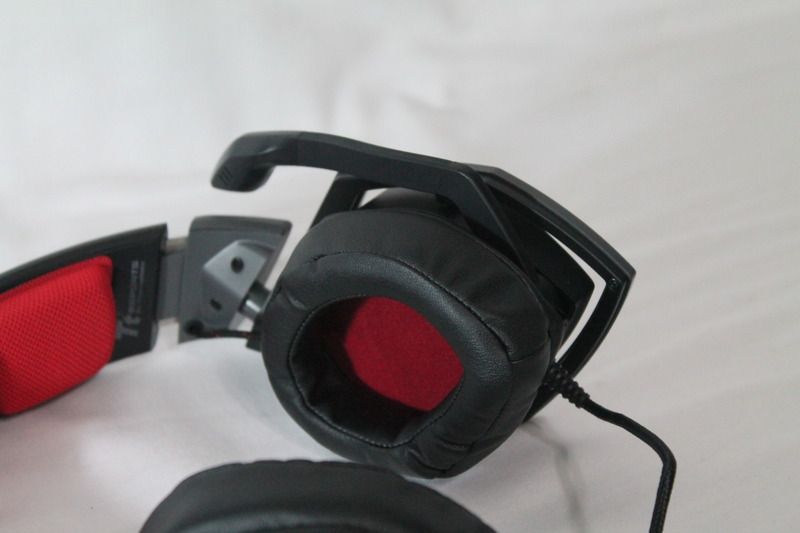
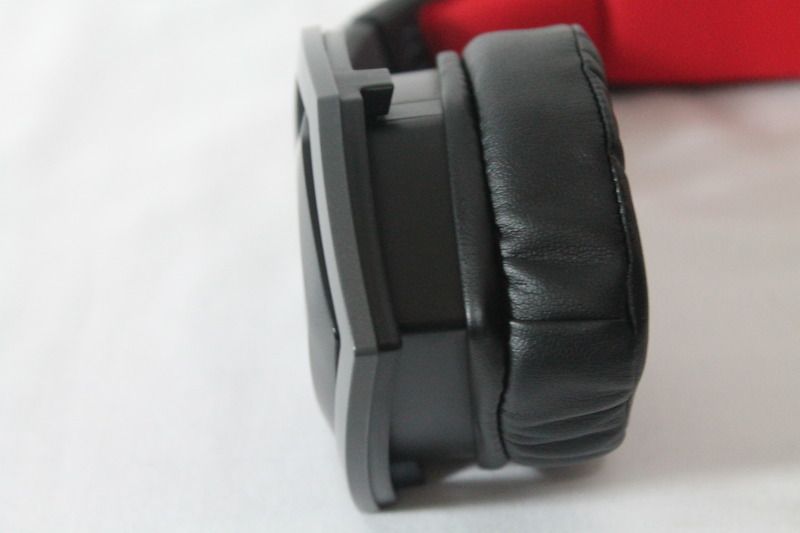
First Impressions. The thick padding on both the ear cups and the headband should make for some comfortable raiding.
-


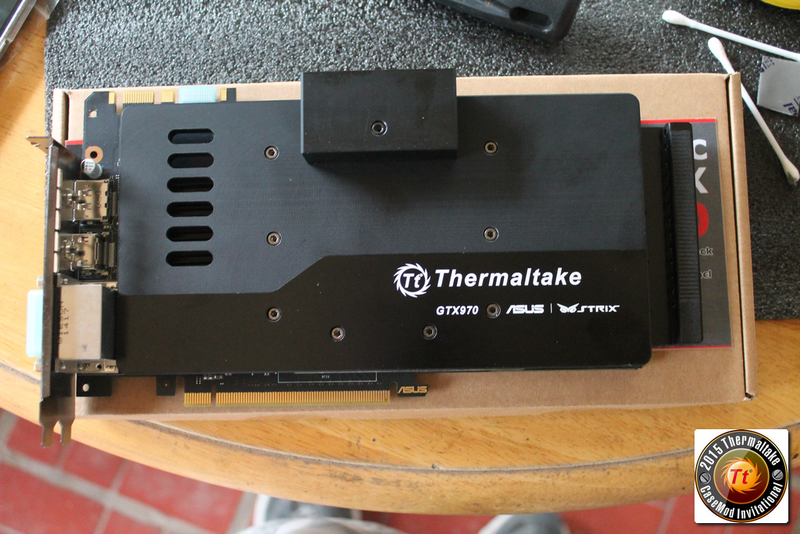
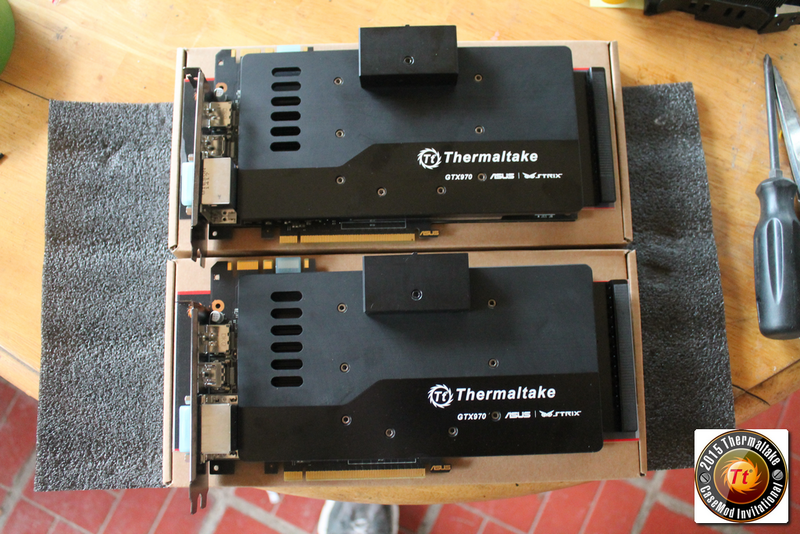
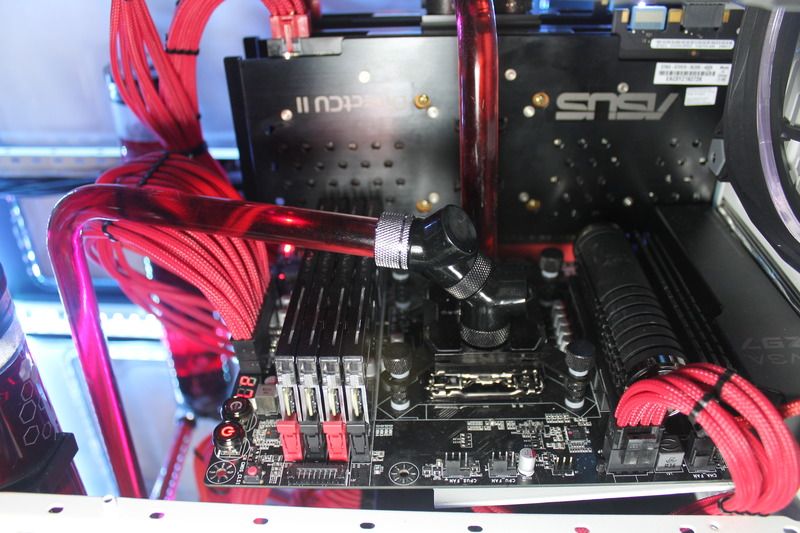
I am really liking the new Thermaltake GPU water blocks. Love the Modern Minimalist approach.
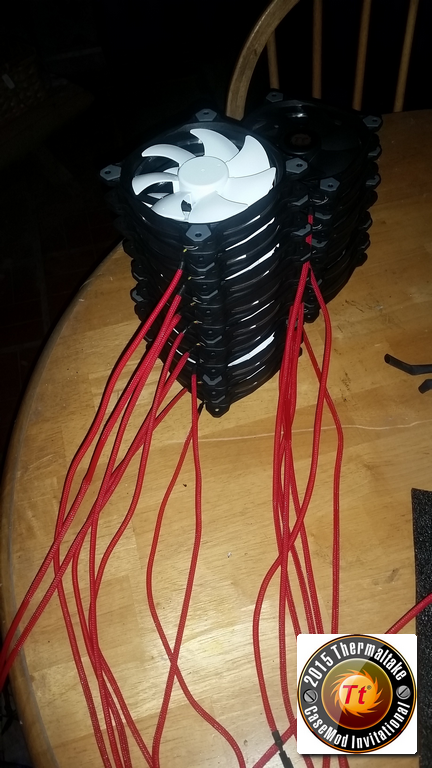
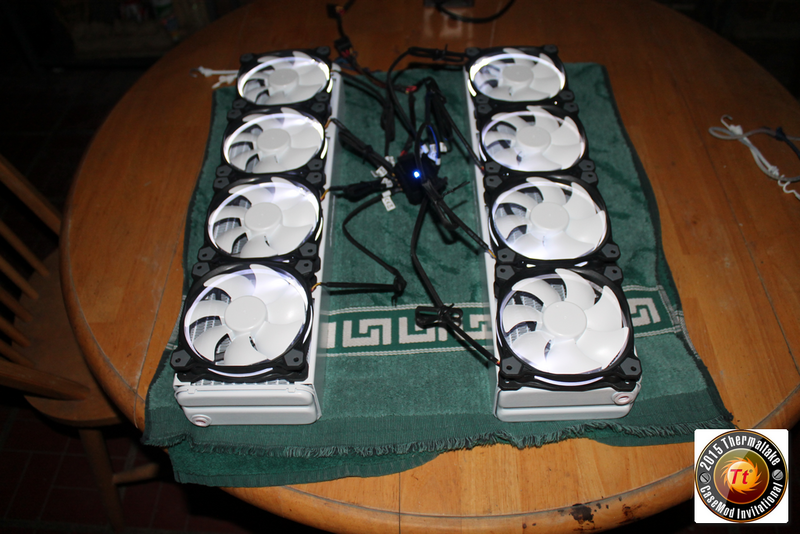
All but 4 fans have been sleeved.
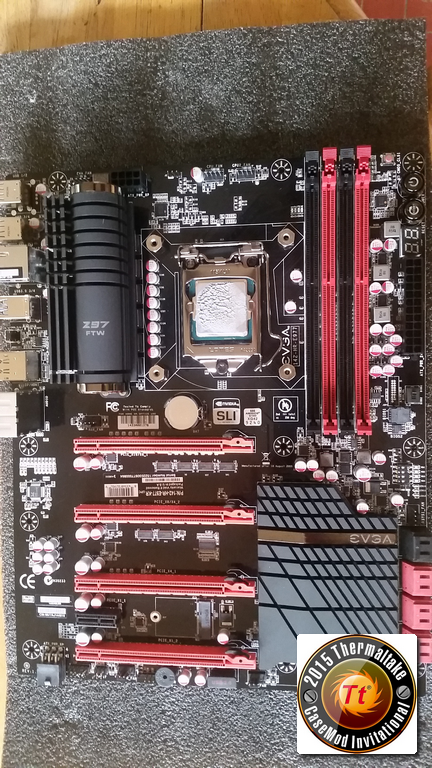
Getting started with the EVGA Z97 FTW Motherboard. The heat sinks are going to be removed and painted White.
-
Spy vs Spy

The Following was obtained from the History section of the Spy vs Spy Headquarters.
http://www.spyvsspyhq.com/history.html
Simple yet meaningful is one way to describe the wordless black and white comic strip that makes up Spy vs. Spy. The cartoon created in 1960 by Antonio ProhÃas, depicts the antics of two distinctly different yet similar spies who try to get the best of each other with clever yet strange schemes of espionage and deception.
Published in Mad magazine since 1961, ProhÃas began working on Spy vs. Spy in Cuban, but fled to the United States in 1960 just days before Fidel Castro took over the last Cuban free press. When ProhÃas came to the United States he knew almost no English, but Mad magazine readers and editors quick accepted him and loved his work.
Before he got the job at Mad, he worked in Queens at a clothing factory by day and drew by night in his cramped apartment. His earlier works “Erizo,†“Oveja Negra,†“El Hombre Siniestro,†and “Tovarich†would not work in his new country where the idea of communism was not as prevalent or well taken by pleasure readers. In Cuba if you were not a supporter of Castro you were considered a spy, and this is where he got the idea. ProhÃas considered himself a spy and thus the idea was born.
ProhÃas submitted his rough pencil concept and design sketches to MAD’s editors on normal 8.5 x 11 paper and would latter redraw the entire carton twice the size for reproduction in the magazine. He would go through the comic strip with pain staking detail and make sure all edges and lines were detailed in his dark bold pen and would almost never ink over his pencil drawings.
Spy vs. Spy is now a national icon, symbolic of the Cold War representing good and evil and the struggle for equilibrium. ProhÃas would stealthily sign each of his Spy vs. Spy cartoons under the title panel, in Morse code, which spelled out the words "by prohias." This is one of the most overlooked details in his work. -••• -•-- •--• •-• --- •••• •• •- •••
Antonio ProhÃas passed away February 24, 1998. His masterpiece concept of the two spies battling it out lives on in the continuing work done by his successor Peter Kuper.
This project is sponsored by the good folks at.
http://www.thermaltake.com/home.aspx
http://www.evga.com/
Also brought to you by

http://www.v1tech.com/

http://www.precisioncomputing.net/

http://sanctumsleeving.com/
https://www.youtube.com/user/bodteklord
https://www.facebook.com/tekbydesign?fref=ts
And last but certainly not least.
Specs:
Case - Thermaltake Core X9 x 2
Motherboard - EVGA Z97 FTW (Gaming System), EVGA Z97 FTW (Server)
CPU - Intel i5 4670K (Gaming), Intel G3258 (Server)
Ram - 4 x 4Gb G.Skill Ripjaws (8Gb per system)
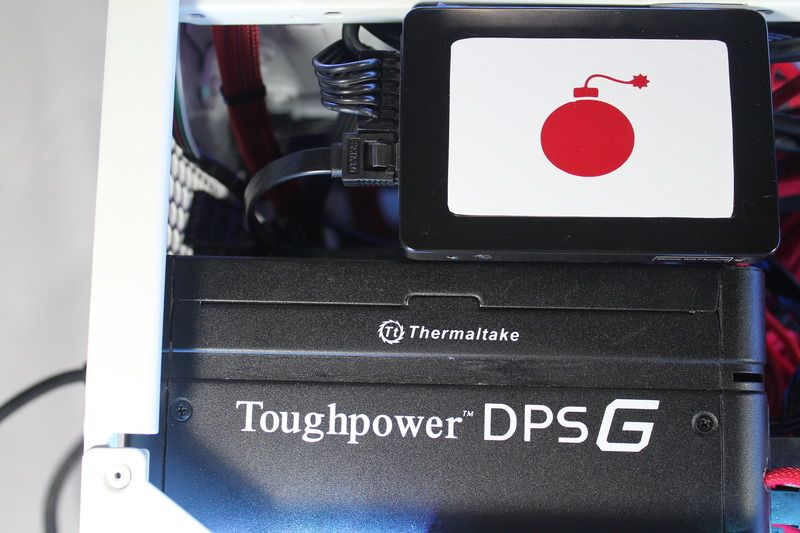
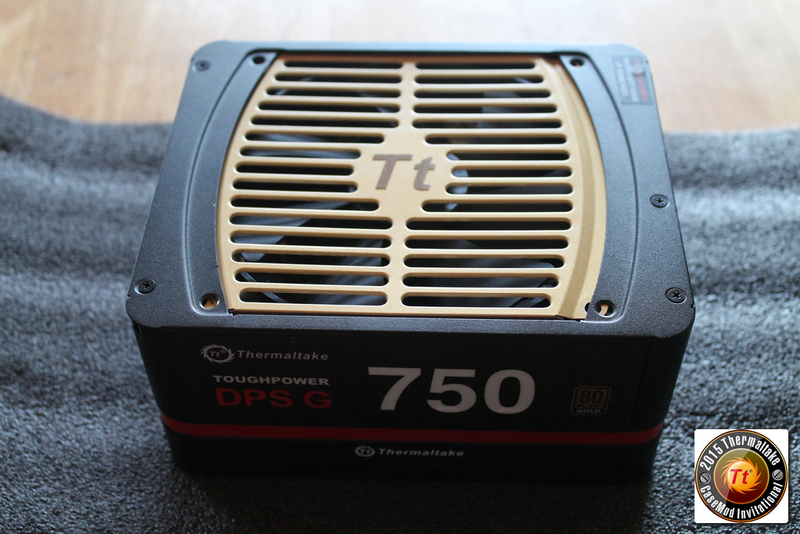
PSU - 1 x 550w DPS G Modular PSU, 1 x 750w DPS G Modular PSU
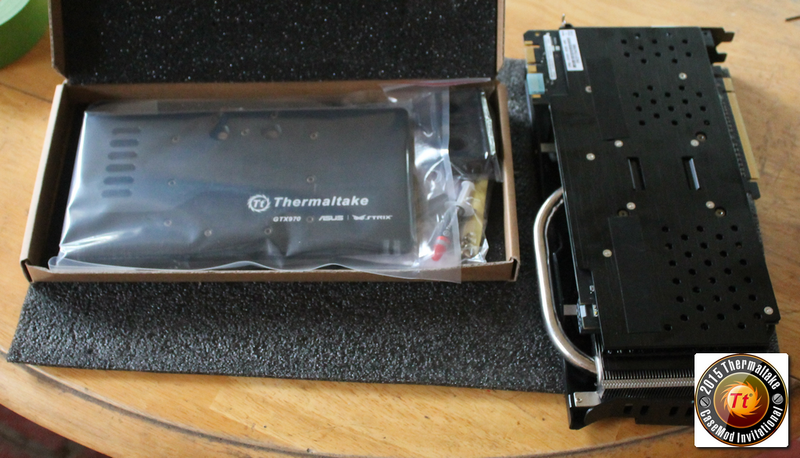
GPU - 2 x ASUS Strix GTX 970
SSD - 2 x 240 Gb Crucial M500 240Gb
HDD - 4 x 500 Gb in Raid 0
CPU Block - Pacific W1 x 2
GPU Block - Pacific Strix Water block x 2
Radiator - Pacific RL 480 x 4
Pump - Pacific P1 D5 Pump /w Silent Kit x 2
Reservoir - Pacific T33 x 3
Cables - Custom Sleeved Cables Sleeving supplies courtesy of Sanctum Sleeving
LEDs - BSMods 5050 RGB LED 16.5ft Strip /w wireless remote.
The whole idea is to put two complete systems in here all cooled with one large liquid cooling system.
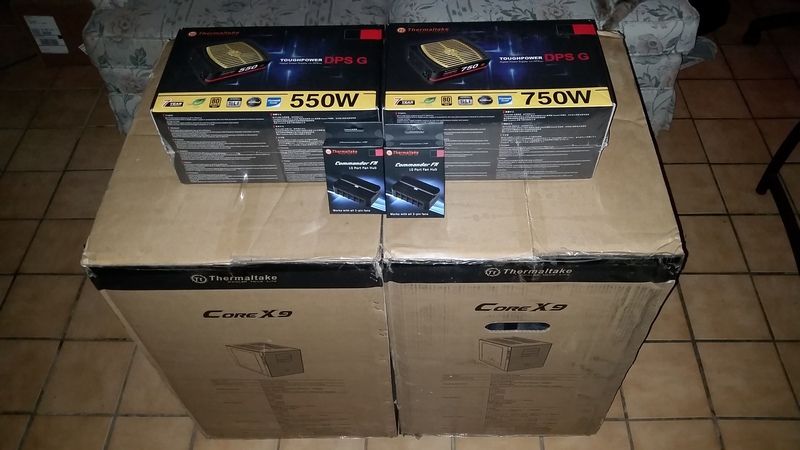
The first shipment of parts has arrived. 2 x Core X9 Cases, 2 x Commander FX 10 port fan hub, 1 x 550w DPS G Modular PSU and 1 x 750w DPS G Modular PSU.
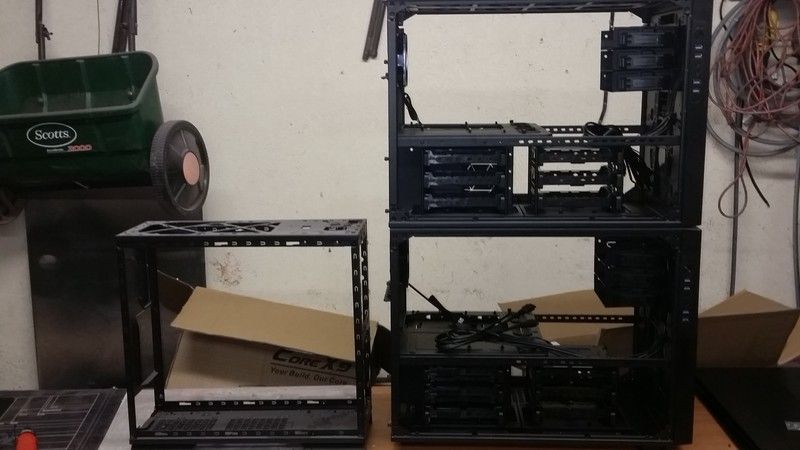
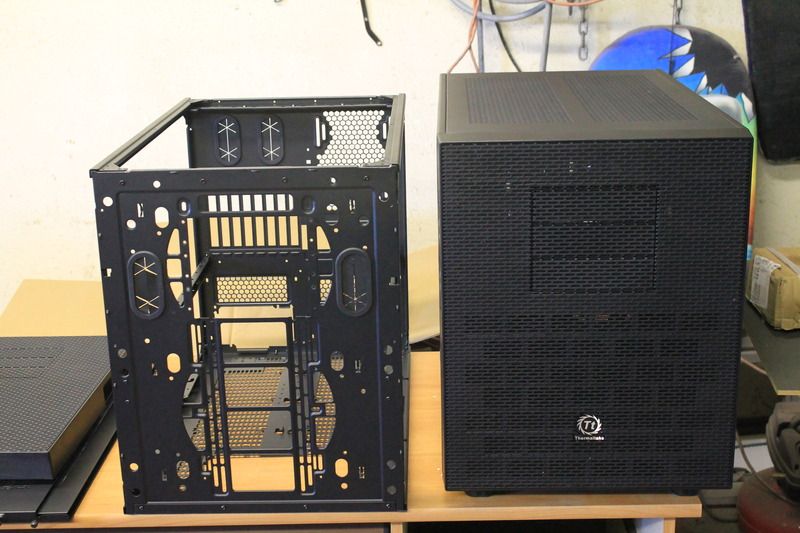
To give you an idea of the size of the double stacked X9. On the left of this pic is the chassis from a Thermaltake A-71 Full Tower. Each Core X9 is 1 inch taller and twice as wide.
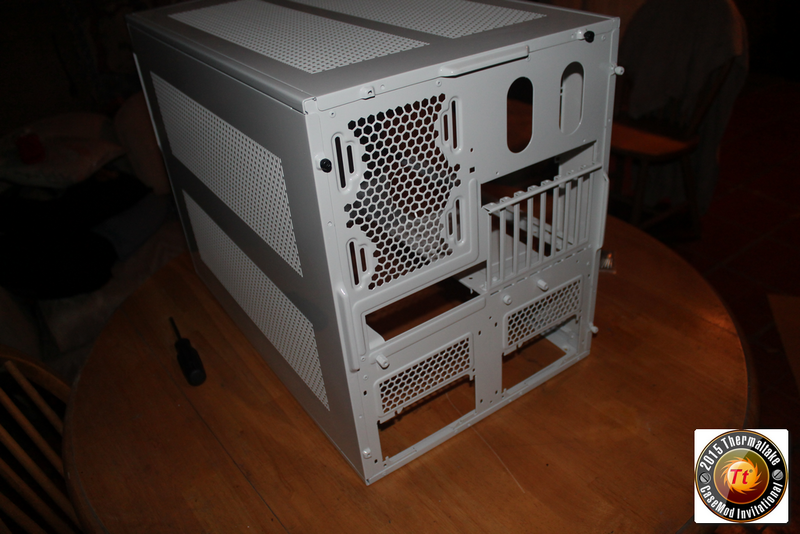
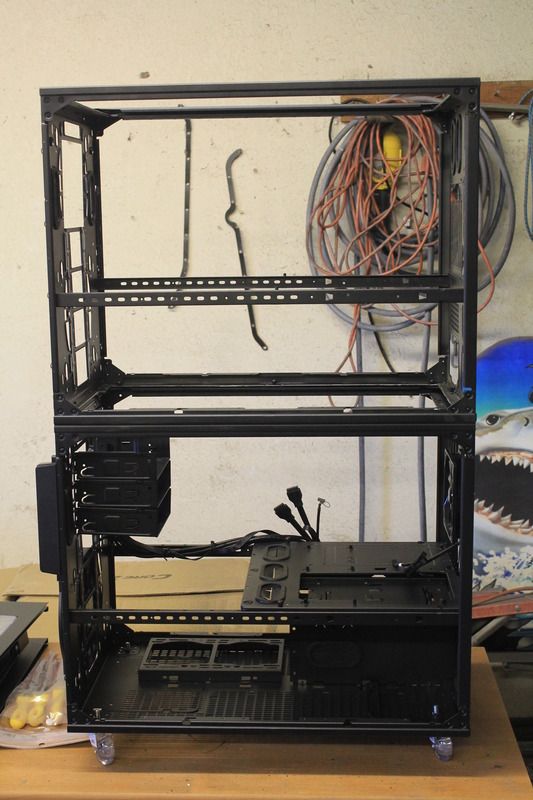
Here we have One intact X9 and one completely disassembled.
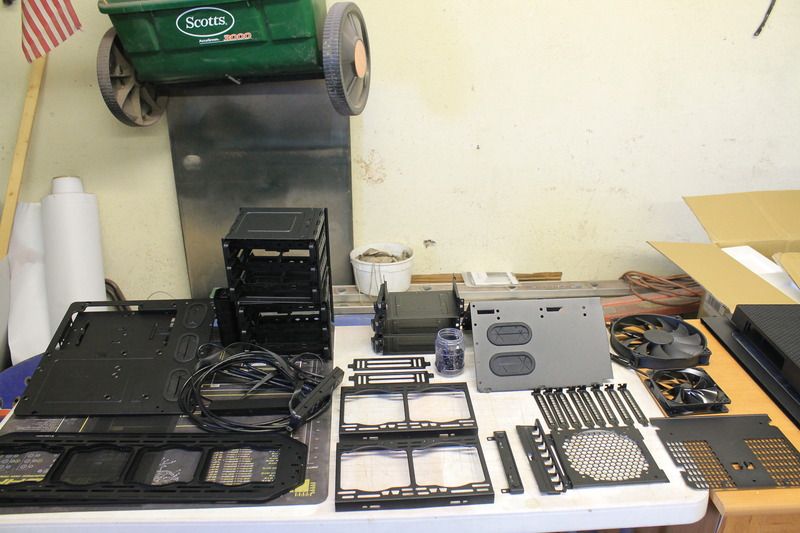
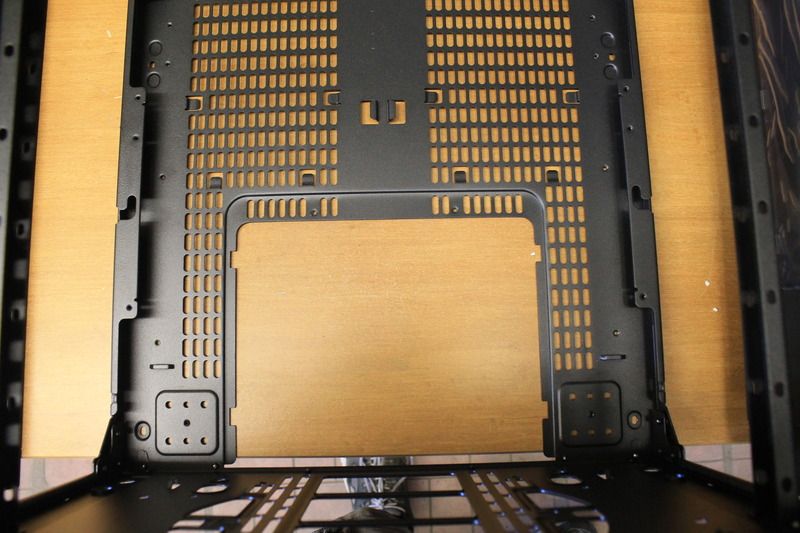
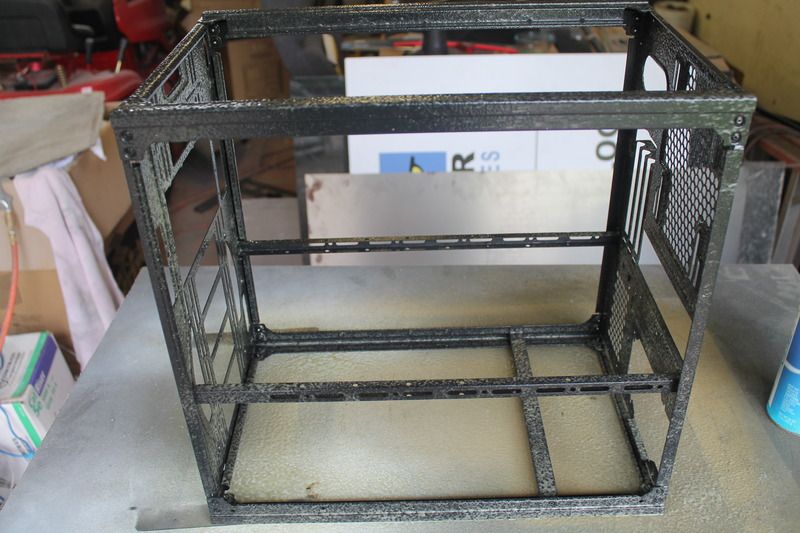
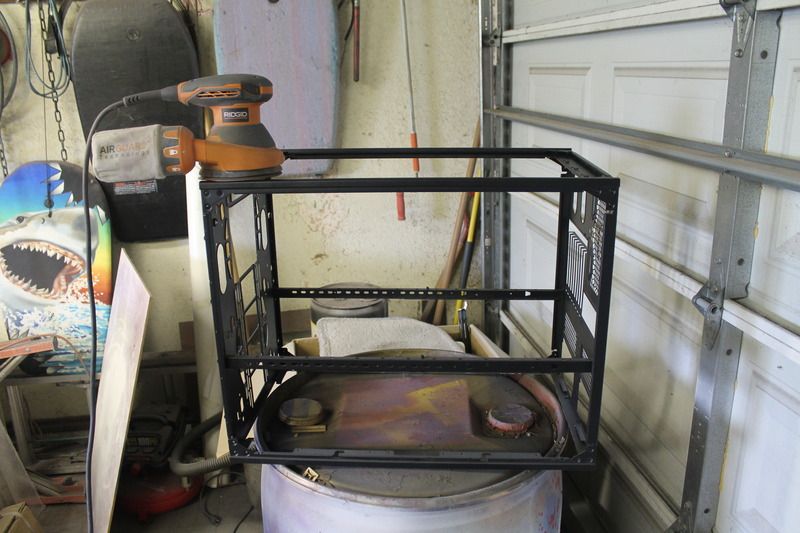
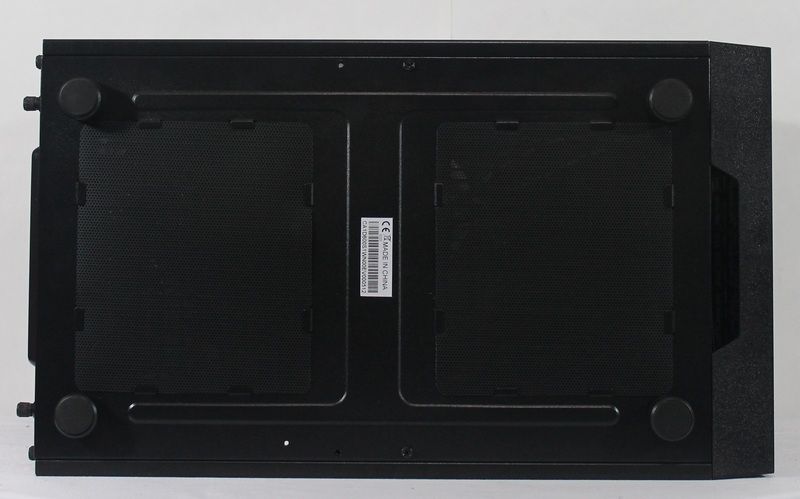
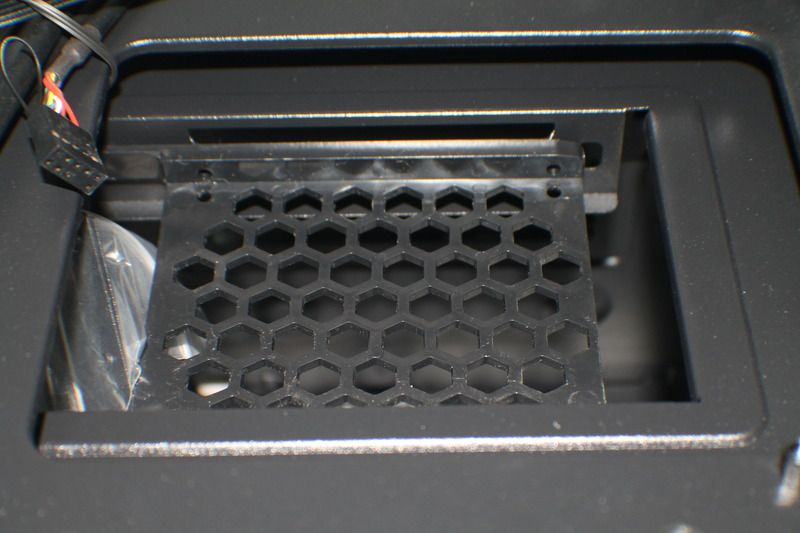
The Core X9 has this built in plate that can be removed from the bottom panel so you can install a massive radiator in push/pull. However this is not going to work for what I have planned. For what I want to do the entire floor has to be cut out.
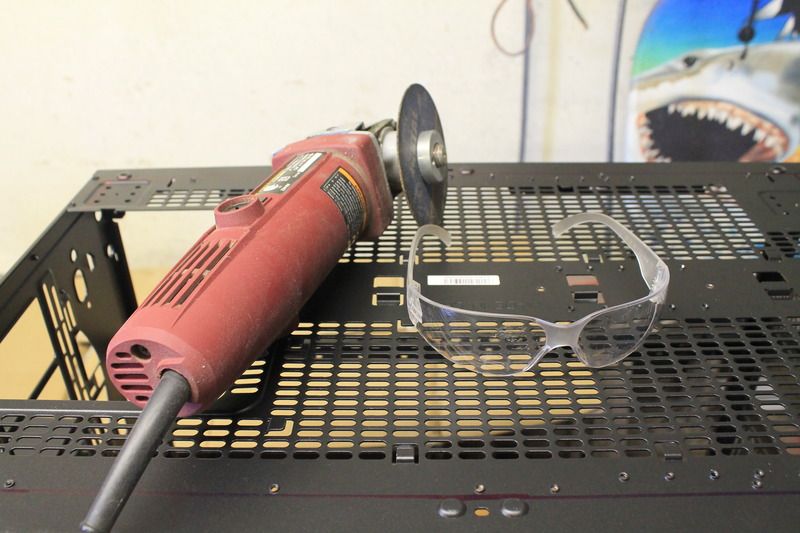
Remember kids always use proper safety gear when working with power tools and hazardous chemicals. It doesn't matter how careful you are. Things Happen.
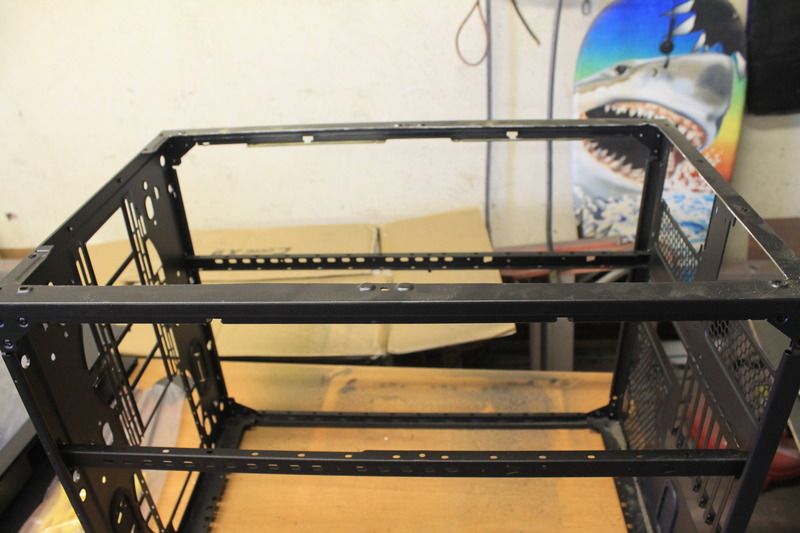
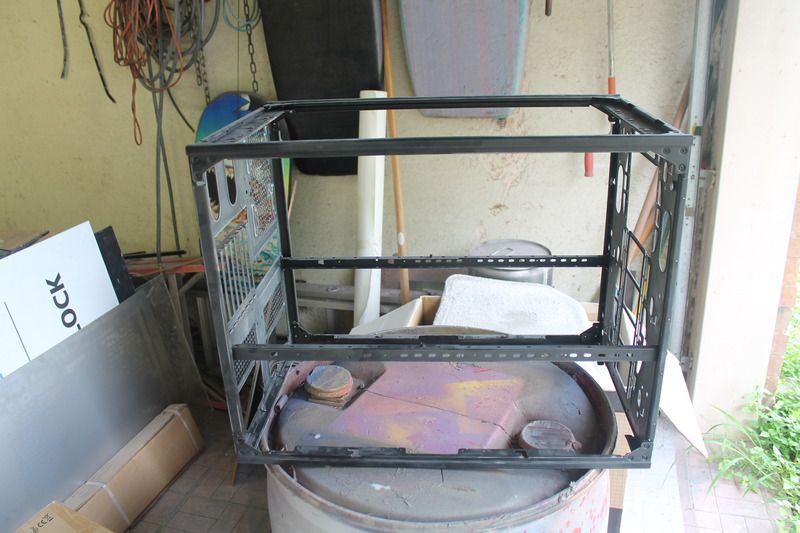
The bottom of the top X9 has been cut out.
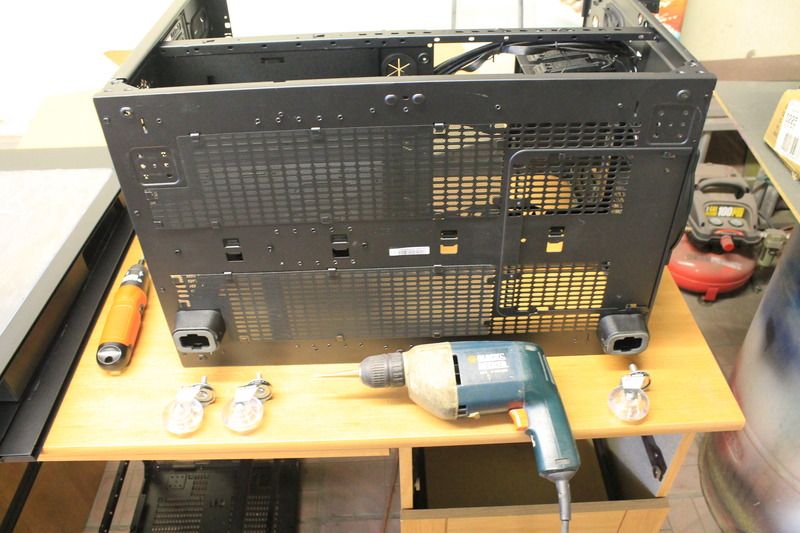
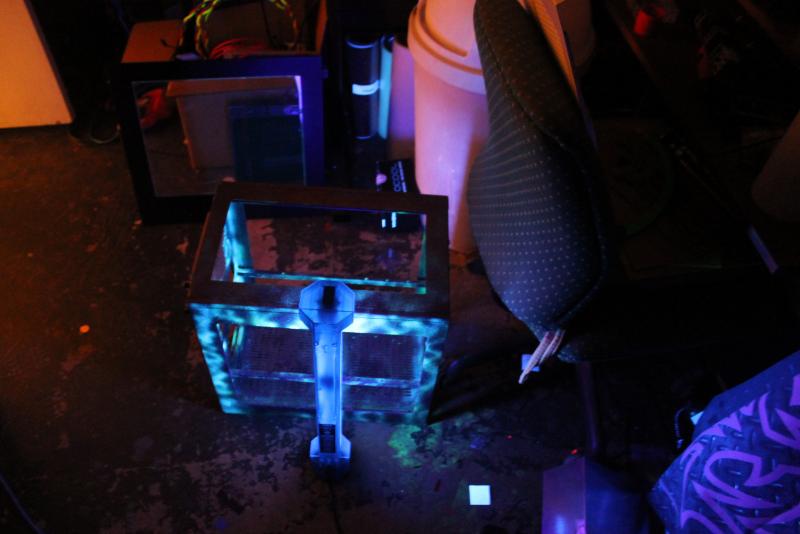
Now after stacking up two empty X9 cases and lifting them both a couple times I quickly realized that once all the hardware and coolant has been added this thing is going to be extremely heavy. Therefore I am going to add casters. Each caster is rated at 150lbs.
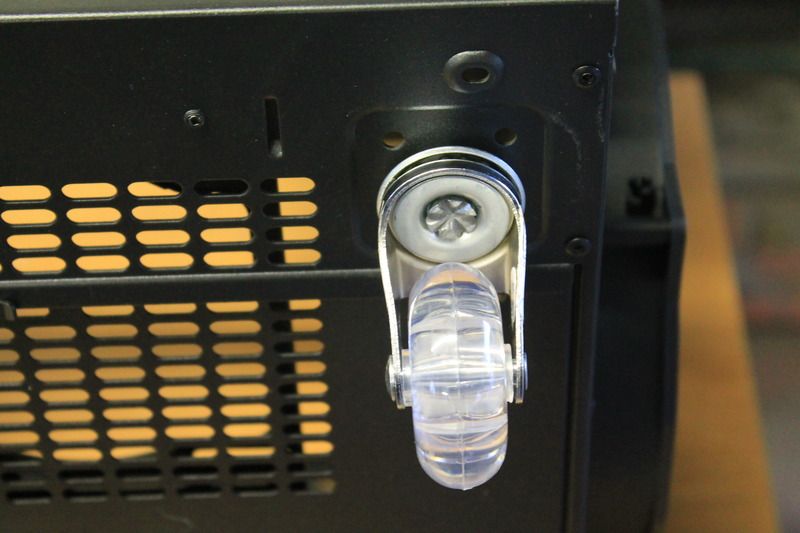

Yesss much better.
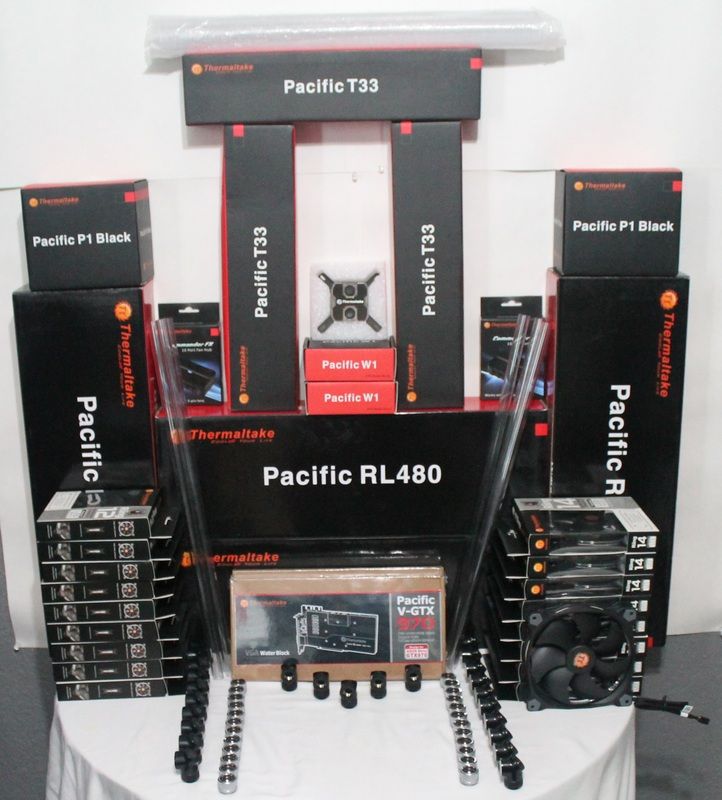
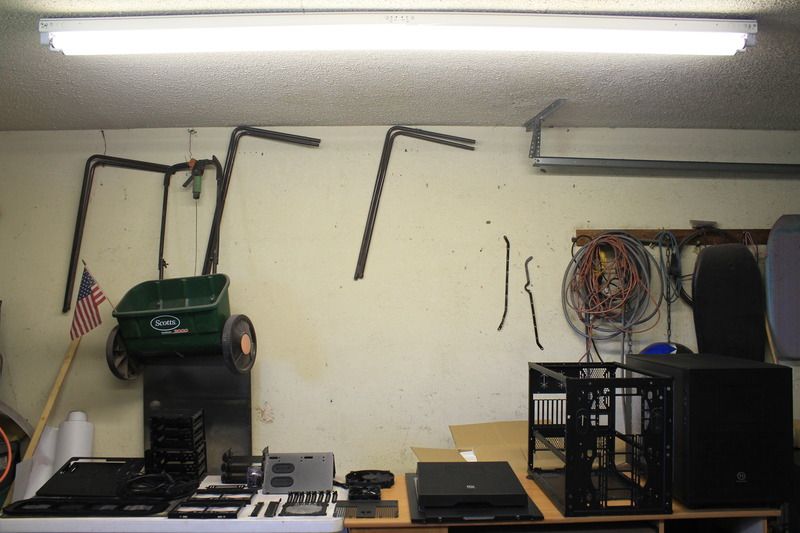
The rest of the gear from Thermaltake has arrived.
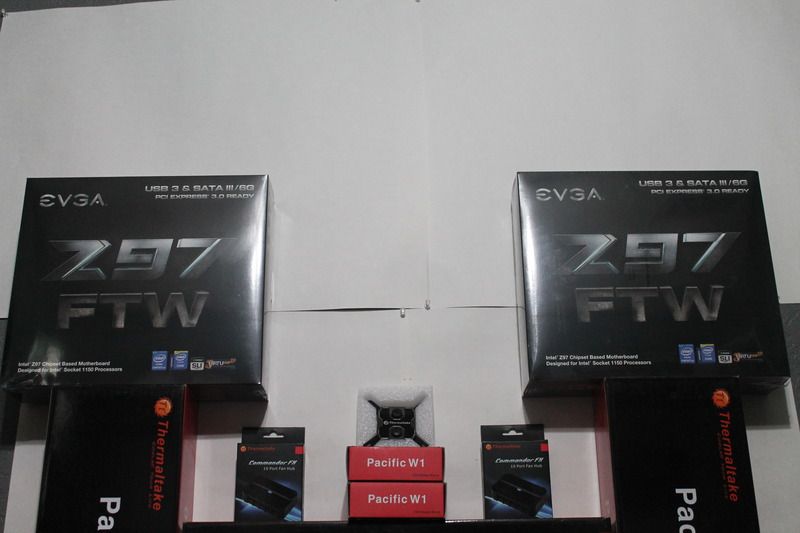
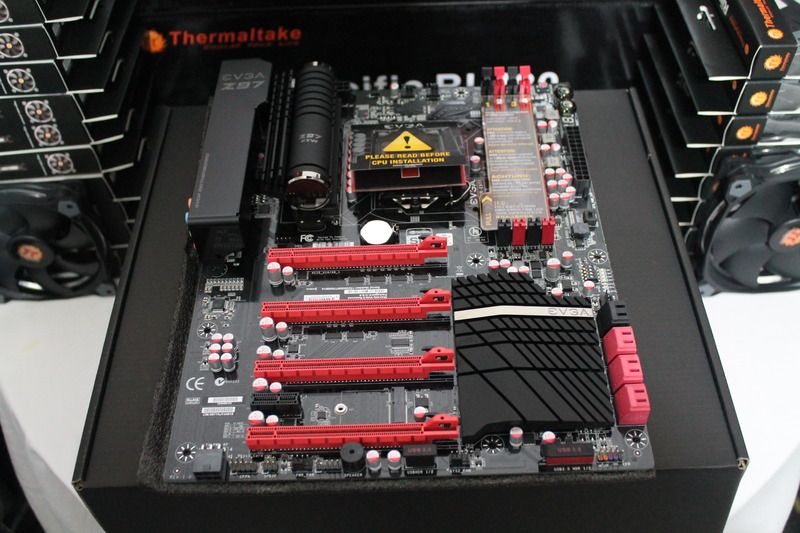
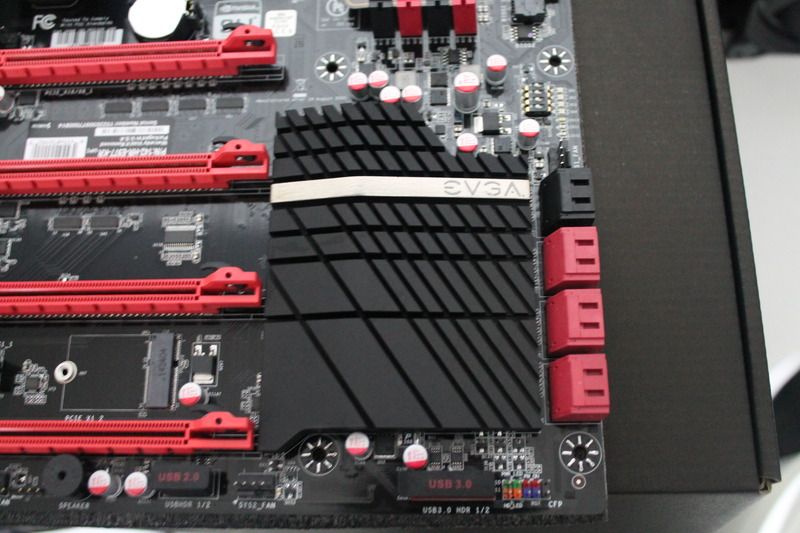
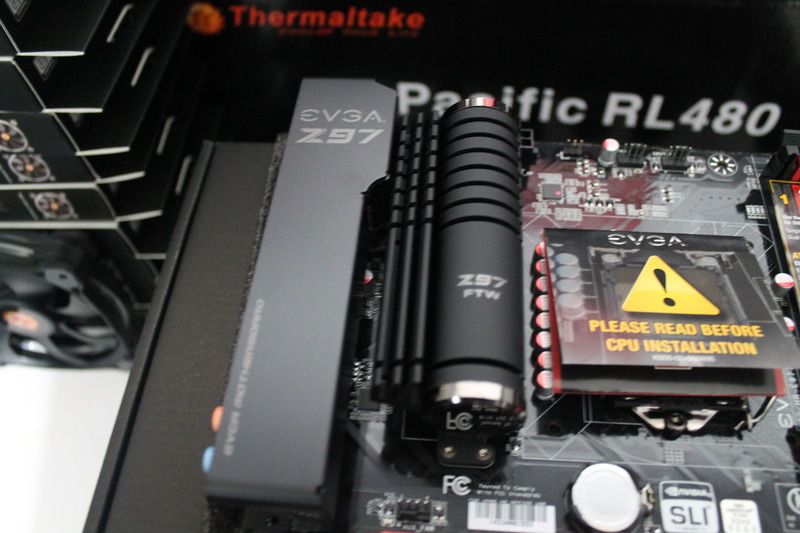
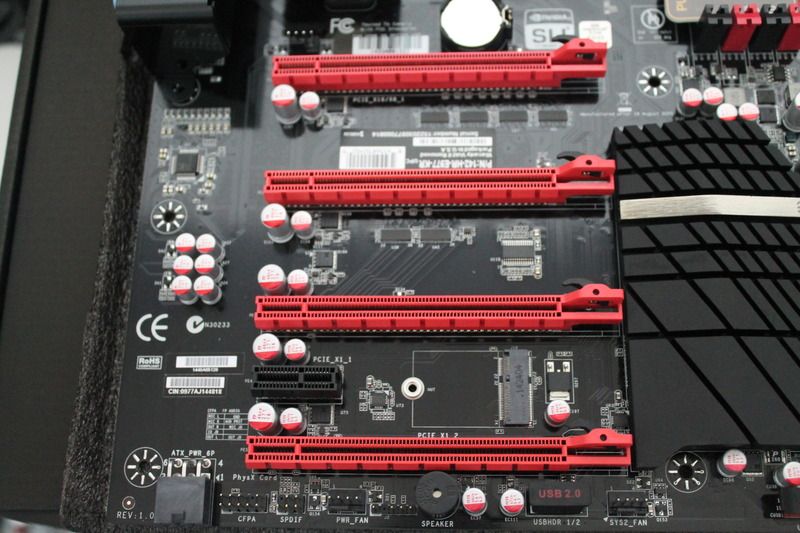
EVGA sent two gorgeous Z97 FTW boards for our project.
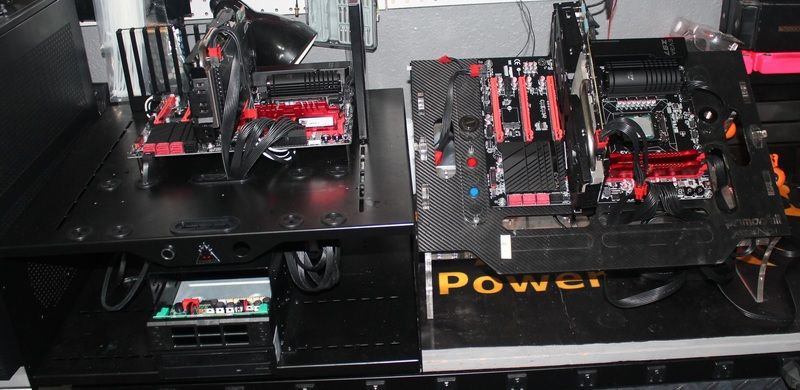
Time to get these bad boys fired up on the test benches.
Alright Time to get started on the prep work for our paint.
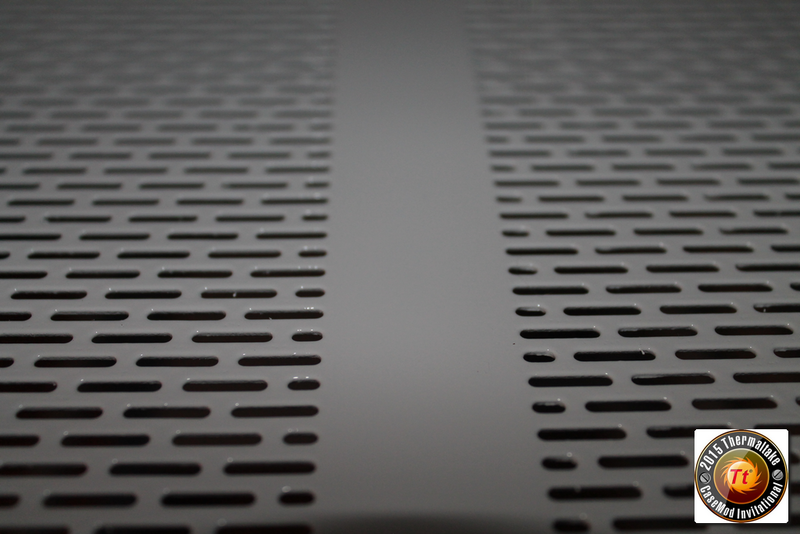
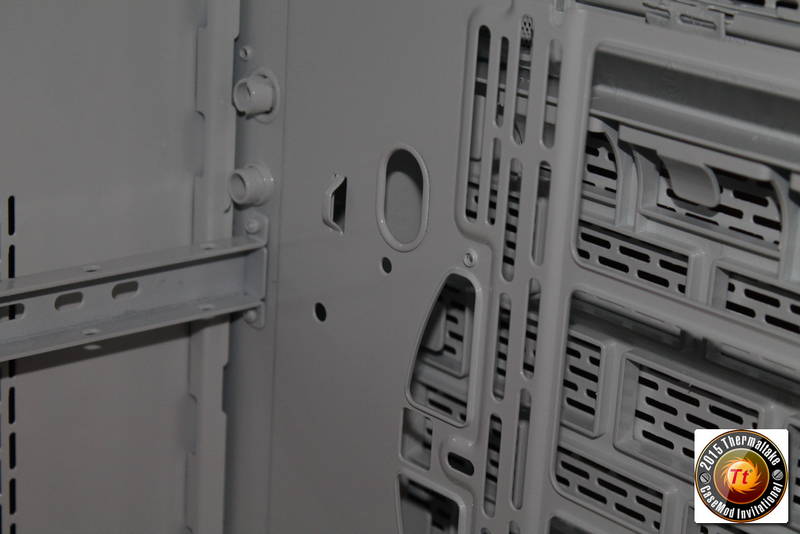
This is what your case should look like after your preliminary sanding...Do not take it down to the bare metal.....Just take the shine off of it. it should look dusty like its been sitting there for a while.
Two of the rads are getting prepped for paint. They are going to be painted white.
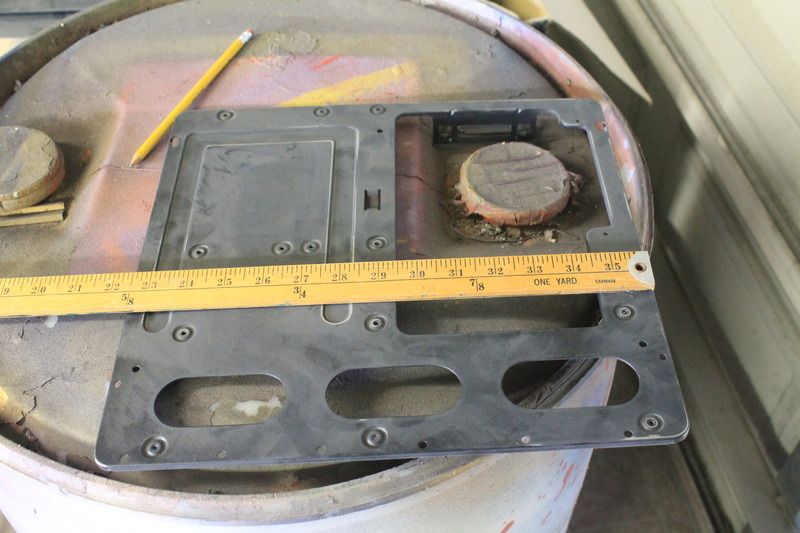
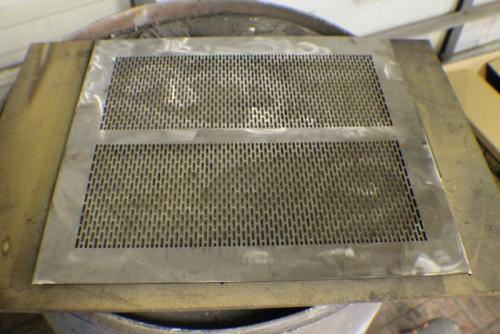
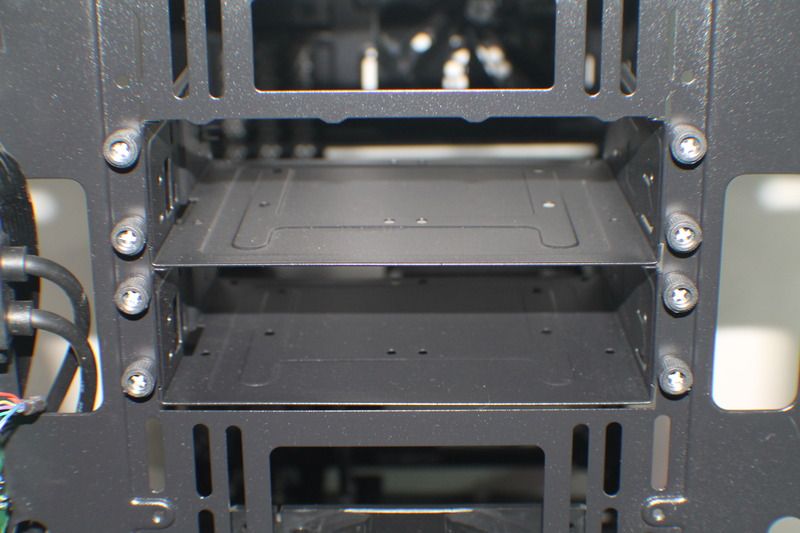
Time to get started on cutting the Motherboard mounting plates ready for the Floating Motherboards.
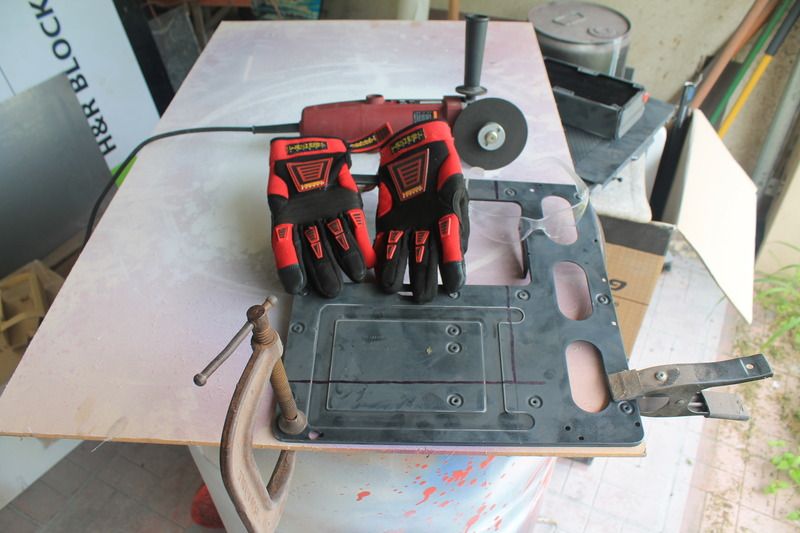
Remember kids always wear the proper safety gear when working with power tools or hazardous chemicals. We don;t wear safety gear because we are not careful. We wear it for the things we can't control. (#### Happens!)

After the plates have been cut this is all that's left of them. Just enough to hold it in place.
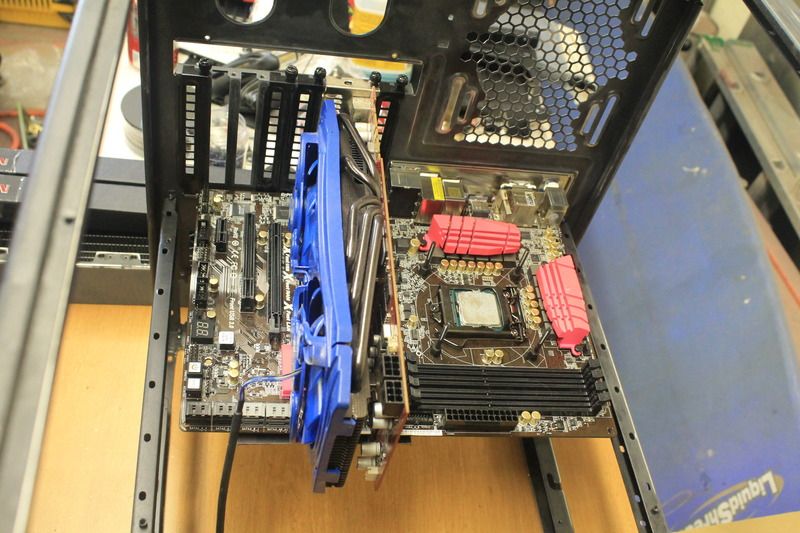
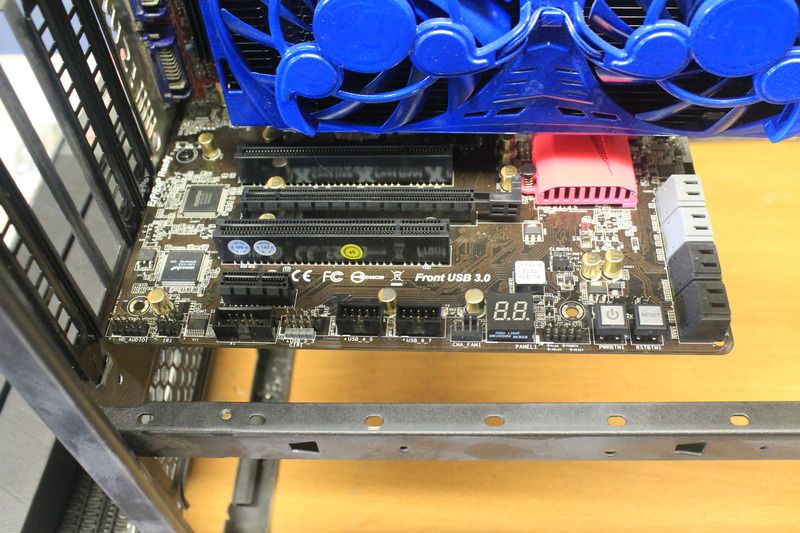
And there we have it a Floating Motherboard.Alright time to start shooting some paint.
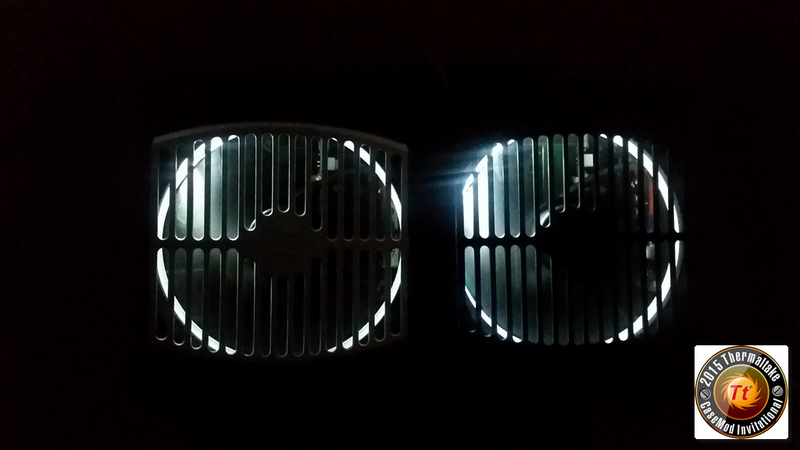
I was worried that the additional white would not work well with the light ring...Glad to see I was wrong. It really makes the light pop.
While I waited for the paint to dry I got started on the sleeving.
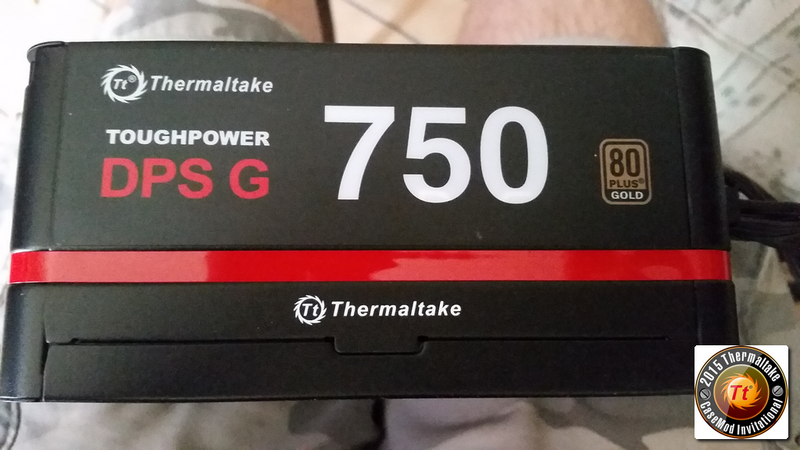
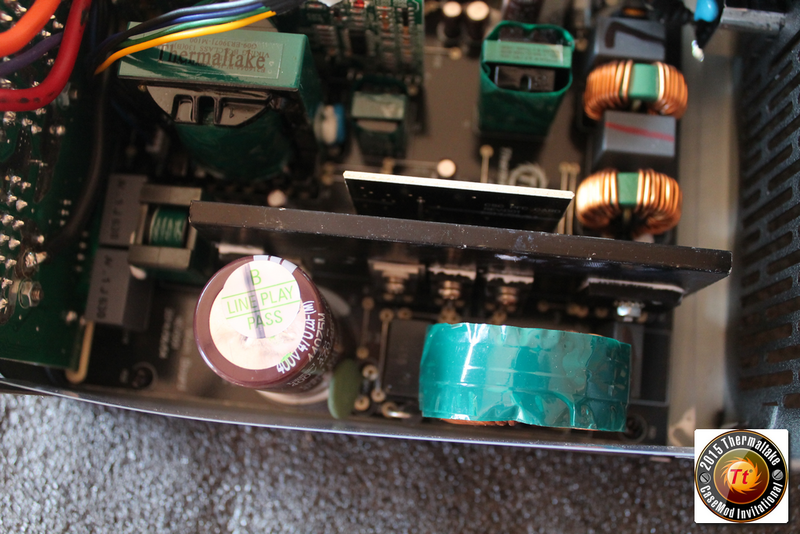
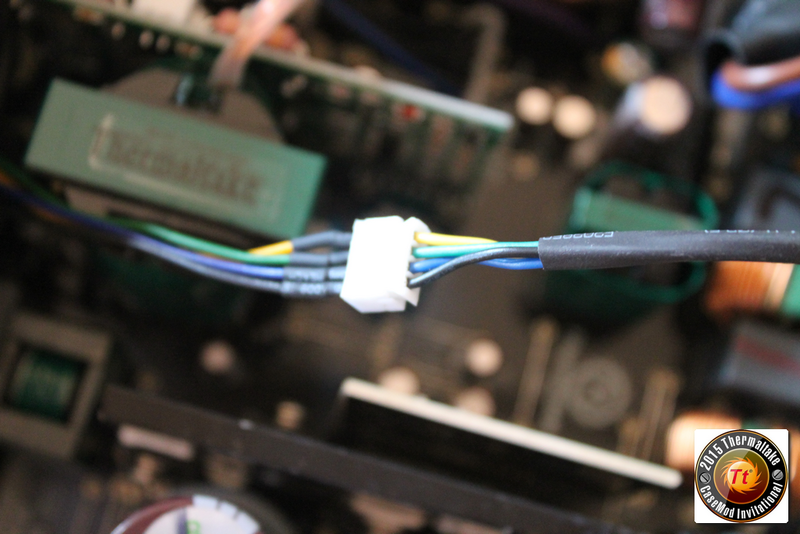
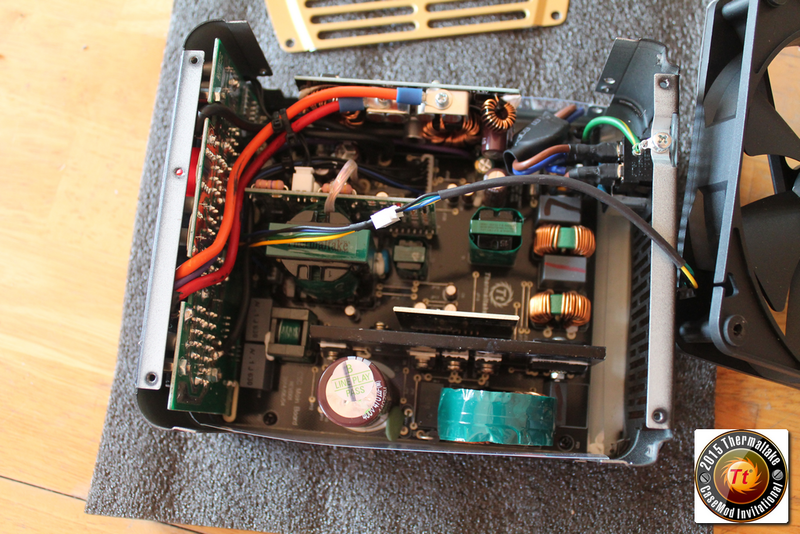
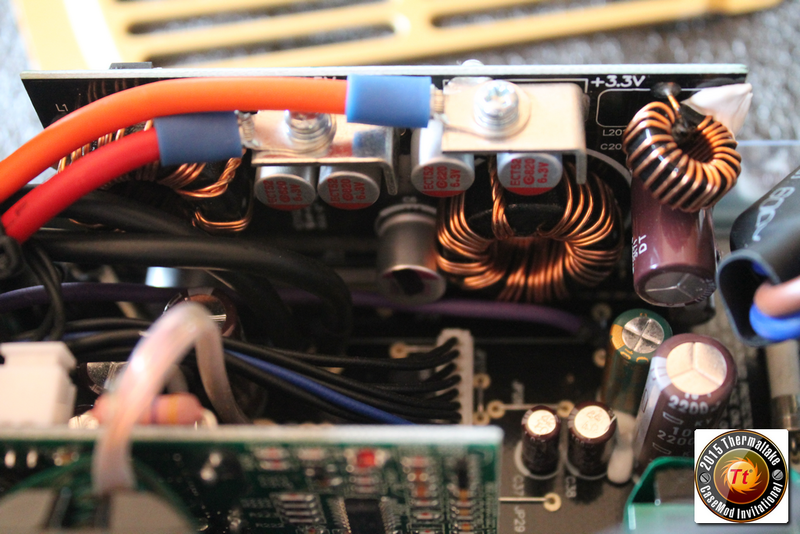
I have two PSU's to sleeve. This 750w DPS G and another 550w DPS G.
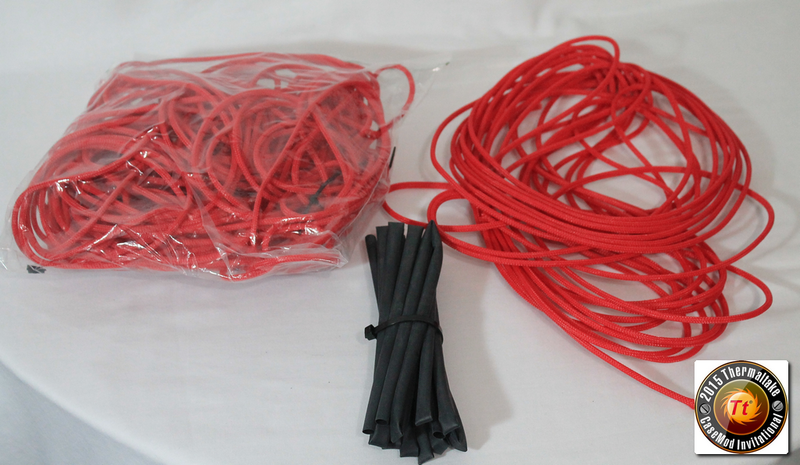
Going to be using some Telios Sleeving from Mainframe Customs(http://mainframecustom.com/) Provided to me by the guys over at Sanctum Sleeving(http://sanctumsleeving.com/)
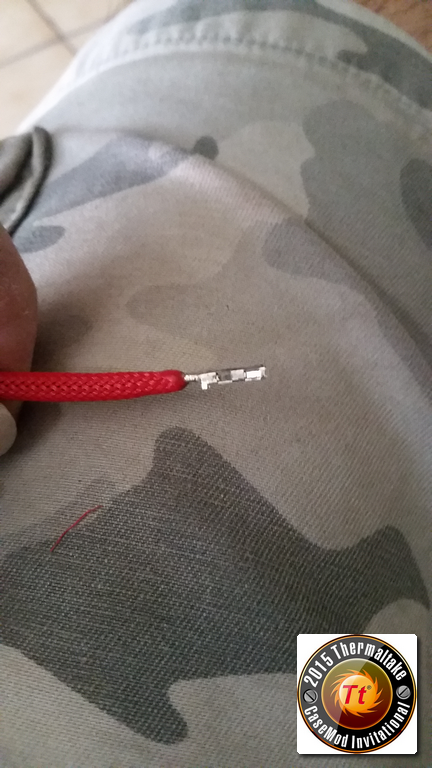
The double wire didn't quite come out as well as I hoped. Still not too bad.
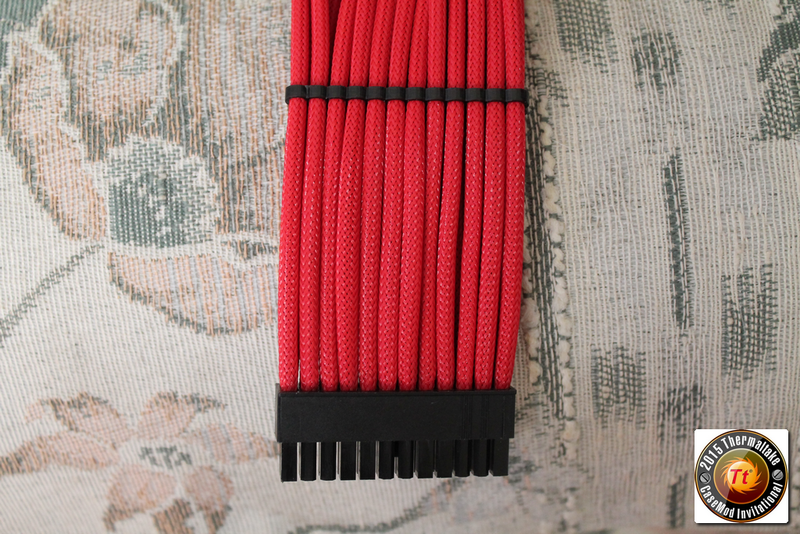
One 24-pin down a hundred more wires to go.
- dO_ob, rodrosenberg, Fabio Moma and 5 others
-
8
-
Hey hey guys and girls. We have another awesome themed mod coming your way. This one is based off of one of my favorite comic strips growing up as a kid.
Spy vs Spy
The Following was obtained from the History section of the Spy vs Spy Headquarters.Simple yet meaningful is one way to describe the wordless black and white comic strip that makes up Spy vs. Spy. The cartoon created in 1960 by Antonio ProhÃas, depicts the antics of two distinctly different yet similar spies who try to get the best of each other with clever yet strange schemes of espionage and deception.Published in Mad magazine since 1961, ProhÃas began working on Spy vs. Spy in Cuban, but fled to the United States in 1960 just days before Fidel Castro took over the last Cuban free press. When ProhÃas came to the United States he knew almost no English, but Mad magazine readers and editors quick accepted him and loved his work.Before he got the job at Mad, he worked in Queens at a clothing factory by day and drew by night in his cramped apartment. His earlier works “Erizo,†“Oveja Negra,†“El Hombre Siniestro,†and “Tovarich†would not work in his new country where the idea of communism was not as prevalent or well taken by pleasure readers. In Cuba if you were not a supporter of Castro you were considered a spy, and this is where he got the idea. ProhÃas considered himself a spy and thus the idea was born.ProhÃas submitted his rough pencil concept and design sketches to MAD’s editors on normal 8.5 x 11 paper and would latter redraw the entire carton twice the size for reproduction in the magazine. He would go through the comic strip with pain staking detail and make sure all edges and lines were detailed in his dark bold pen and would almost never ink over his pencil drawings.Spy vs. Spy is now a national icon, symbolic of the Cold War representing good and evil and the struggle for equilibrium. ProhÃas would stealthily sign each of his Spy vs. Spy cartoons under the title panel, in Morse code, which spelled out the words "by prohias." This is one of the most overlooked details in his work. -••• -•-- •--• •-• --- •••• •• •- •••Antonio ProhÃas passed away February 24, 1998. His masterpiece concept of the two spies battling it out lives on in the continuing work done by his successor Peter Kuper.This project is sponsored by the good folks at.
http://www.thermaltake.com/home.aspx
and
Also brought to you by
Specs:
Case - Thermaltake Core X9 x 2
Motherboard - EVGA Z97 Classified (Gaming System), MSi Z87 Mpower (Server)
CPU - Intel i5 4670K (Gaming), Intel G3258 (Server)
Ram - 4 x 4Gb G.Skill Ripjaws (8Gb per system)
PSU - 1 x 550w DPS G Modular PSU, 1 x 750w DPS G Modular PSU
GPU - 2 x ASUS Strix GTX 970
SSD - 2 x 240 Gb Crucial M500 240Gb
HDD - 4 x 500 Gb in Raid 0
CPU Block - Pacific W1 x 2
GPU Block - Pacific Strix Water block x 2
Radiator - Pacific RL 480 x 4
Pump - Pacific P1 D5 Pump /w Silent Kit x 3
Reservoir - Pacific T33 x 4
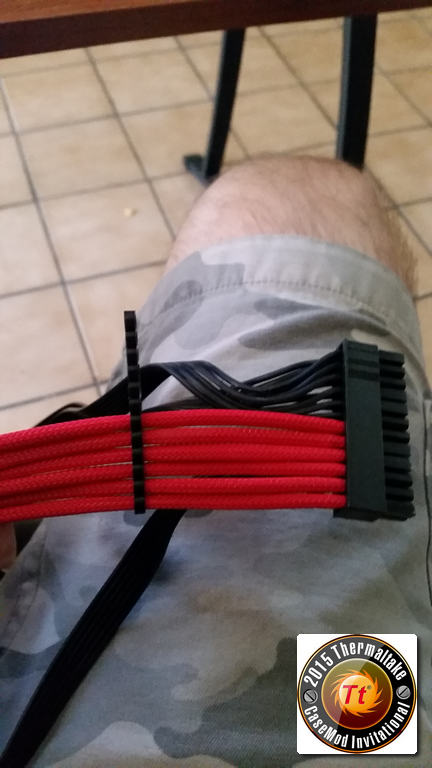
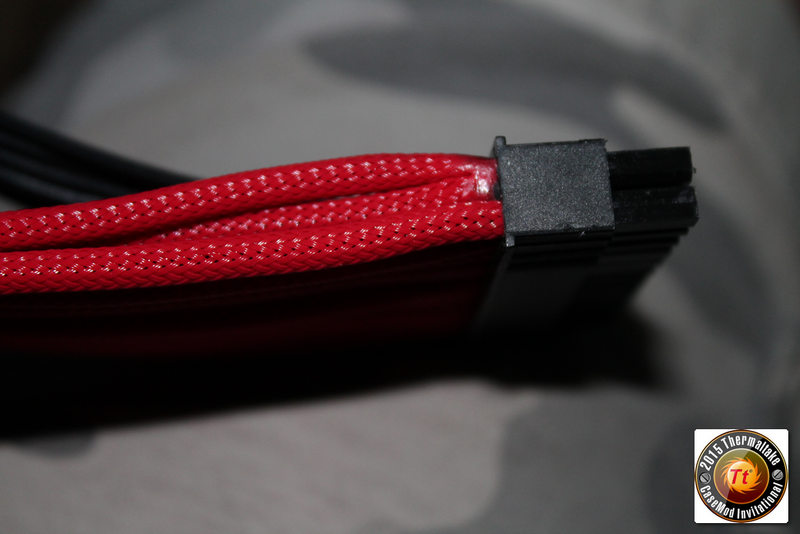
Cables - 2 sets of Red Tt Sleeved Cables
LEDs - BSMods 5050 RGB LED 16.5ft Strip /w wireless remote.
The whole idea is to put two complete systems in here all cooled with one large liquid cooling system.
The first shipment of parts has arrived. 2 x Core X9 Cases, 2 x Commander FX 10 port fan hub, 1 x 550w DPS G Modular PSU and 1 x 750w DPS G Modular PSU.
To give you an idea of the size of the double stacked X9. On the left of this pic is the chassis from a Thermaltake A-71 Full Tower. Each Core X9 is 1 inch taller and twice as wide.
Here we have One intact X9 and one completely disassembled.
The Core X9 has this built in plate that can be removed from the bottom panel so you can install a massive radiator in push/pull. However this is not going to work for what I have planned. For what I want to do the entire floor has to be cut out.
- Tt Andy, eqeqeqe and ThermalMike
-
3
-
Hey hey guys Nick here from Dirty South PC Mods and Modders-Inc. Back to bring you another awesome mod.
This time it is based off of the Doom or Quake video game series I'm not sure witch at this point.
Brought to you by the good folks at Thermaltake
And by the awesome crew at Modders-Inc

The following are the rules of the competition that I must adhere to.
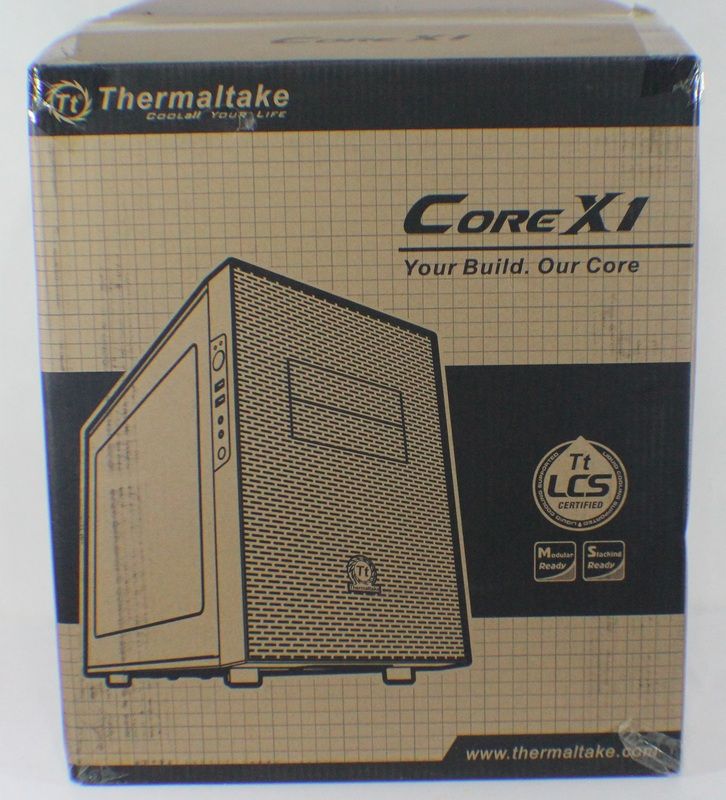
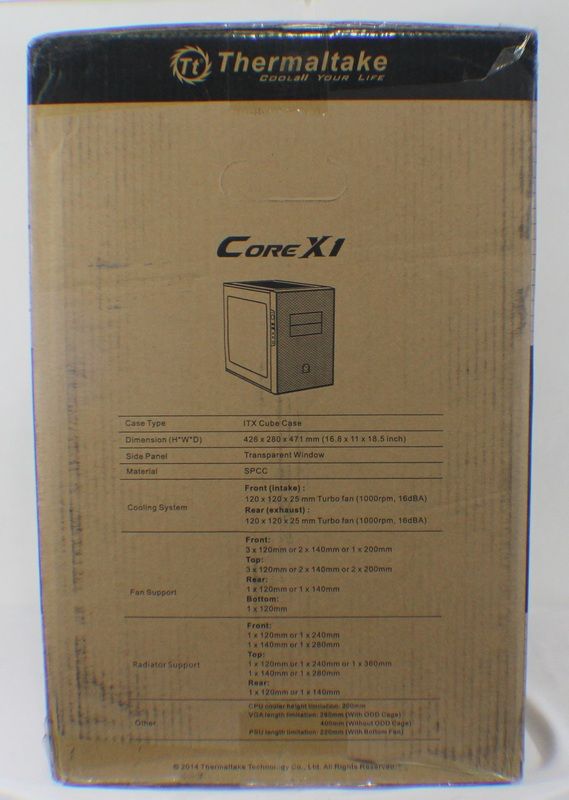
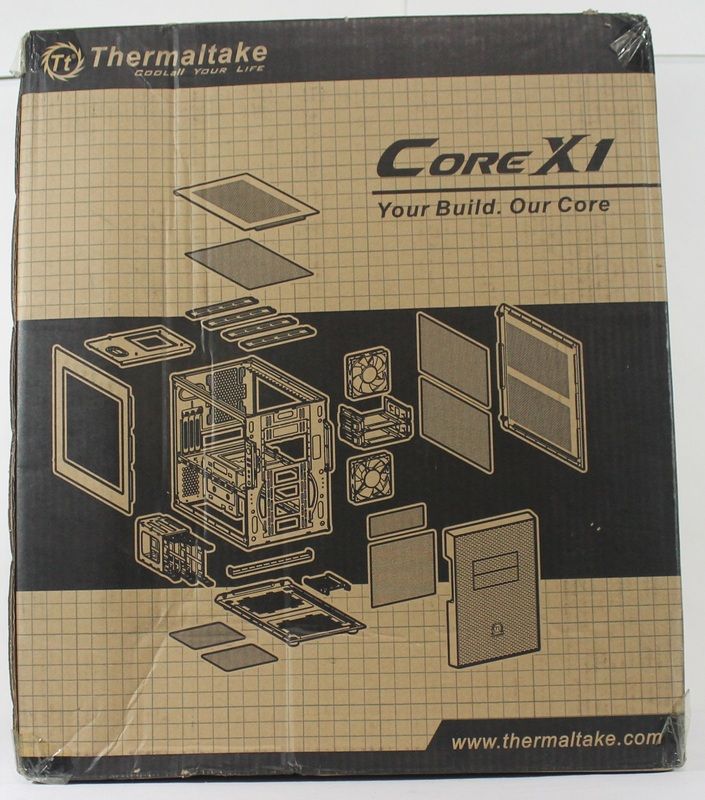
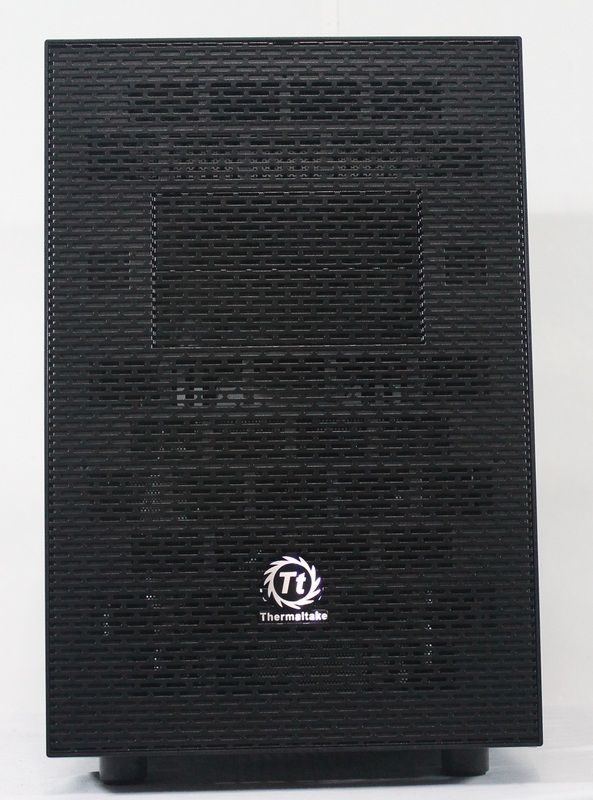
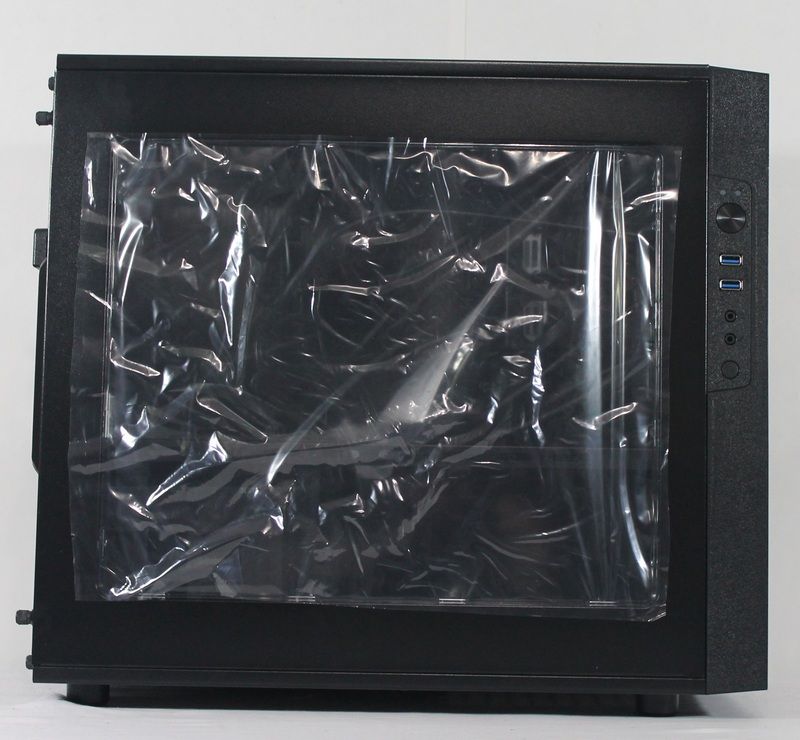
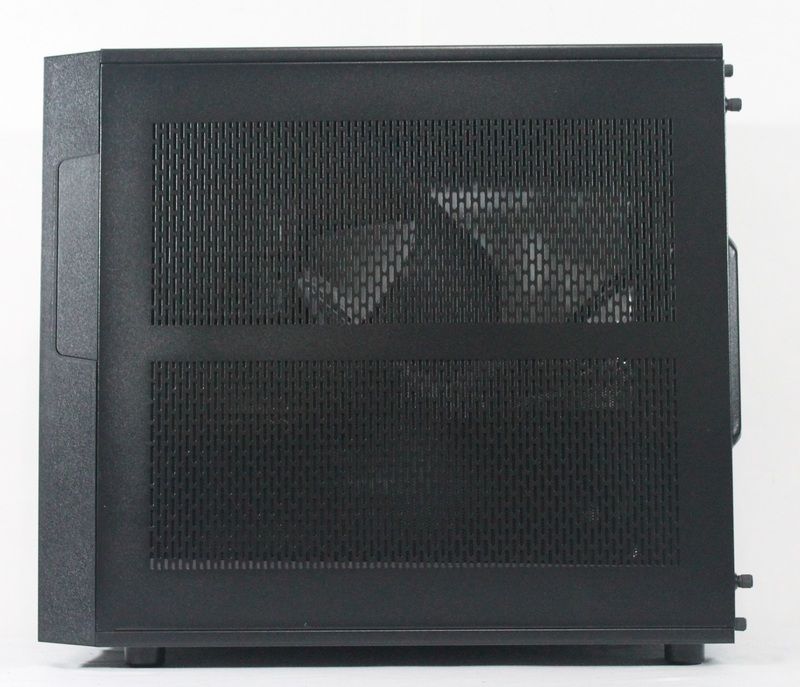
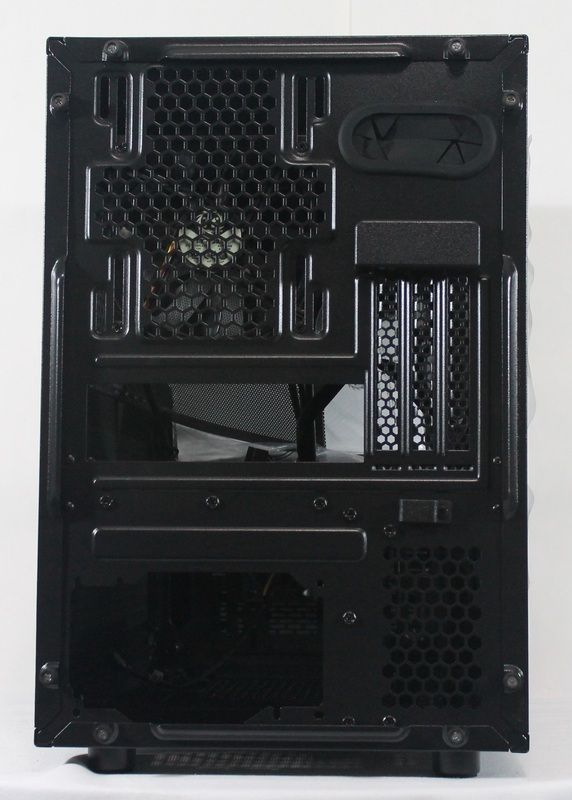
1) We each start of the with the same case, the Thermaltake X1
2) Each person can only spend $250 USD to create the actual case mod. Taxes are not included in the total for the $250 USD
3) A theme was picked to help keep us on the same playing field. You can pick from either the DOOM universe or the Quake universe or both
4) Our completion time is from right now to July first. (This could get pushed back one week, please shoot for this date)
5) All work on the mod must be done by the modder
6) If you need to have something created that you cannot make yourself from what you have on hand (Graphics, 3D printing, media blasting, cutting metal and etc) you MUST deduct this from the $250. NO FRIEND OR BARTERING pricing is allowed. We want to represent the actual cost of creating the mods.
7) You can use what you have on hand but you need to deduct CURRENT value from the $250. (Just because you have $1000 worth of something lying around doesn't mean you can use it for free)
8) Hardware (motherboard, CPU, Coolers and WC, RAM, ROM Drives, graphic cards, storage media) is optional. BUT if you have to "mod" the hardware the cost MUST be deducted from the $250.
9) Tools bought to create the mod are NOT counted against the $250 USD.
10) You MUST do a work log in the Modders-Inc forums for it to be in the contest. It can be either images or videos.
11) The case must be on display at QuakeCon 2015 to be part of the contest.
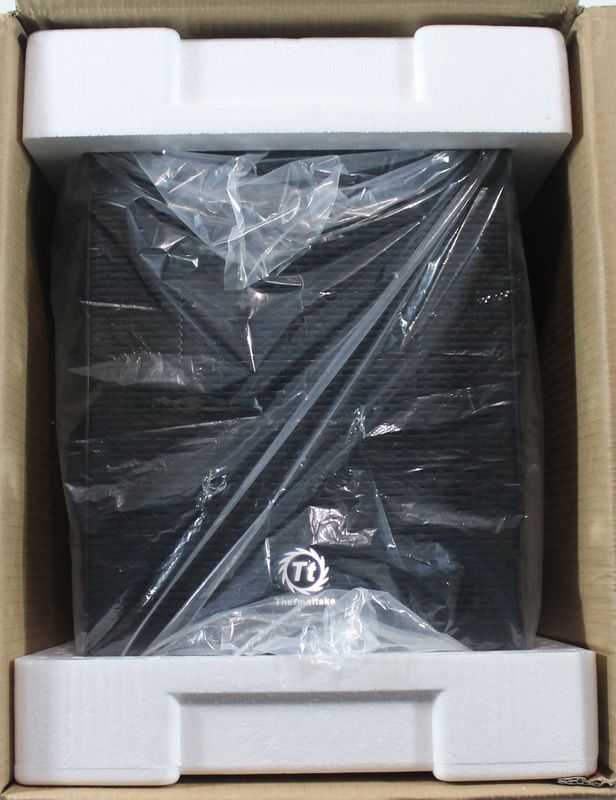
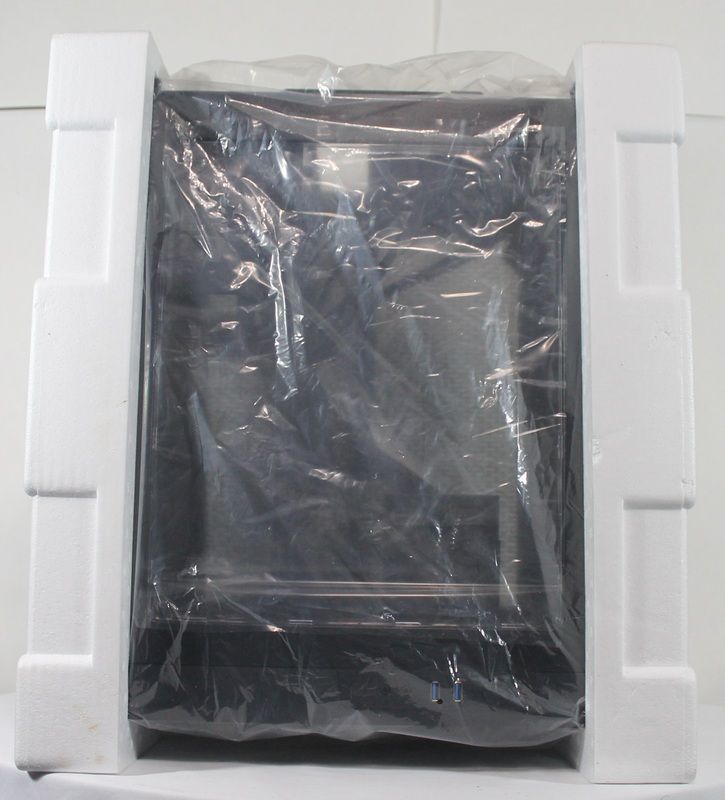
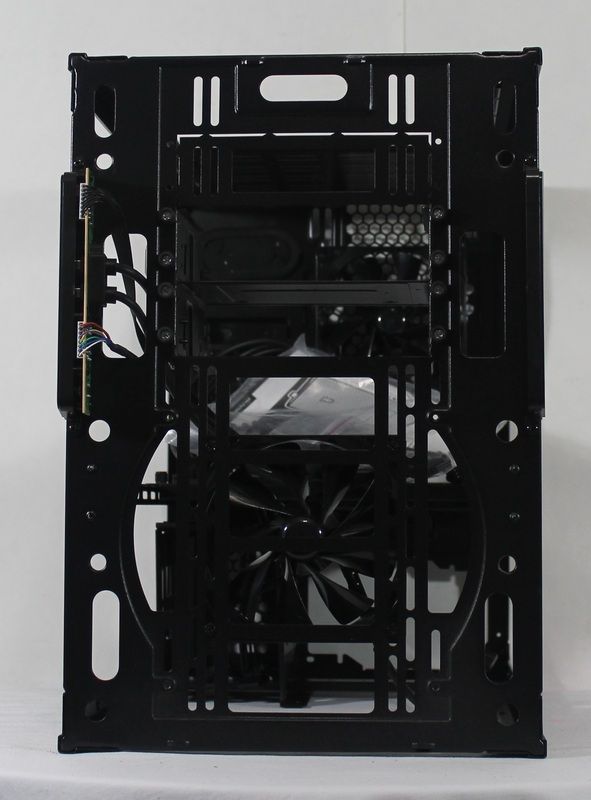
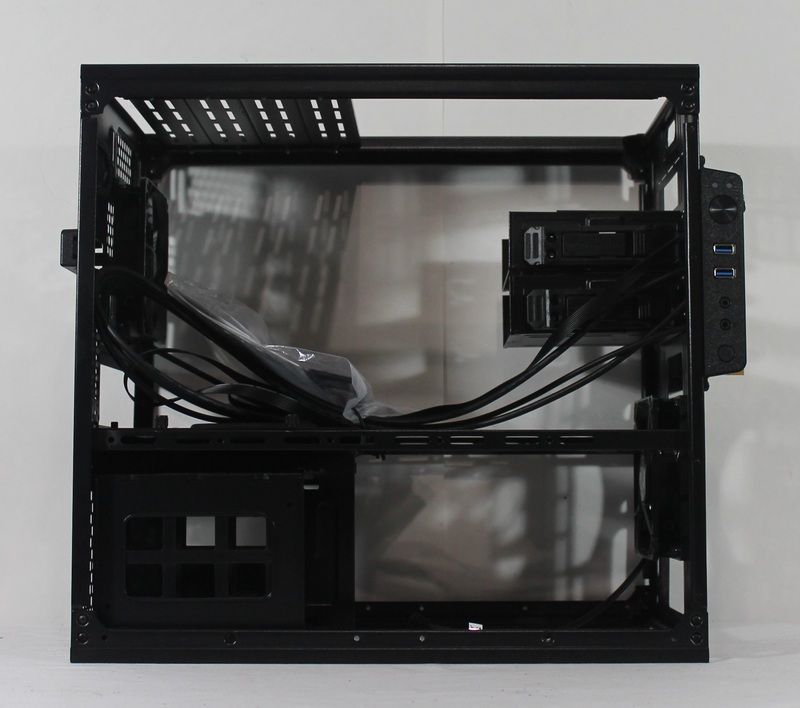
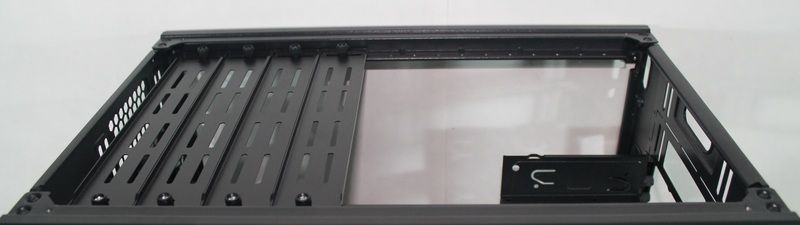
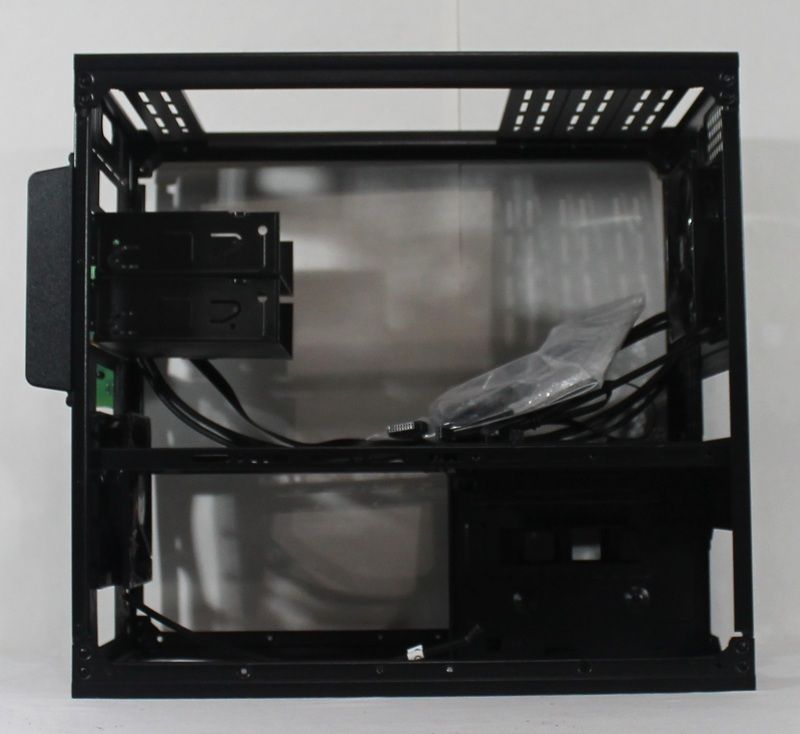
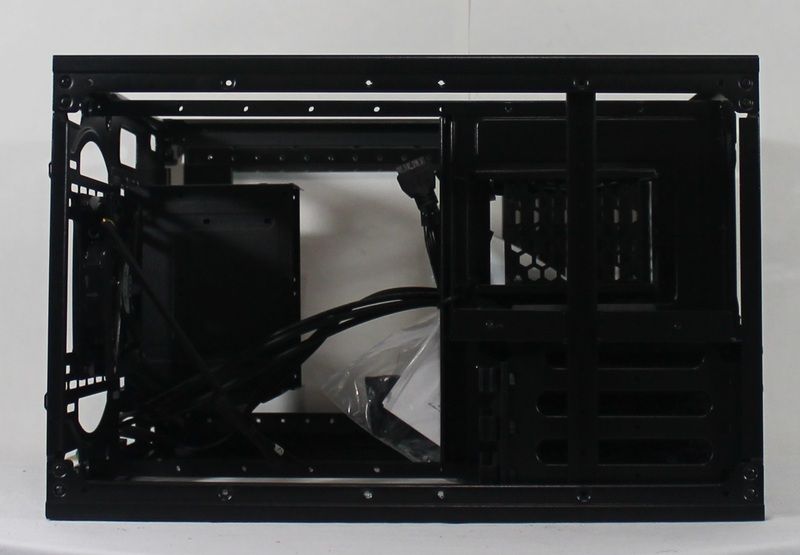
First up lets take a look at the Thermaltake Core X1 ITX case that I will be using as the platform for the build.
- ThermalMike, DanielPUNK, Johnnysype and 3 others
-
6
-
Now That's a sick Mod. Love old retro Cases. Sick Paint as usual Bob.
-
-
Looking good
-
Still have some more work to do. I had to get it up and running for the show on the 20th. I still have to shorten and sleeve the cables, and do the finishing touches on the internals it needs a bit more Red and White in the Core Hardware area. It should be all done in time for our booth at HorrorCon next month on the 25th


Core P5 Mod. No real theme just going with the flow.
in Modding
Posted
Finishing on a CoreP5 build that I had started a couple of years ago. Unfortunately, life got in the way and I had to put it on the back burner. Things have gotten back to as close to normal as they are going to get. So It's time to get back to the building.