-
Forum Statistics
7.6k
Total Topics51k
Total Posts -
Member Statistics
136,032
Total Members16,800
Most Online


AML Custom PC
-
Posts
42 -
Joined
-
Last visited
-
Days Won
1


AML Custom PC's Achievements
Just Getting Started (2/10)
7
Reputation
-

[United Kingdom] Richard Ord
AML Custom PC replied to Tt Andy's topic in 2020 Thermaltake RAM MOD Invitational Season 1
Here is my final video. -
 Sa Mod reacted to a post in a topic:
[Italy] Franco Martinelli
Sa Mod reacted to a post in a topic:
[Italy] Franco Martinelli
-
Franco Warboy Martinelli reacted to a post in a topic:
[Italy] Franco Martinelli
-
[United Kingdom] Richard Ord
AML Custom PC replied to Tt Andy's topic in 2020 Thermaltake RAM MOD Invitational Season 1
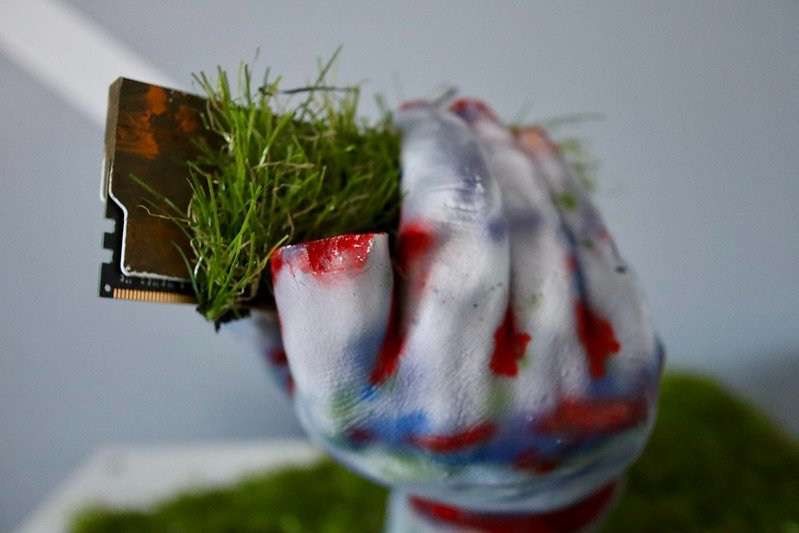
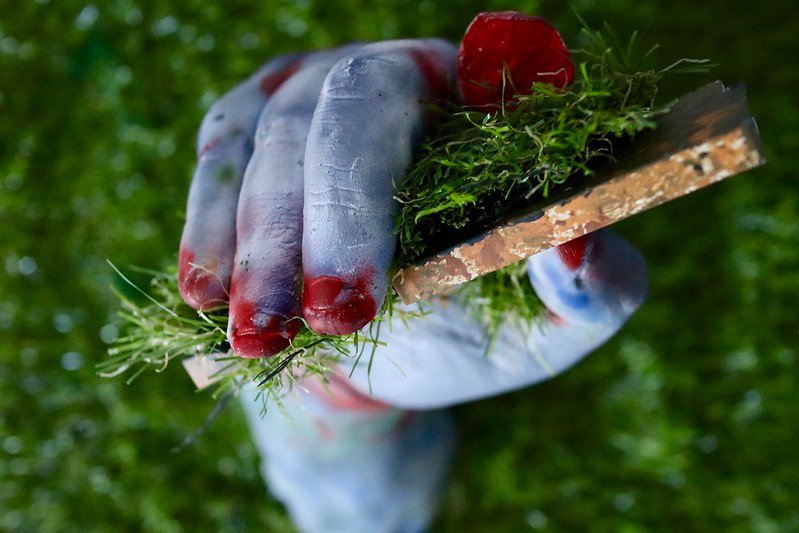
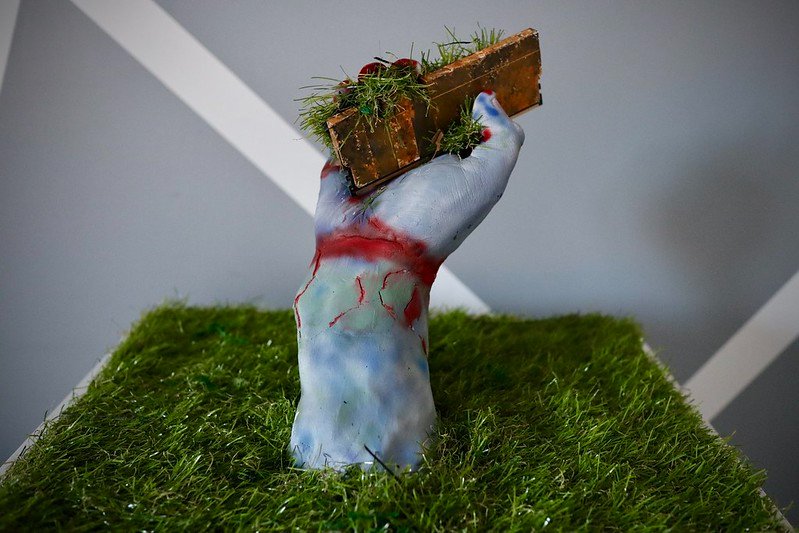
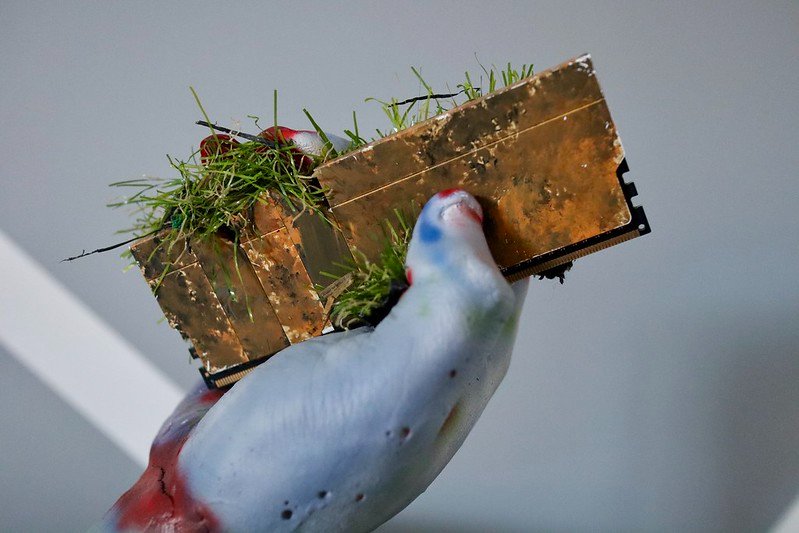
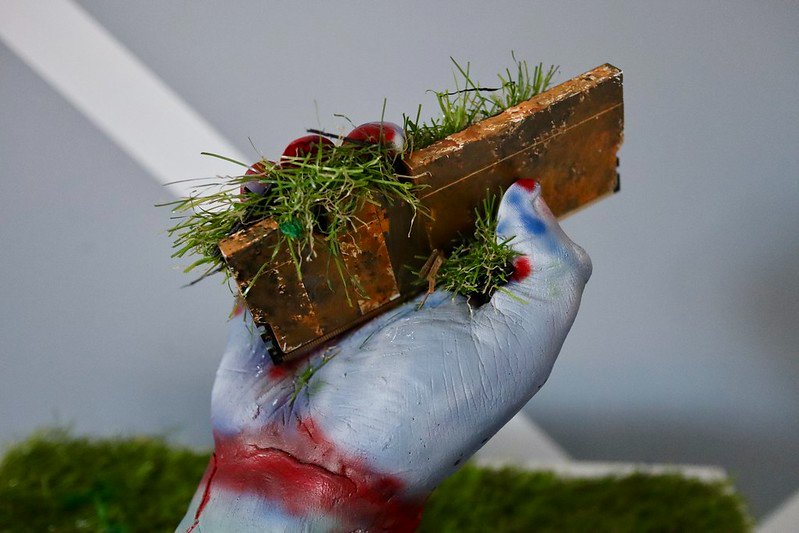
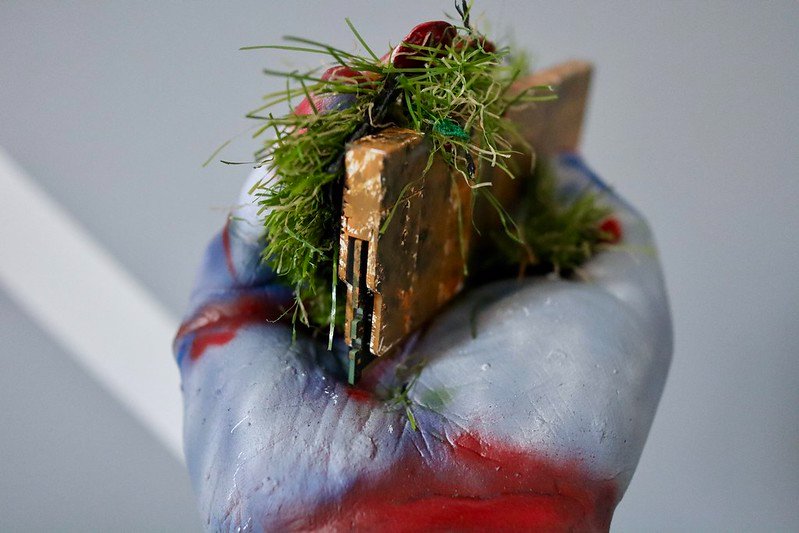
So here are the final photos, hope you like them.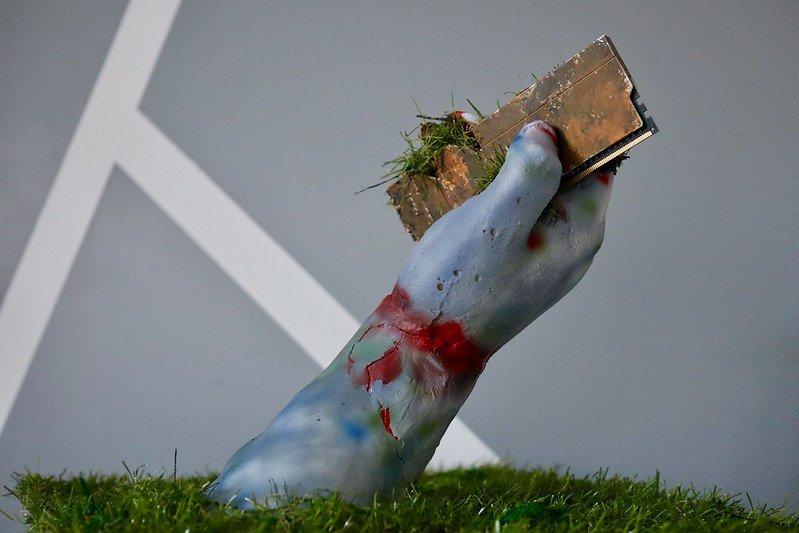

-
[United Kingdom] Richard Ord
AML Custom PC replied to Tt Andy's topic in 2020 Thermaltake RAM MOD Invitational Season 1
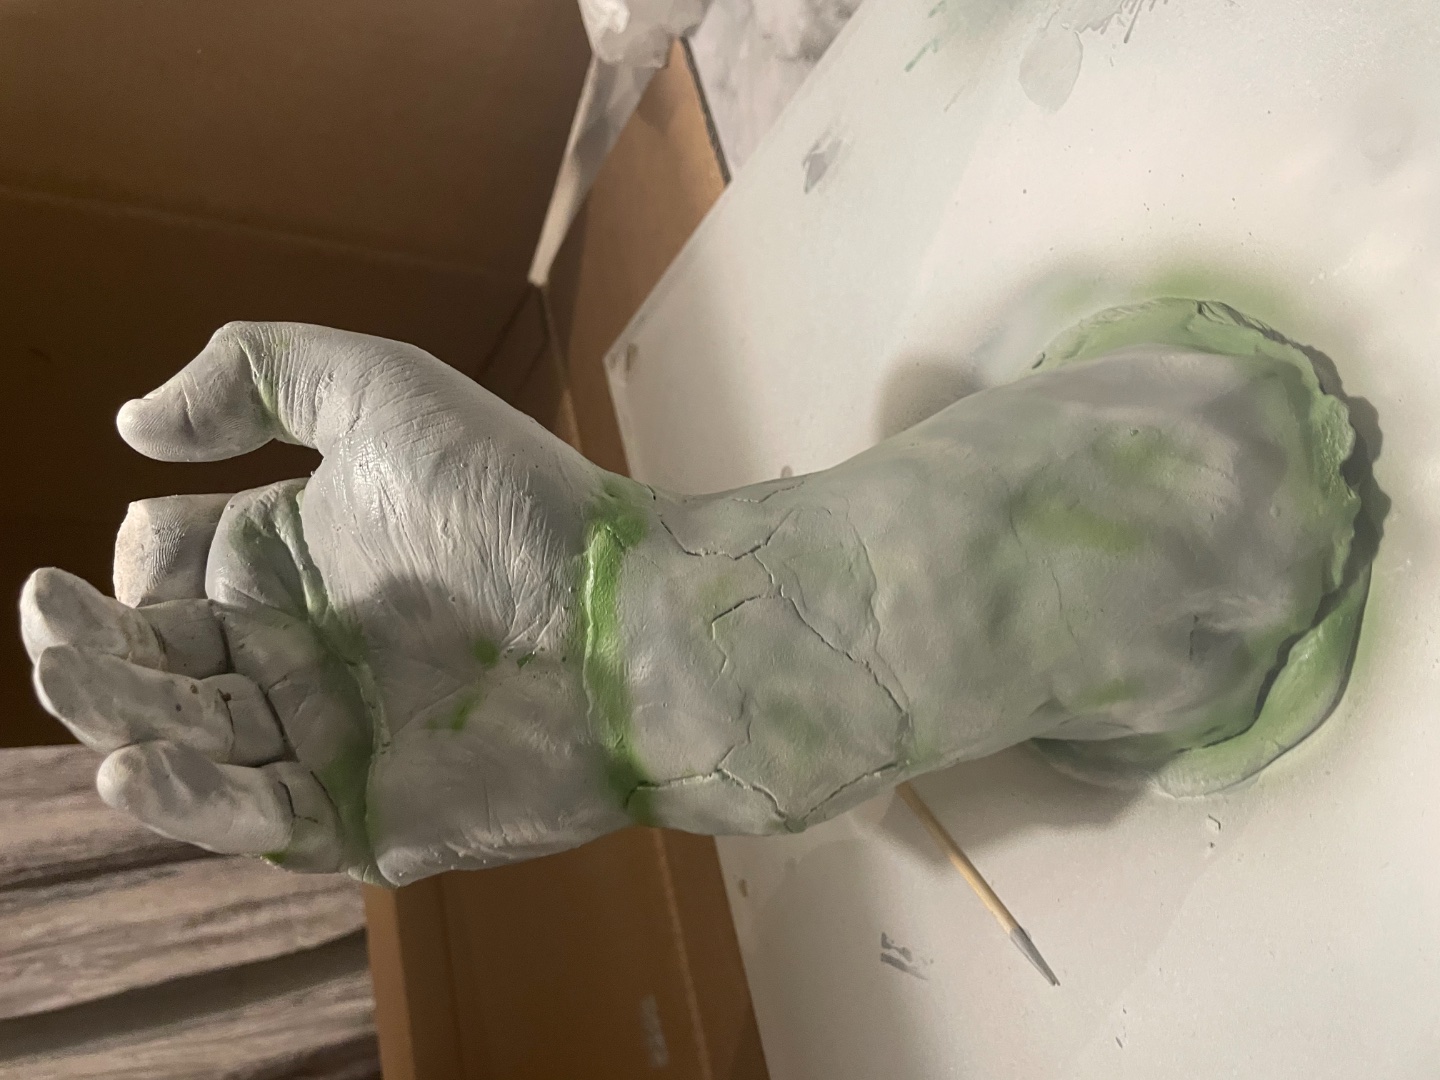
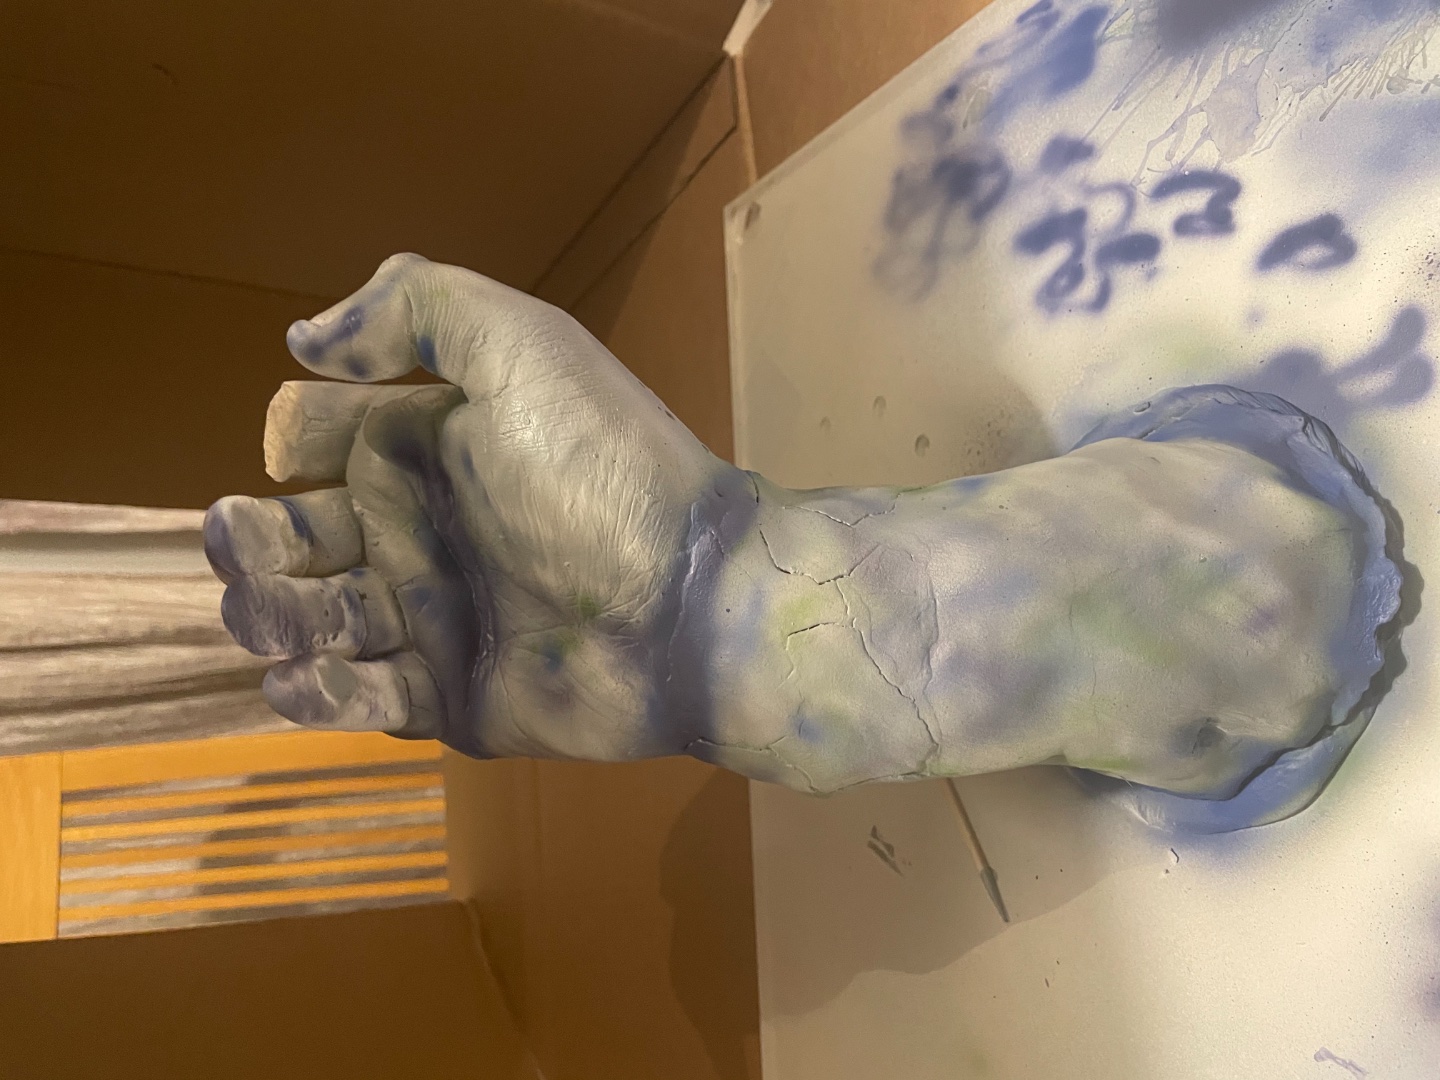
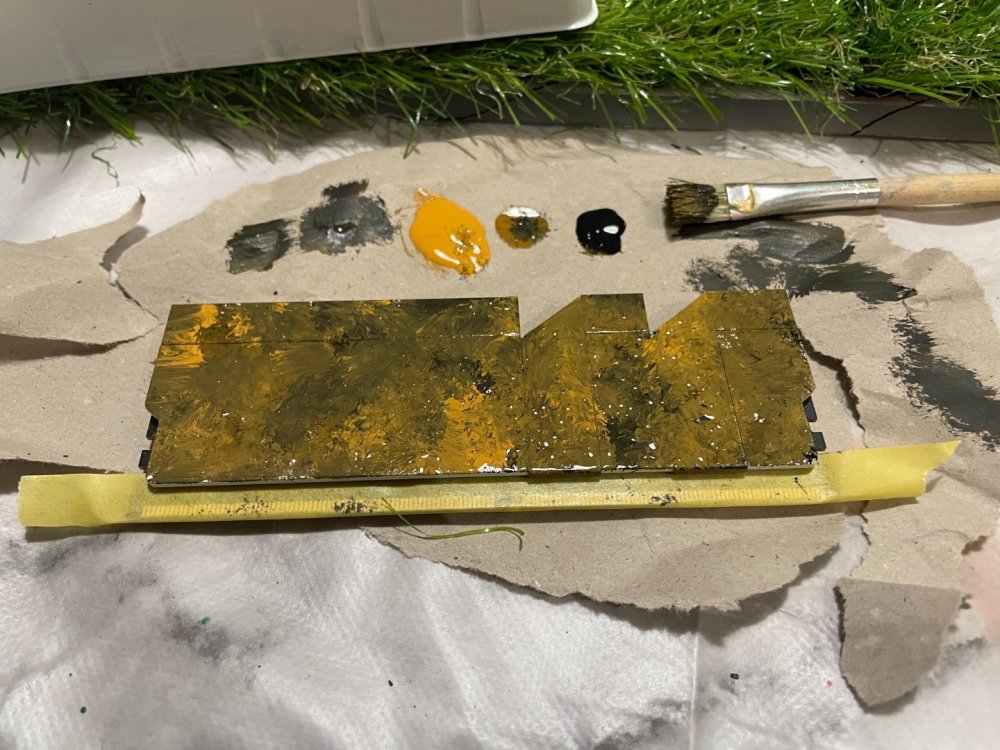
So I have added the arm to a 10mm thick acrylic, this will be the base. It will be covered can you guess with what? So I started with the ram, I wanted it to look muddy with a bit of rust so it looks old. after it turned out ok, I am happy with this, now need to start layer the paint on the arm. base layer, next layer 3rd layer You will have to come back and see the next post for the final photo


-
[Italy] Franco Martinelli
AML Custom PC replied to Tt Andy's topic in 2020 Thermaltake RAM MOD Invitational Season 1
Looks good buddy. -
AML Custom PC reacted to a post in a topic:
[Italy] Franco Martinelli
-
[United Kingdom] Richard Ord
AML Custom PC replied to Tt Andy's topic in 2020 Thermaltake RAM MOD Invitational Season 1
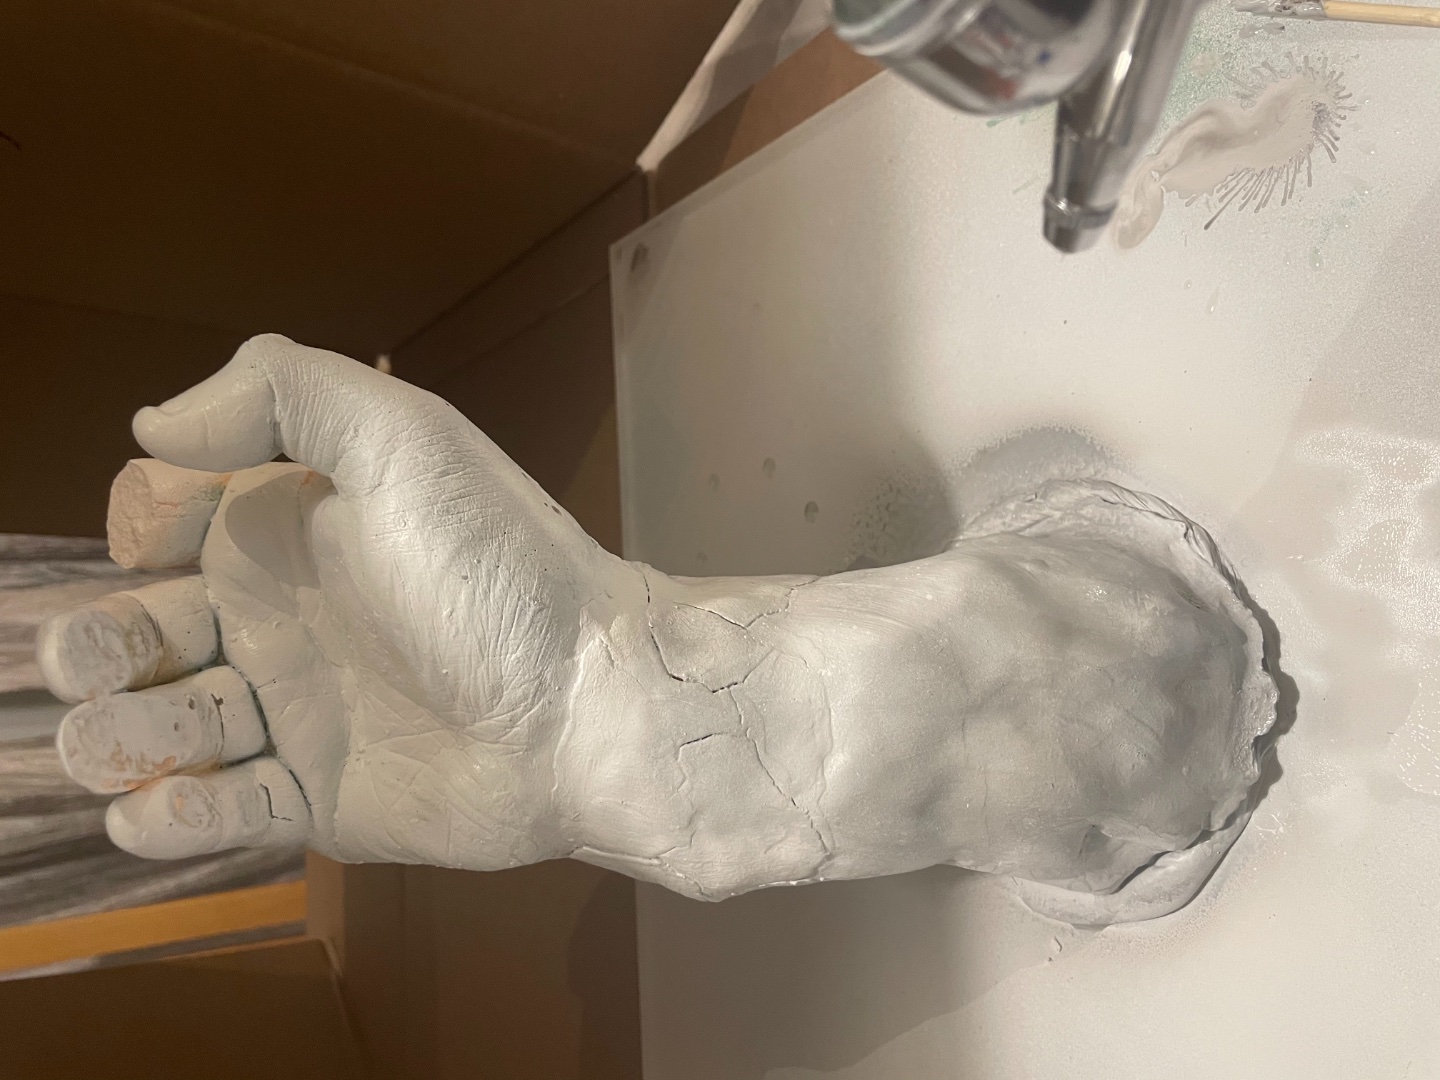
Hey Hope everyone had a good weekend. Just want to update you all on how the arm went, it turned out great just waiting for it to dry to fix any cracks then I can start to paint it and to the finishing touch, really happy how this is turning out.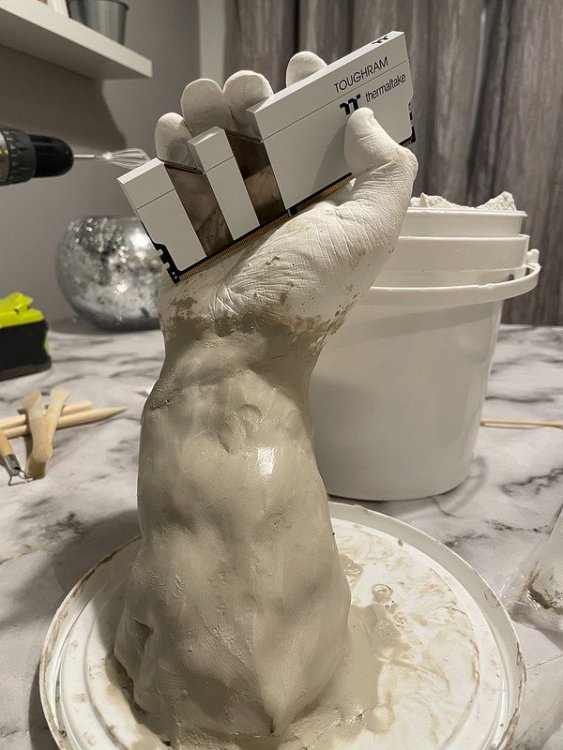
-
[United Kingdom] Richard Ord
AML Custom PC replied to Tt Andy's topic in 2020 Thermaltake RAM MOD Invitational Season 1
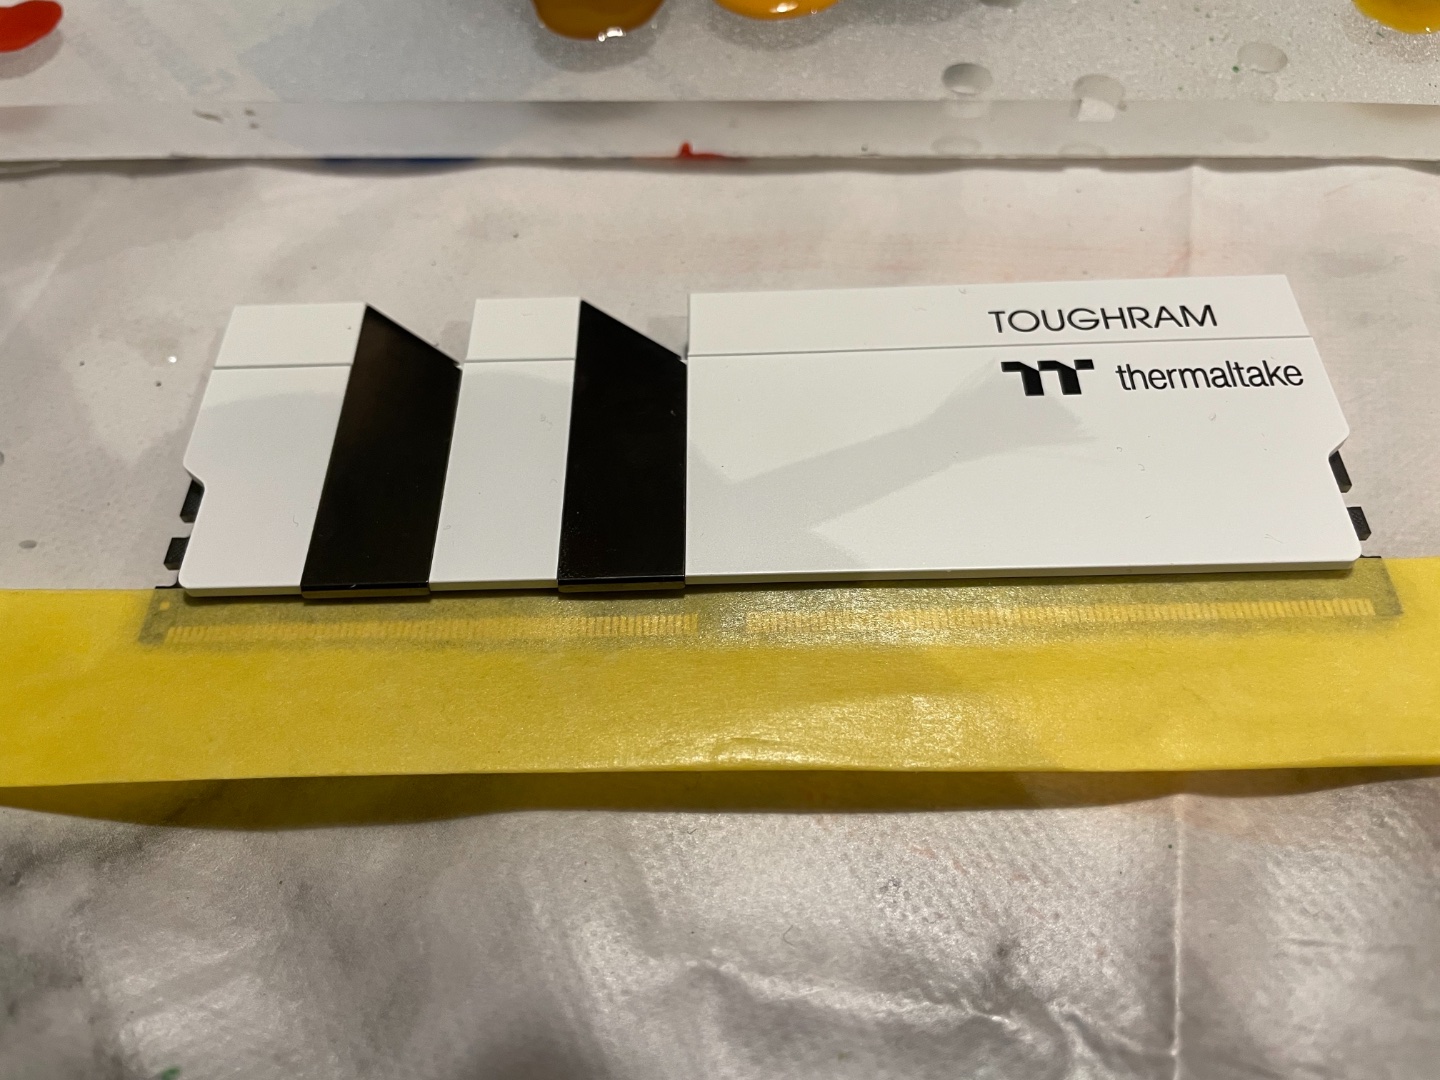
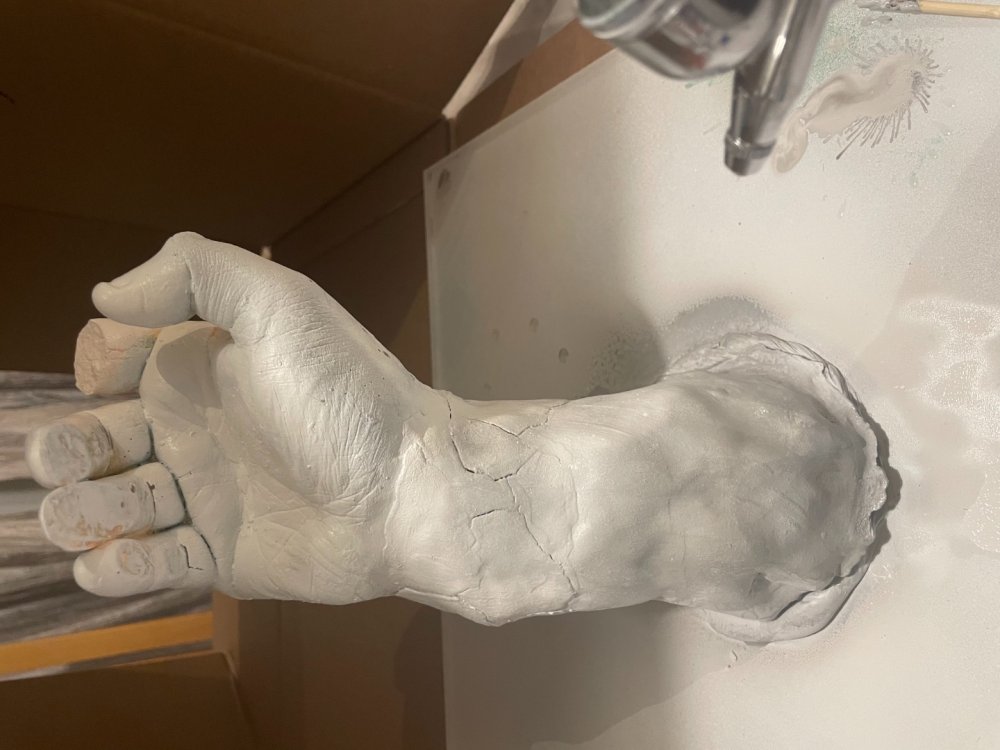
So I have managed to get all of my materials in, a bit of a nightmare with covid. So let's just jump straight in, let's start with the hand, I didn’t take many photos as I have video the process, but I have added a few screen grabs. The main issue I am going to have is keeping my finger space correctly when making the cast. I also need to keep my hand in for 4 minutes. I started off by mixing the alginate with 1900ml of water, I didn't have a lot of time before the mix went off around two minutes. Once it went pink I needed to get my hand in, I needed to check the spacing for the ram and it went to me hand. When the alginate goes white you know it is ready to pull your hand out slowly. Once you have removed your hand you can start mixing the plaster, I use 450ml water and a bag of plaster, I don't have any photos of this bit, but have video. Once the plaster fills the cast I add some petg tubing as I need this to pull the hand out and for it to attach to the arm I make. I pulled the full cast out of the bucket and broke the mold open. I did snap a finger when I removed the cast but it's ok I glue it back on when I paint and sit the ram in for good. It Turned out to be a bit of a blessing. I still have some tidying up to do on the hand but I am really surprised at how much detail the cast made. You can see what the hand will look like with the ram, next up date will be the arm. -
[United Kingdom] Richard Ord
AML Custom PC replied to Tt Andy's topic in 2020 Thermaltake RAM MOD Invitational Season 1
Hey everyone, I have come up with my idea, its a little bit different but for the time I have and working around family and my full time job, I think this will be cool. I have done a quick drawing below, This hand will have the toughram on show coming out of the ground, I have never worked with clay so this should be fun and I will get to play around with the colours. I will try my best to keep you all up to date with my process. -
AML Custom PC reacted to a post in a topic:
[United Kingdom] Richard Ord
-
[United Kingdom] Richard Ord
AML Custom PC replied to Tt Andy's topic in 2020 Thermaltake RAM MOD Invitational Season 1
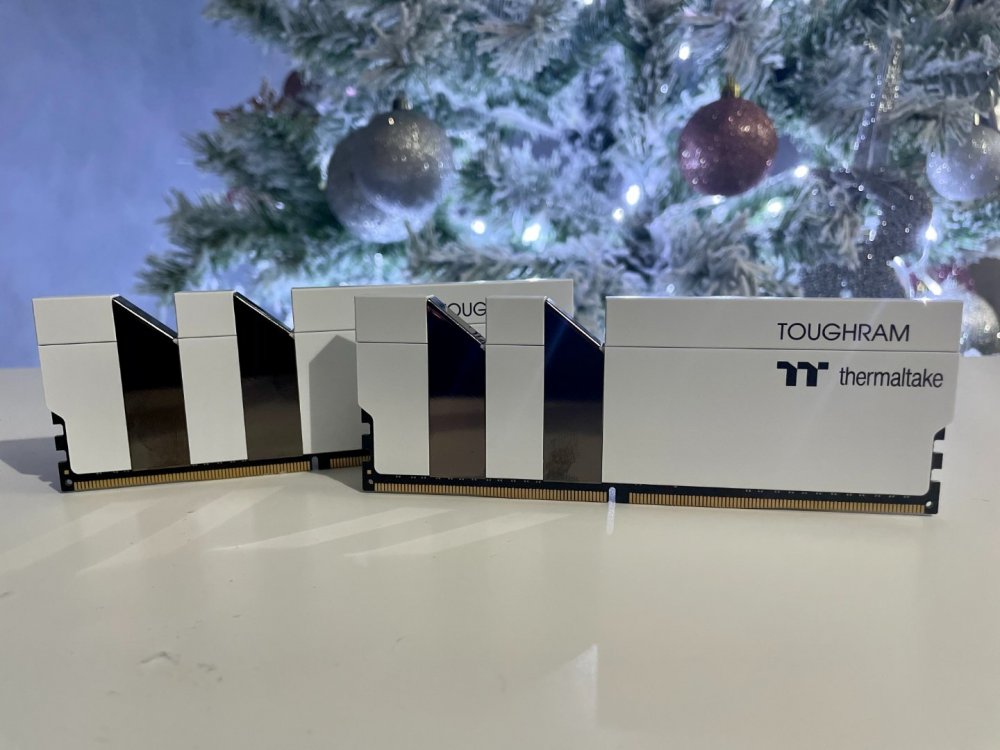
Hey everyone, I want to start off by saying a big Thank you to @Thermaltake and Andy for the opportunity, some really great talent involved in this invitational looking forward to seeing what everyone does. I have an idea of what I want to do, just need to draw up a few design then I can order my paint, then I can show you what I am going to do. Thermaltake have sent out 32gb toughram for this mod,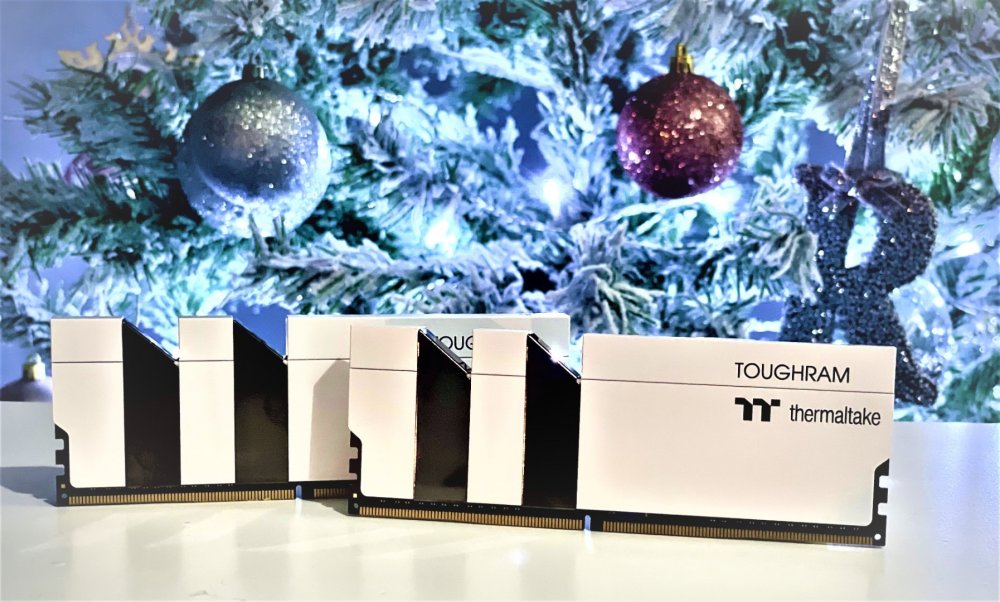
-
#Pure All watercooling, psu and Fans by thermaltake and the case is the A500. You can check the video out here,
-
Here is #TT20 The case is the thermaltake XT, watercooling, fans and psu all thermaltake.
-
Here is project snow, I used the core ps all watercooling parts, fans and psu from thermaltake. you can check the video out here,
-
Here is my x71 build, I used the thermaltake fans and the x71 case
-
AcuteJungle66 reacted to a post in a topic:
Chris Connor - Project SparklePony - #TTUK2020CaseModChallenge
-
Colin McNally reacted to a post in a topic:
Colin McNally - project motogp
-
Erik Bmods reacted to a post in a topic:
[Canada] Erik Bergwest
-
AML Custom PC reacted to a post in a topic:
[Philippines] Jesse Tiongson
-
AML Custom PC reacted to a post in a topic:
[Thailand] Juggapat Thonglue
-
[Canada] Erik Bergwest
AML Custom PC replied to Tt Andy's topic in 2019 Thermaltake CaseMOD Invitational Season 2
Great job buddy, well done. Good luck.