-
Forum Statistics
7.6k
Total Topics51k
Total Posts -
Member Statistics
136,029
Total Members16,800
Most Online


Boxeroverlord
-
Posts
21 -
Joined
-
Last visited
-
Days Won
15
Content Type
Profiles
Forums
Downloads
Events
Gallery
Blogs
Posts posted by Boxeroverlord
-
-
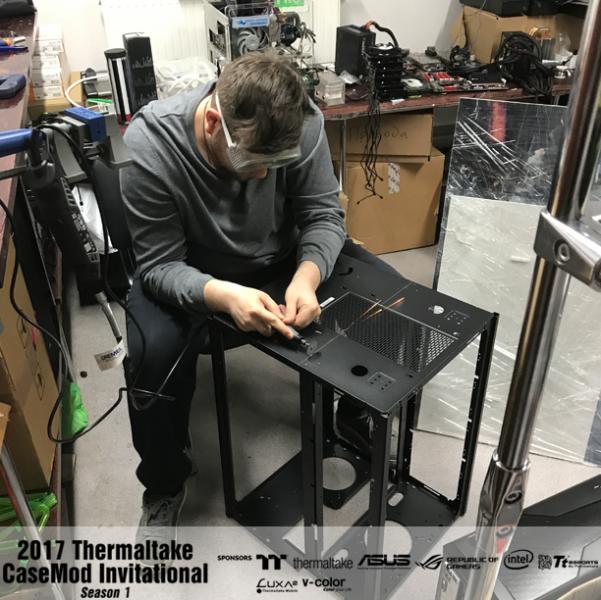
Hi friends.
A little late with photos and project, but that was the reason.)
A little about the work done
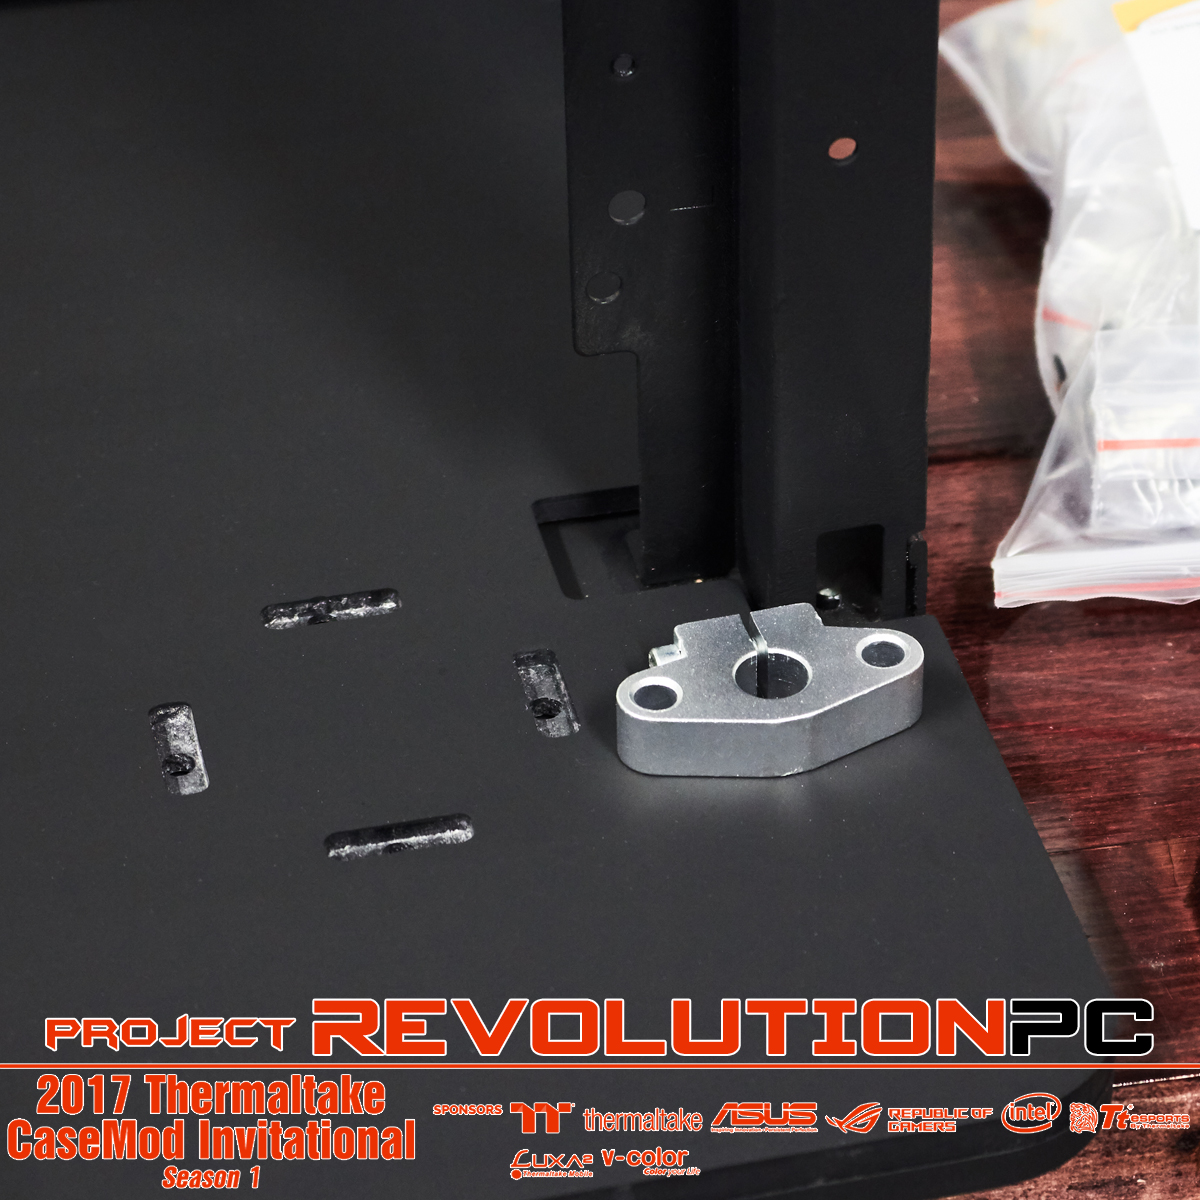
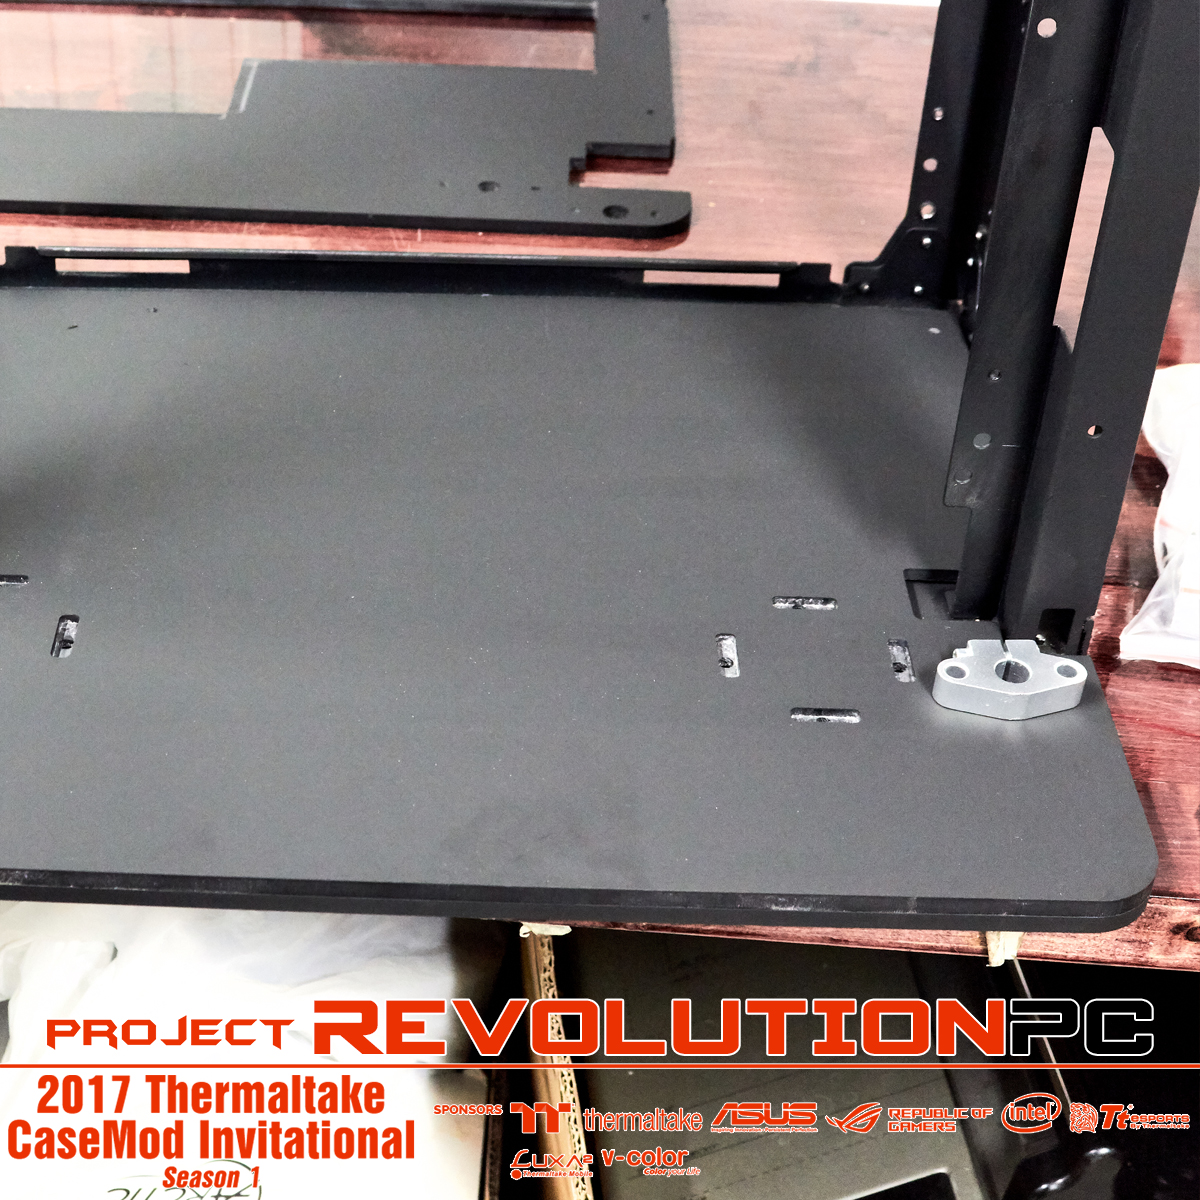
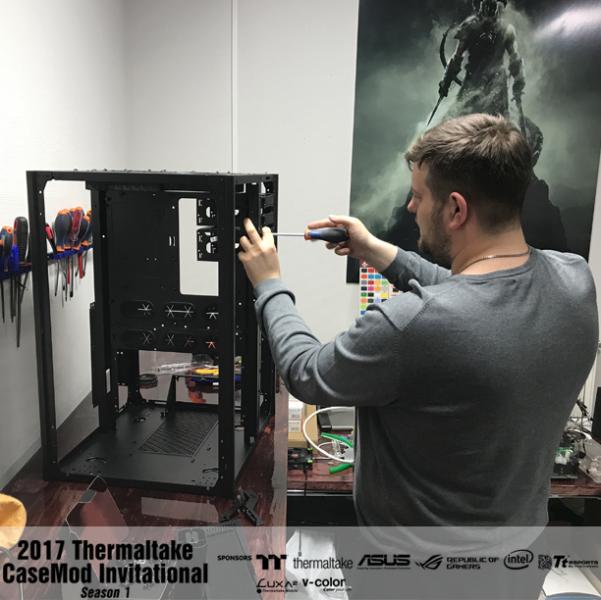
1) Identified tanks
2) For the fitting screwed back wall
3) Finally marked out, and screwed the tray to the motherboard
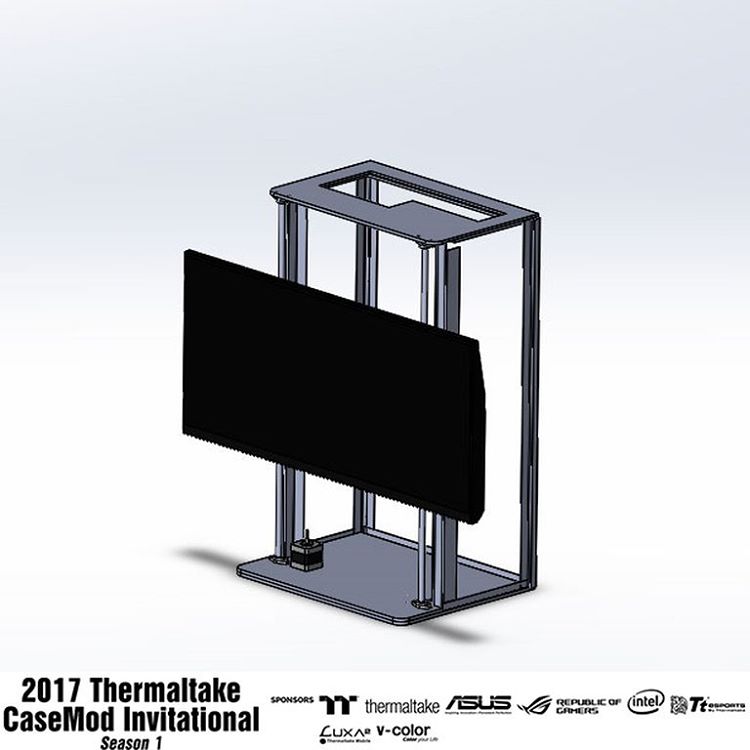
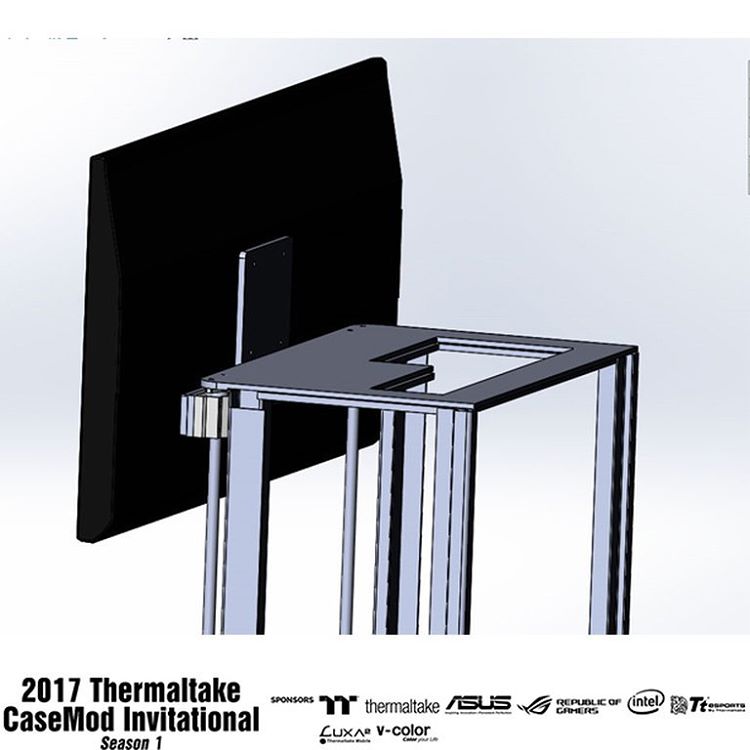
4) For fitting attach the monitor looks good)In General, I began the process of final Assembly.
According to the plans be customized to the end fit to the motherboard, to suit all chassis, wait for the fans and power supply and finally to collect electrician.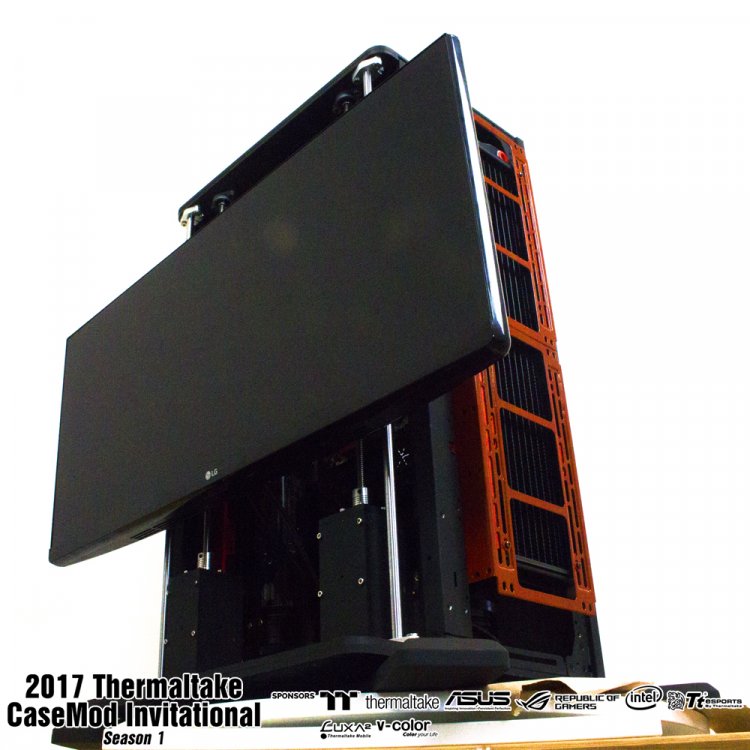


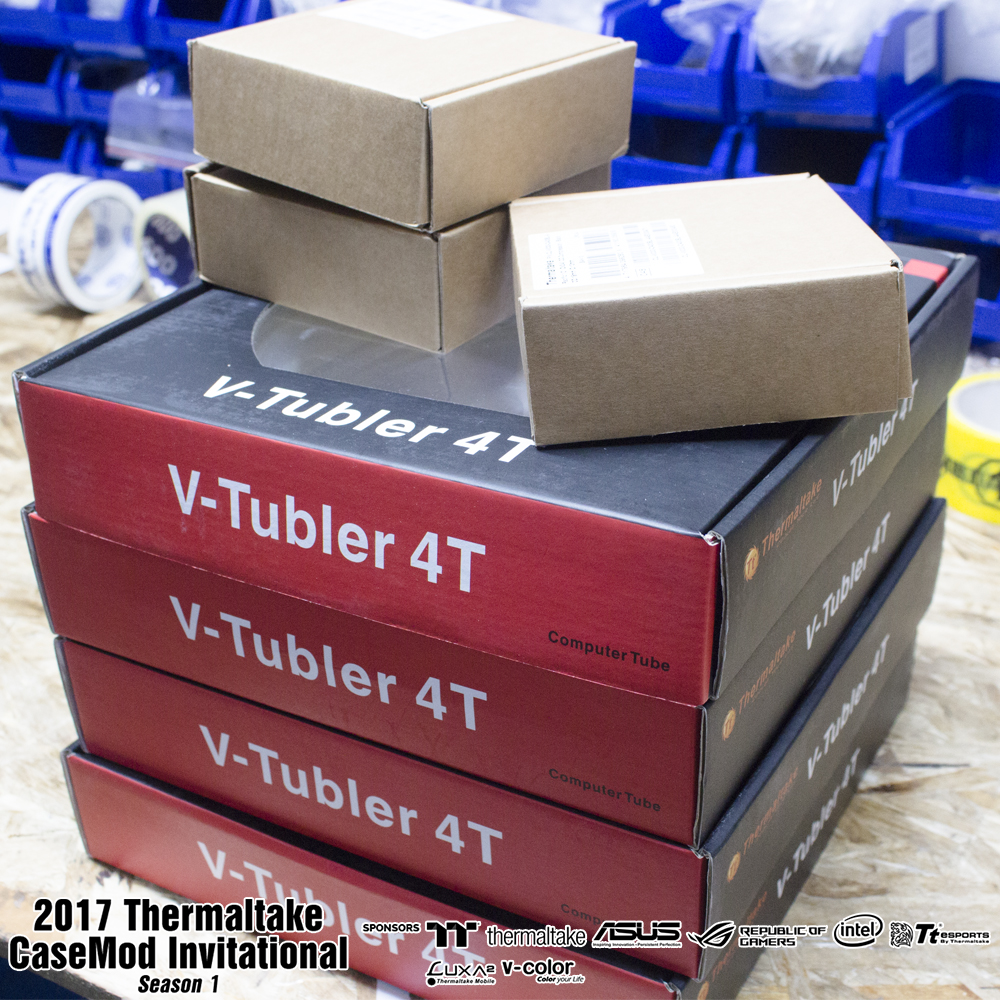
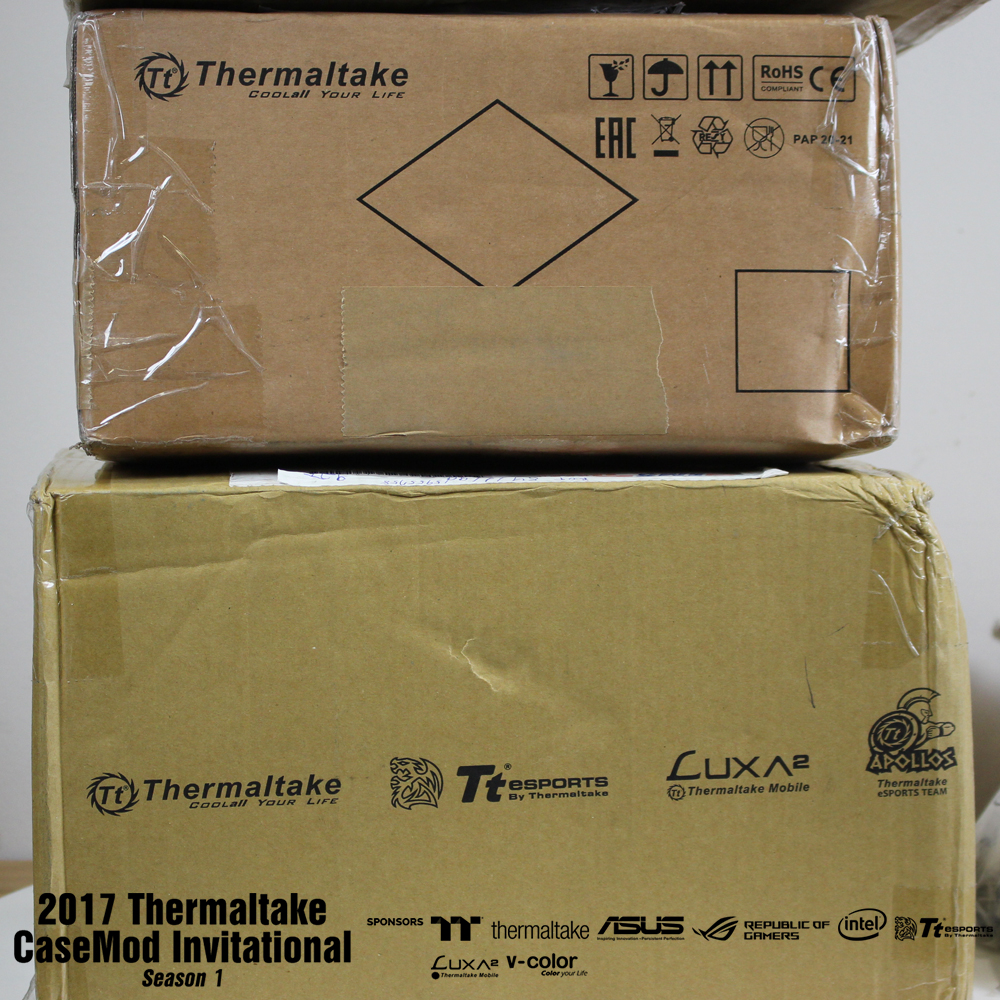
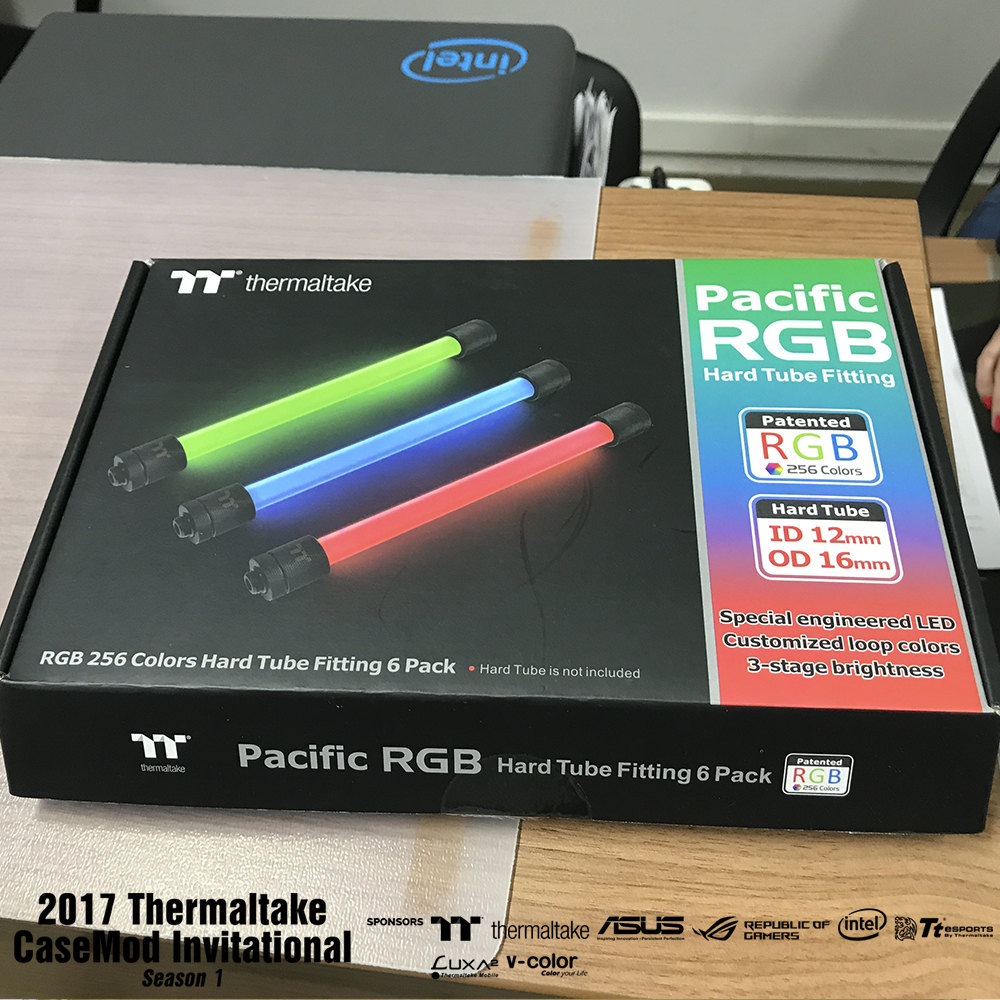
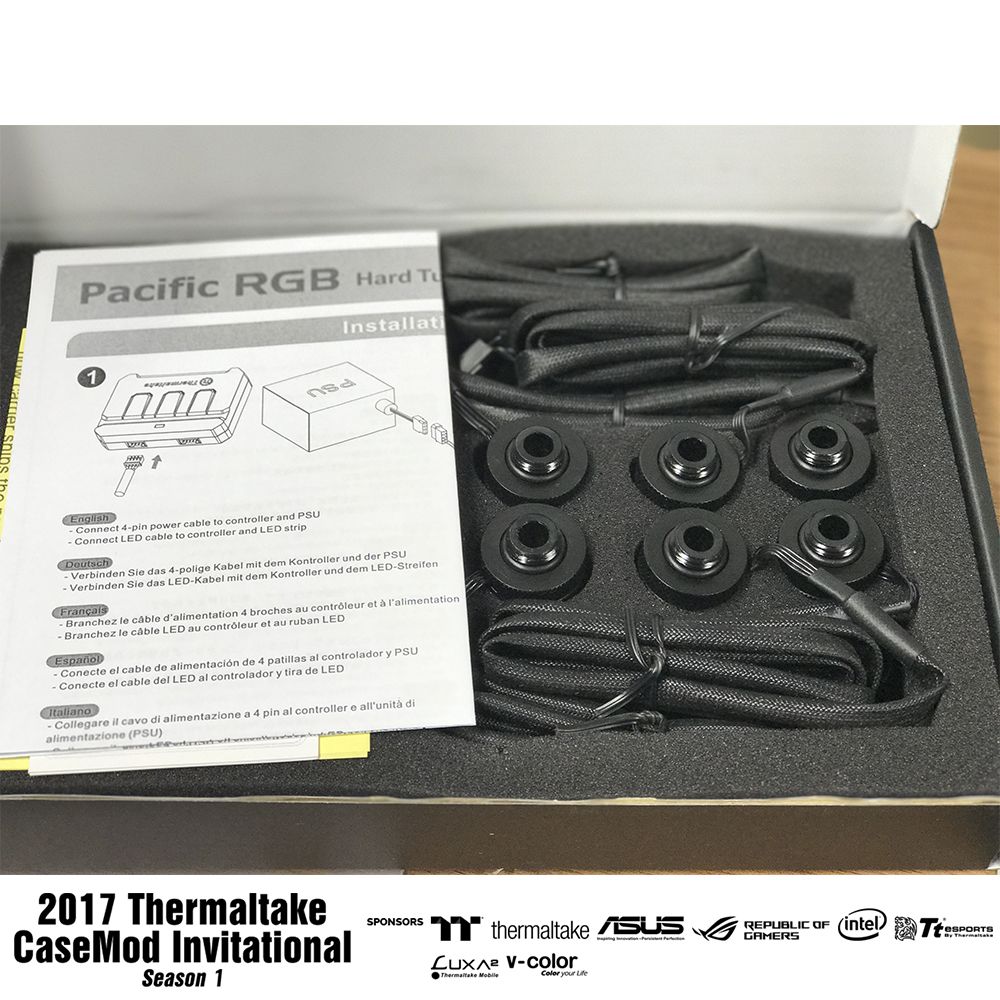
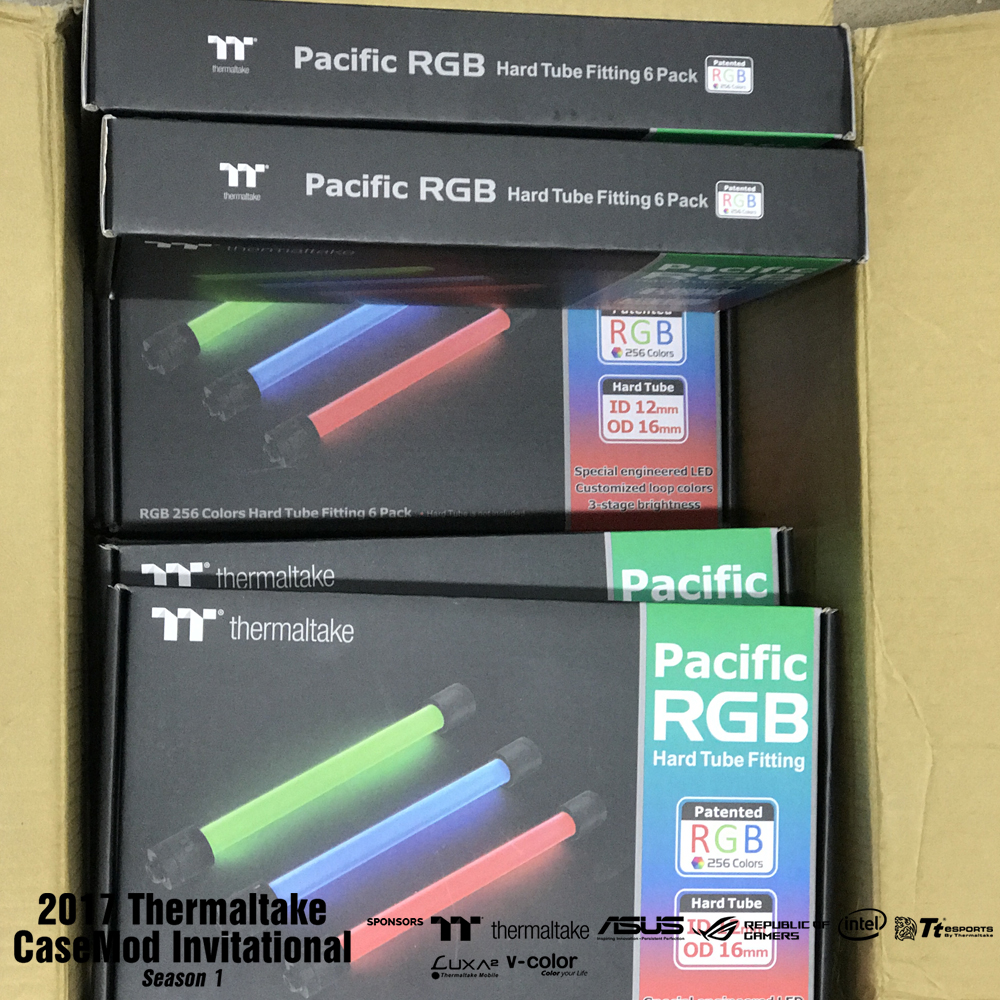
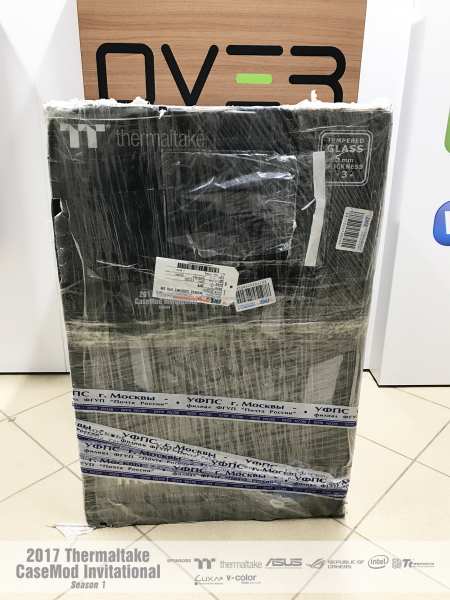
And today came another package from TT.

-
-
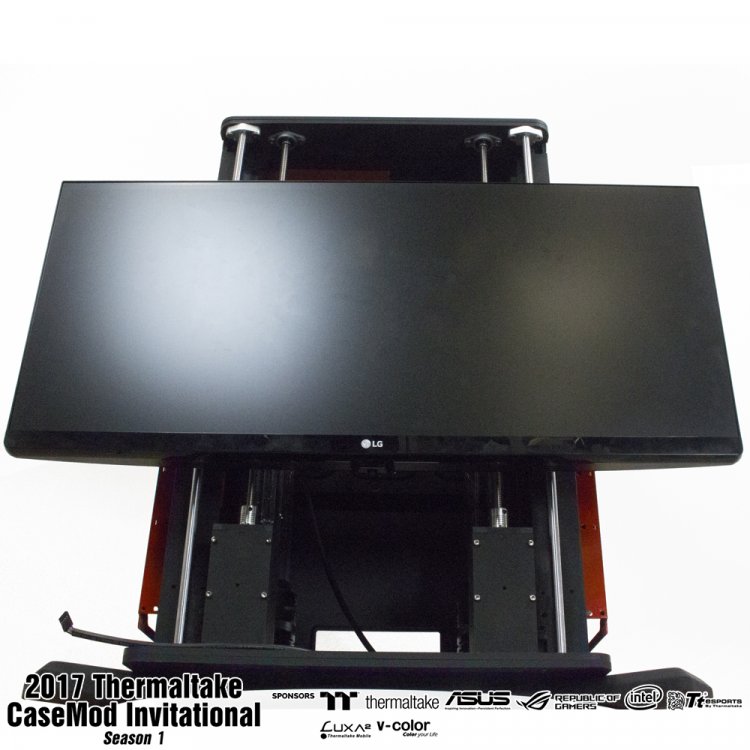
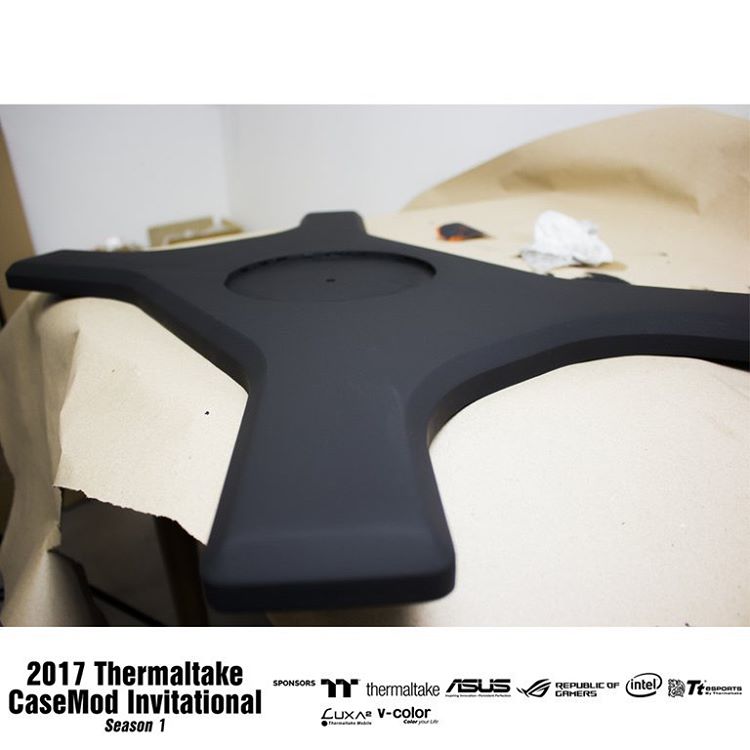
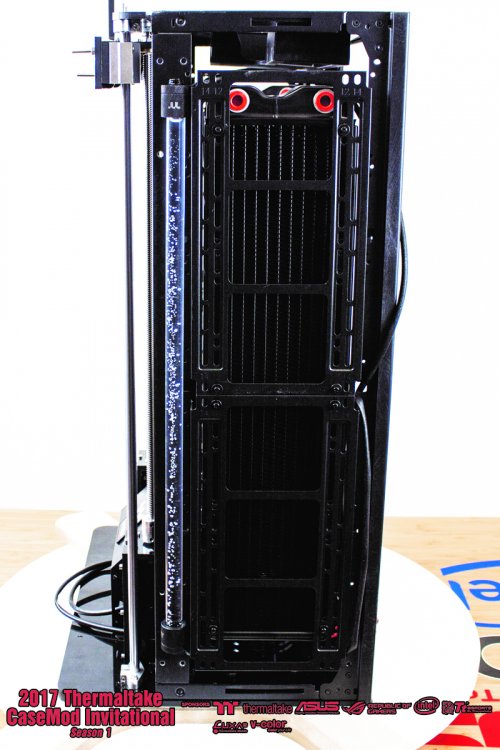
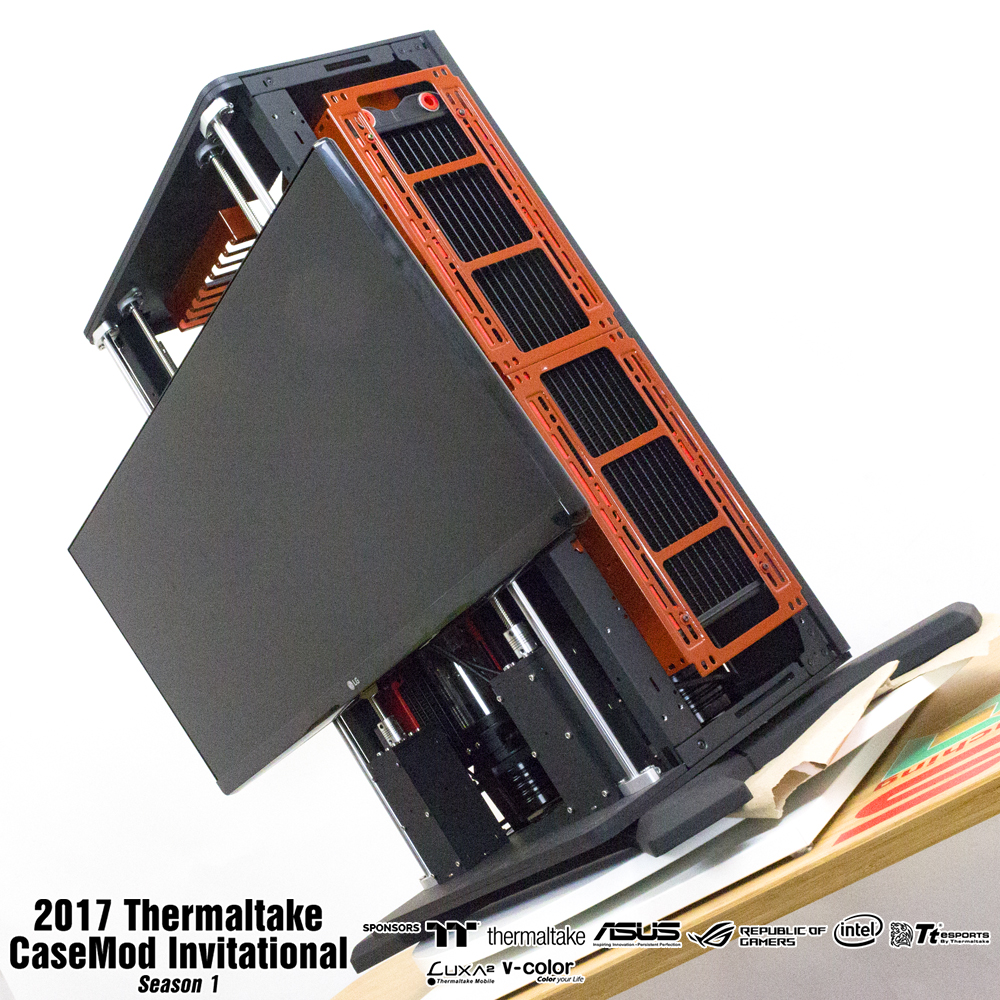
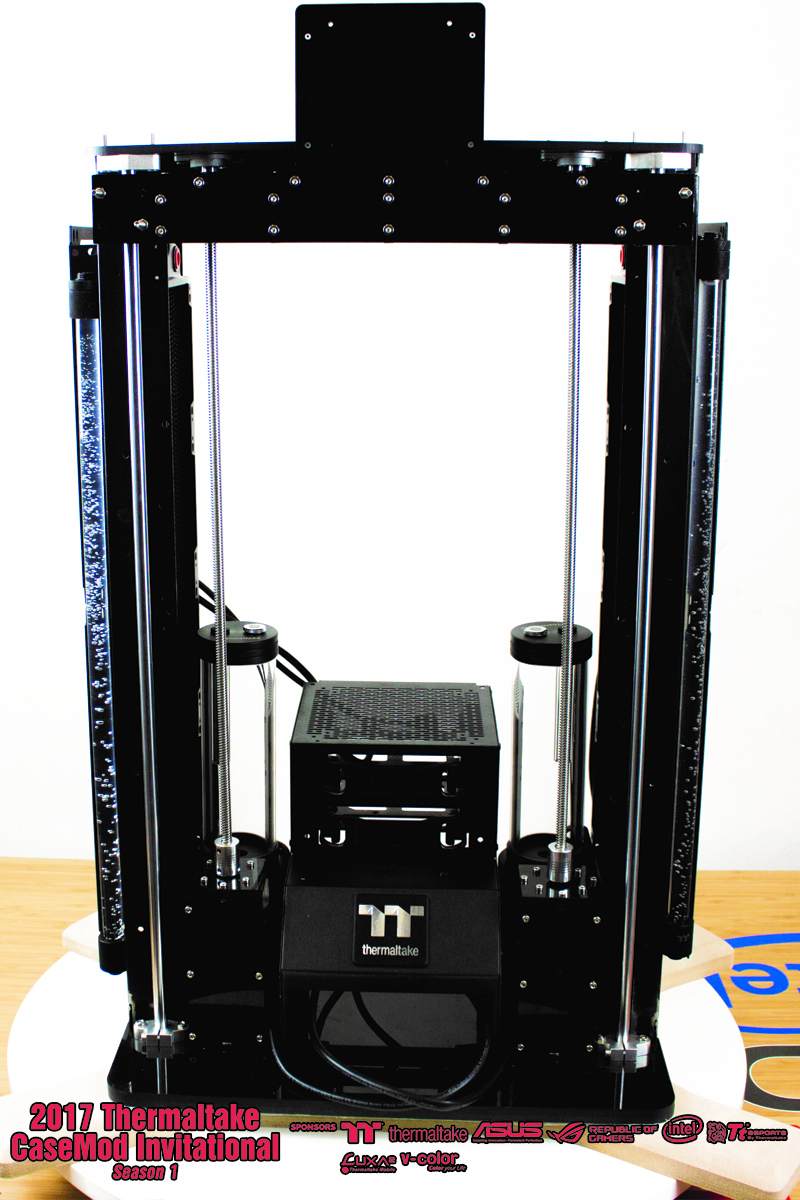
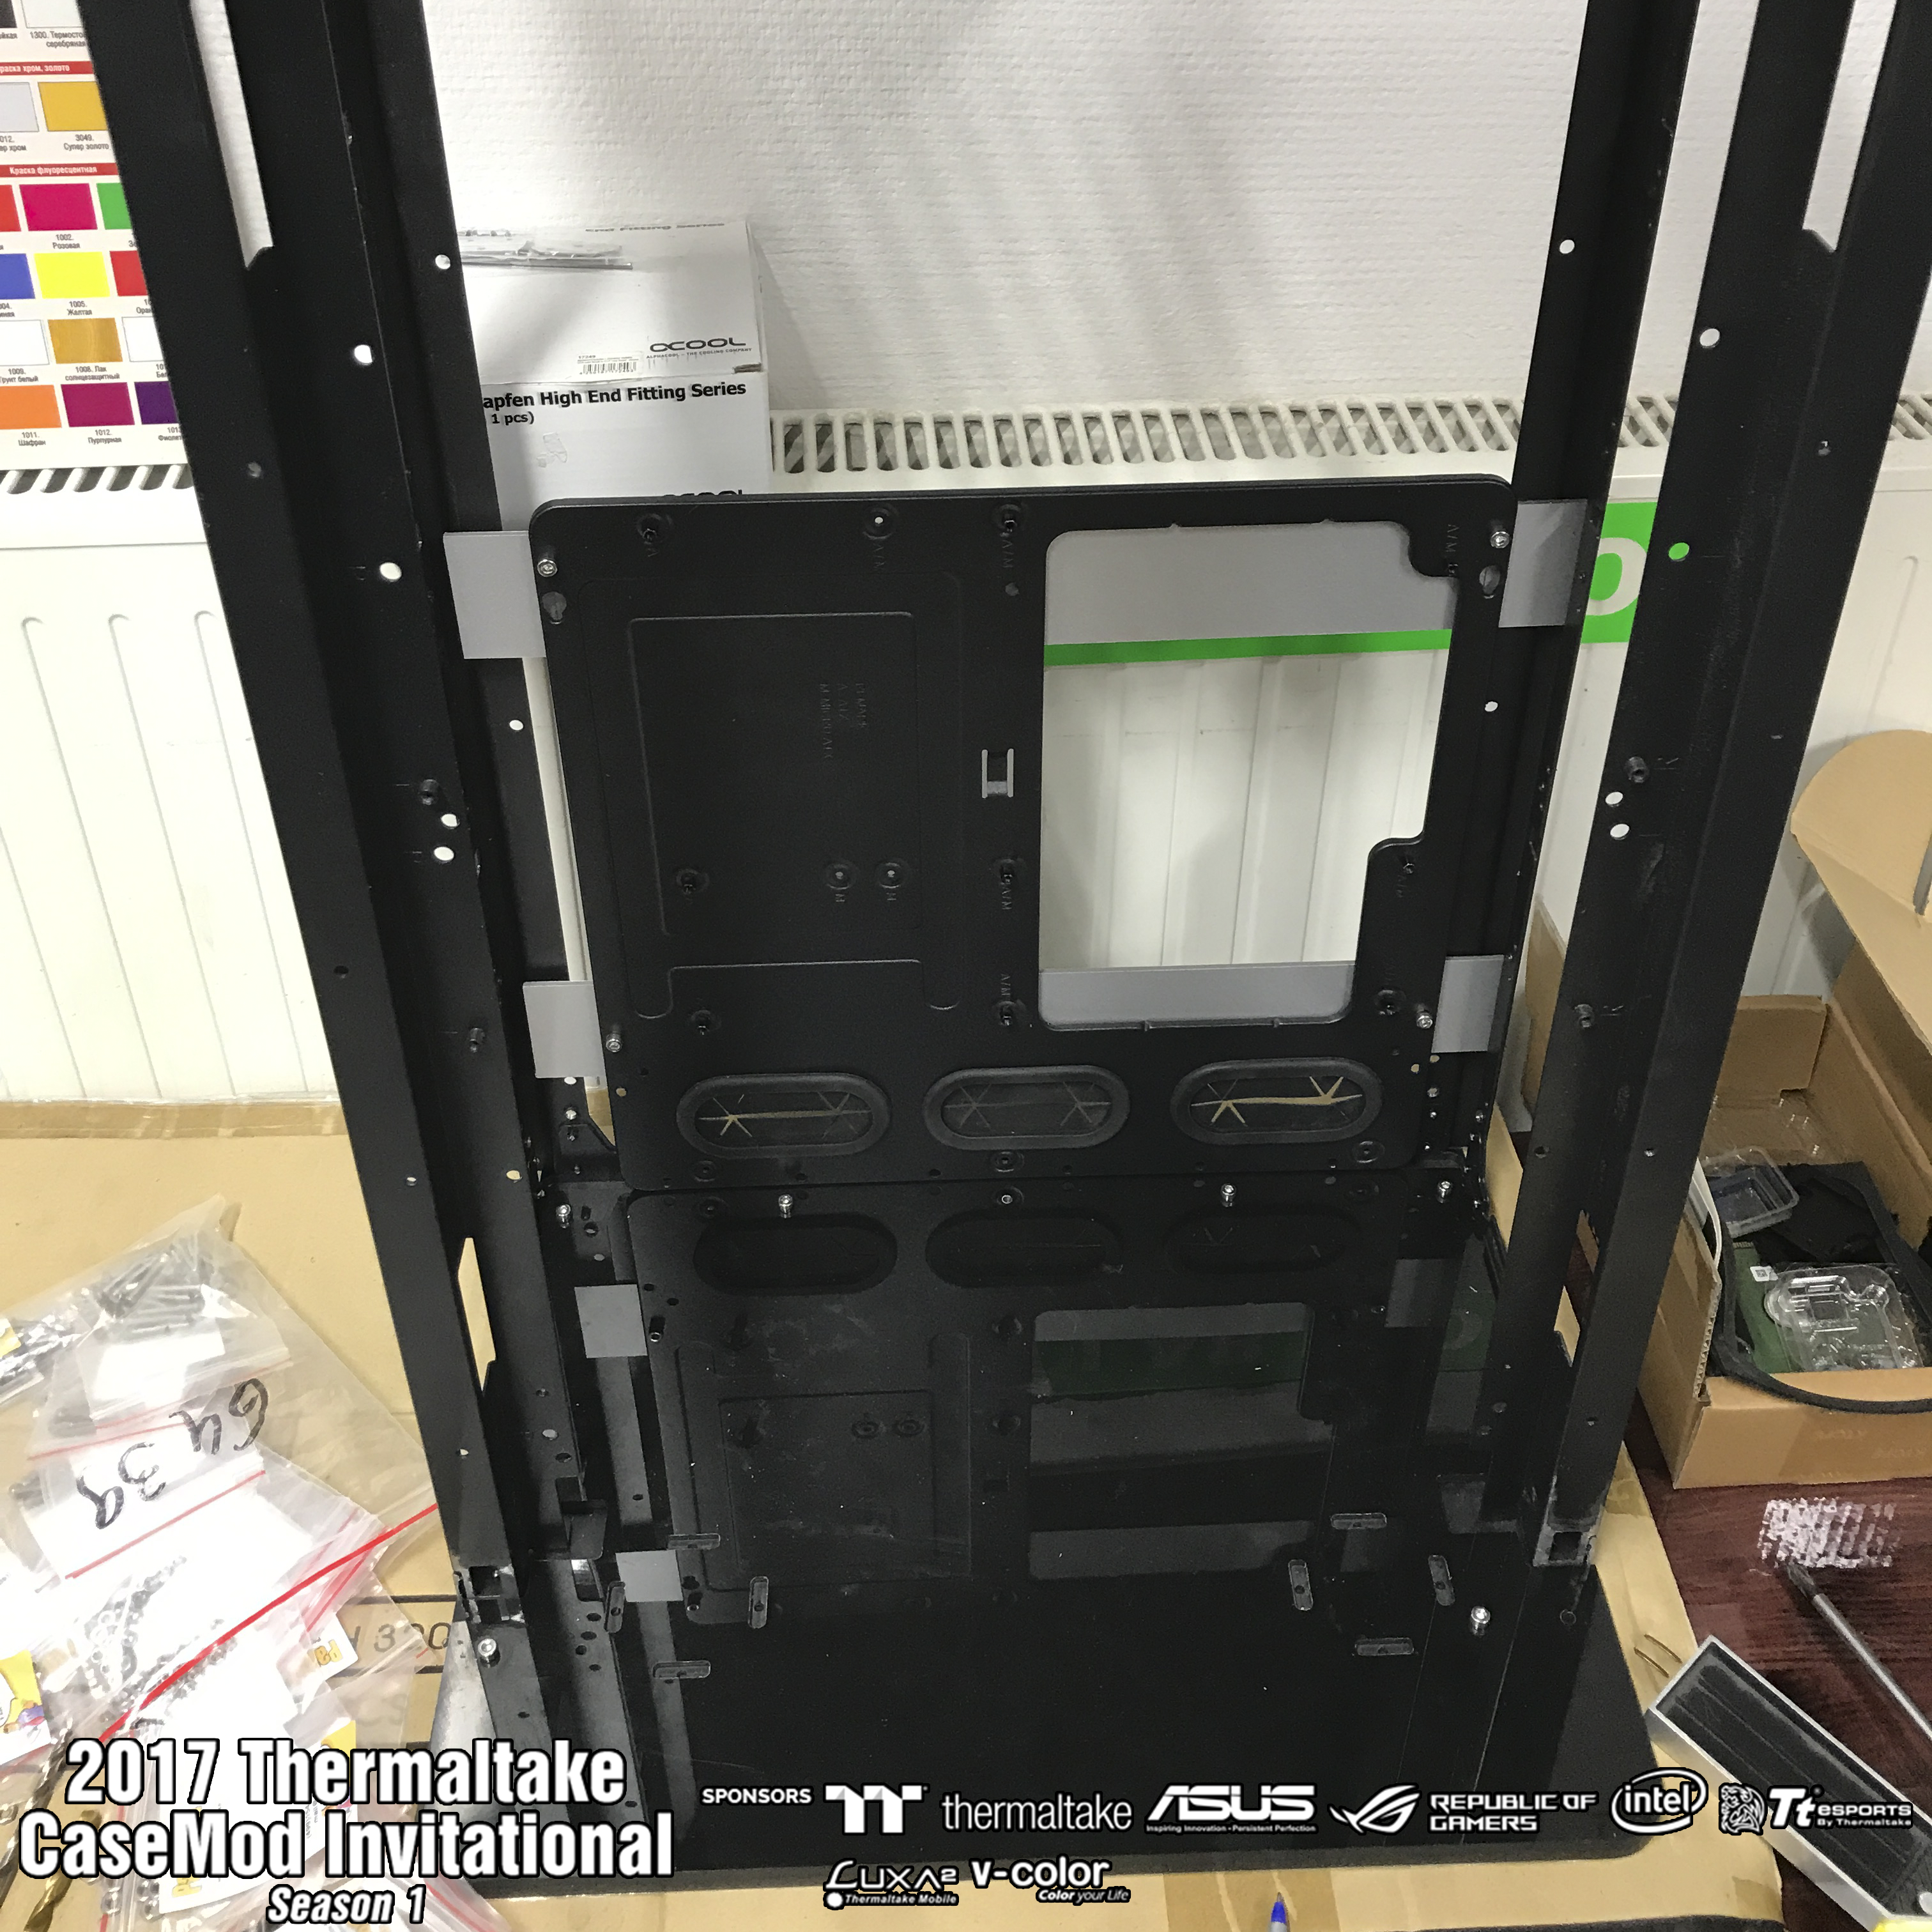
Hi Friends finally finished with the painting and fitting of all elements and proceeded to final Assembly.
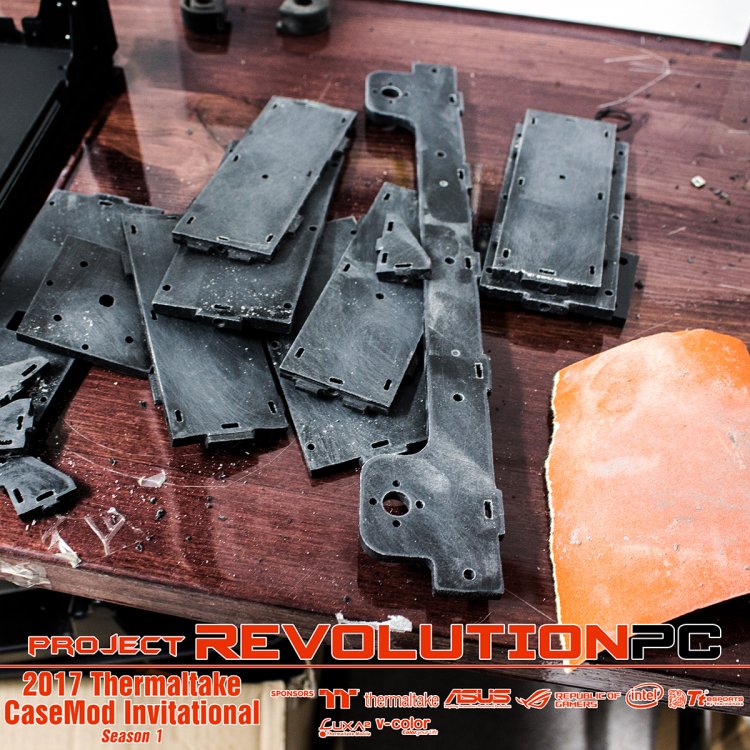
In General, the work was done and not a little, a lot of photos that motivate the parts to do did not, although almost the entire kit is made of plastic, before painting it I had to motivate, to ground, and only then paint the layer was smooth and neat. In the end, all painted the very ordinary nitroenamels.
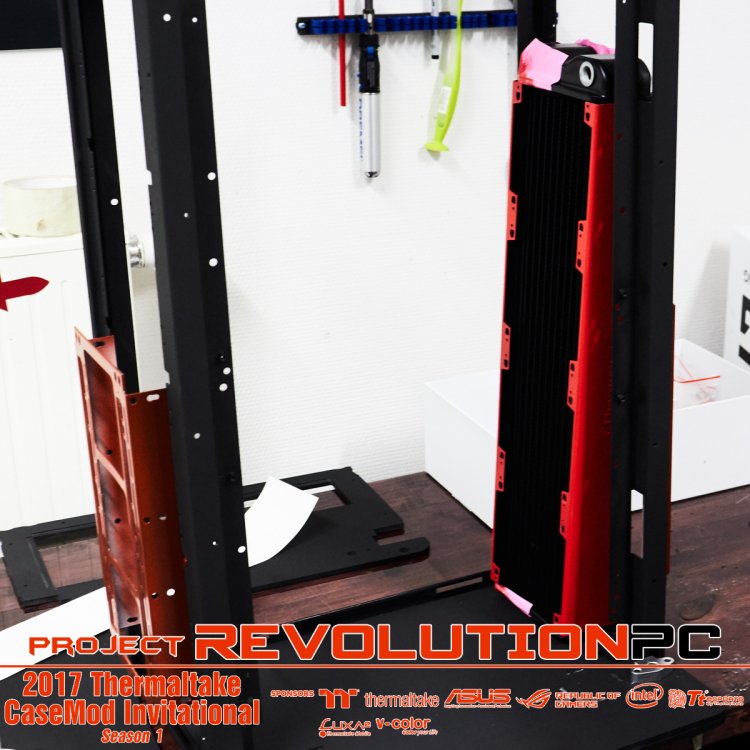
Frosted detail
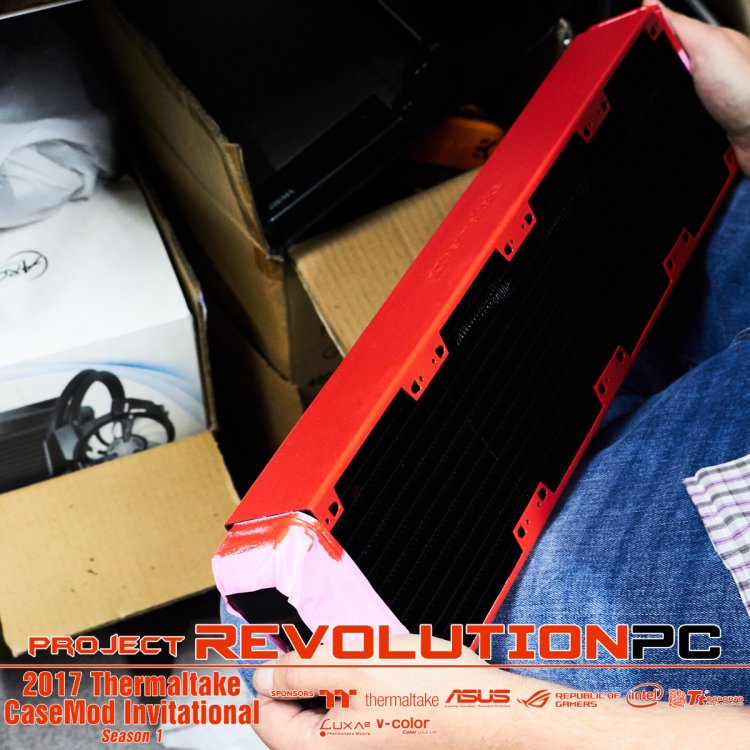
Painted the sides of the radiator.
Painted fasteners for the radiator.

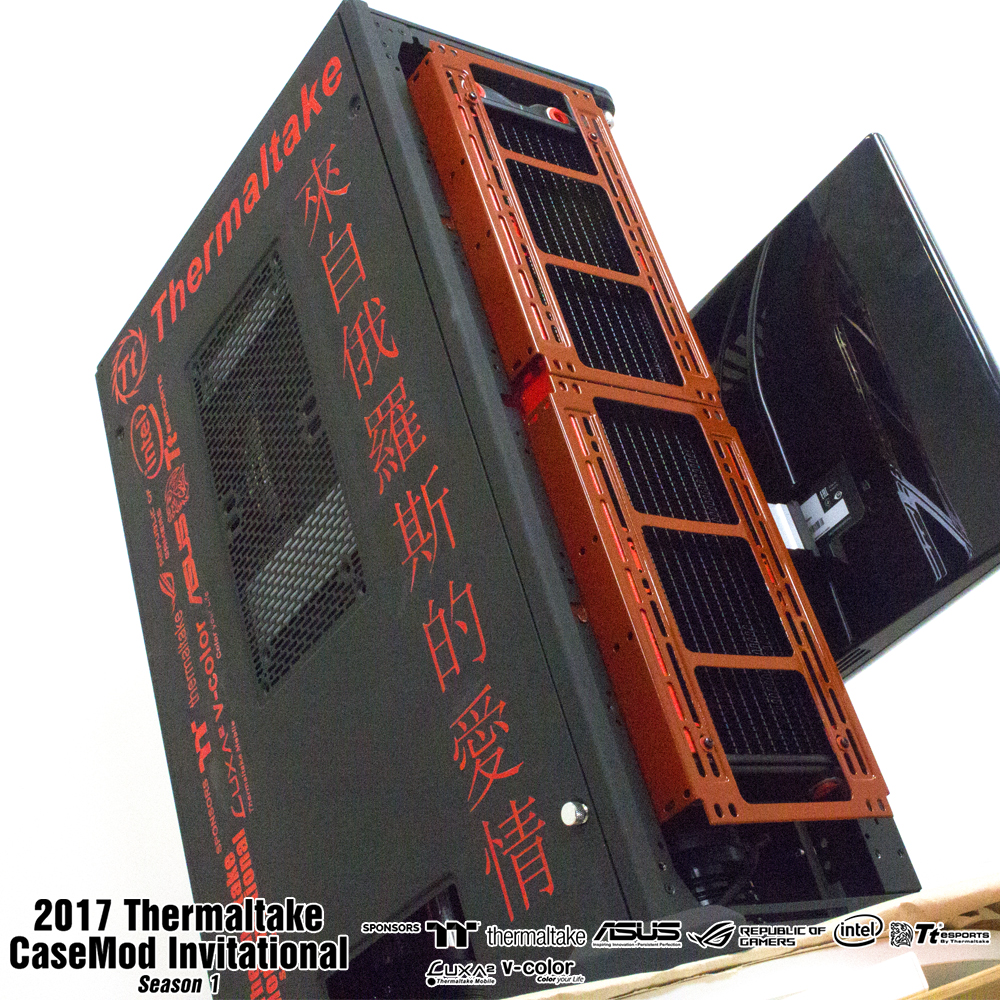
Tried figured design.

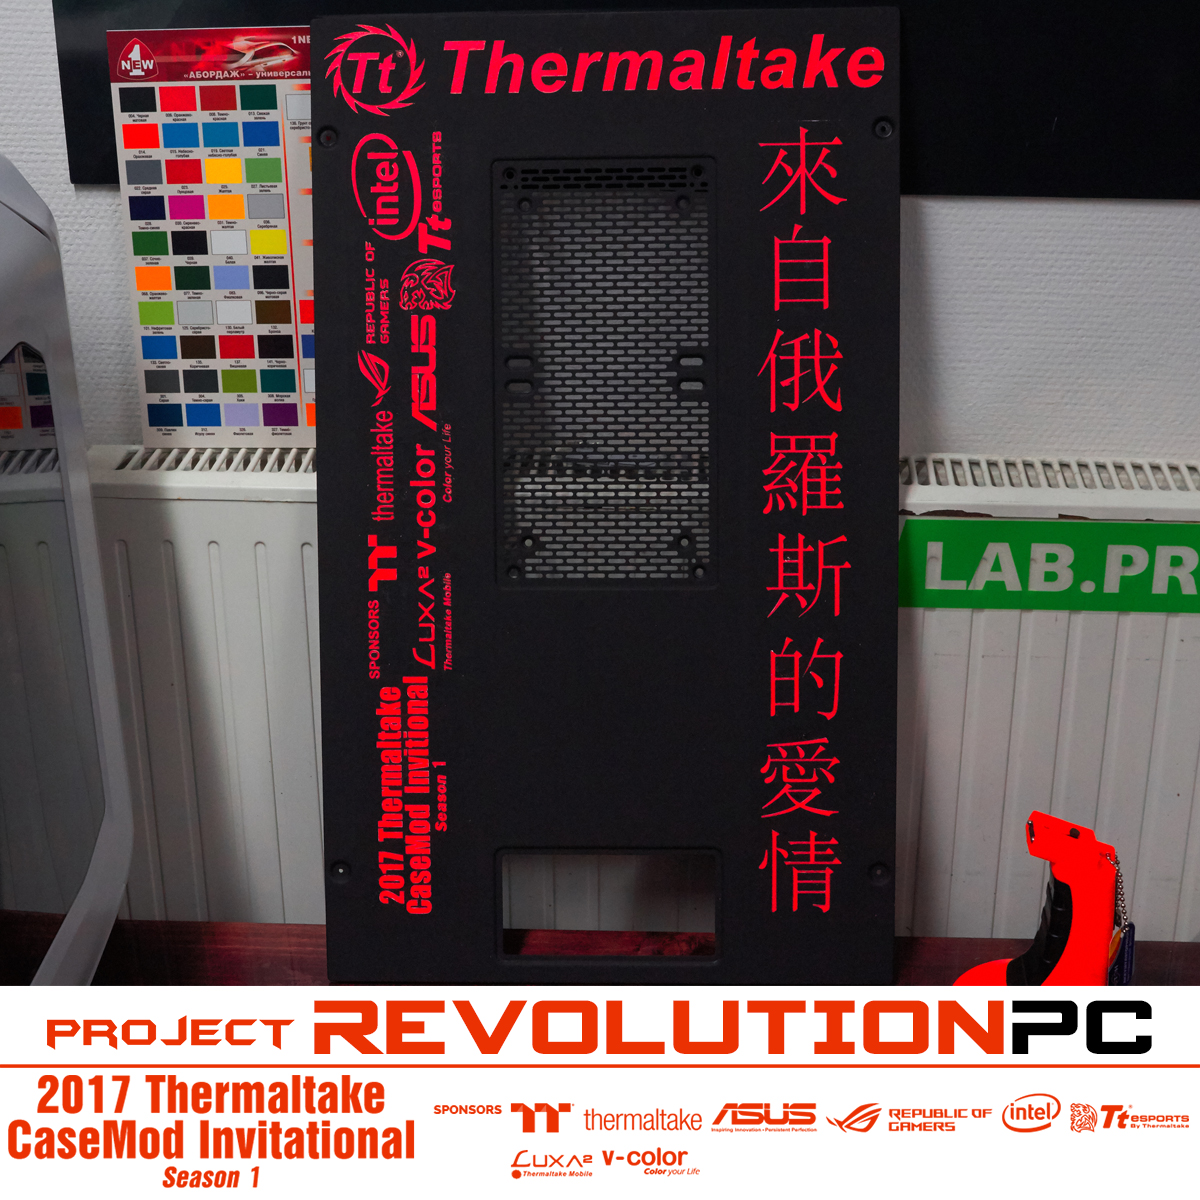
The project decided to keep the back housing, but very empty, actually it looked in the end cut stencils took the rolls of the brush and raced for almost a day life was lost but the result was worth it.
Photo below.
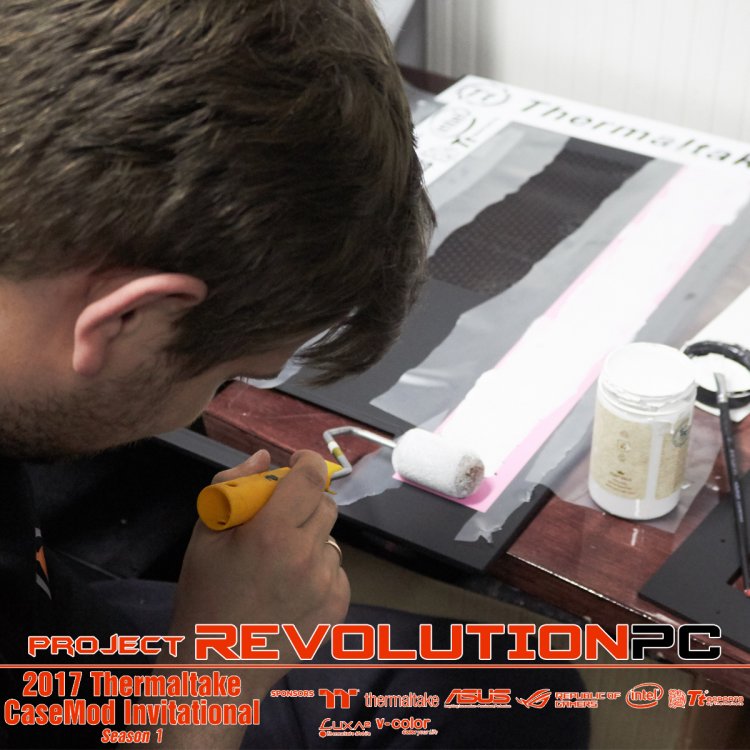
The result of the photo, I hope Yandex translator did not deceive me. )))

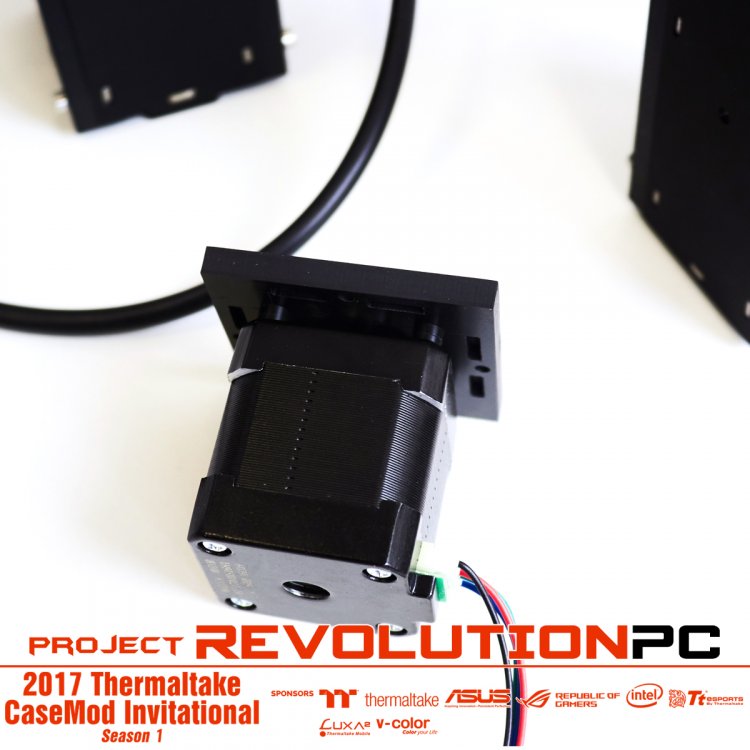
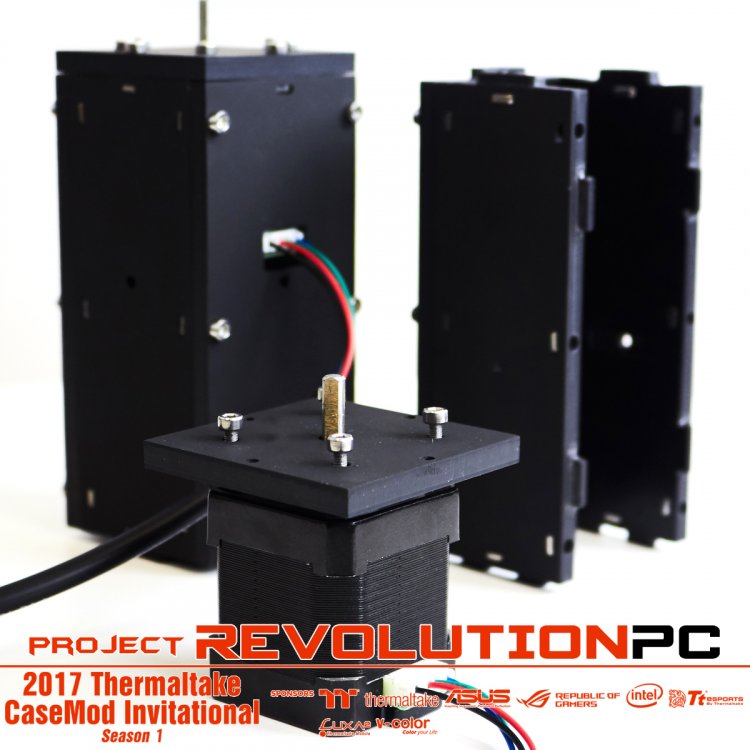
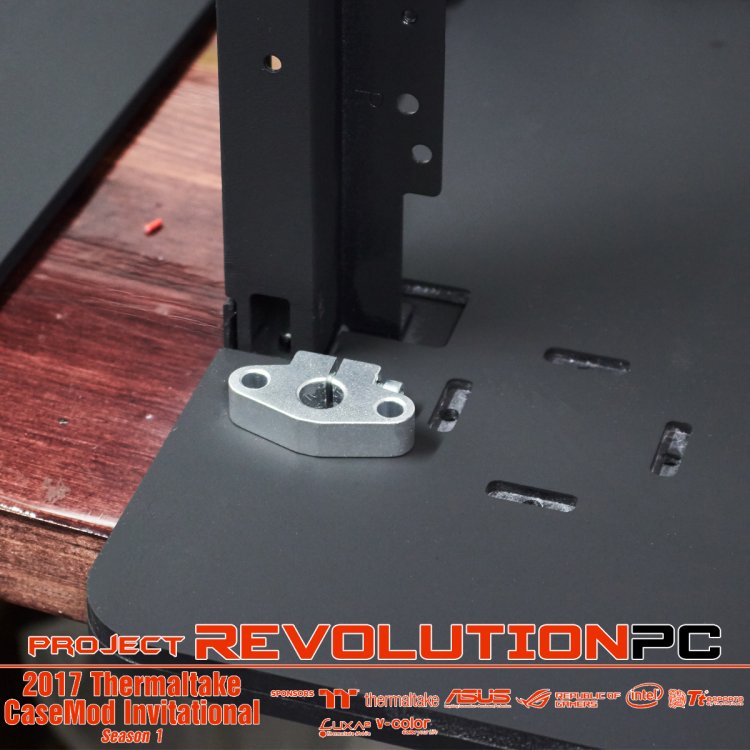
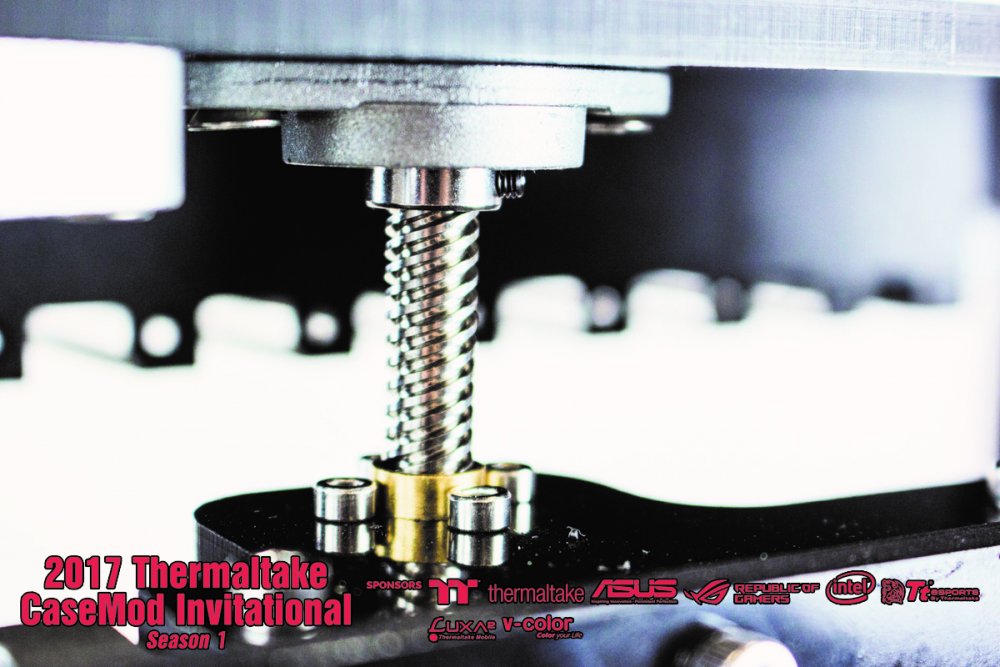
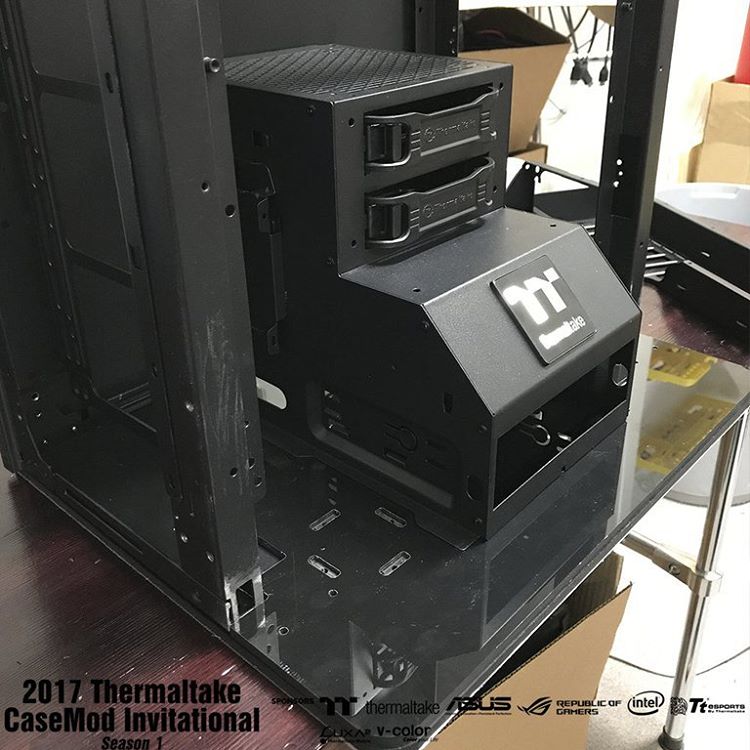
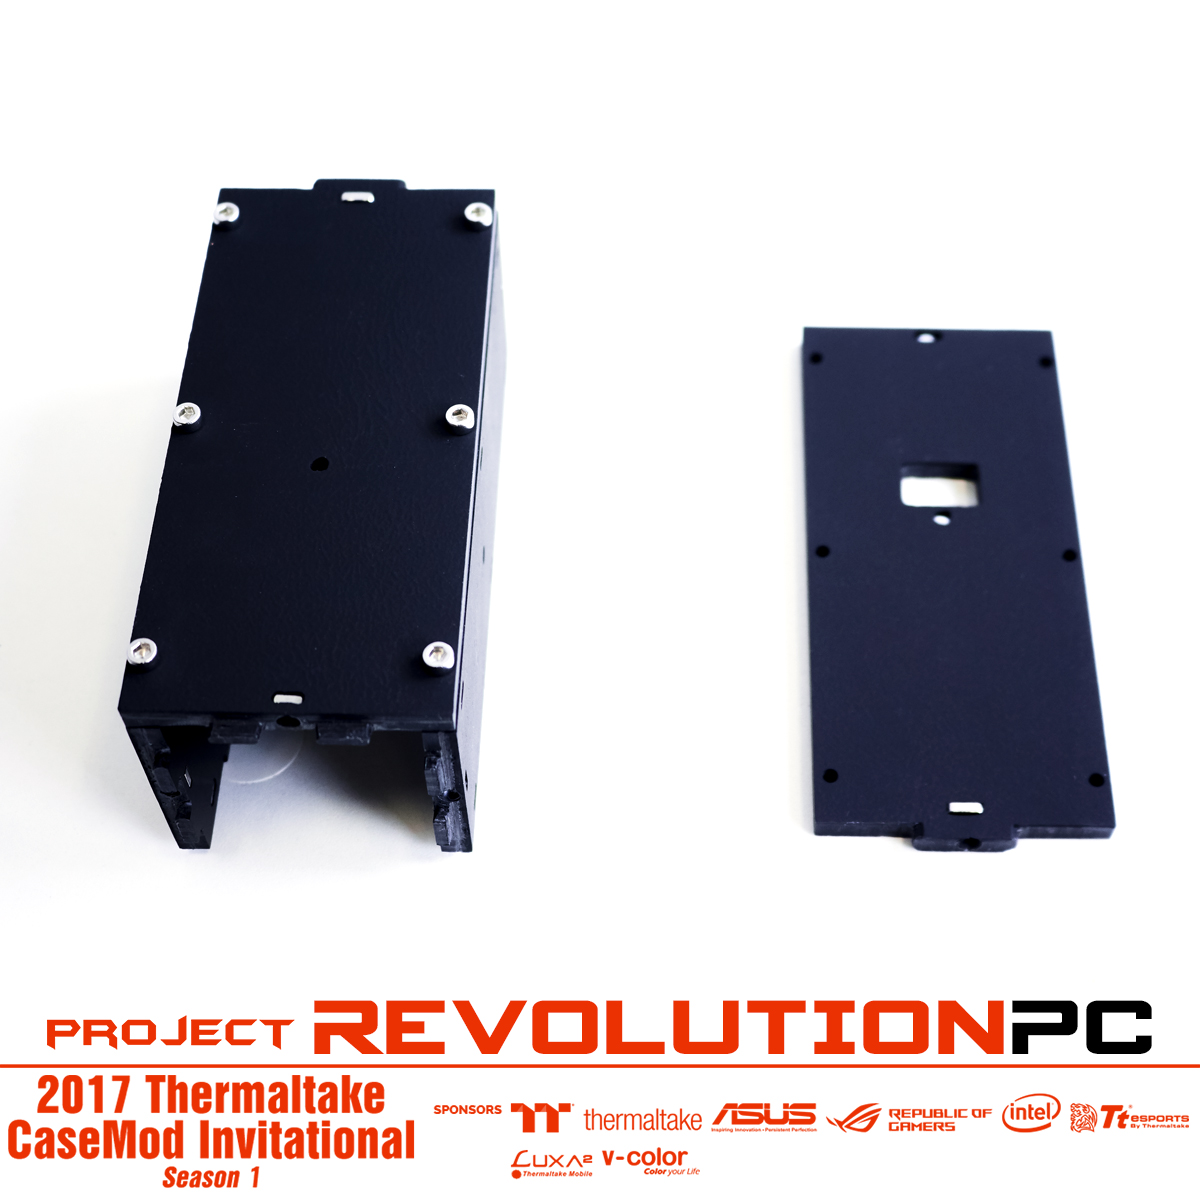
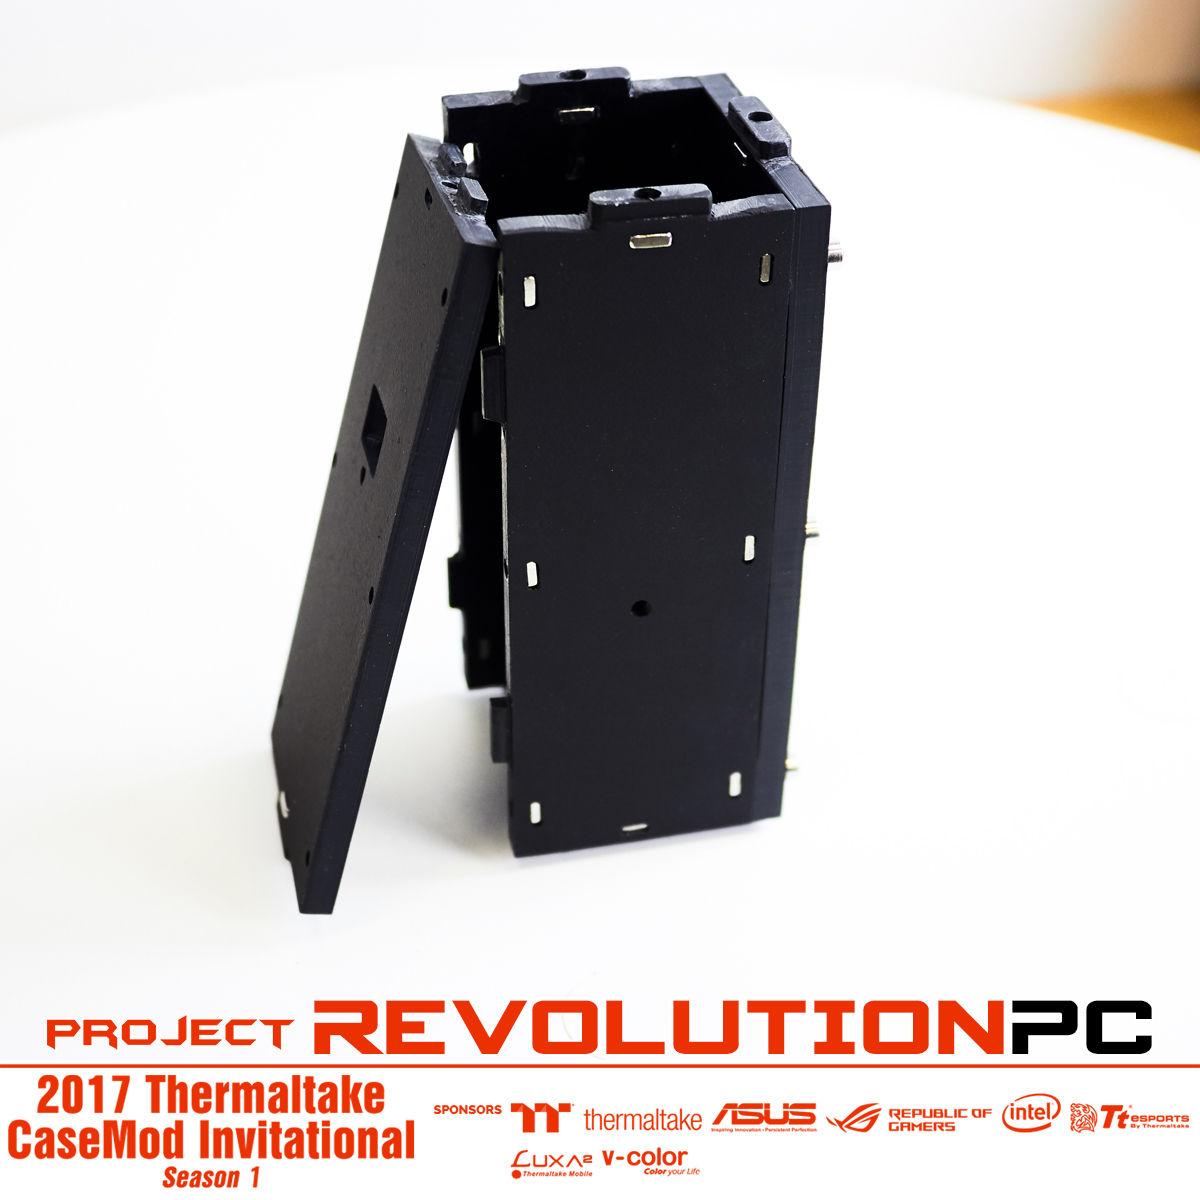
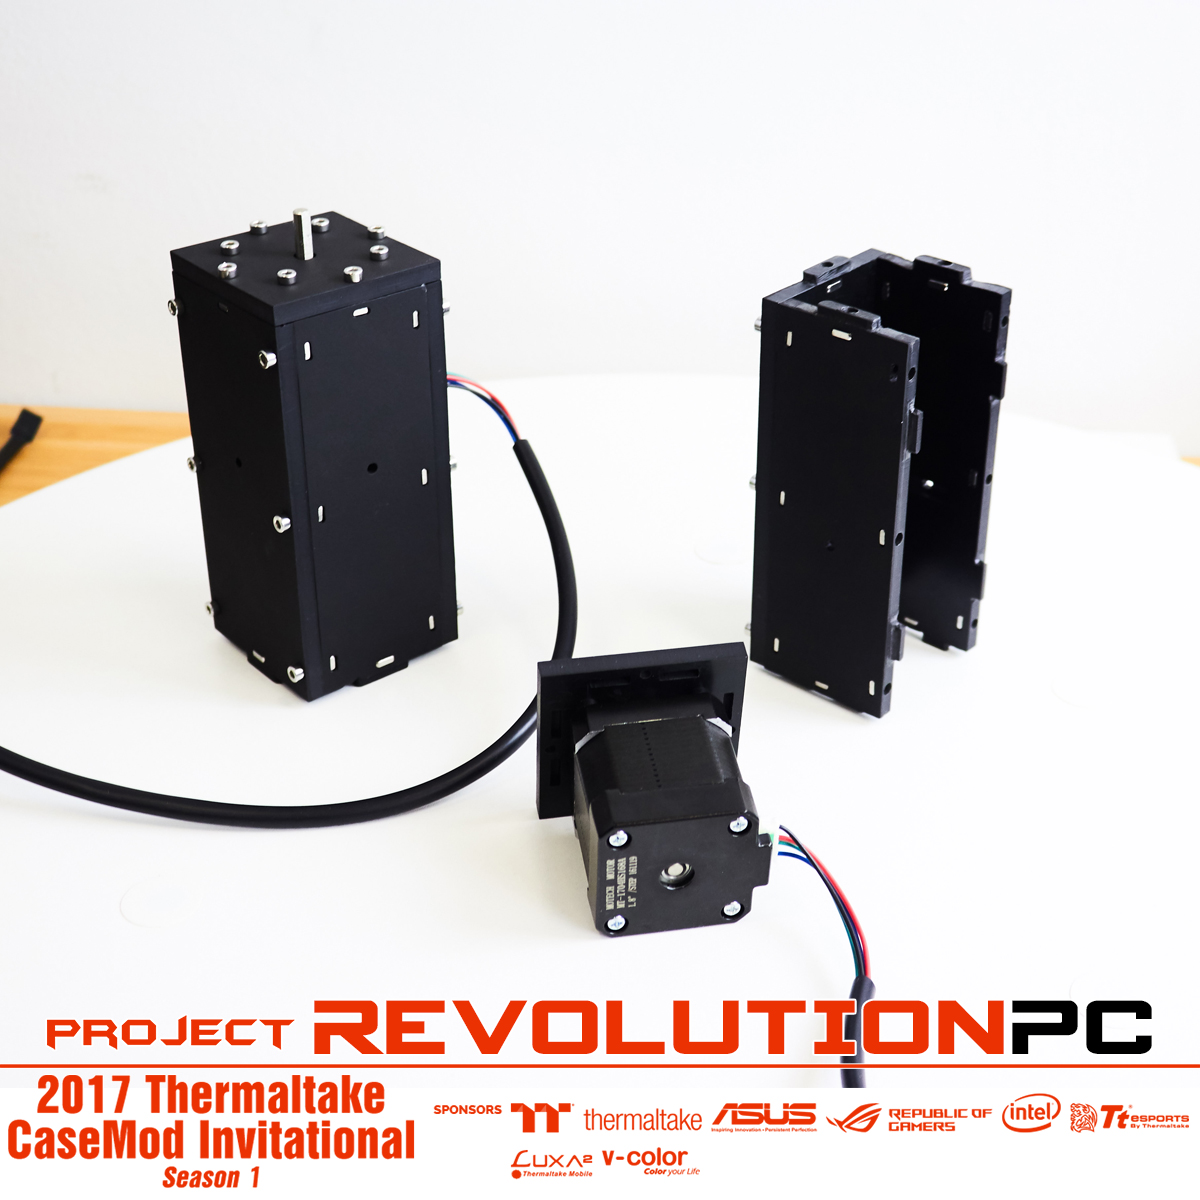
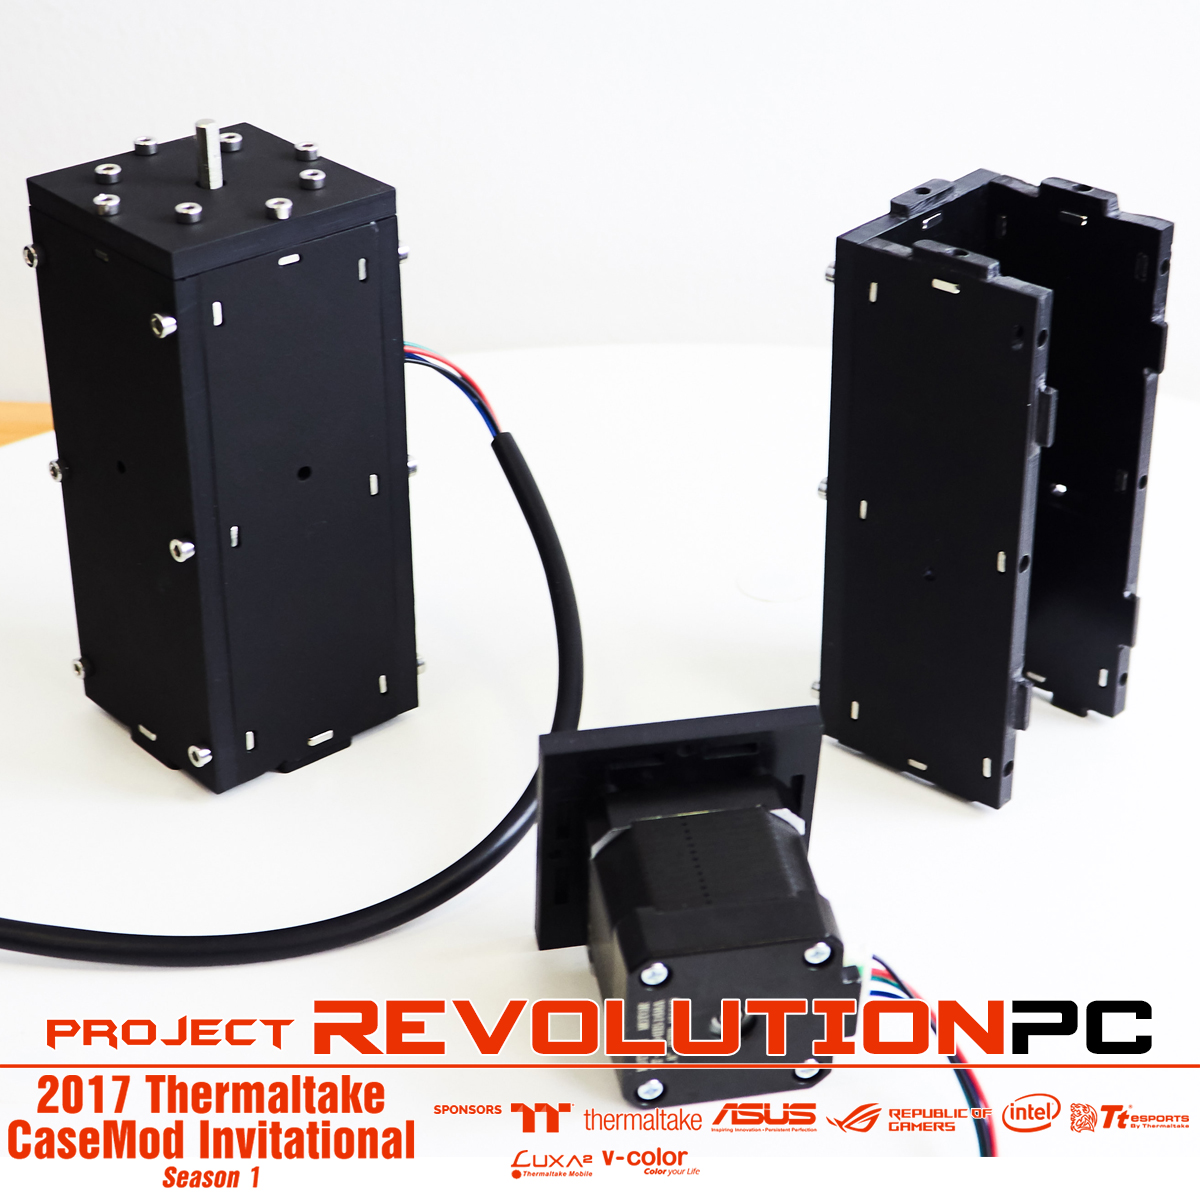
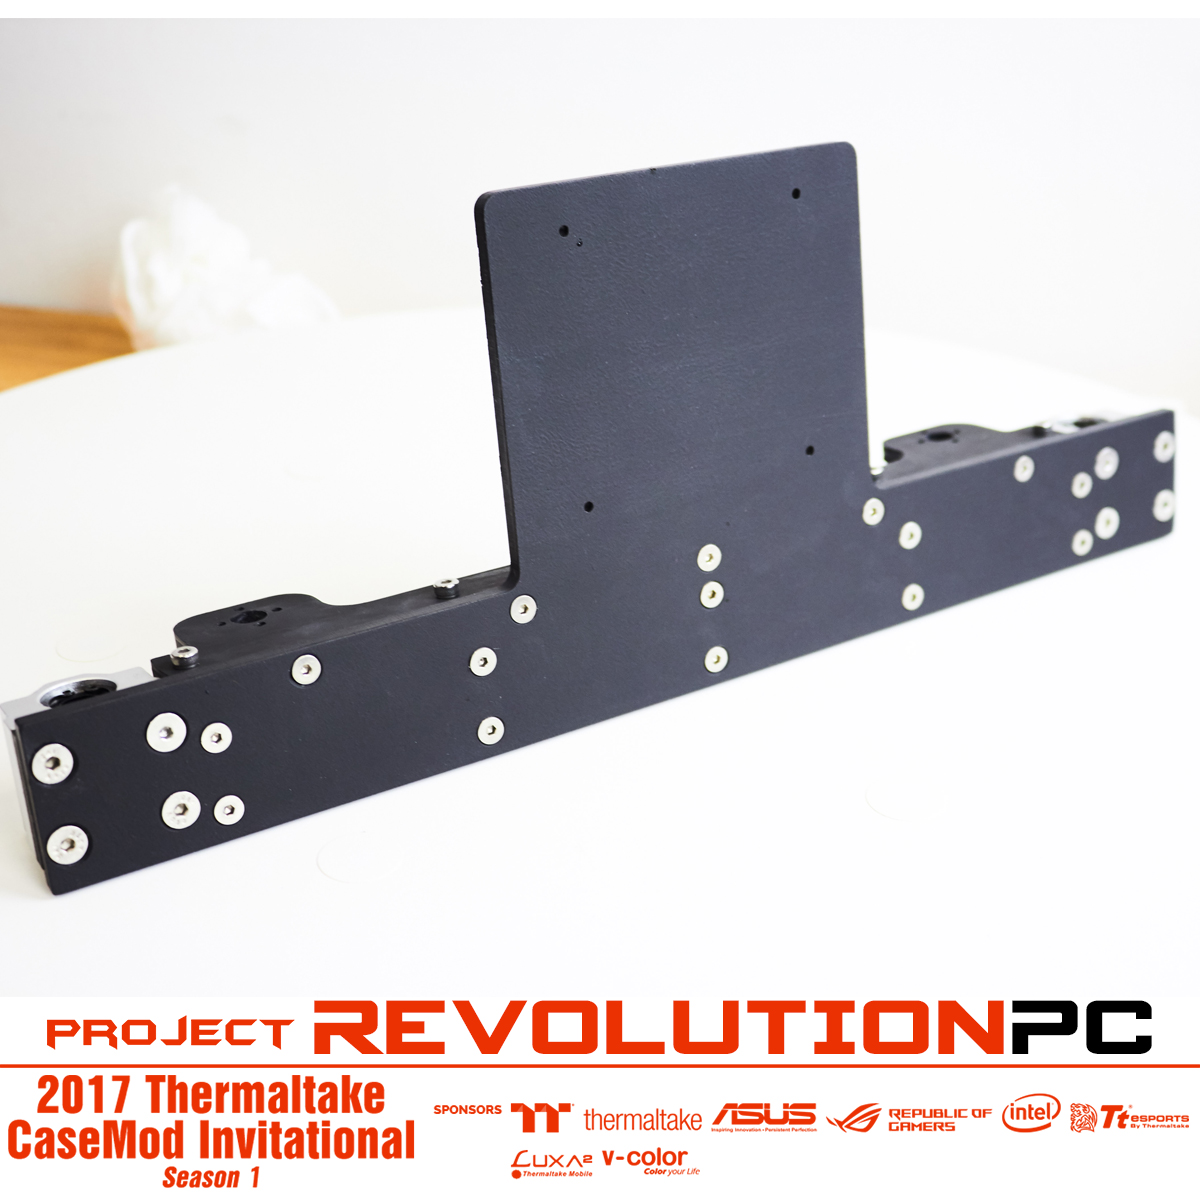
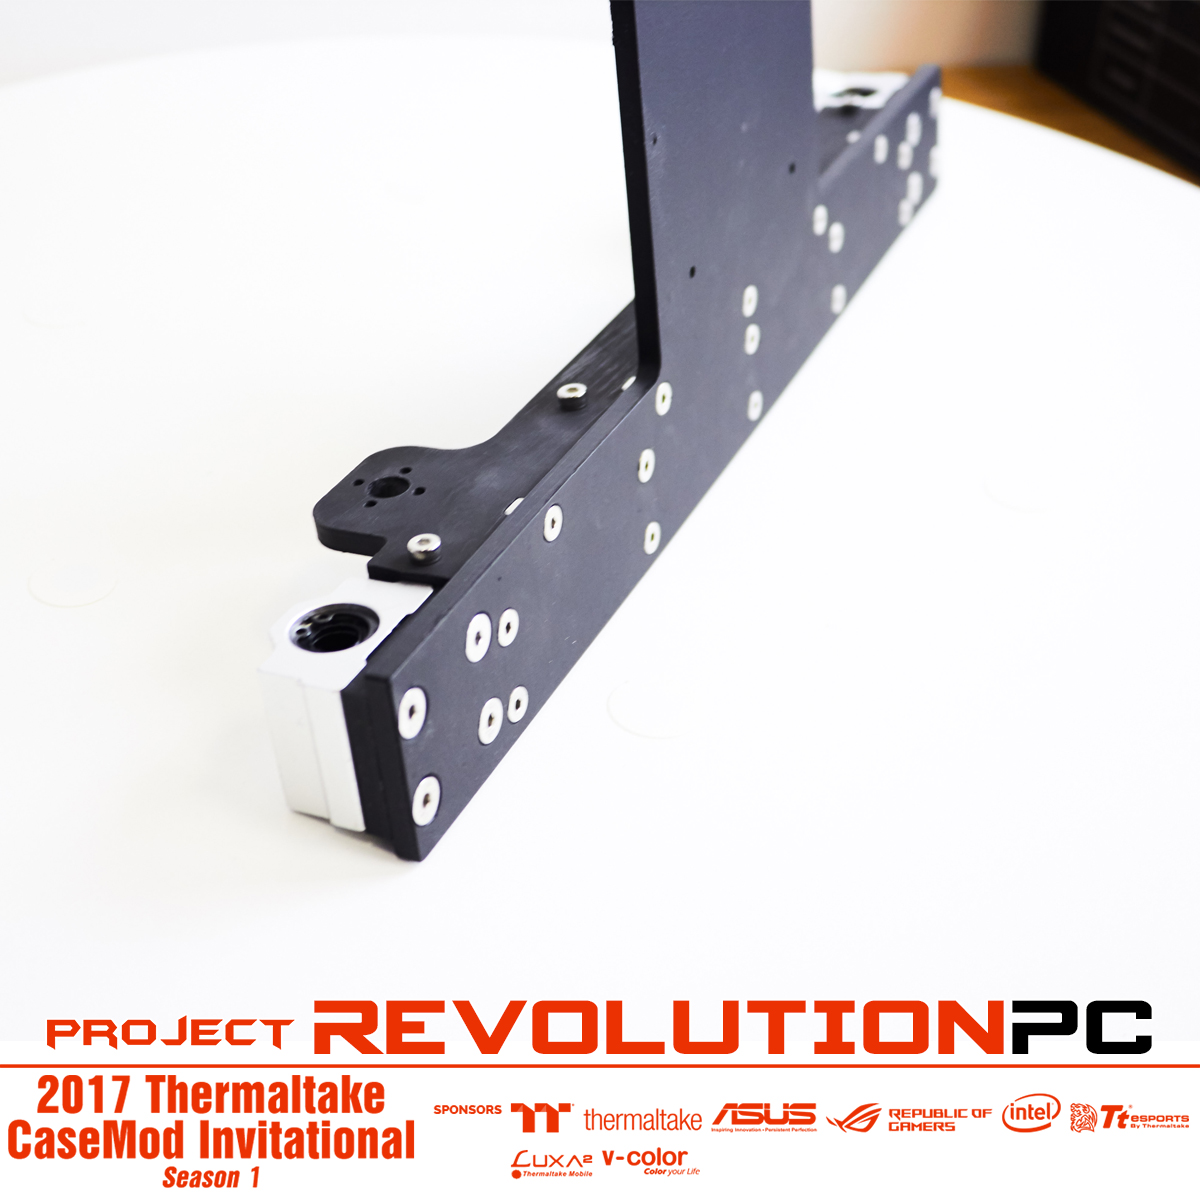
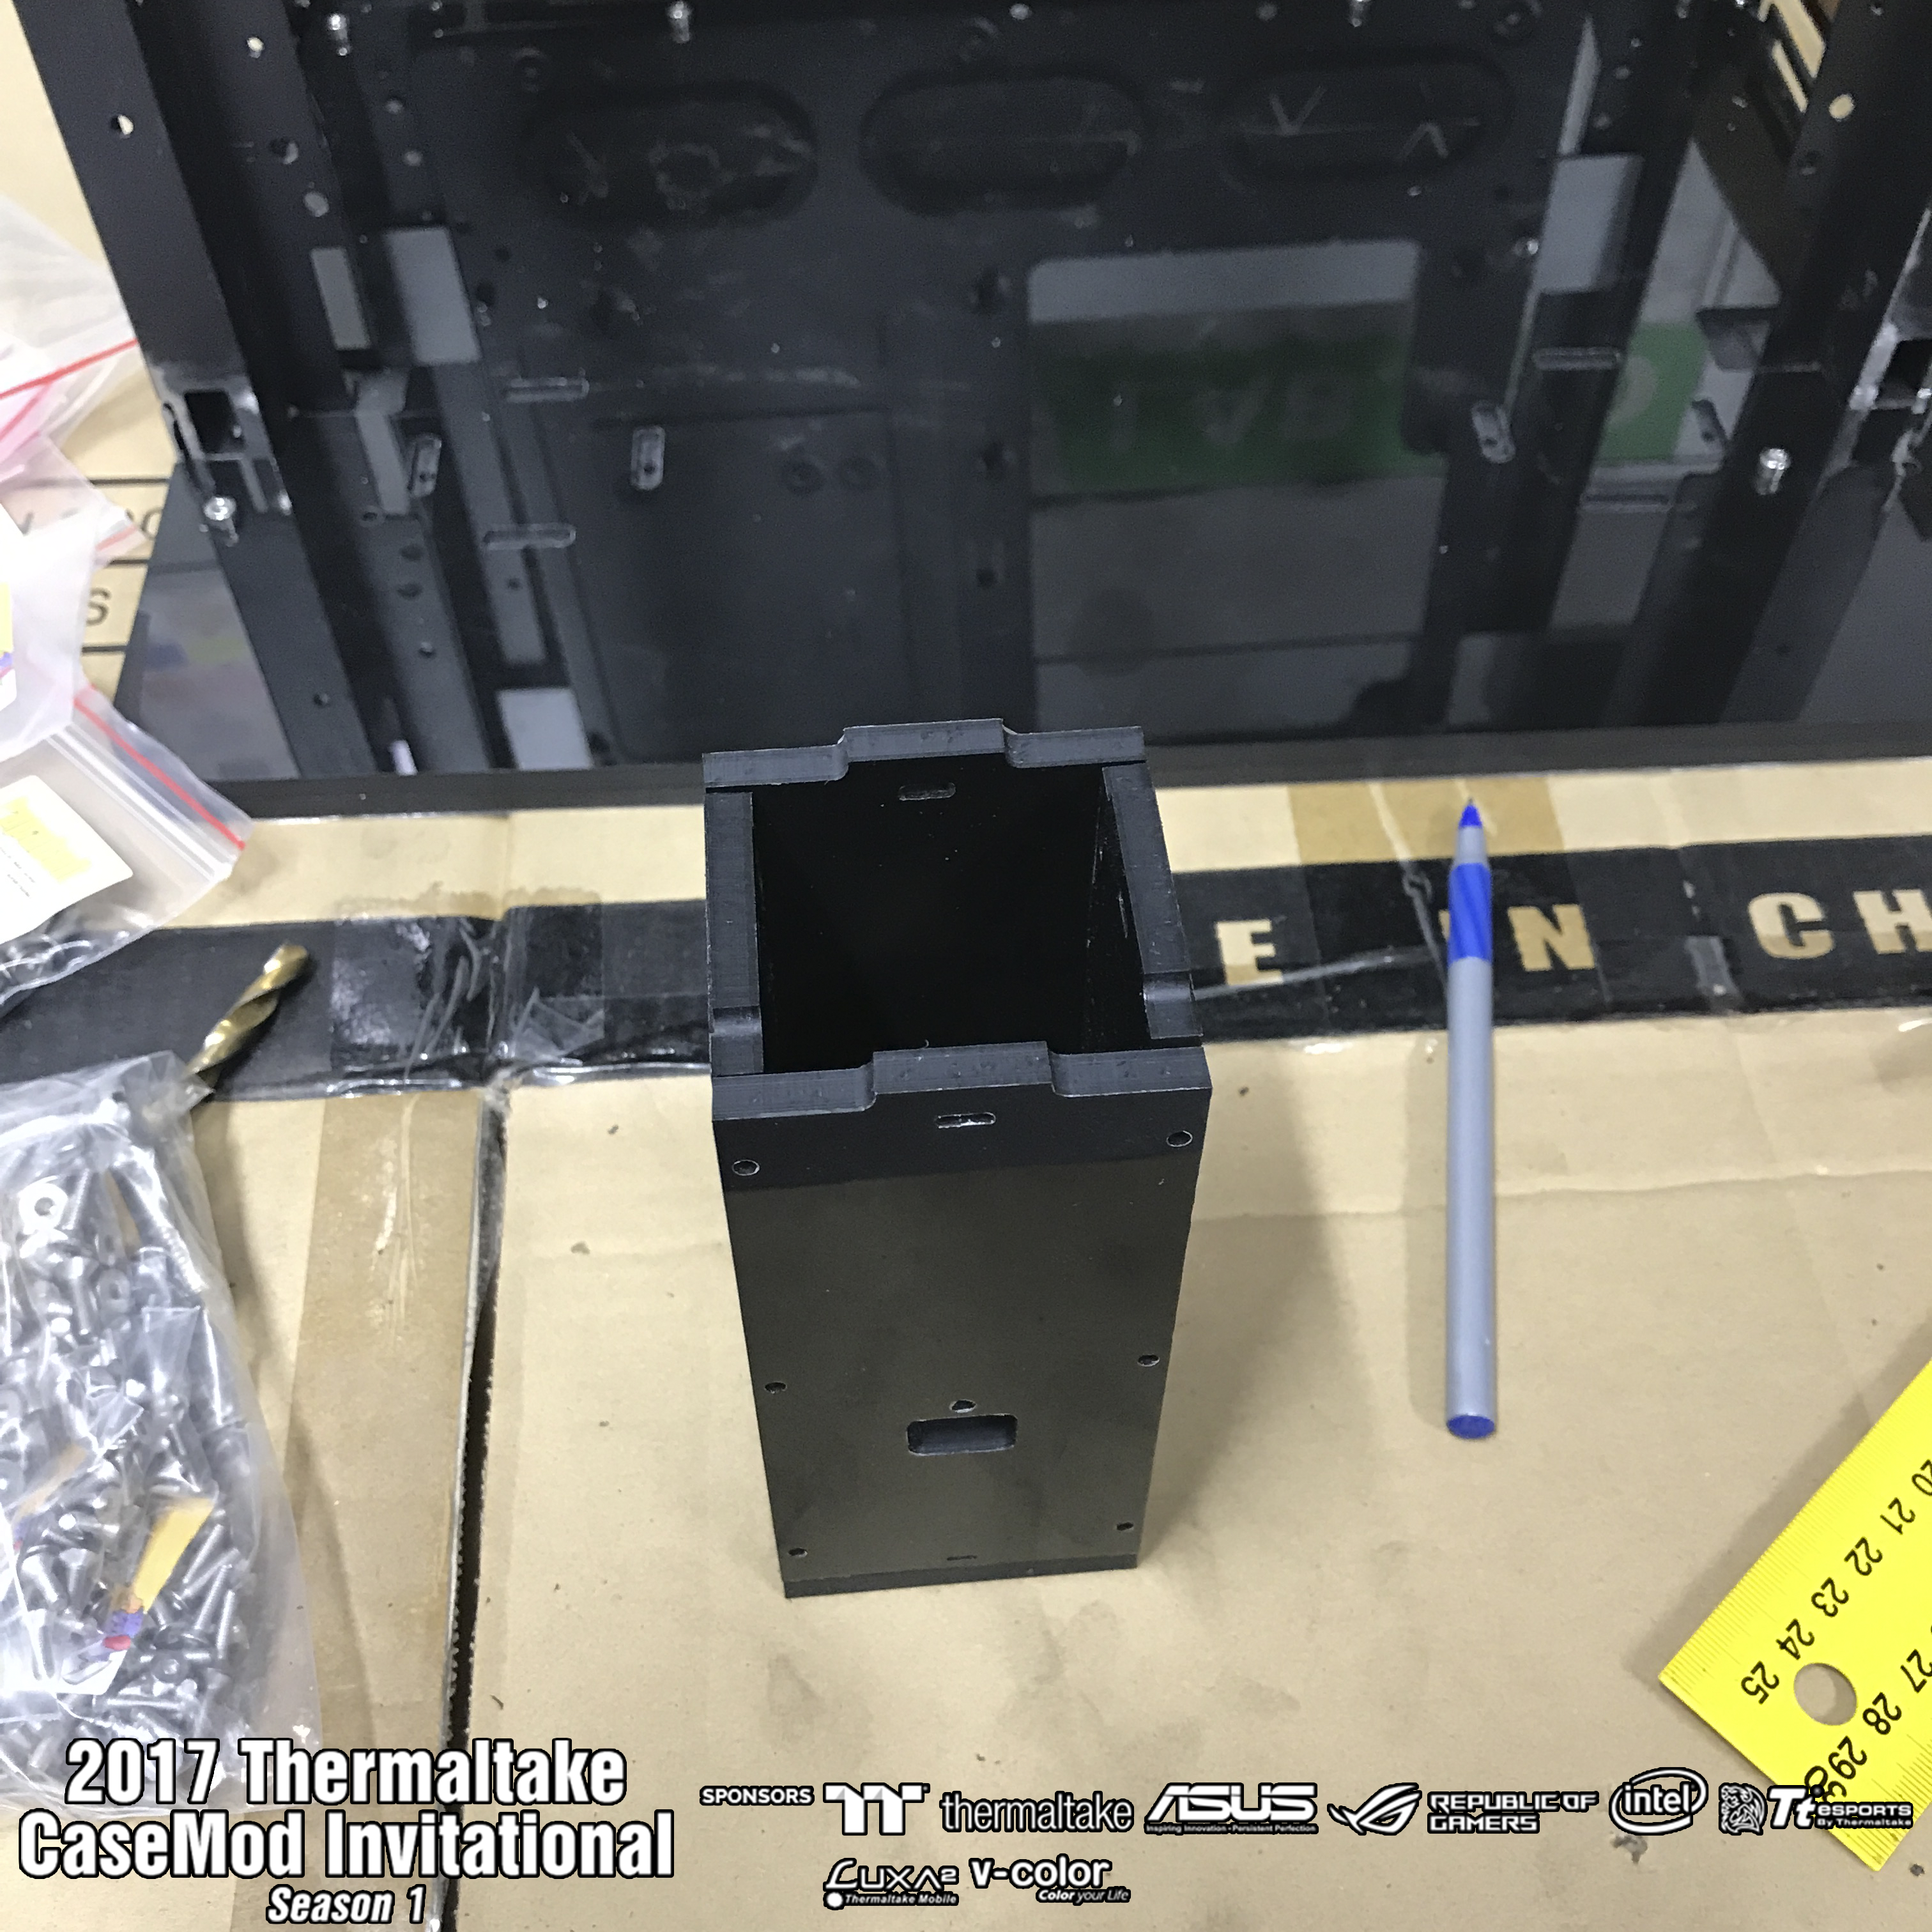
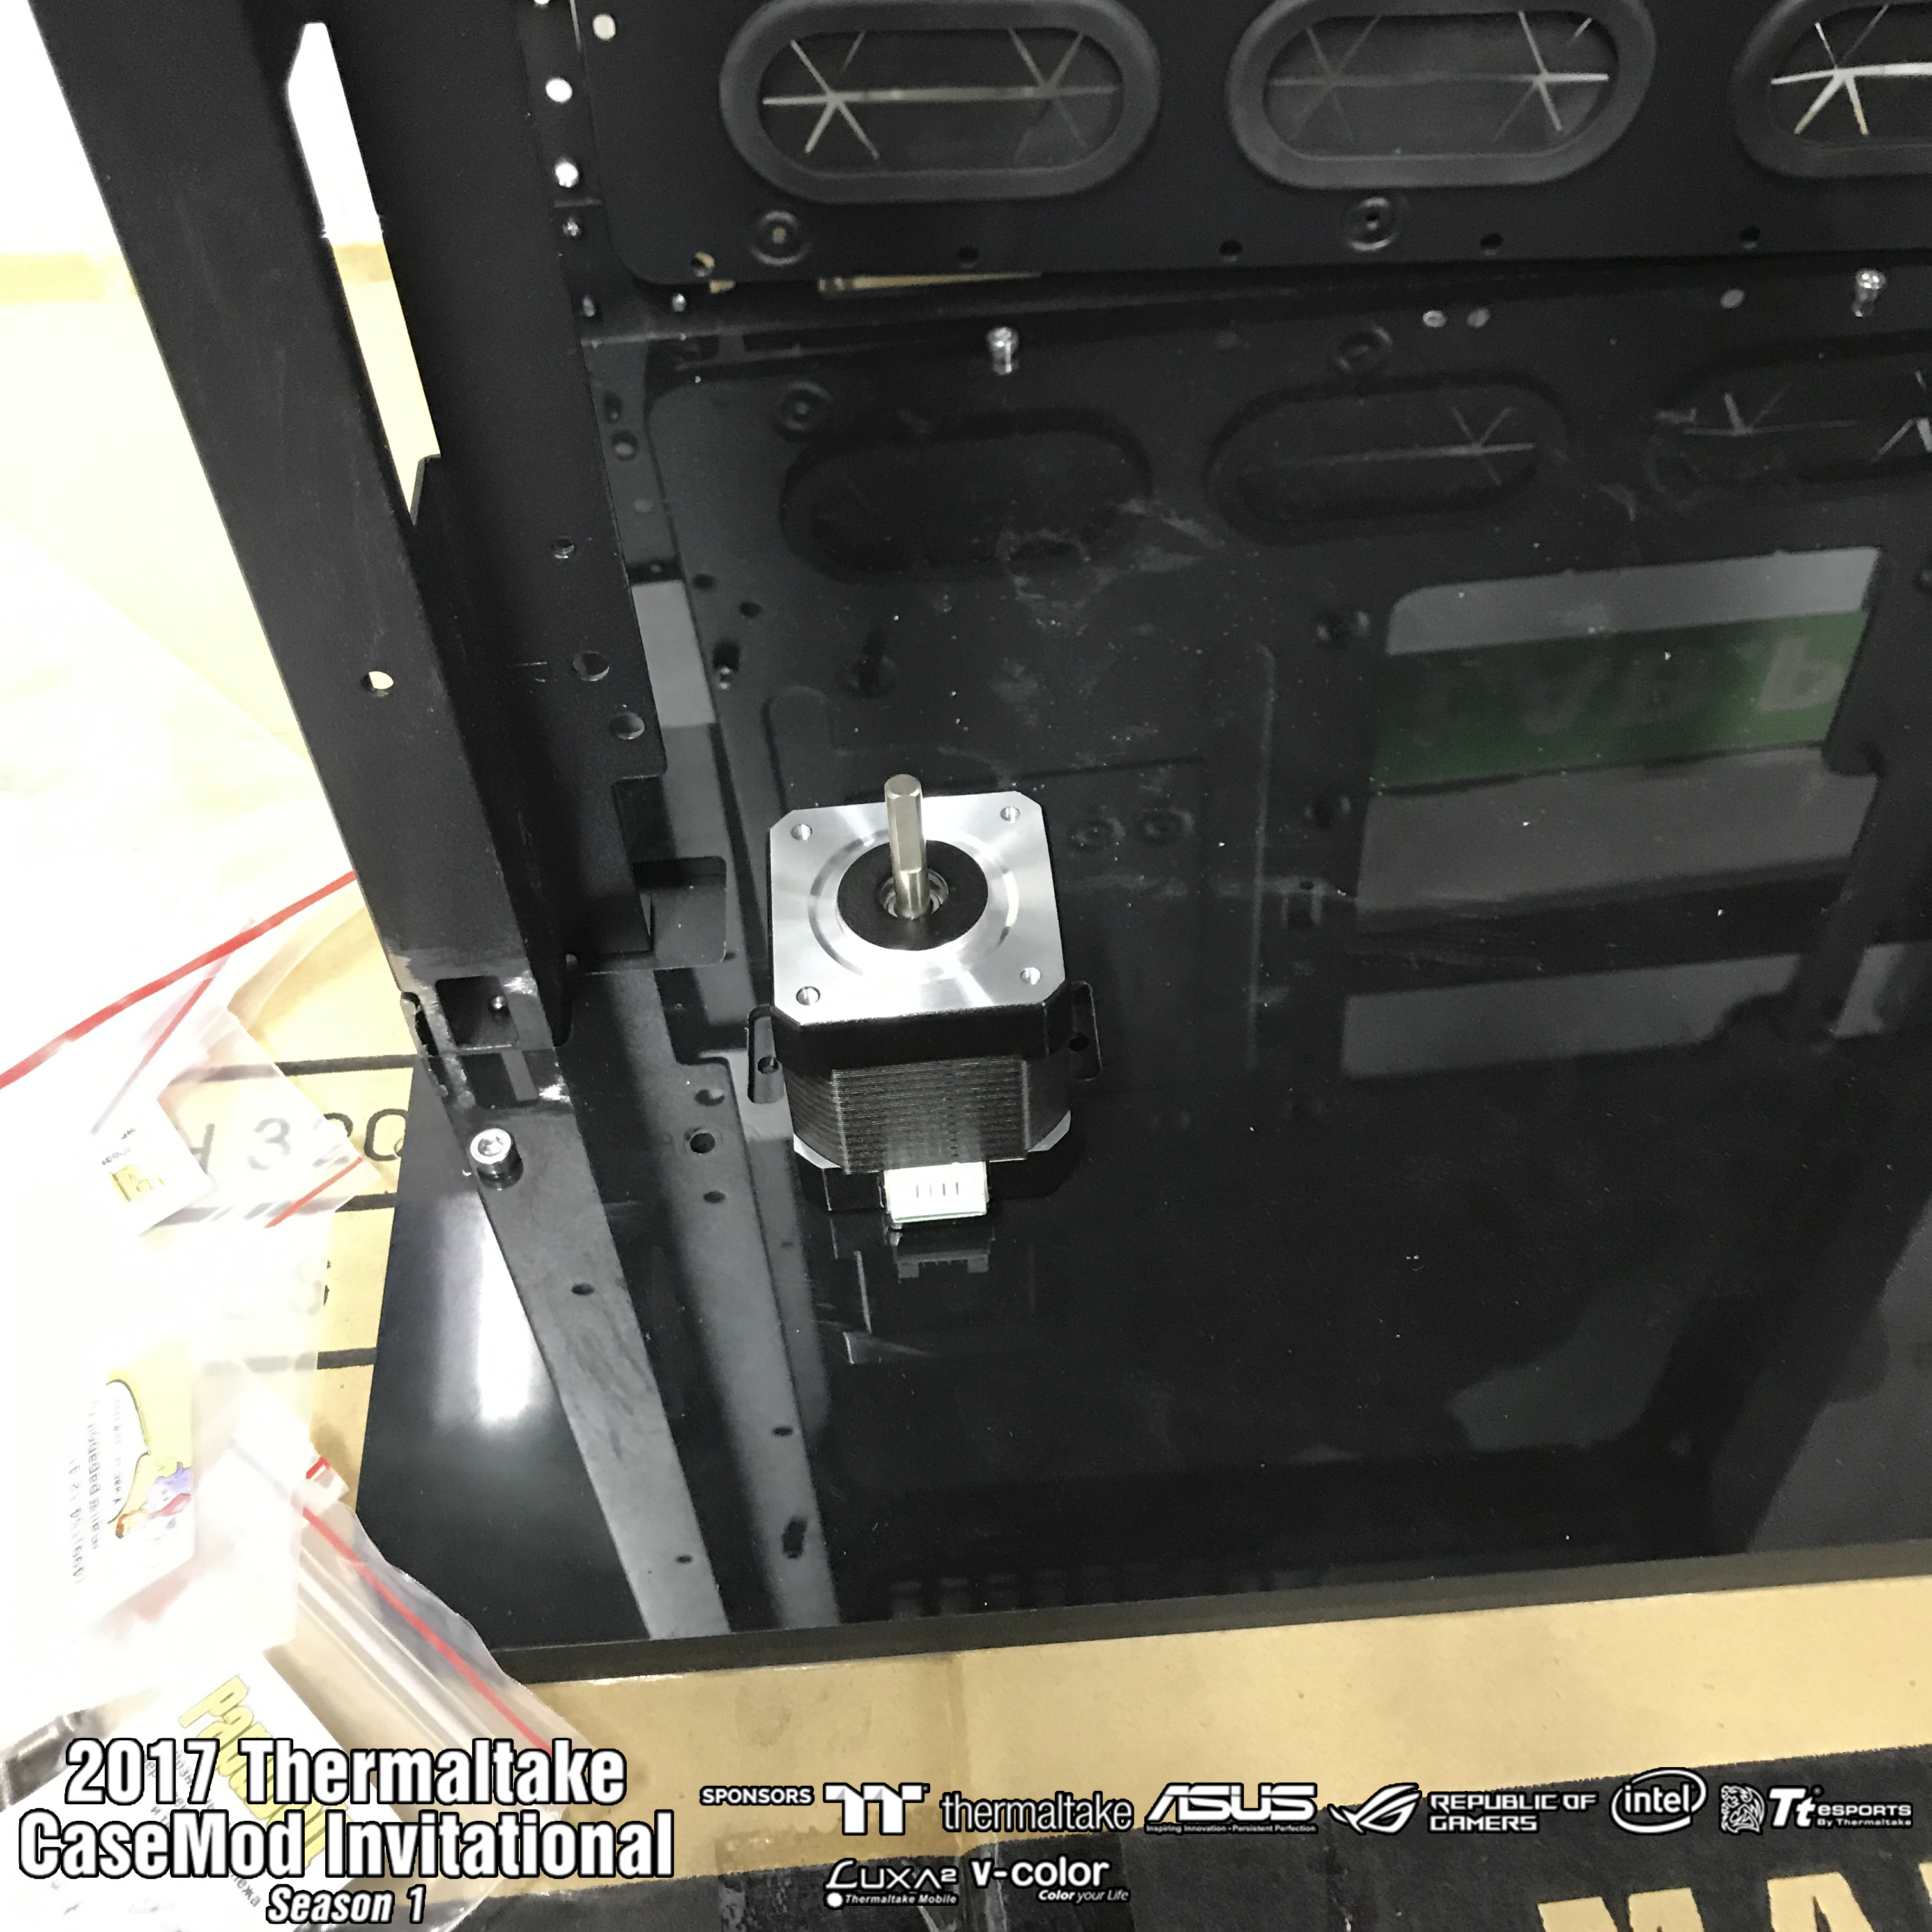
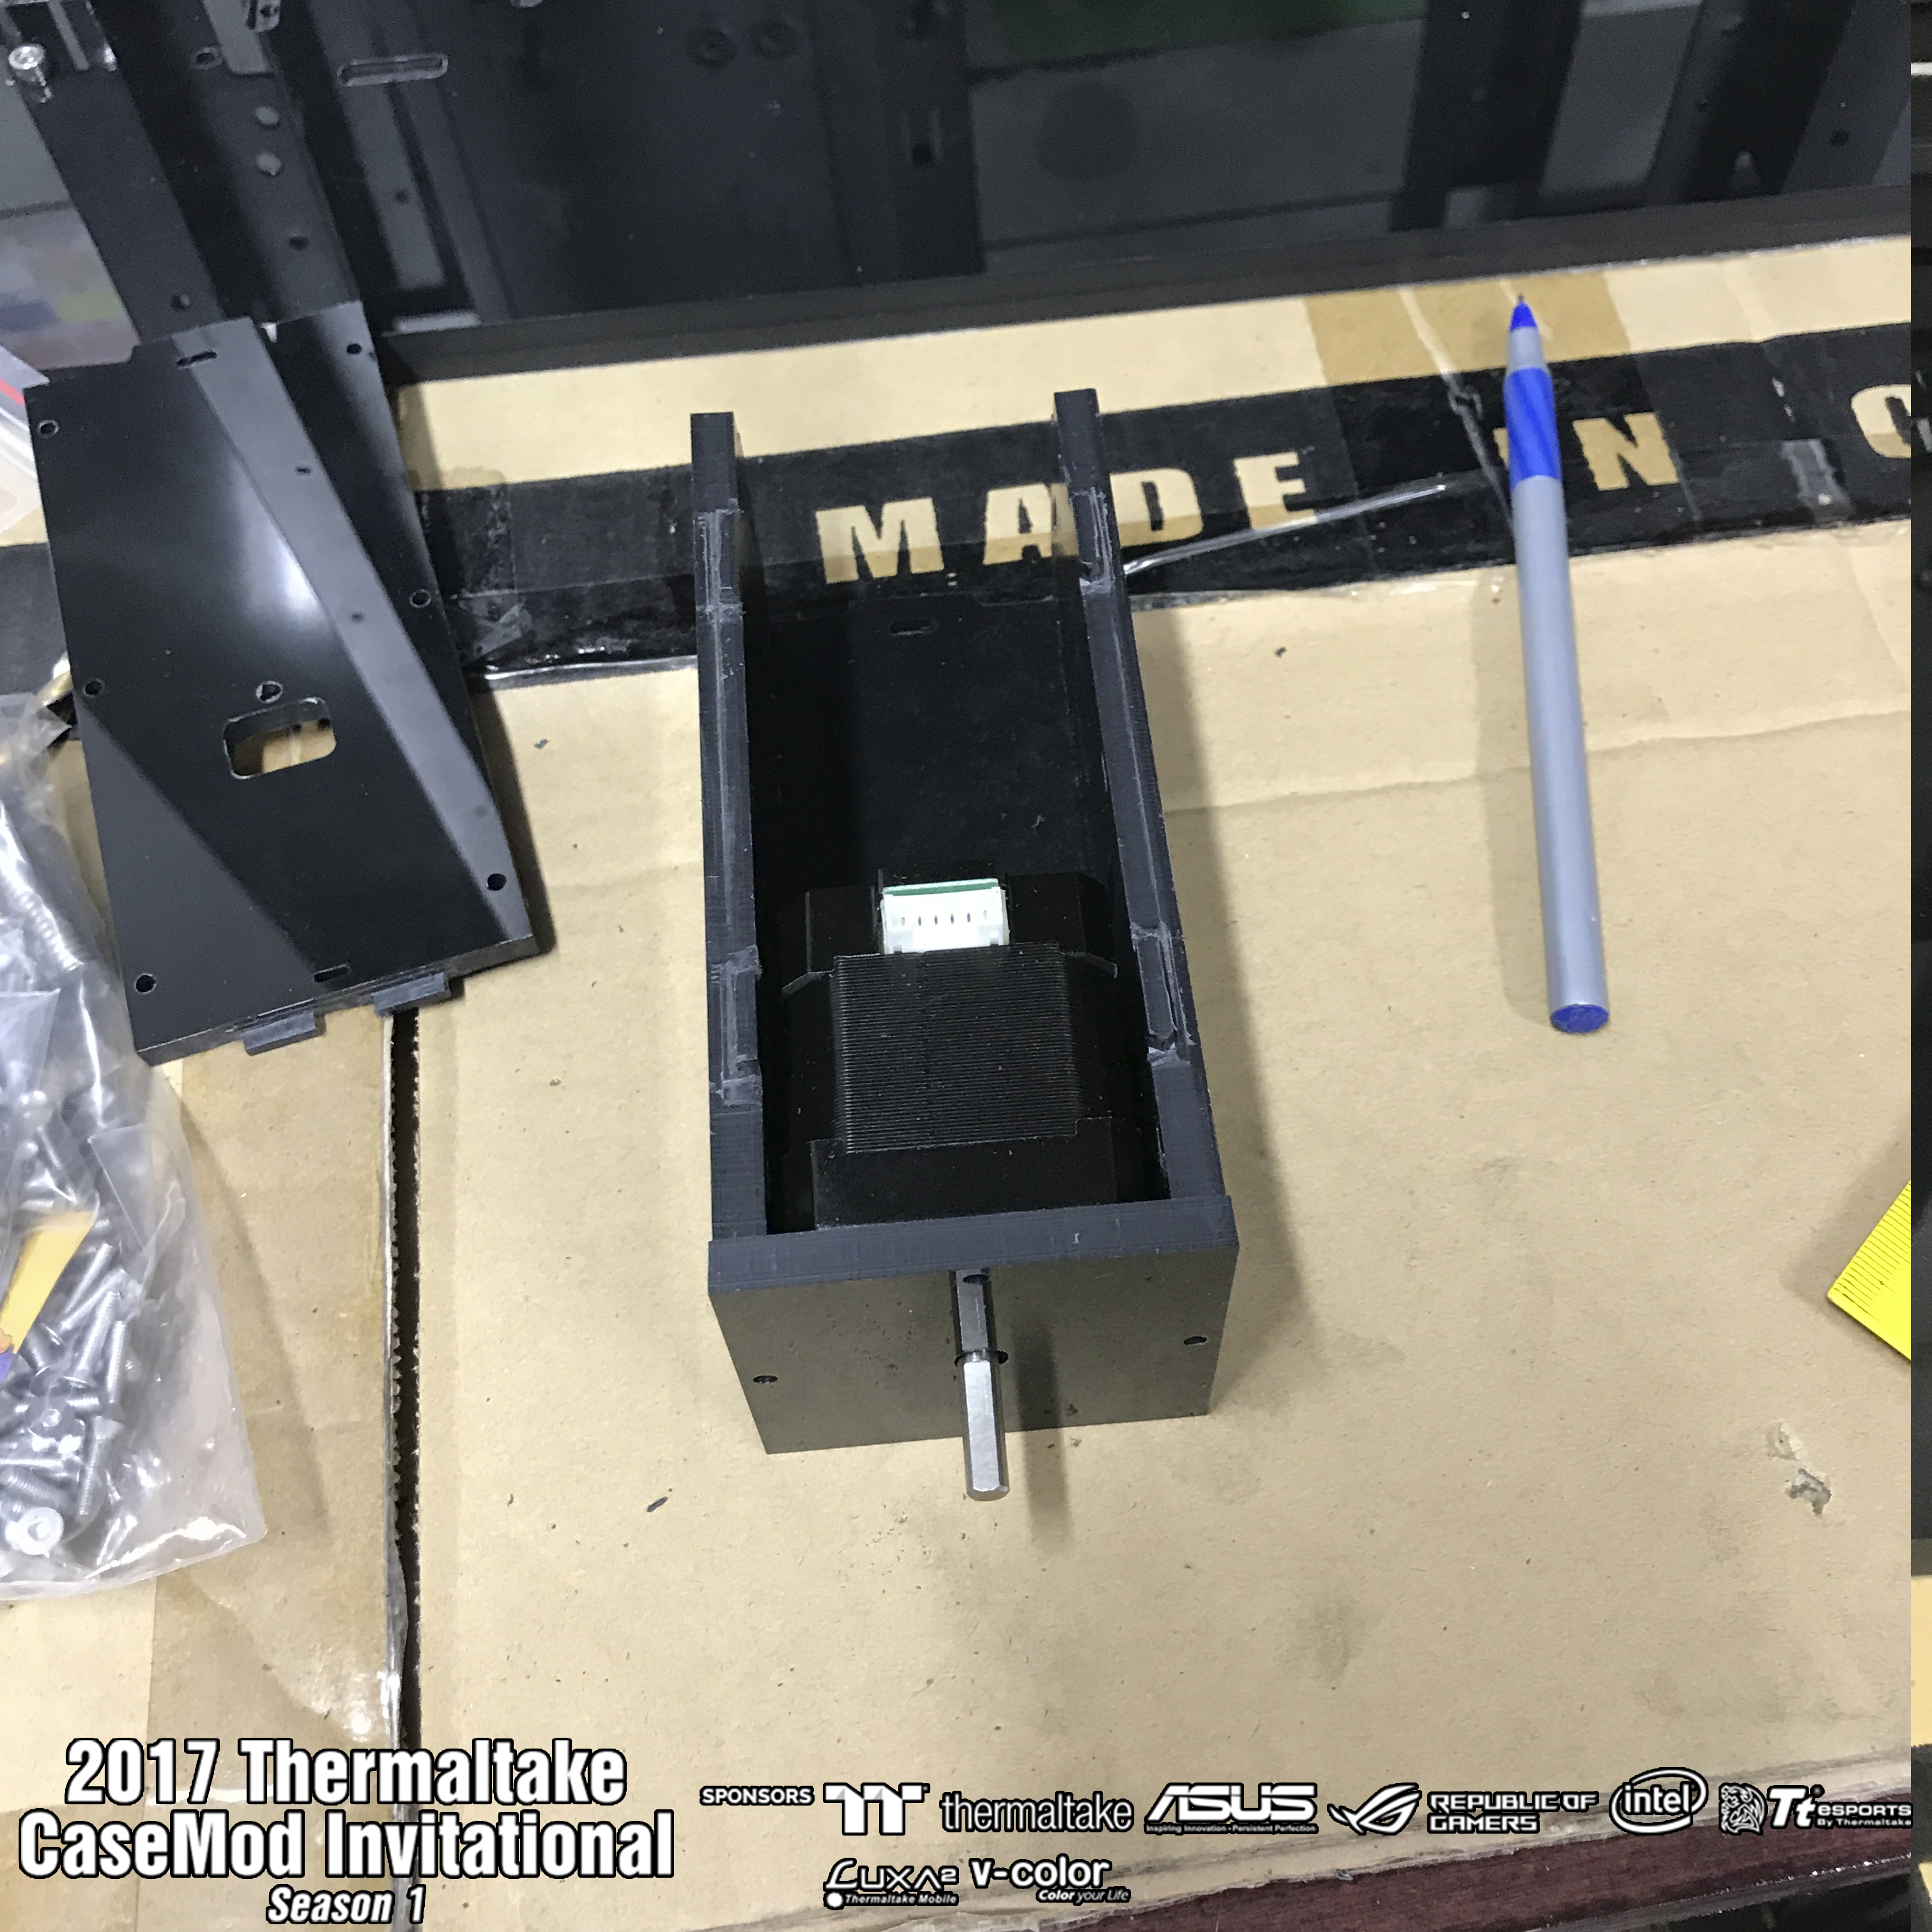
Before you start assembling the building, to assemble and install the engines for the lifting mechanism.
Accordingly, photos of the buildings in the analysis and collection below.
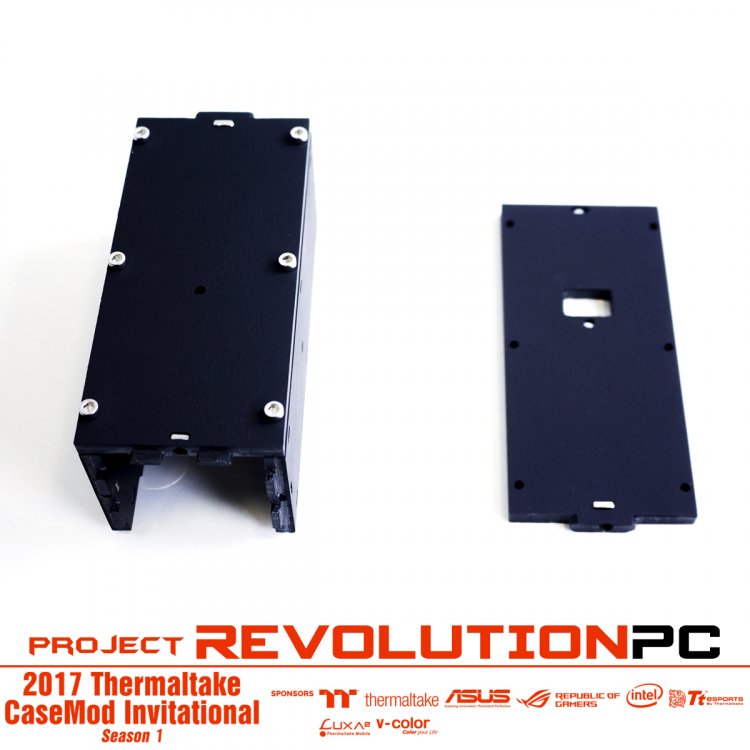
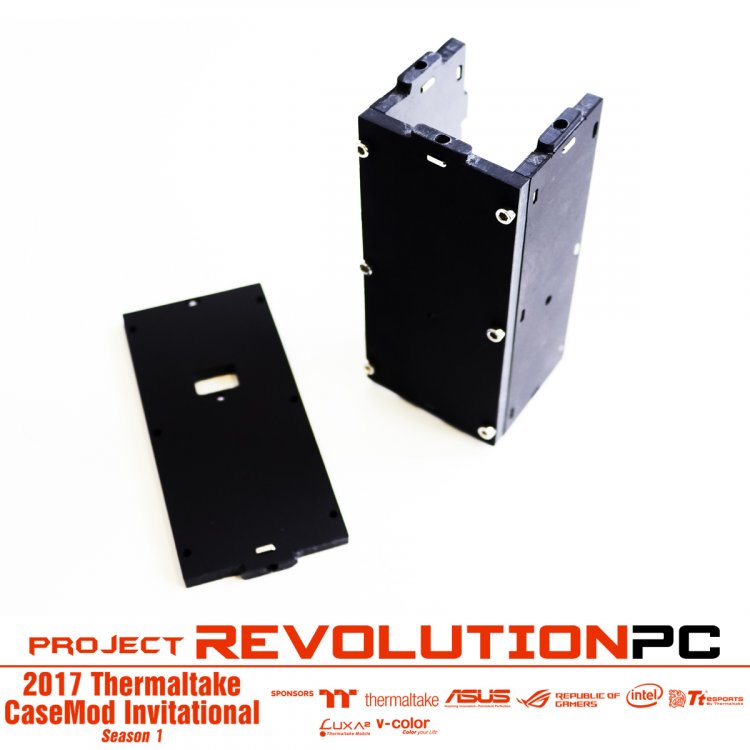

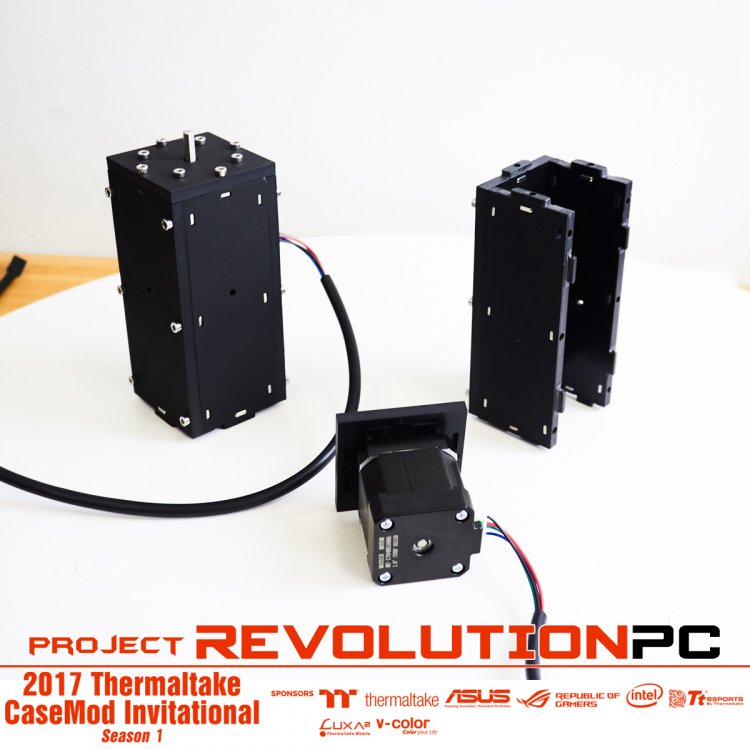
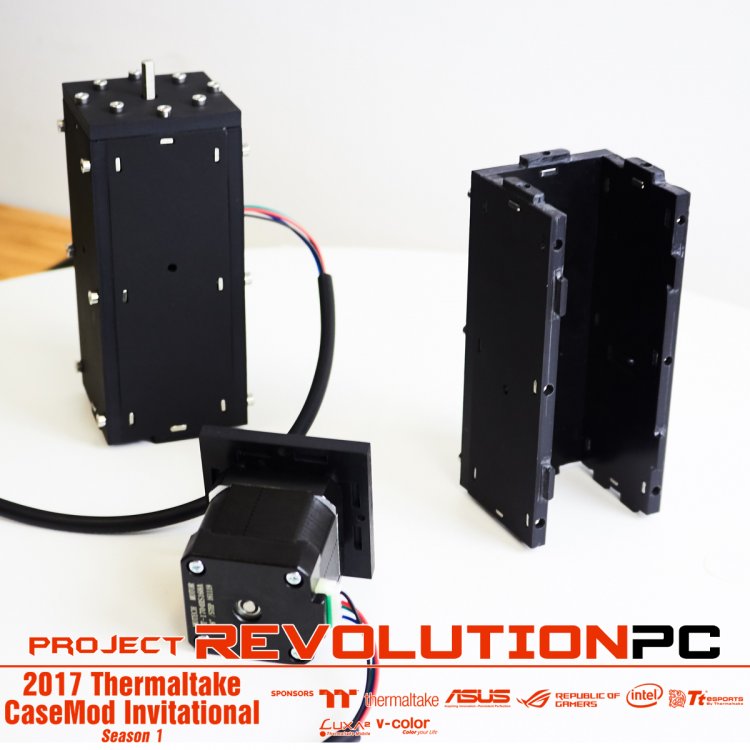

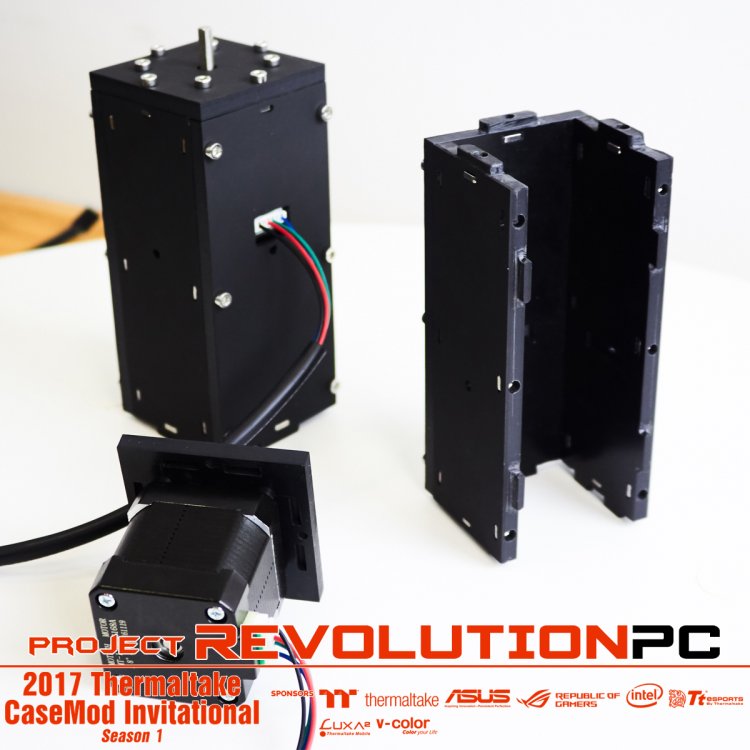
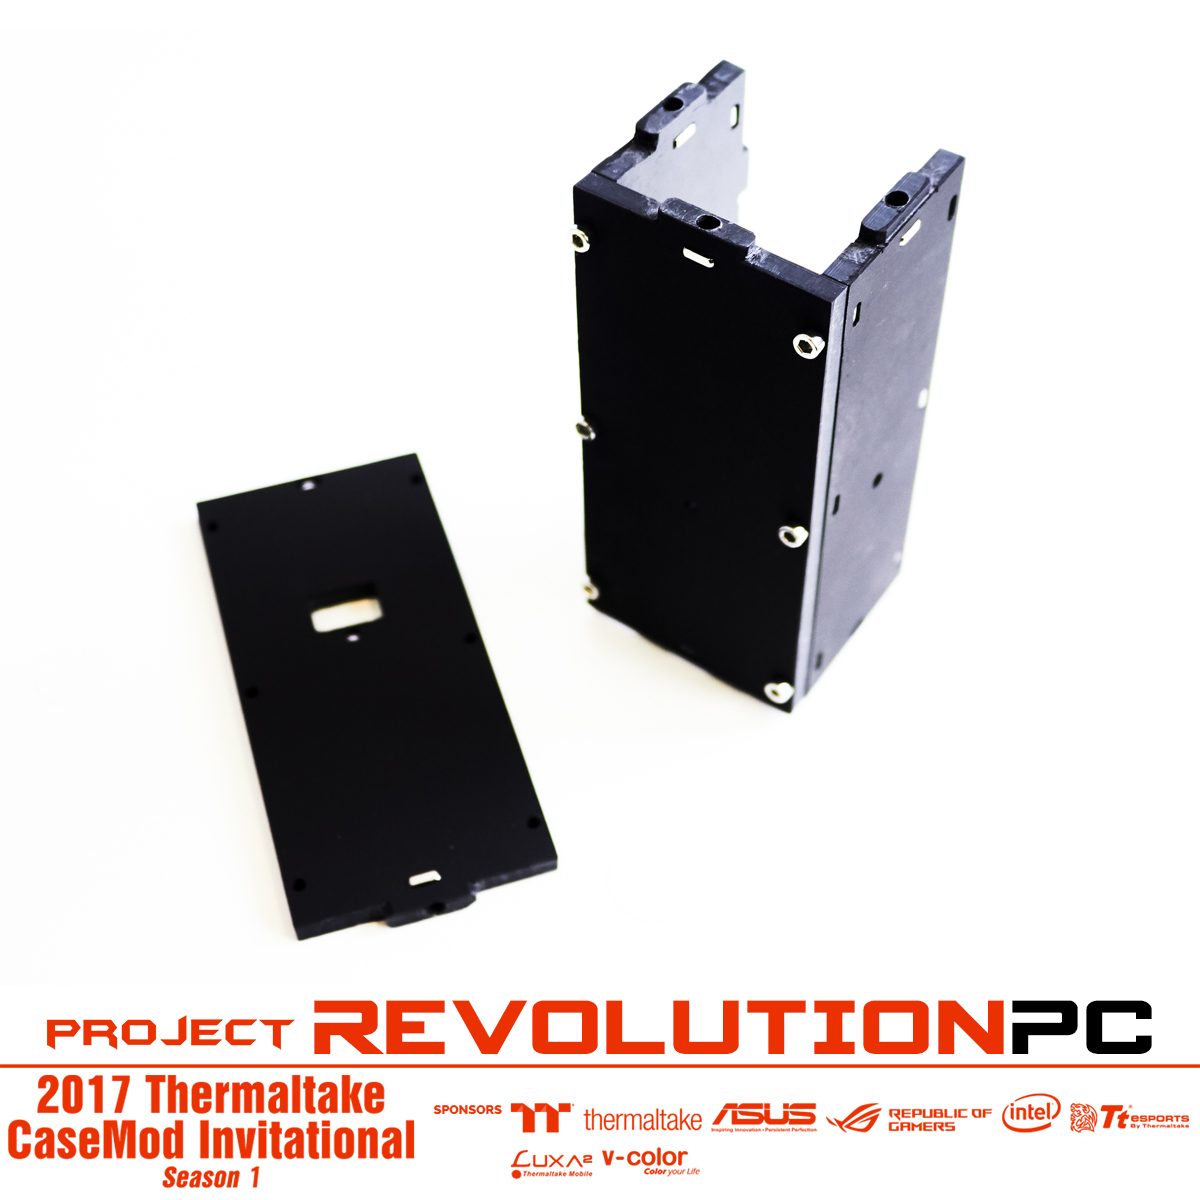
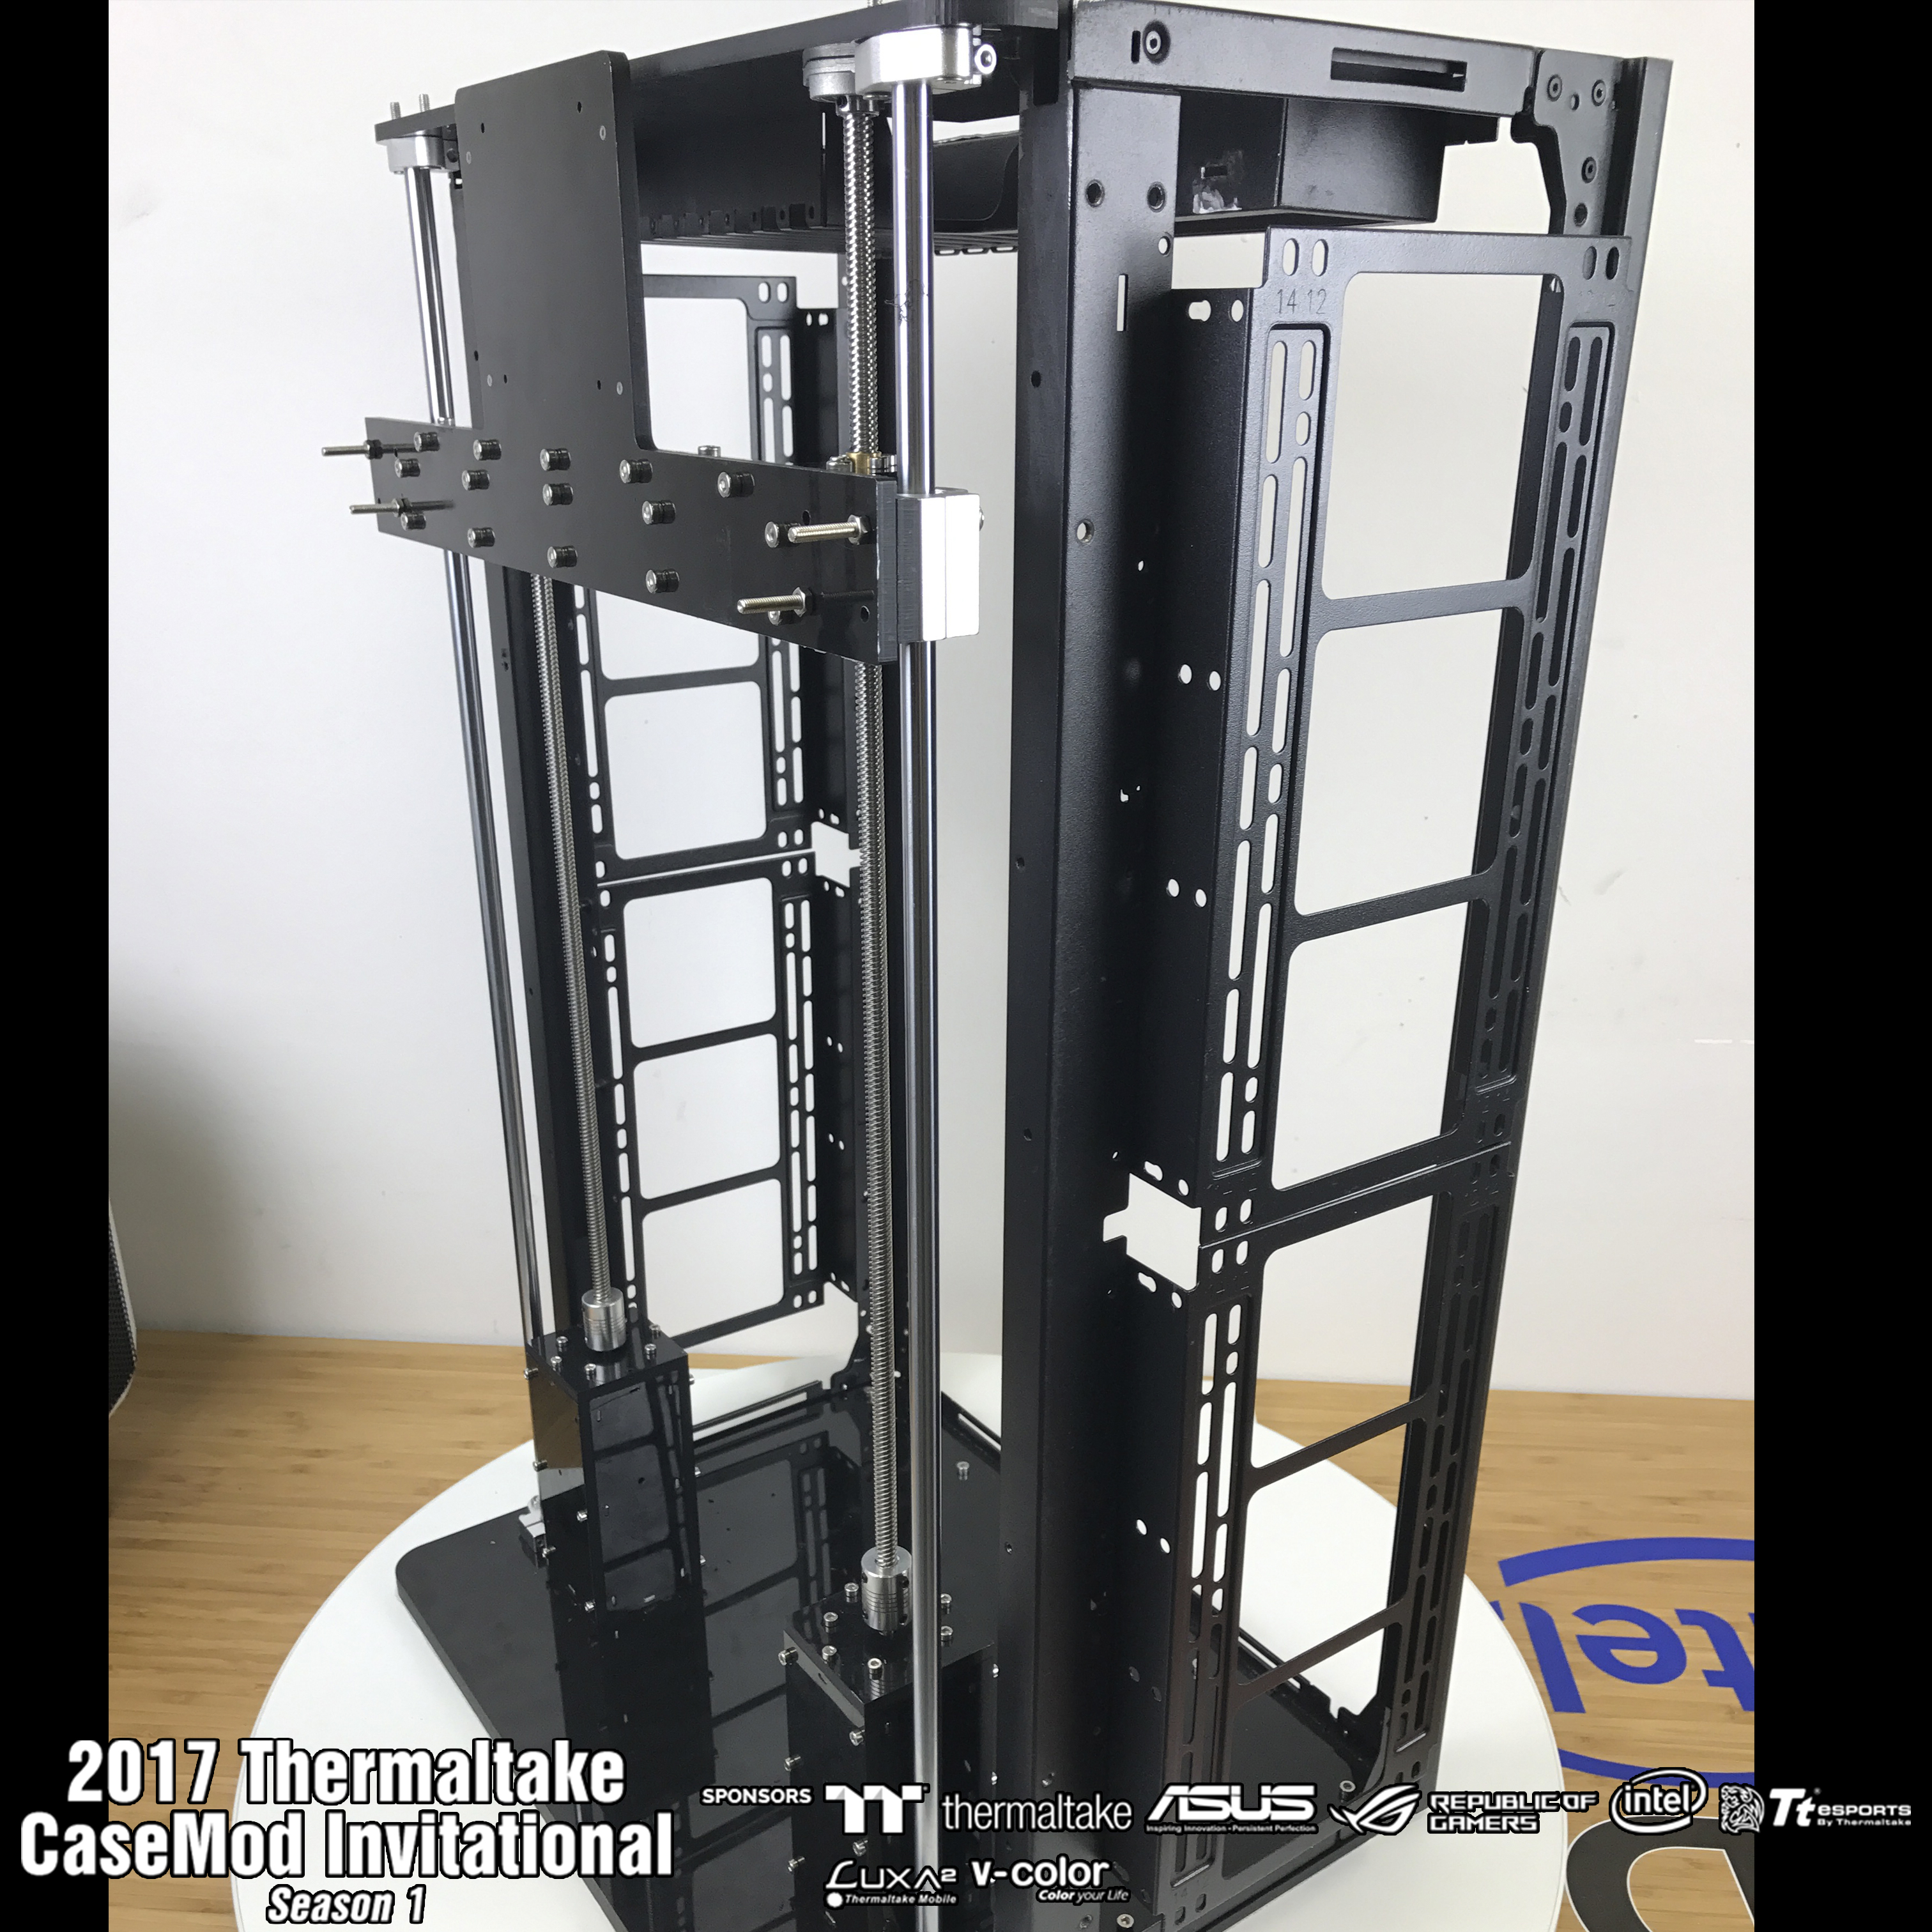
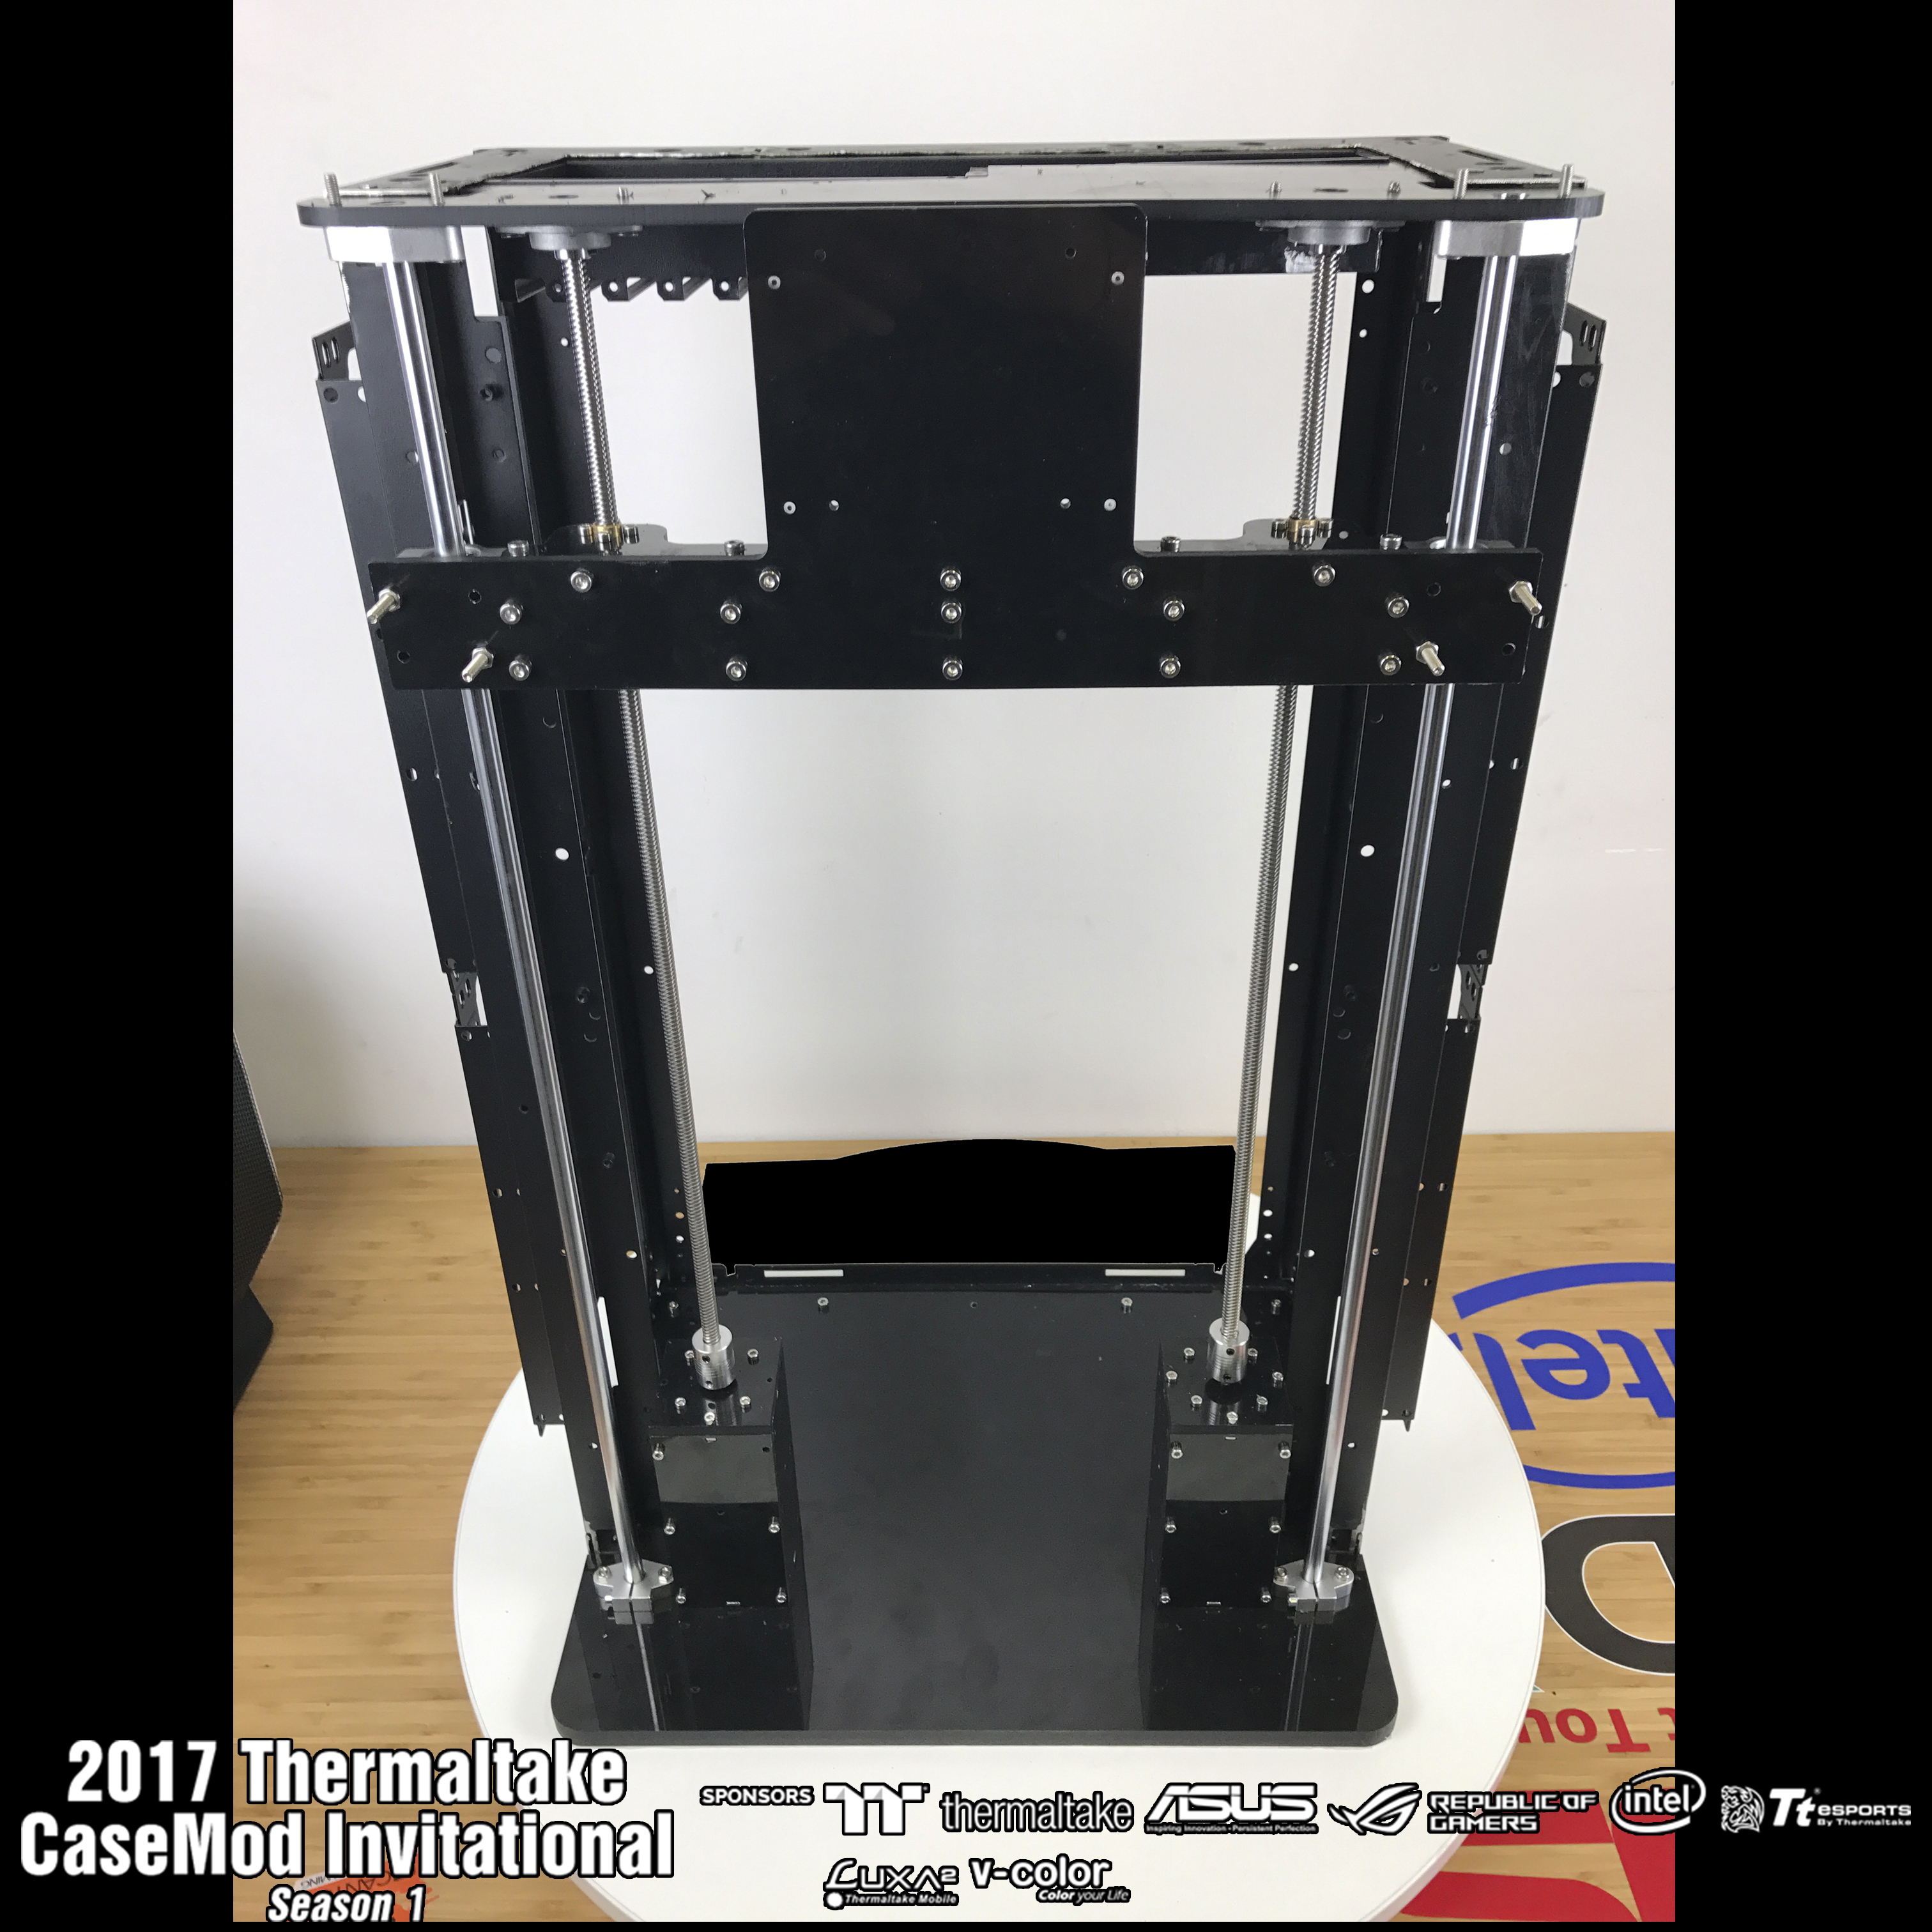
Further gathered guide where you will attach the monitor to establish mechanisms for shafts. Traditionally the photo below.

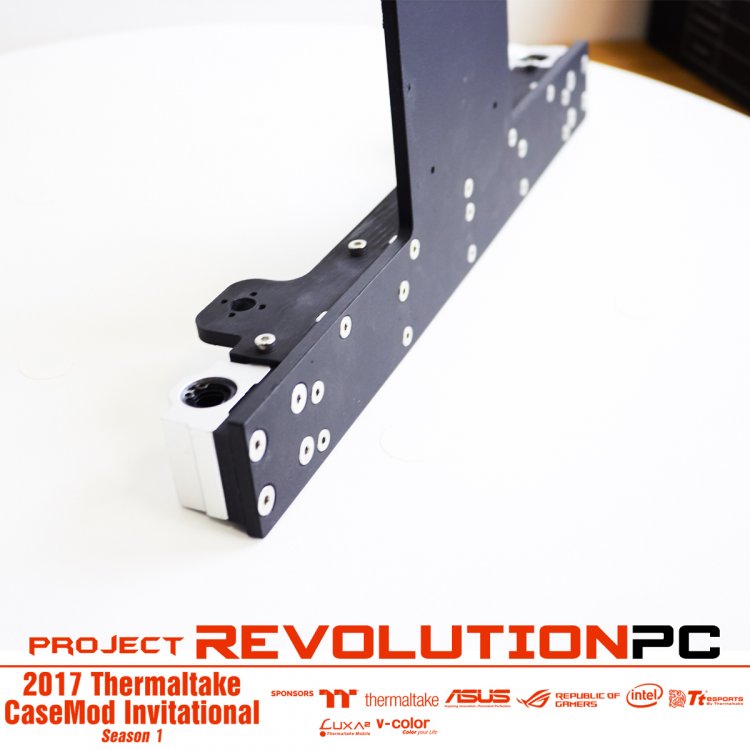
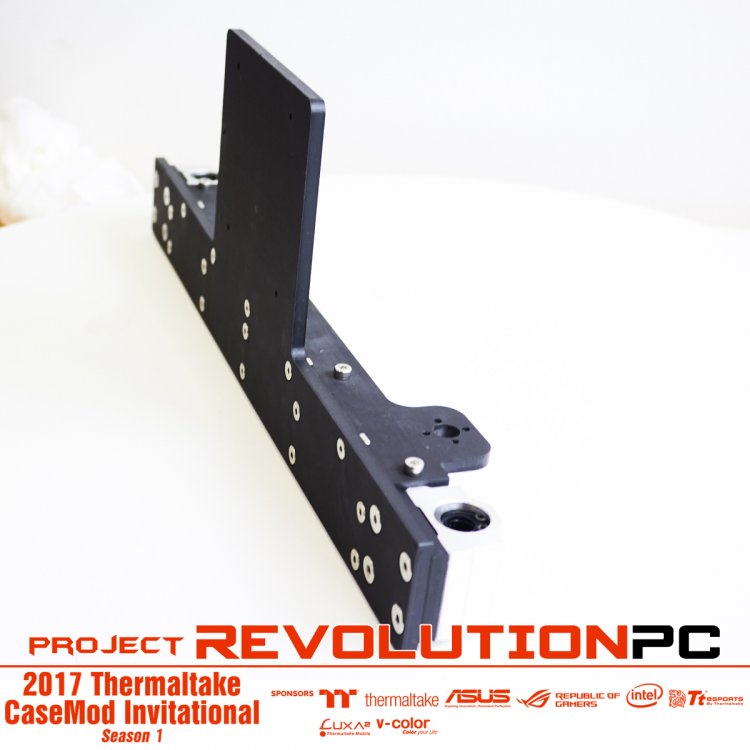
It now remains to mount all began with the Assembly of panels and installation of fixing arrangements for guides photo also below)


-
On 02.06.2017 at 11:16 AM, bundymania said:
Good Luck in the competition !
Thank You!
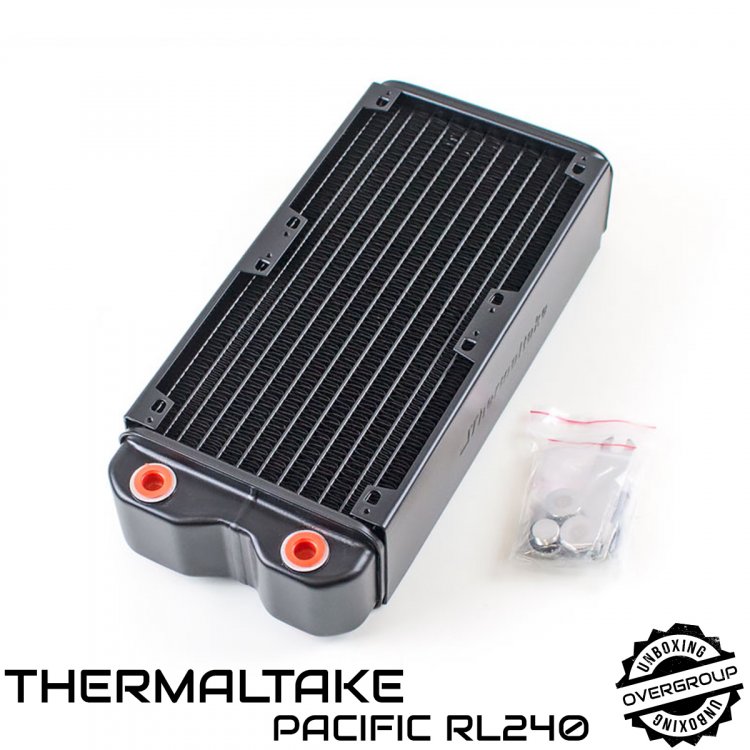
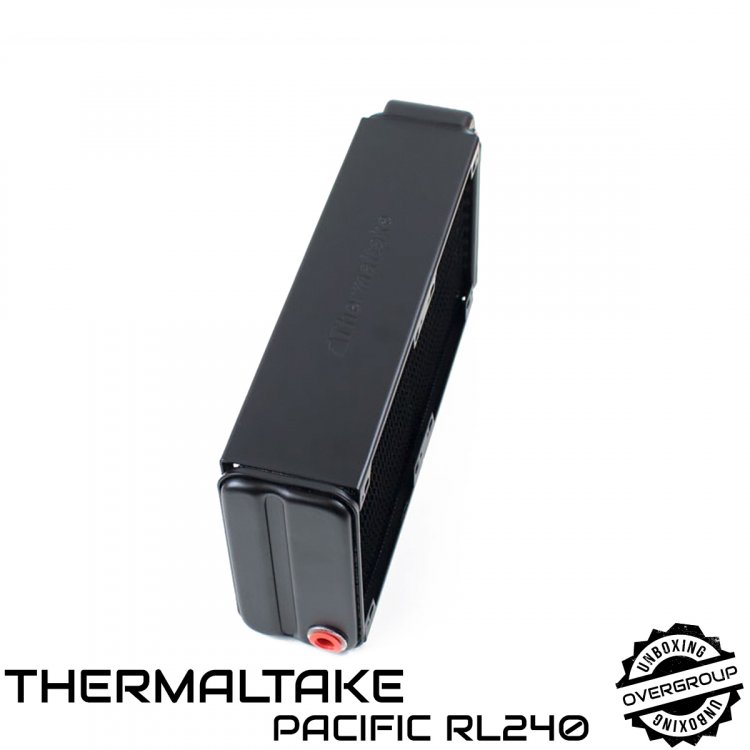
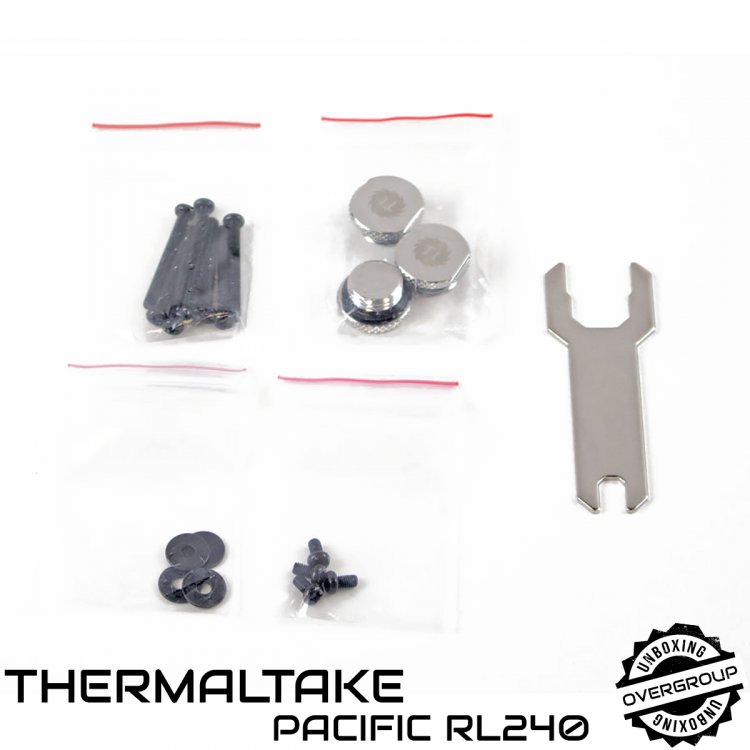
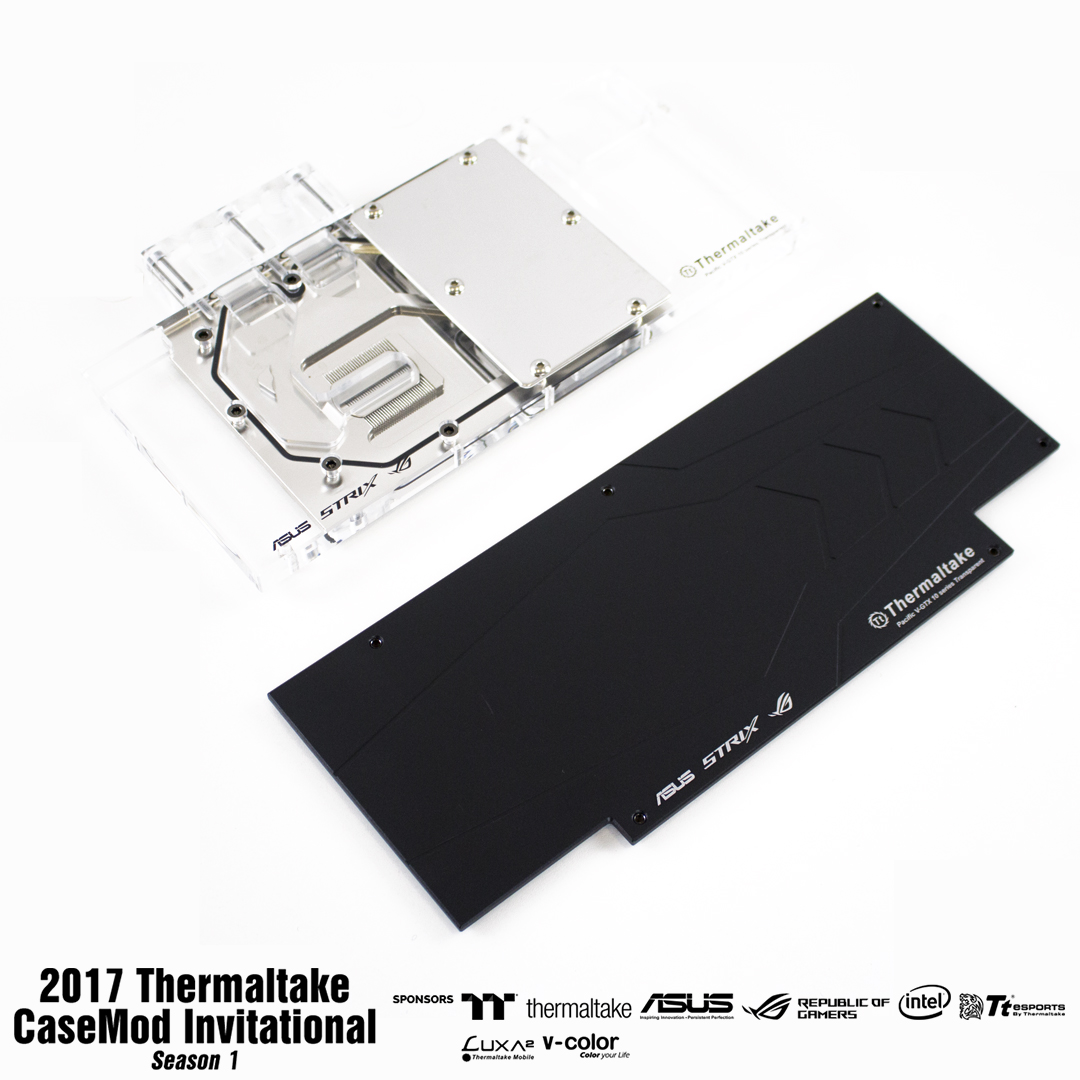
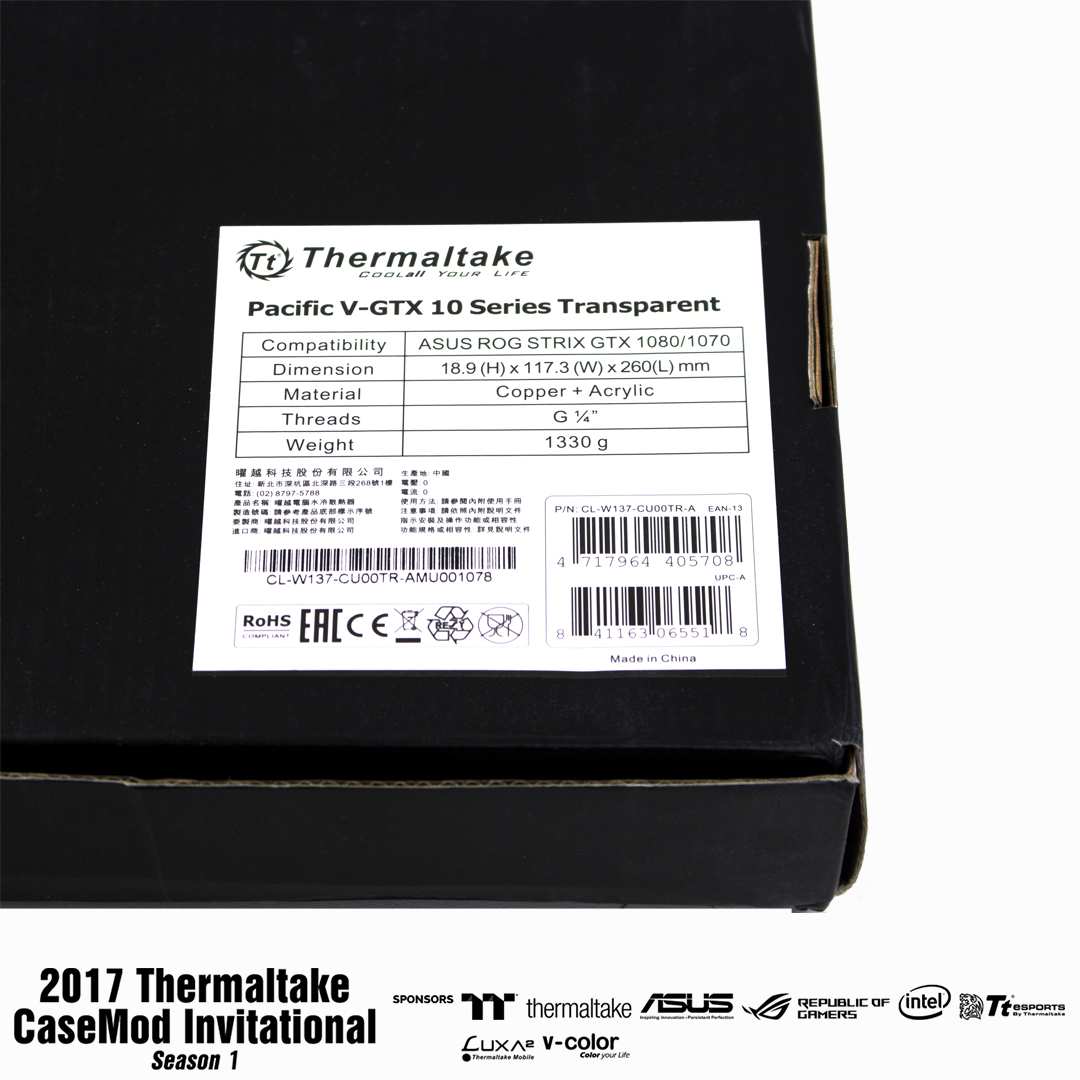
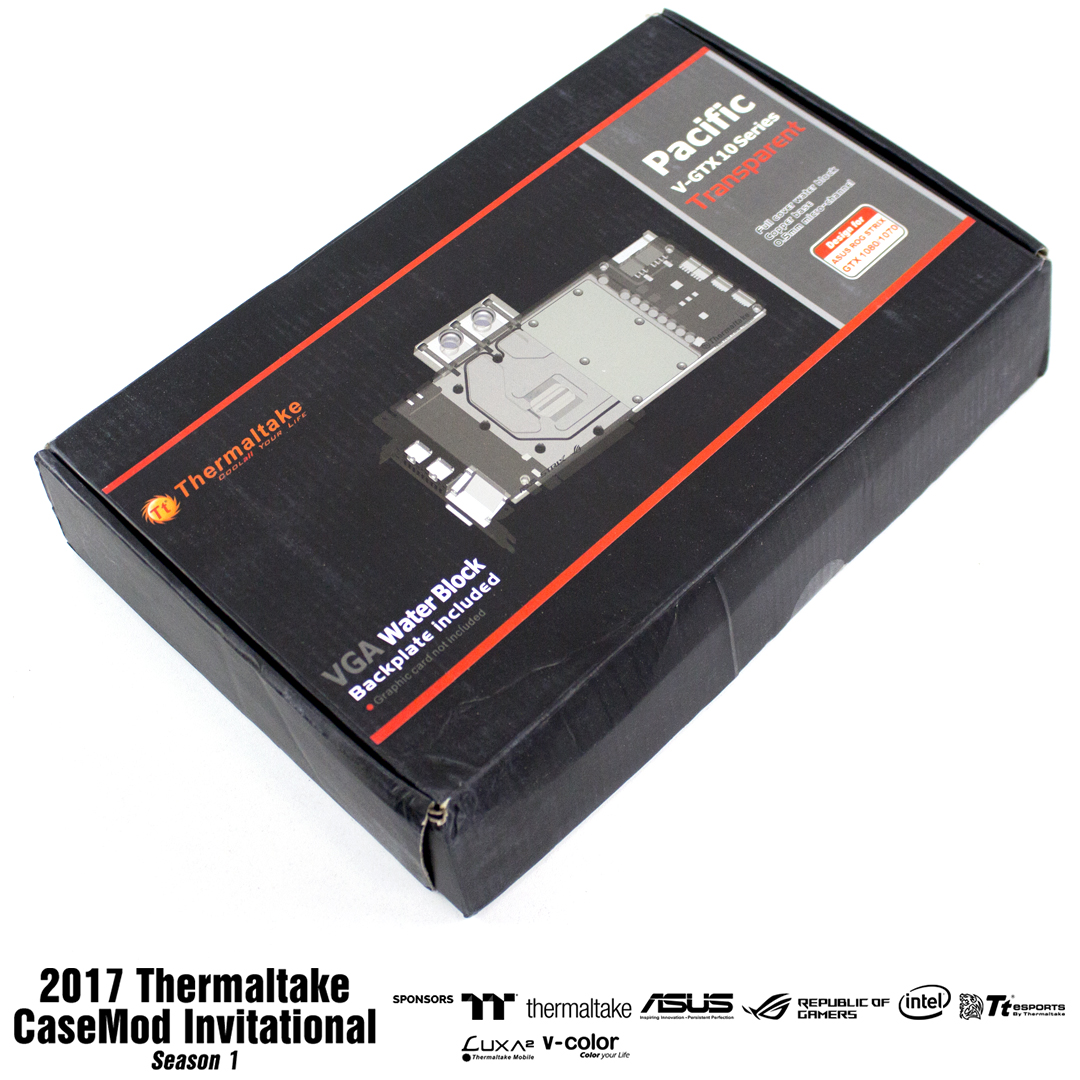
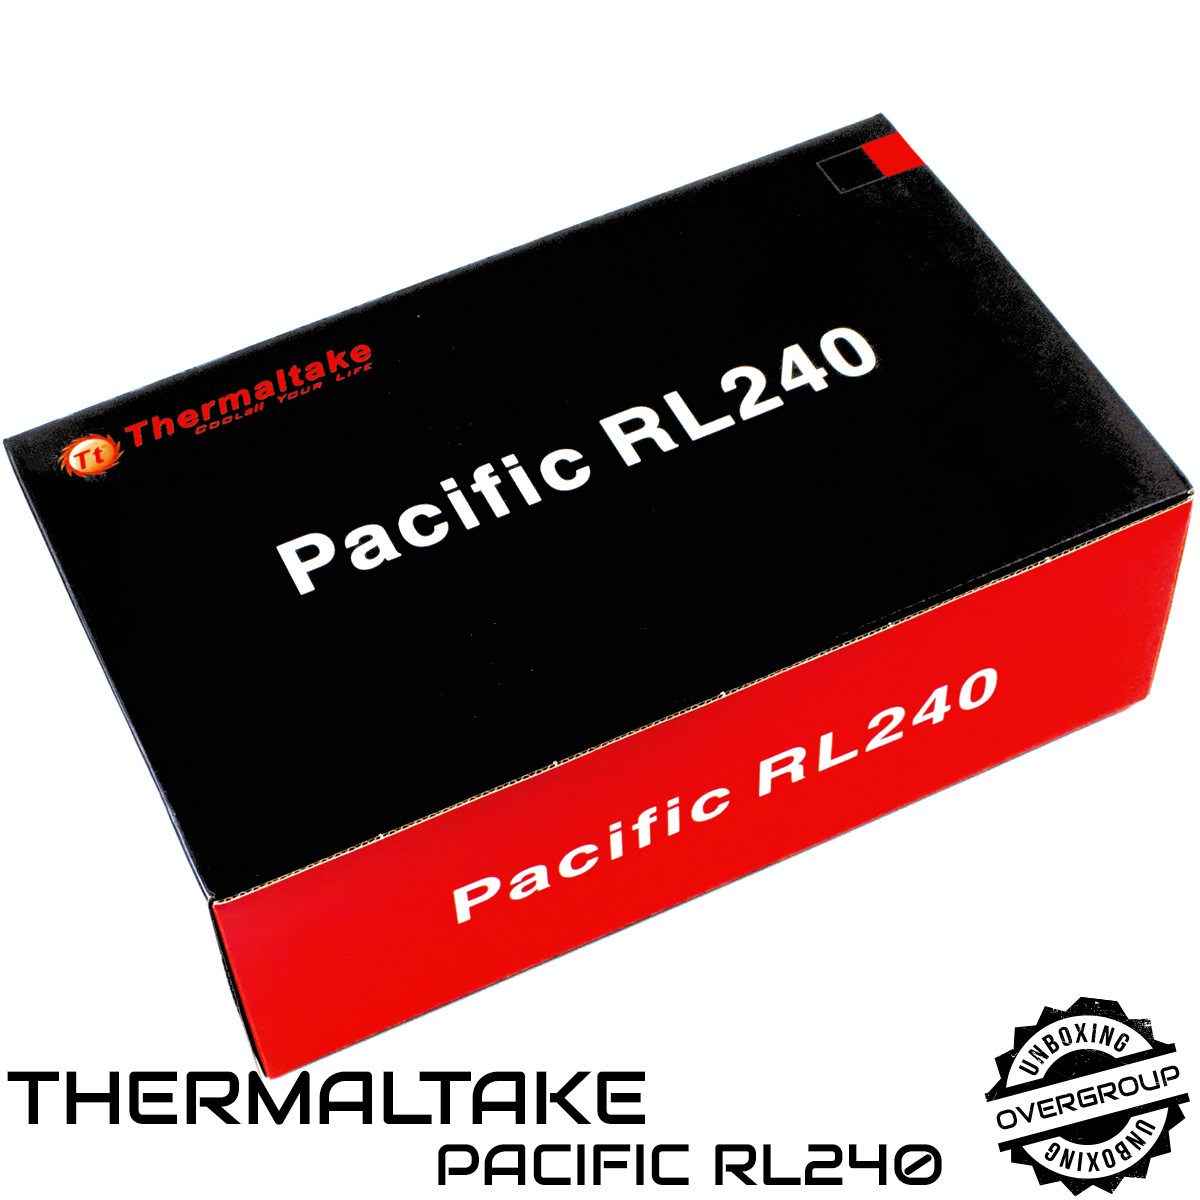
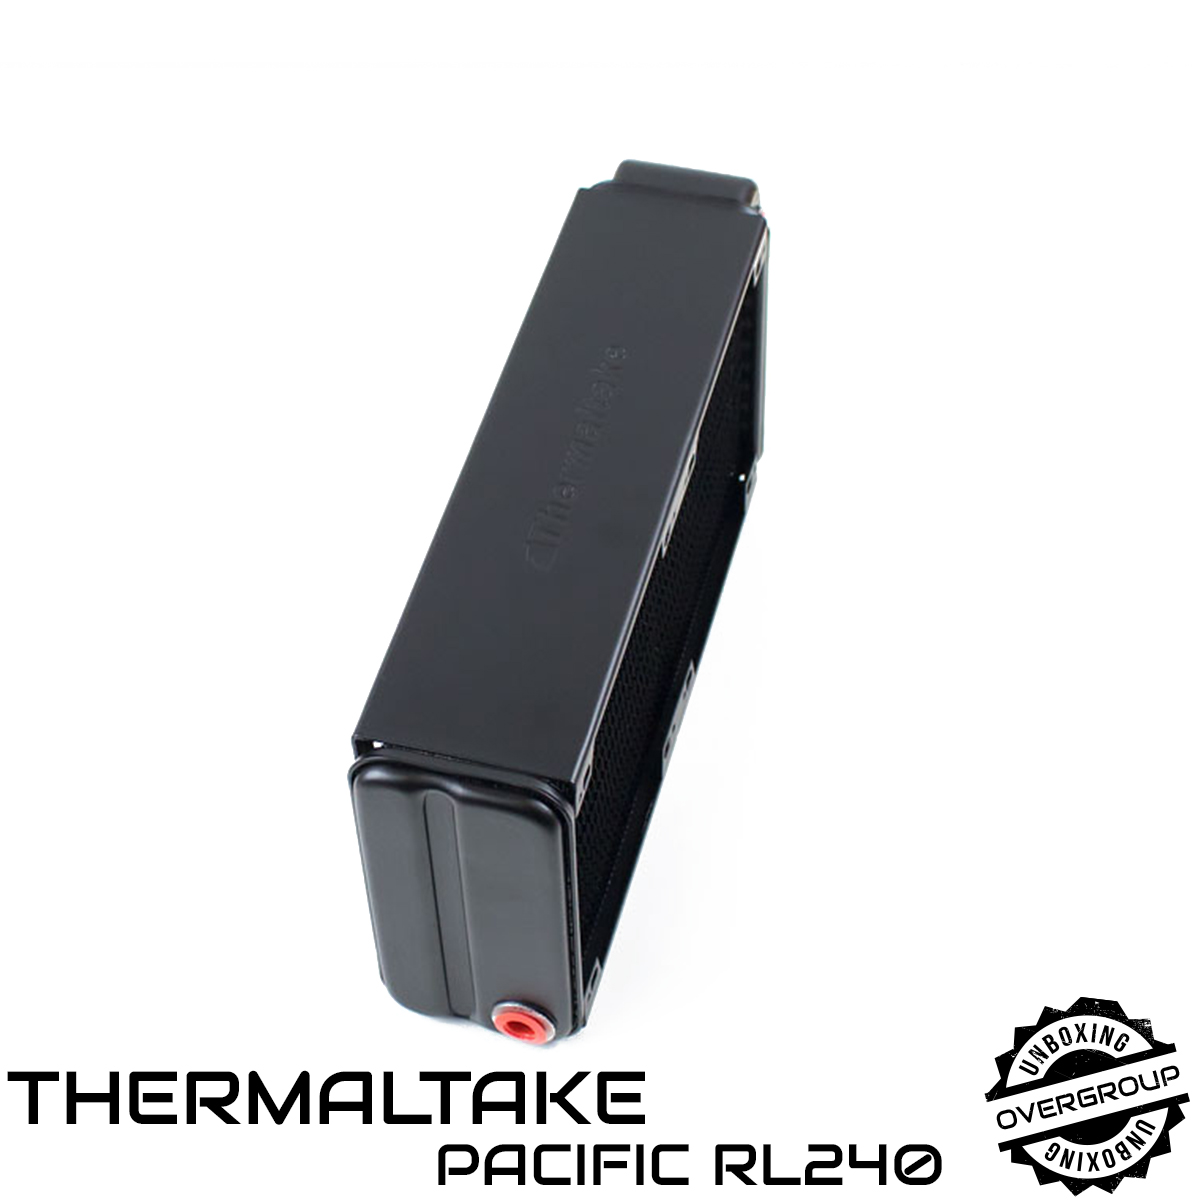
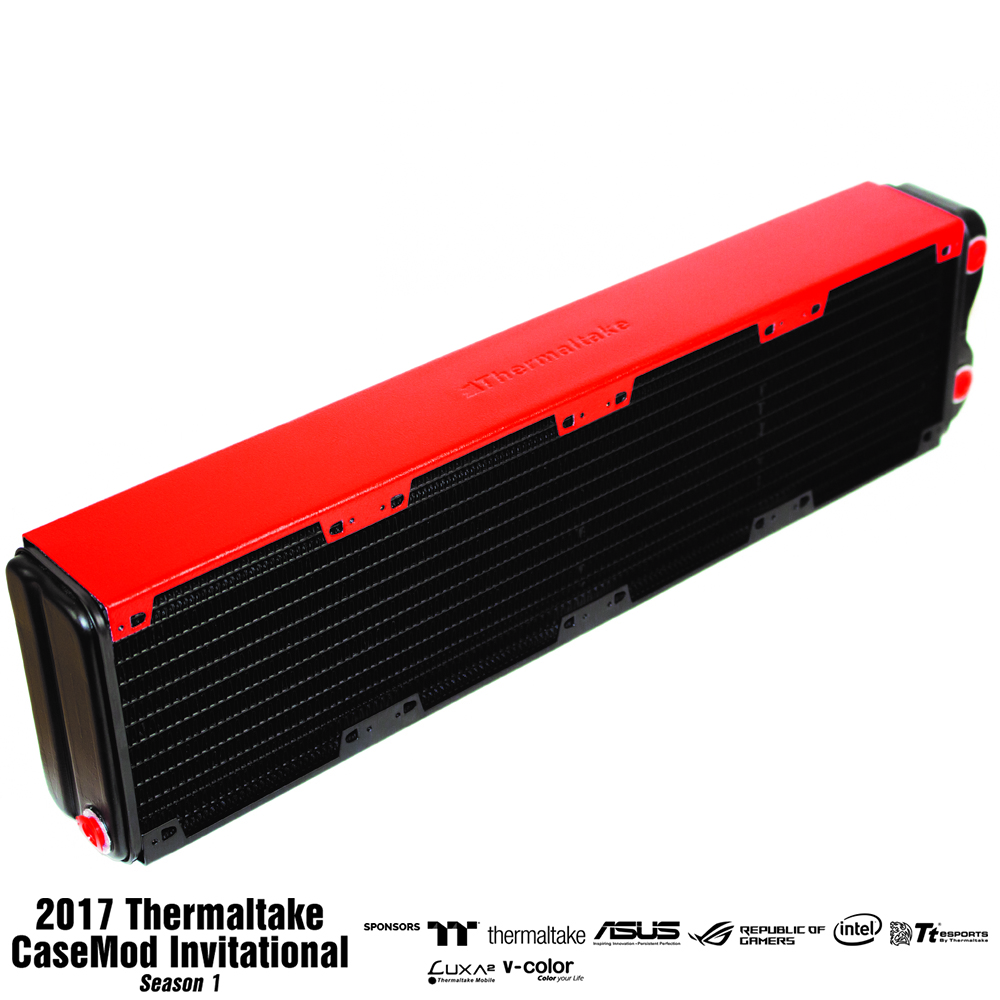
Hello, I made another unboxing
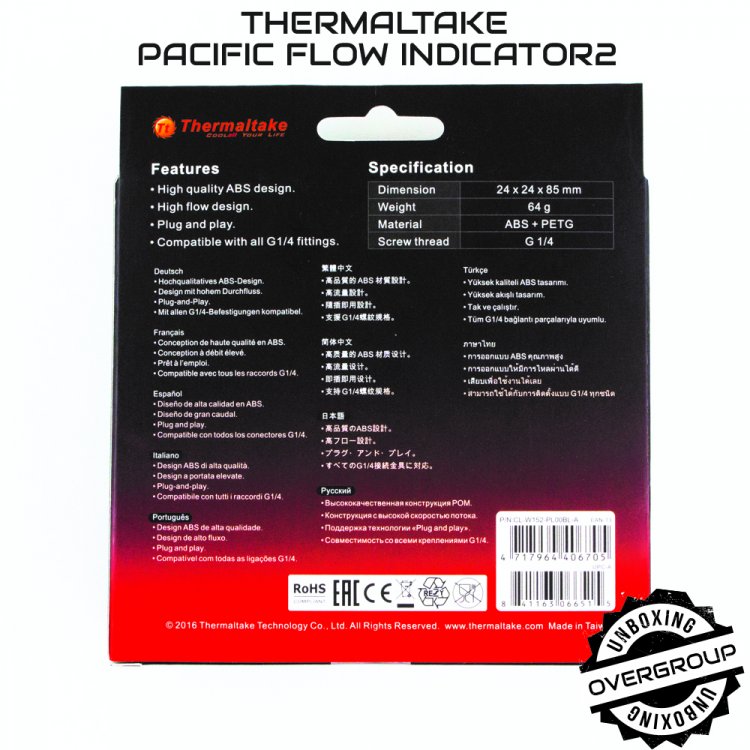
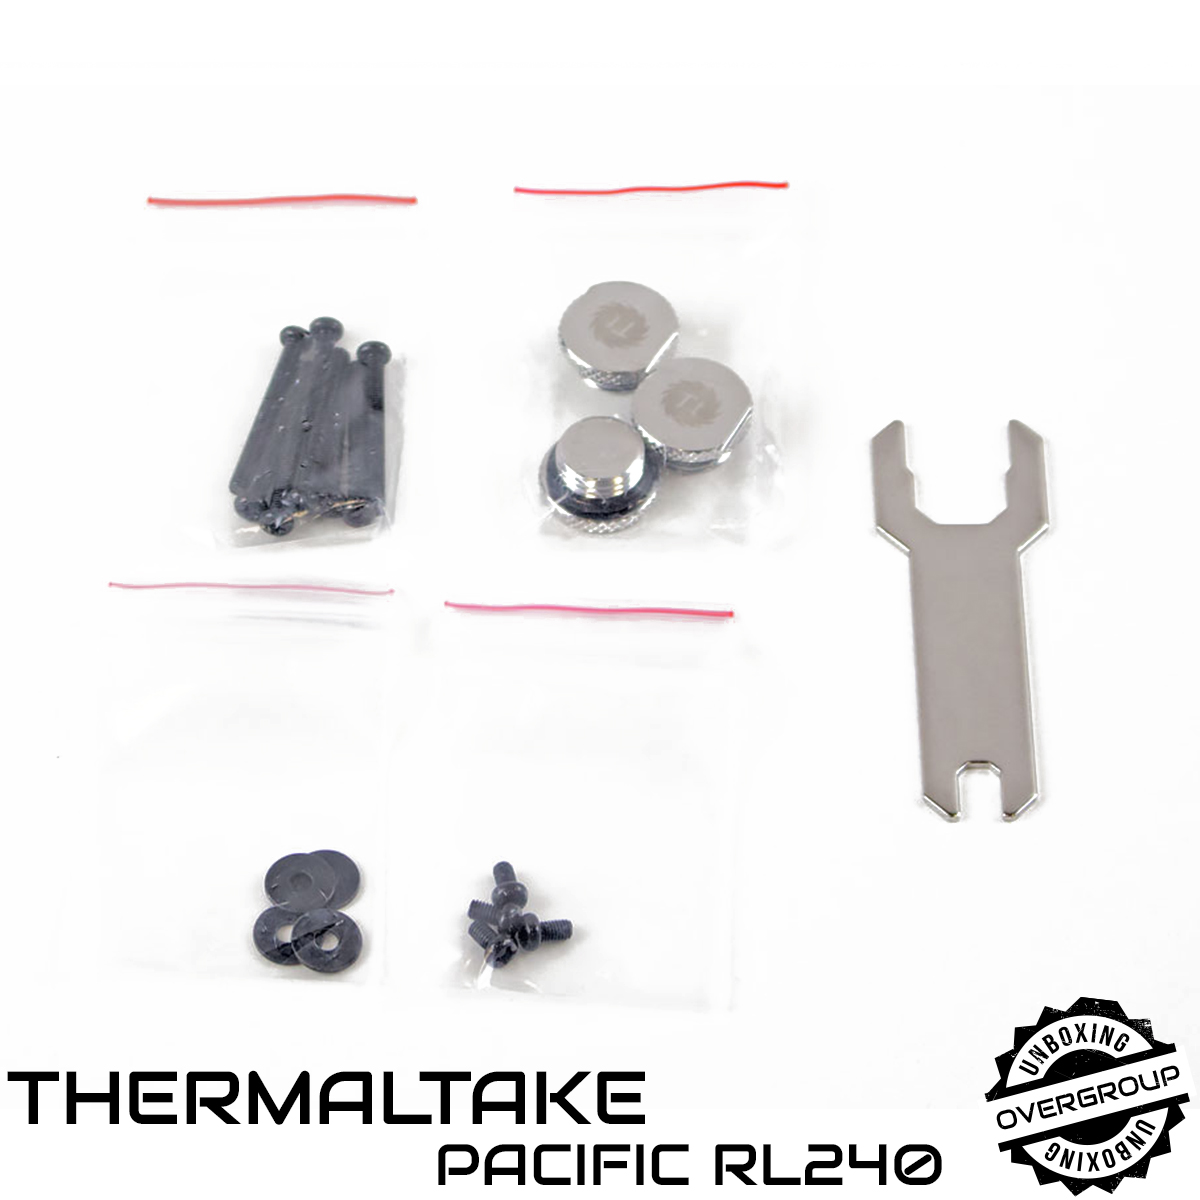
Second oldest model among the Thermaltake radiators of size 282.5x129x64 mm and intended for installation of two 120 mm fans. Package comes with 8 long screws M3 30 mm 4 screws M3, 8 mm long and 3 plugs with thread G1/4” and a special key for them. A distinctive feature of the RL series radiators – availability of ports G1/4” on both sides of the radiator, which in some cases greatly simplifies the wiring of the circuit. RL240 made of galvanized aluminum, the stated density is a 14 FPI (fins per inch).

-
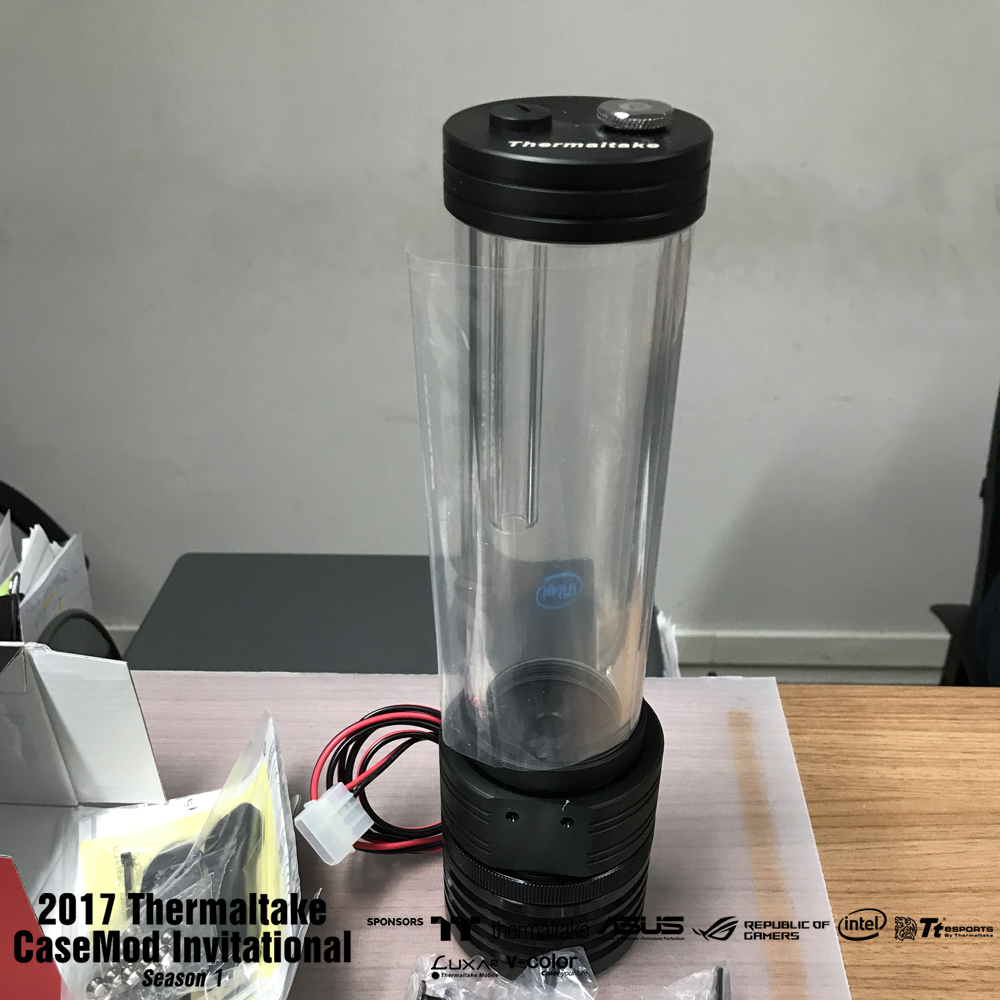
Hi All )
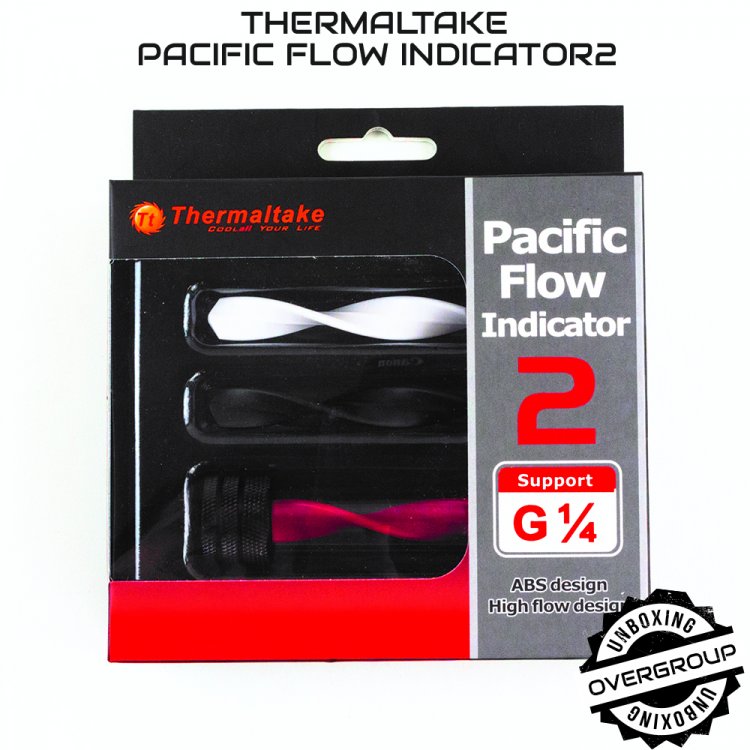
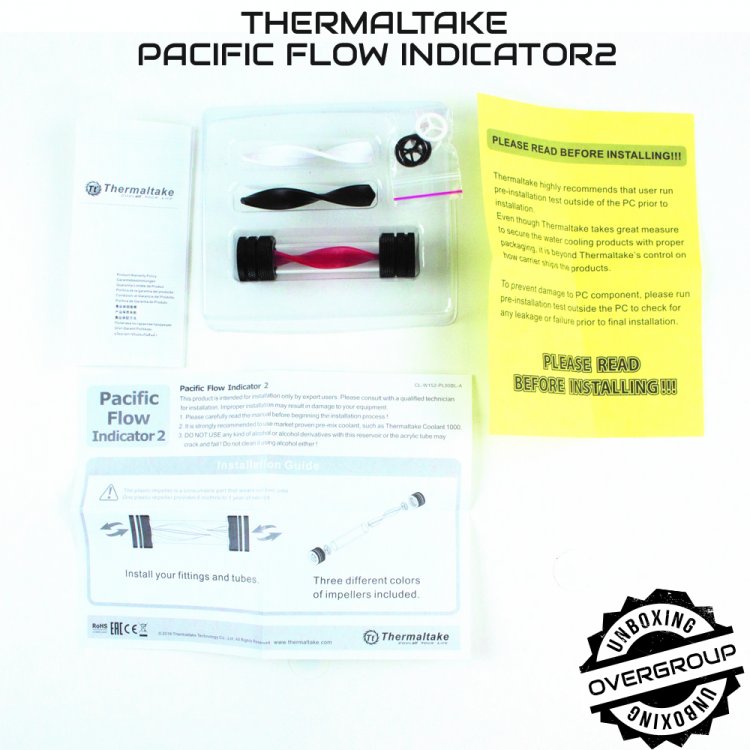
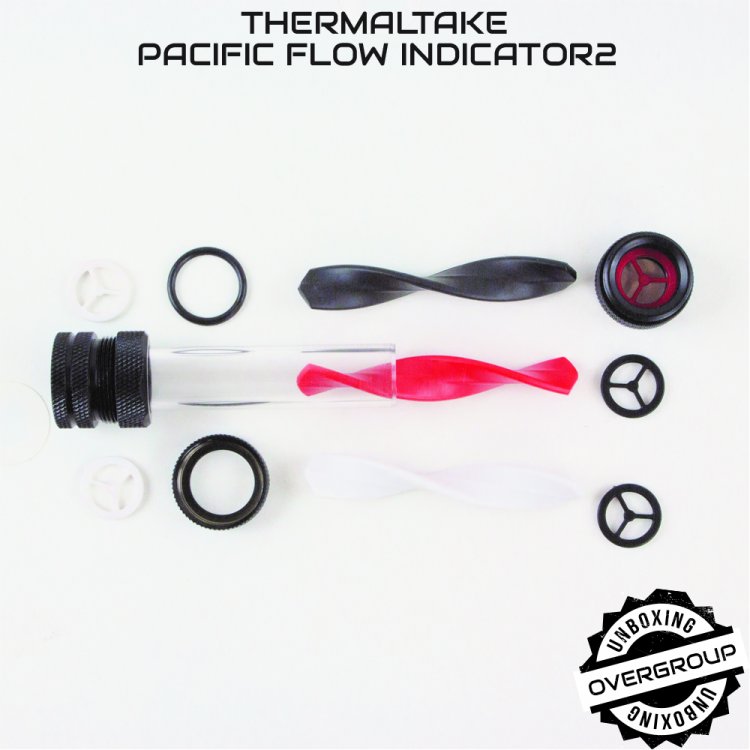
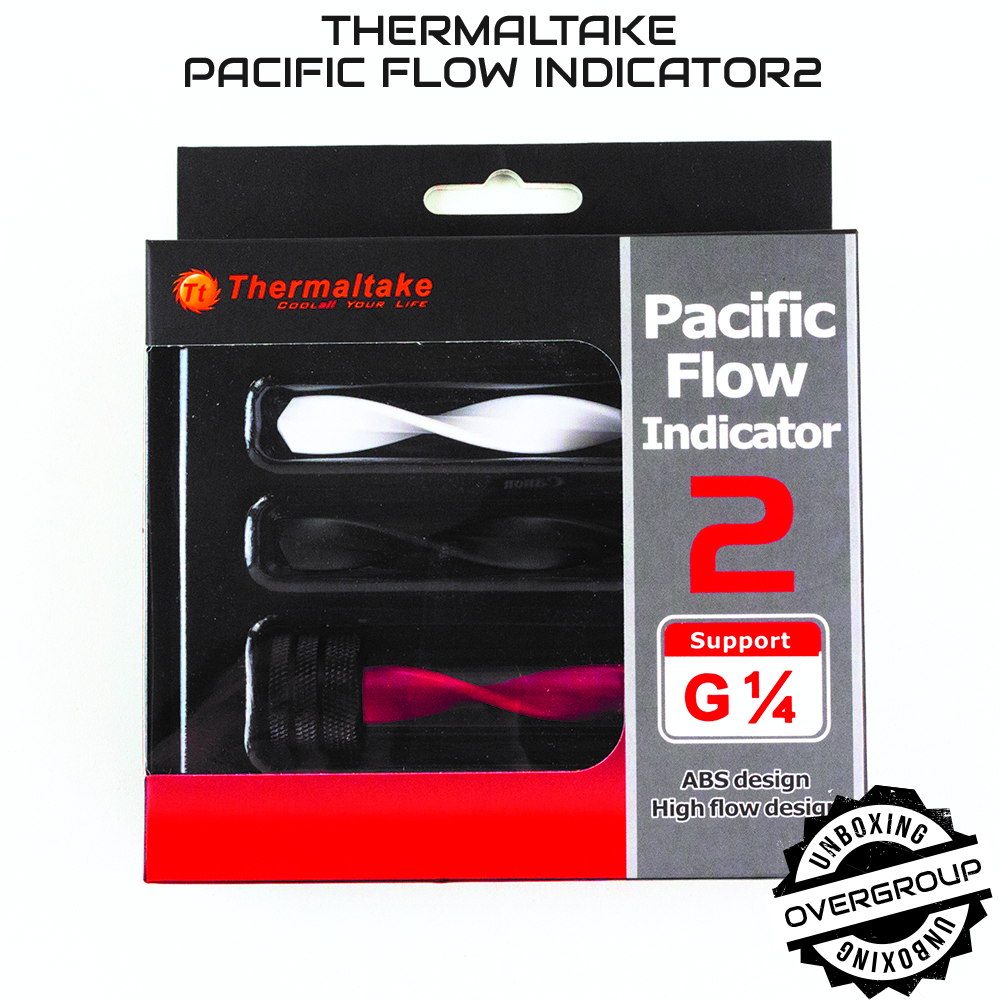
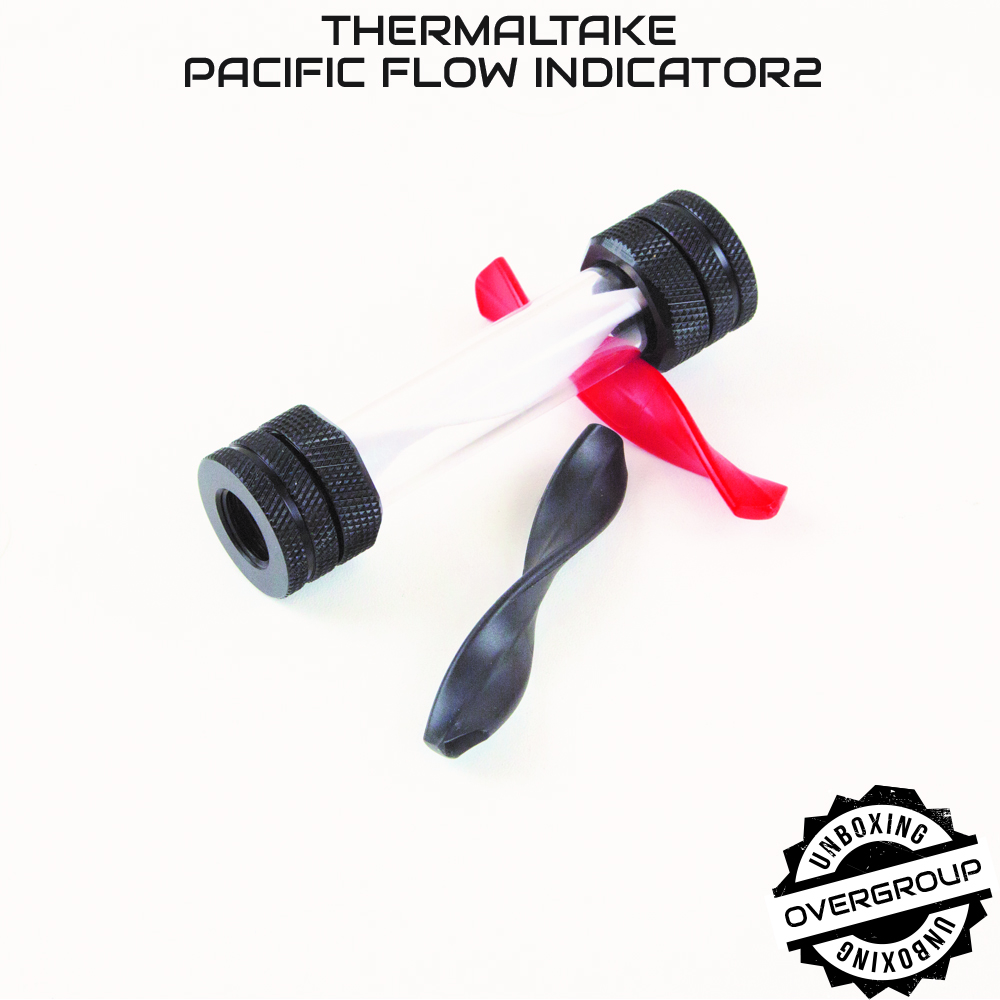
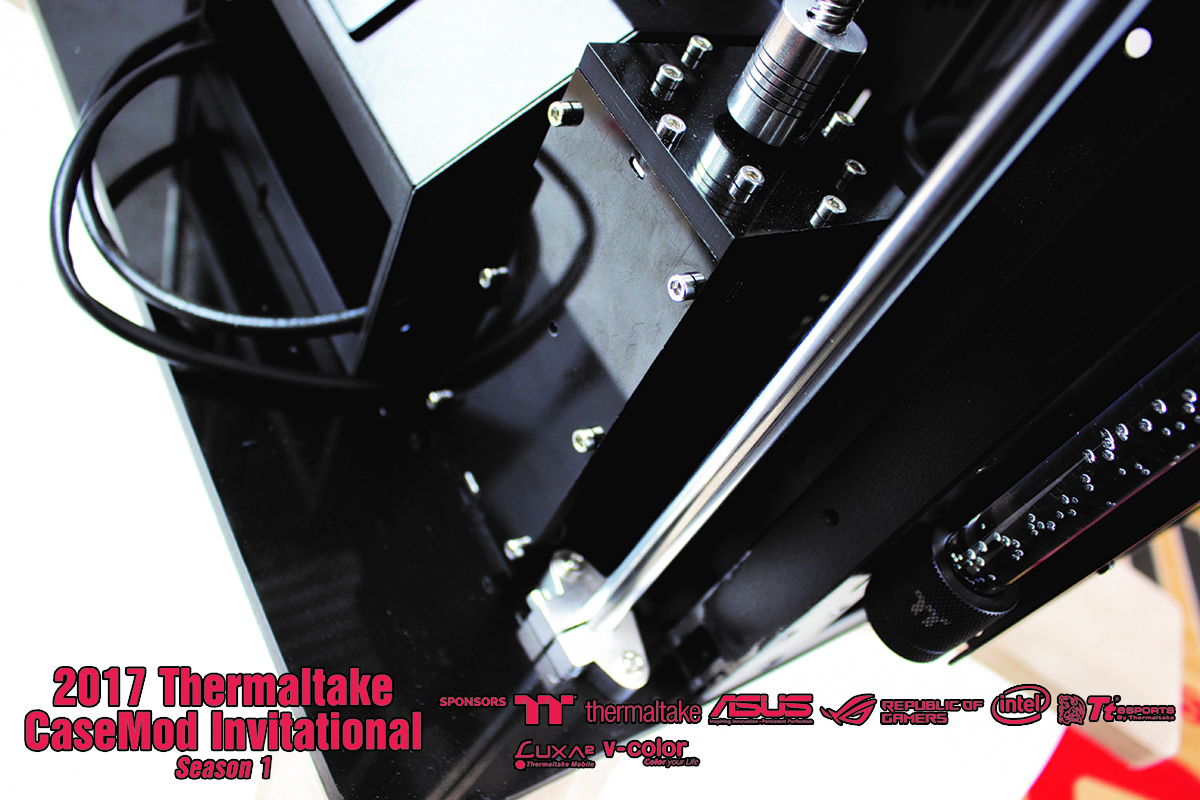
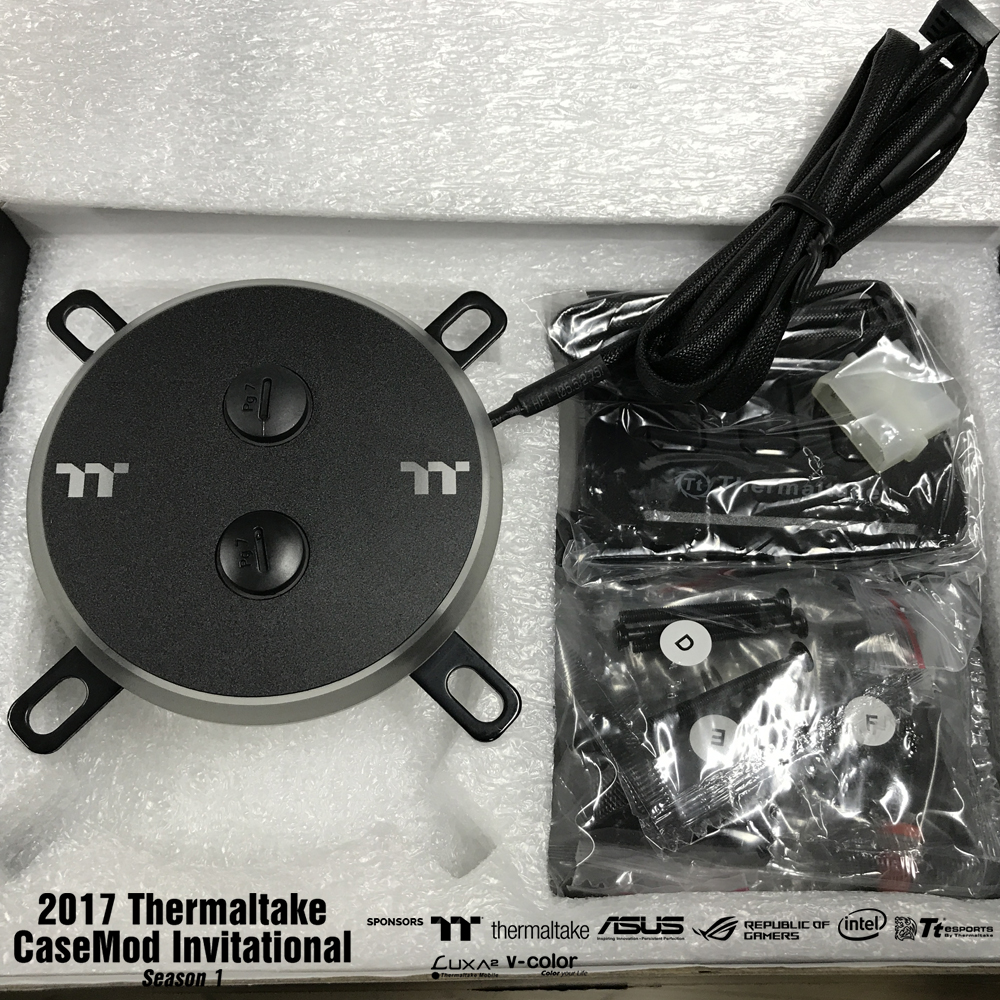
Decided to make a quick anpak mechanical sensor of fluid flow from the company Thermaltake.
Of the key features are the following:
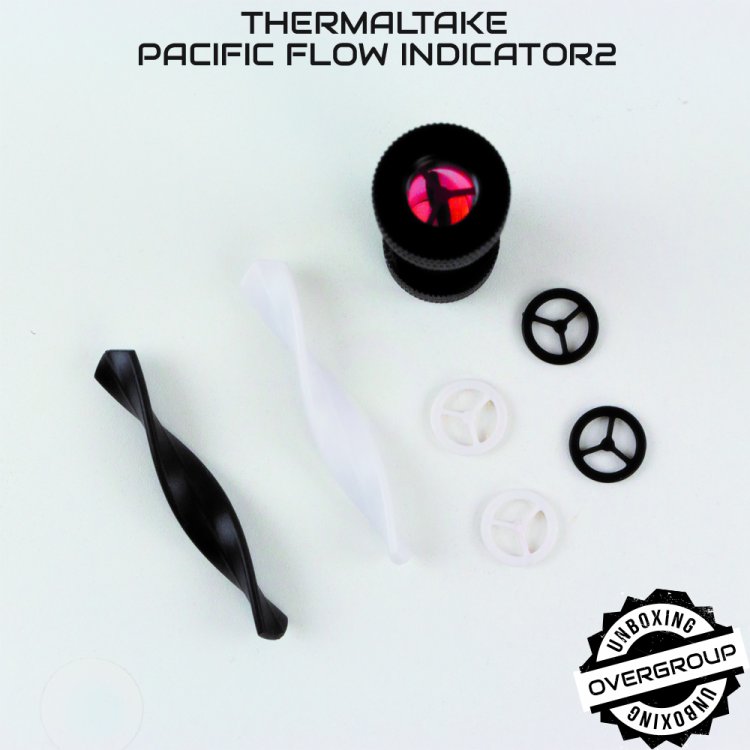
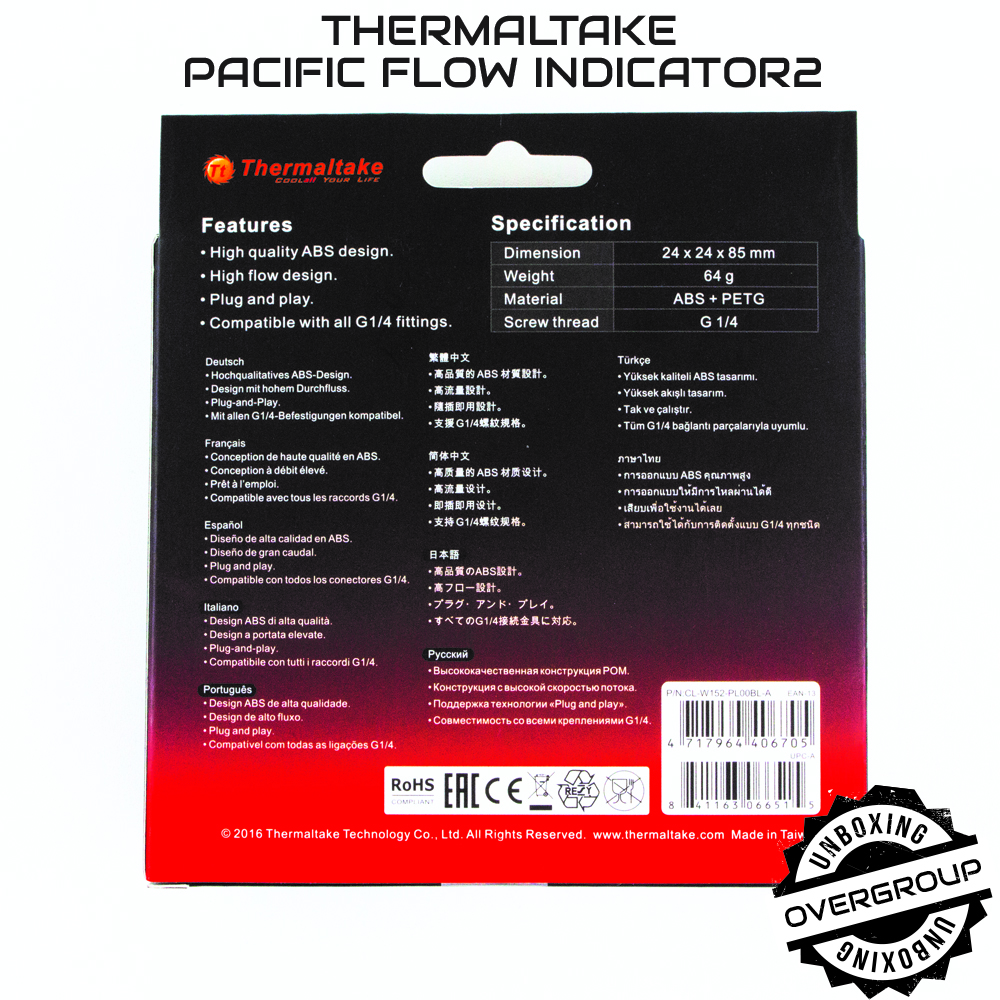
1) the Materials from which made the inner elements ABS plastic skimmers and the impeller and PETG tube with a length of 85 mm, as the case
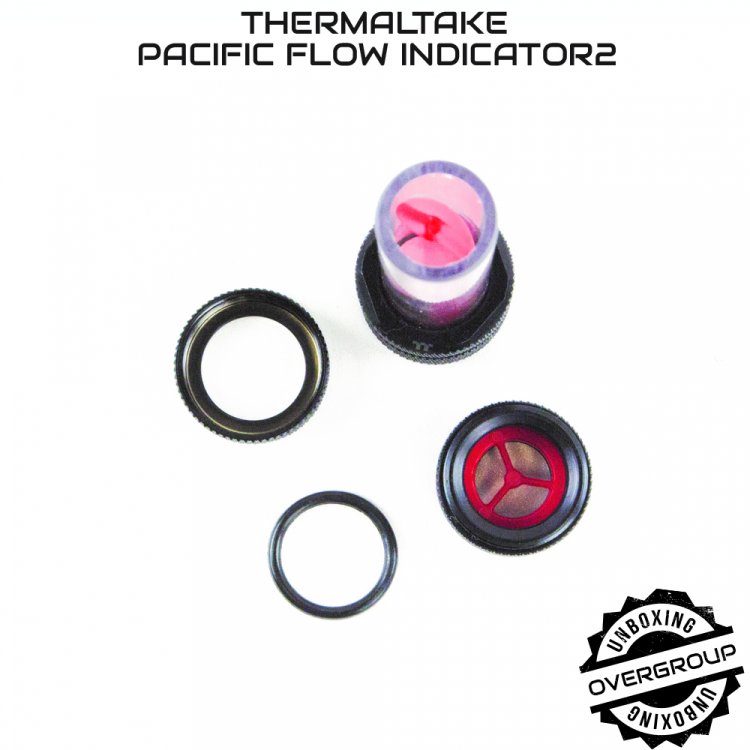
2) sets: a large set of unnecessary pamphlets, the flow sensor (with mounted red impeller, and two red skimmers (part-time stops for the impeller) inlet and outlet), 2 replacement impeller (white and black), 2 sets of interchangeable skimmers (stops) respectively, one set white, the second black color
3) Two compression fitting in black with internal thread G1/4From myself I will add: the design is a simple one, it is a mechanical flow sensor, end fittings have only one drawback (and it's painted pretty well) on other fronts without complaints, a total of 3 o-rings on each fitting, the ability to combine. In the end, you can use:).

-
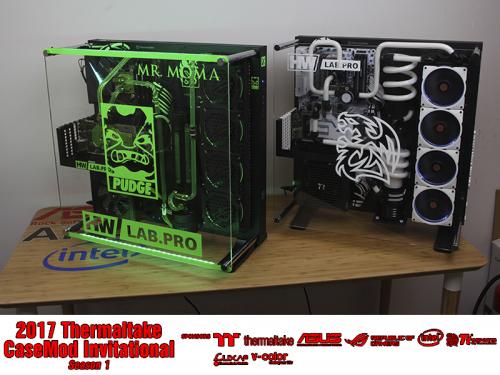
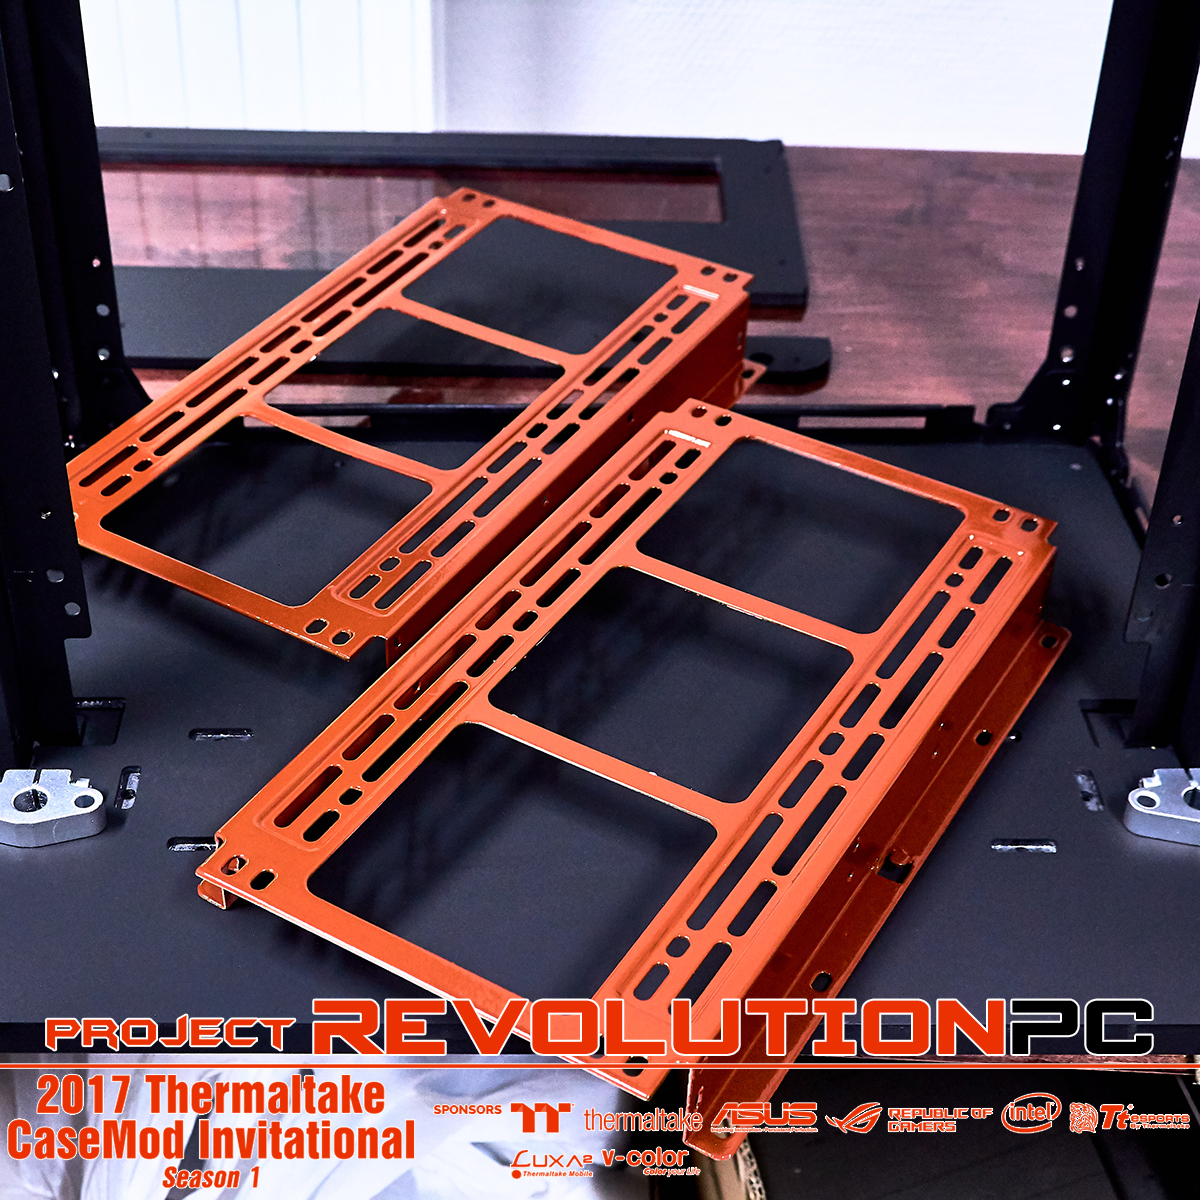
Completed work on the painting a bit of the photo. The paint is very neatly laid I painted all by hand. Stand the plan is to spin now I think over the mechanism of the photo painted in Matt black. Radiators in its final form will be combined in two colors black core and red side is a very bright combination of turns, also fasteners also are planned in red color in General to fasteners photo a little later. Finally finished soldering the result is also in the photo.

-
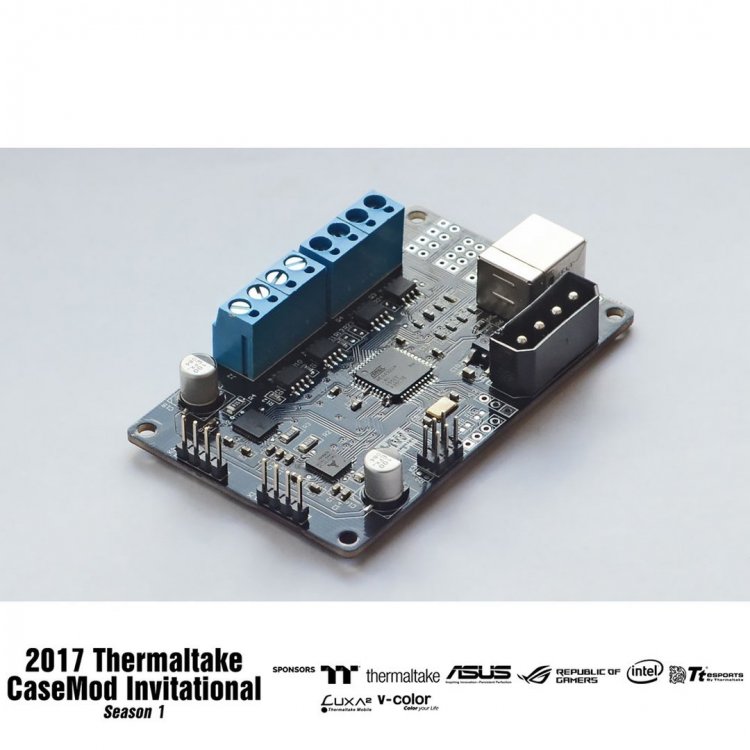
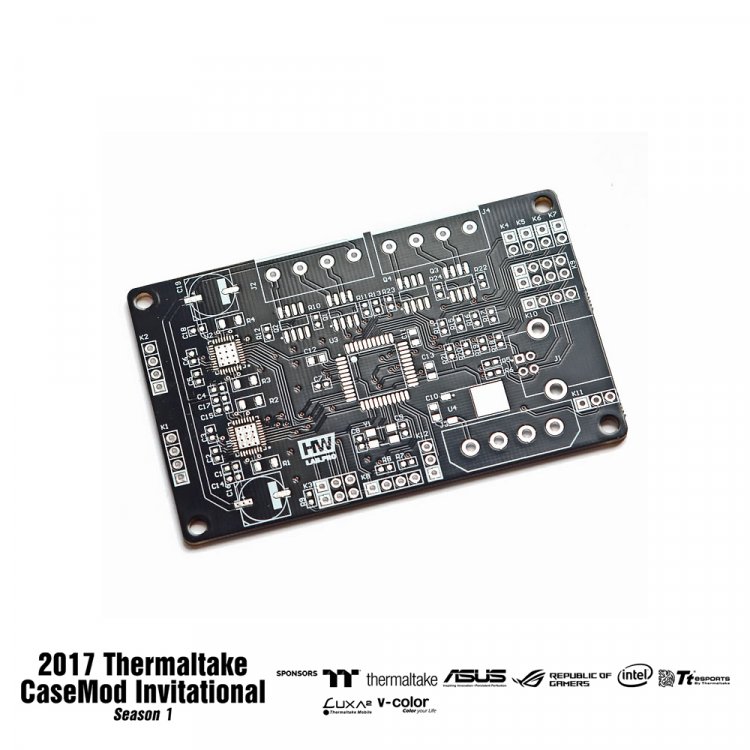
Greetings friends. After some thought I decided to make a controller. In the project there will be many devices with RGB backlight and do not want to fence the garland of the wires of the control units. This quickly decided to make a controller to control the whole electrical project. Here's some specifications that will make the controller
- 2 channel stepper motors
technology quiet control stepper motor StealthChop
channel for 12V RGB strips
channel for RGB backlight Thermaltake
channel managed LEDs WS2812B
- the ability to connect an external display
- 4 analog inputs for sensorsto tradition photos while only the Board itself without soldering )))
-
-
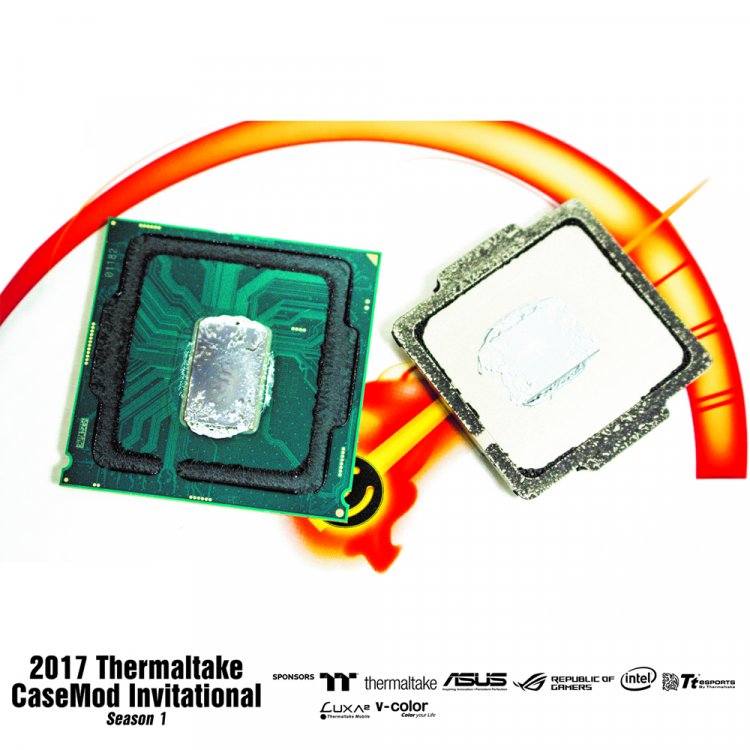
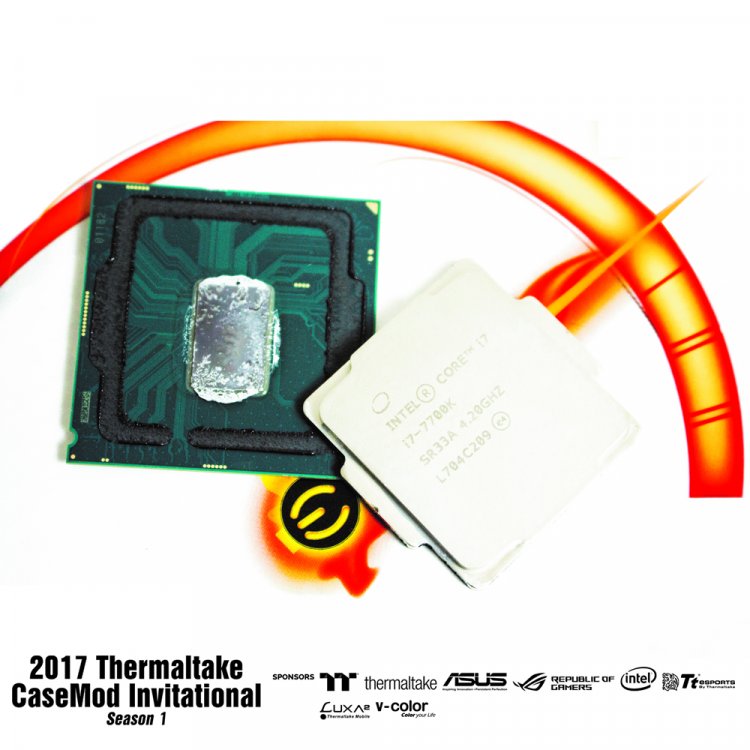
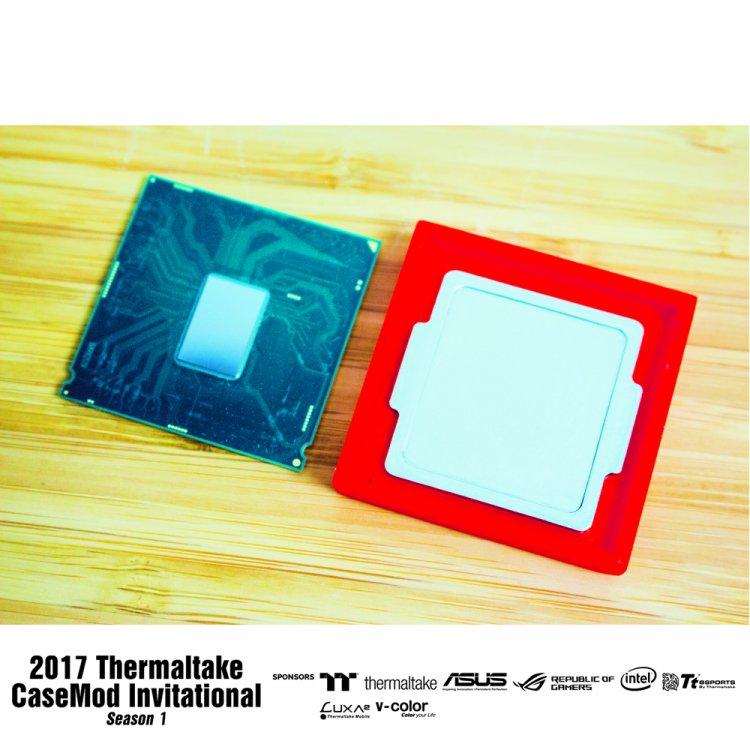
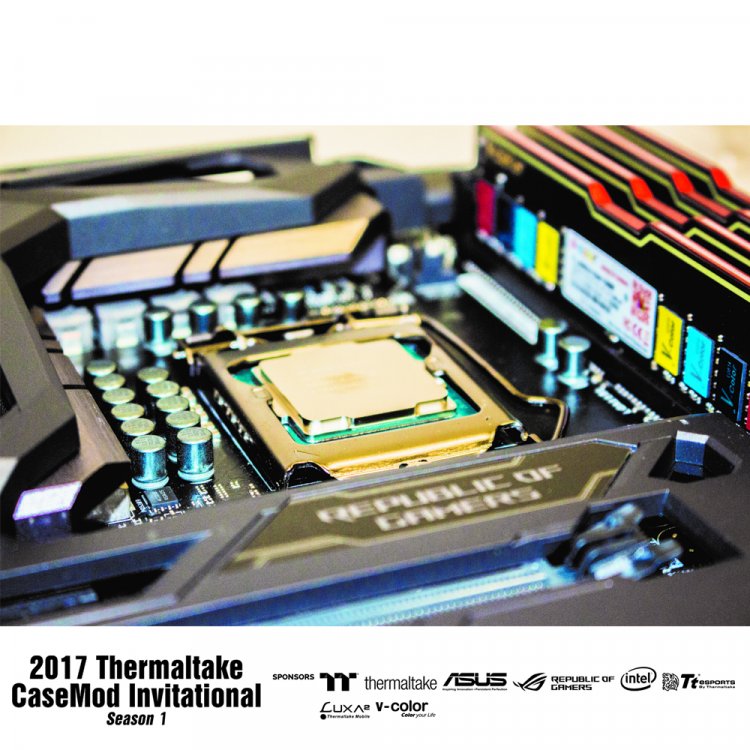
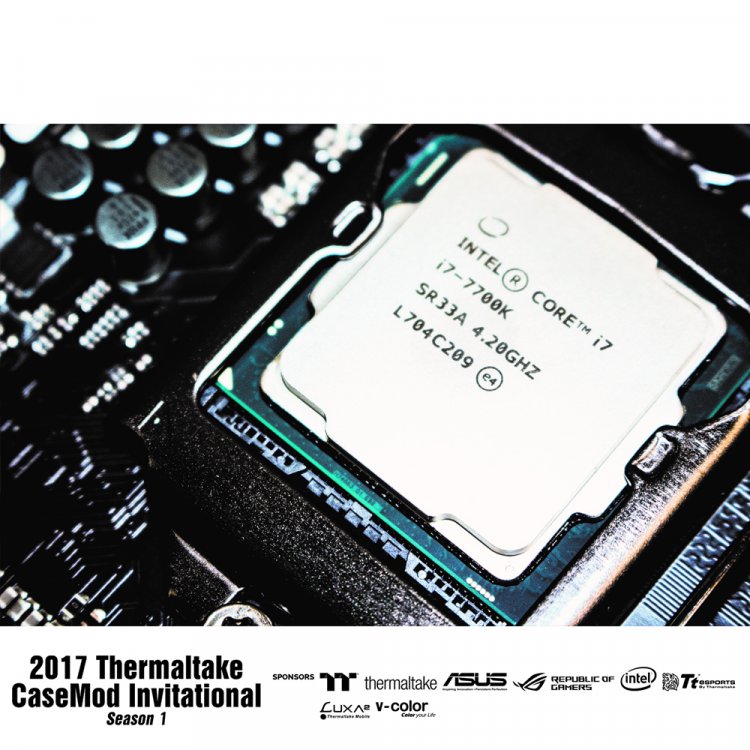
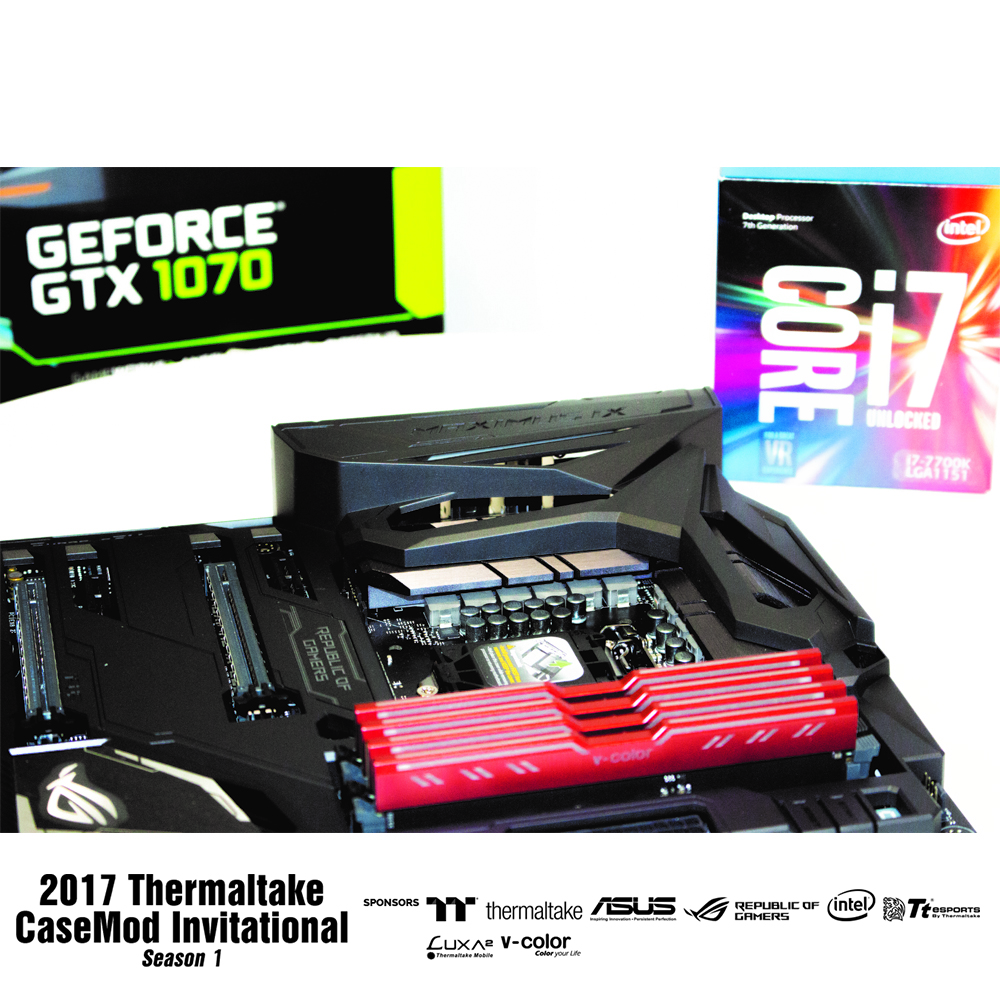
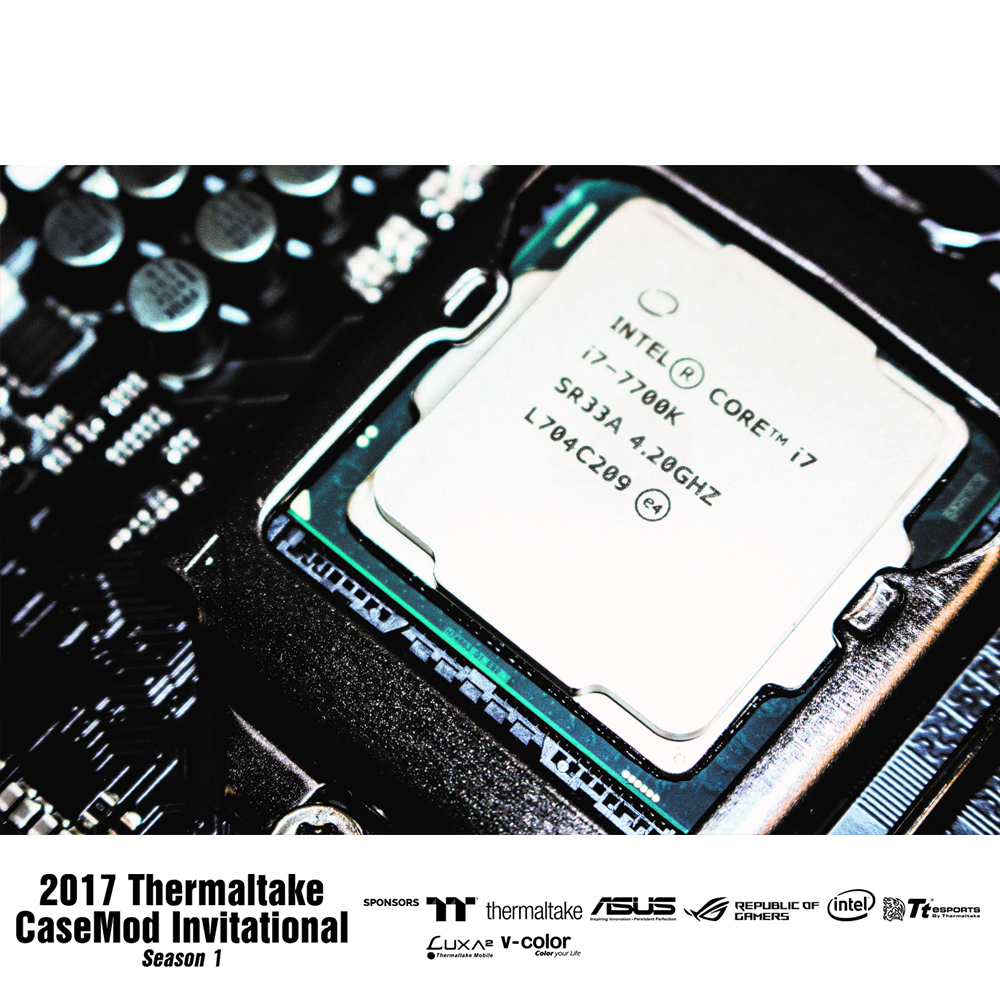
In General the procedure was completed successfully, under the hood was dry, the pasta which falls off in pieces, now the CPU is planted on the "GM" actually a few photos.
- ujn2006, hotcoolman, Leonid72 and 3 others
-
 6
6
-
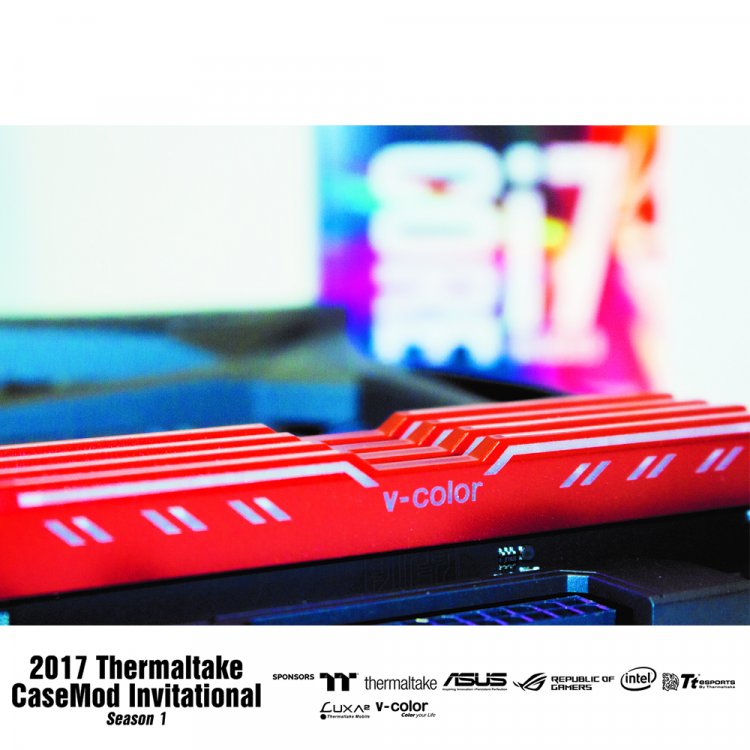
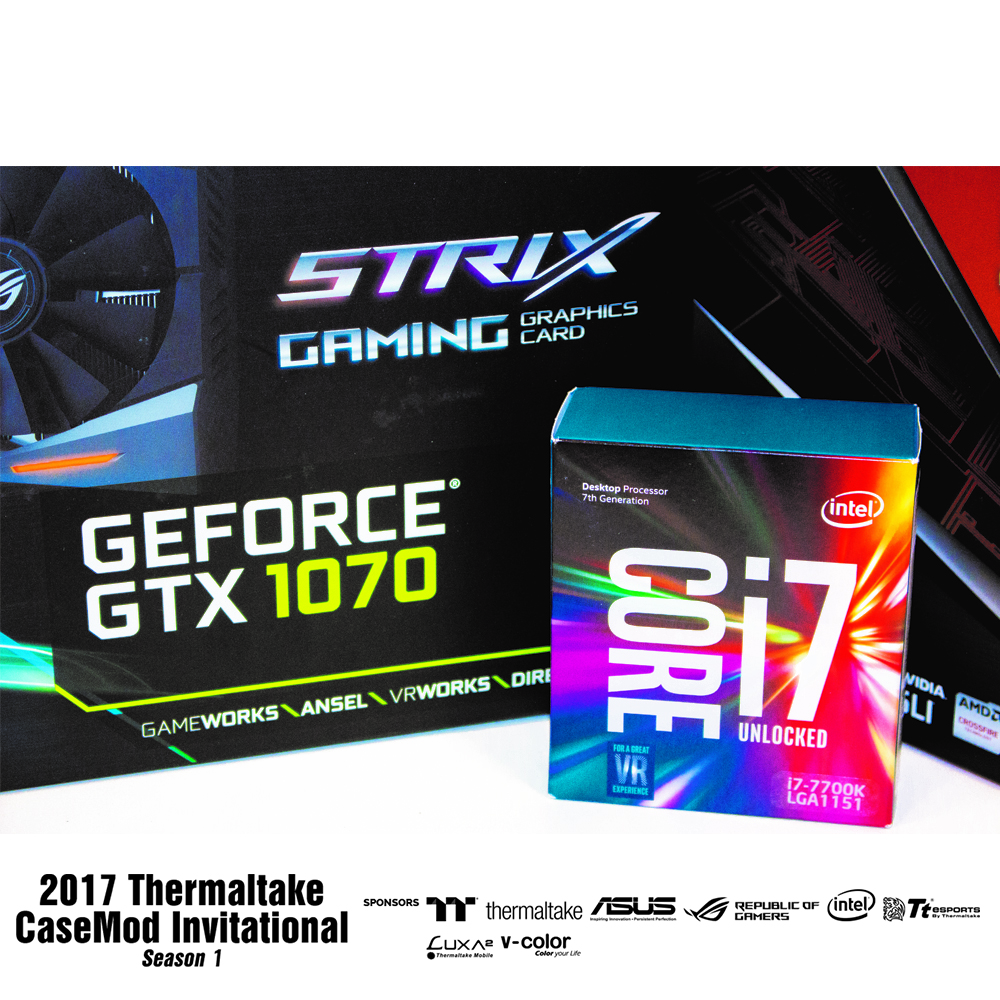
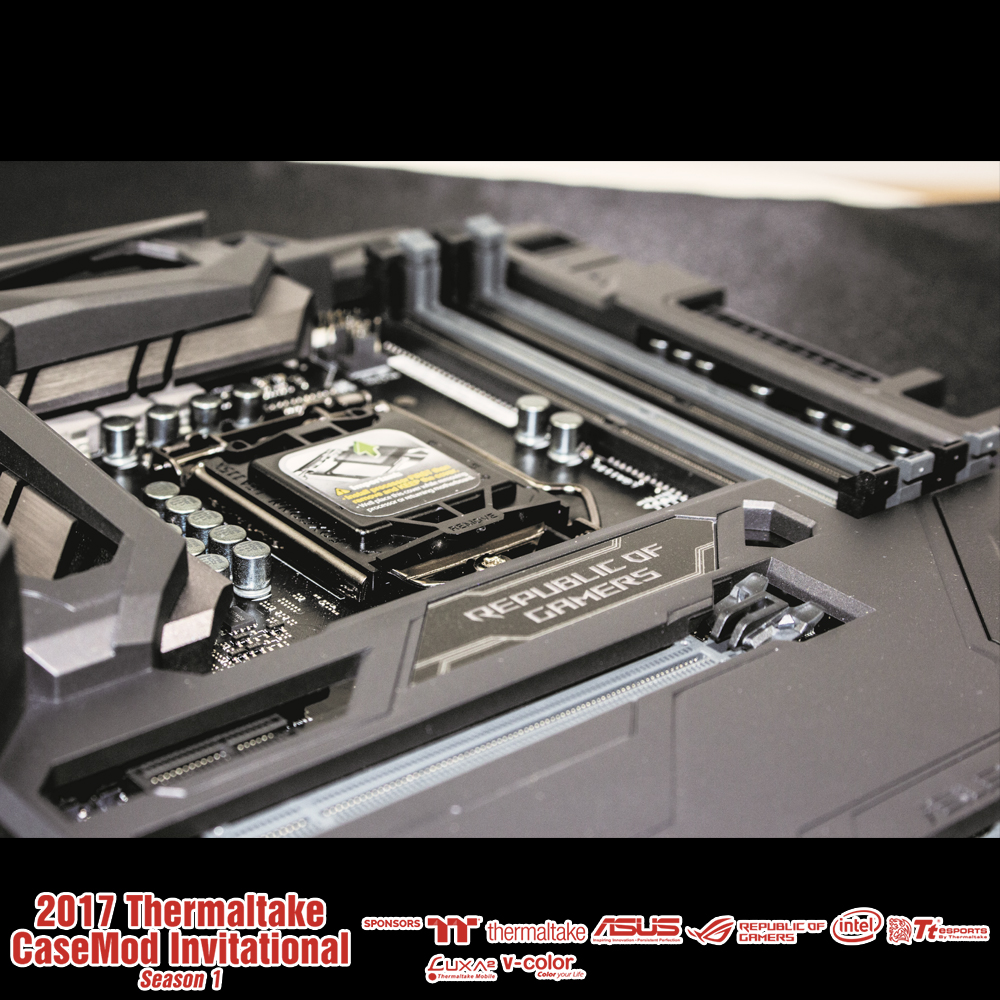
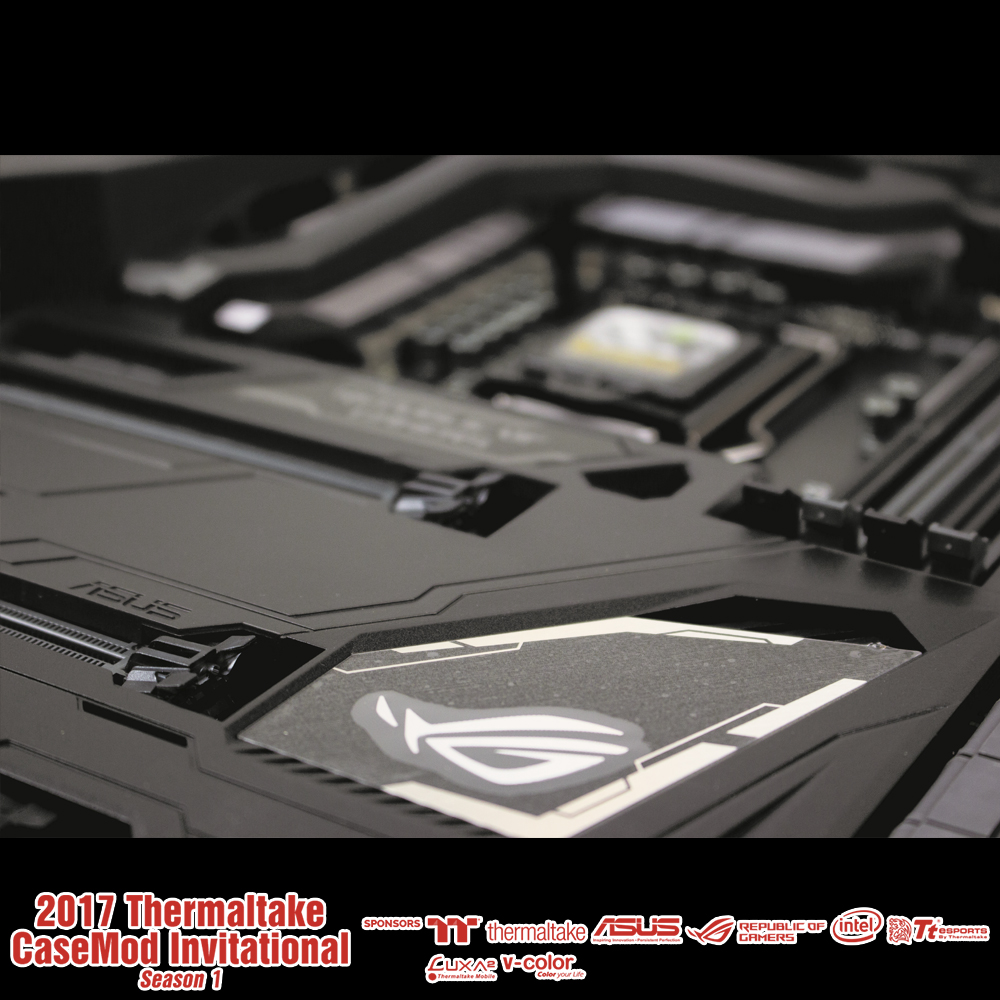
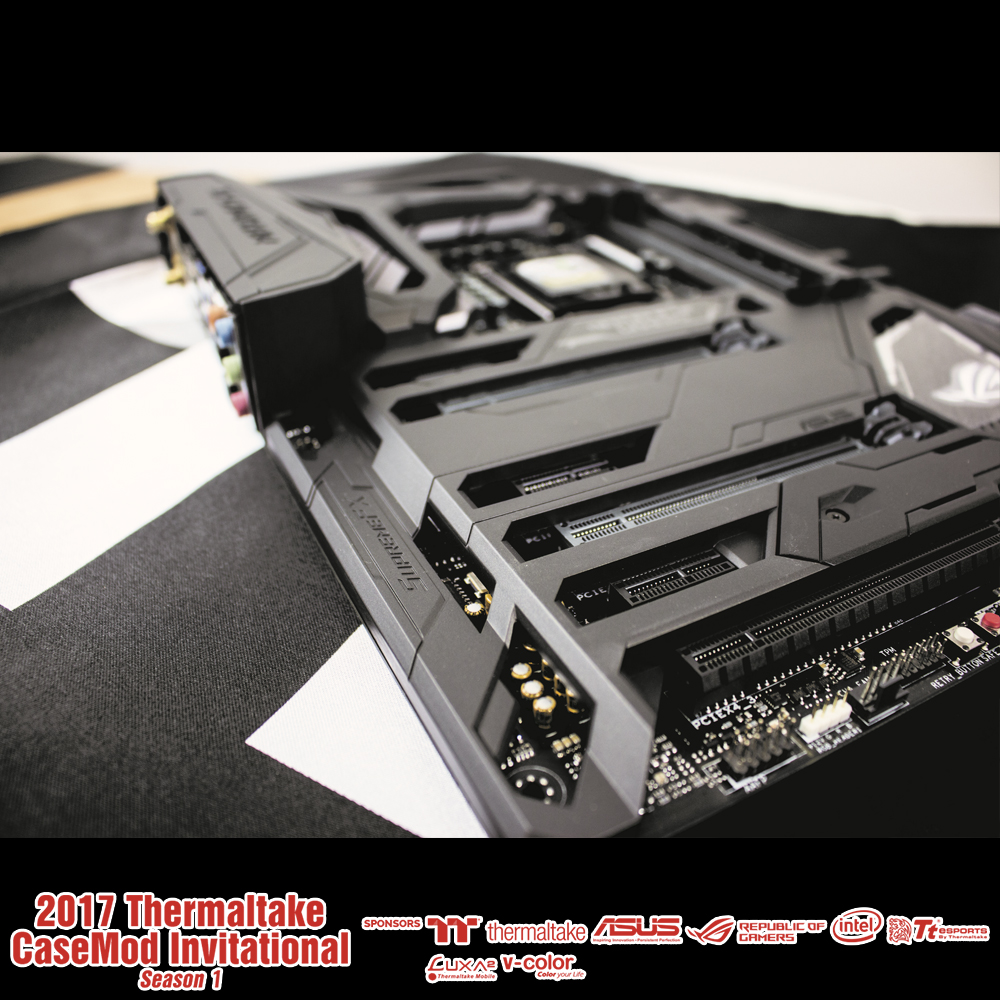
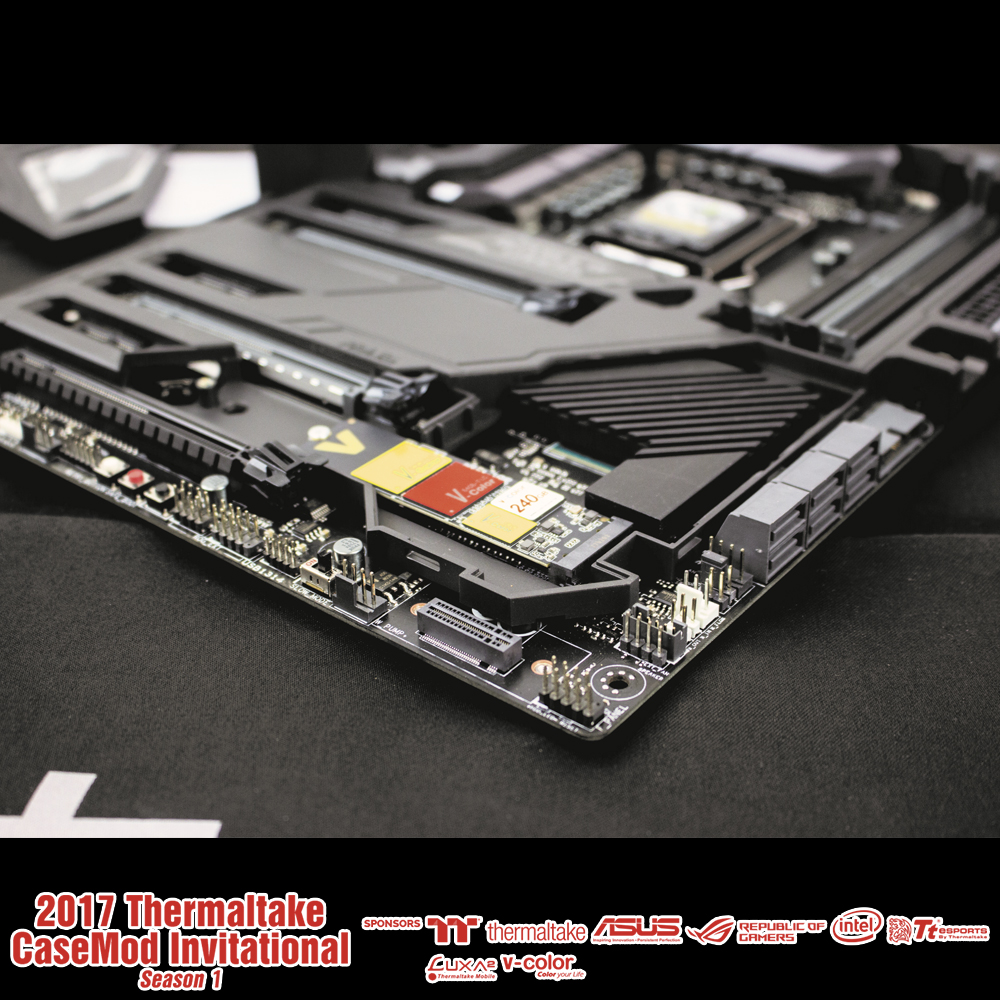
Hello/
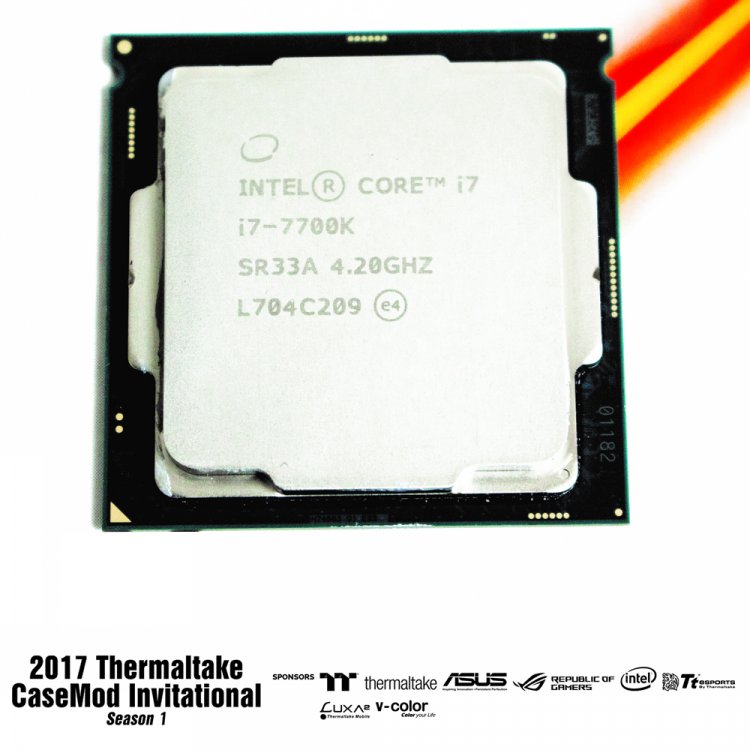
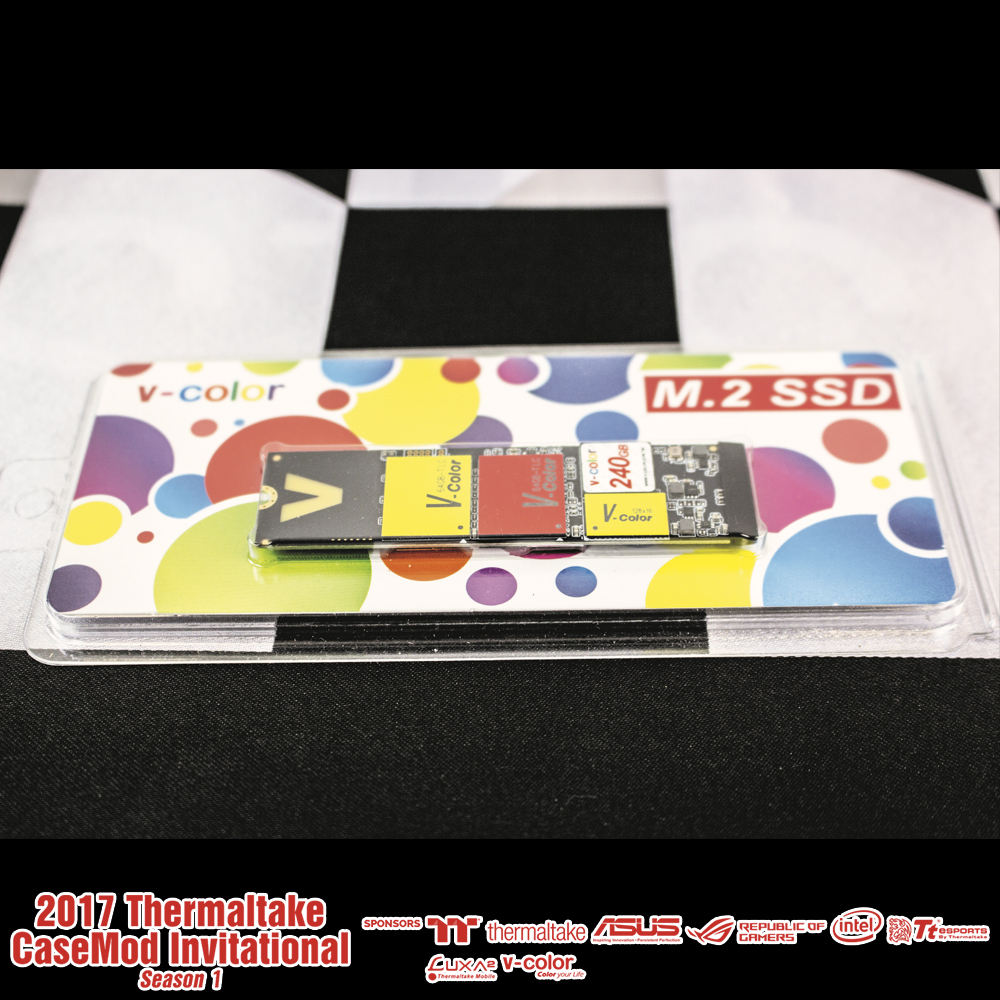
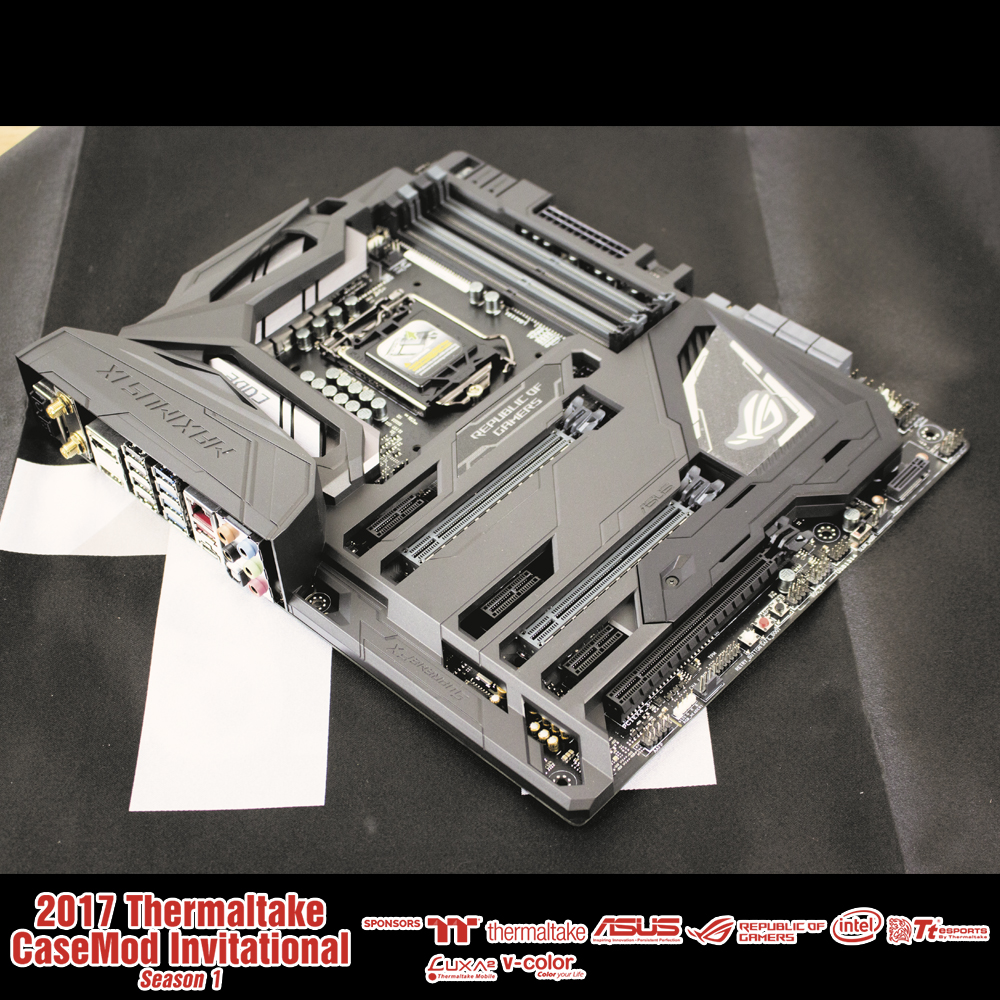
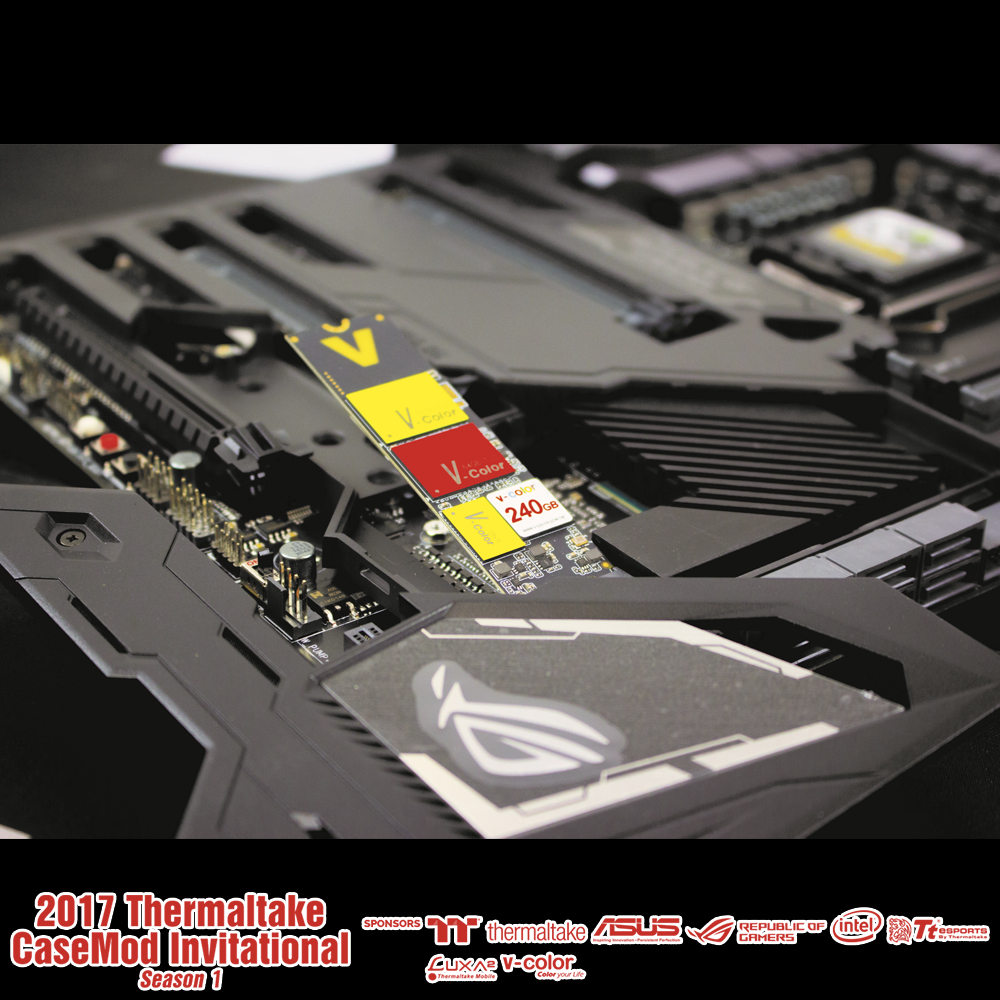
Came another parcel, in her memory from V-color, video Card ASUS STRIX 1070, the processor from Intel 7700k. In General photo for the seed and I went to scalp)))
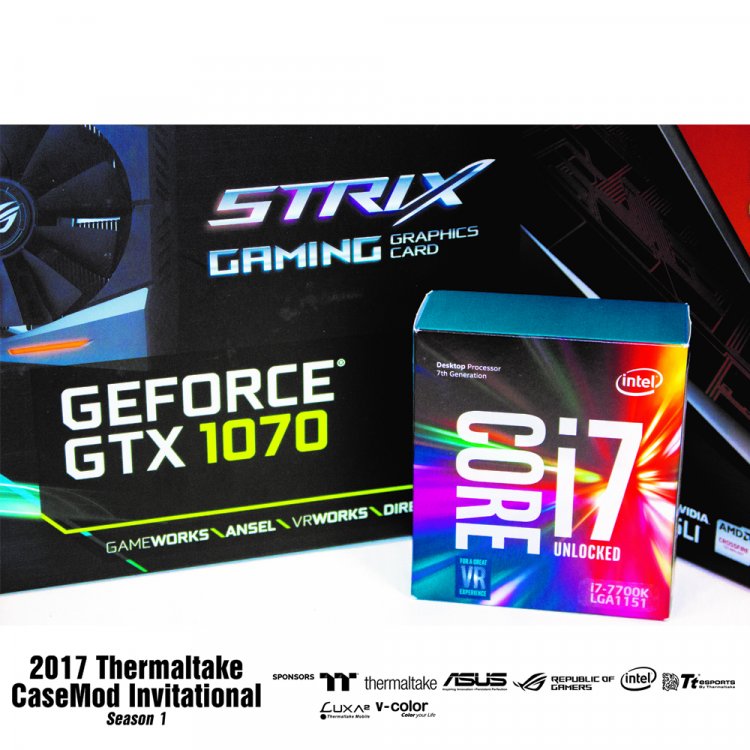

ON the key issues
1) waiting for komplektuhu
2) all painting respectively
3) Pinned SSD V-Color RGB backlit))
-
-
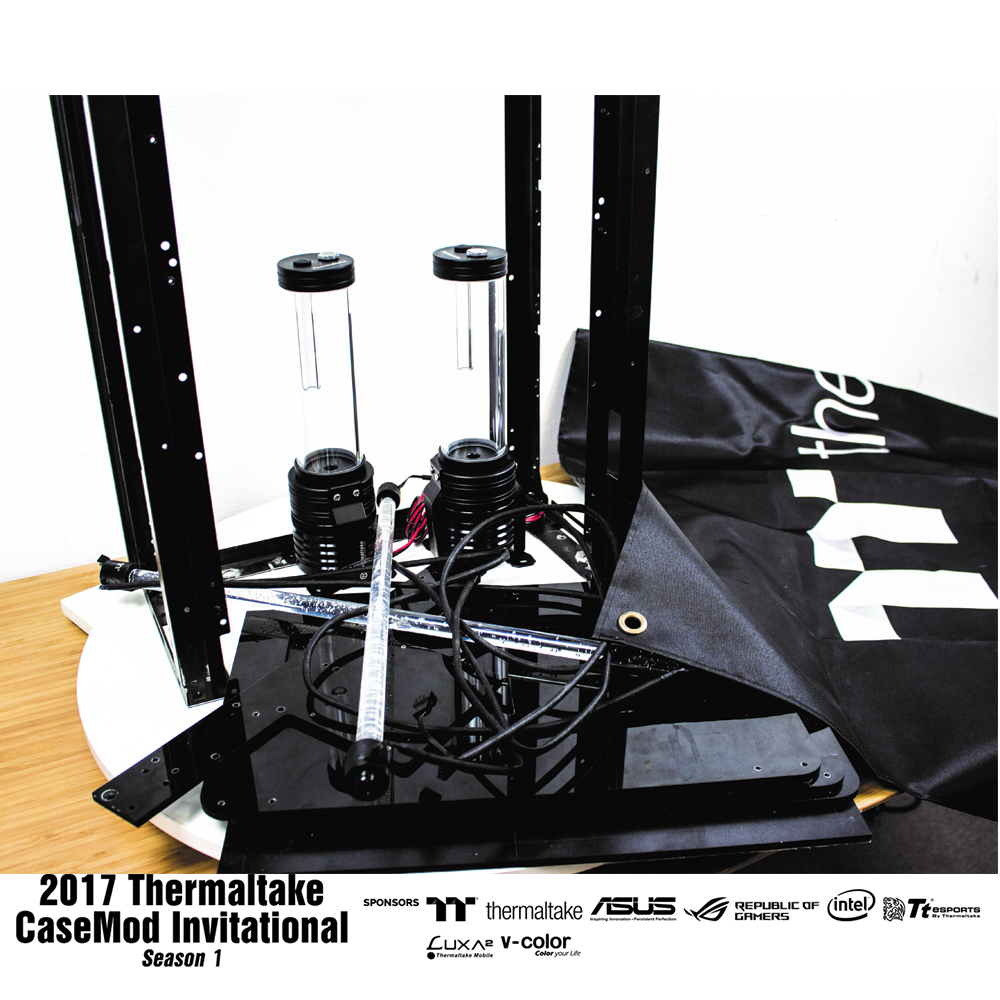
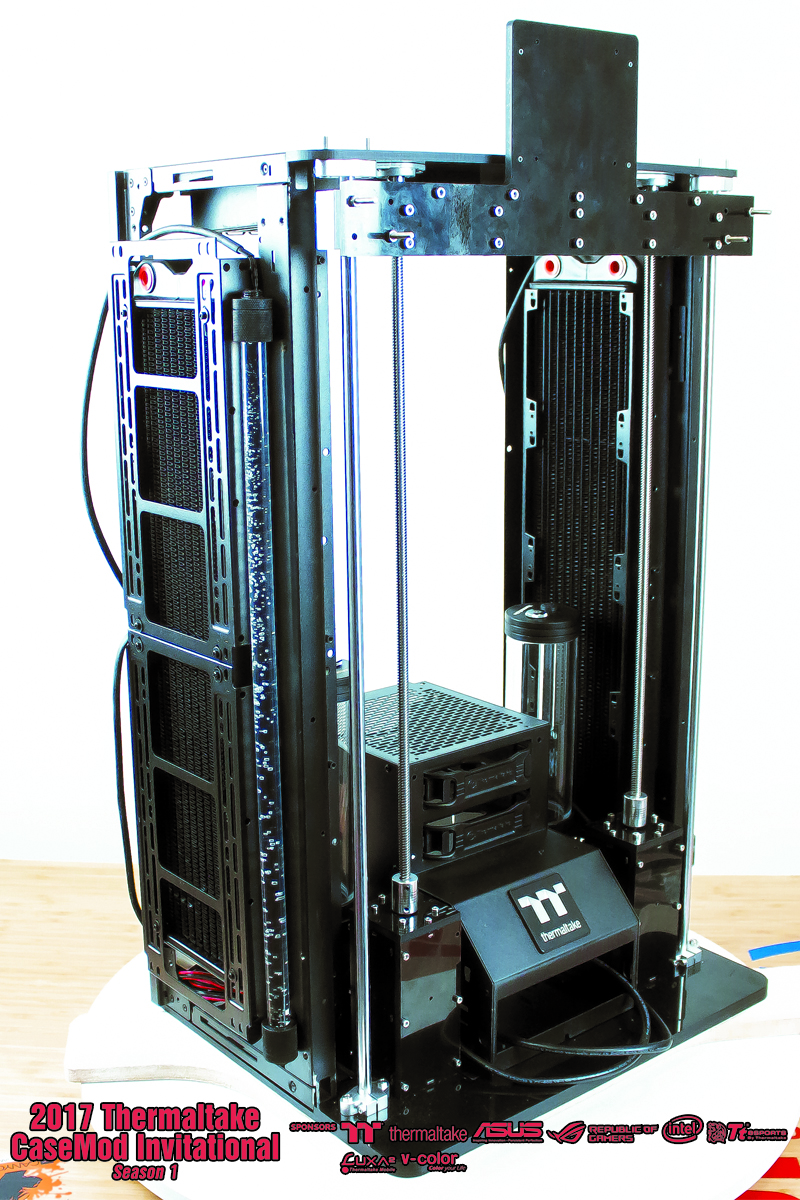
Greetings friends.
ON the question whether it is possible to mix the liquid the simple Answer is Yes, if its composition is the same true with the liquid type "pastel" can not ride because it has a dense color.
Some time passed and now that has changed.
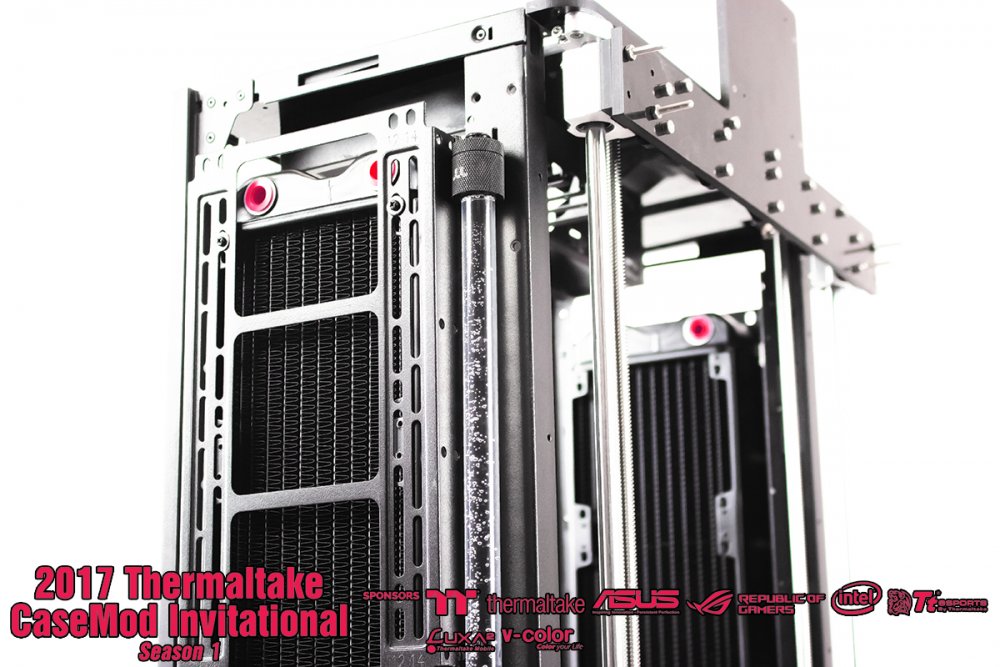
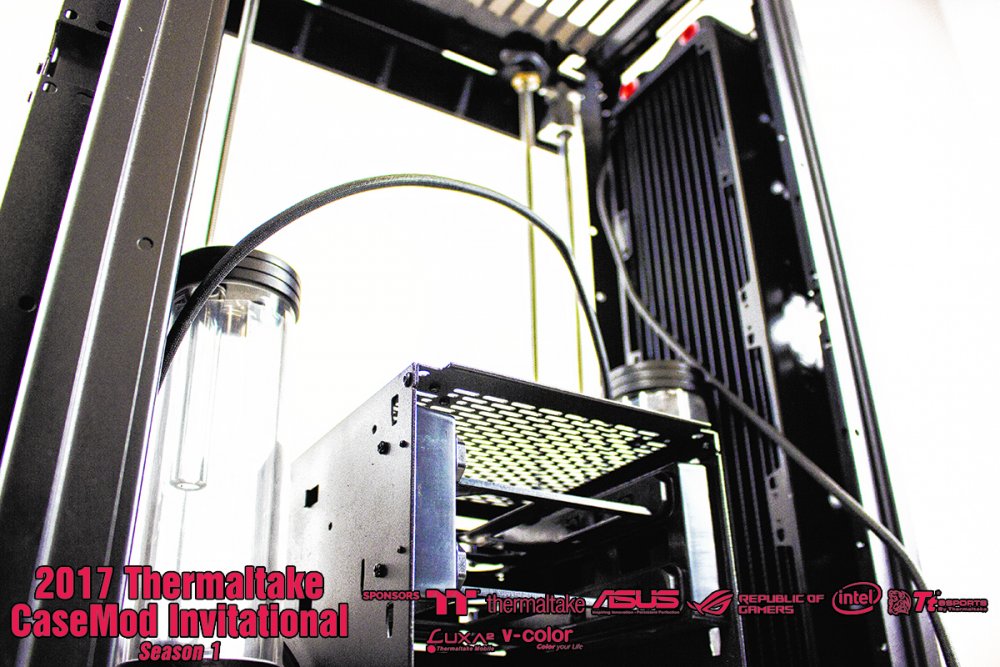
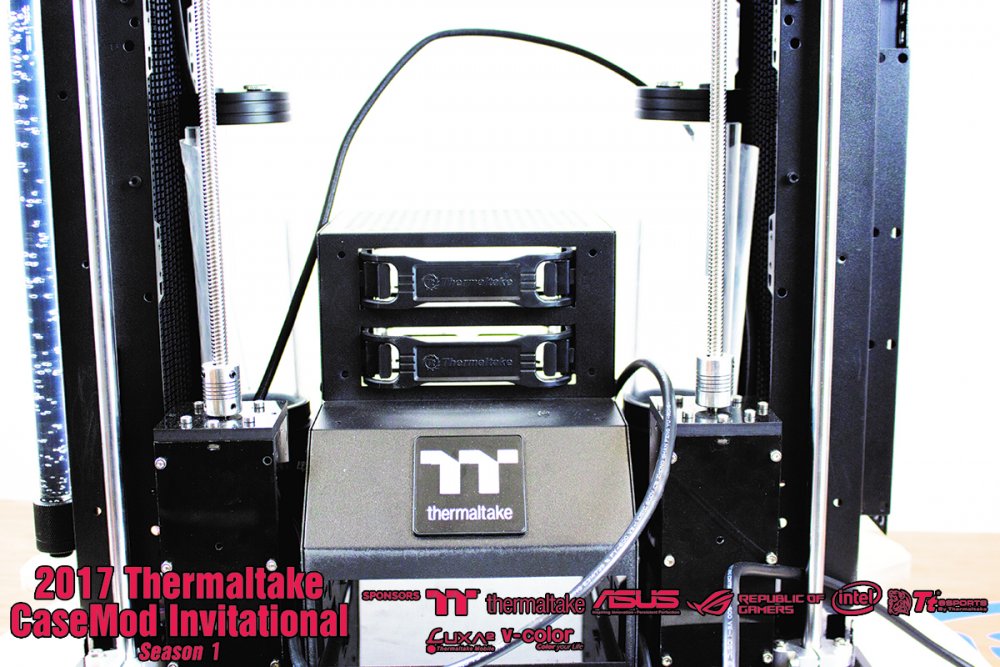
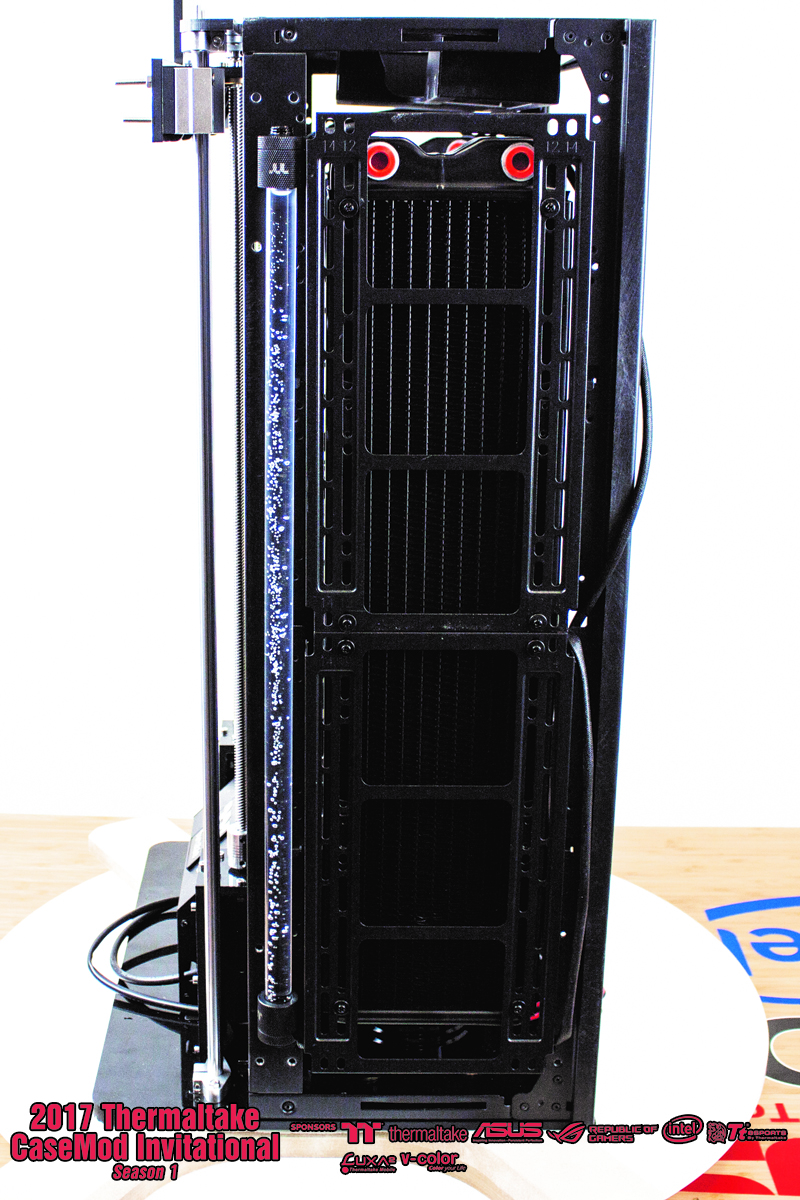
1) was added 2-tube light is made of standard 50 cm tubes and fittings Thermaltake Thermaltake c RGB backlight.
2) Estimate the so-called sole the one in the middle.
3) there are 2 radiator from Thermaltake RL 480.
4) Also, while trying on tanks with pumps them there is the place in my opinion.
And what happened photo))


-
-
-
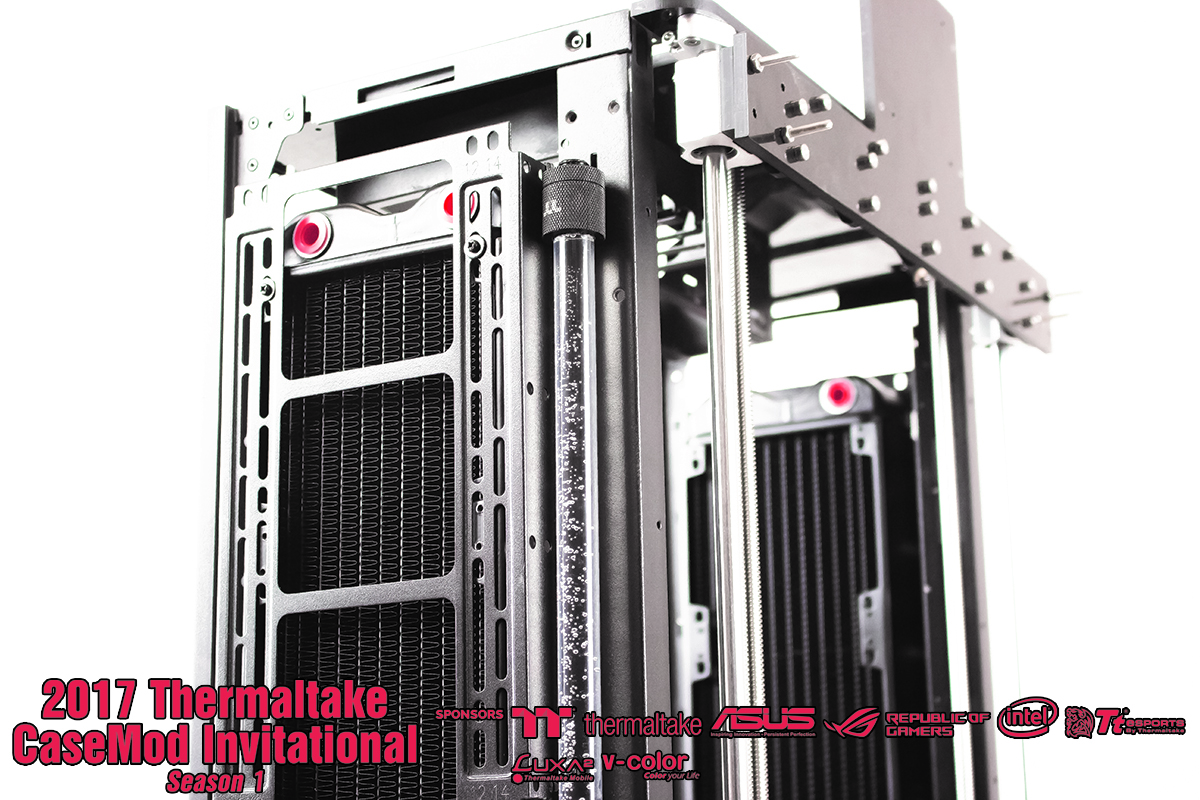
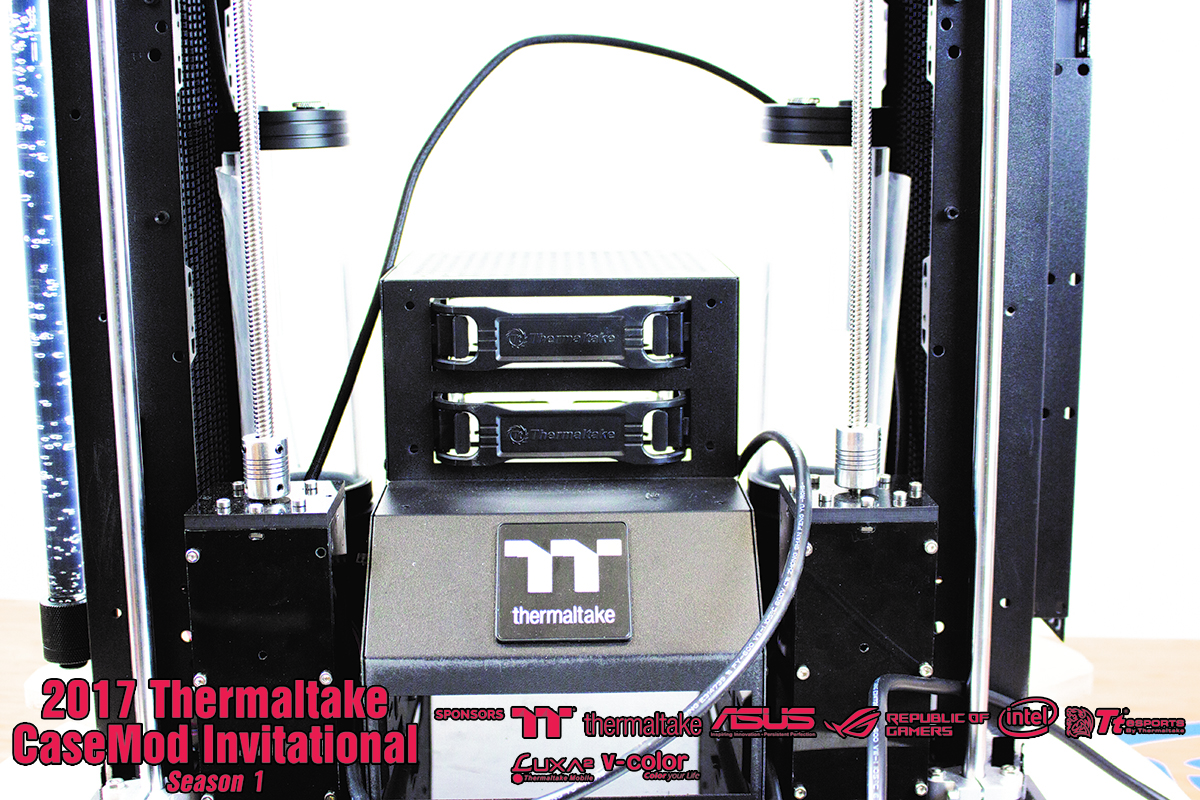
Hello/
Exactly my concept of the system should be compact and productive.
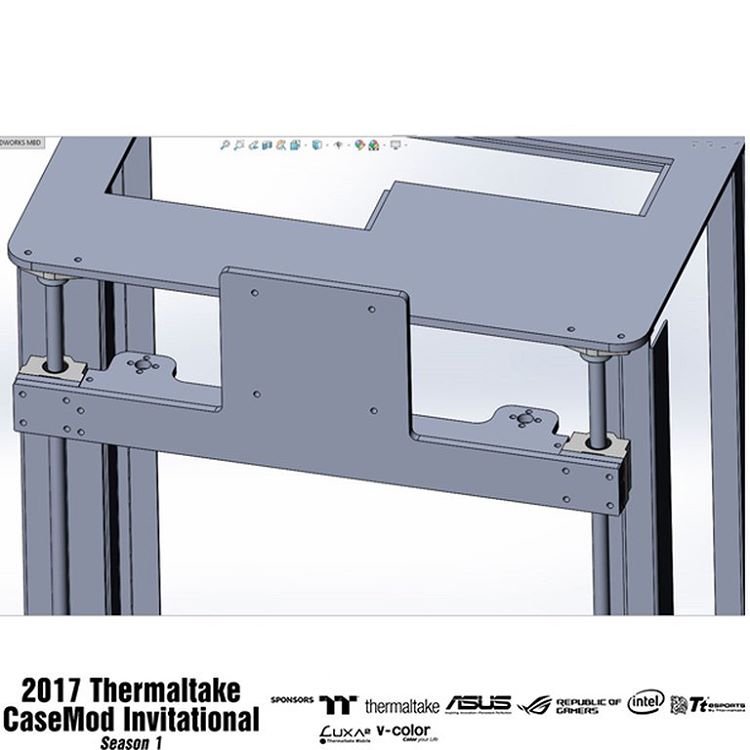
Finally milled panels, now it became clear where that should be tightened. Generally work for the day and everything should be like a native.
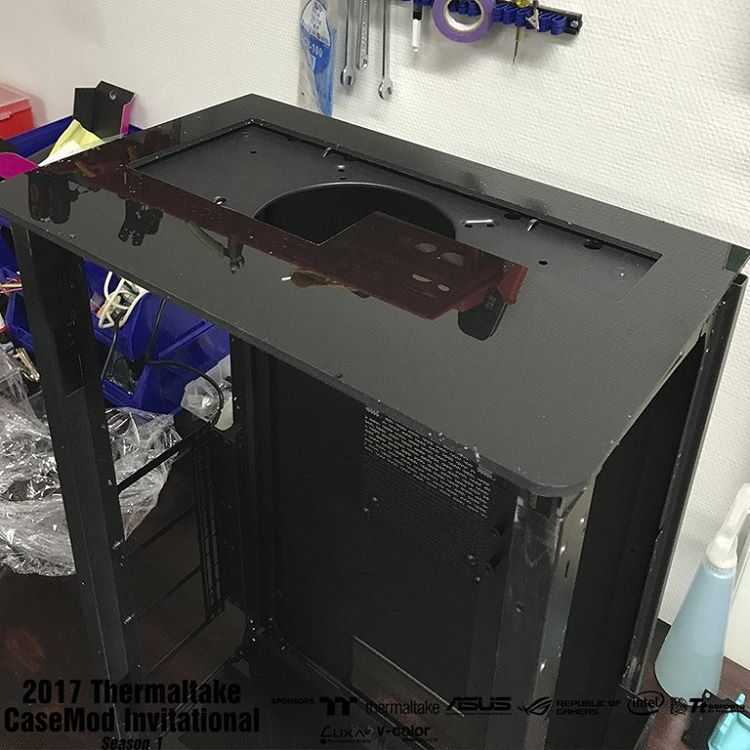
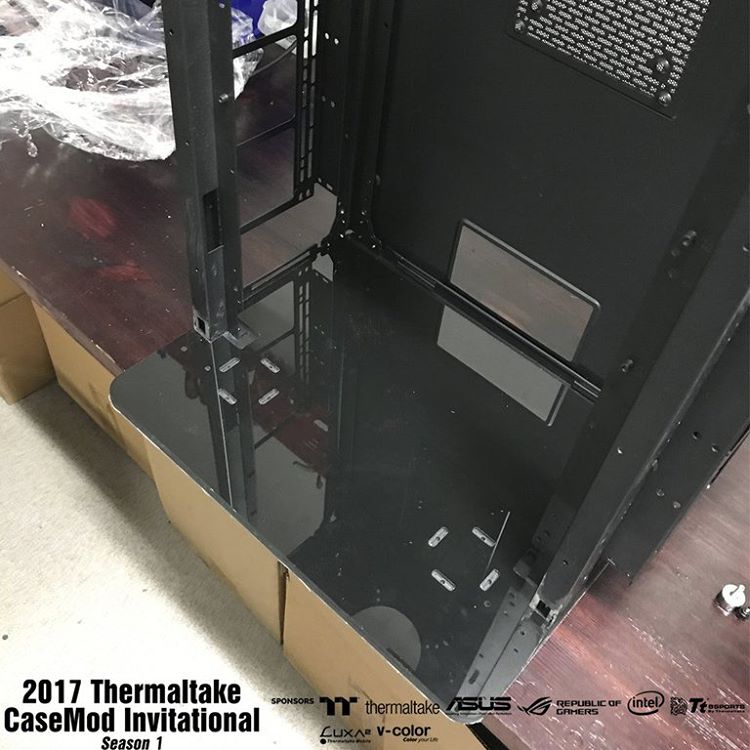

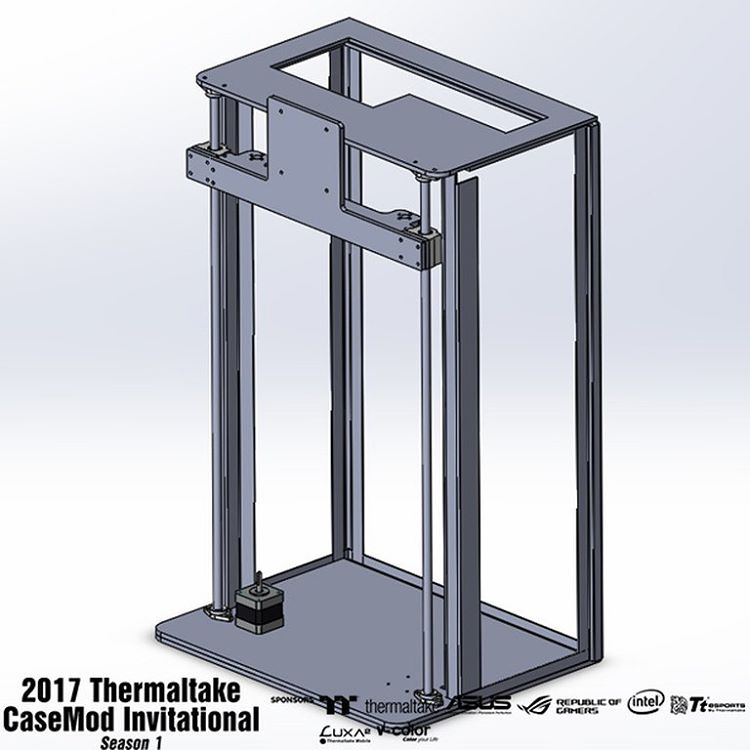
the main feature that the upper part team as the sandwich factory and will be used I\O panel.
-
-
-
-
-

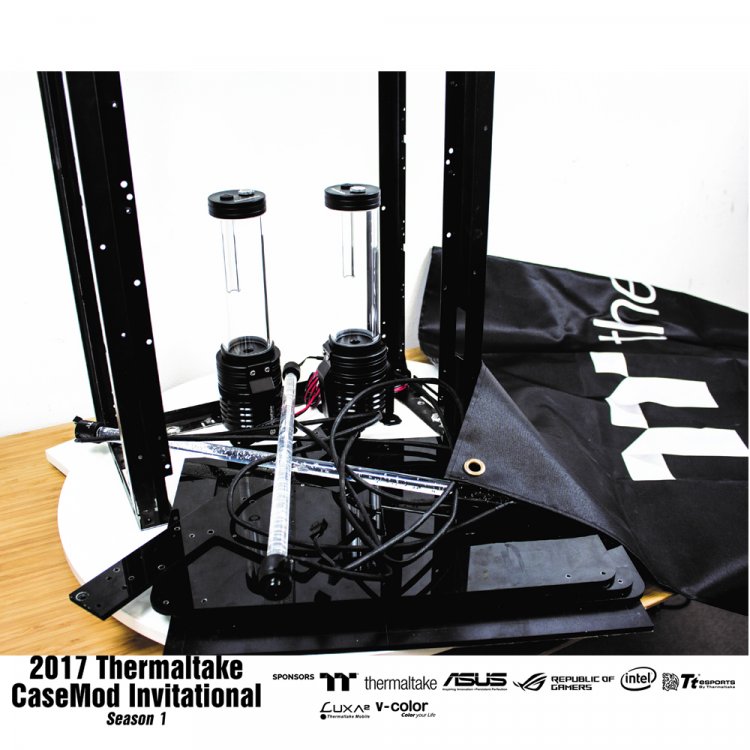
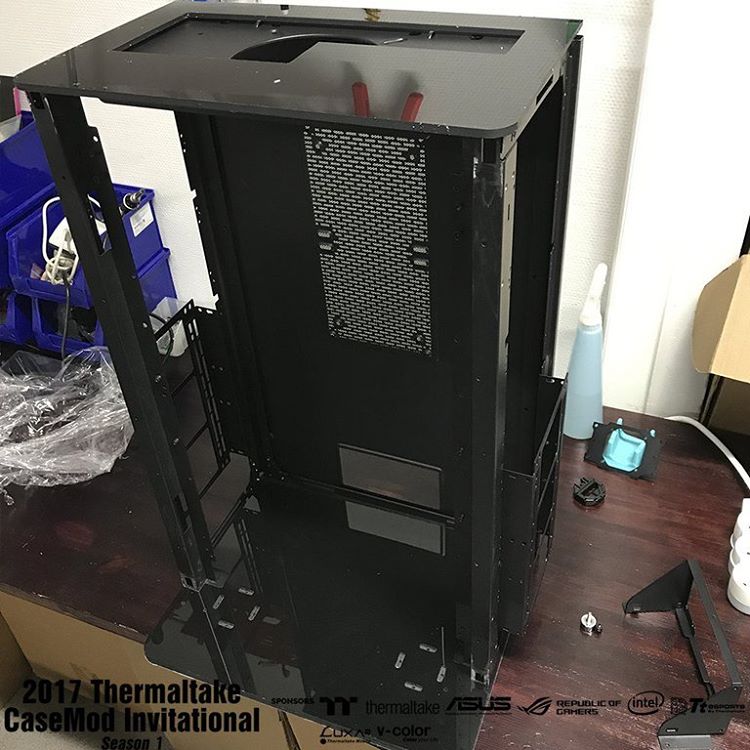
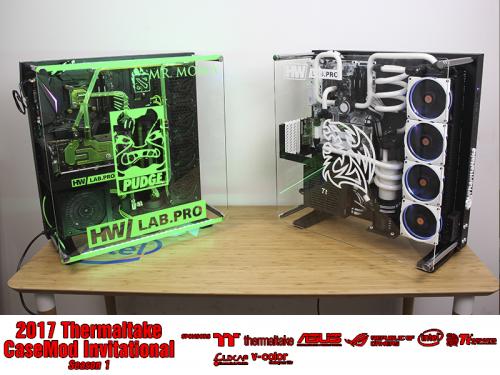
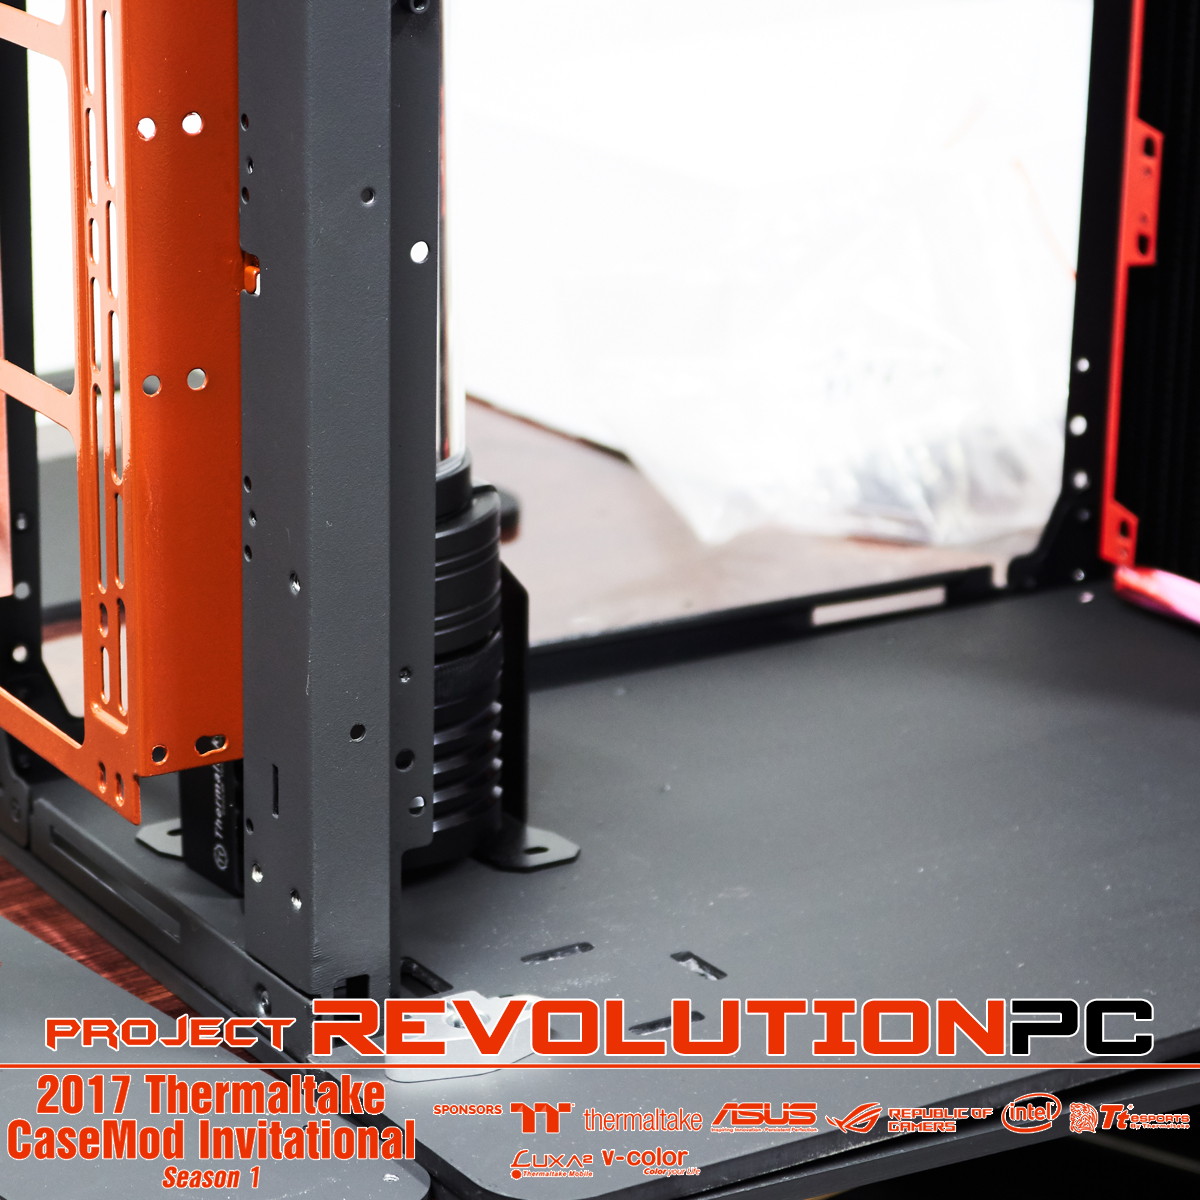
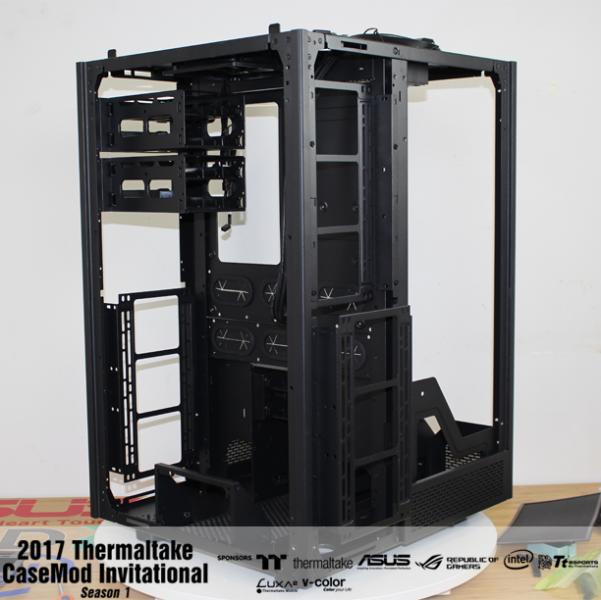
Greetings to all. Finally I have got around and there was time. Tell us a bit about plans and thoughts. Tower 900 this is a lovely spacious enclosure in which you can implement quite interesting projects. But I still see a universal system all in one matter of fact I will try to implement. in the meantime, all the glands going.
A few photos for starters.
- andrey35, Vladik Oversoul, eugene and 8 others
-
11


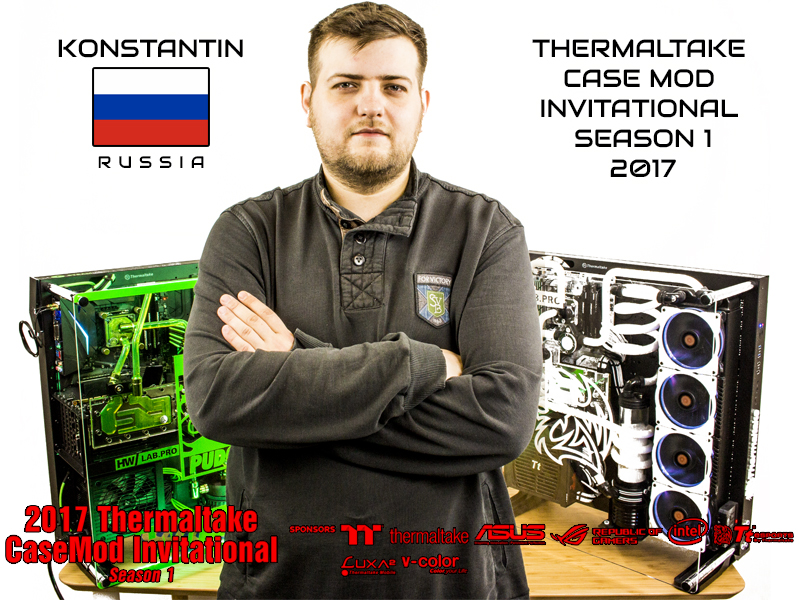
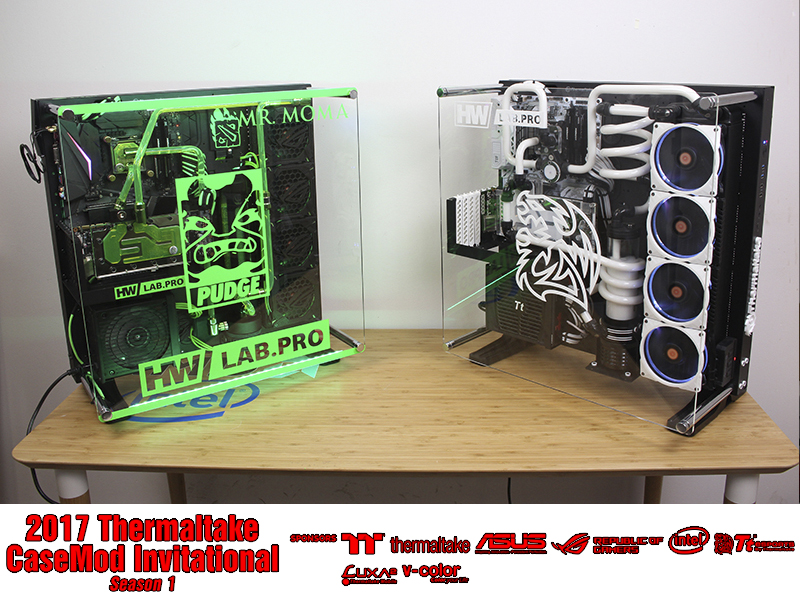
[Russia] Kozlov Konstantin
in 2017 Thermaltake CaseMOD Invitational Season 1
Posted
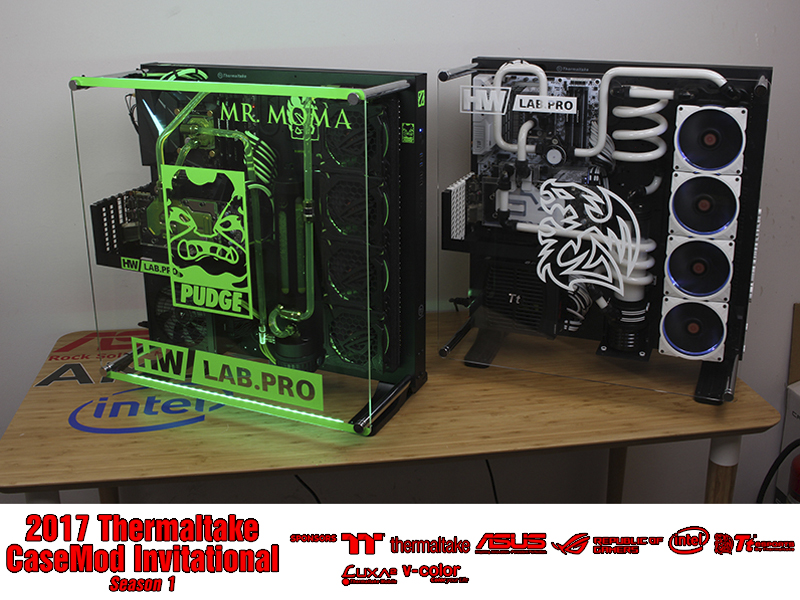
Привет зашел выложить фото процесс идет конечный вид будет в день окончания конкурса
ПС без фото форум не пашет нельзя загрузить