-
Forum Statistics
7.8k
Total Topics52.1k
Total Posts -
Member Statistics
136,216
Total Members16,800
Most Online


Maki Role
-
Posts
38 -
Joined
-
Last visited
-
Days Won
5
Content Type
Profiles
Forums
Downloads
Events
Gallery
Blogs
Posts posted by Maki Role
-
-
-
And now that youtube has at last okayed things for me:
Enjoy!
-
Then again, there's always room for both!


-
Or is the dark side more your domain?


-
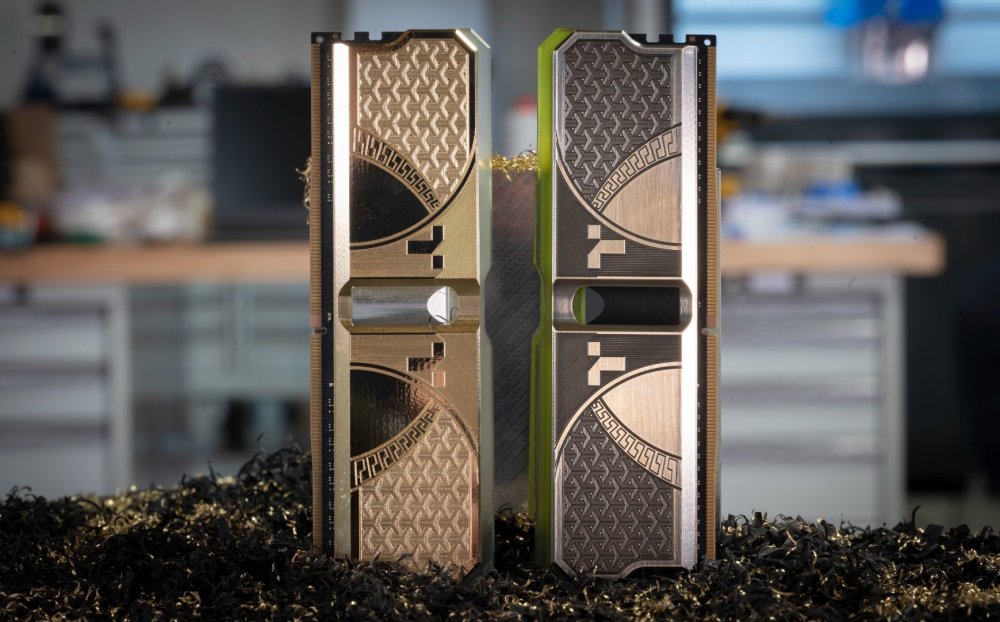
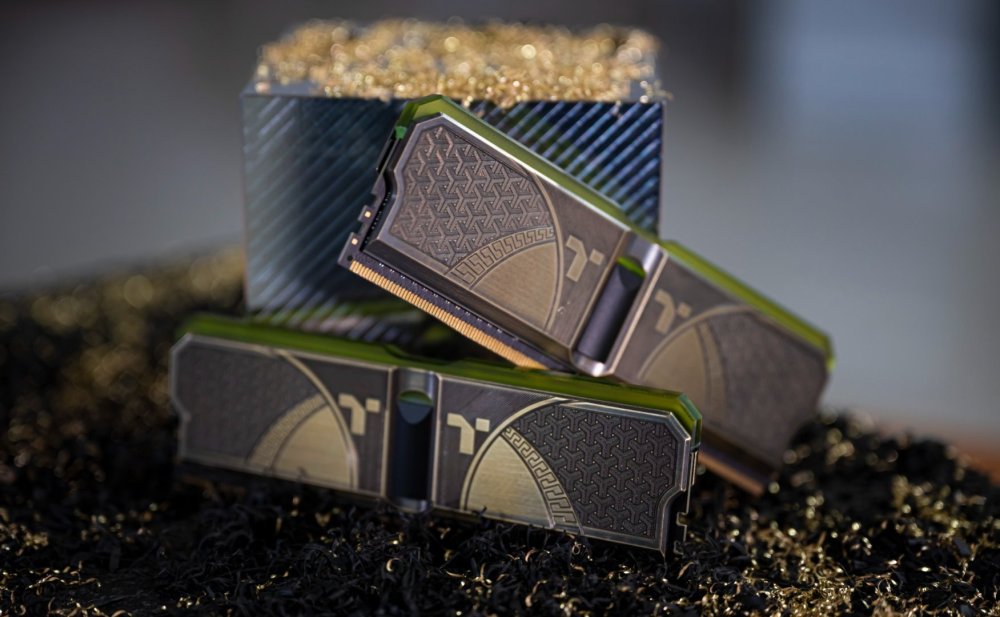
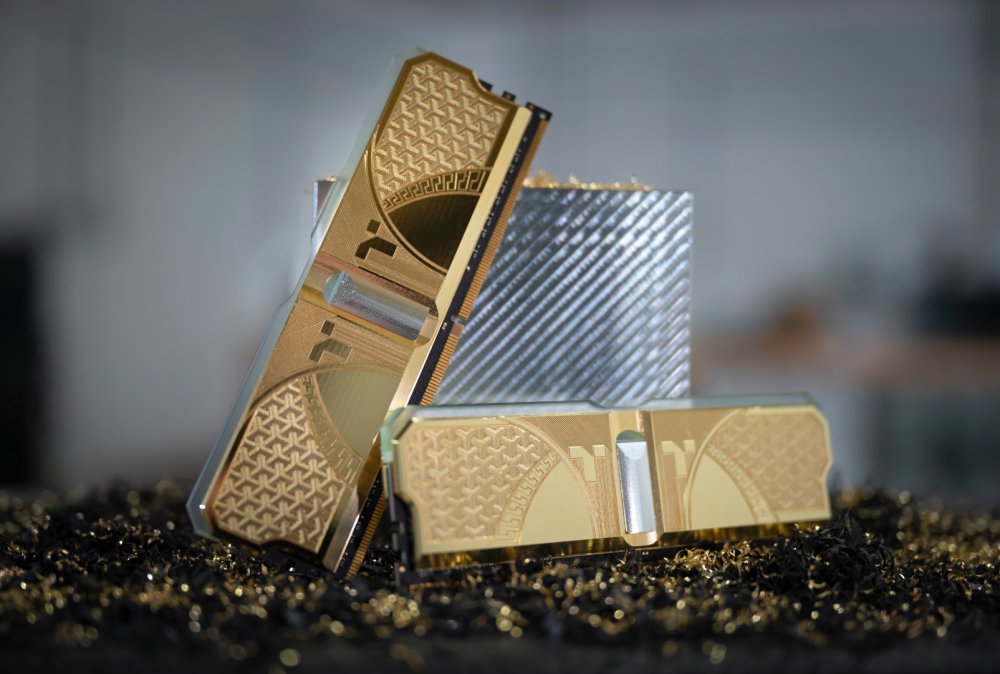
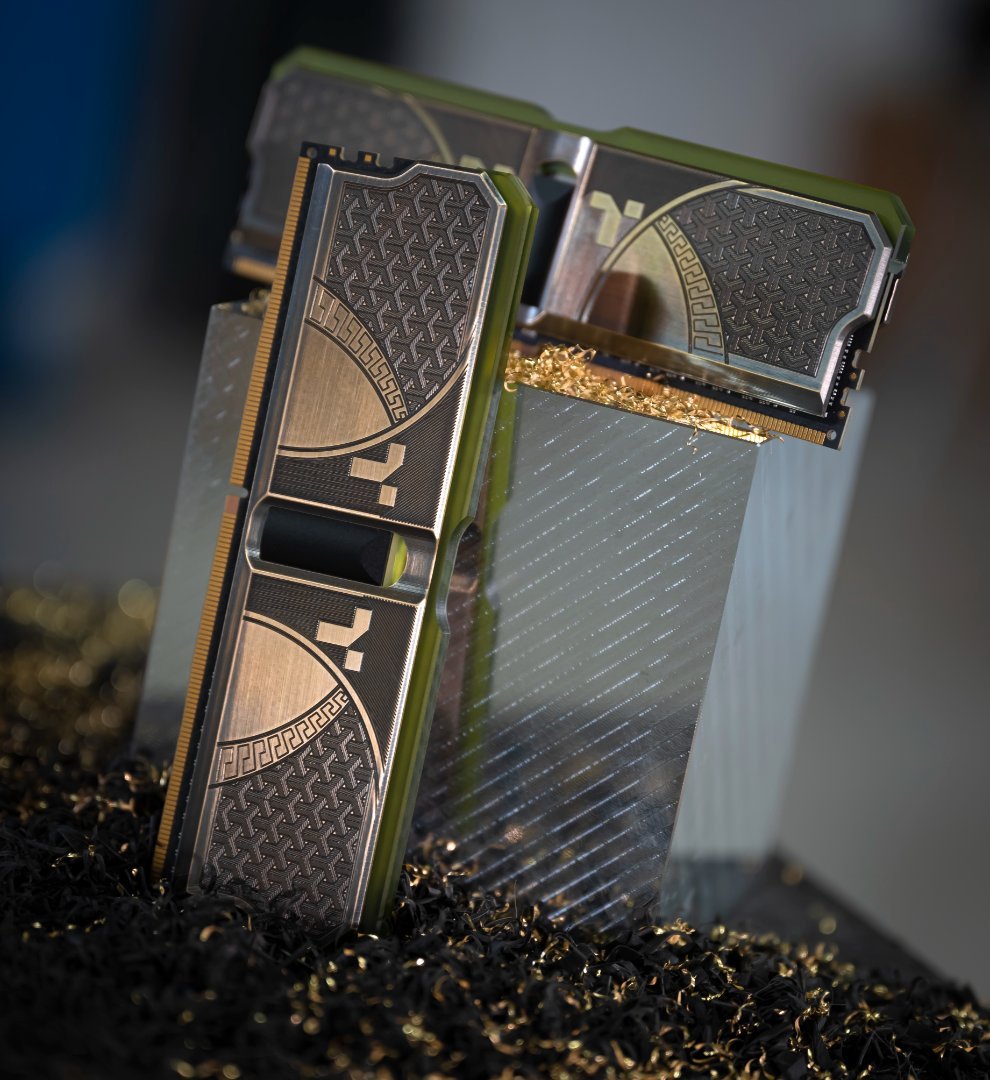
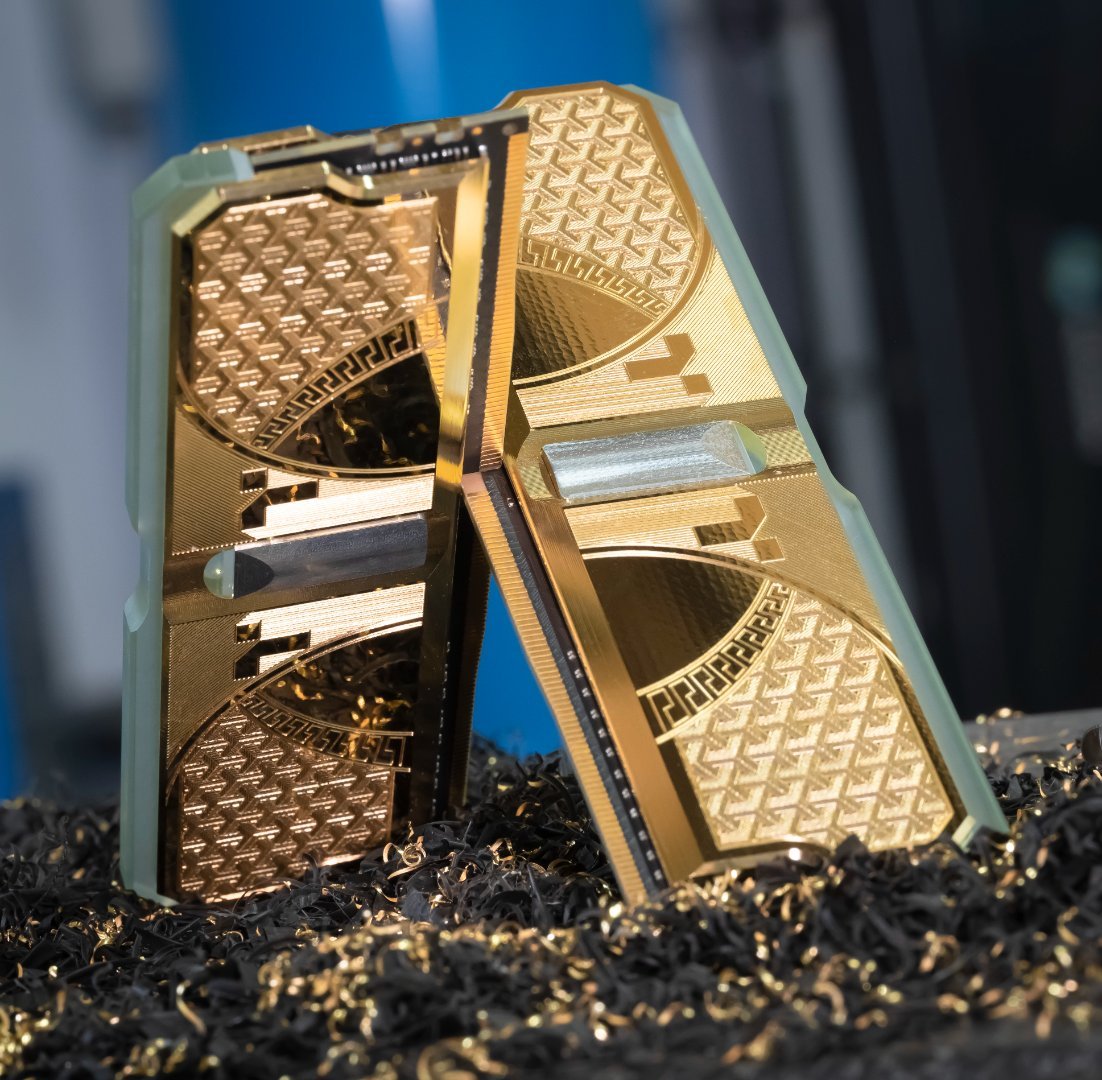
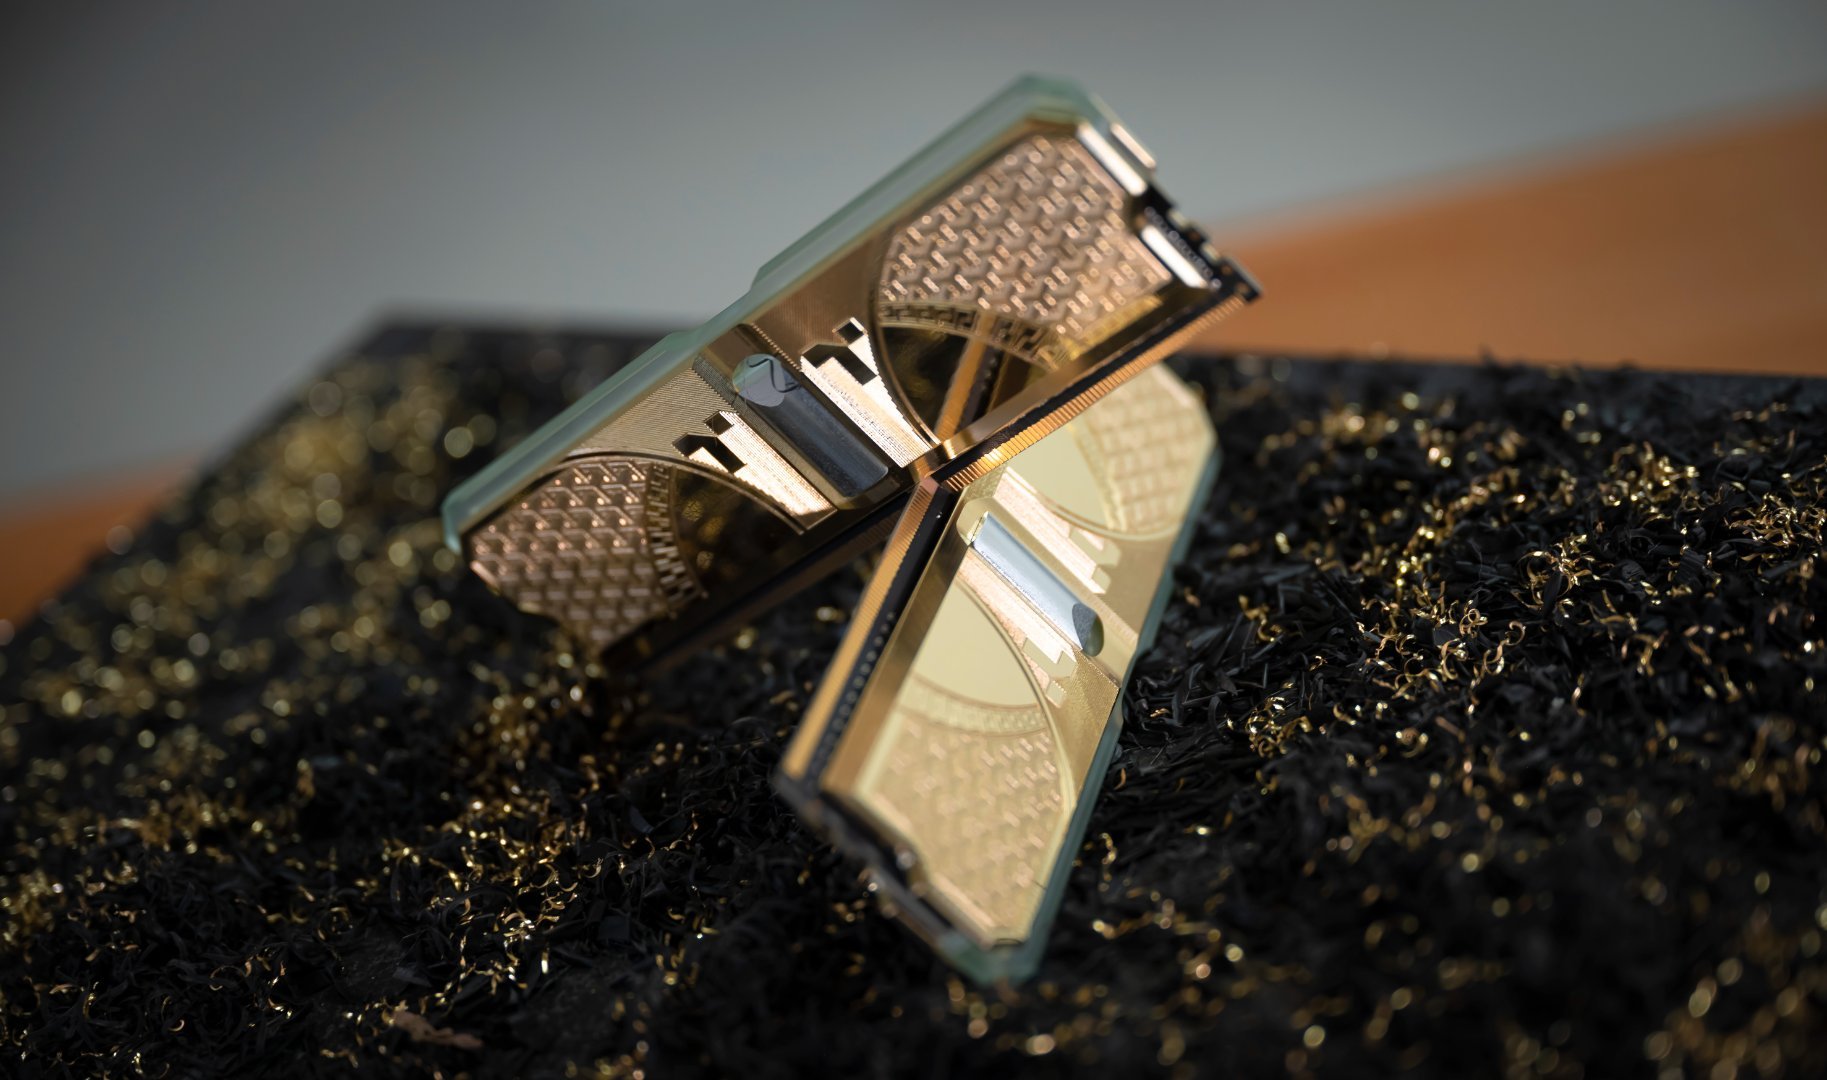
And here we are! Thank you to everybody who's followed along and especially for all the votes I received in the prediction stage. Given I didn't ask for votes anywhere, I'm really touched by how many people chose to back me, hopefully the results are worth it!
Without further ado, I present my entry for the Thermaltake RAM Mod Invitational Season 1. Now the question is, are you one for the light side?


-
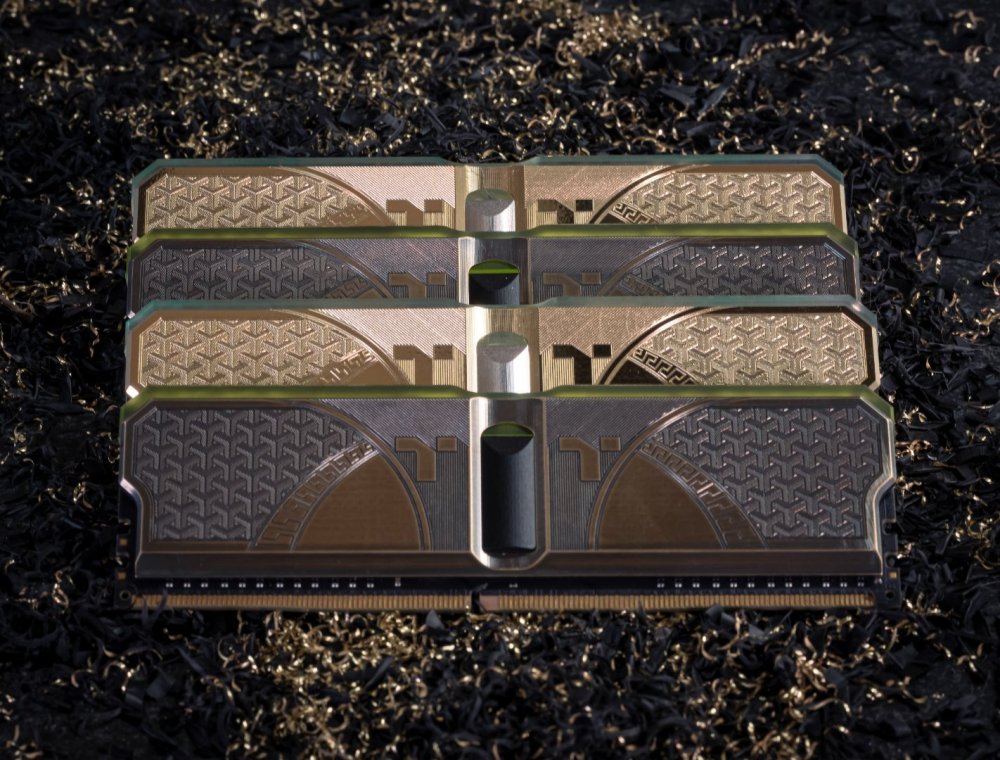
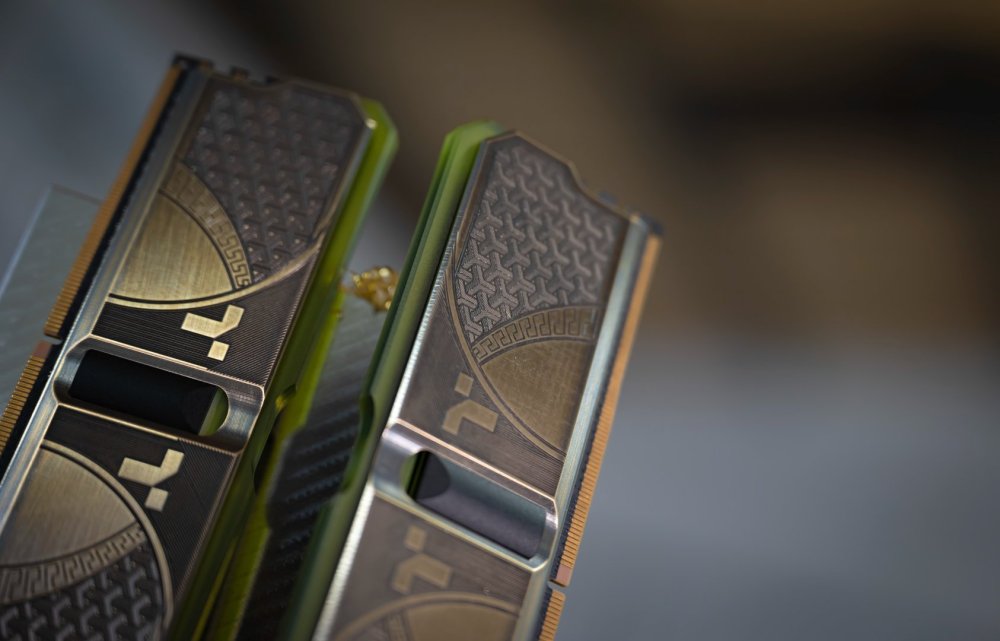
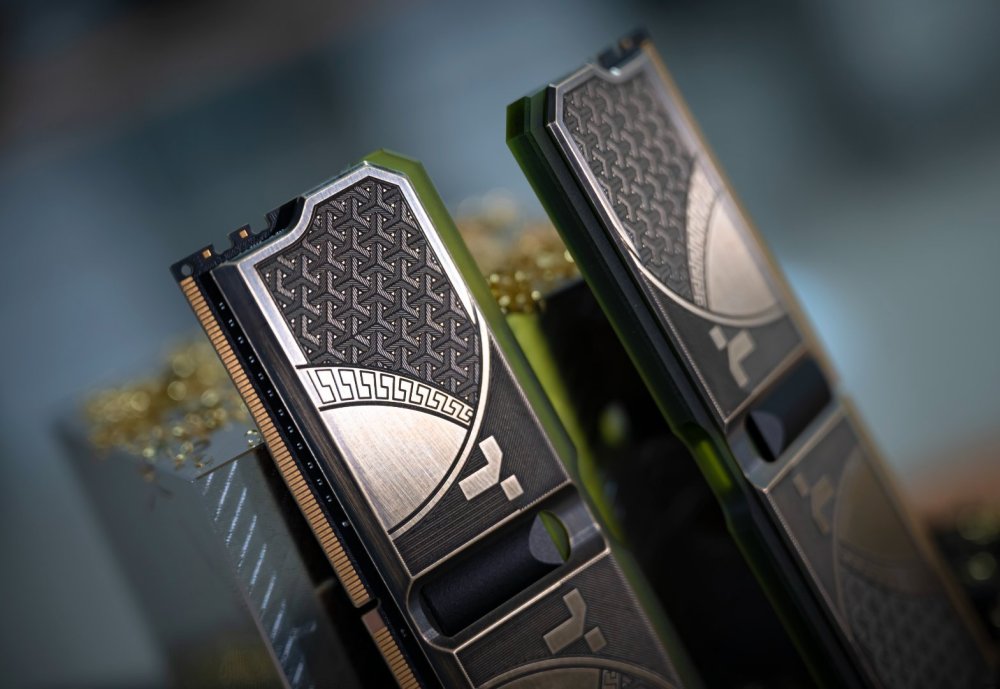
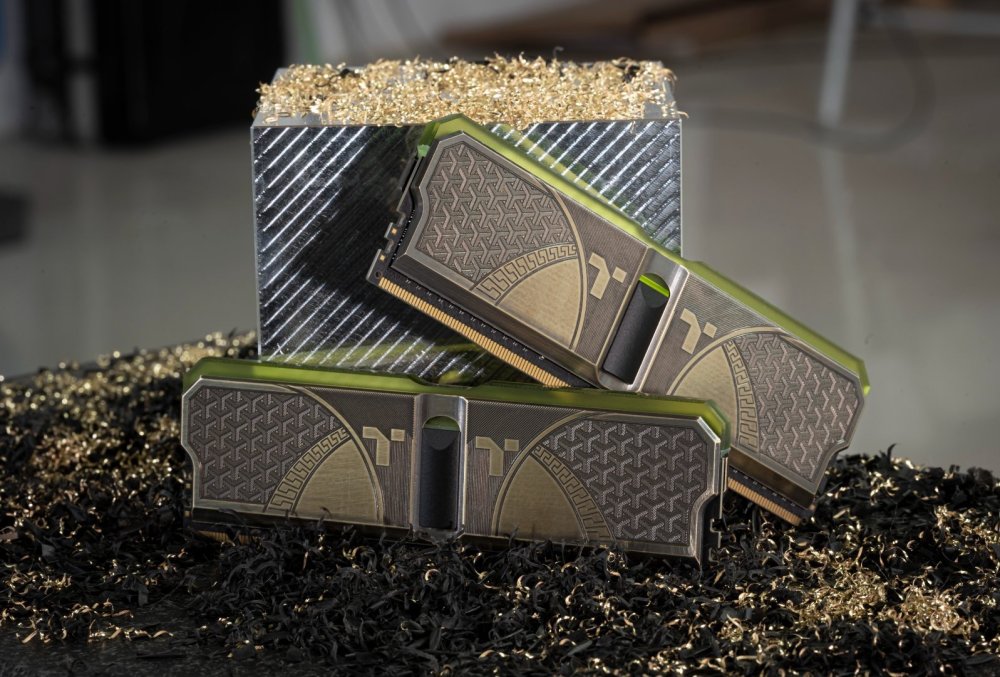
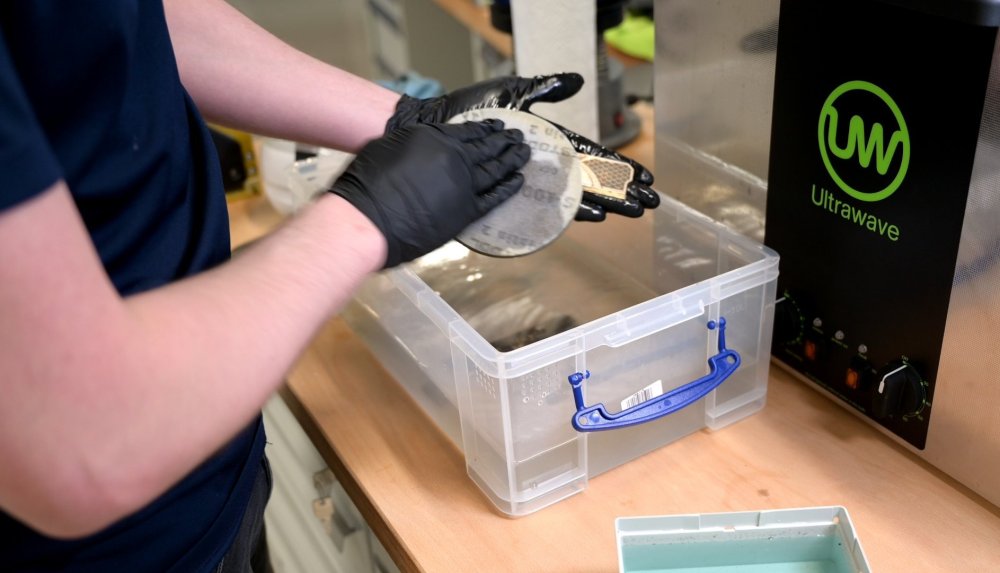
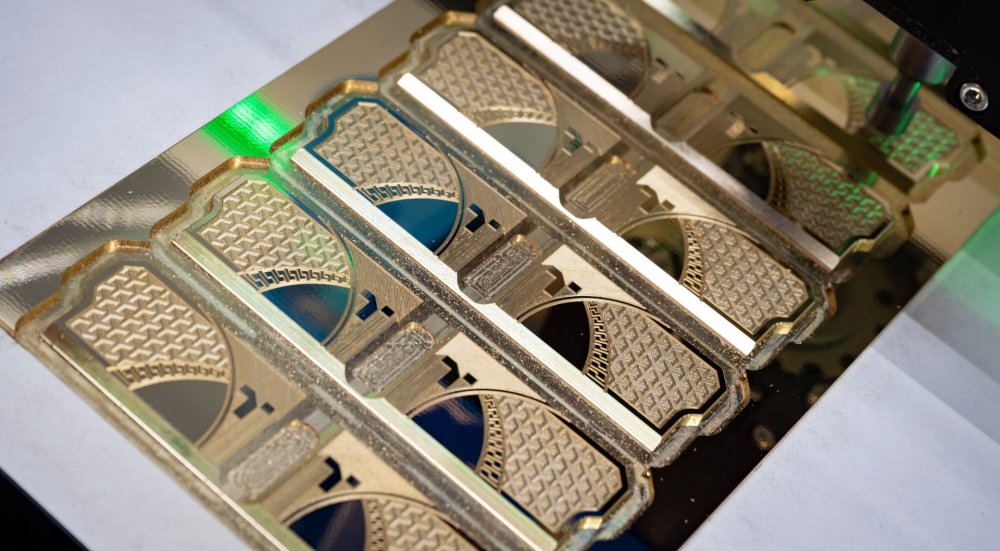
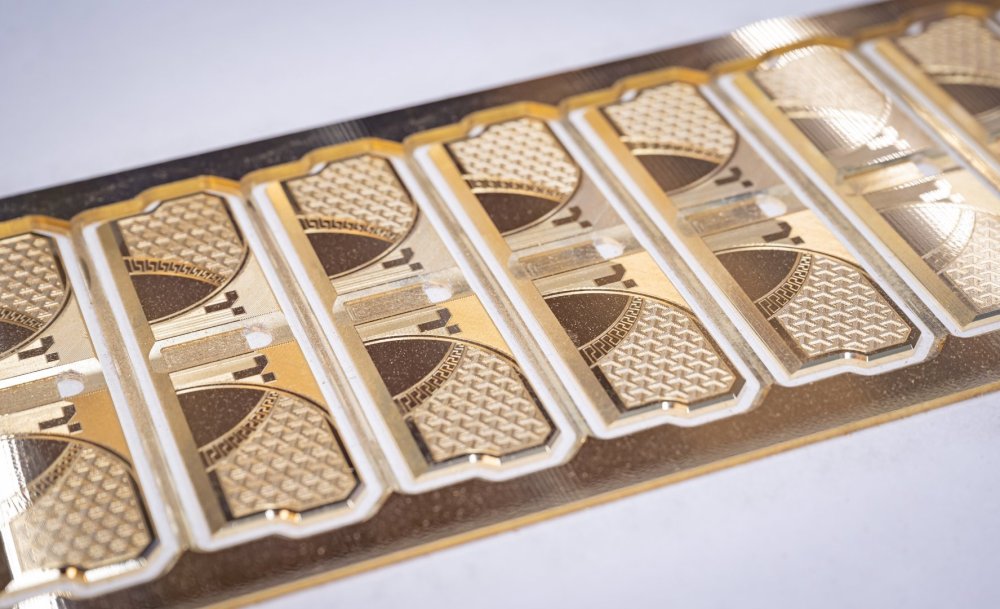
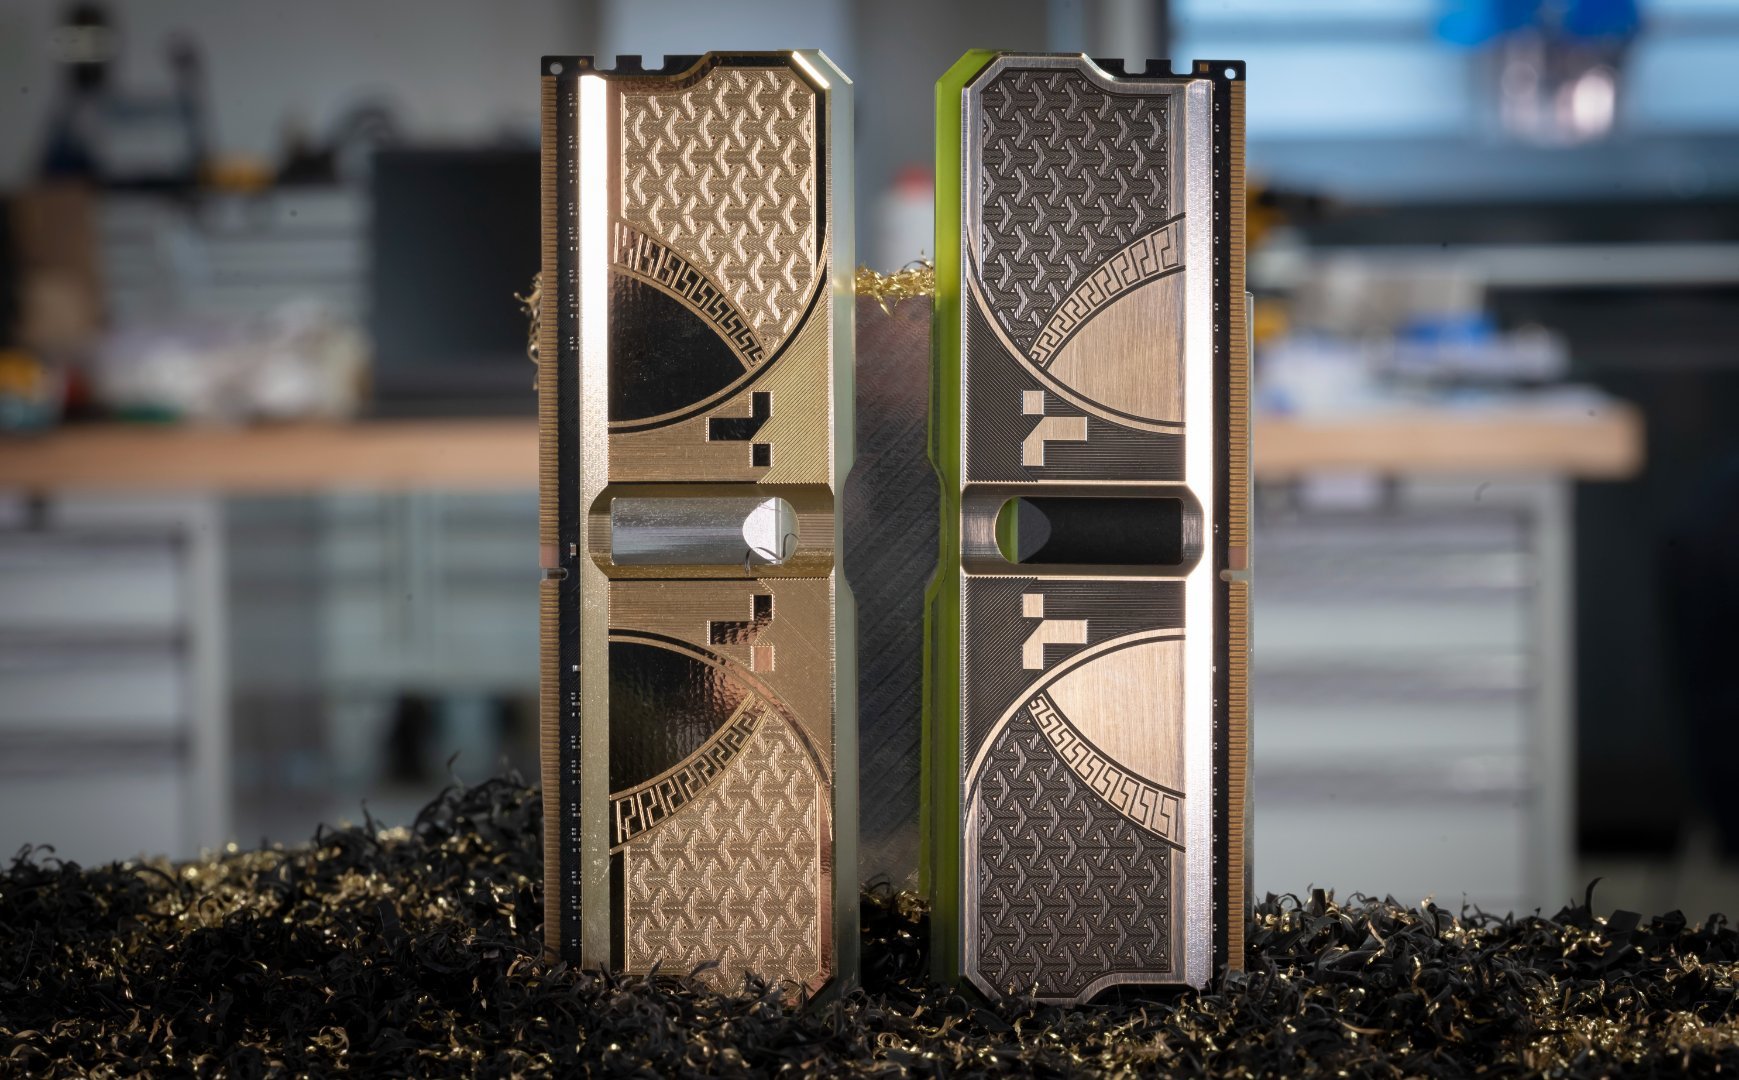
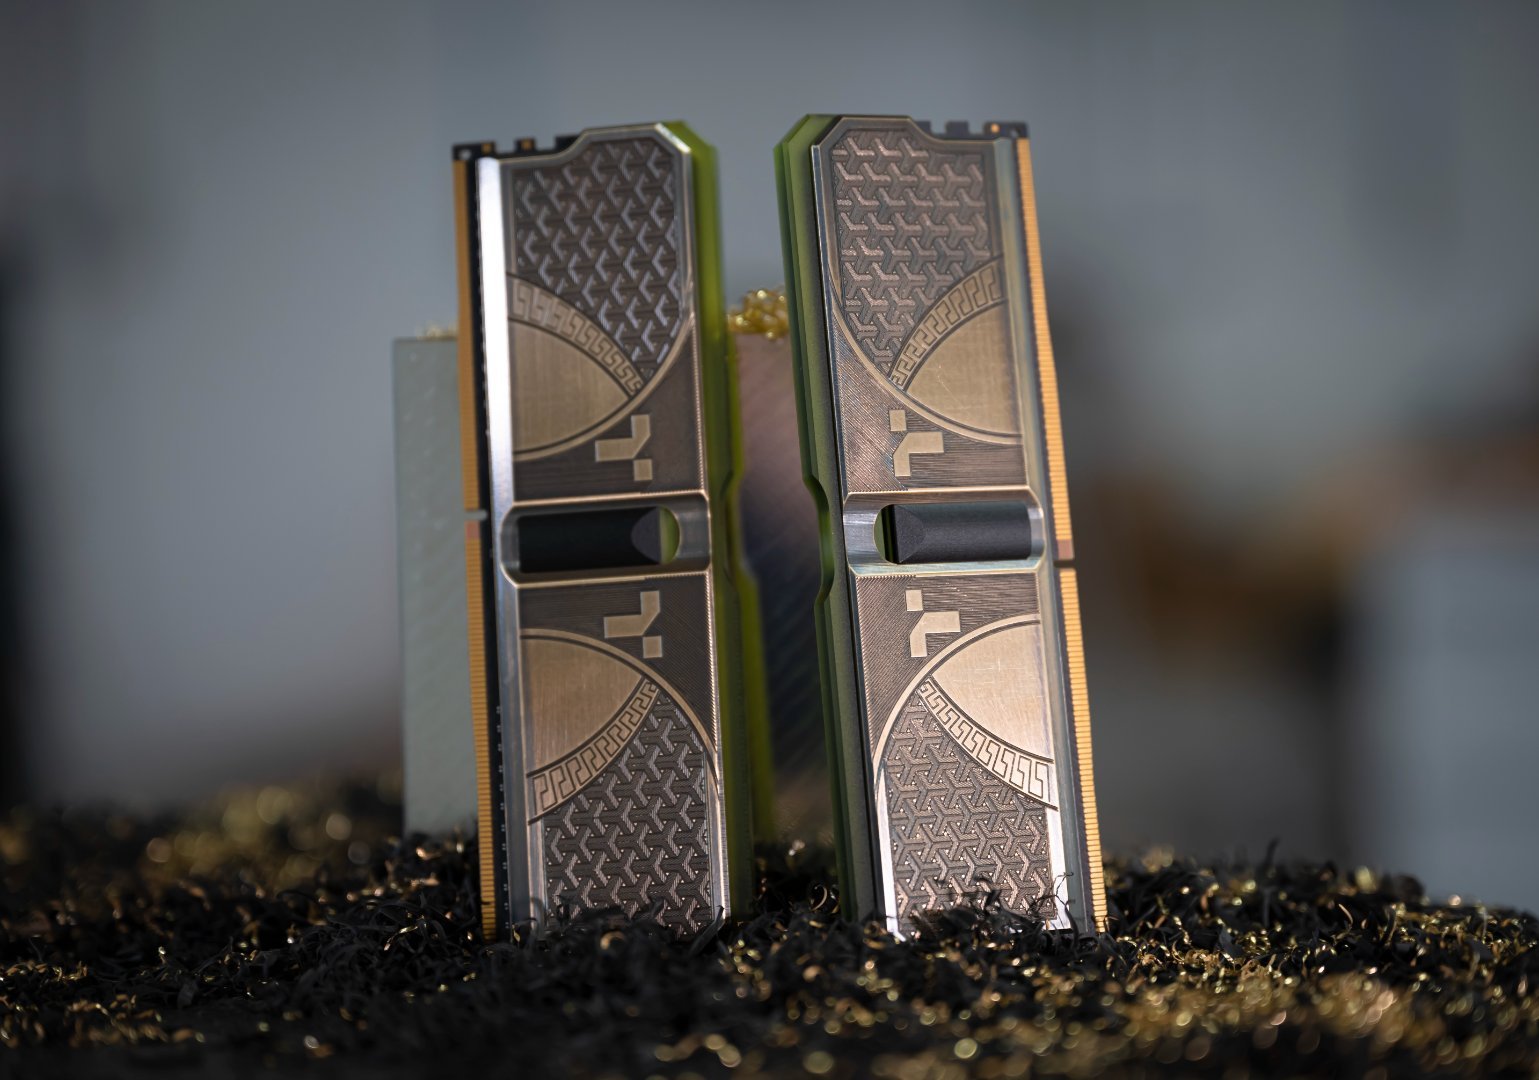
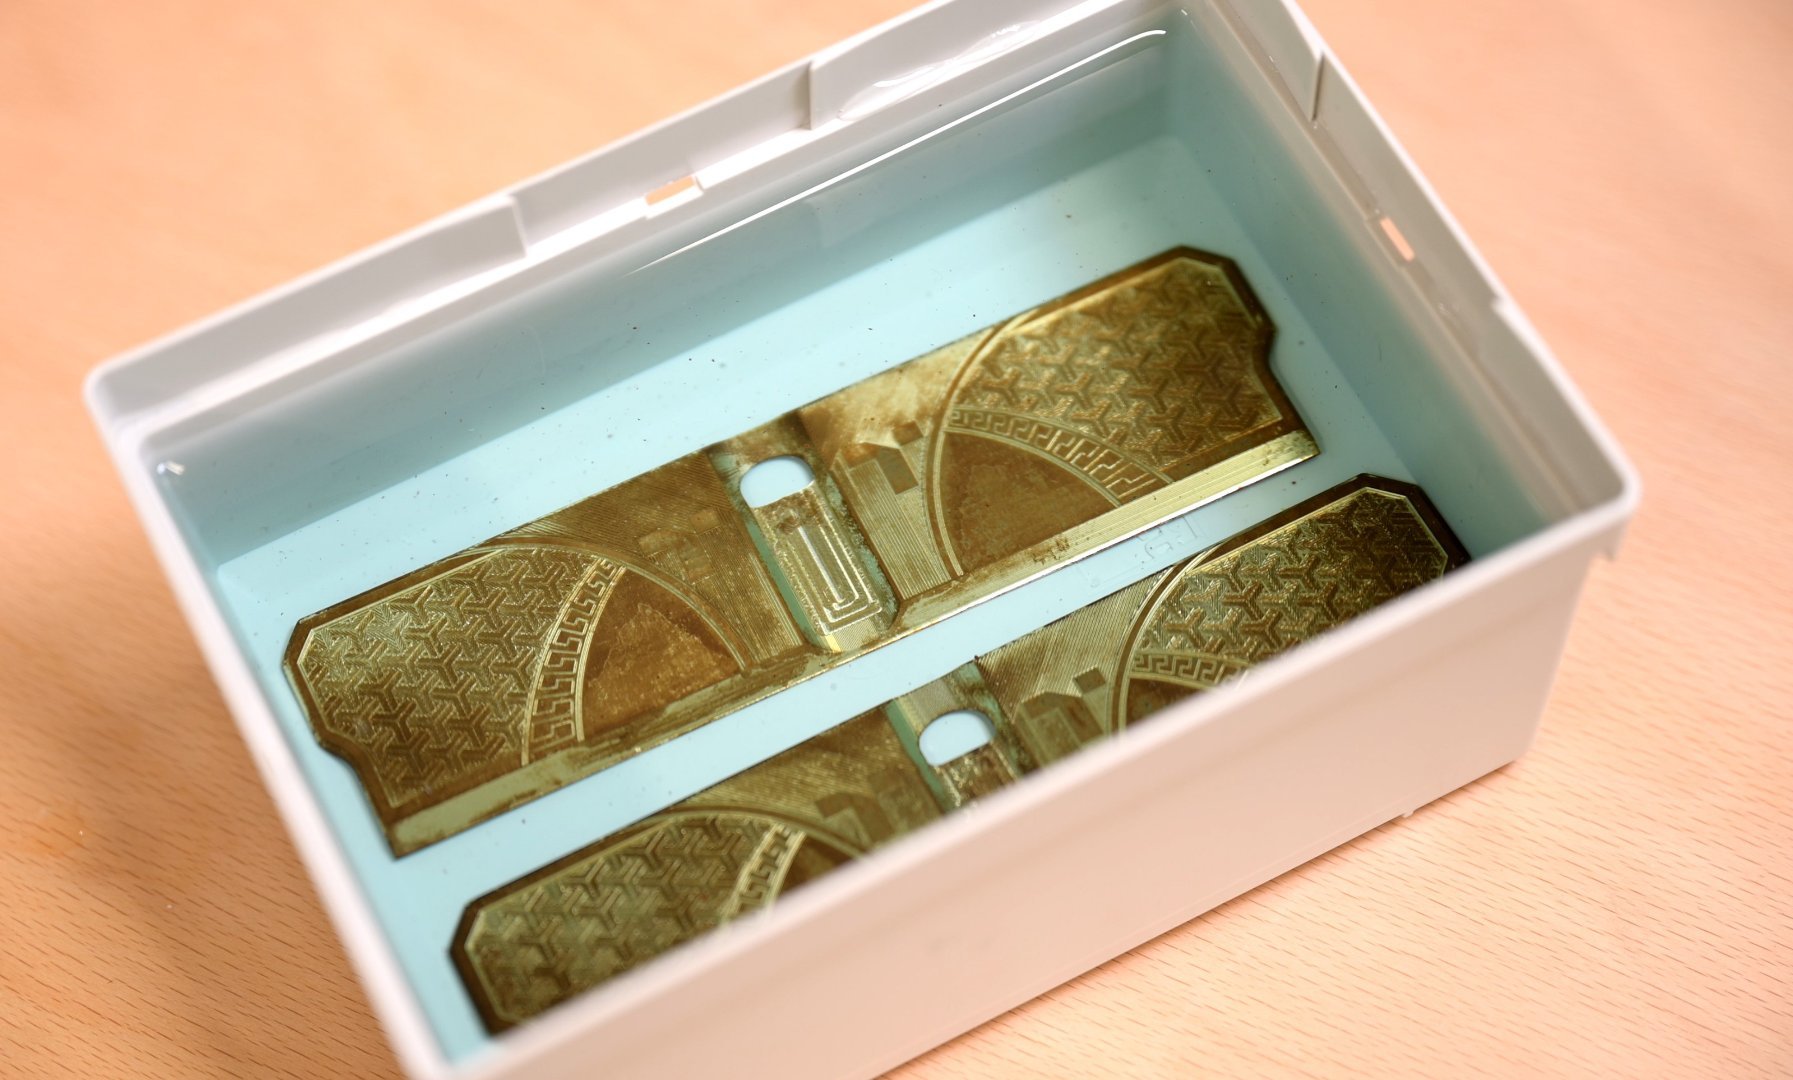
With the parts finally all cut, it came to finishing and assembly time. One really cool thing about brass is that you can treat it with different chemicals in order to develop a patina on the surface. As good as the raw brass parts look, you can achieve some really awesome things via treating the metal, so I figured I may as well go and try that for half of the heatspreaders.
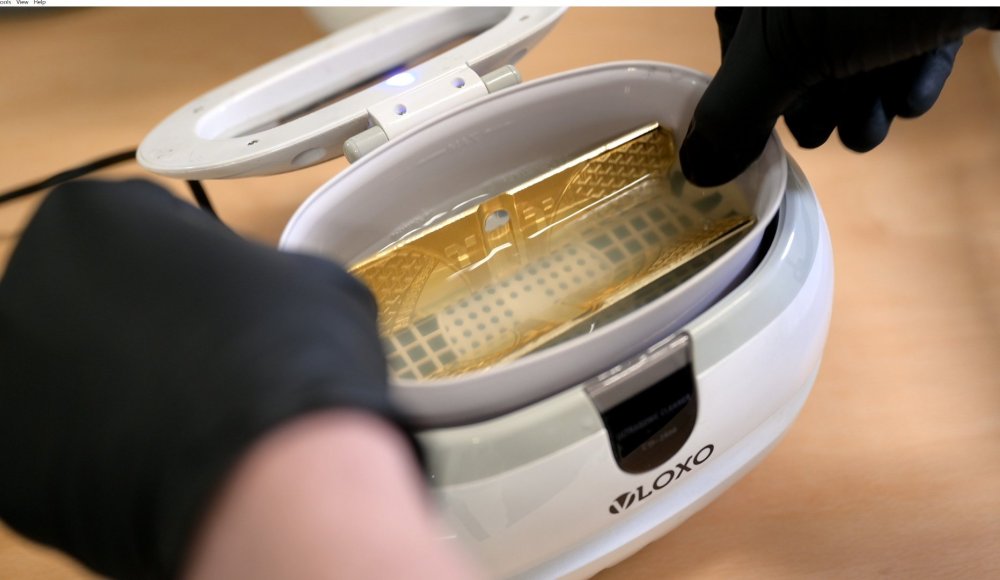
After giving the halves a good wash in the ultrasonic cleaner, I then dipped them into a cold bluing solution. This process only takes a few minutes, the patina starts to develop pretty much instantly as you dunk them. After a couple minutes, I retrieved the heatspreaders, then sanded them back using a 4000 grit soft pad that was soaked with cleaning solution. This helps to even out the surface deposits and promote a better finish. I let them soak for a few minutes more in the blueing solution, then sanded again until I was happy with the appearance.

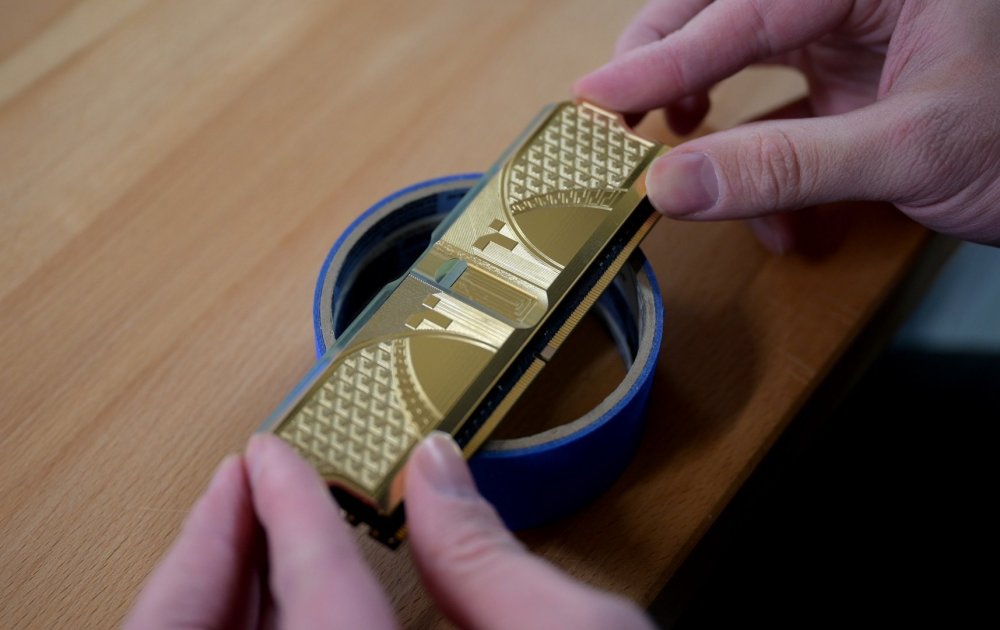
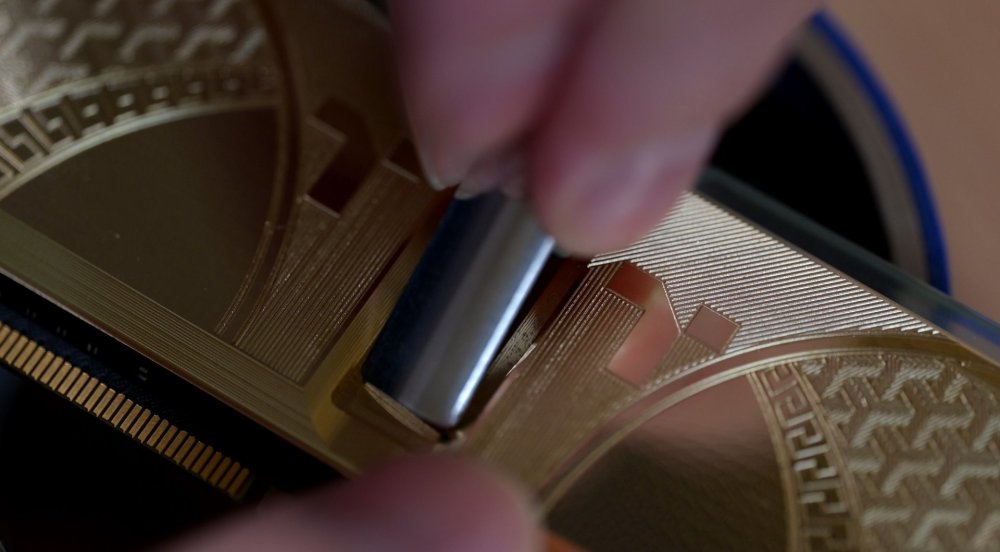
Finally, I added some thermal pads to the inside faces, then carefully stuck the halves together. The sticks can be taken apart fairly easily still as none of the adhesives were permanent.

-
Okay for upload safety I'm dividing these posts up, just in case somethings fails along the way.
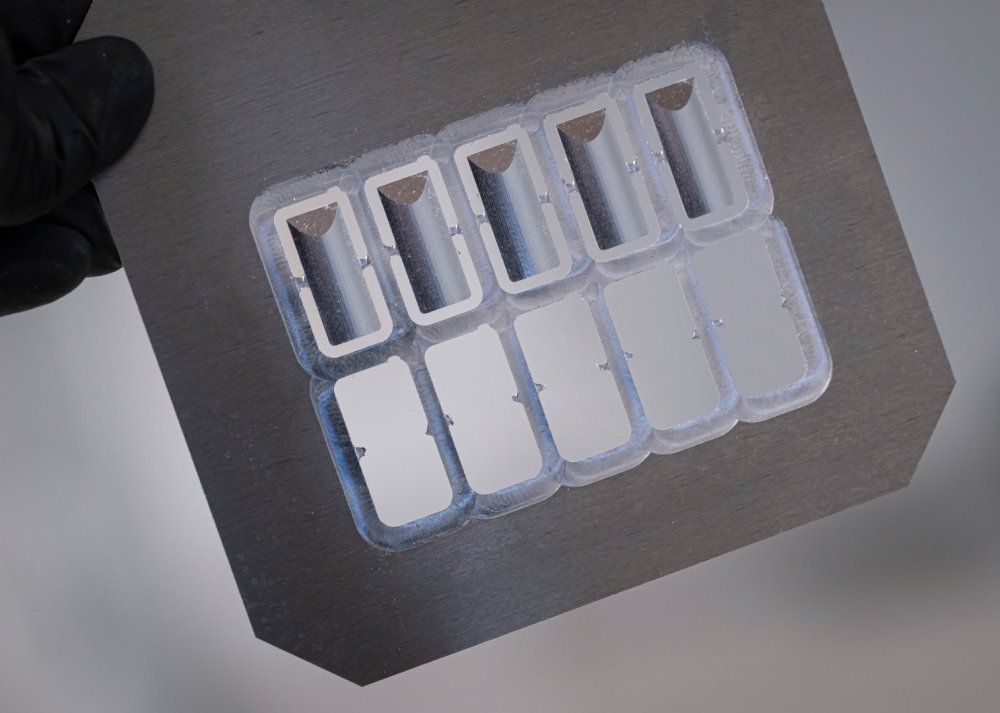
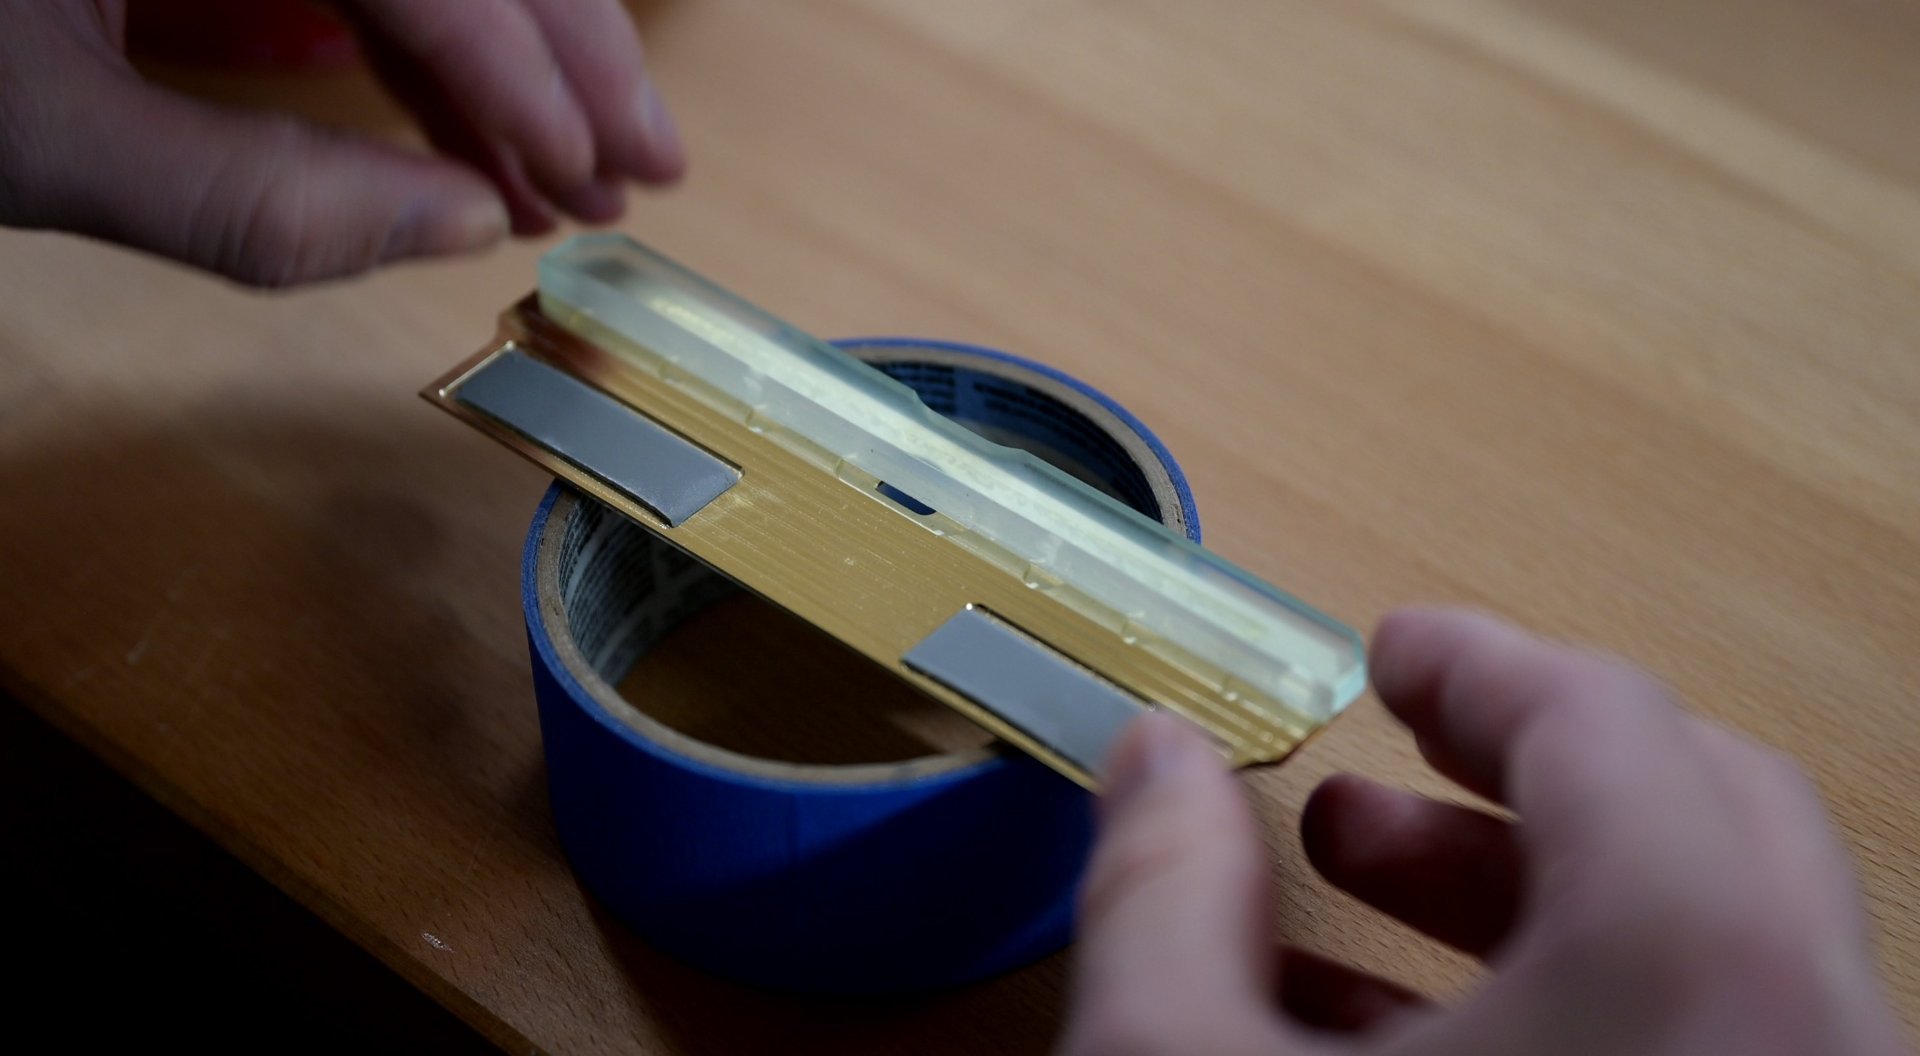
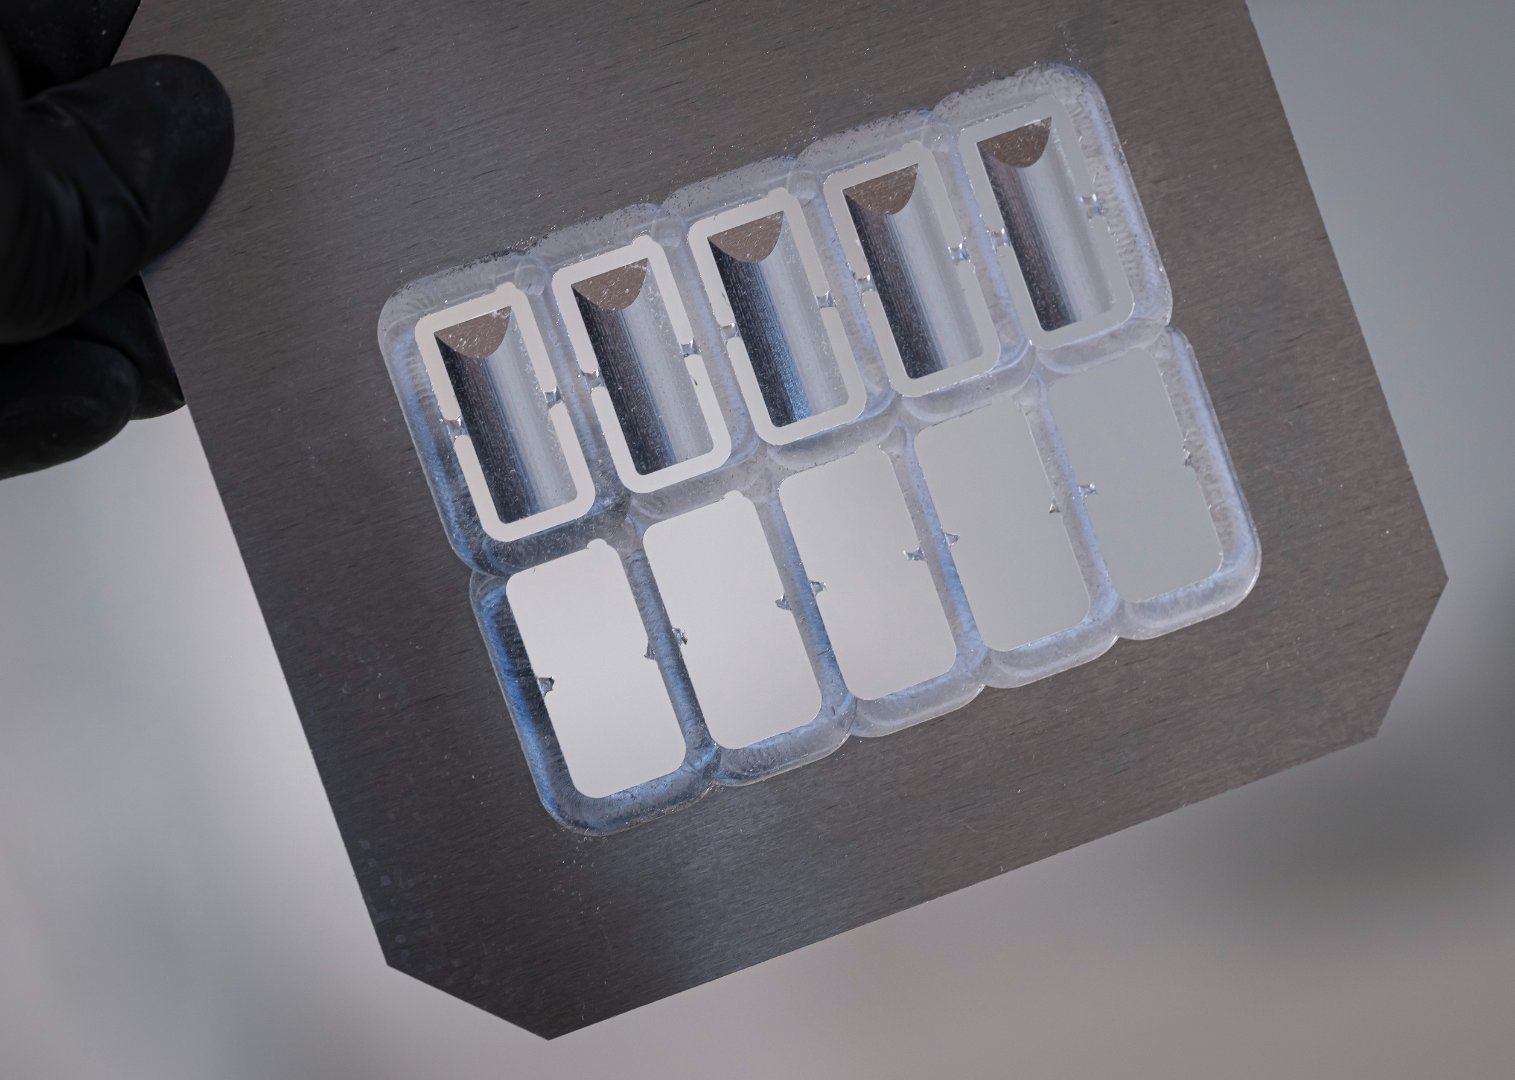
With the brass components done, it was time to tackle the little aluminium buttons that go on the front, alongside the lightbars. The buttons were fairly straightforward, just a matter of machining down some 2mm aluminium and surface profiling it with an arc and a long chamfer.

Even with the vacuum table, these parts are too small to be held down easily, so I used tabs to make sure they wouldn't fly away during cutting.
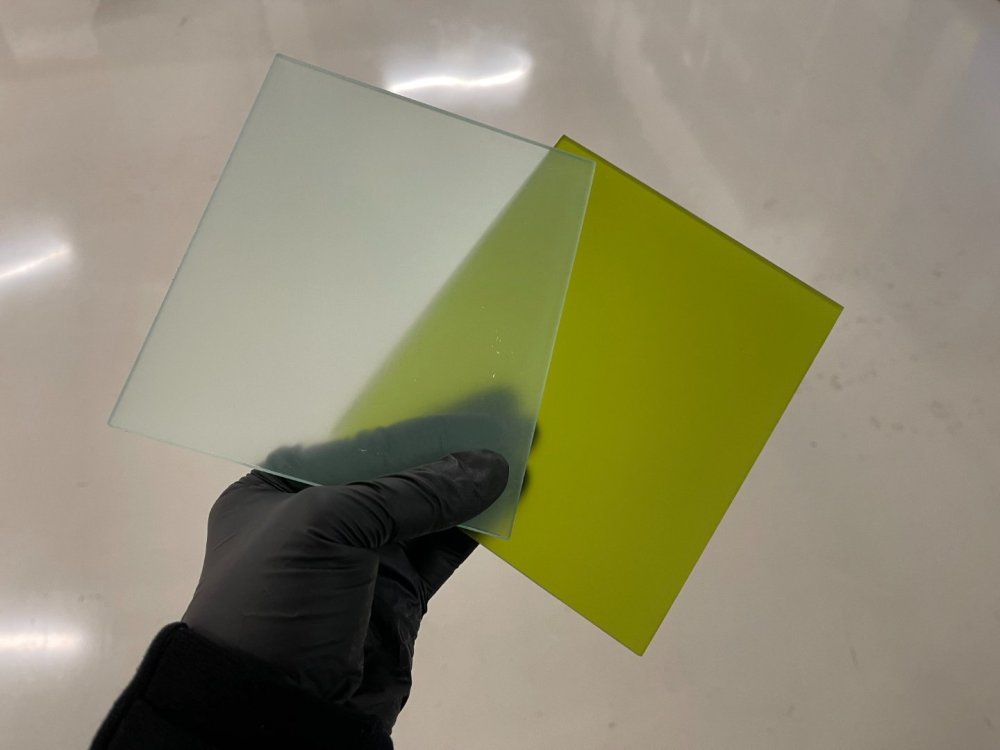
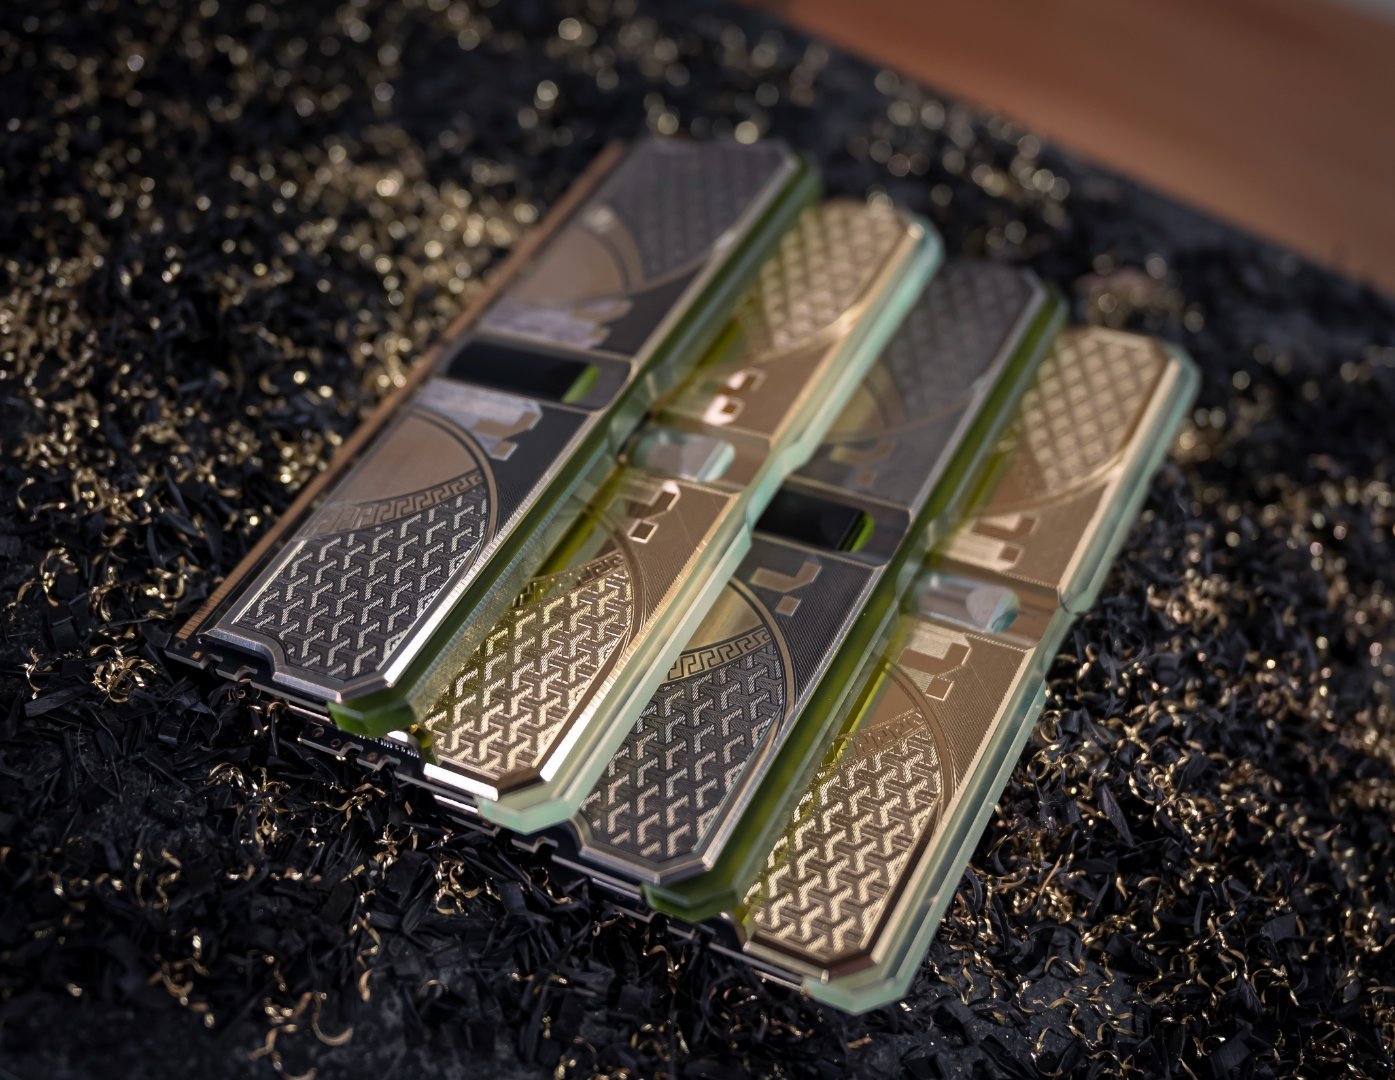
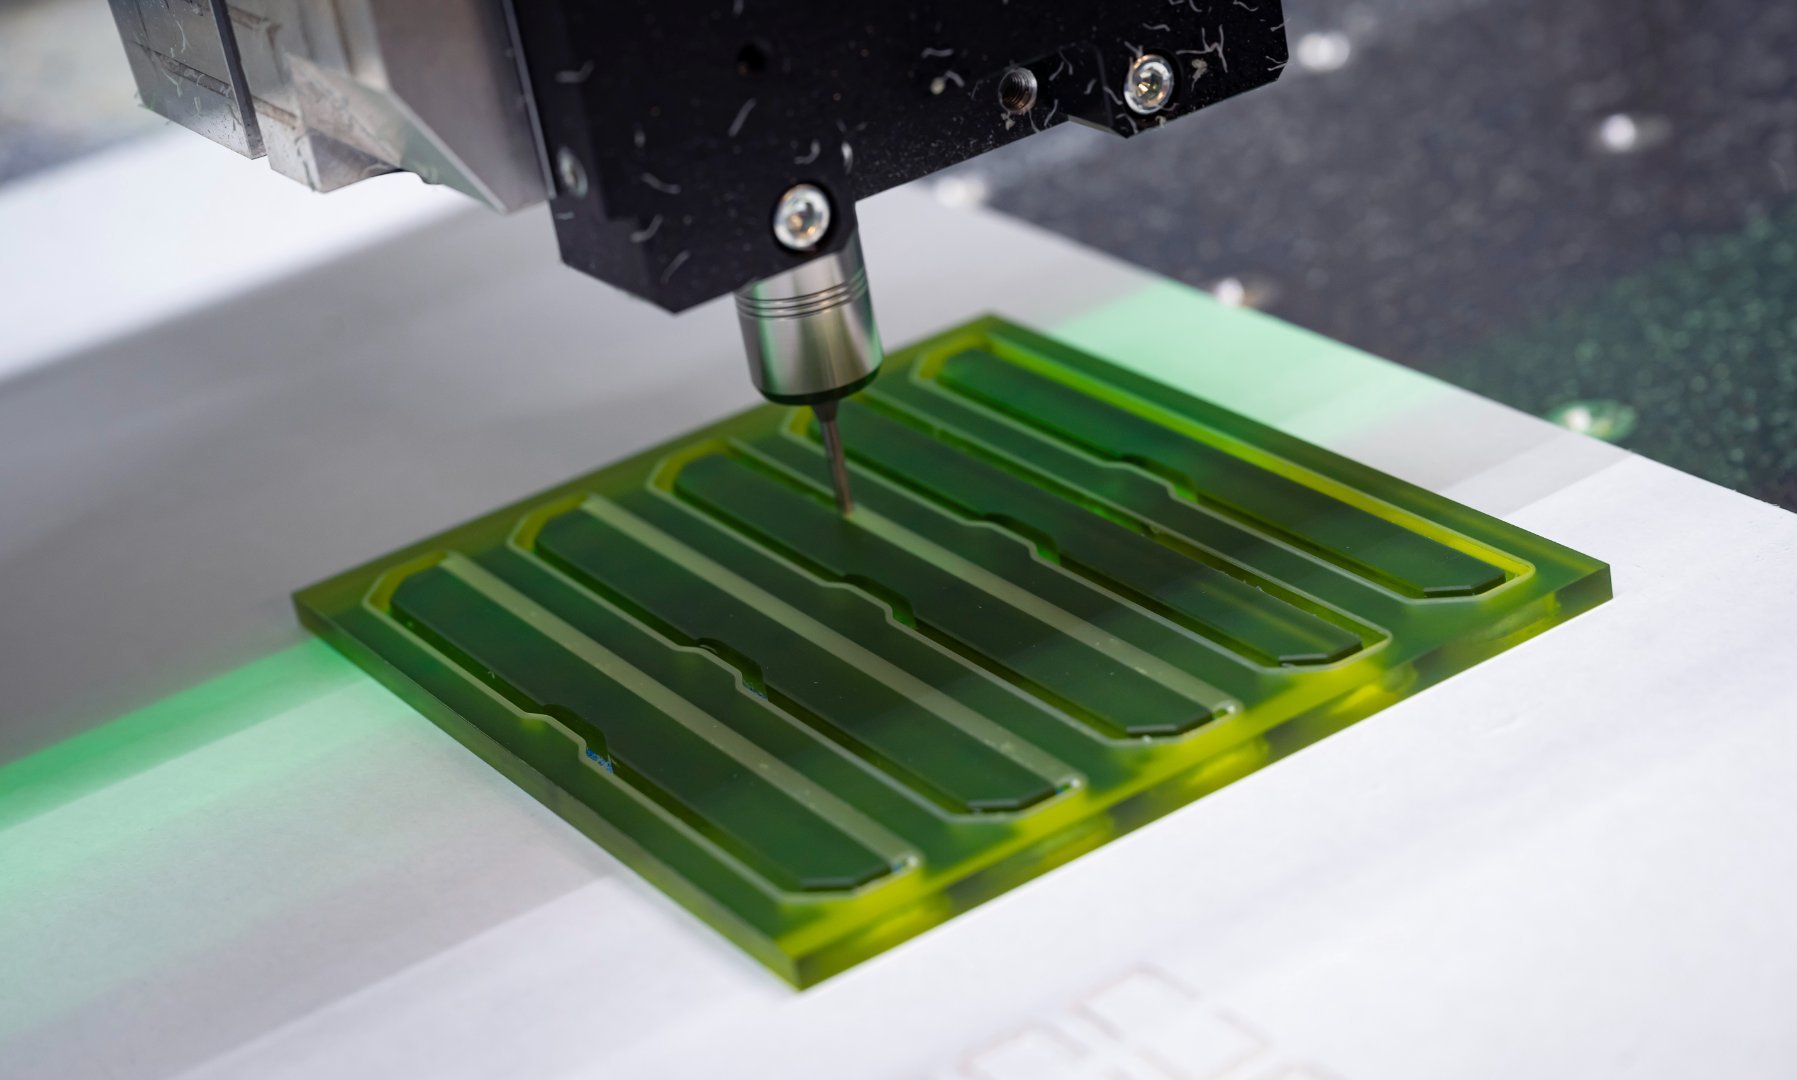
For the light bars, I wanted to break away from just using a clear/frosted diffuser. I know I know, the RGB won't be so clear with a coloured layer, but I think it'll be worth it for the desired look. I had two acrylic varieties to choose from, one a glass-effect version, which I had frosted with some sand paper, the second a darker matte green. To cut the light bars, I made use of a technique called window machining. This is where you machine the part/s embedded within a frame, you then leave the parts attached physically to the frame until the very end. This allows you to support small parts and keep them well located for multiple operations.

-
Well I'd wanted to get these images up last night but my internet was just having none of it, running off my phone currently so it's a bit of a pig getting anything uploaded at all.
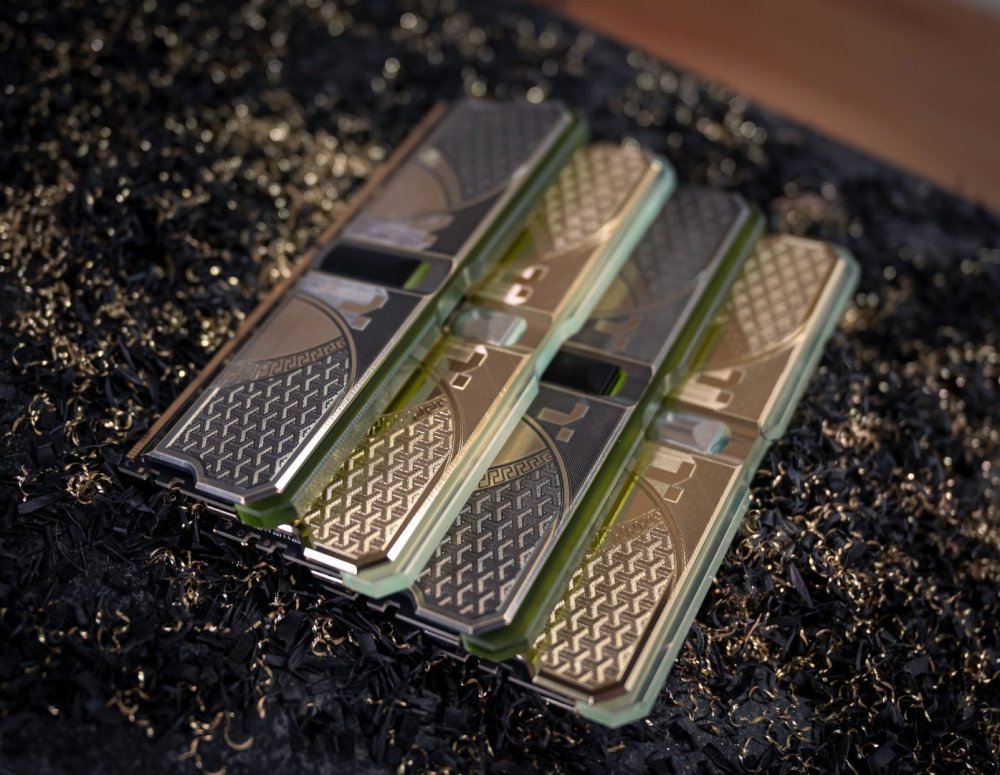
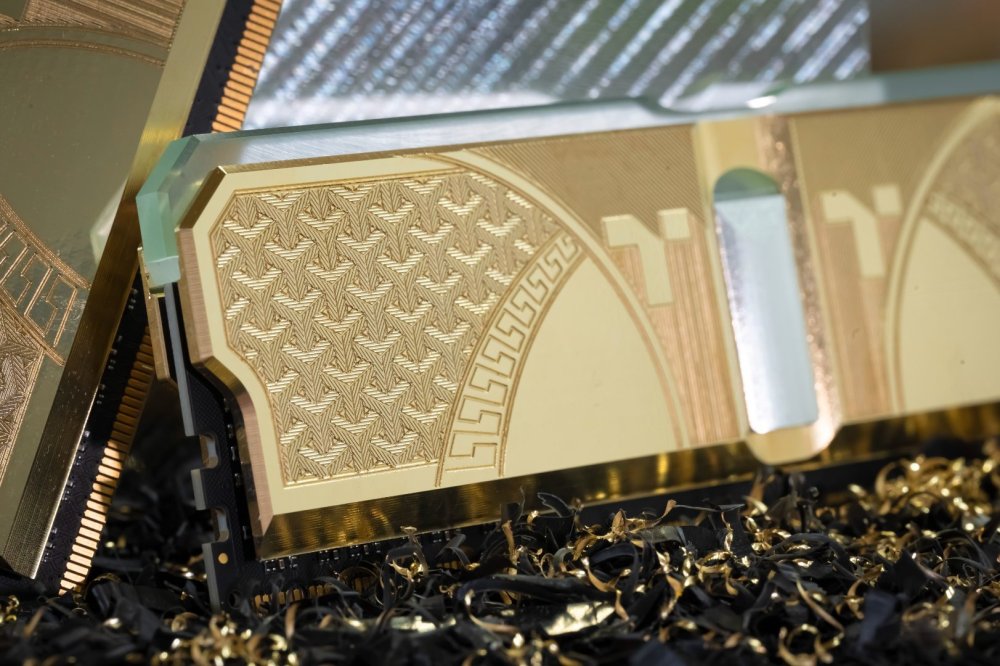
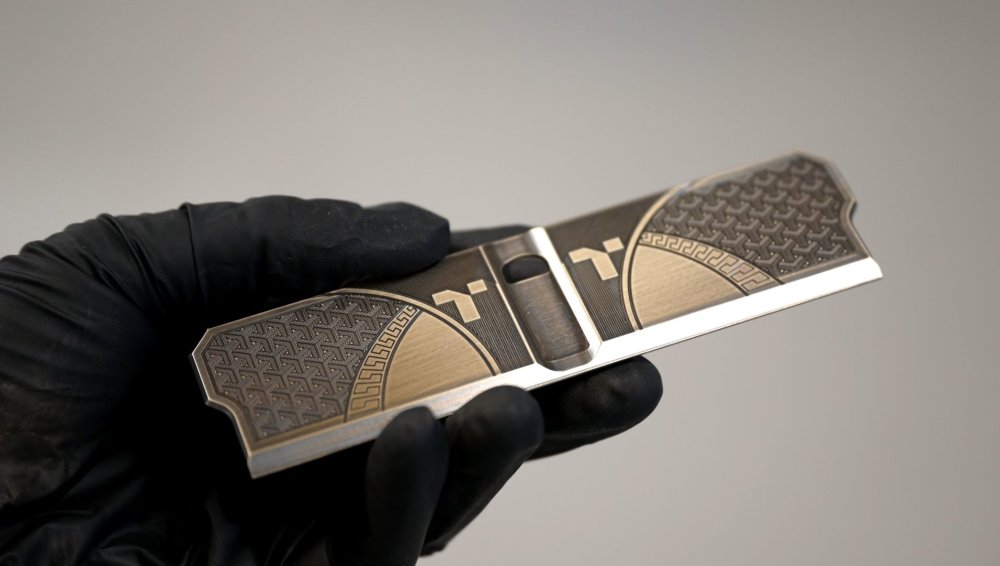
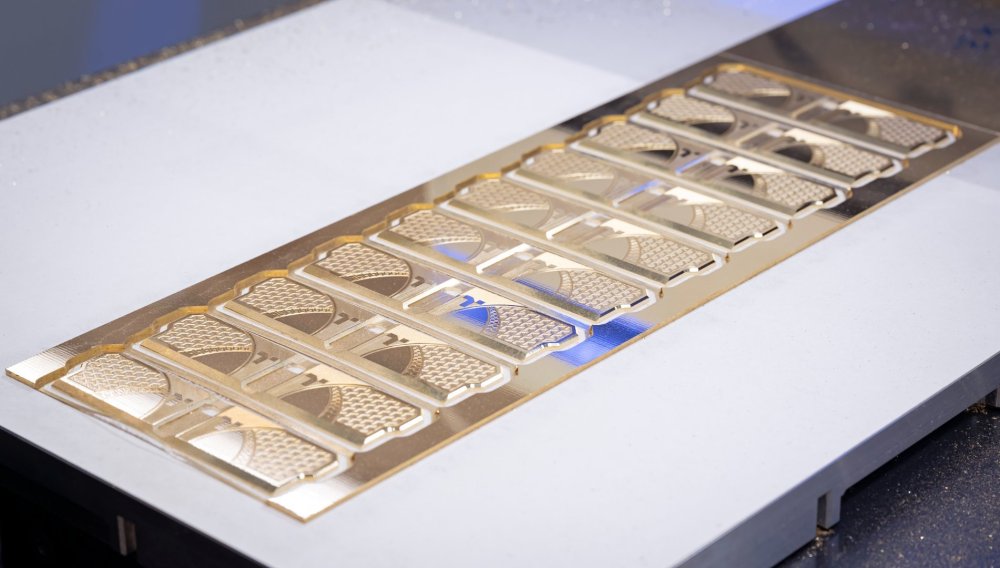
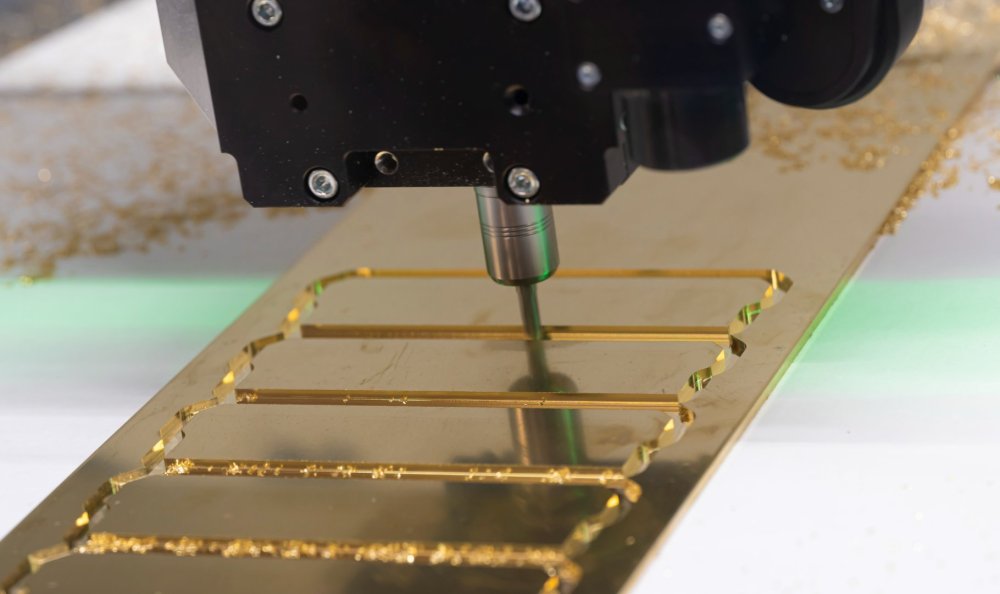
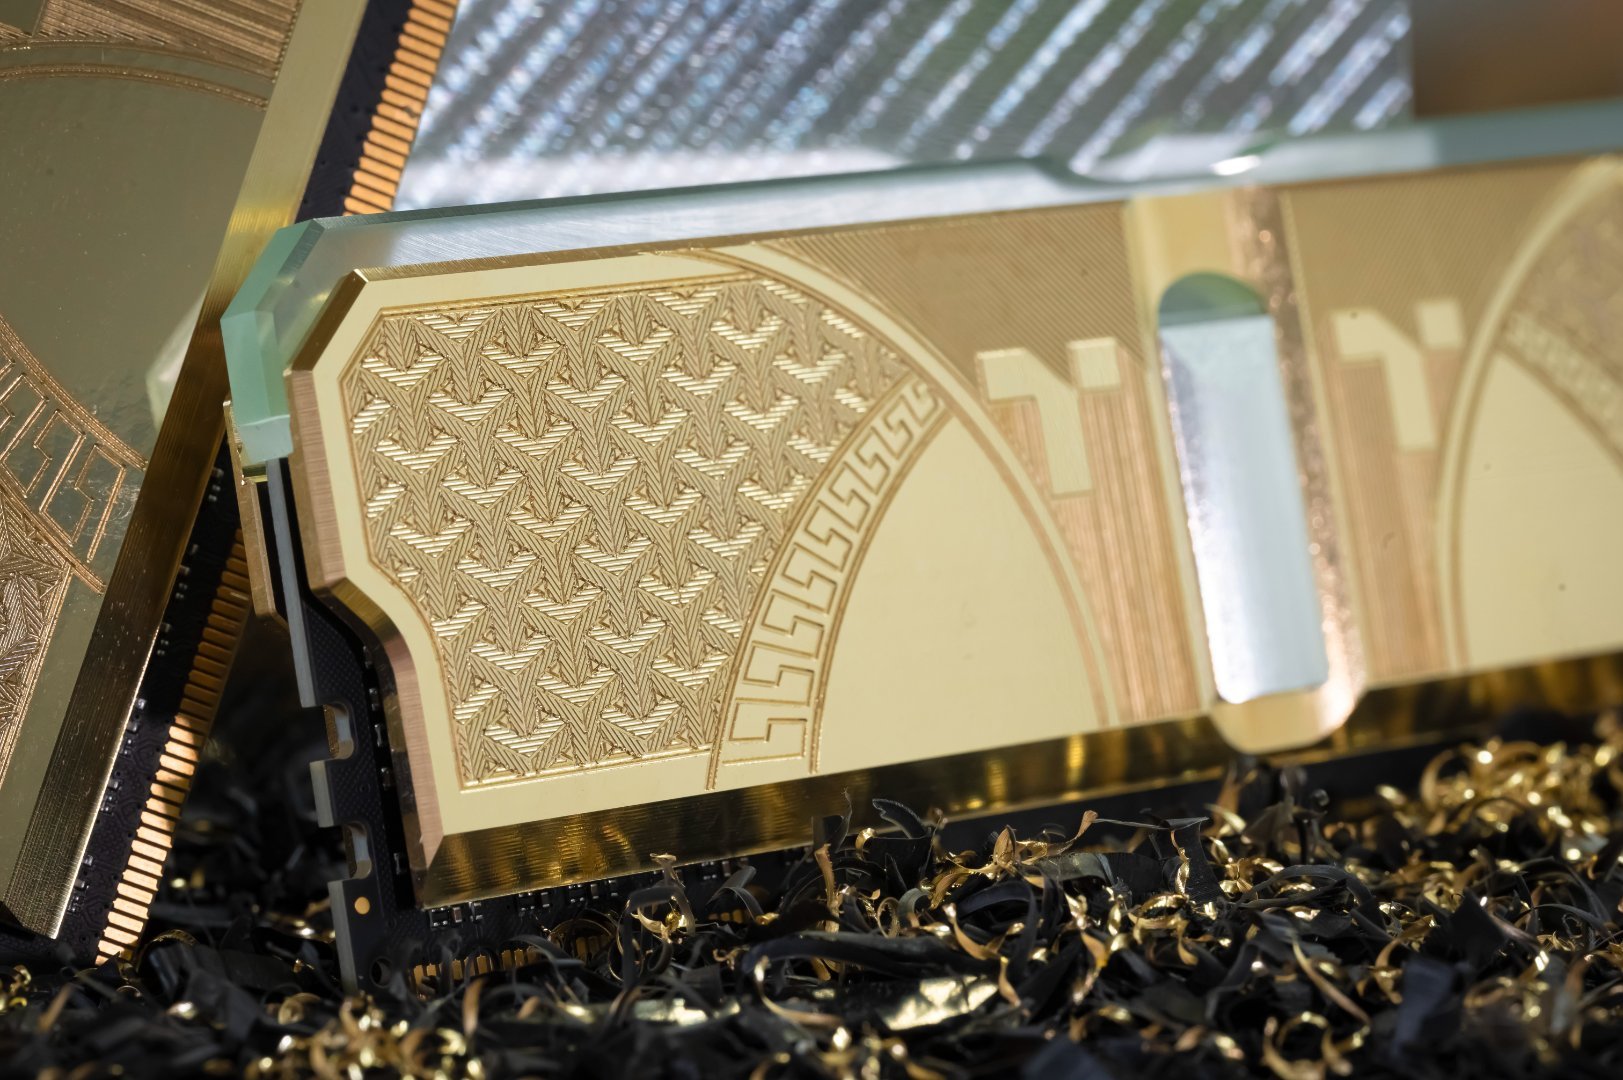
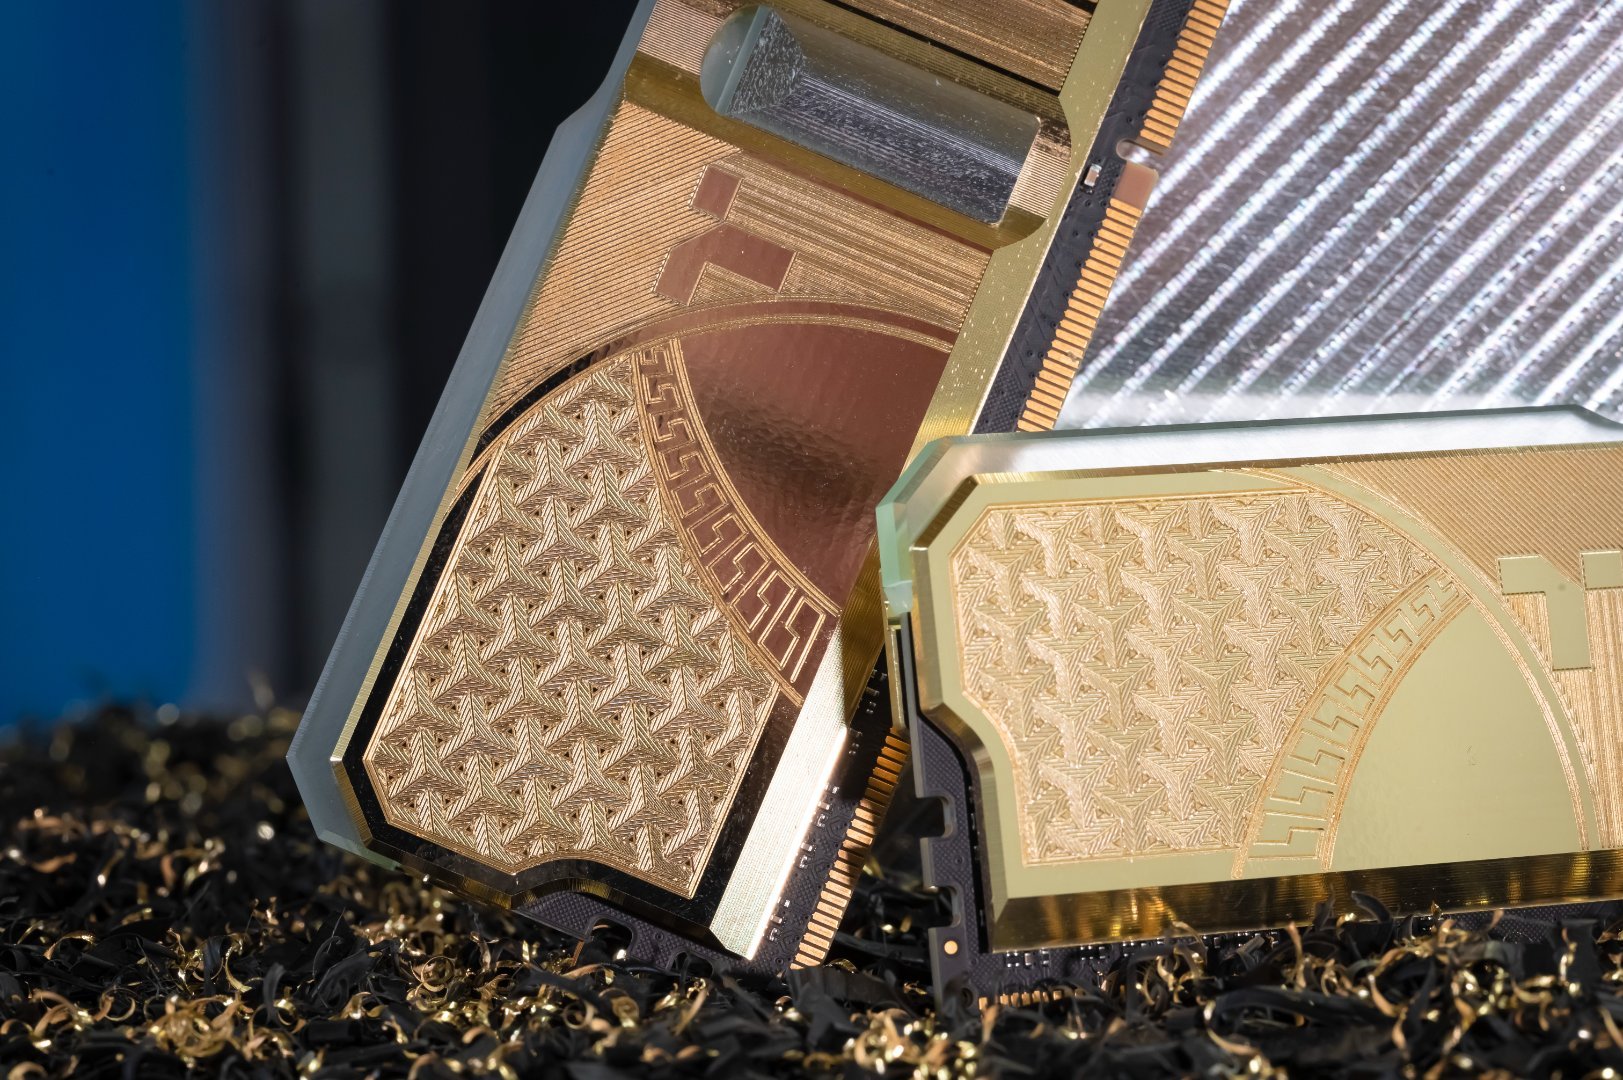
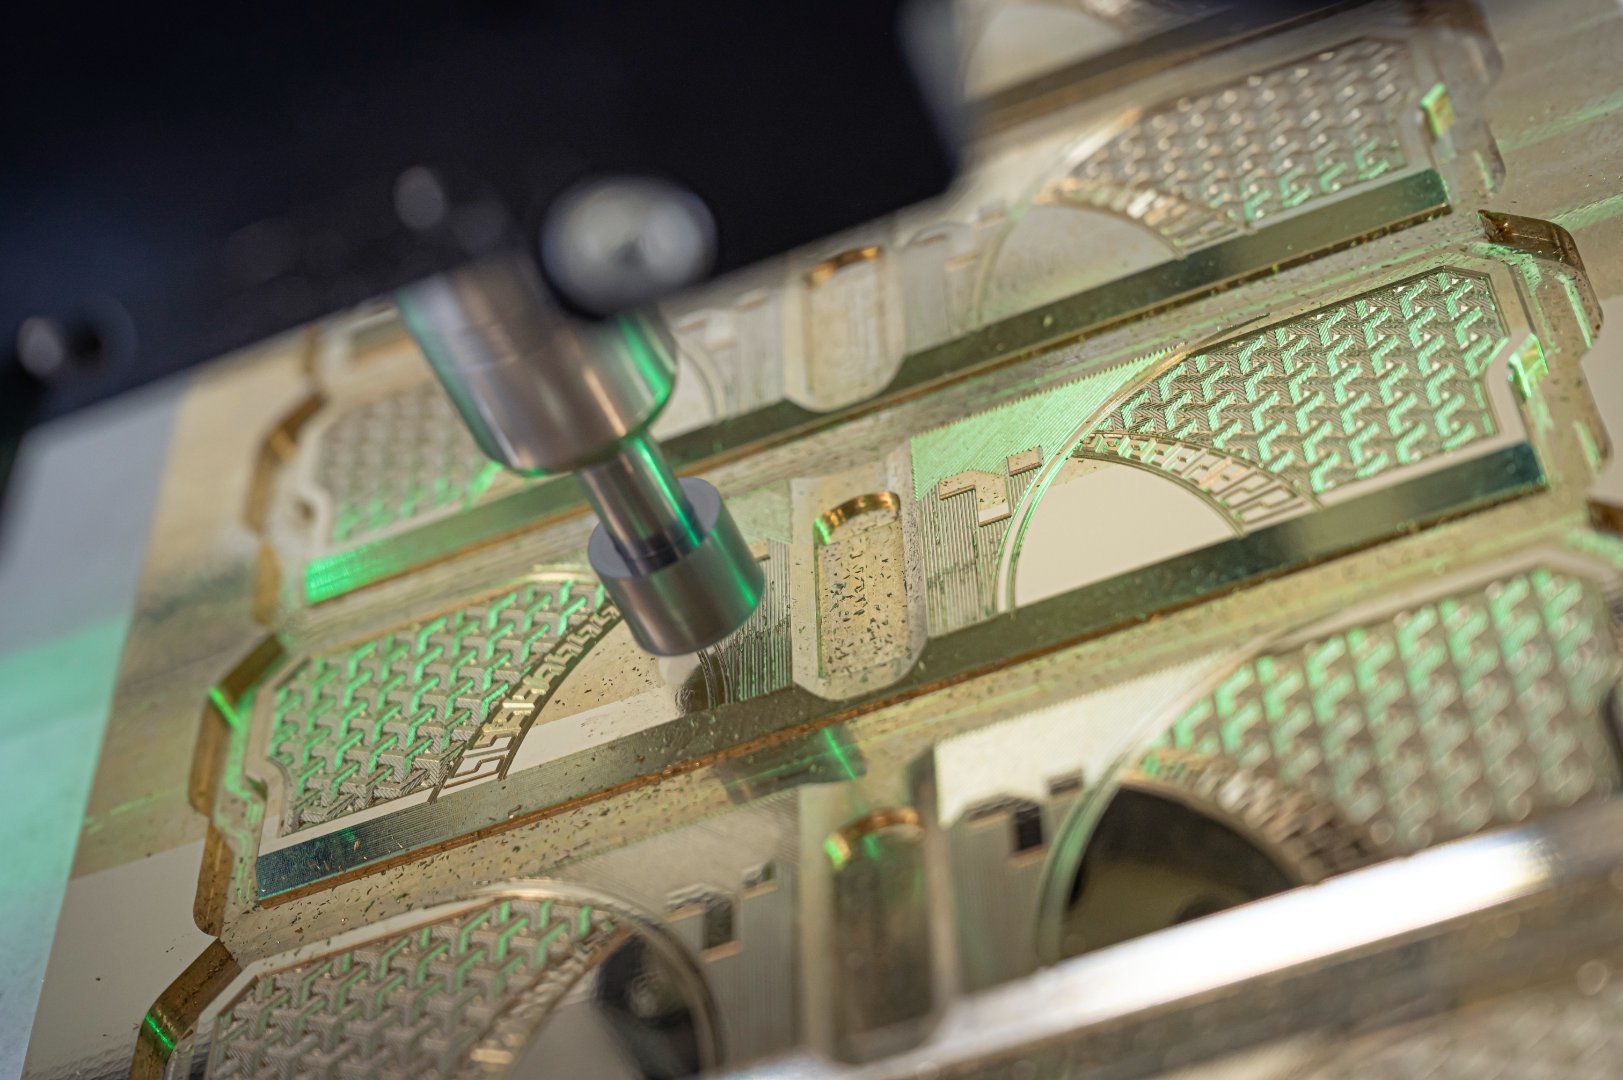
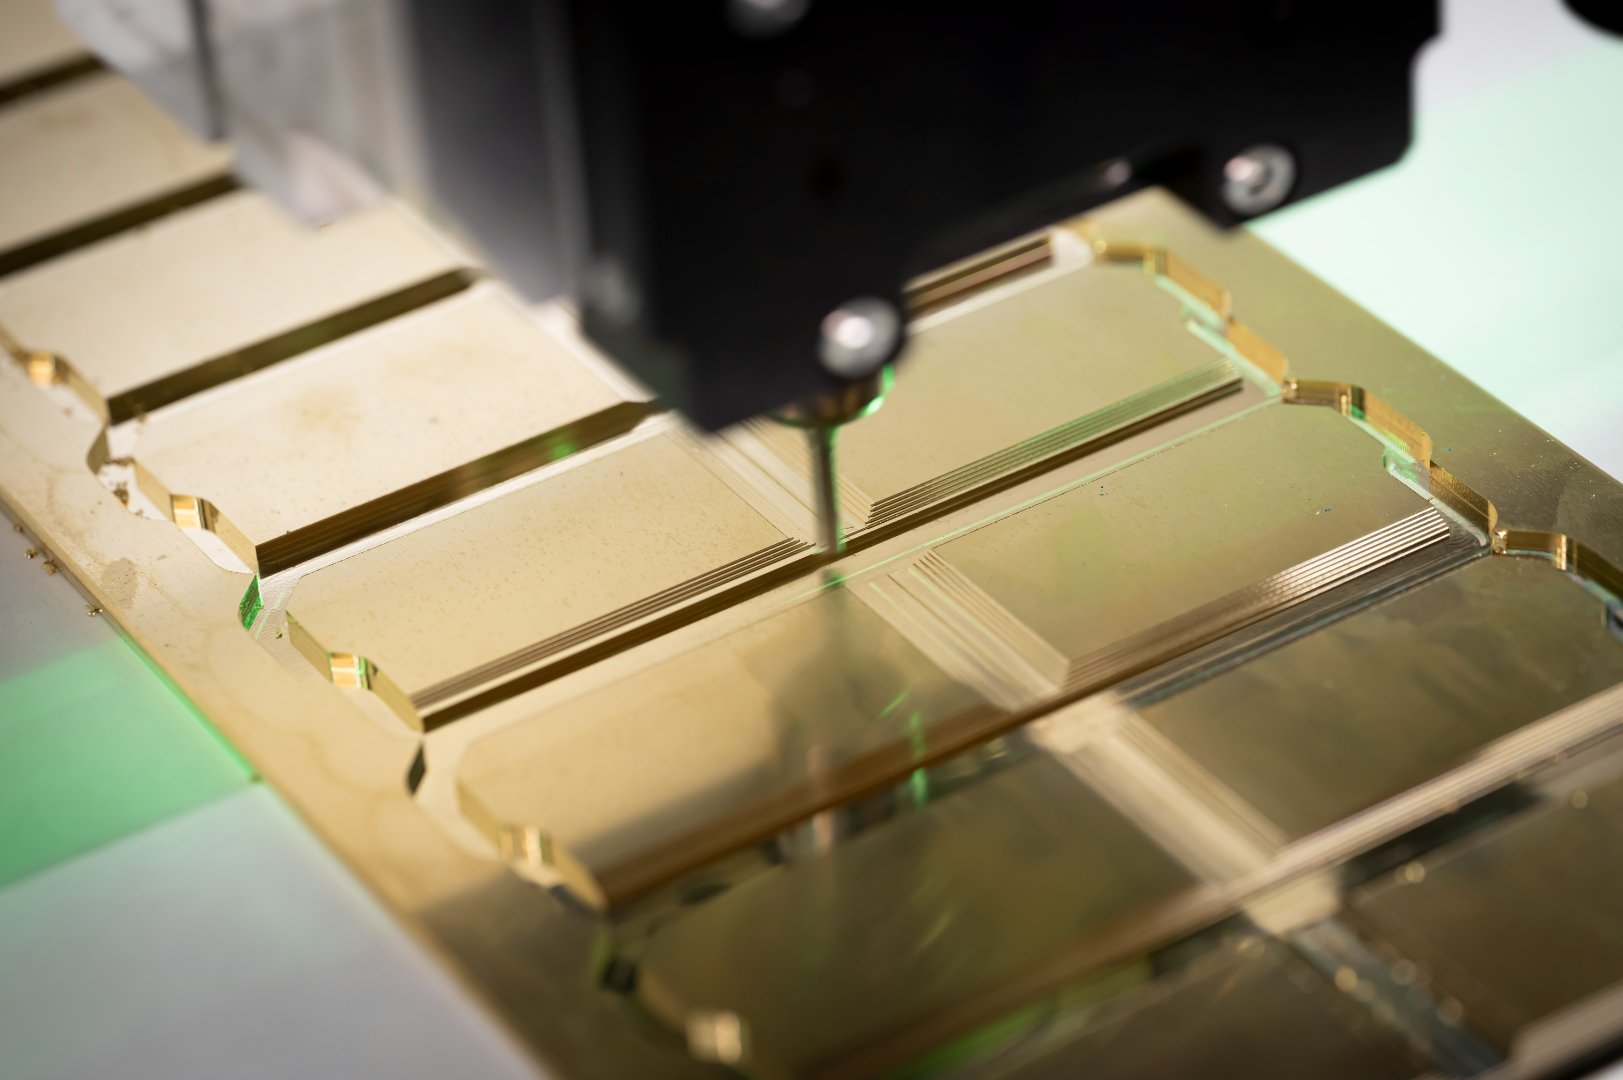
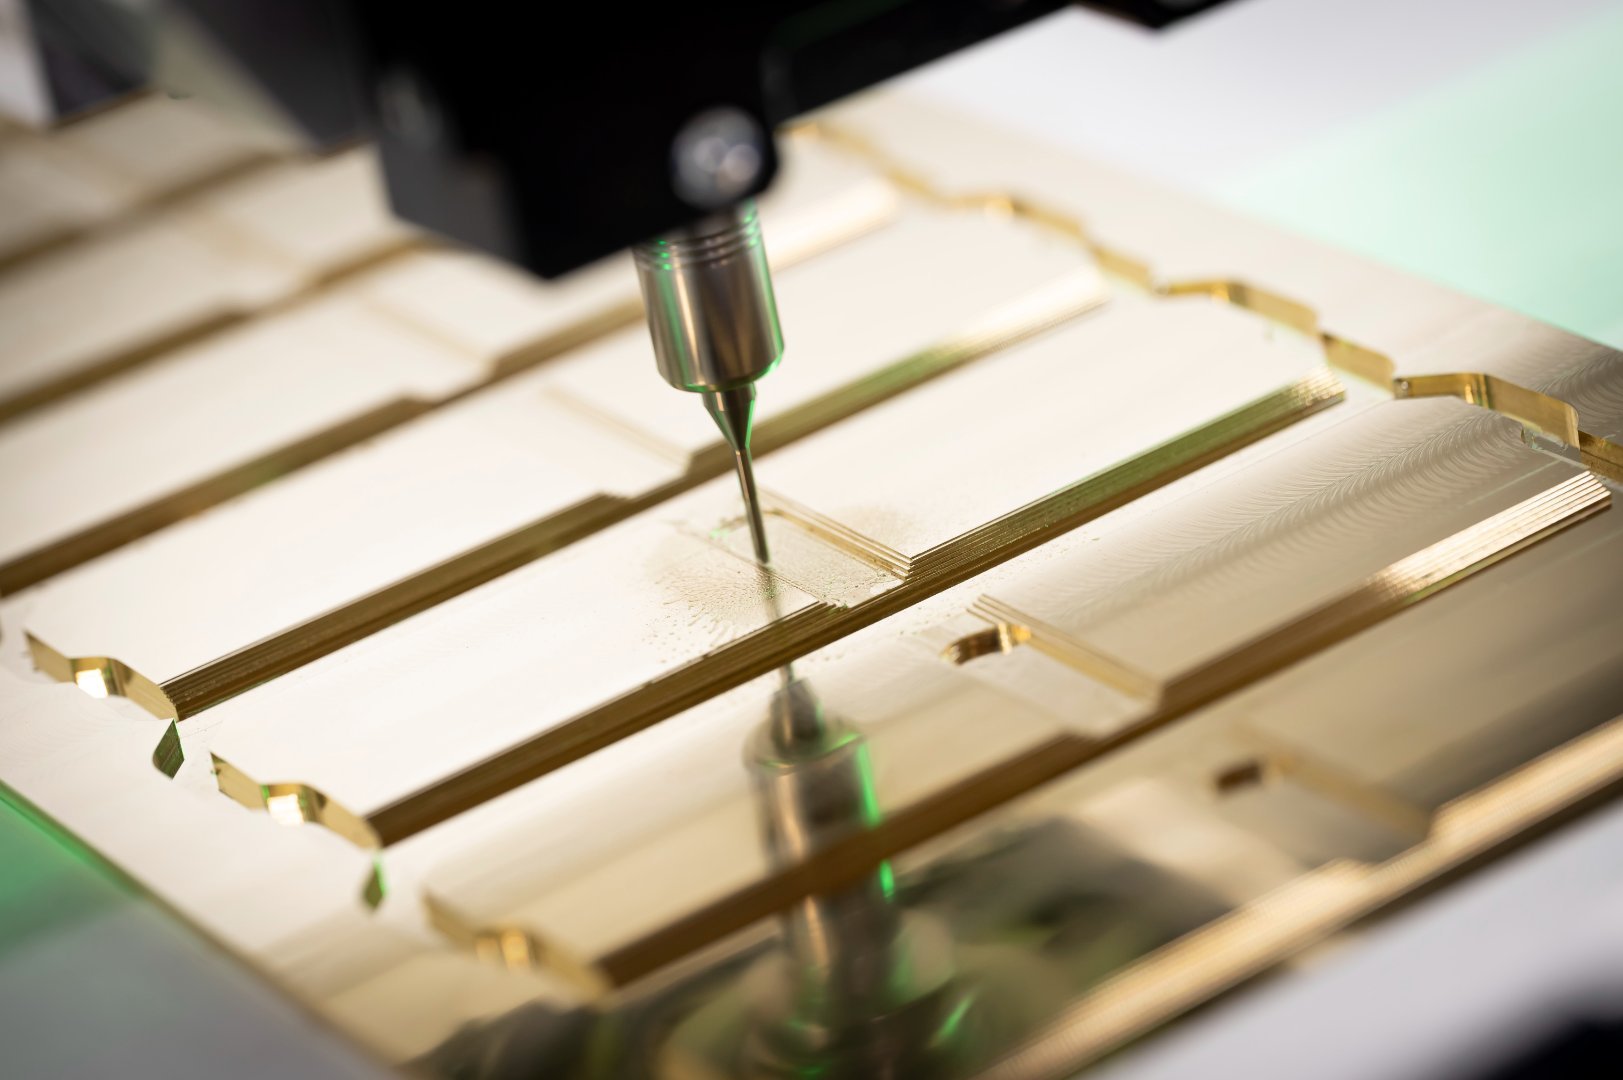
So with the heatspreaders engraved (which was a cool 14 hours of machining time!), the next step was to diamond finish the tops. This step adds a huge amount of contrast to the engraving, as well as removing any burrs, it also leaves an incredible polished finish. As the name suggests, this tool is literally a huge diamond brazed onto a fly cutter, you have to take off only a 0.02mm layer or else the cutter can be damaged.
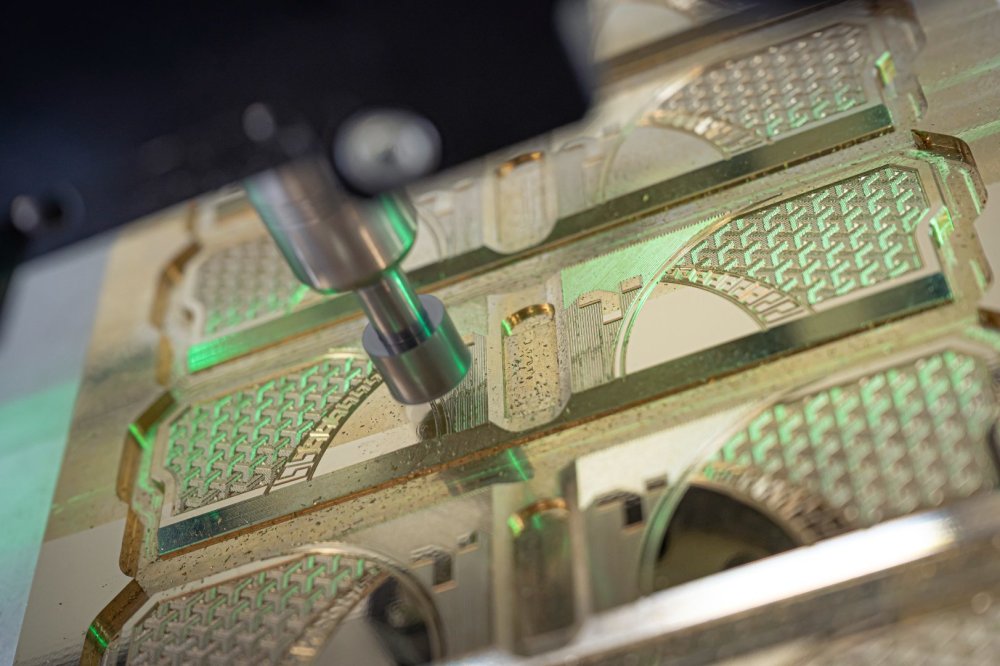
The results do speak for themselves though.
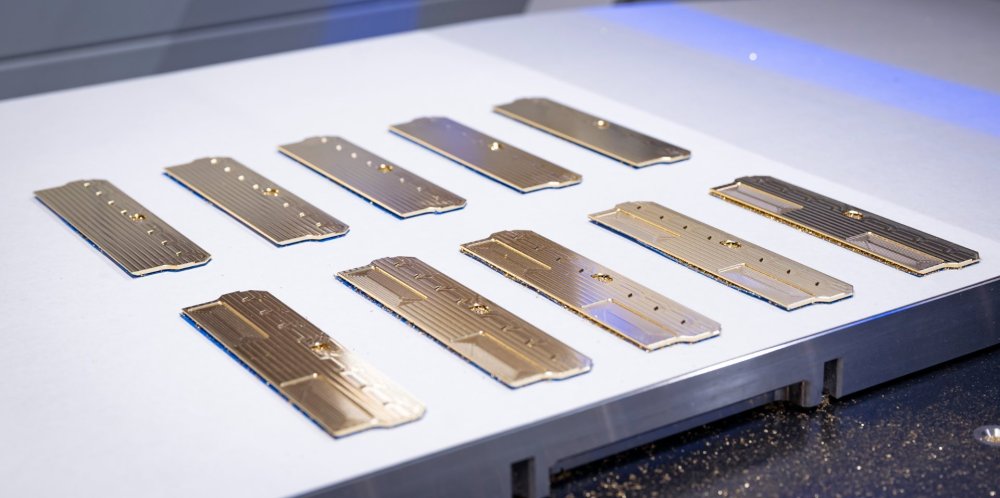
After the top sides were finished, I had to flip the parts over and re-machine from the back in order to add all the recessed areas for the memory modules and LEDs.
-
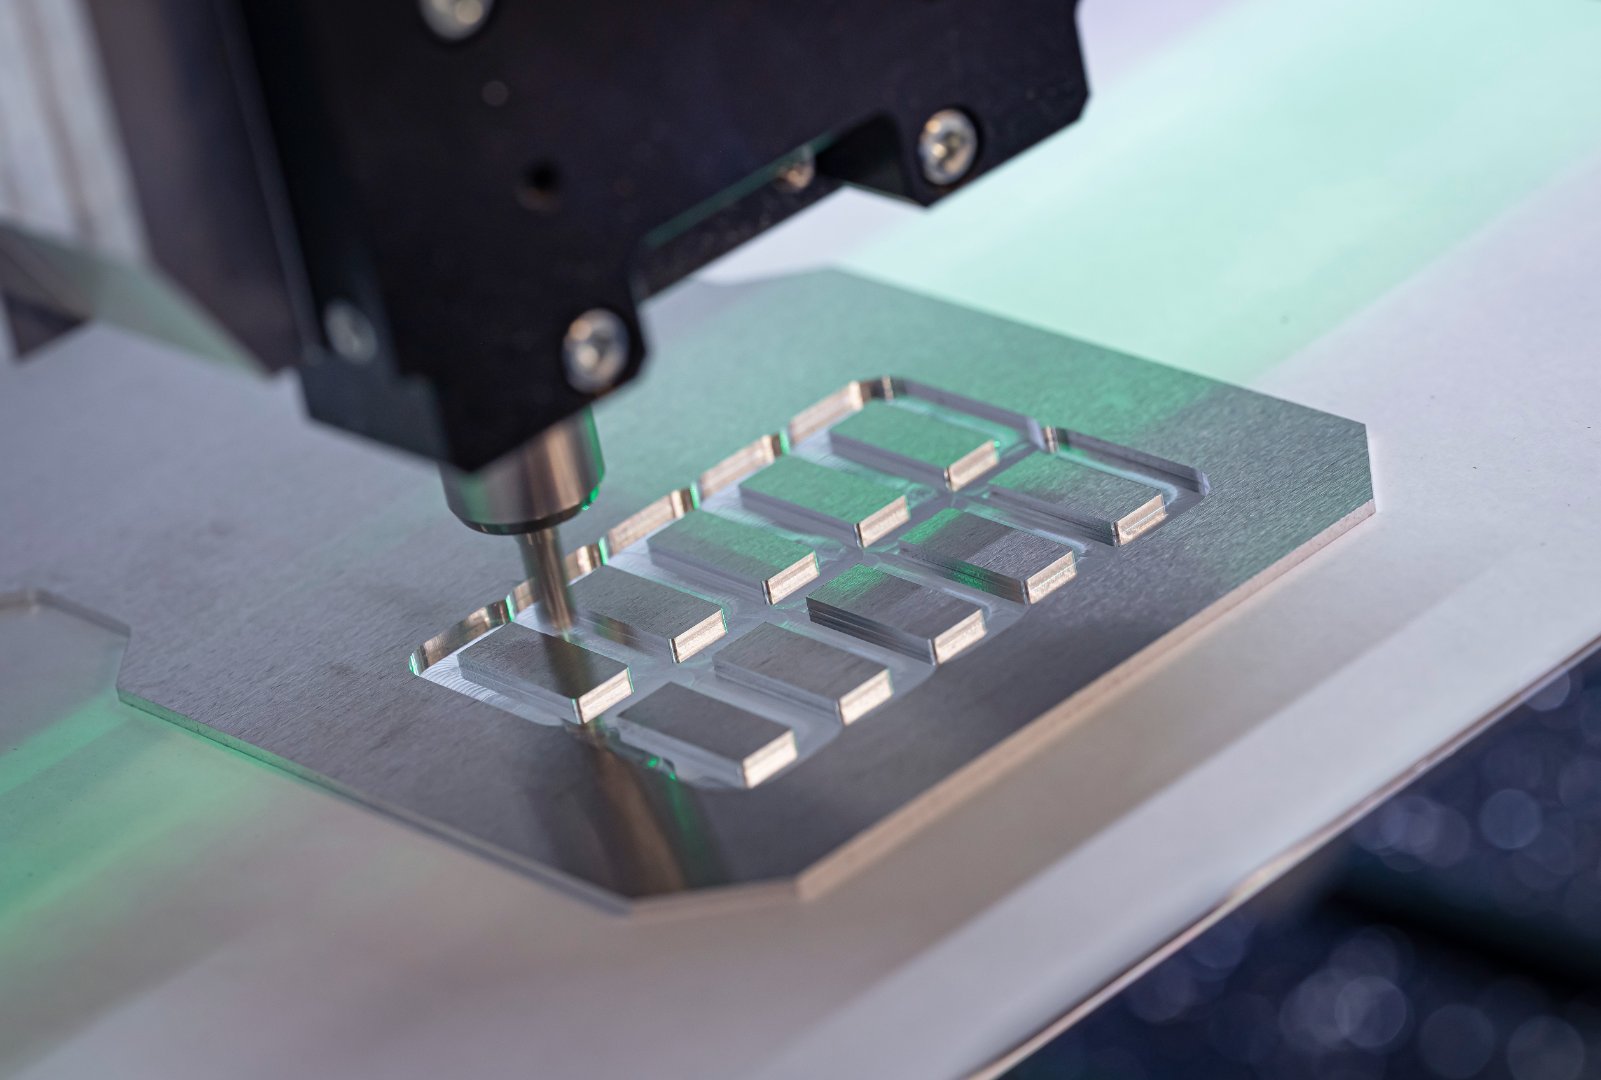
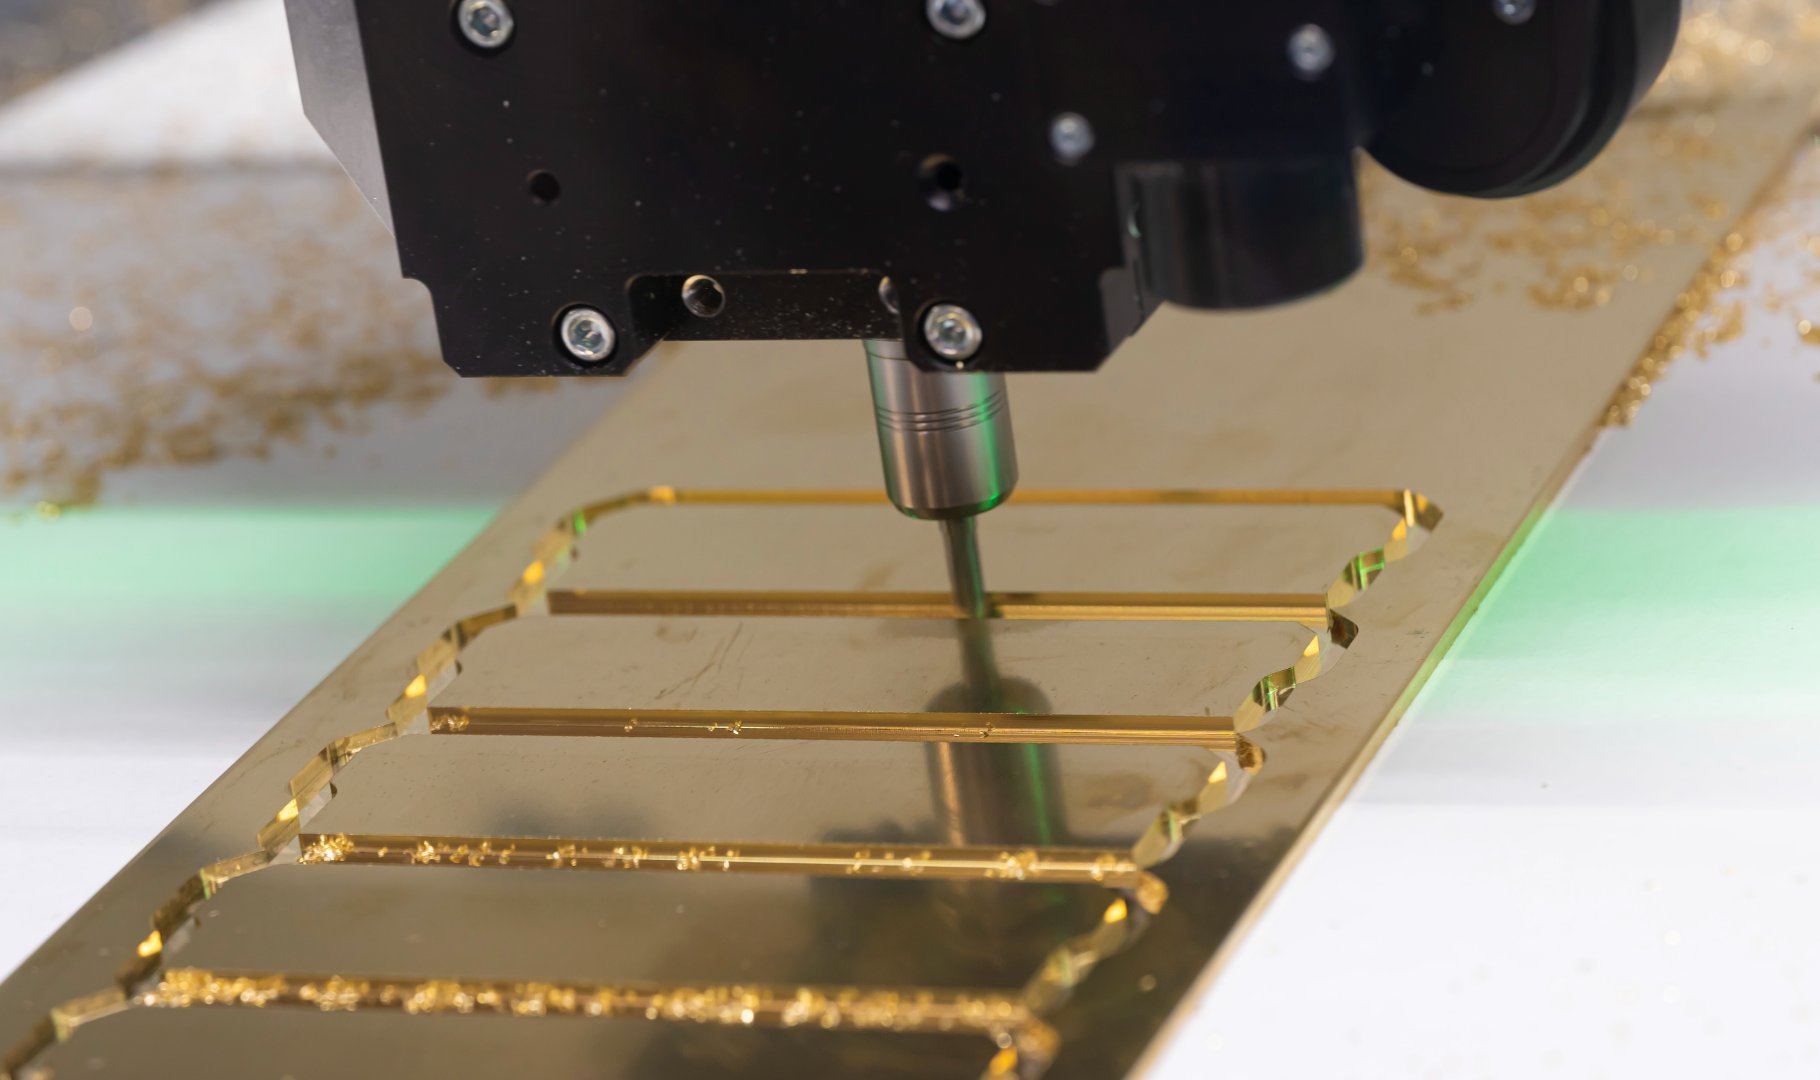
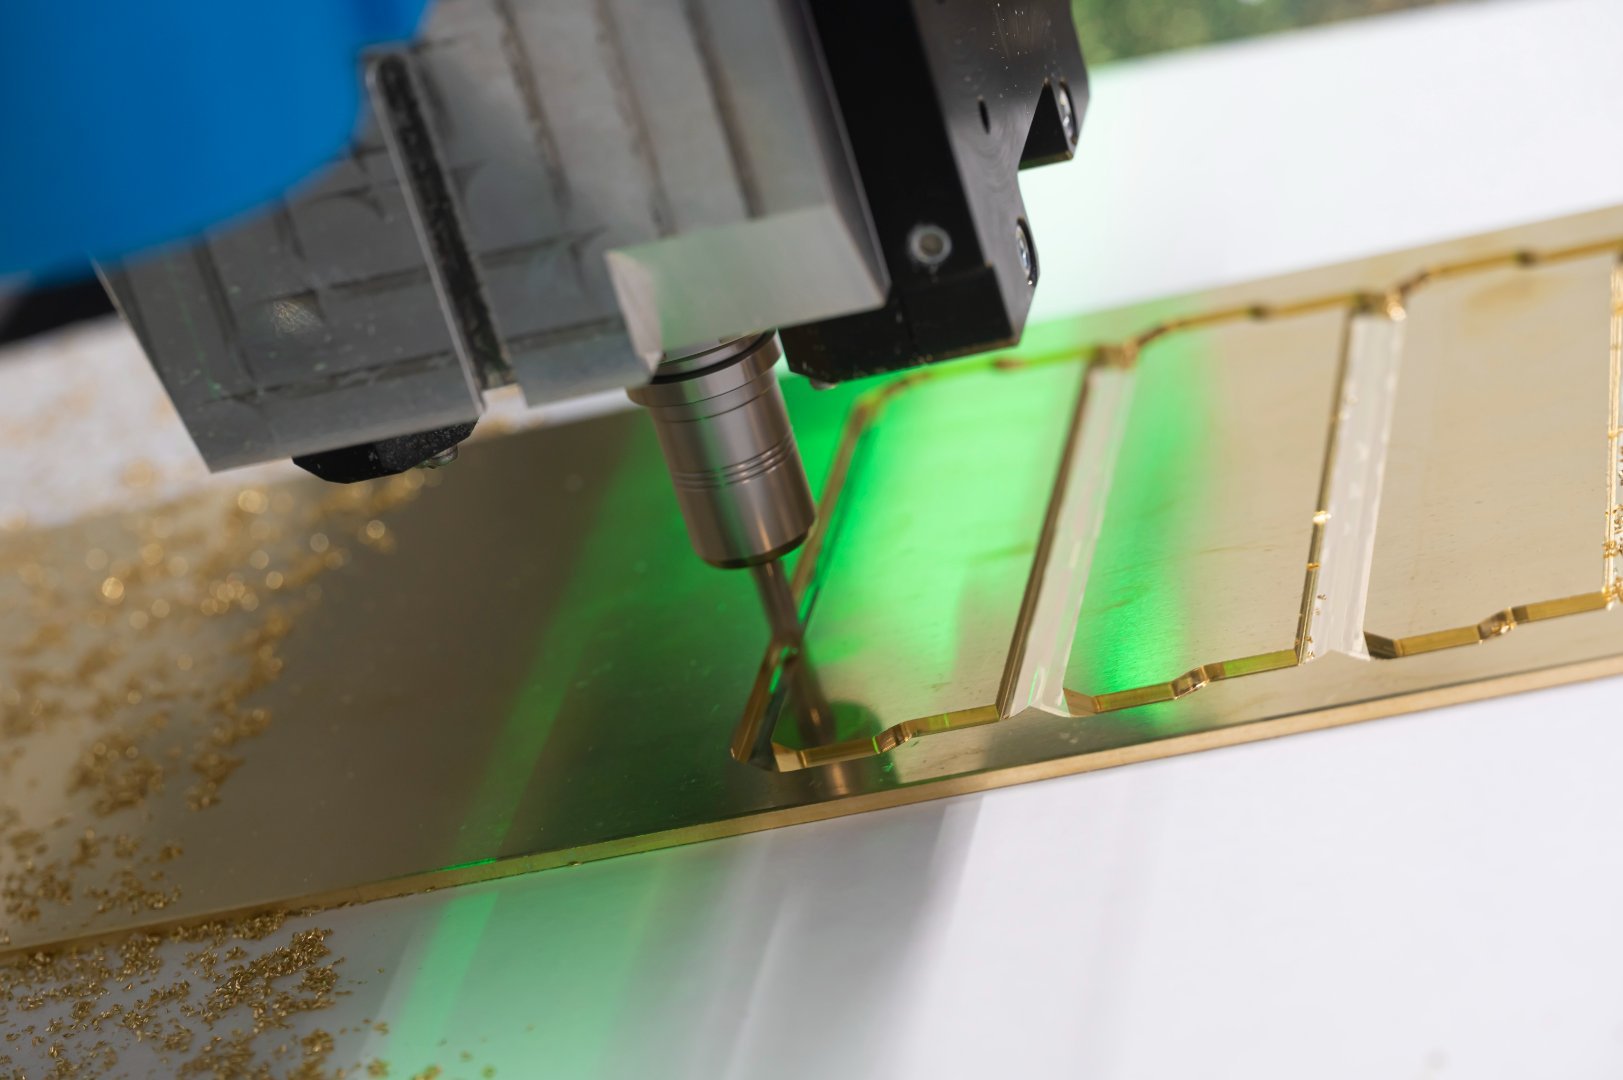
Right, let's get to the nitty gritty then, making the things. Toolpathing these heatspreaders was quite the task, they're going to be cut from 3mm brass plate, which should come out wonderfully with the engraving.
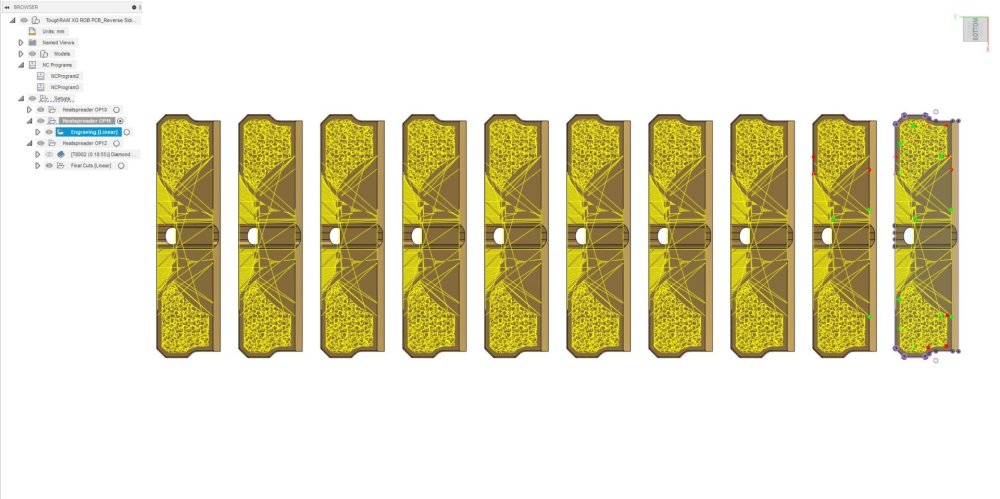
We start by roughing out the outermost contours, this will help prevent the brass from potentially warping whilst on the vacuum bed and possibly damaging my spindle or tools.
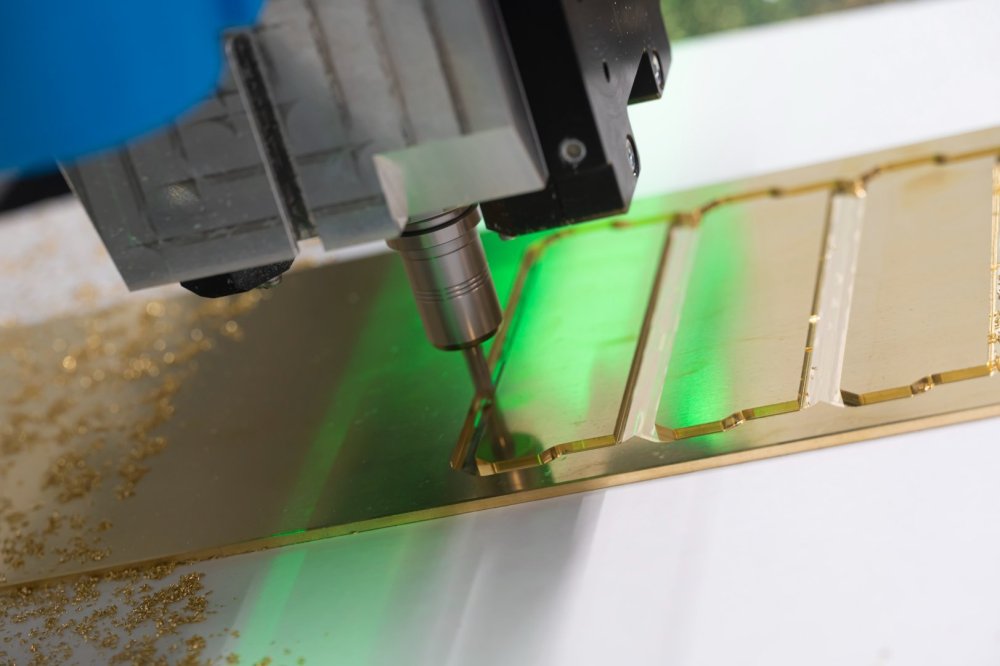
The centre section has a trough that runs down the middle, a smaller aluminium button will sit in there to emulate the clip from the originals. I used a 3mm ball mill to get the sides nice and smooth, along with a 2mm endmill for the pockets.


The material is then given a rough facing op, this levels the top surface to the correct dimensions. I say rough, but it's still incredibly reflective and smooth.
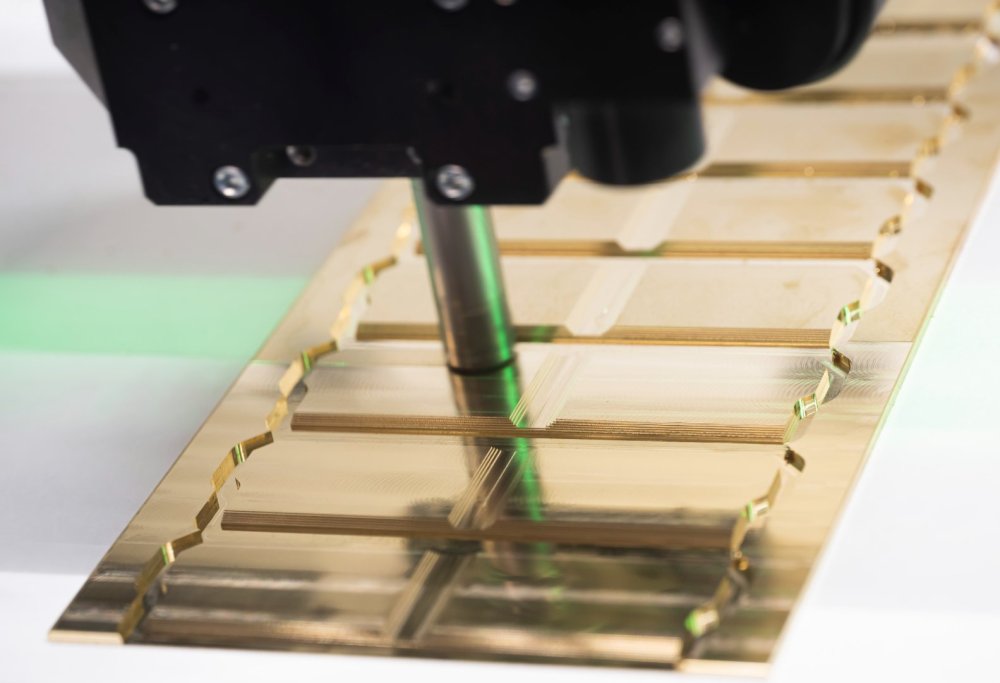

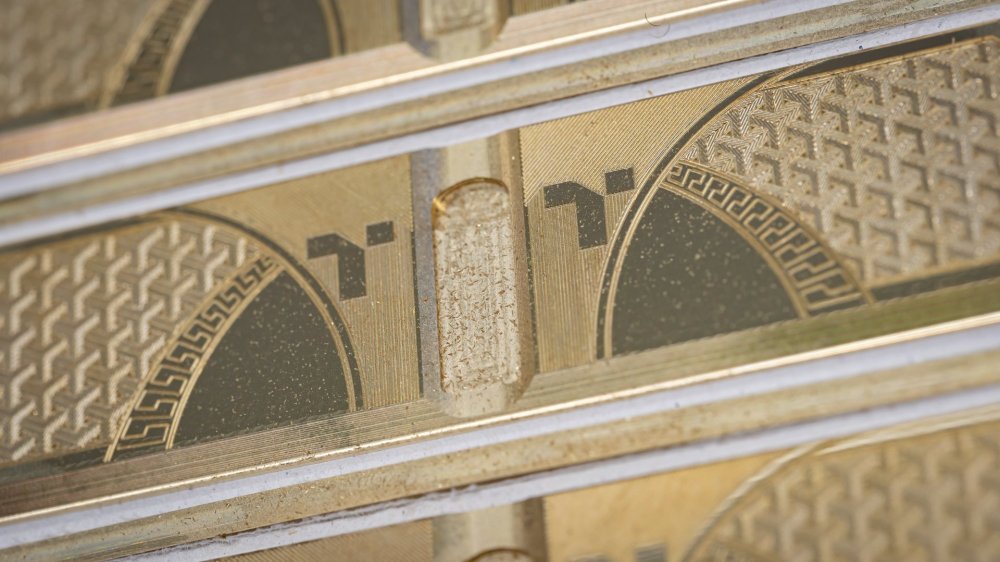
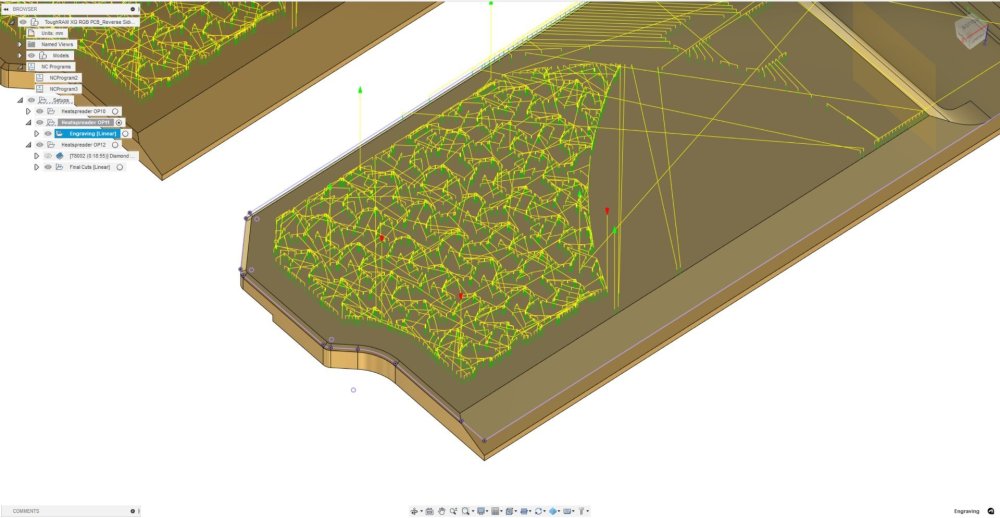
Finally we have the engraving, I haven't had the time to edit up the remaining bits and pieces yet, so those will have to go up a bit later, but this should give you a good idea of things.
-
Now technically I didn't need to do this. The PCB is pretty sparse on these sticks, certainly within reason for modelling manually, but when in Rome...
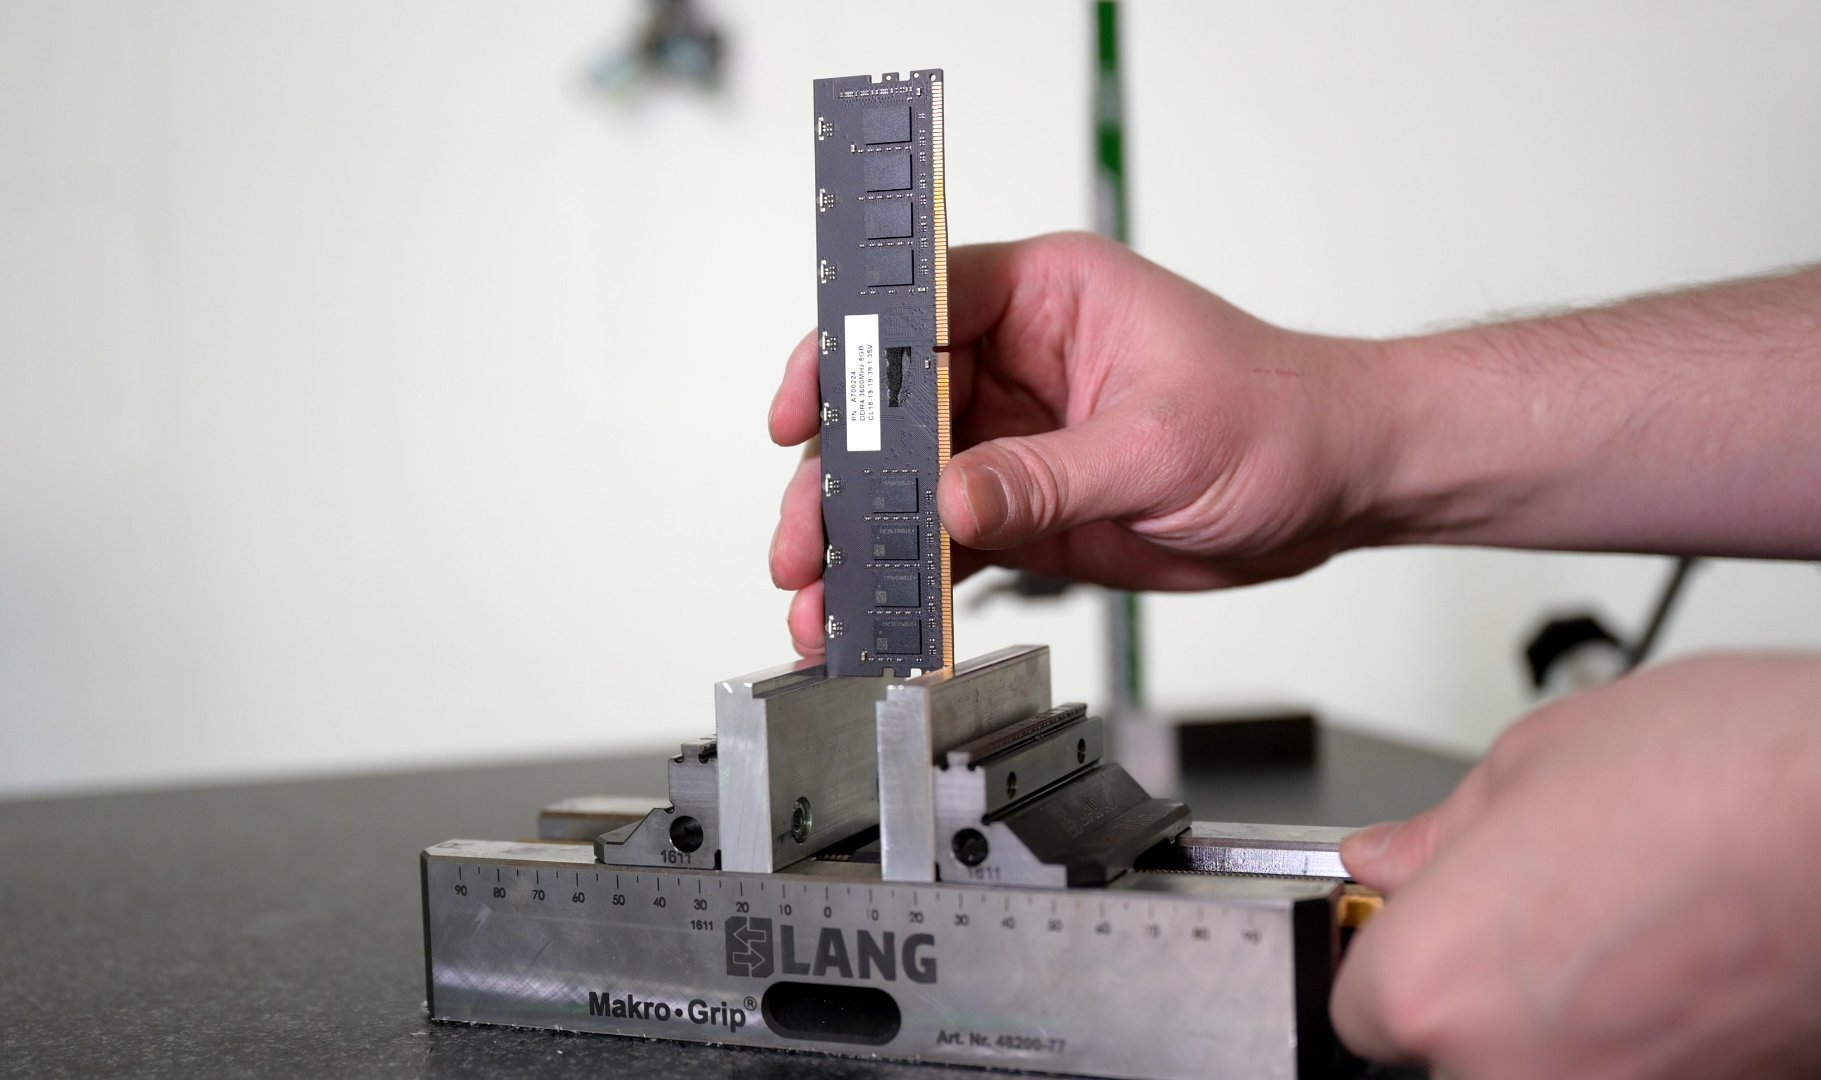
First things first, I needed to mount a DIMM securely, if it moves at all during this process, all the data is pretty useless. A Lang centric vice plus some soft jaws is a decent compromise, I just torqued it with my fingers to avoid damage.

Now to break out the big guns, this is a Hexagon 7-Axis CMM scanning arm. I normally use it for more complex jobs where detailed mapping of a surface is required, perhaps a bit overkill here but why not?
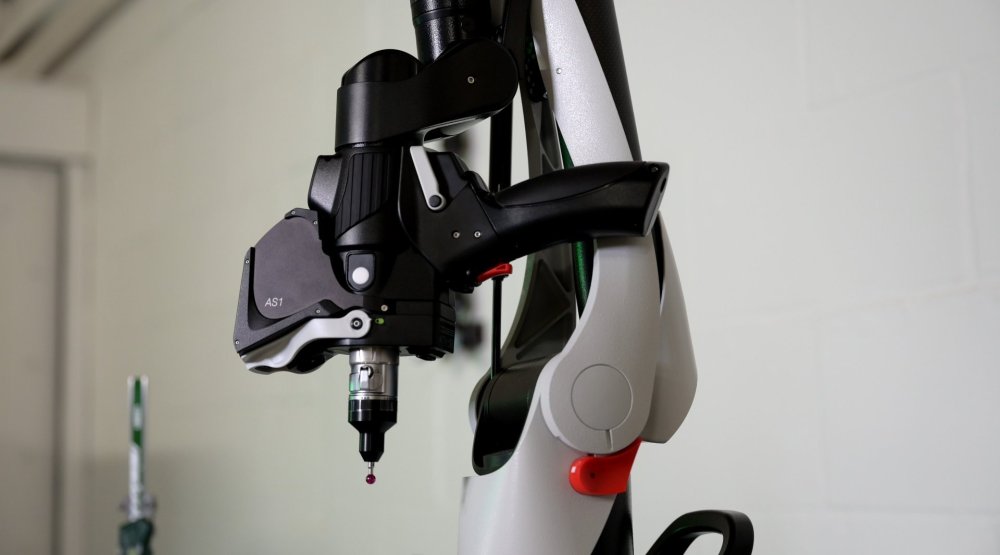
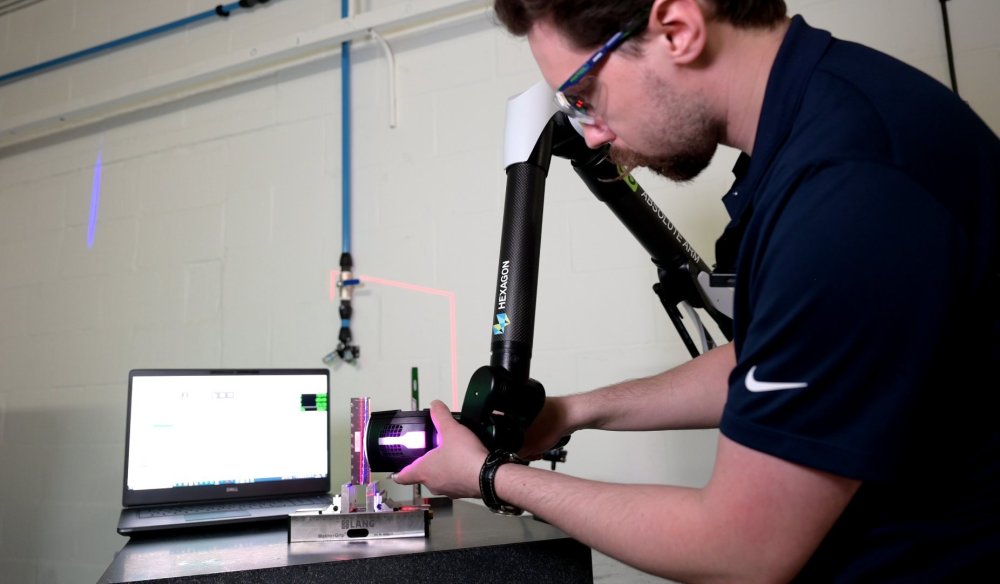
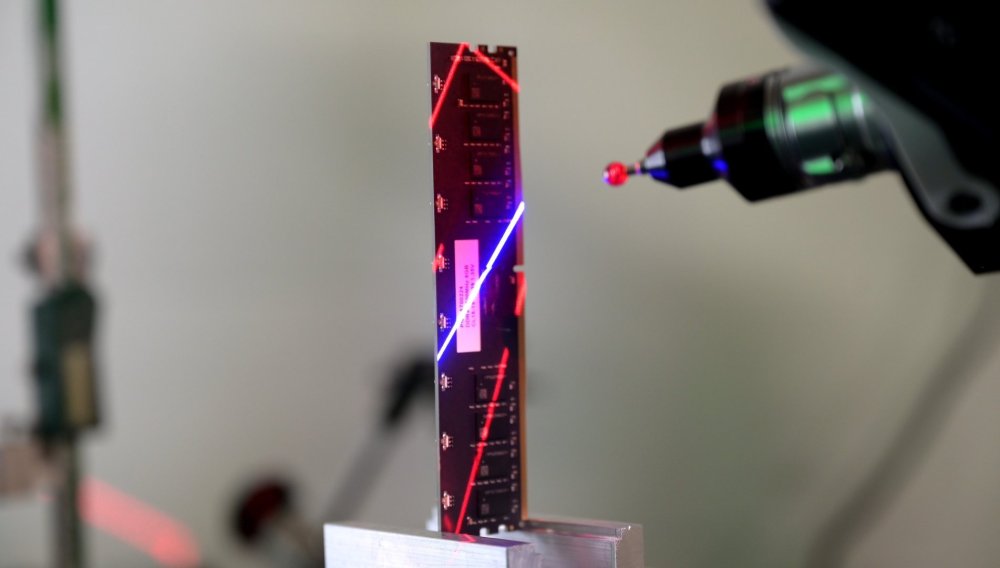
It uses a blue laser to scan down to a resolution of 25 microns, which is nuts.
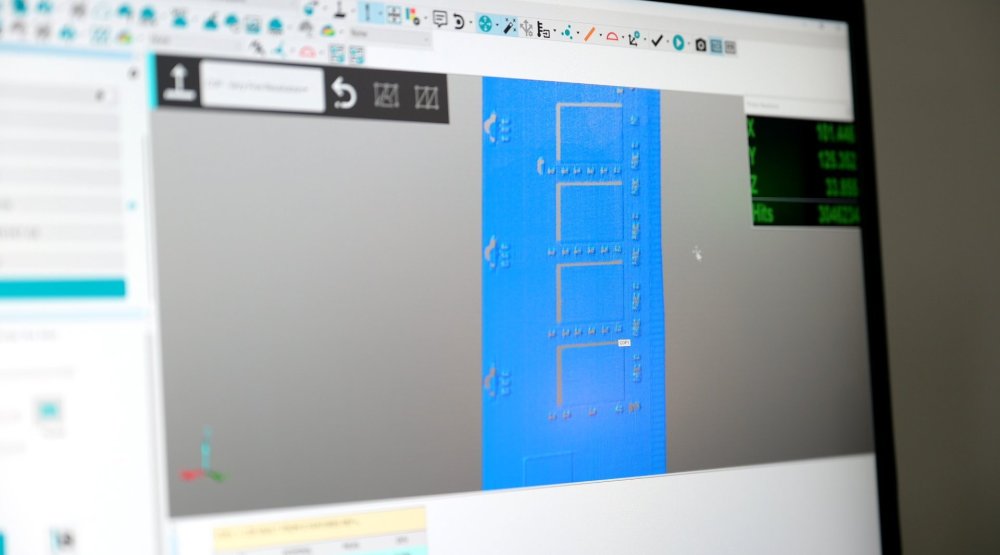
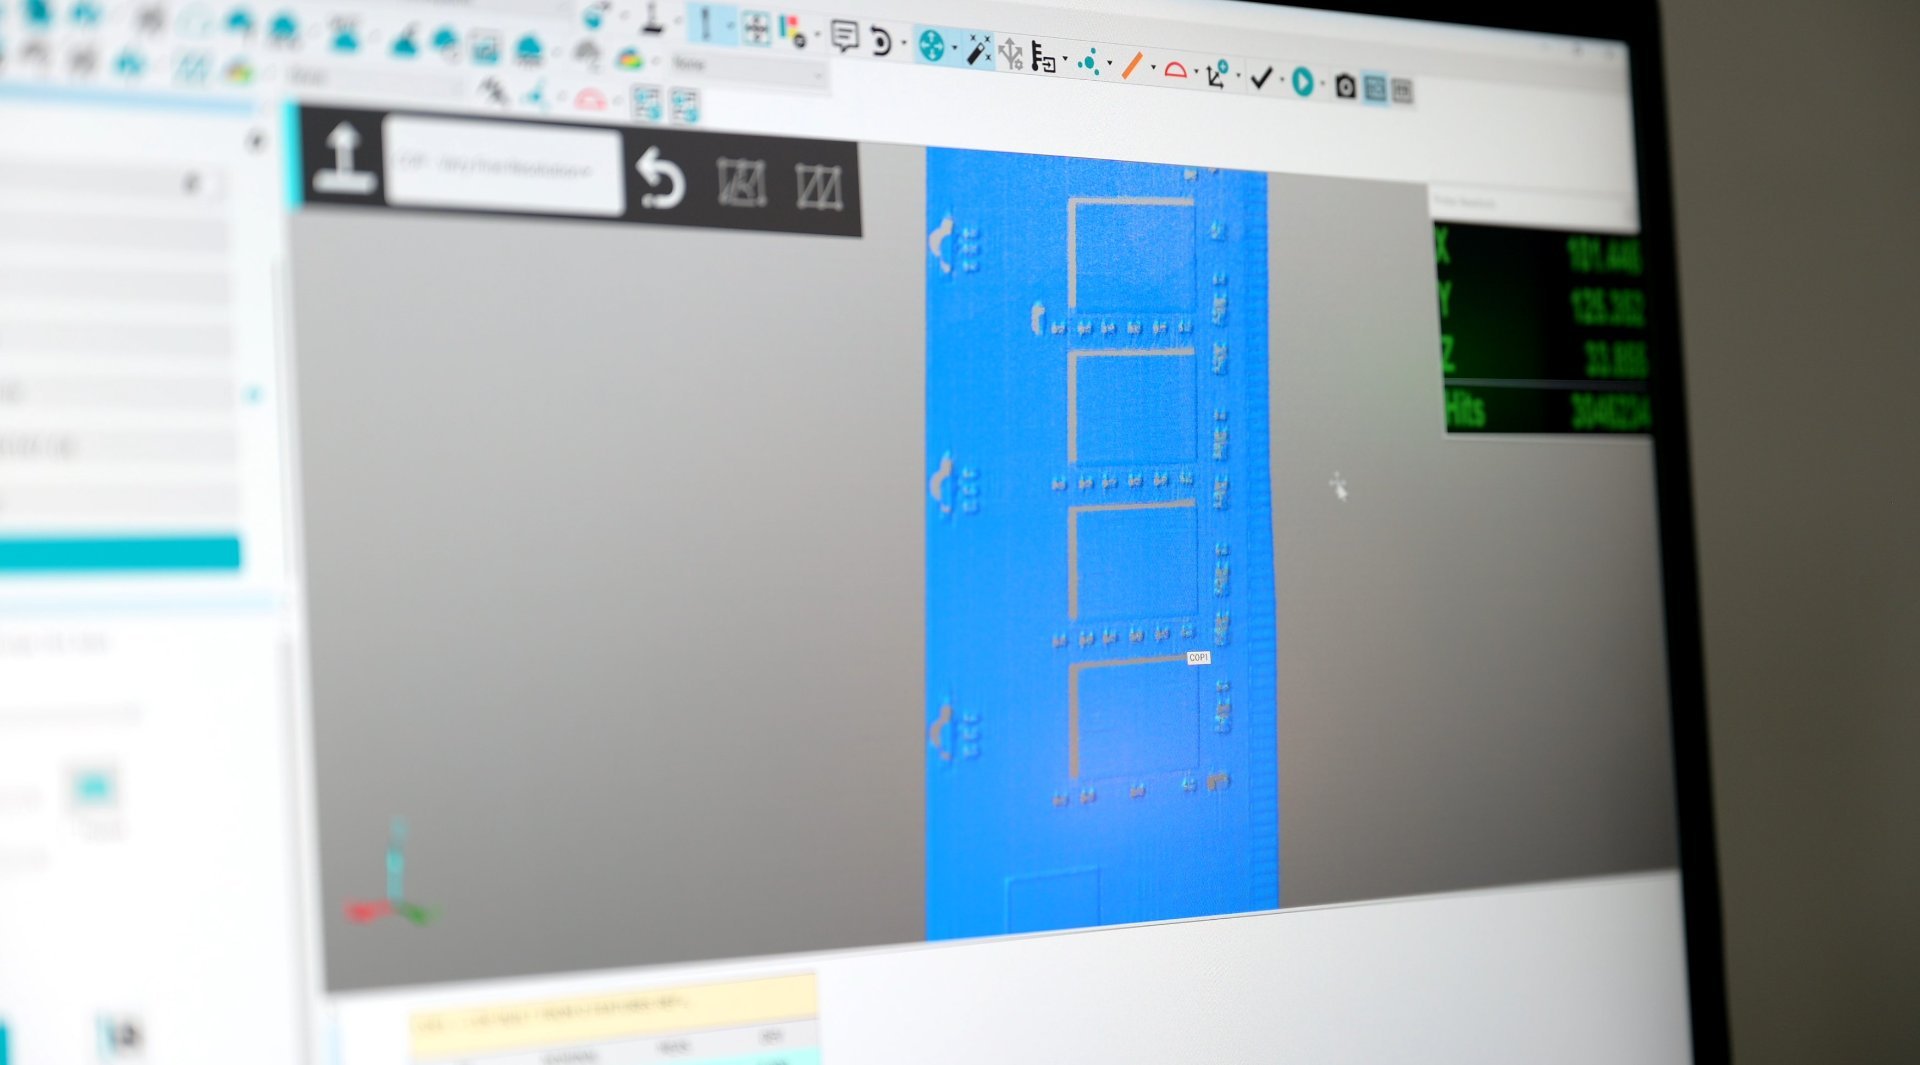
It outputs to raw point cloud data, which I can then save as a mesh and import into Fusion 360.
What you don't see here is the painstaking process of making a usable solid file. The data from the arm does not convert to this, I have to do it manually. The beauty of the scan though is I have all the measurements and I won't miss any features by accident.
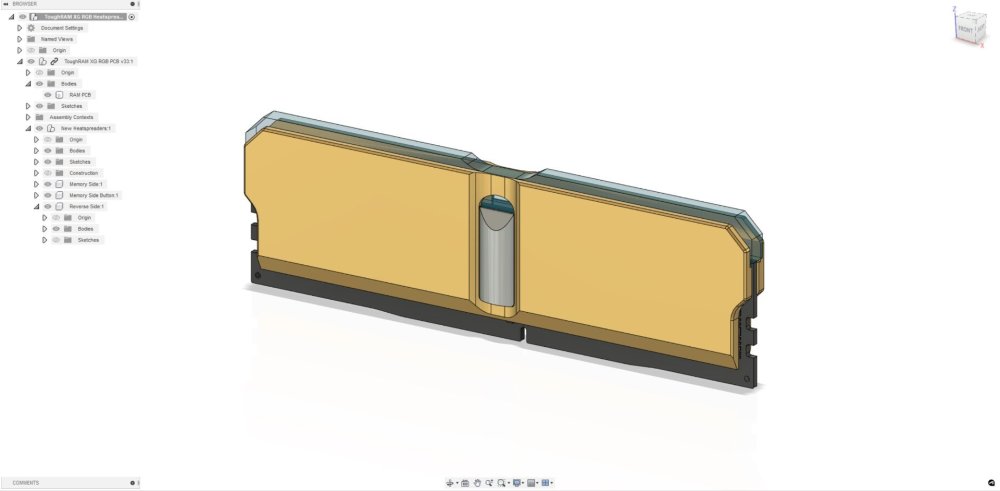
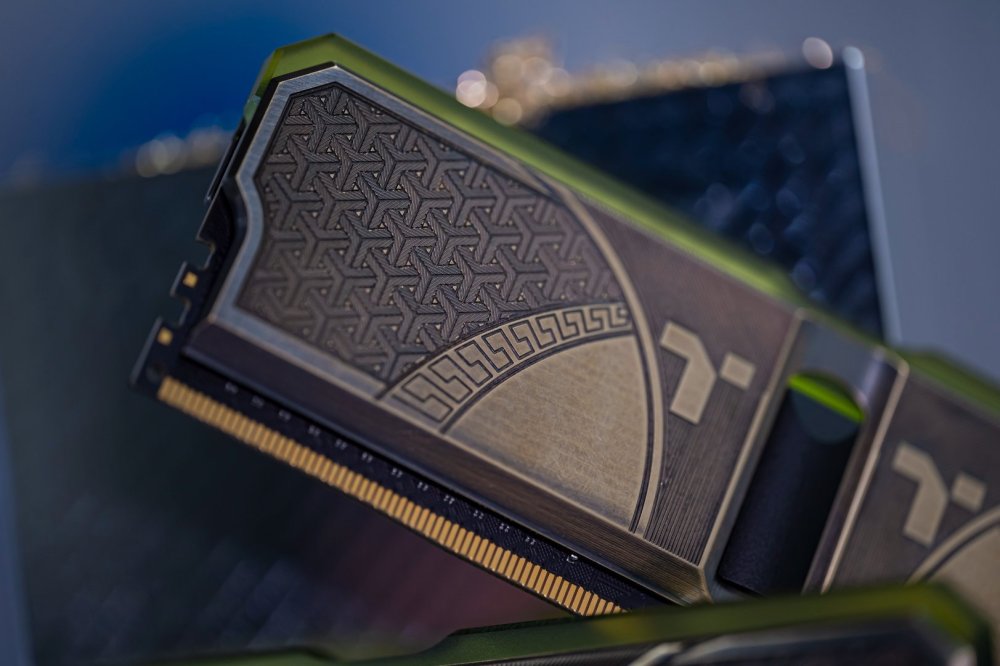
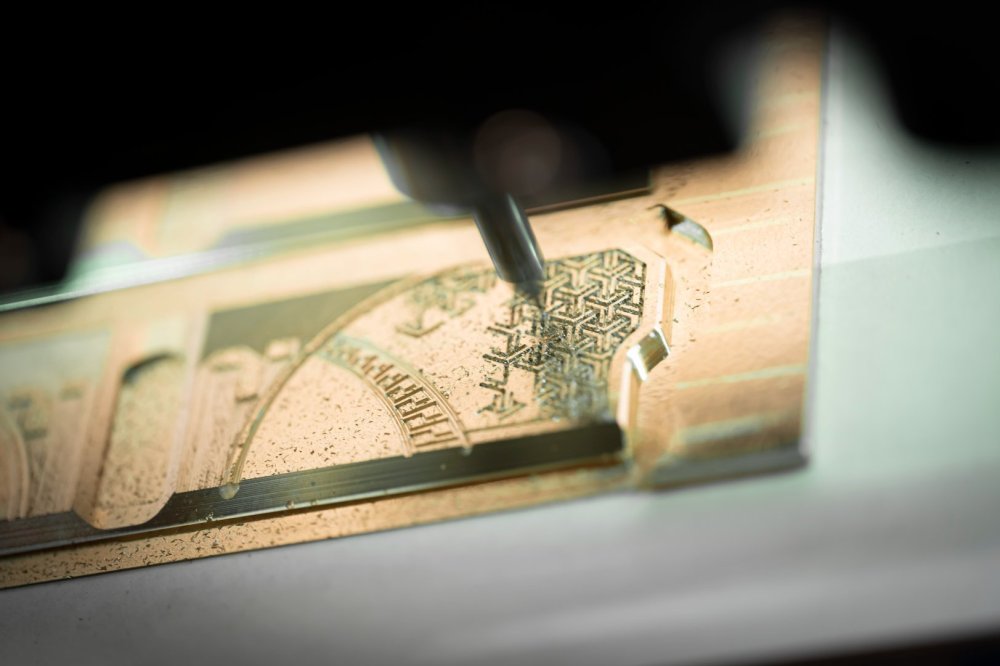
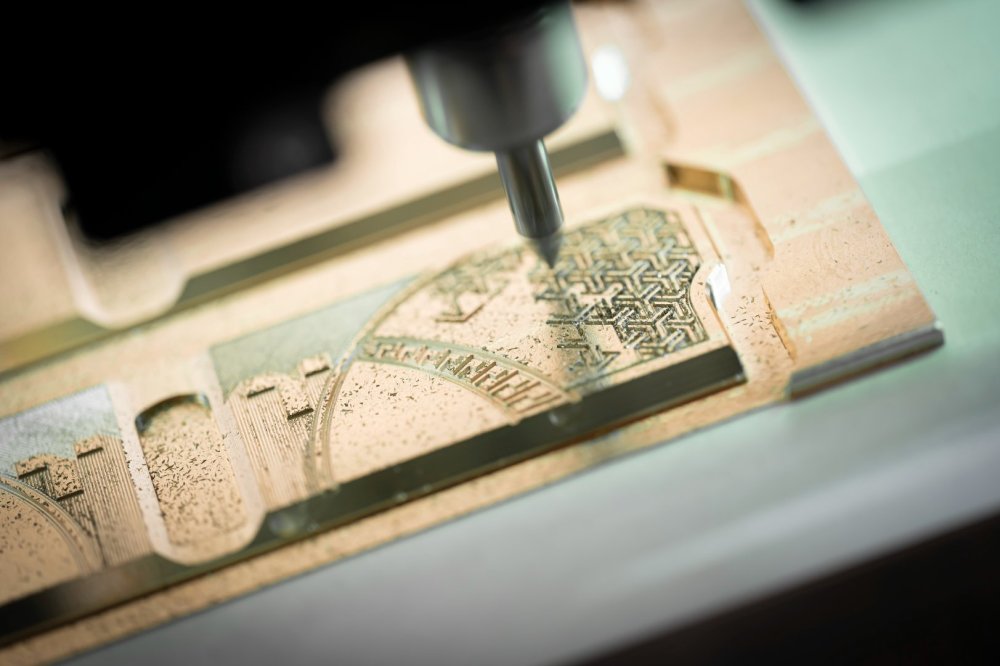
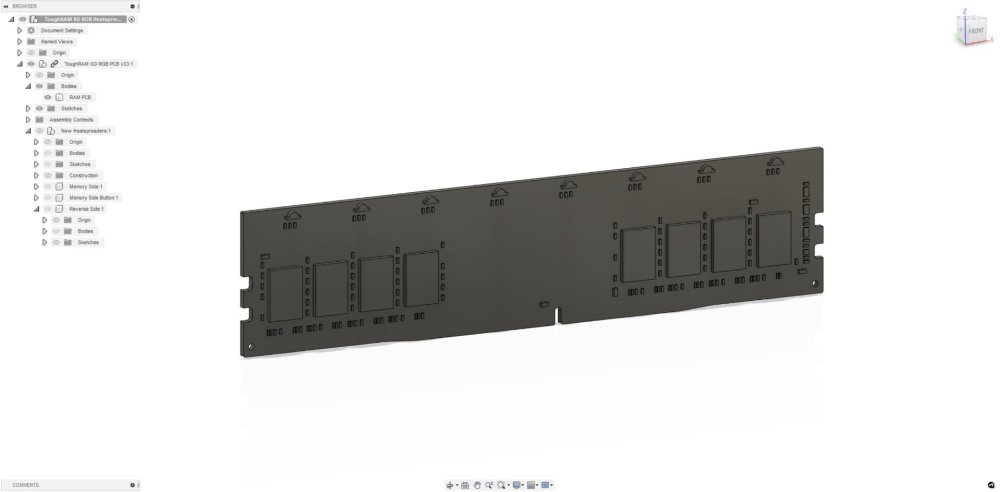
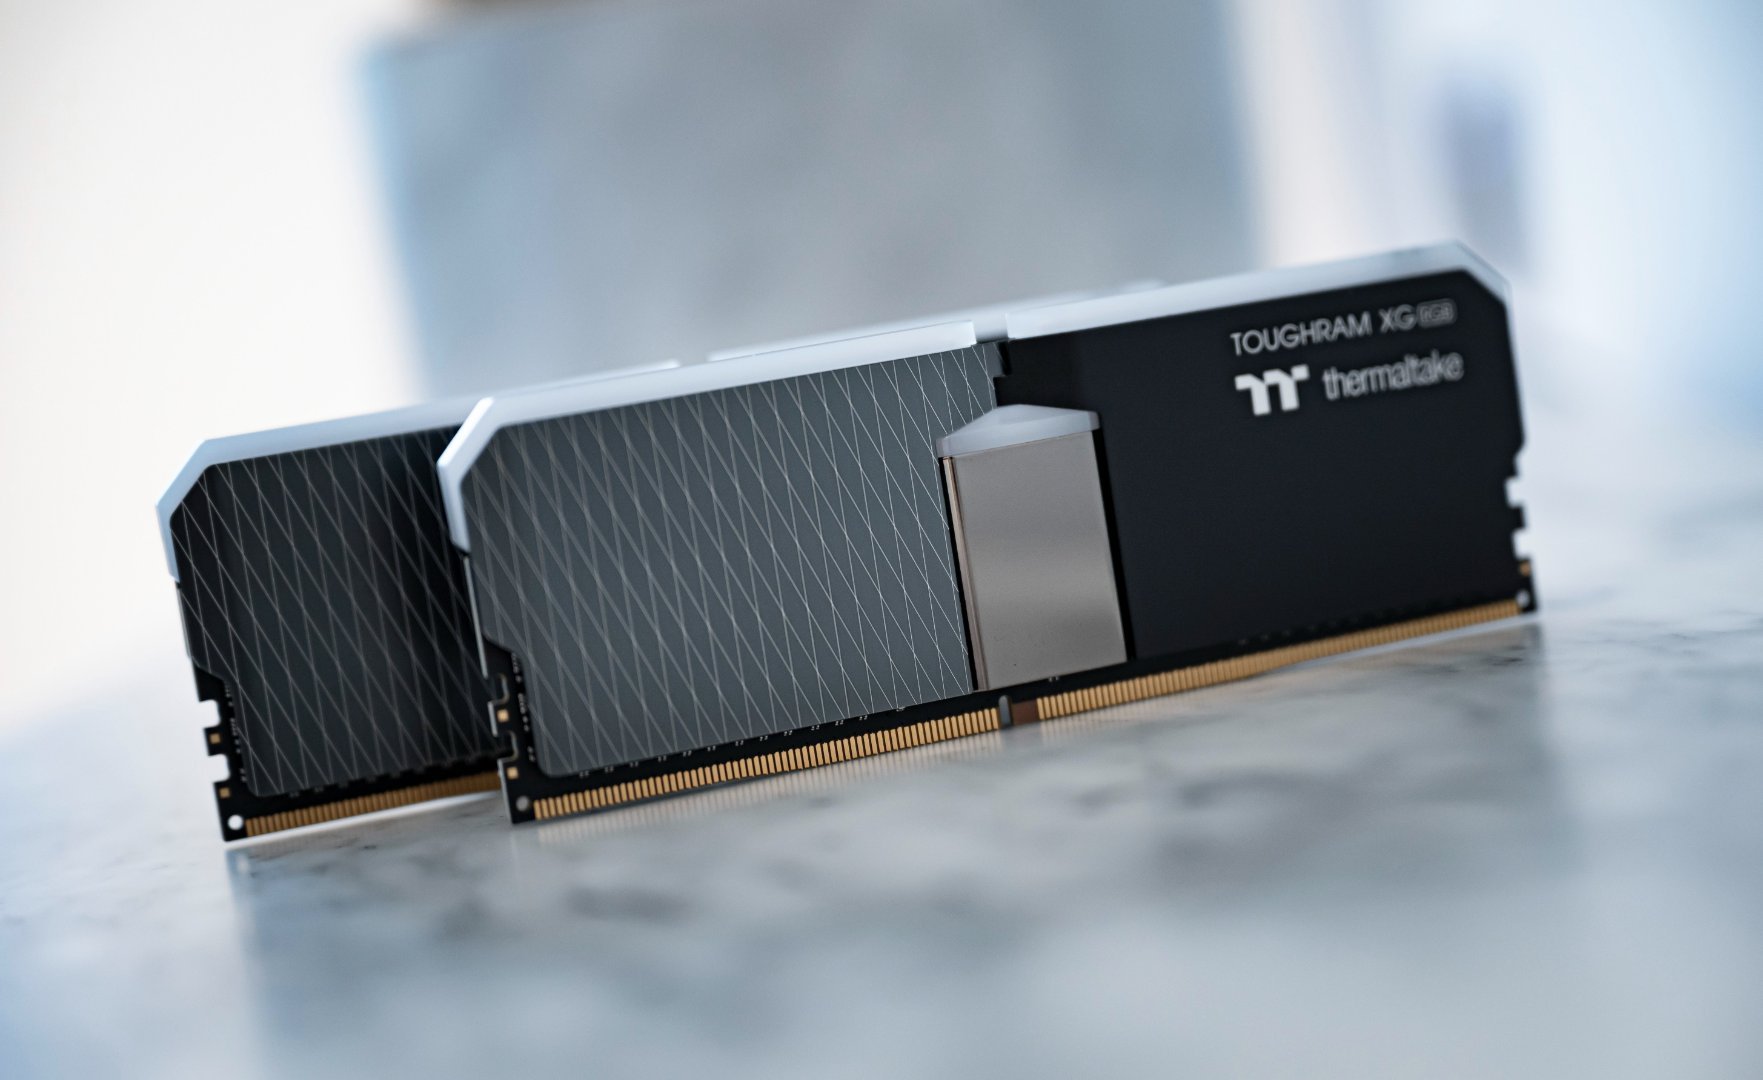
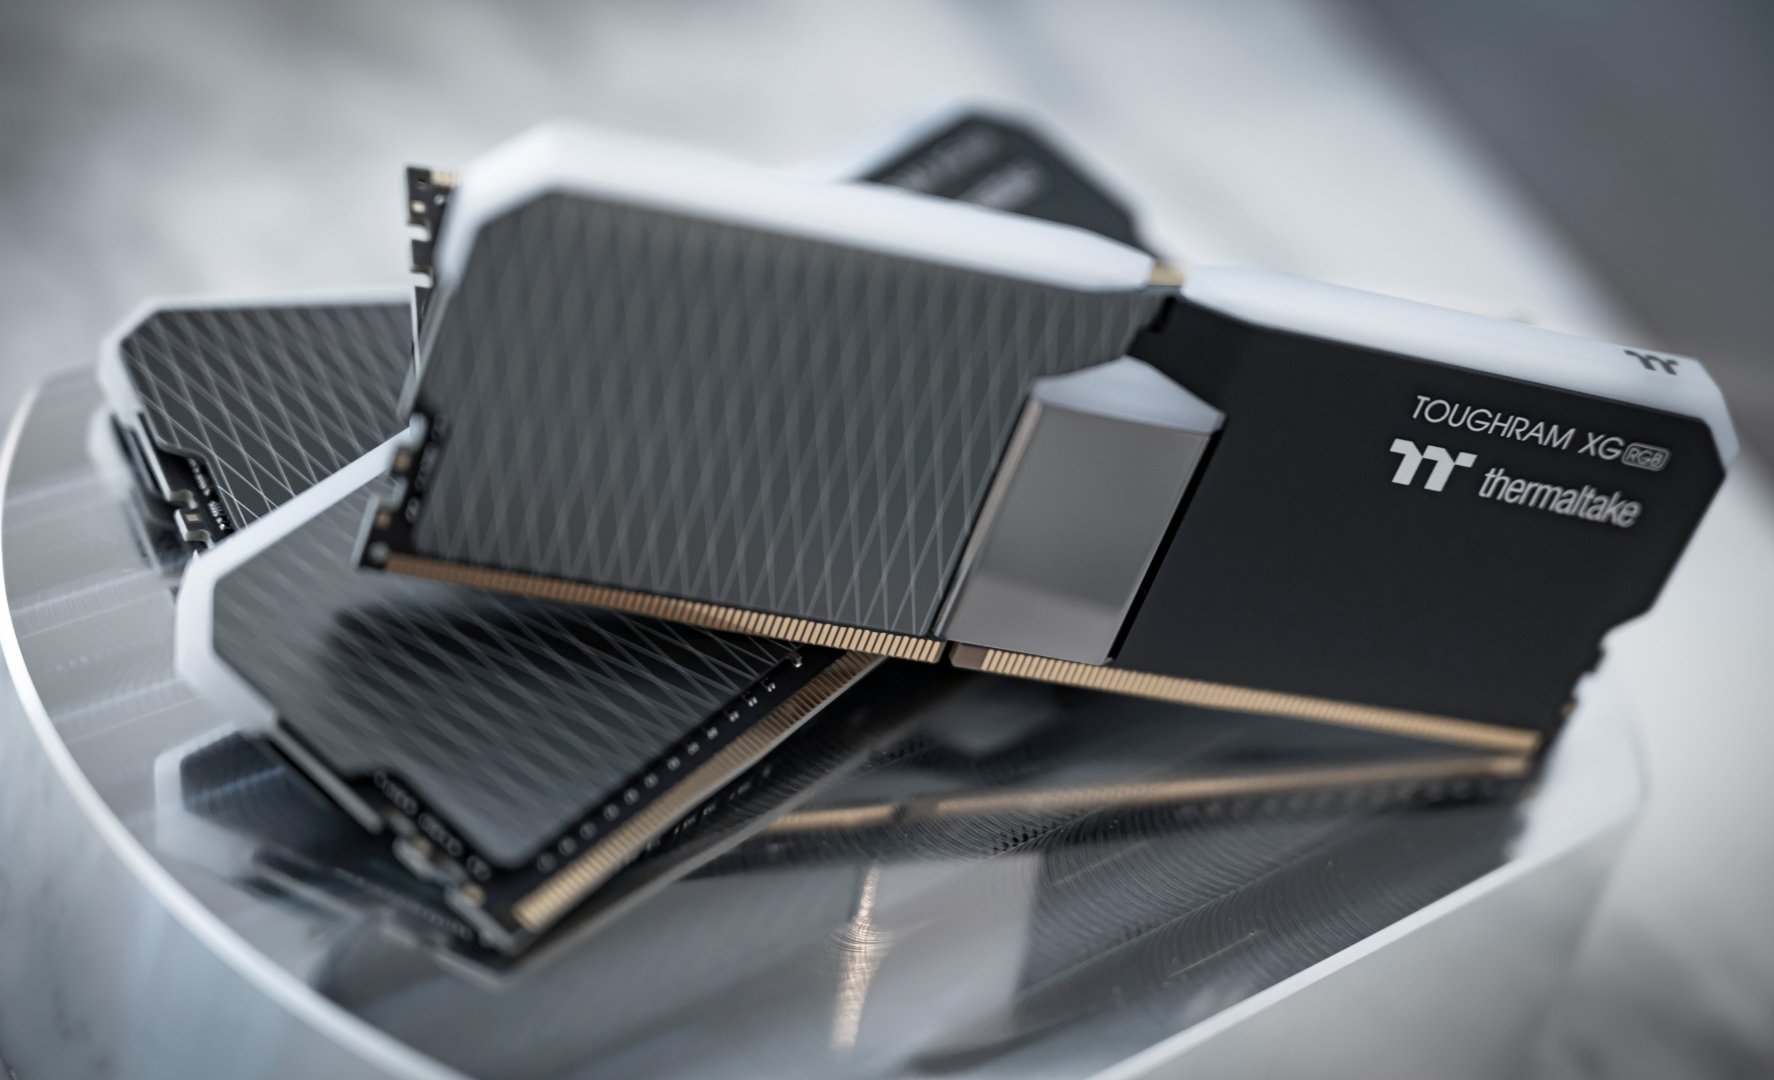
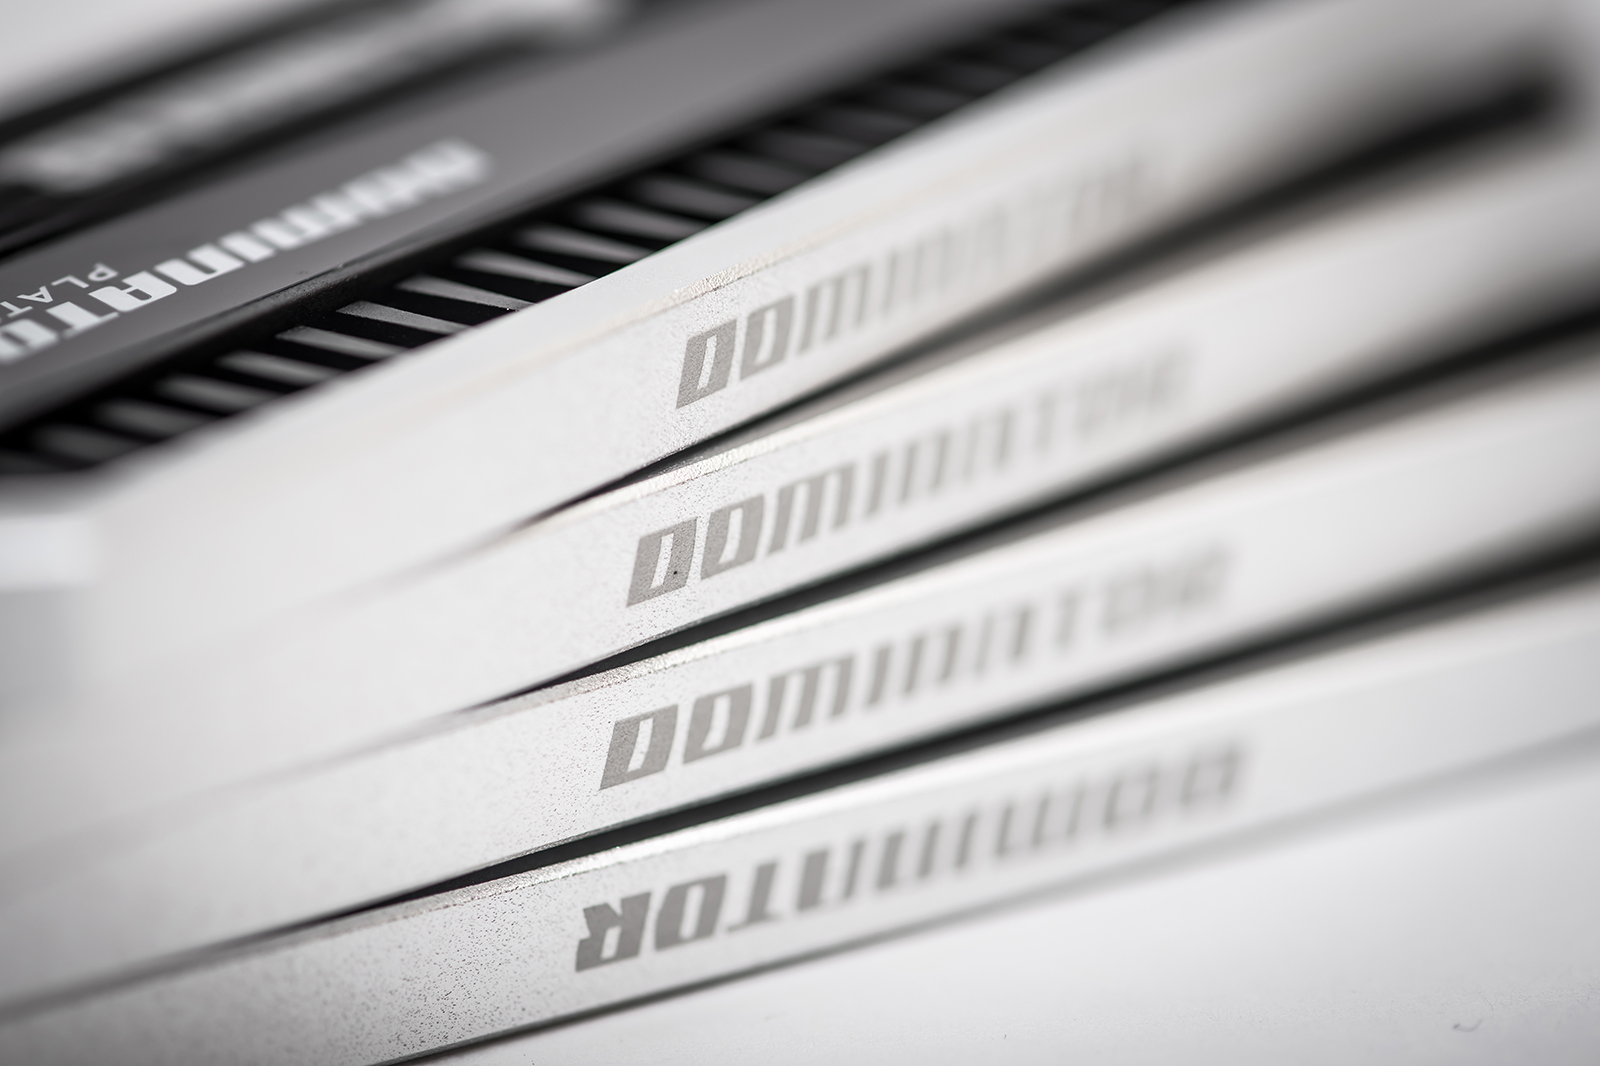
This is the plan, I shall be making a new set of heatspreaders that are inspired by the original design. The originals are very thin aluminium, so are easily damaged during removal, which is unfortunate. I wanted a form for these heatspreaders that closely follows the originals, whilst adding some unique flair to things, all the while being fully functional. What's the point in modding the memory if you can't use it as is?
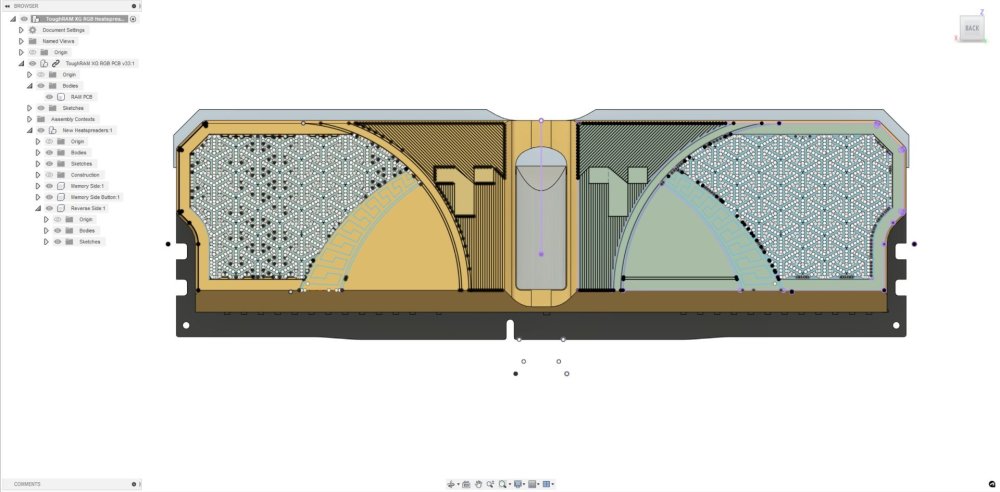
This is where hopefully the real magic will come in. Yes those lines are all drawn in manually, thousands of them. I'll be engraving the surface using a guilloche technique, that way it should play with the light and have a very striking appearance.
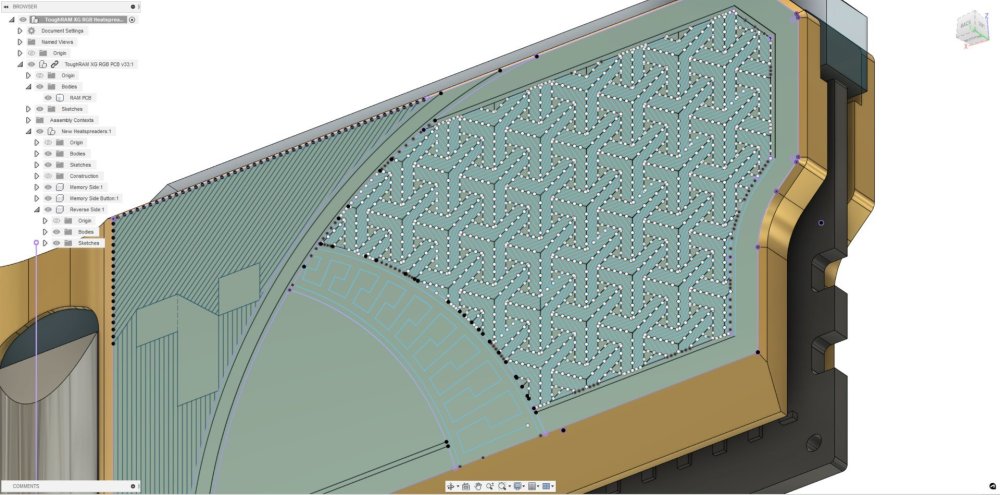
You can just about get a glimpse of how the pattern will go on this one, I'm excited to see how it will turn out in real life.
-
Well it's all kicking off in the last few hours eh? Sadly I've been dealing with a home central heating system that exploded, alongside a bunch of family commitments, but let's kick things up a notch.
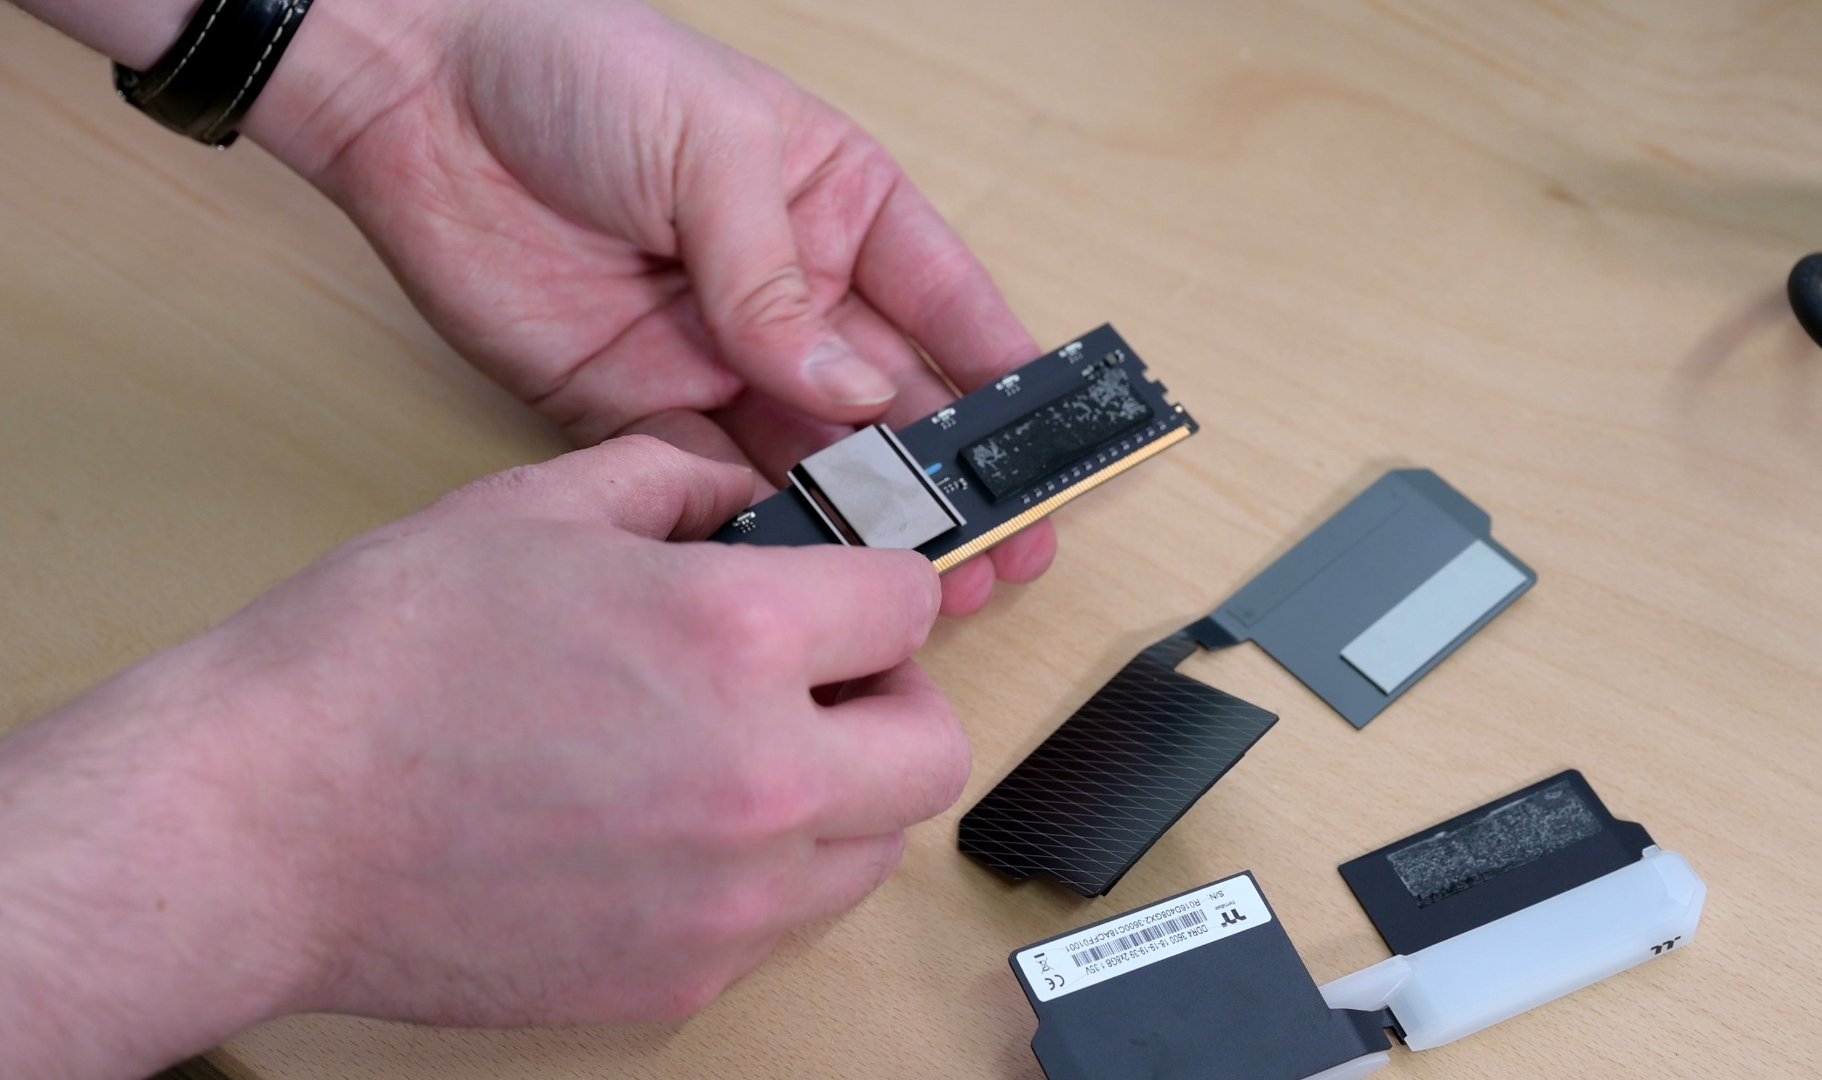
First things first, I need to get these heatspreaders off the DIMMS so that I can assess what the PCB layout is like underneath.
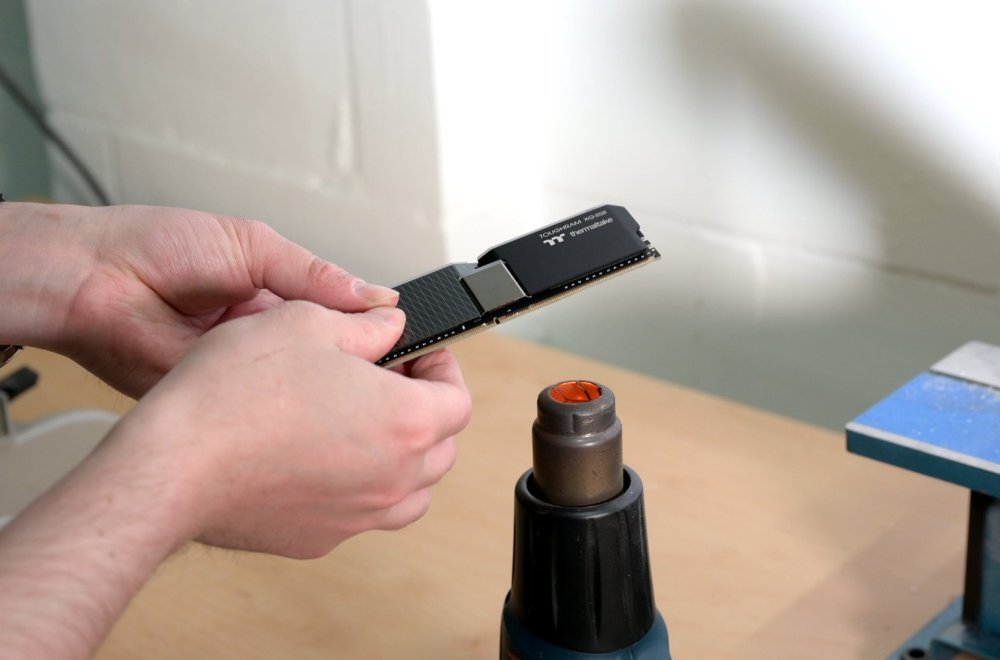
Fortunately a little bit of heat and the sticky pads loosen okay enough.
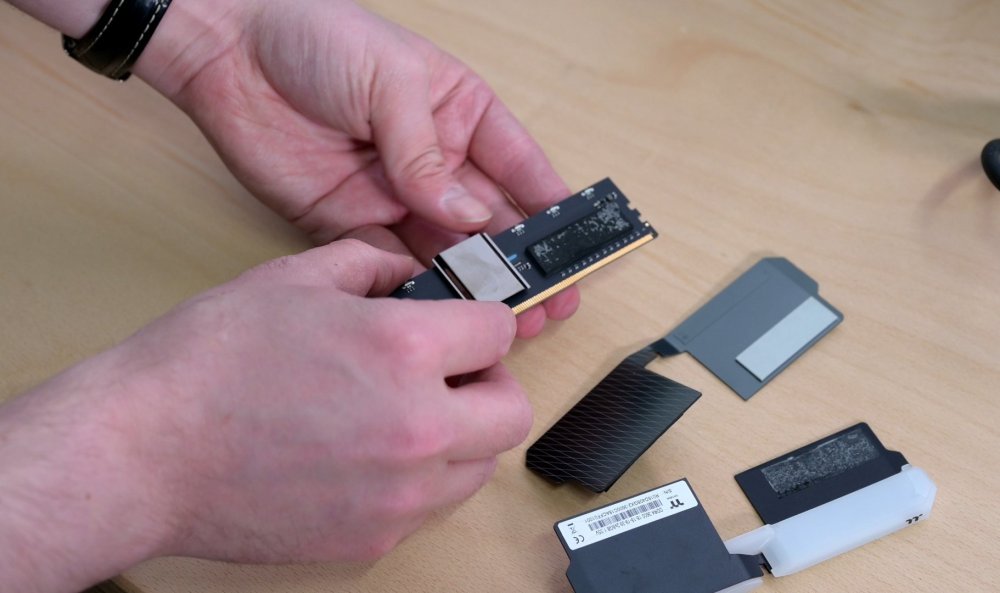
Okay this is great news, symmetrical LEDs all soldered to the PCB (no LED strips ftw). The memory modules are all on one side though, which means I'll need to take their thickness into account on the other face.
-
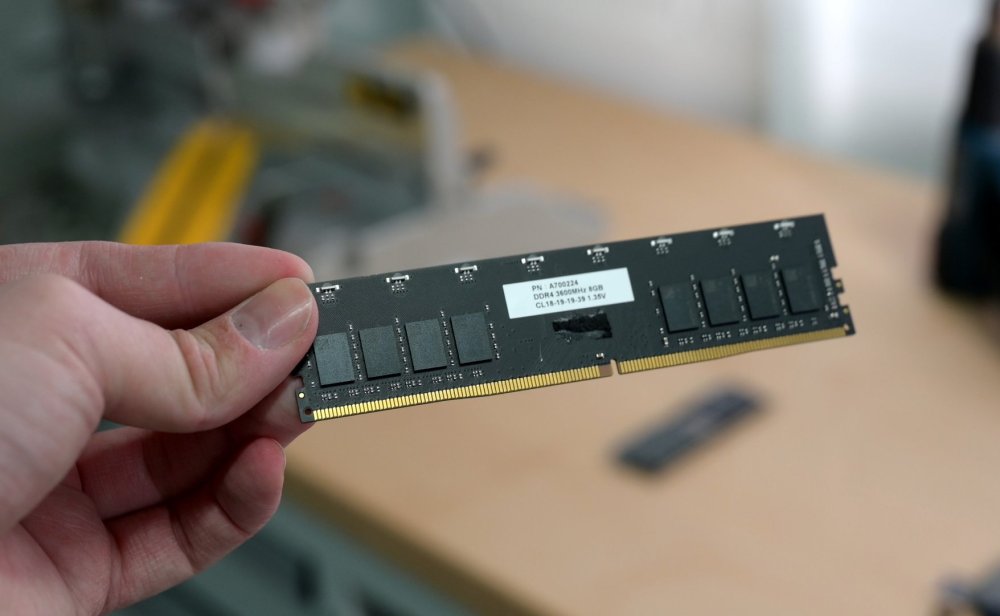
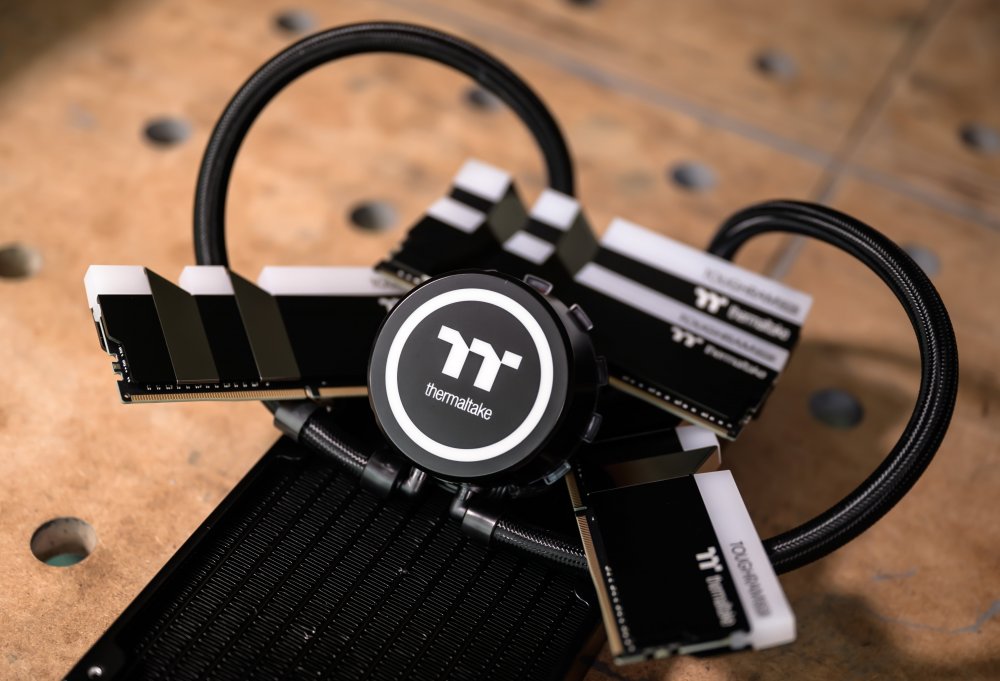
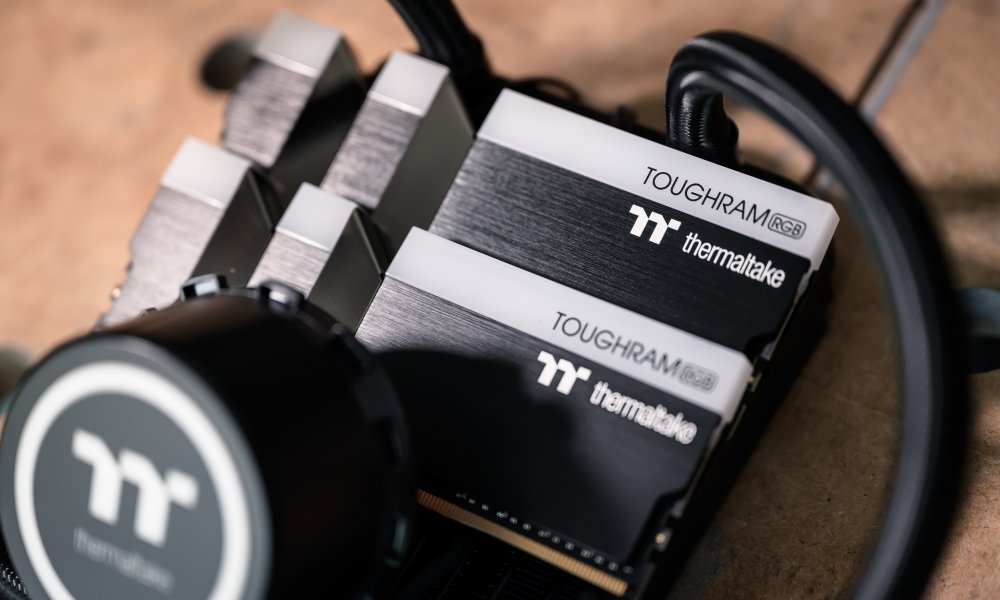
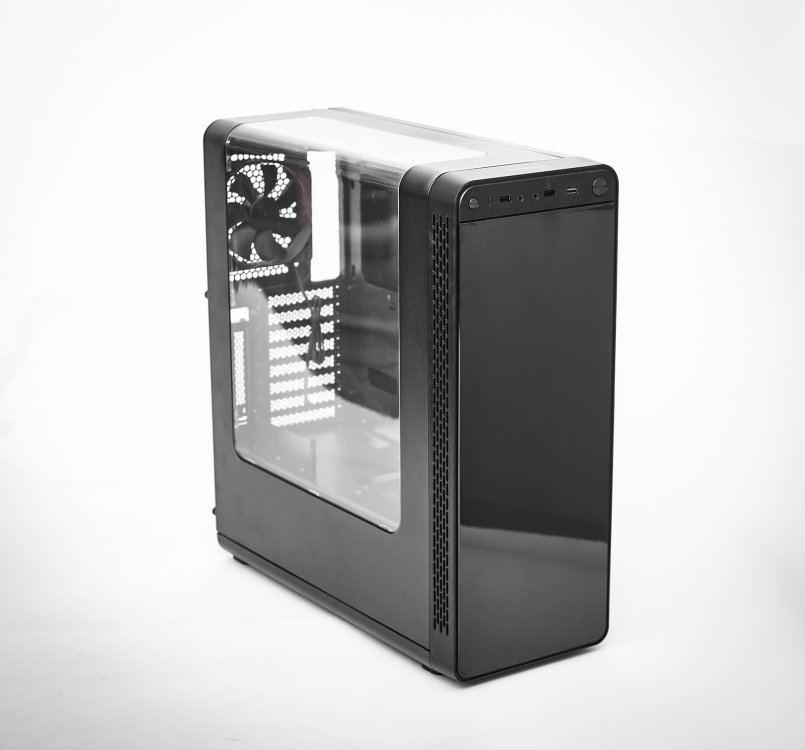
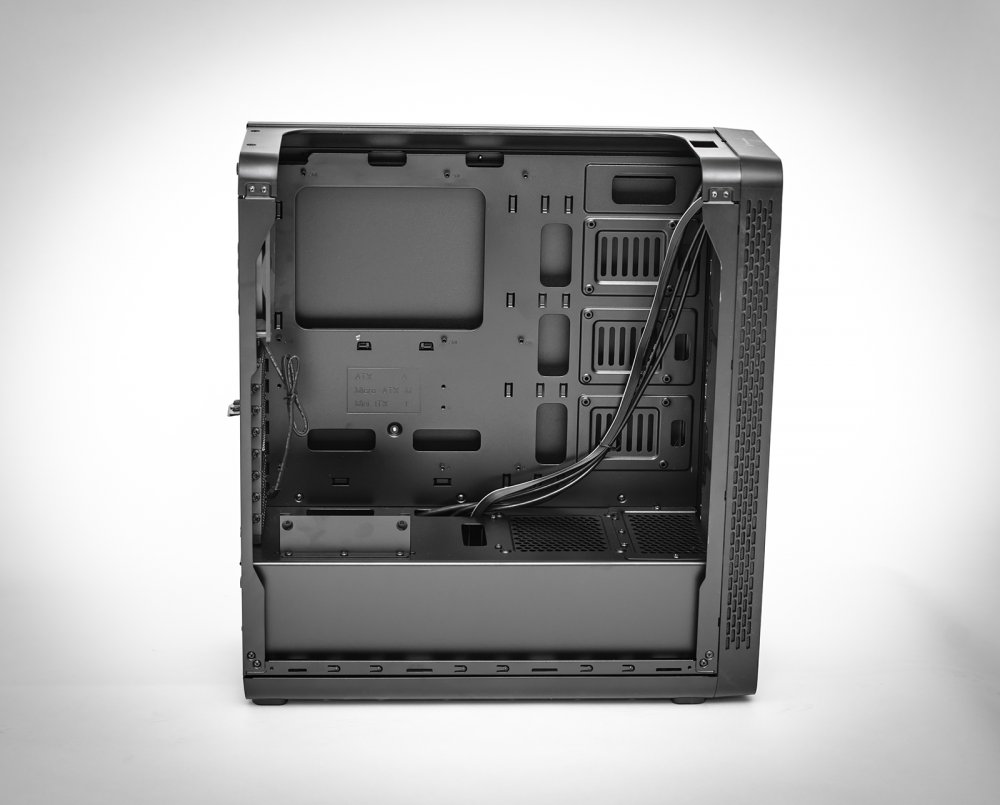
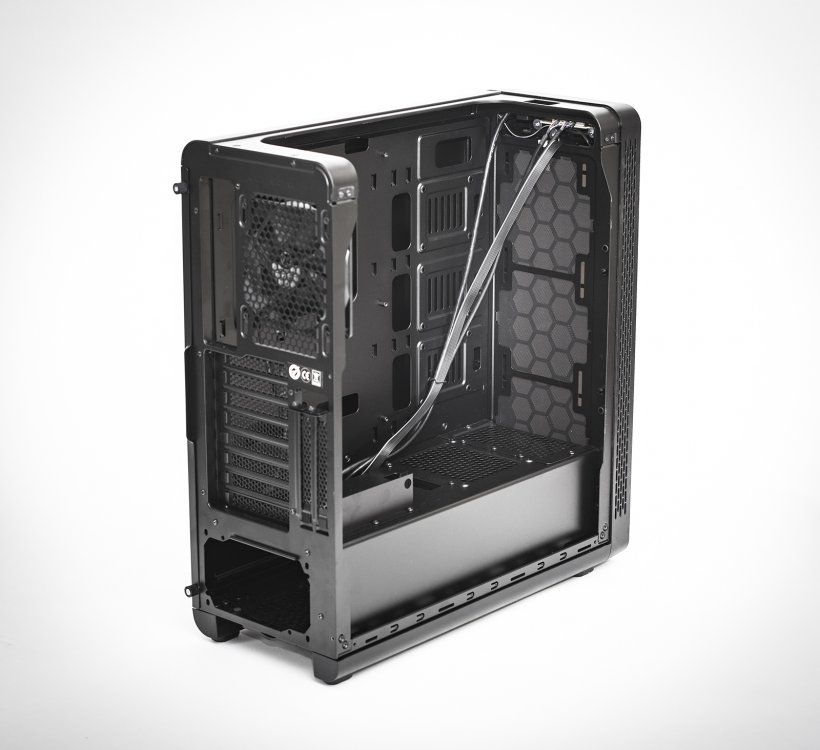
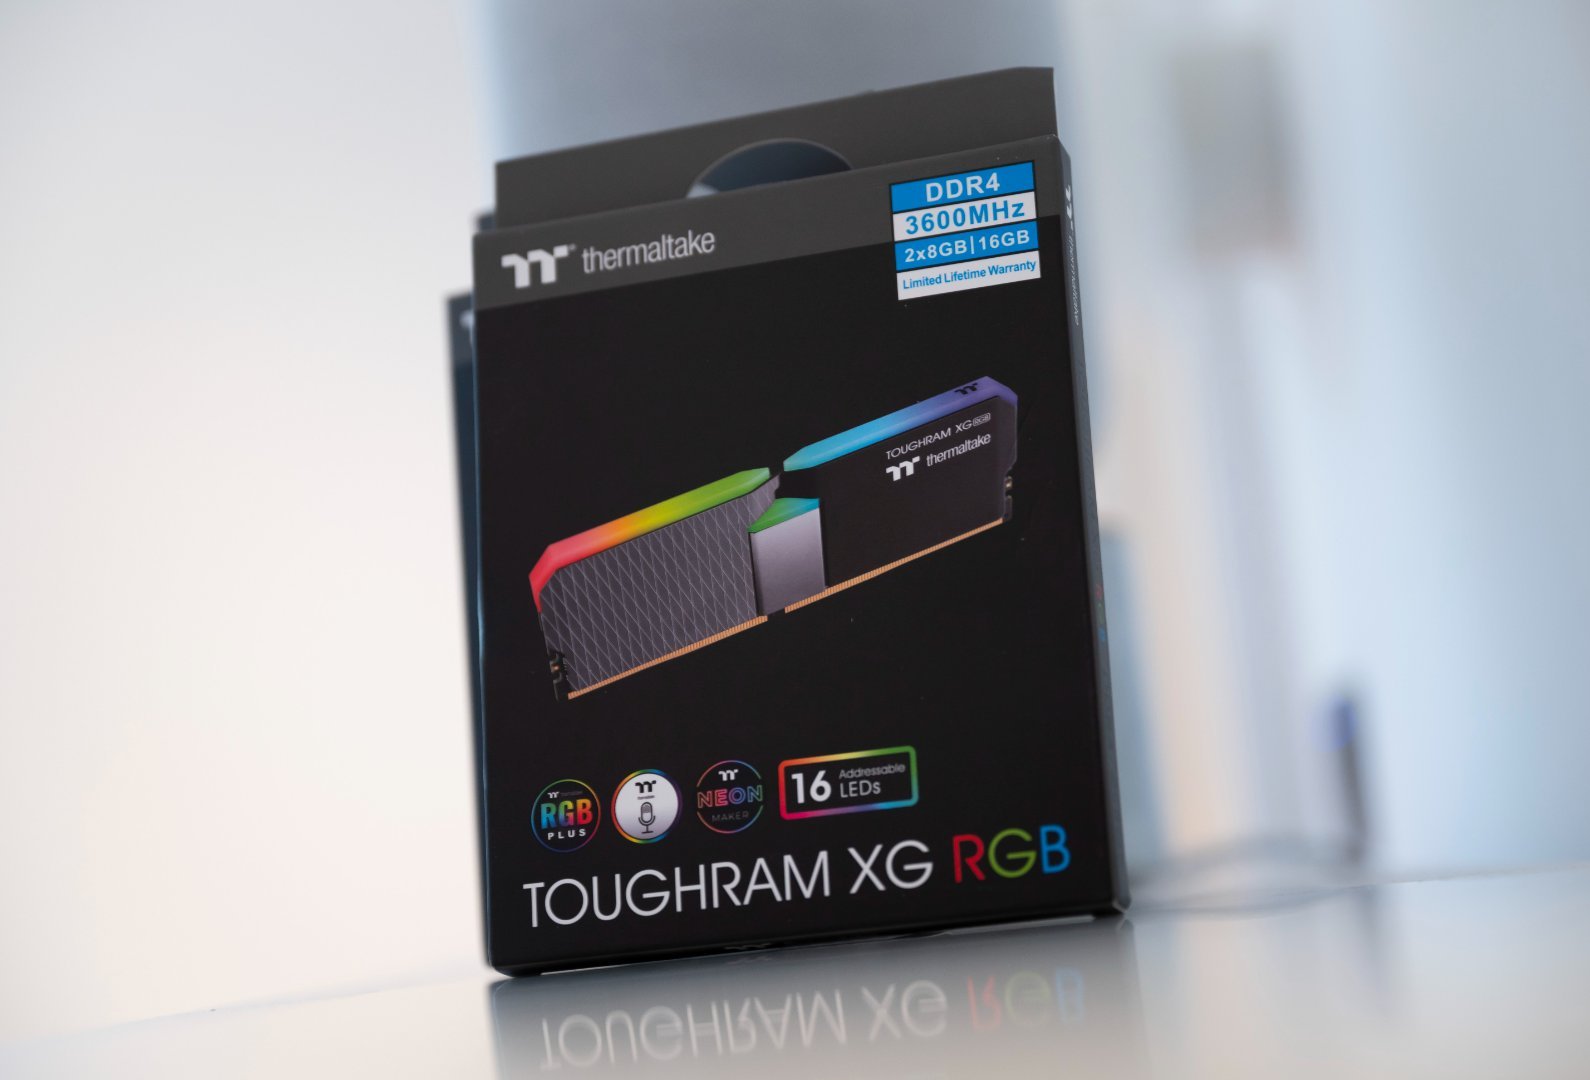
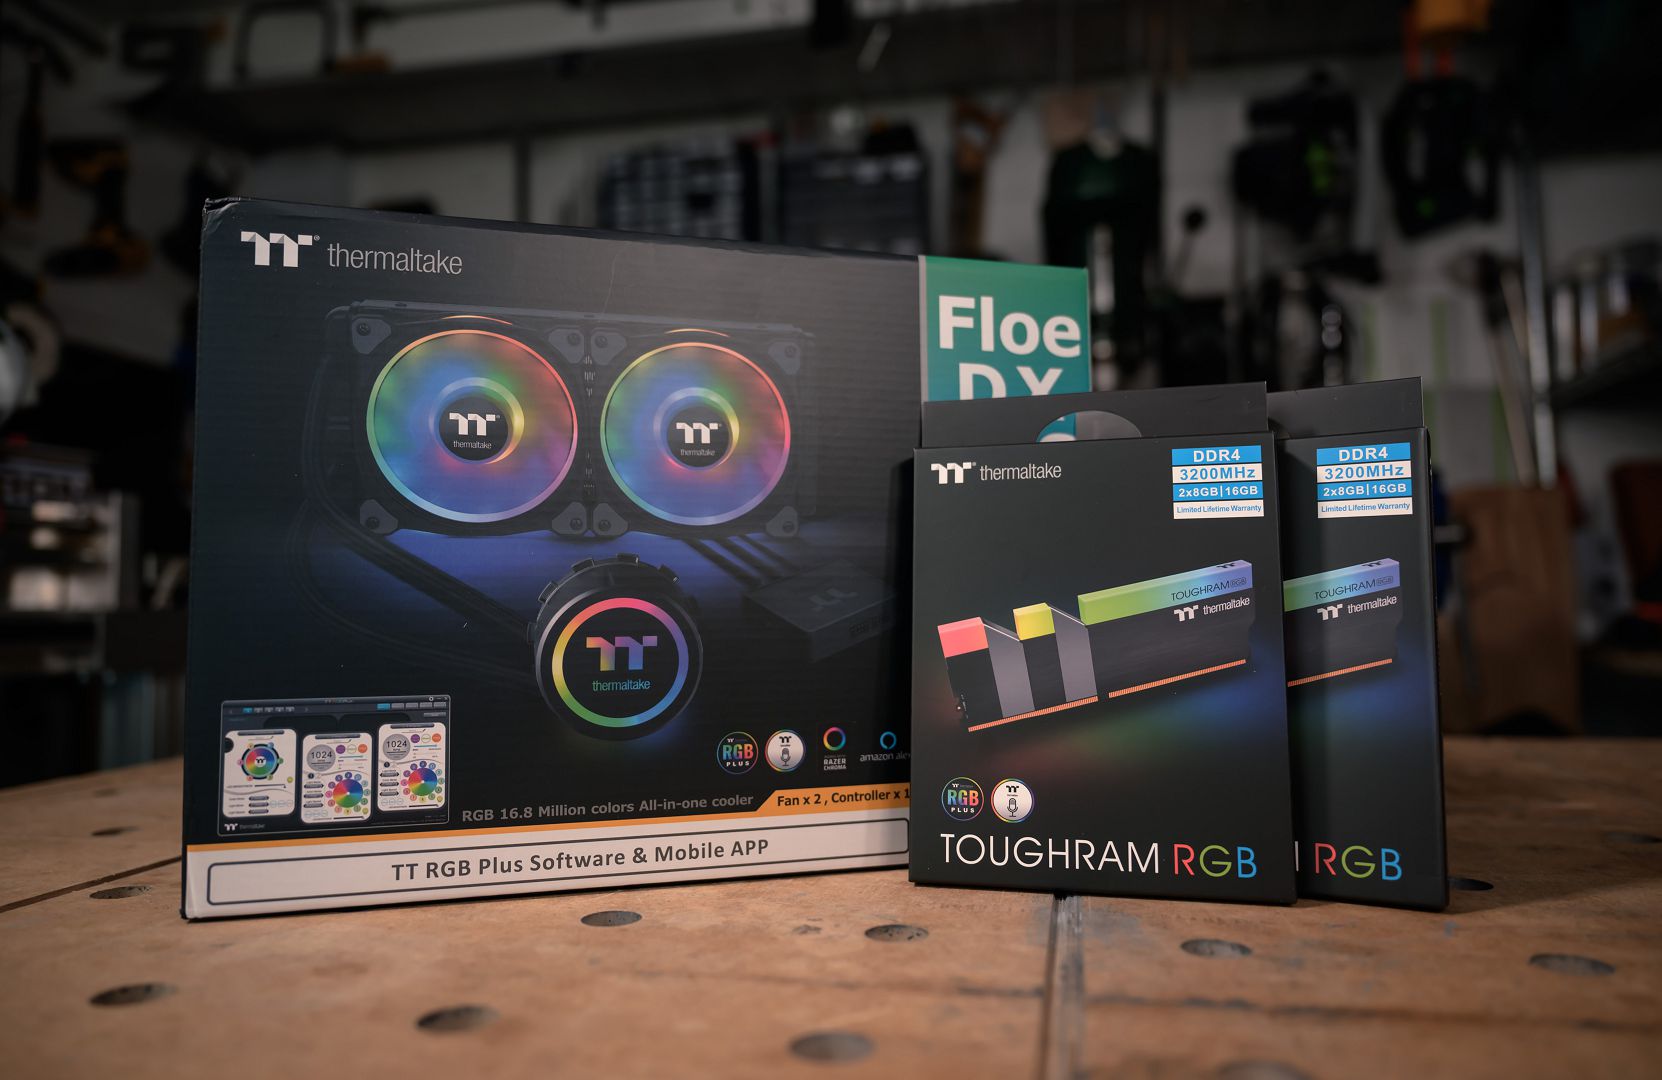
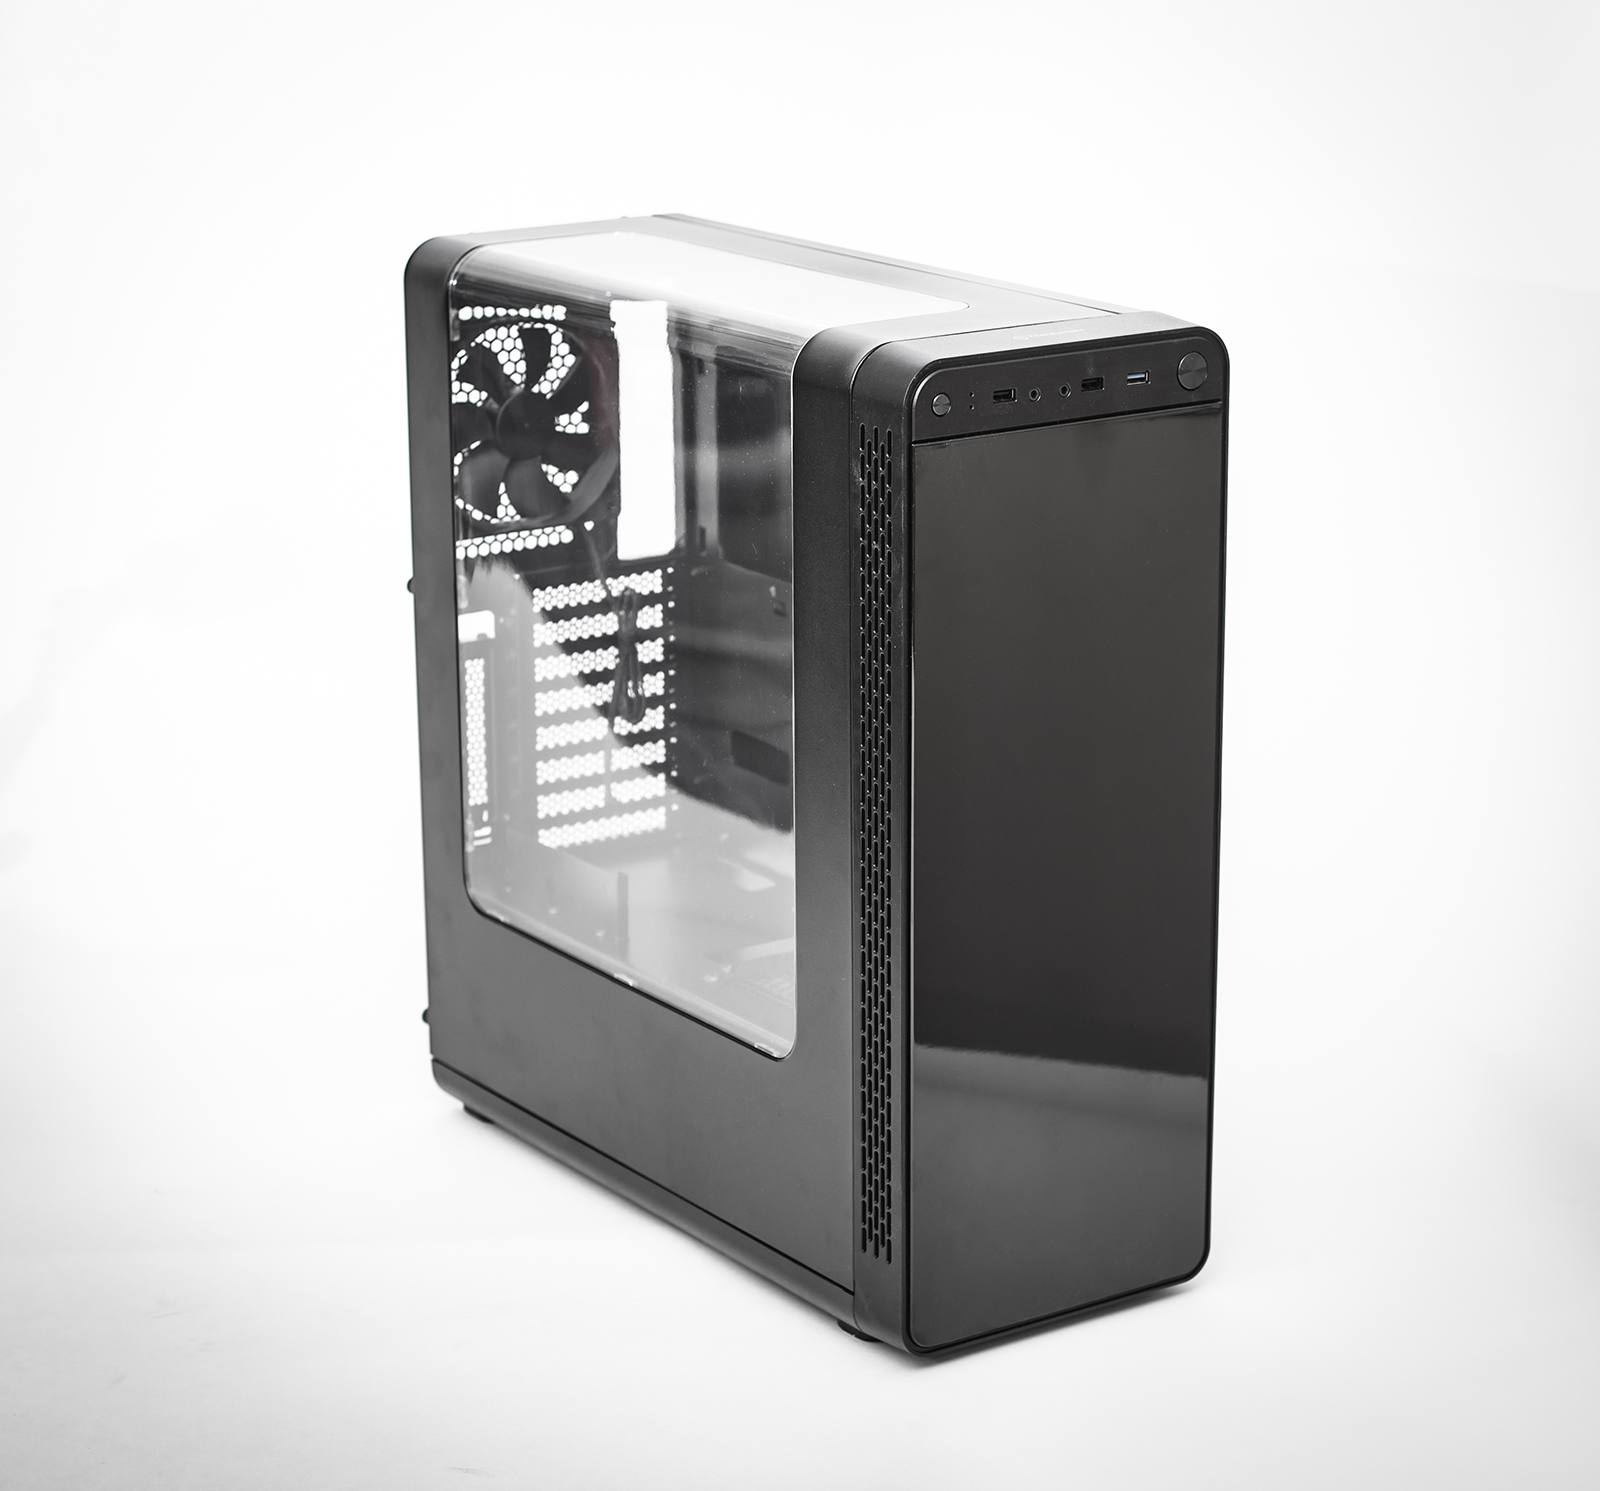
Alright, I seem to be lagging behind here somewhat eh? Let's kick things off with some pics of the merchandise.


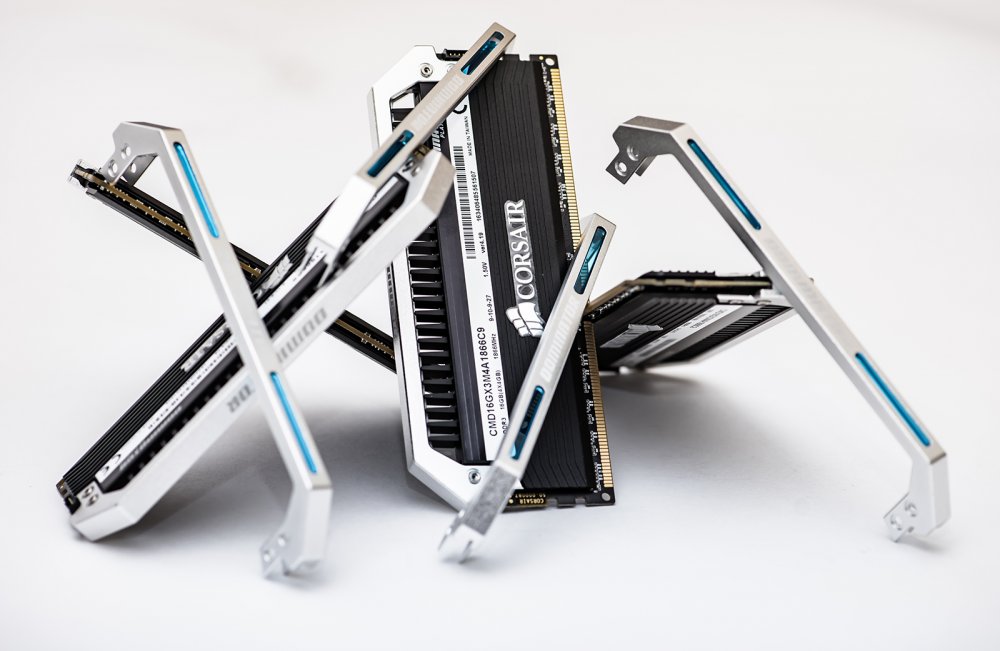
Plan wise, first things first I'll need to get these all disassembled so that I can get a feel for the construction. I'm a bit packed in right this instant with a house renovation, but hopefully I'll be able to get the ball rolling properly very soon.
-
I just couldn't resist, had to have a go at Giorno's theme of course! Profile can be found in the link above.
-
Aaand link to the profile download folder, I'll add future ones to here also:
https://bit.ly/32dJ92U -
Woah woah what's this?? An update??
My apologies to everybody, it seems that the Pandemic workload got the better of me and I simply wasn't able to give the proper time required to do a good job, that and I only managed to source a motherboard/CPU/GPU at the end of last week. However, it's better late than never, so in the same spirit as Jesse I'll be uploading themes as I'm able to, despite not being able to get all 15 up for the deadline. With that said, got to have some proper fun with them eh?
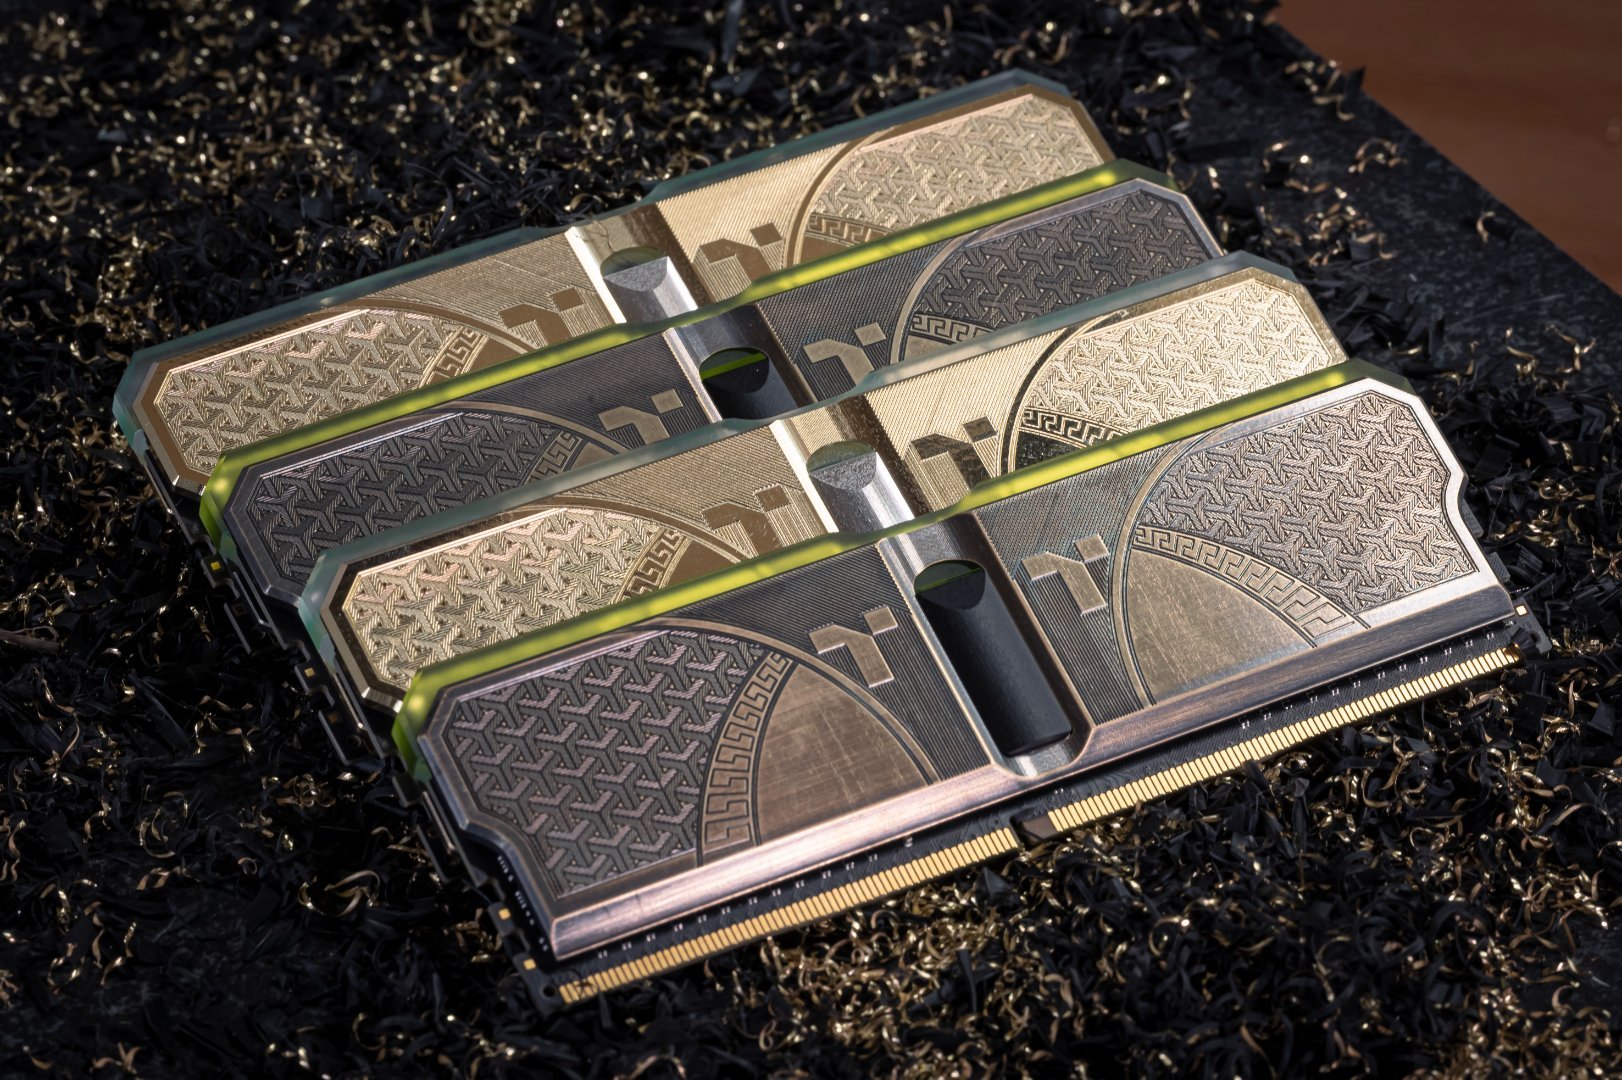
Now how's about we get some lights up? Will attach the profile in a mo once I've taken it off the rig.
-
On 7/30/2020 at 4:35 PM, nKwoel said:
Best of luck, Sir. You've got my vote 🤟
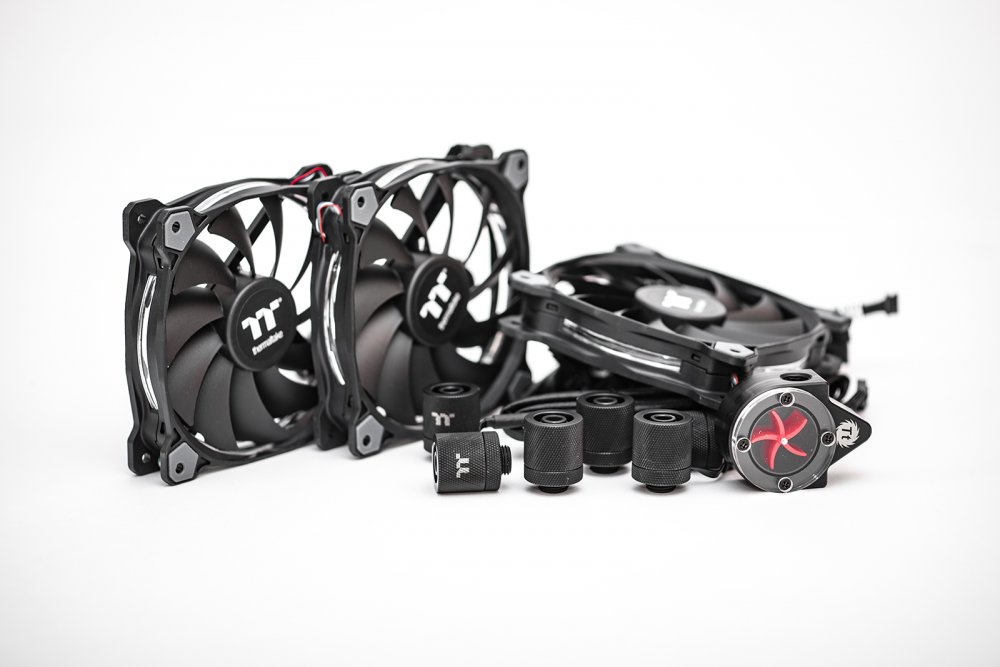
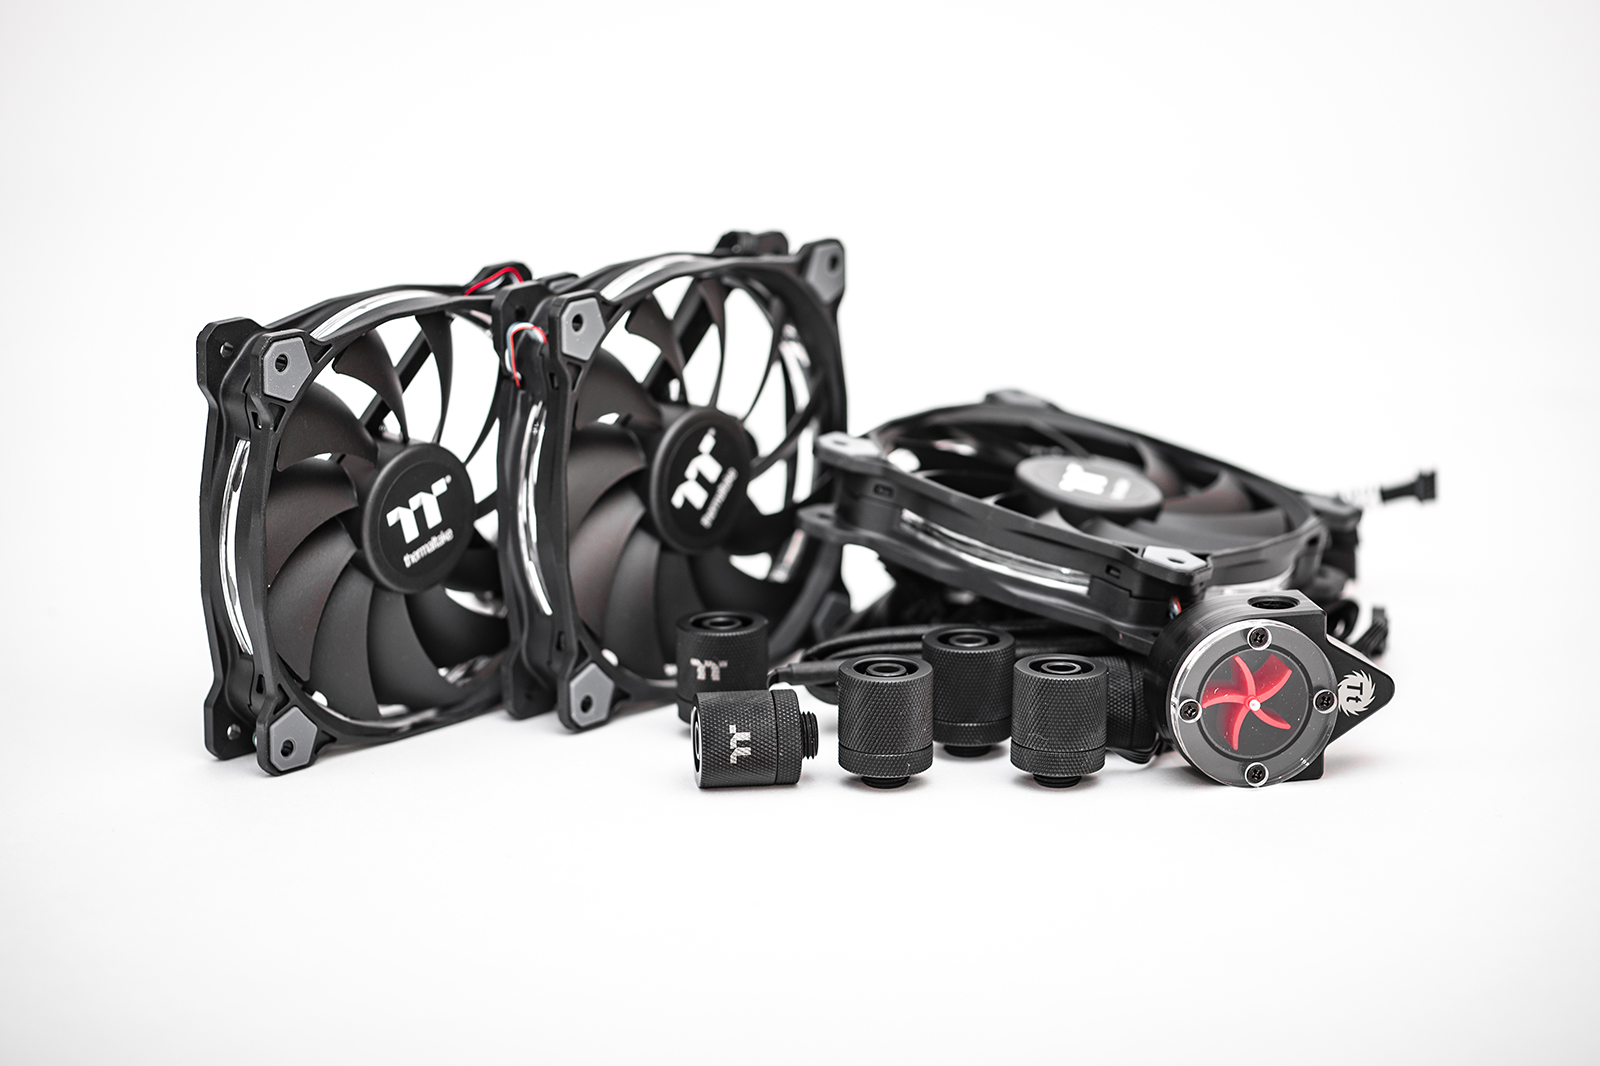
W00t w00t
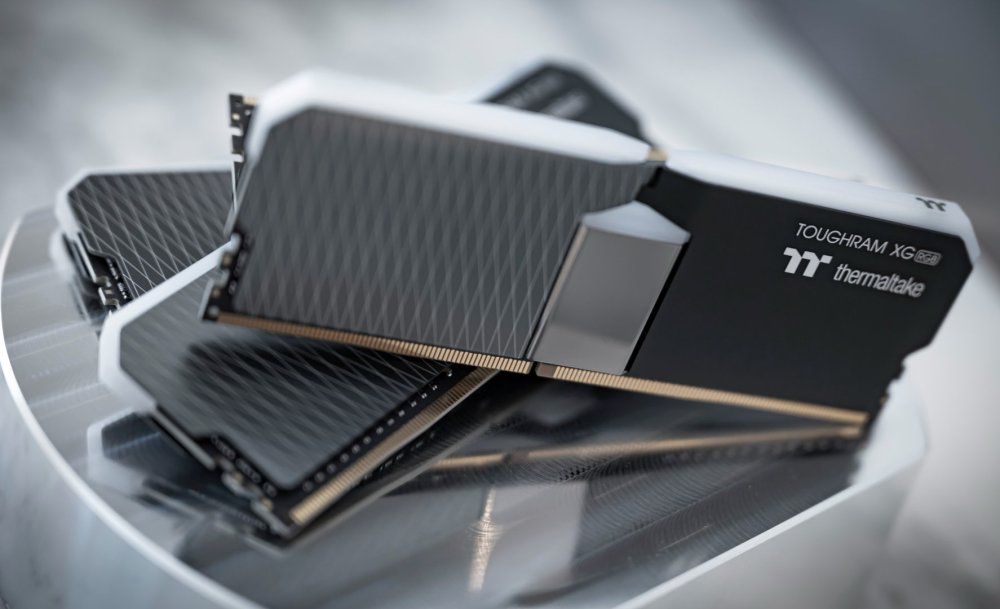
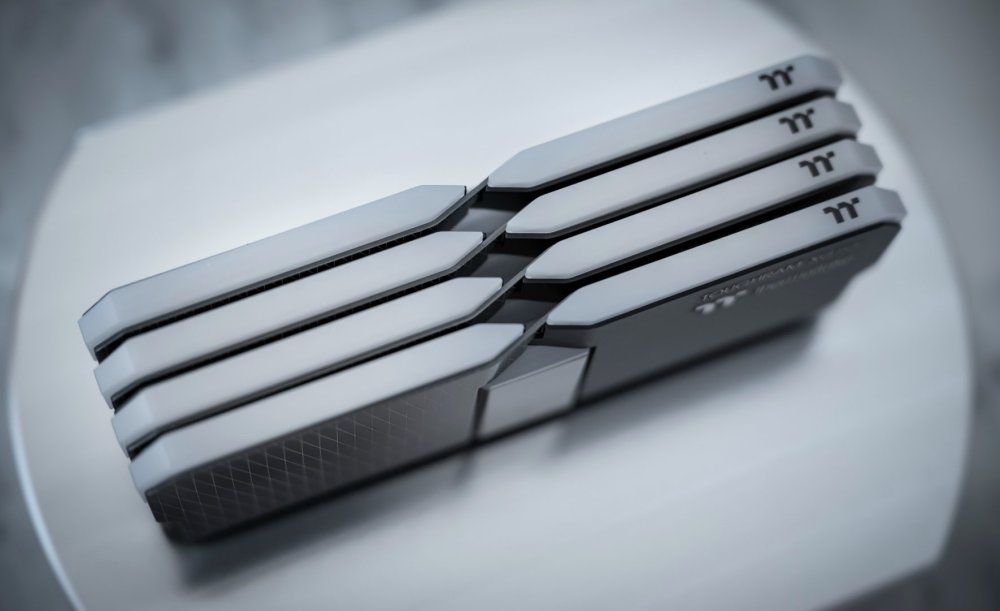
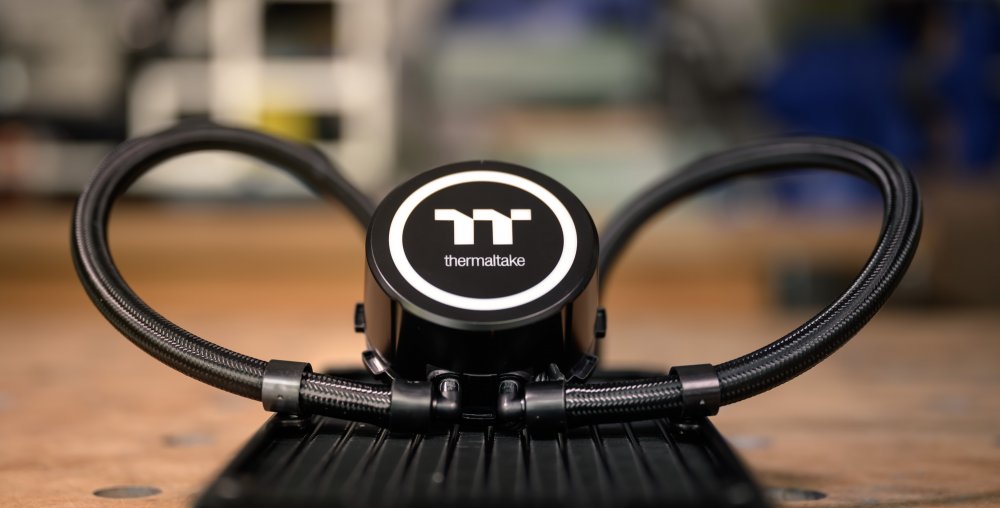
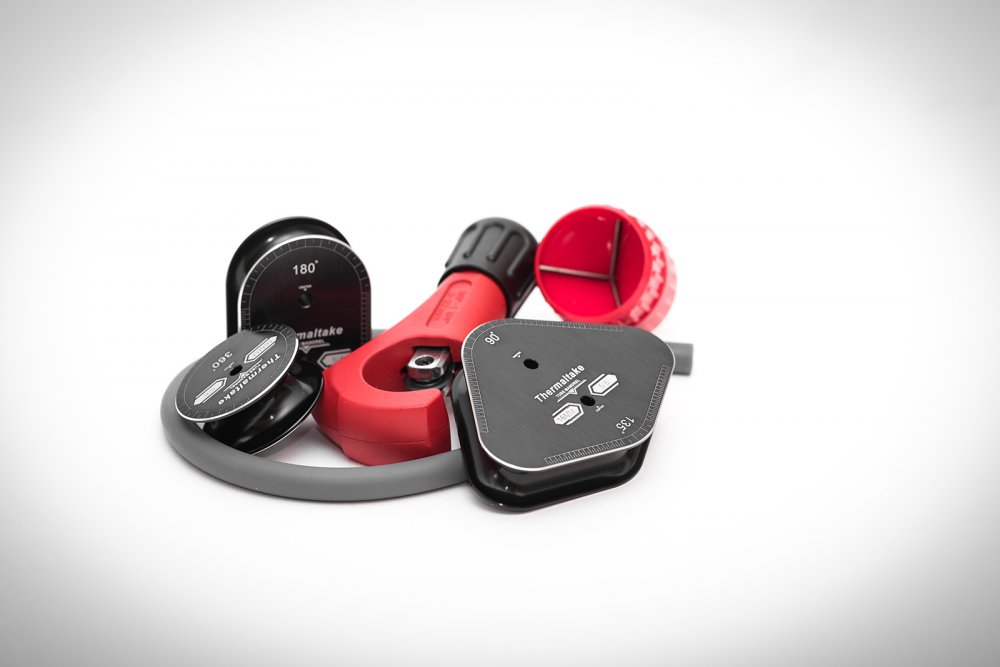
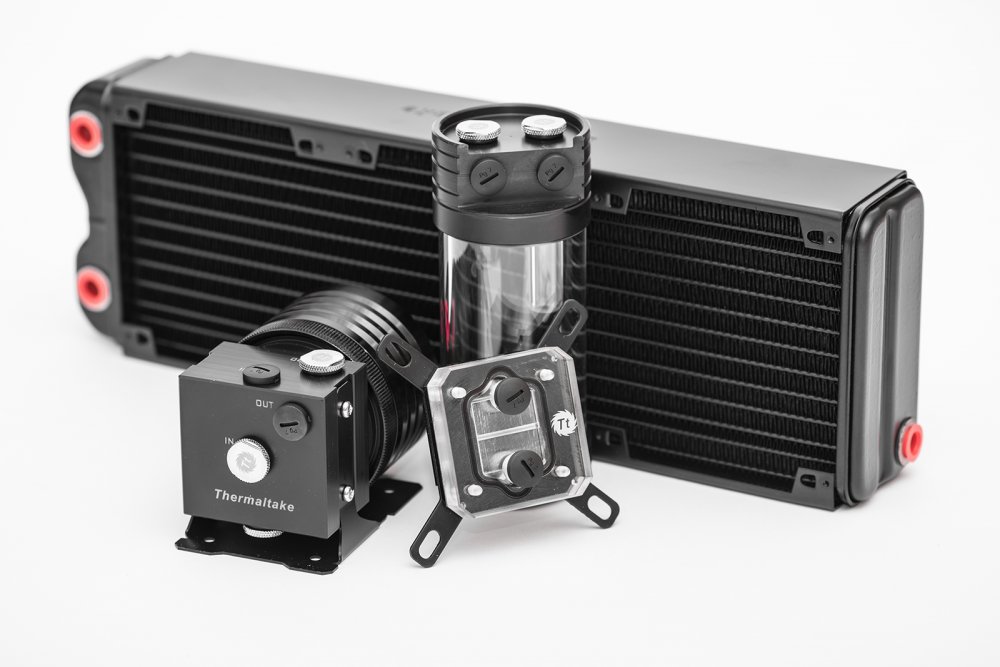
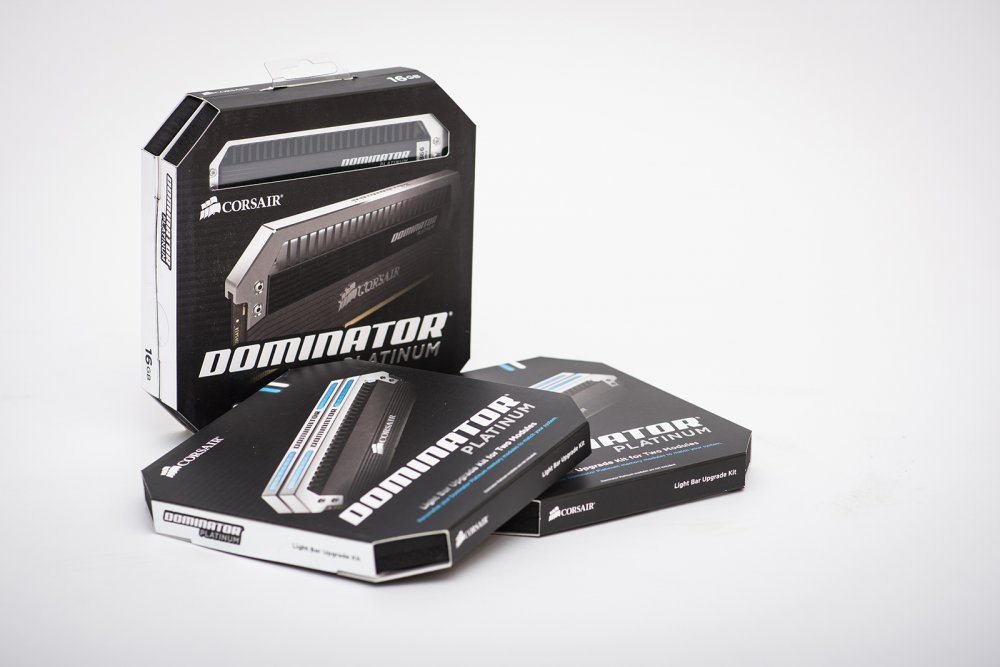
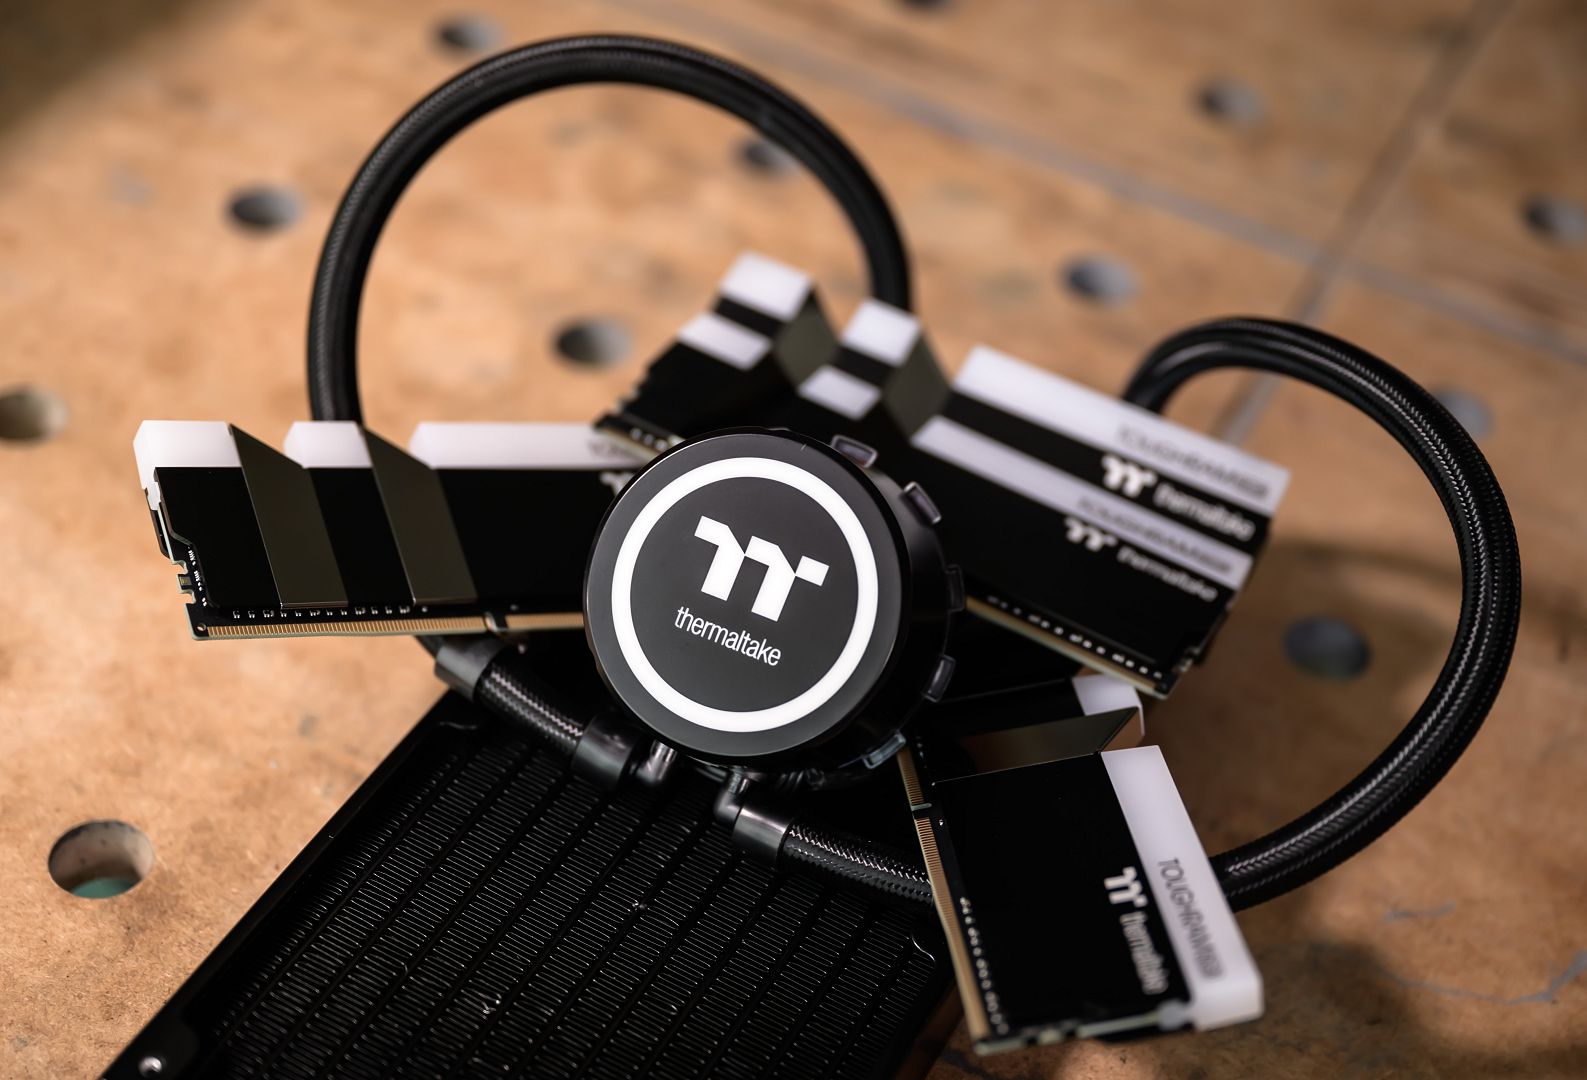
Well I'm glad to say that the kit has arrived! Now to get mixing and have a go methinks, got some fun ideas that I'd like to try out. For now though here are some shots of the kit, I need to figure out what hardware I'll be using with it before firing it all up (irony of not just having stuff to hand...)

-
Hello everybody!
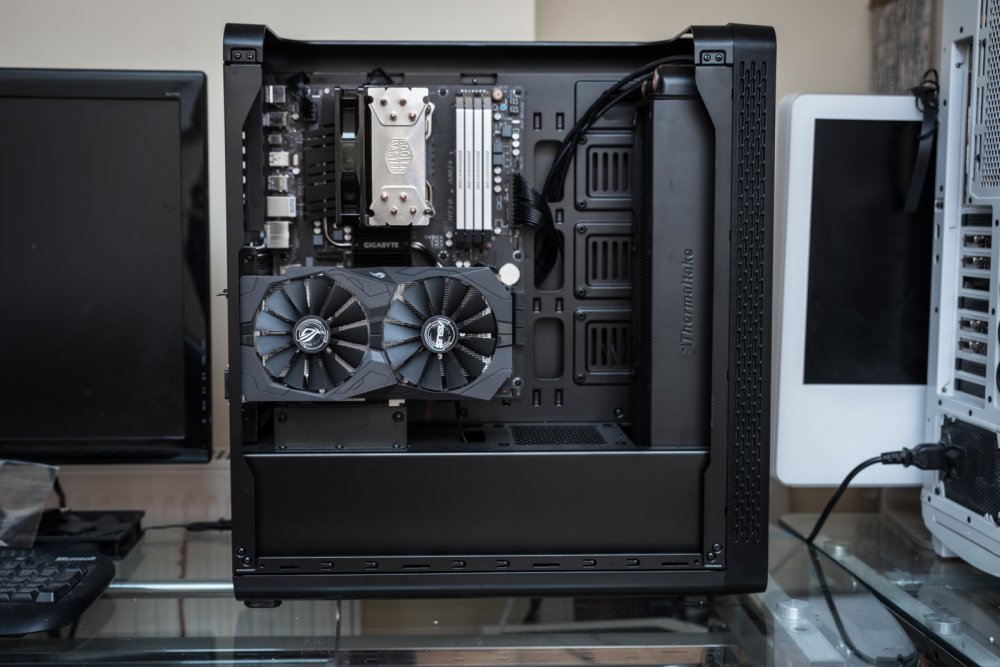
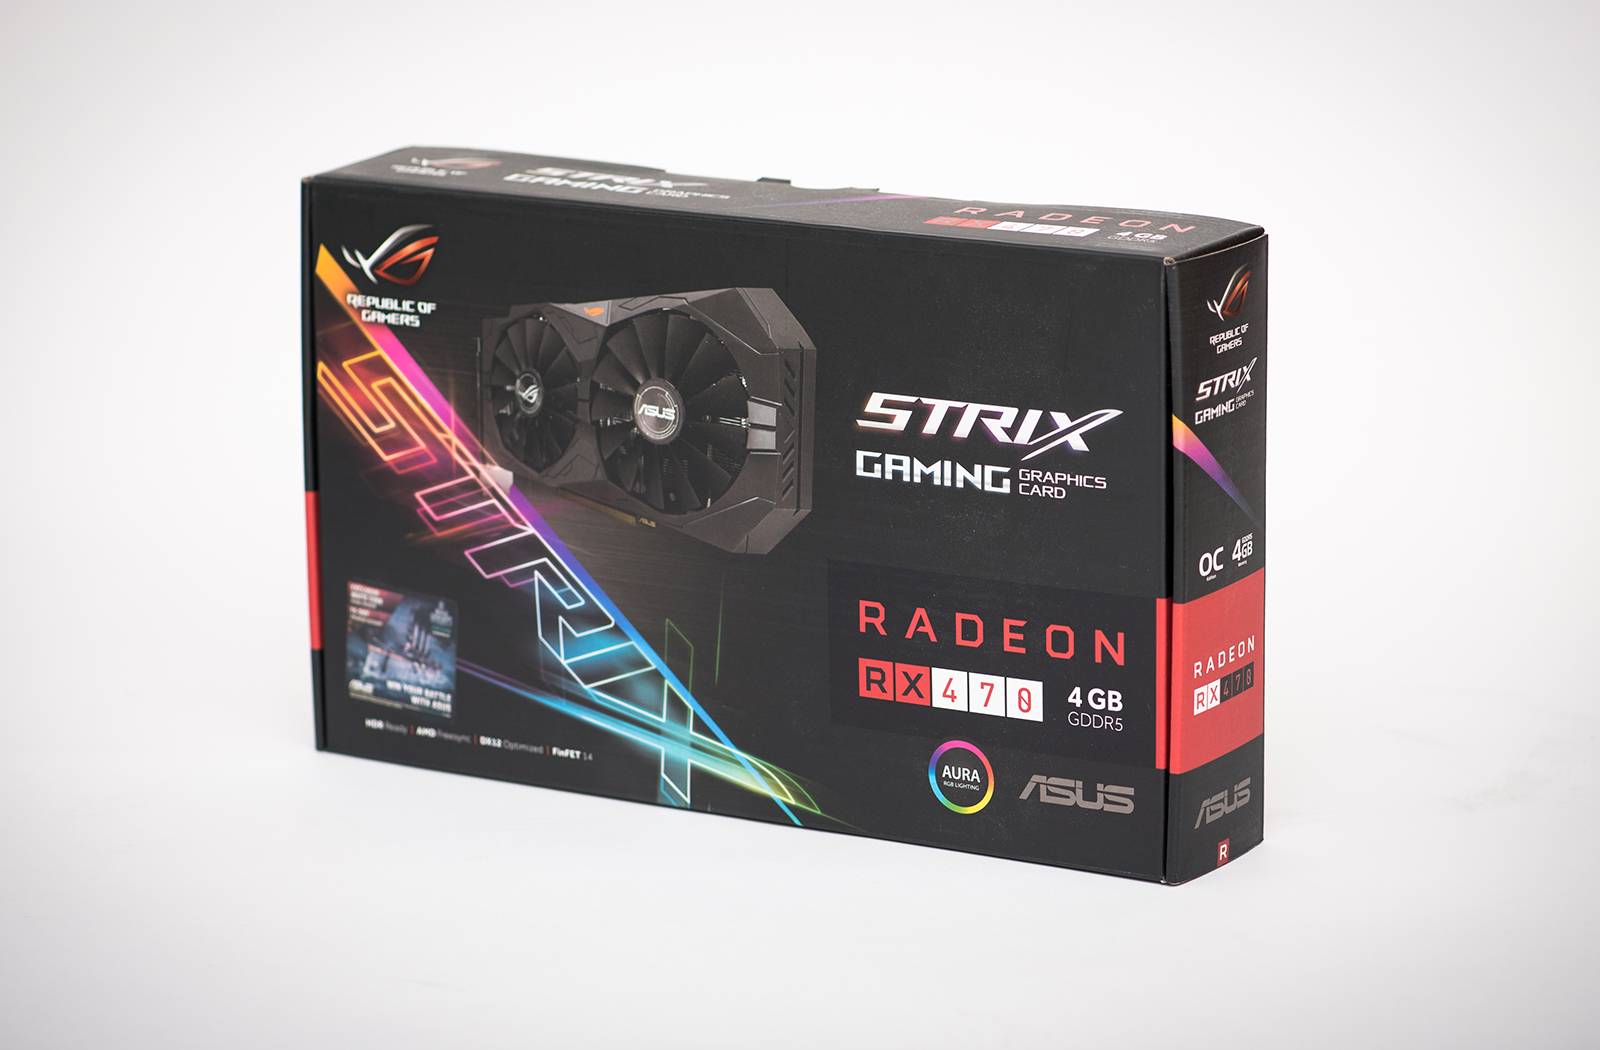
So earlier in the year, AMD approached me asking whether I would be interested in taking part in a themed mod "battle" to help promote the new RX 470. Well I've never even done a themed build before, never mind one in a head to head competition! I'll be competing against Jens Schwalbe of BIRD Customs, so it'll be no mean feat. I will be representing the UK and Jens Germany.
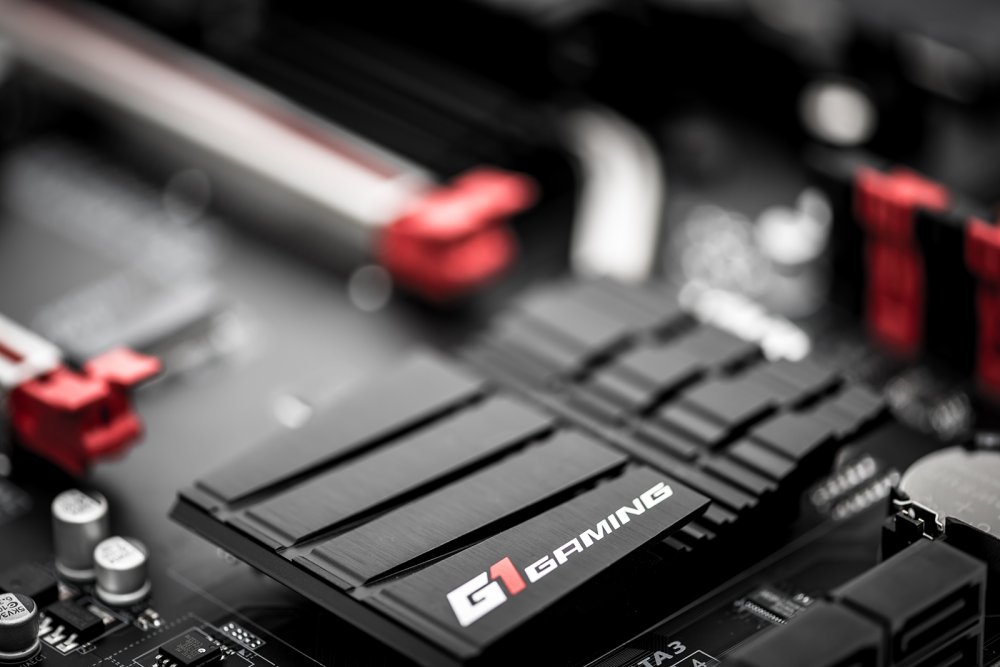
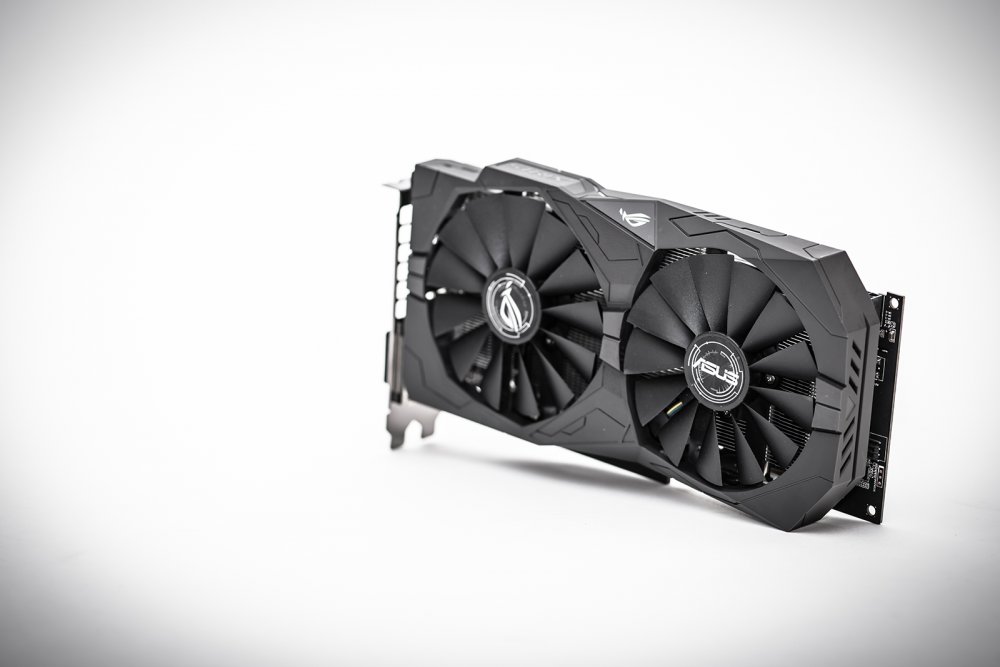
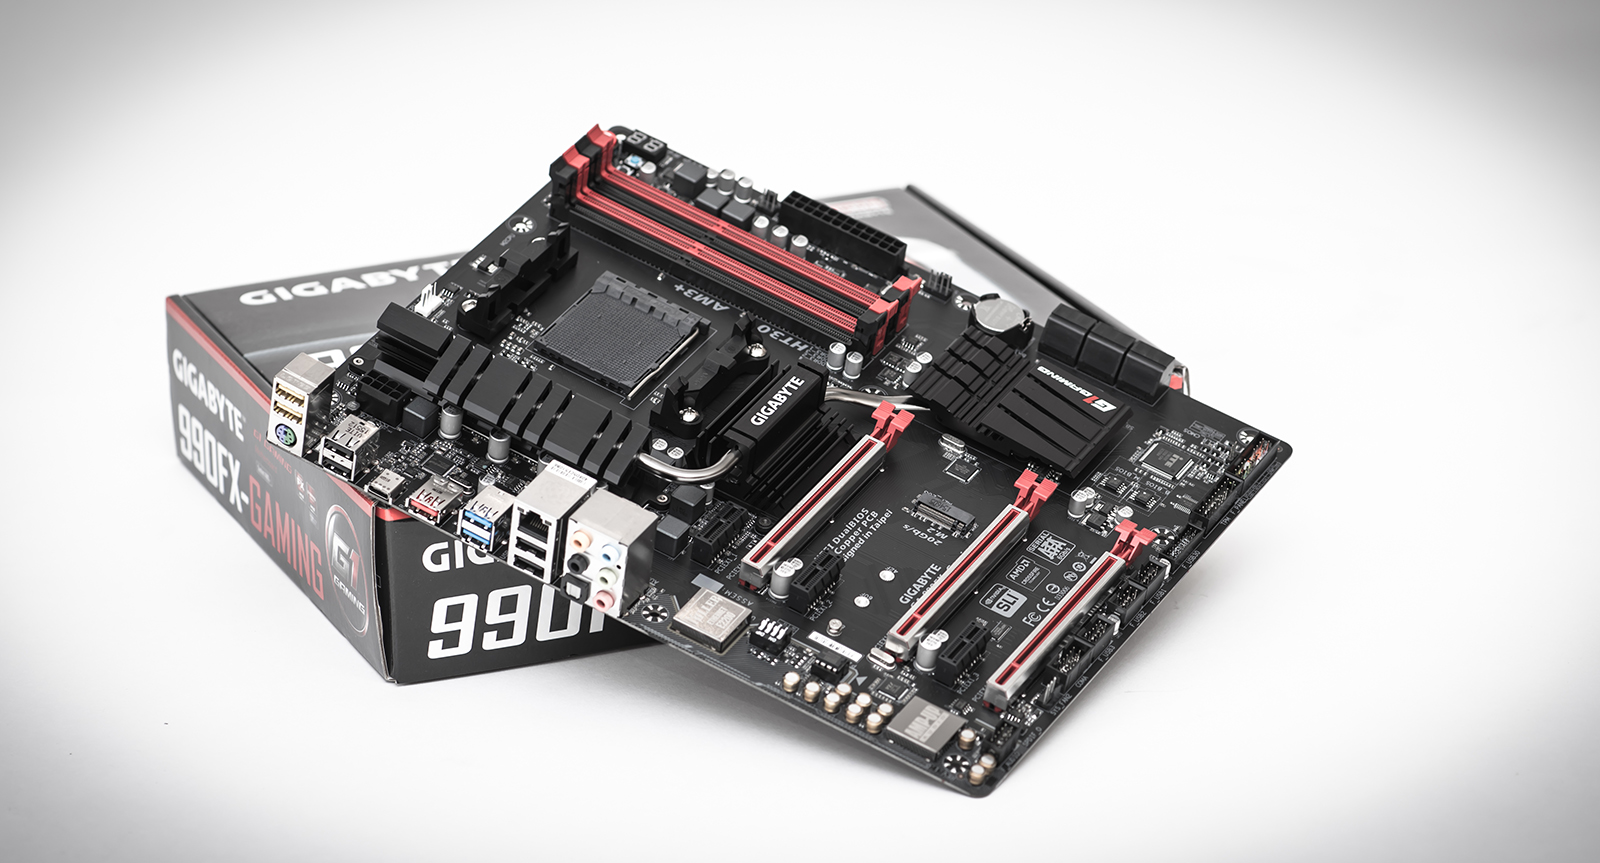
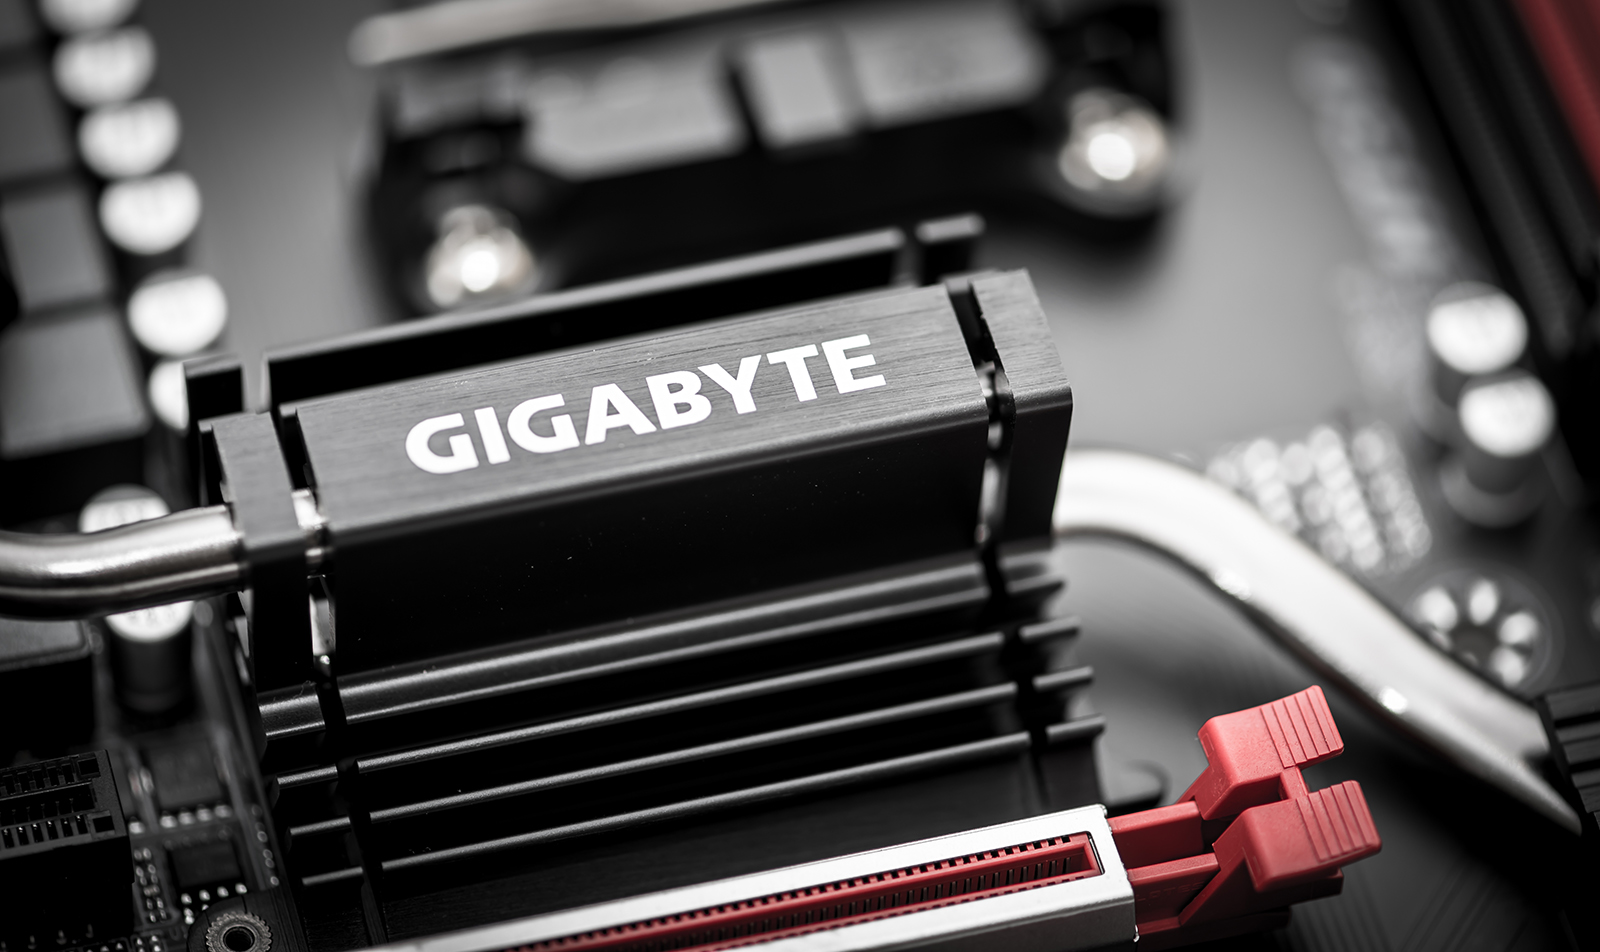
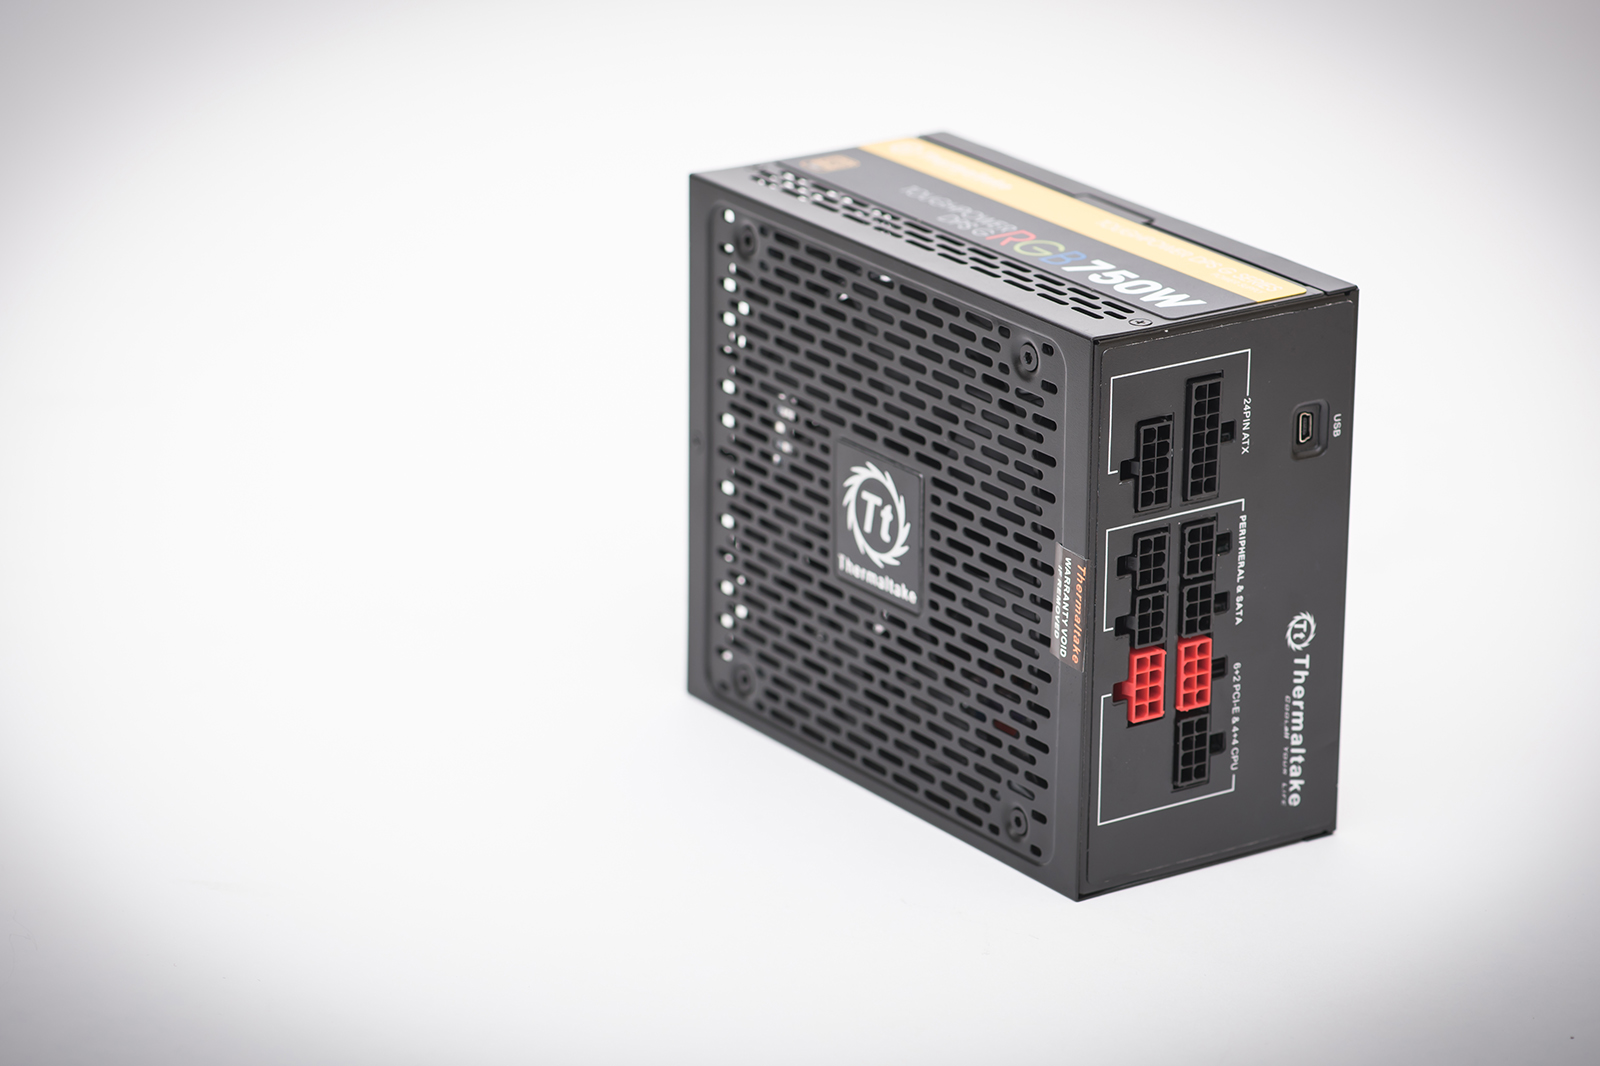
I'd like to thank everybody at AMD involved in setting up this competition, along with all the companies who were willing to sponsor gear for it. So a big hand to Thermaltake, Asus RoG, Gigabyte and Corsair for each providing hardware that will be going into the build.
As you can see, my theme for this build will be Overwatch... Like seemingly everybody else. Whilst I don't like playing the game itself much, I do like the art style. So without further ado, here are the first photos of the kit going inside!


-
3 hours ago, mark310 said:
Just a bit sad that the modders arent posting progress in TT community. Still... Could check the progress on facebook, go tantric modz, go mhike samsin

Yes we are, but we've also only recently received the first wave of parts, only so much one can do in the first few moments.


[UK] Alex Banks
in 2022 Thermaltake RAM MOD Invitational Season 1
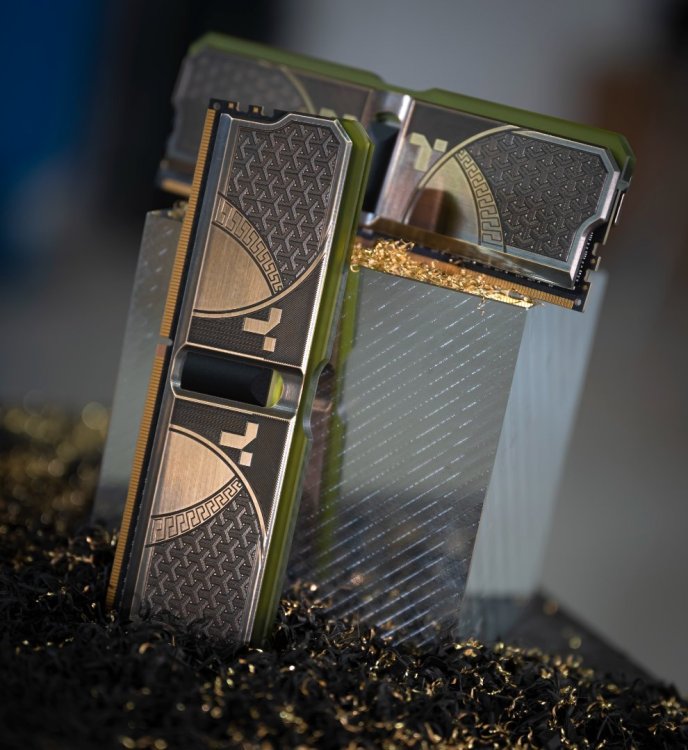
Posted
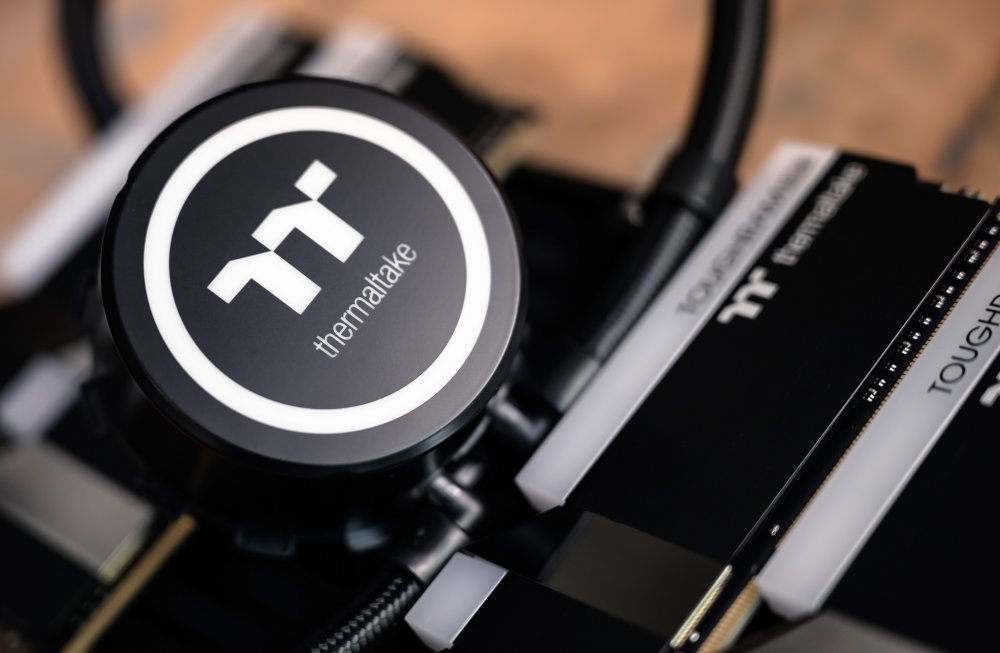
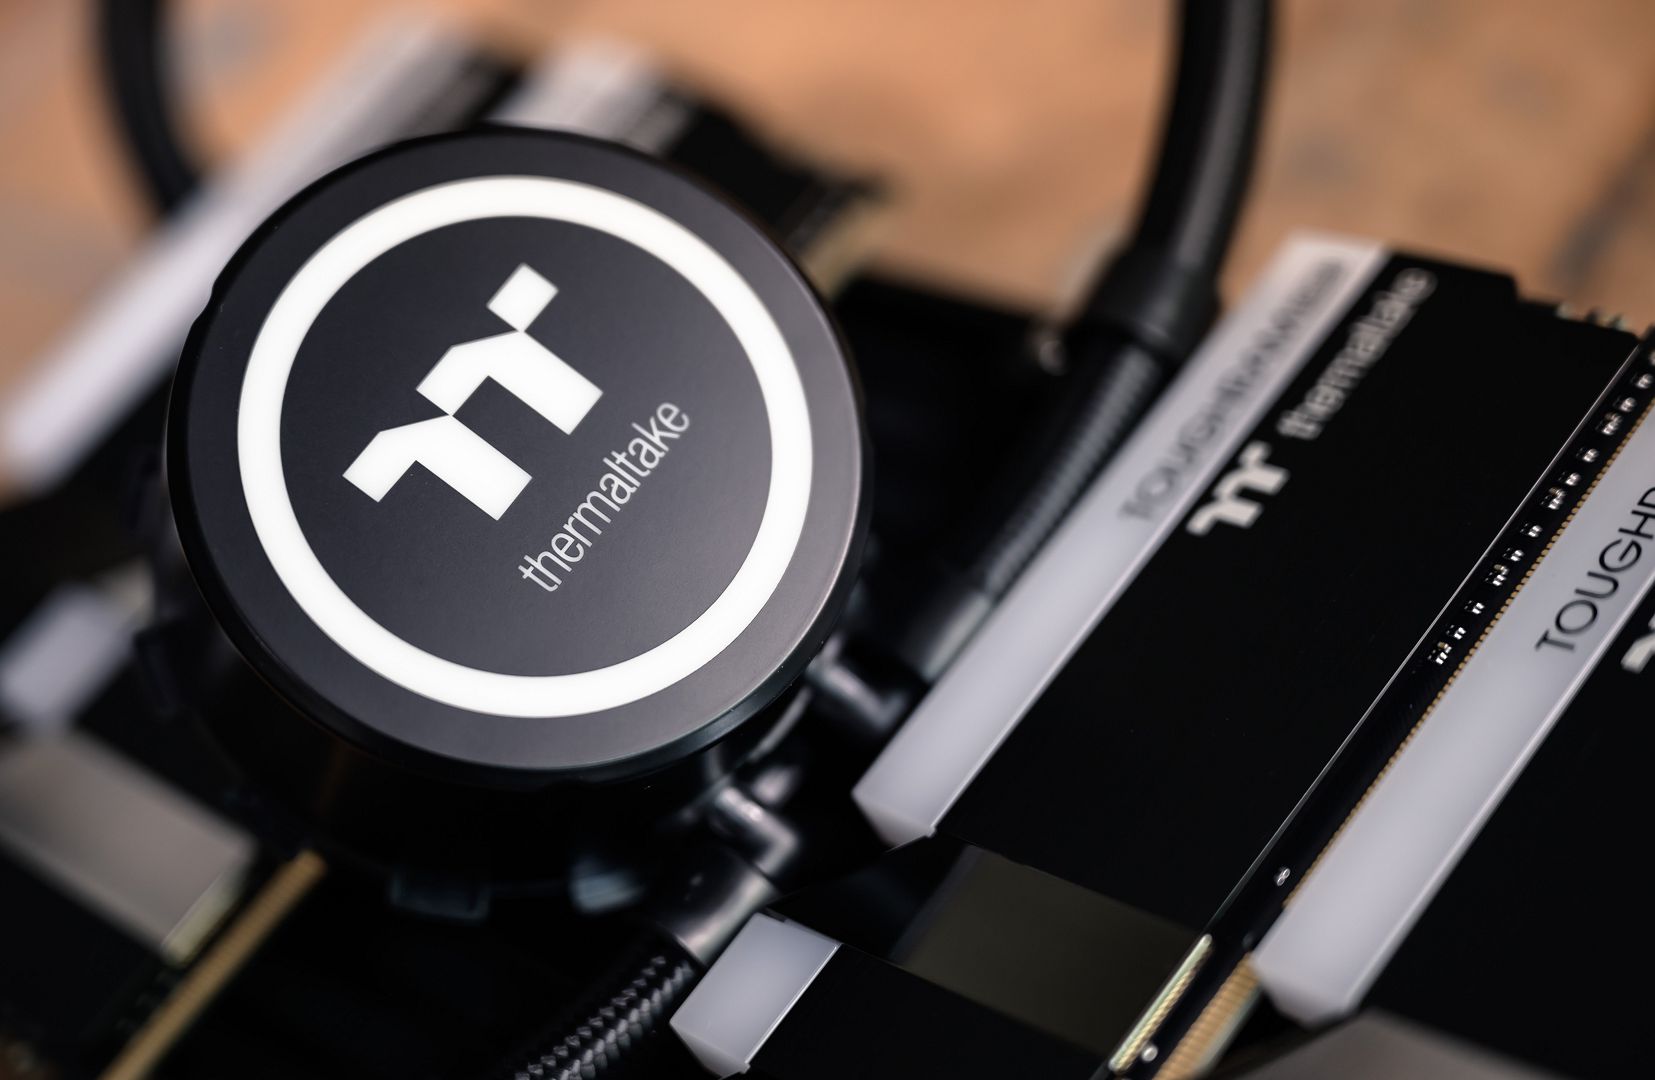
Finally had a chance to fire the sticks up and see how they look with their lighting.