-
Forum Statistics
7.8k
Total Topics52k
Total Posts -
Member Statistics
136,202
Total Members16,800
Most Online

Rob "Deblow" Deluce
-
Posts
148 -
Joined
-
Last visited
-
Days Won
12
Content Type
Profiles
Forums
Downloads
Events
Gallery
Blogs
Everything posted by Rob "Deblow" Deluce
-

VOTE NOW
Rob "Deblow" Deluce replied to Tt Andy's topic in 2021 Thermaltake RAM MOD Invitational Season 1
Thanks mate, big fan of the MGS games so lots of fun doing this mod -
[United Kingdom] Rob De Luce
Rob "Deblow" Deluce replied to Tt Andy's topic in 2021 Thermaltake RAM MOD Invitational Season 1
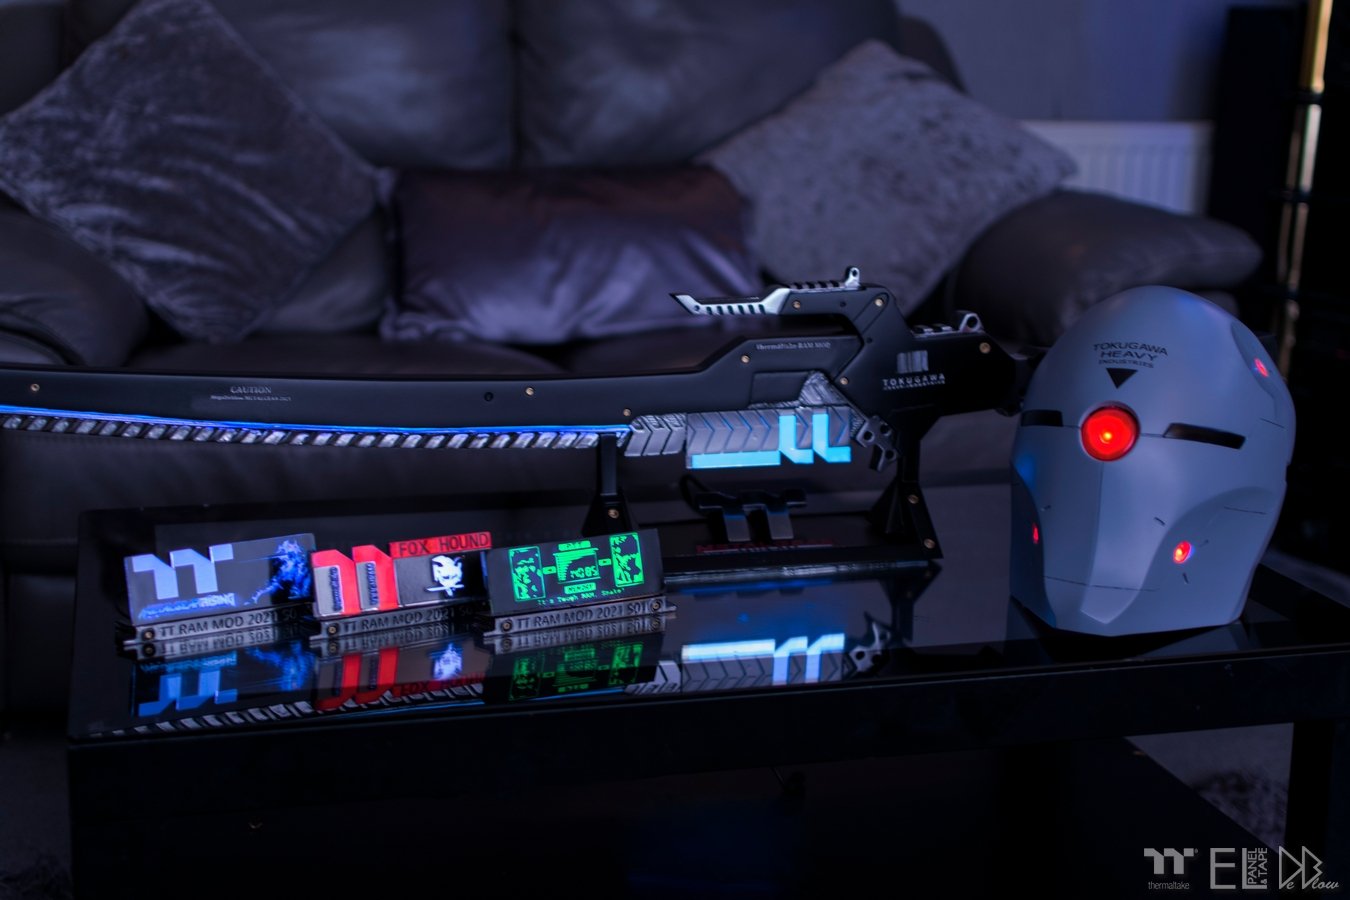
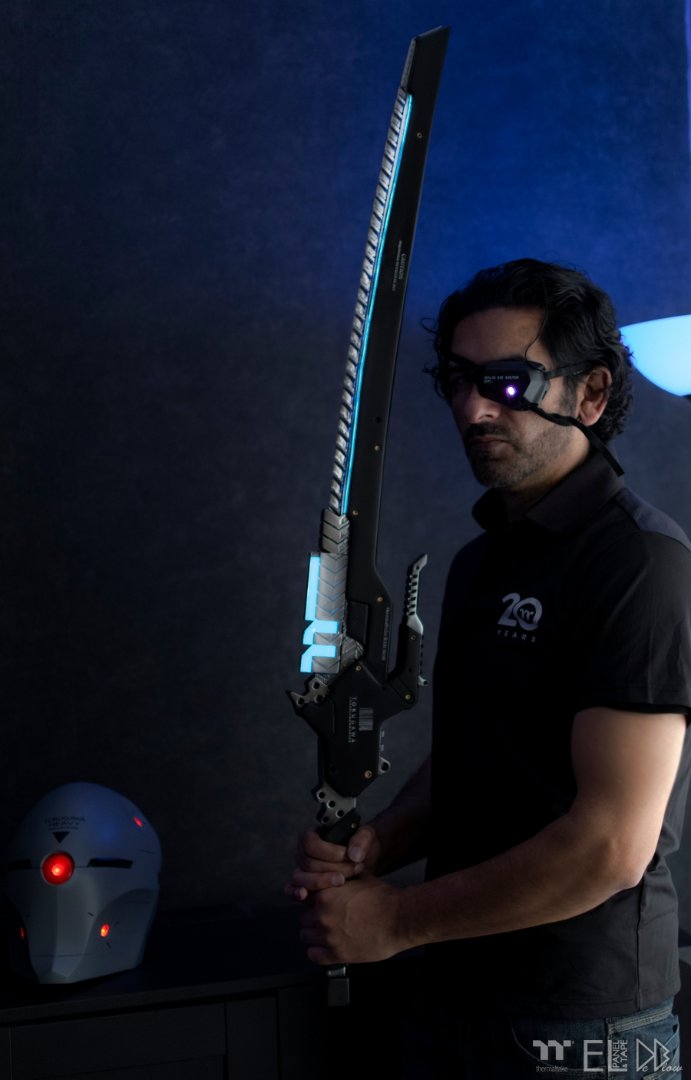
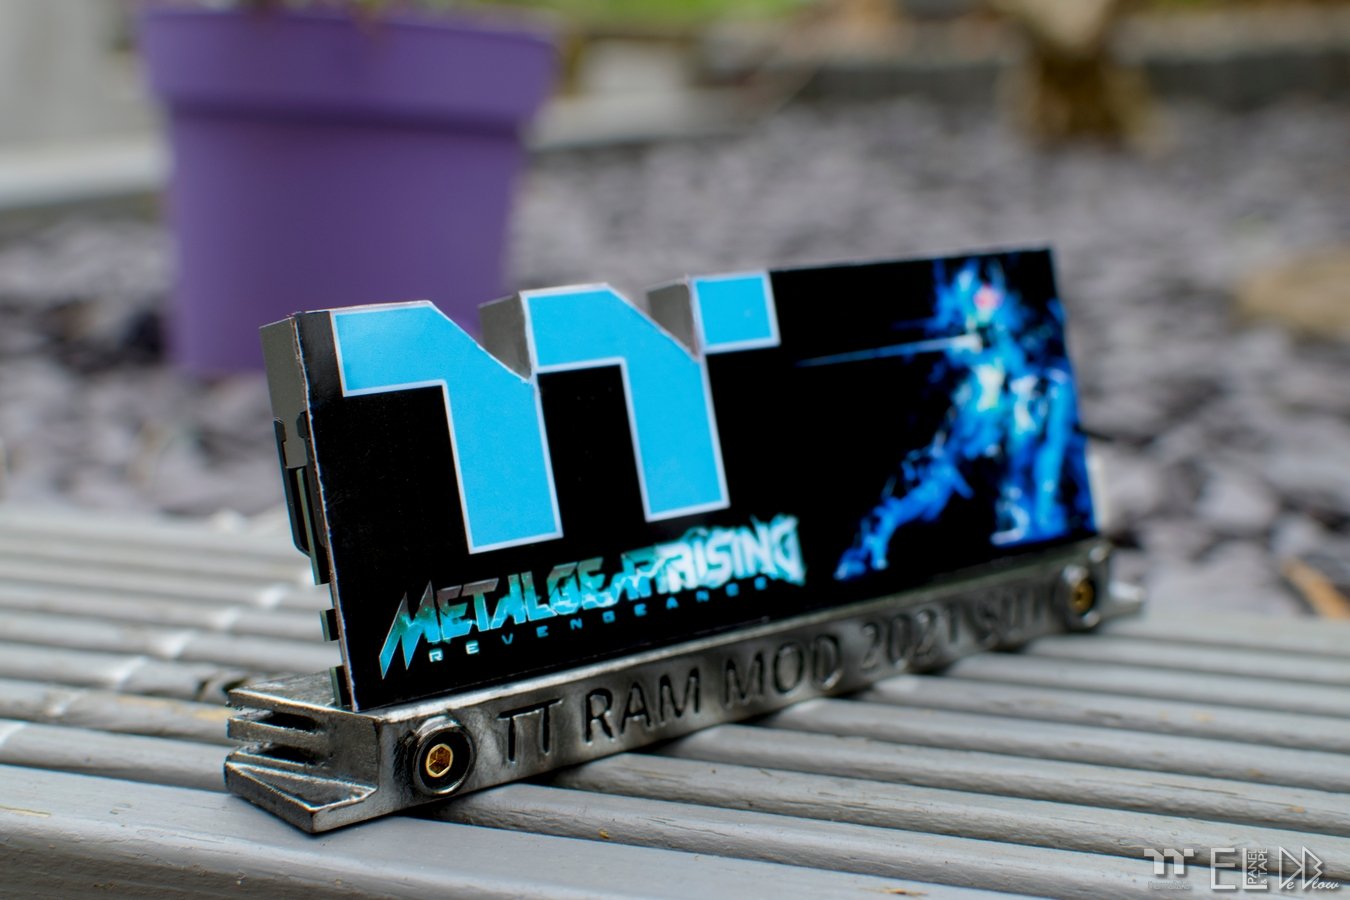
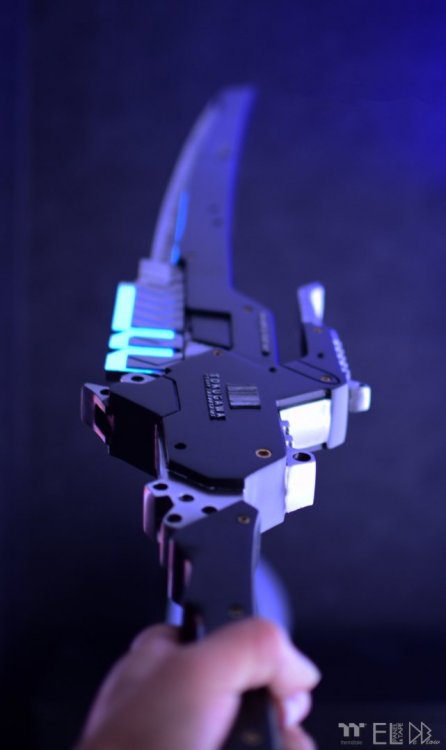
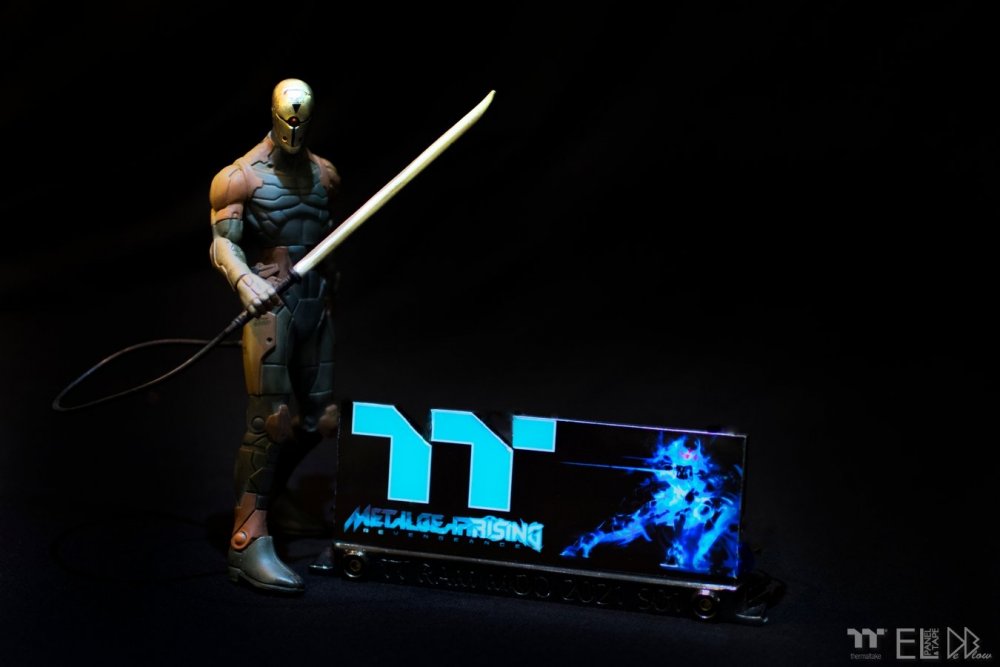
Lastly the video of all my ToughRAM and the Sword. Has been a fun project that I will keep on my wall for years to come , Good luck to all my fellow modders, some great mods, will be a hard task for the judges. -
[United Kingdom] Rob De Luce
Rob "Deblow" Deluce replied to Tt Andy's topic in 2021 Thermaltake RAM MOD Invitational Season 1
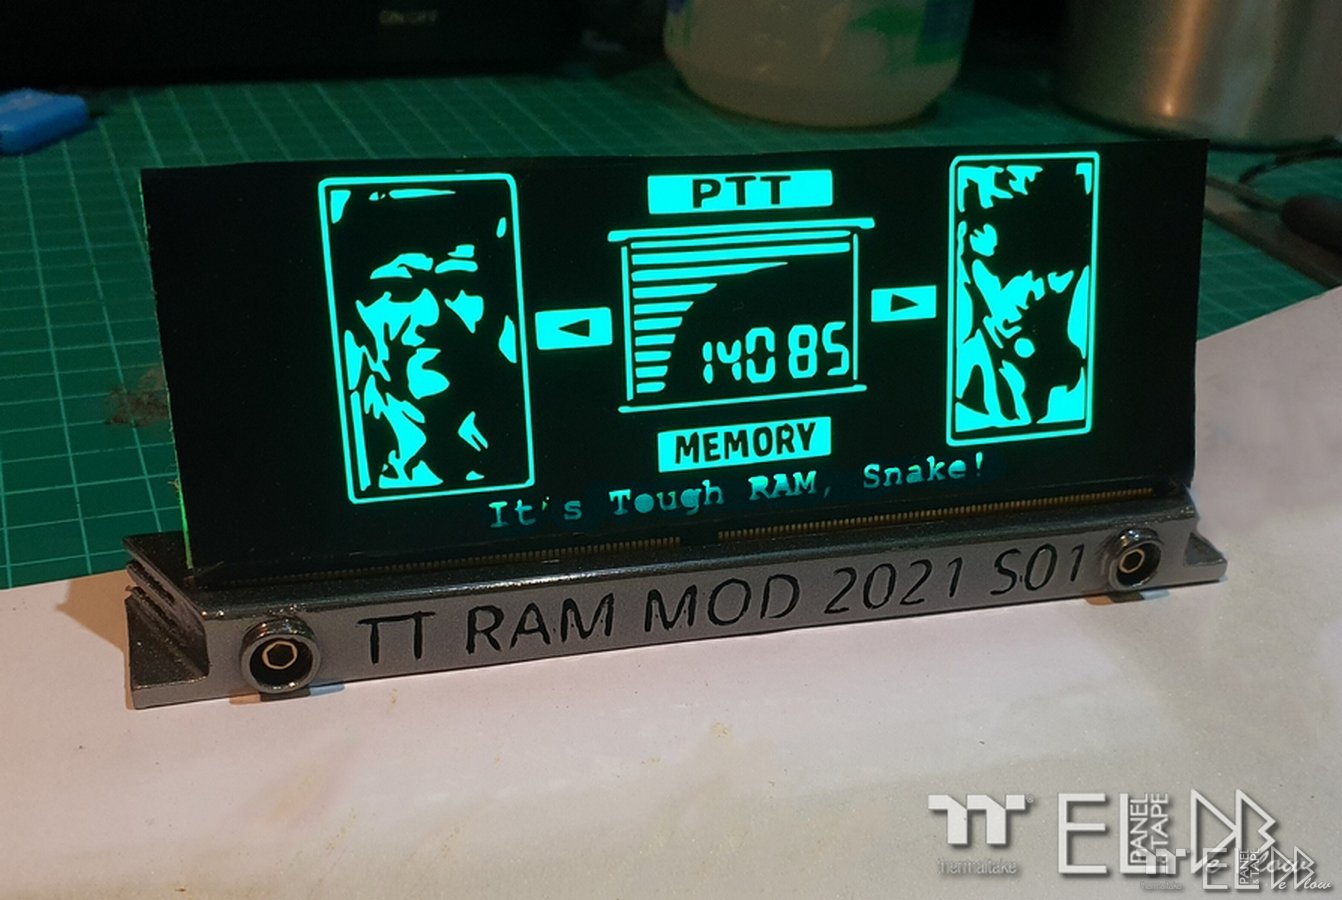
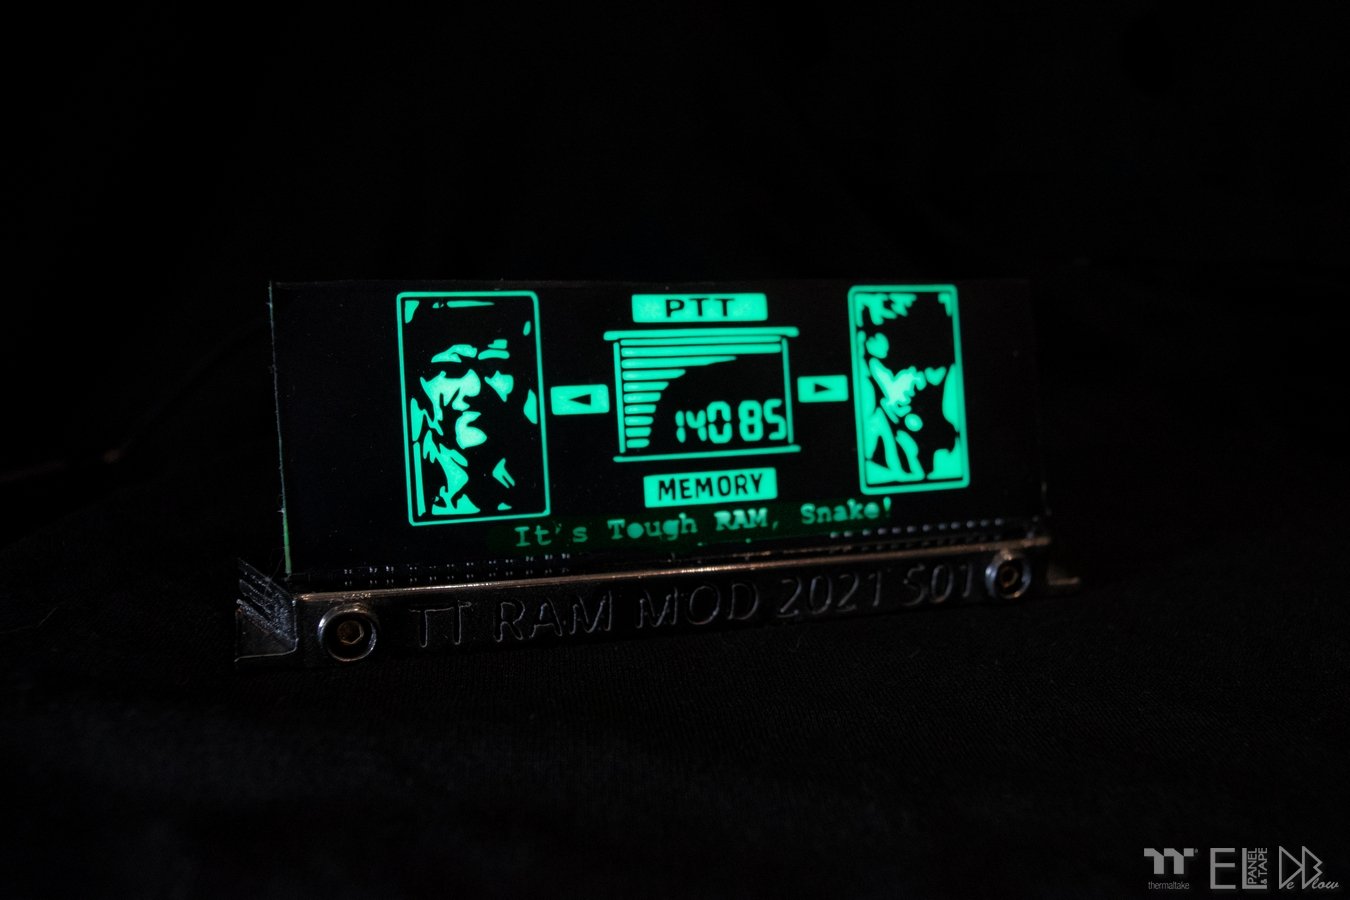
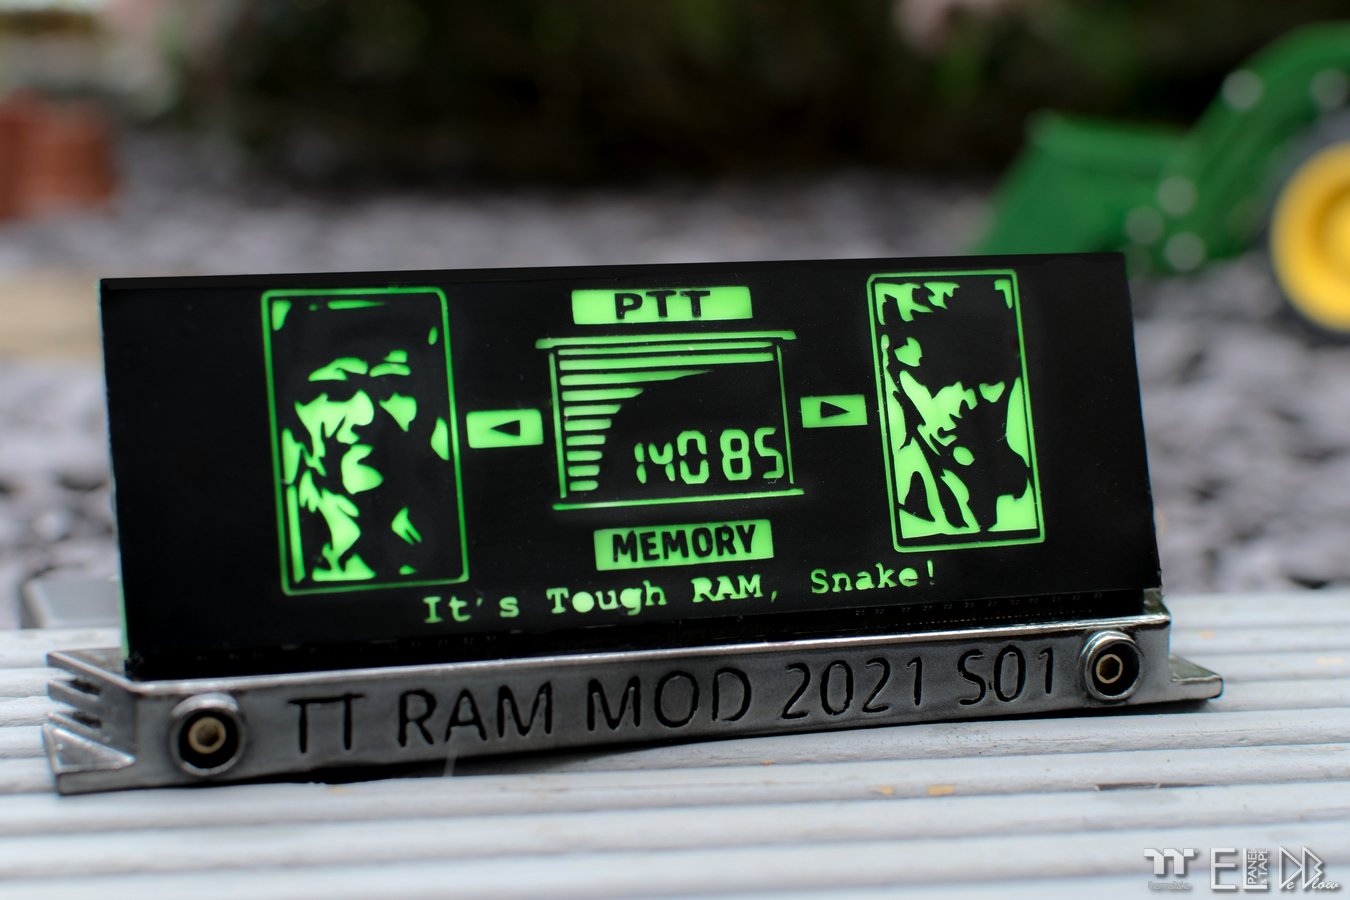
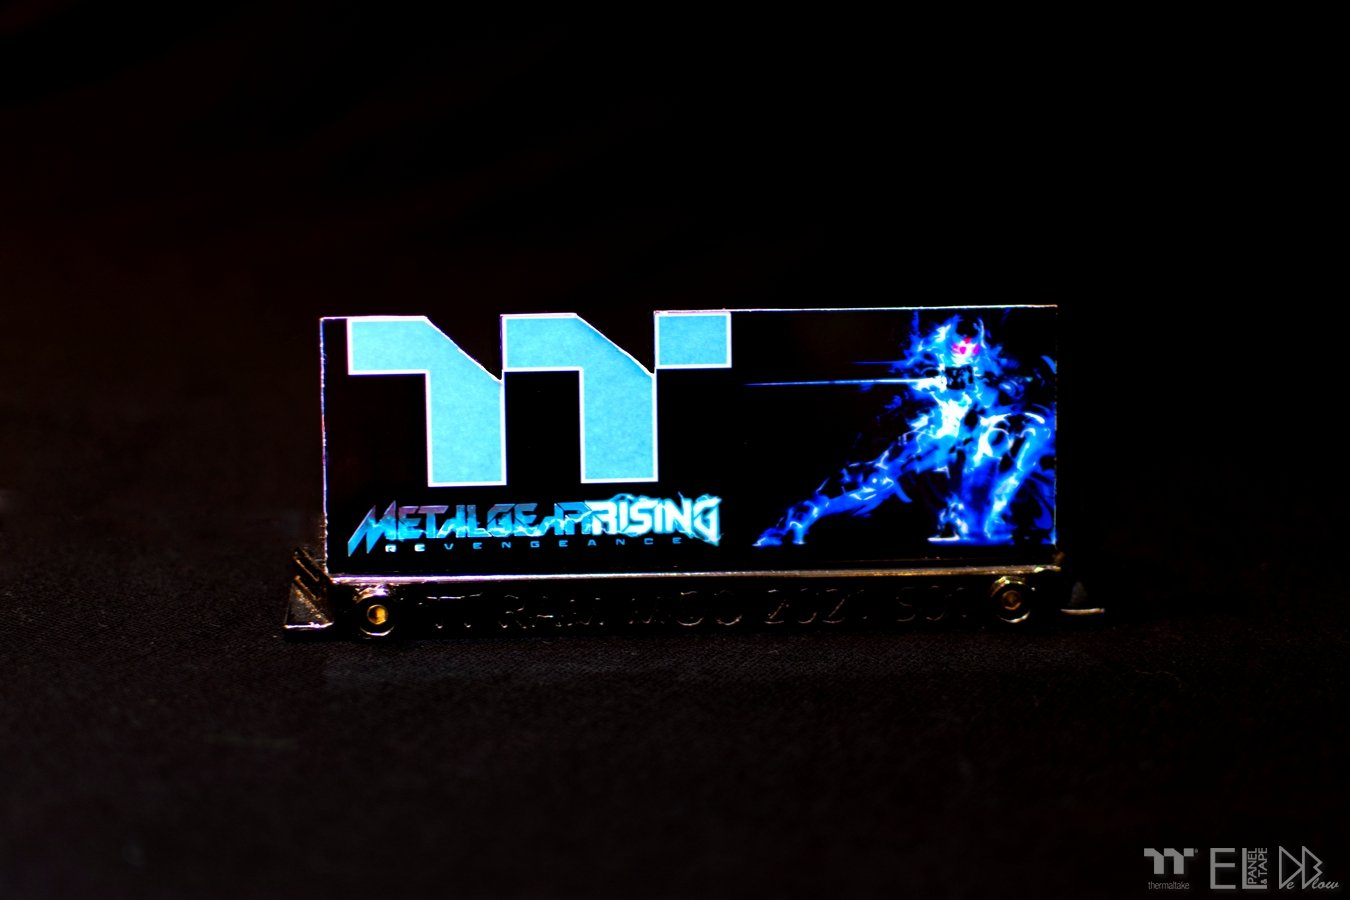
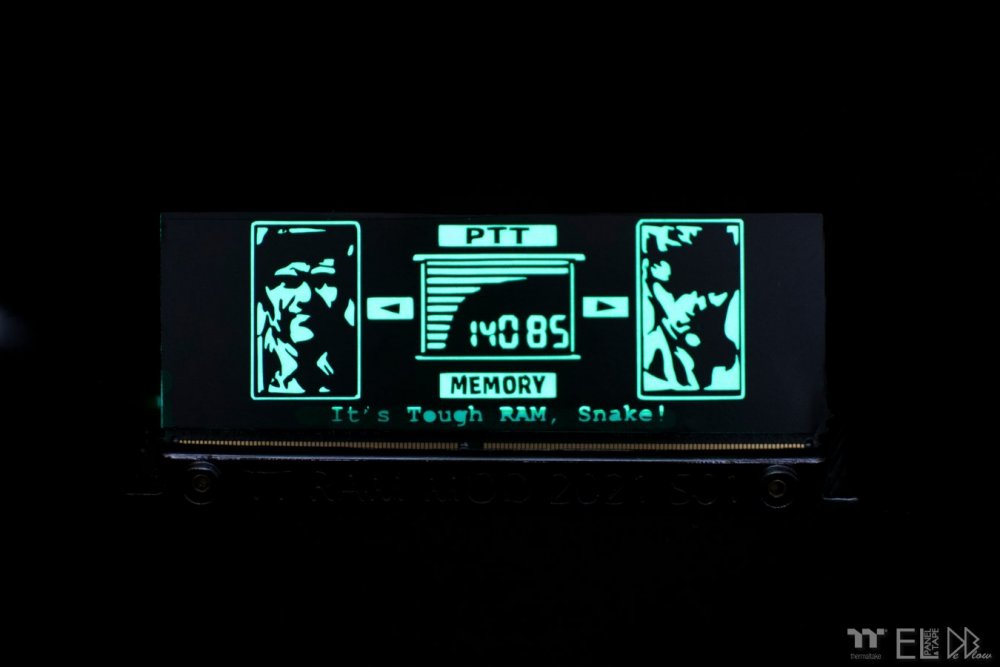
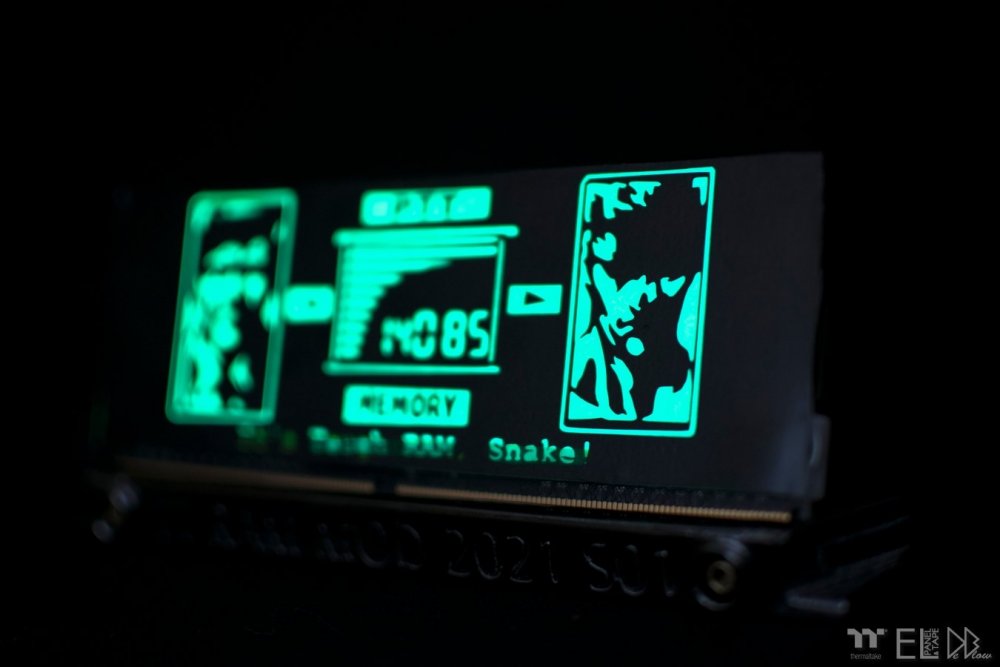
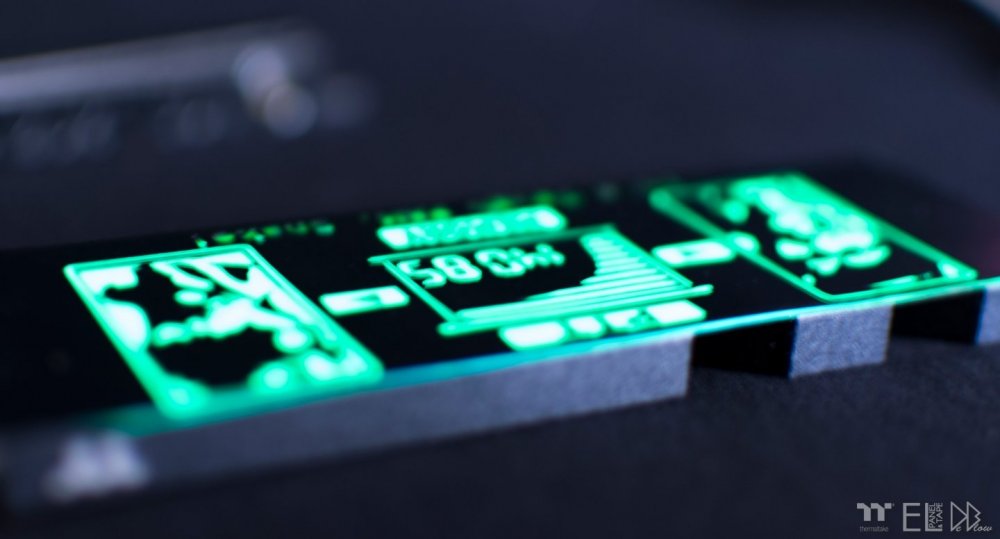
Now for the final and main part of my ToughRAM entry, this was fun to make as its something im interested in. Thanks again to Thermaltake, EL wire&tape and Tt Andy for all his hard work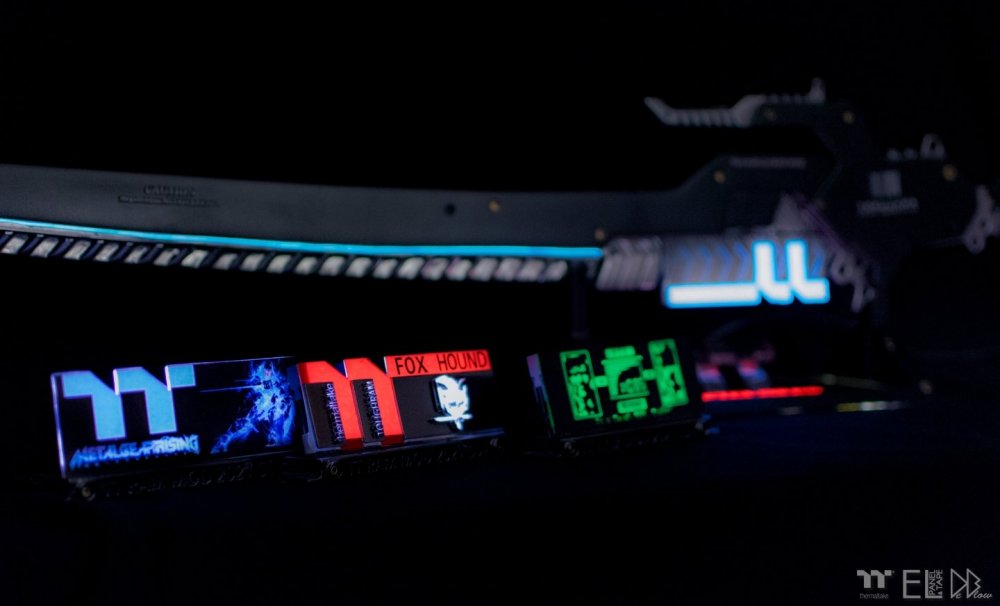


-
[United Kingdom] Rob De Luce
Rob "Deblow" Deluce replied to Tt Andy's topic in 2021 Thermaltake RAM MOD Invitational Season 1
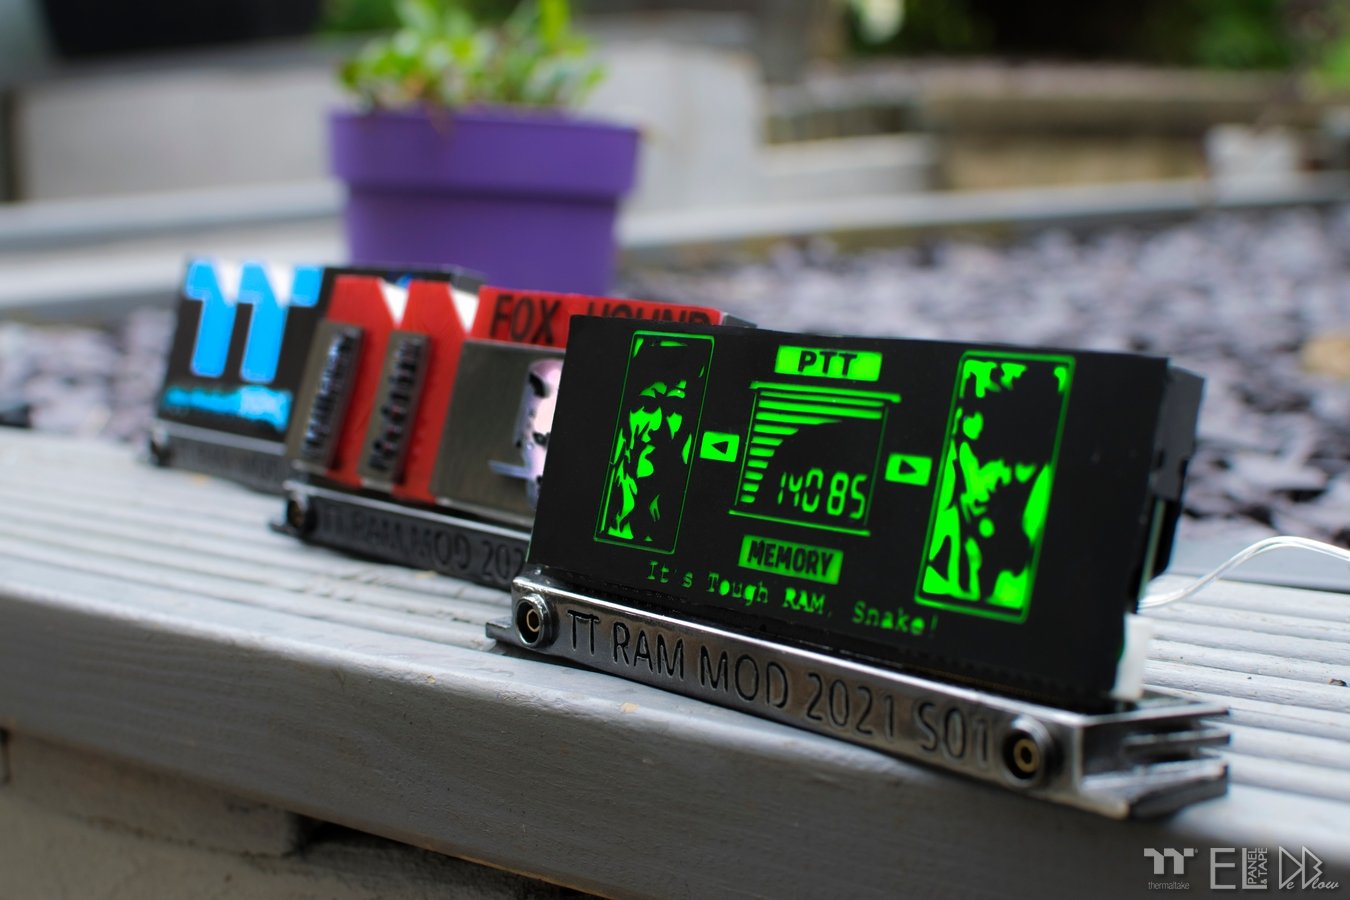
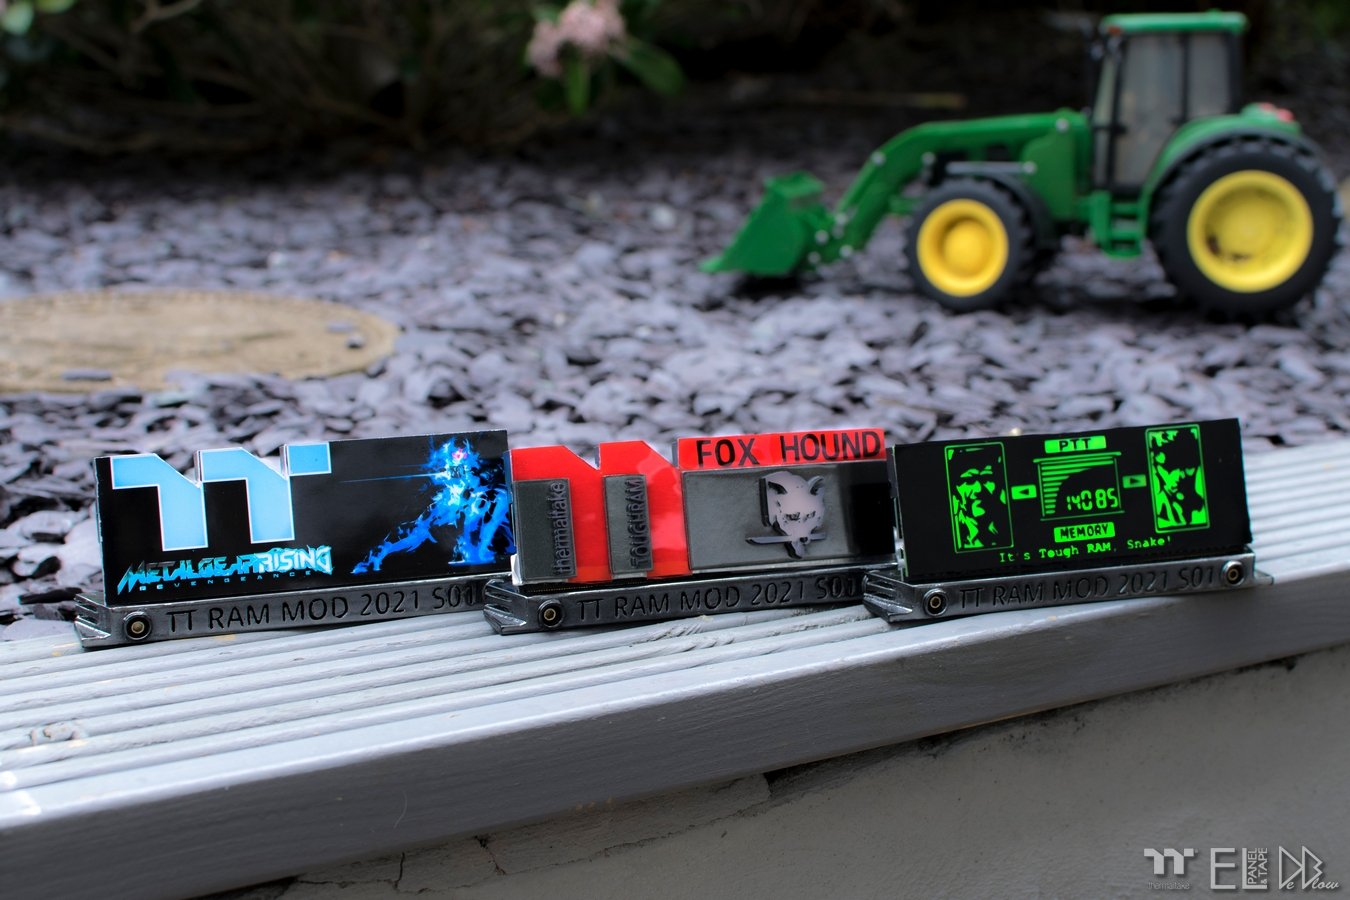
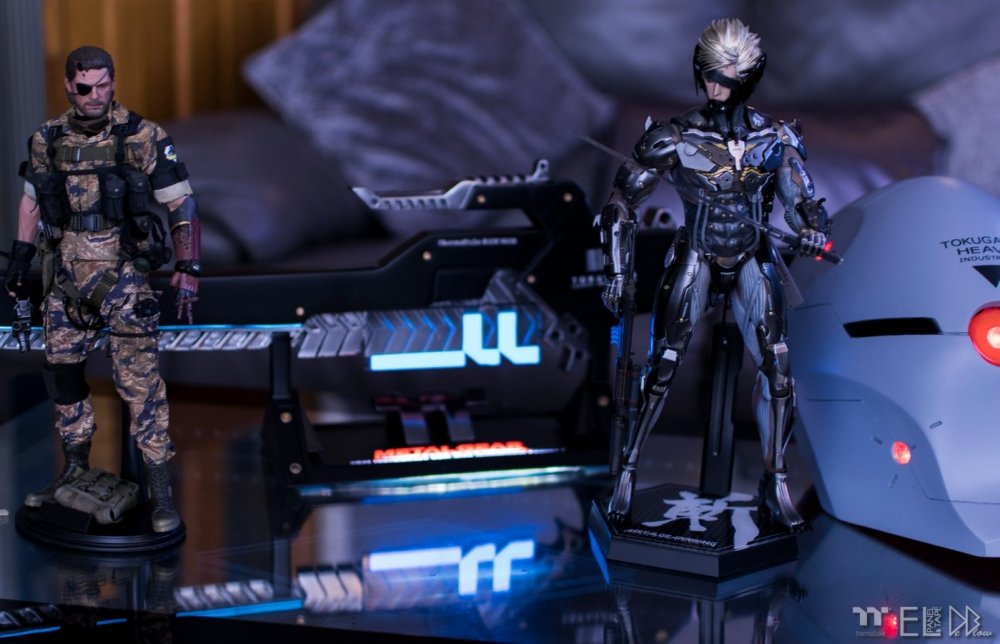
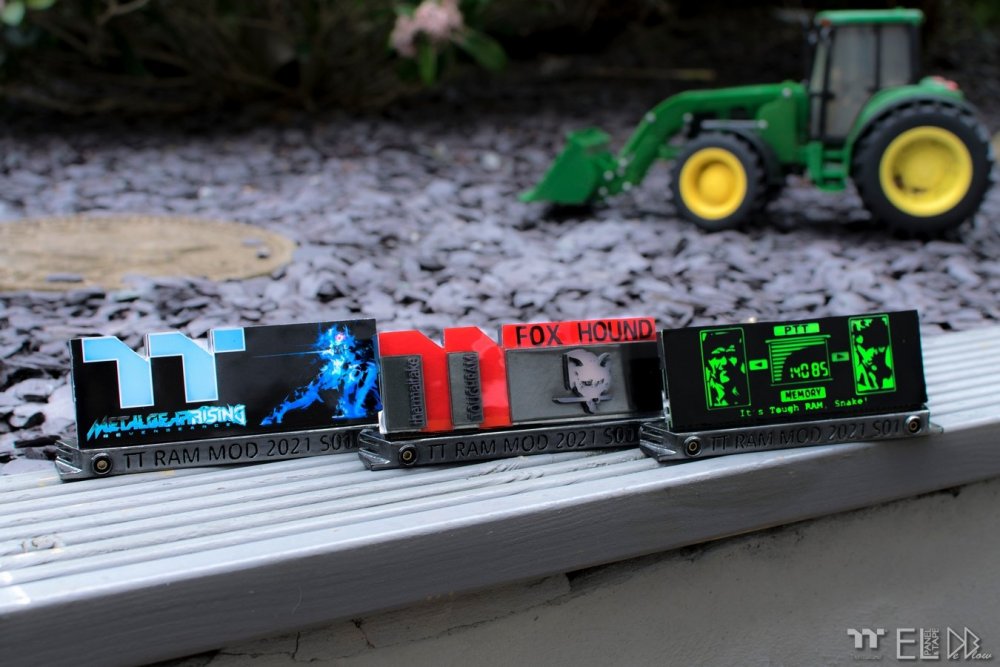
Now for a group shot of all 3 so far, taken outside so they can ben seen better in daylight.
-
[United Kingdom] Rob De Luce
Rob "Deblow" Deluce replied to Tt Andy's topic in 2021 Thermaltake RAM MOD Invitational Season 1
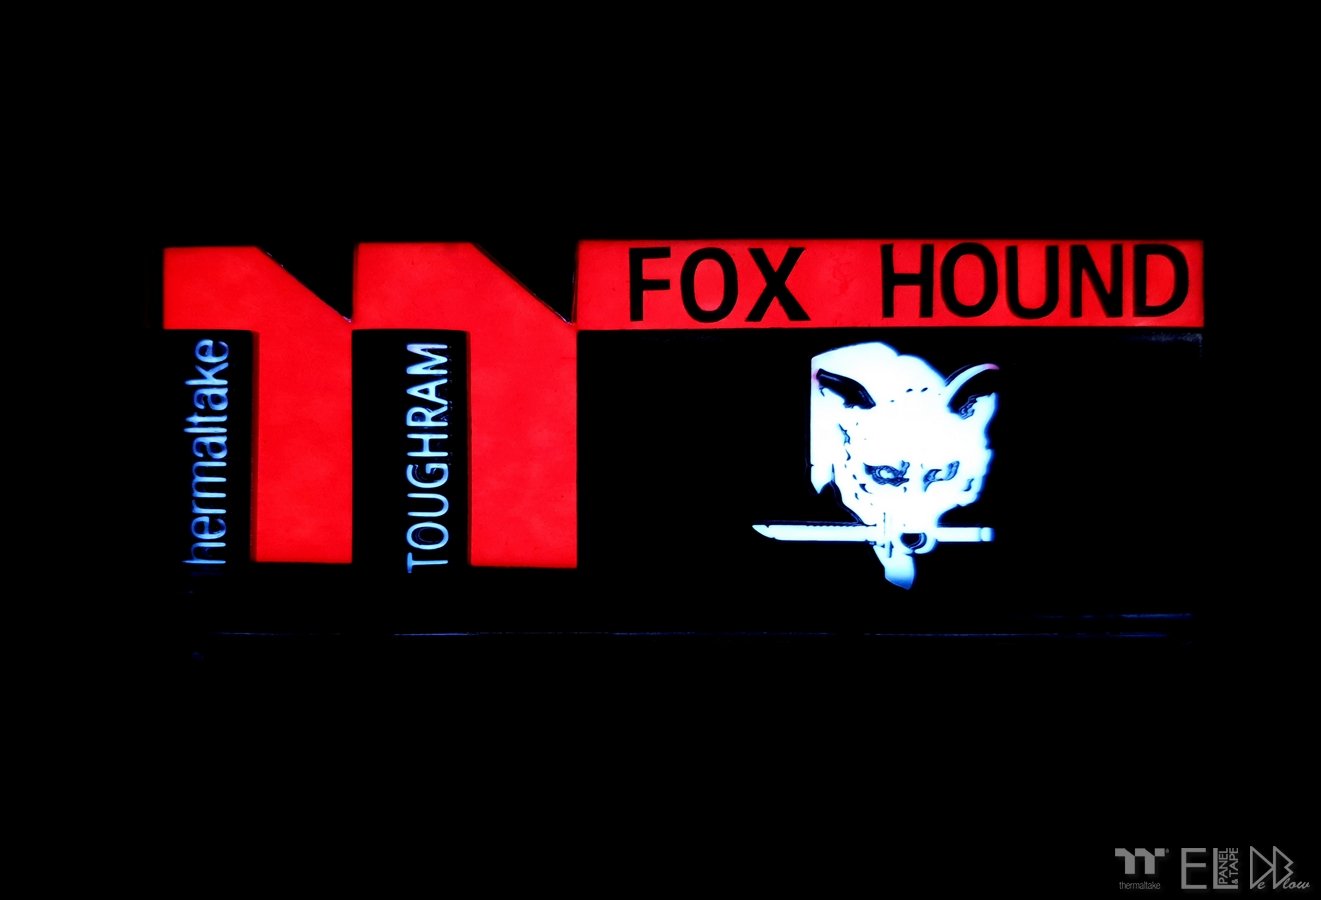
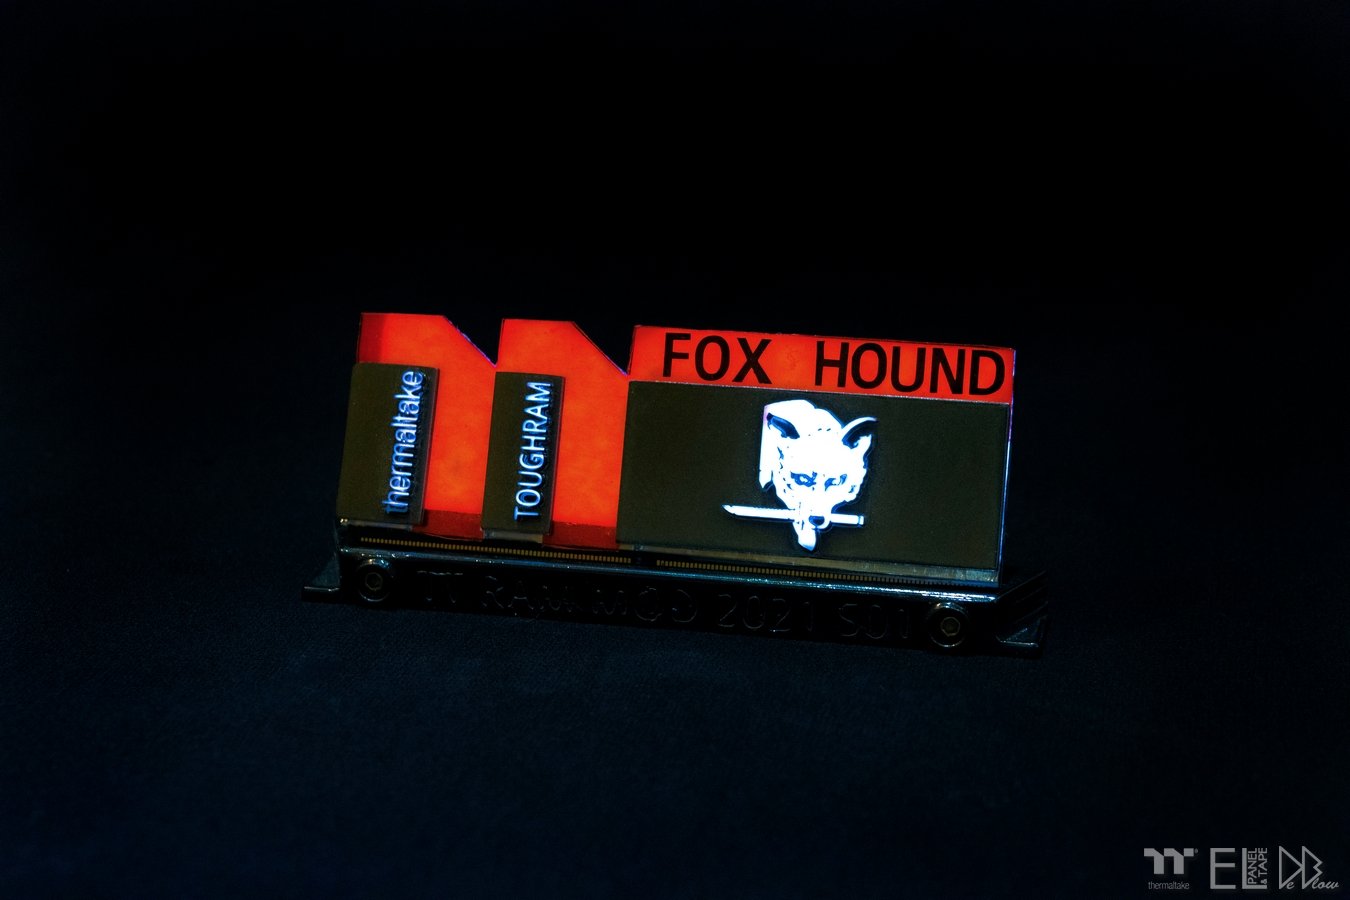
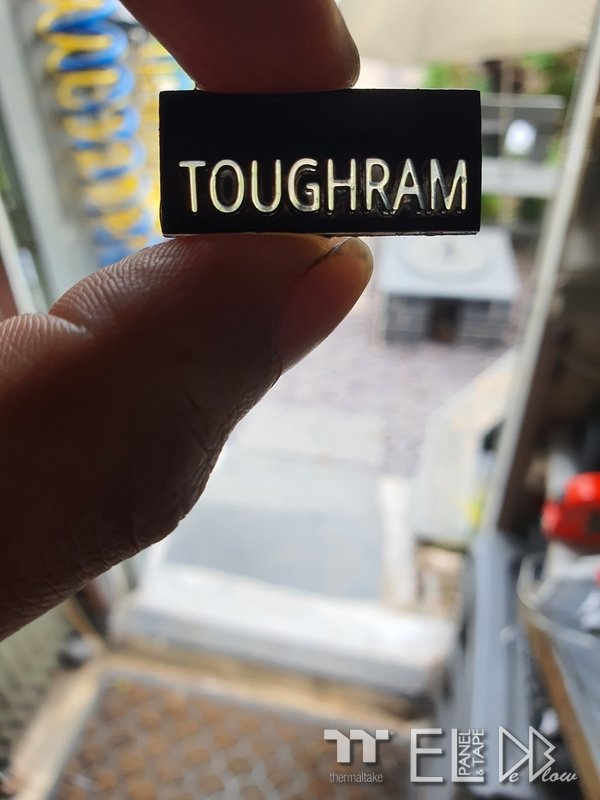
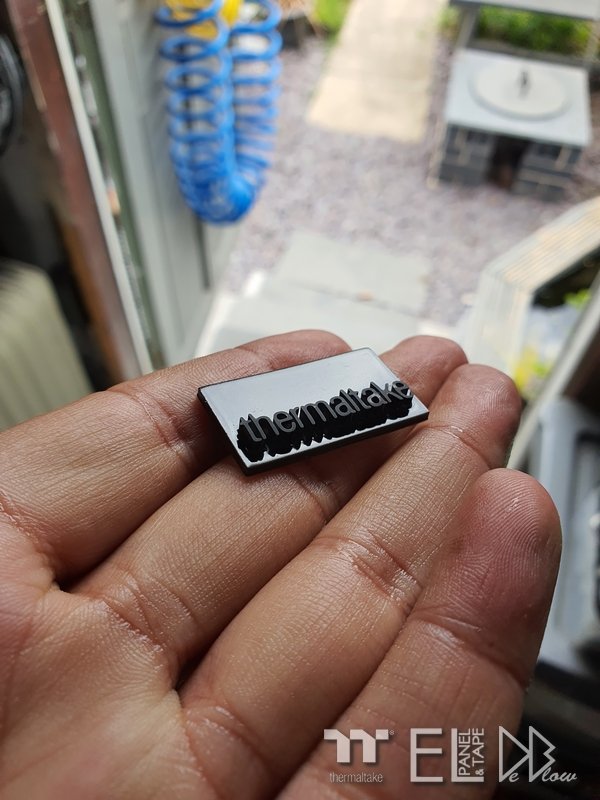
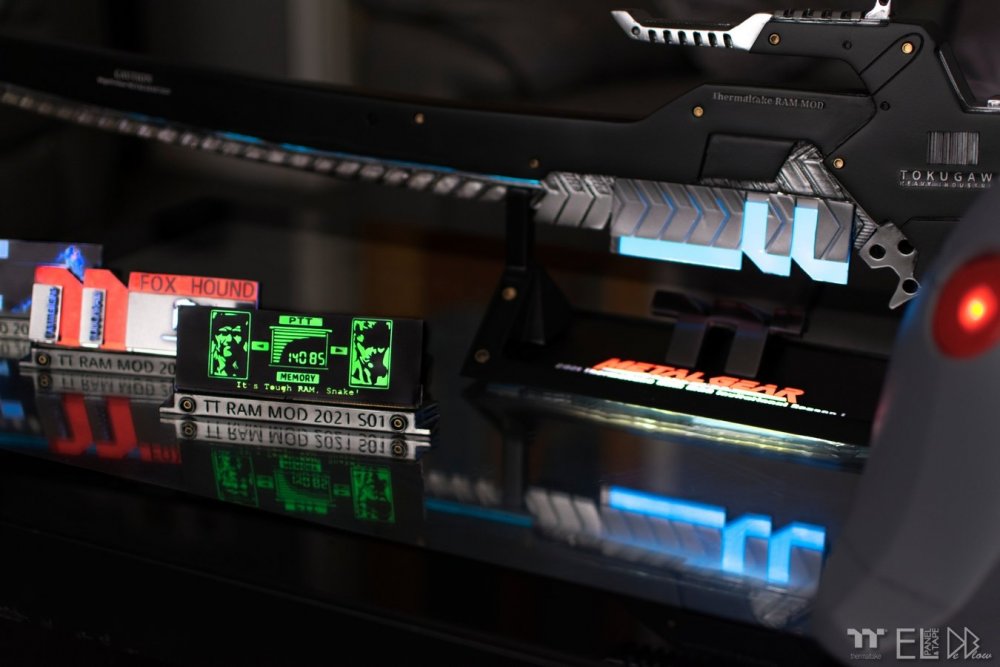
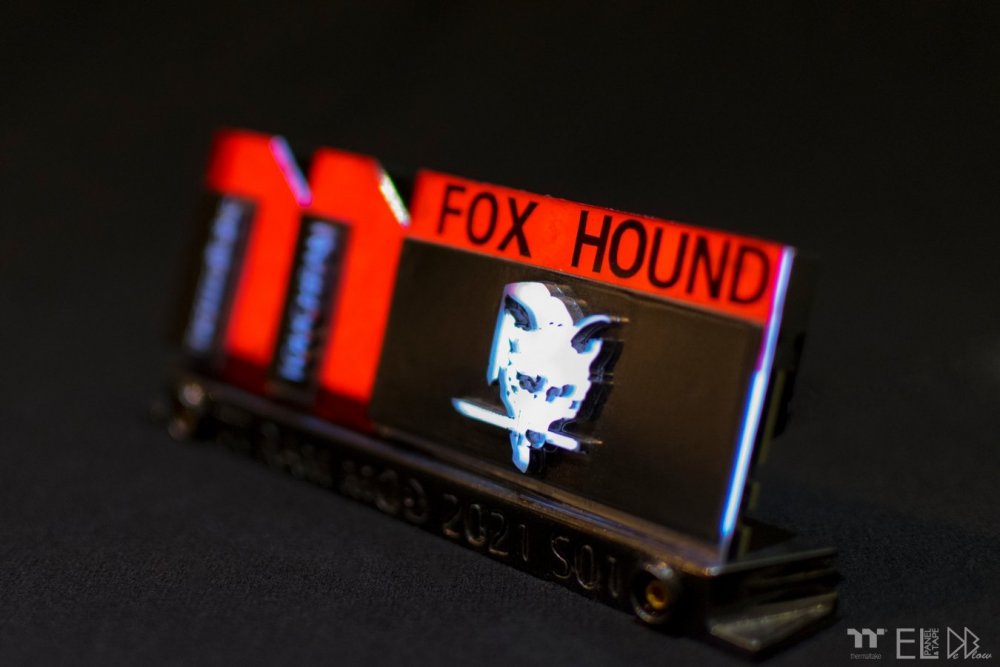
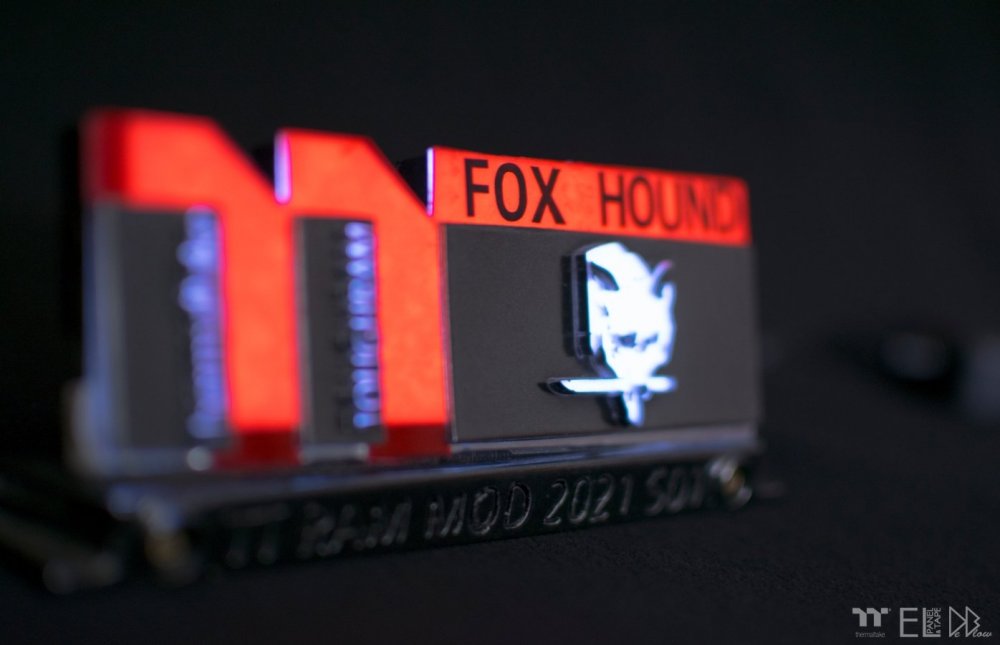
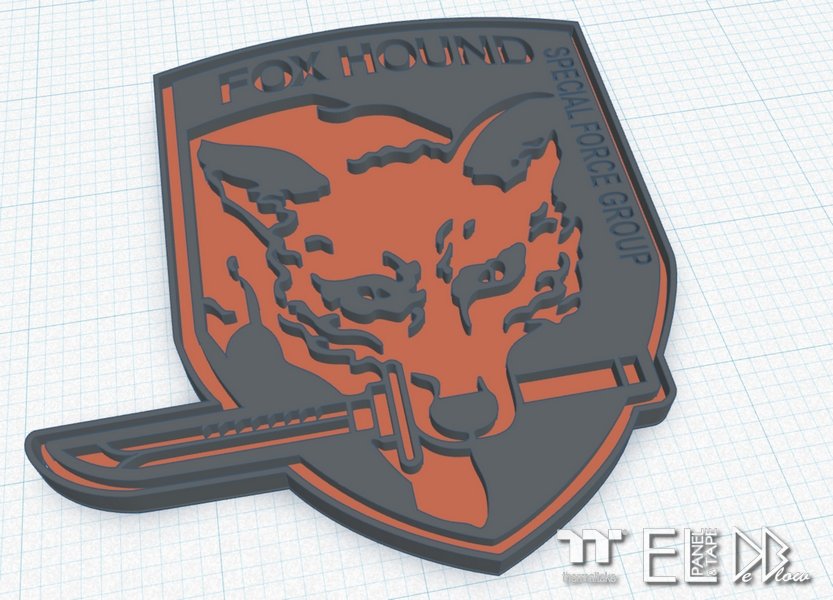
This is one I just had to do, couldn't keep the TT logo but they did get a toughRAM mention from the colonel Apart from the FOX HOUND DDR, all the modded ram only has around 1mm thickness added so it can be used, the FOX HOUND is around 4mm thick but can be used in the last slot.


-
[United Kingdom] Rob De Luce
Rob "Deblow" Deluce replied to Tt Andy's topic in 2021 Thermaltake RAM MOD Invitational Season 1
For the second stick I went with Grey Fox, again keeping the main TT logo unlike the next stick of DDR, but im sure Tt will forgive me Grey Fox

-
[United Kingdom] Rob De Luce
Rob "Deblow" Deluce replied to Tt Andy's topic in 2021 Thermaltake RAM MOD Invitational Season 1
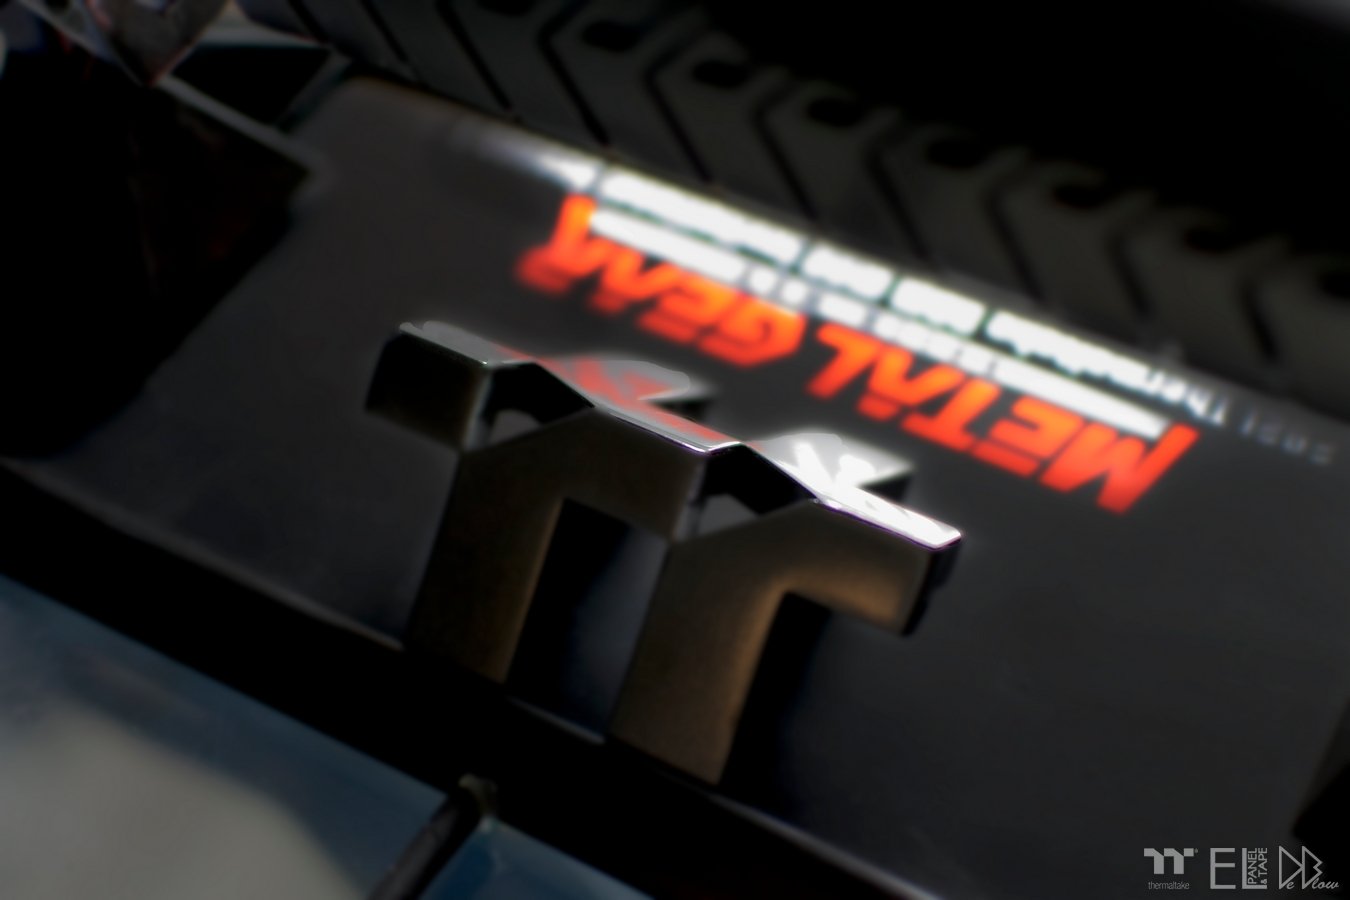
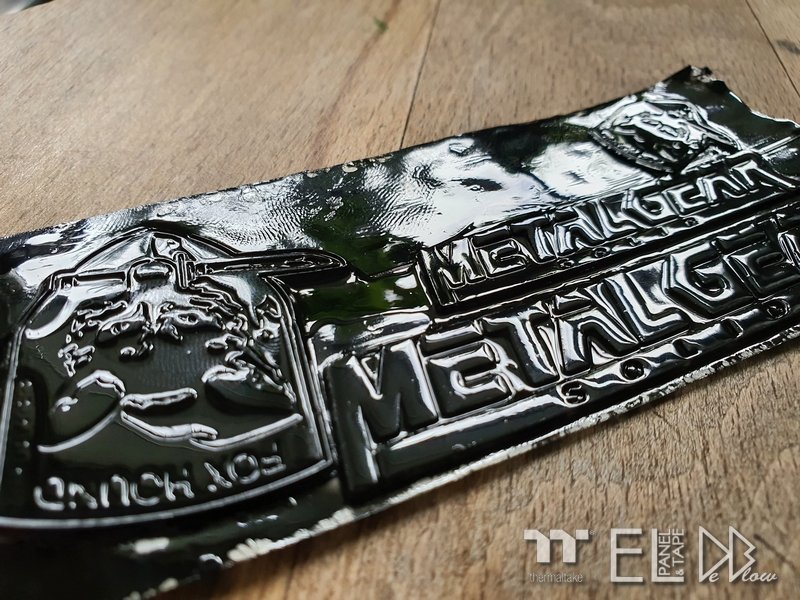
Now completed, lets get them final MOD photos for this years Thermaltake ToughRAM MOD 2021 s01 posted In total we was sent 4 sticks of DDR4 to mod, I have decided to mod them all with the same Theme "MGS" but all are different, Its RGBB, lets start with the Red one, FOX HOUND special force group! FOX HOUND SFG Hard to tell on the photos but its golden chrome with red and white lighting, hopefully the video will show this better


-
[United Kingdom] Rob De Luce
Rob "Deblow" Deluce replied to Tt Andy's topic in 2021 Thermaltake RAM MOD Invitational Season 1
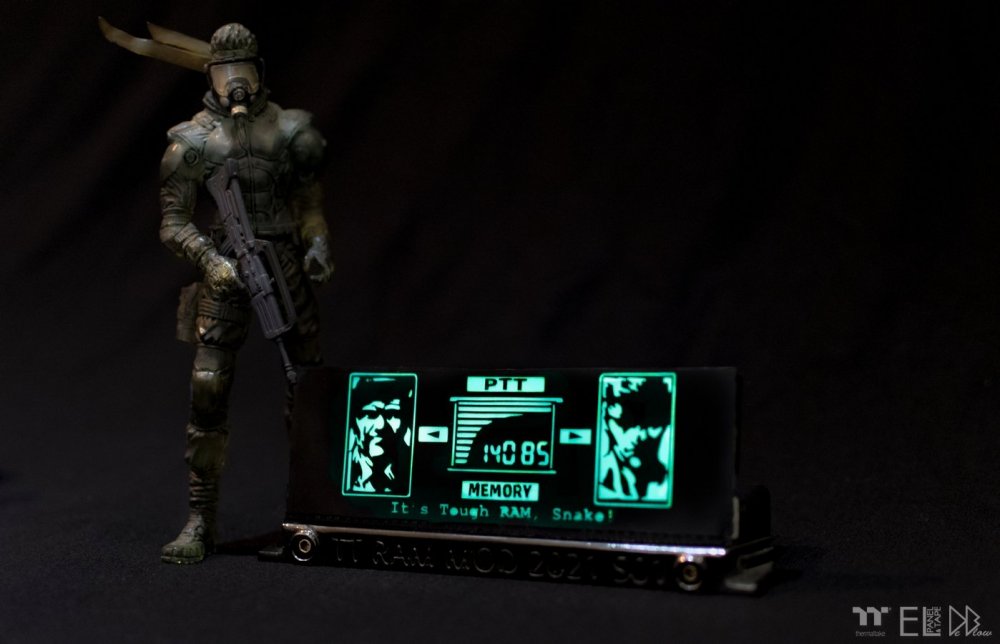
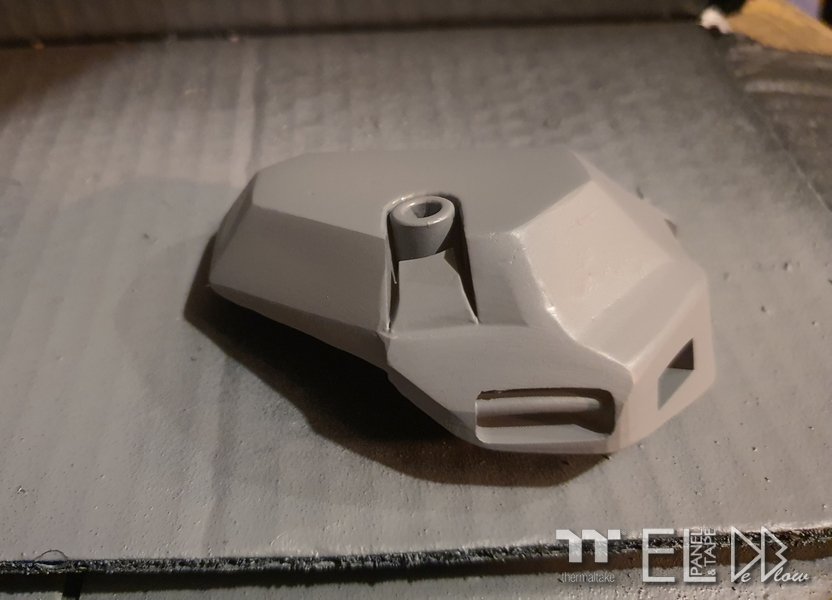
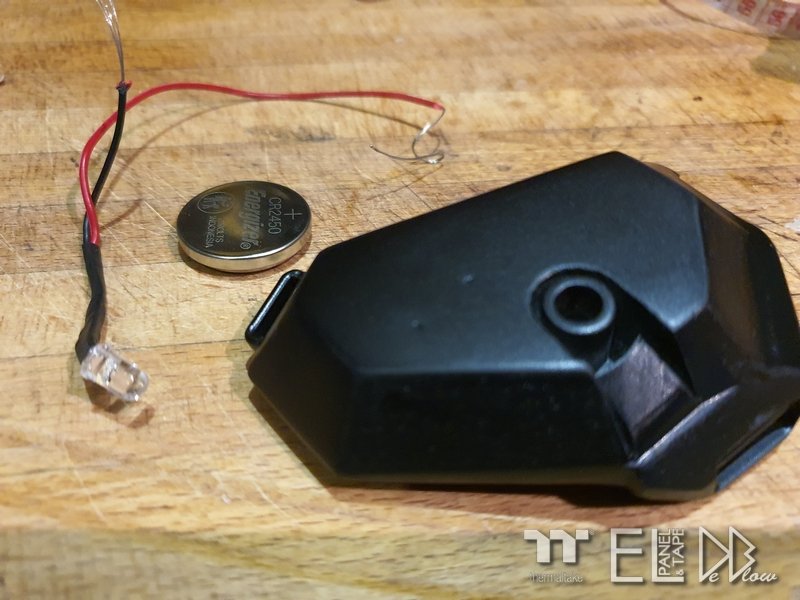
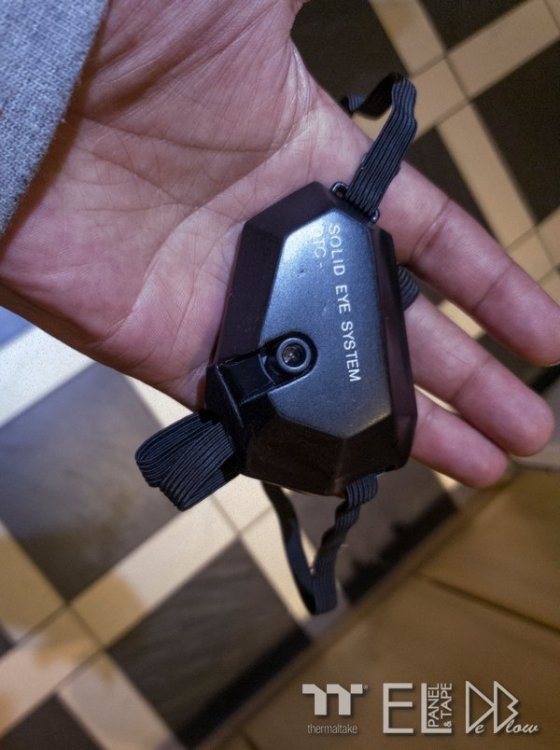
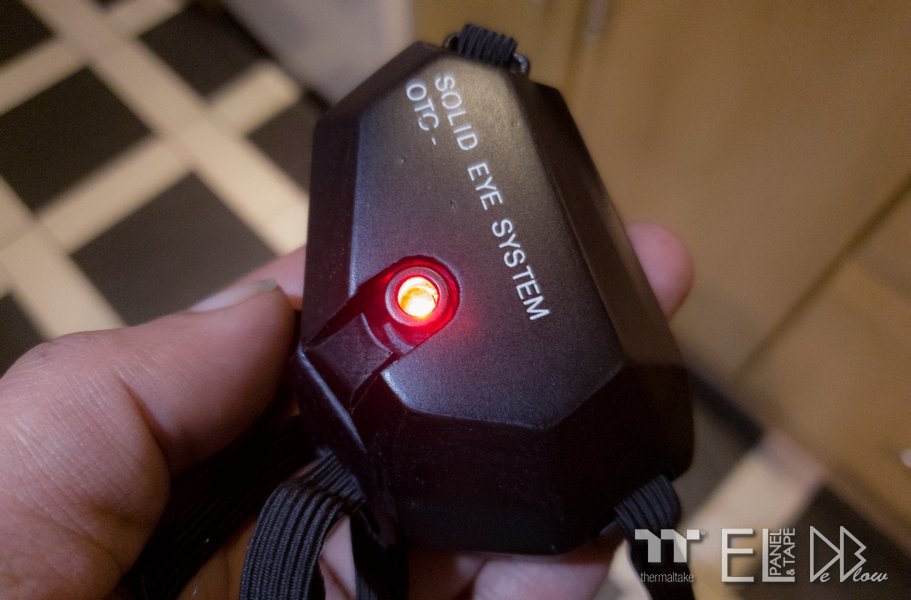
The second prop is Solid Snakes eye patch, again this is a file you can download and make yourself. https://www.thingiverse.com/thing:2840933 Looks great with the LED added. Made from Resin 3d printed, painted and then added the wires, battery, switch and LED to finish it off. Again, this is a prop for my video and not part of the main MOD competition that's purely to MOD the ToughRAM.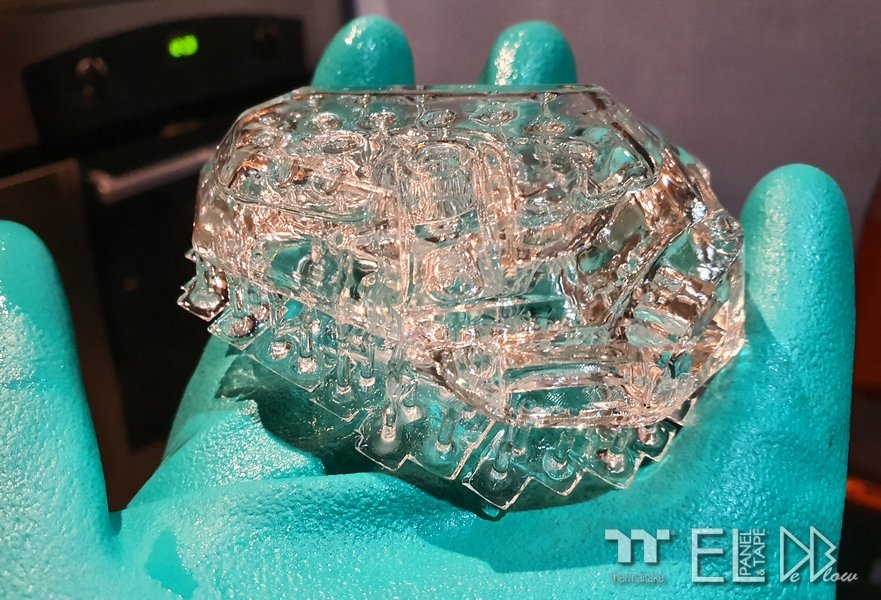
-
[United Kingdom] Rob De Luce
Rob "Deblow" Deluce replied to Tt Andy's topic in 2021 Thermaltake RAM MOD Invitational Season 1
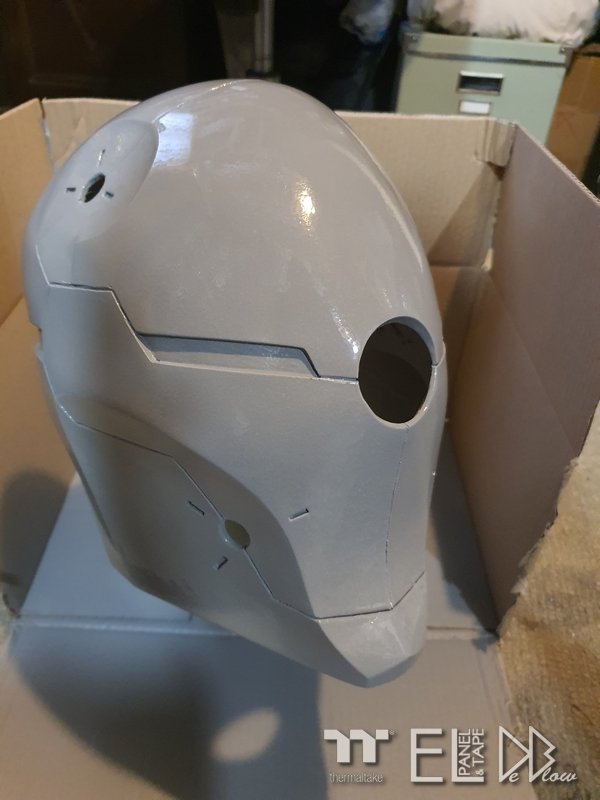
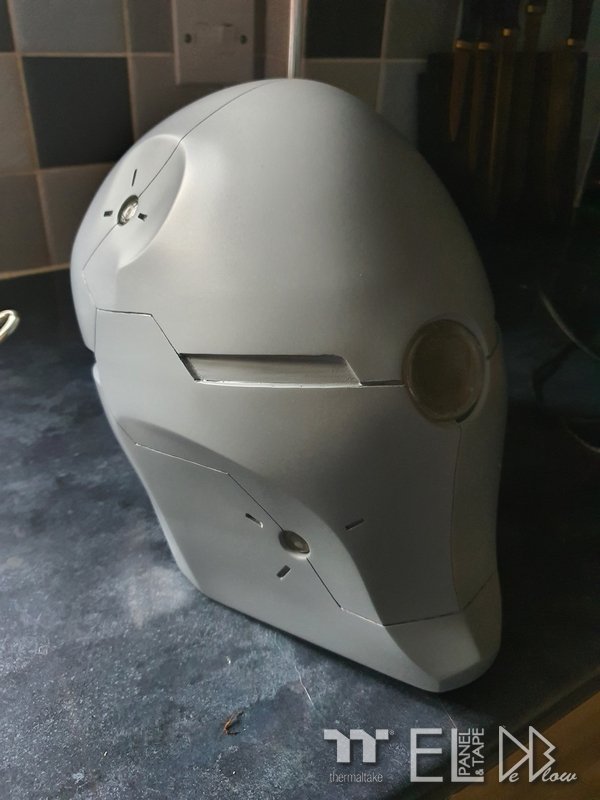
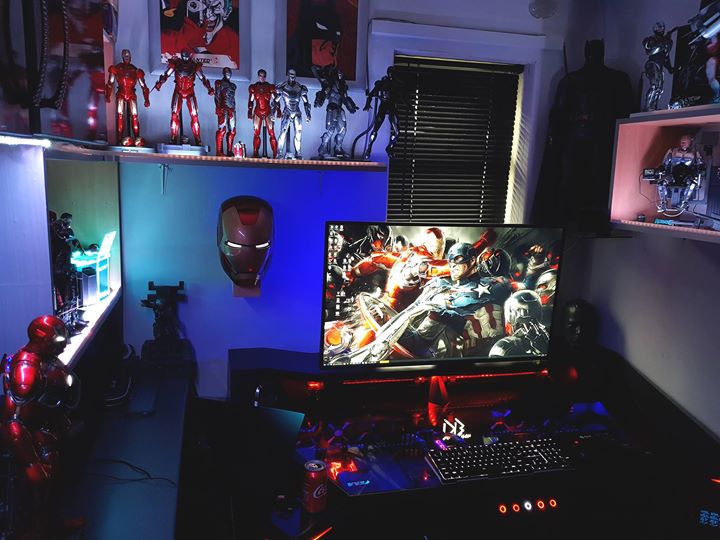
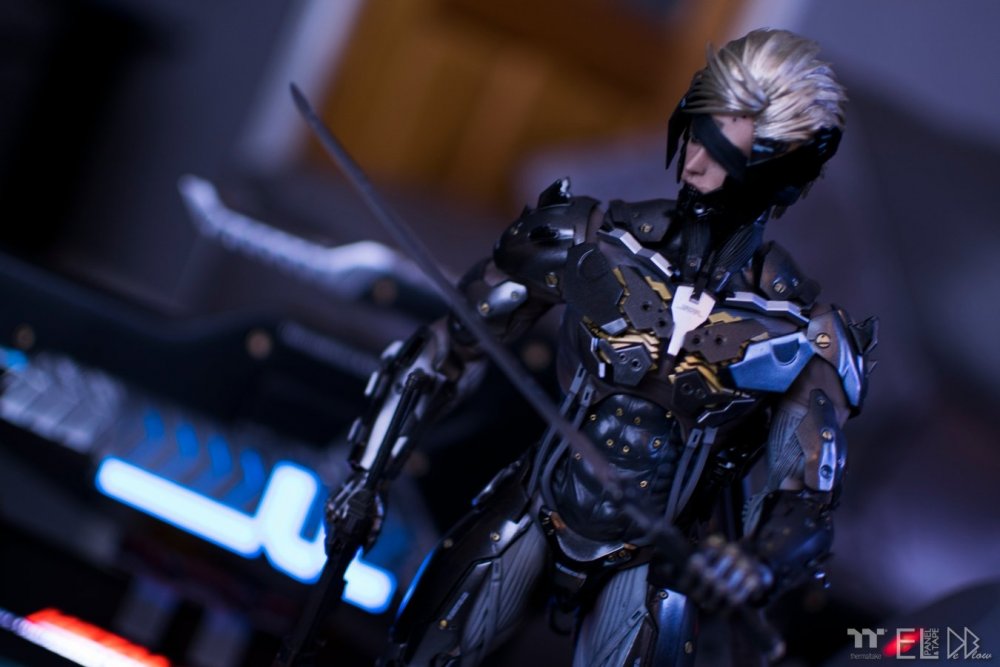
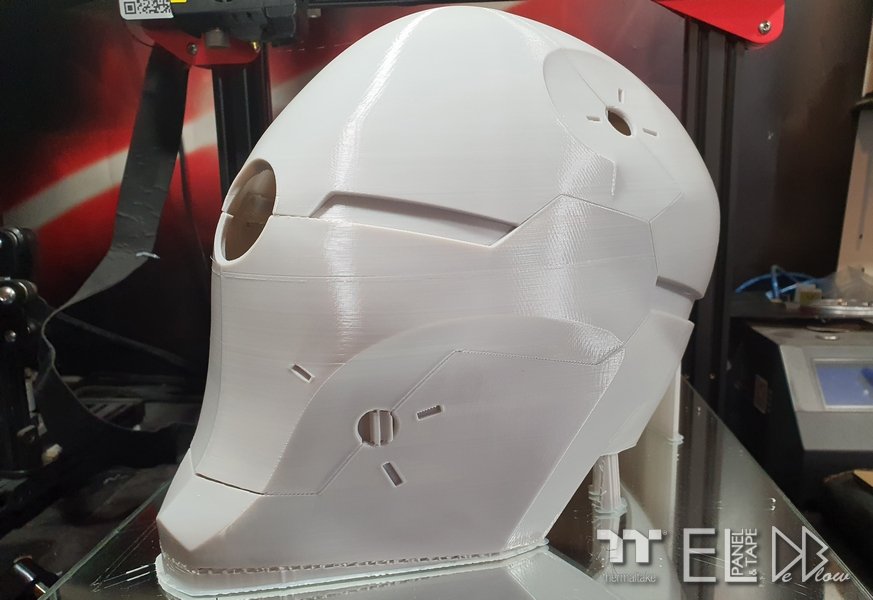
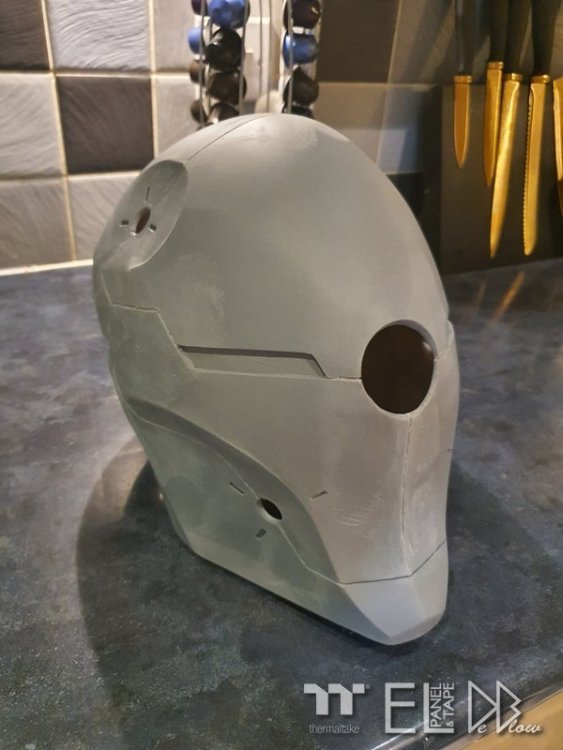
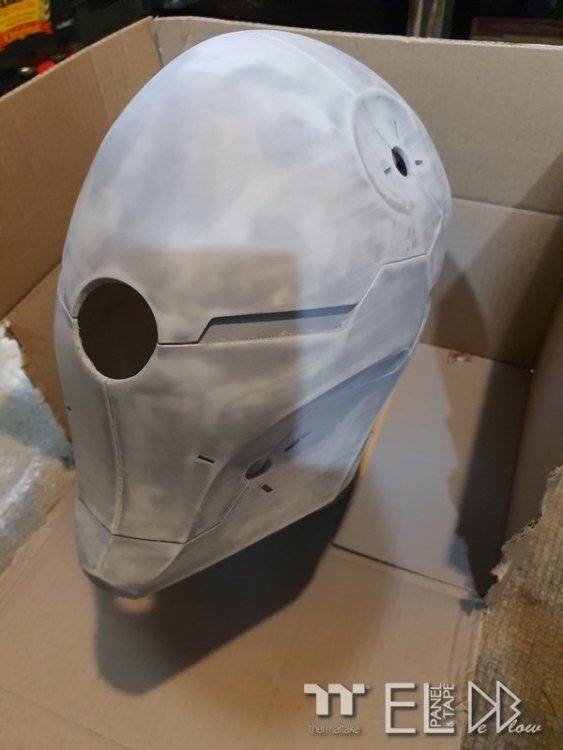
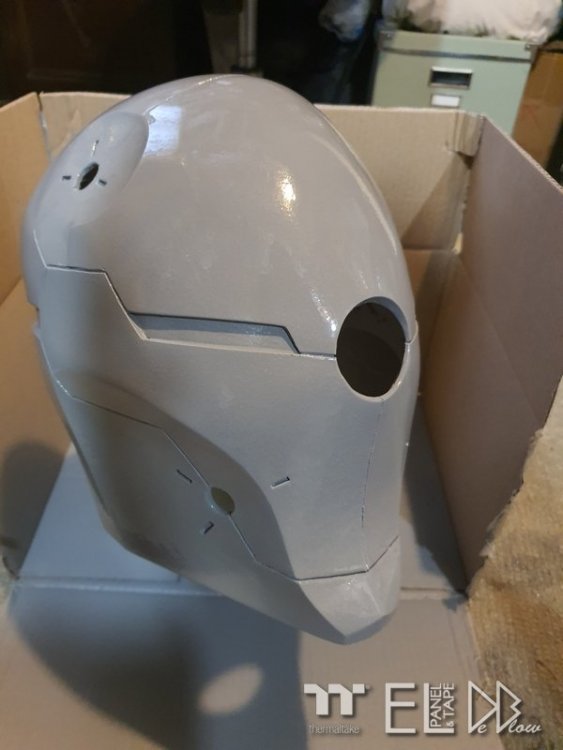
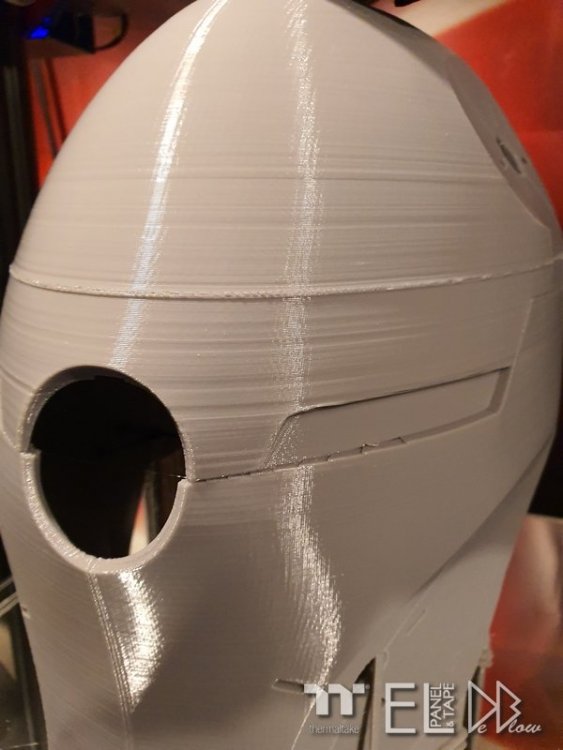
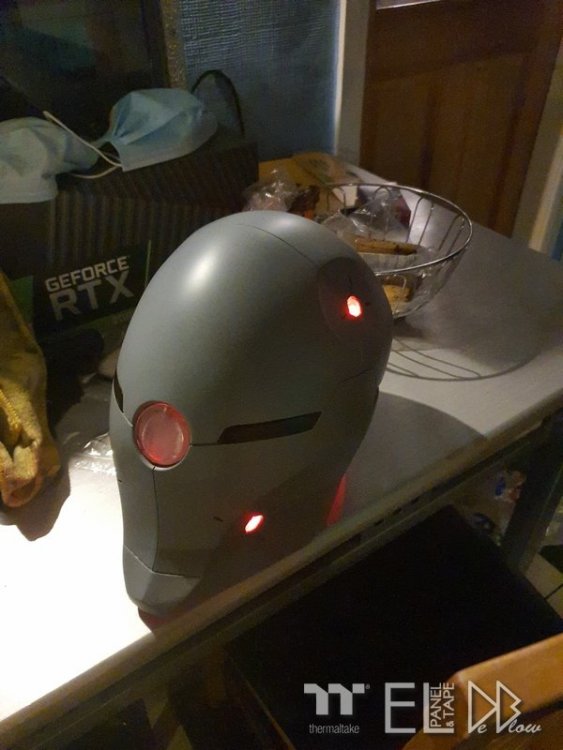
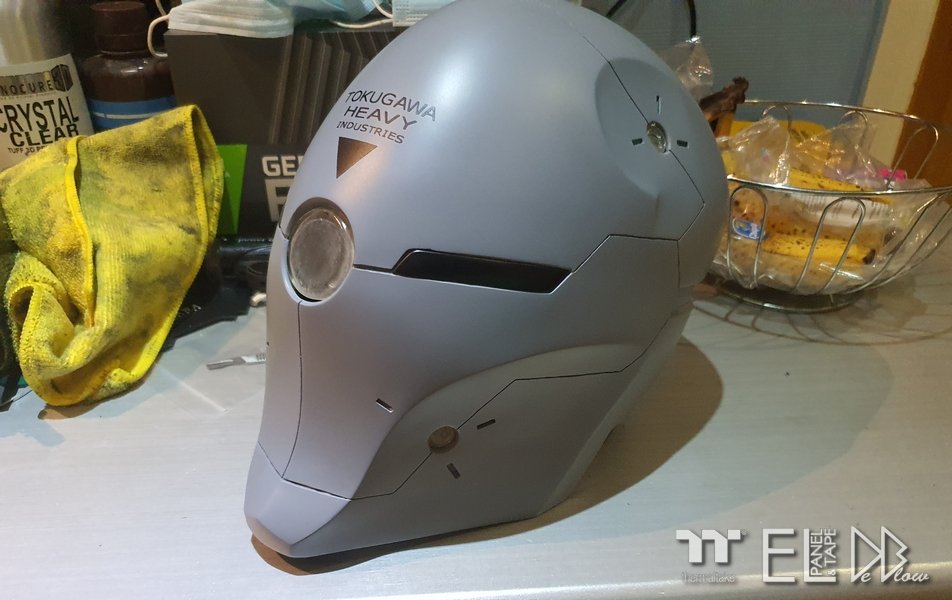
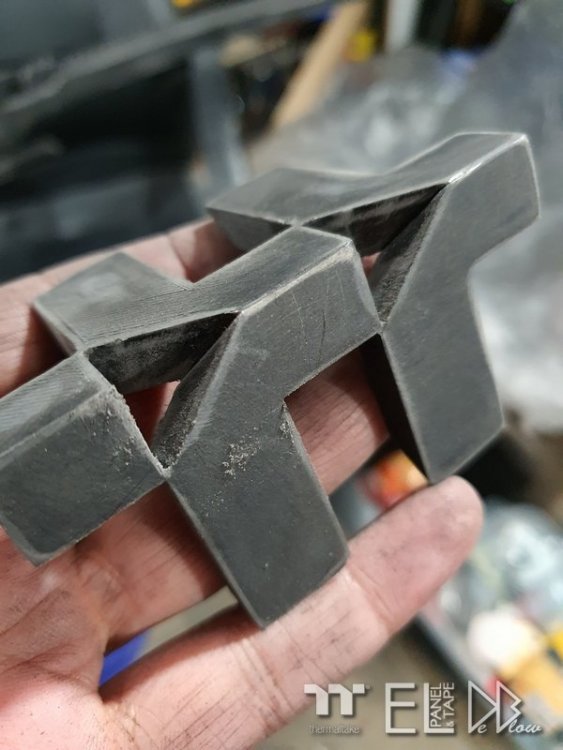
Along with the main DDR mods I also made some other bits from the game for my own display as a collector, they also will help with the final photos and video as props. Once this comp is over they'll all be on display together with my other Metal gear collector bits. I take no credit for the original 3d design of the props, unlike everything else that was designed from scratch by myself, the Grey Fox helmet is from Do3d and is a paid product, you obviously have to put the work in to finishing it though. https://www.do3d.com/product-page/gray-fox-metal-gear-cyborg-ninjas-helmet-3d-model-project-1033 this is a mix of two helmets I printed, the first was too thin and my daughter dropped it so I has to make a second, but this time it was thicker and with 100% infill so its SOLID, you could say very TOUGH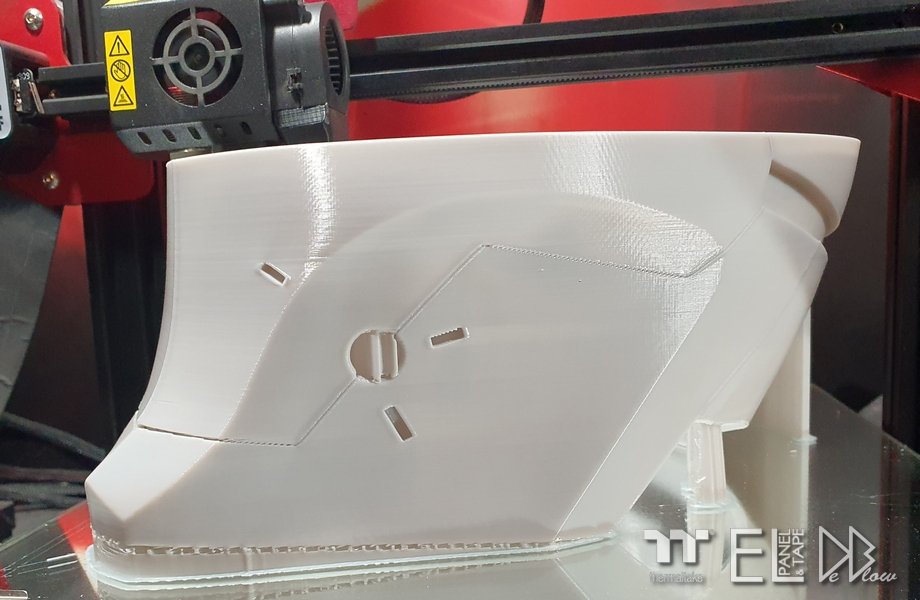

-
[Belgium] Mike Petereyns
Rob "Deblow" Deluce replied to Tt Andy's topic in 2021 Thermaltake RAM MOD Invitational Season 1
lol love the vid and the RAM, GJ mate! P.S IM BATMAN! -
[France] Wael Kadri
Rob "Deblow" Deluce replied to Tt Andy's topic in 2021 Thermaltake RAM MOD Invitational Season 1
The RAM looks great! Its really hard to think of things to do to DDR, I must have spend 2 weeks just thinking lol -
[United Kingdom] Rob De Luce
Rob "Deblow" Deluce replied to Tt Andy's topic in 2021 Thermaltake RAM MOD Invitational Season 1
-
[United Kingdom] Rob De Luce
Rob "Deblow" Deluce replied to Tt Andy's topic in 2021 Thermaltake RAM MOD Invitational Season 1
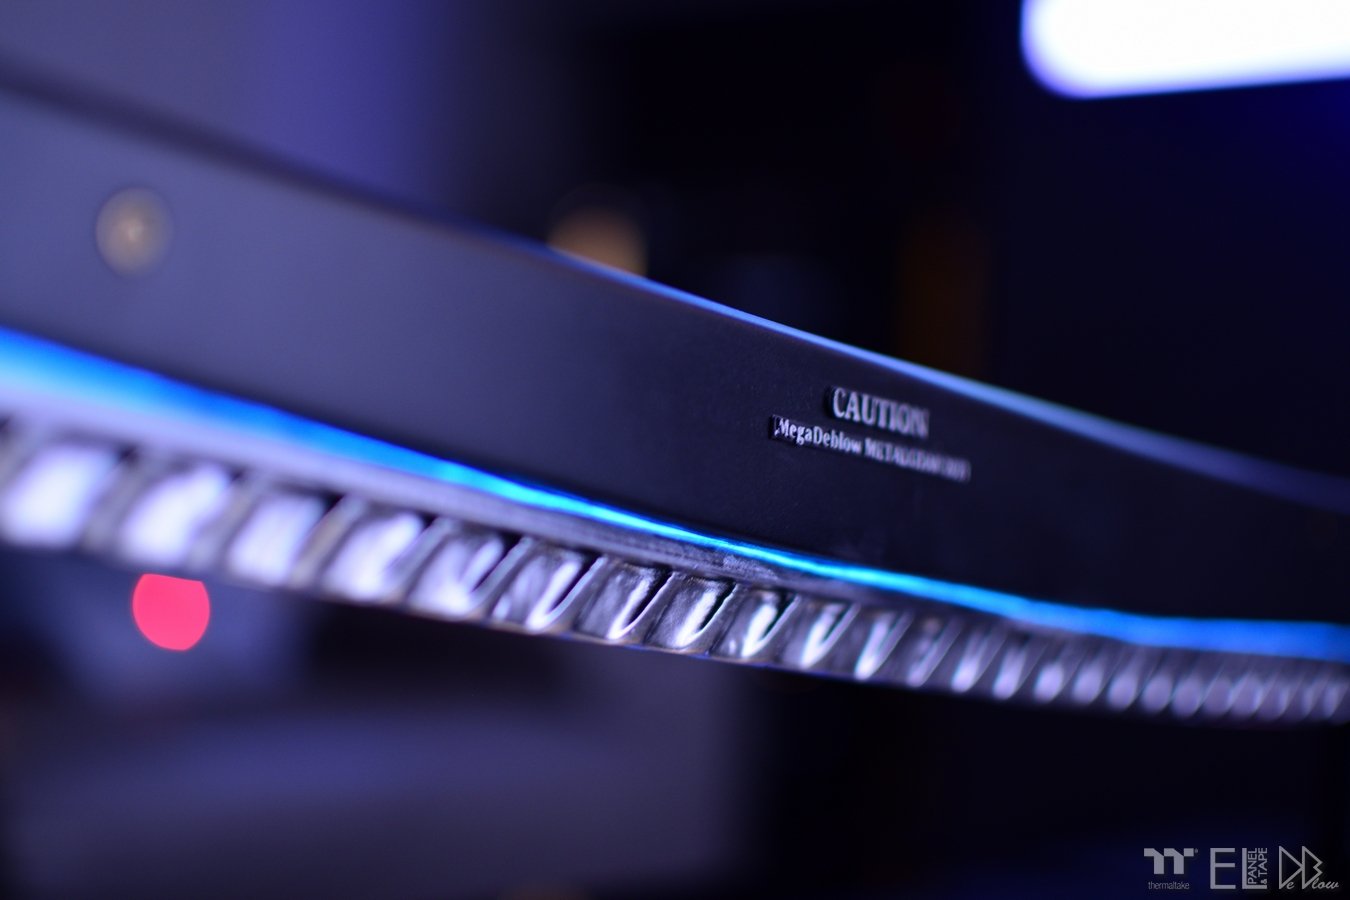
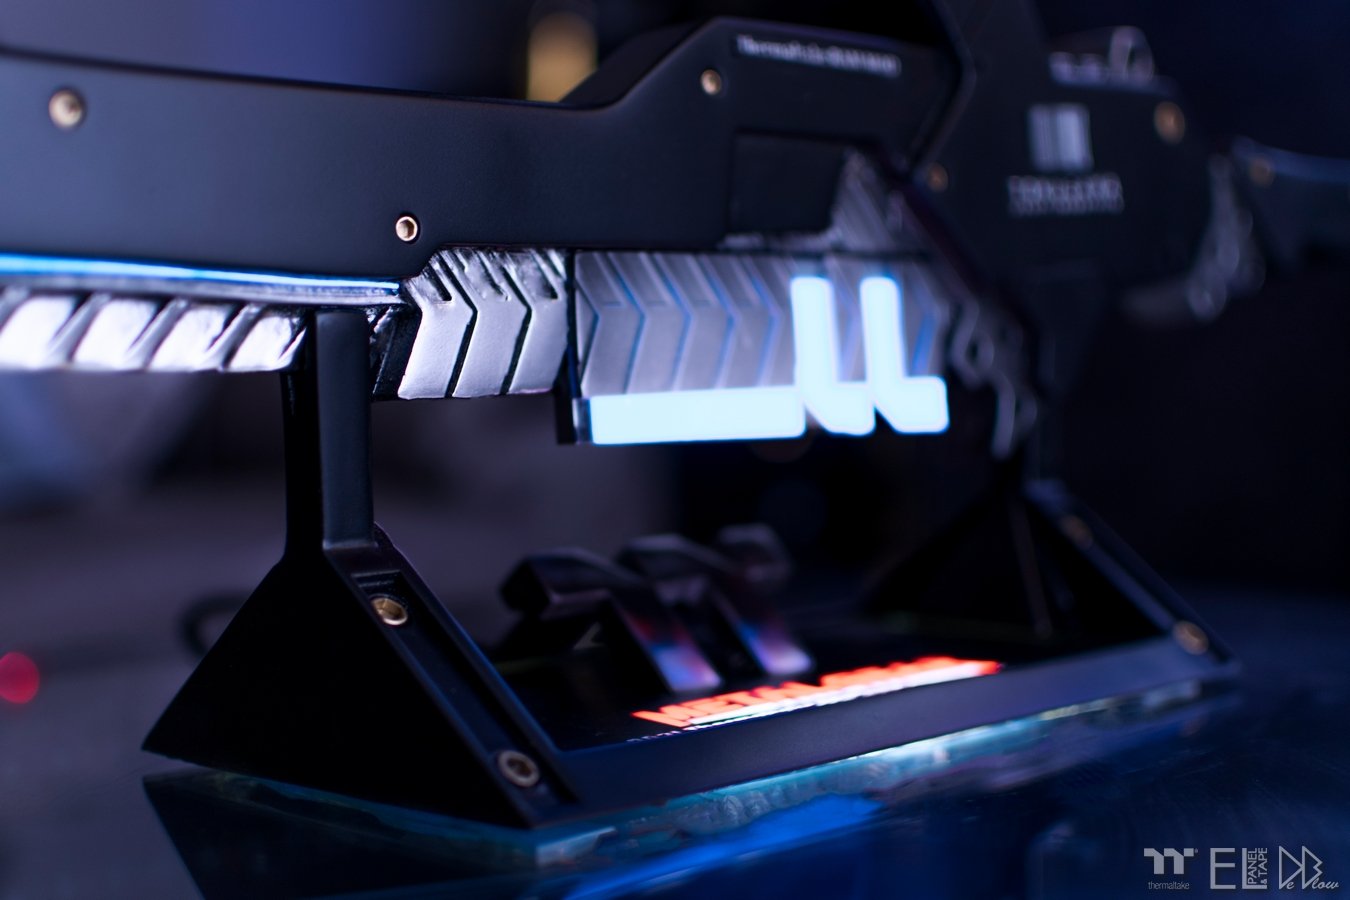
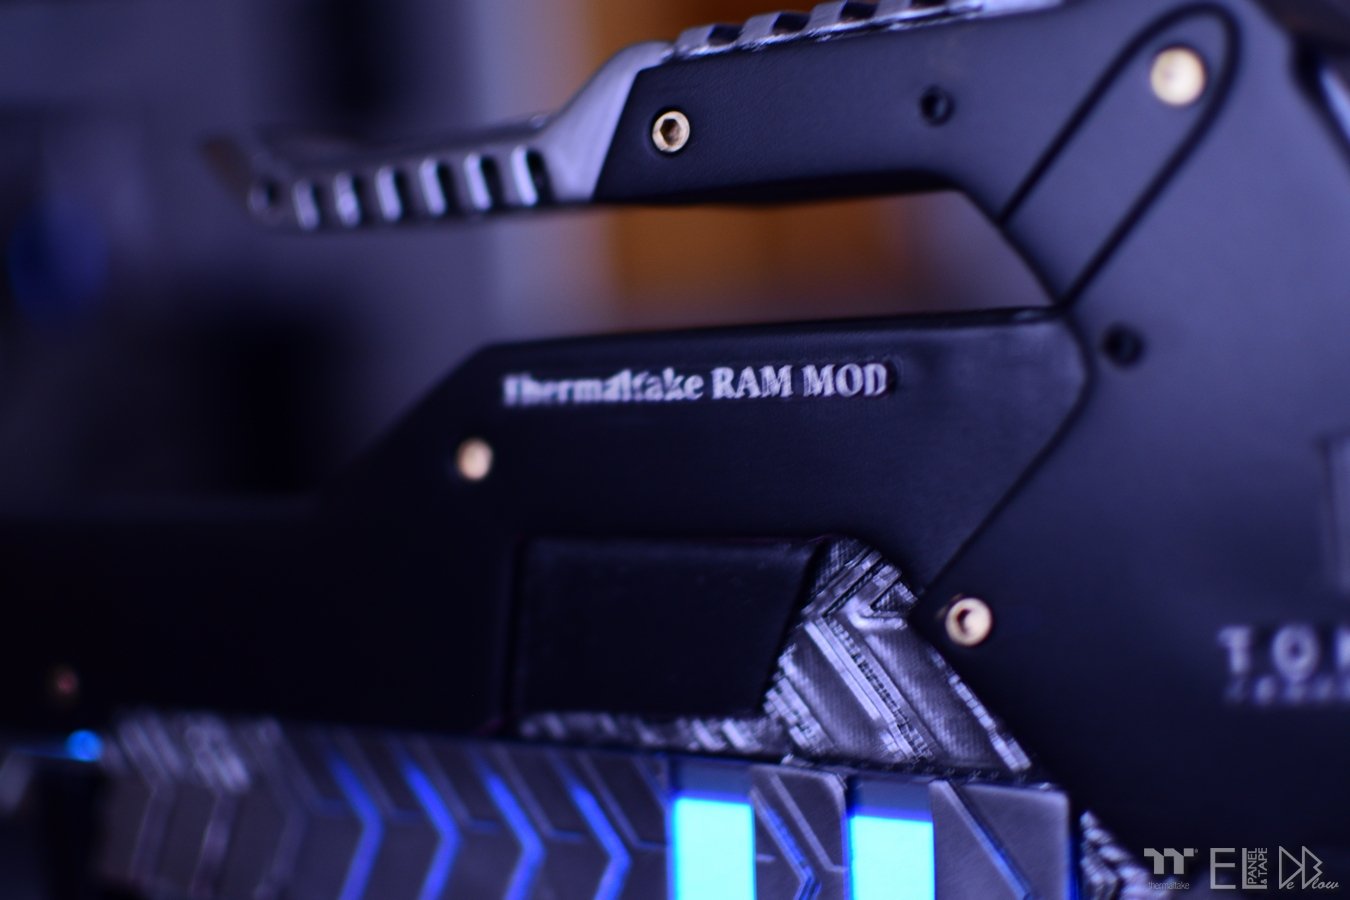
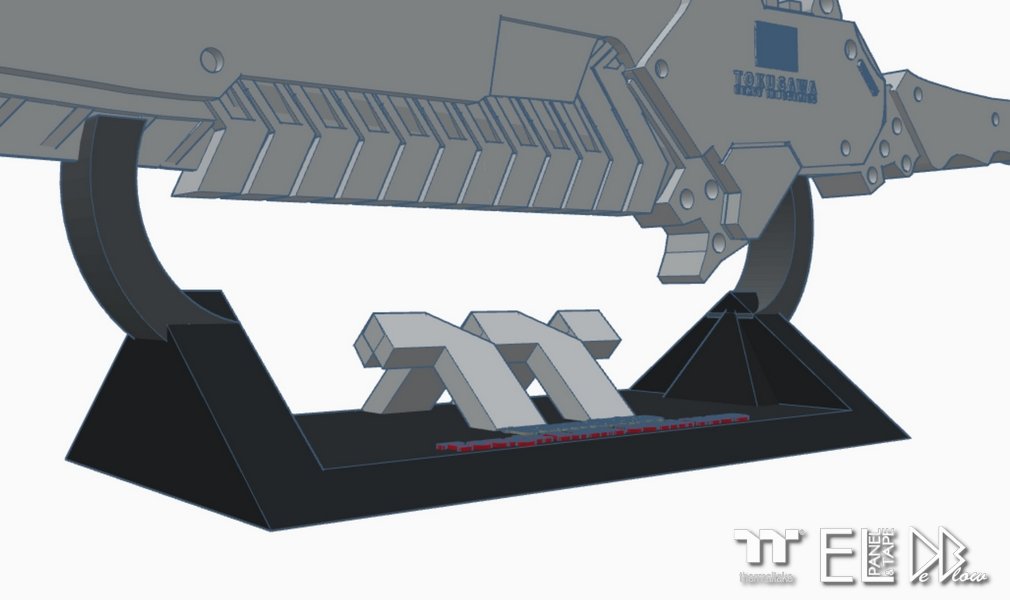
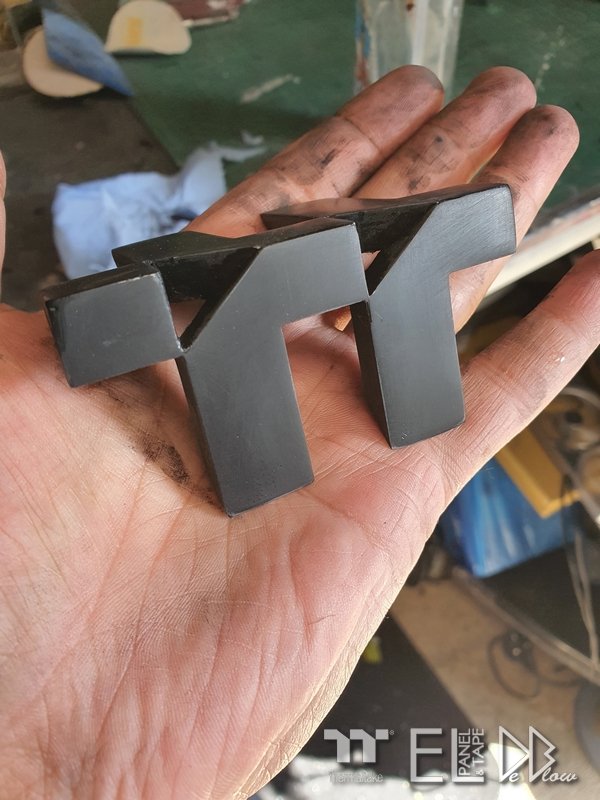
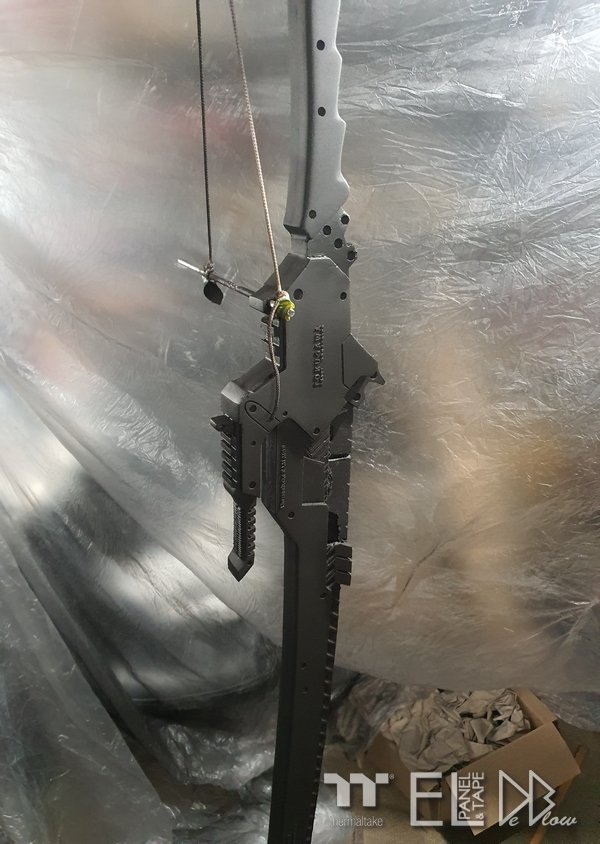
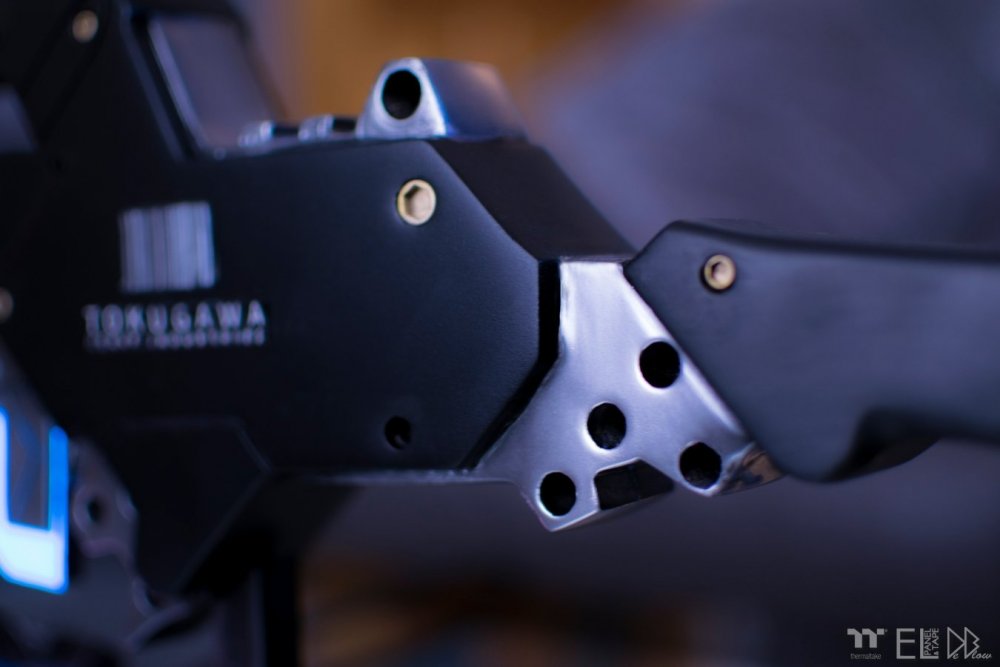
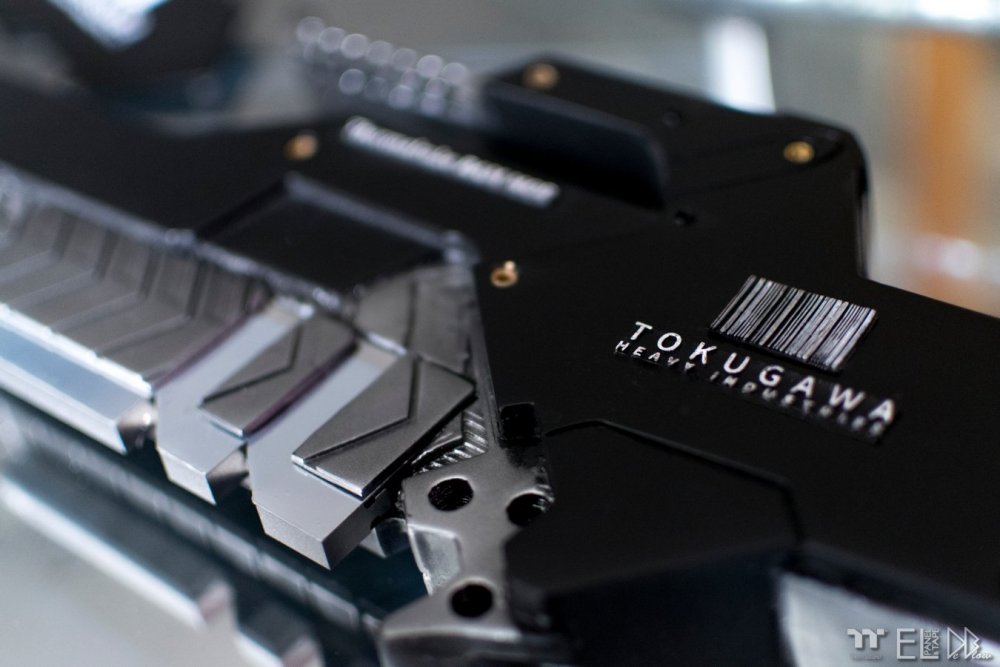
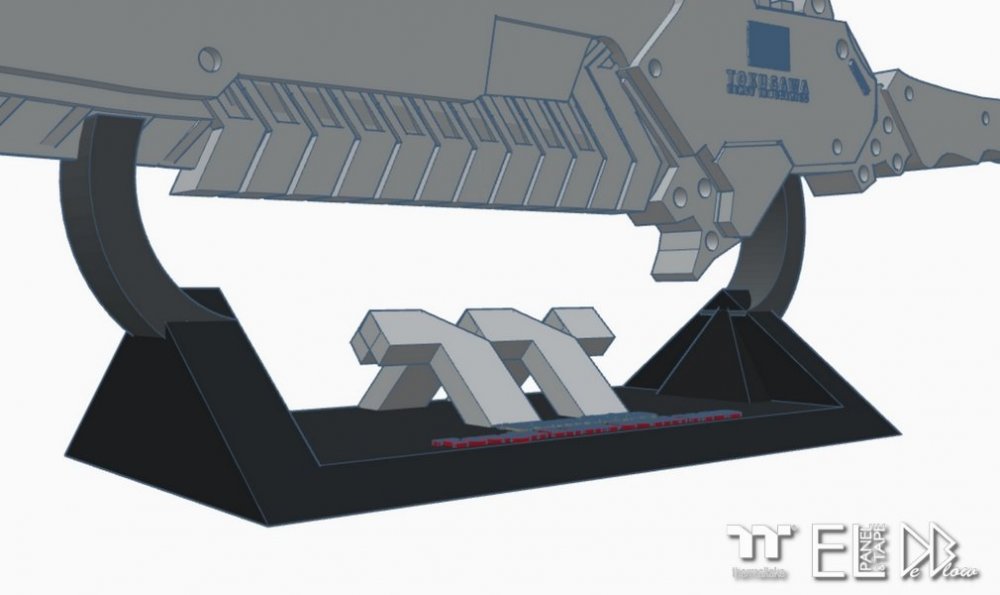
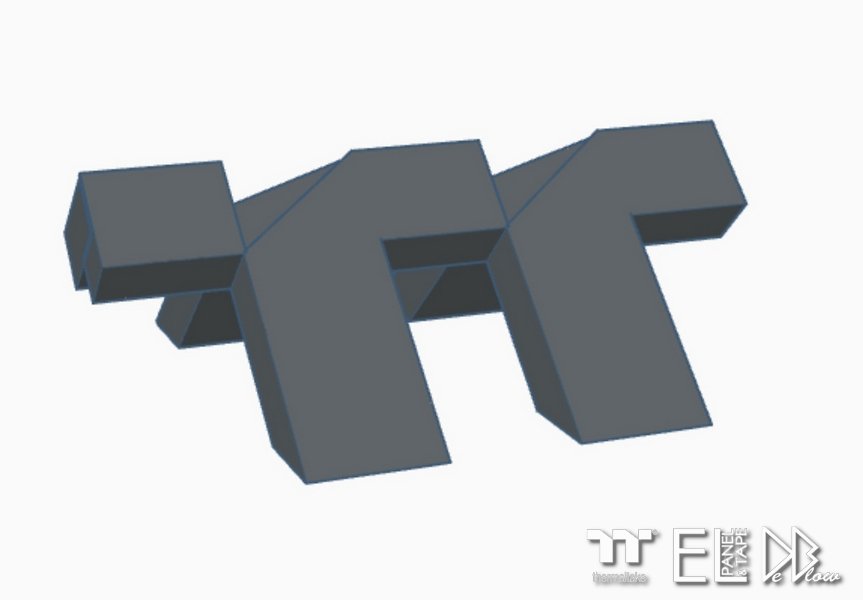
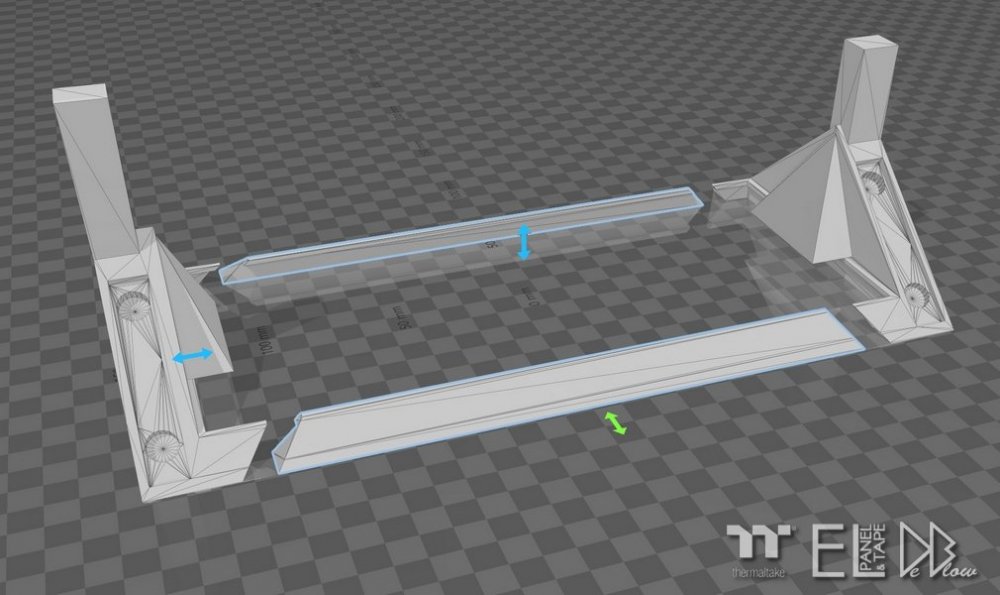
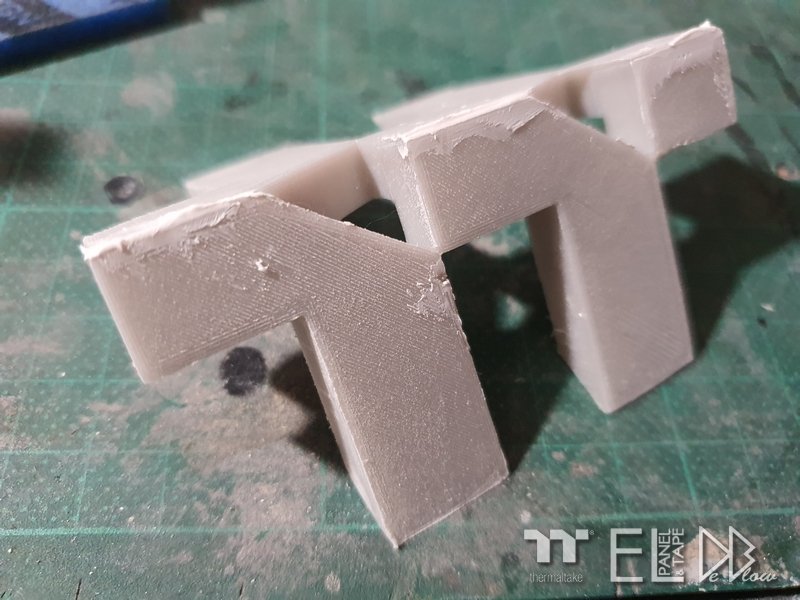
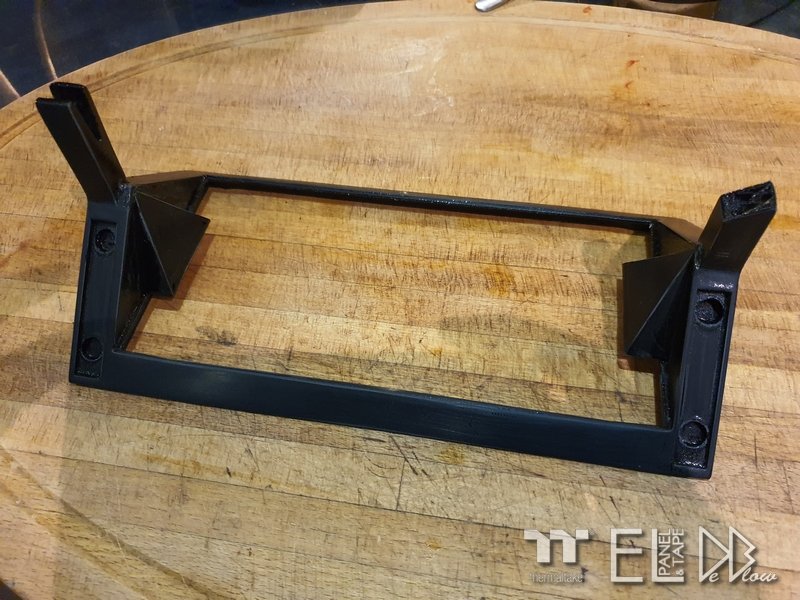
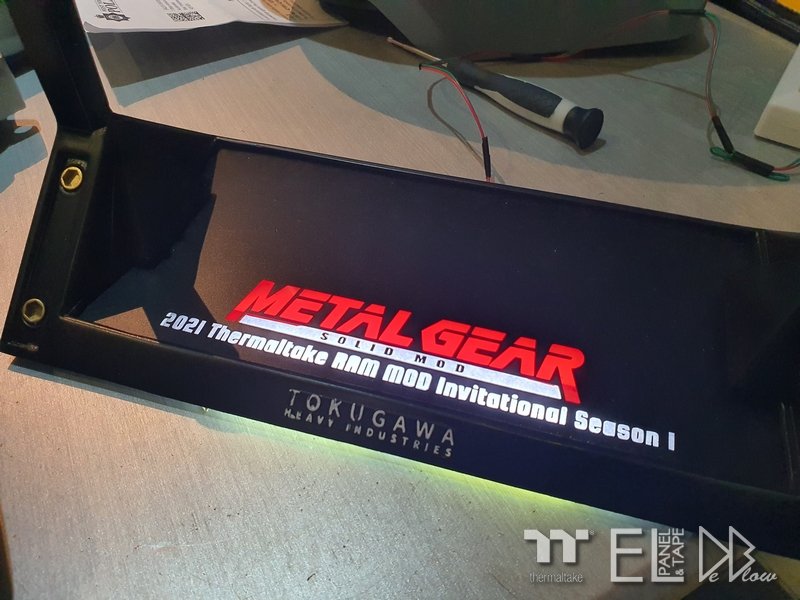
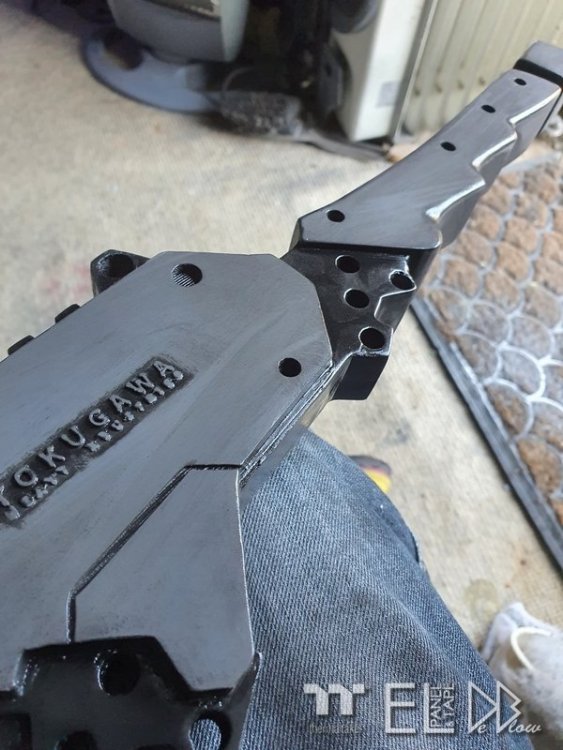
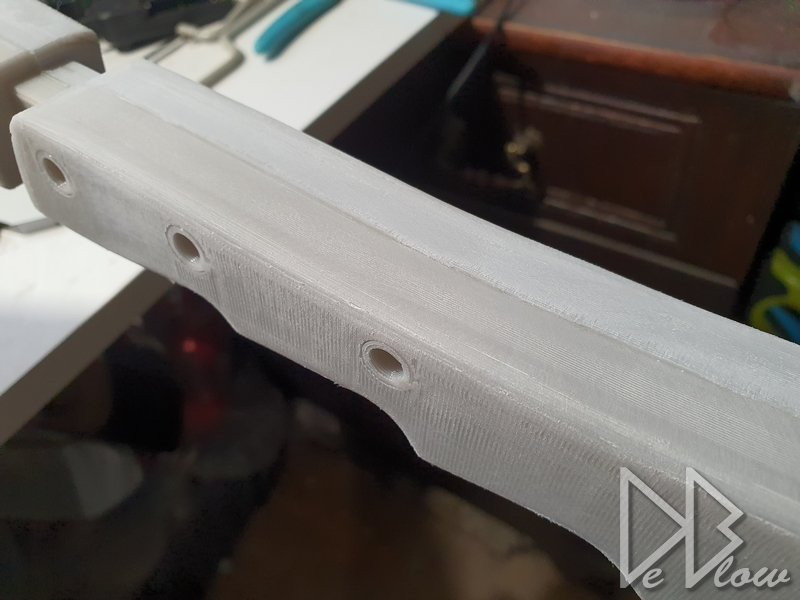
I was also sent some new 1mm wire for this and future projects, love this stuff! Following on from the last post about stands, the sword also needed a stand due to the size and shape, so this is the main stand, back lit with LEDs as I didnt have the EL tape when I started Would have been a better option for sure. I did a couple of designs, this one was the first but I changed it slightly as you will notice Spent some time working on a TT logo for the stand, I love how this is very 3 dimensional and can be seen from both sides. Useful as both sides of the sword as slightly different. I have since decided to remove the TOKUGAWA logo from the front of the stand as I feel I had plenty of text on parts of the MOD so didn't want to over do it.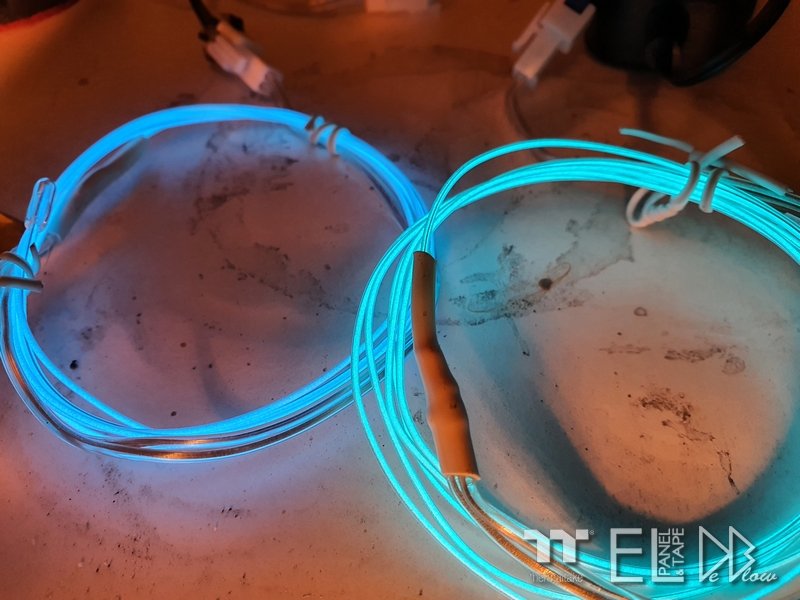


-
[United Kingdom] Rob De Luce
Rob "Deblow" Deluce replied to Tt Andy's topic in 2021 Thermaltake RAM MOD Invitational Season 1
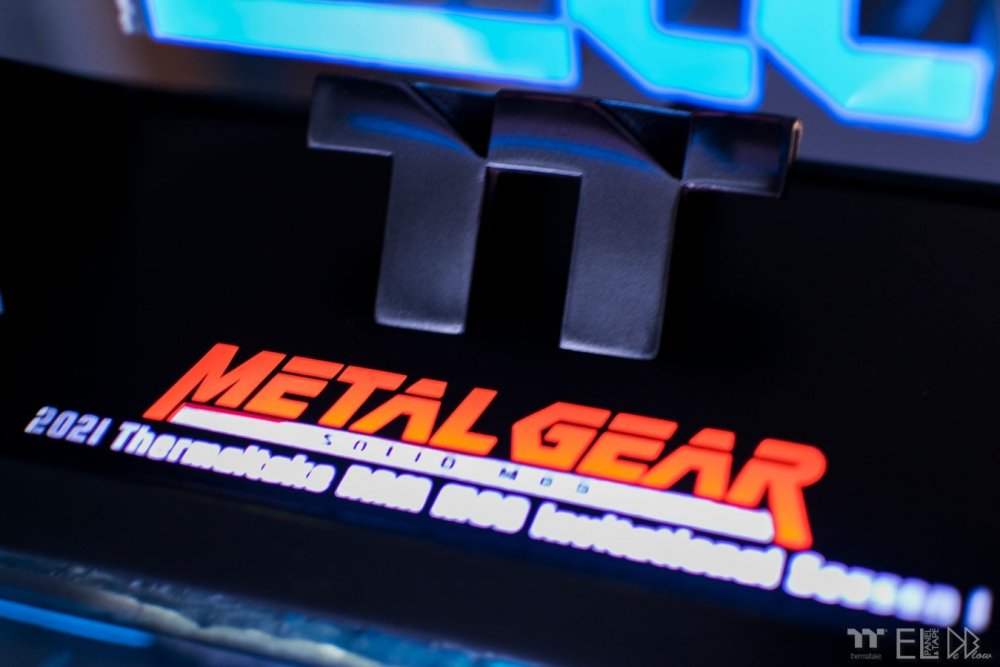
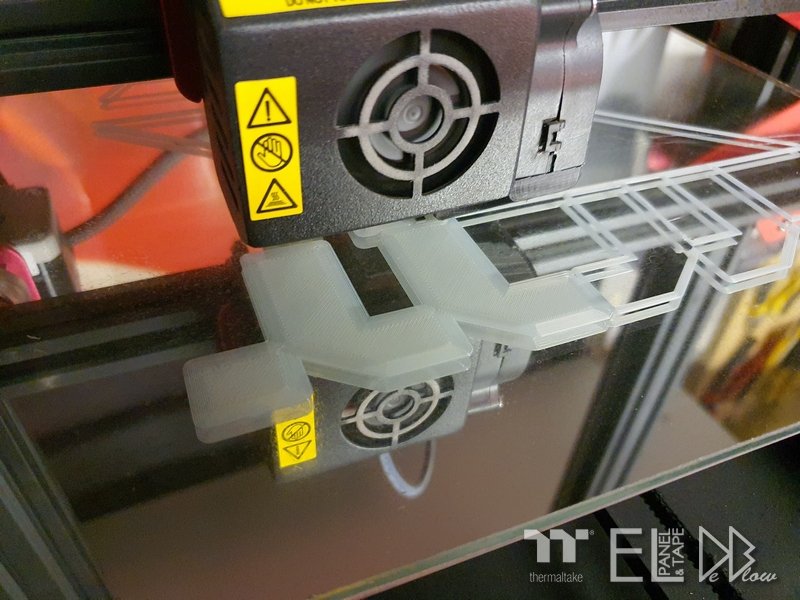
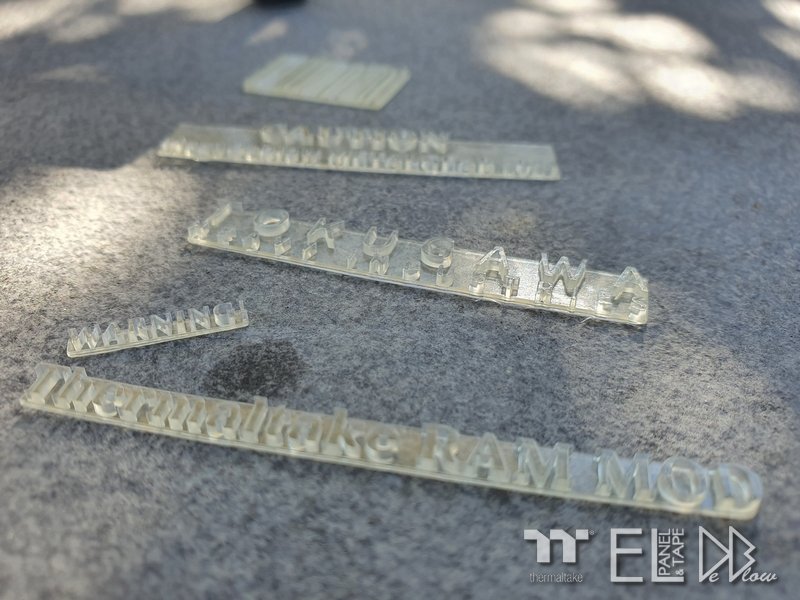
For some of the EL tape I will be covering it to change the colours. Love how the logos turned out, they will be back lit and painted gold chrome to match the stand.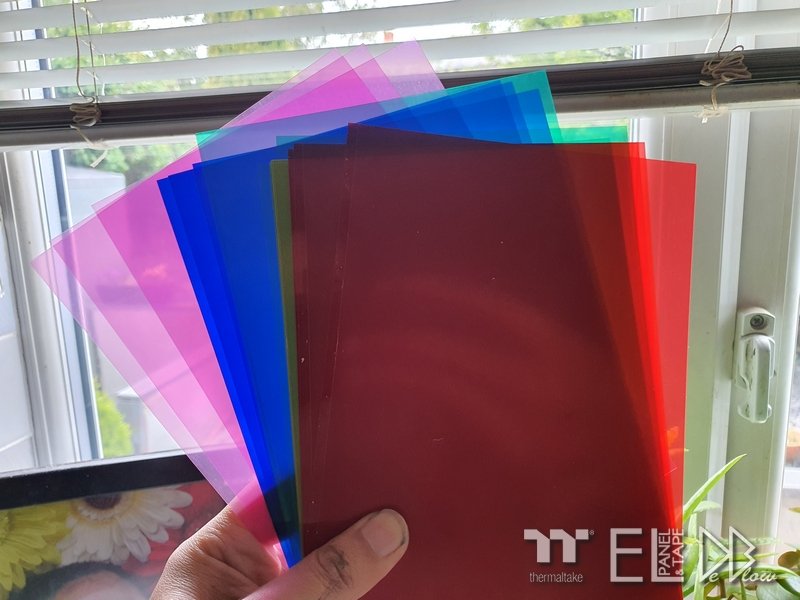


-
[United Kingdom] Rob De Luce
Rob "Deblow" Deluce replied to Tt Andy's topic in 2021 Thermaltake RAM MOD Invitational Season 1
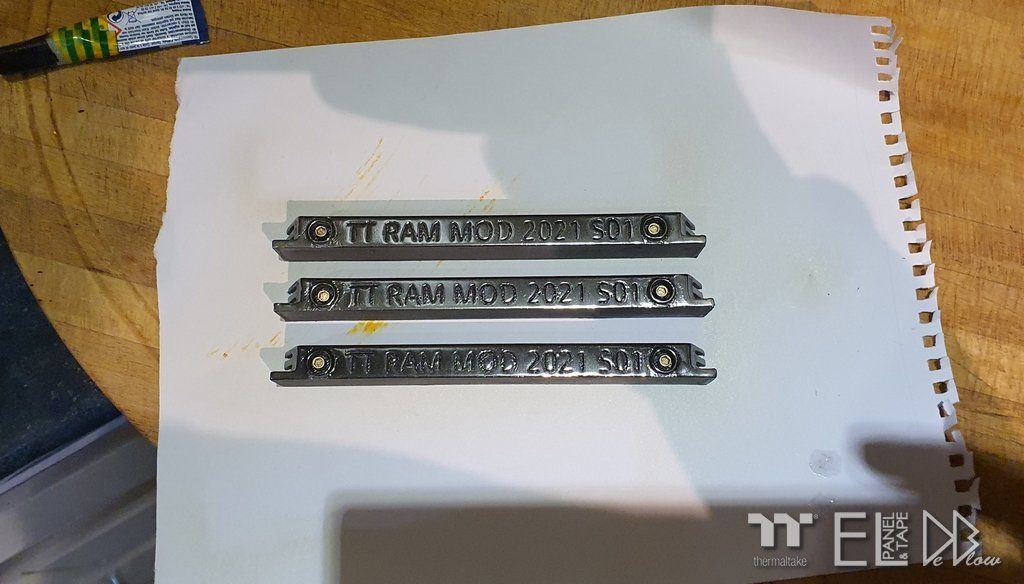
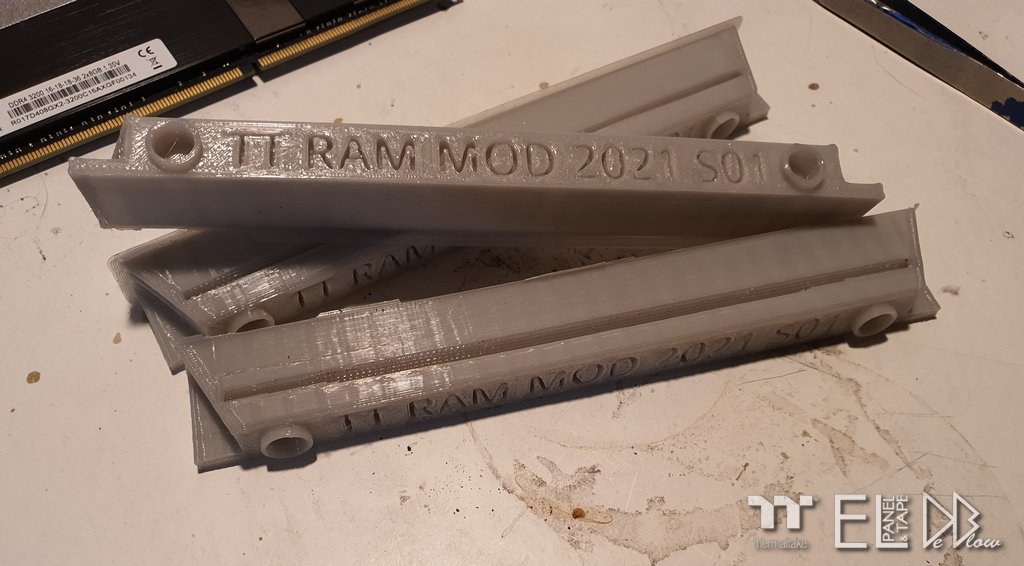
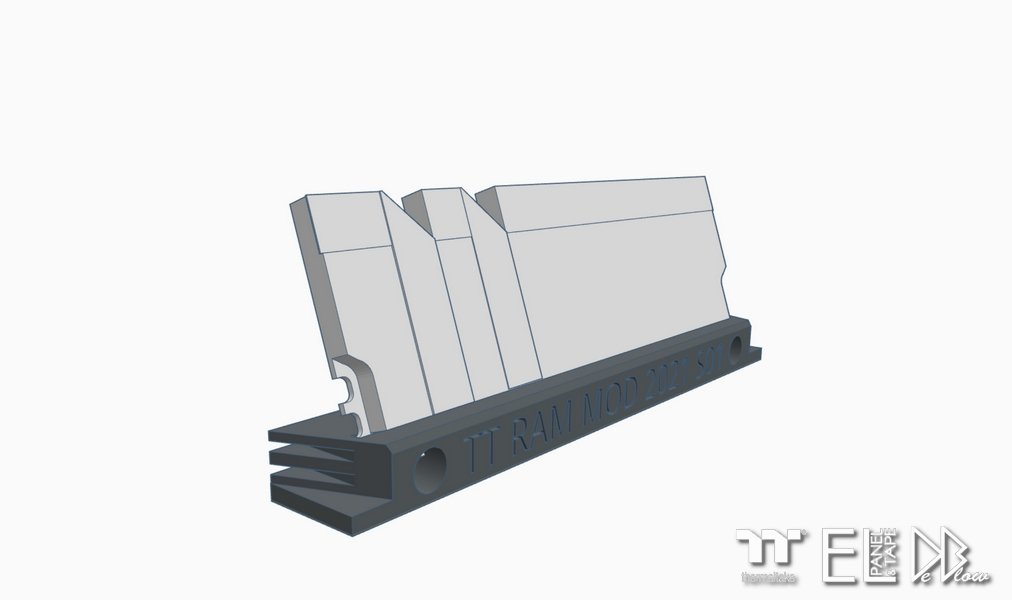
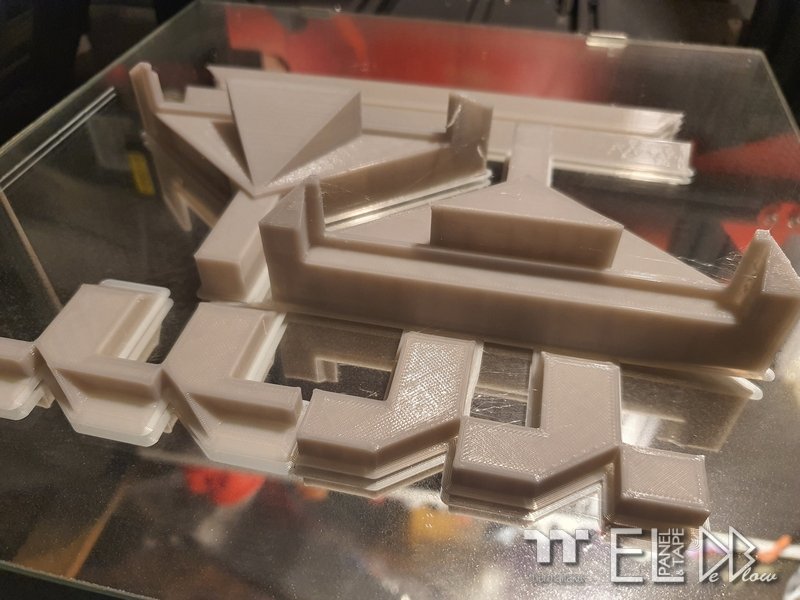
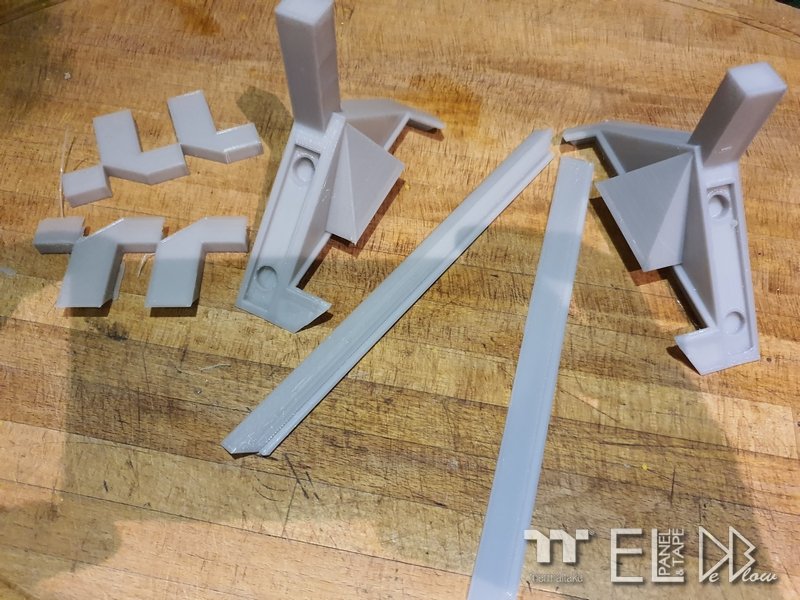
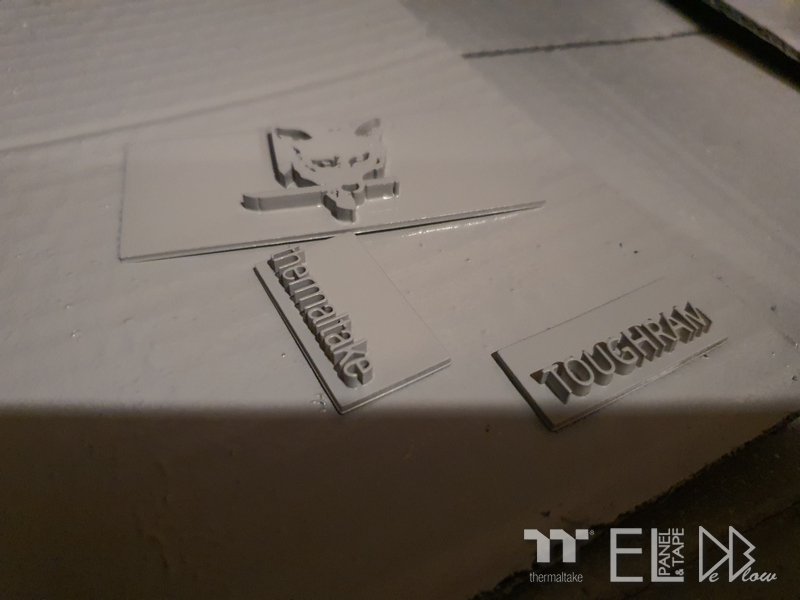
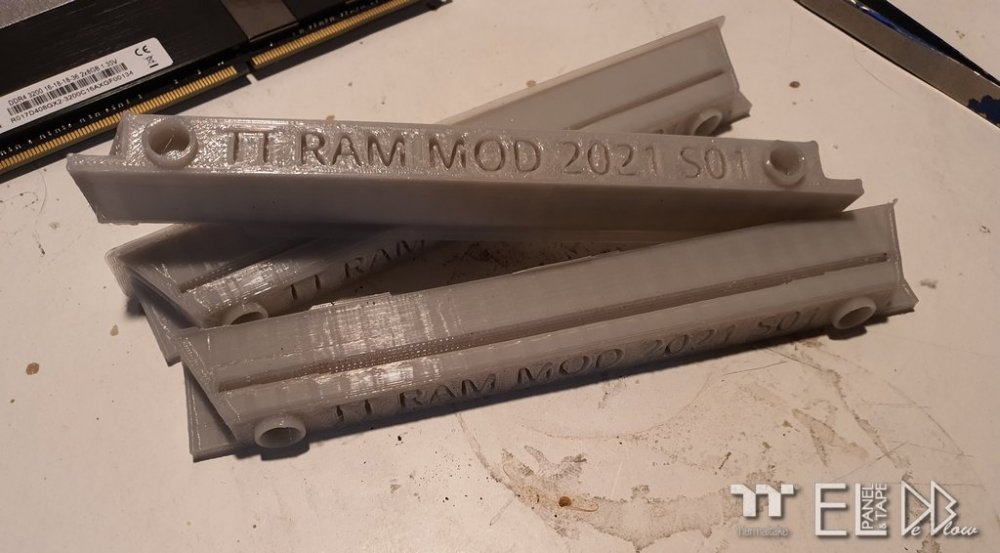
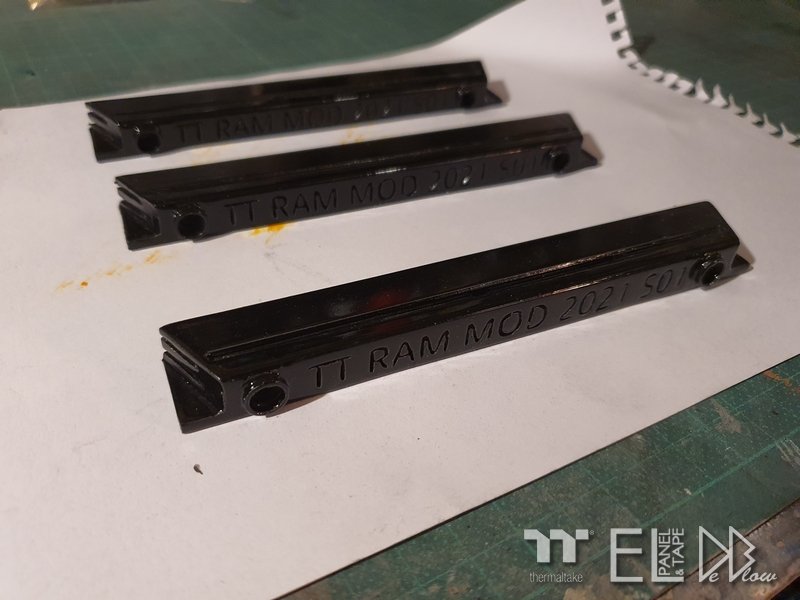
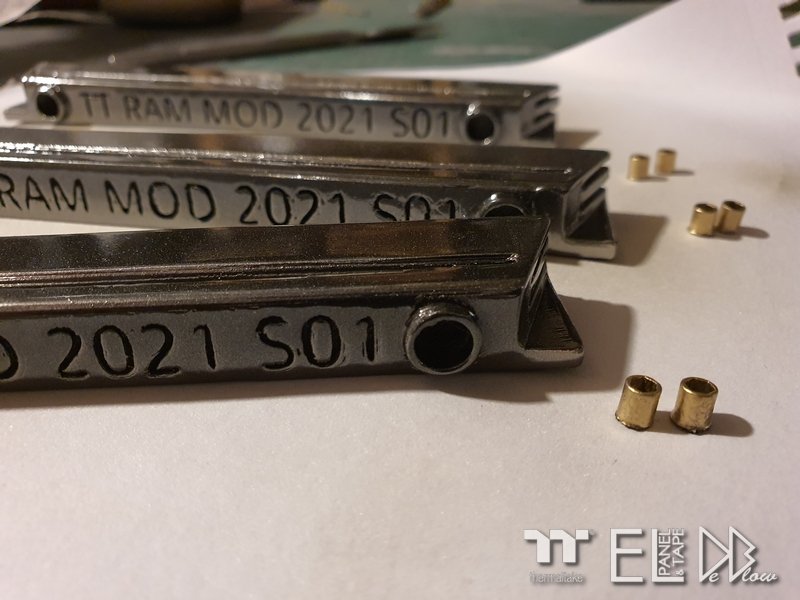
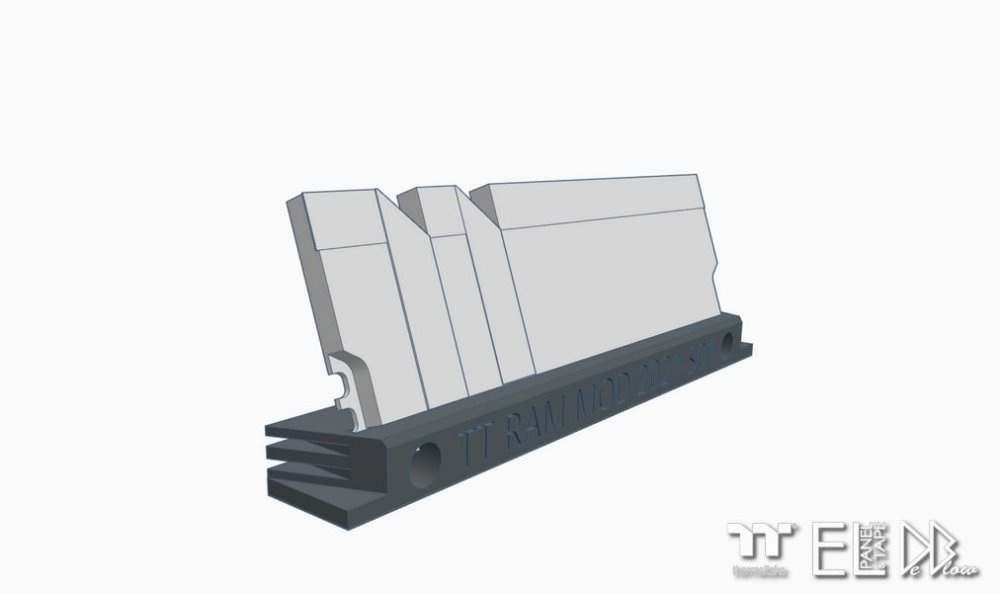
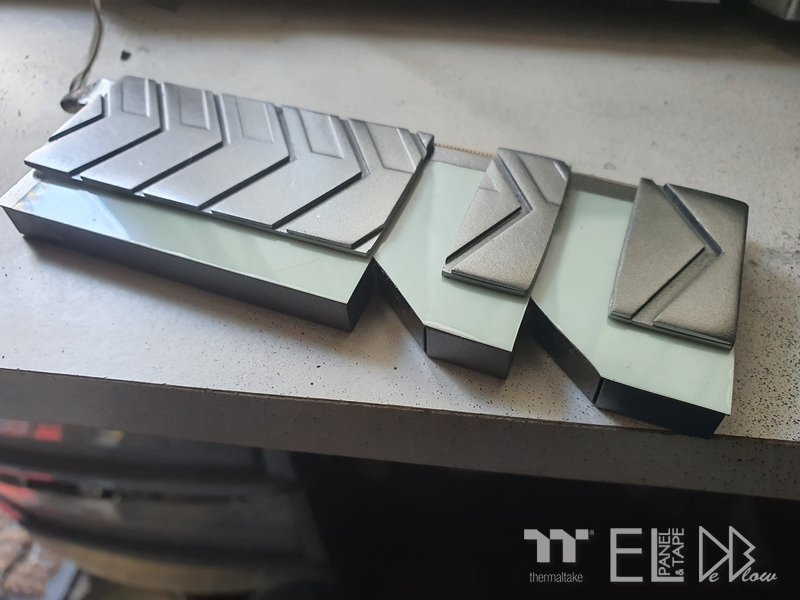
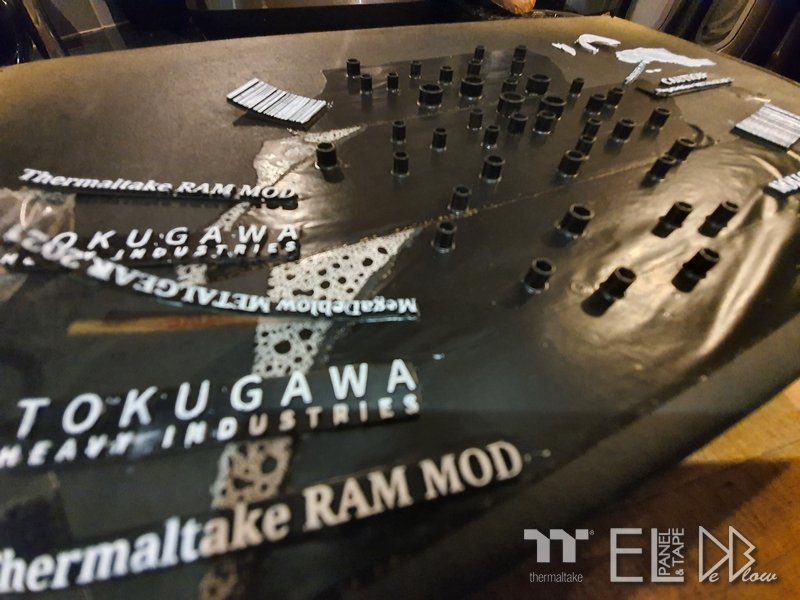
Battery cover for the sword We have 4 sticks of Tough RAM, so I wanted to done one main one for the sword but also put some effort in to modding the other 4, a difficult task when we need to MOD them but also keep the original parts of the RAM intact, so I spent a lot of time working on designs and seeing what worked best. This is some of the bits I worked on, not all made it to the final stage though. This is the smaller 3 stands I've made for the remaining RAM, as the main focus was to be the RAM i went with the smallest stand I could do without it falling over. text was a bit dodgy so needed some fixing. After the sanding and primer it was time for the gloss black followed by gold chrome then adding the same gold bolts as I used on the sword.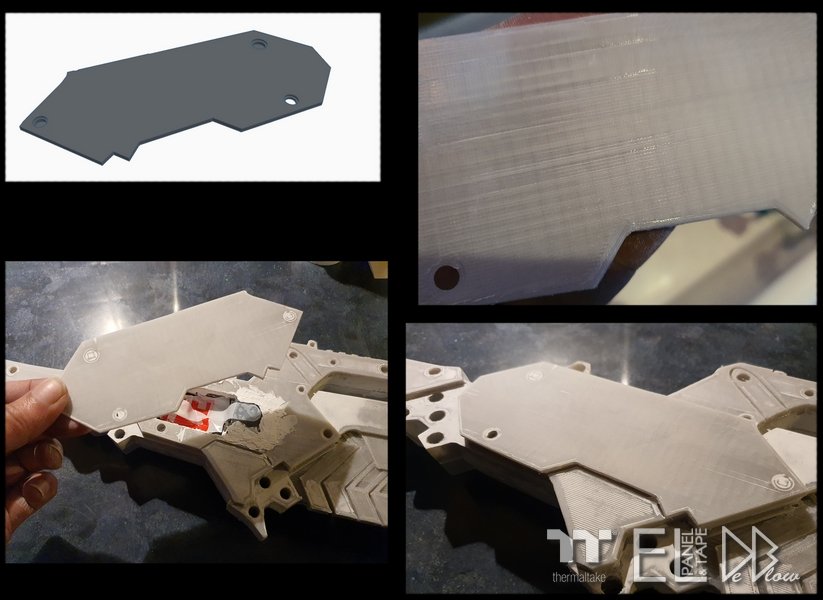

-
[United Kingdom] Rob De Luce
Rob "Deblow" Deluce replied to Tt Andy's topic in 2021 Thermaltake RAM MOD Invitational Season 1
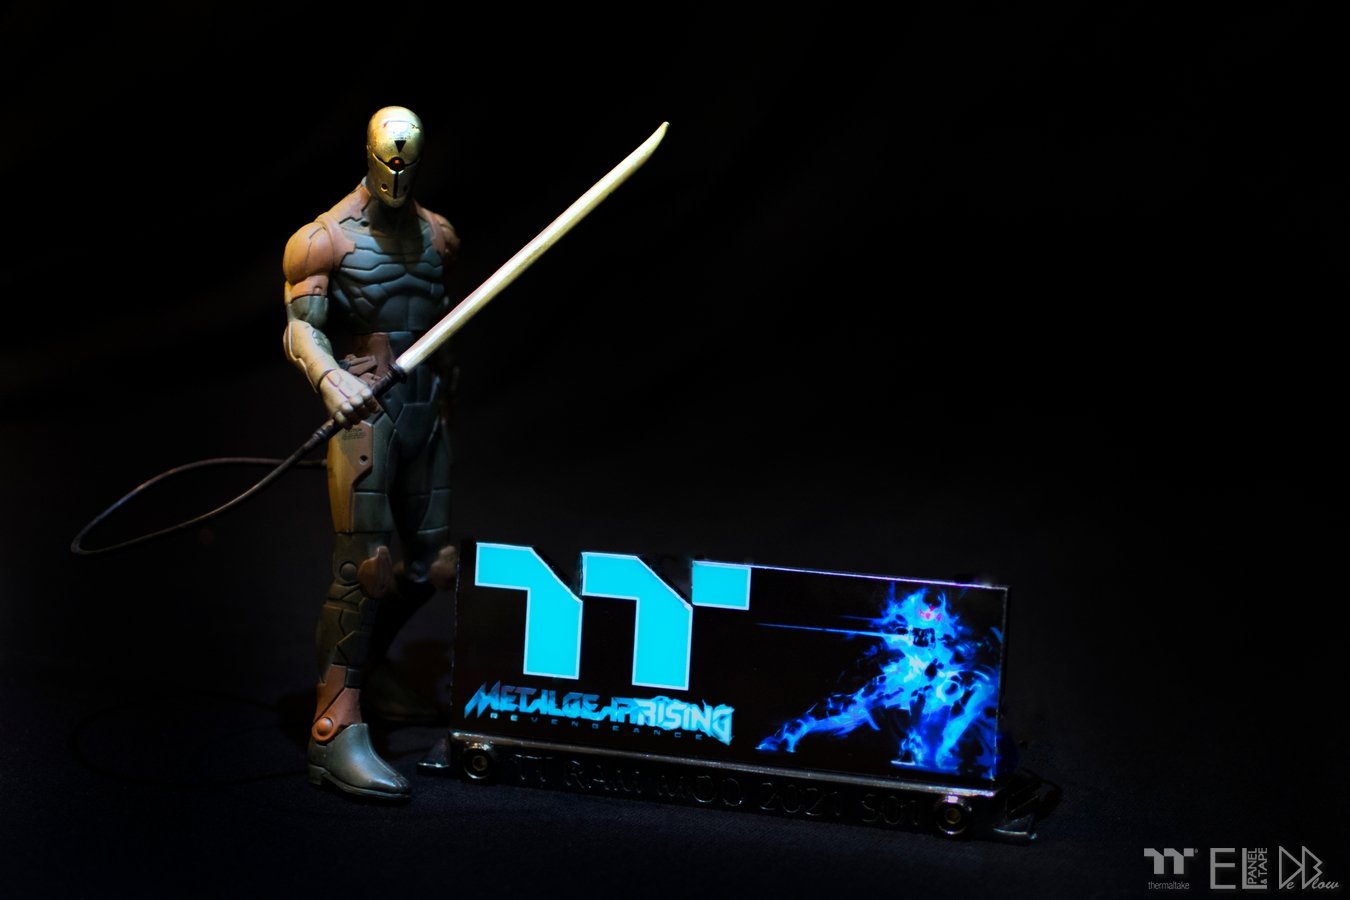
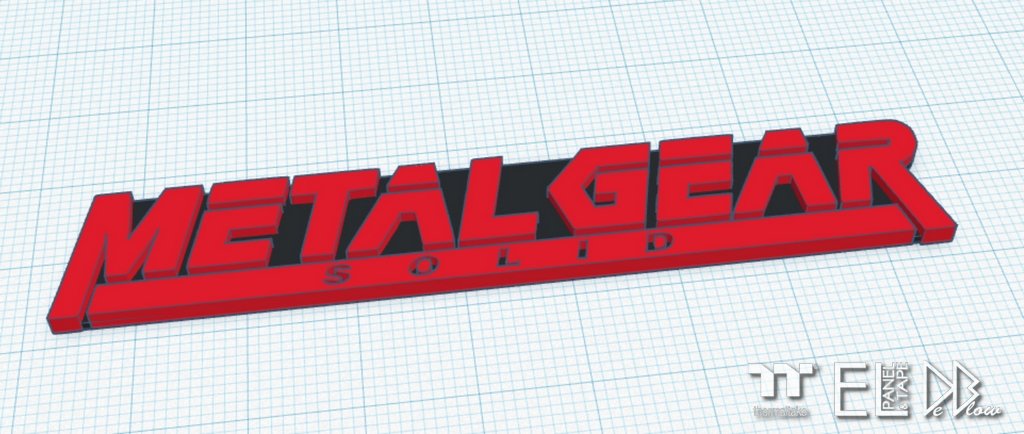
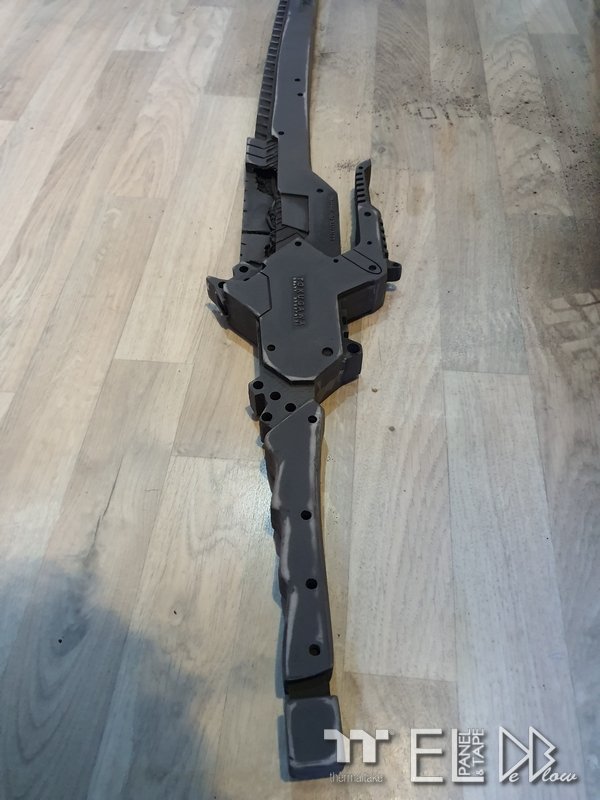
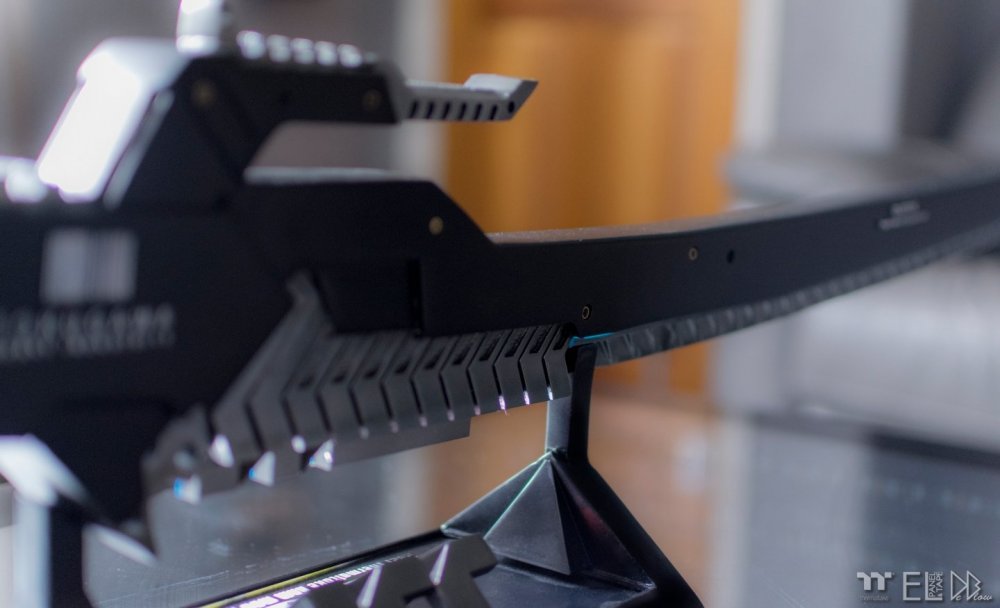
For this years season 1 Tt RAM MOD i based my designs on the METAL GEAR game, GREY FOX the cyborg ninja! This is the original game i first got to see him in action (metal gear solid), in later games his look changes and his mental state, he's a great character with some great swords, the main sword im reproducing is the ARMOR BREAKER from METAL GEAR rising revengeance and will be the focus of the next video. -
[United Kingdom] Rob De Luce
Rob "Deblow" Deluce replied to Tt Andy's topic in 2021 Thermaltake RAM MOD Invitational Season 1
Thanks mate, yeah its good stuff, handy for lots of things. The blue on your RAM looks great though, looks to have a glow to it. -
[United Kingdom] Rob De Luce
Rob "Deblow" Deluce replied to Tt Andy's topic in 2021 Thermaltake RAM MOD Invitational Season 1
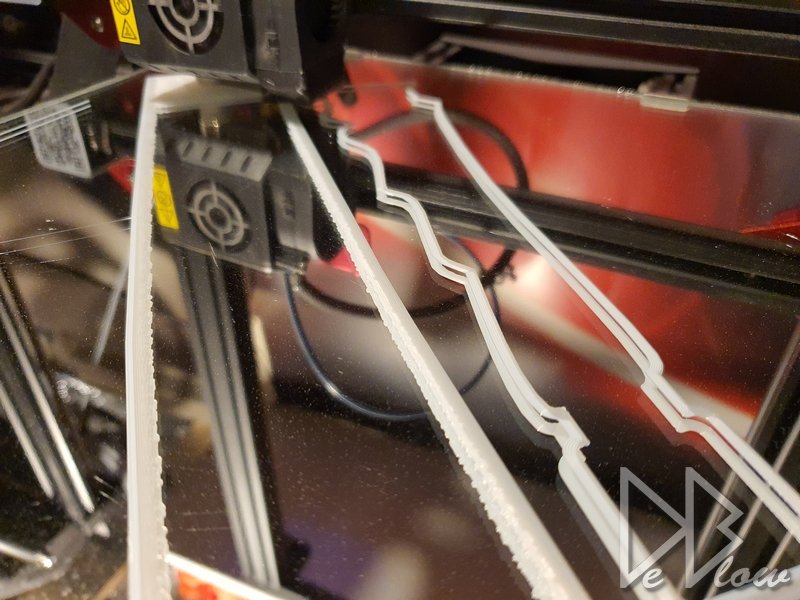
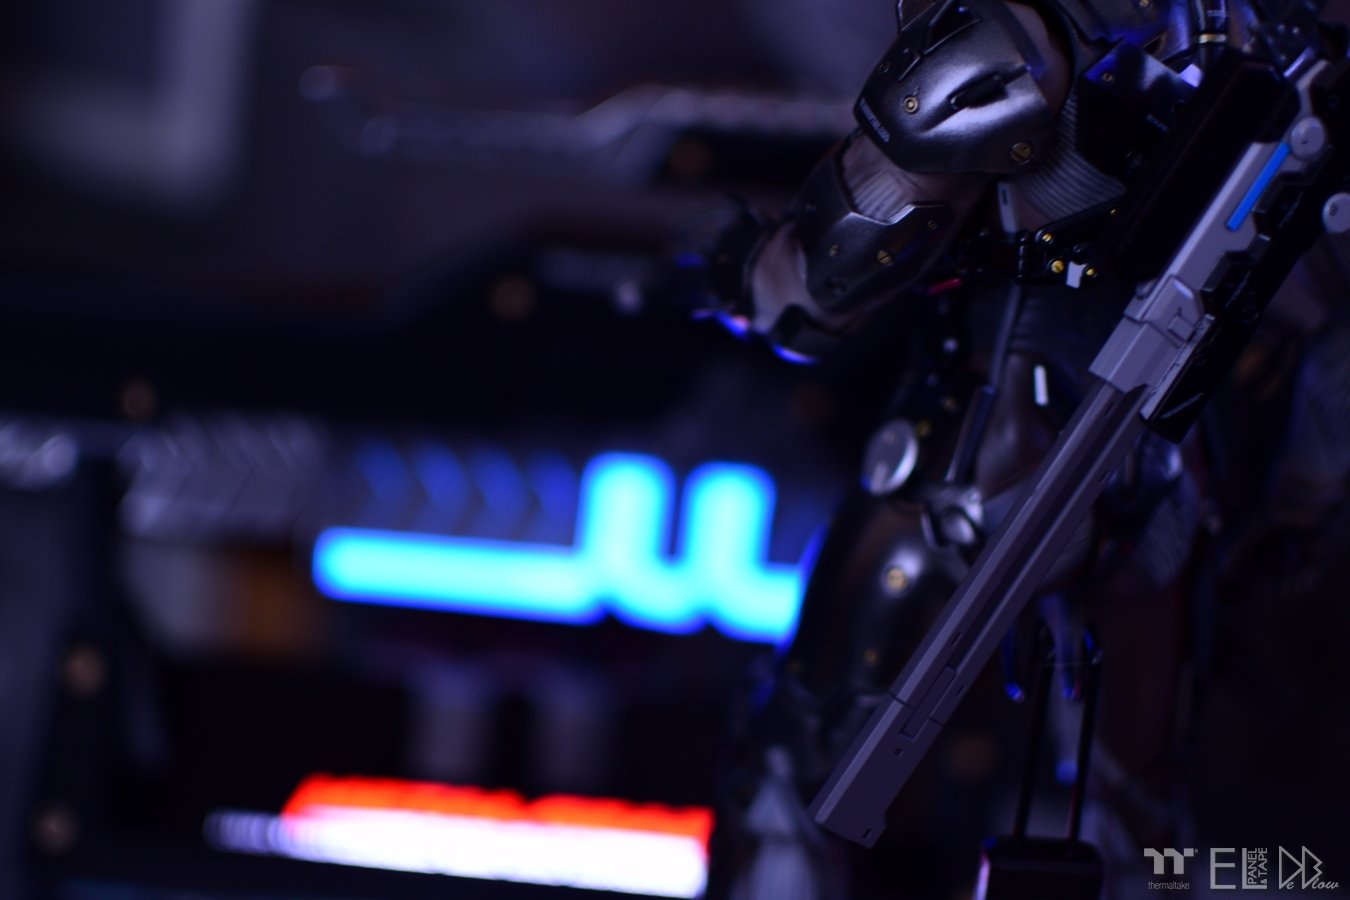
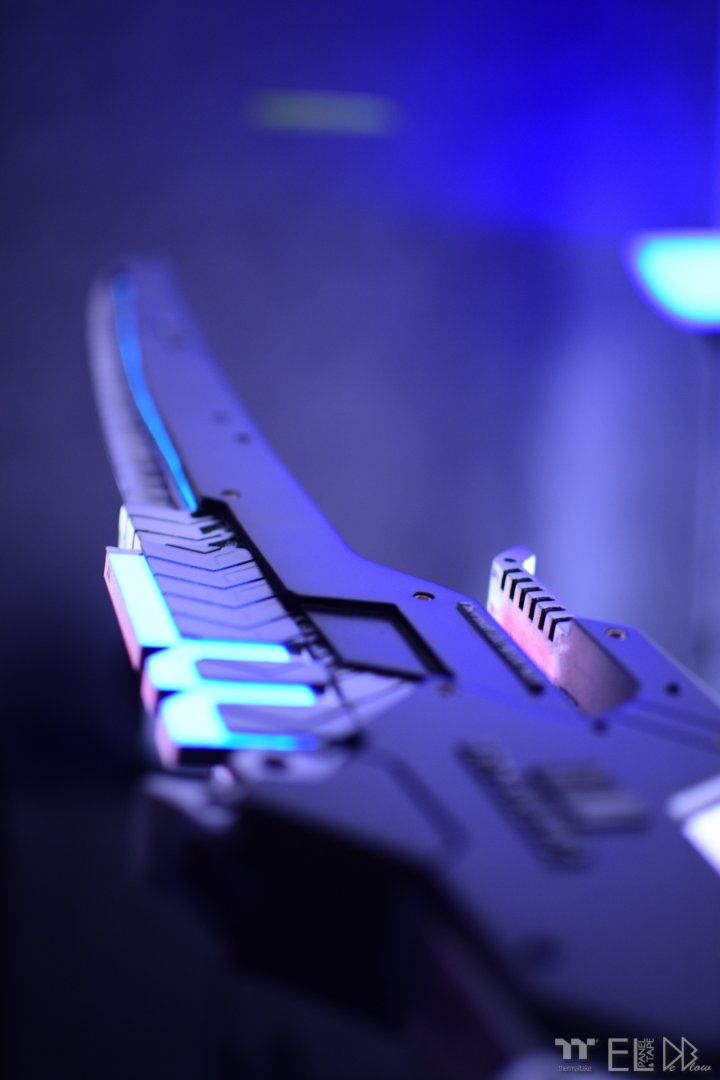
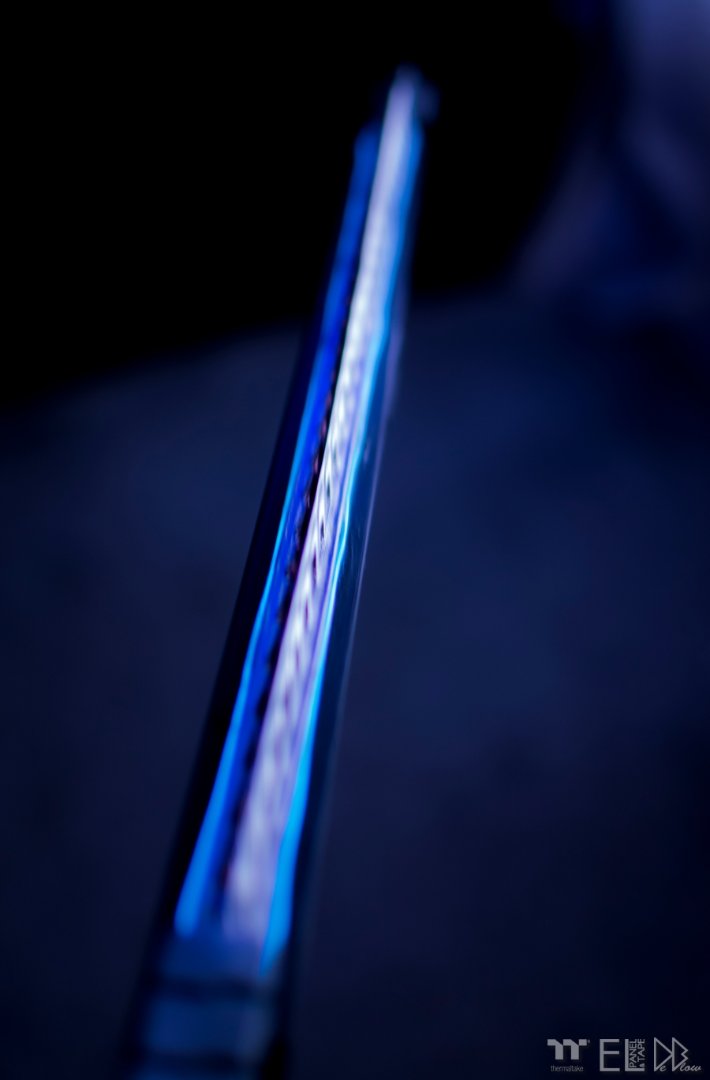
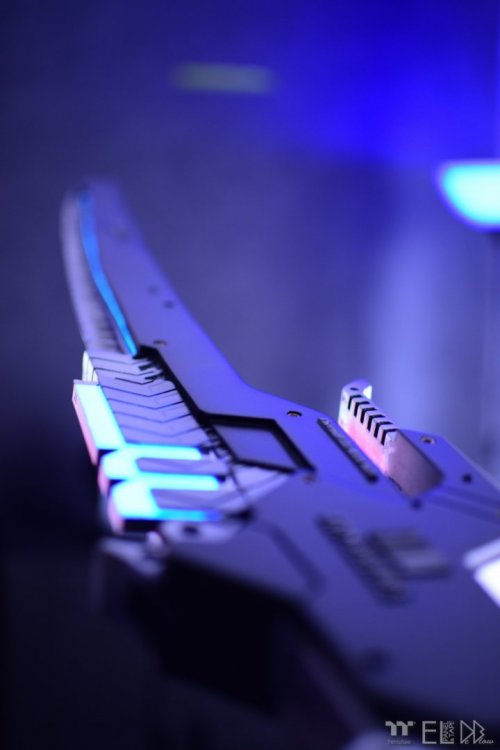
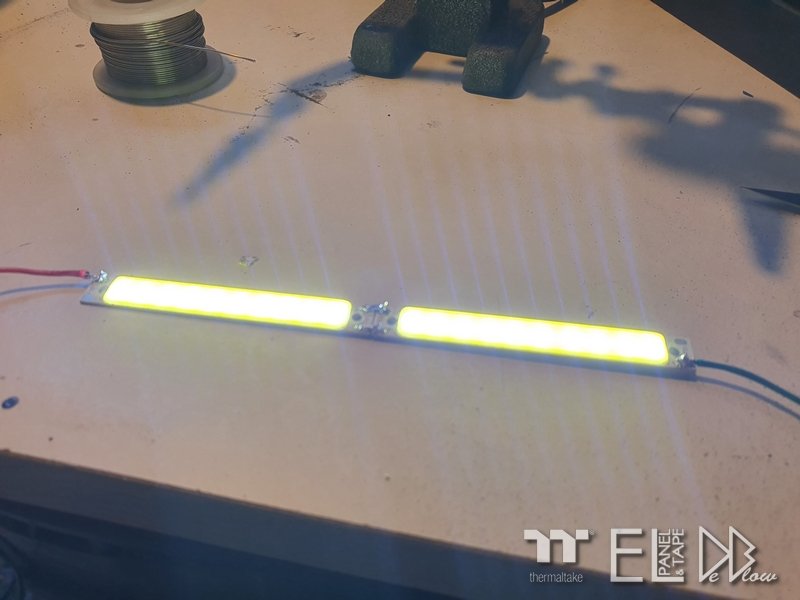
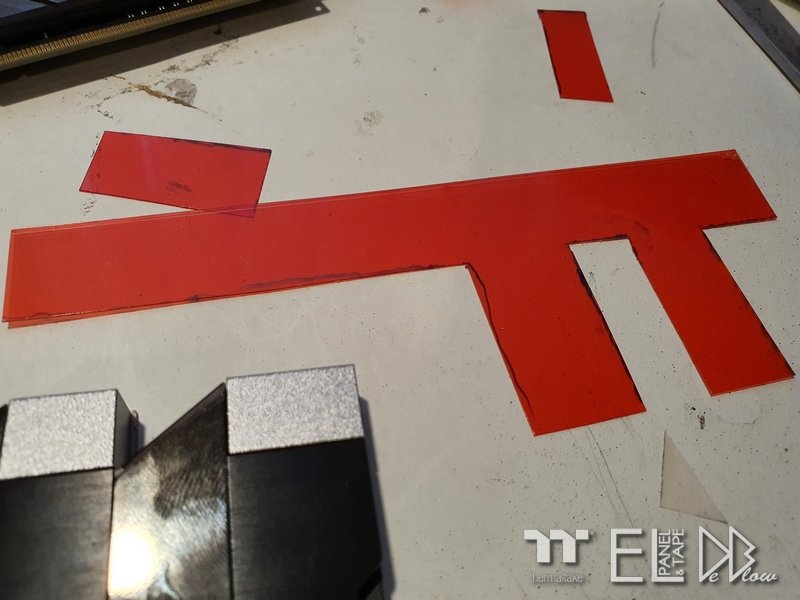
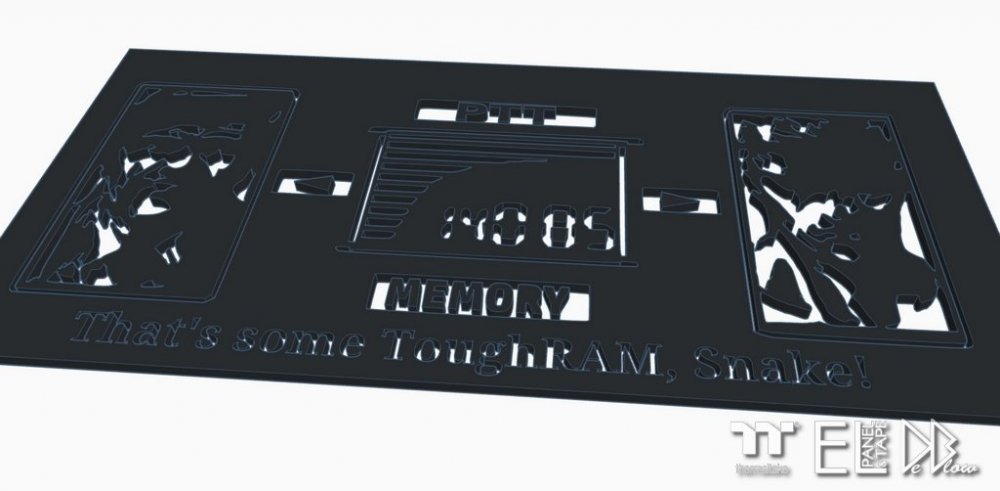
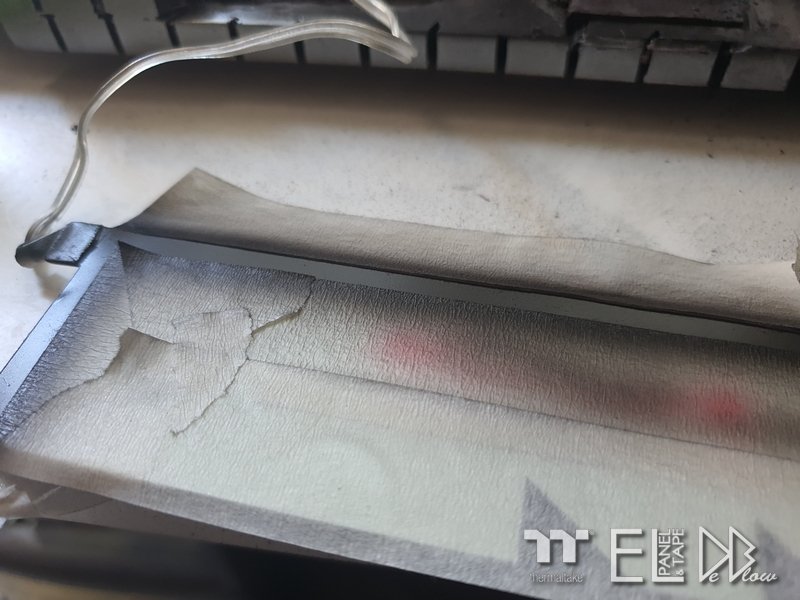
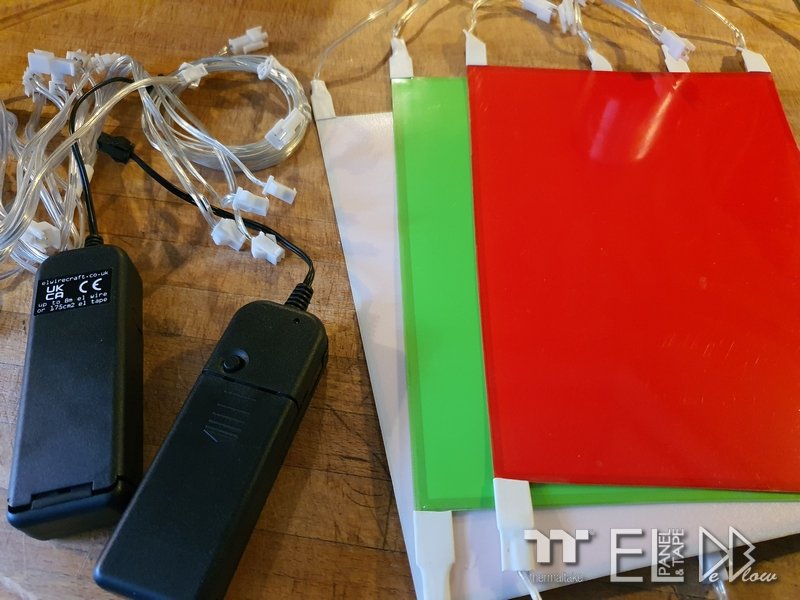
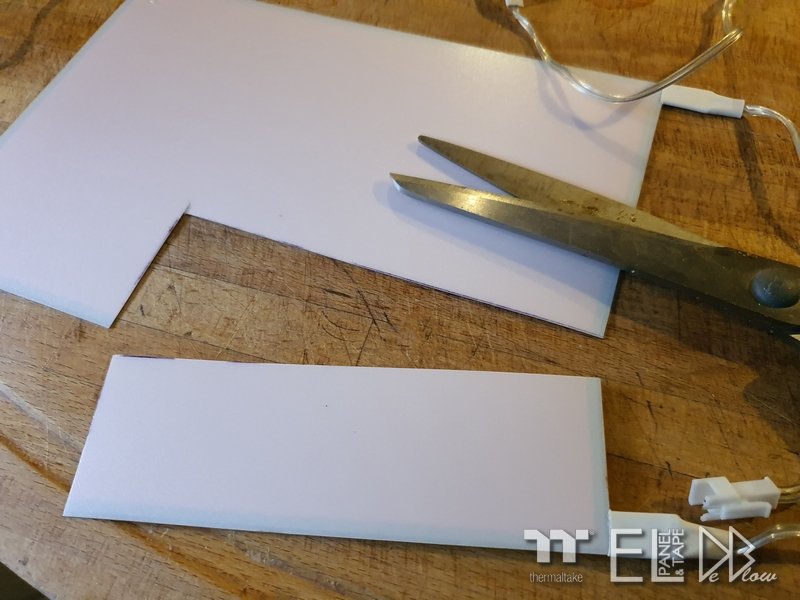
Now for the main part, the RAM itself. Thanks to elwirecraft.co.uk/ & elpanelandtape.co.uk/ , I have some great EL tape and wire for the custom mod, some are the colour I need and others can be covered to make any colour I want. The EL wire is already the perfect colour I need, coupled with the battery packs it will be powered from within the sword so it can be displayed and used freely without wires getting in the way. Love EL tape, can be cut to almost any shape as long as the power lead is still attached. Along with other projects, I last used this on my Avengers JARVIS mod last year. This is not in place yet, but gives you an idea of the look im going for, it will be part of the ARMOR breaking swords main blade in the centre, helping keep the focus on the main attraction With the RAM I'm taking care to make sure its within the thickness needed so it can be used if needed later.
-
[United Kingdom] Rob De Luce
Rob "Deblow" Deluce replied to Tt Andy's topic in 2021 Thermaltake RAM MOD Invitational Season 1
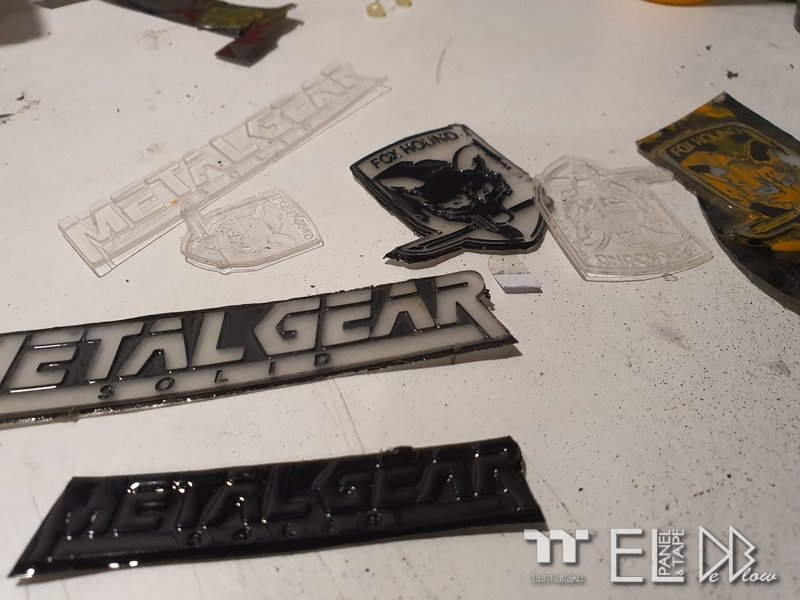
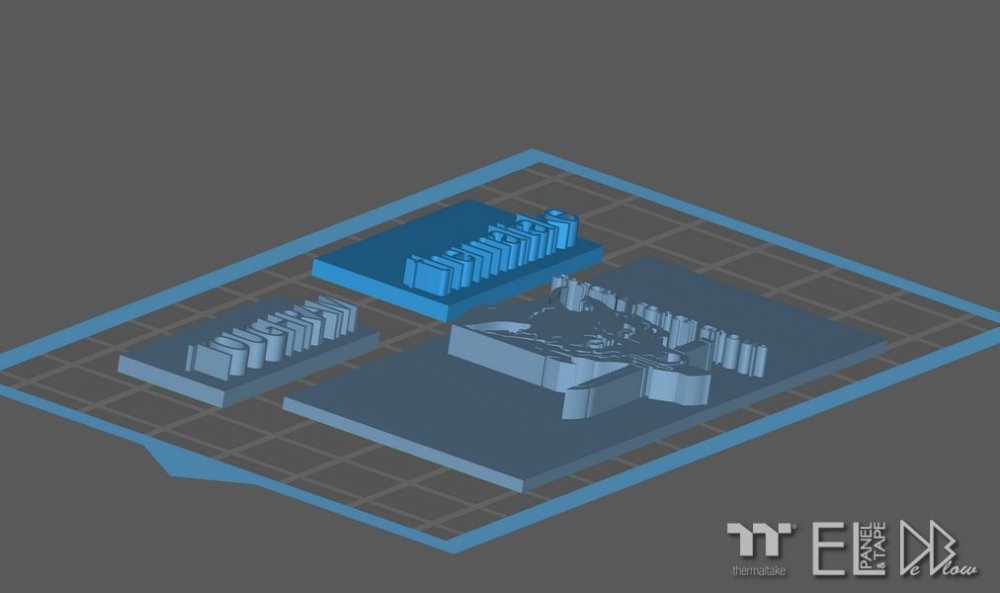
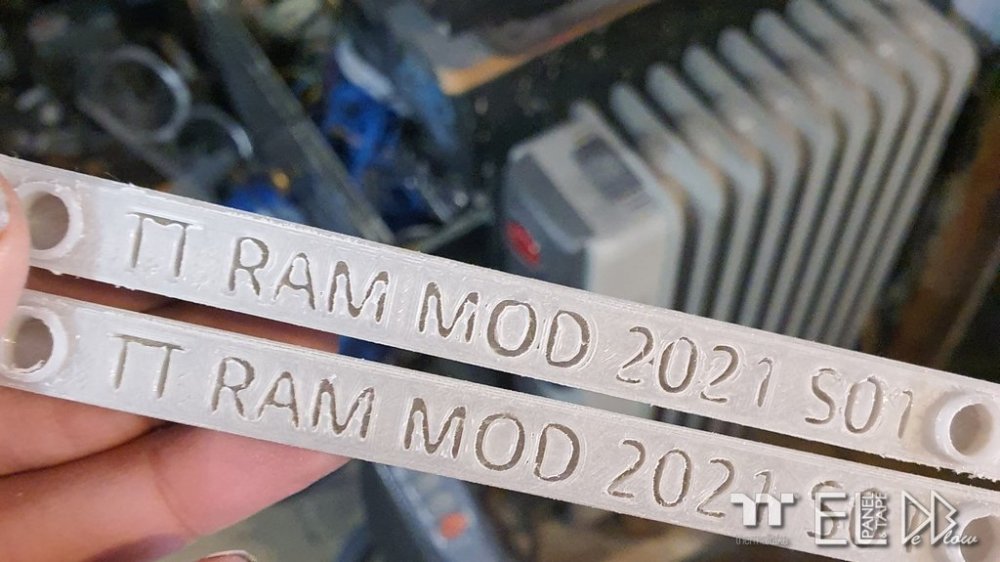
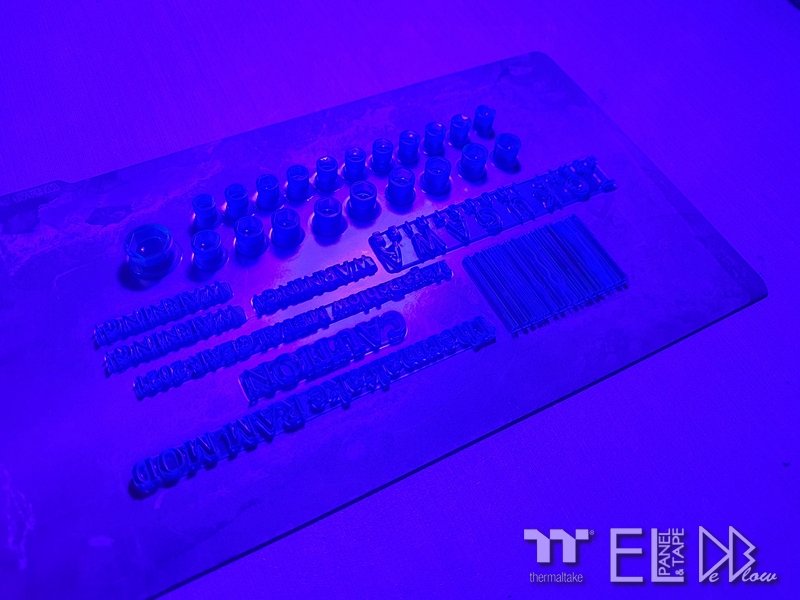
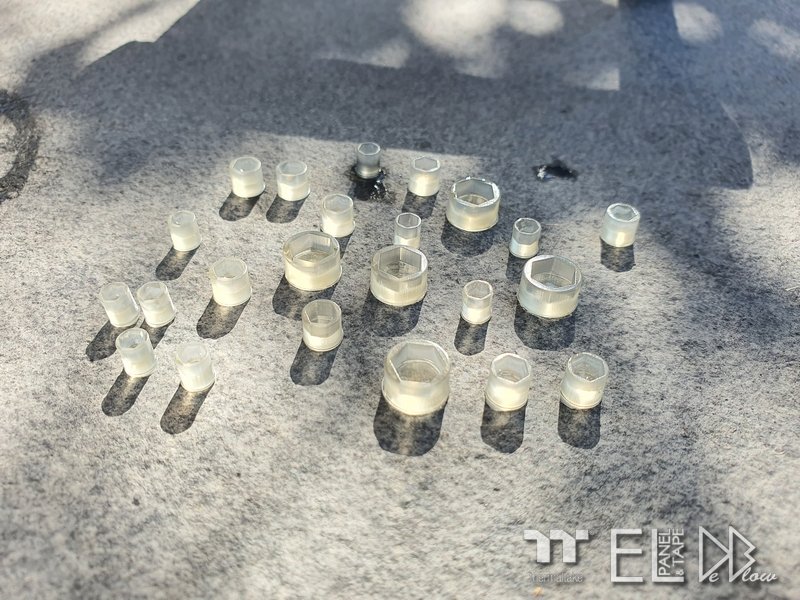
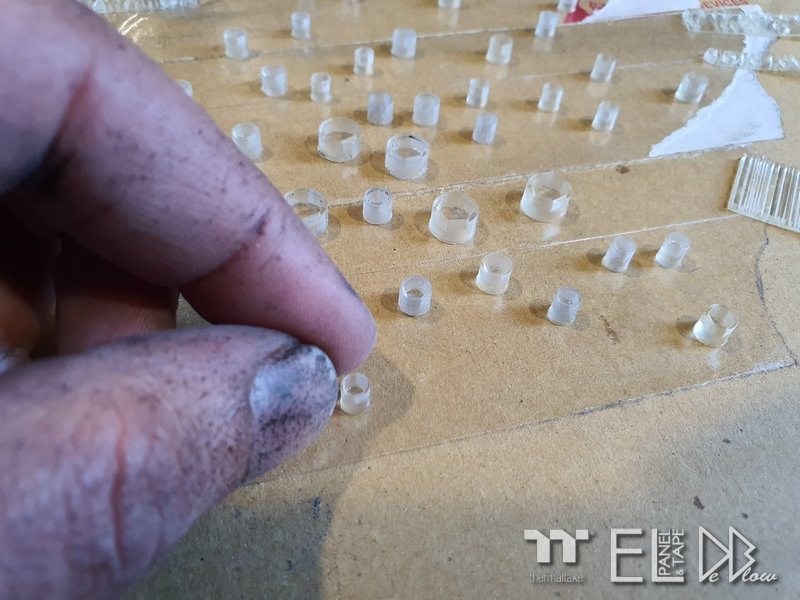
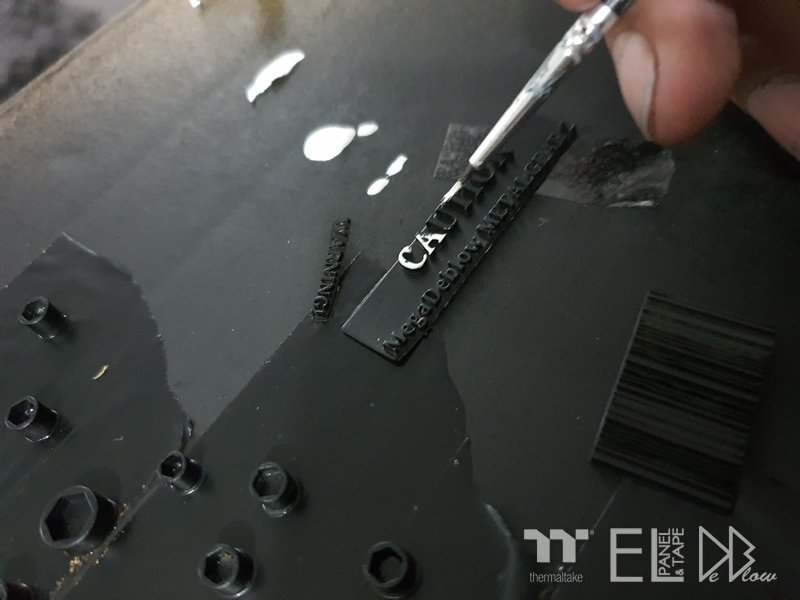
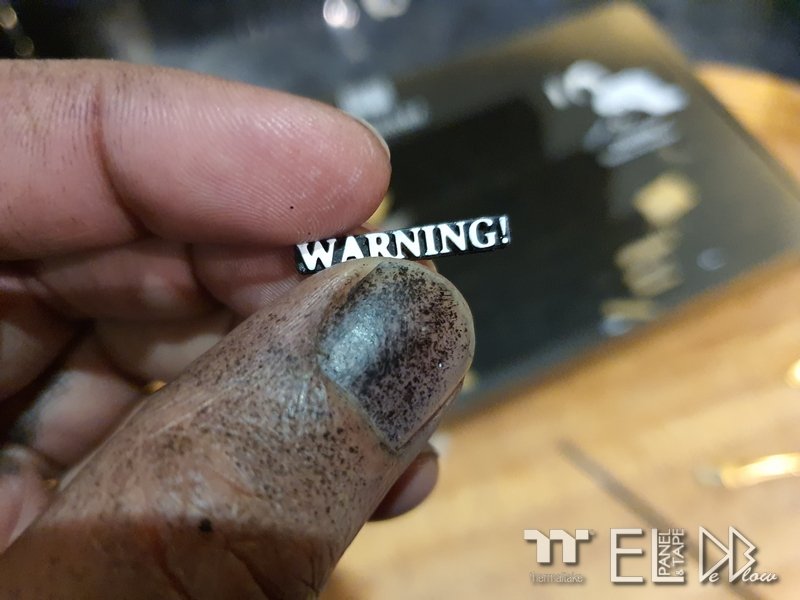
Below is the text and the nuts I've designed for 3d printing, lots of sizes and thickness. I did 2 versions of the text, one was deeper than the other, after using the deepest one originally I then change my mind and replaced them with thinner ones. Curing them under UV then some natural sunlight. The text was done in black followed by white, the nuts was also done in black but followed with gold on most of them. I lost many of them due to the small size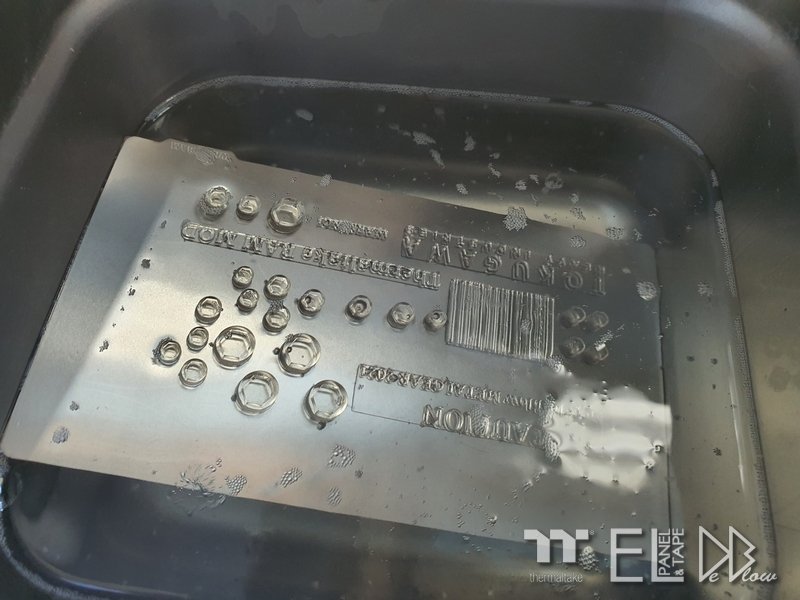

-
[United Kingdom] Rob De Luce
Rob "Deblow" Deluce replied to Tt Andy's topic in 2021 Thermaltake RAM MOD Invitational Season 1
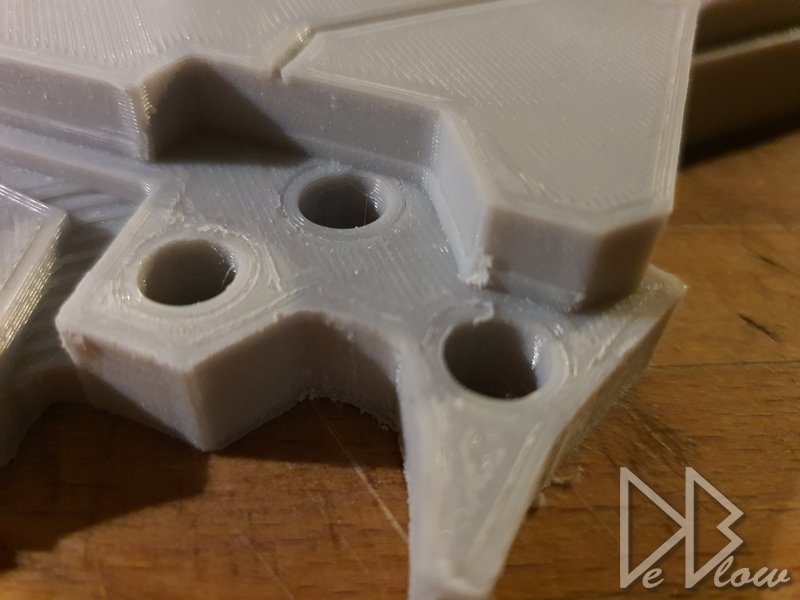
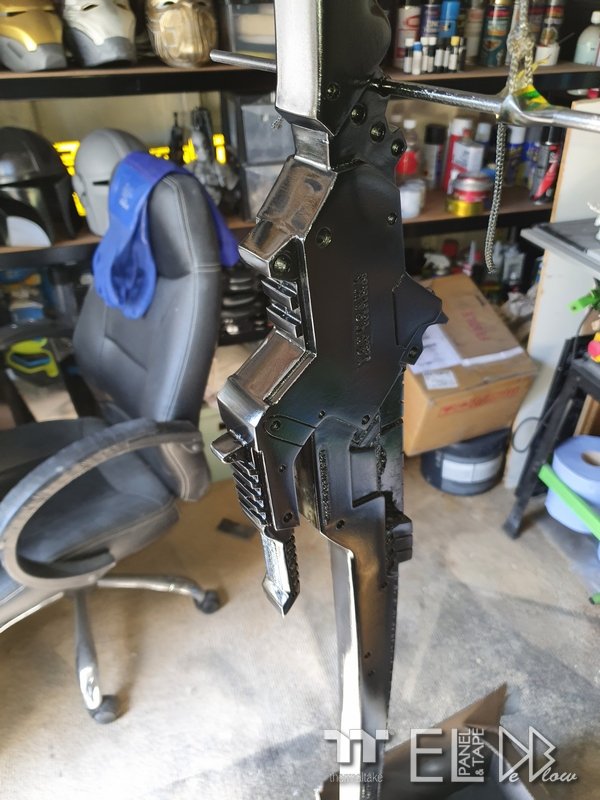
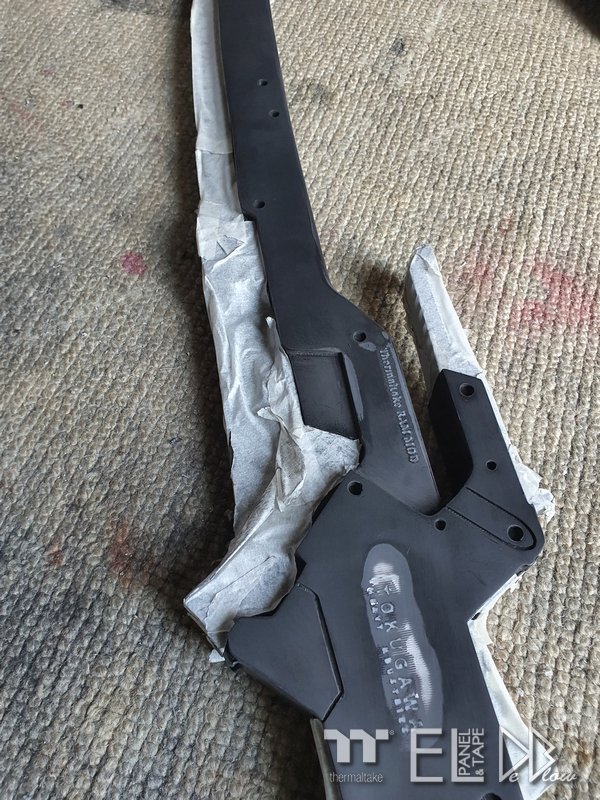
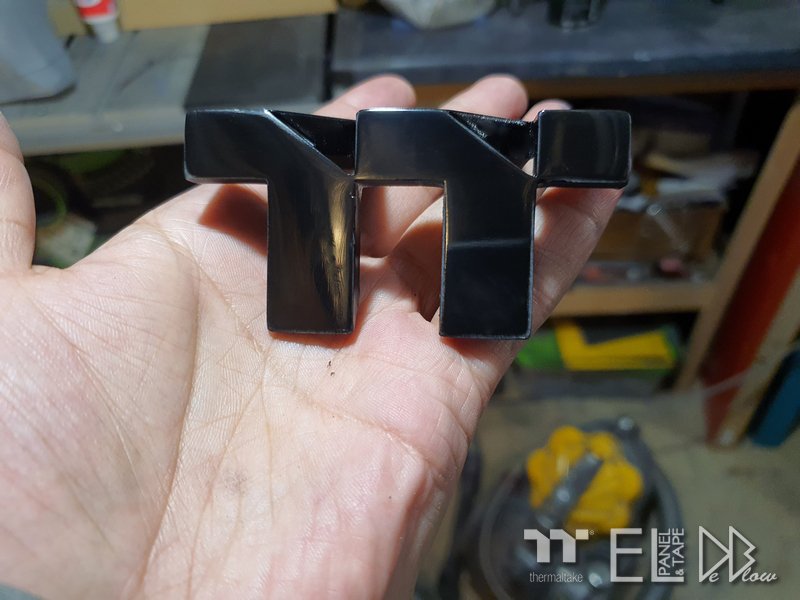
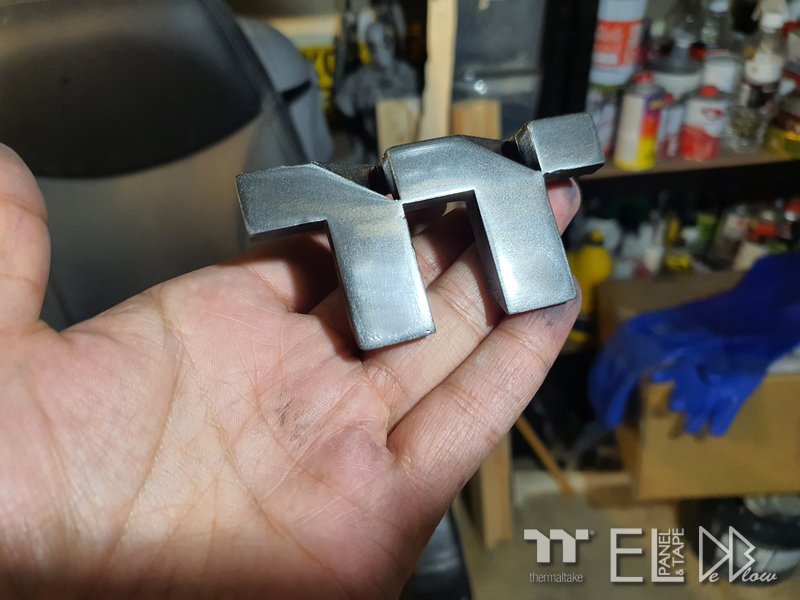
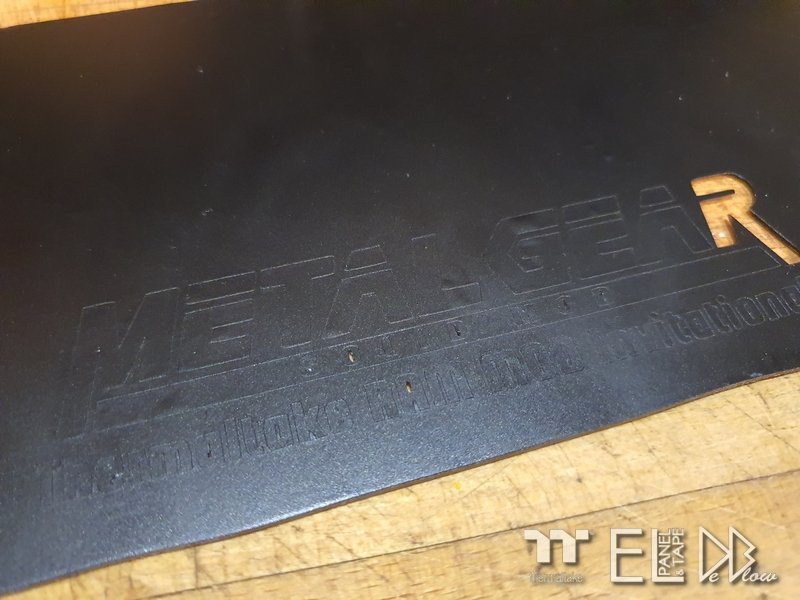
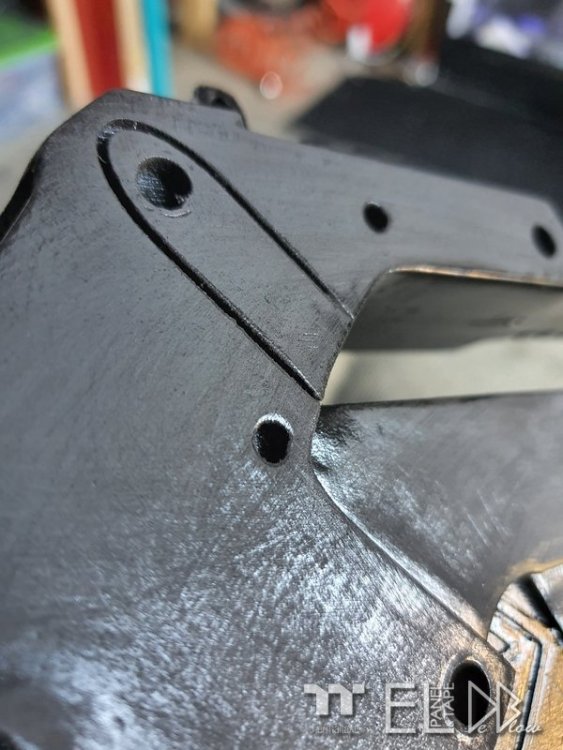
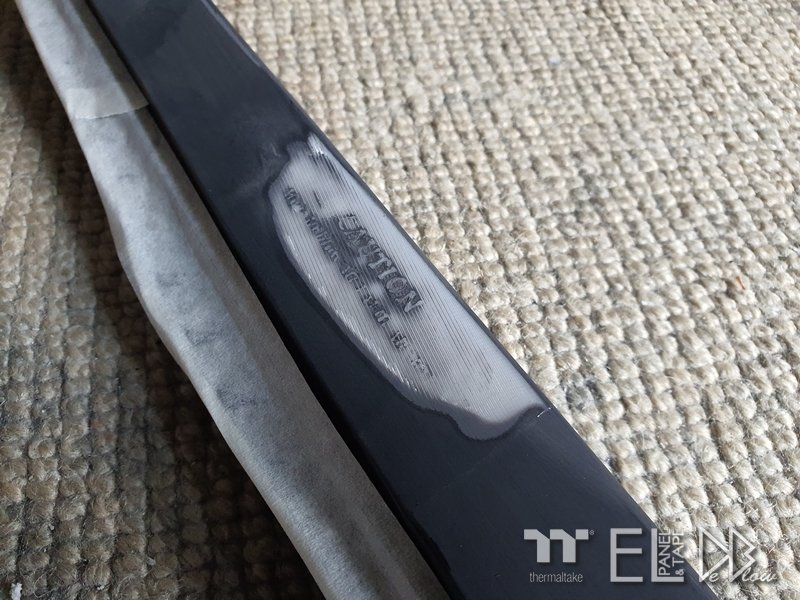
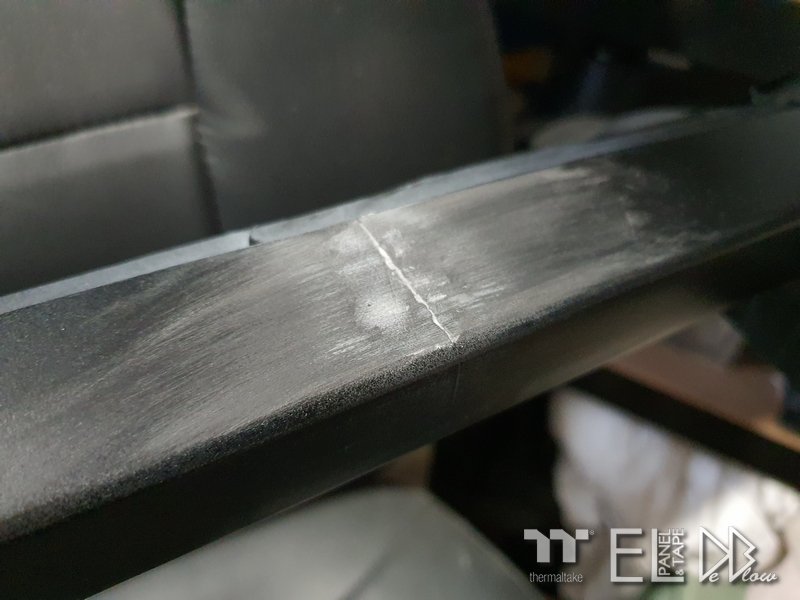
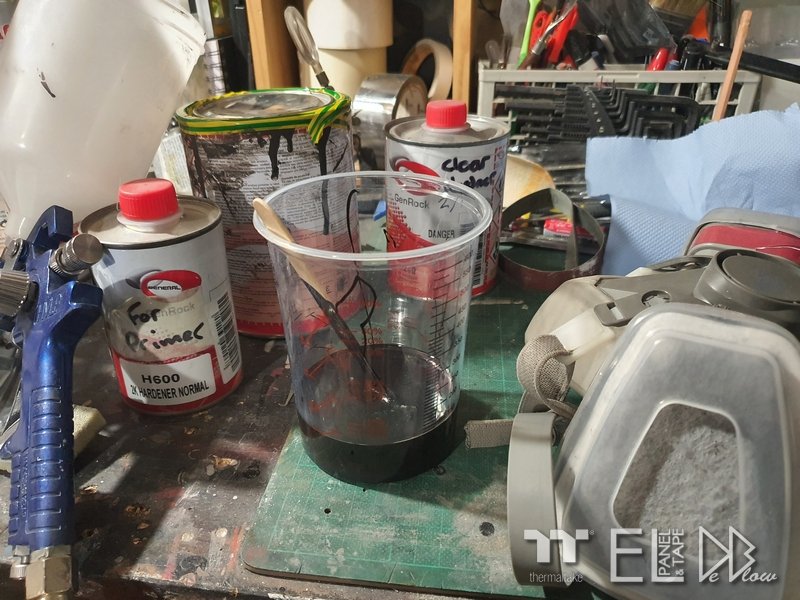
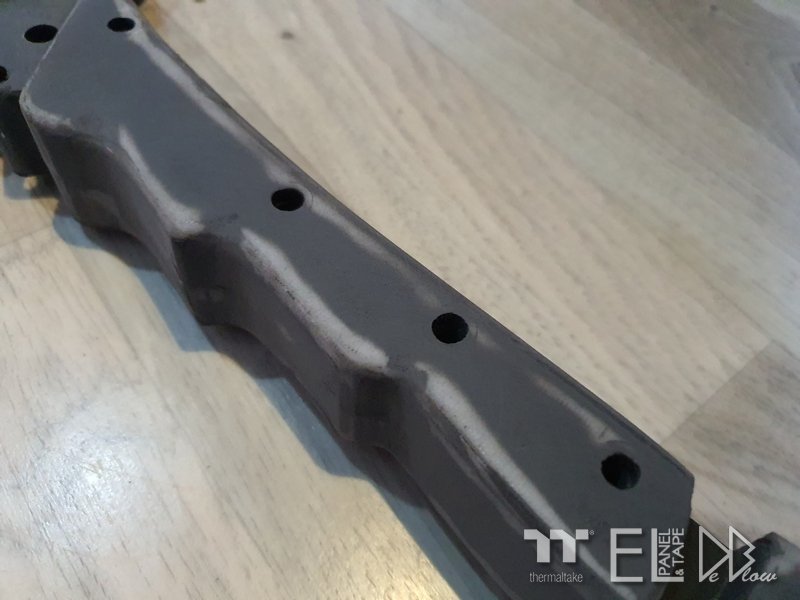
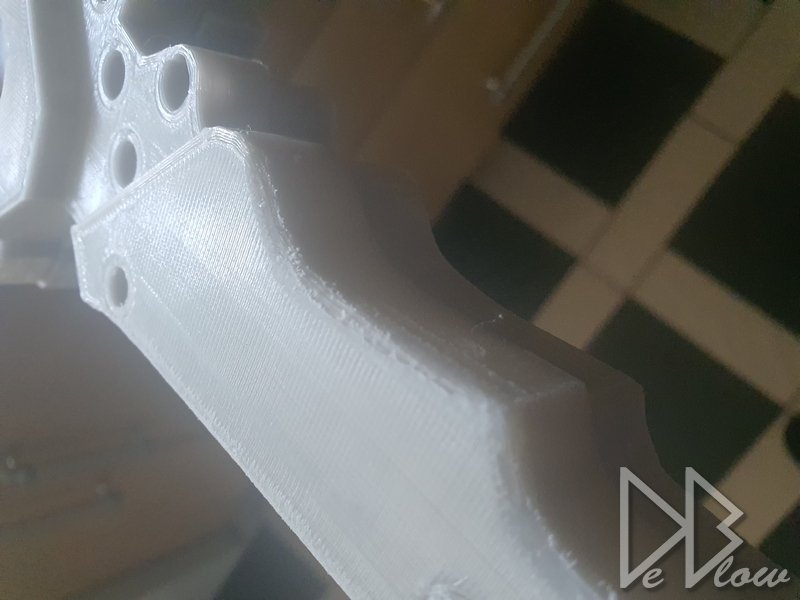
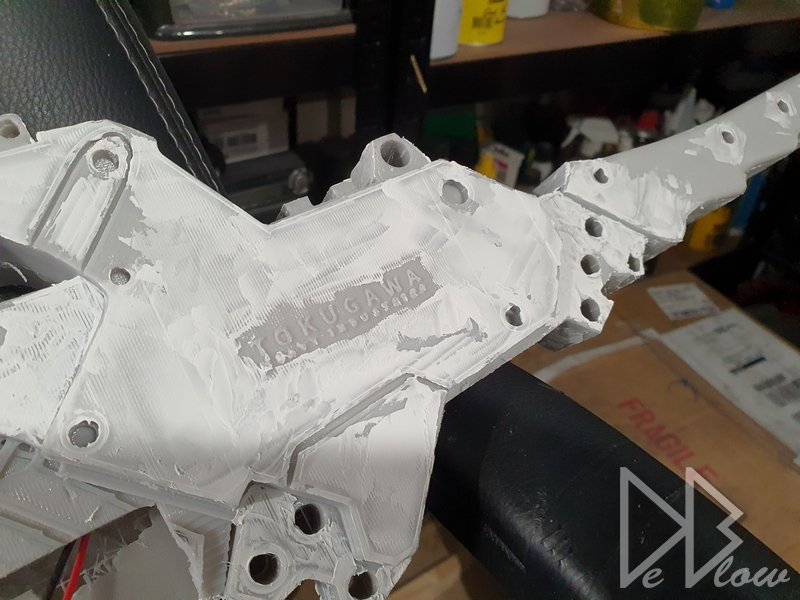
Even after much work, once the main paint is down it shows all the imperfections, so its sanded down again and fixed before repeating the final black coat. Starting to look better, just some orange peal to deal with now 😕 The text I originally made as part of the sword, but after some testing im going with some new text ive been working on, this text will be sanded off prior to adding the new ones. the black is done, so too is the nice chrome silver for the blade and some other parts. The joints took ages to get rid of, with every coat of paint they started to apear again, the paint must have a reaction with the filler and plastic. So this part must have been repainted more than 6 times.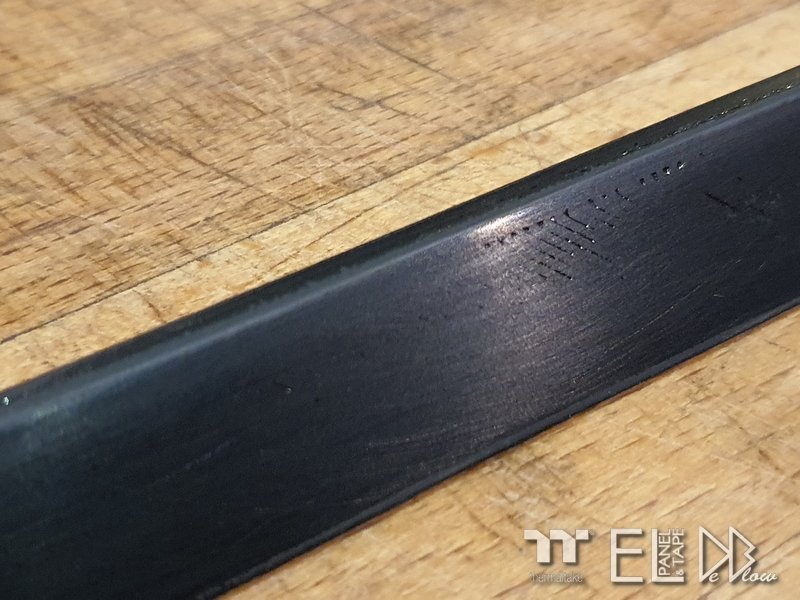


-
[United Kingdom] Rob De Luce
Rob "Deblow" Deluce replied to Tt Andy's topic in 2021 Thermaltake RAM MOD Invitational Season 1
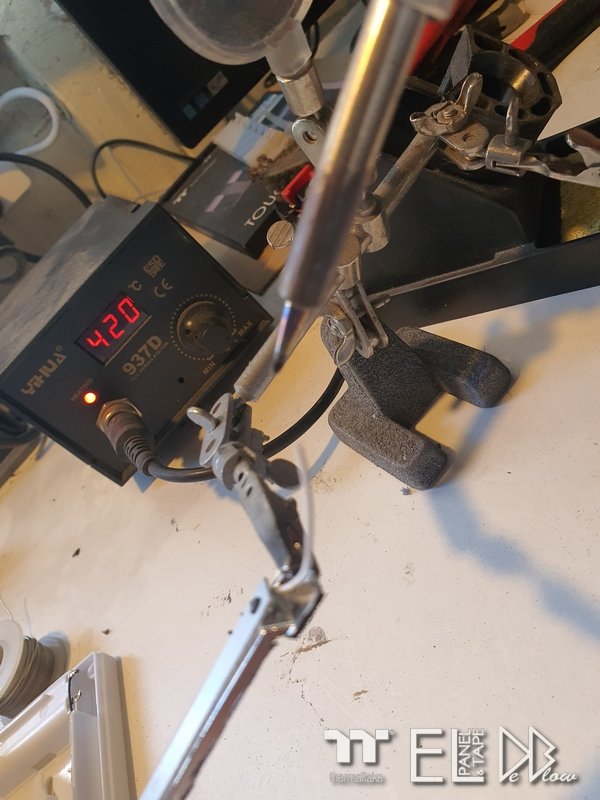
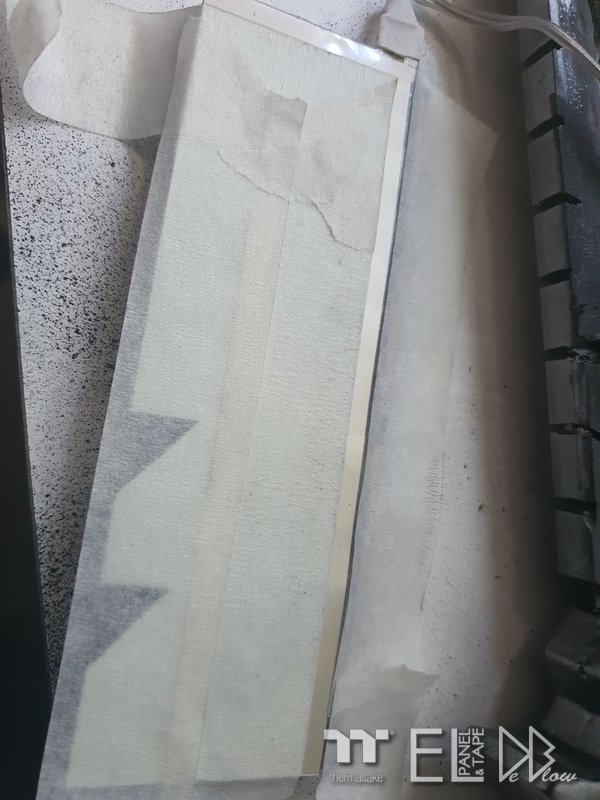
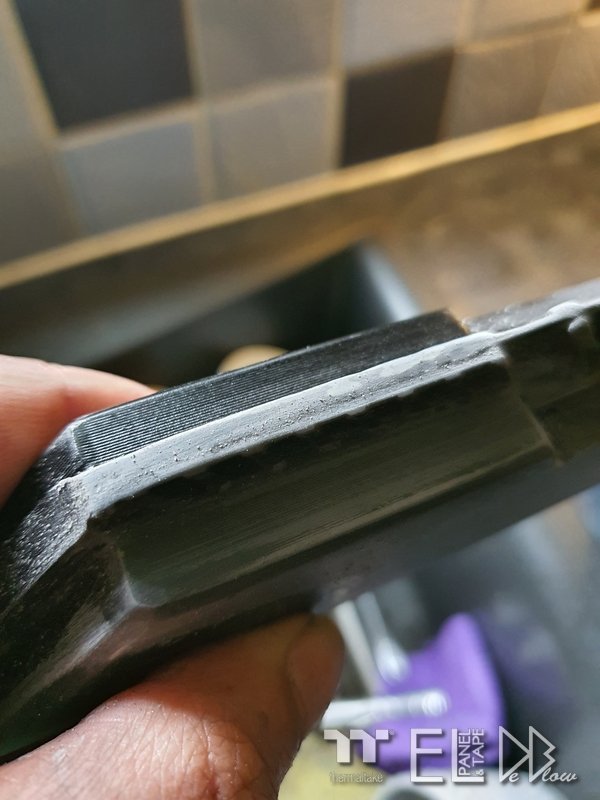
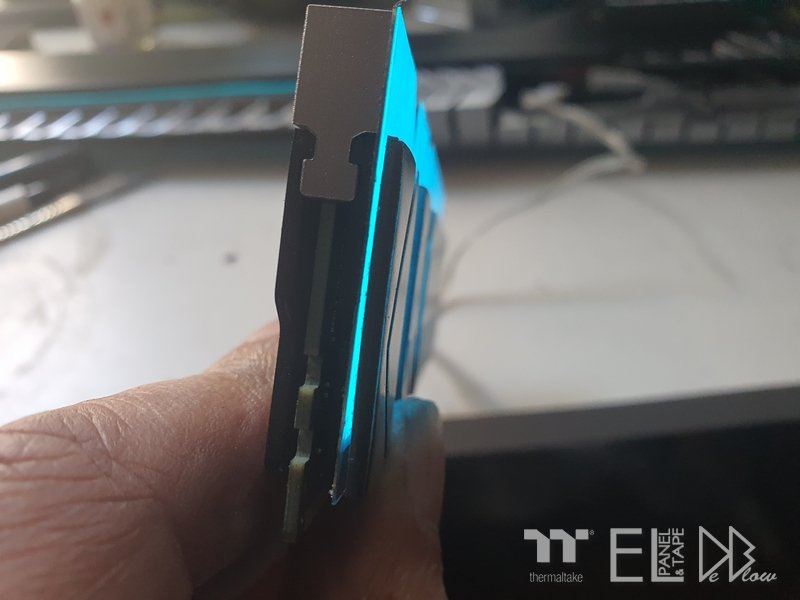
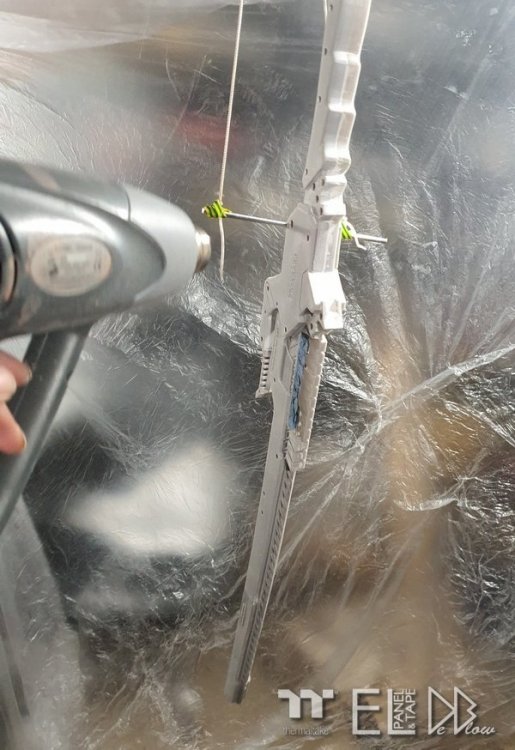
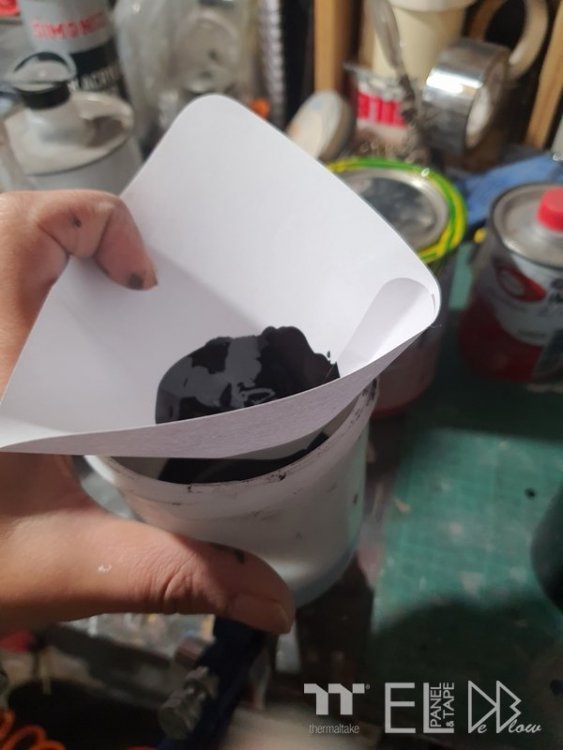
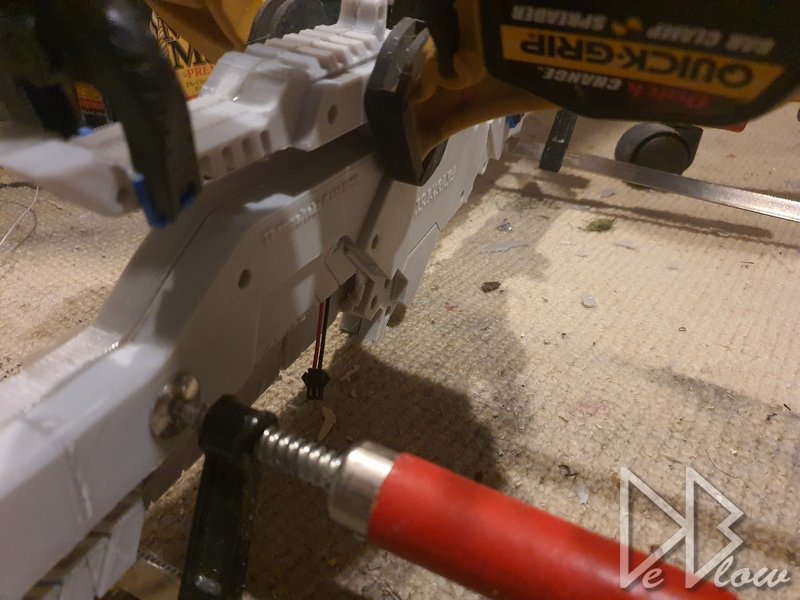
Blades been "toughened" with some resin and sanded down with the rest of the sword for painting. I will be using 2K paints for most of the black parts starting with a black base coat. Once thats all sanded down i repeat as many times as needed, in this case 3 times then a final sand before the main black is added. The Handel needed from shaping to make it comfortable to hold with one or two hands. the blade is almost perfect now, just a bit more sanding hear you can see the battery holder for the sword along with the power button.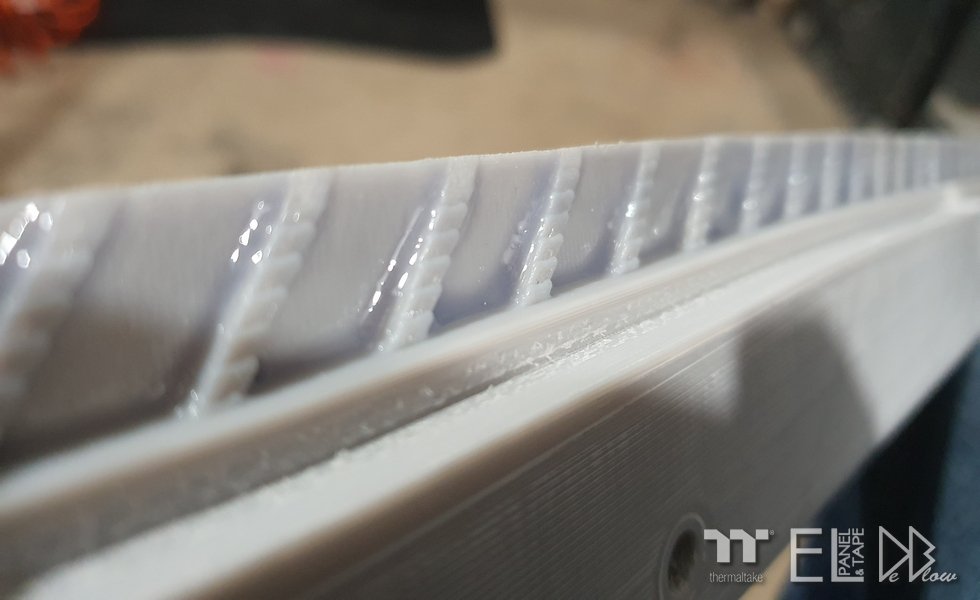


-
[United Kingdom] Rob De Luce
Rob "Deblow" Deluce replied to Tt Andy's topic in 2021 Thermaltake RAM MOD Invitational Season 1
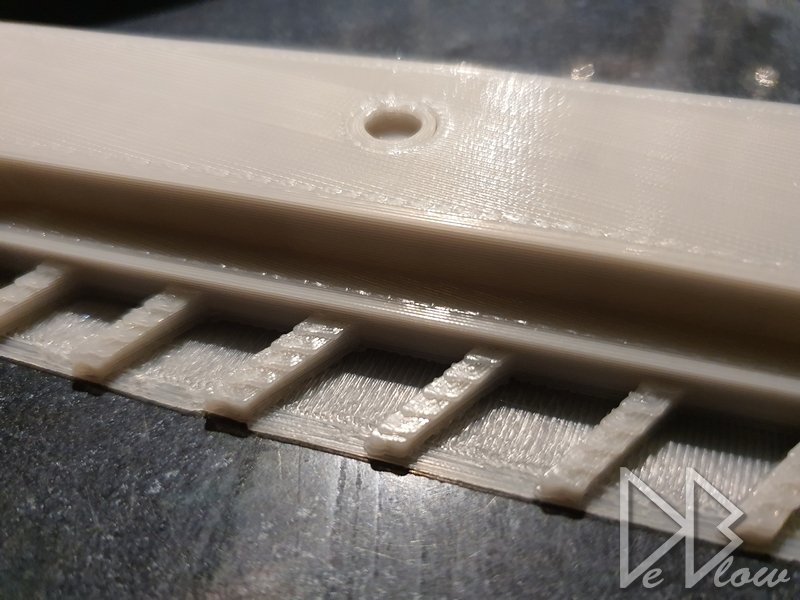
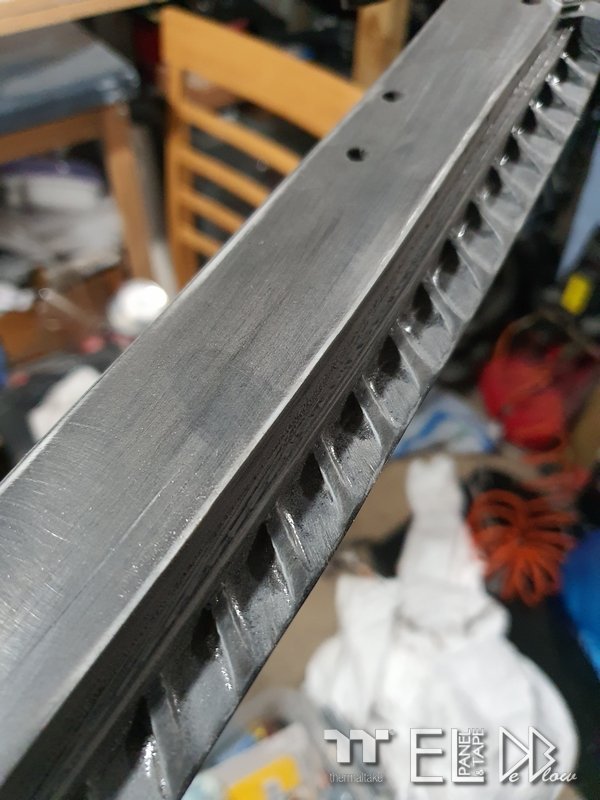
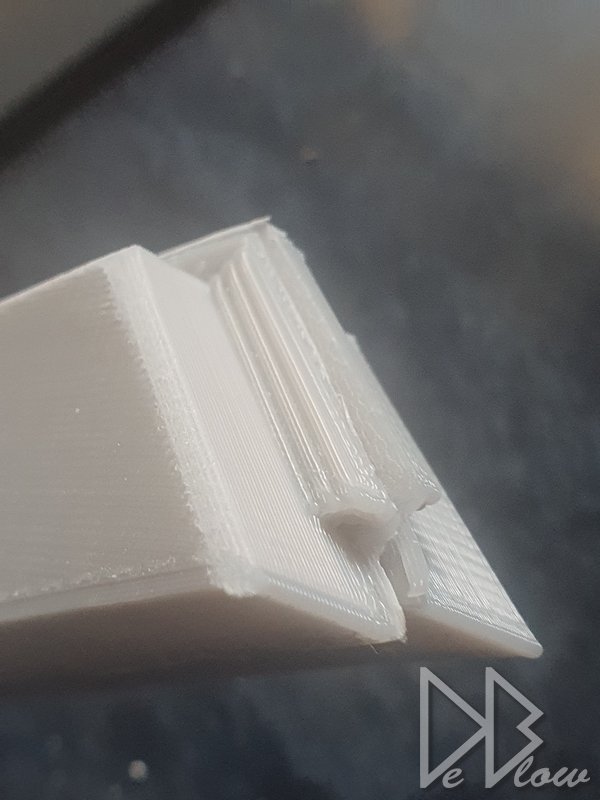
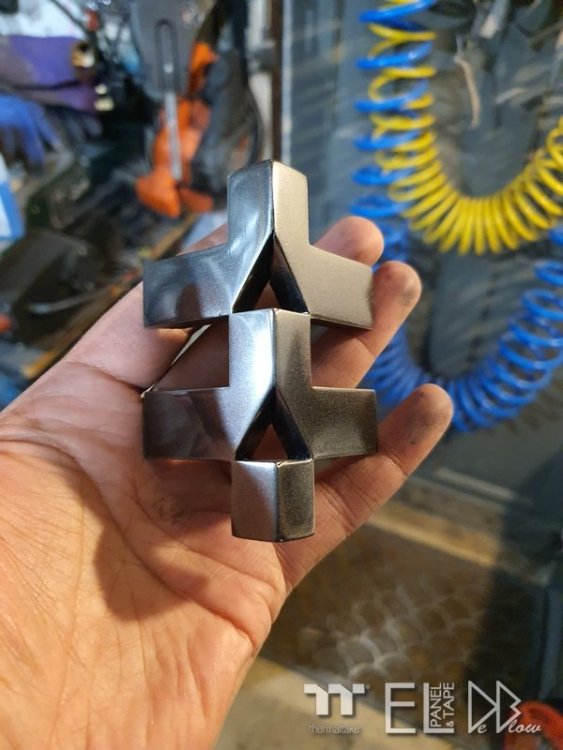
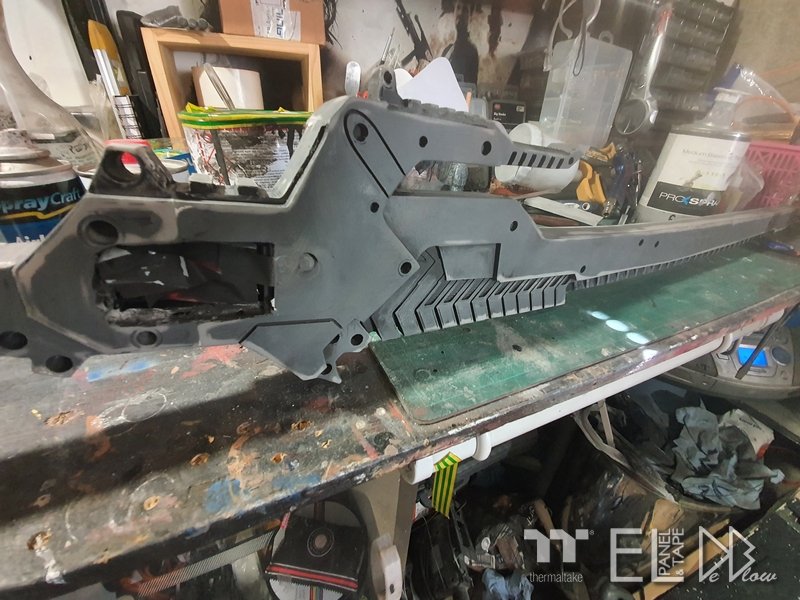
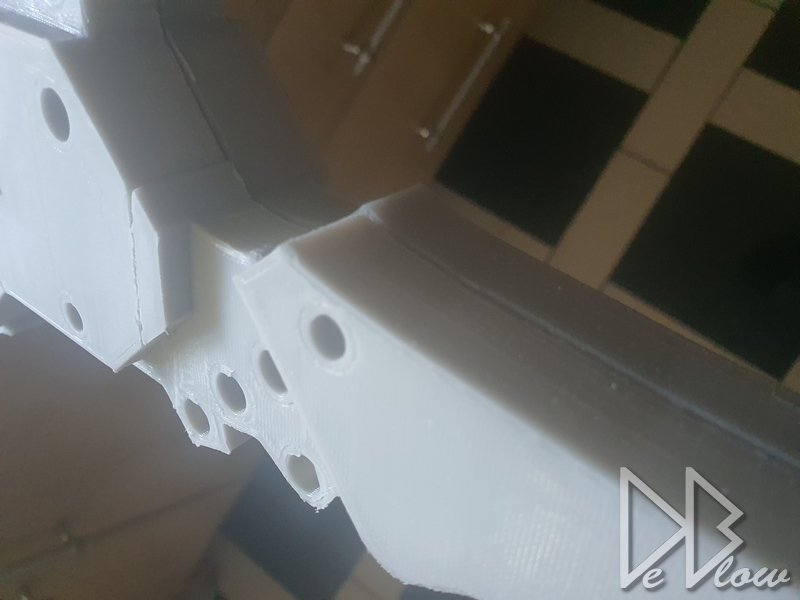
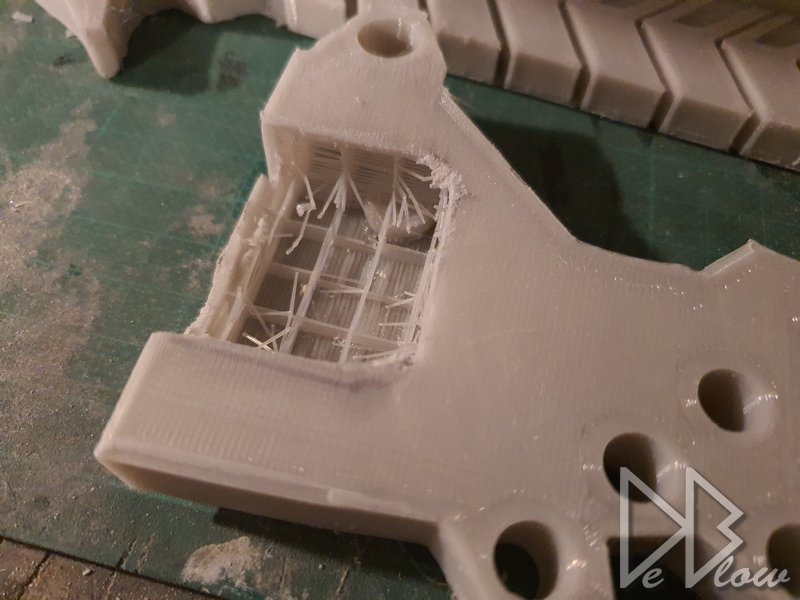
Print lines and imperfections, the worst part of 3D printing for myself. I must have spent 3 days sanding down and filling gapes, but for the sword to look as real as possible I really don't want any sighs left to show it was printed. I've also rounded of the edges I couldn't get right when making the 3D file prior to printing, I made sure to make the skin of the 3D print extra thick so I had plenty of structure to sand without making holes. before glueing the parts together I added the wiring and battery pack for the lighting.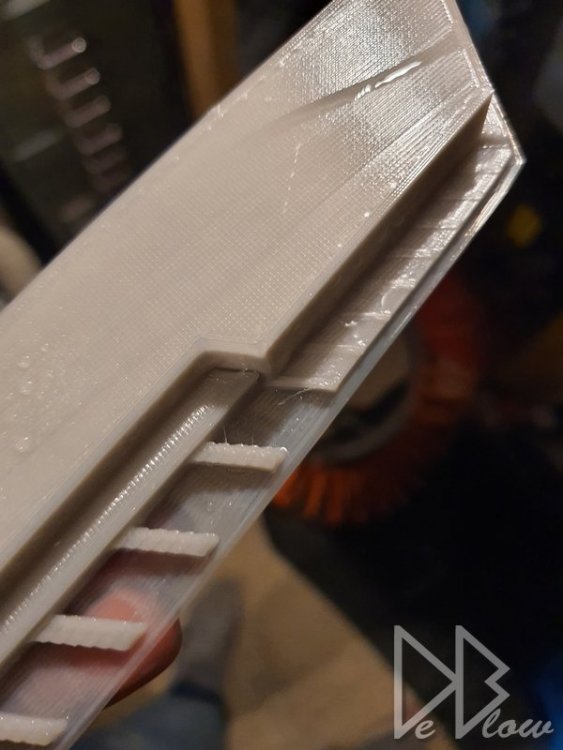

-
[United Kingdom] Rob De Luce
Rob "Deblow" Deluce replied to Tt Andy's topic in 2021 Thermaltake RAM MOD Invitational Season 1
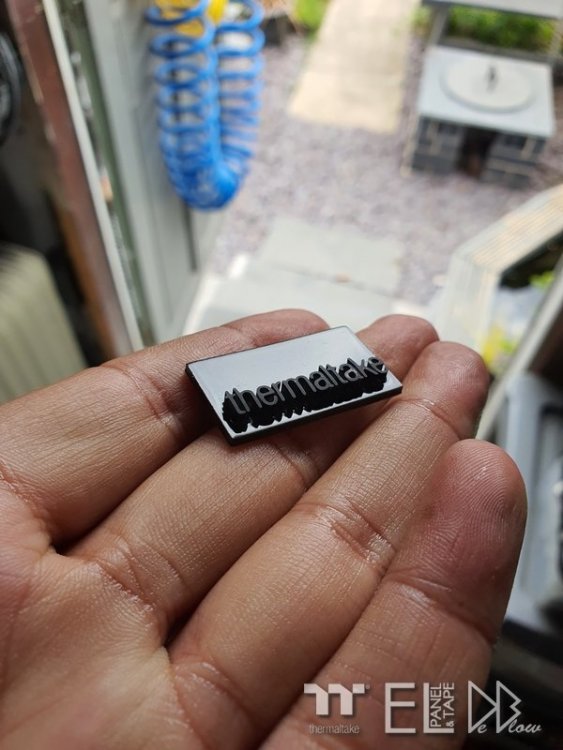
LOL Ali, I was told its a lot smaller than they expected, never had that said before BTW -
[France] Wael Kadri
Rob "Deblow" Deluce replied to Tt Andy's topic in 2021 Thermaltake RAM MOD Invitational Season 1
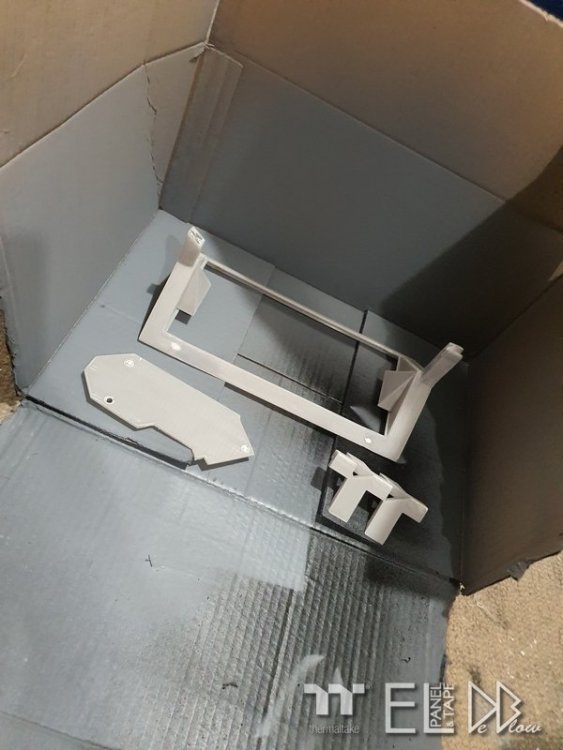
I'm "shell shocked" You should make a tiny pizza box for them! -
[United Kingdom] Rob De Luce
Rob "Deblow" Deluce replied to Tt Andy's topic in 2021 Thermaltake RAM MOD Invitational Season 1
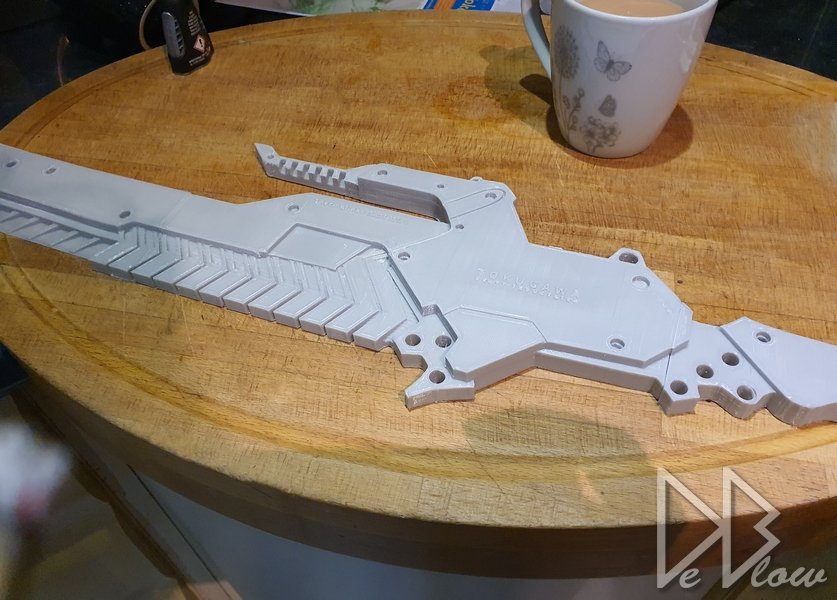
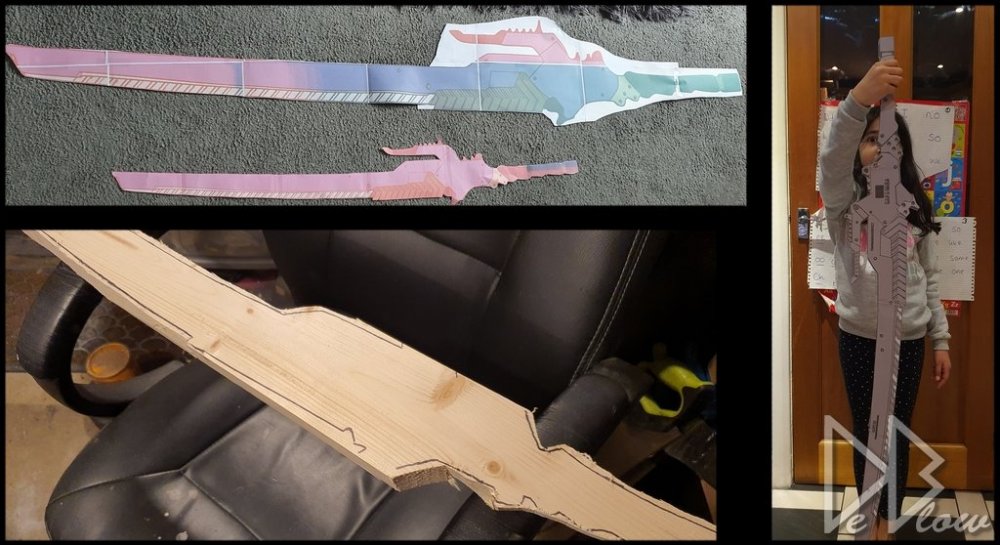
Once I had my design almost done I started printing some on paper to get the scale right, I also carved one from wood to get a feel for the size and shape even better, plus it made the kids happy I did 3 sizes in total, the 1st was way too small and the second was too big, the final size is the one my daughter is holding. Once this competition is over I plan to keep the sword and plan some other items to go with it on display in my collection/gaming room, so the design is as close to the sword in the game as I could get it with a couple of added extras, the memory will be added later in the build. I've printed most of the parts now and started to join them, maybe 90hrs printing in total so far. As with most 3D printed things, this is going to need a lot of sanding and filling to remove all signs it was printed, the is almost always the hardest part to get perfect. one half of the sword printed minus the bolts and I also plan to replace the text that was printed with some more detailed versions if it goes to plan.