-
Forum Statistics
7.5k
Total Topics50.9k
Total Posts -
Member Statistics
135,993
Total Members16,800
Most Online

Rob "Deblow" Deluce
-
Posts
148 -
Joined
-
Last visited
-
Days Won
12
Content Type
Profiles
Forums
Downloads
Events
Gallery
Blogs
Everything posted by Rob "Deblow" Deluce
-

[United Kingdom] Rob De Luce
Rob "Deblow" Deluce replied to Tt Andy's topic in 2021 Thermaltake RAM MOD Invitational Season 1
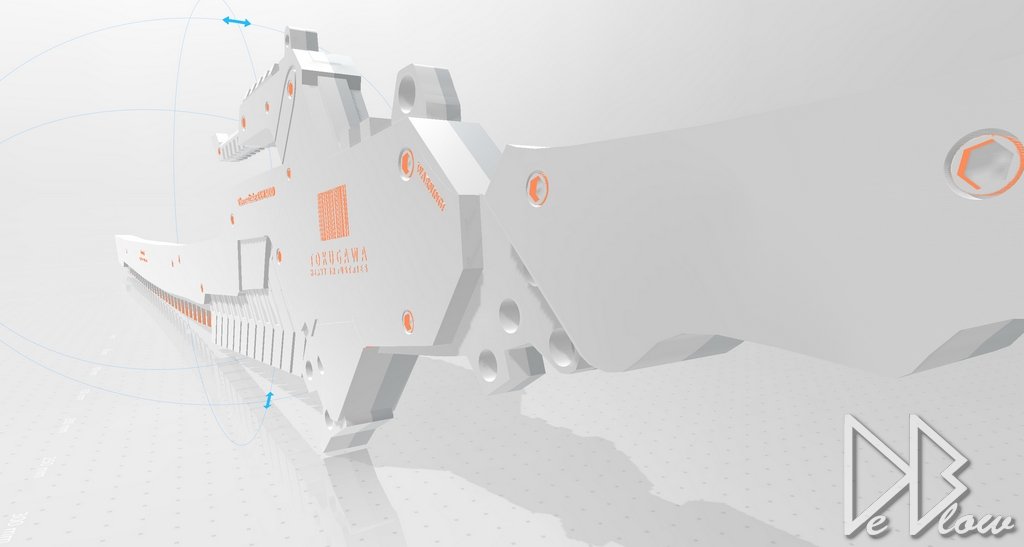
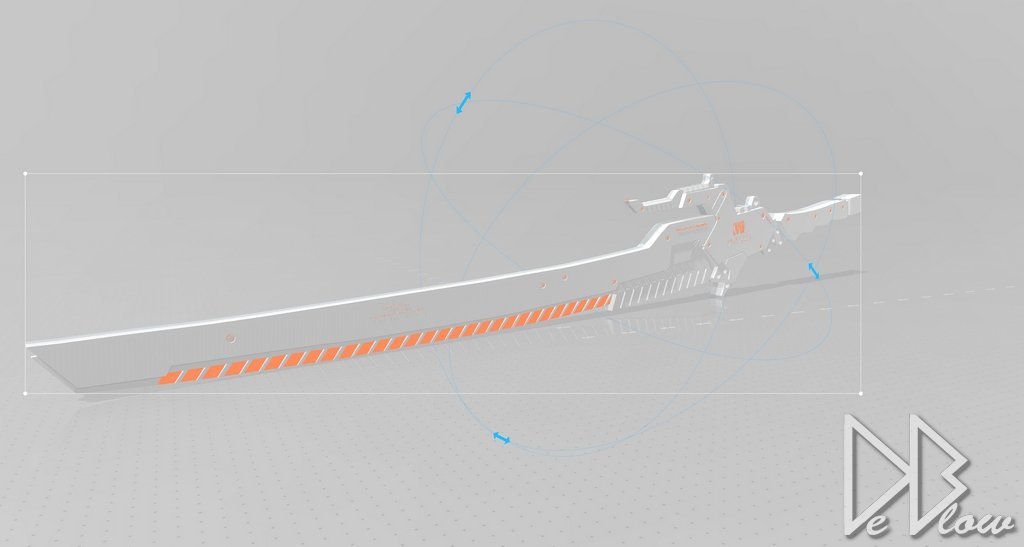
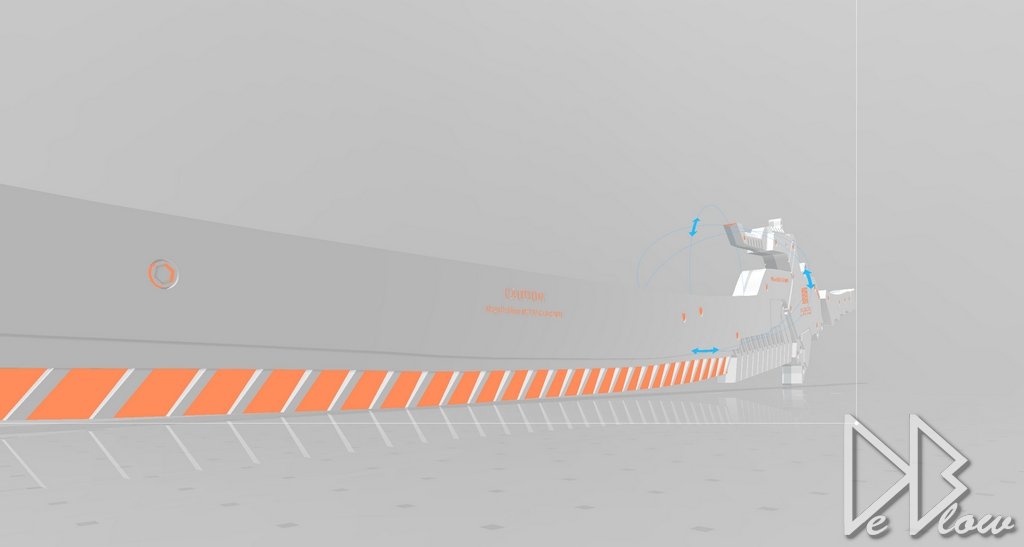
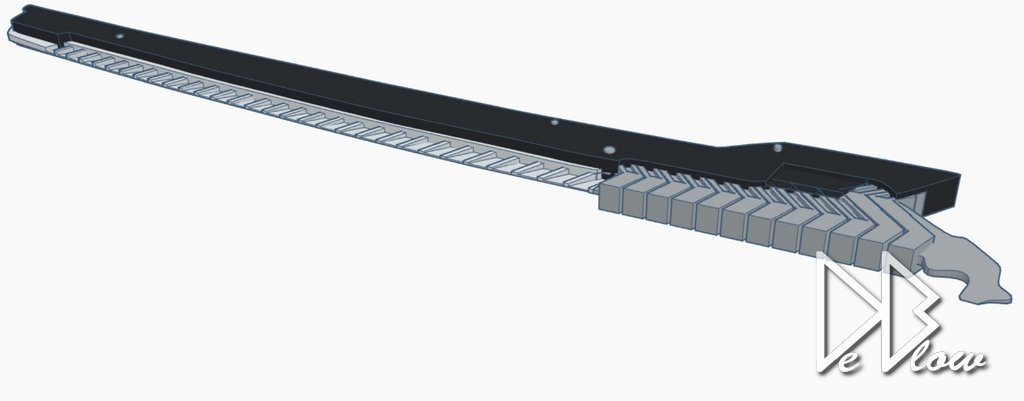
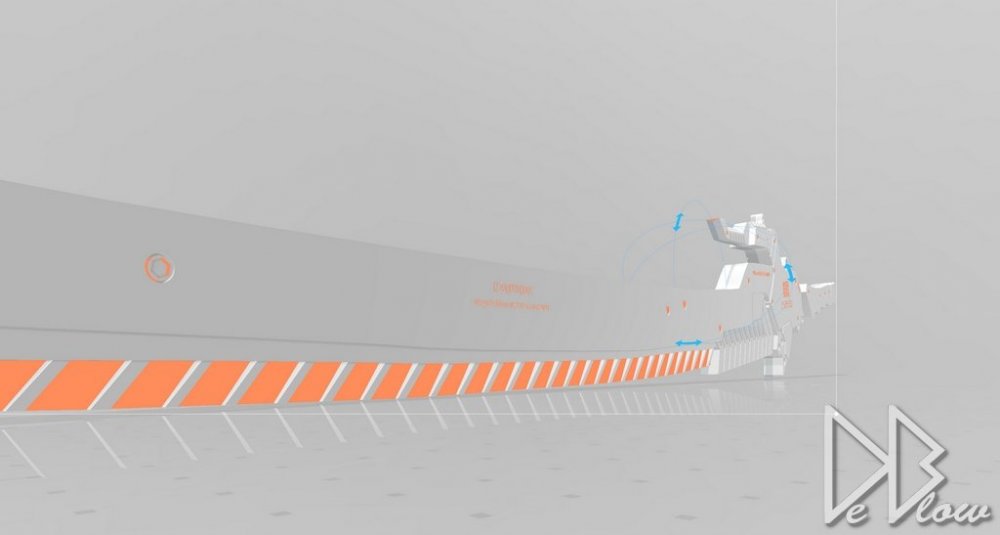
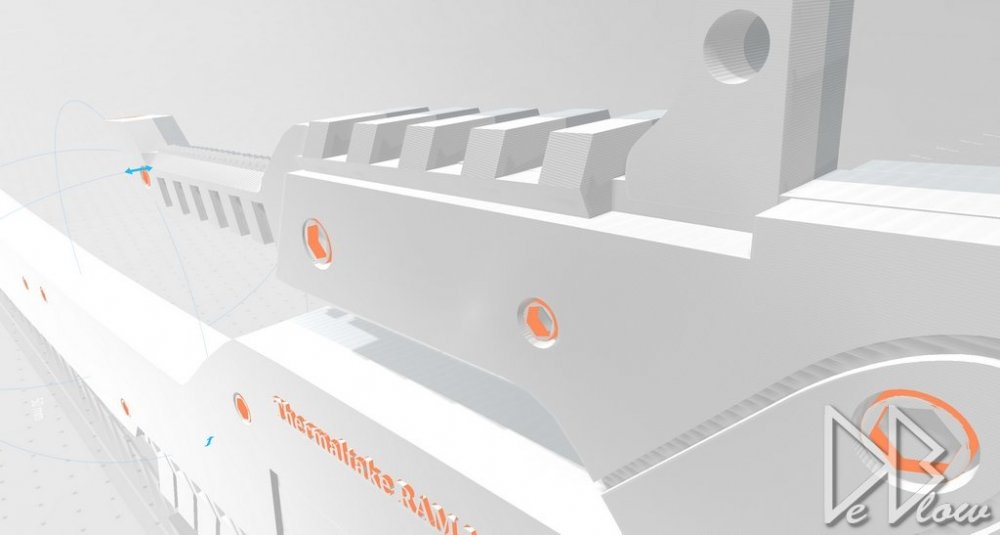
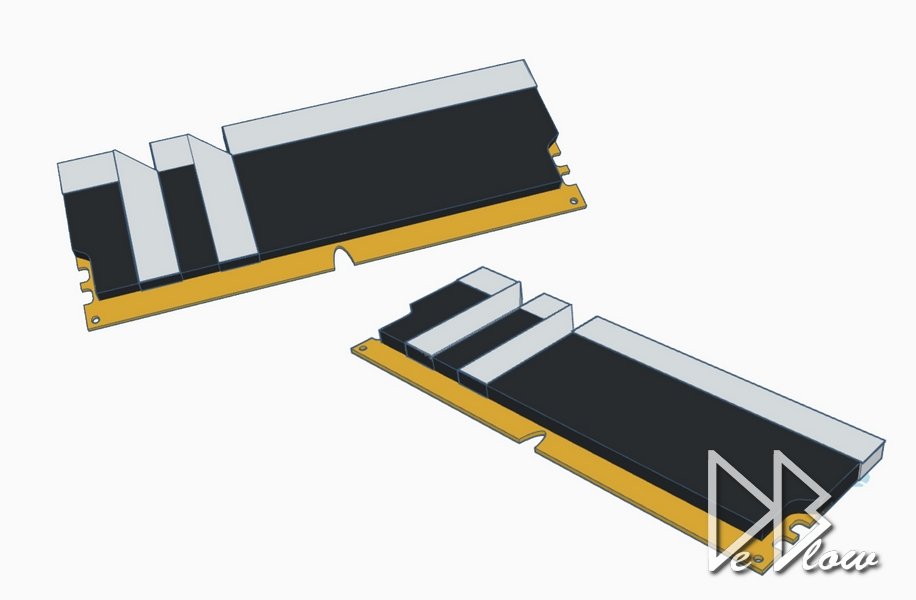
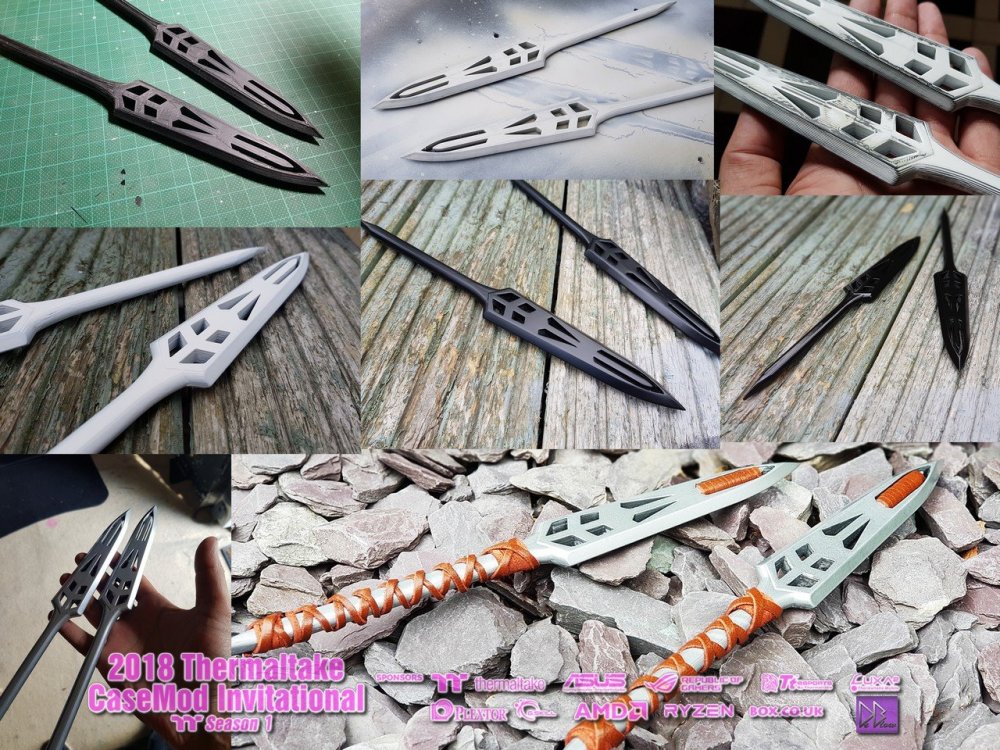
Some more renders of the final 3D model, not 100% how I want some parts but i will alter the parts as I start to prep it before painting and sanding. Mostly some angels that I struggled to get correct when making the 3d model. The blade will be sharp but this also means its going to be thin on the edge, so it will be strengthened with resin and epoxy glue. The bolts/nuts and some other parts will be resin printed to help keep the detail.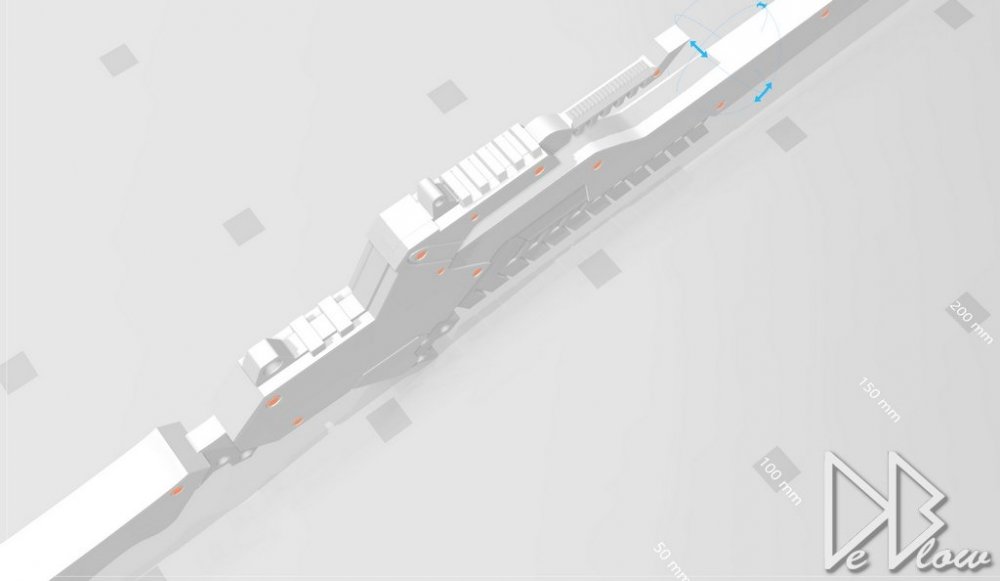


-
[United Kingdom] Rob De Luce
Rob "Deblow" Deluce replied to Tt Andy's topic in 2021 Thermaltake RAM MOD Invitational Season 1
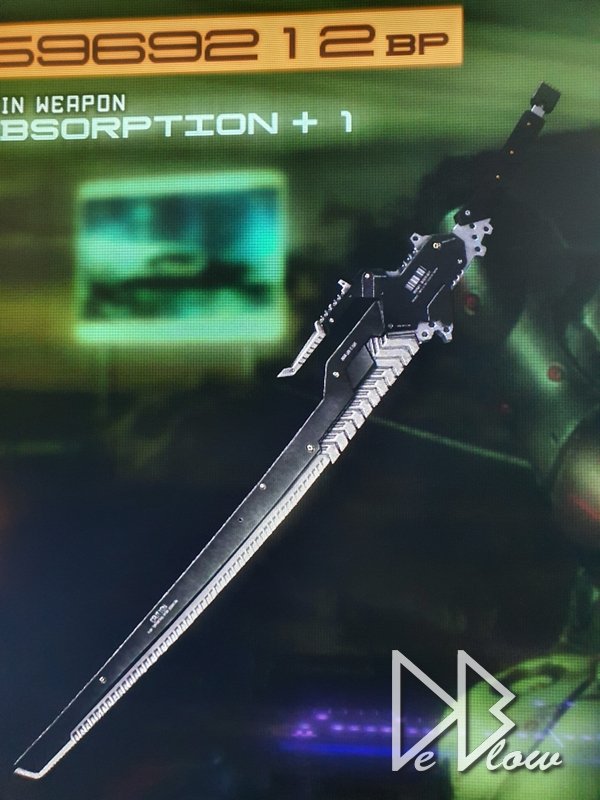
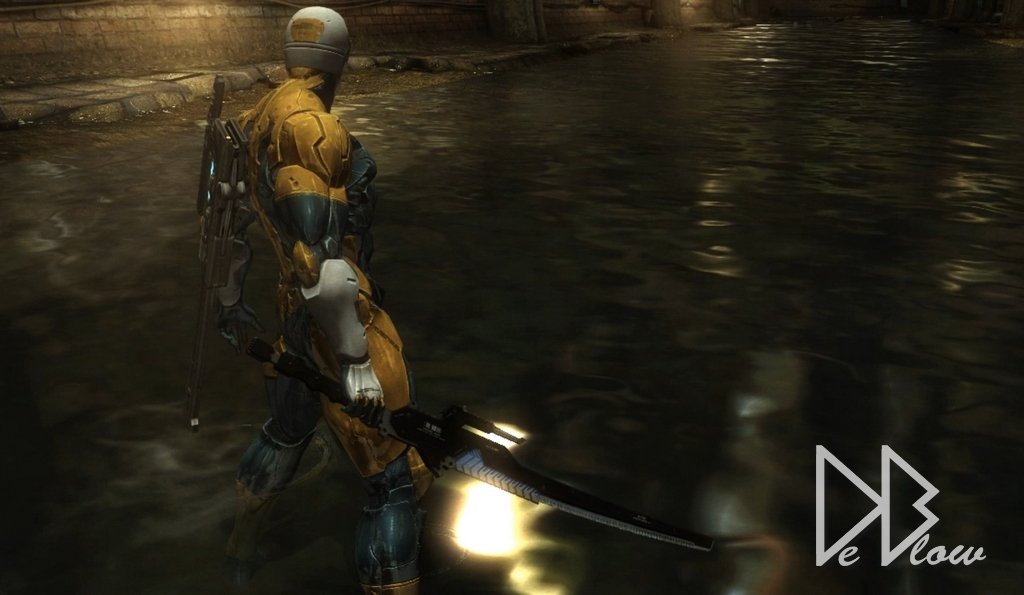
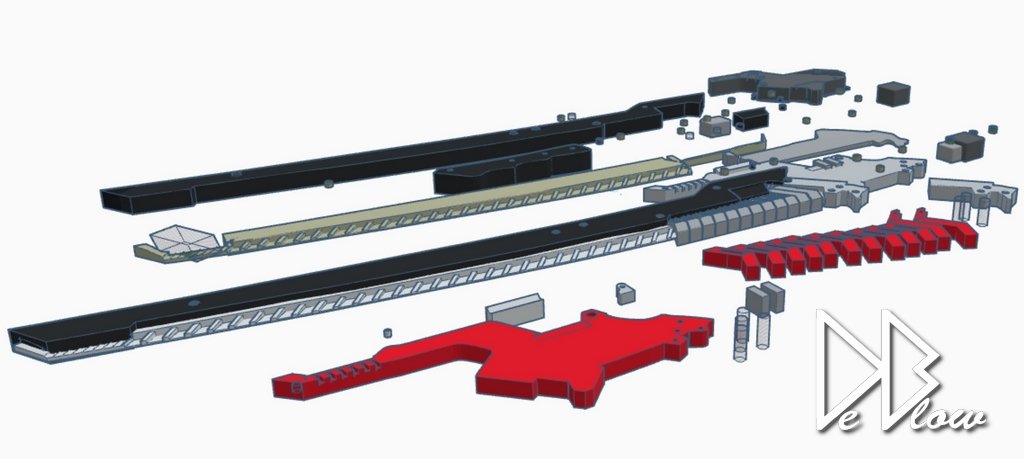
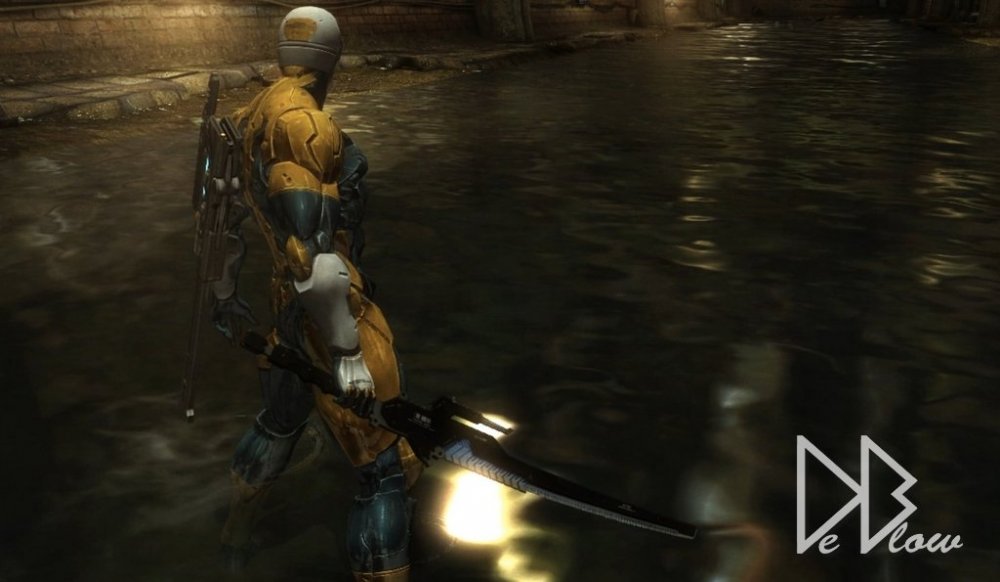
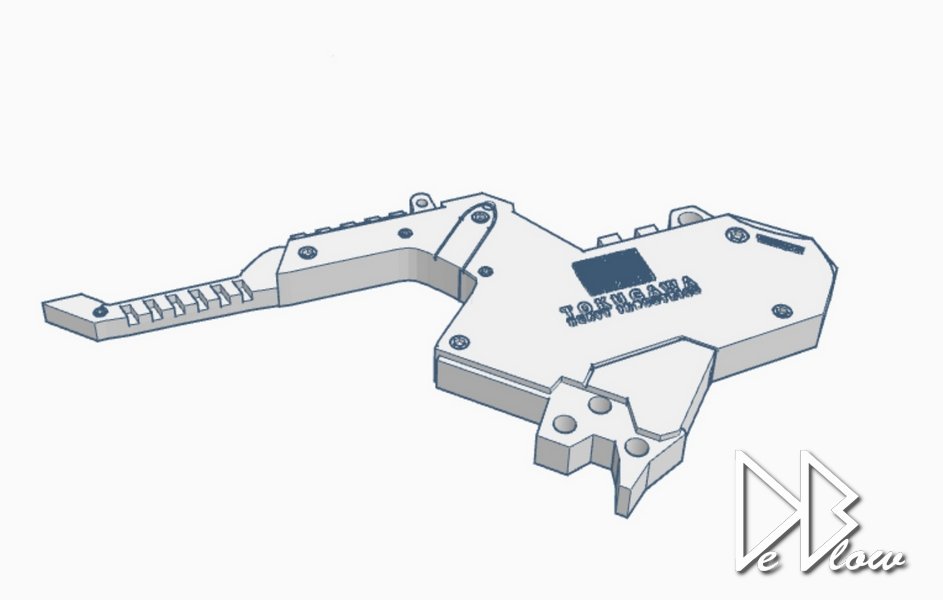
The main part of my mod is the sword "Armor Breaker" from the game, this is my favorite sword because as the name suggests its great for breaking armor and because its so "TOUGH" its perfect for some Tt Tough RAM The RAM will be fitted at the start of the blade as part of the cutting edge, it will be fastened in place but be removable so it can still be used in a normal PC. This was a hard one to design as the photos online are not so great and don't show it from all angels so I had to reinstall the game and try capture my own shots of the weapon at all angels. I also did a quick RAM 3d model to help with my design planning This is most of the parts that will make up the sword, due to the limited print bed size it had to be carefully planed so the small parts when joined together would still remain strong, I originally was going to also use wood to strengthen the sword but decided to just spend longer printing and making it thicker than normal. In total around 2kg of plastic will be needed and a small amount of resin.


-
[Germany] Ali Abbas
Rob "Deblow" Deluce replied to Tt Andy's topic in 2021 Thermaltake RAM MOD Invitational Season 1
1st time ive seen that gears of war, looks sic! BBs is airsoft guns, fire plastic balls or metal if you do some mods -
good luck everyone 😎
-
[United Kingdom] Rob De Luce
Rob "Deblow" Deluce replied to Tt Andy's topic in 2021 Thermaltake RAM MOD Invitational Season 1
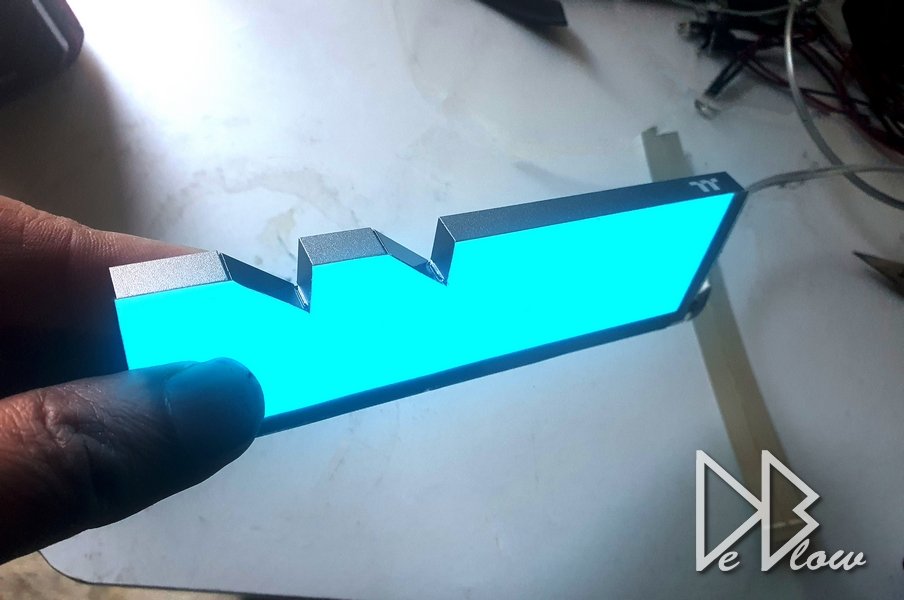
The RAM looks great to start with, but Tt want it modded! so lets start. I want to keep the original shape but also add lighting without adding bulk or chopping up the RAM, so EL is perfect for the job. This will be the base of the mod so the memory underneath will stay intact and undamaged. Some paintwork planned for this later.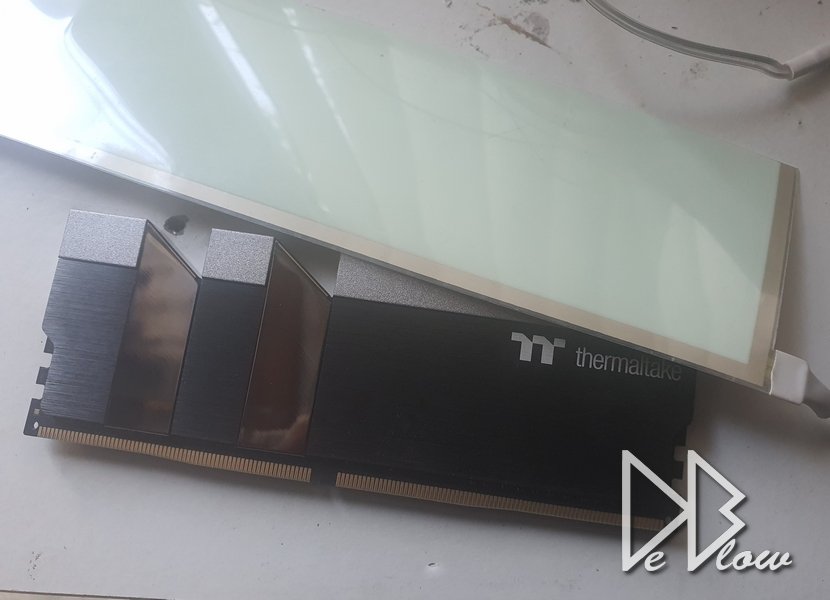
-
[USA] Tim Parker
Rob "Deblow" Deluce replied to Tt Andy's topic in 2021 Thermaltake RAM MOD Invitational Season 1
Yeah, must be Captain America good luck, love the marvel stuff. -
[France] Wael Kadri
Rob "Deblow" Deluce replied to Tt Andy's topic in 2021 Thermaltake RAM MOD Invitational Season 1
Pizza time! not sure I've even seen a turtles mod/build, look forward to seeing the end result. -
[Belgium] Mike Petereyns
Rob "Deblow" Deluce replied to Tt Andy's topic in 2021 Thermaltake RAM MOD Invitational Season 1
can i be on the wait list also please Nice bat shades, you make it look easy -
[Philippines] Jesse Palacio
Rob "Deblow" Deluce replied to Tt Andy's topic in 2021 Thermaltake RAM MOD Invitational Season 1
Cant beat a bit of COD More a zombie player myself, love the pop sound headshots make lol -
[Germany] Ali Abbas
Rob "Deblow" Deluce replied to Tt Andy's topic in 2021 Thermaltake RAM MOD Invitational Season 1
Sick Ali! how many BB's you got? think i have 20 now, wife hates them lol Good luck with the rest of the mod. -
[Canada] Erik Bergwest
Rob "Deblow" Deluce replied to Tt Andy's topic in 2021 Thermaltake RAM MOD Invitational Season 1
nice progress mate, not seen the show yet but you sound like you could get a job on the show acting -
[United Kingdom] Rob De Luce
Rob "Deblow" Deluce replied to Tt Andy's topic in 2021 Thermaltake RAM MOD Invitational Season 1
lol, good one mate, thanks for taking time to comment Yeah I'm lucky to live in the countryside, planning to stay here forever lol your back garden looks cool, sure have more people to chill with than me Good luck with your project mate. -
No pressure Jesse lol Good luck all.
-
[United Kingdom] Rob De Luce
Rob "Deblow" Deluce replied to Tt Andy's topic in 2021 Thermaltake RAM MOD Invitational Season 1
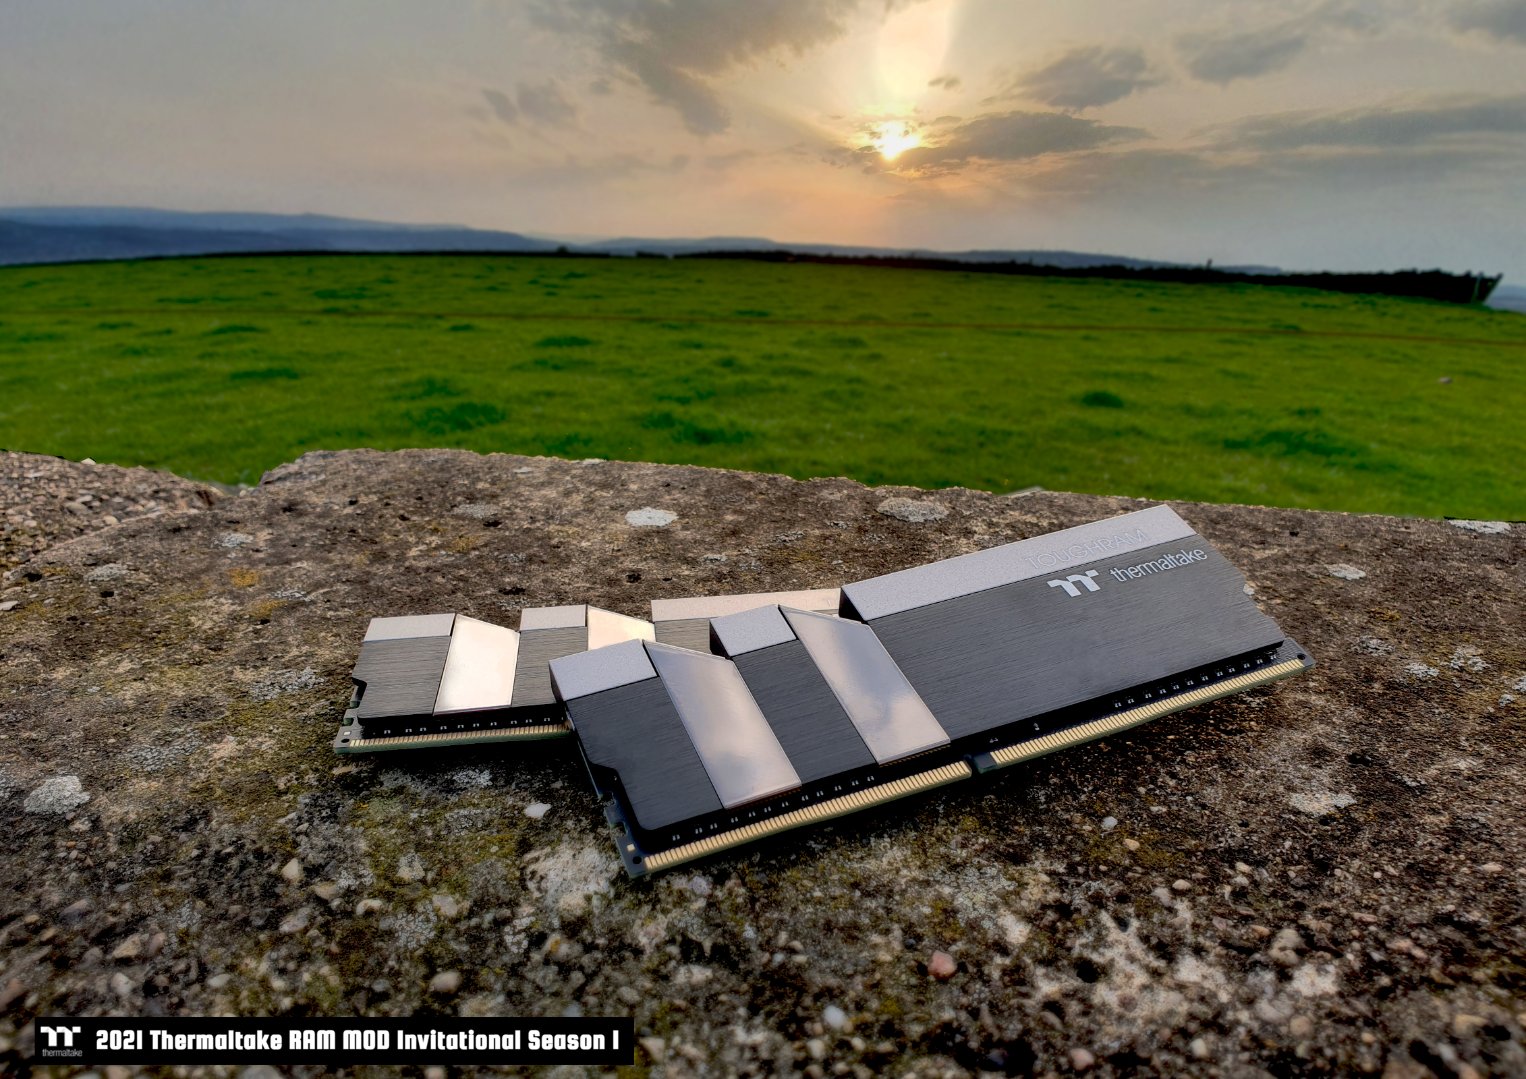
The Tough RAM has arrived and I must say, it dose feel "SOLID" Used my back garden for some nice lighting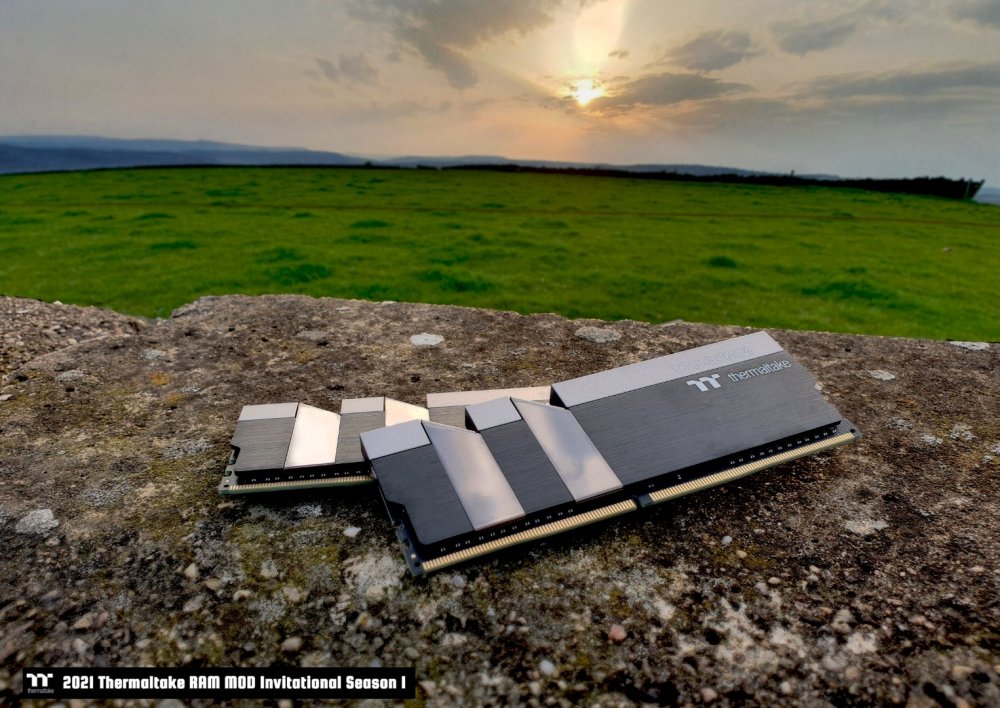
-
[United Kingdom] Rob De Luce
Rob "Deblow" Deluce replied to Tt Andy's topic in 2021 Thermaltake RAM MOD Invitational Season 1
Welcome to my build log and thank you Tt for inviting me to take part in something a bit different from the normal PC builds. My theme is based of one of my favourite games of all time! from the 100s of game and movie pieces I collected over the years it was Metal Gear Solid figures that started it all off. My Ram MOD build is called "SOLID MOD" I think the name is a nice blend of the game title and the TOUGH ram brand. VIDEO UPDATES 1st - 20/04/2021 Good luck to all my fellow modders, lets get dirty and have some fun
-
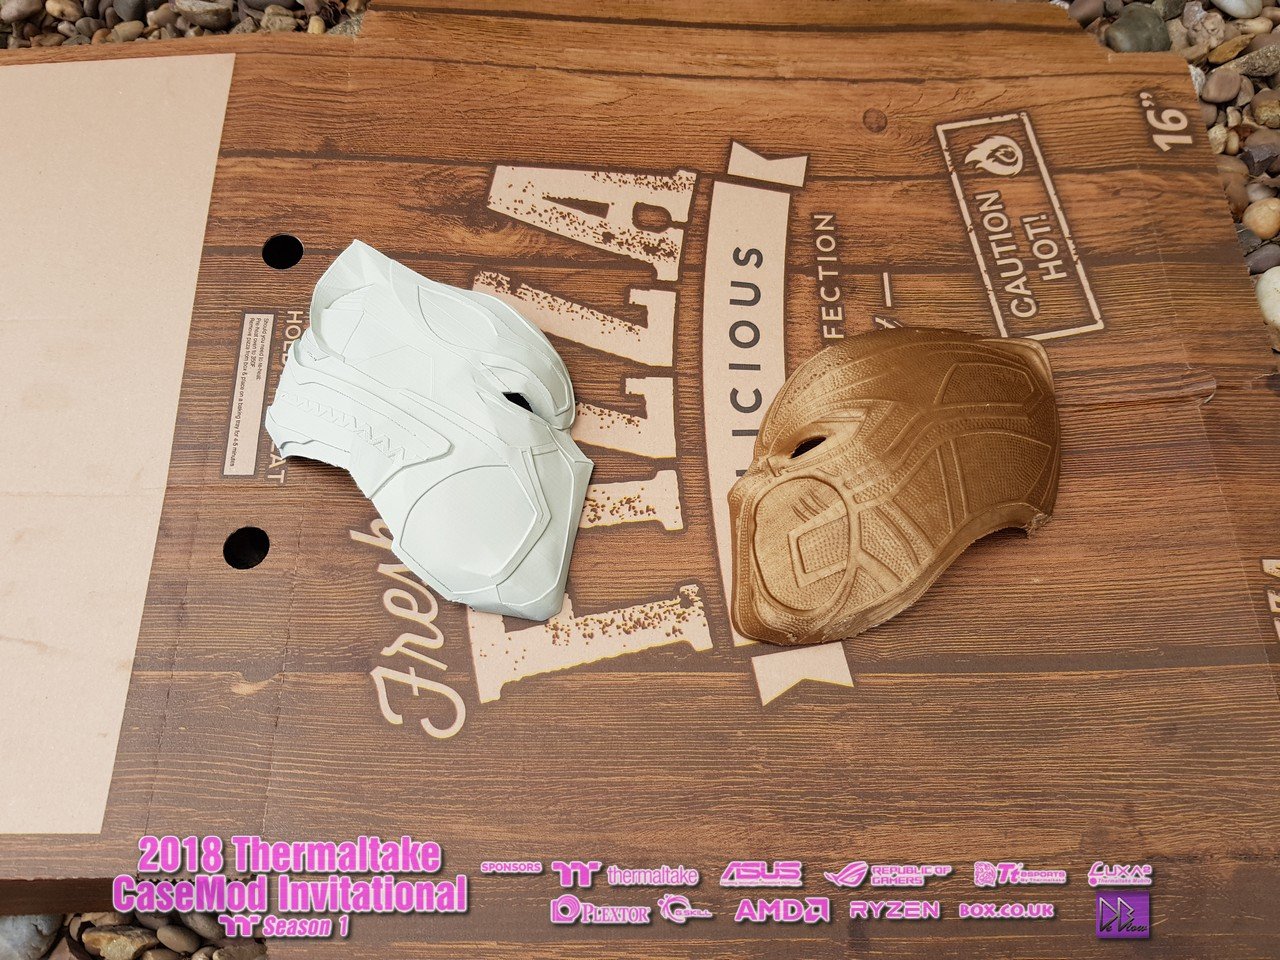
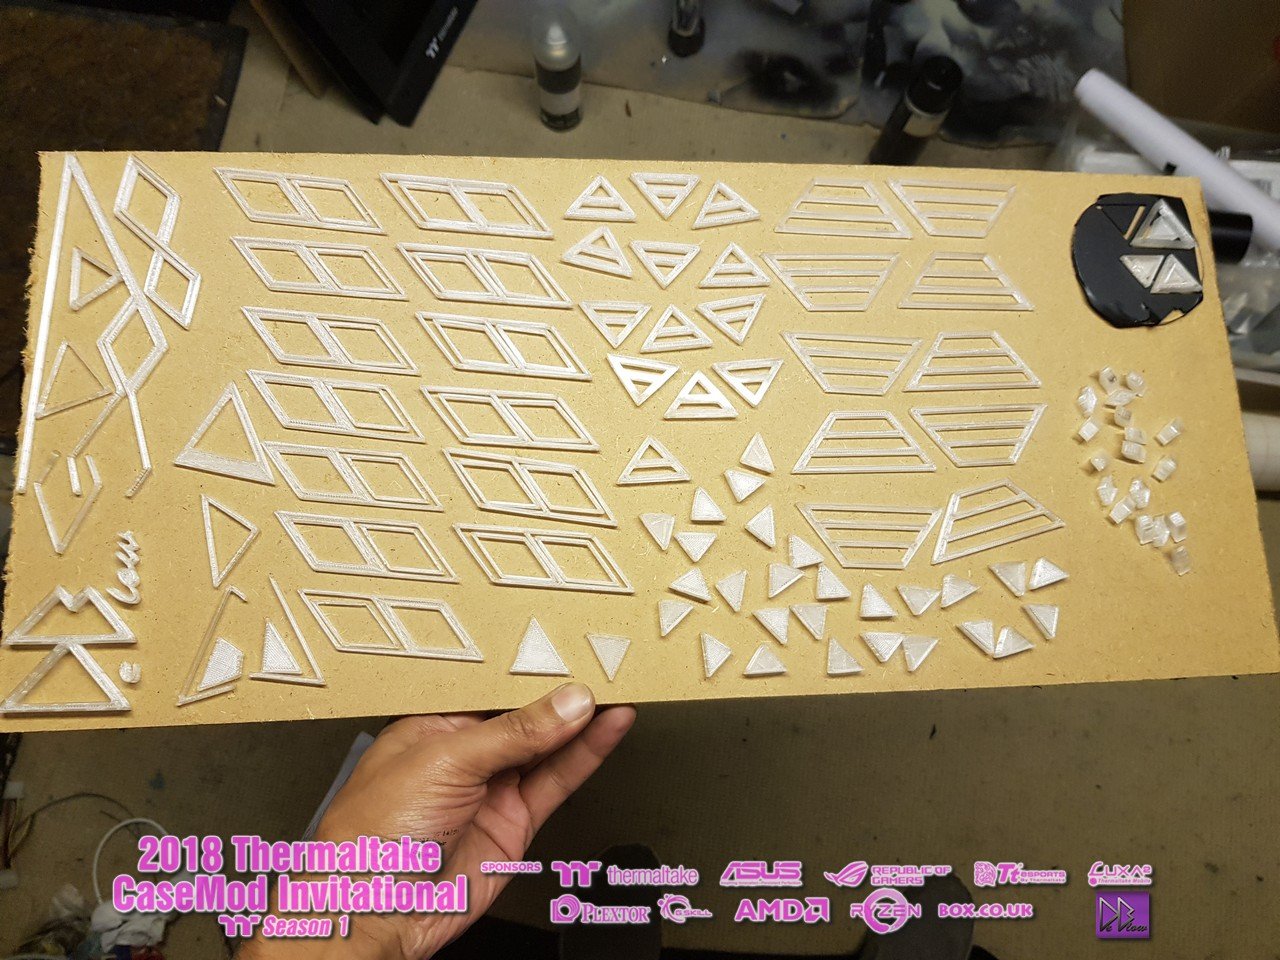
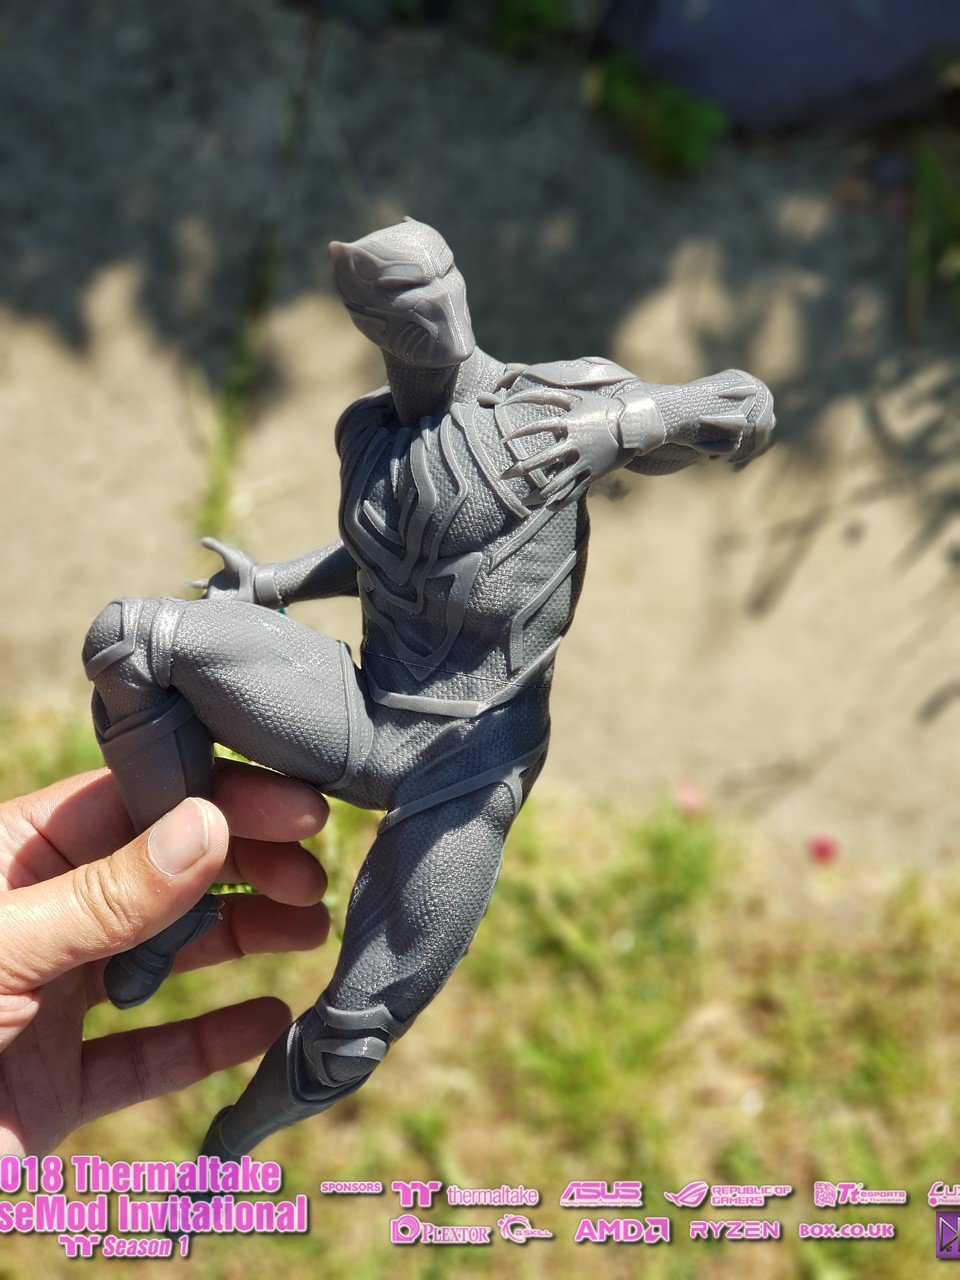
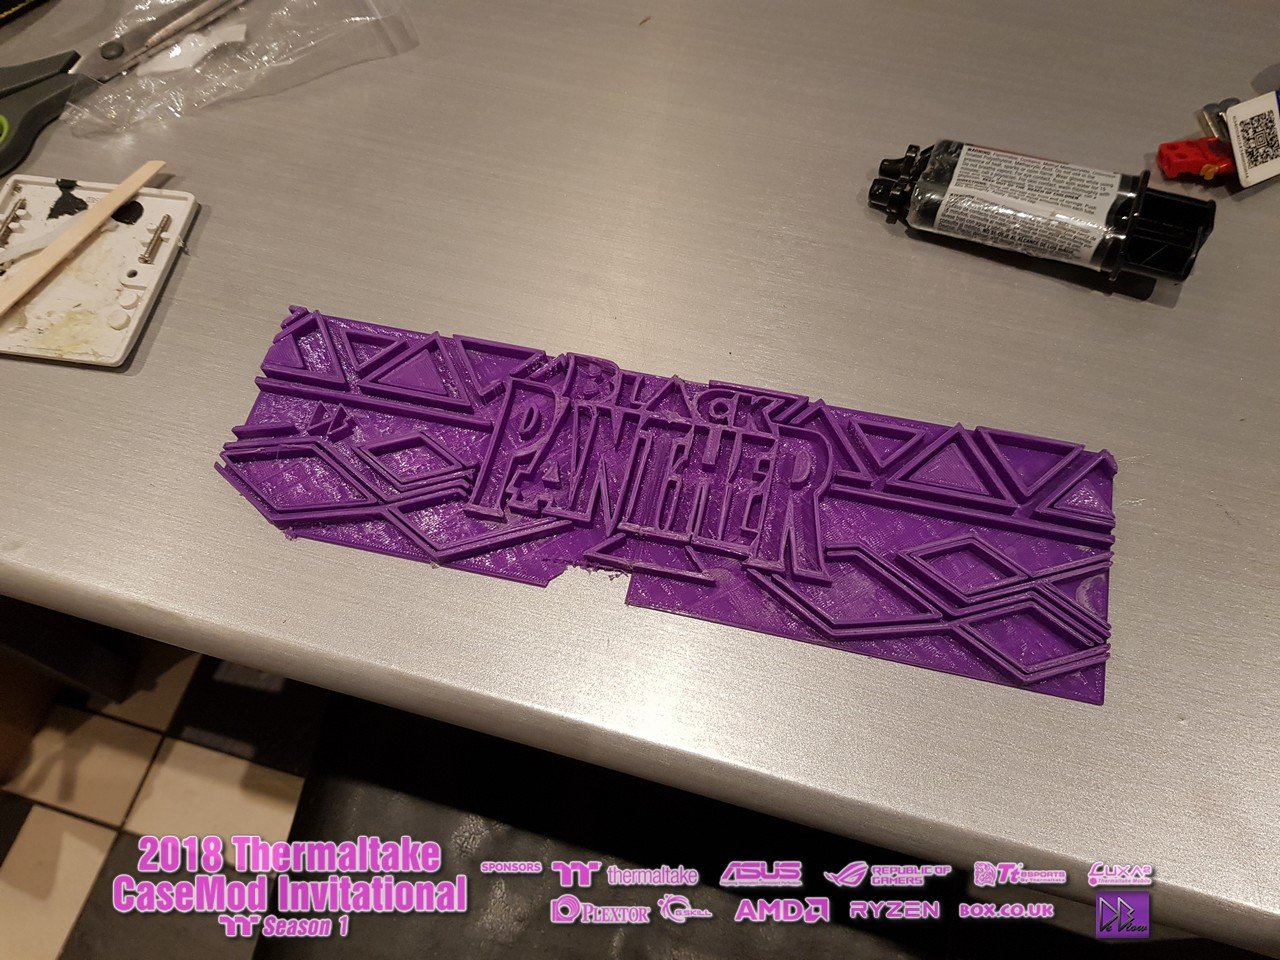
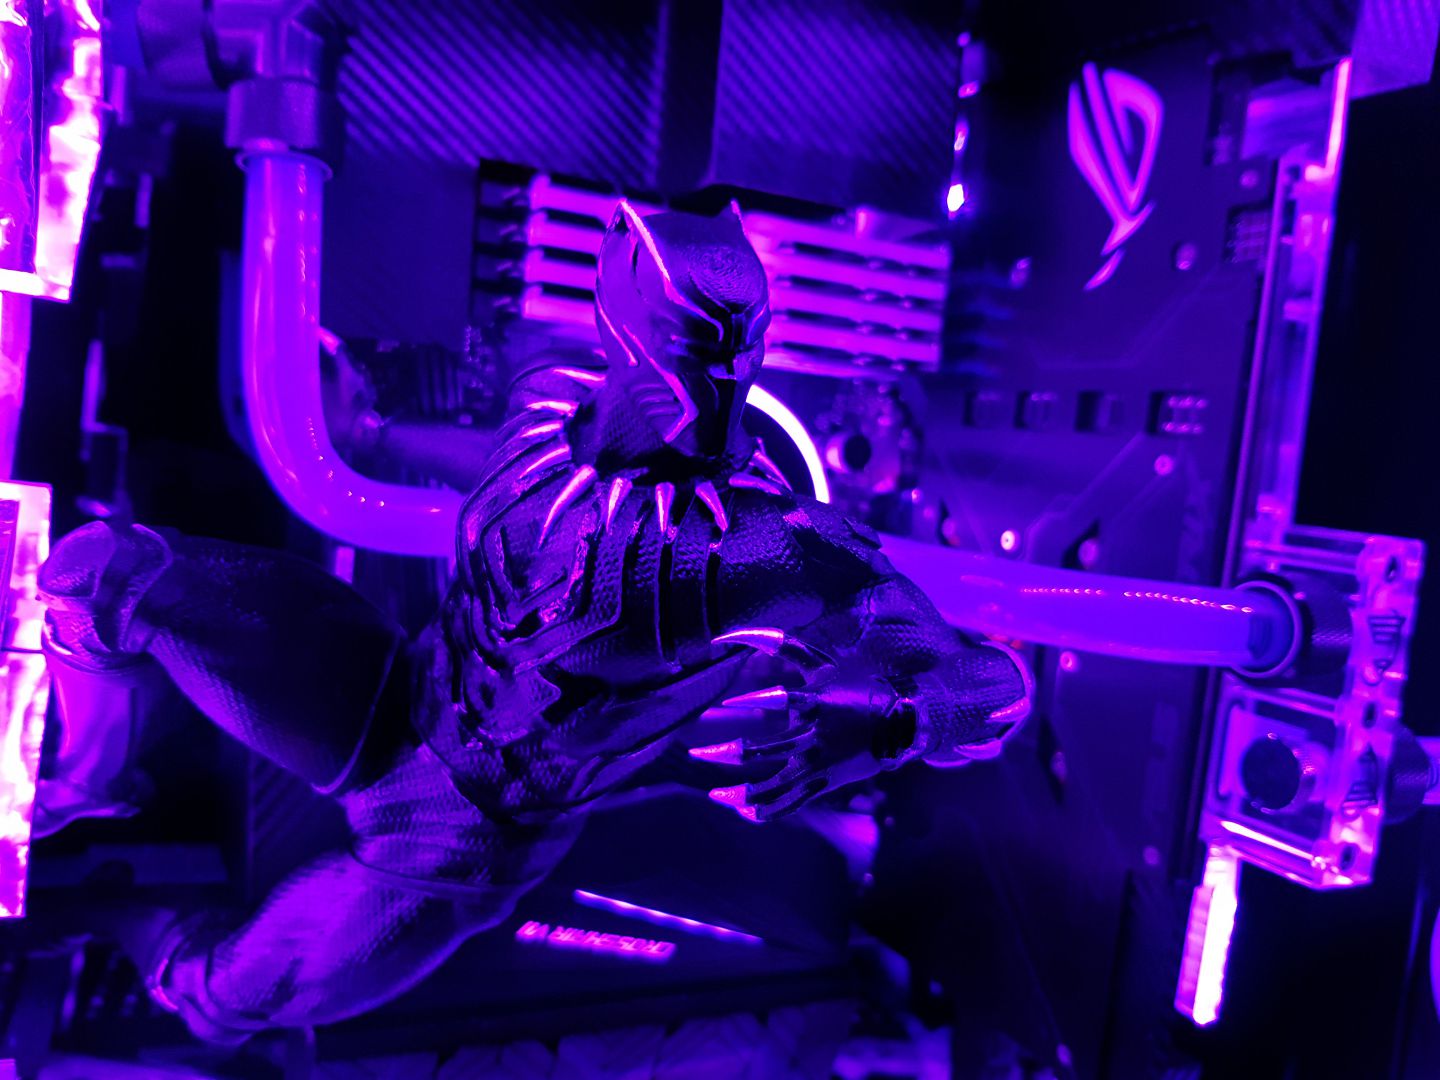
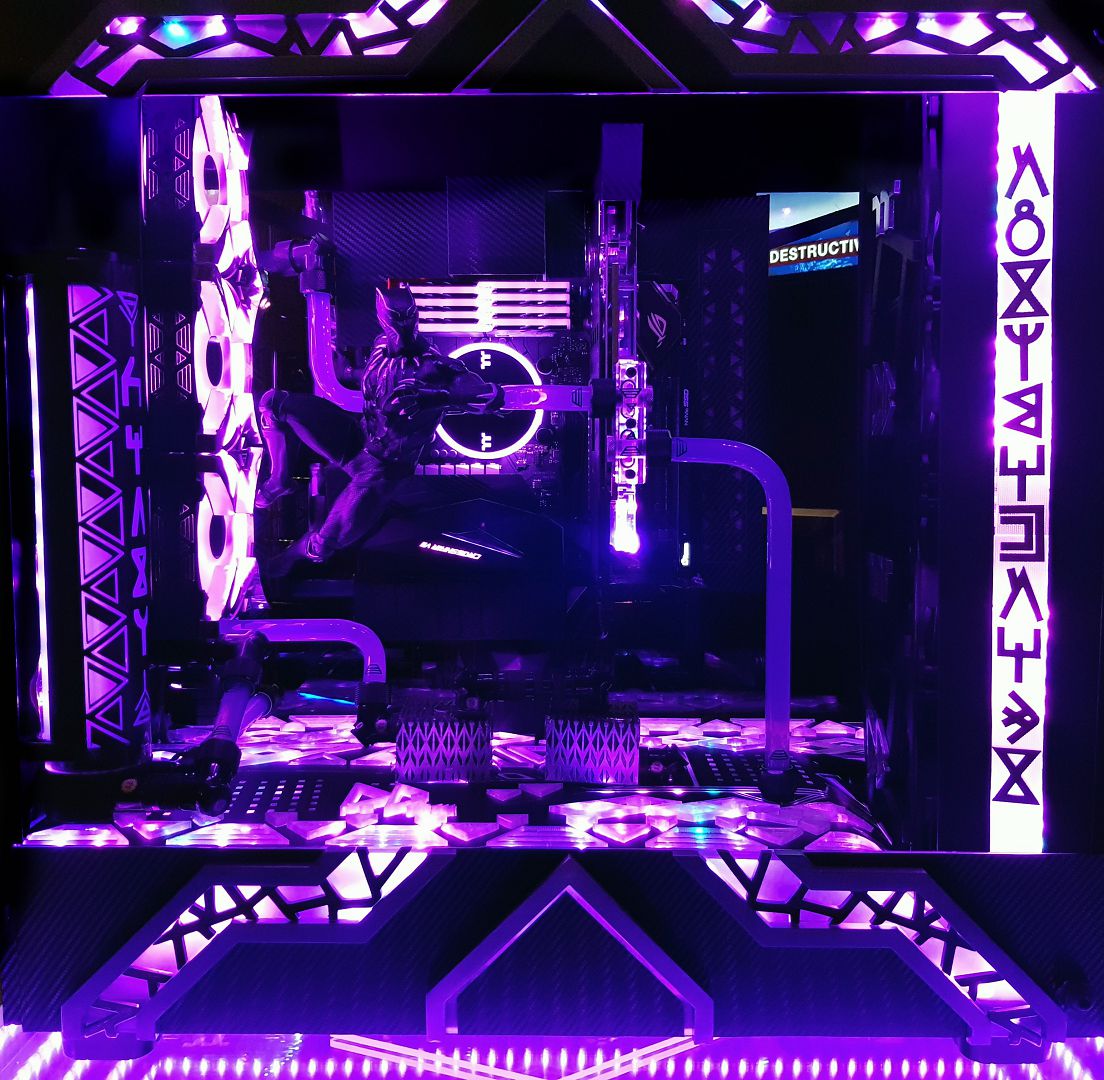
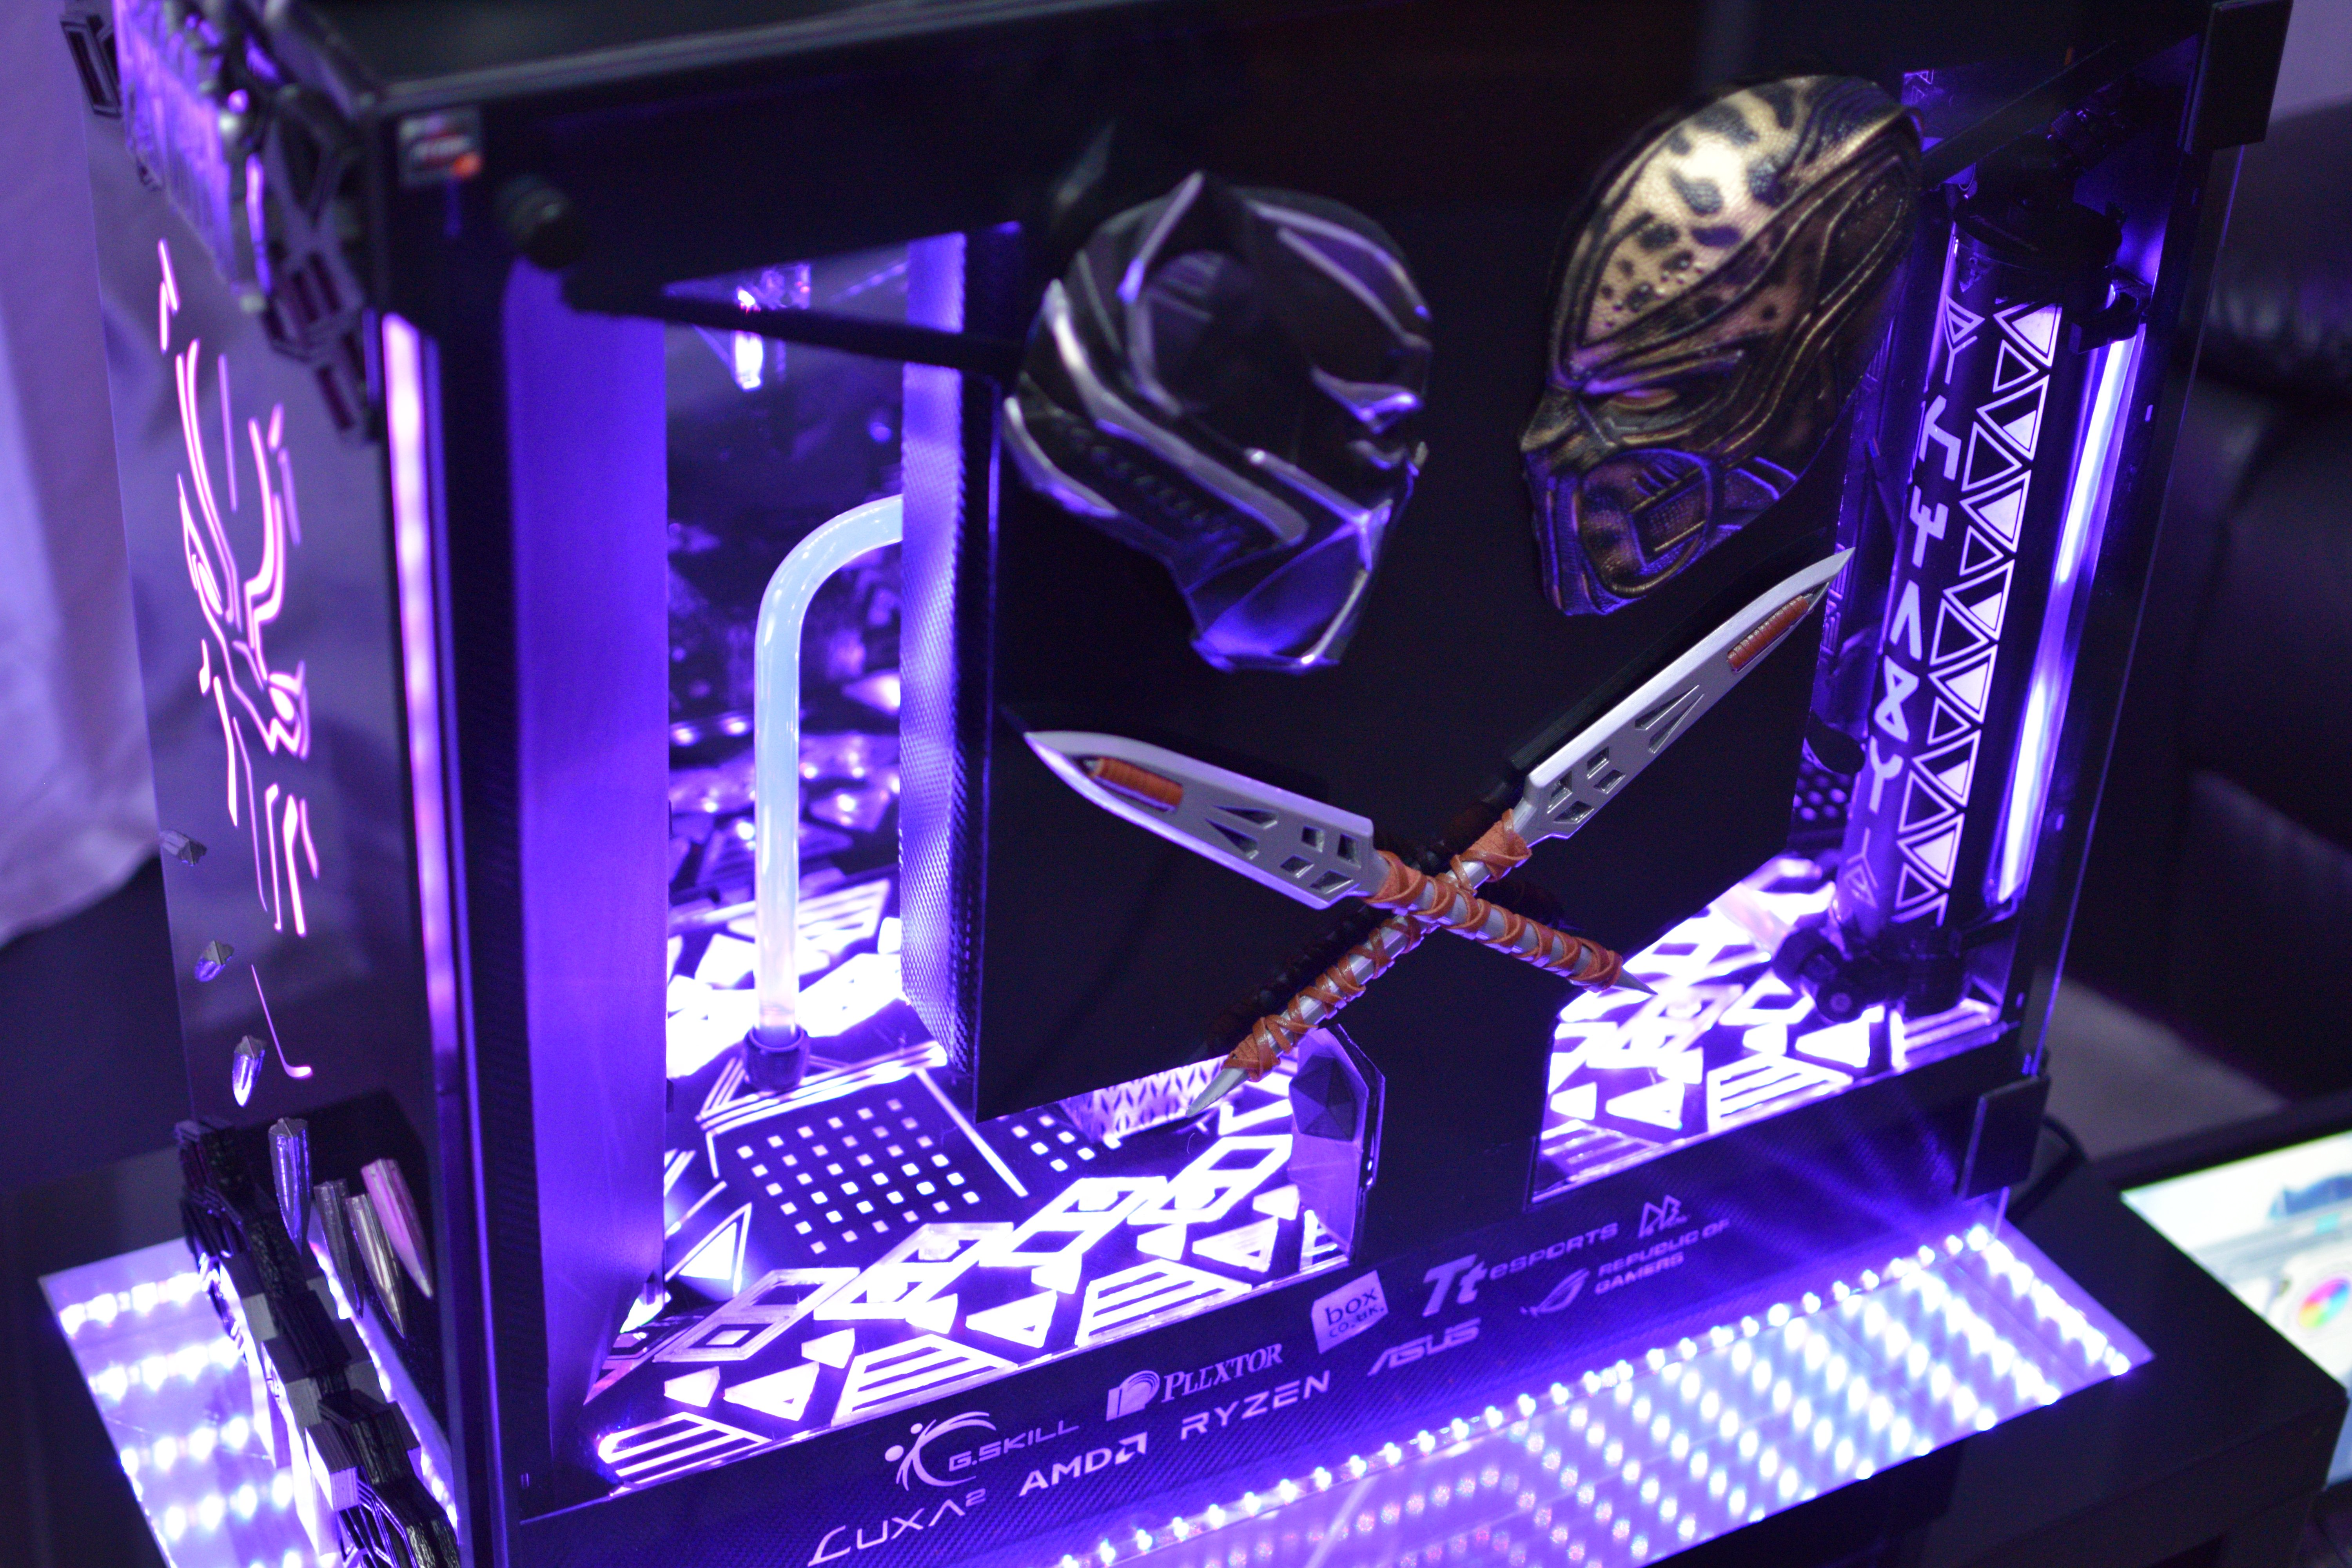
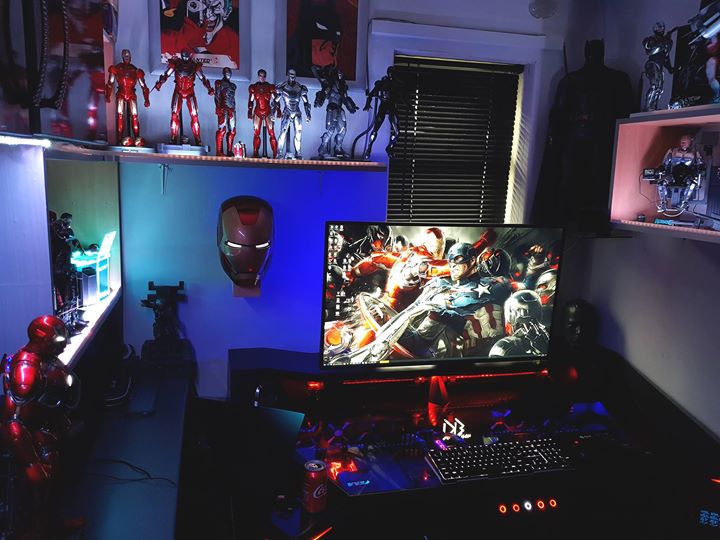
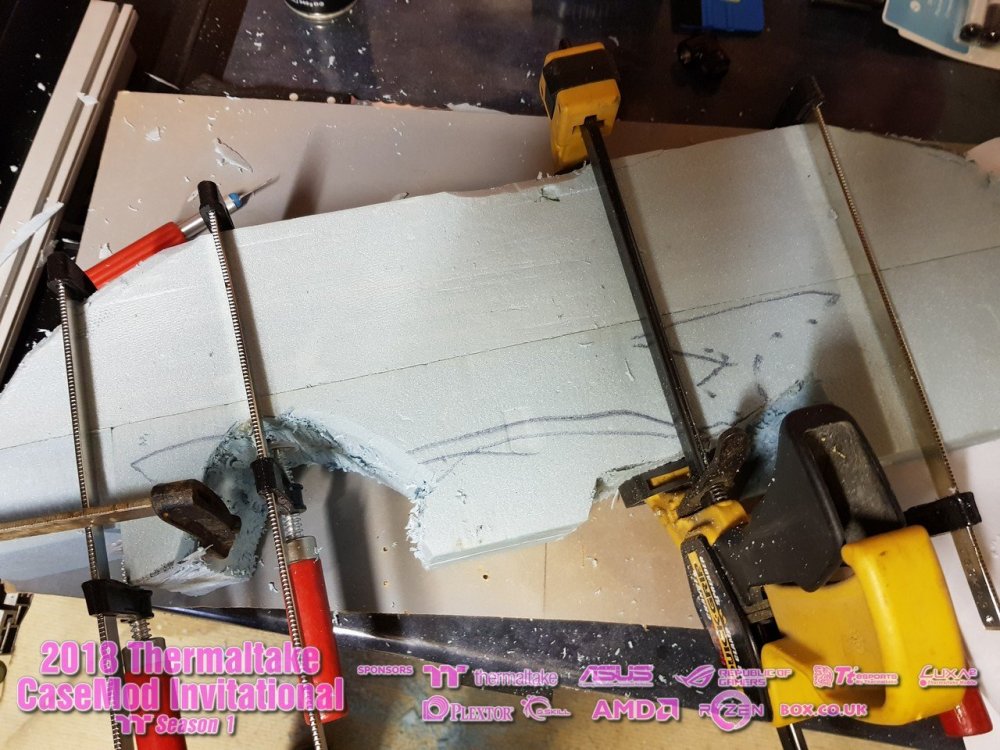
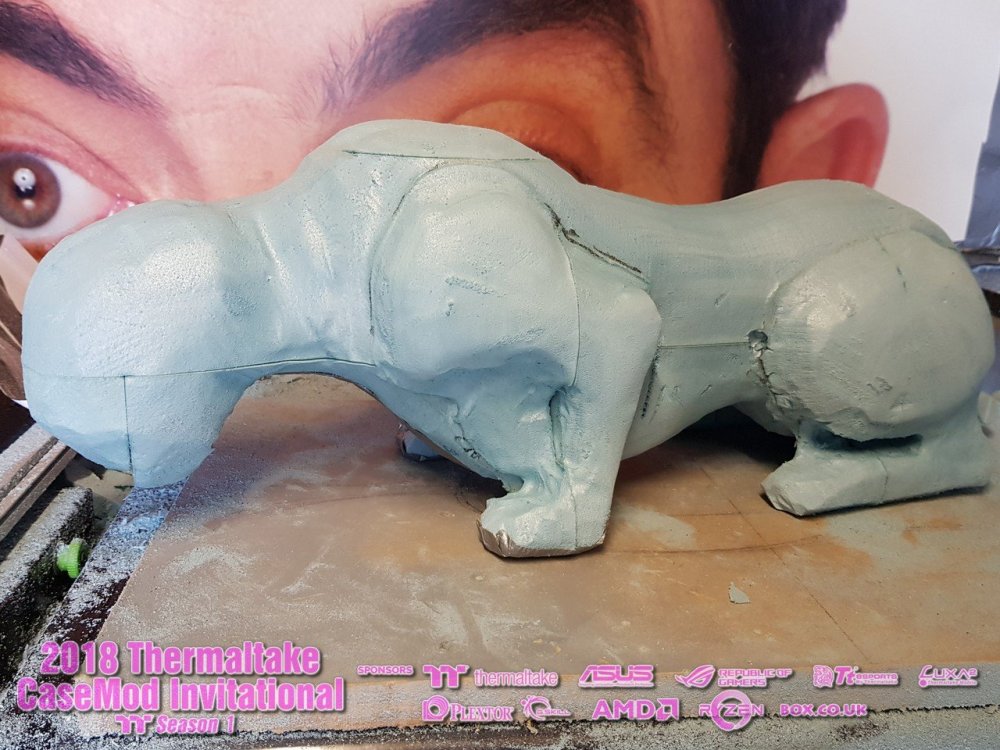
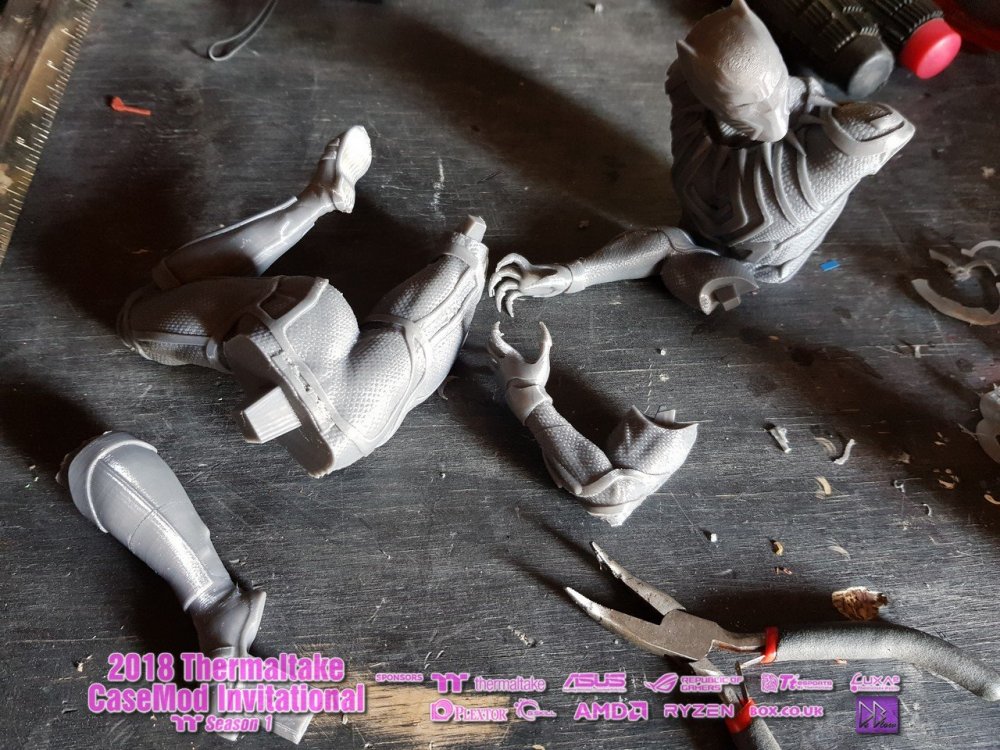
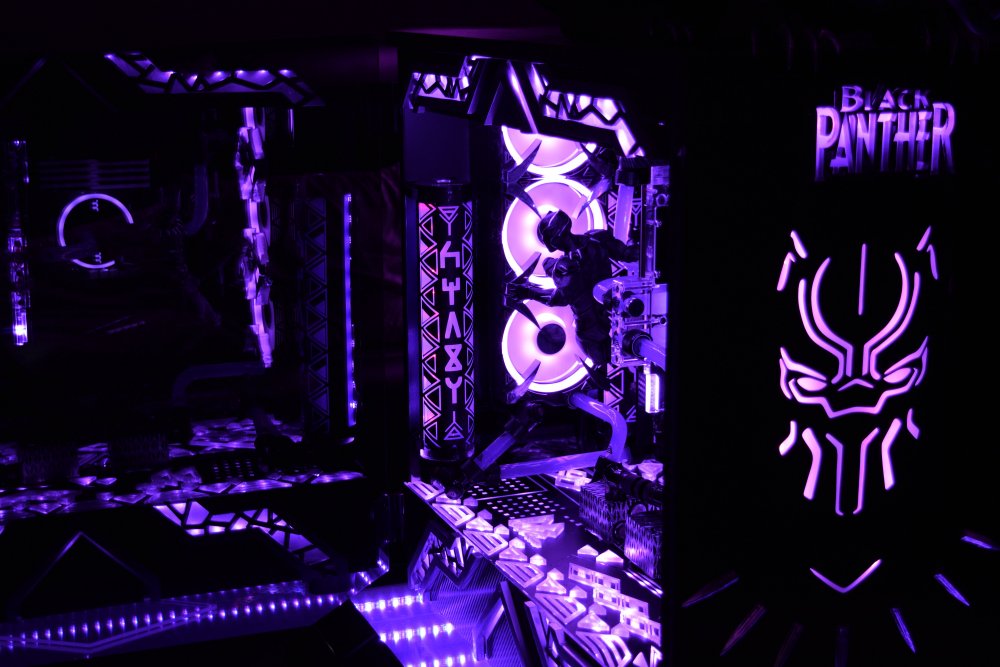
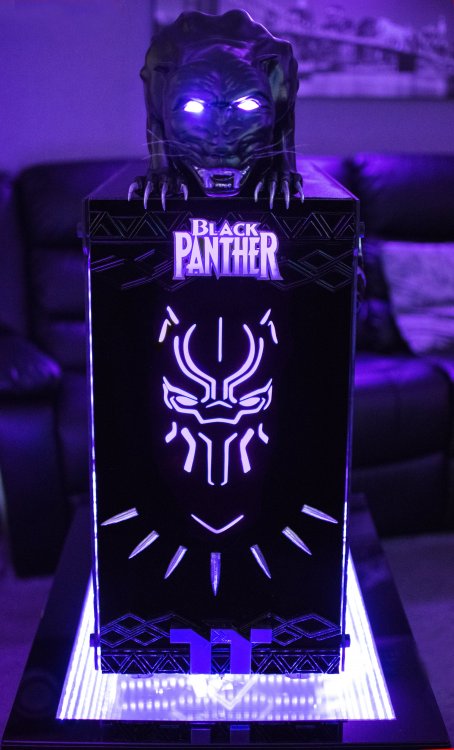
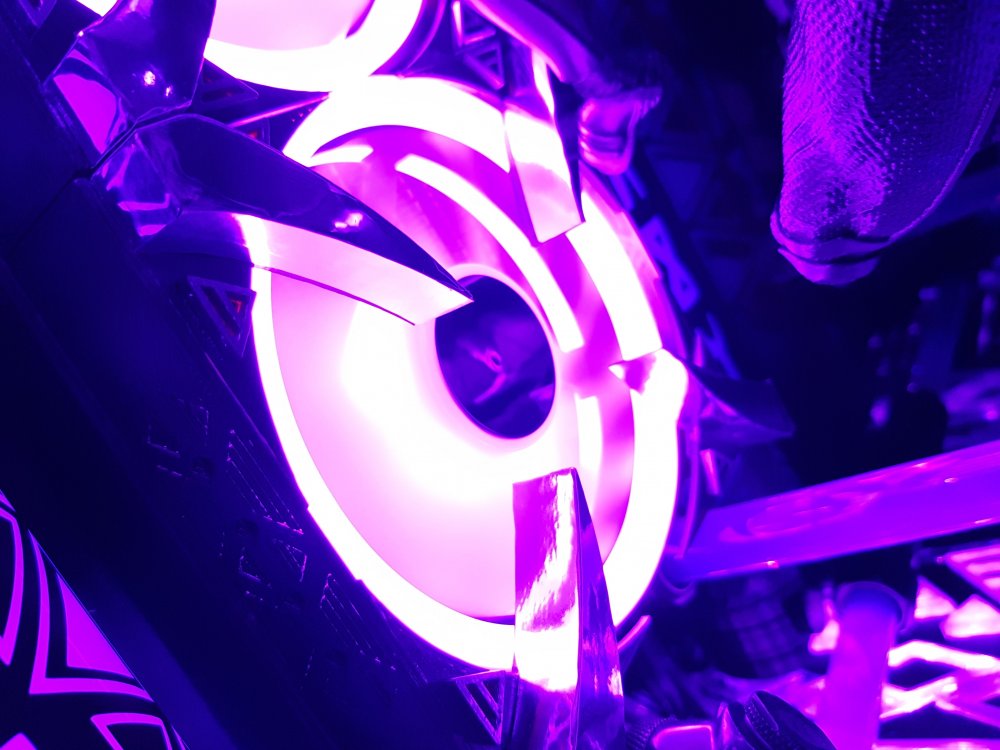
Black panther build using methods I have used in the past and something a bit new, clay. Using clay, vinyl, paints, lighting, Plexiglas, 3D prints and reusing most of the case parts and keeping the main selling point of the case for me, the glass. You can follow me on the pages below for other updates and news. https://www.instagram.com/megadeblow/ https://www.facebook.com/megadeblow/ https://www.youtube.com/megadeblow Build log - CPU - AMD ryzen 2700 HD - Plextor M9Pe NVMe SSD RAM - G.Skill Trident Z RGB 16GB DDR4 MB - ASUS ROG CROSSHAIR VII HERO (WI-FI) GPU - ASUS Republic of Gamers GTX1070 CPU Block - Pacific W4 RGB GPU Block - Thermaltake Pacific V-GTX 10 Series Transparent (ASUS ROG) Case - Thermaltake View 91TG RGB PSU - Thermaltake Toughpower iRGB PLUS 850W Platinum Fans - Thermaltake Riing plus - - Thermaltake Riing Trio RADs - Thermaltake RL360/ RES - Thermaltake Pacific T33 Pumps - Thermaltake Pasific P1 Lighting - Pacific Rad Plus - - Pacific Lumi Plus Printers - Box.co D9/CR10s Filaments - Steadytech PLA 175


-
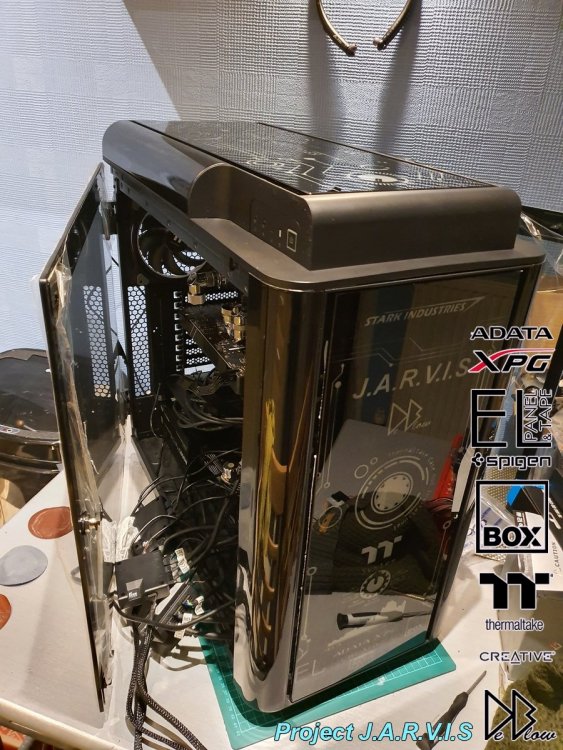
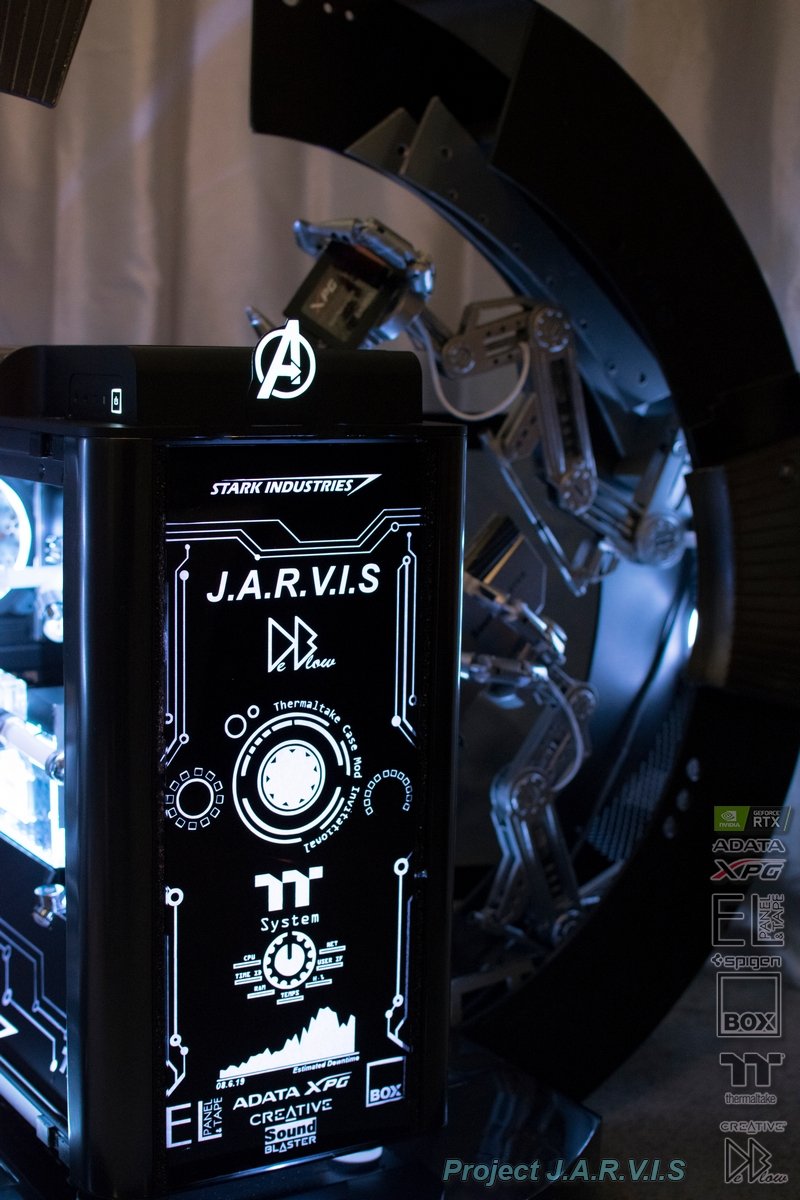
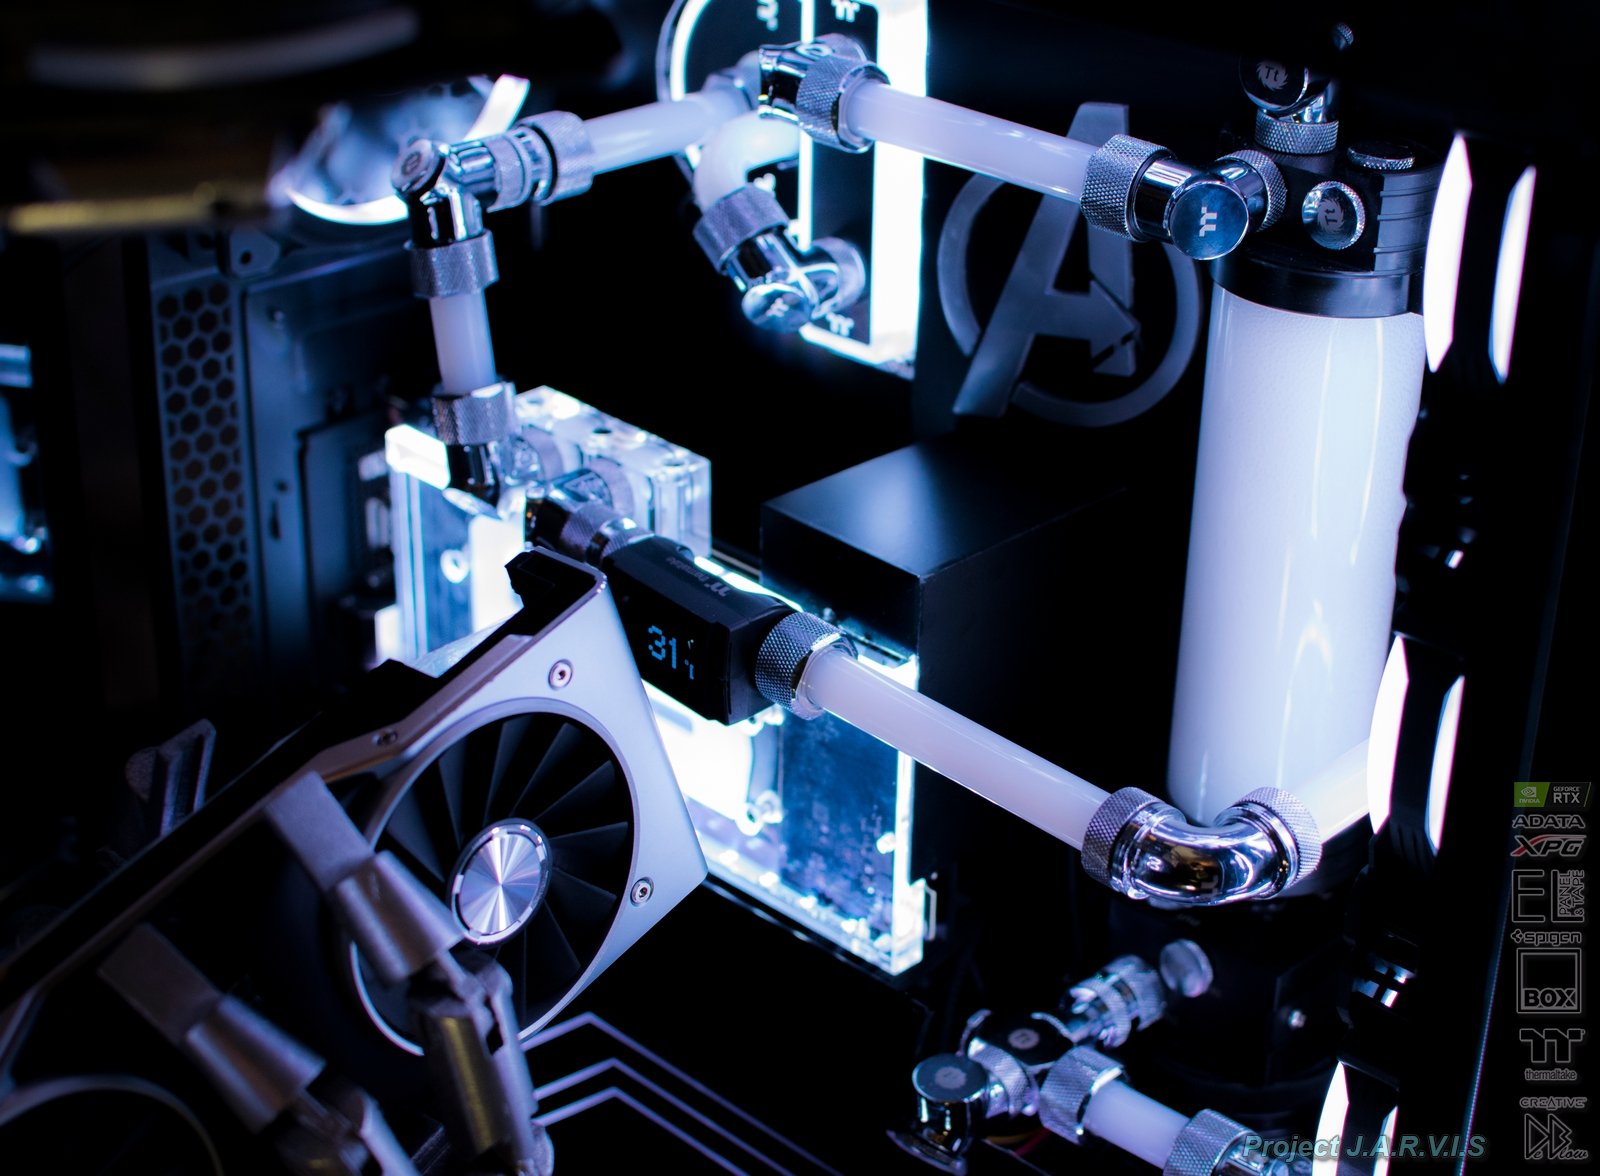
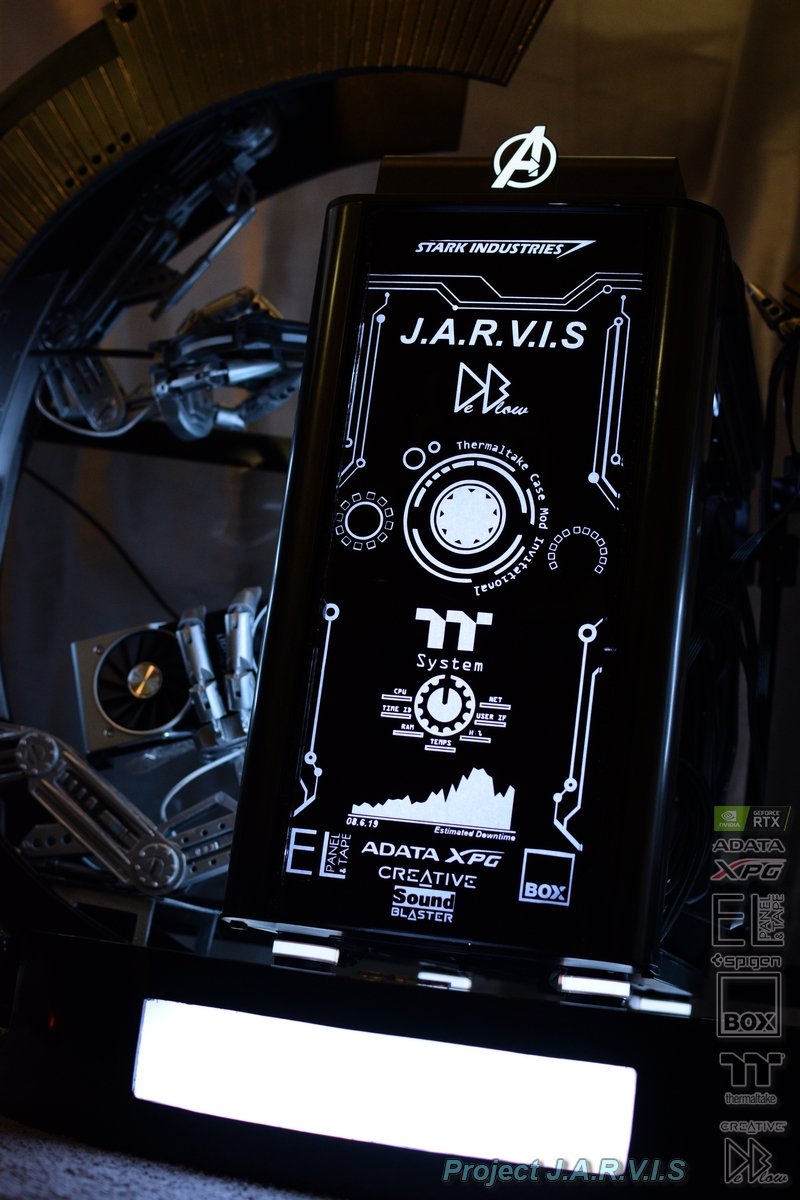
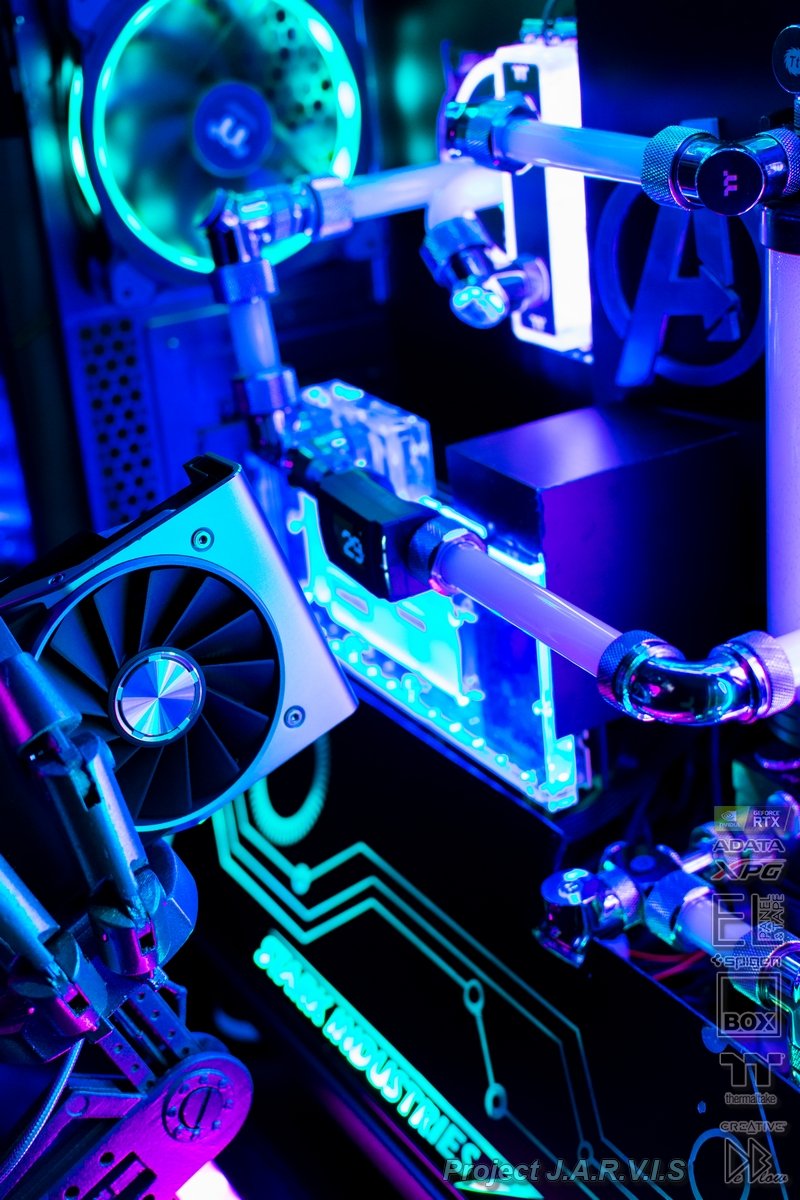
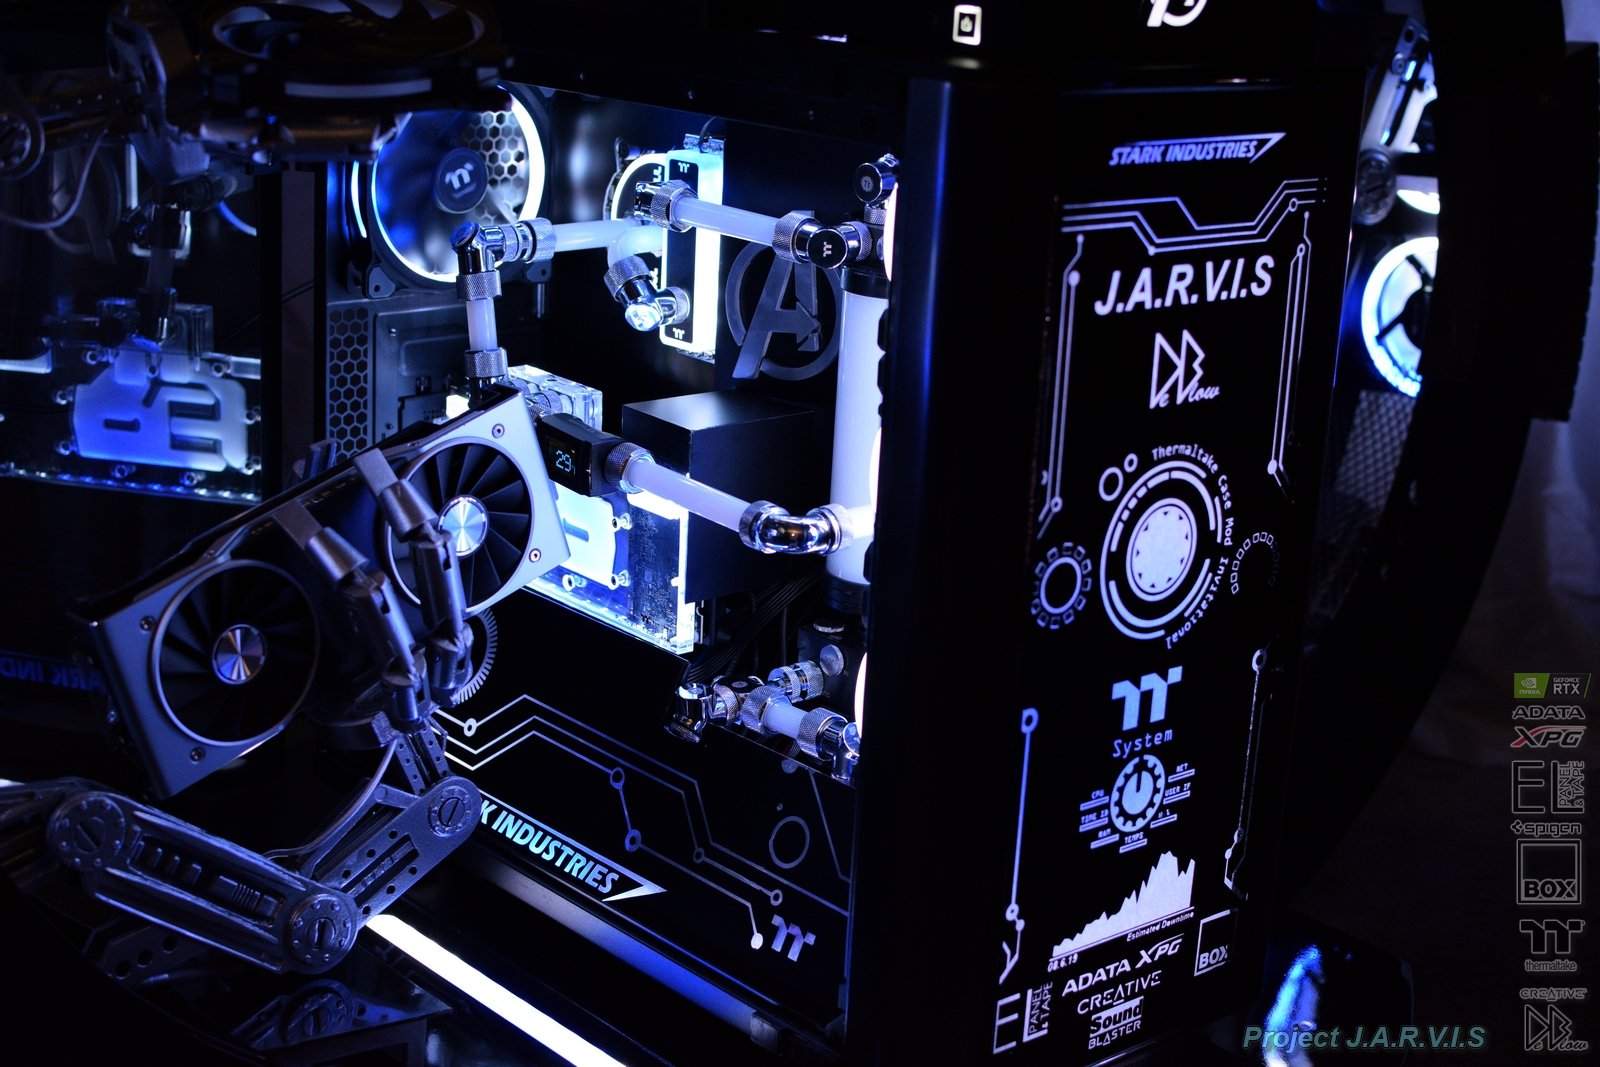
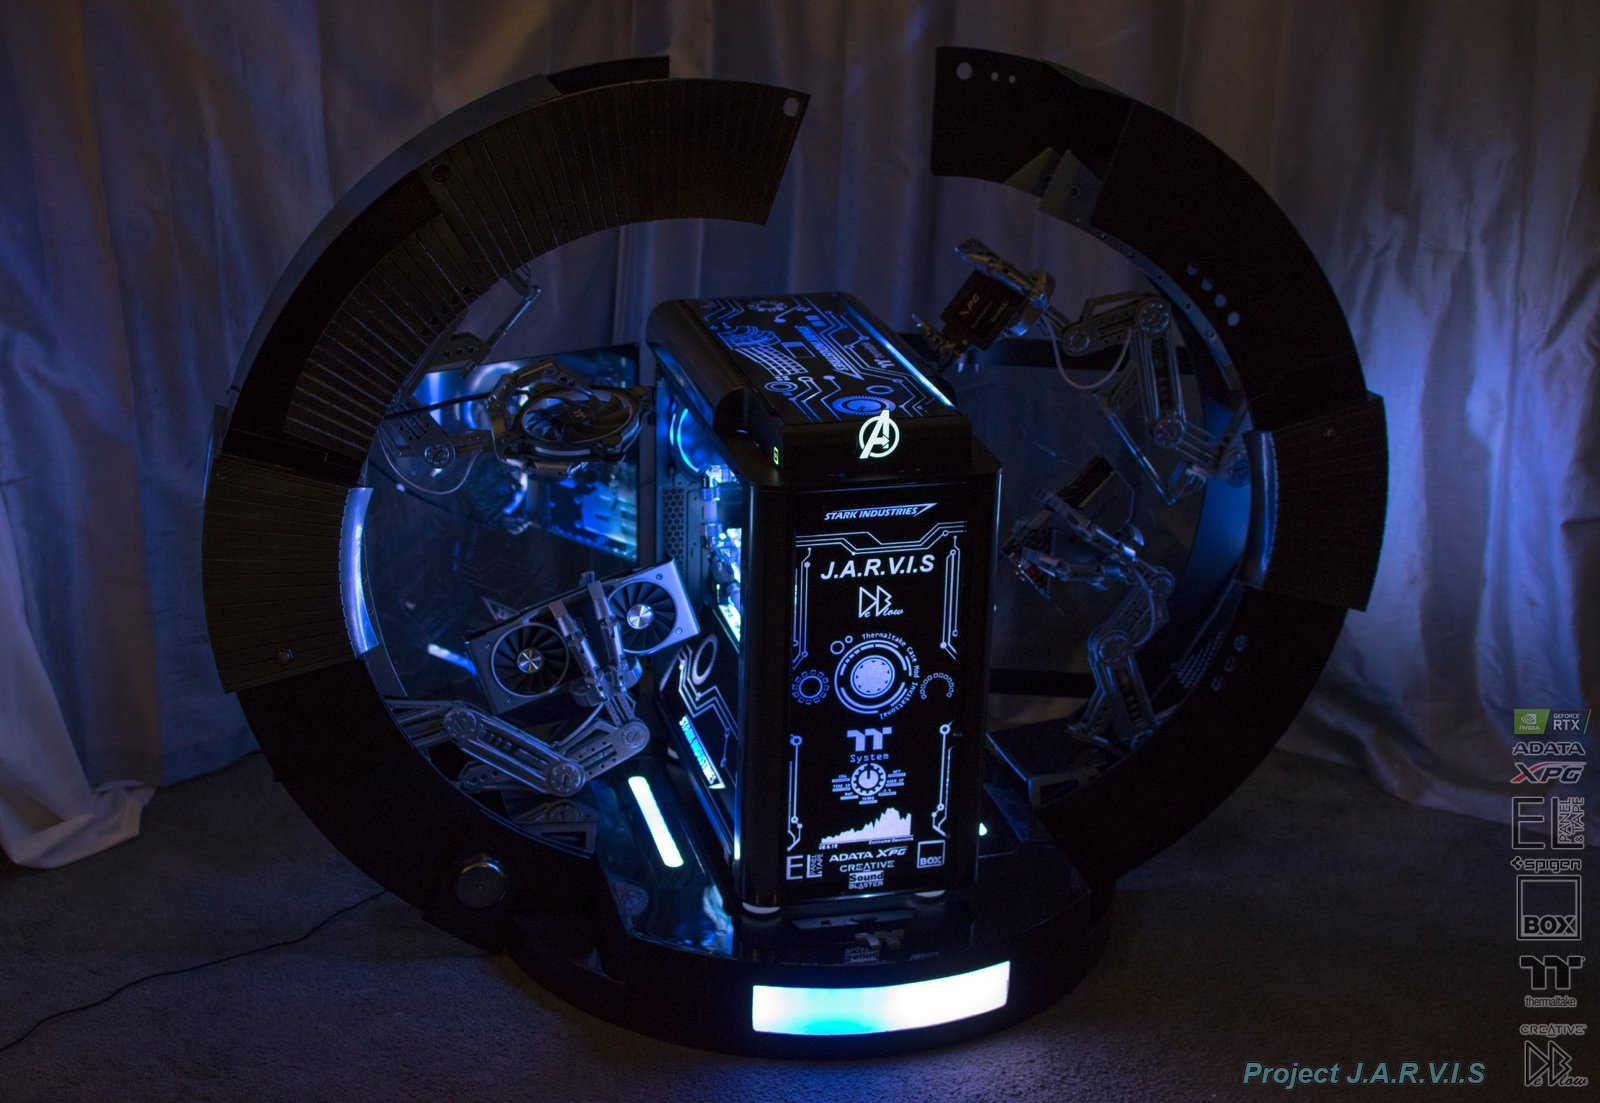
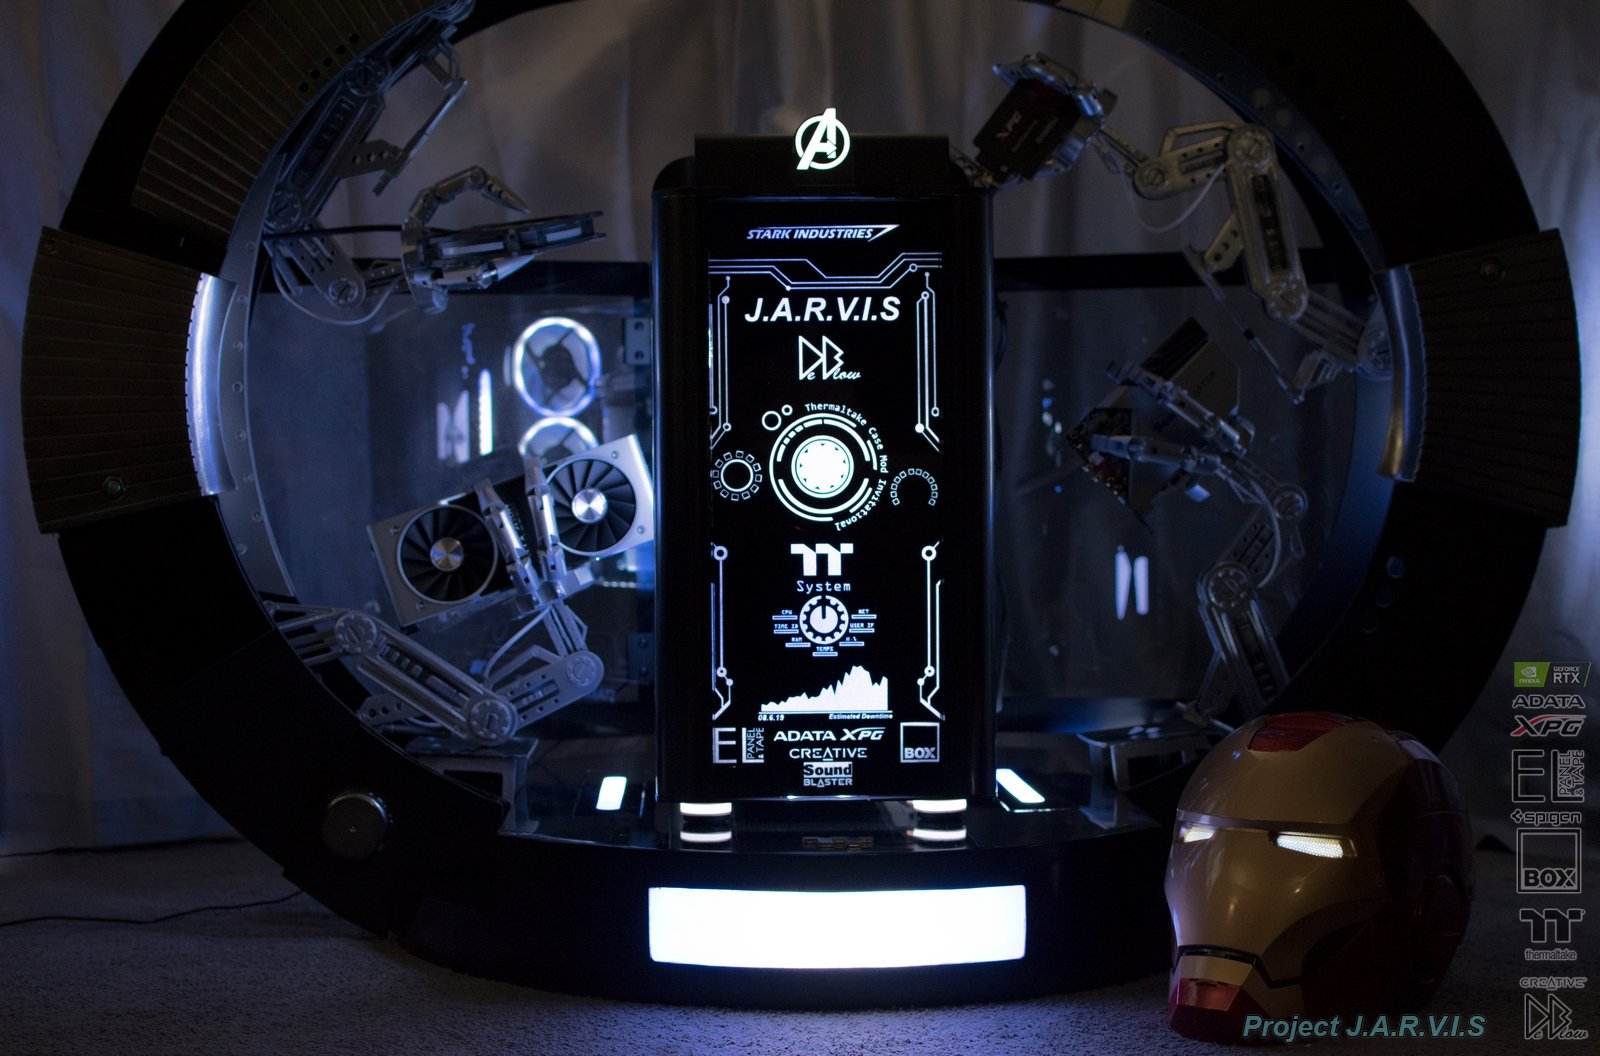
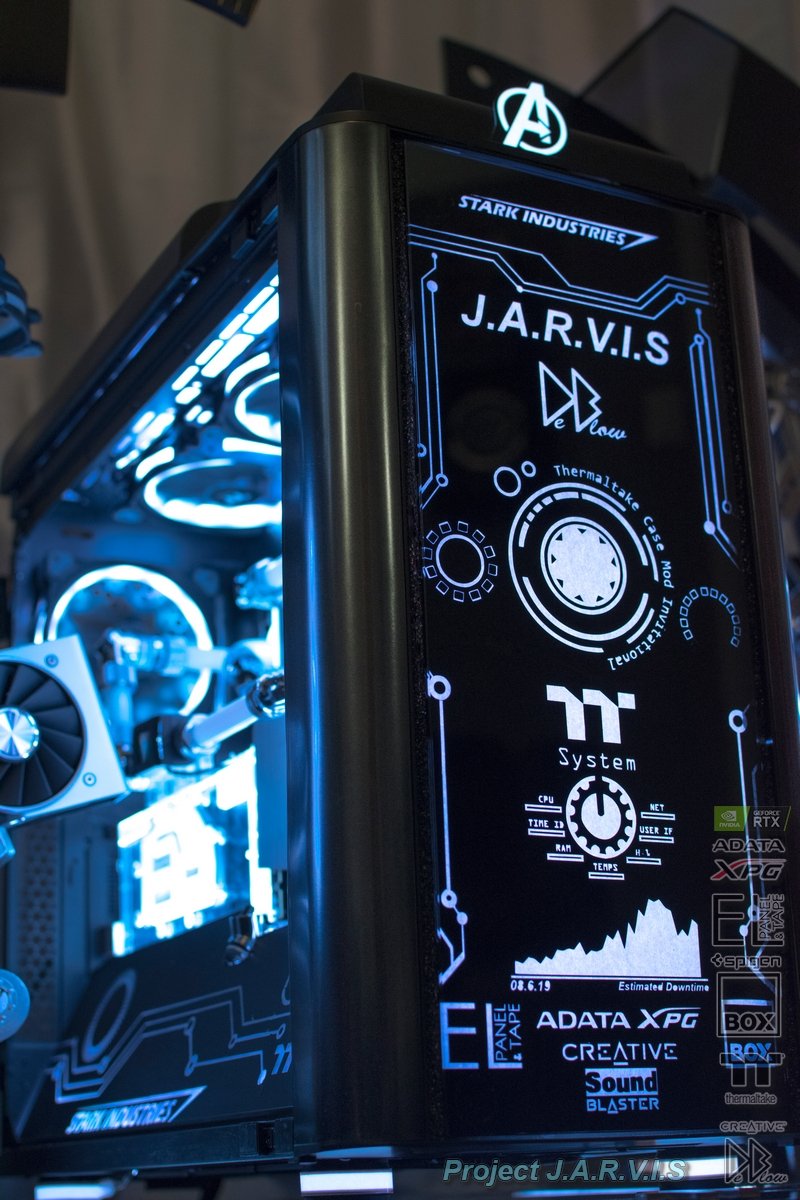
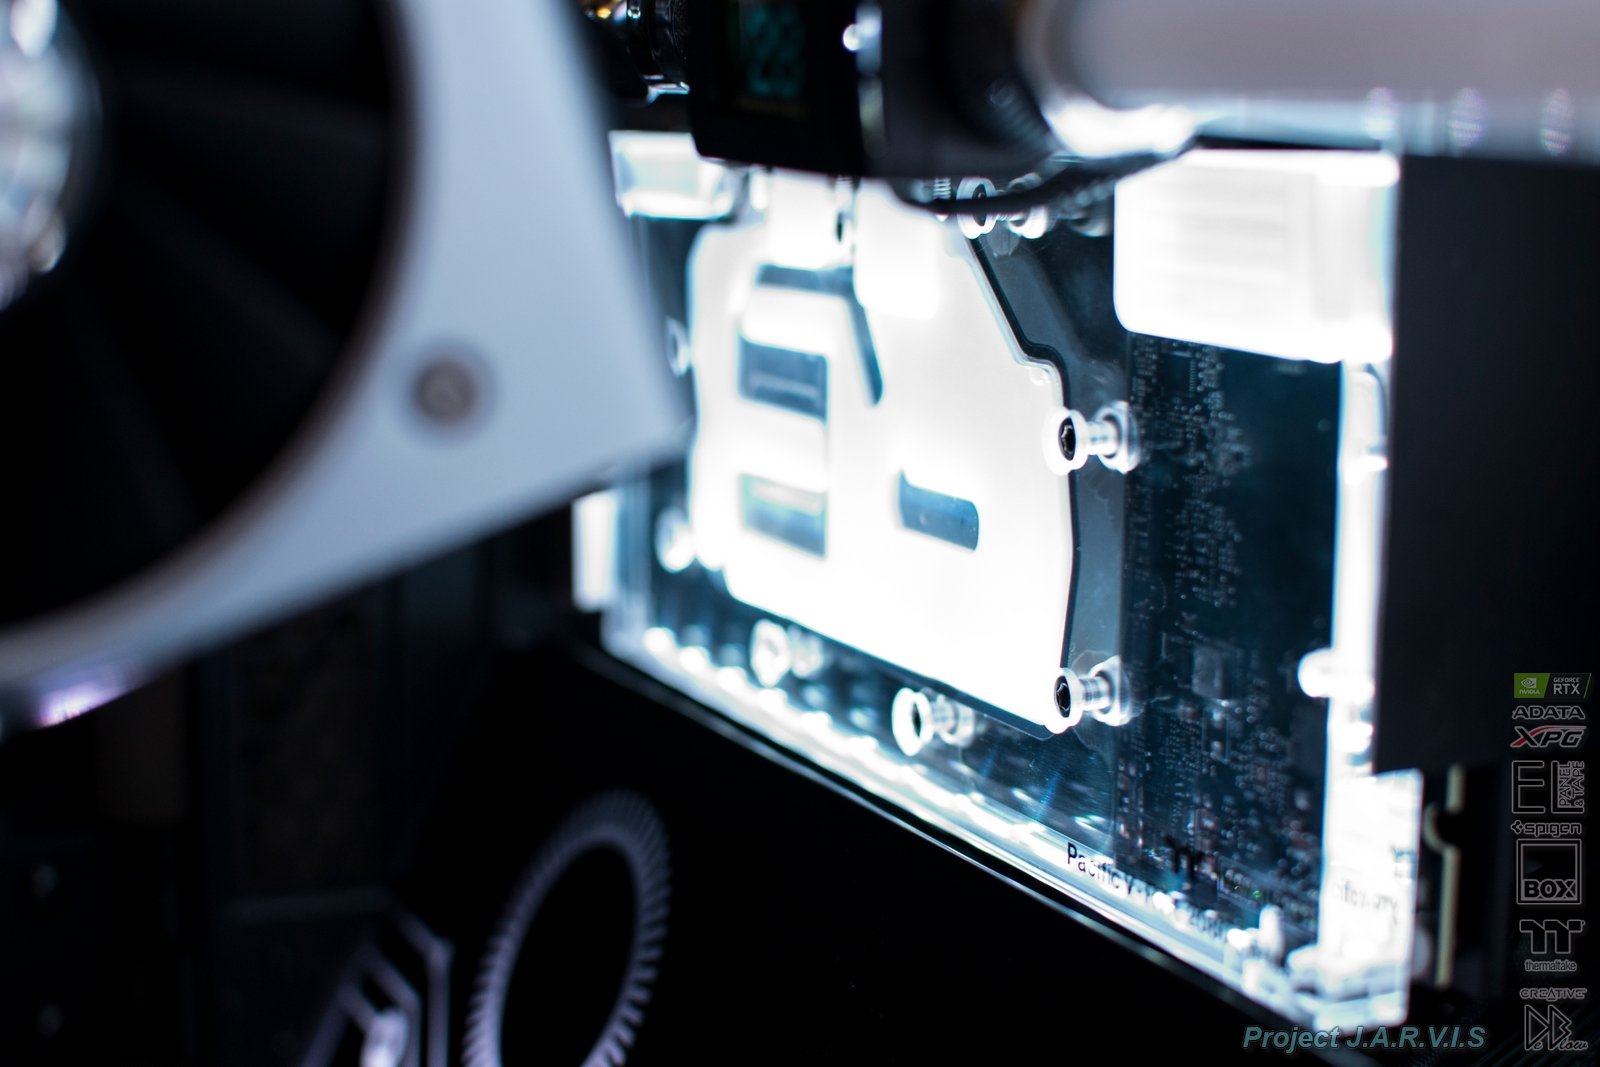
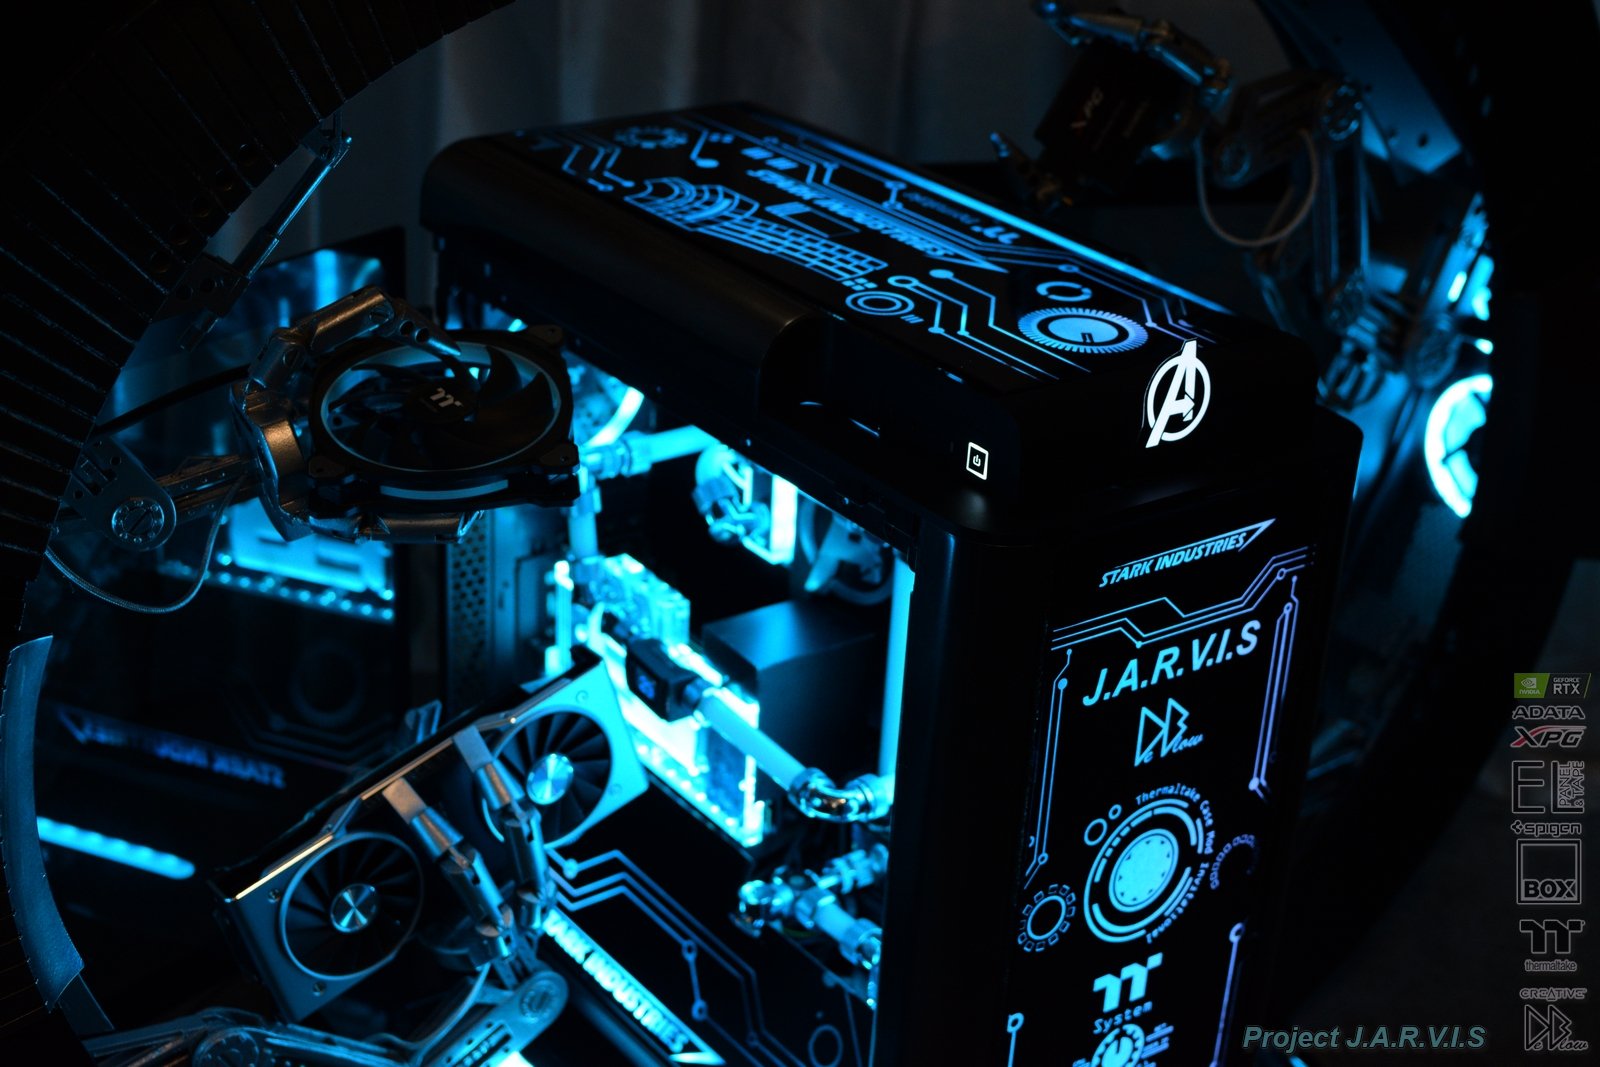
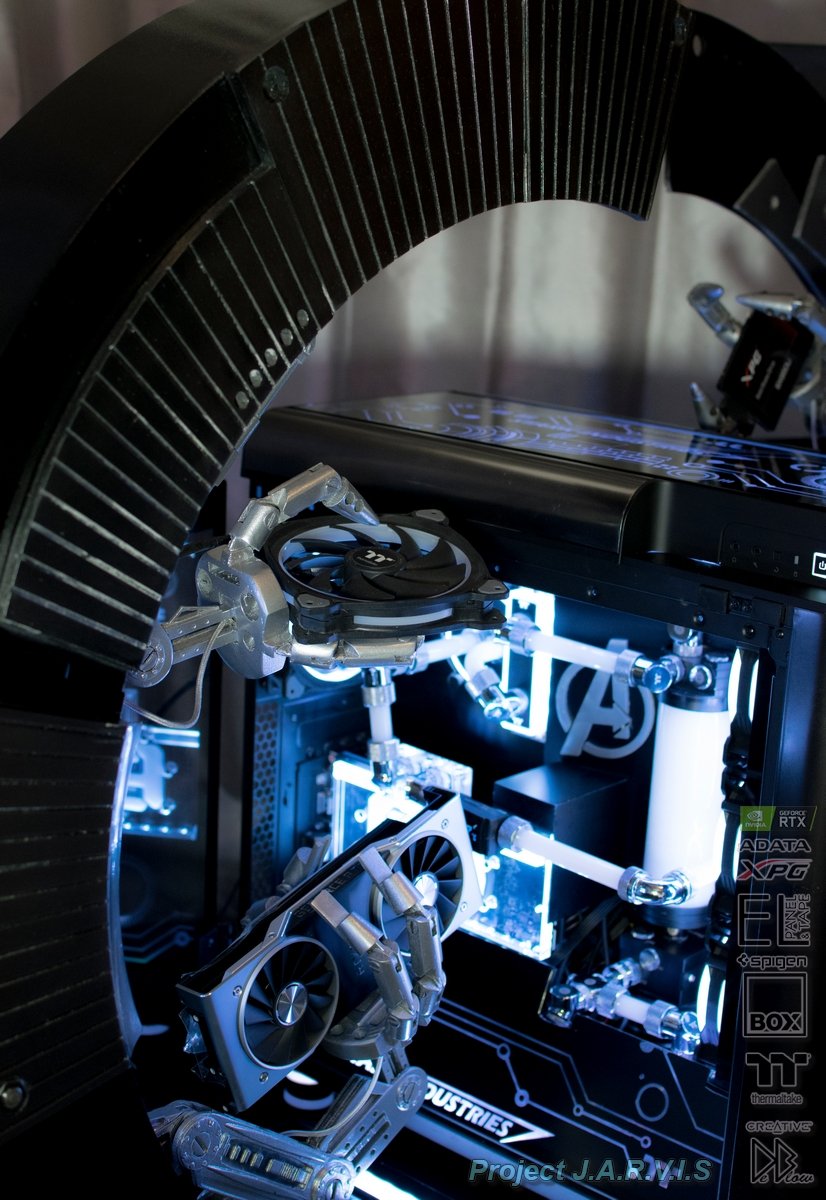
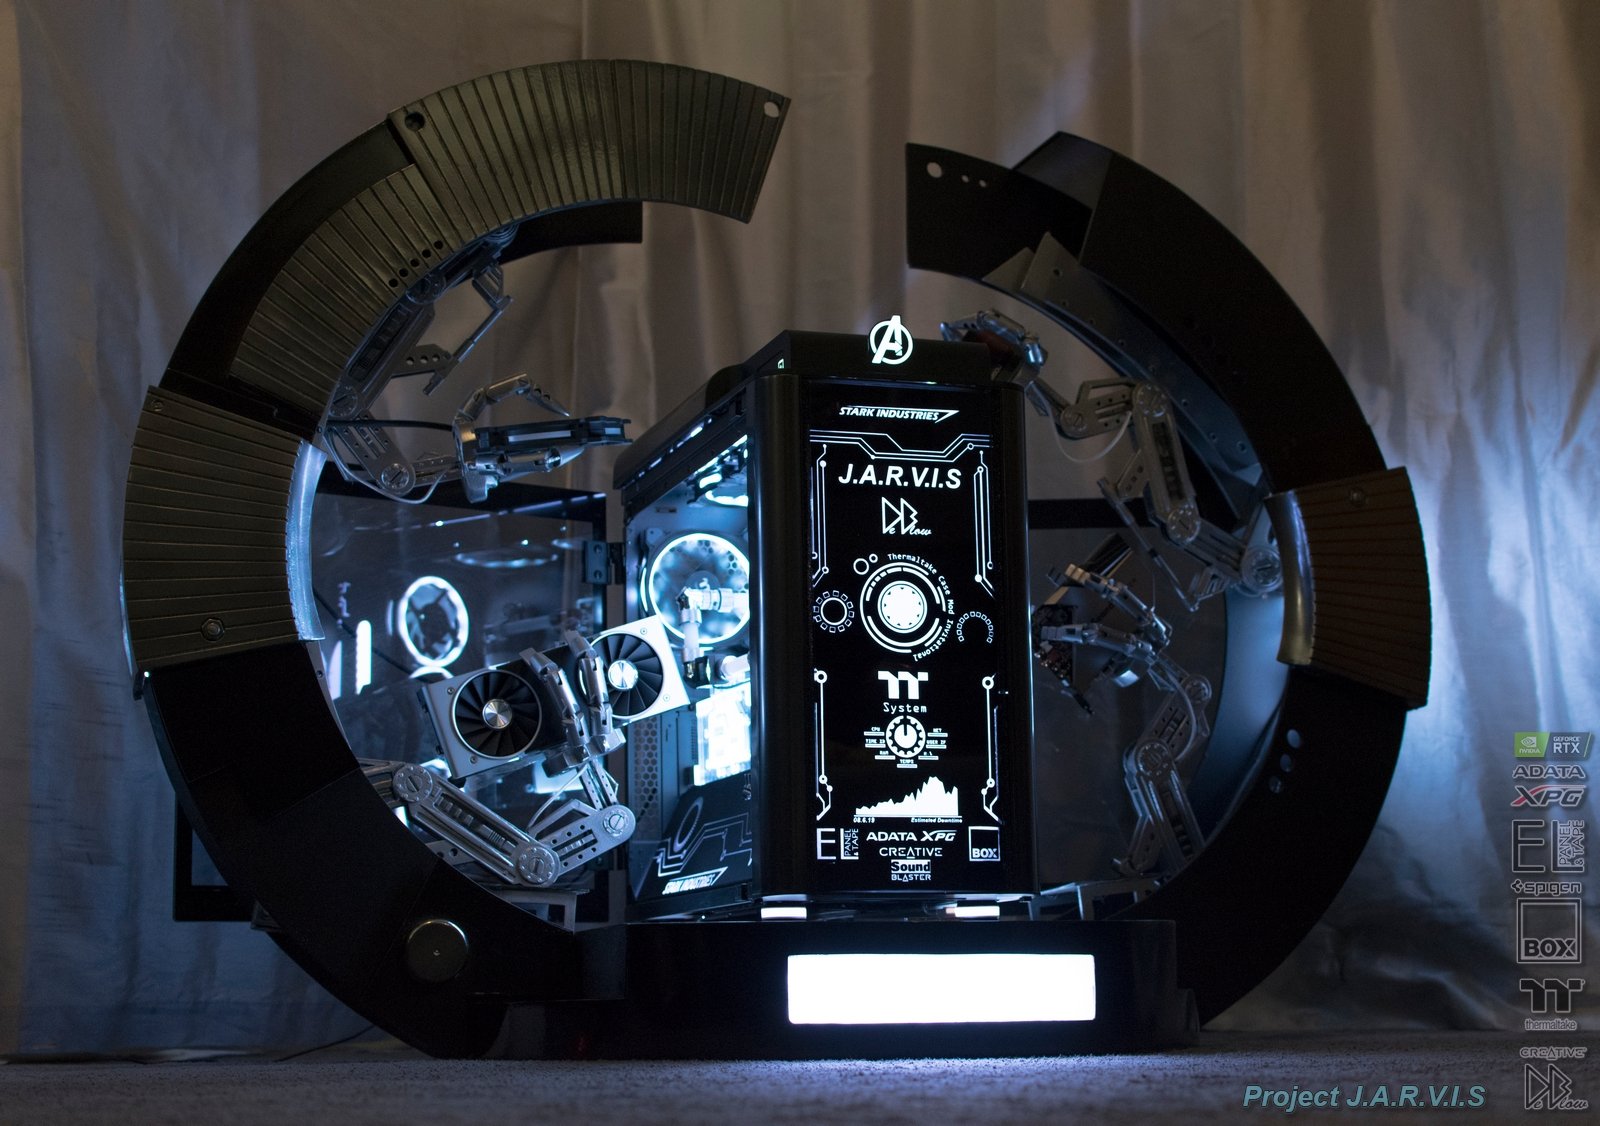
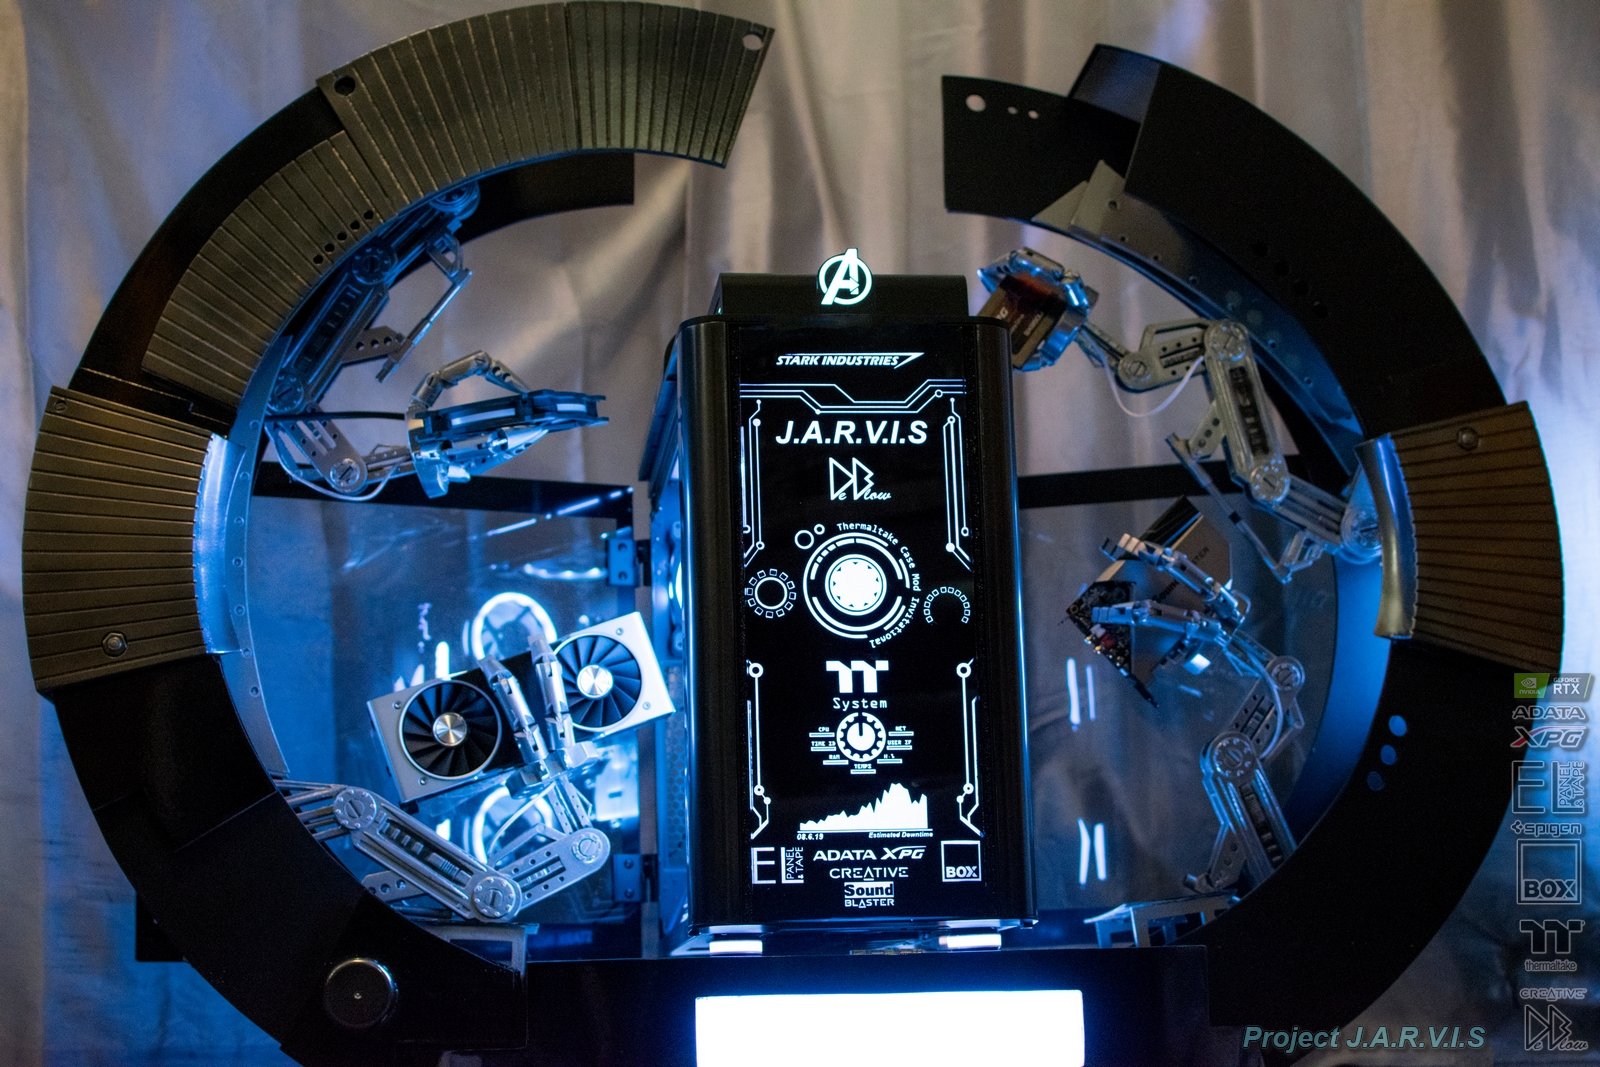
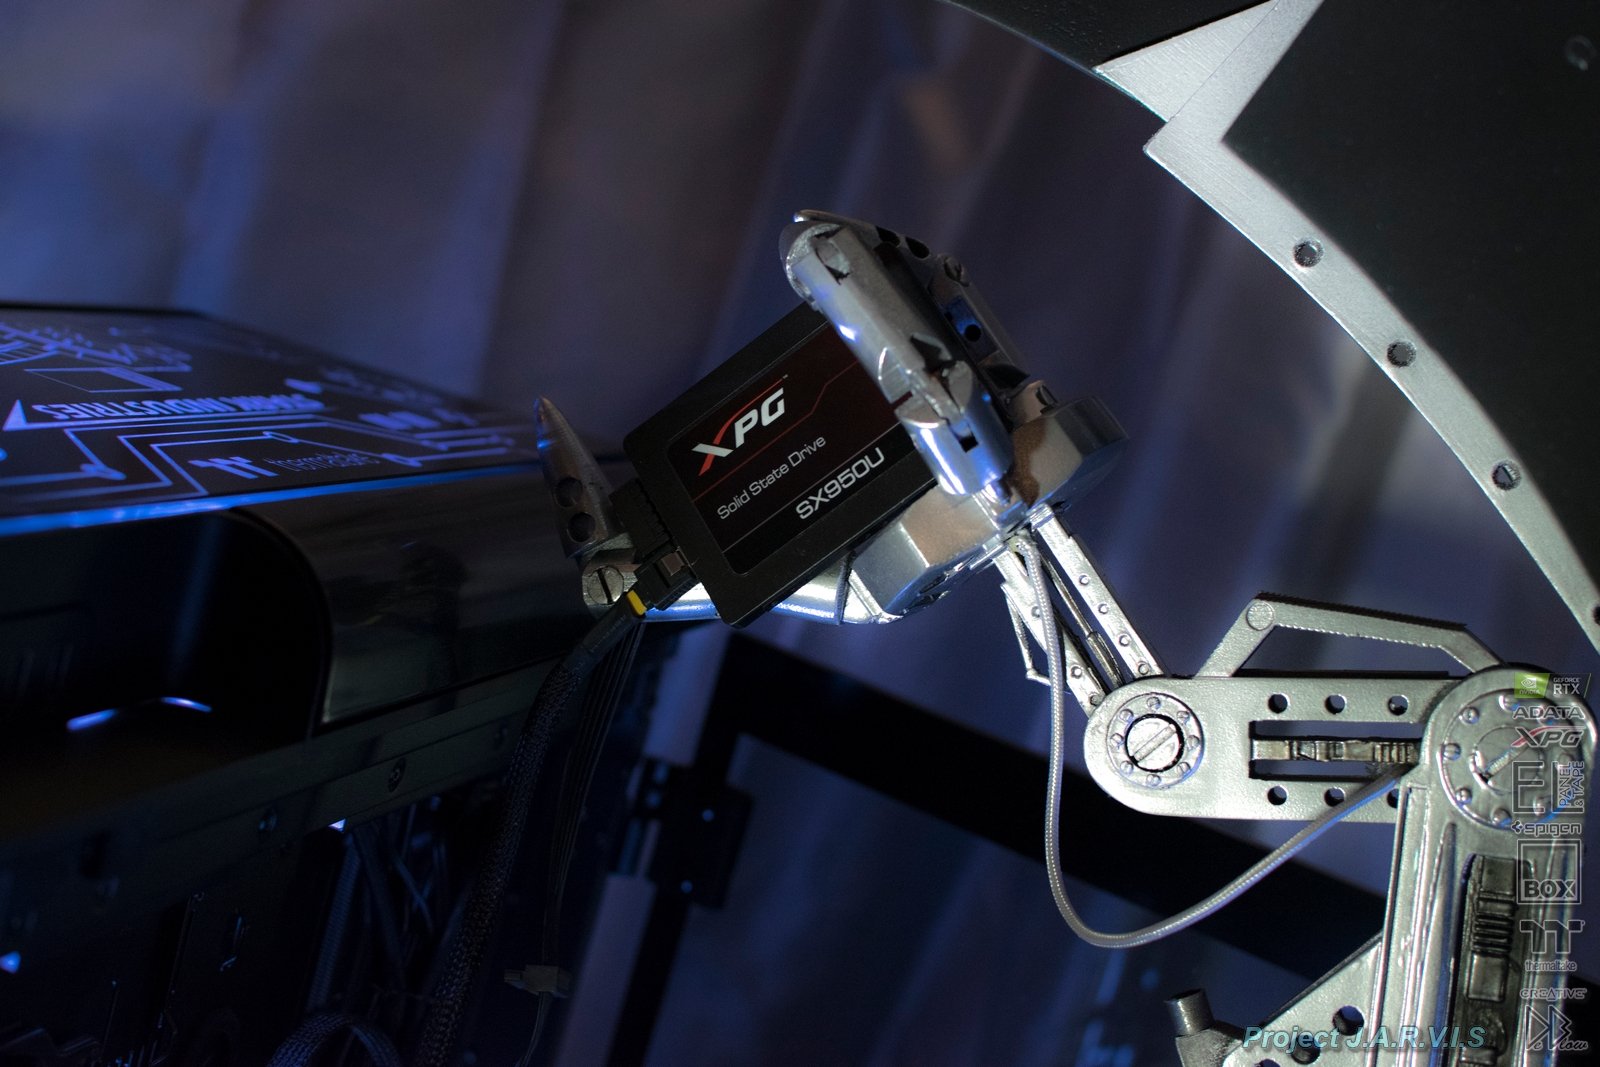
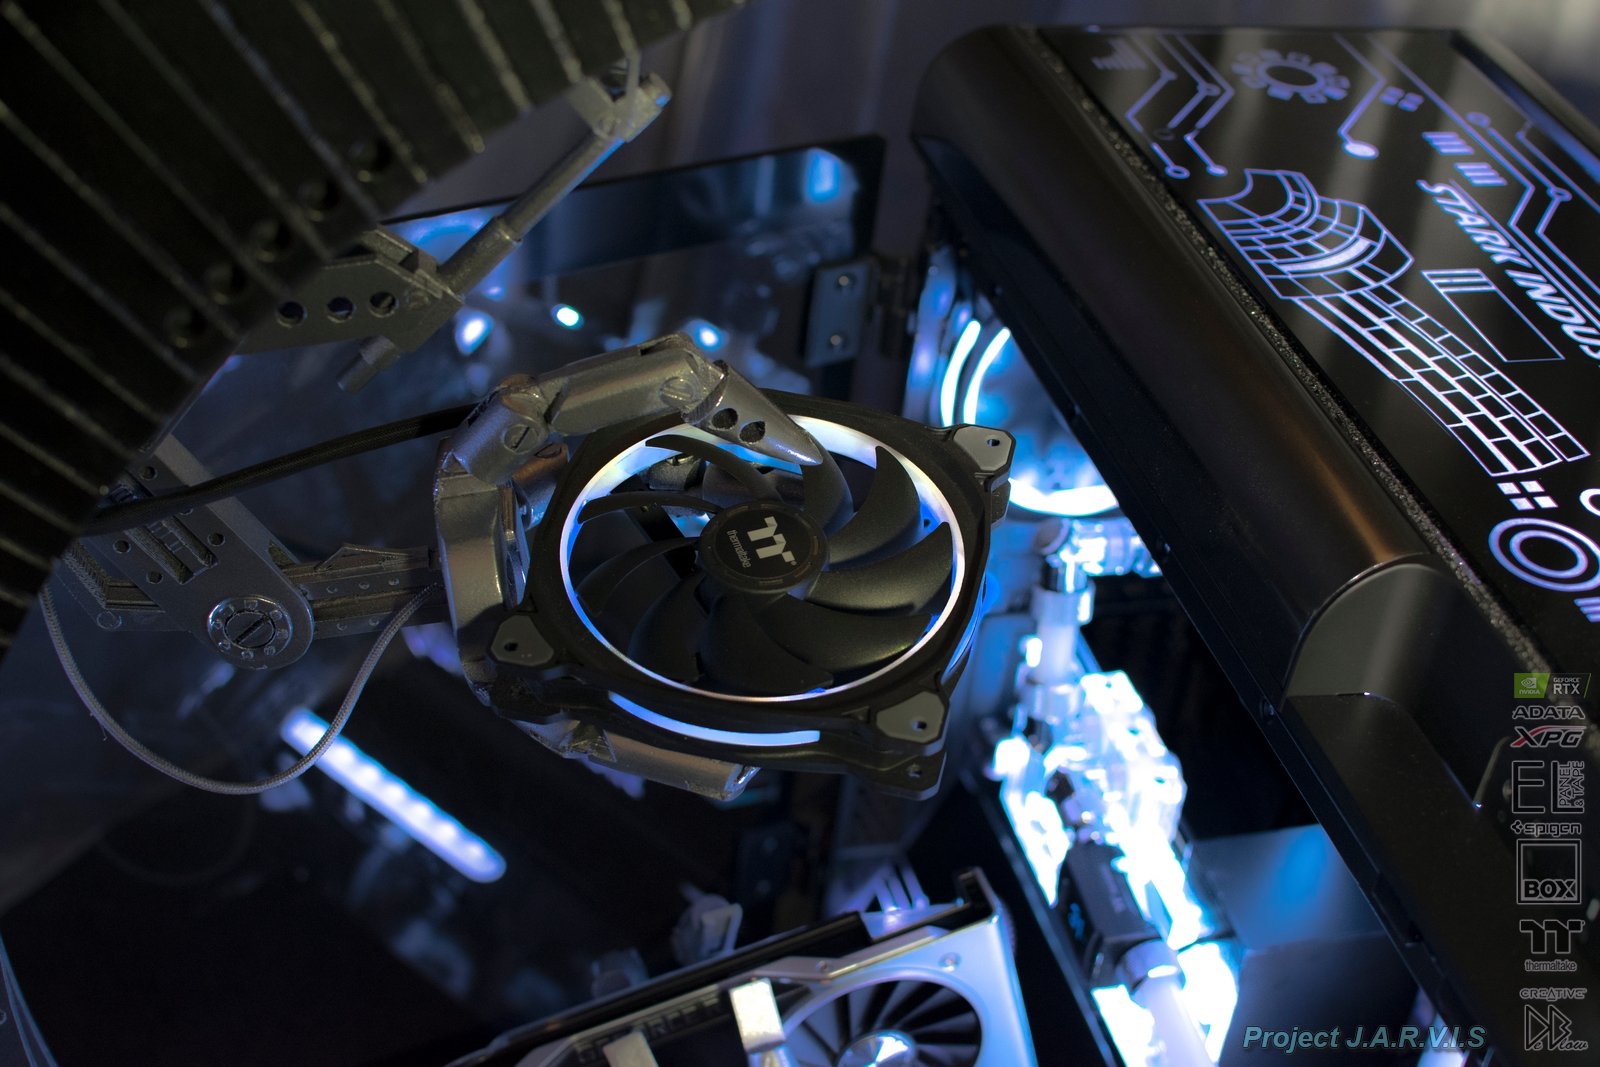
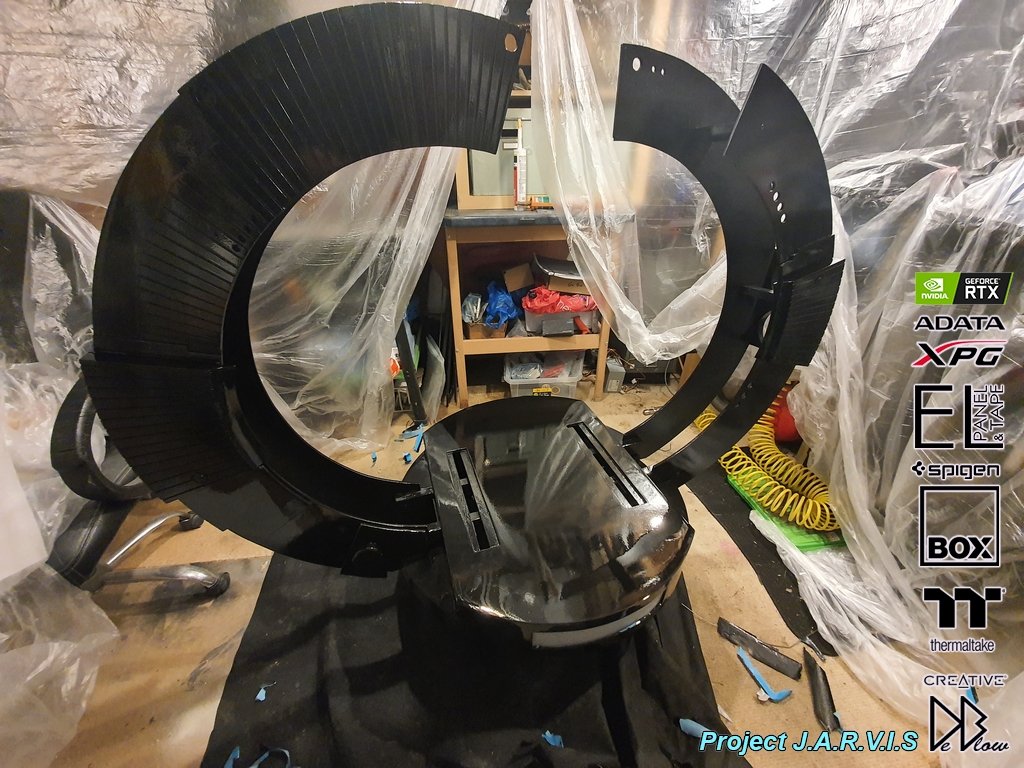
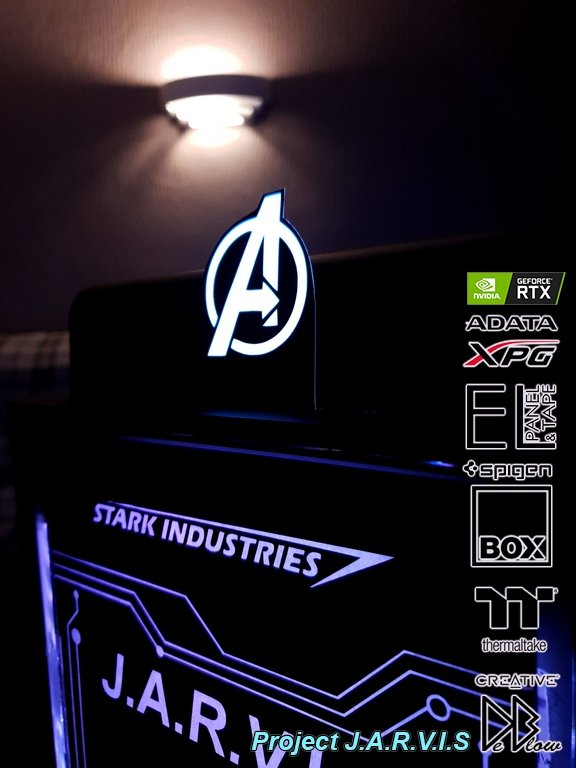
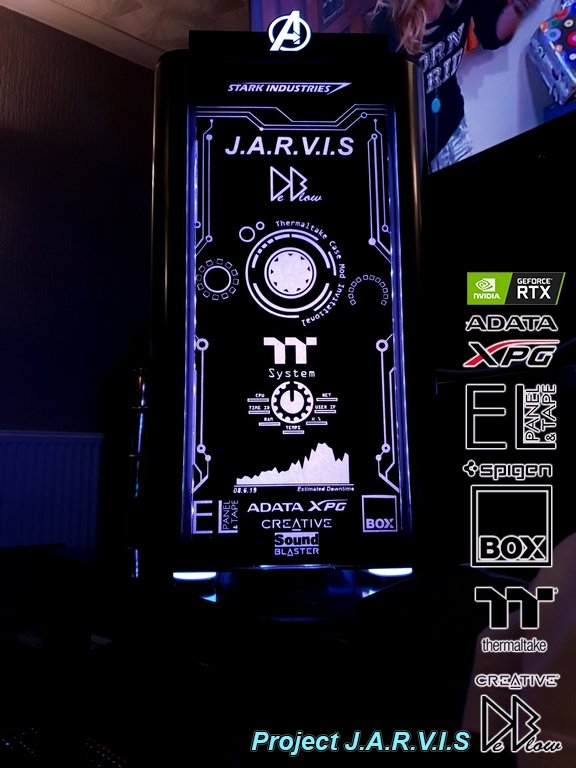
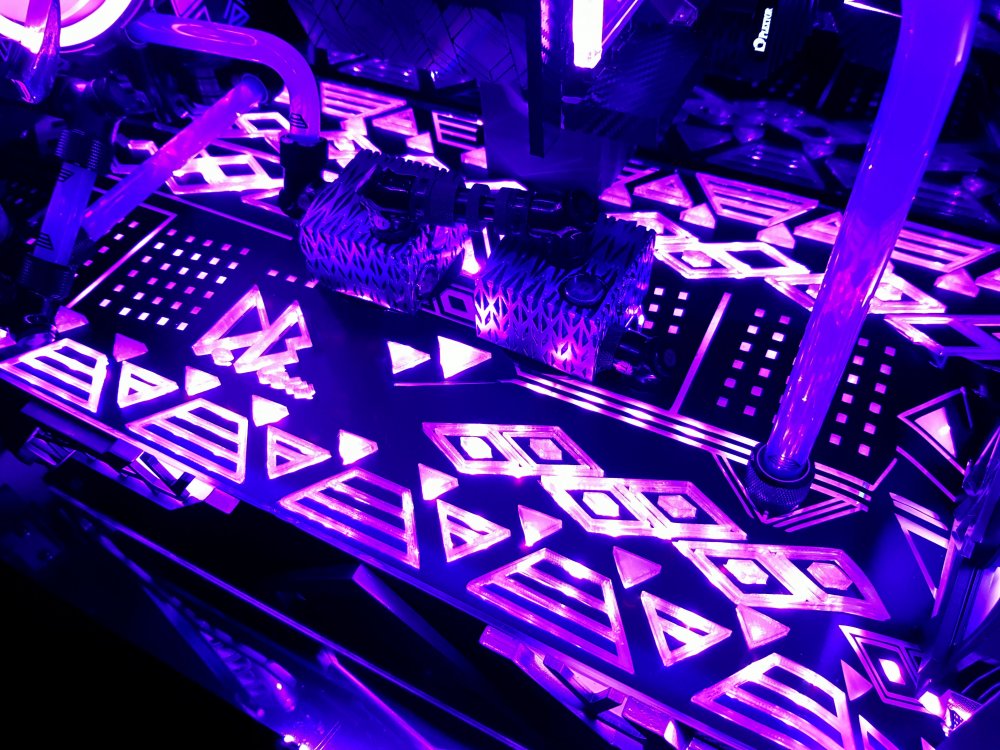
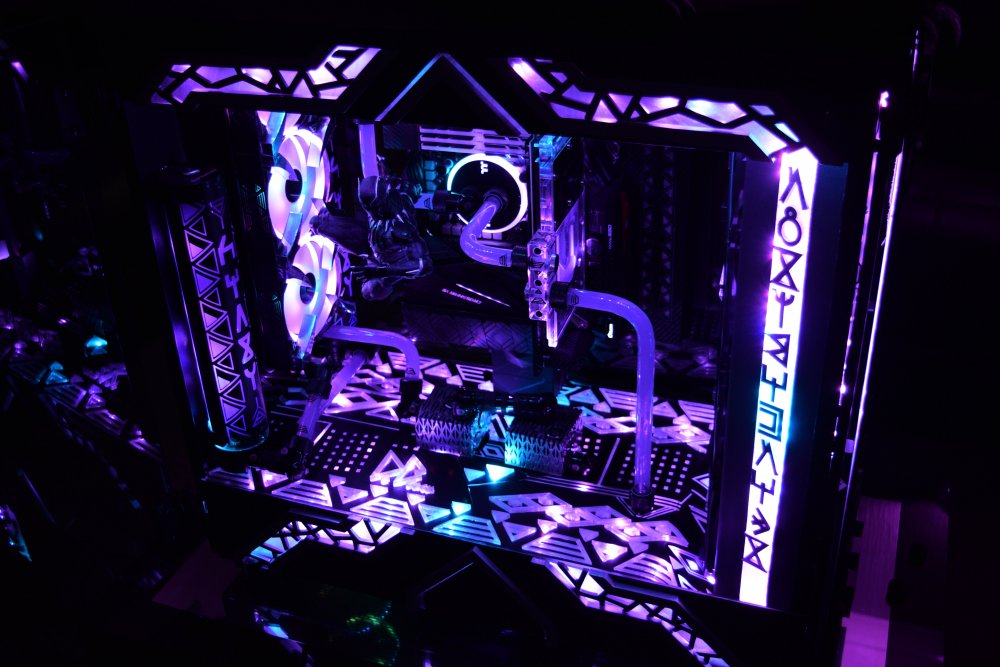
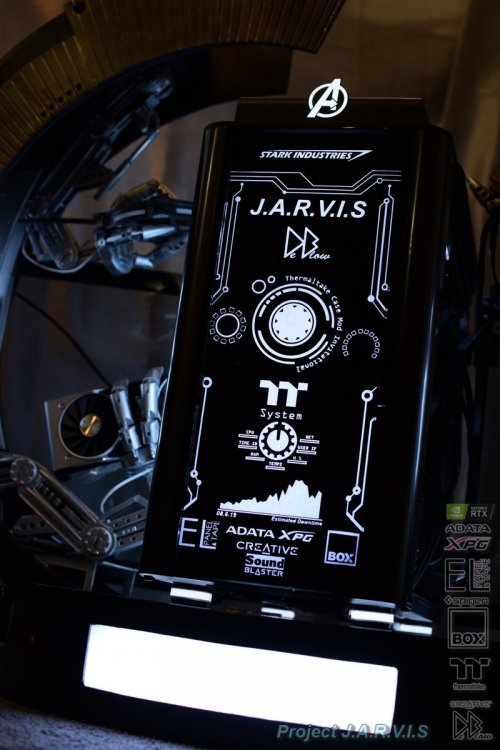
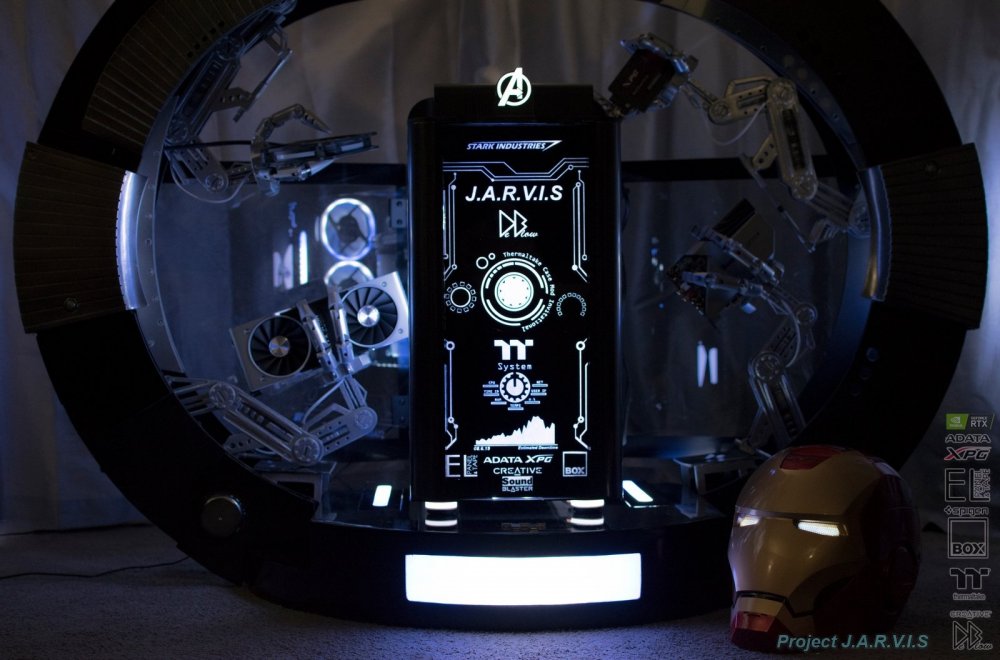
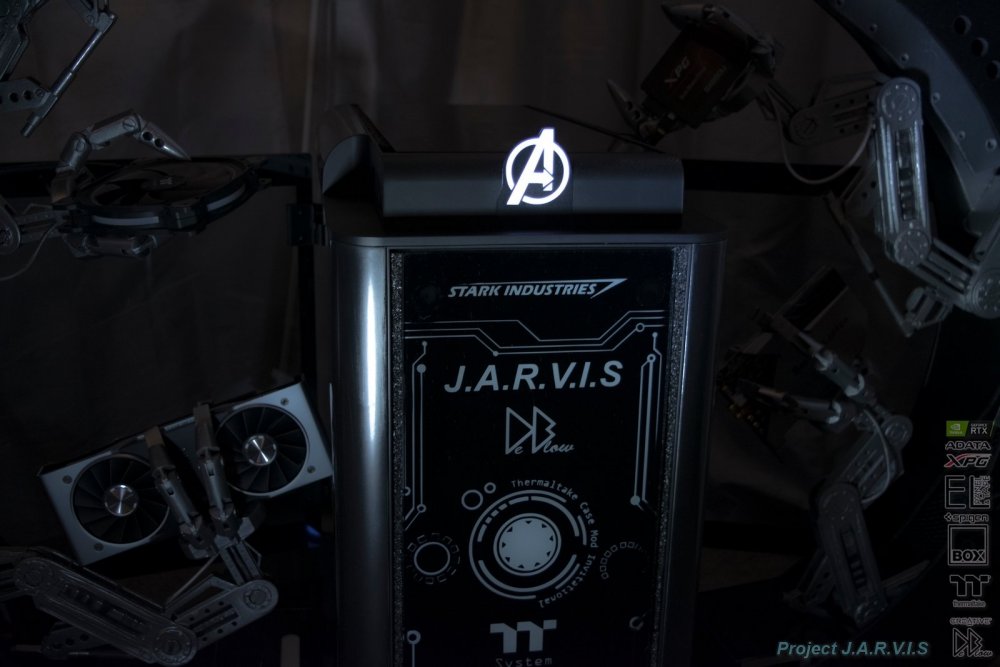
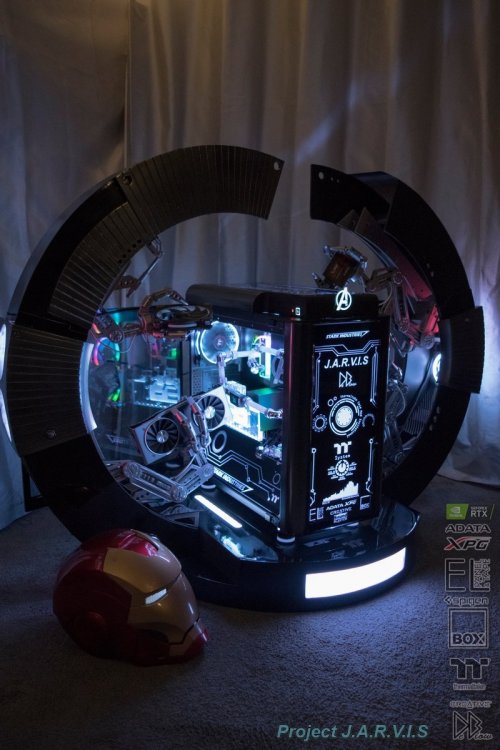
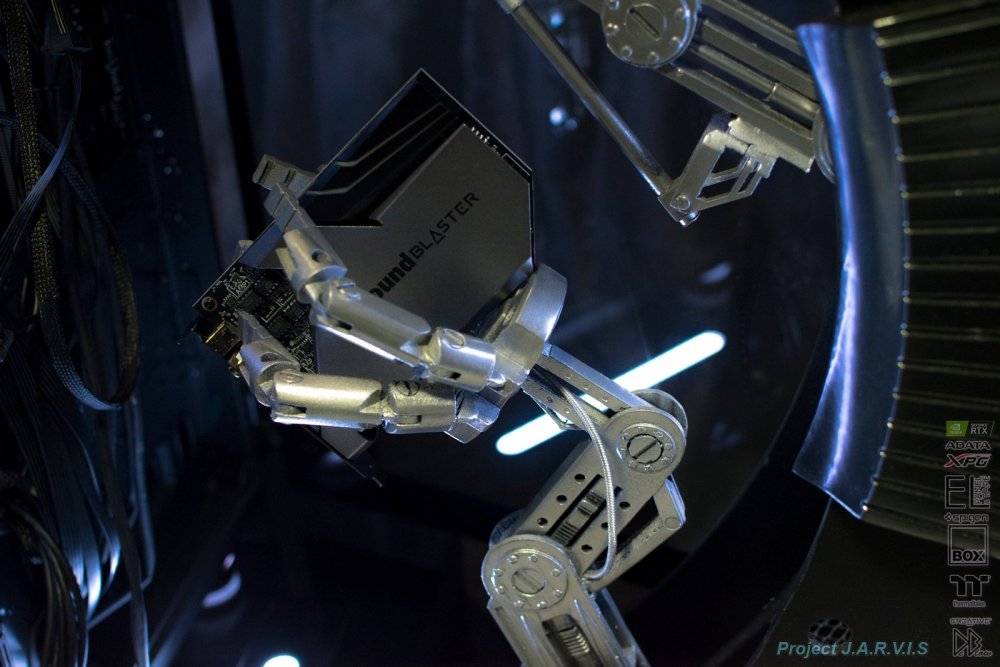
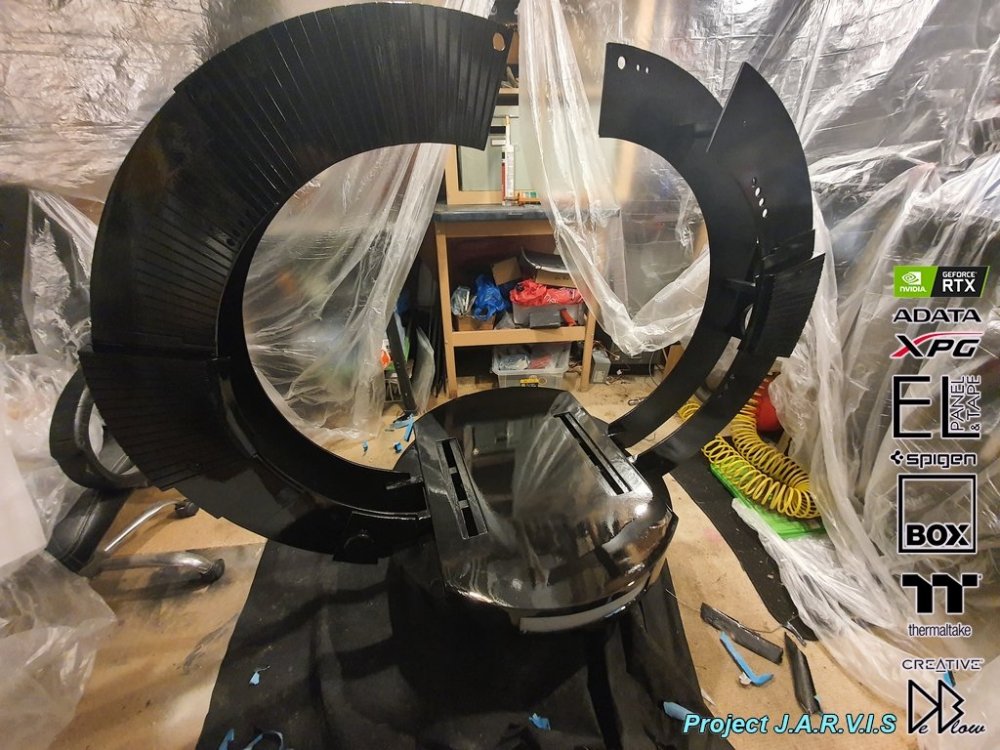
The design is my take on the style of gantry that Tony Stark uses in the Iron Man movies to suit up, with this design the robotic arms look to be building and installing components, using this idea helps put focus on the components that's used to make this gaming PC and also keep the cases original shape and layout. Working with wood, paints, glass, plastics, 3d printing, airbrushing, wrapping and so on, so basically a bit of everything i have worked with in past builds, aside from clay. GPU - Nvidia RTX 2080 Founders Sound - Creative Labs Sound Blaster AE-9 RAM - Thermaltake's WaterRam RGB. 3200MHz 32GB (4x8GB) Case - Thermaltake lv20 PSU - Thermatake Toughpower PF1 ARGB Fans - Thermaltake, Riing Trio, Duo. RGB lighting - Thermaltake RGB strips Other lighting - EL wire & tape.co.uk Filemant 3D printing - Steadytech PLA (box.co) Storage - ADATA SX8200 M.2 & SX950U SSD Watercooling parts from Thermaltake, all listed on build logs. https://www.facebook.com/megadeblow/ https://www.instagram.com/megadeblow/ https://www.youtube.com/user/MegaDeblow


-
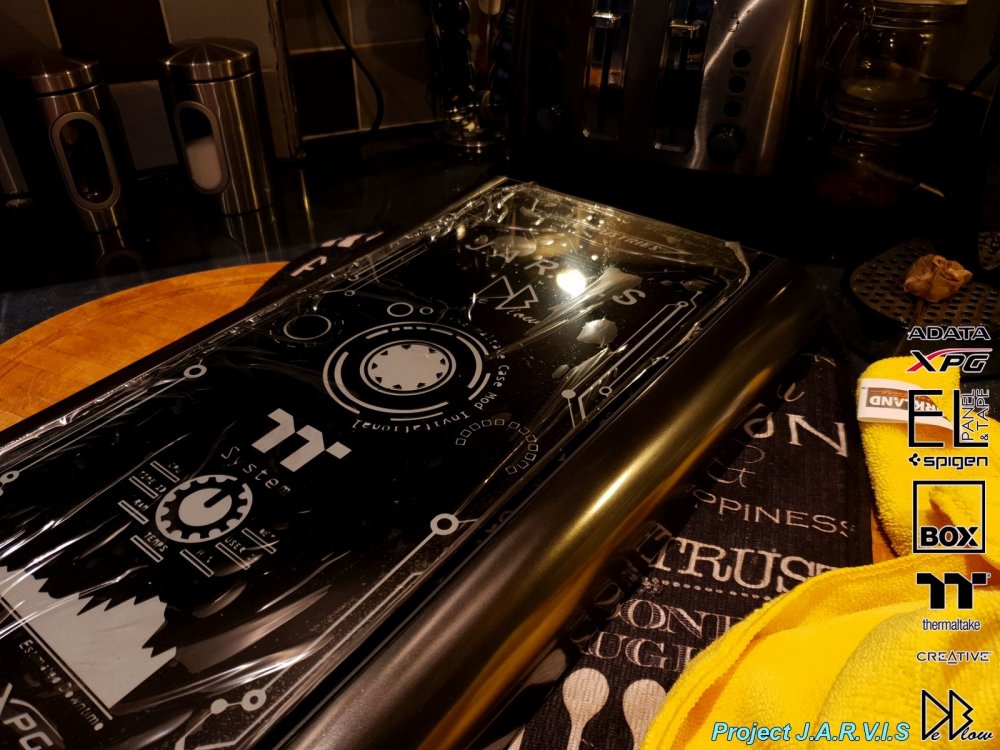
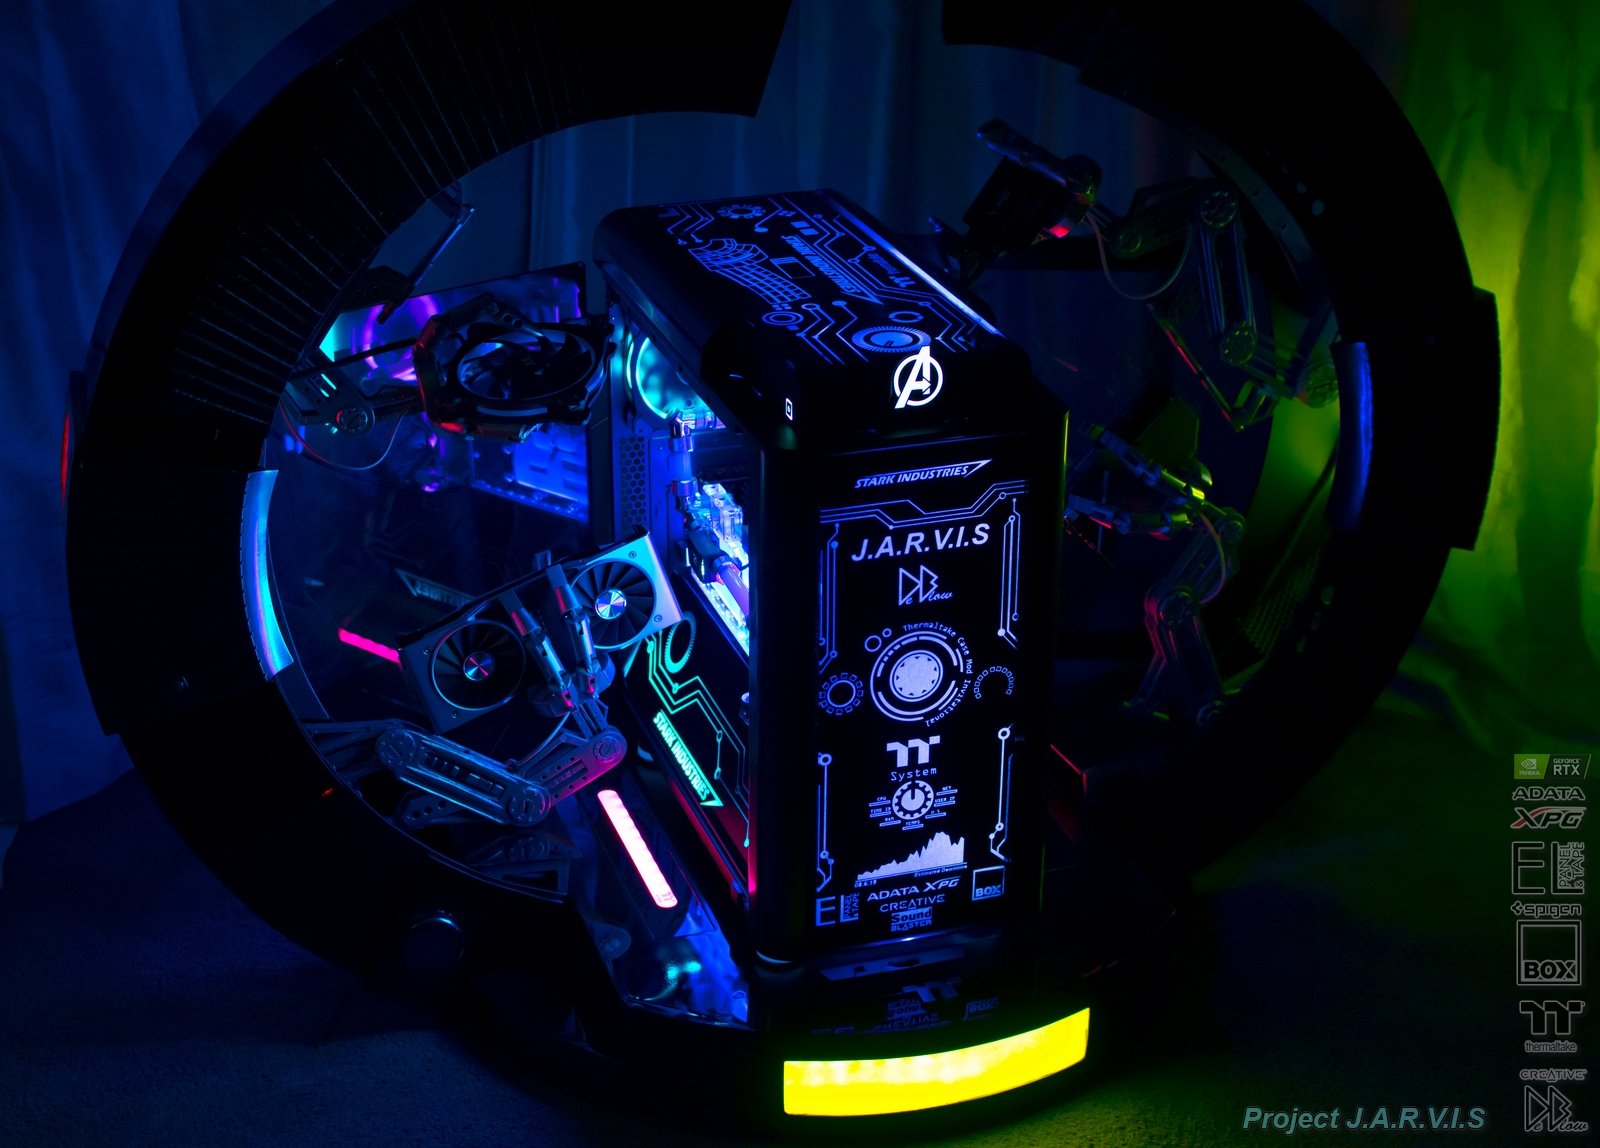
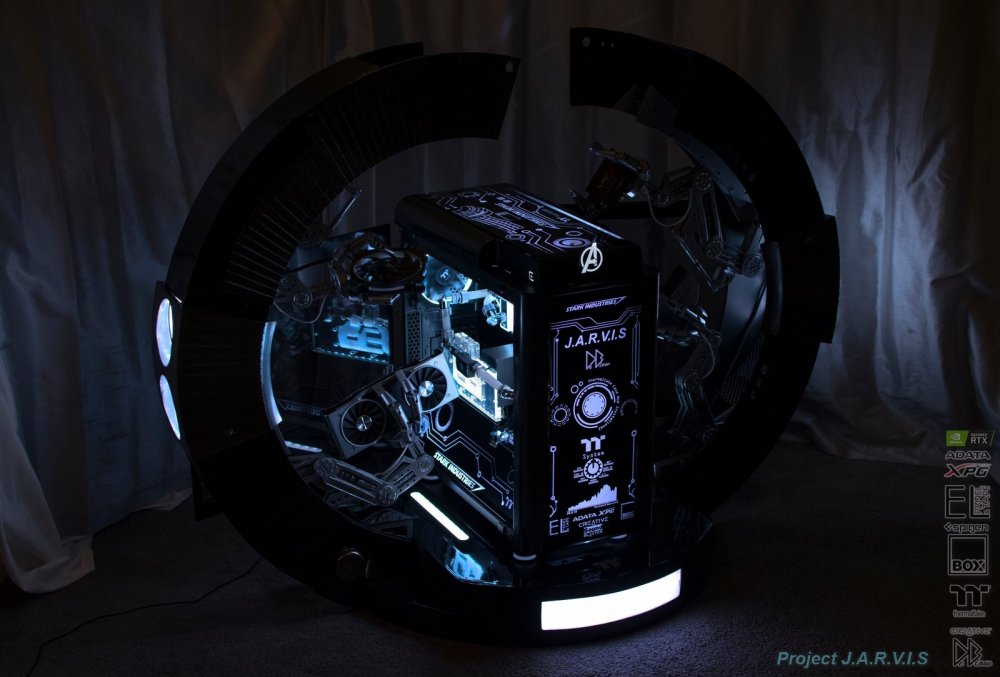
Ok the wait is over! I will now spam you with the final photos, hope its been worth the wait.


-
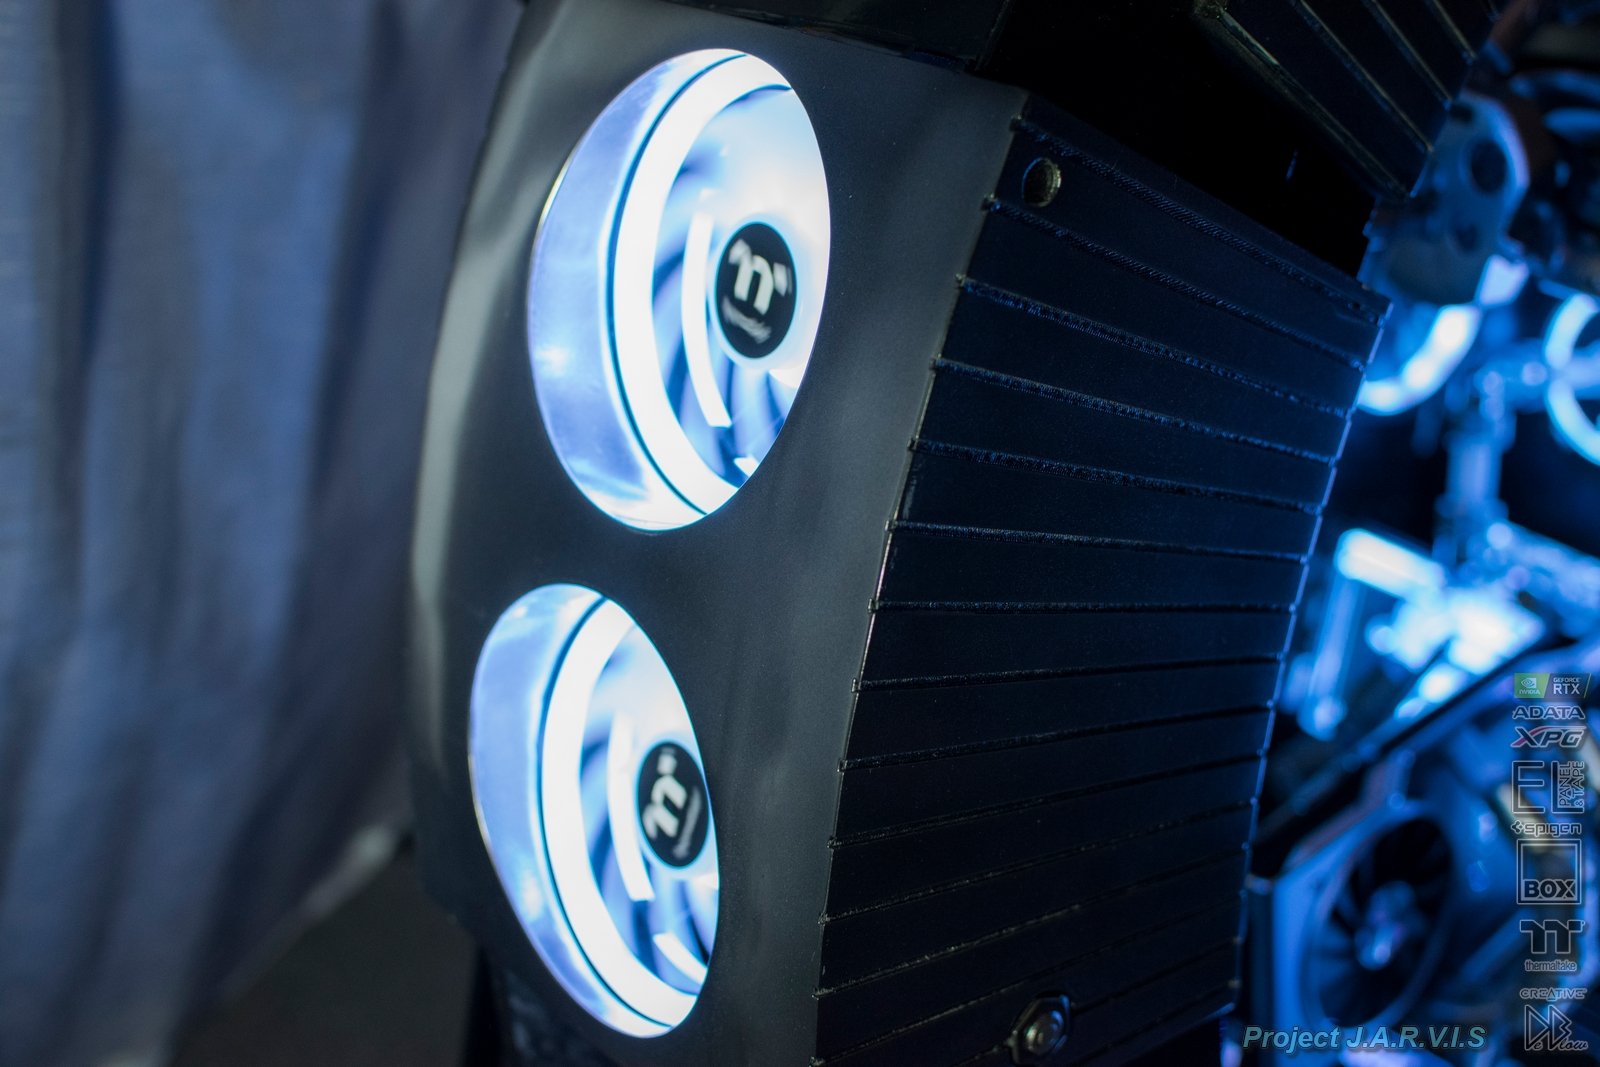
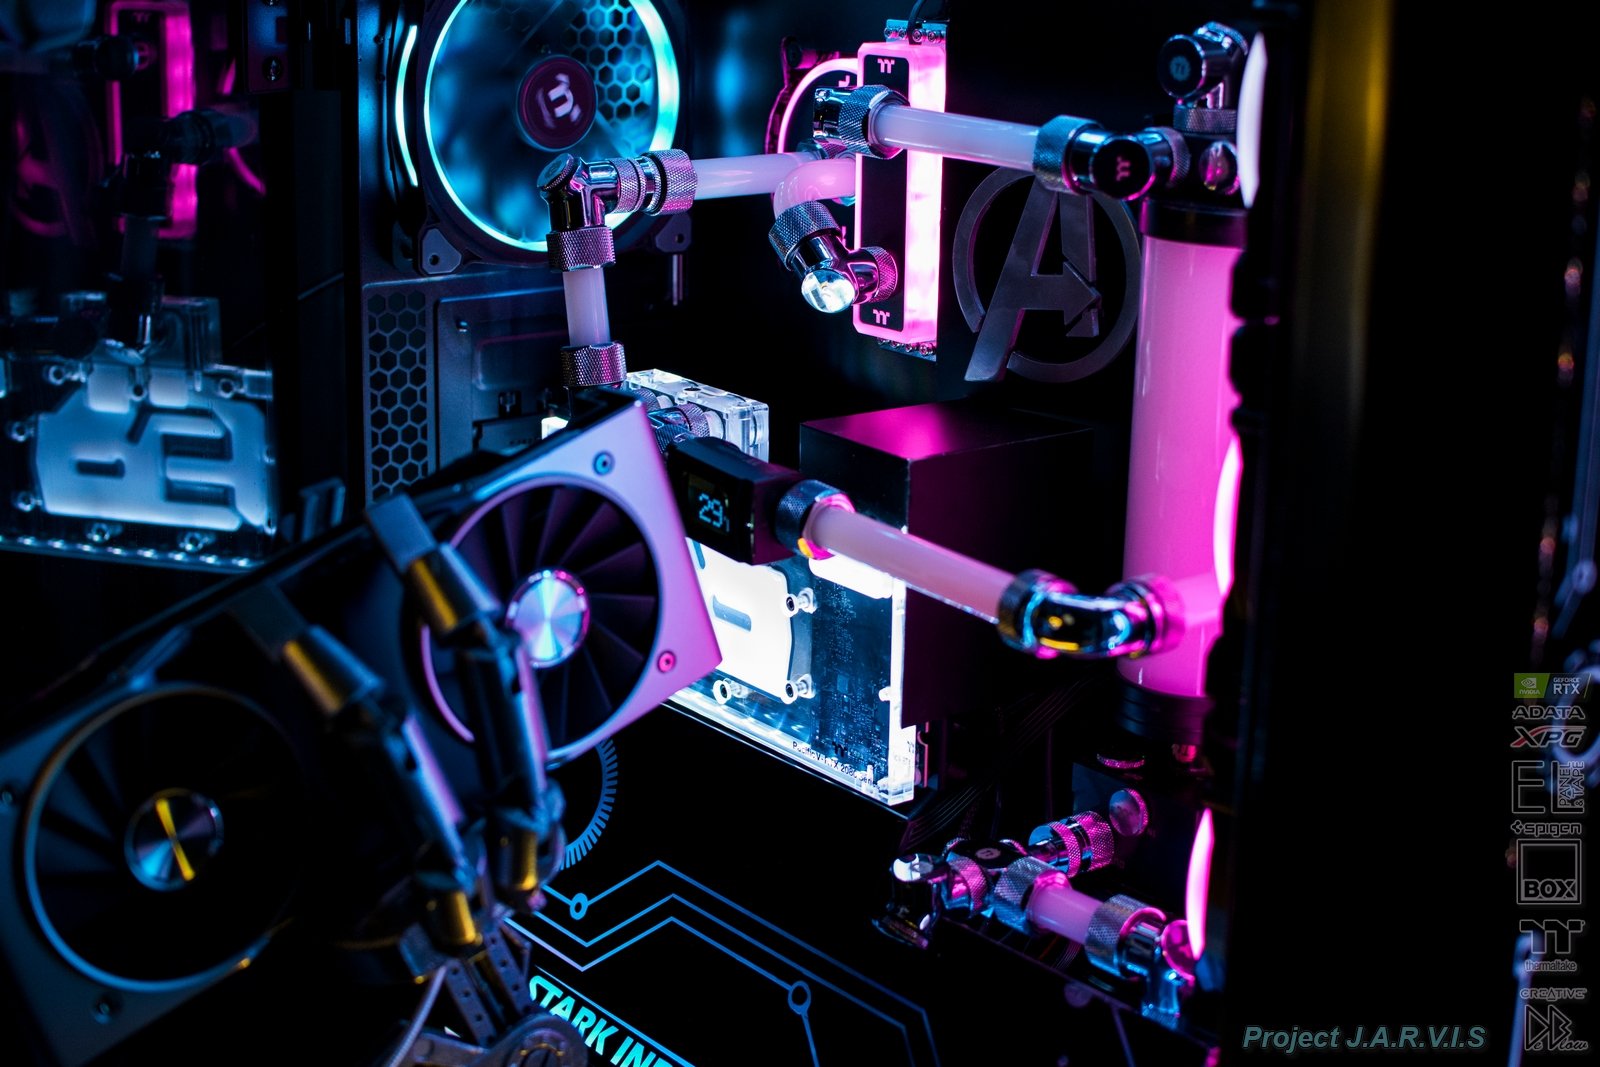
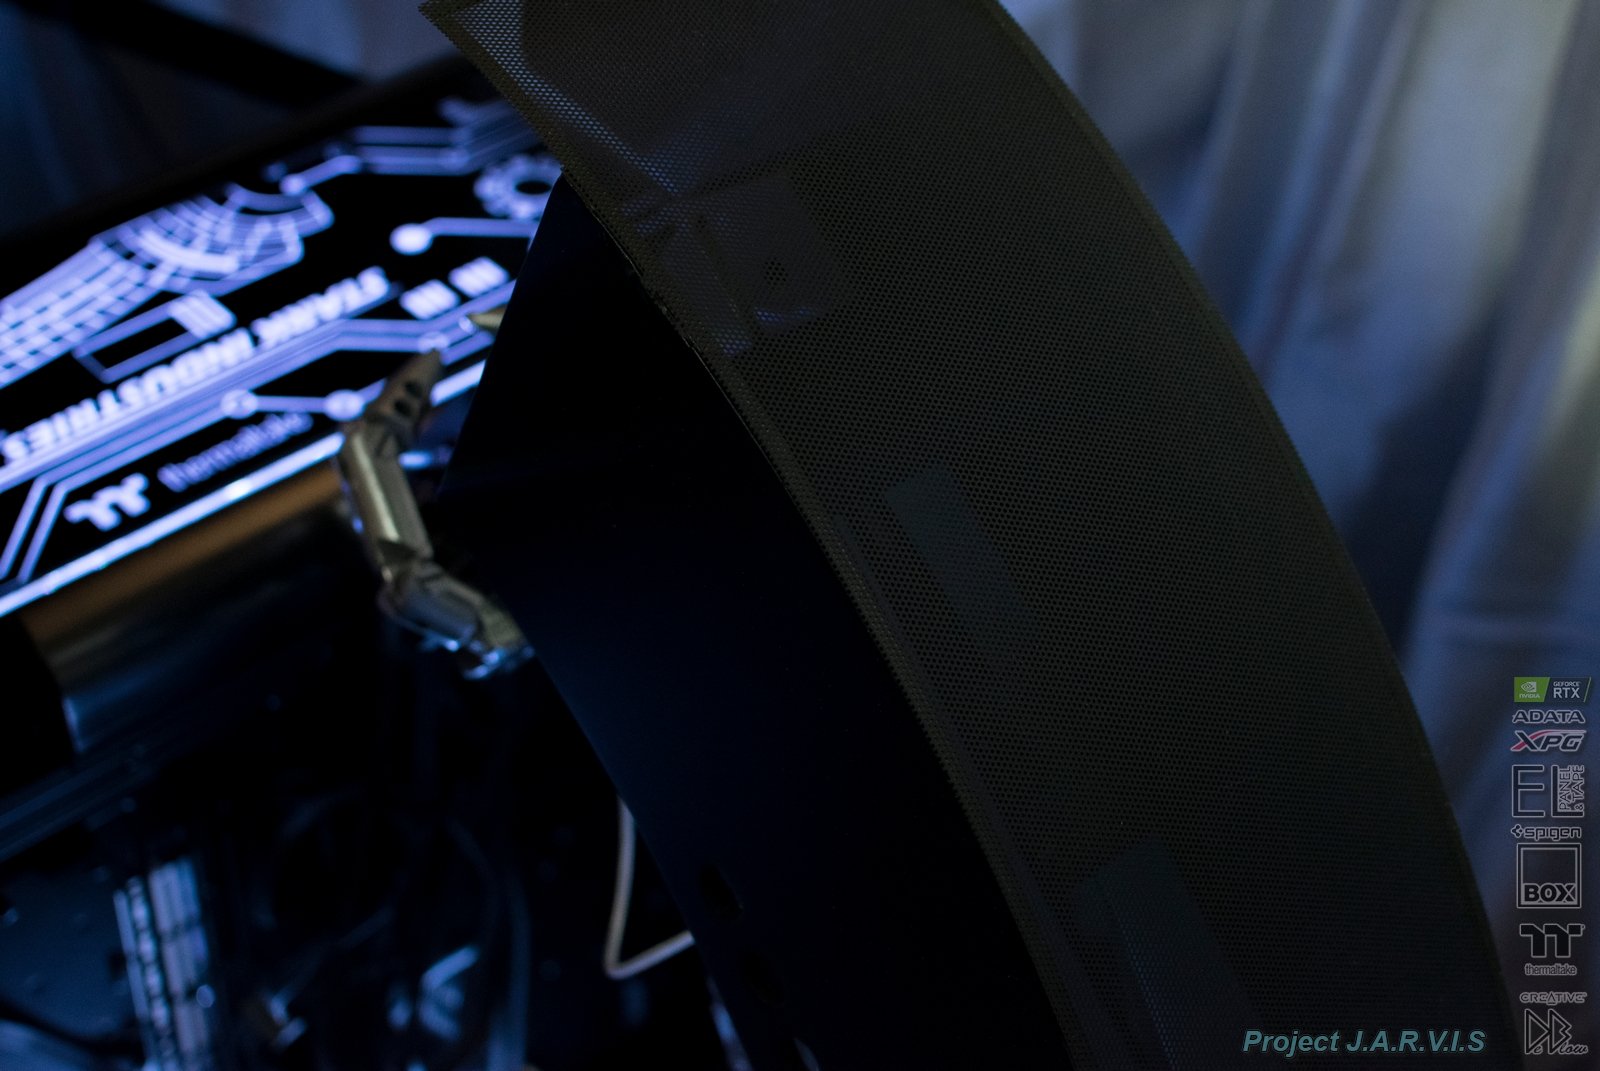
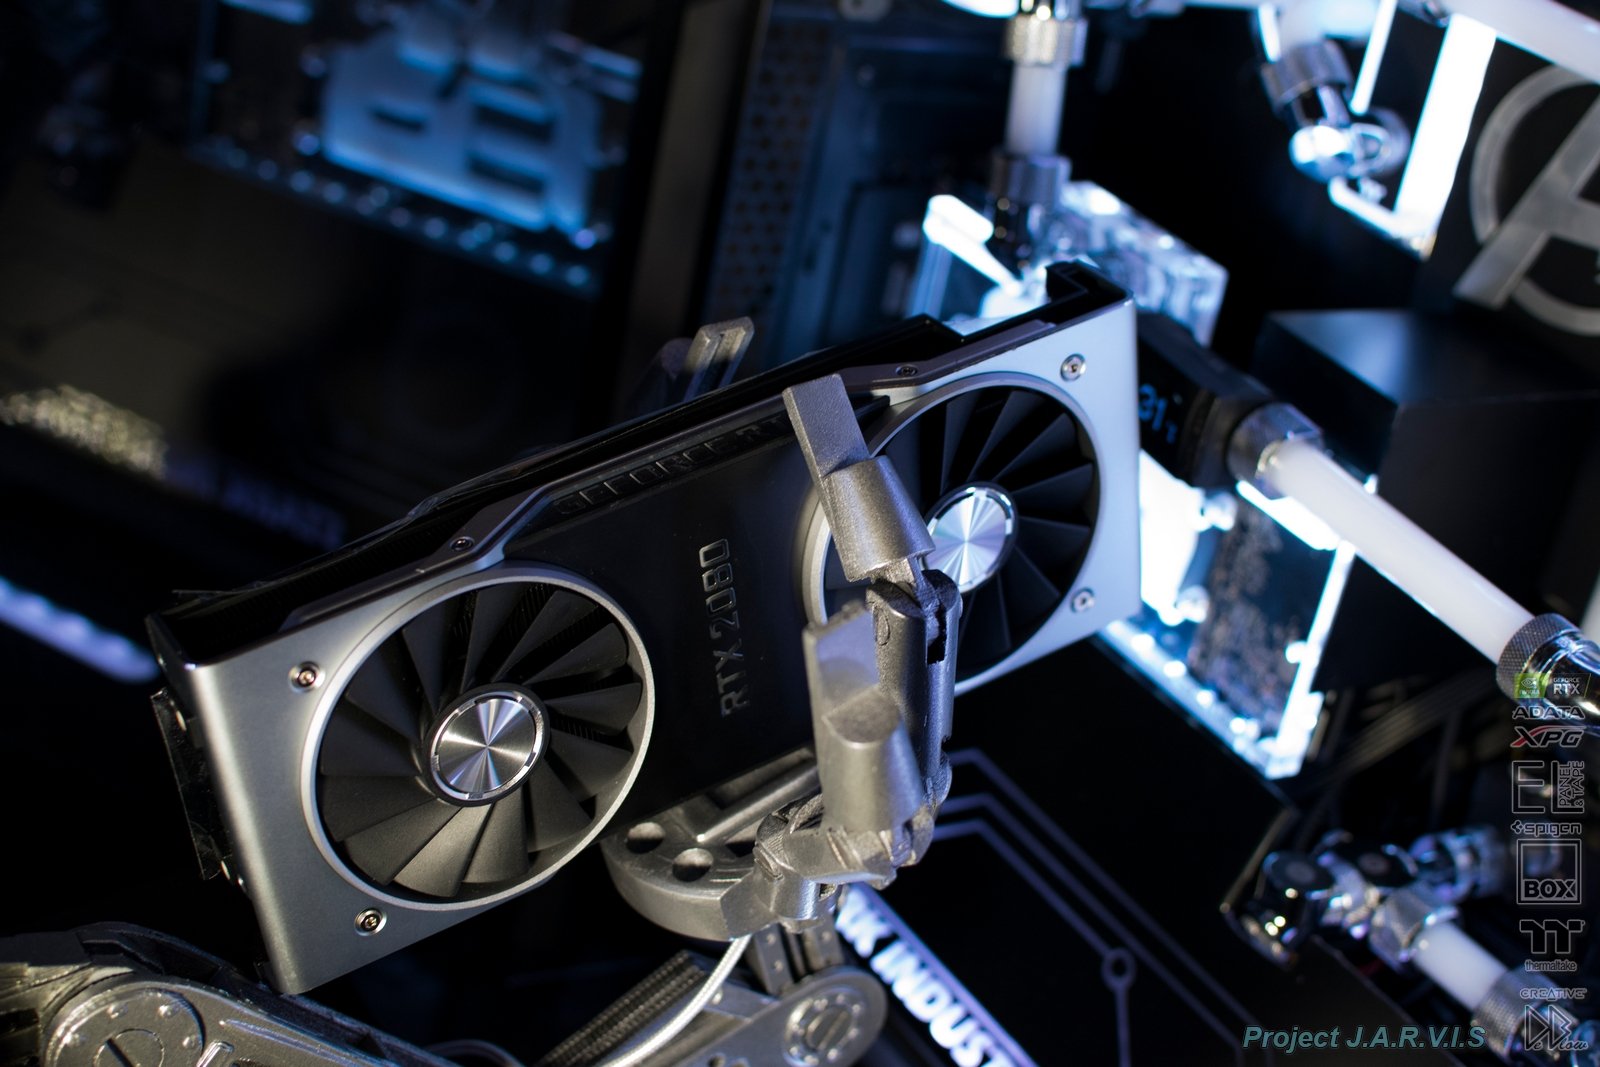
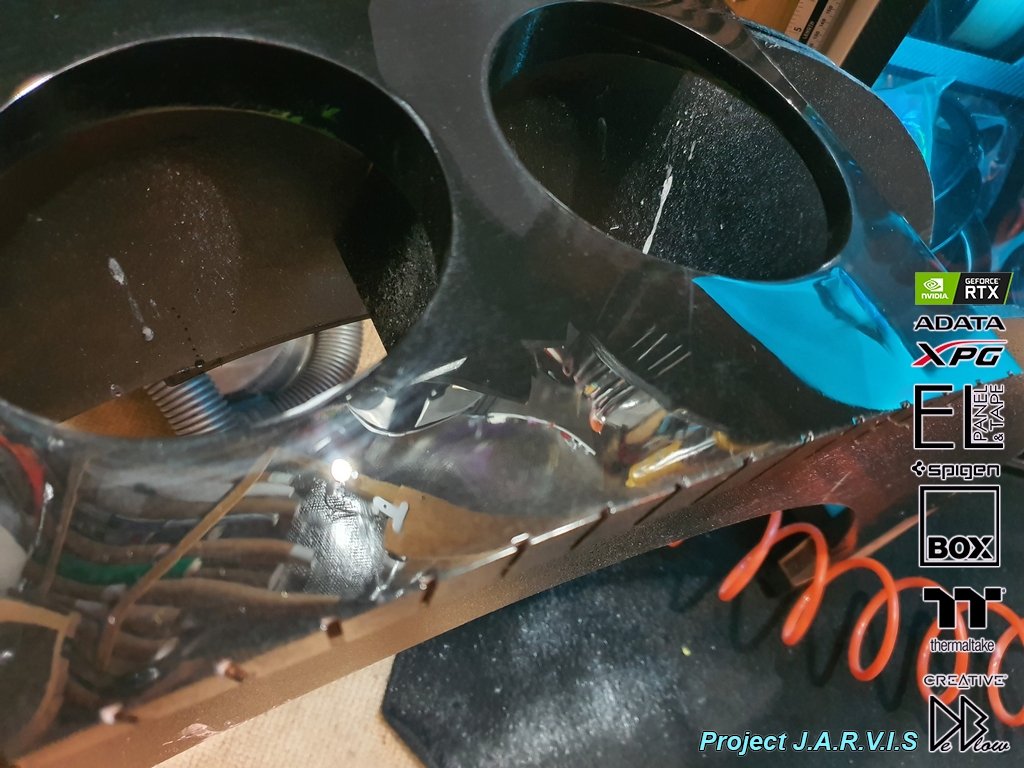
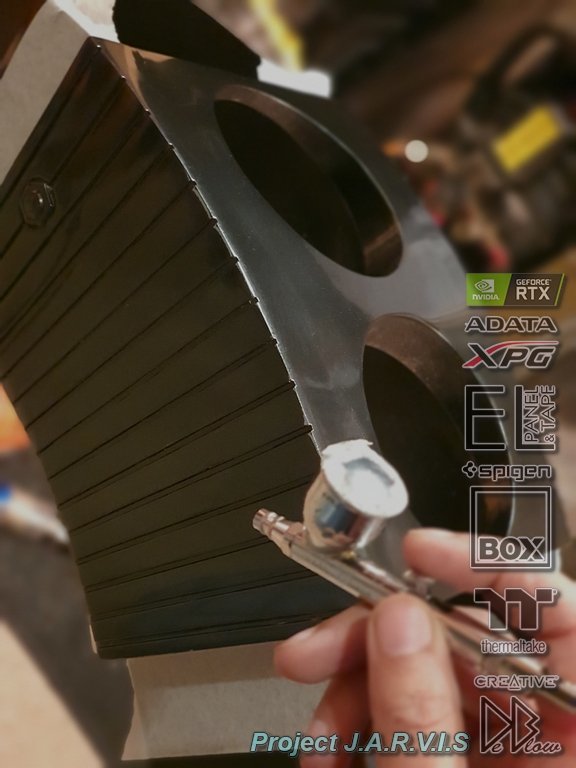
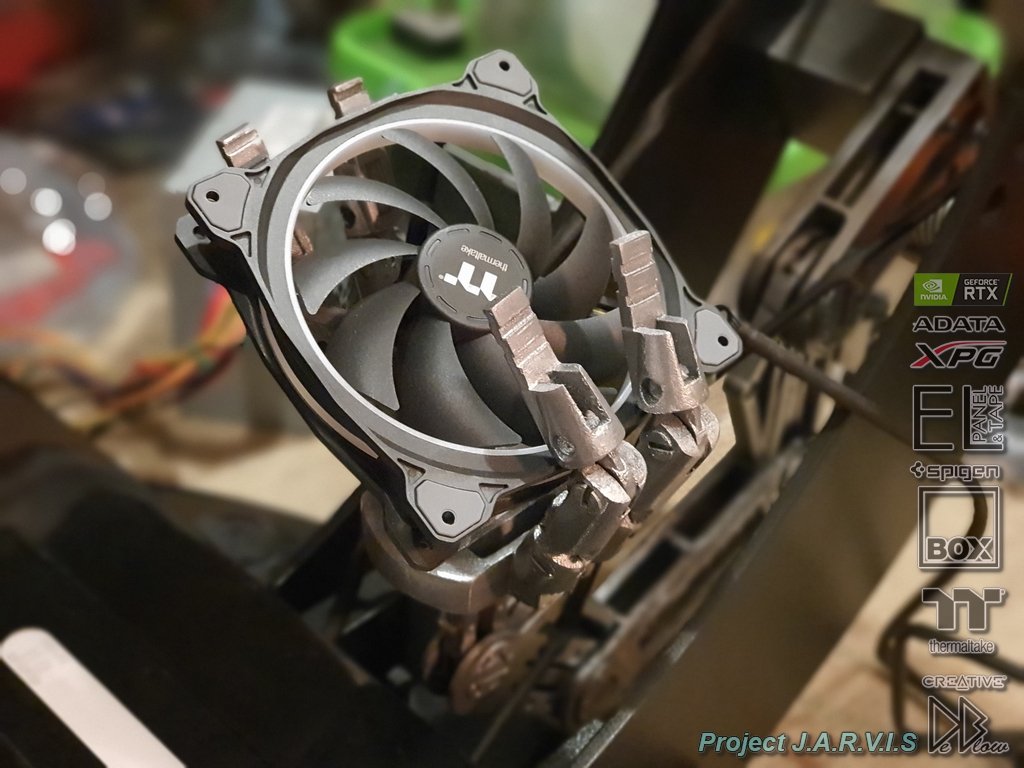
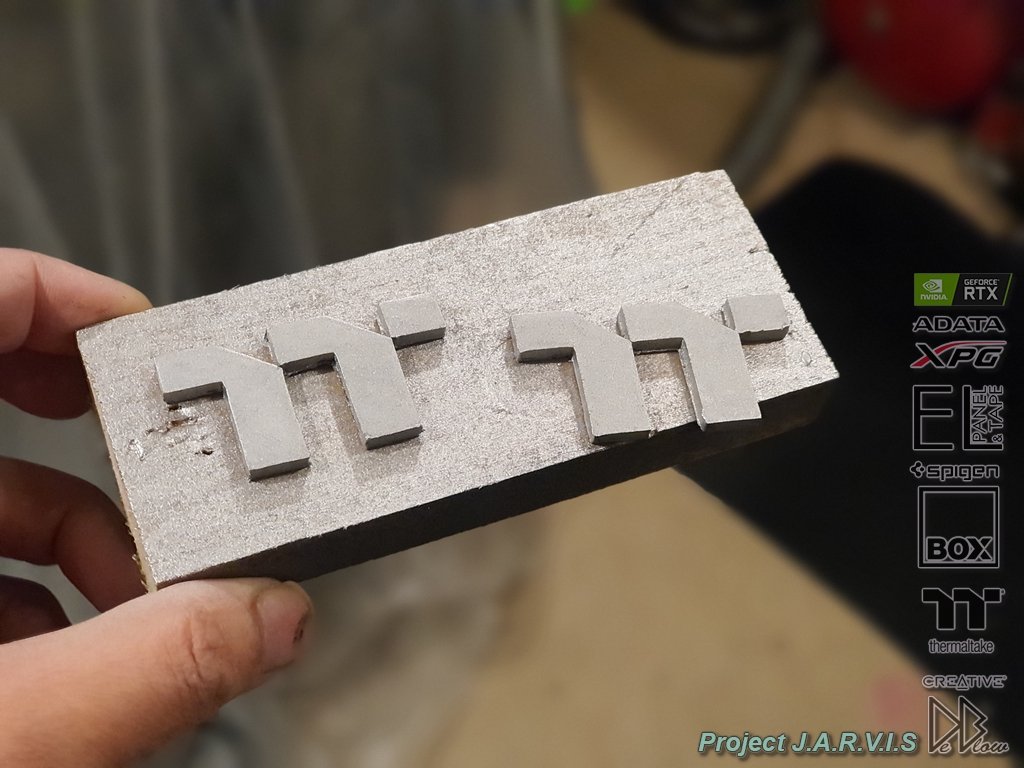
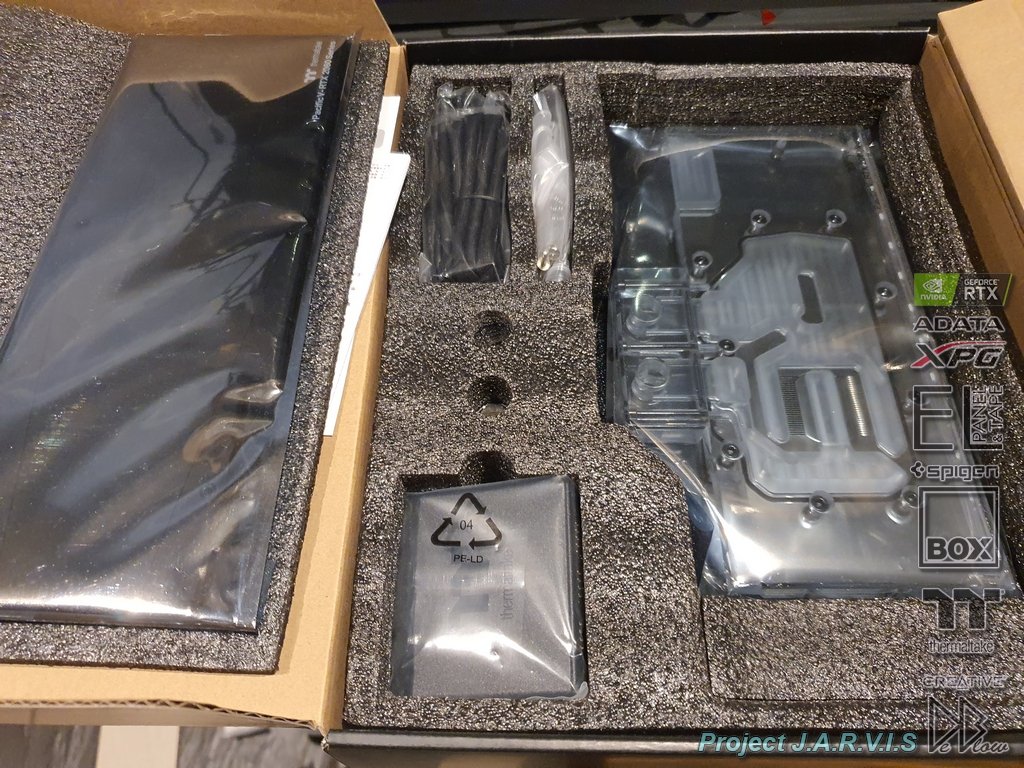
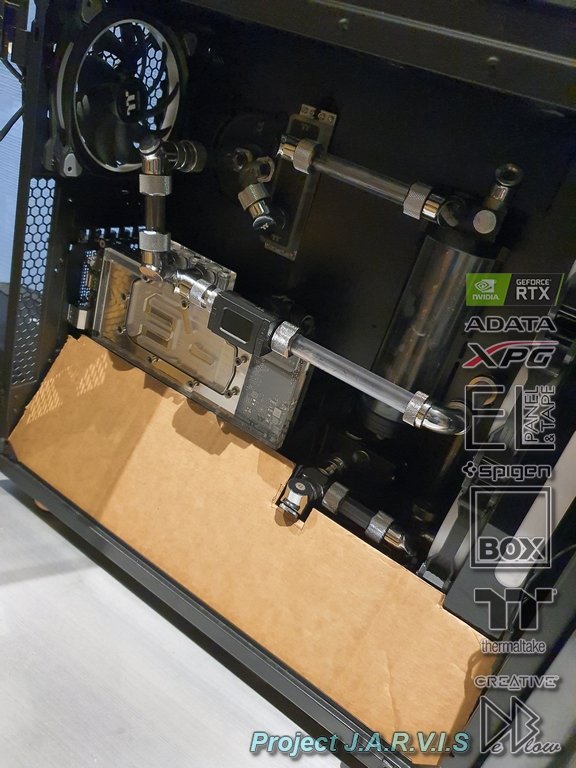
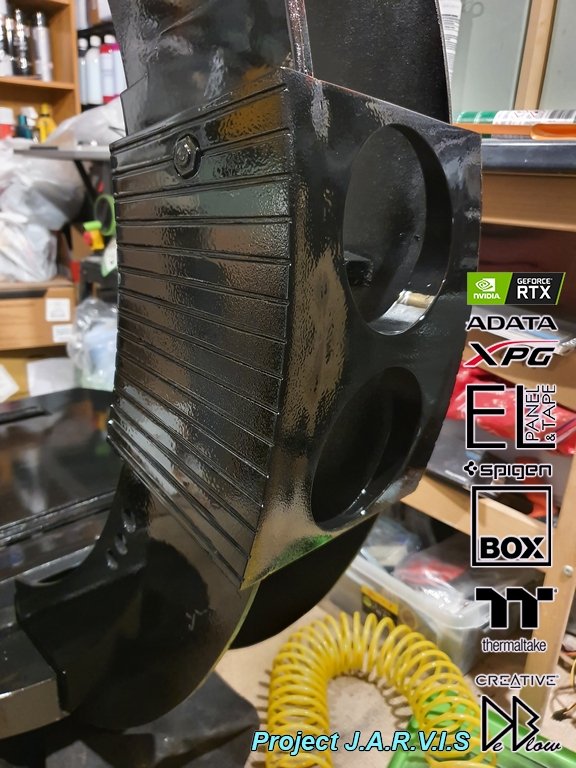
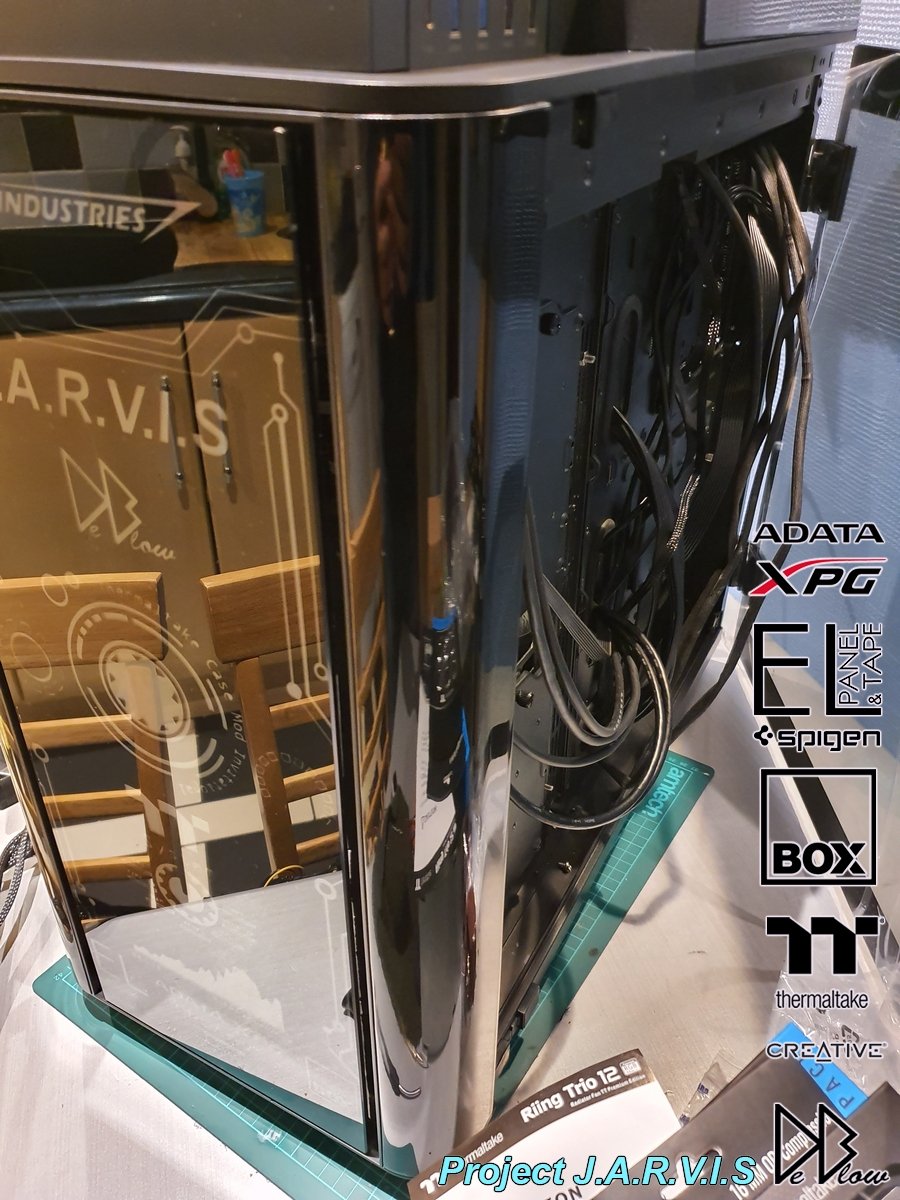
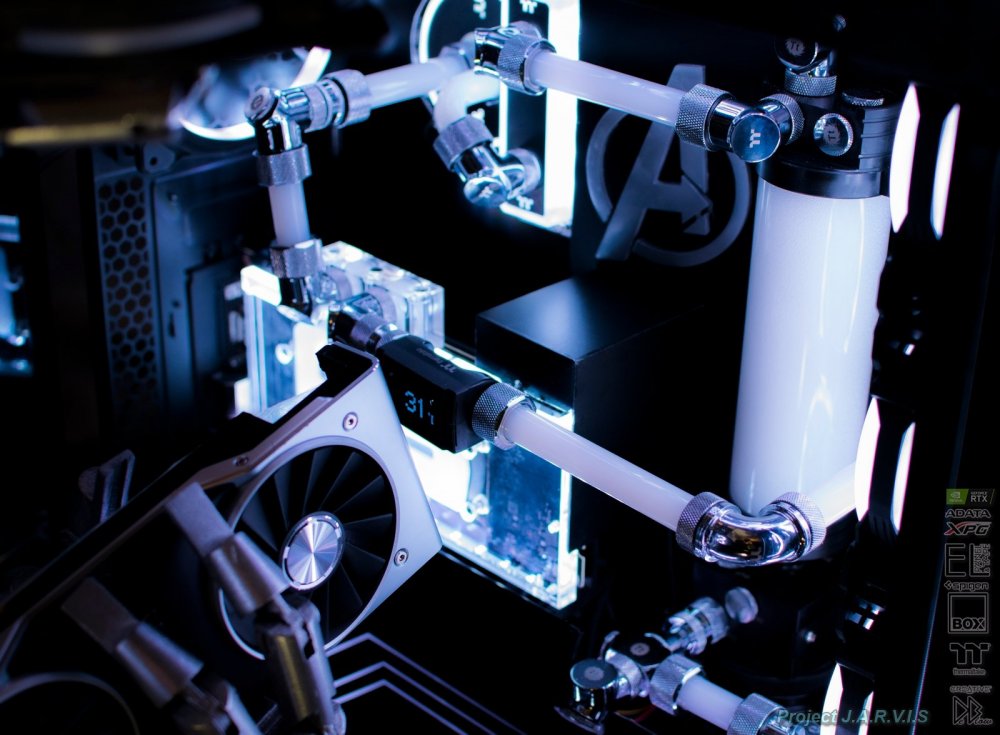
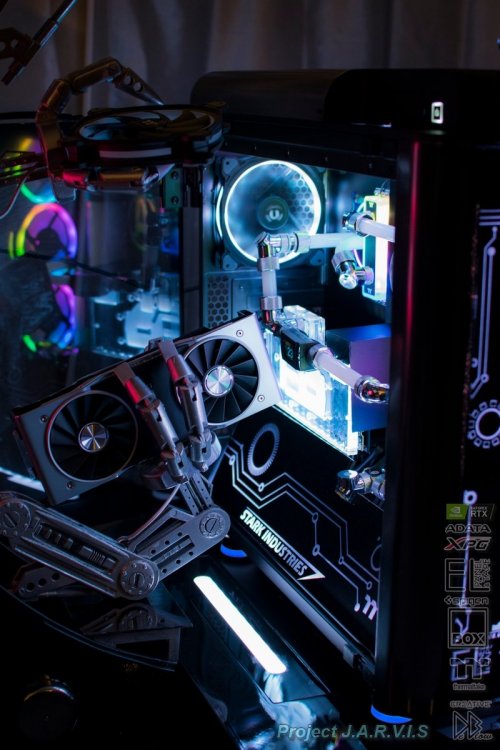
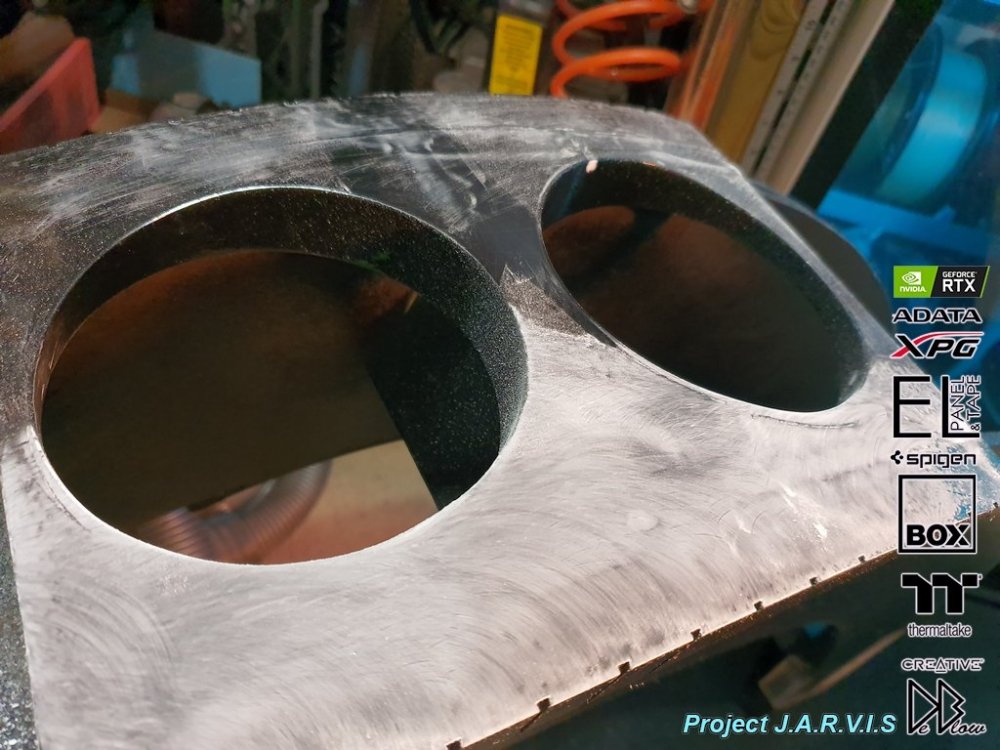
Been full speed ahead this past week, the build is complete but I have some progress photos to get uploaded before I work on the finals for you guys. Both sides have the same custom made fan covers, made as part of the structure. They was also given the same paint treatment as the other main parts, so lots of work involved to get the perfect finish. The waterblock arrived recently, as this was the last part I was waiting for it made my day once the loop was completed I could make some covers and tidy-up the inside of the case. I did a couple of logos including my own but wont be using them all. Testing the arms strength, only the Nvidia 2080 needed some carefully placed screws to ensure it didn't drop.


-
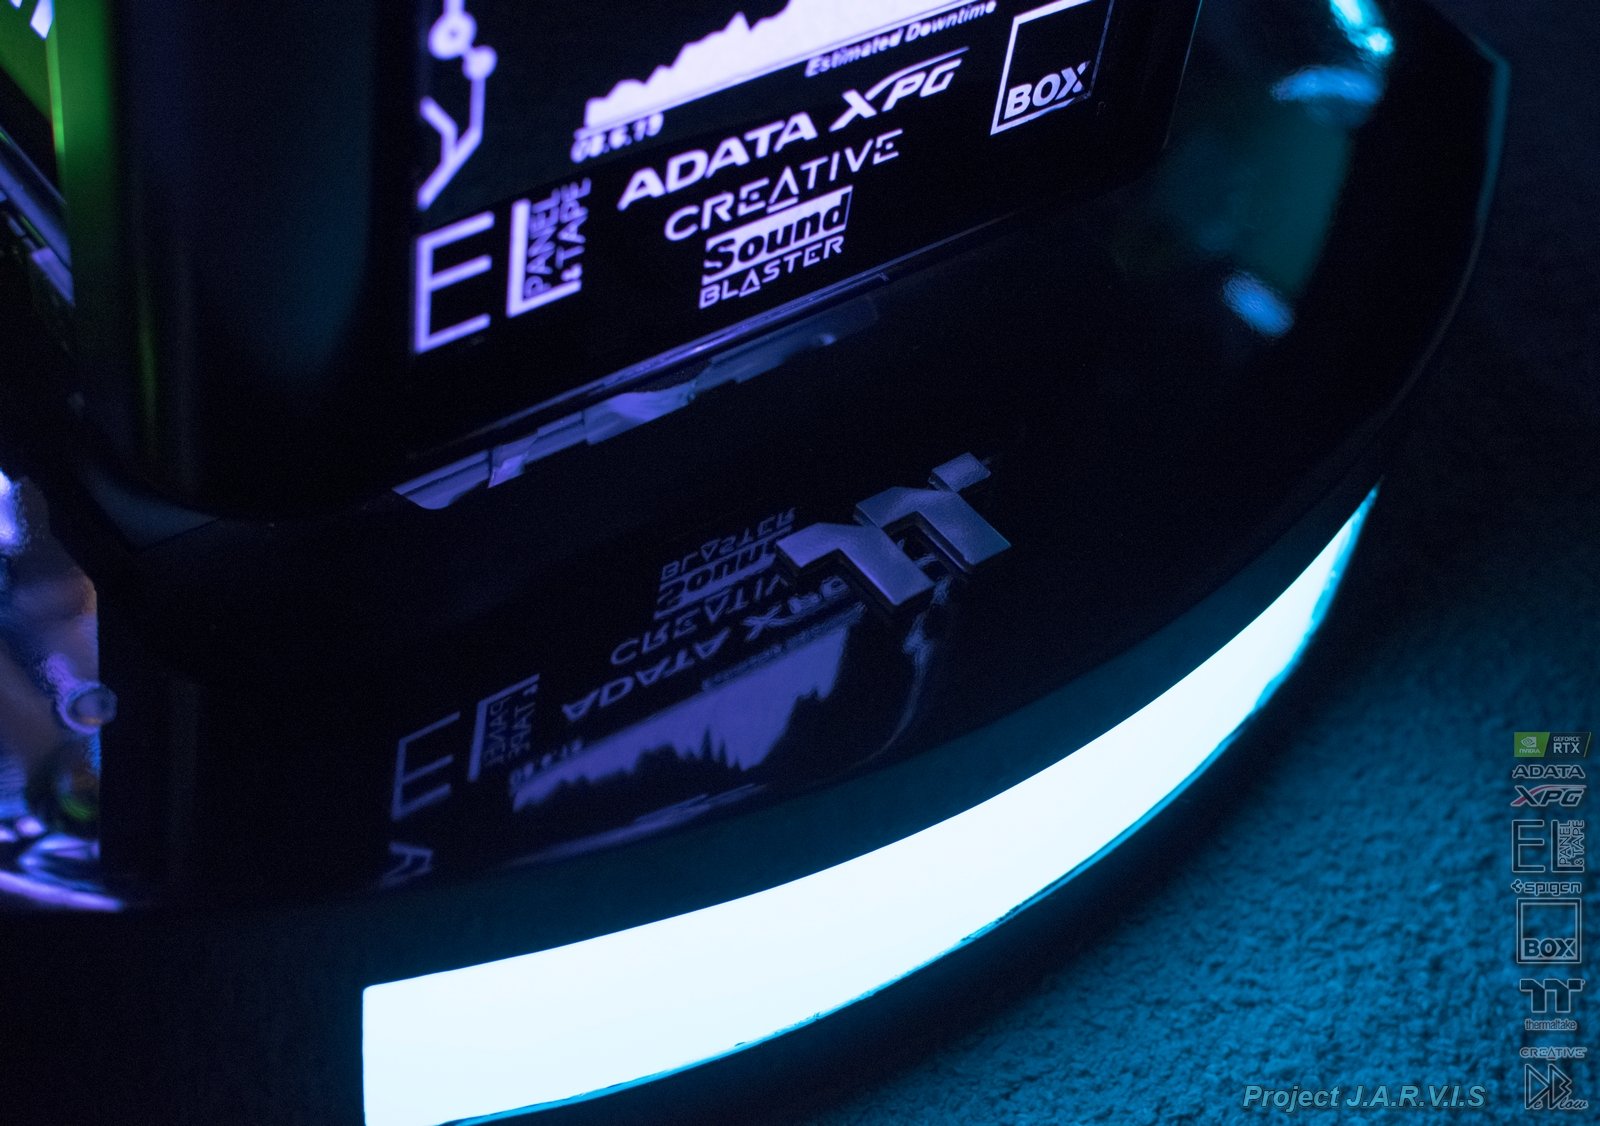
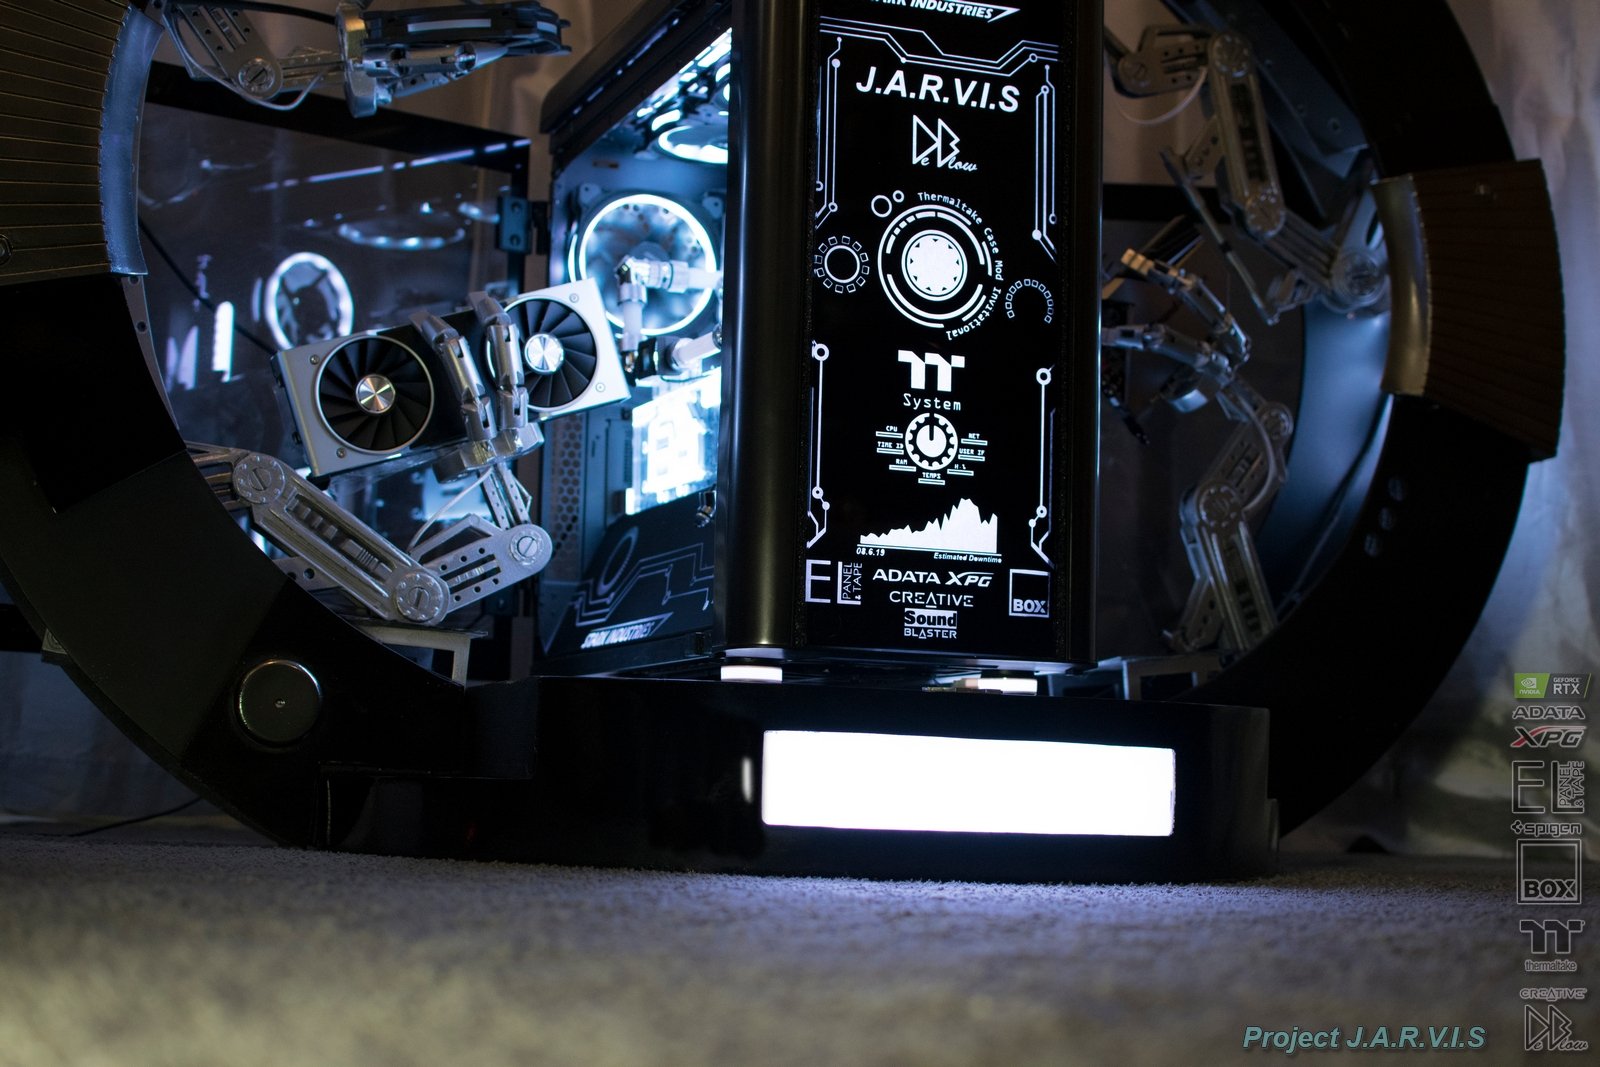
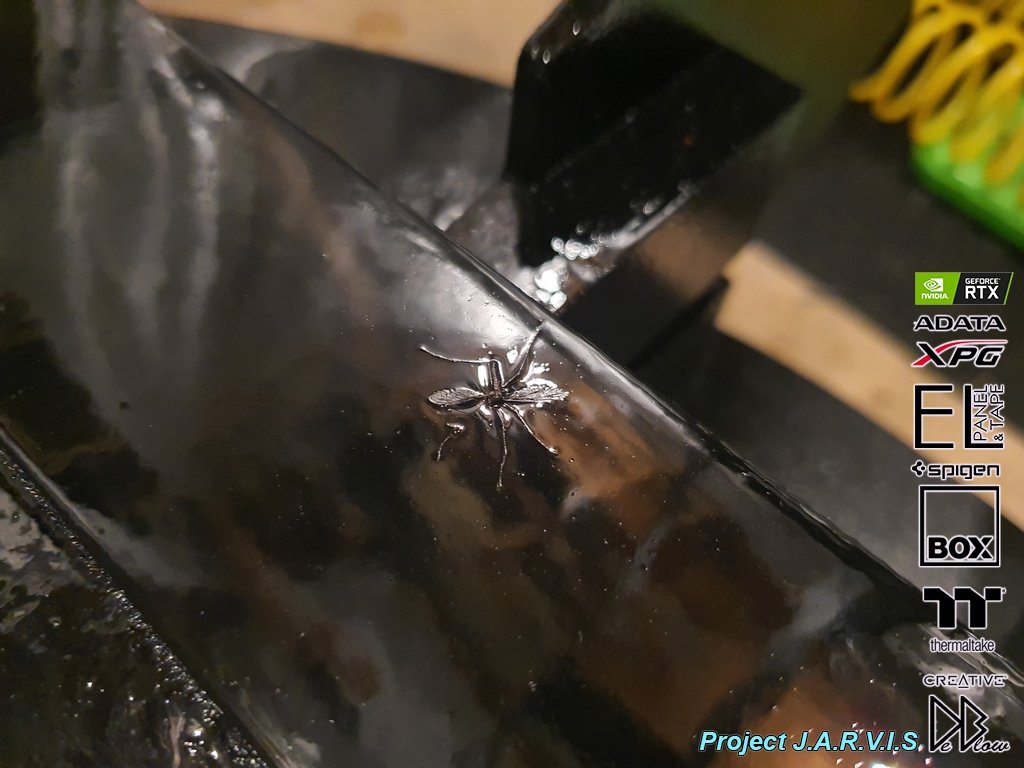
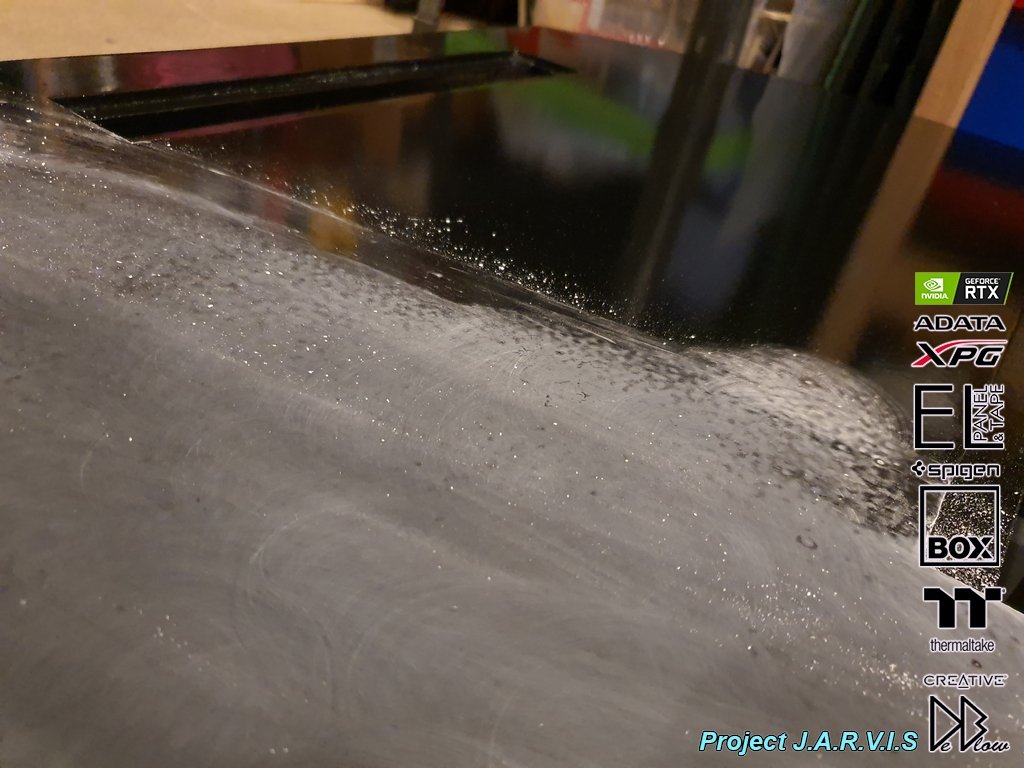
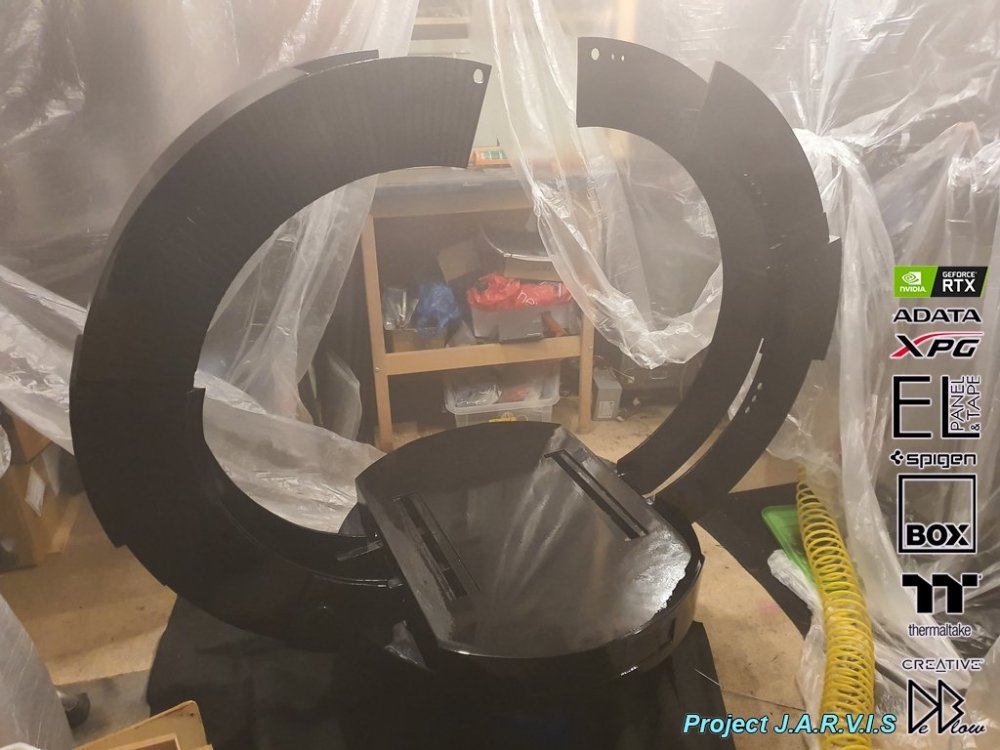
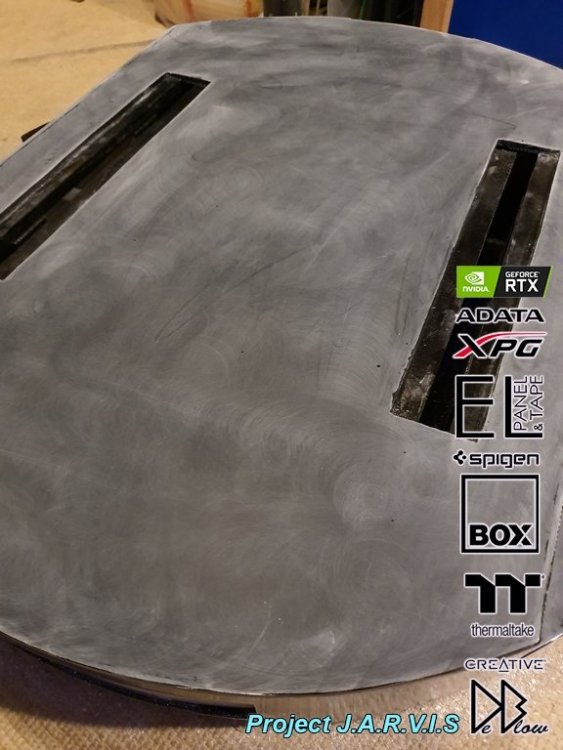
The last time you will have seen the base the black base-coat was down, then I sanded, sanded and sanded, possibly 2 or 3 days spent sanding the base and the arms. every layer of paint has to be perfect or the end result will be ####. Once all that hard work was done I stayed in the shed as the weather had dropped to -1c in the paint tent, so I got myself a new heater and continued with the gloss top coat, this was done in 3 stages to ensure it had a nice thick coat to make it super resistant to possible bangs and scratched should this end up at a show. Although I had my shed done up like a Dexter kill room, a daddy long legs decided to drop in and stick around lol The sides had lots of orange peal, I was aware of this problem as I painted but needed it to be very thick. The base was not too bad as its flat, but still needed sanding one last time to make it 100% flat and get rid of the daddy long legs. This is how it all looks when fully sanded flat. Next stage is the fine wet sand and polish, I didn't take many photos as it was too messy.


-
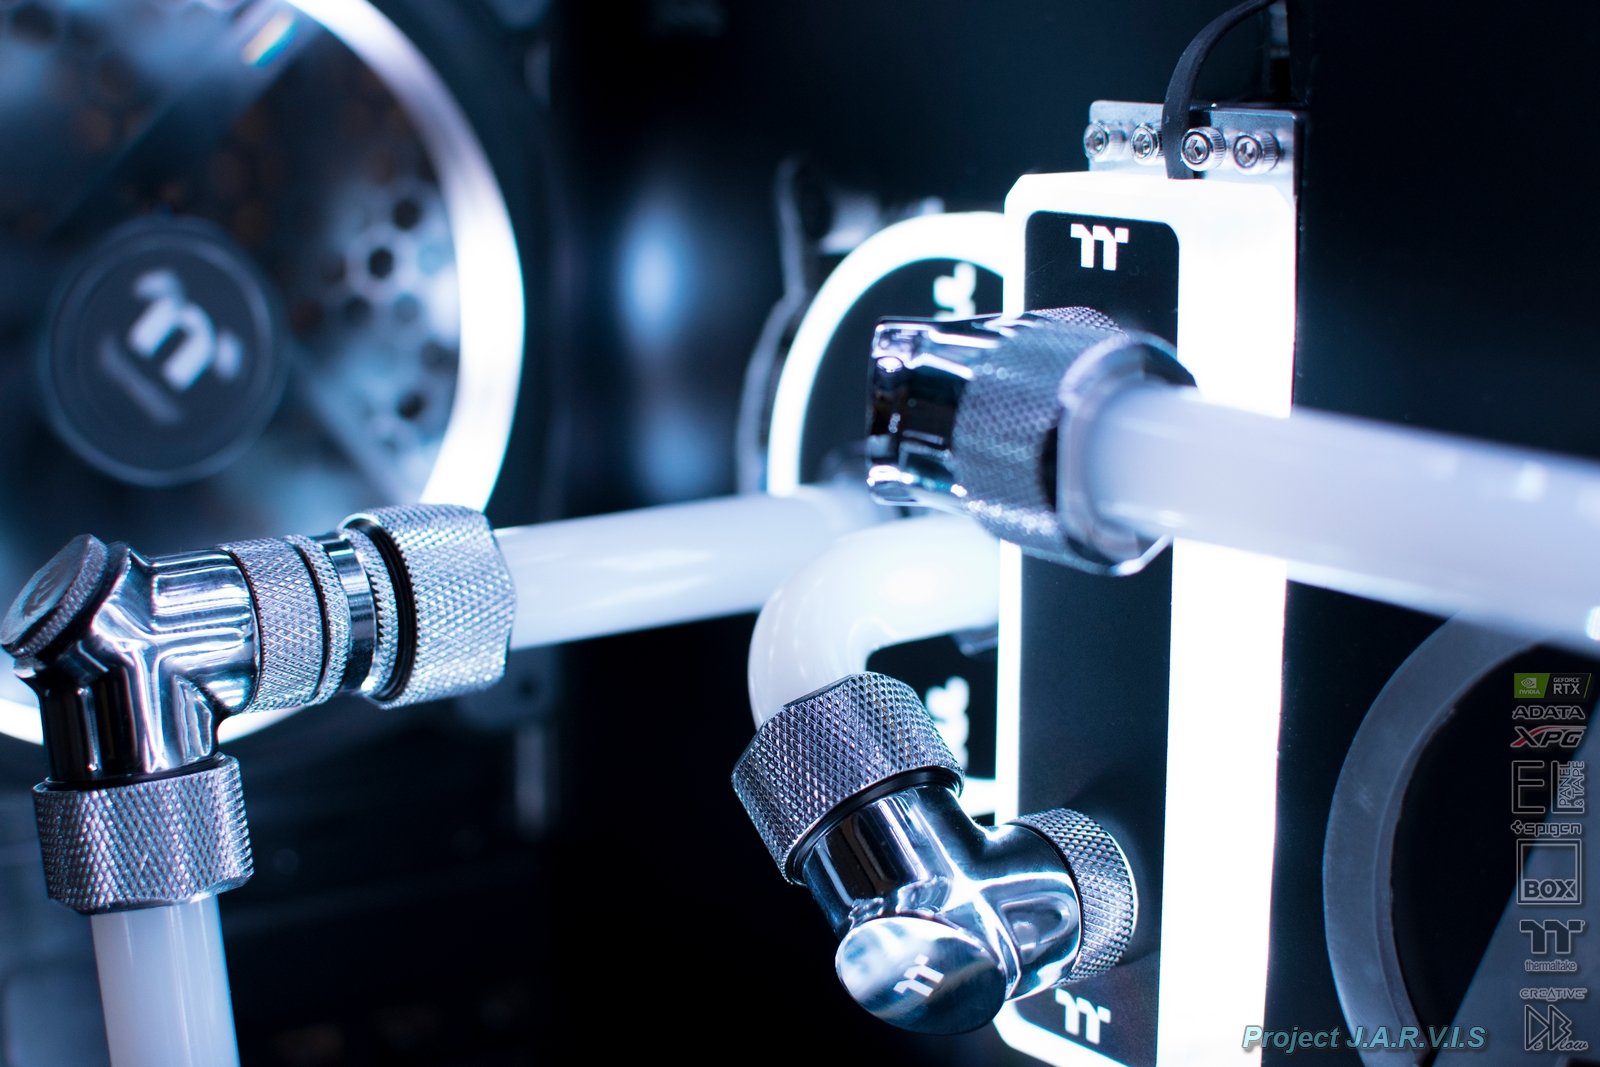
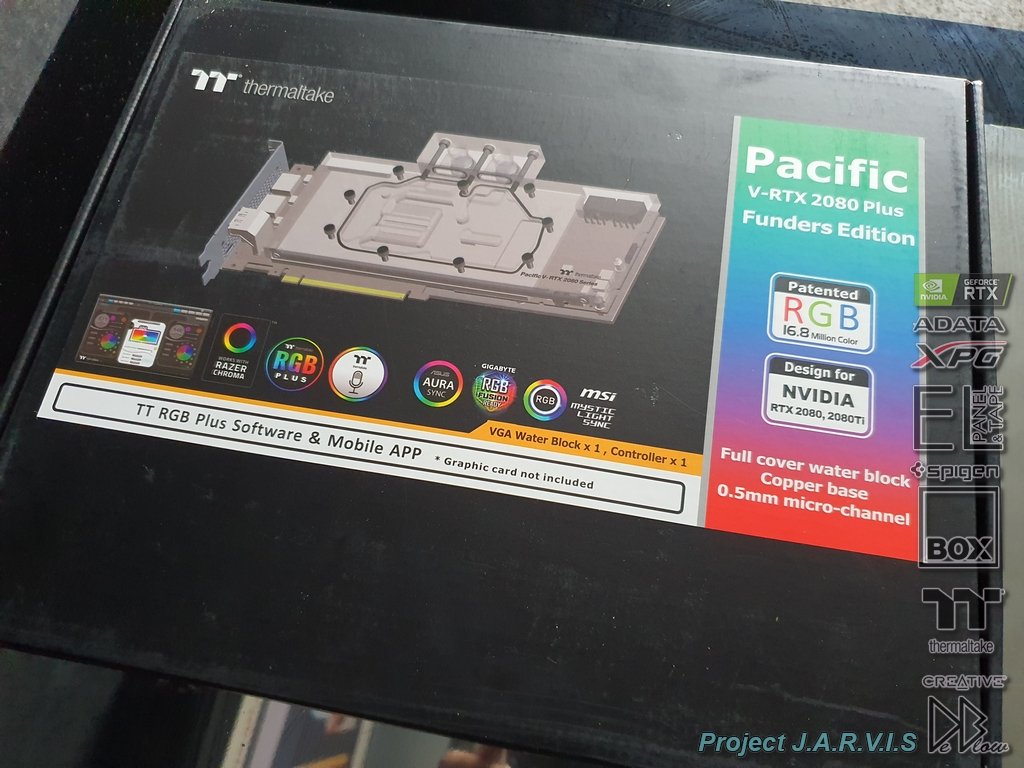
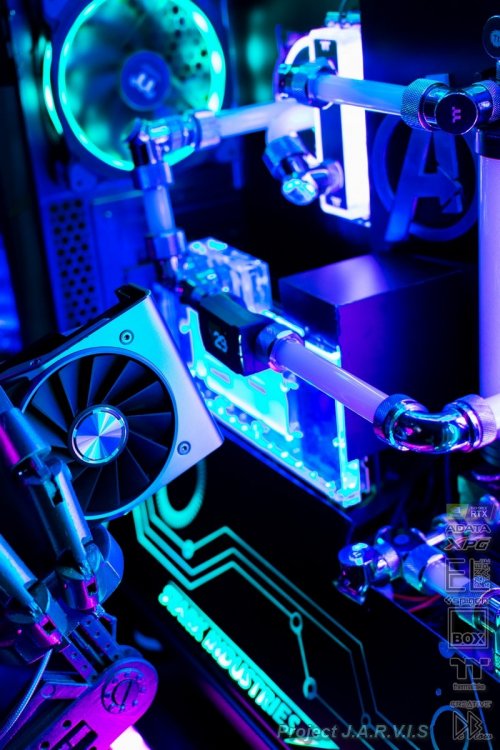
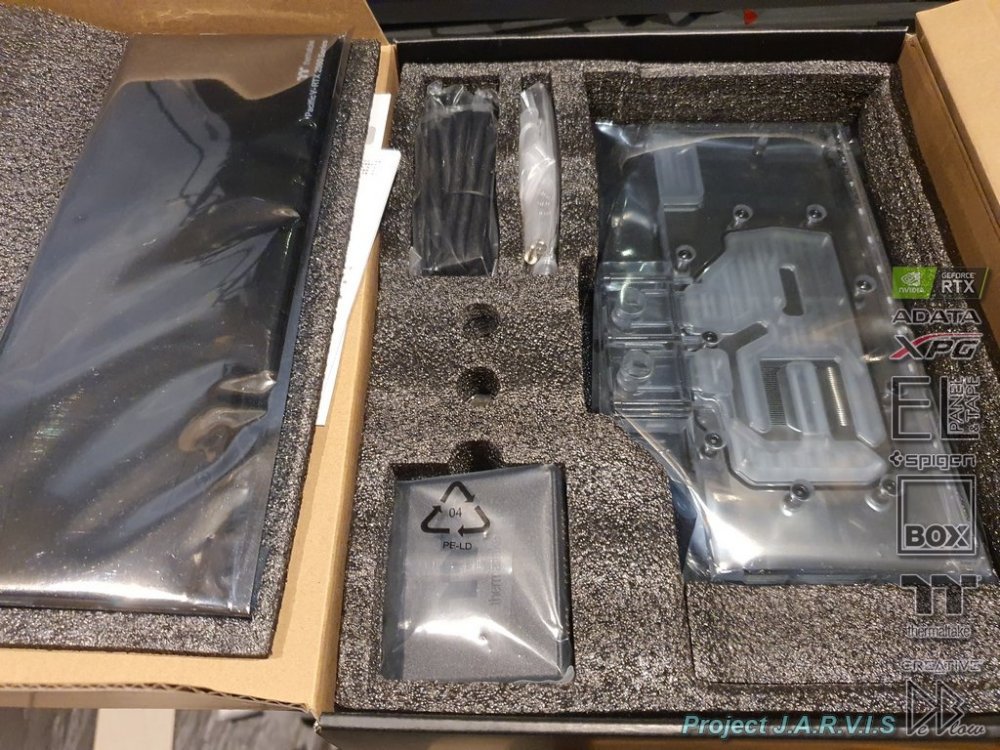
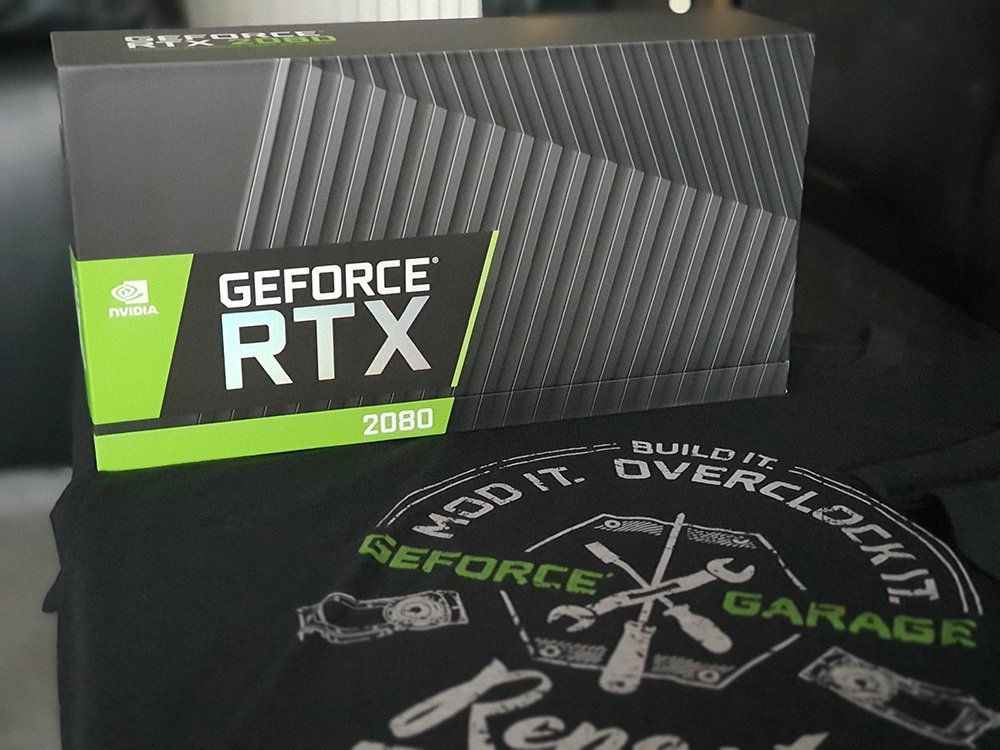
Very happy to be using the Nvidia RTX 2080 in JARVIS, this will be obviously be watercooled to make use of all my Tt cooling Prior to the GPU arriving I did a test on all the lighting and other components, problems with the MB so I bought another. Should be good to go now, only the GPU to be added in to the loop along with some internal panels to cover the wires and other parts I want hidden to help keep it clean looking.


-
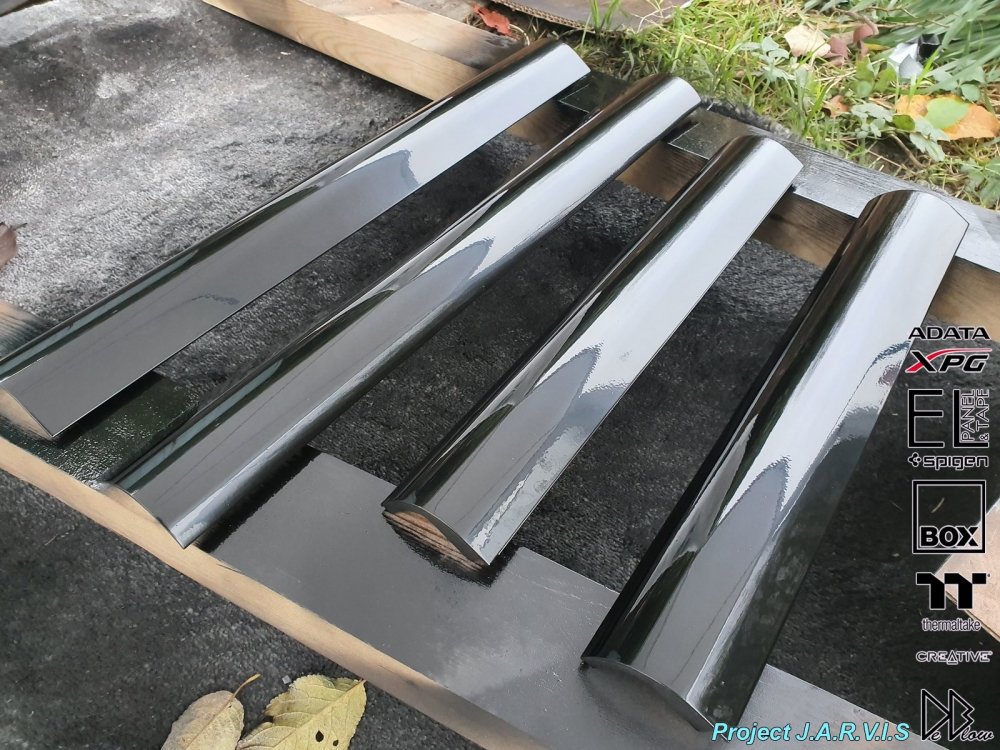
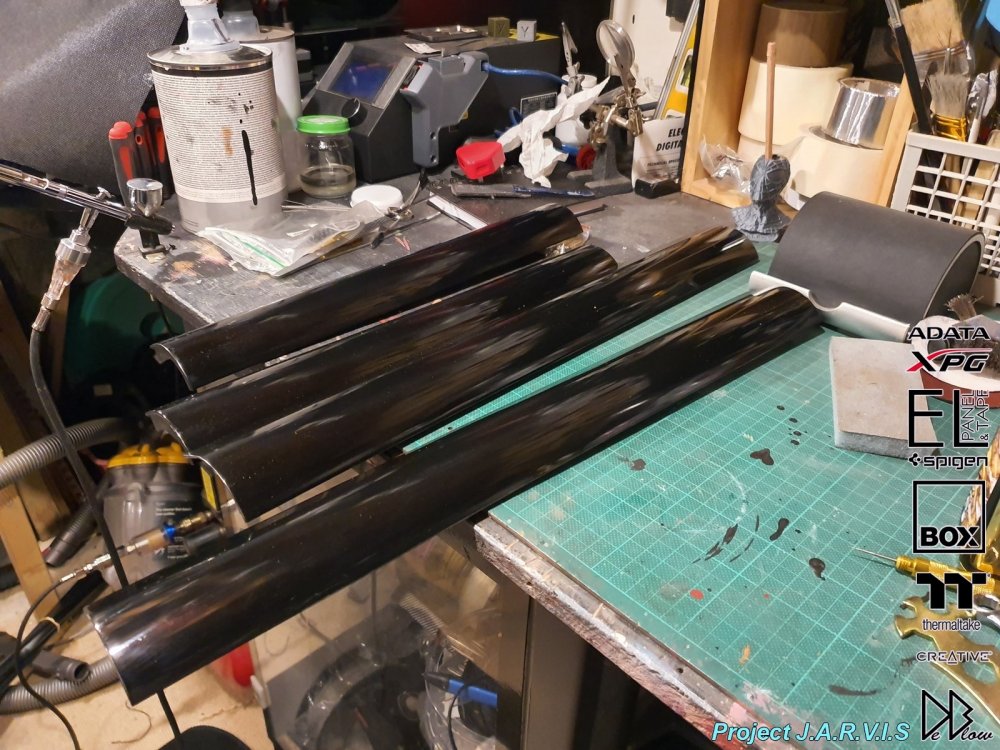
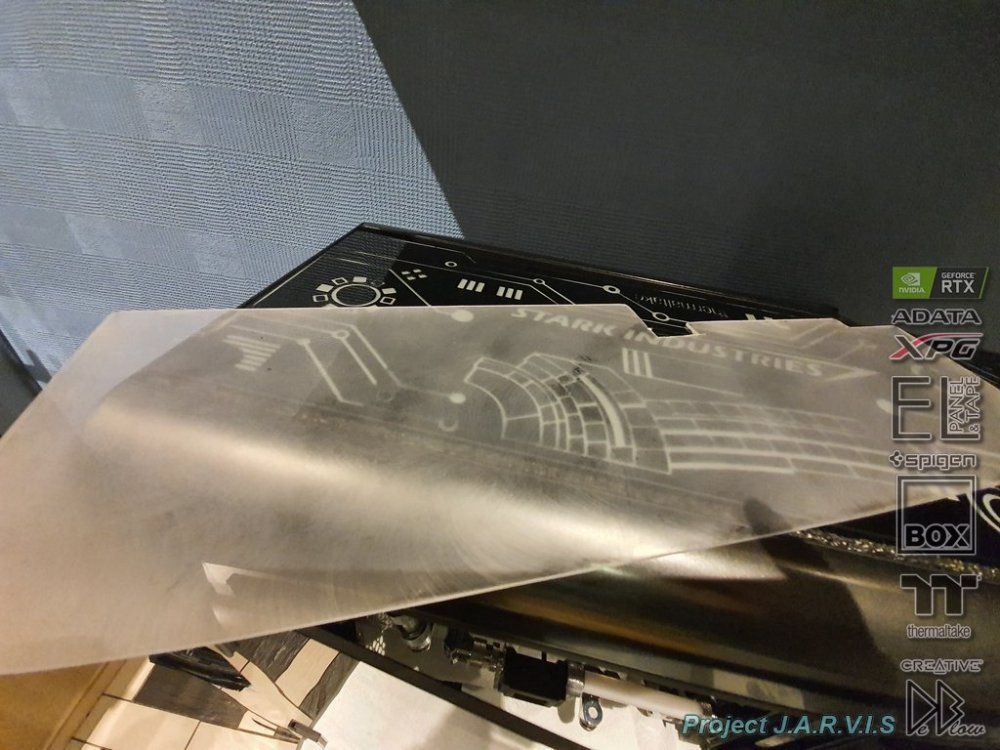
The edge panels for the lv20 case are very easy to remove making it easier for me to paint, sanded down the original plastic, primed and a basecoat of black before quickly adding some clear on the top. This finish looks great as is, but once its hard and been sanded you get a very smooth finish that's even better to see in person. after some sanding prior to buffing Once buffed they look great, even as gloss black but im wanting to go with a dark chrome with the dark chrome they really help the centre panel pop.