-
Forum Statistics
7.5k
Total Topics50.9k
Total Posts -
Member Statistics
135,996
Total Members16,800
Most Online

Rob "Deblow" Deluce
-
Posts
148 -
Joined
-
Last visited
-
Days Won
12
Content Type
Profiles
Forums
Downloads
Events
Gallery
Blogs
Everything posted by Rob "Deblow" Deluce
-
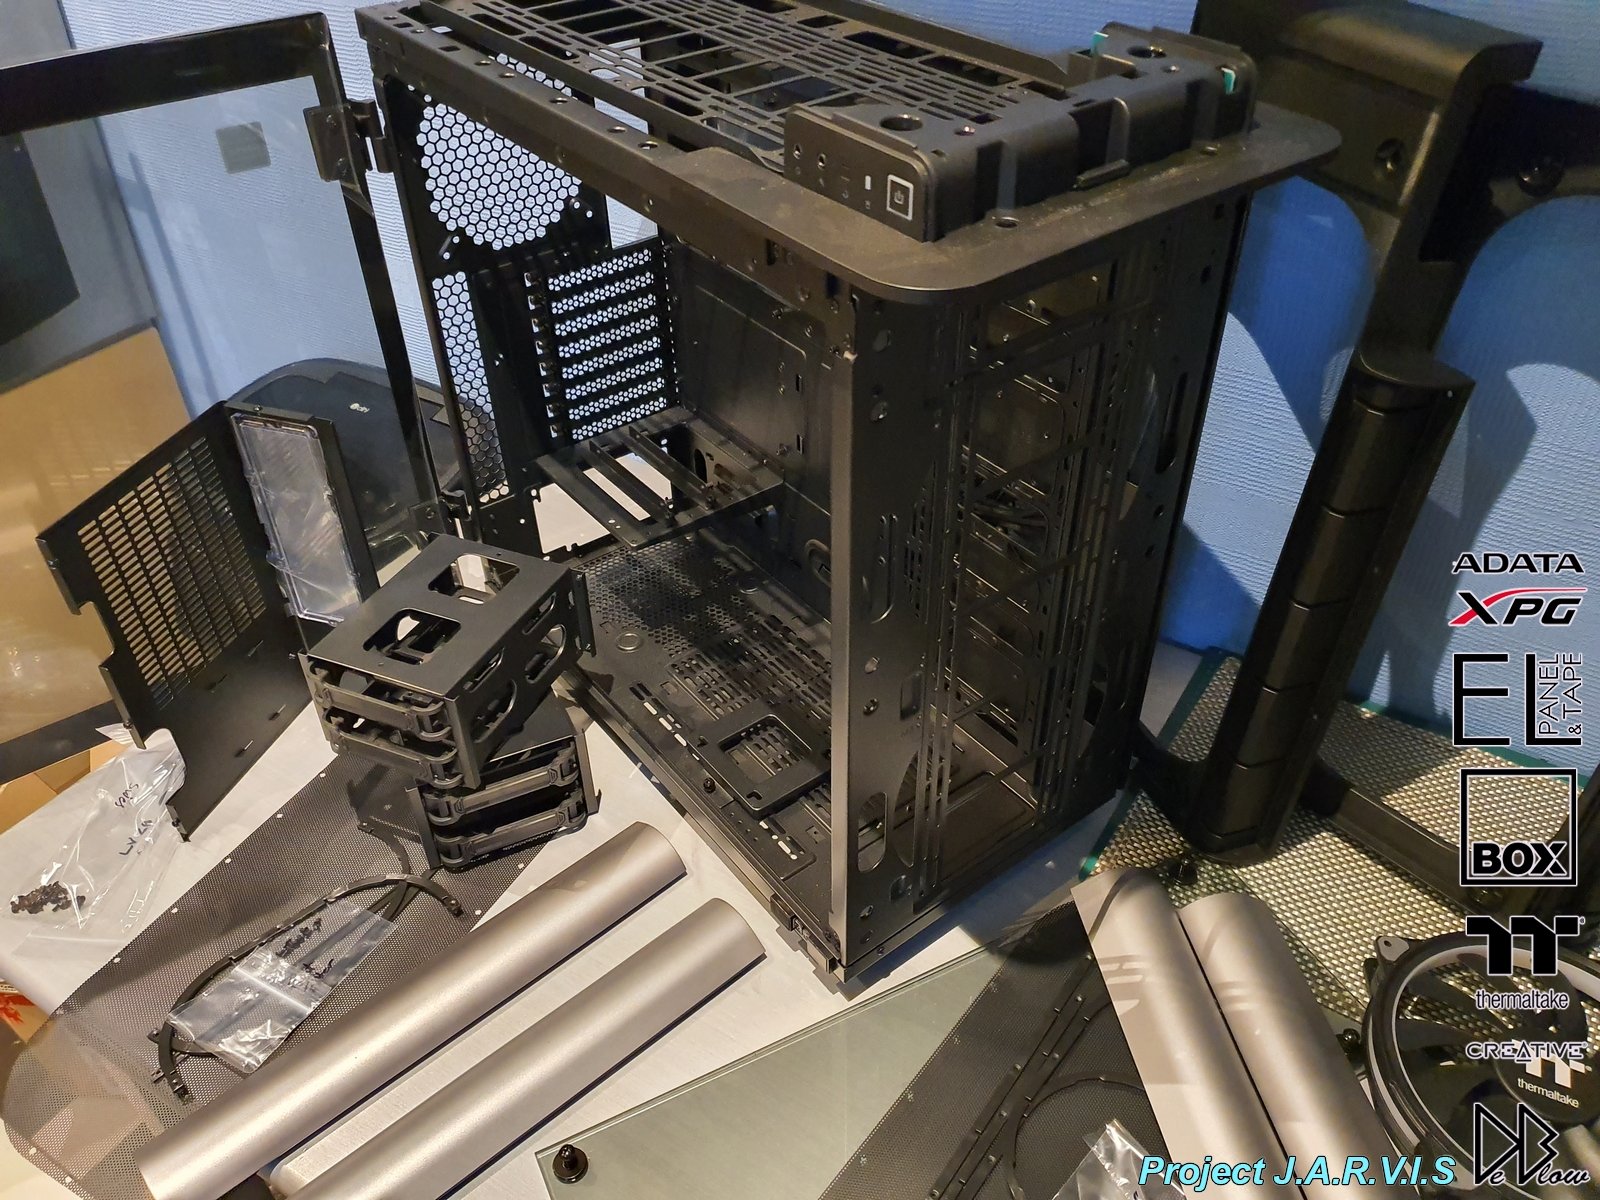
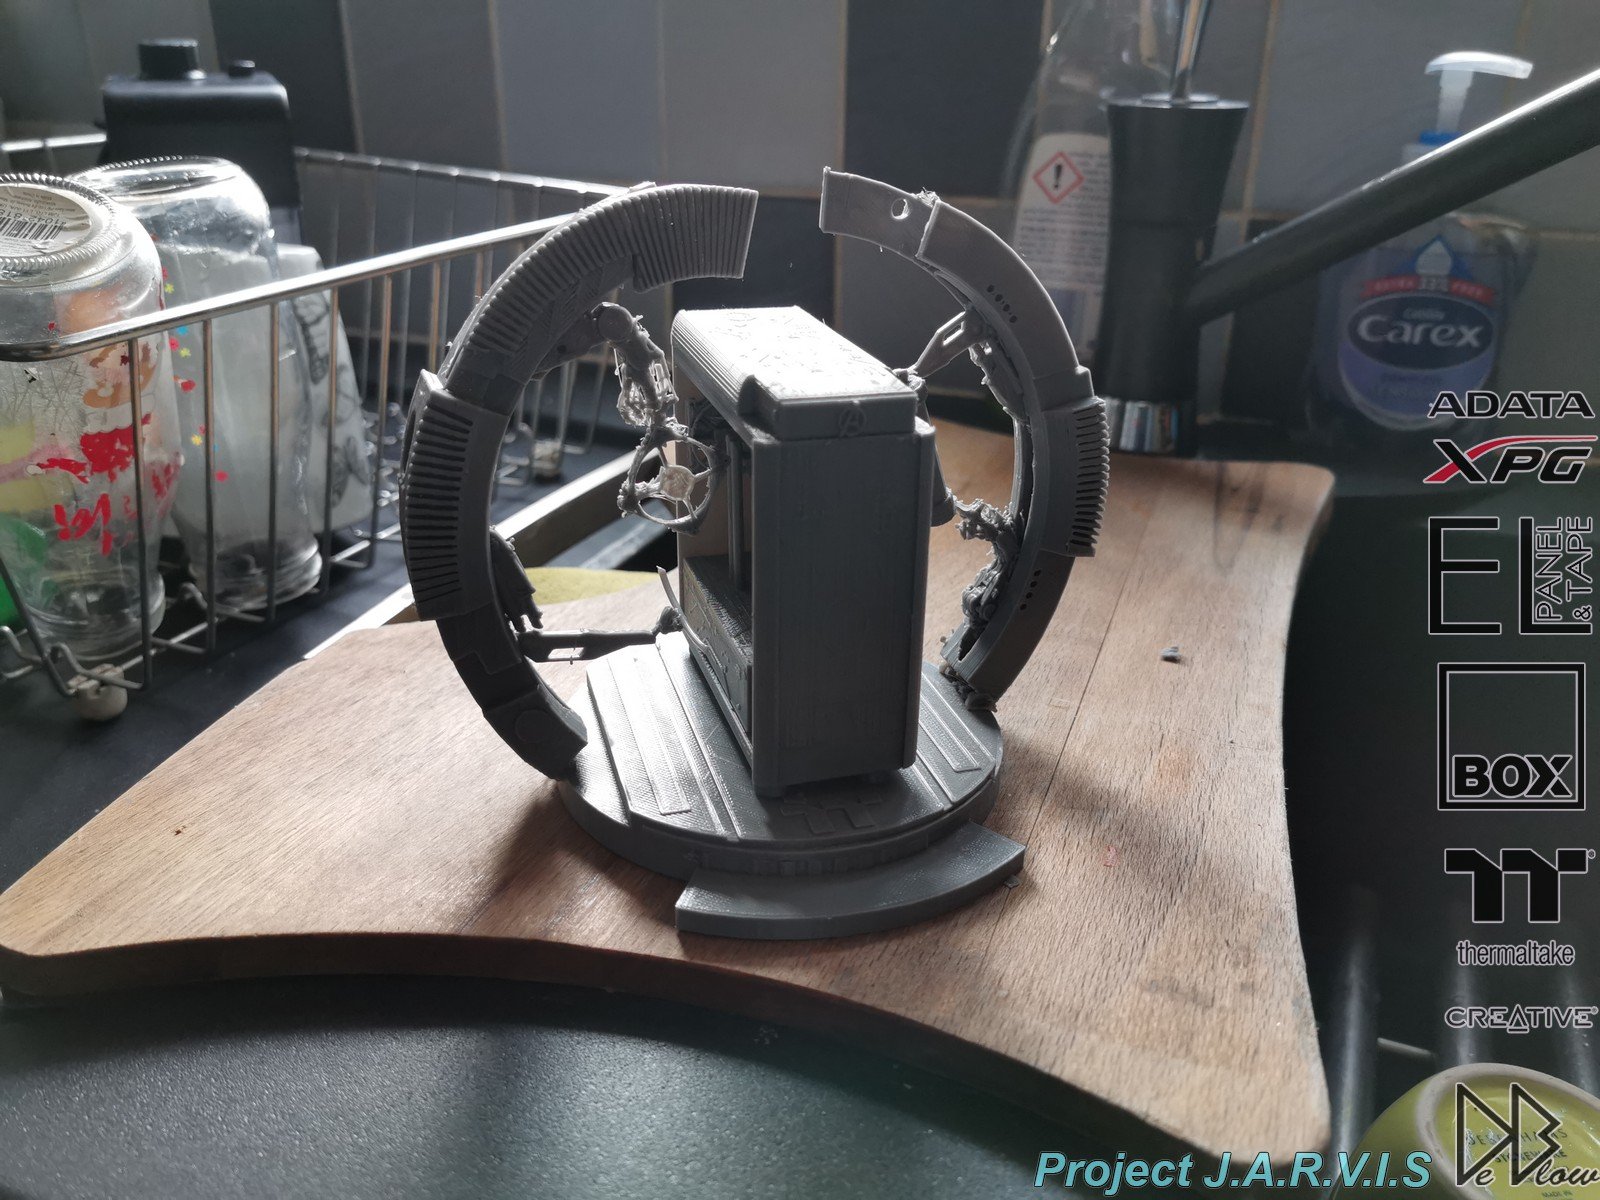
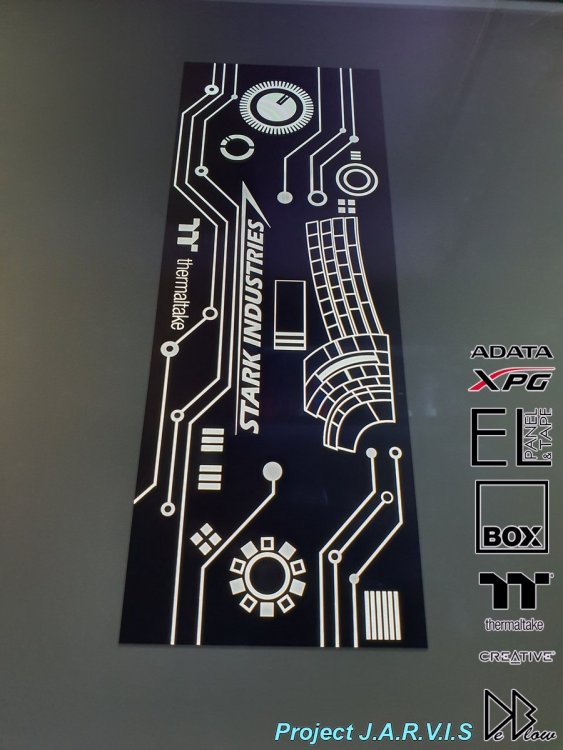
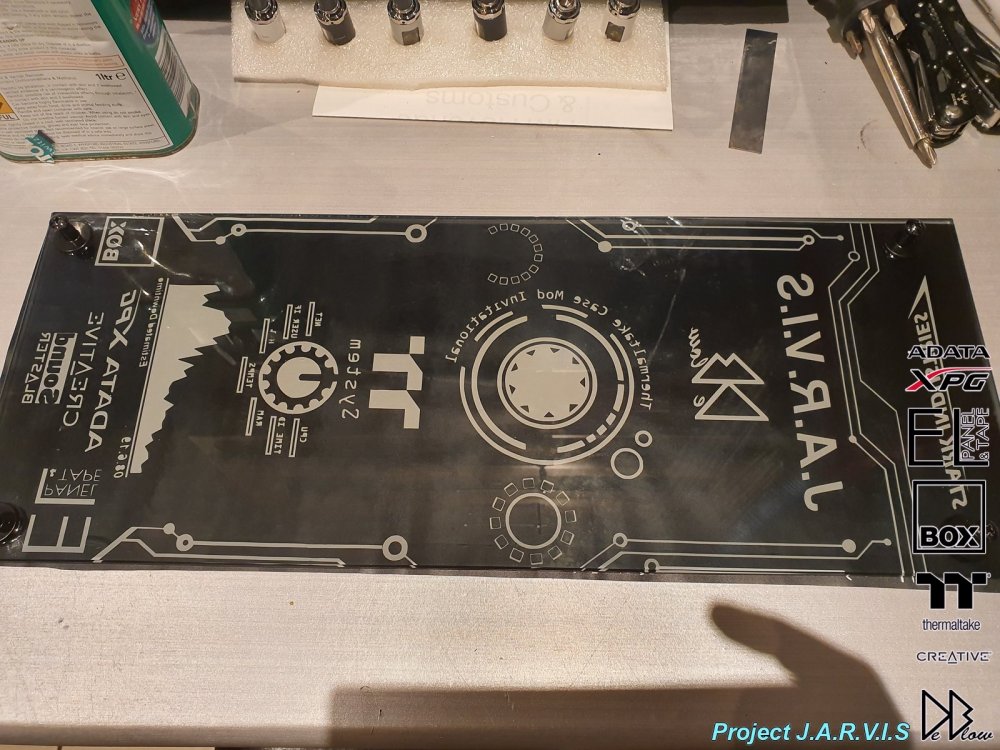
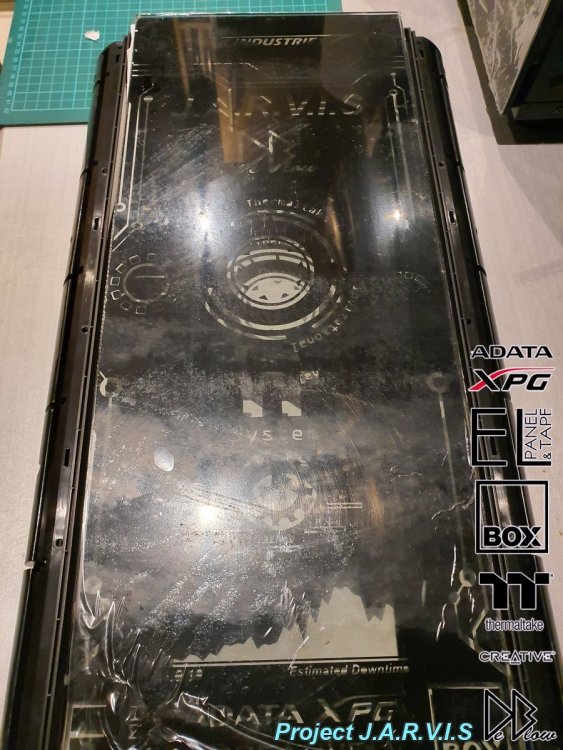
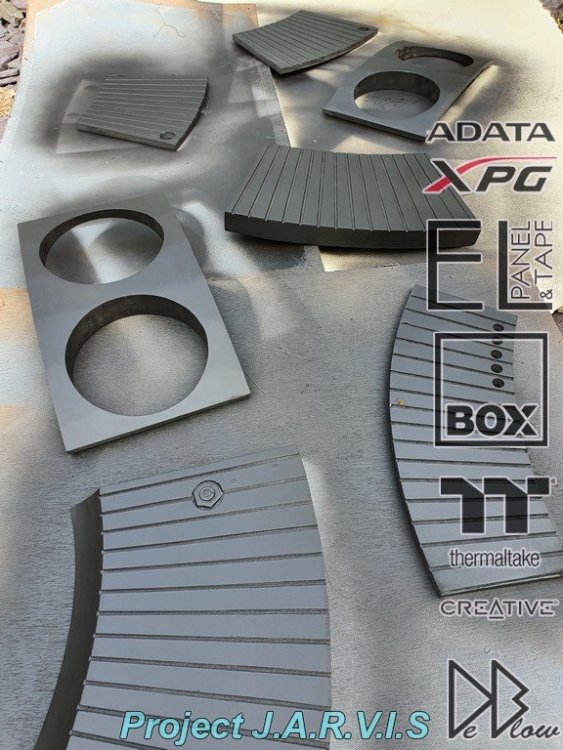
 New design for the top of the case with the added keyboard, case stripped and modded a bit to allow for all the lighting another other things. Black primer now completed on all the parts, base black in progress and will be followed by the other paints asap.


-
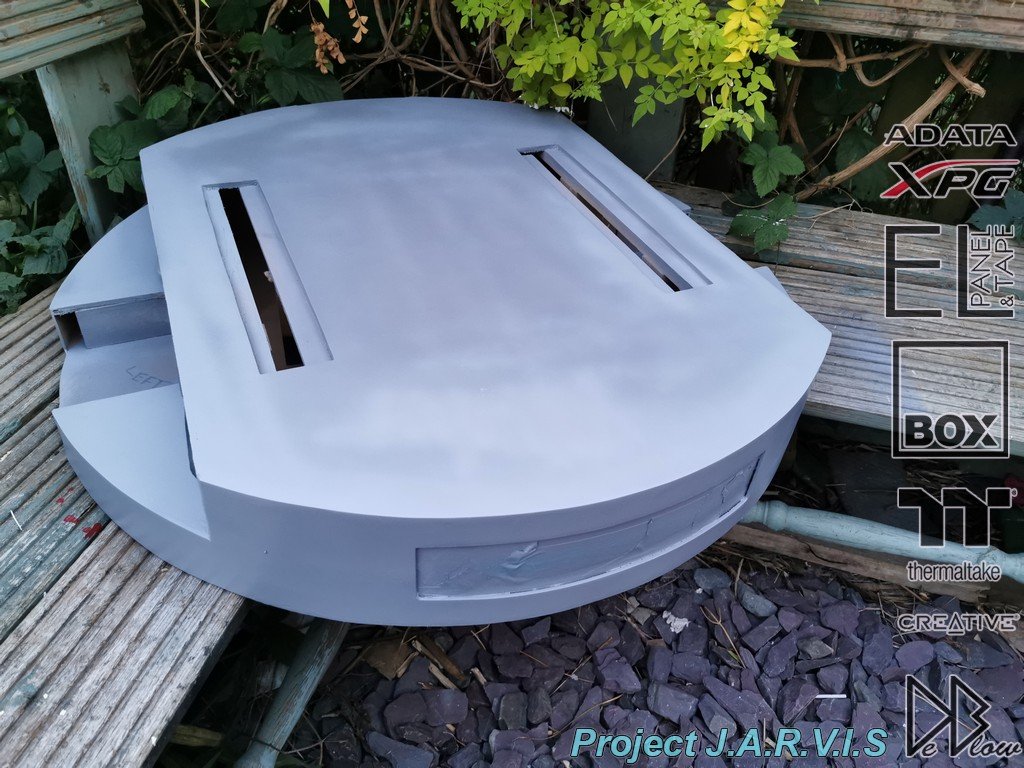
It's full steam ahead now all my parts are/have confirmed/arrived. This is the 3rd primer getting put down on the main frame for JARVIS, the first was MDF/wood sealers then grey primers and now the black primer, this will all be sanded down for the 3rd time, followed by a black base (mat), some gloss on top of that, then silvers and chromes. Link to FB Video -


-
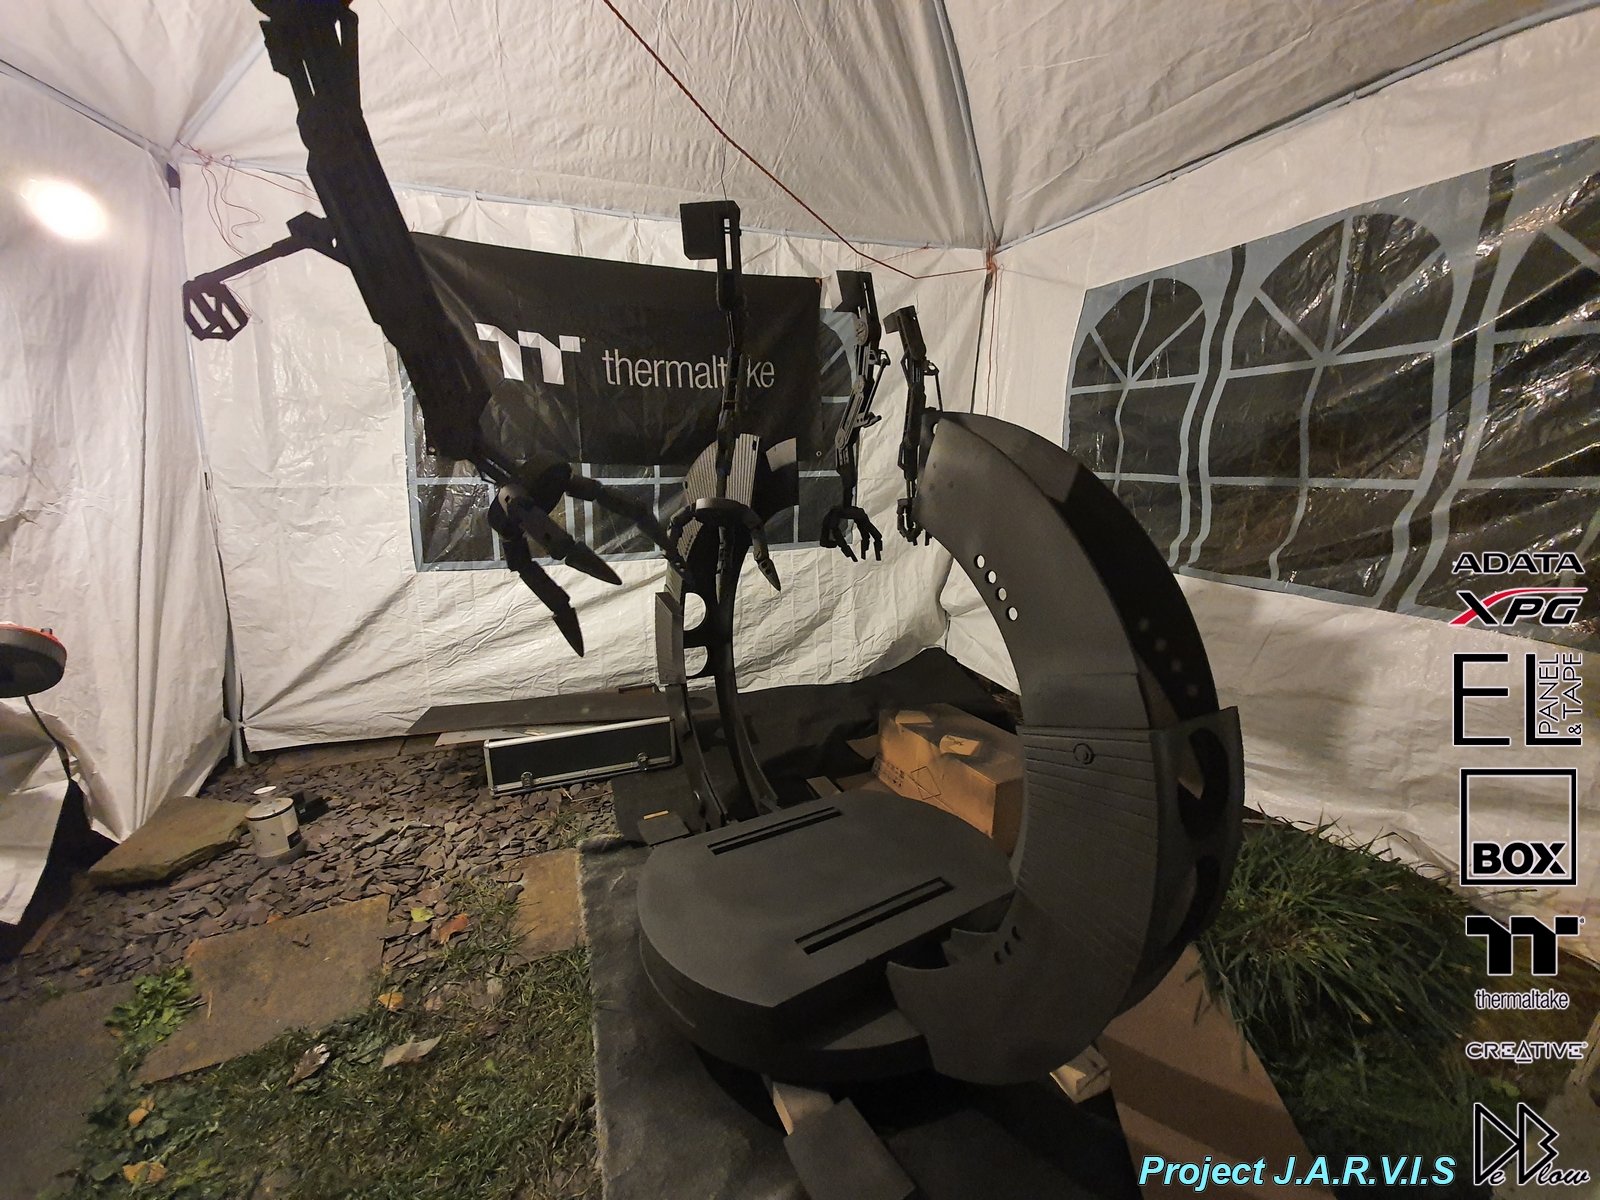
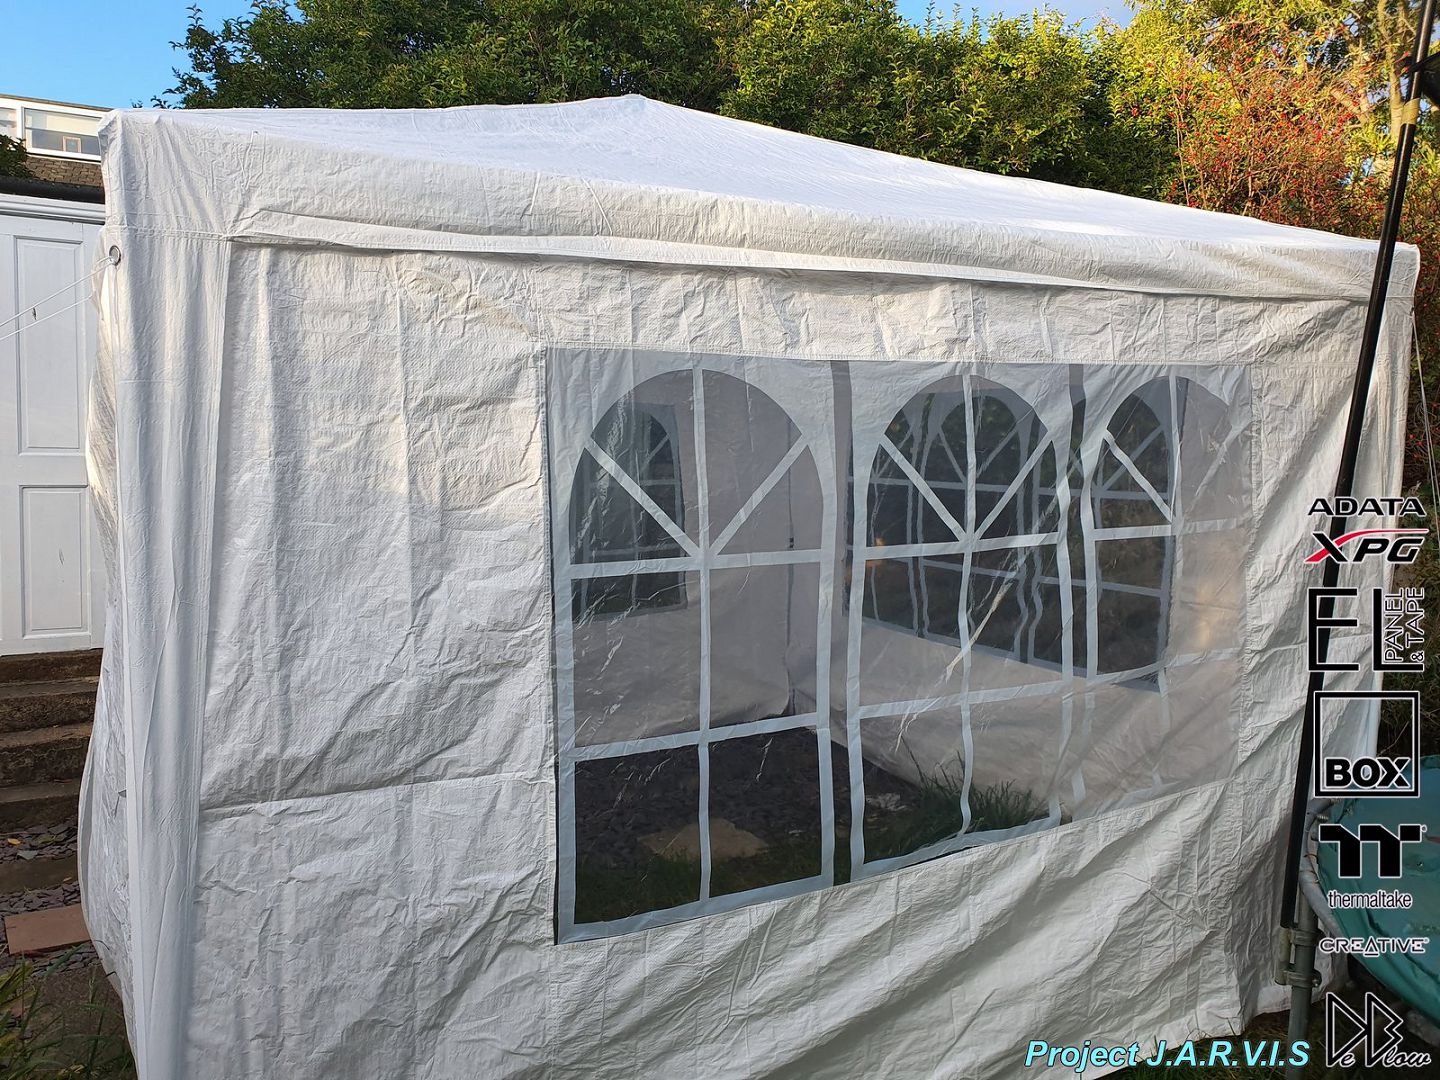
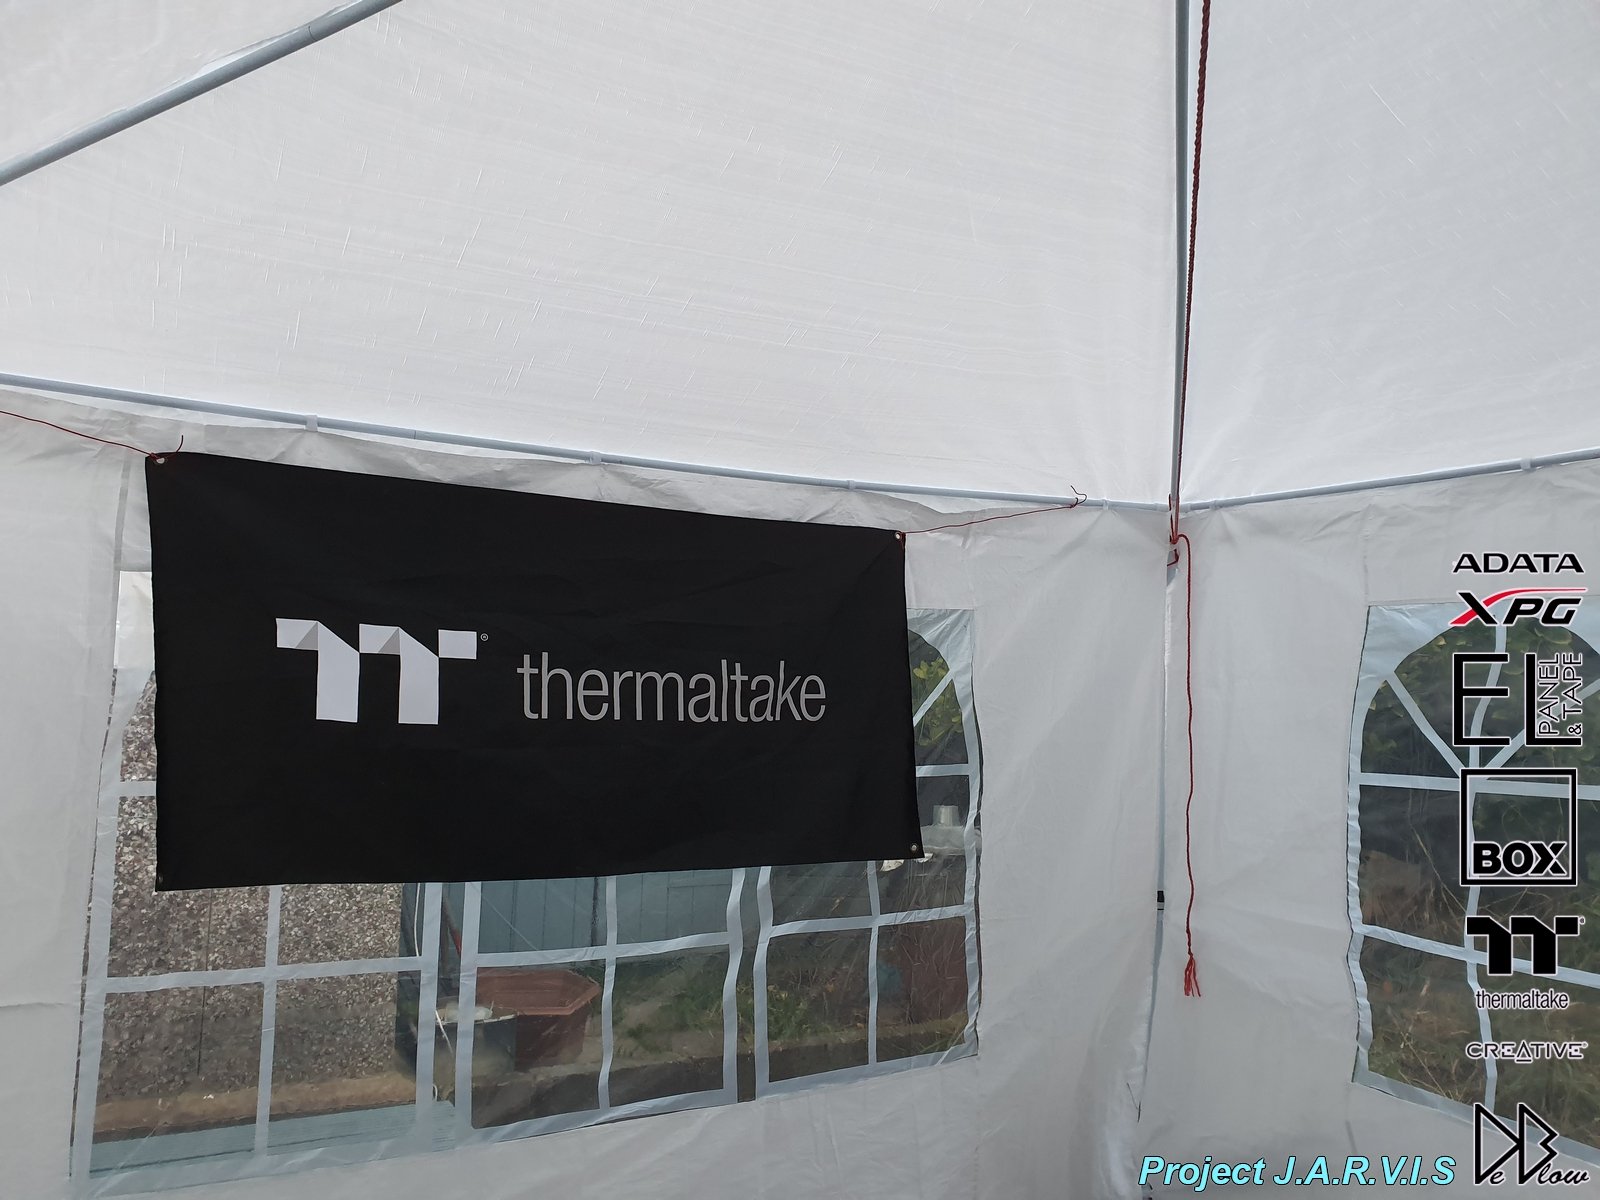
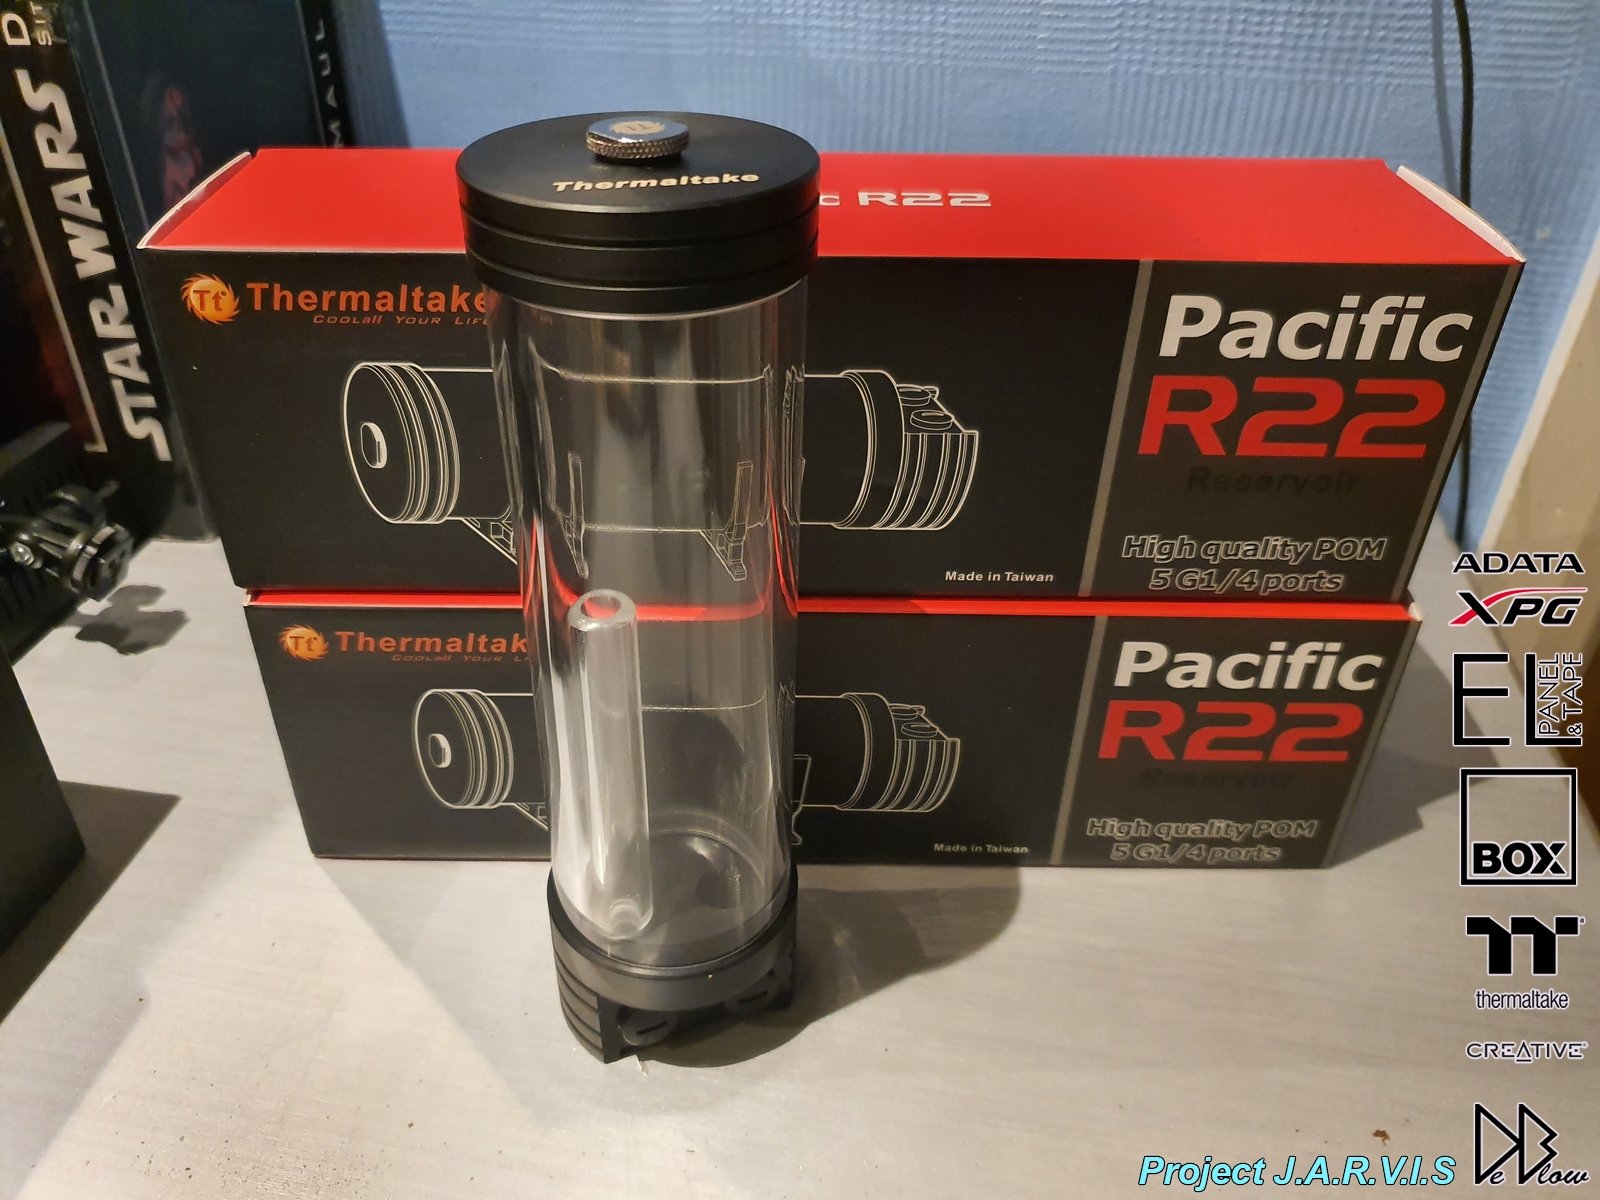
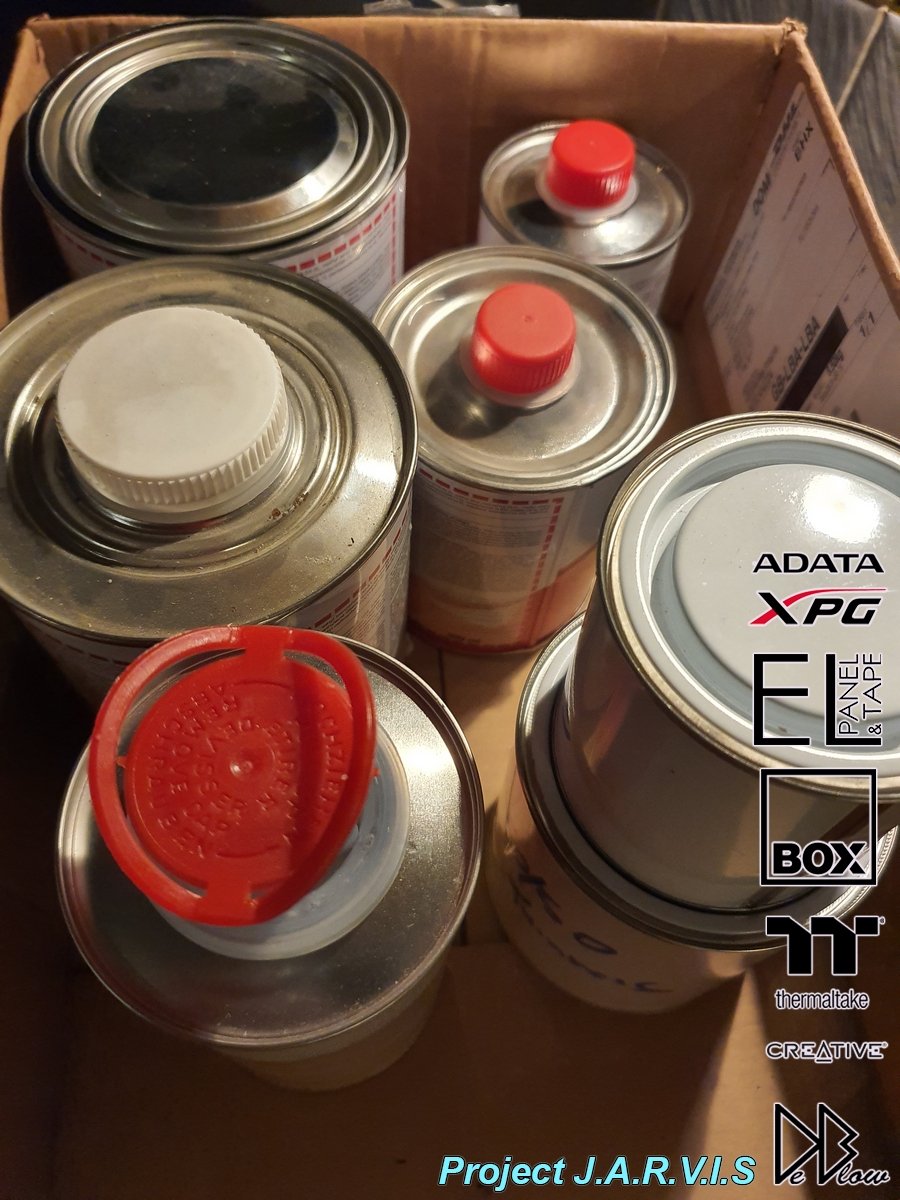
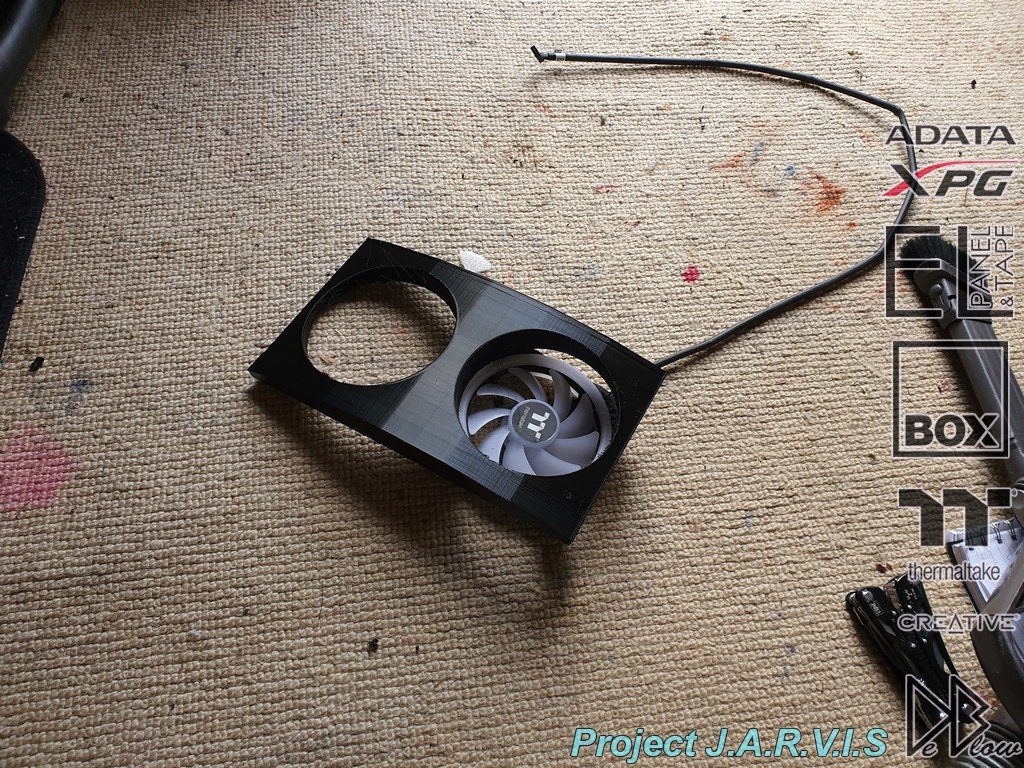
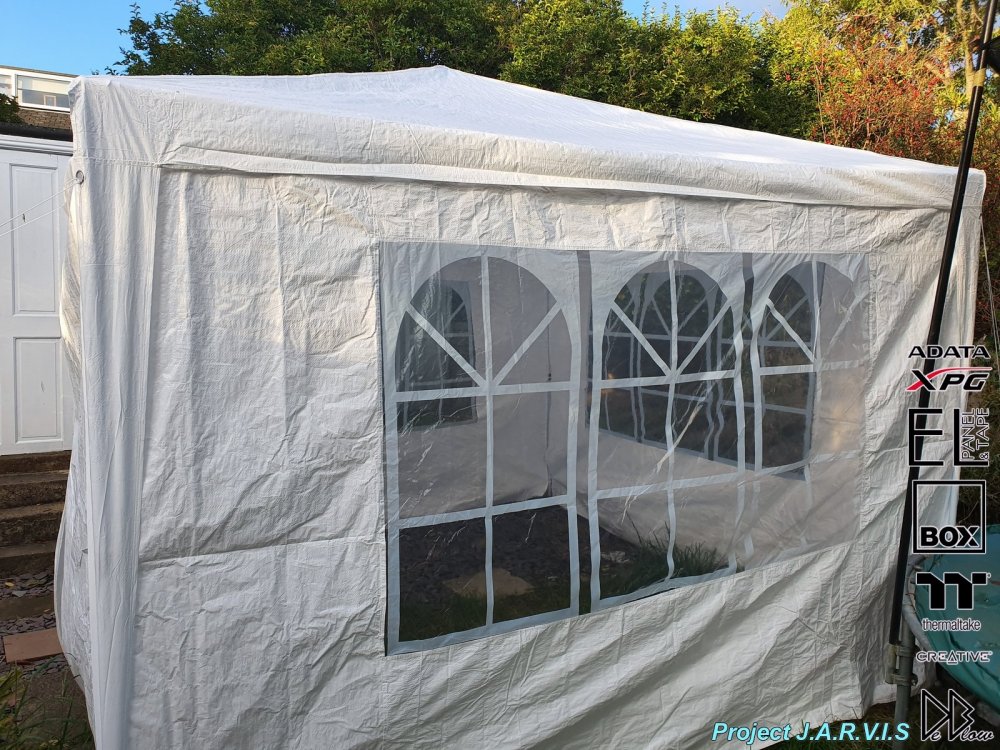
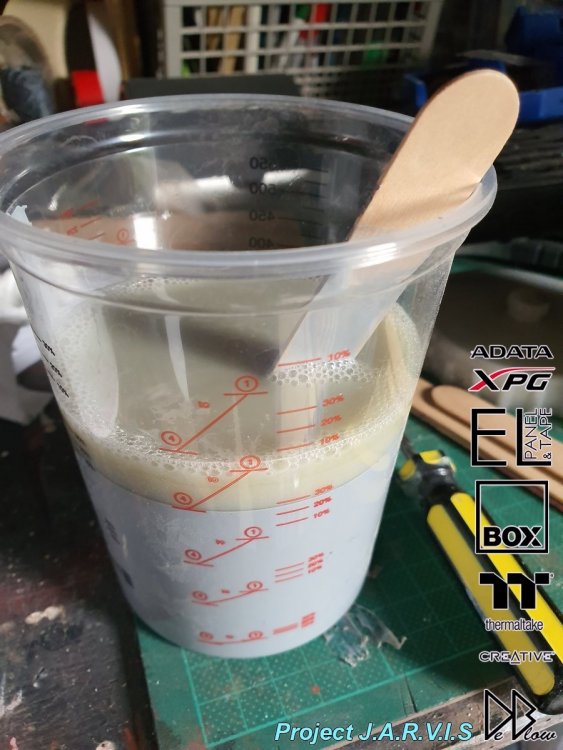
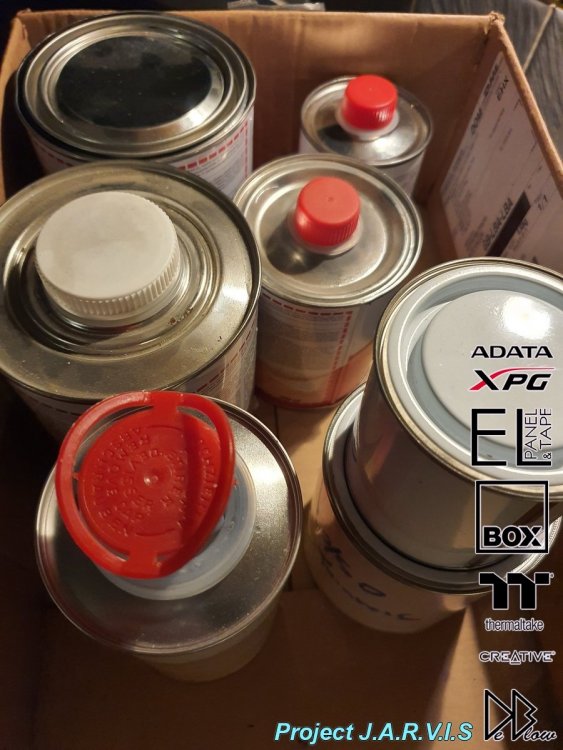
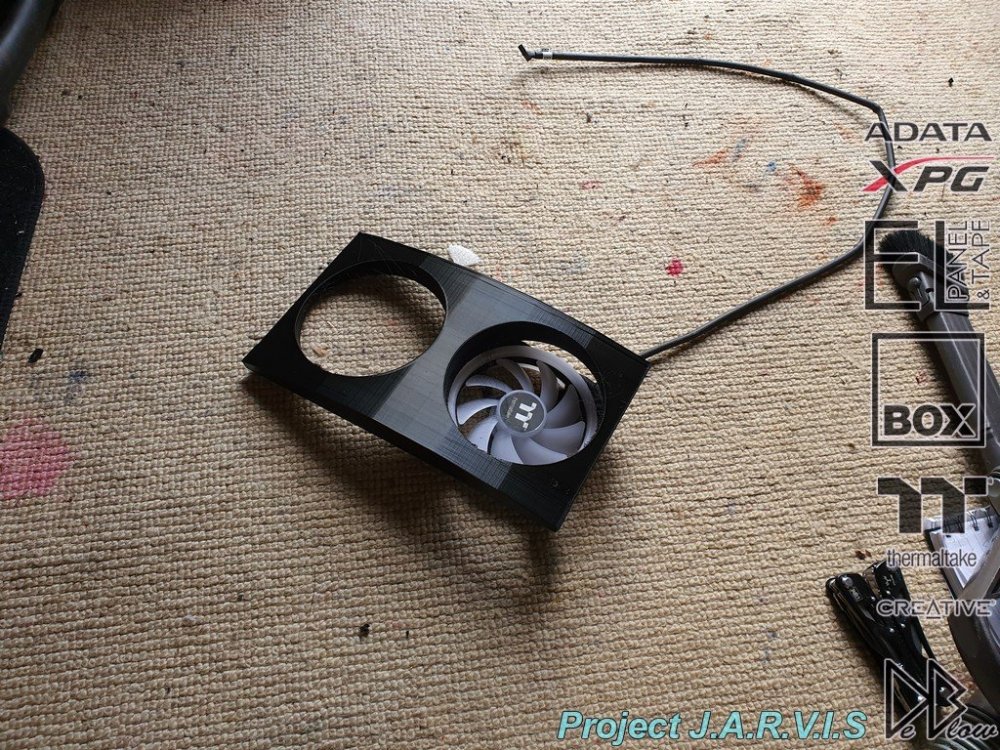
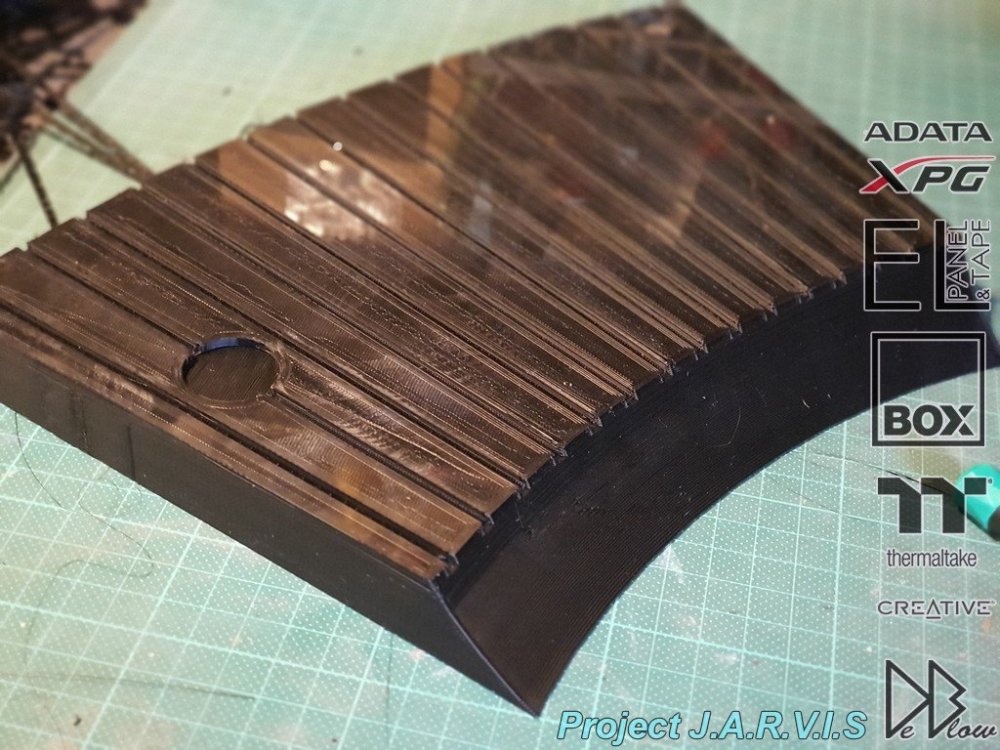
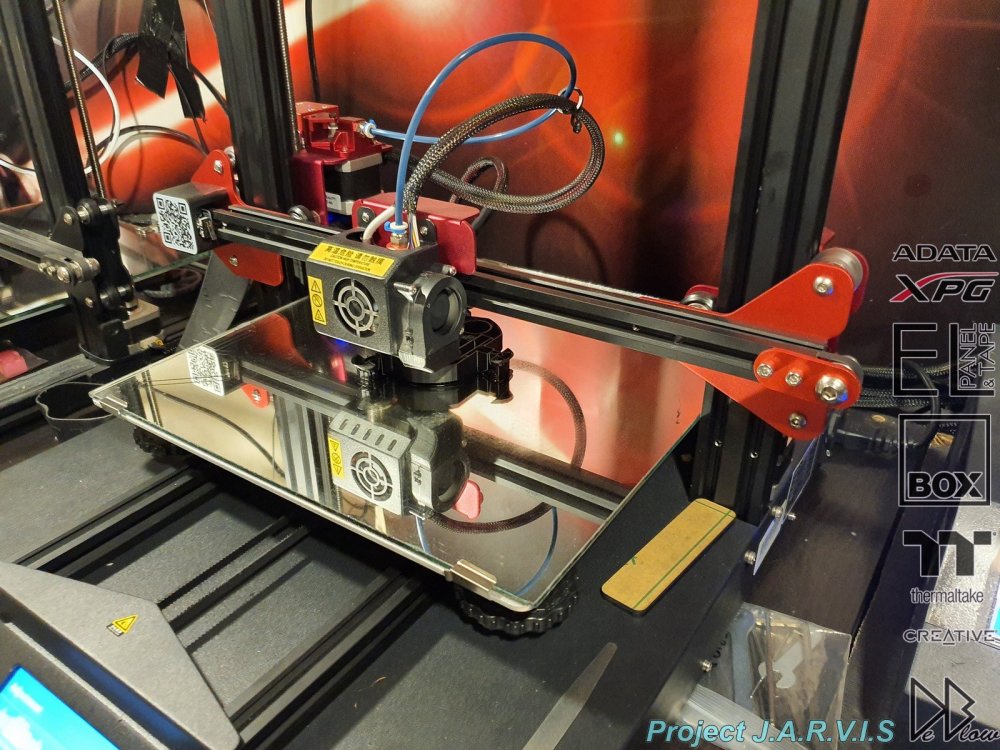
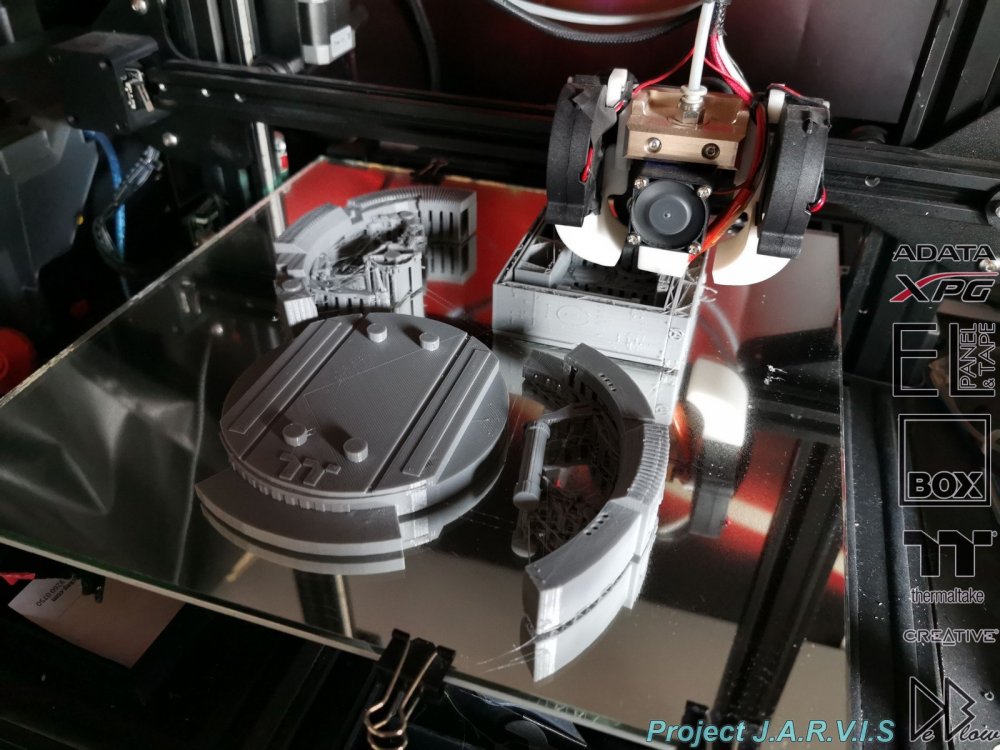
The fan covers for both the sides are now printed and most the pre work completed. Some more filling and sanding needed but they will soon be ready for the base colours and top coats. Doing the paint right, using high quality car paints for the bulk of the build, some parts will have some airbrush work on top of the main paint. Some more parts for the build have arrived, x2 pacific r22 reservoirs. Unfortunately the water cooling might look a little overkill for the build due to problems getting hold of a GPU waterblock, so I might reduce the amount of RADs & pumps used down from x2 to just 1 each and use the spares are props Still getting very bad weather in the UK and all my painting has to be done outside, so I have built up a temporary canopy, its surviving at the moment but can be a problem on windy days lol.


-
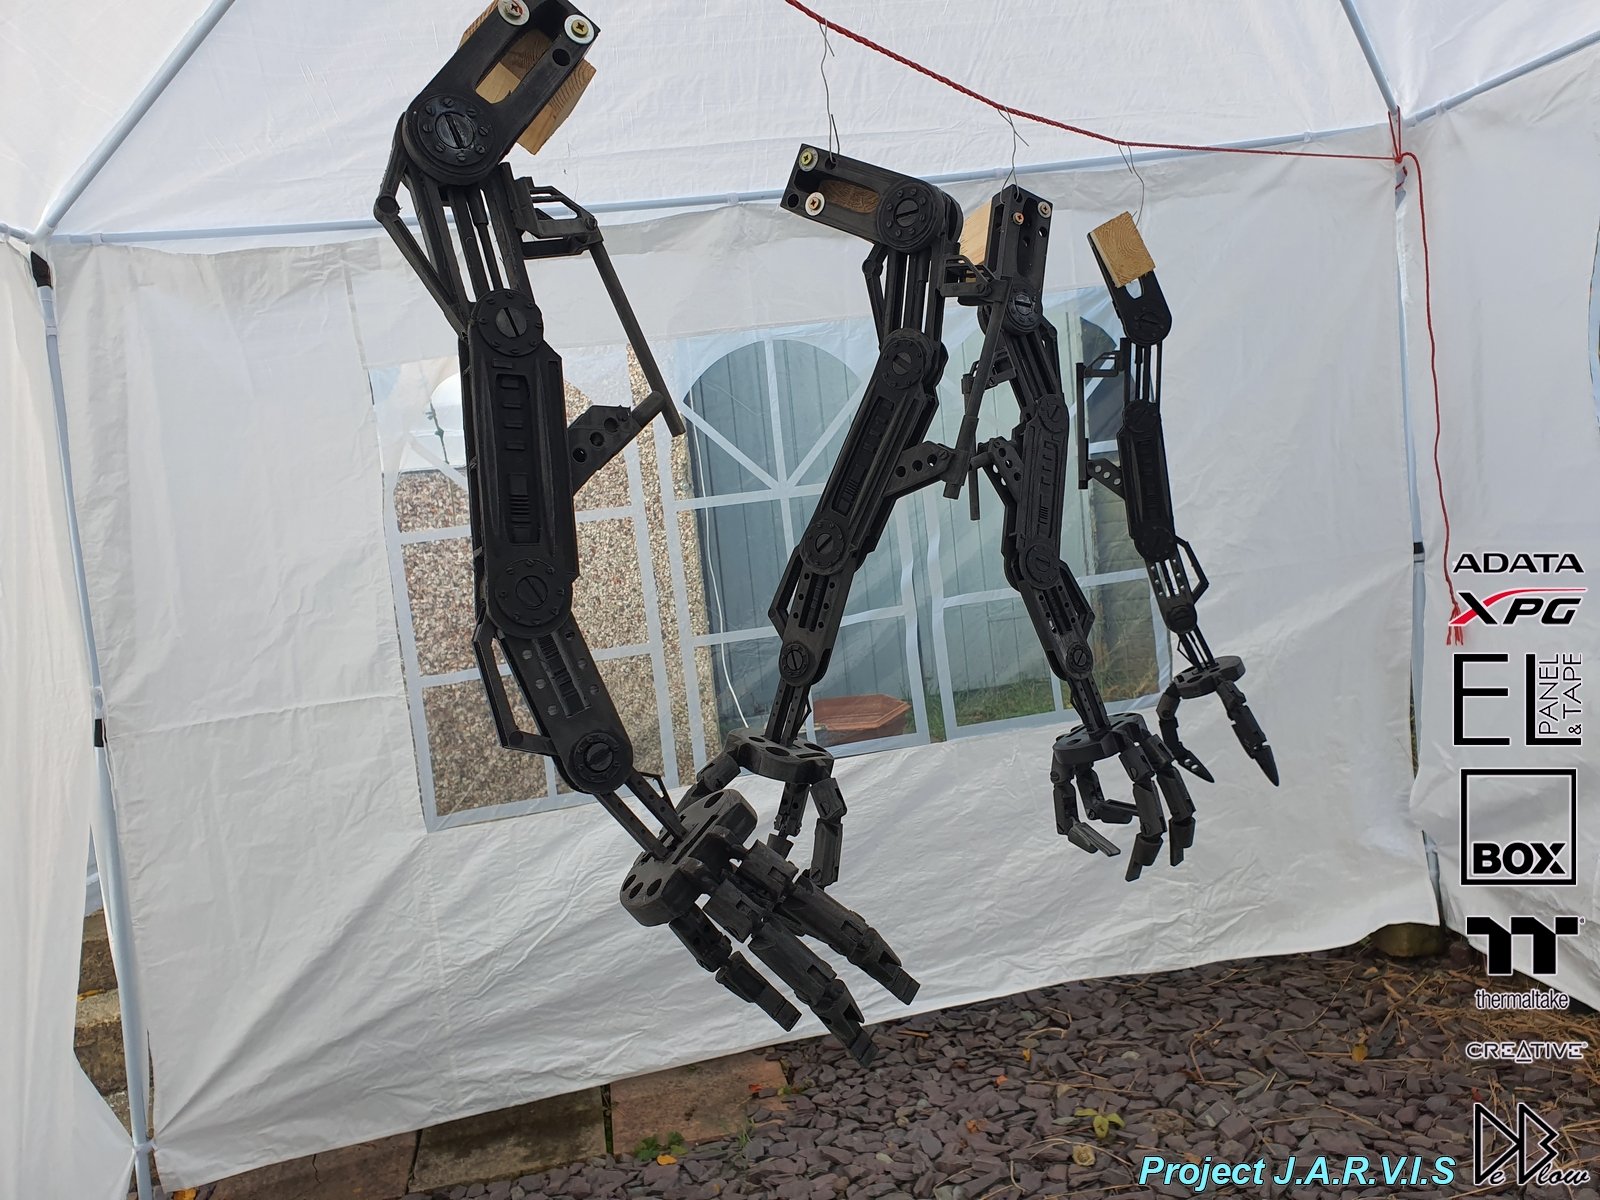
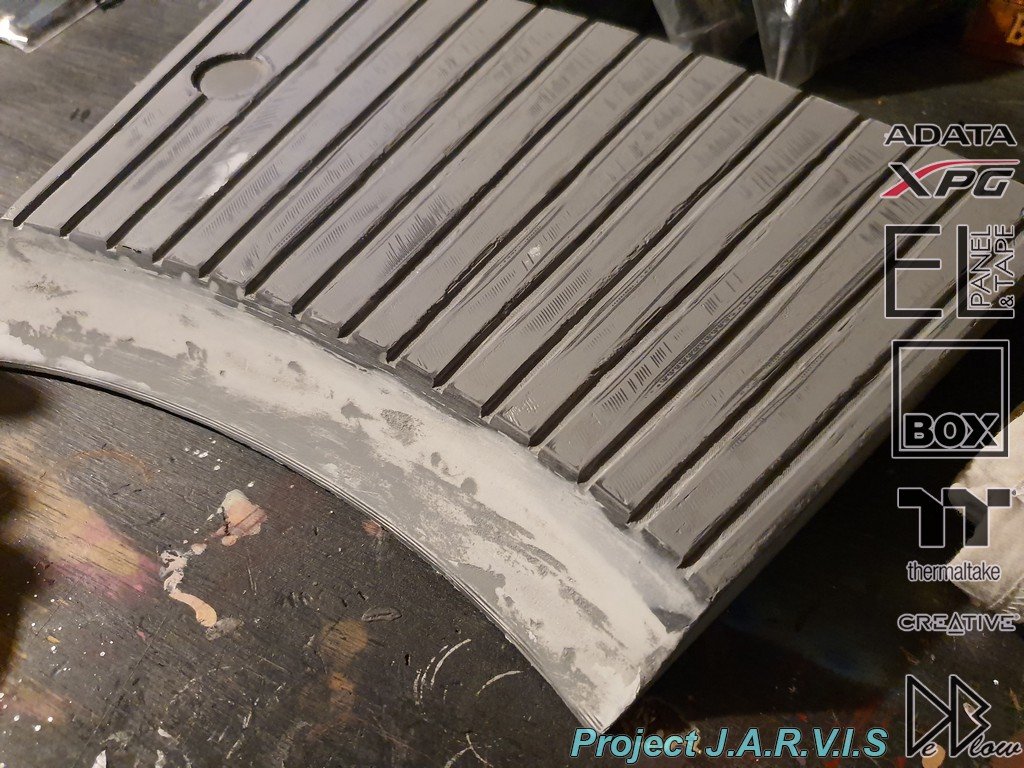
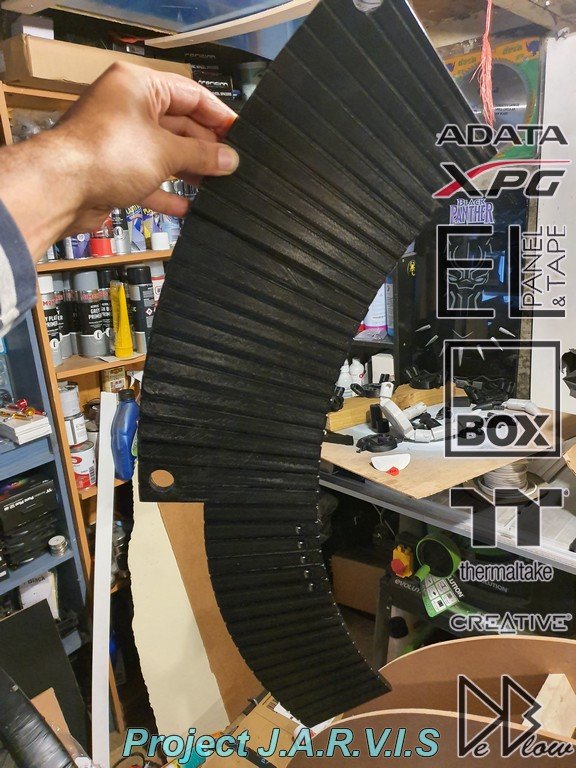
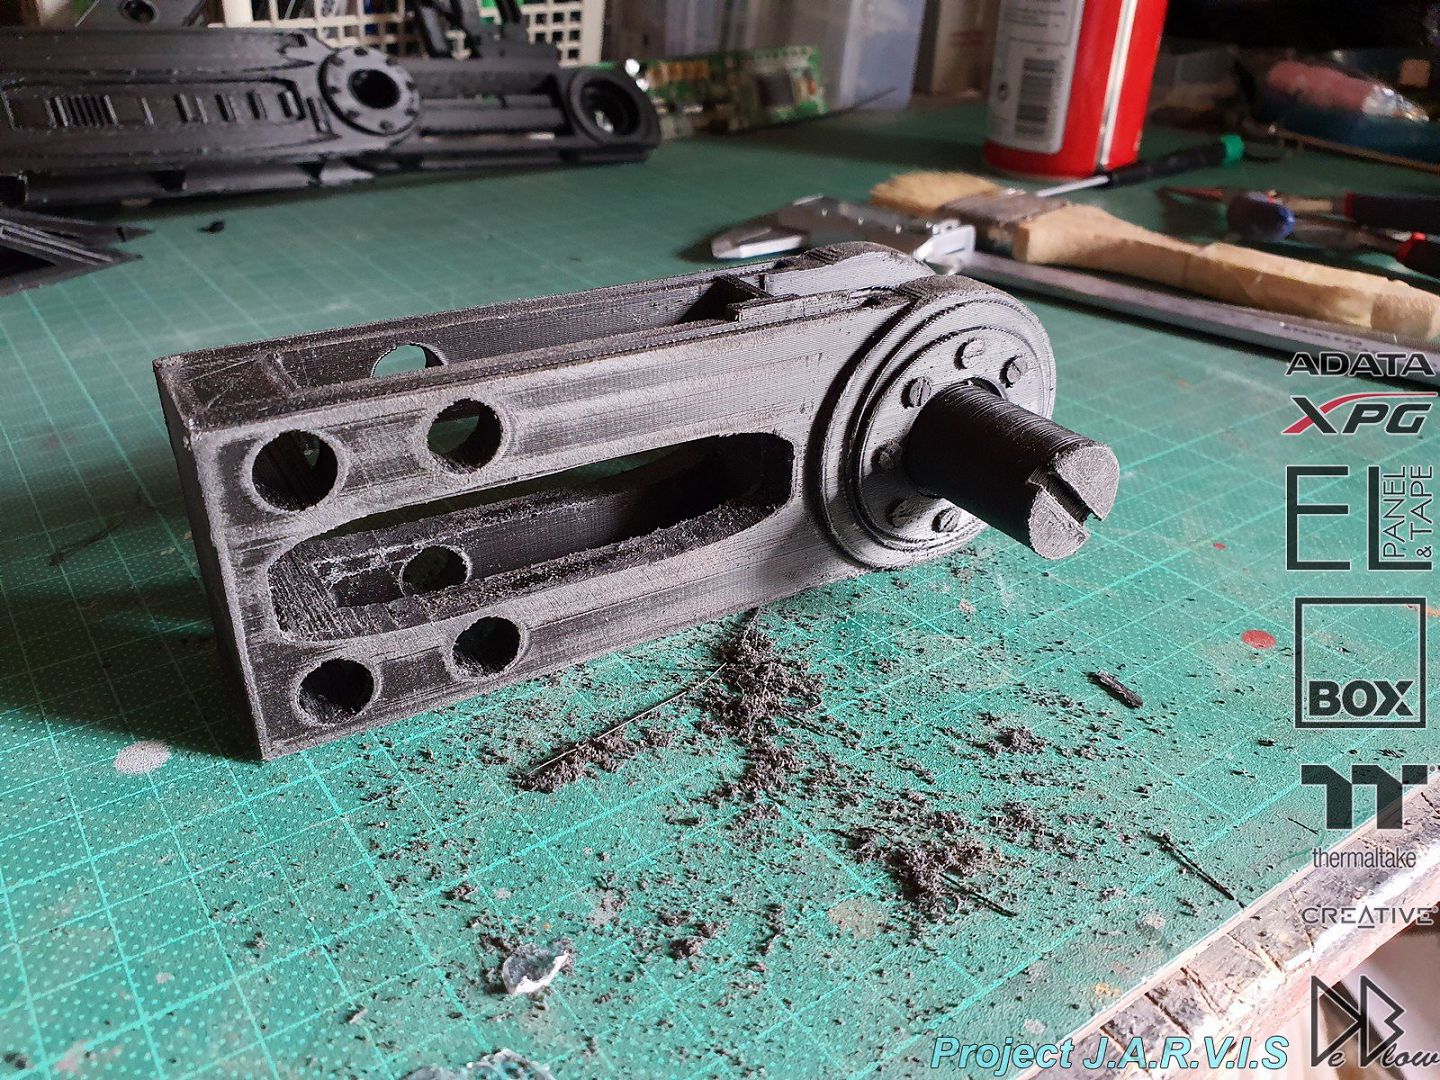
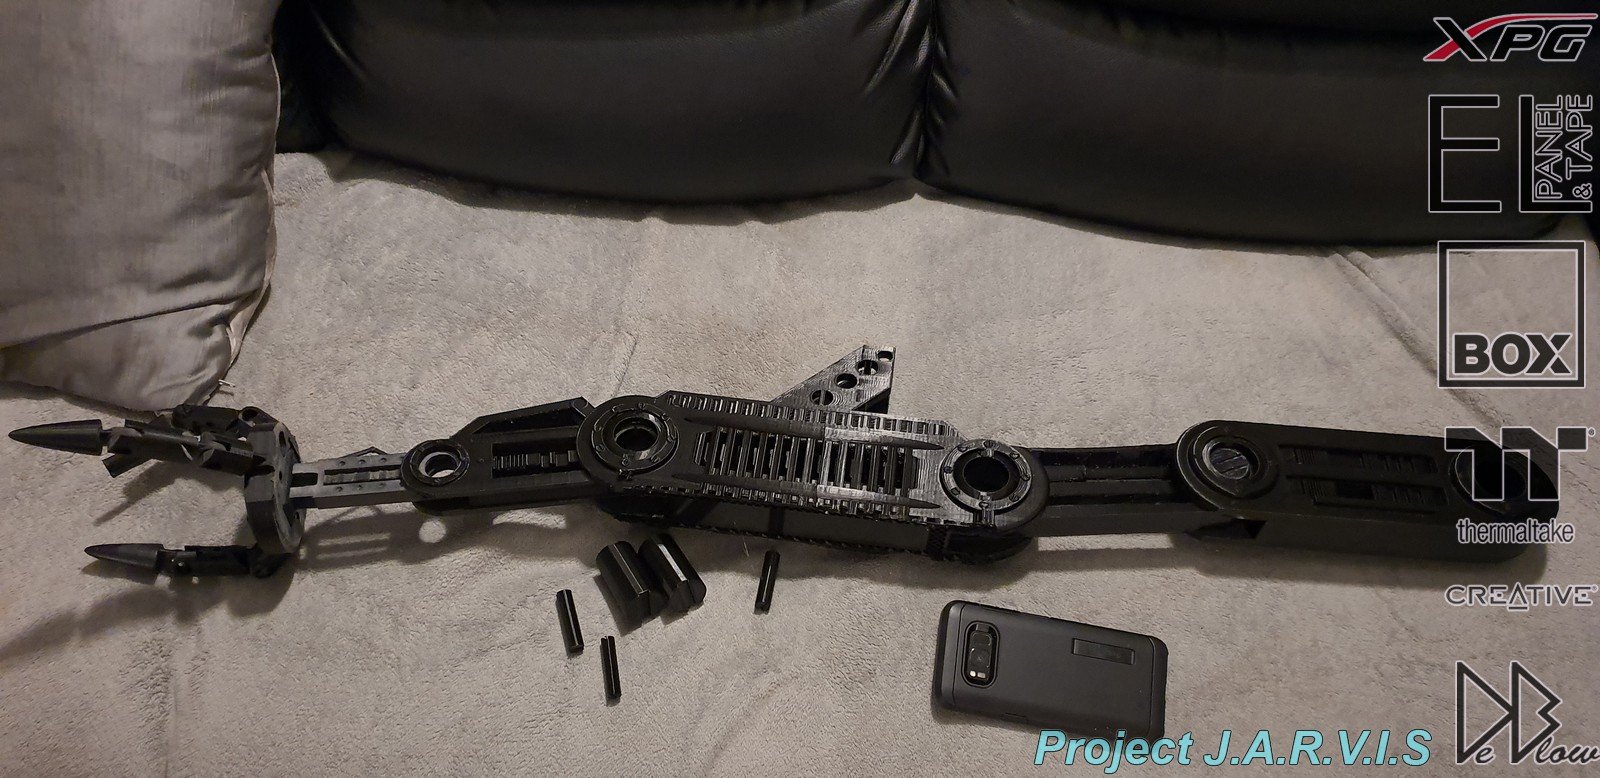
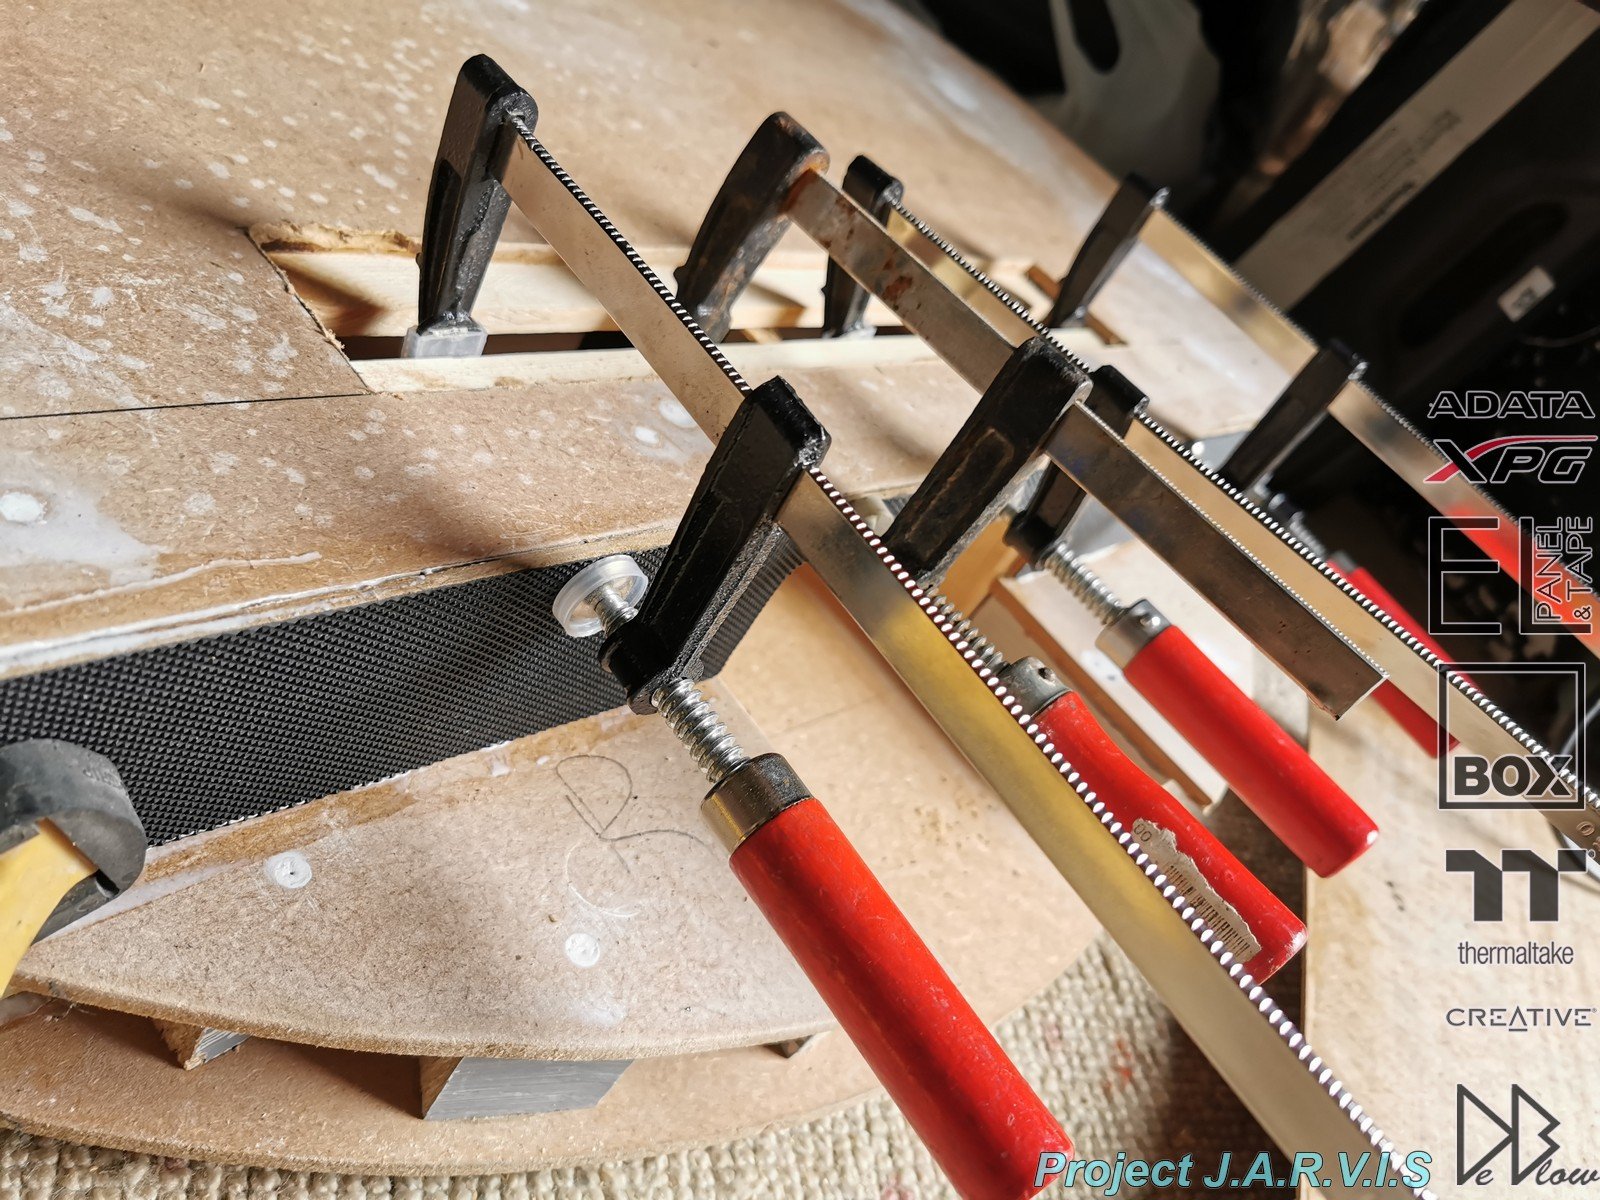
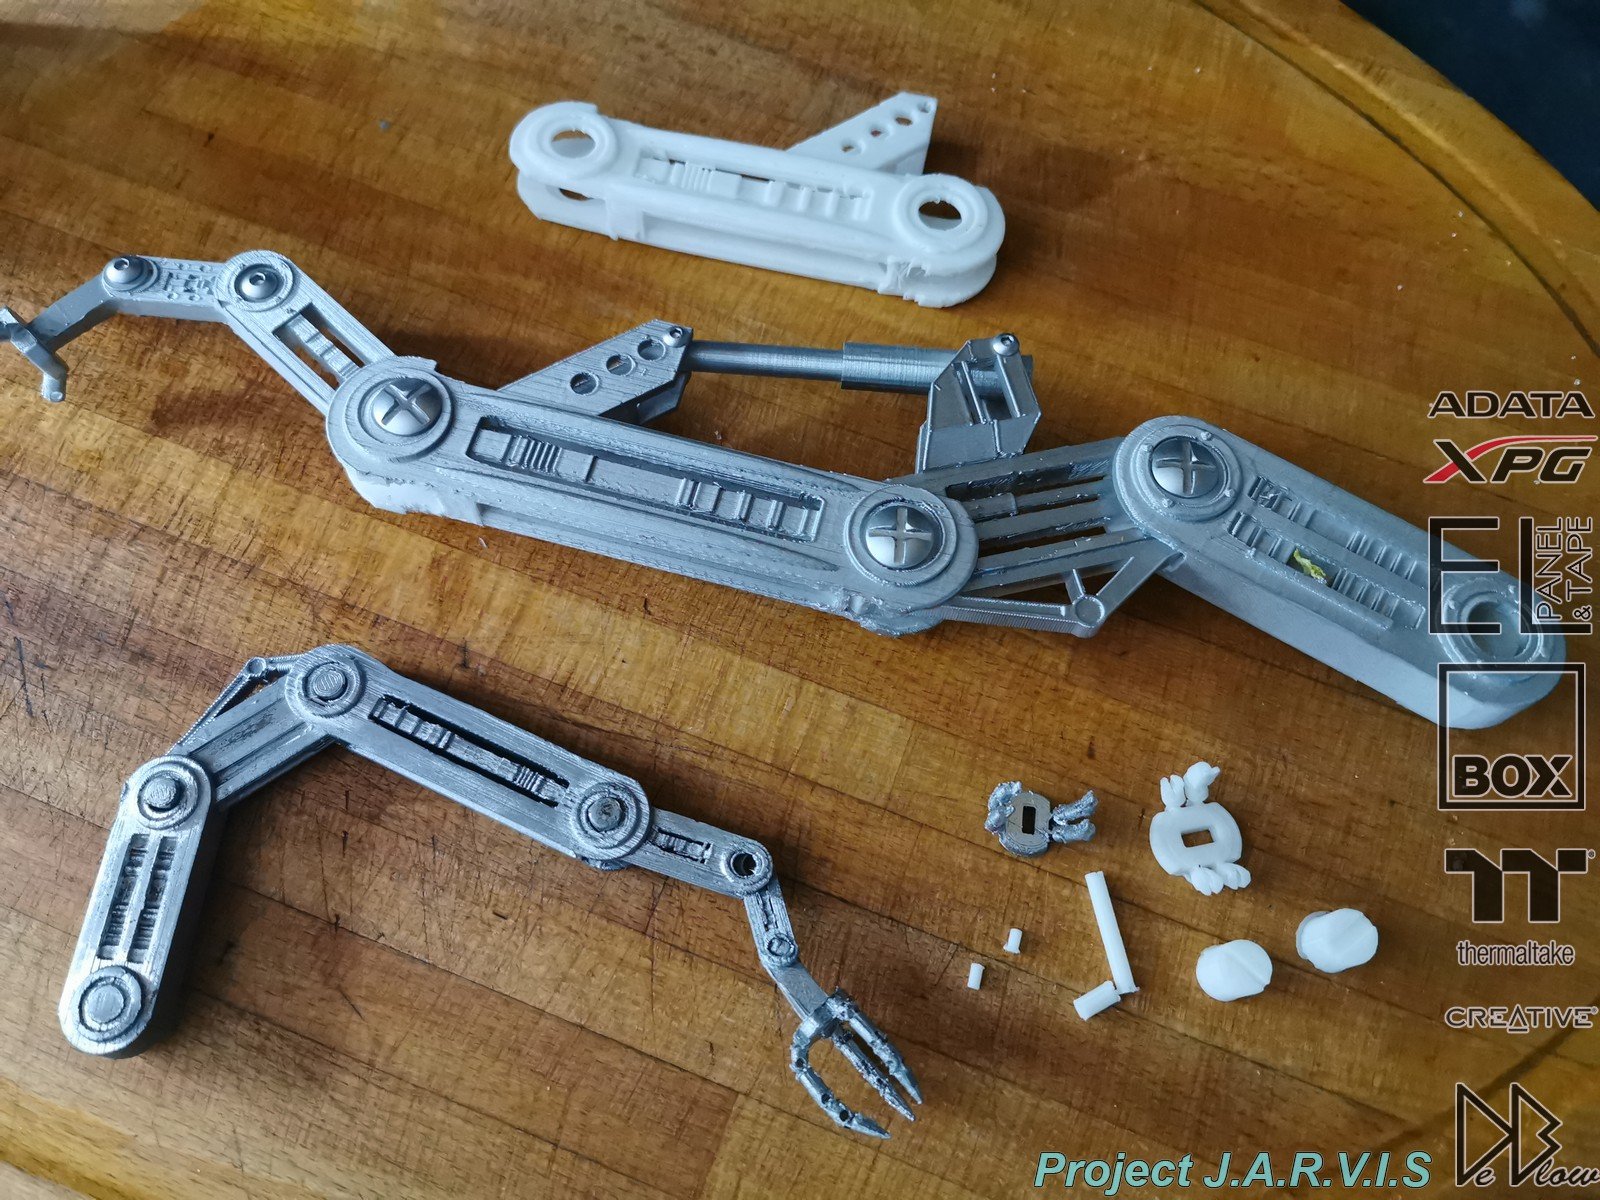
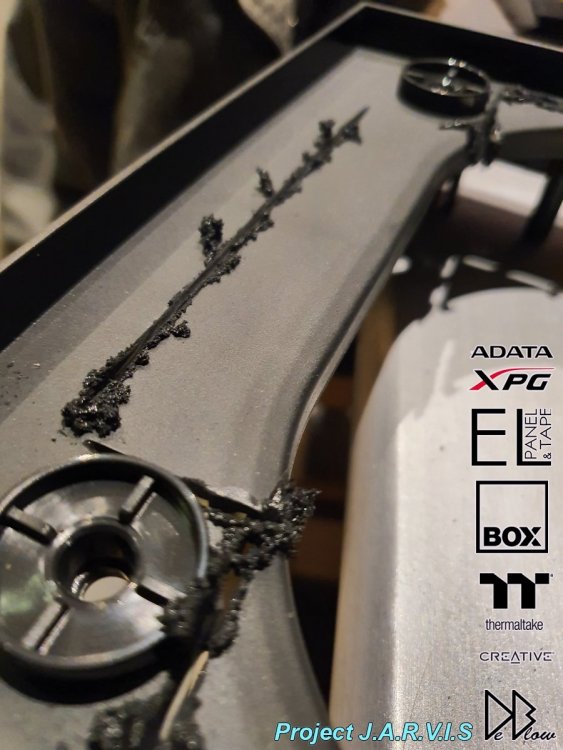
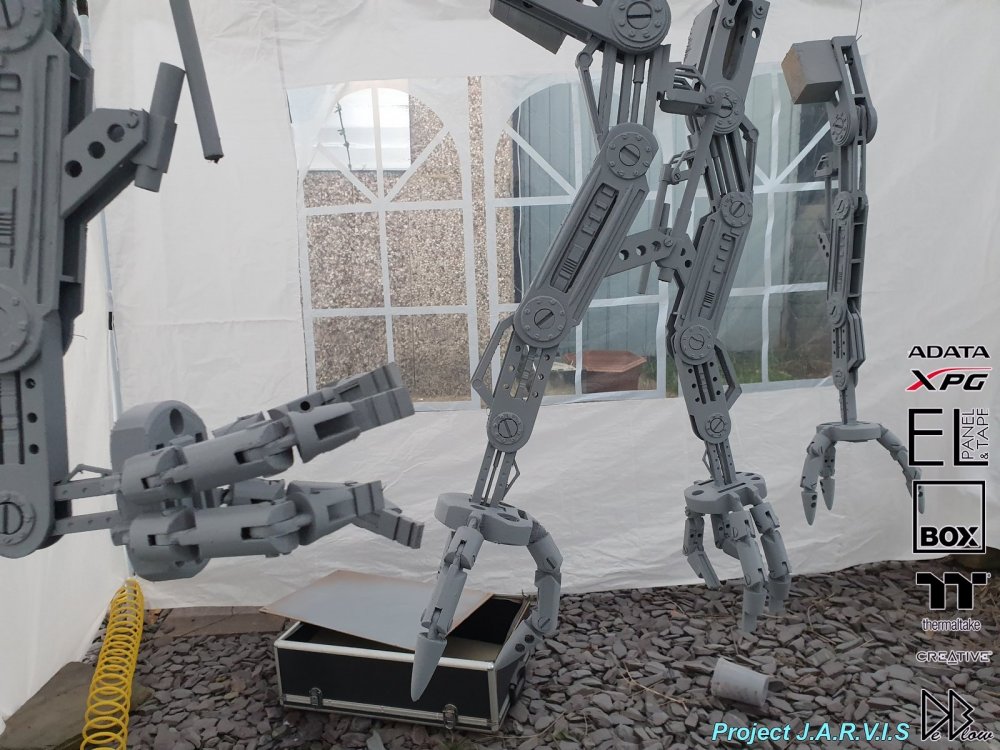
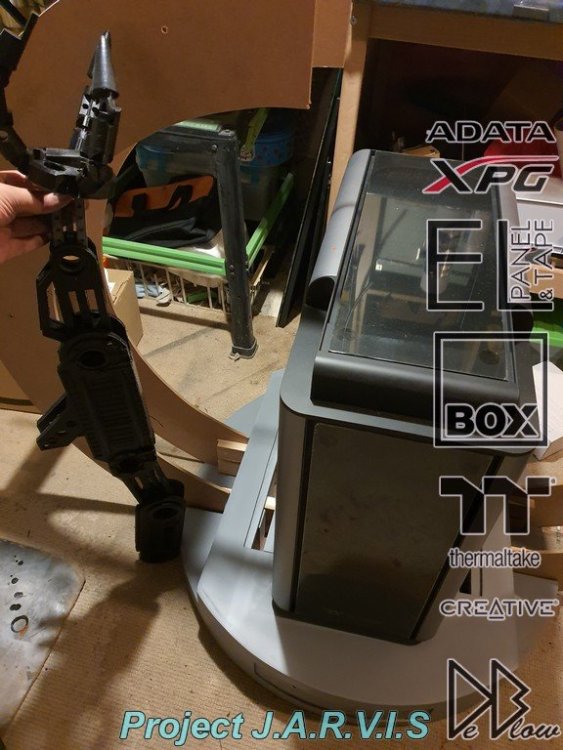
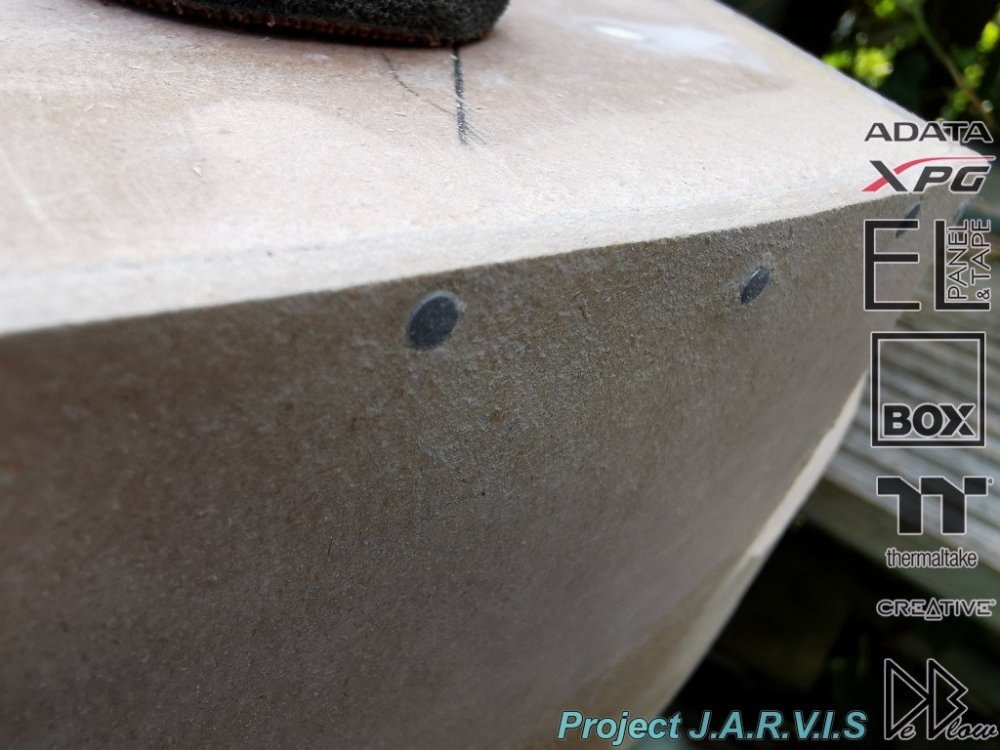
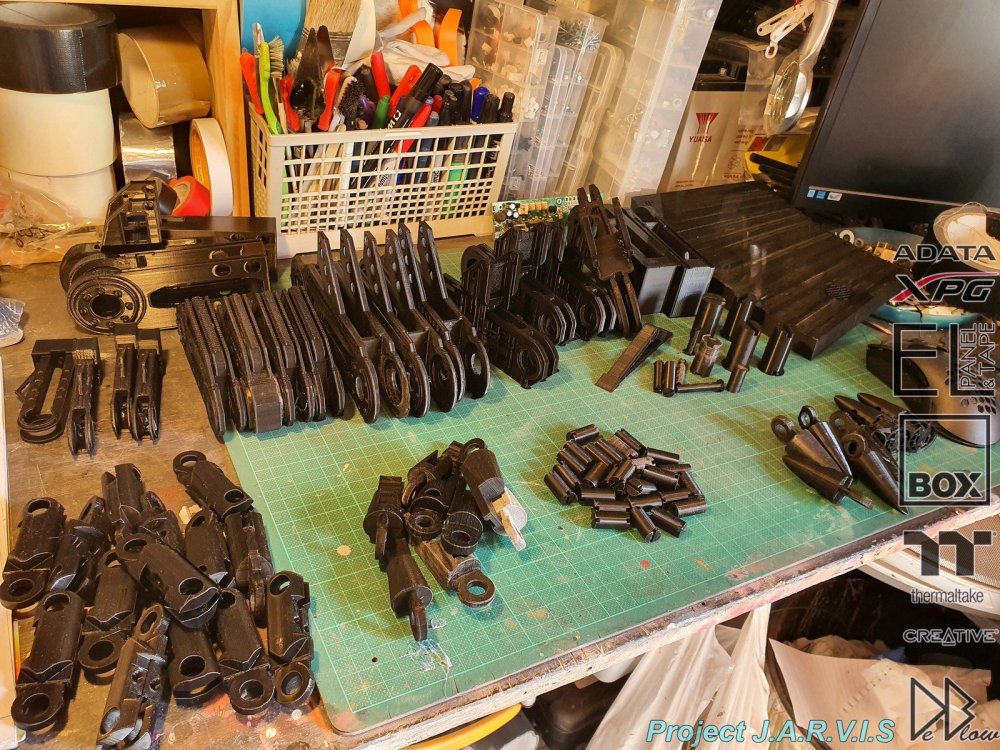
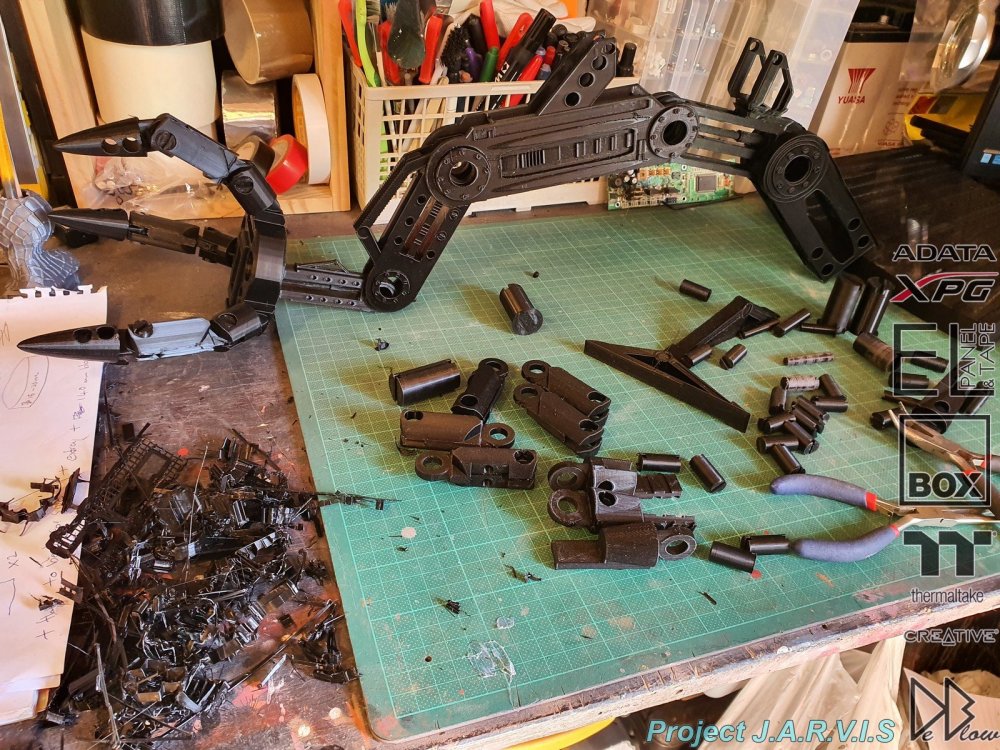
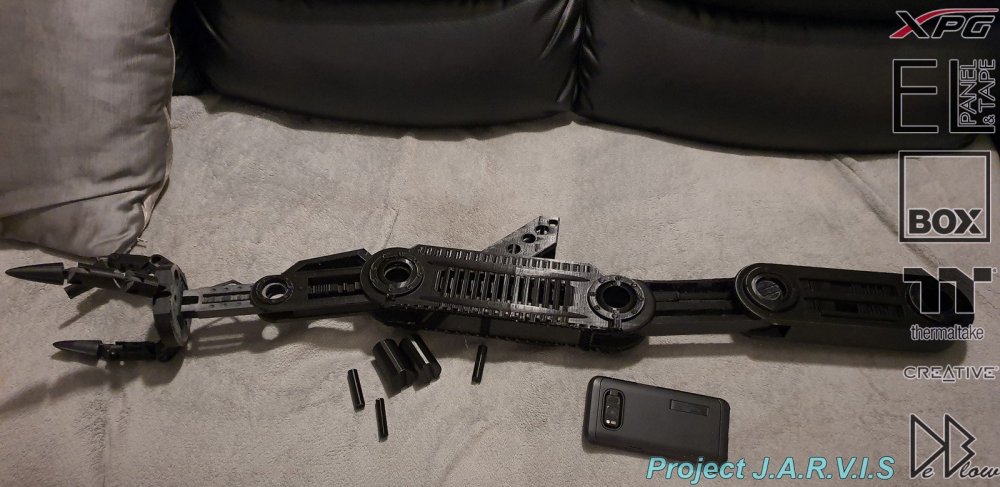
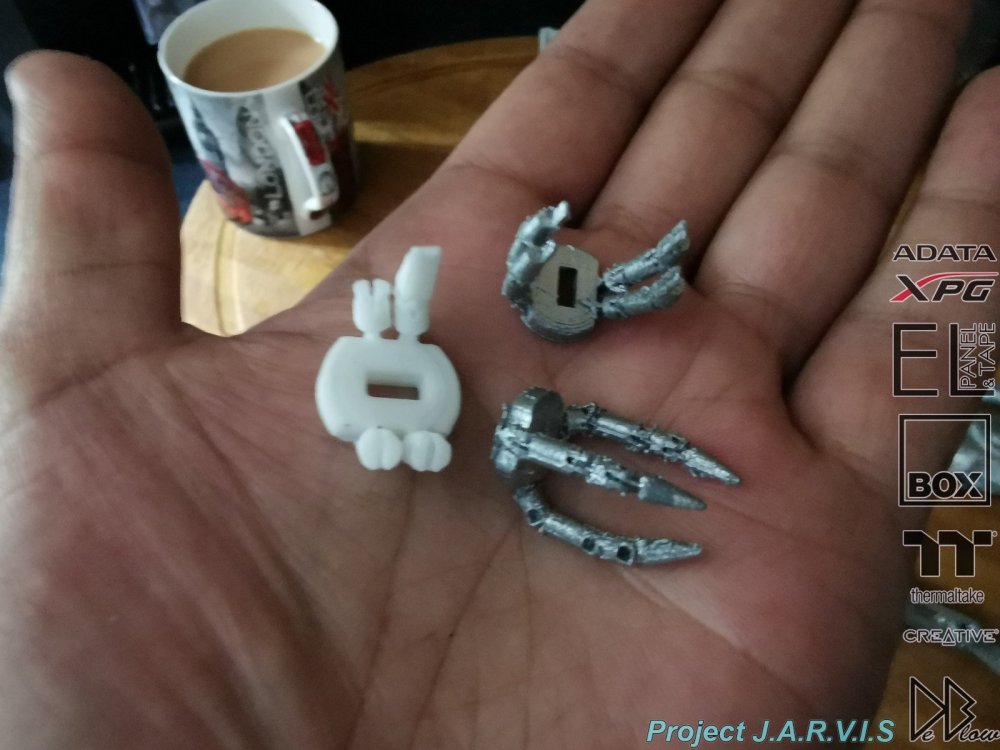
Here's some photos showing the arms im still working on sanding, can't wait to be done sanding as my arms and fingers hurt bad The arms are very big fully extended but will fit nicely in place once bent to the correct angles needed for the parts they will be holding. The wood filling is also nearly done and I will be priming the arms soon, had a spot of bad weather so I have invested in a rather large tent to use as a temporary paint shop. Some of the 3D prints need filling also, a couple of my first ones didn't go to plan but I improved as I went along by tweaking the settings, all part of the fun with 3d Printing. I will have x4 of these arm parts, they will be the main parts holding the robot arms to the frame but allowing for movement so I can position them and change position without much trouble.


-
[Build Log] Custom PC (Computer inside Desk) #ProjectD
Rob "Deblow" Deluce replied to potserino's topic in Modding
This is all over the net and not one mention that you stole the whole thing from me, (but did a worse job) i helped you and you and this is how you act. Shame on you! You give modders a bad name. -
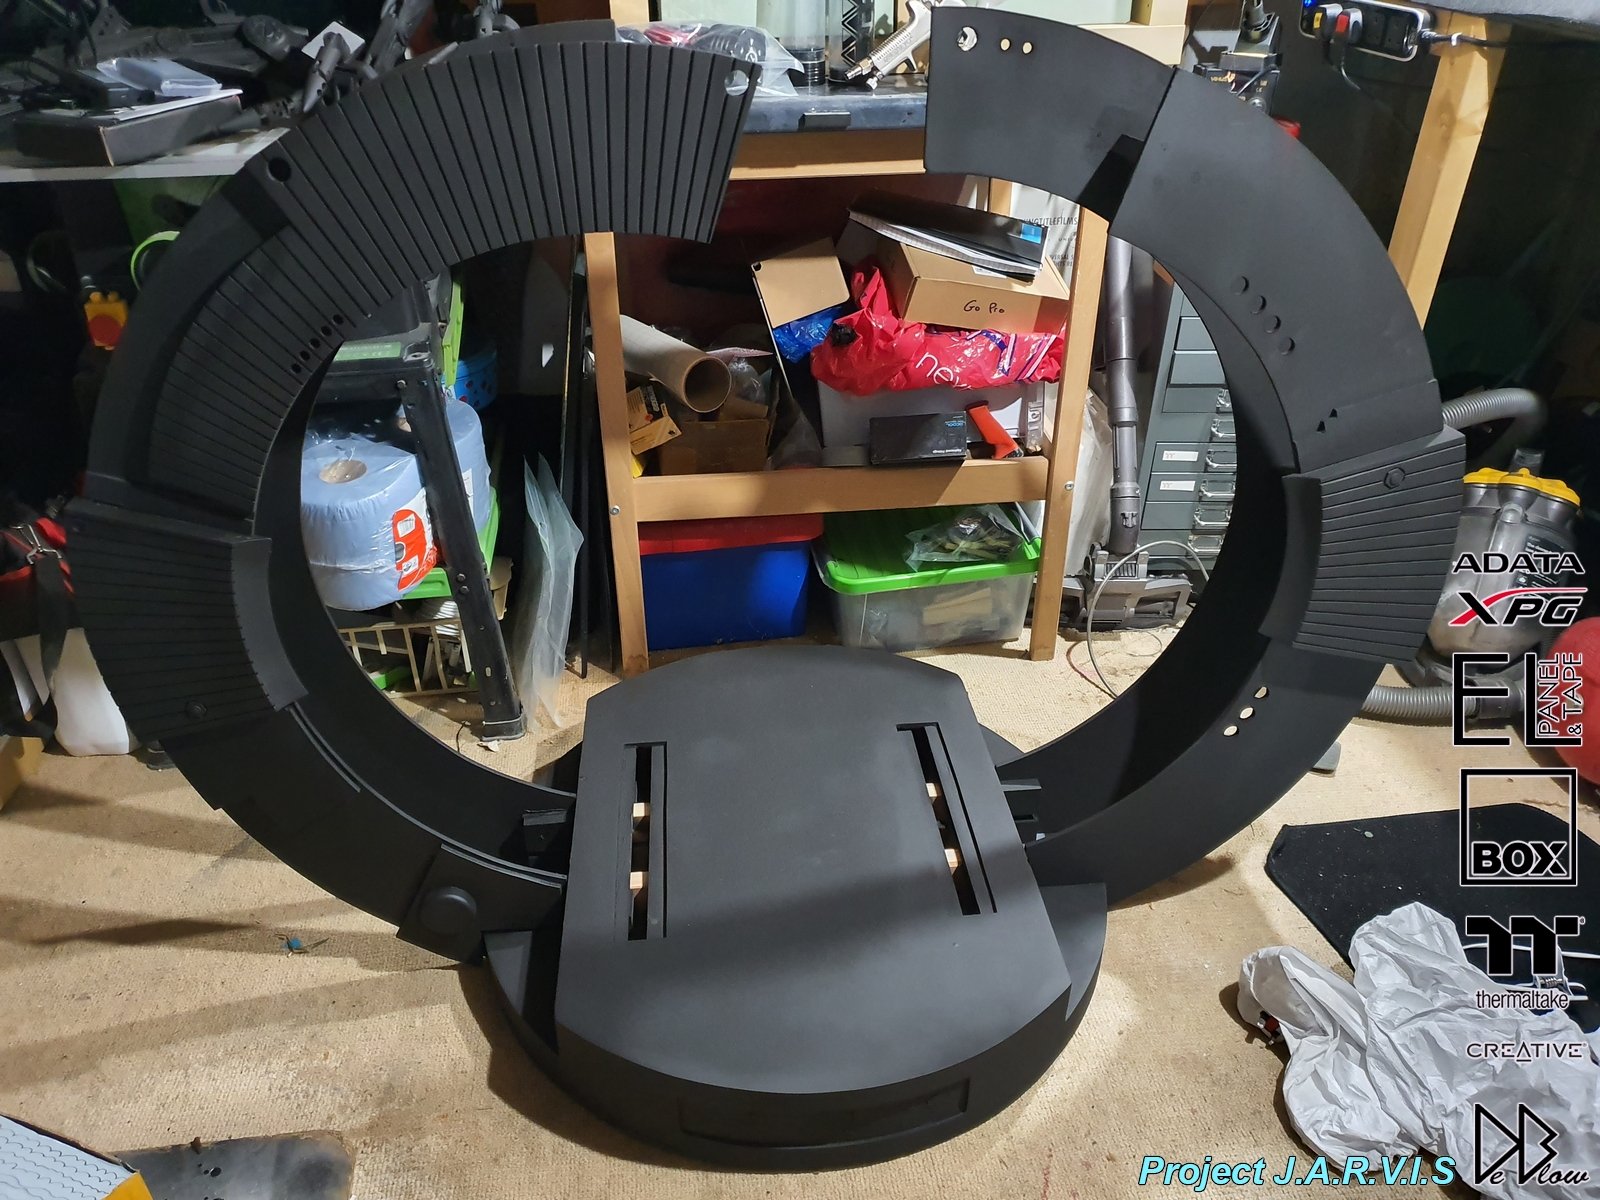
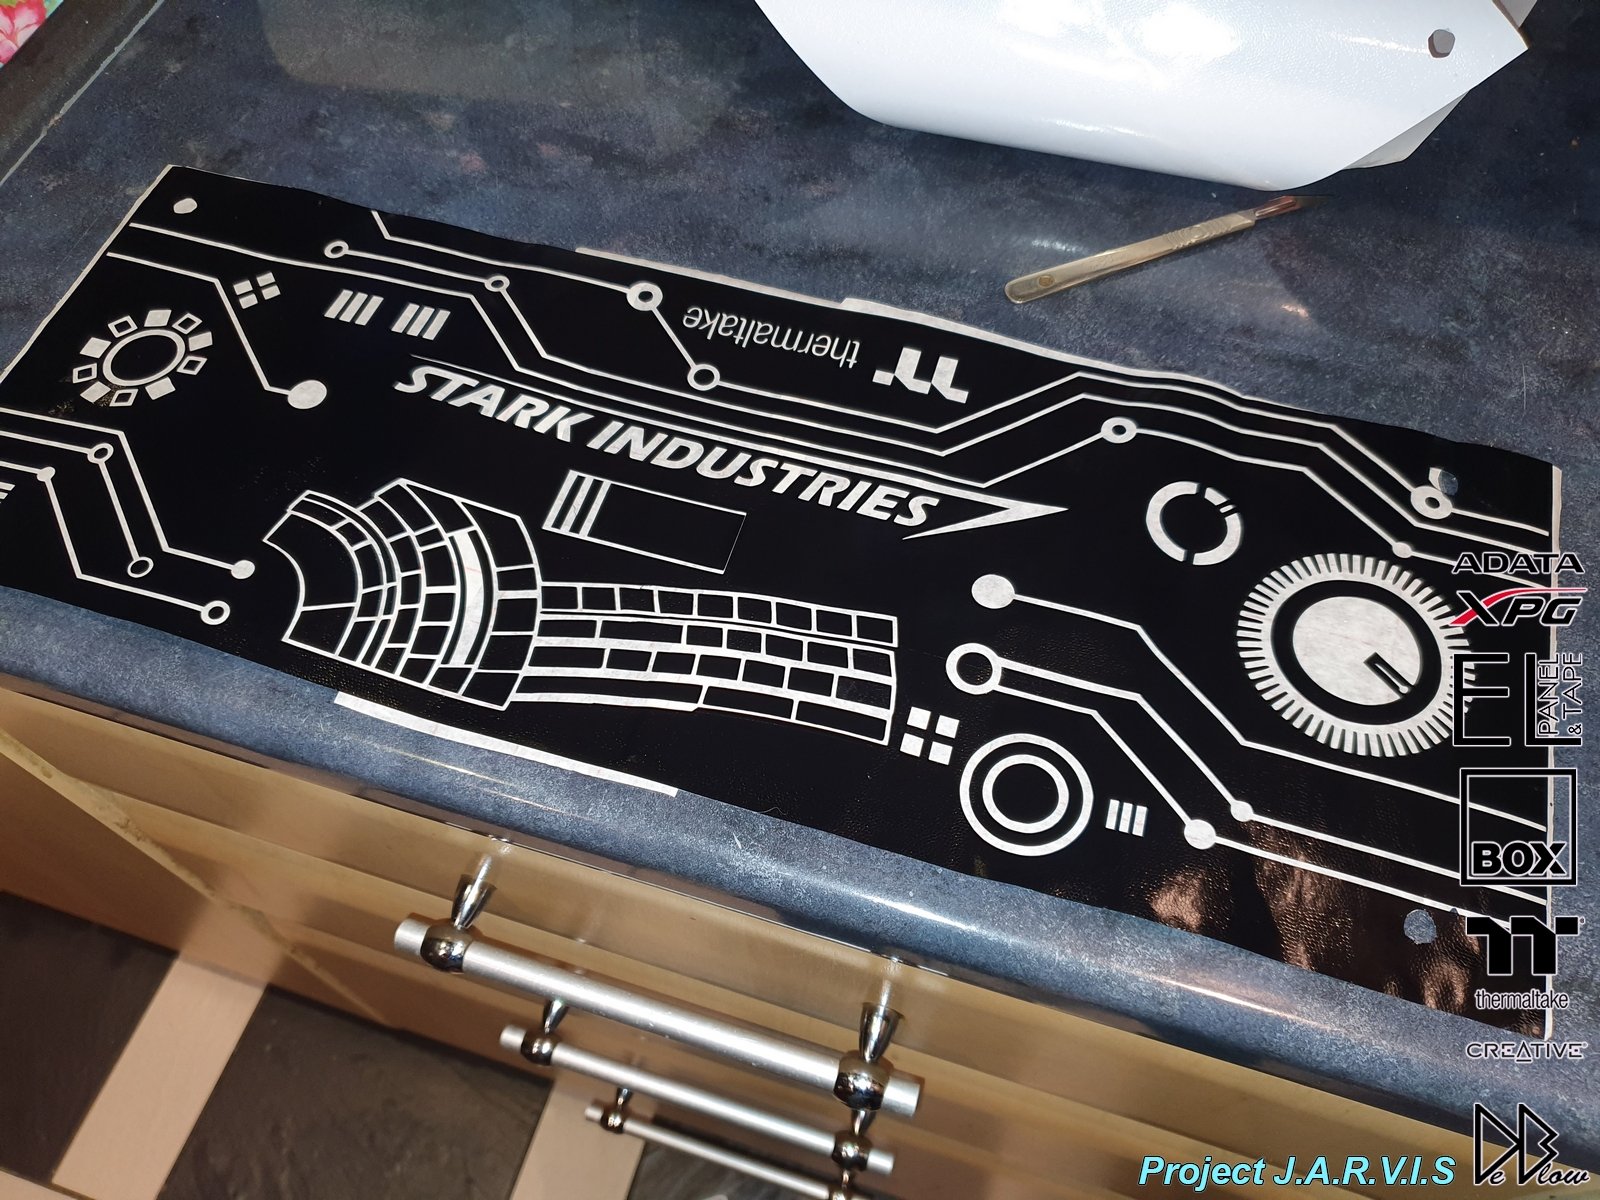
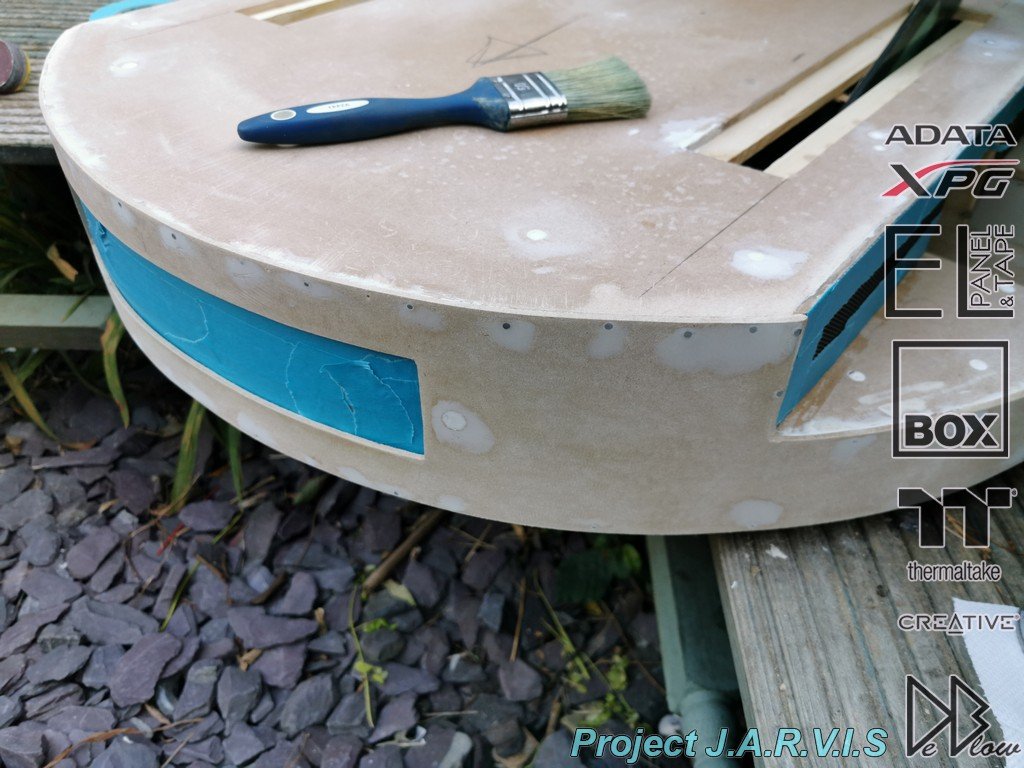
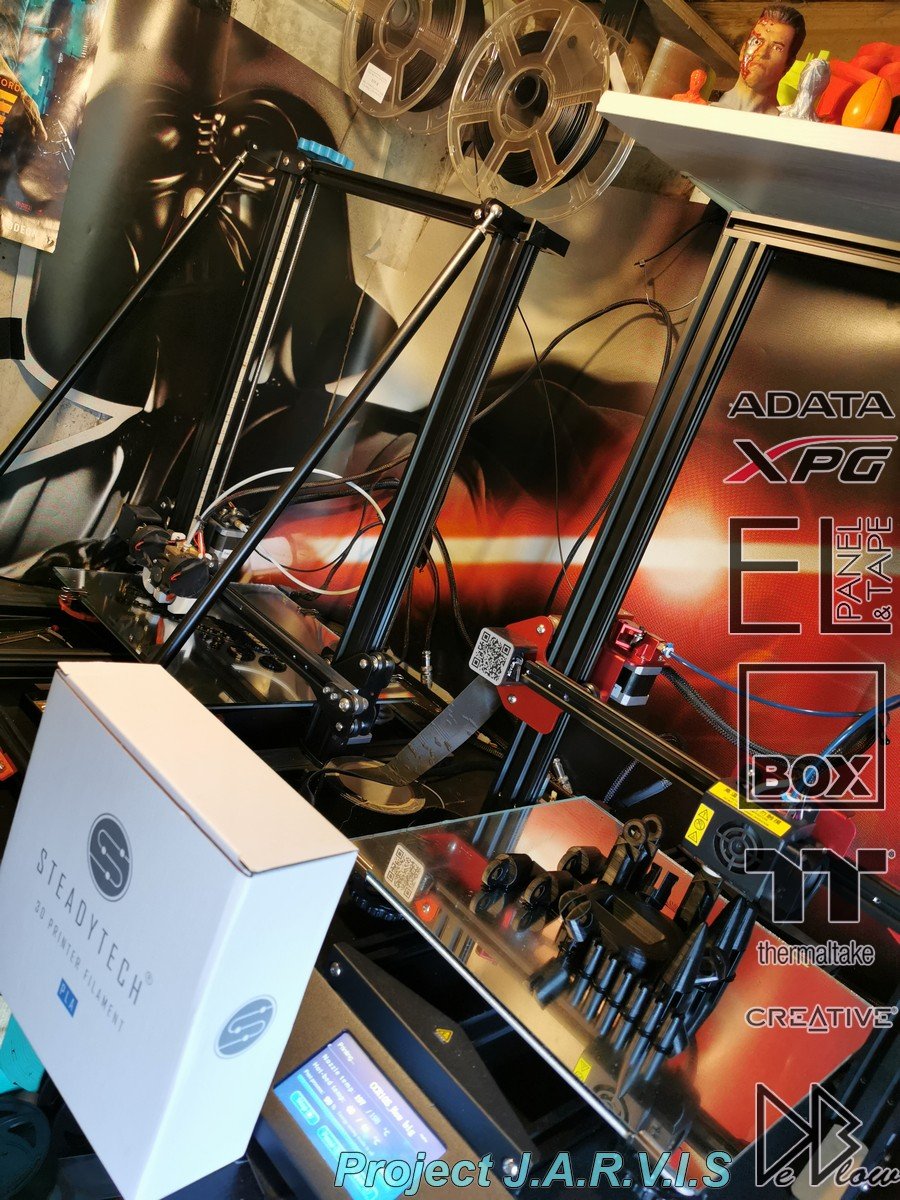
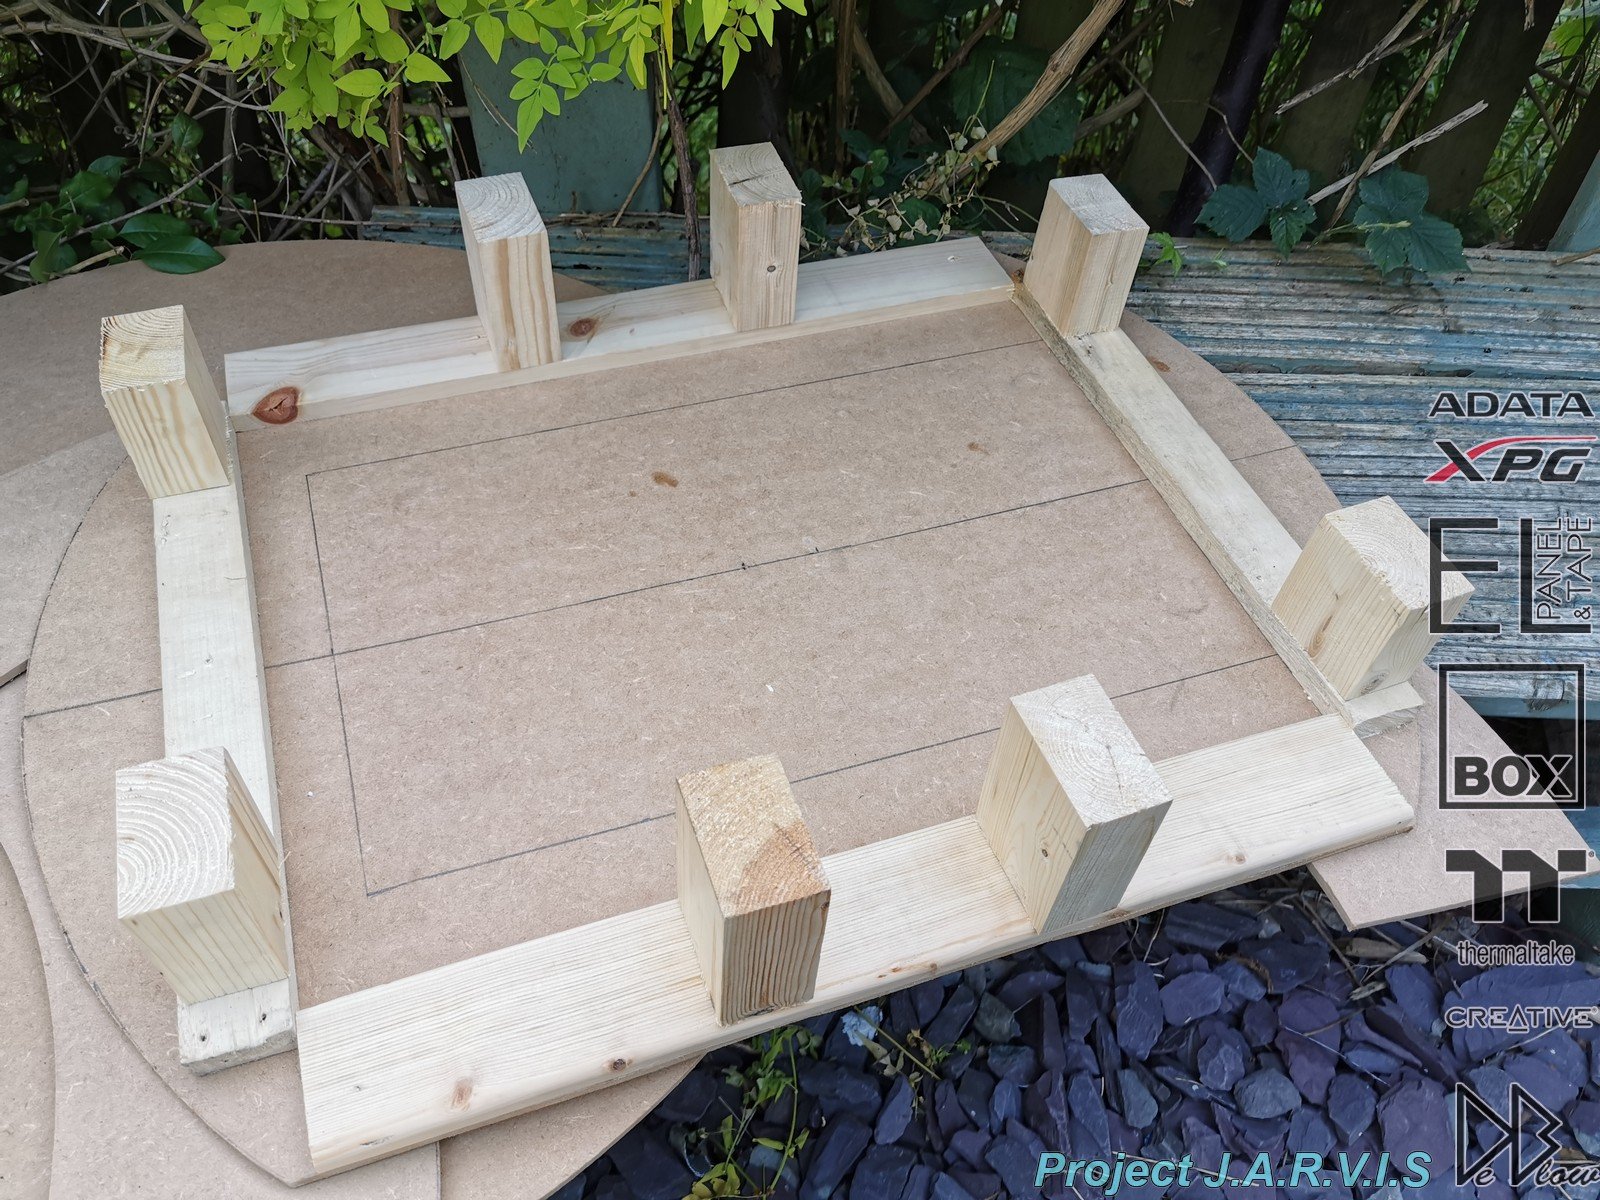
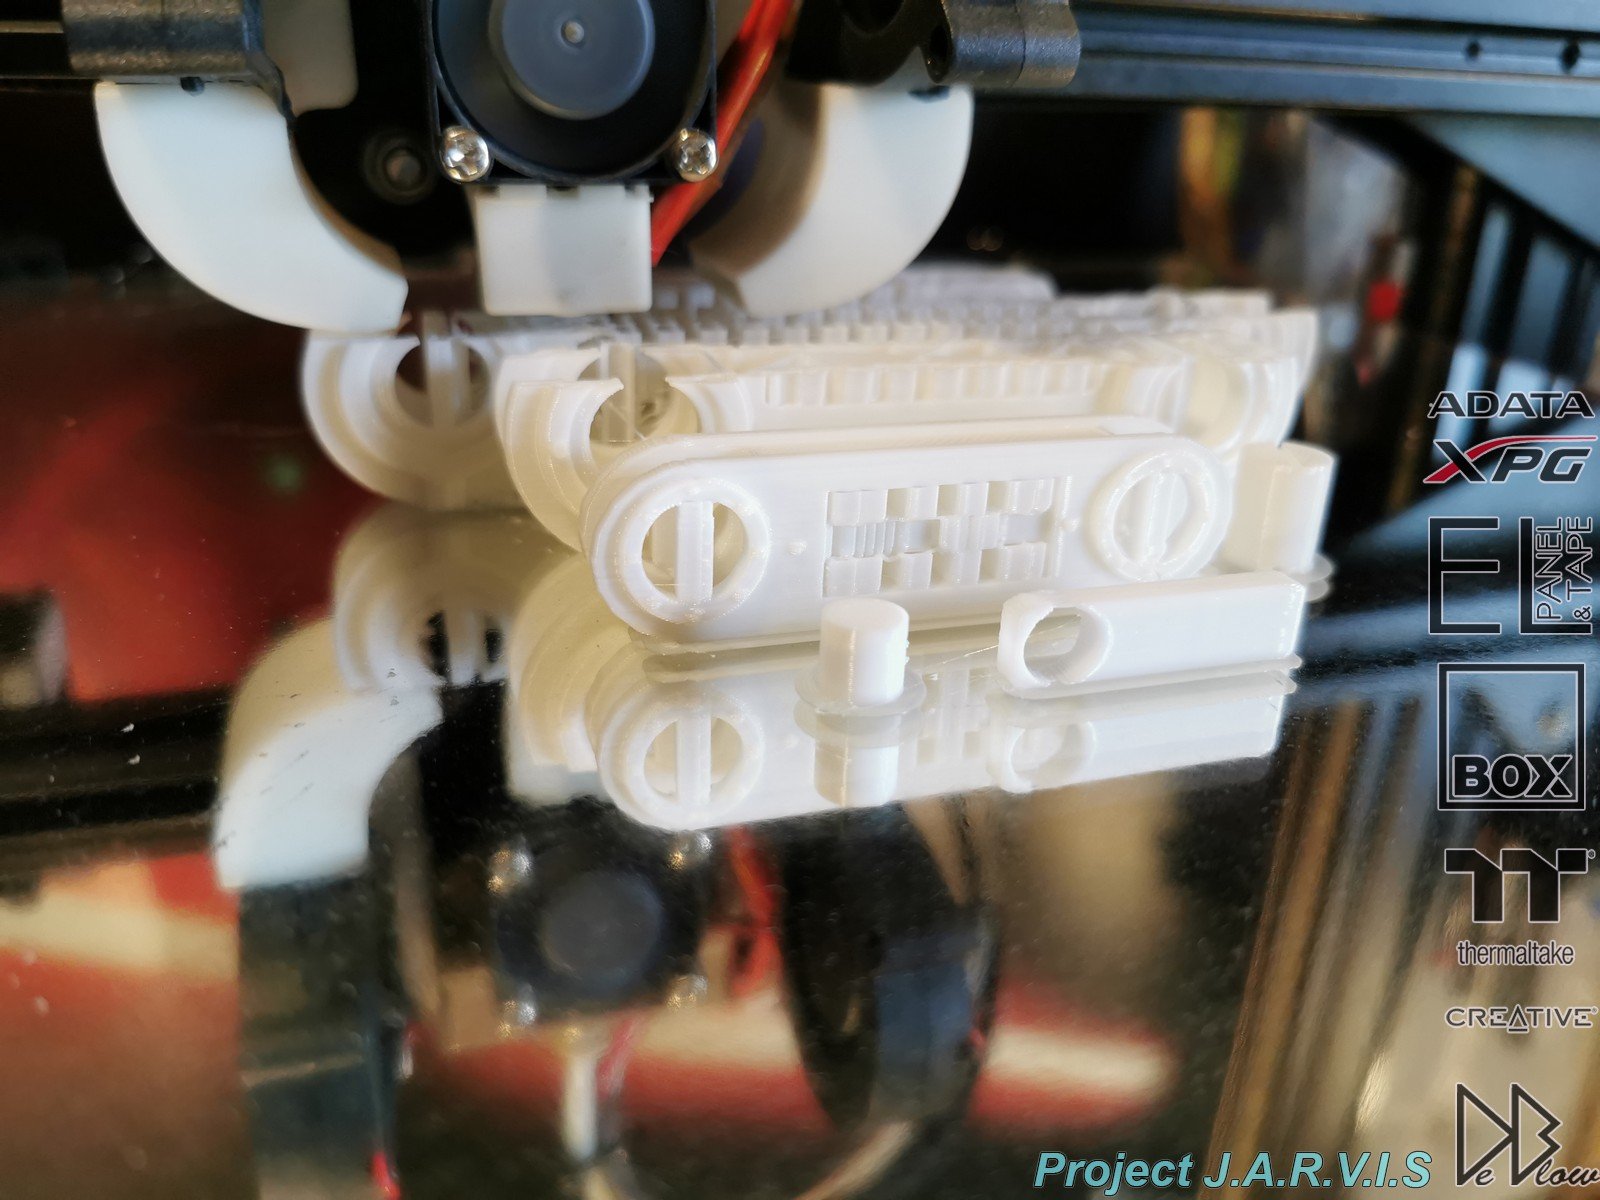
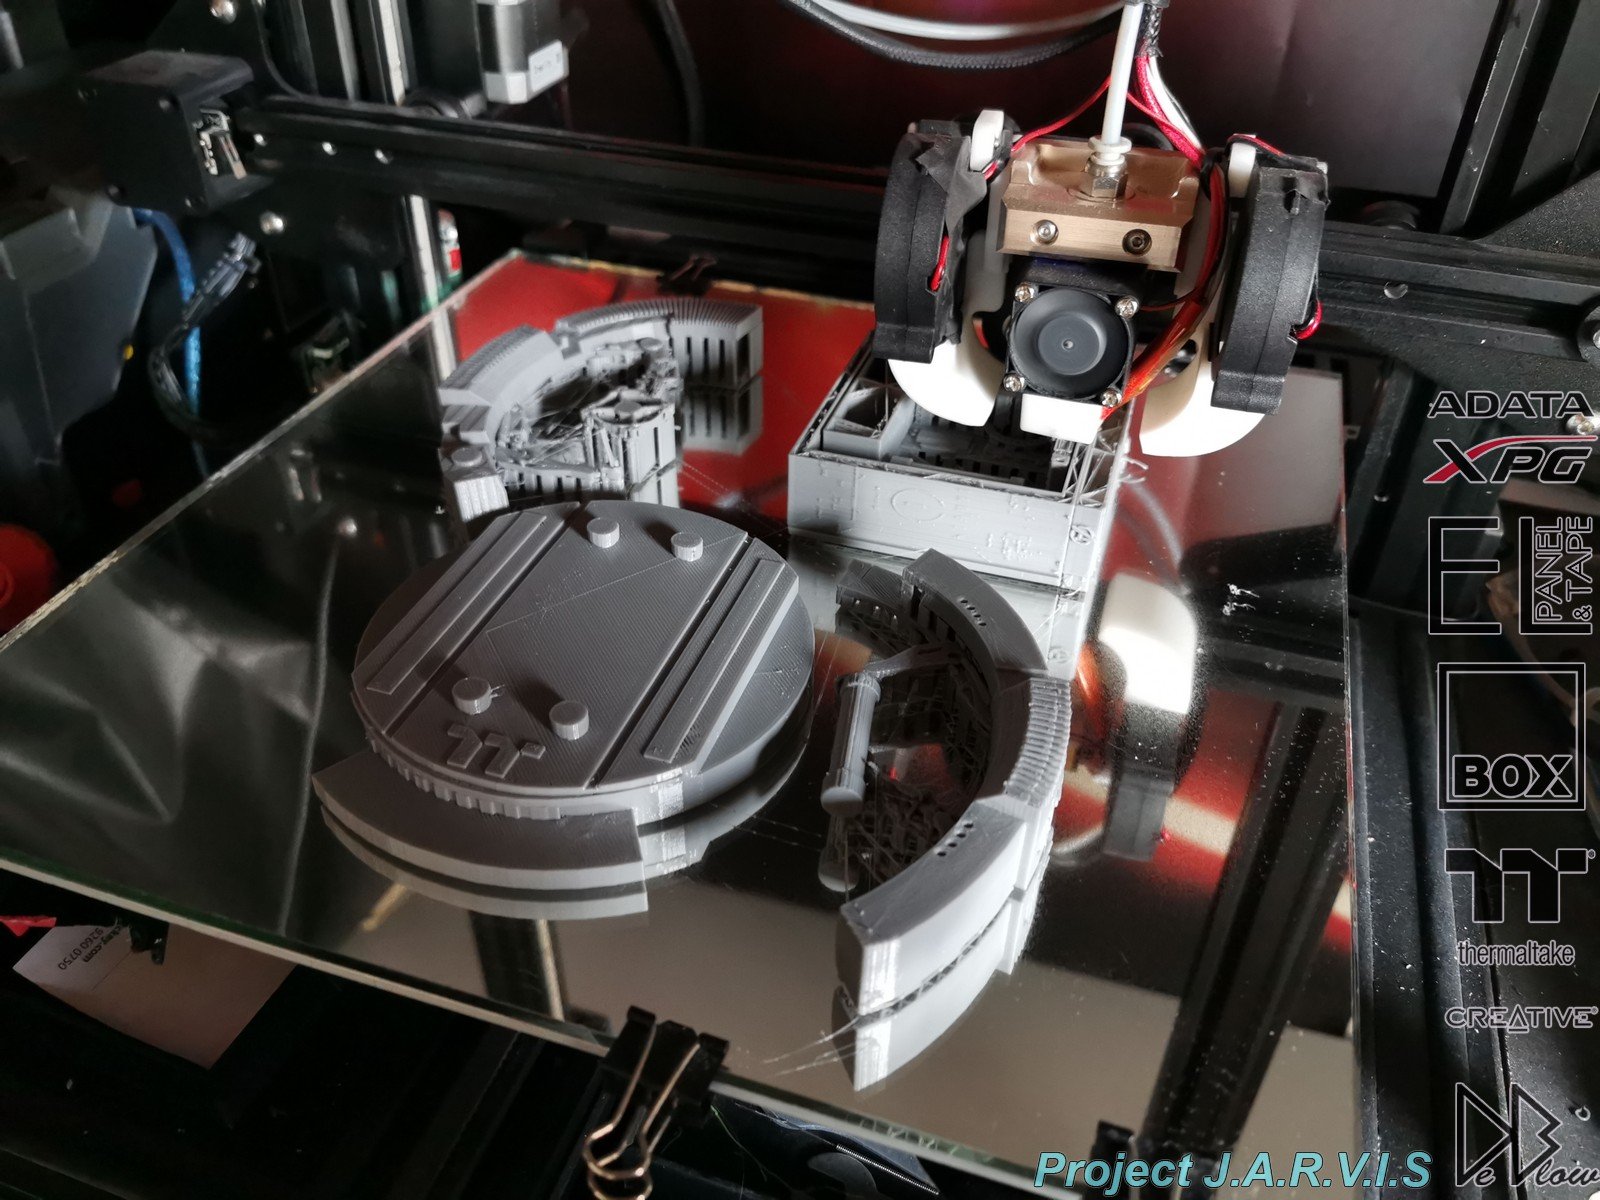
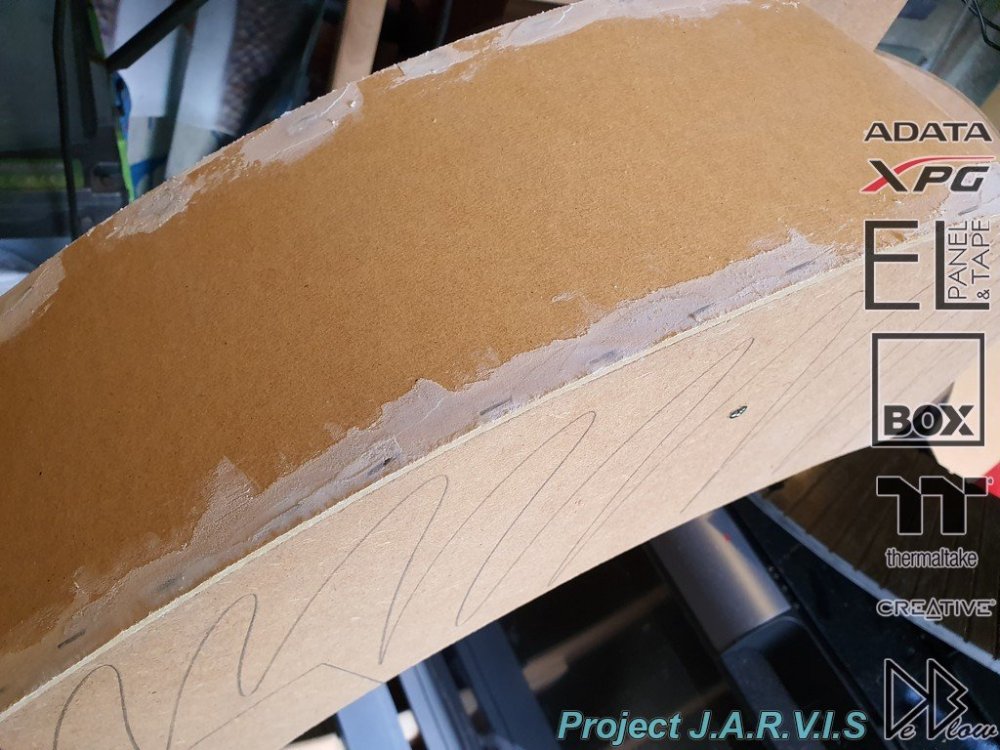
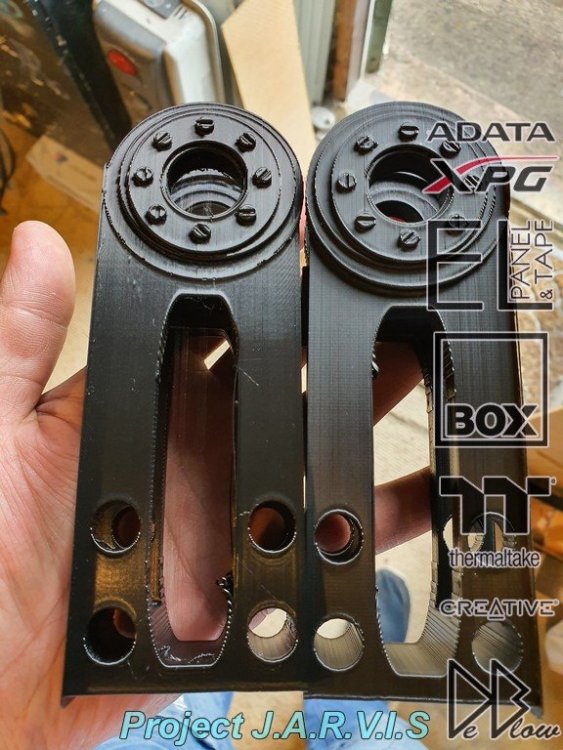
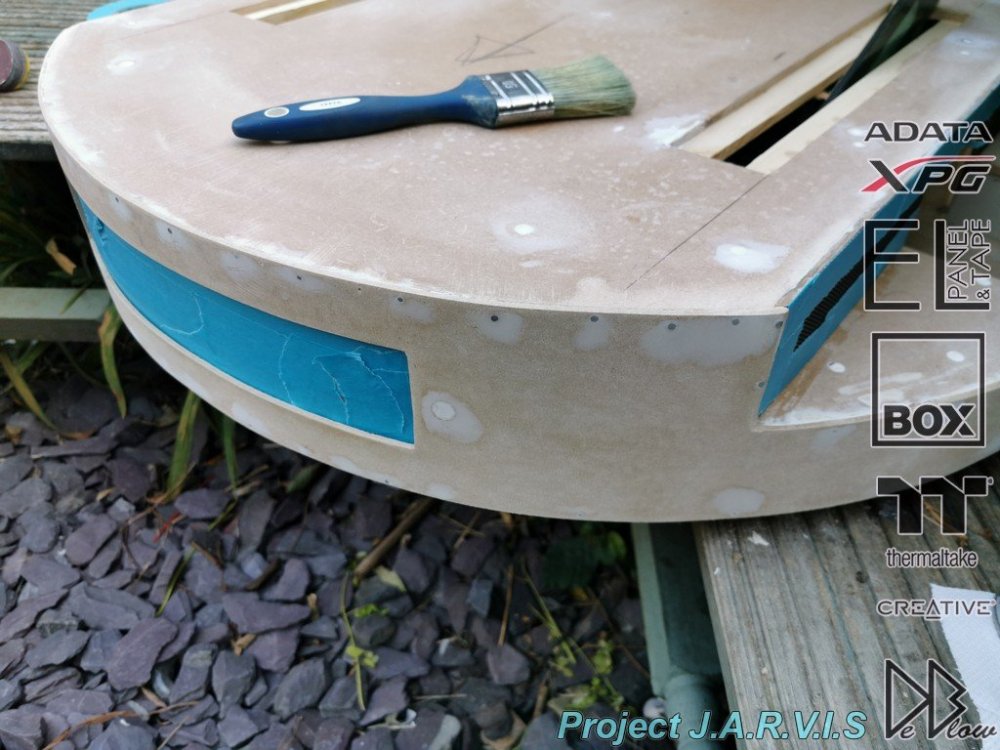
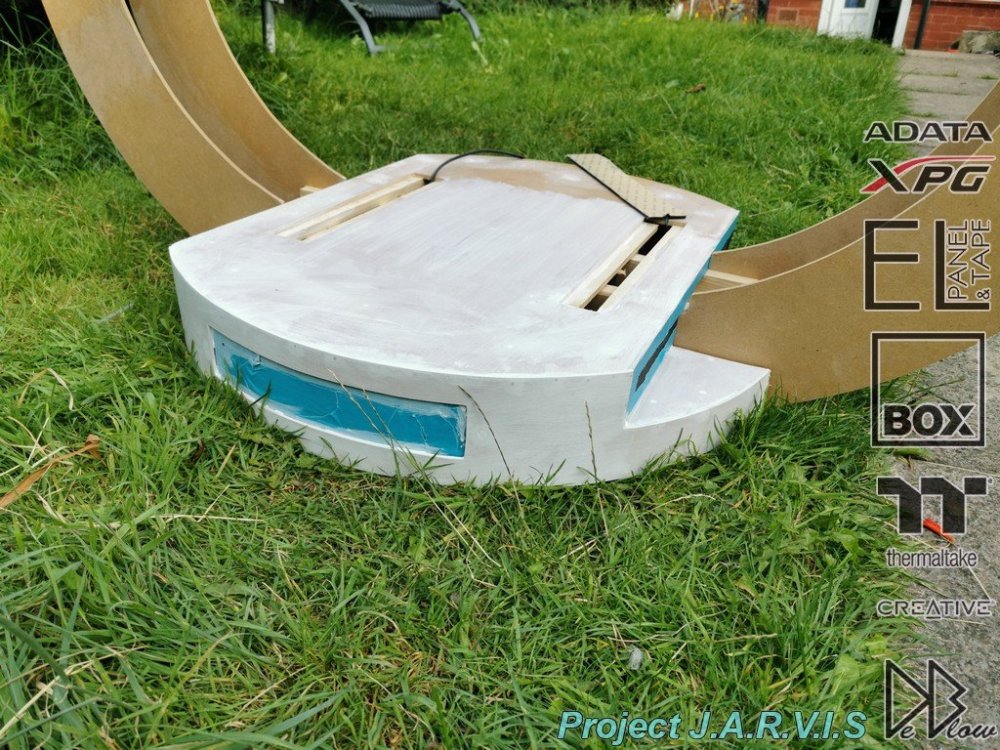
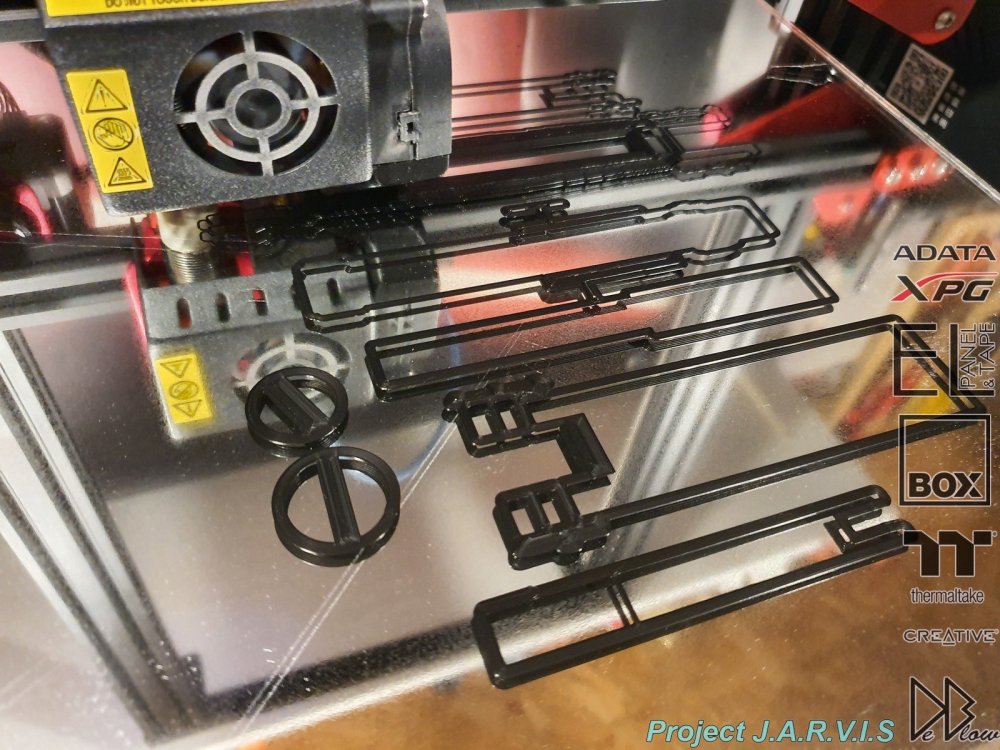
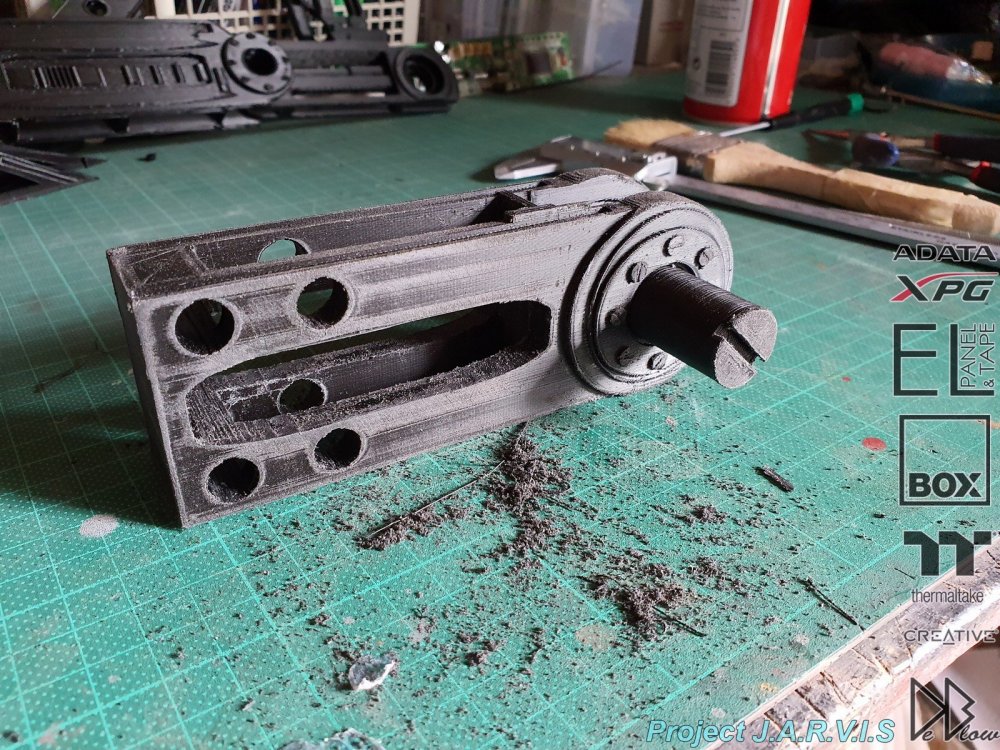
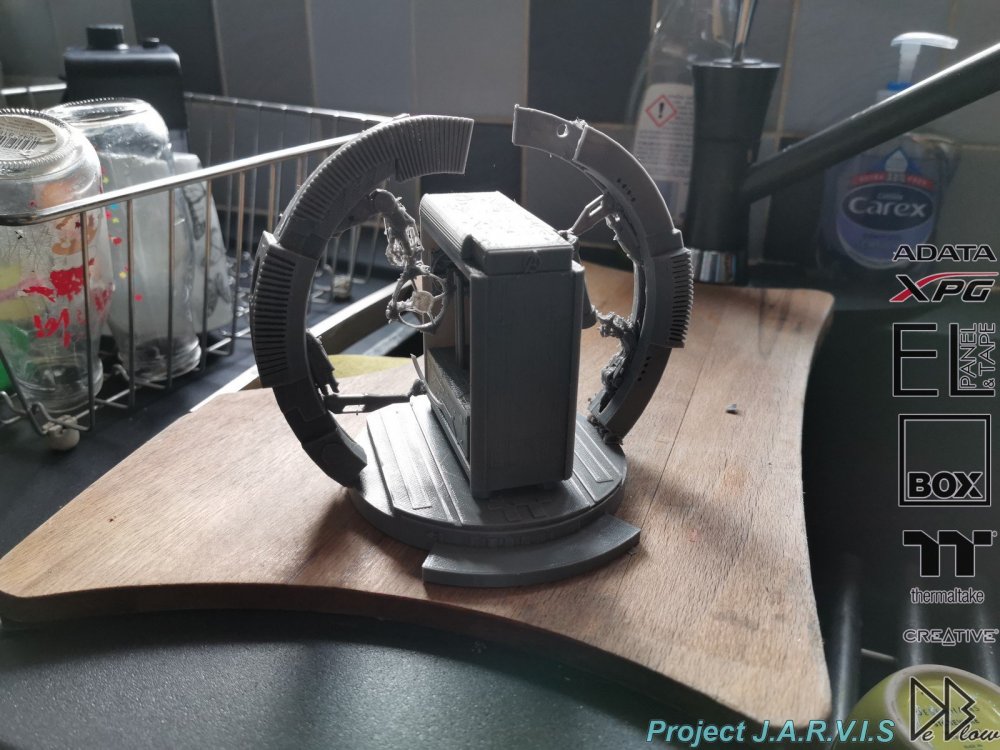
The moving metal panels on the side of the gantry are also 3D printed, along with all the other parts I have spent 100s of hours planning, designing and working on the 3D renders/ then converting to usable print files, starting with smaller or lower resolution prints to check they look the part and function as intended before printing the higher quality versions at full size. So this is the parts that will attach to the main gantry arms on both sides, so im making double but the design and shape will be different per side. Depending on what the weather is like, I swap between painting, sanding and the printing. So moving back to the base, this needs a lots of finishing like the 3D prints, because it will be painted with high gloss paints (2K) the primer and base need to be PERFECT or all the gaps, bumps and other imperfections would show. Glued, nailed and some screws are used to hold the base together, all them need to be as flat as possible, any that stick out slightly are sanded and filled, then the wood base paint is applied over the MDF sealer. This is the first grey primer of many, in total it will have around 4 full coats that will all be sanded back and left to dry for a week.


-
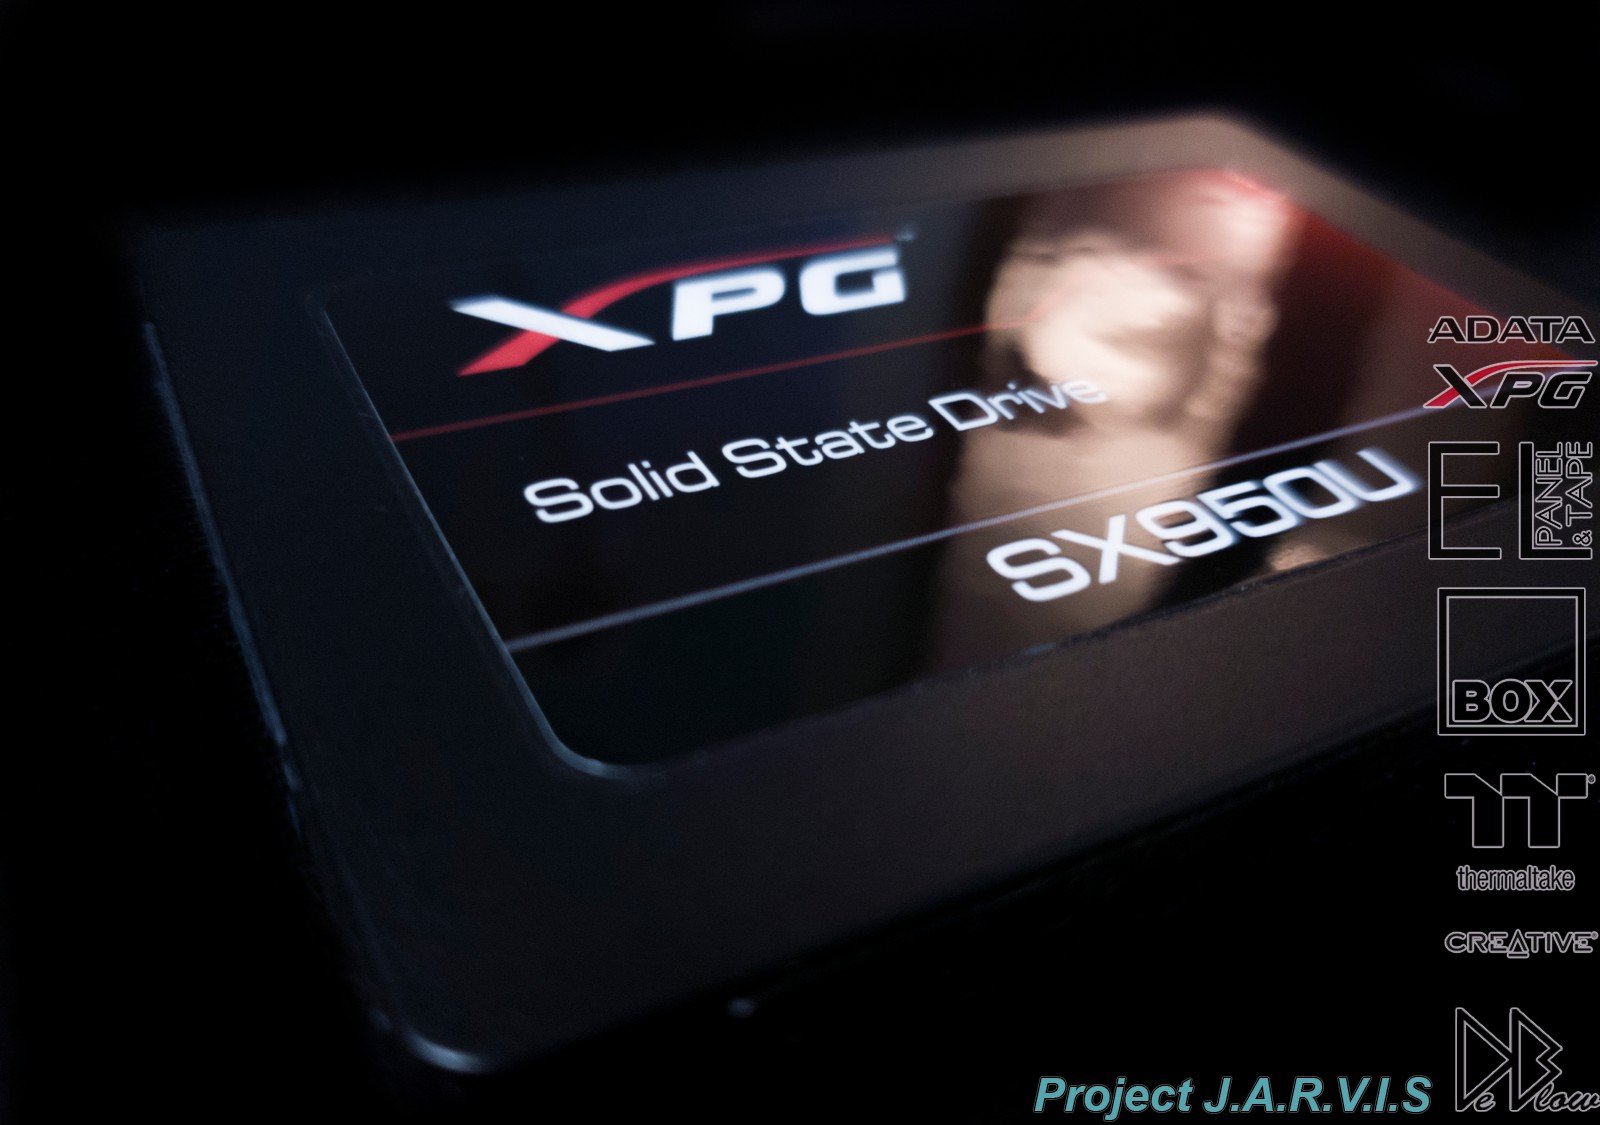
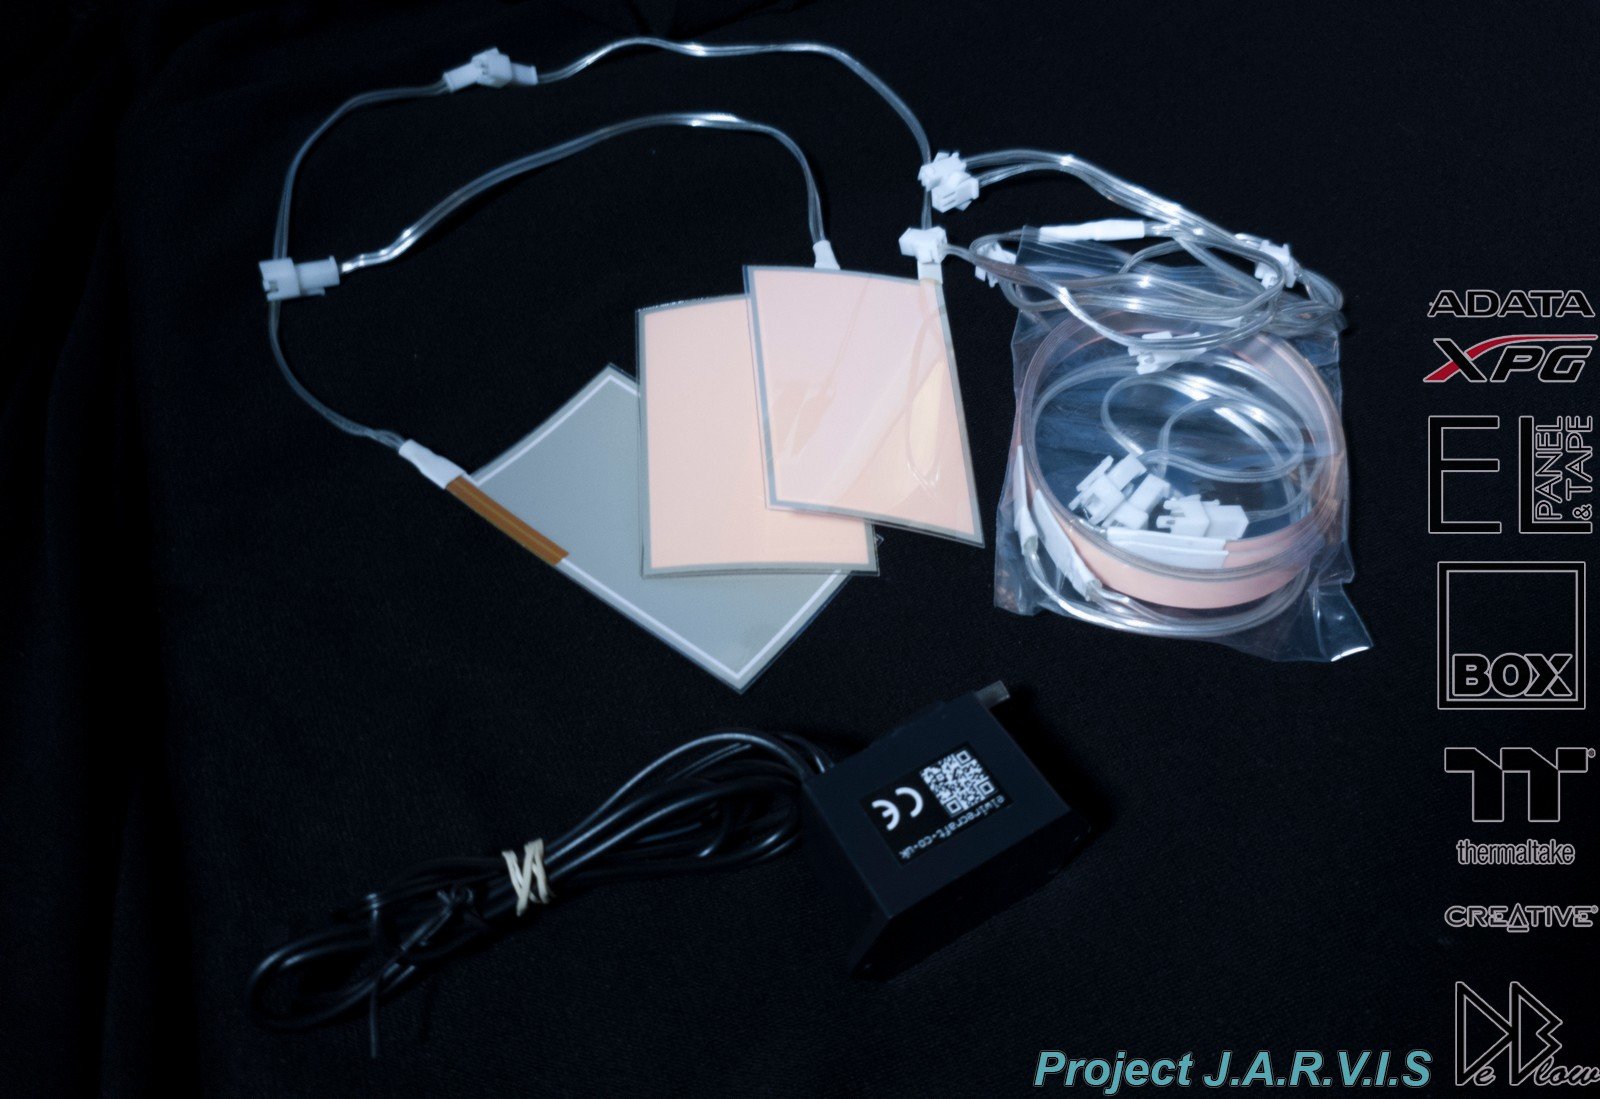
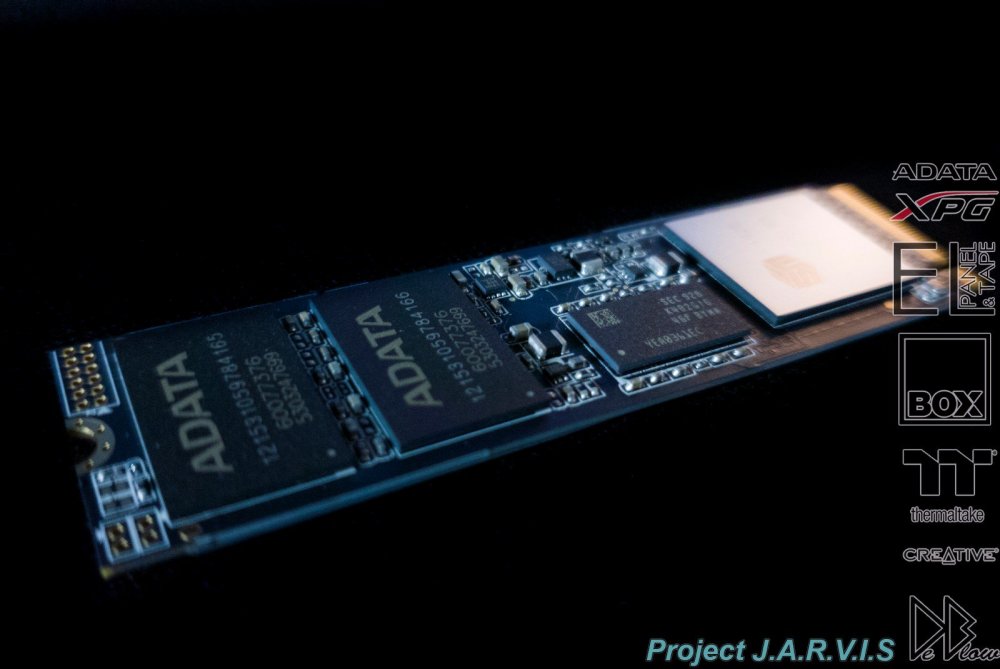
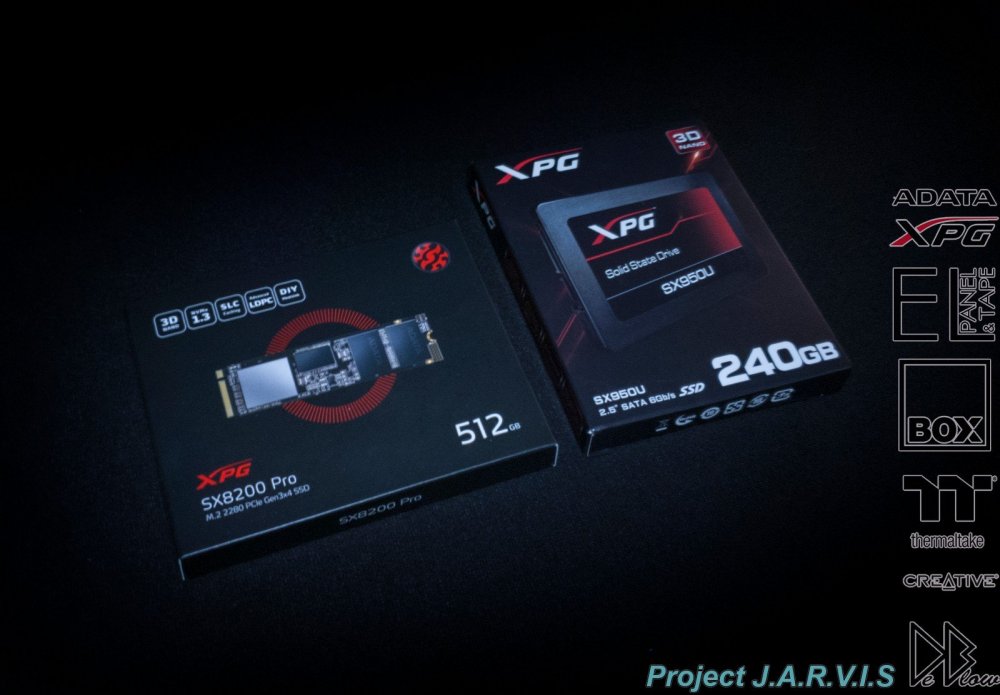
Taken a break from modding due to a recent family bereavement, during this time some more parts have arrived so I will start by updating the log with the items and intentions for them. Over the next week I will post some more of the build progress. Thanks to my new sponsors ADATA and EL Wire&Tape for sending me some cool bits for the build. https://elpanelandtape.co.uk/ have provided parts for other projects in the past so very happy they are on-board as I know the quality cant be beaten. EL tape for some logos and case feet, along with some splitters and the power brick to run them all. ADATA provided the SX8200 M.2 card for the main boot device and a SSD.


-
Quick update now I have done the 1st video for some of the 3D prints.
-
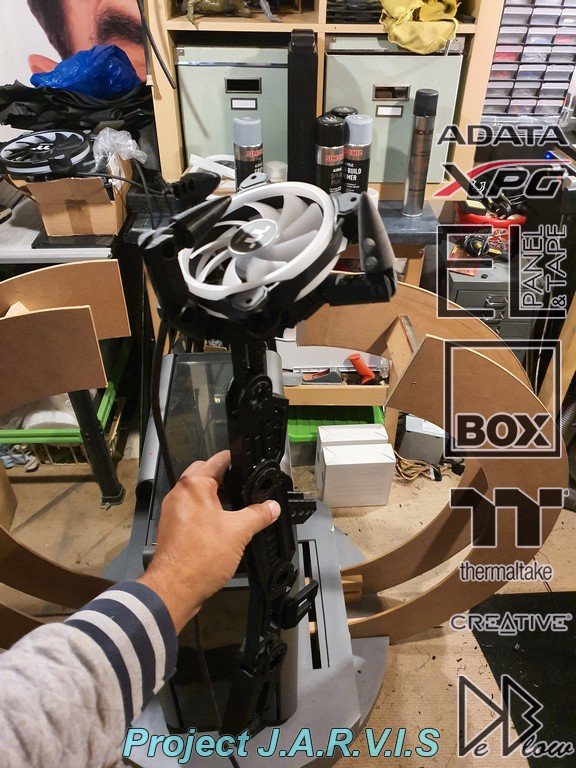
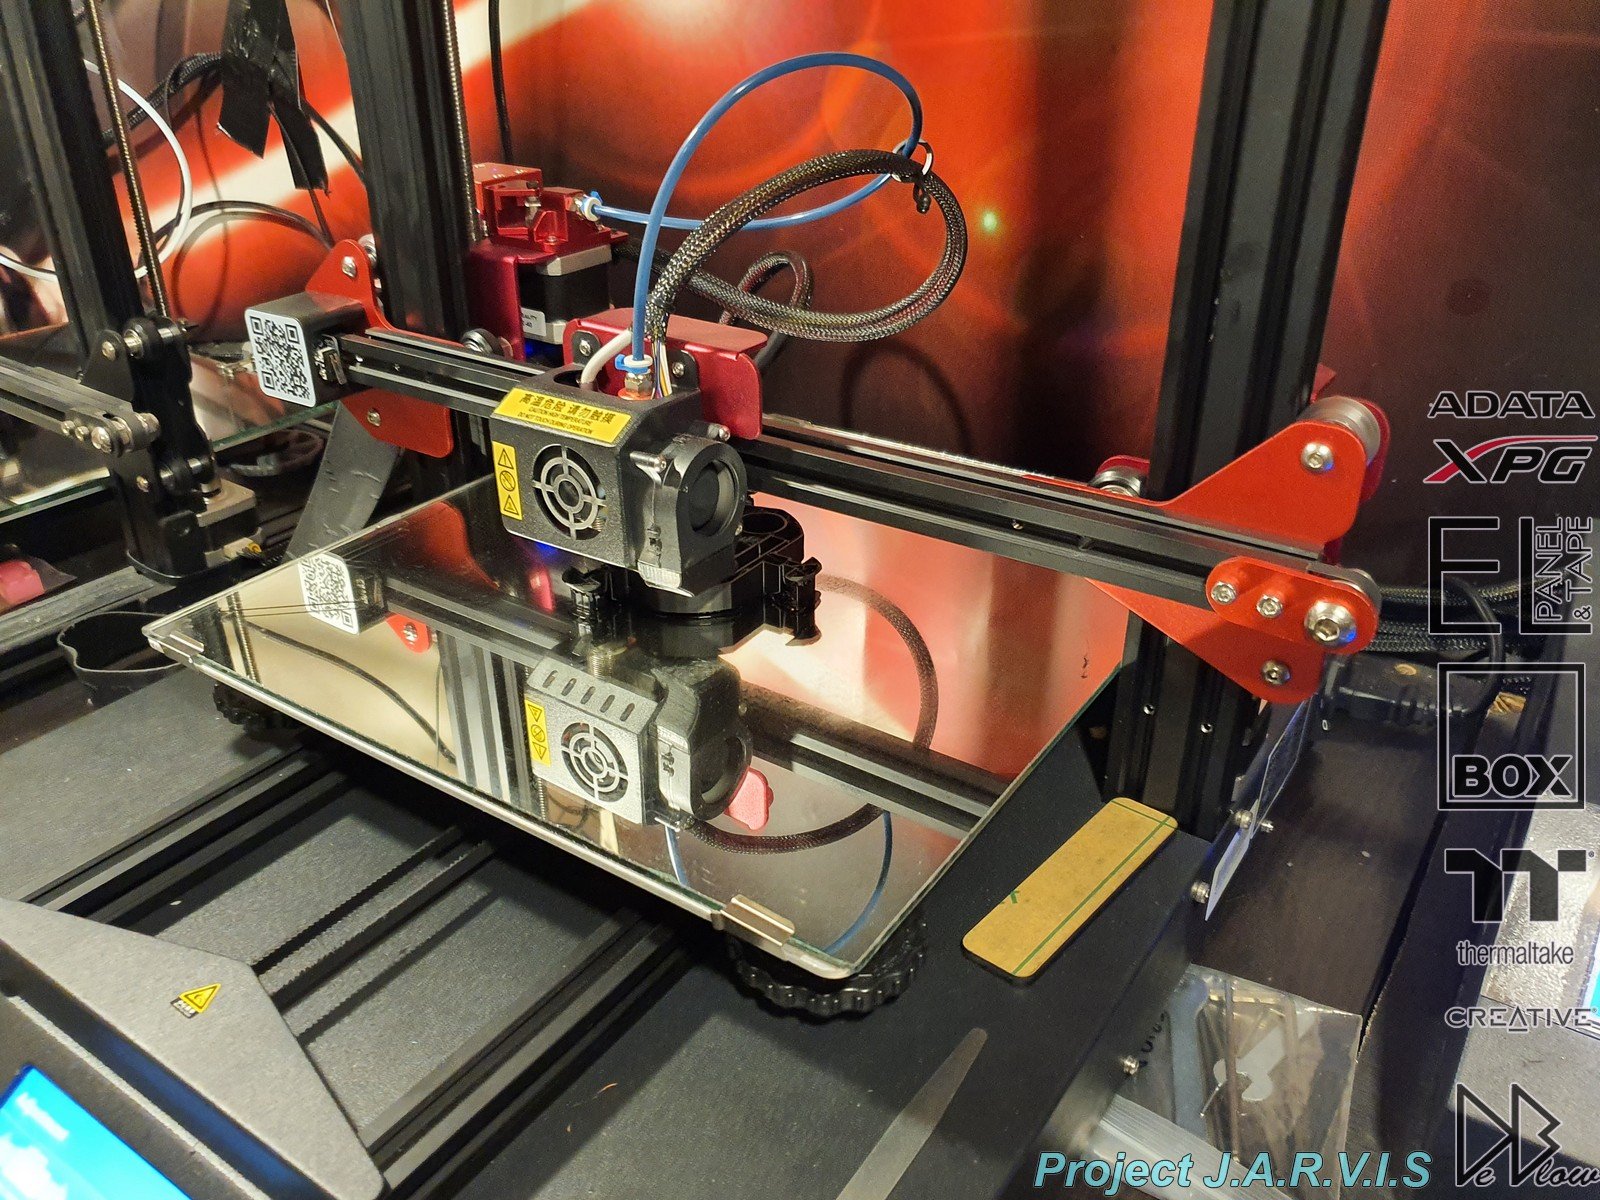
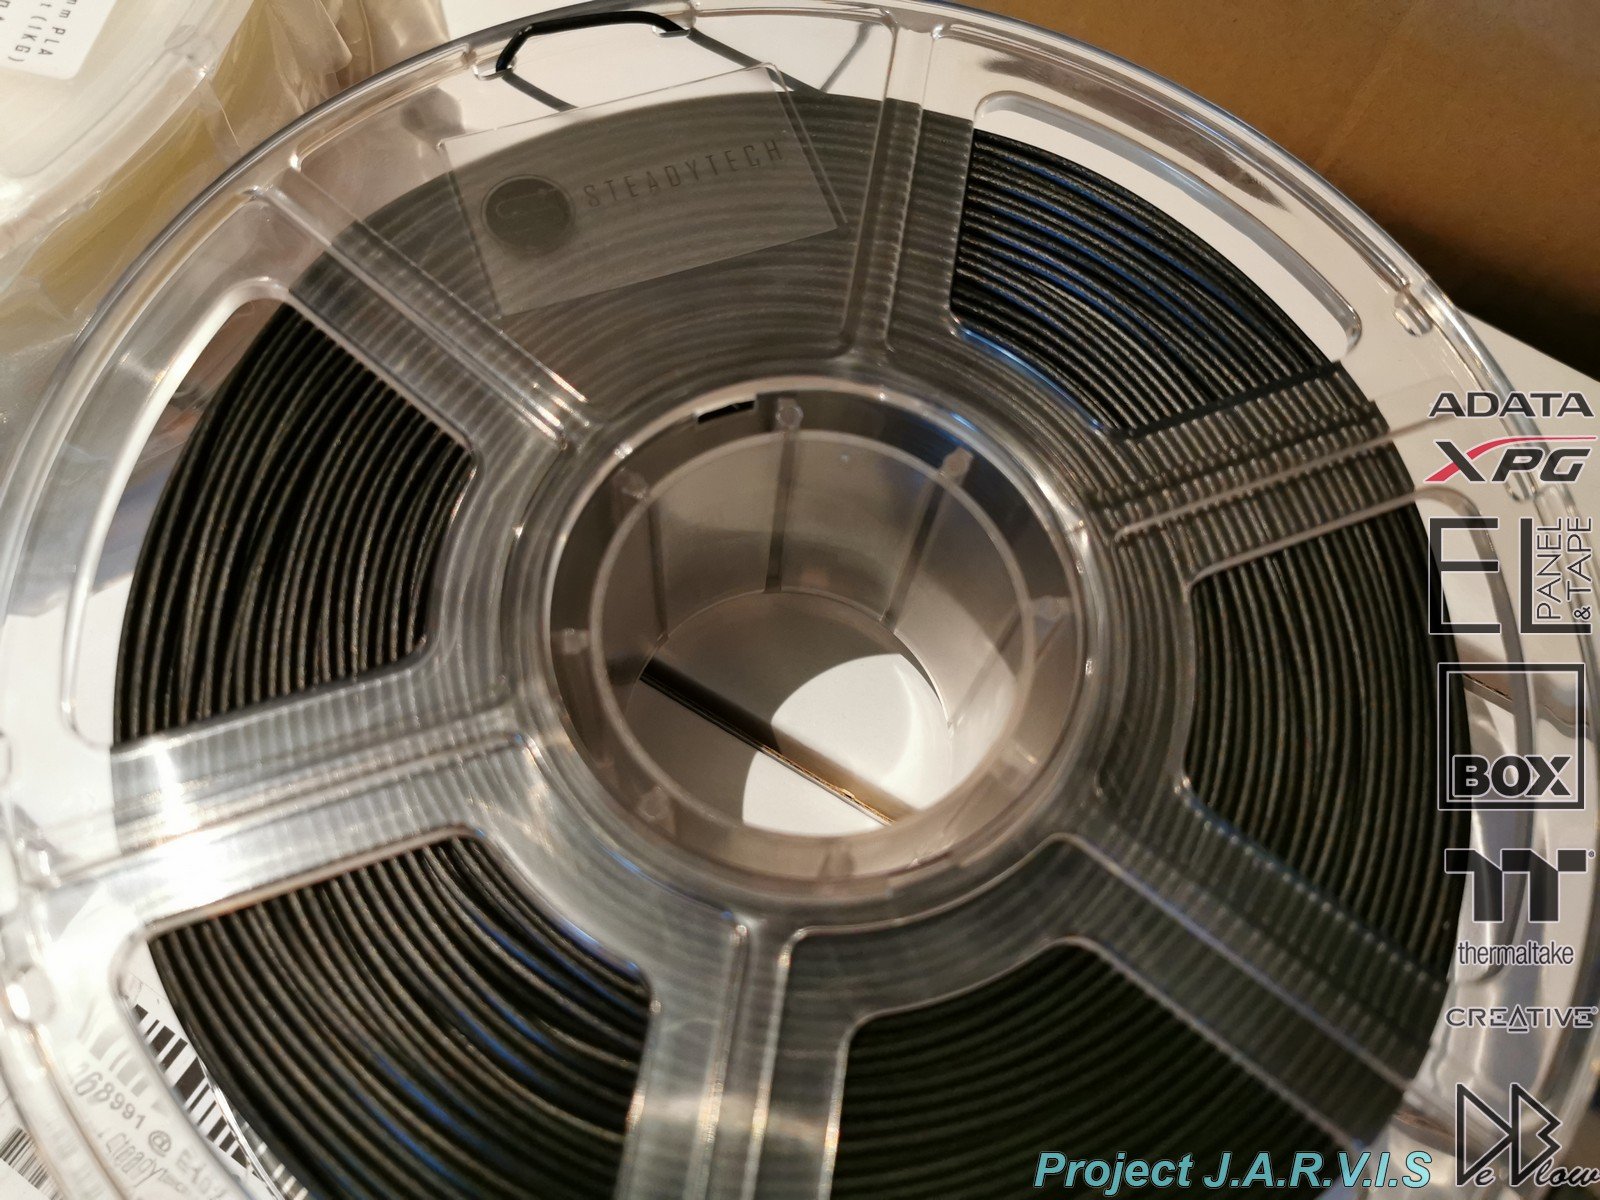
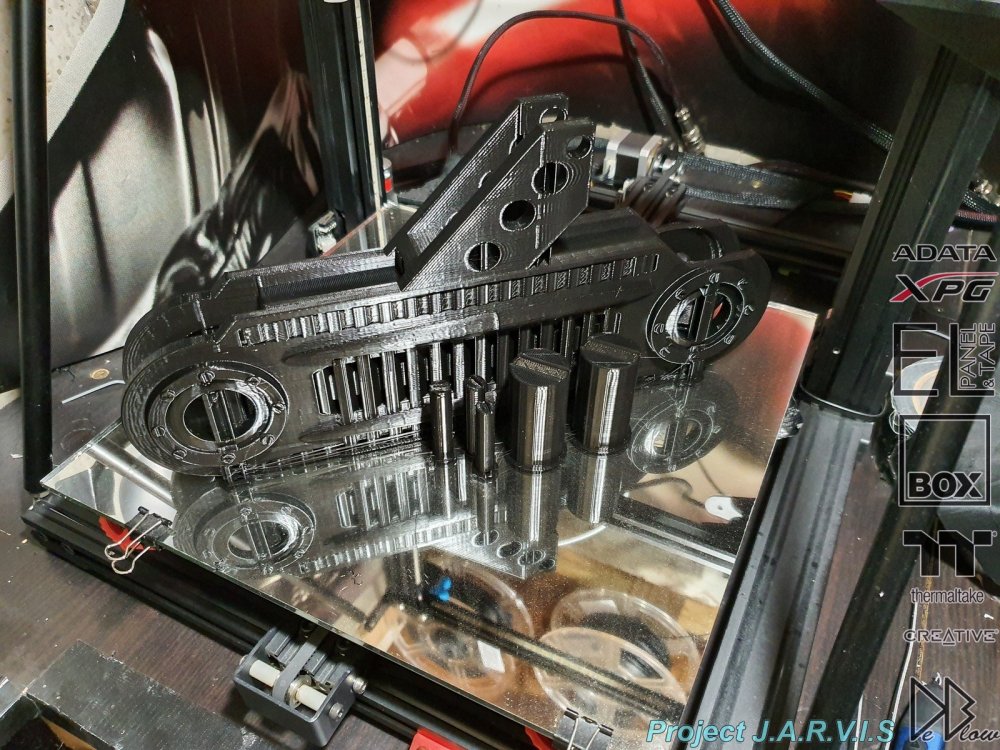
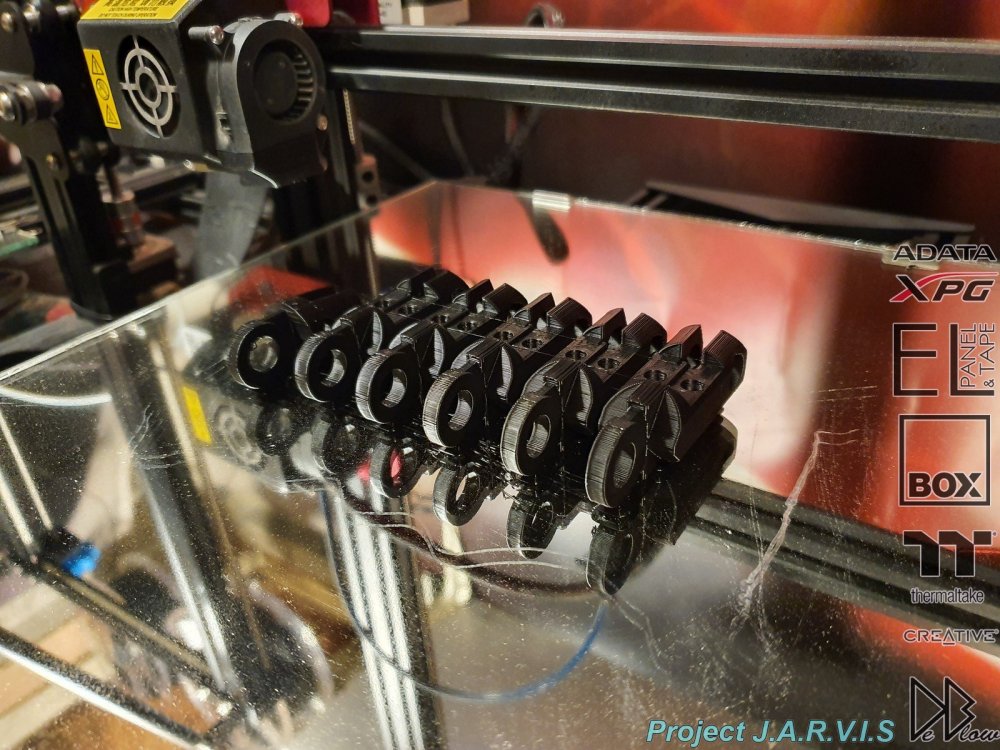
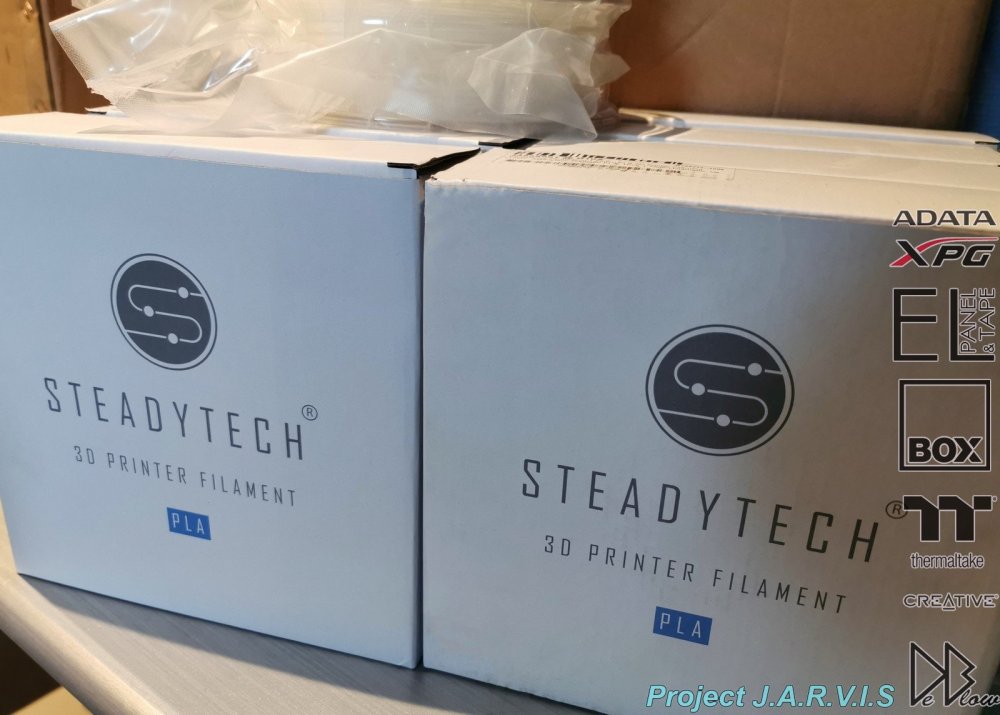
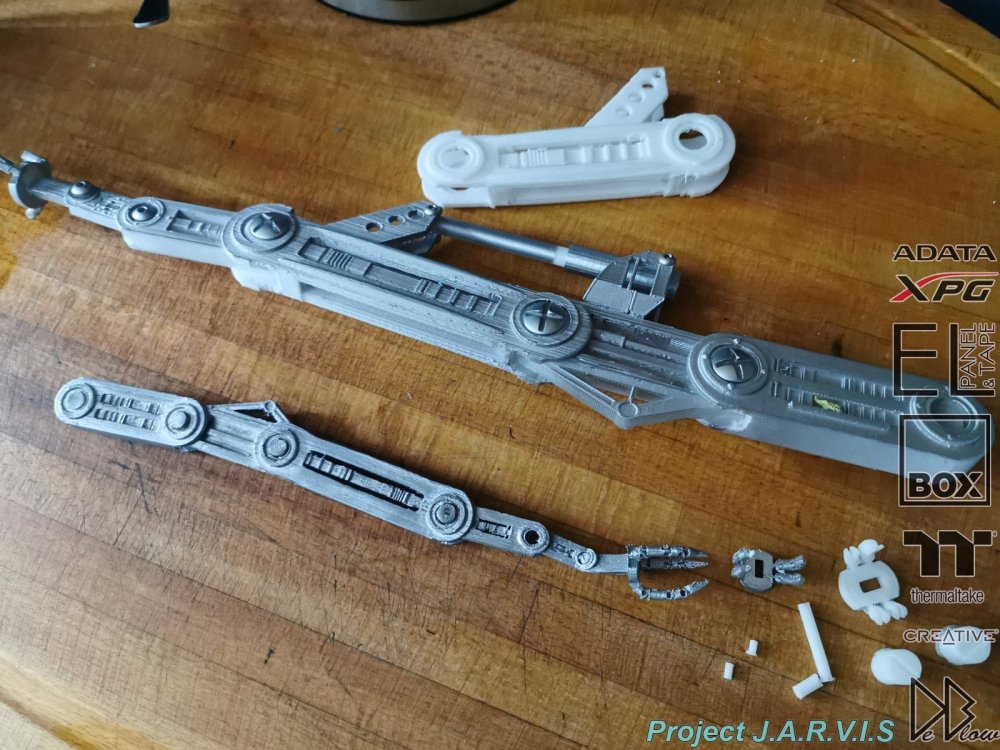
Been really busy on the PC making new arms and fixing small fitting problems, then printing test after test before finally getting the arms to look and fit just how I wanted. All printed with the Steadytech PLA from Box, went with a medium setting so I could print the 100s of parts needed withing 4 to 6 weeks instead of 4 months or more on the best detail settings. This means I will need to put more work in to the sanding and finishing process but it will workout faster in the end. This is some of the many parts used to make the 4 arms. Here is one of the arms almost fully assembled I plan to add a video of the arms getting build soon.
-
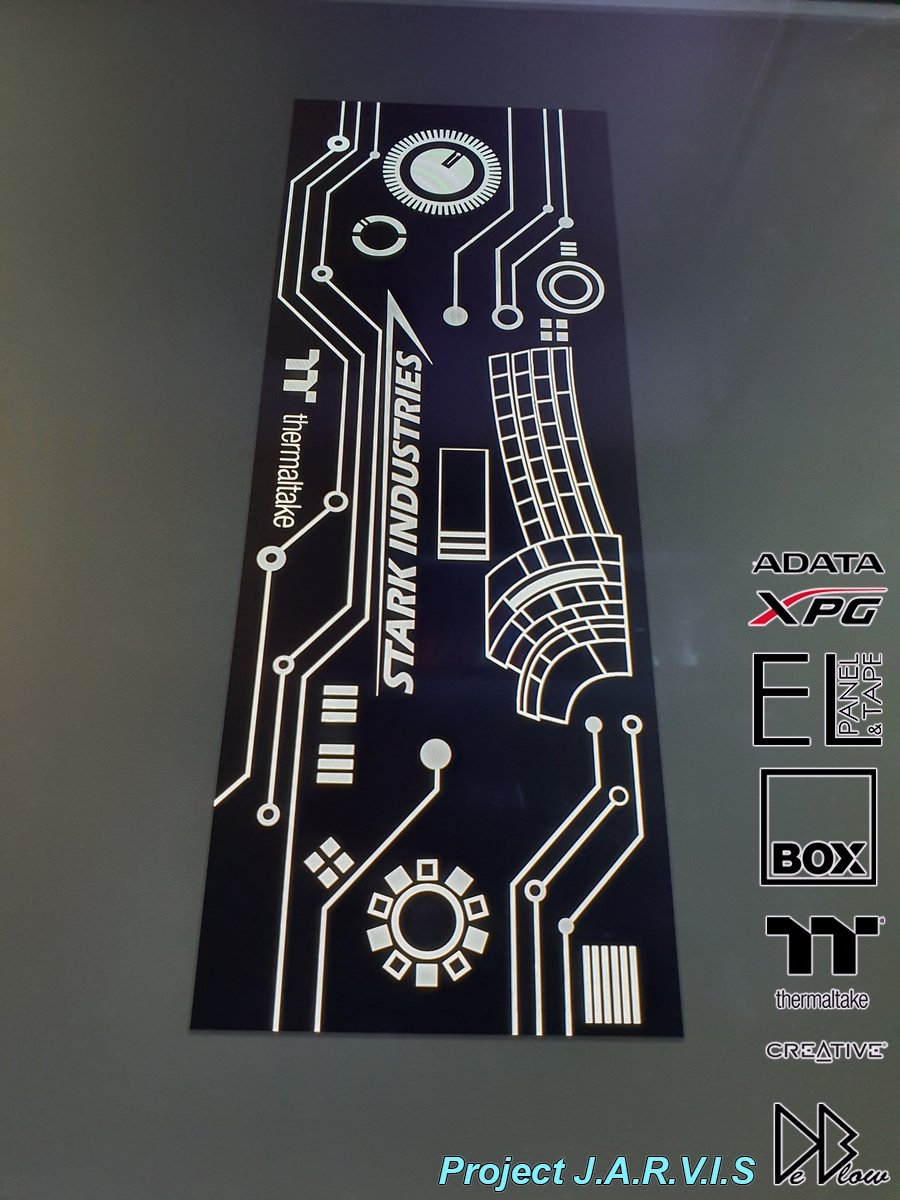
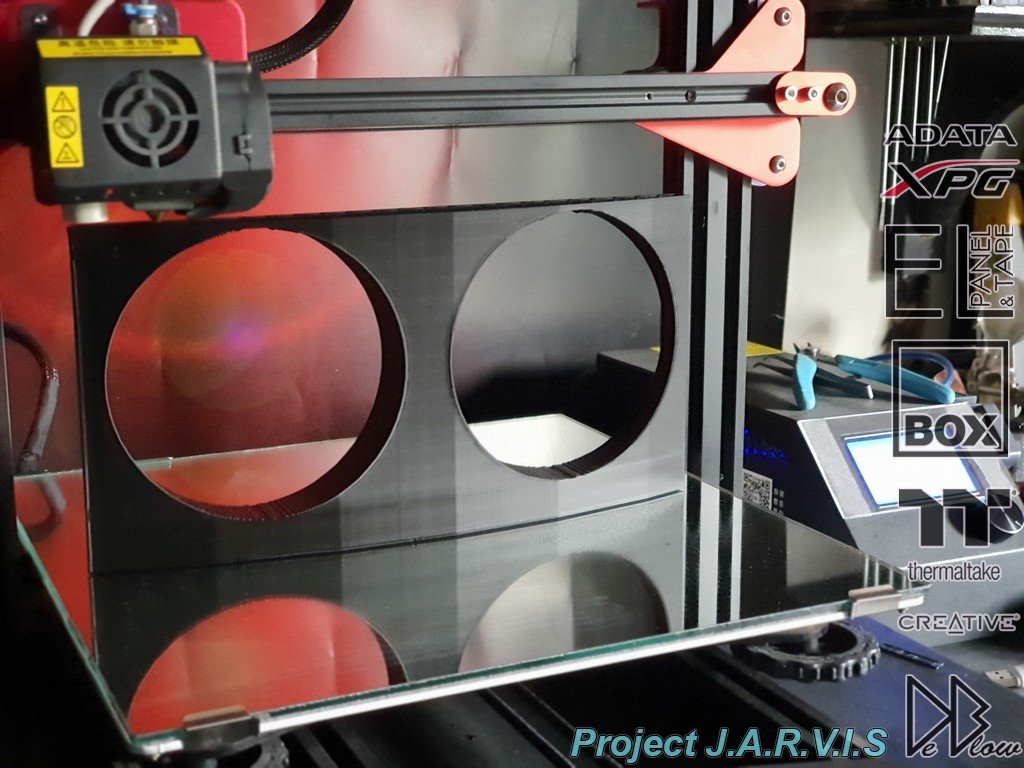
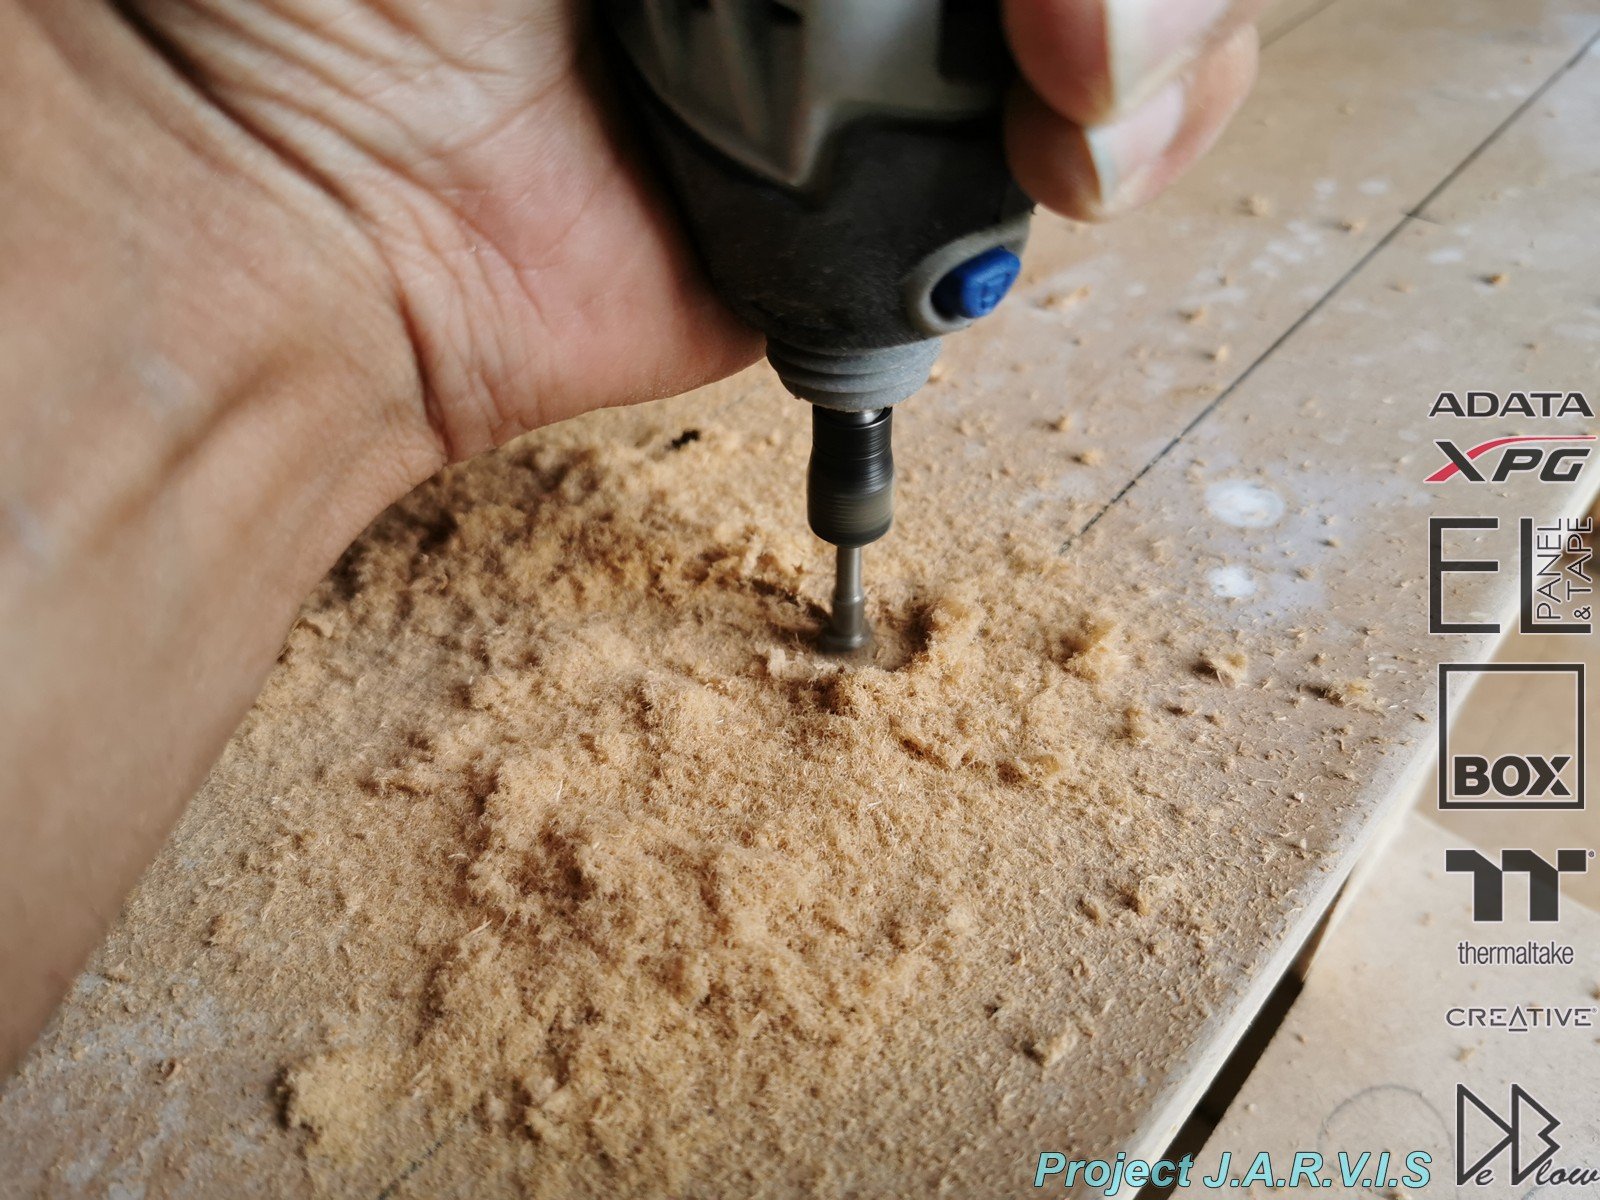
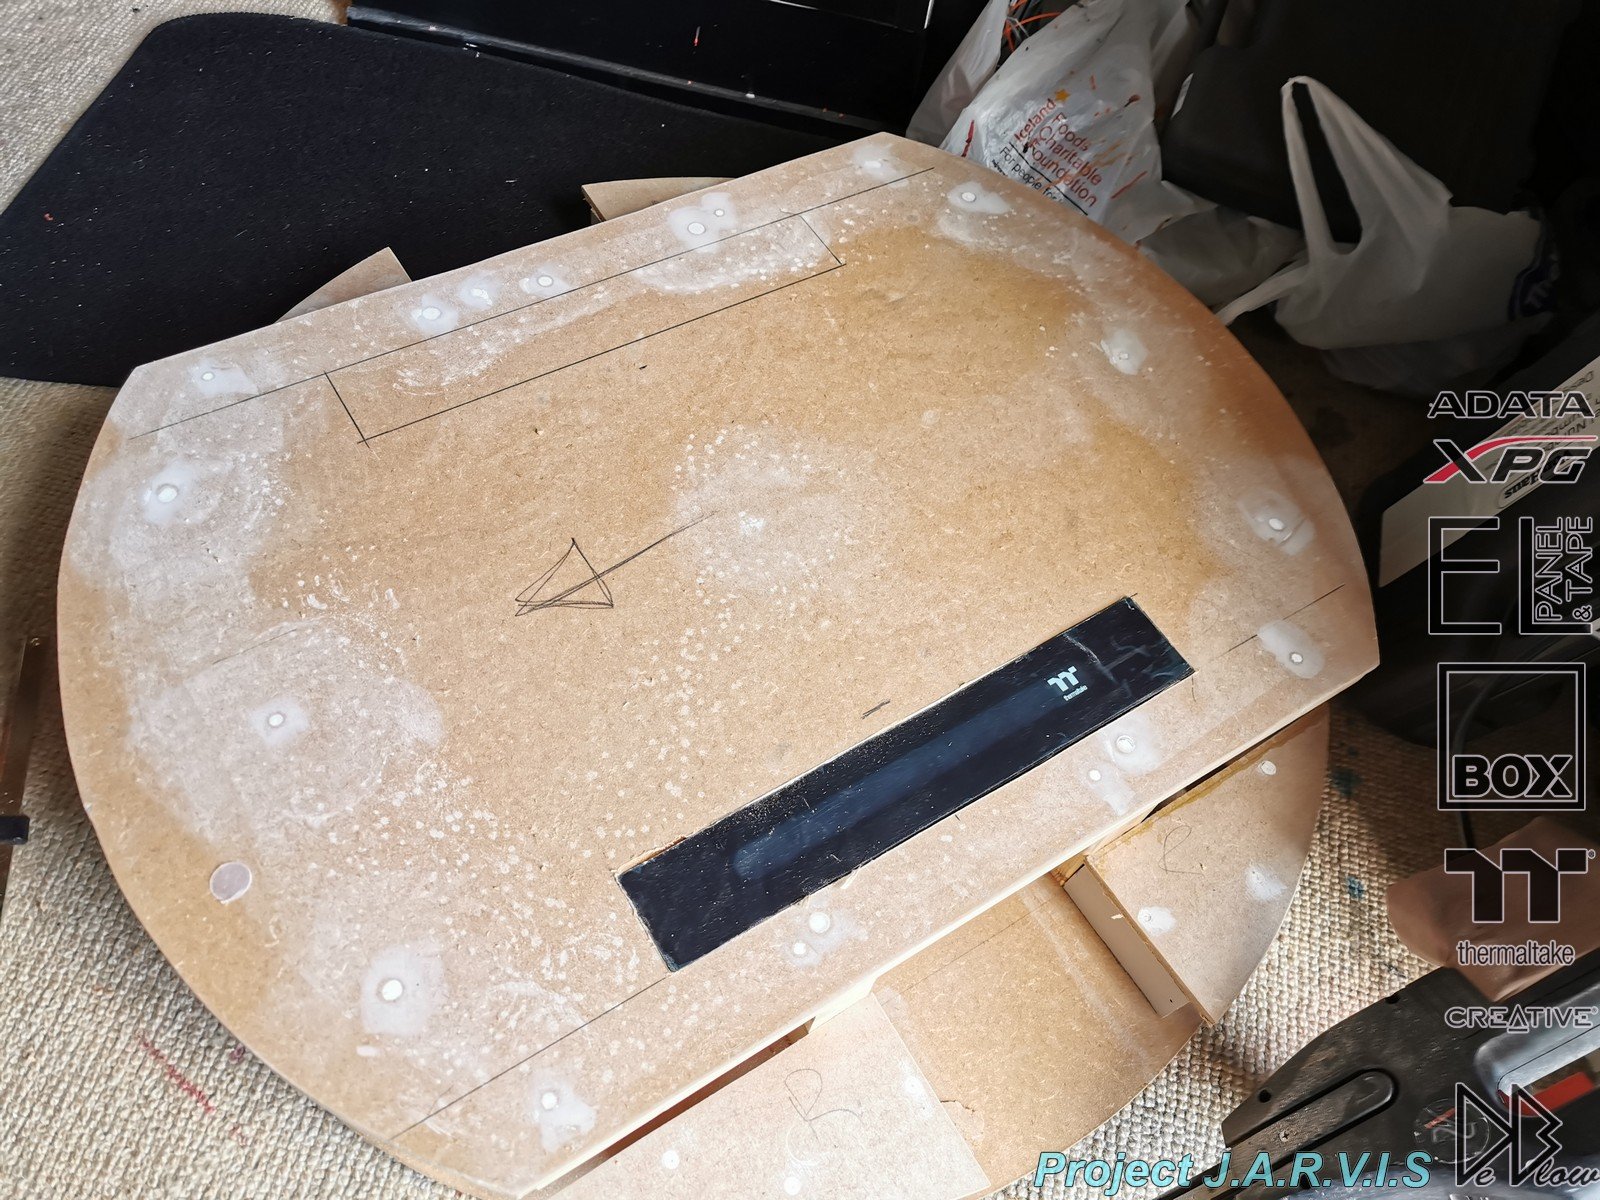
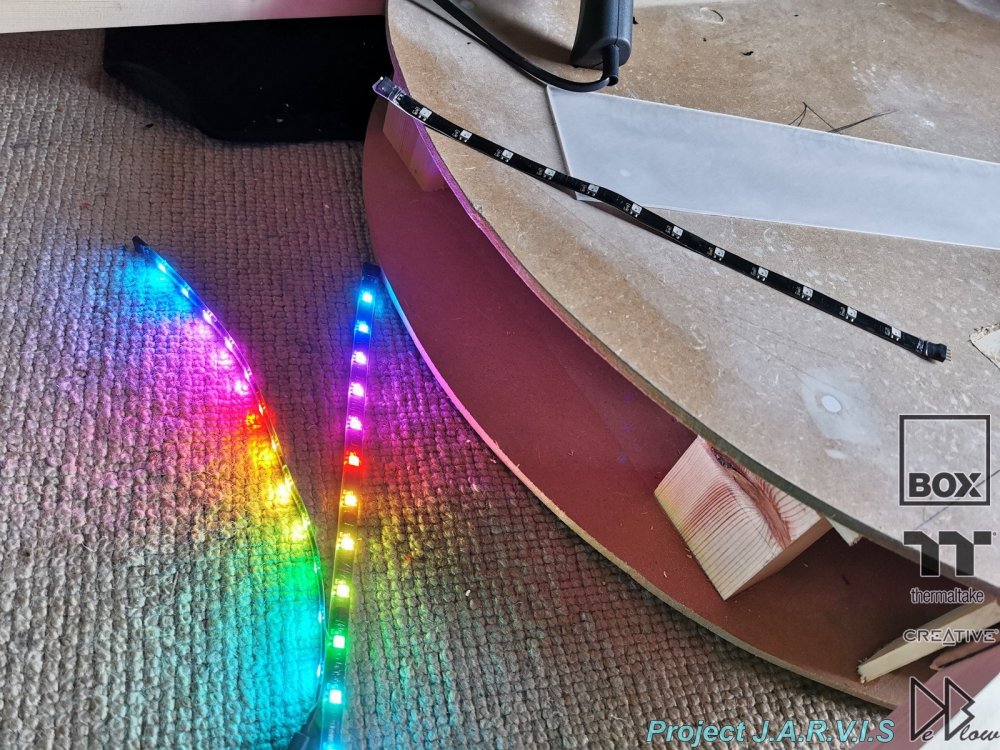
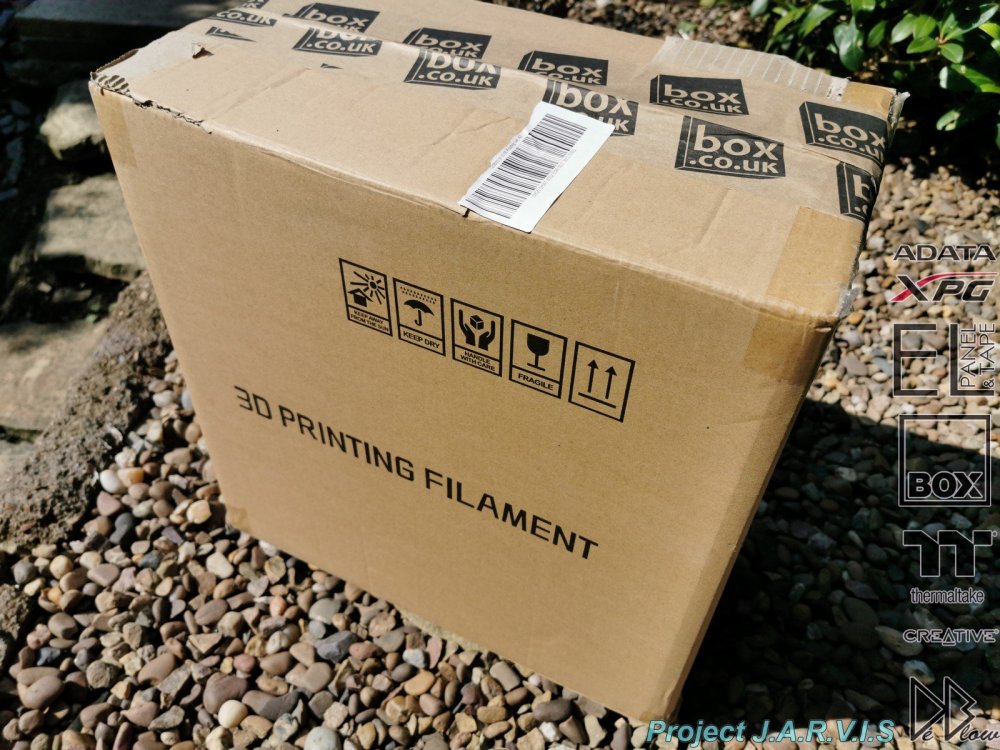
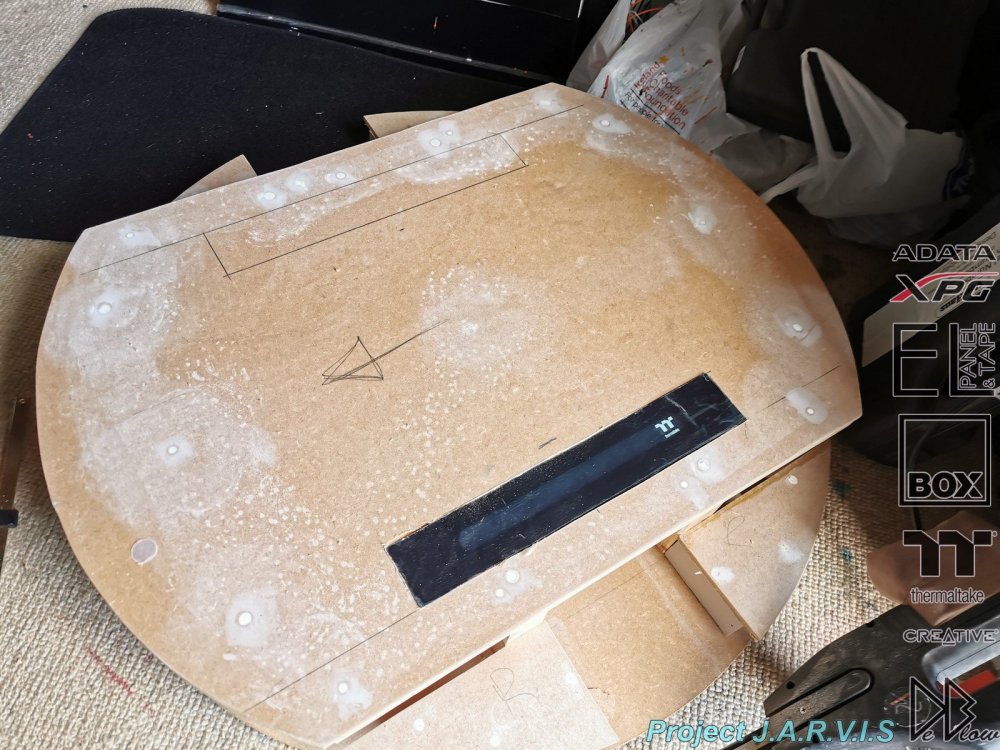
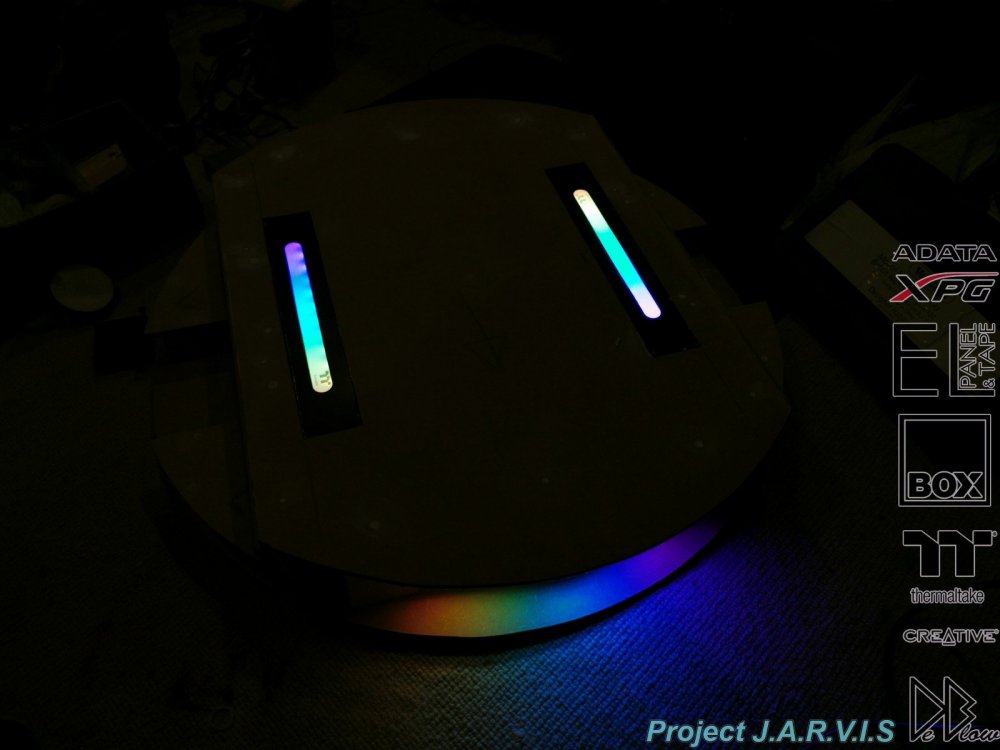
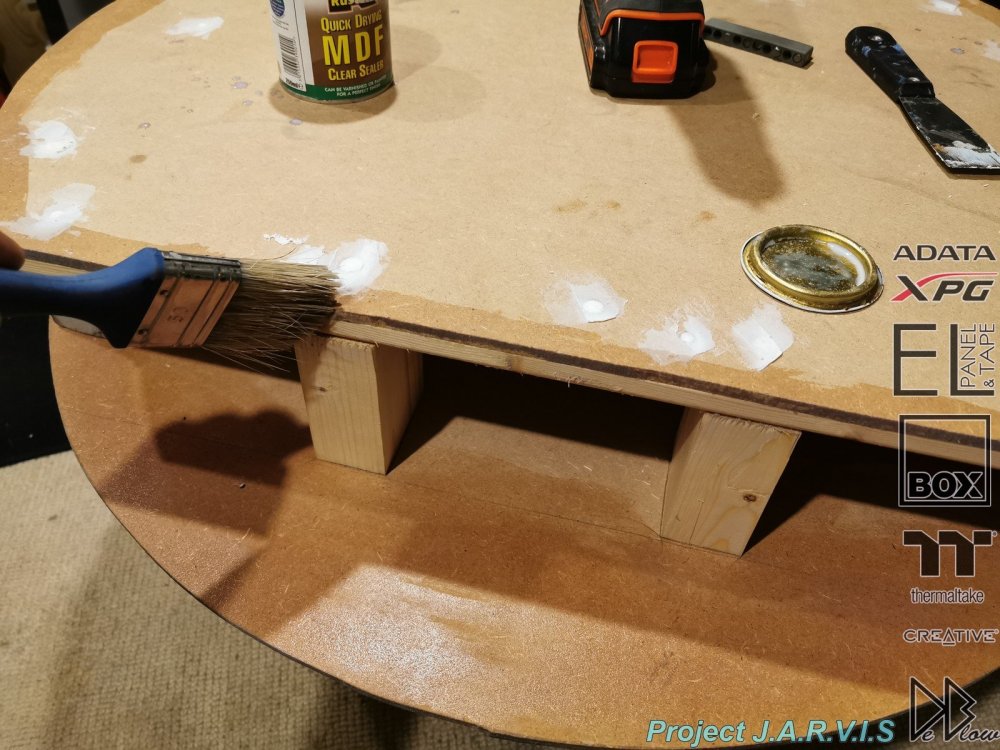
After a little holiday I'm now back working on the build and thanks to BOX.co.uk, I have the filament I will be using for this build, Black and some clear Steadytech PLA, spend a couple of days setting up and printing some bench prints then started to print the robotic arms on a larger scale, been making some changed to the 3D models as I go along, must have spent over 100hrs on the models now. This arm is MASSIVE! Bit bigger than the 4 proper arms will be. This is the 3rd version on the arms, Will keep doing them until im 100% happy :/ Between waiting for the prints to complete I did some more work on the base, cutting holes for the wires and lighting, The base top will have the Thermaltake RAD RGB panels, on the front I will use LED strips, the controller for them will be in the base and I will run wires to the PC . Some clear plexi for the front. I also made use of the pause in torrential rain to get some painting and sanding done on the base, its already been sealed with MDF sealer, now I have also primed it with brush on wood primer before sanding again and going over with grey primer then sanding again to help show any imperfections on the surface. Because I will be painting most if it gloss black, its very important to have a near perfect finish on the wood surface before the final paint, its hard smelly and dusty work but very rewarding to see when done. More on the paint in the next update.


-
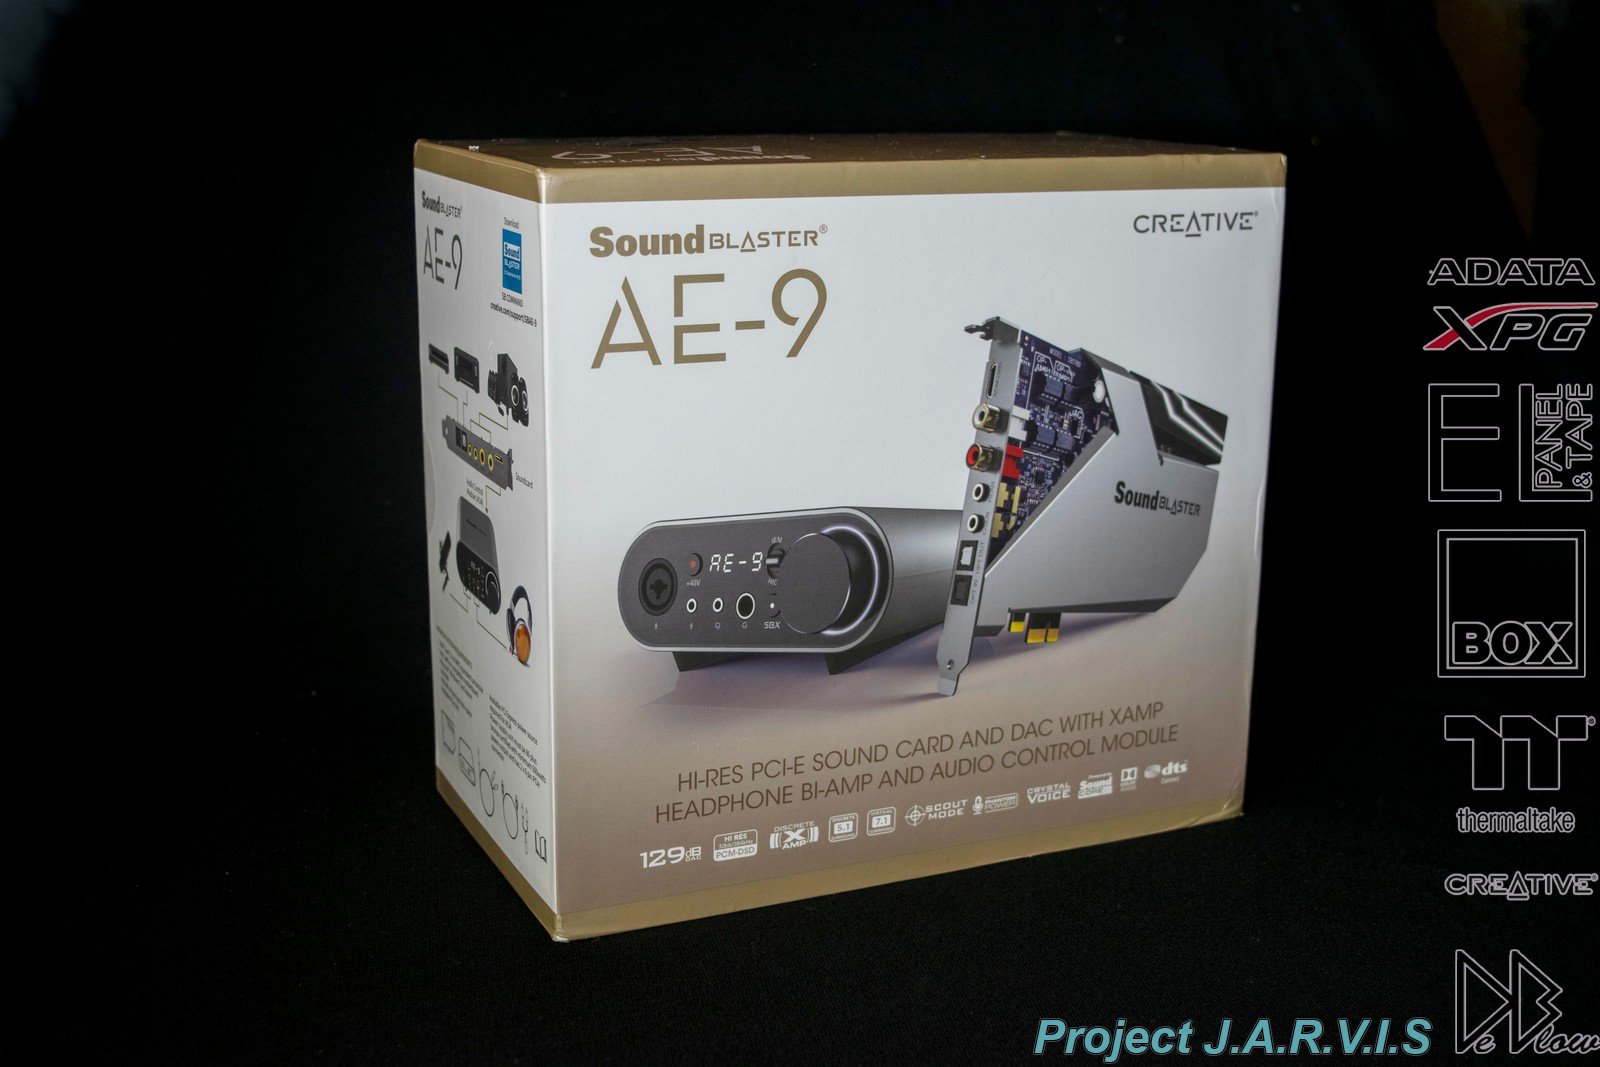
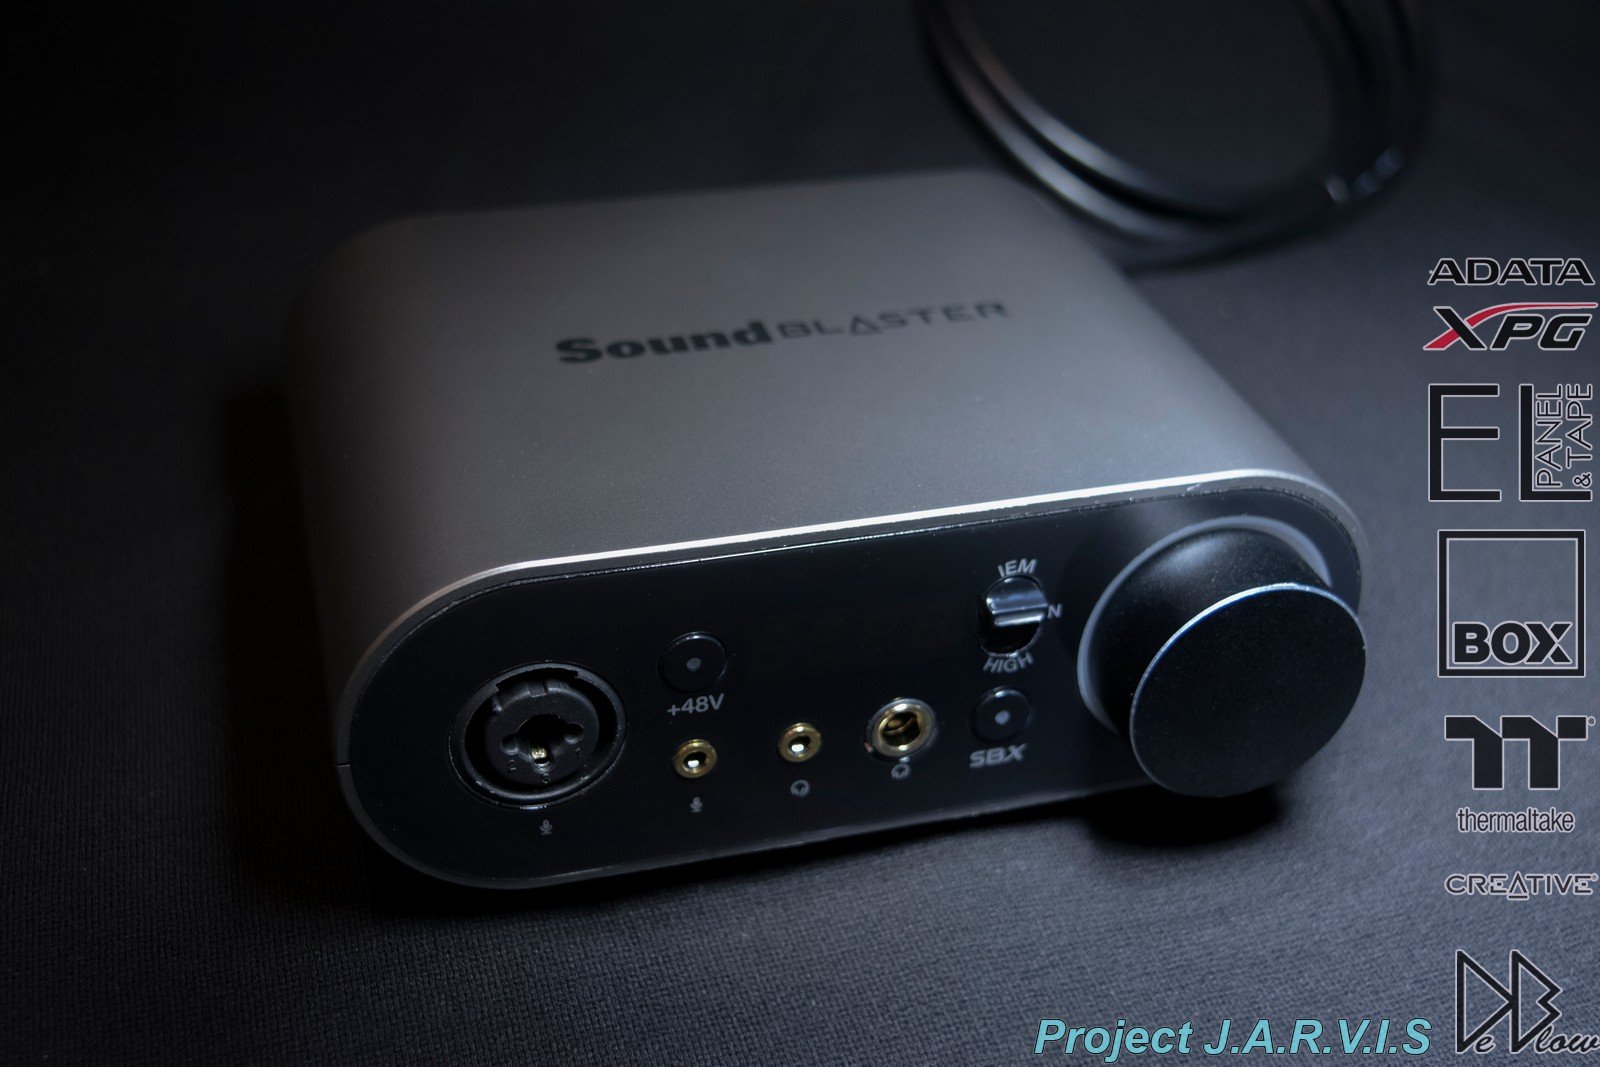
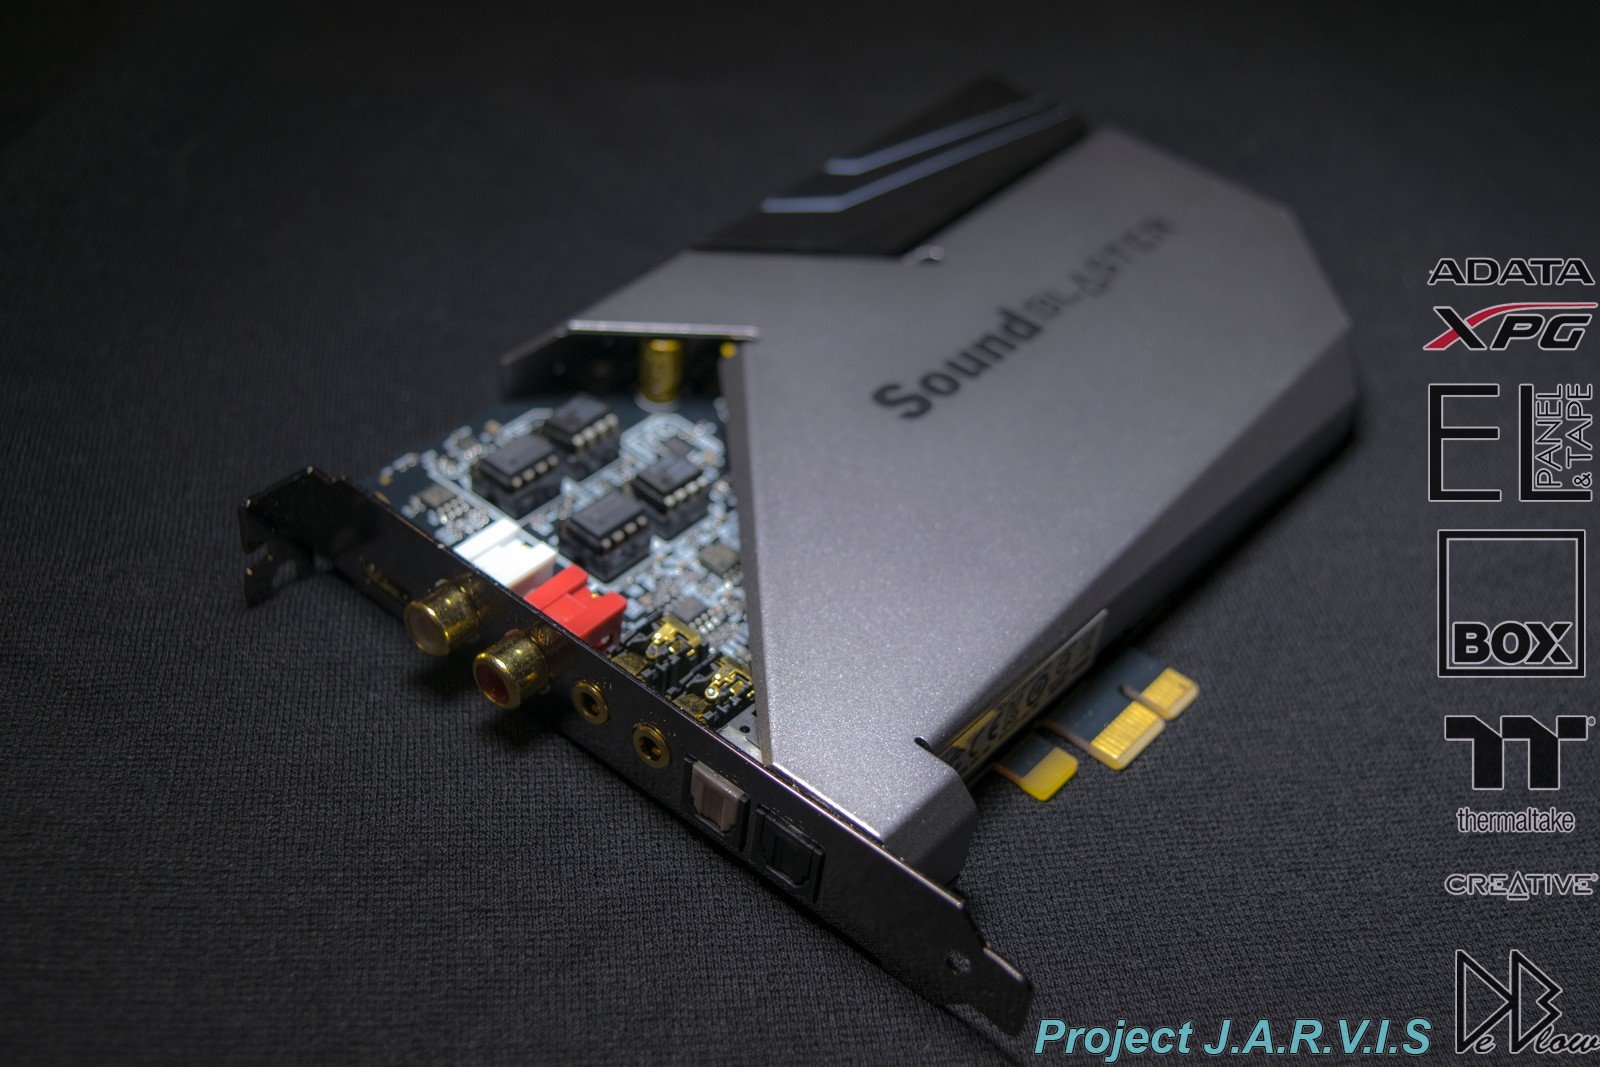
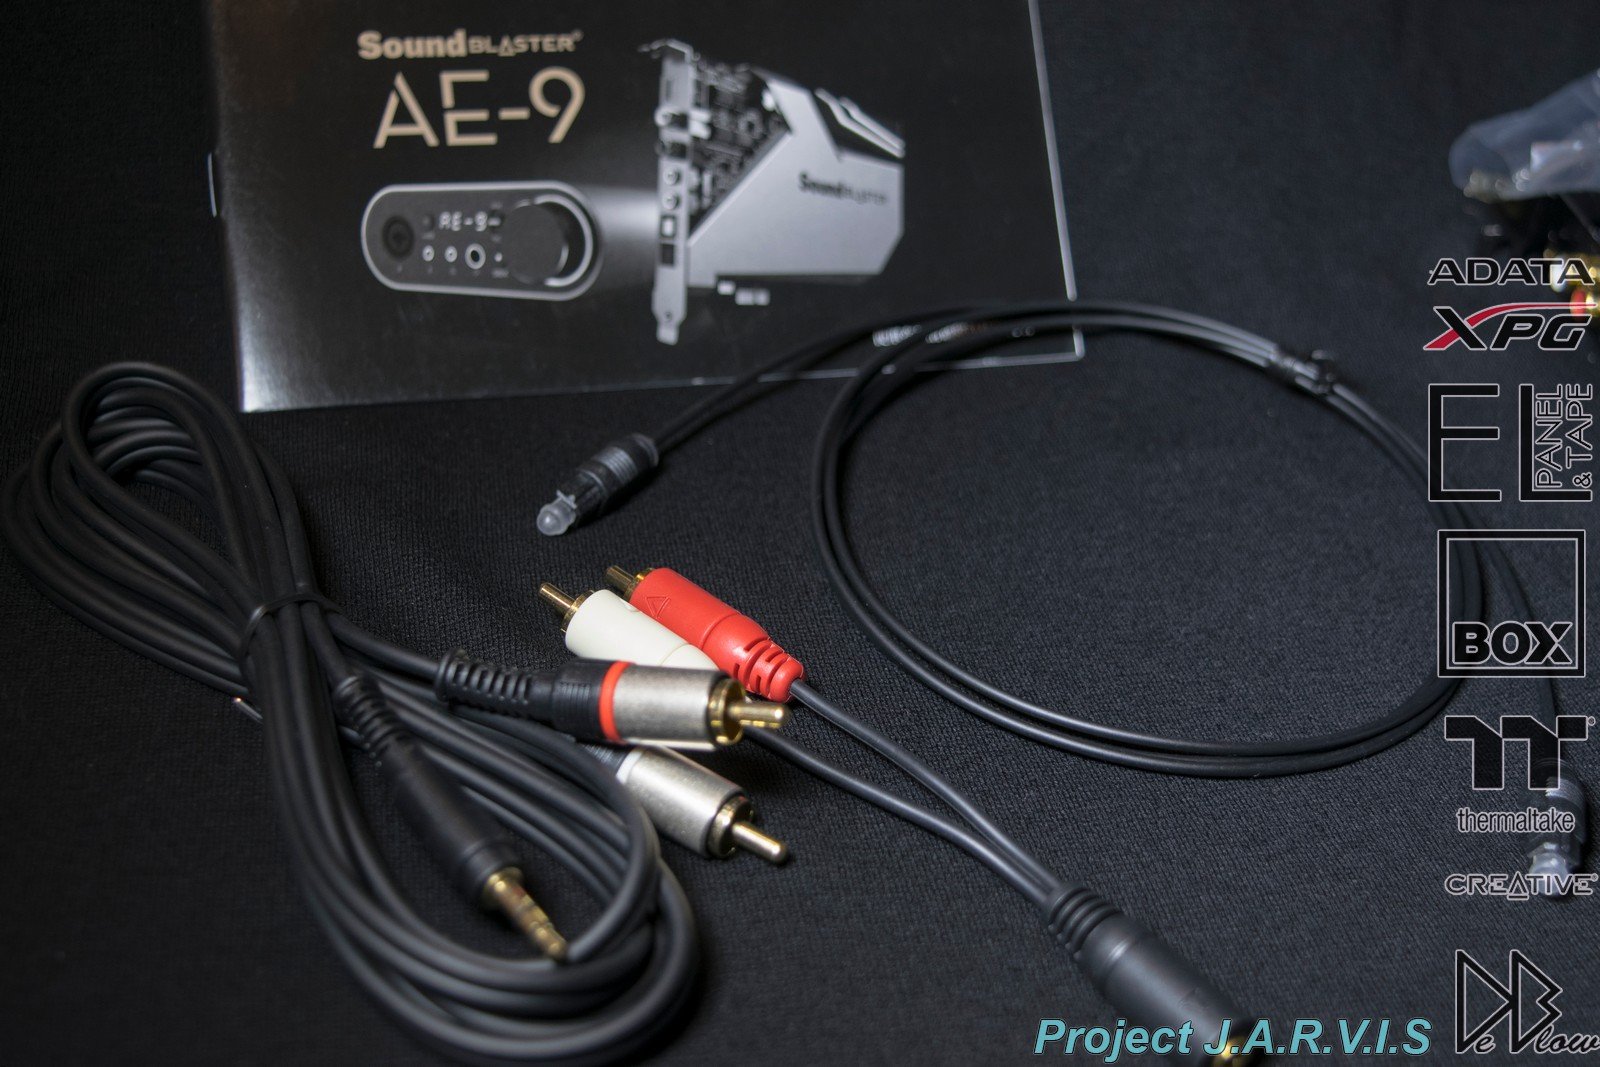
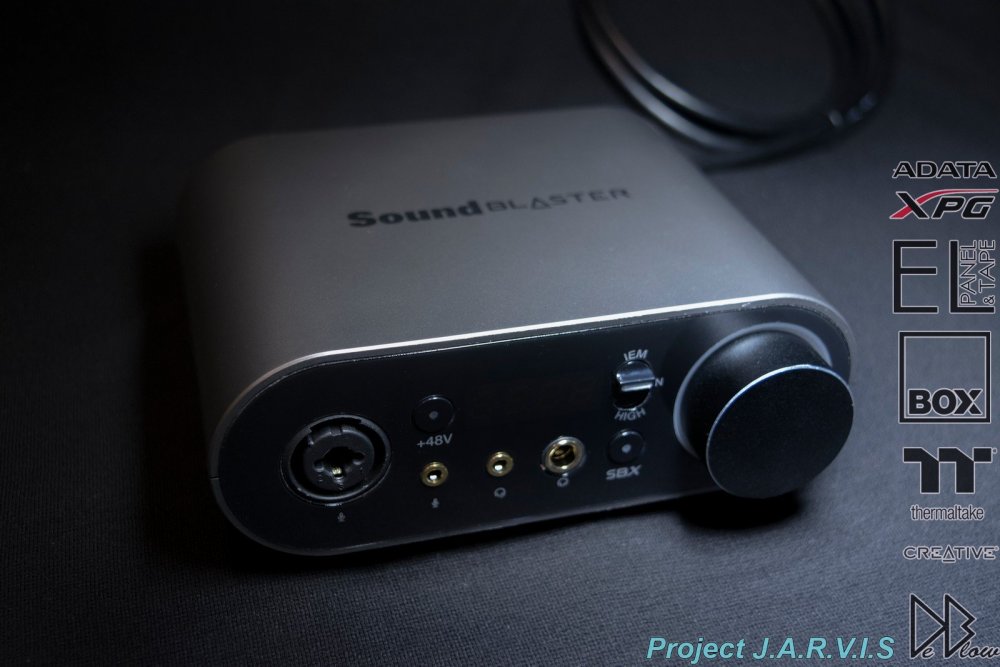
For high quality audio I will be using the new Sound Blaster AE-9 sound card from Creative Labs


- 28 replies
-
- 1
-

-
- avengers
- project jarvis
- (and 3 more)
-
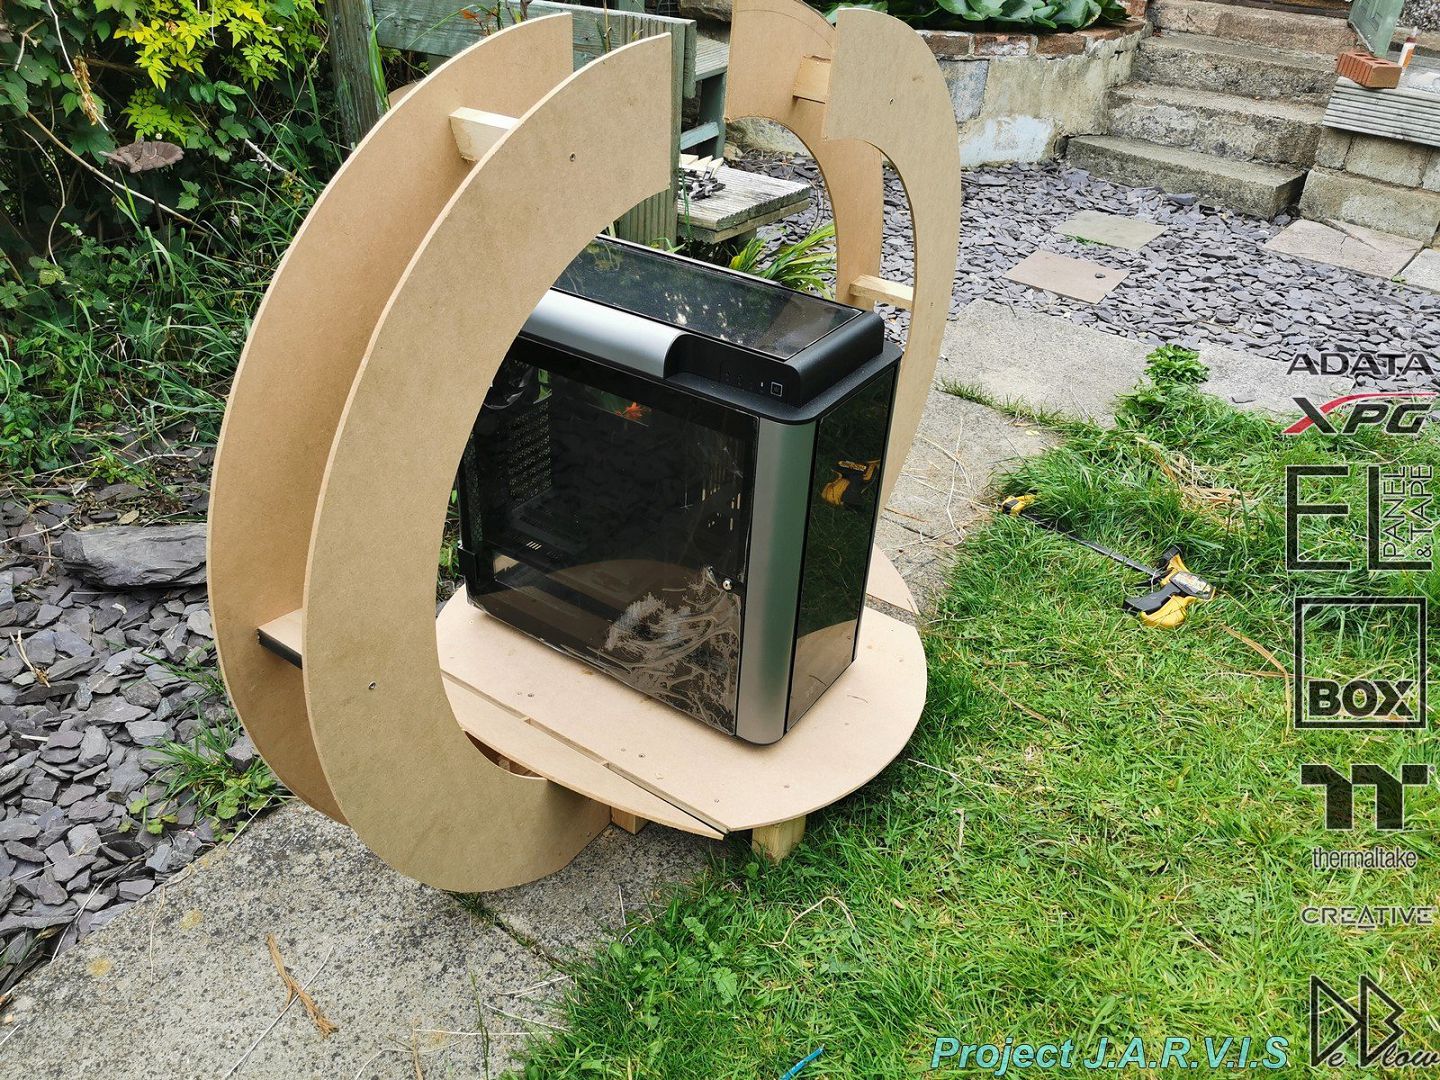
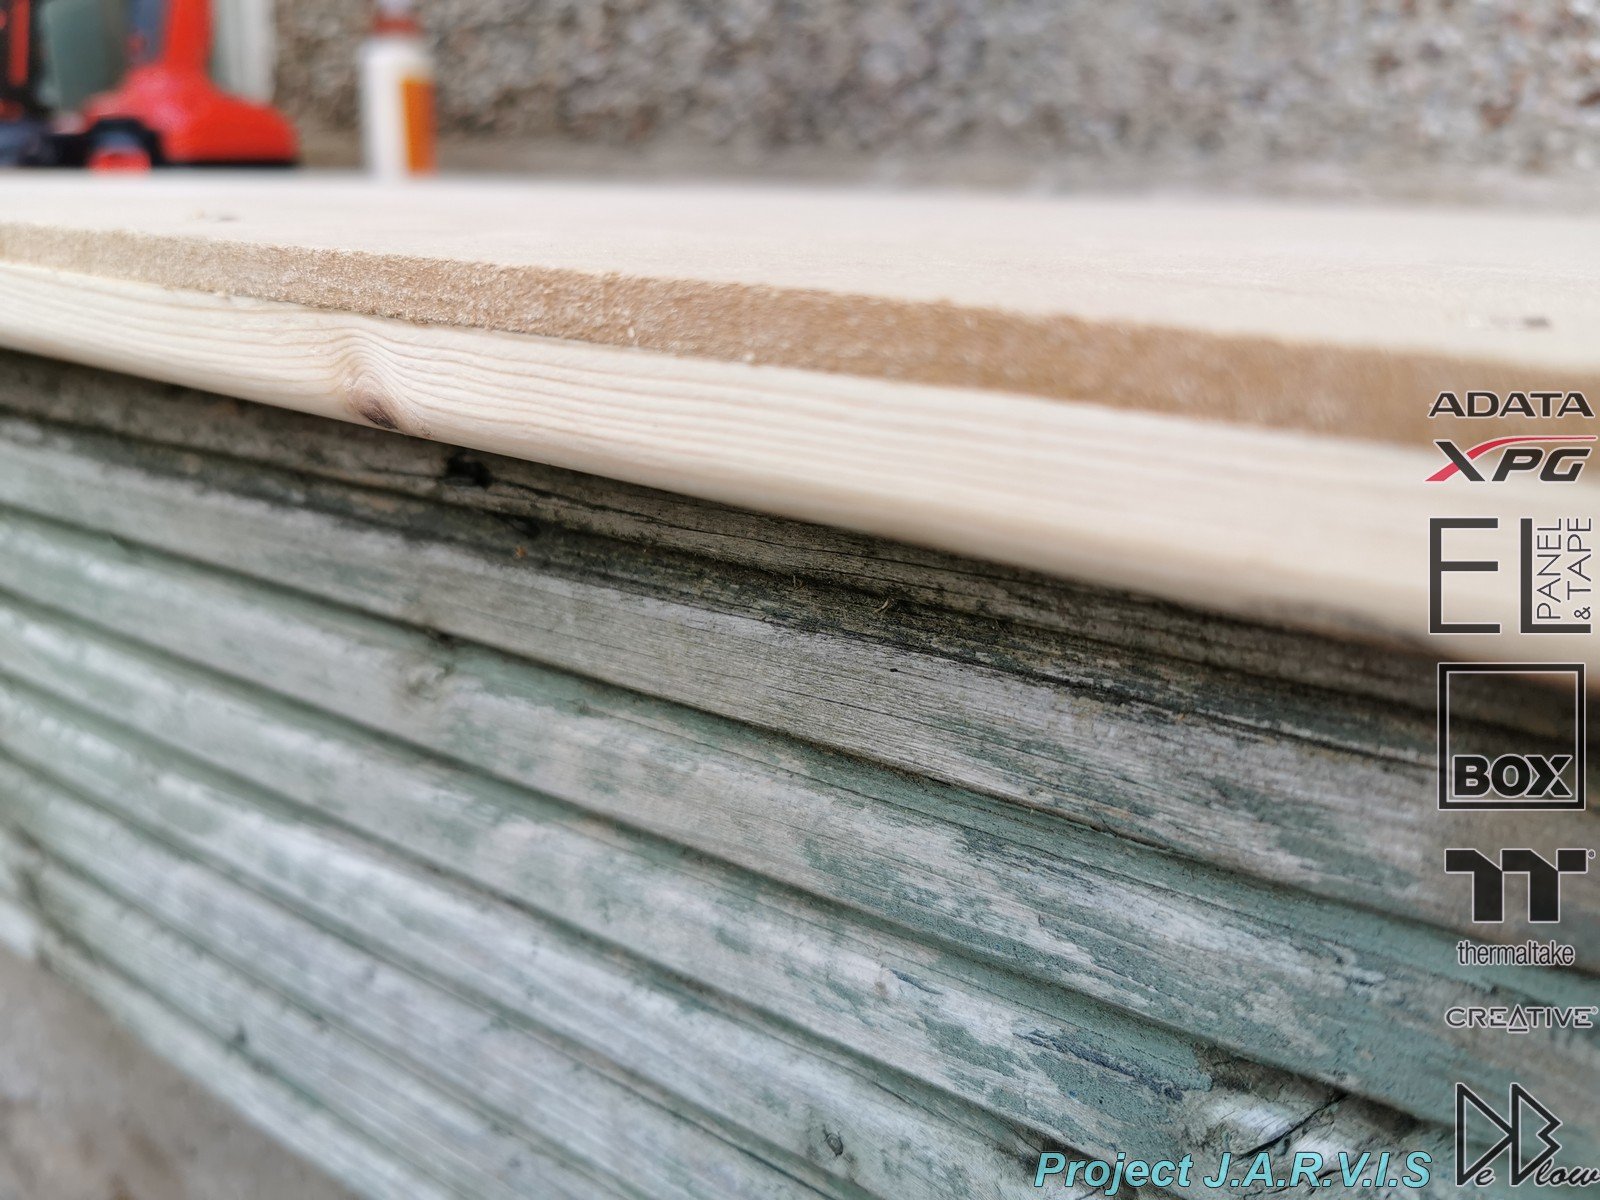
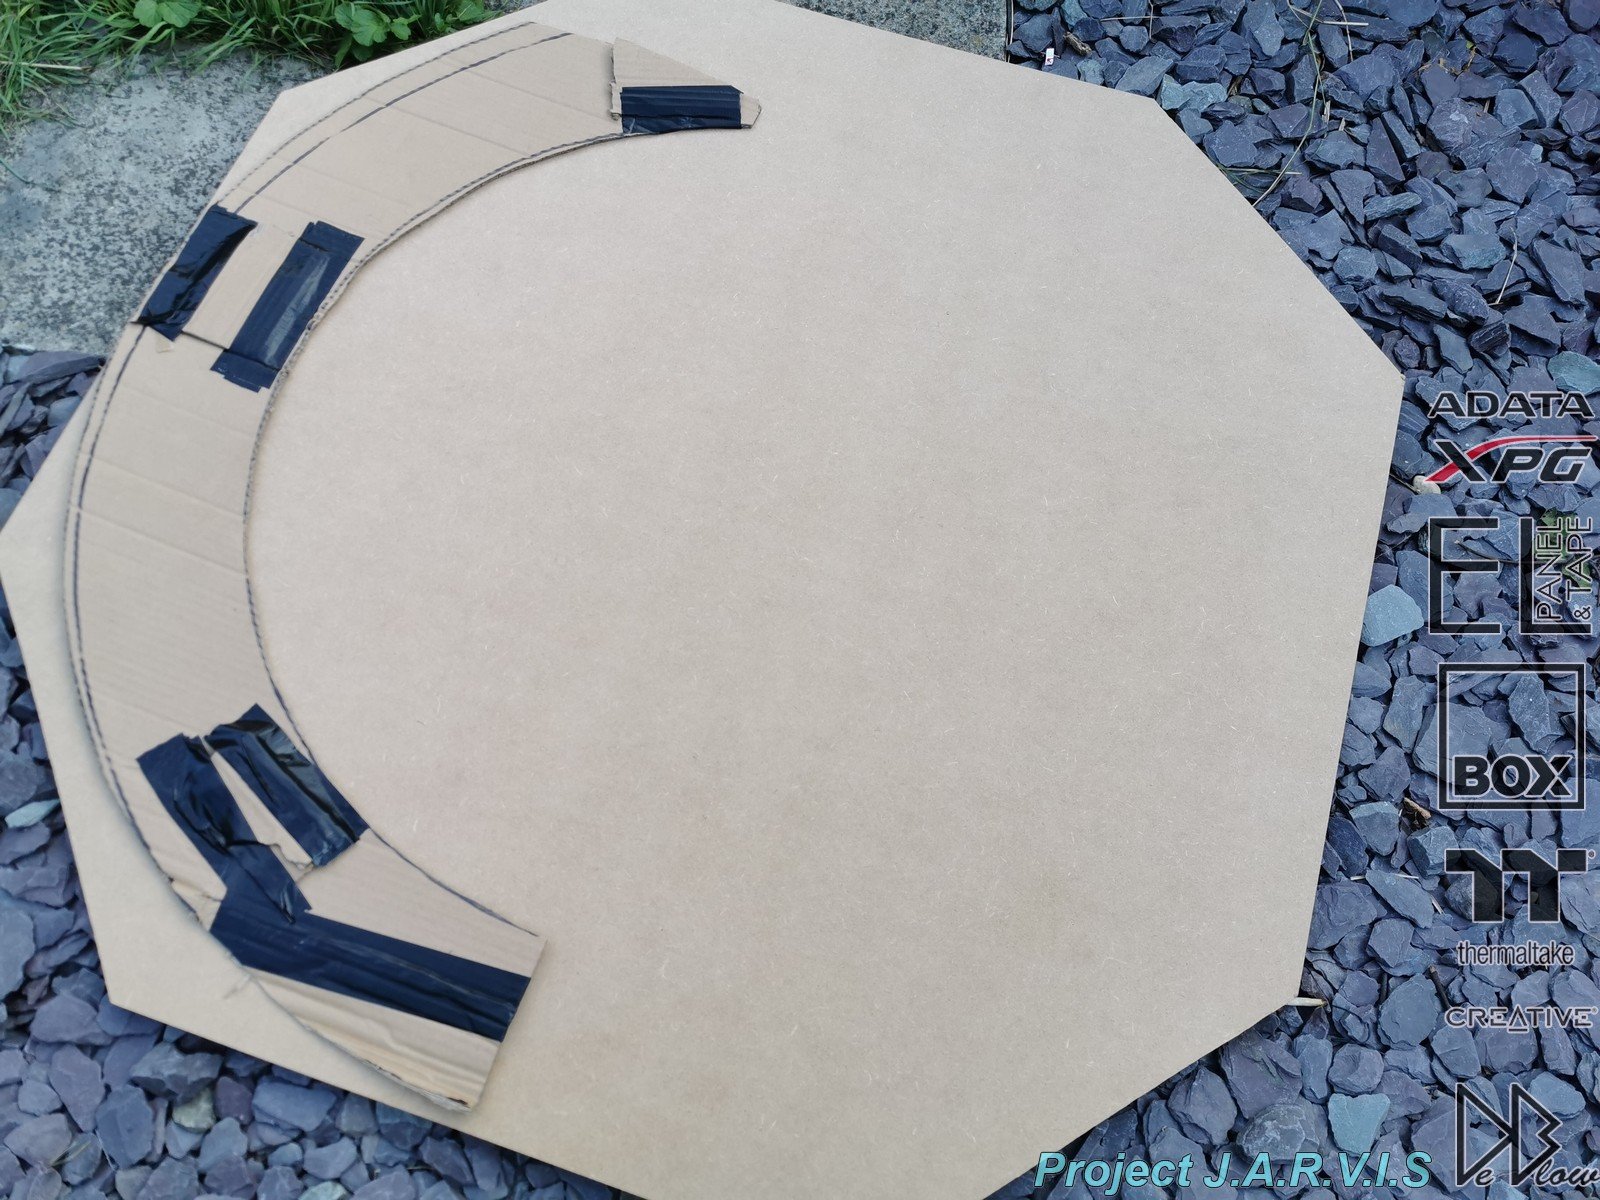
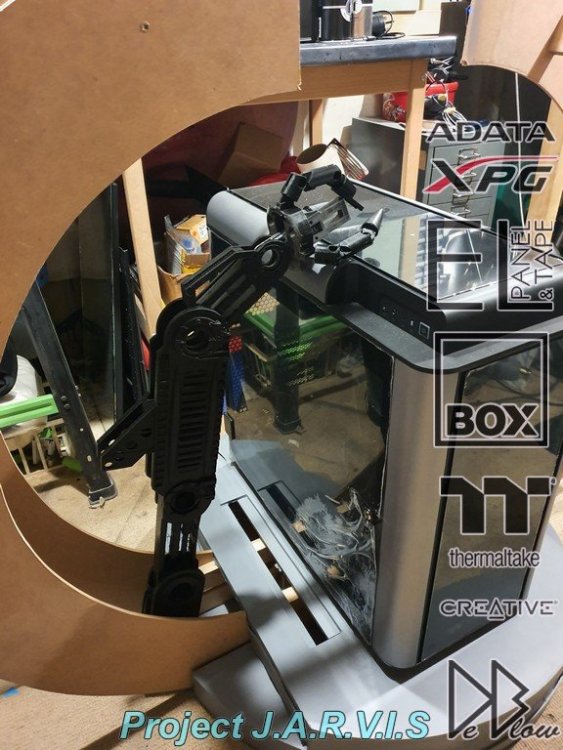
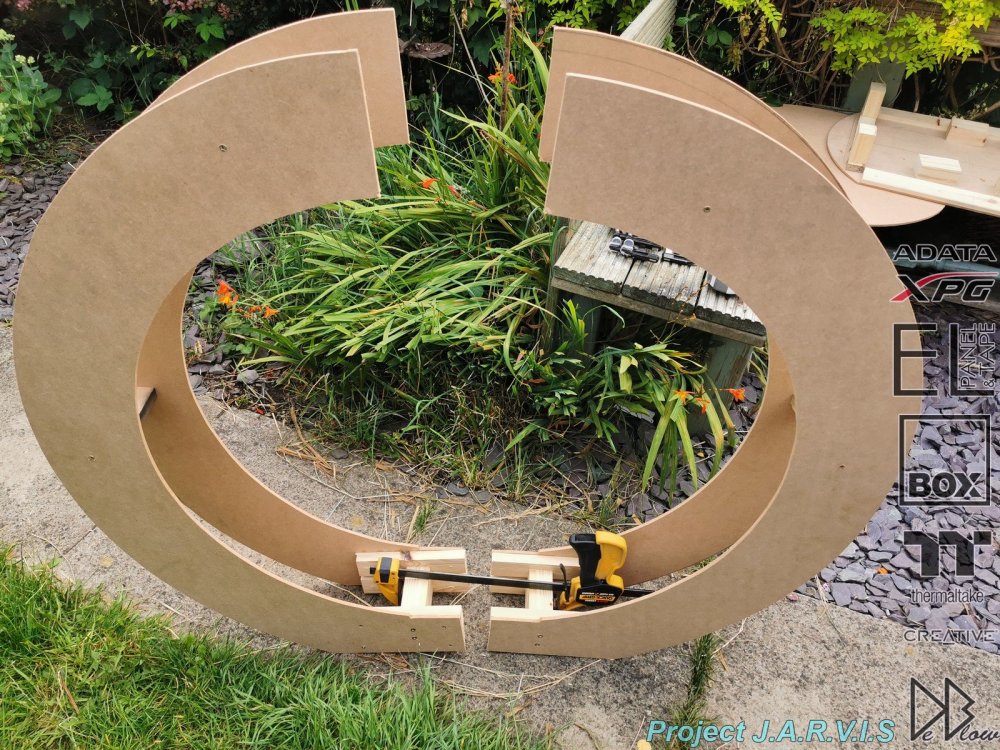
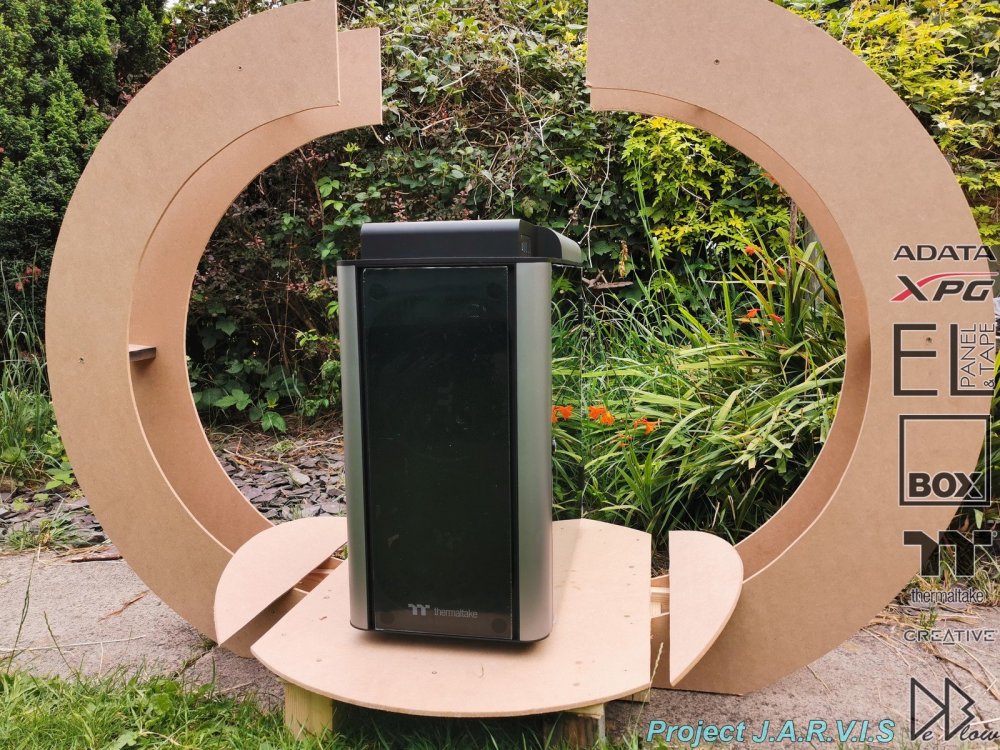
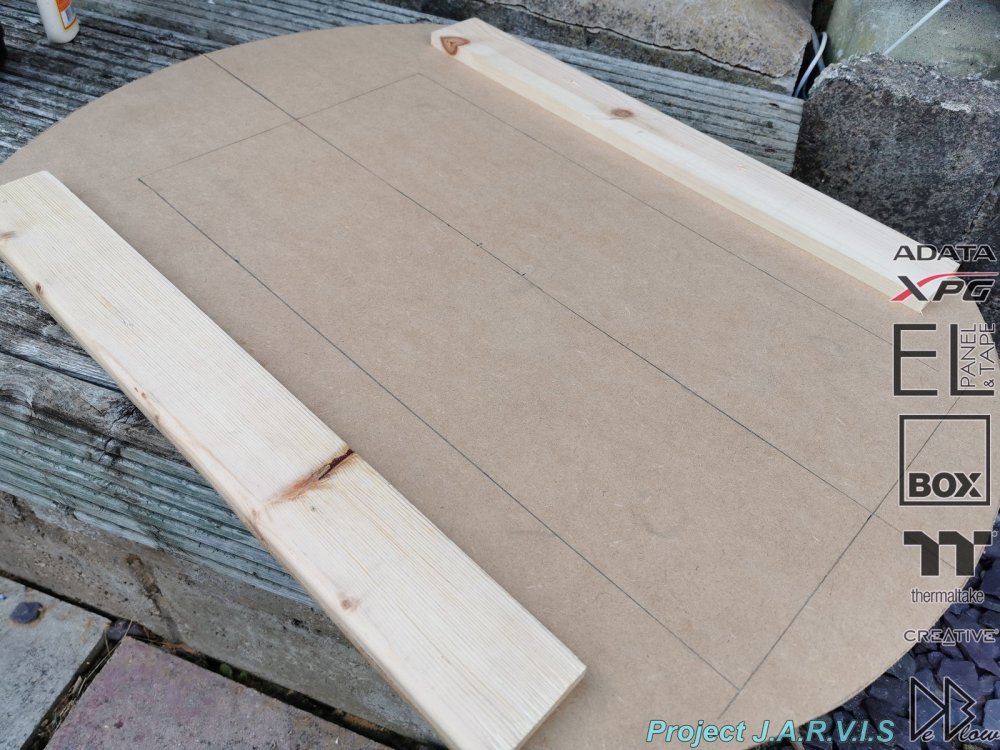
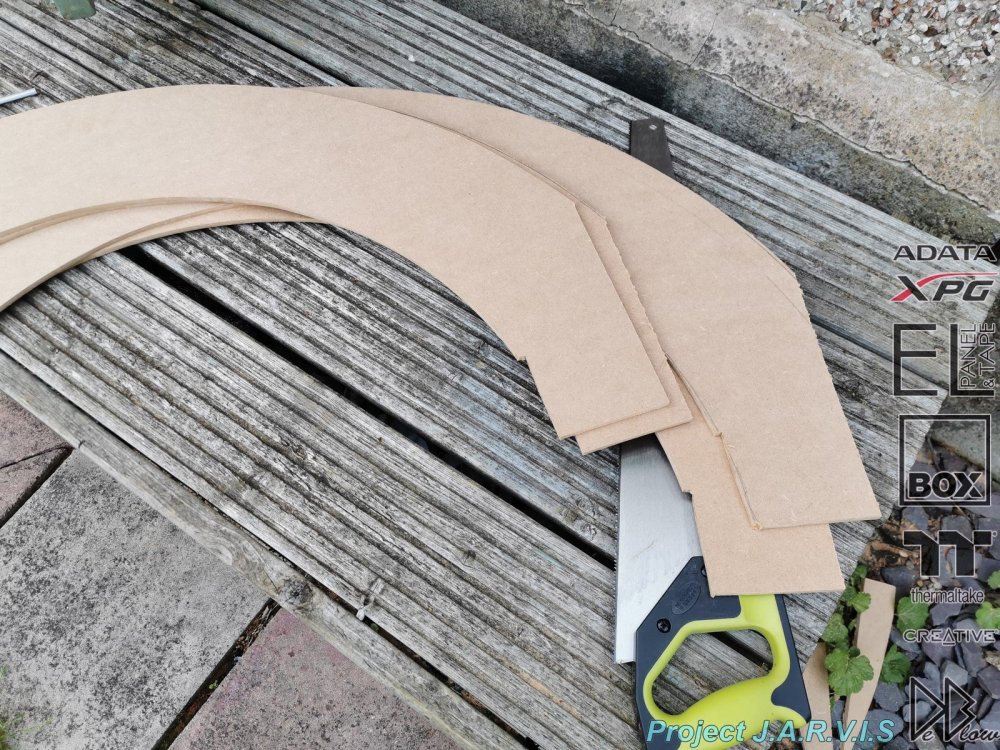
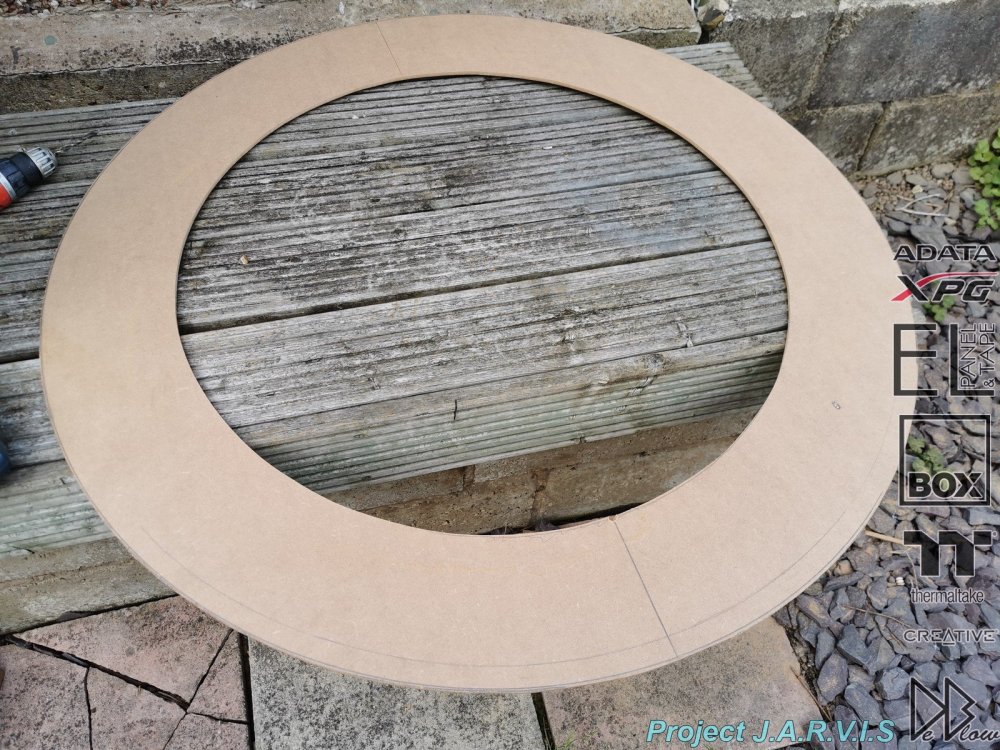
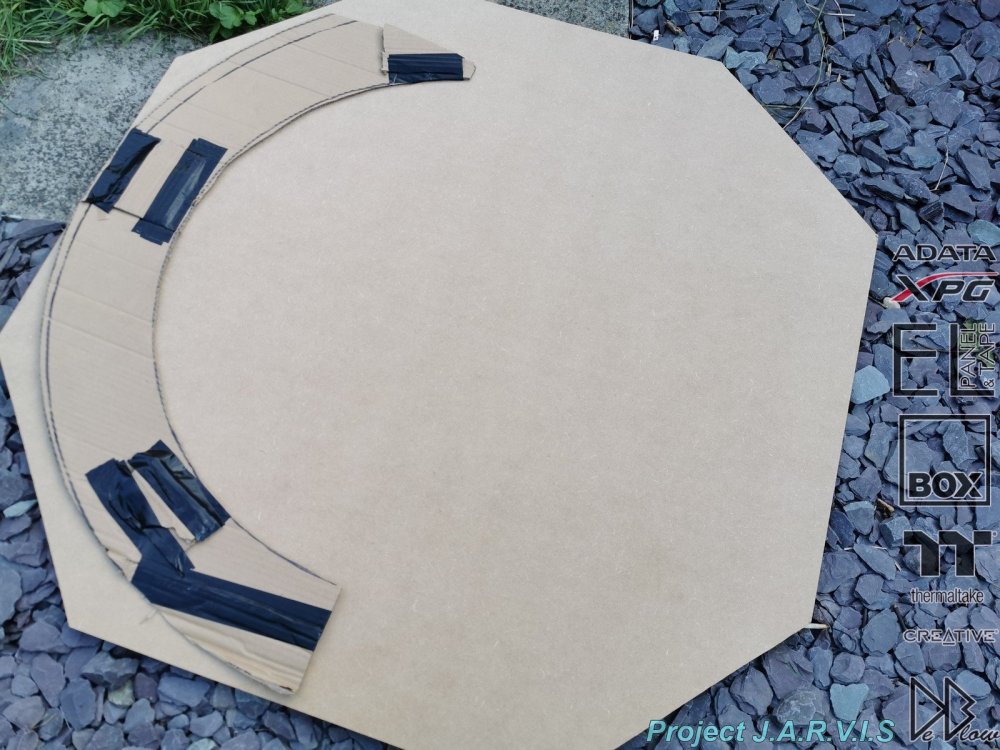
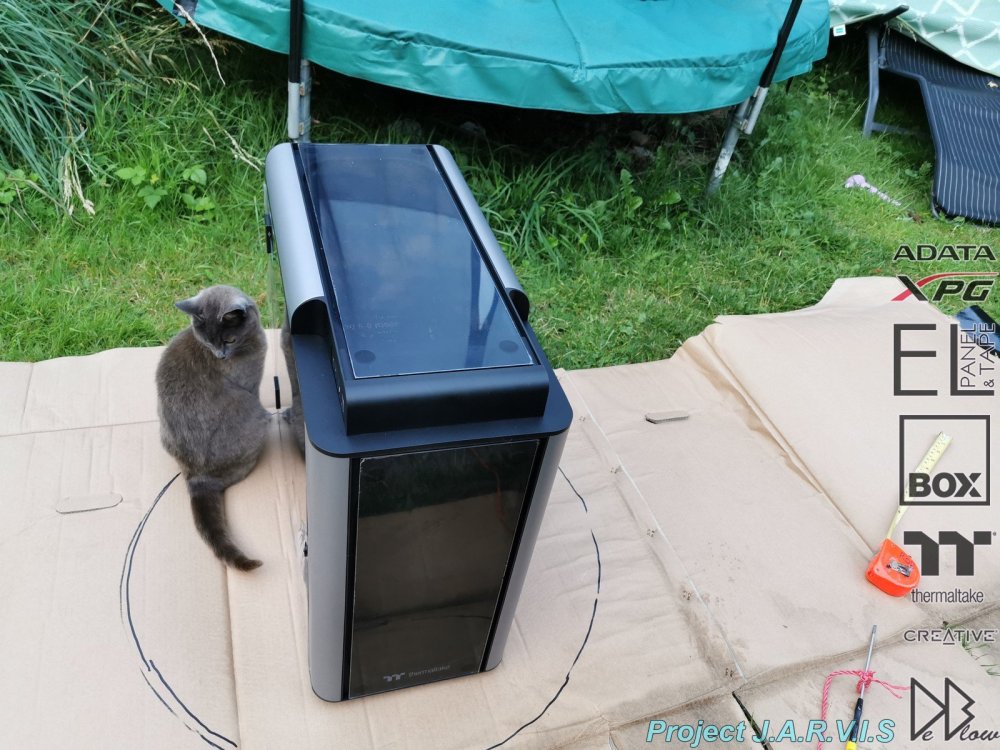
Had a couple of days downtime due to very bad storms causing some flooding in my workshop Back on track now though Finished cutting the main parts and adding the supports so time for a quick look at it with the case on so you get a really good idea of the scale. The sides of the base will be dropped to give the impression that they move down allowing for the big main robotic arms to pop out and glide from front to back on rails. The rails was not on my original design and I haven't planned how they will look yet, still just a VISION for now All the wood will be treated to prevent any damp warping the wood and also help with painting.


-
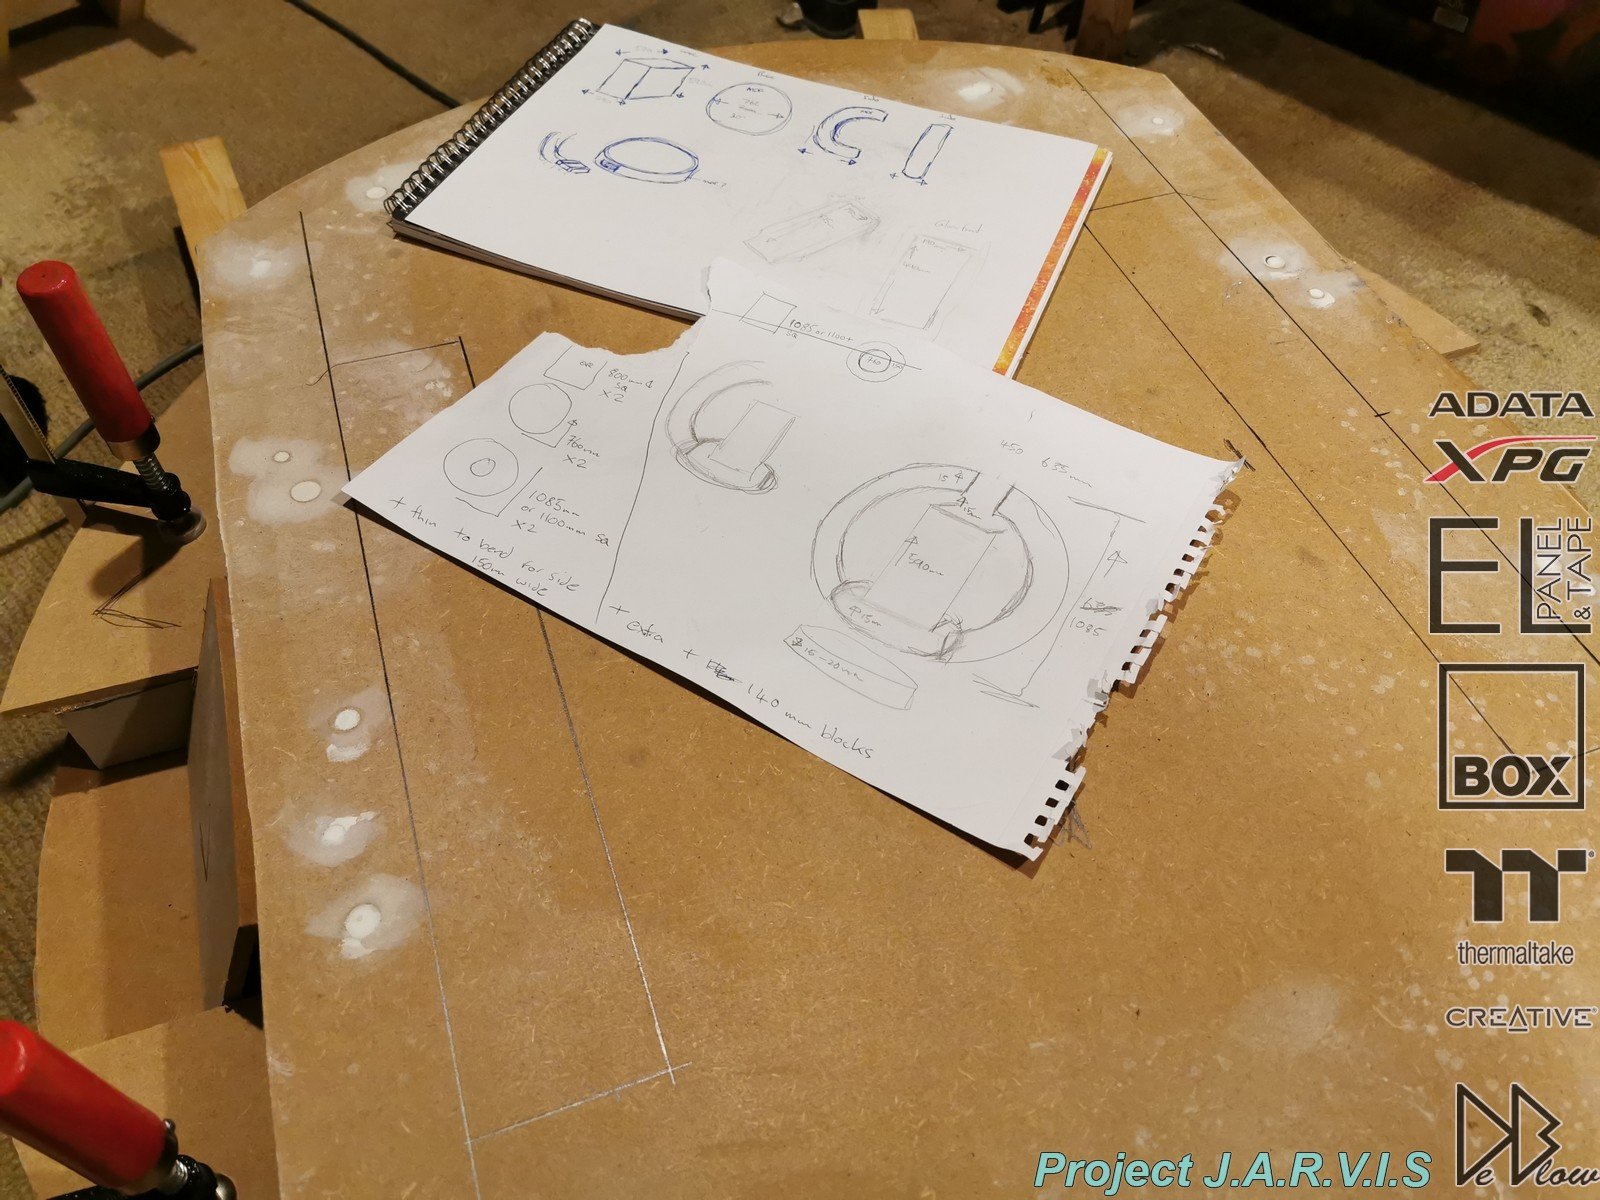
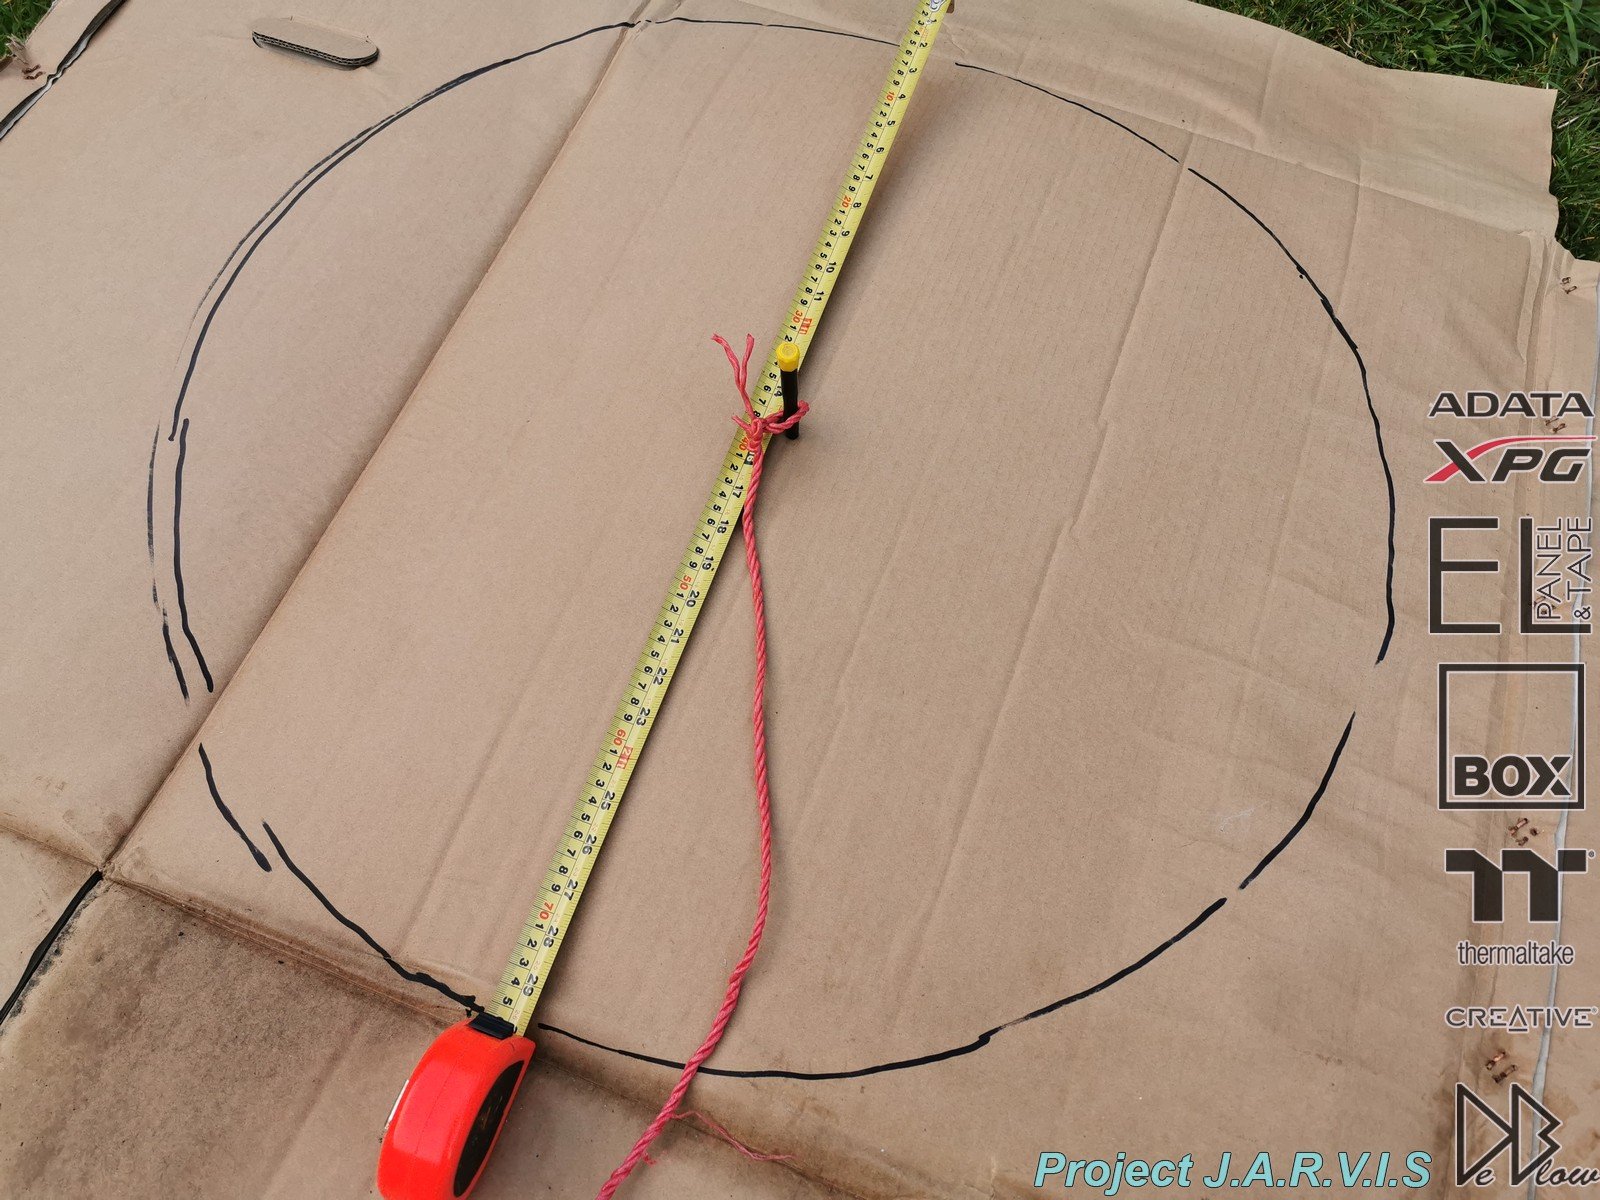
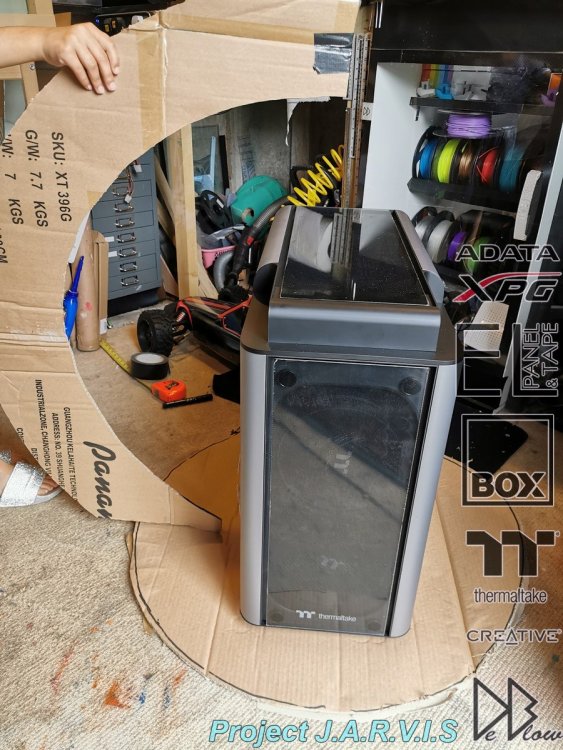
Before I cut the main wood I did a rough cardboard version to double check the sizes and overall look. The sizes look about right so time to cut some MDF, first time doing circles with a jigsaw but not as bad as I thought it would be. The main base for the PC will need a lot of parts strengthened to take all the weight of the case and allow for extra cuts needed for panels around the sides and lighting.


-
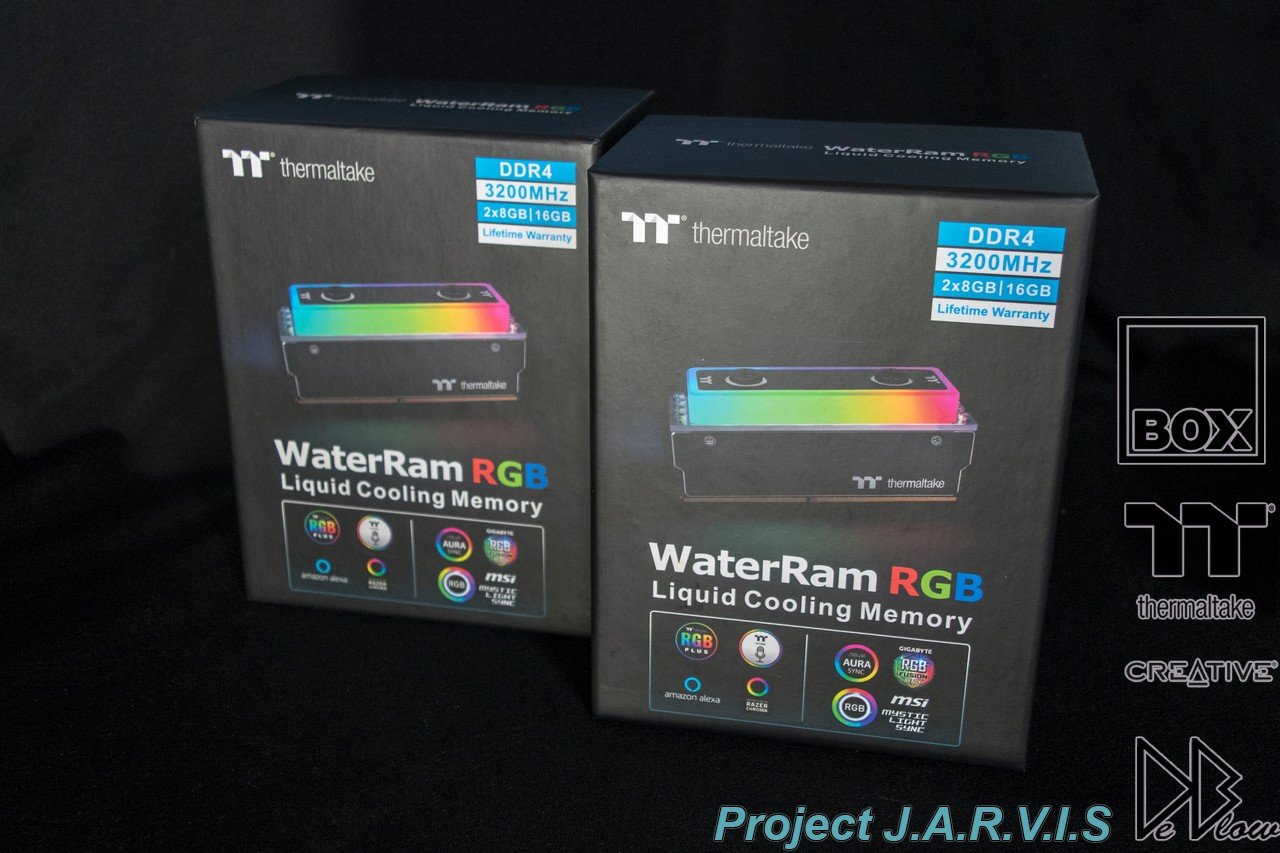
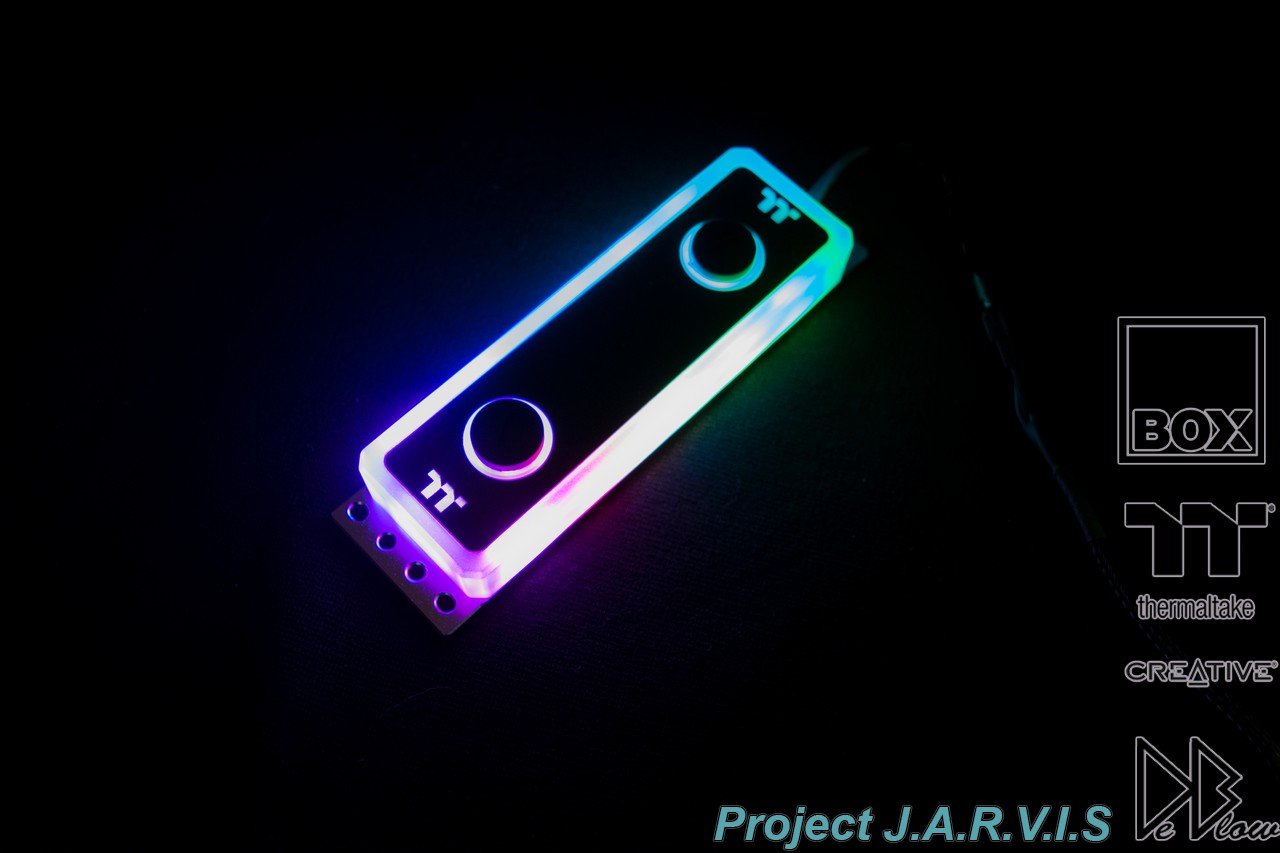
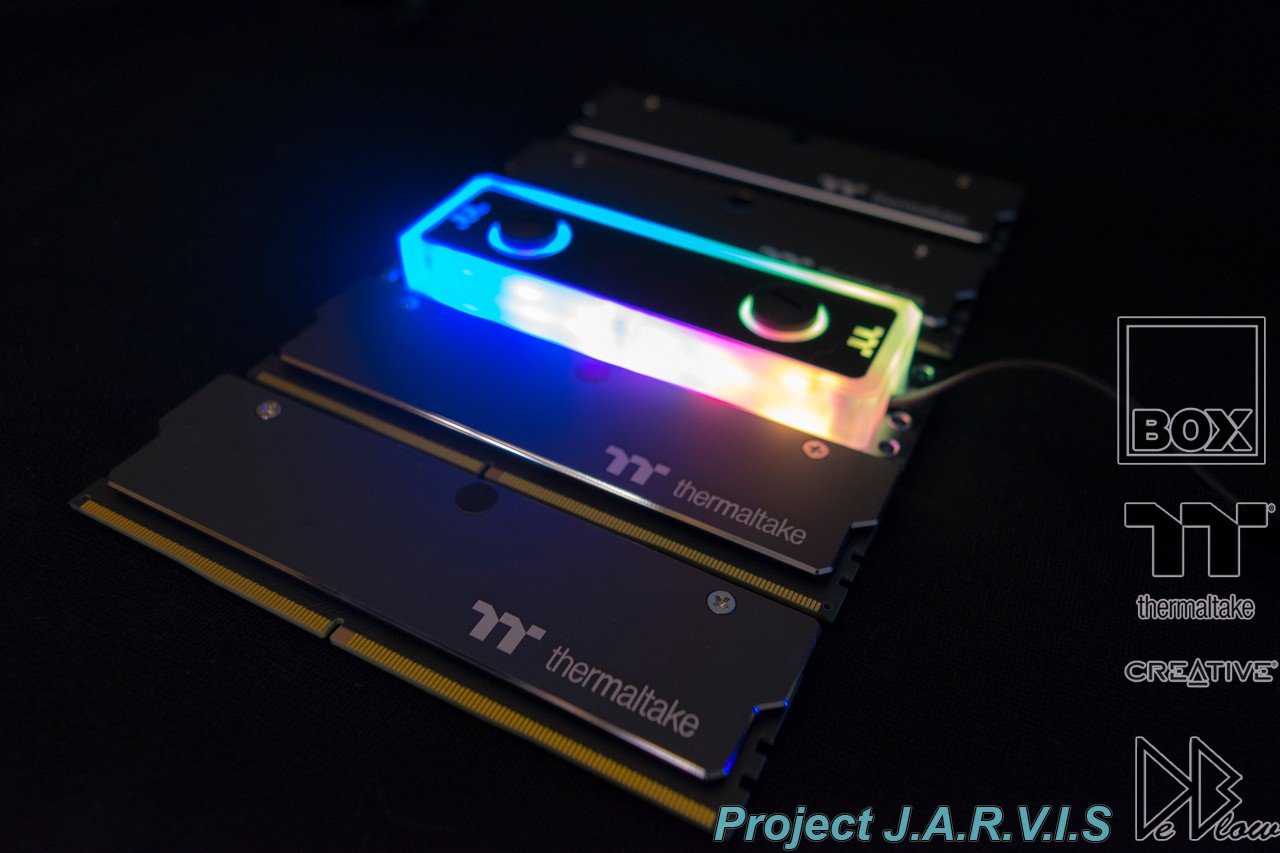
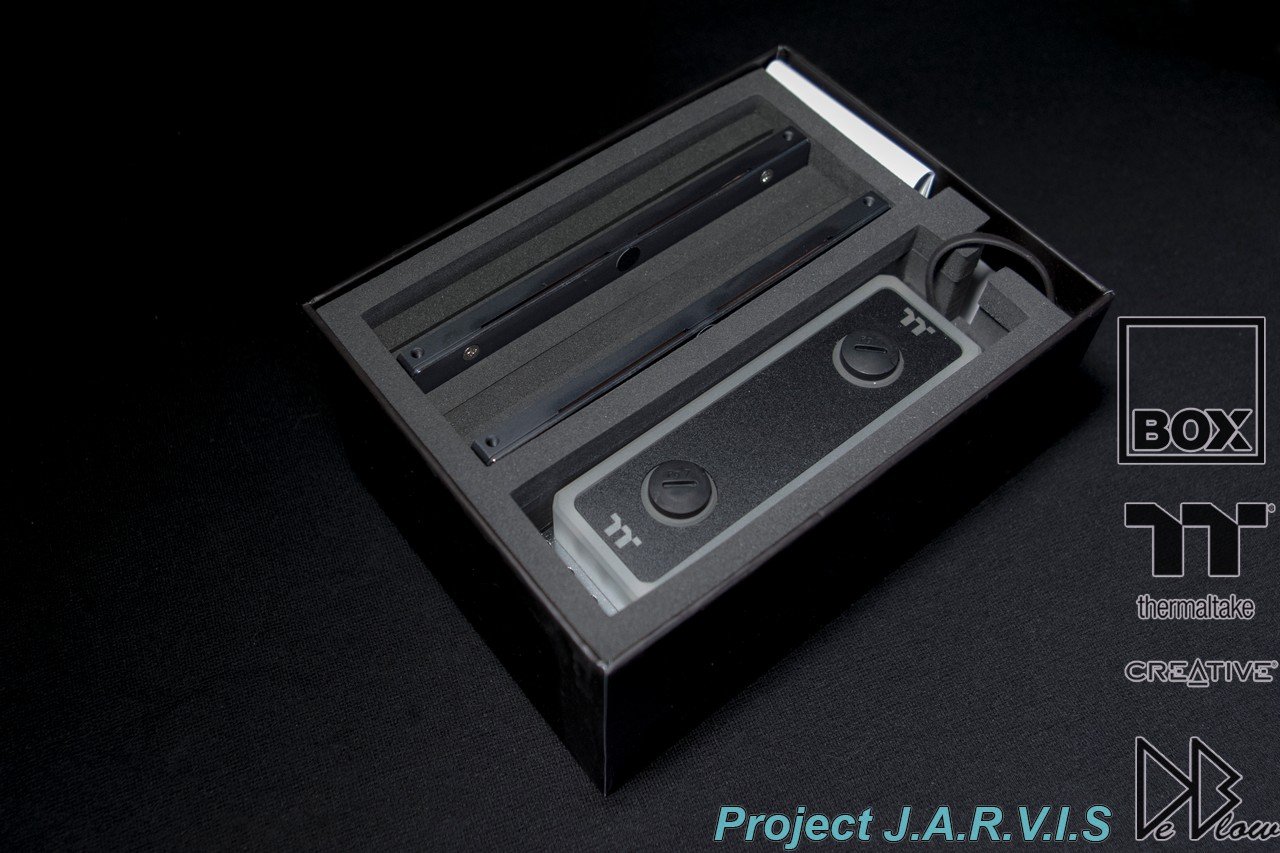
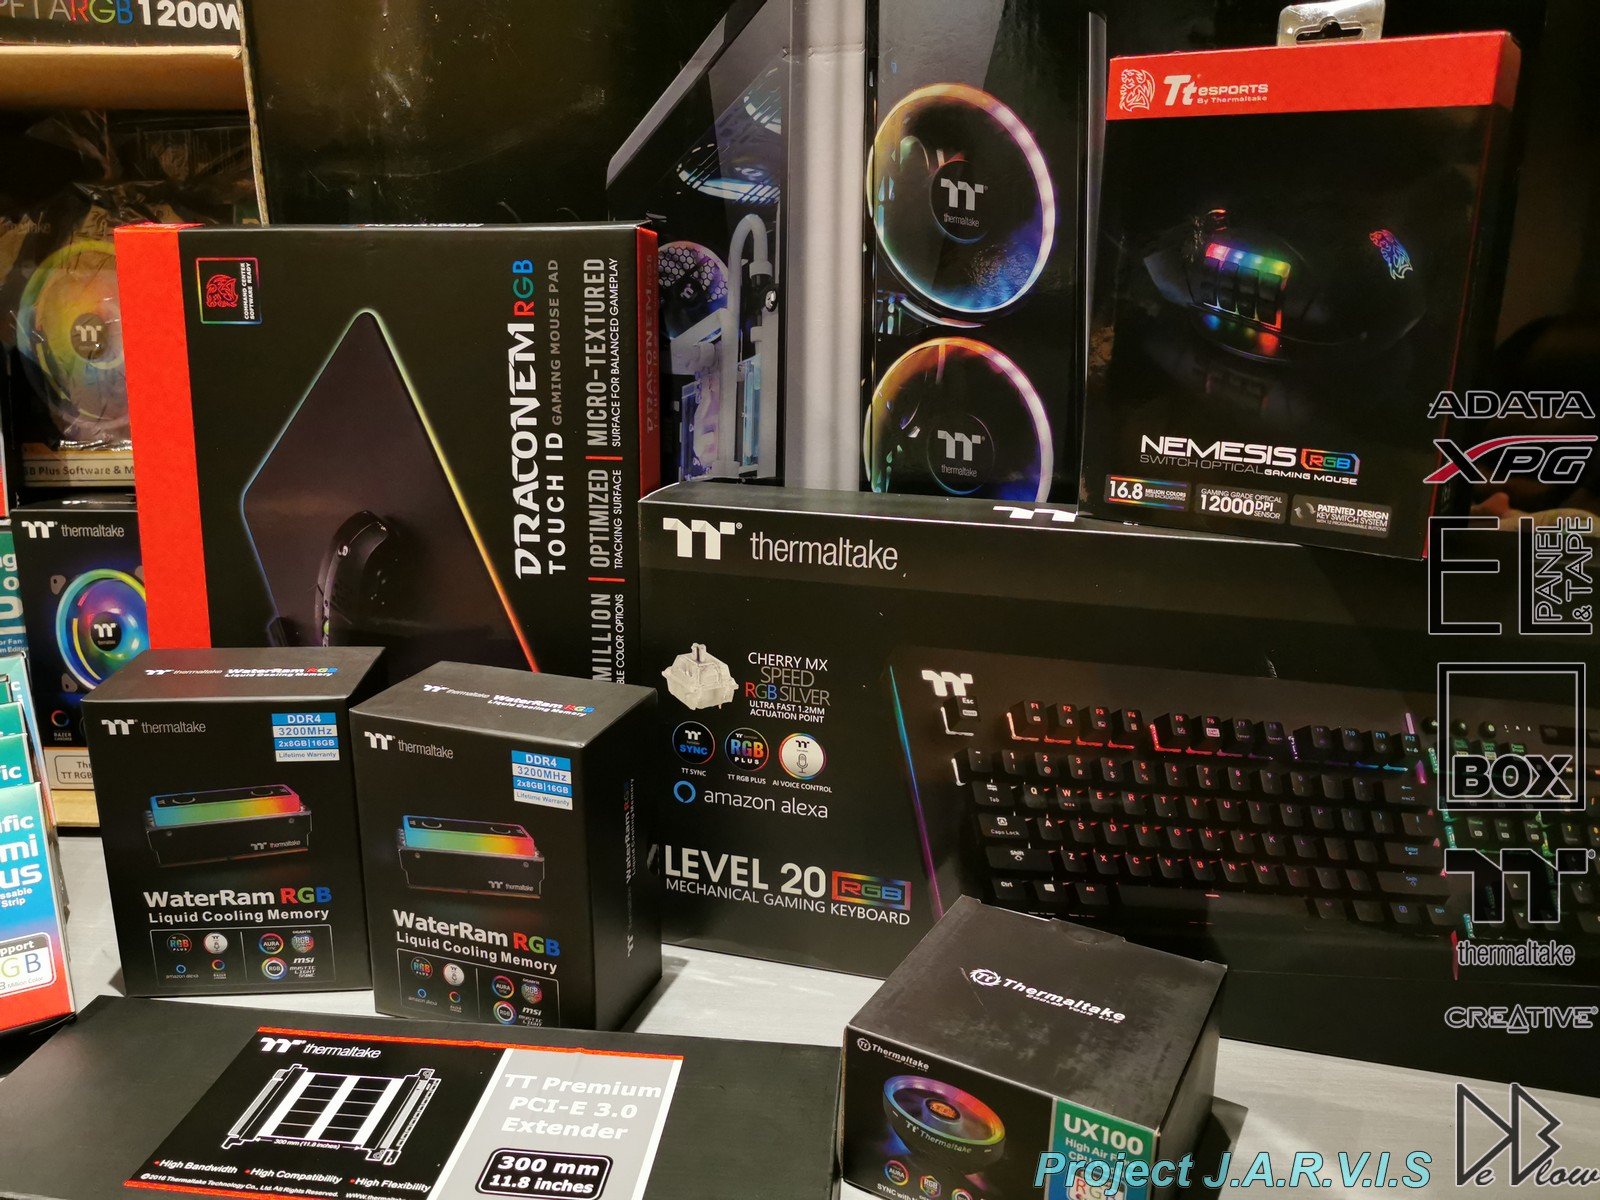
The DDR im using is Thermaltake's WaterRam RGB. 3200MHz 32GB (4x8GB)


-
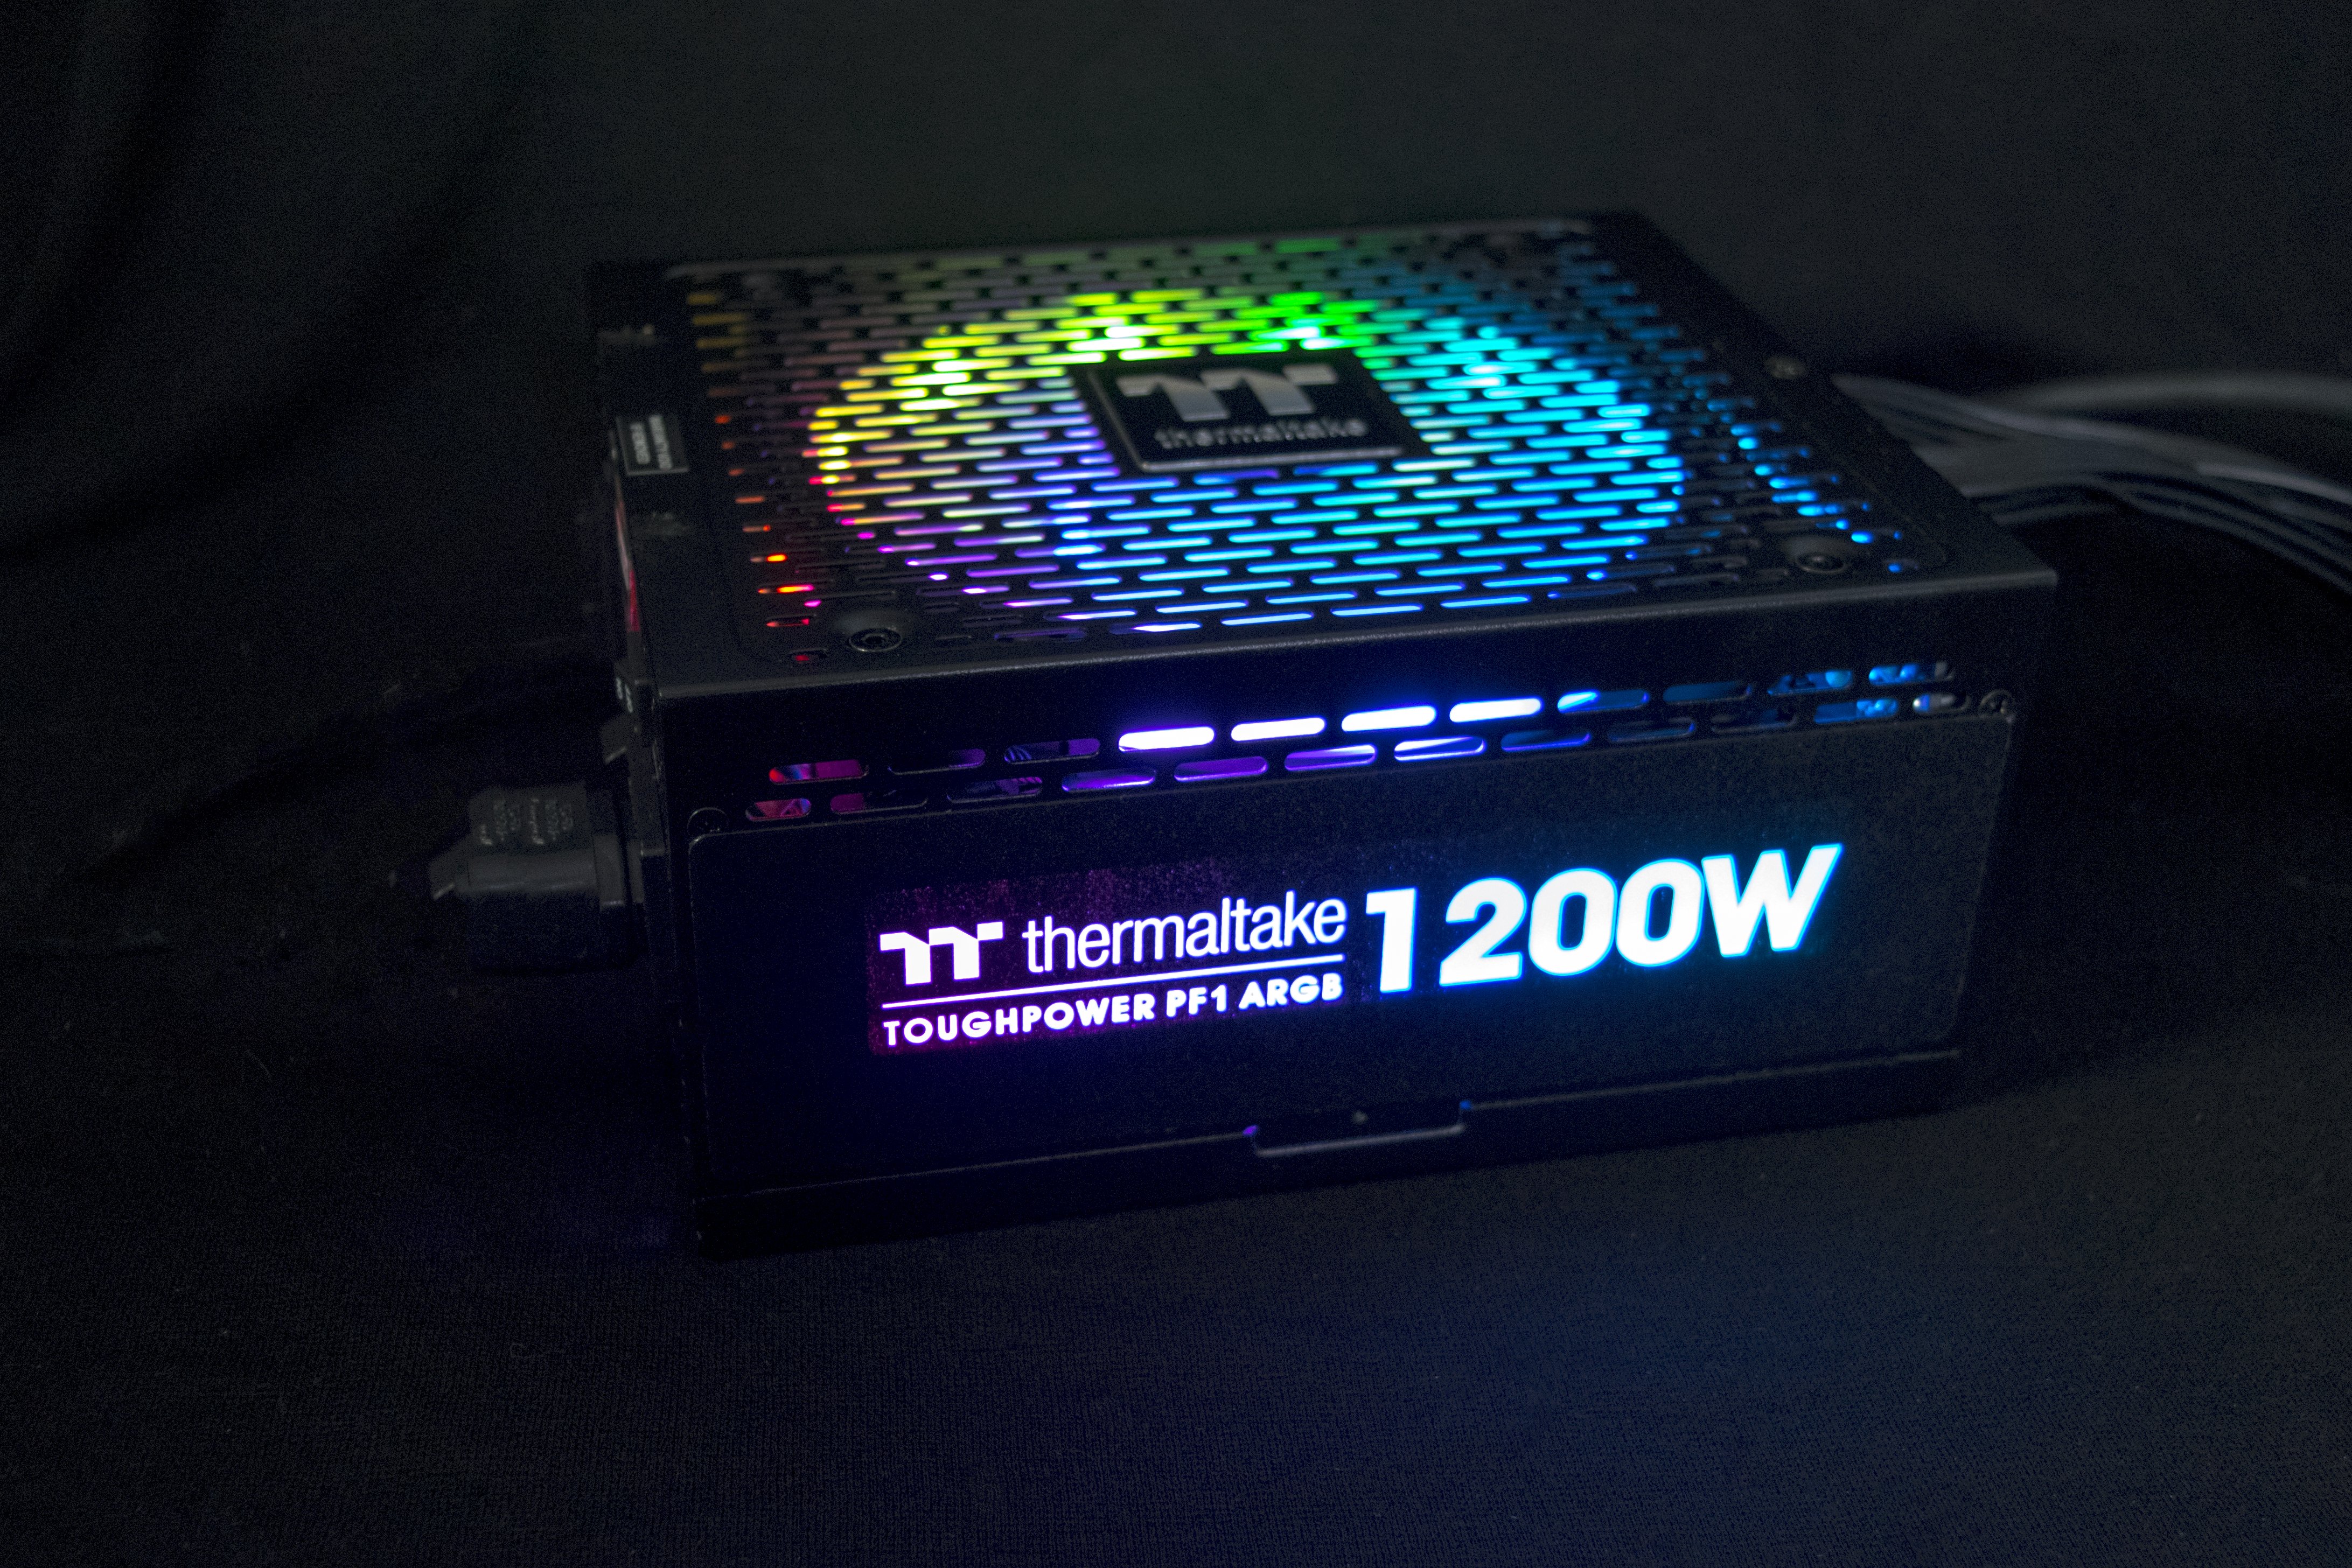
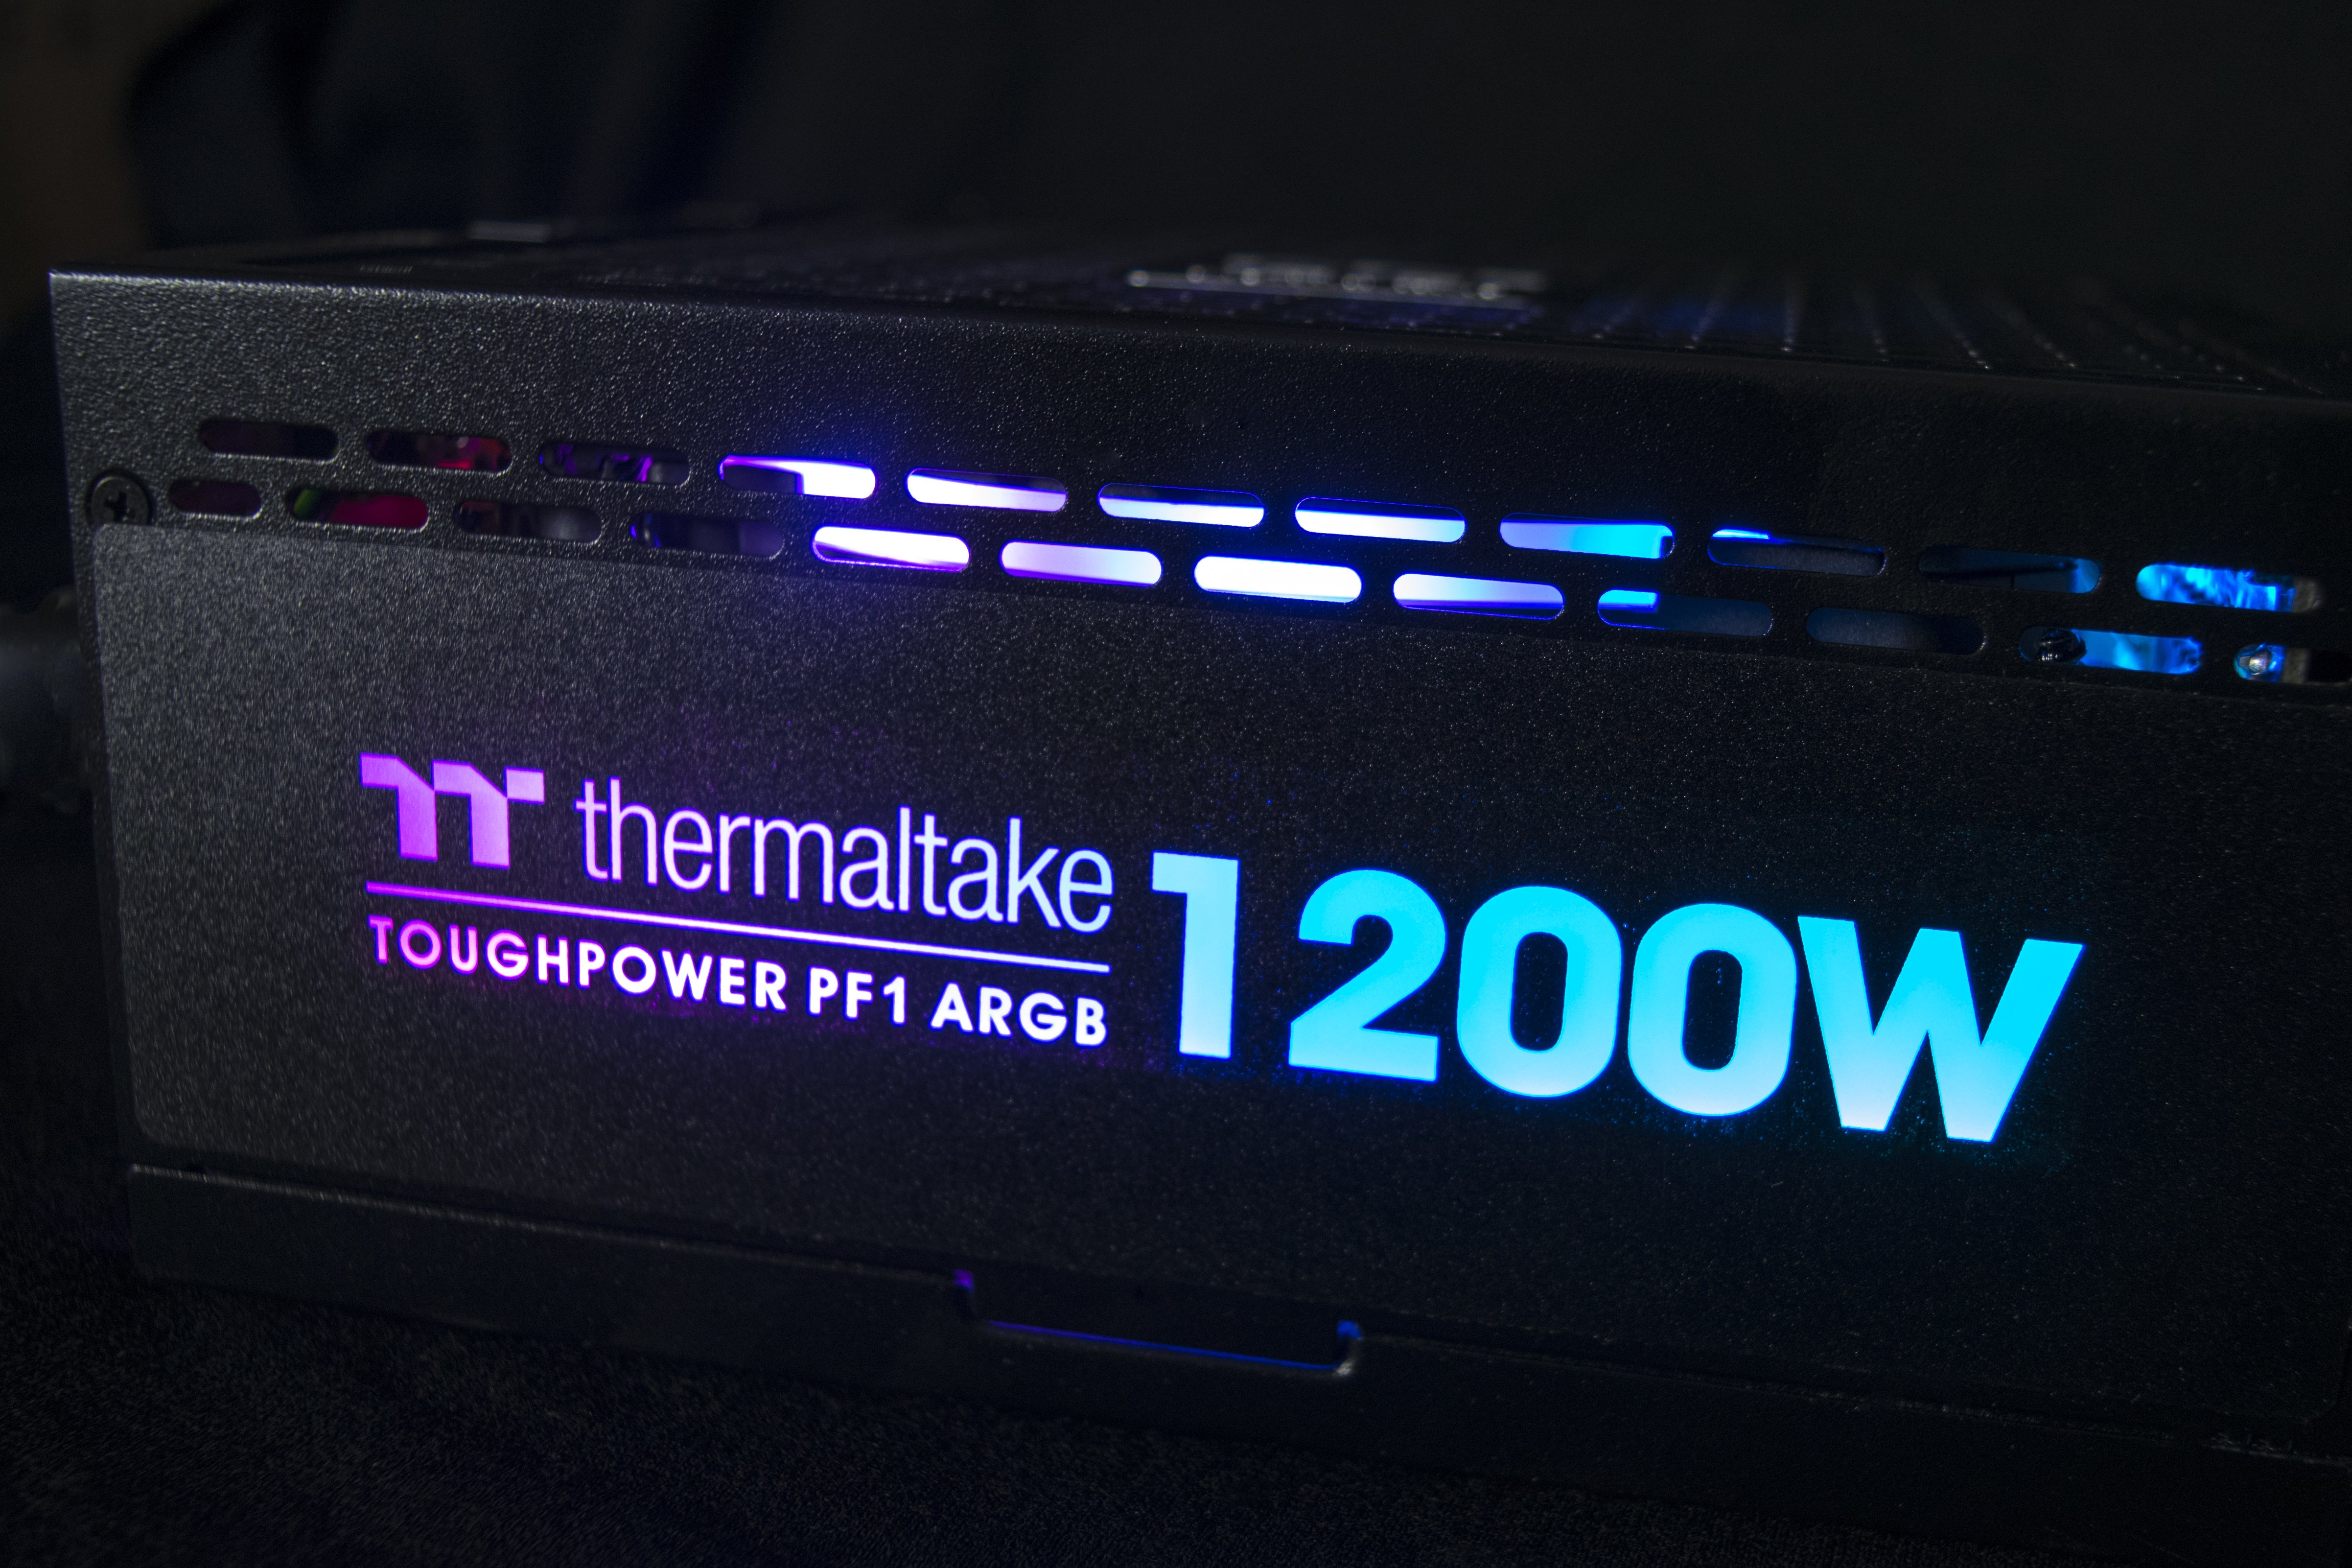
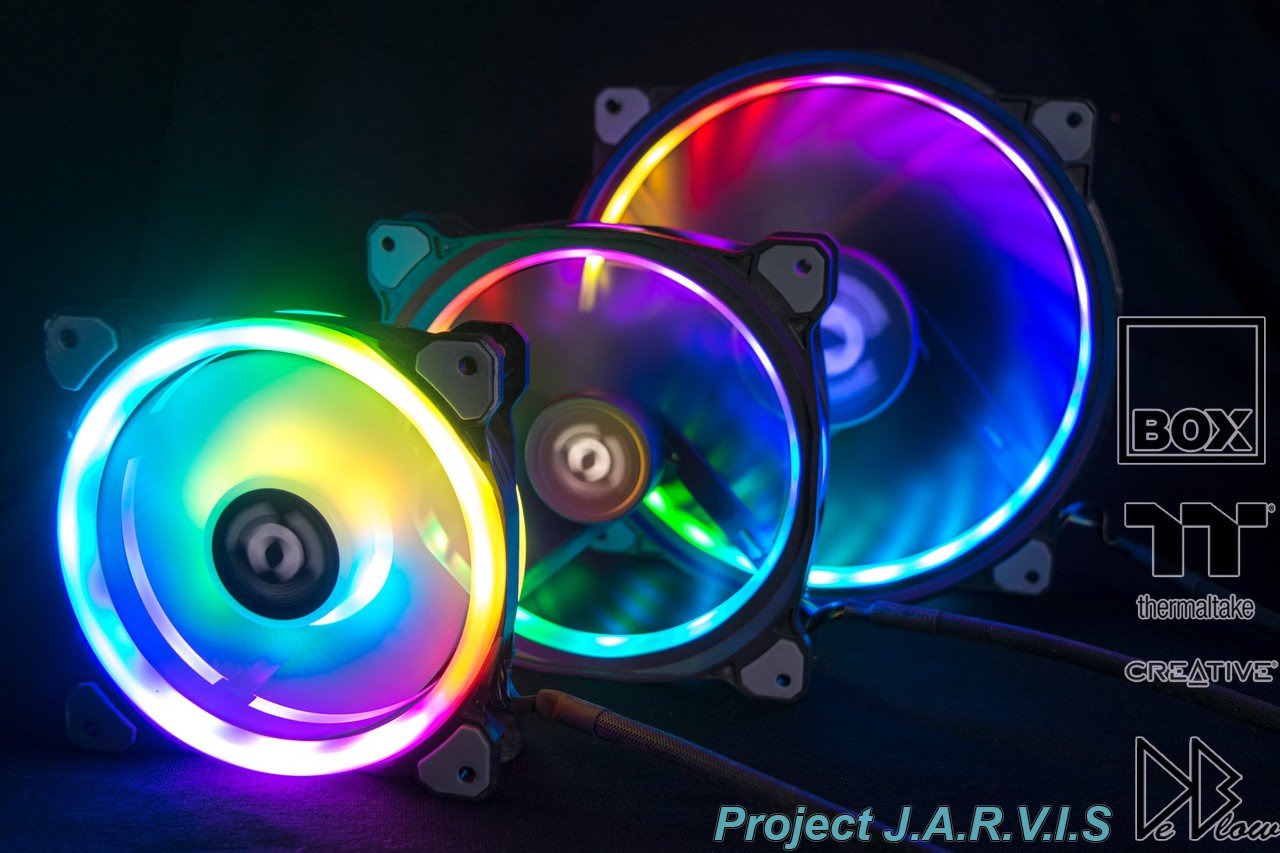
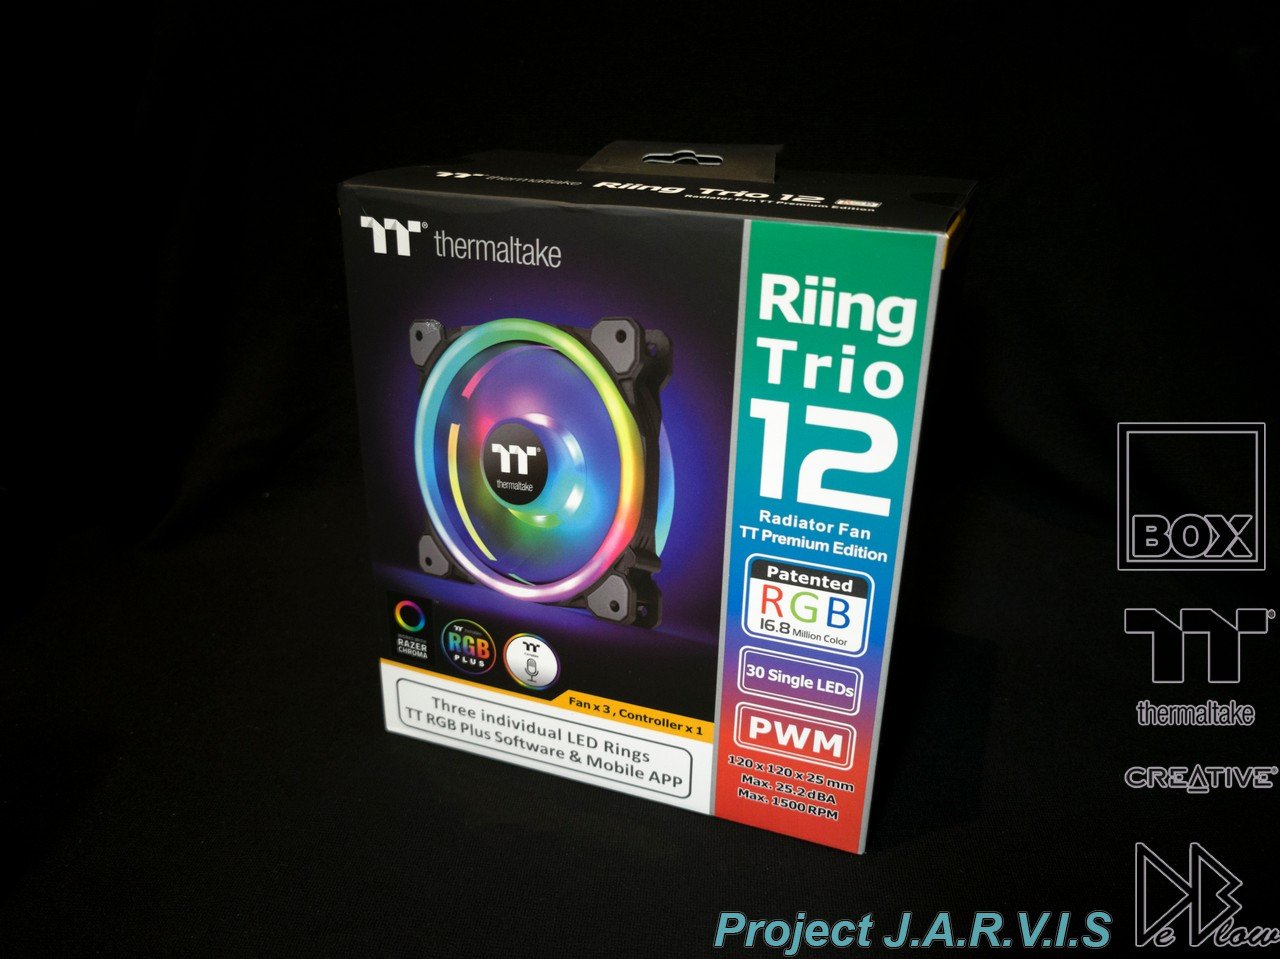
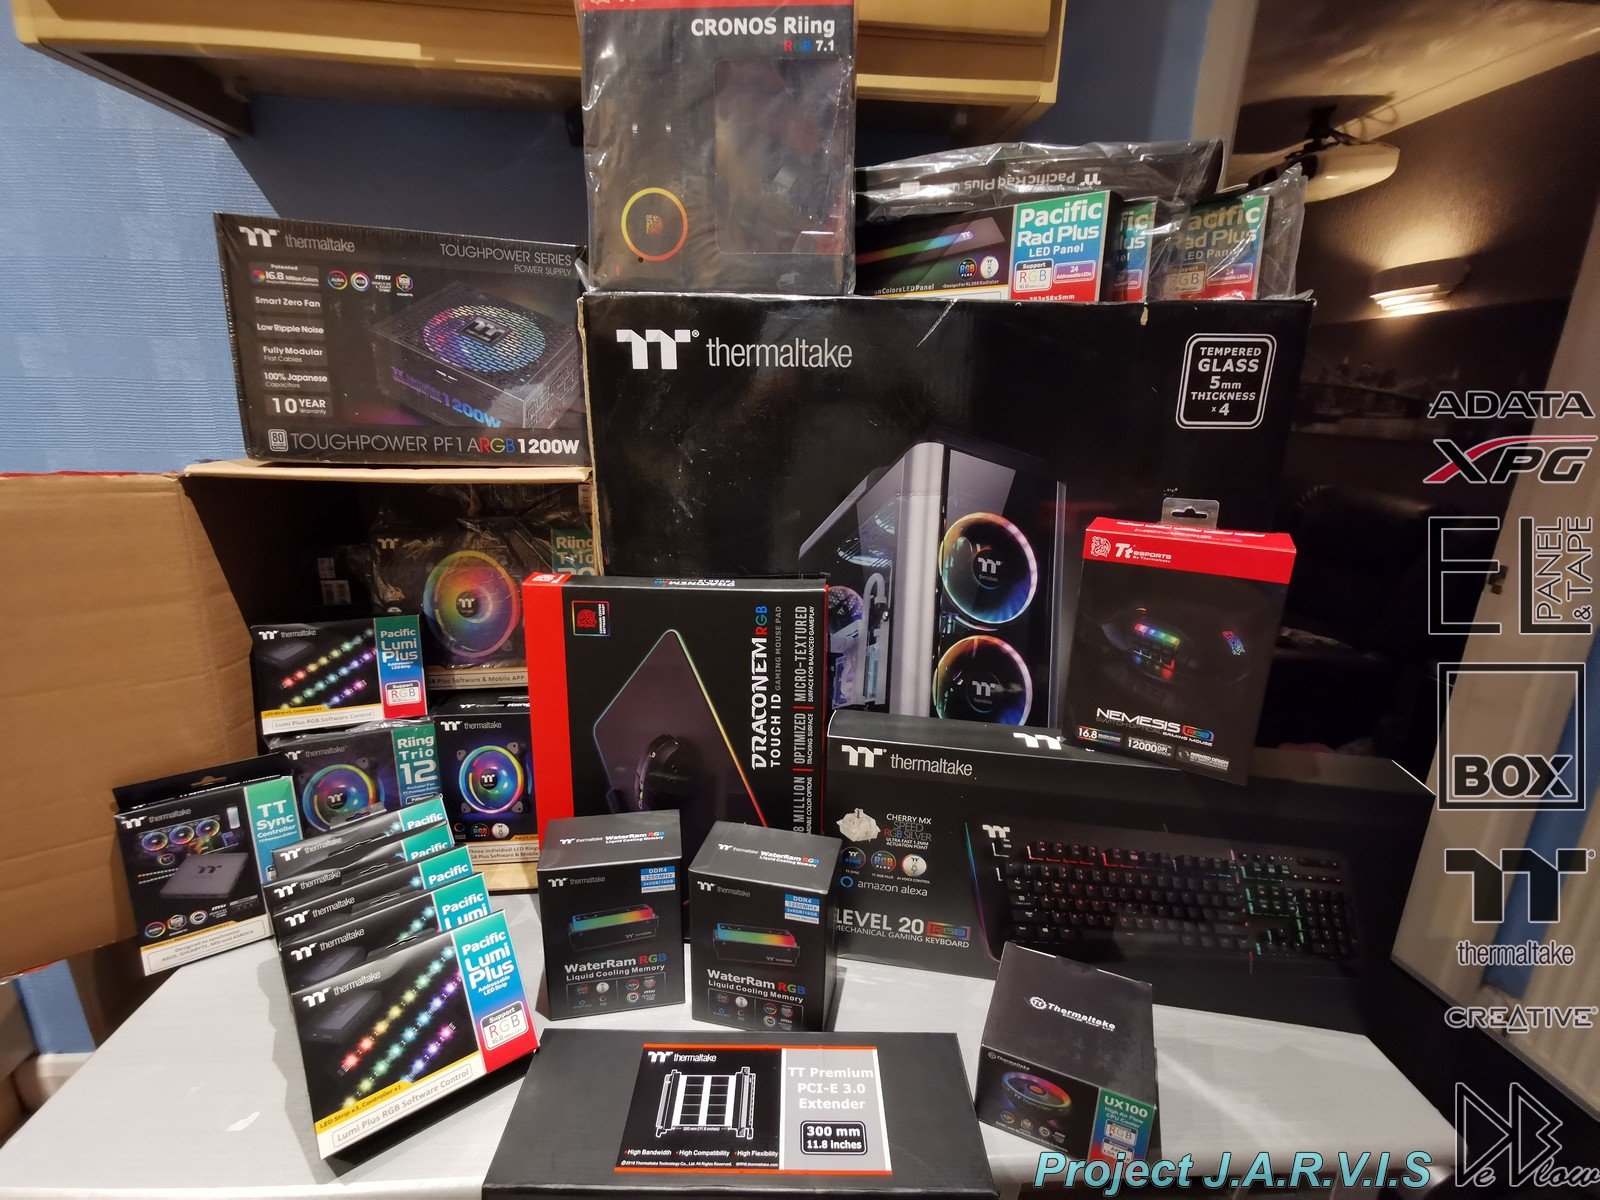
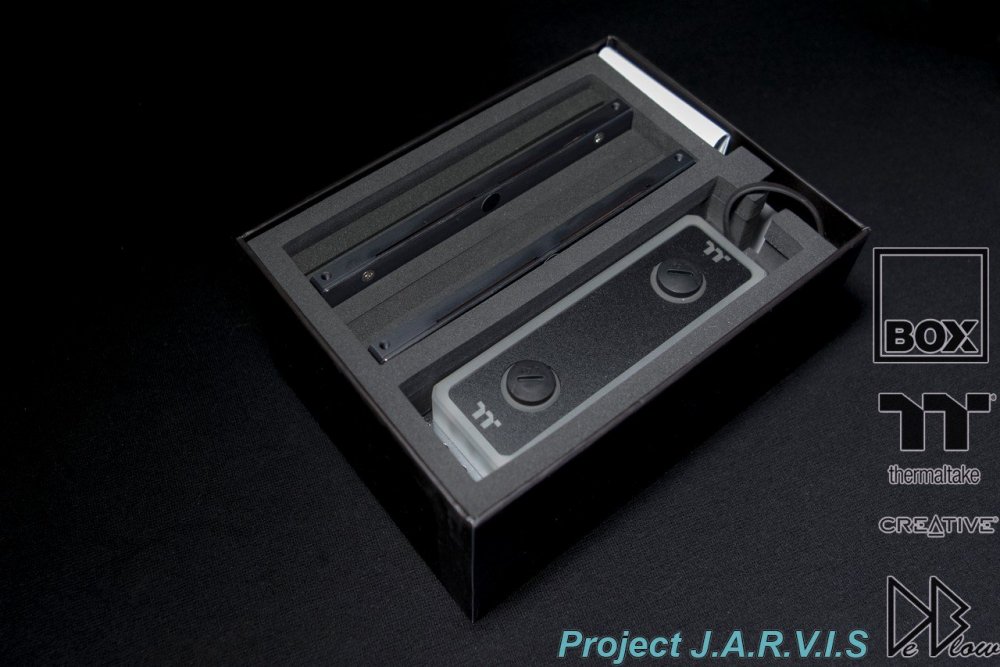
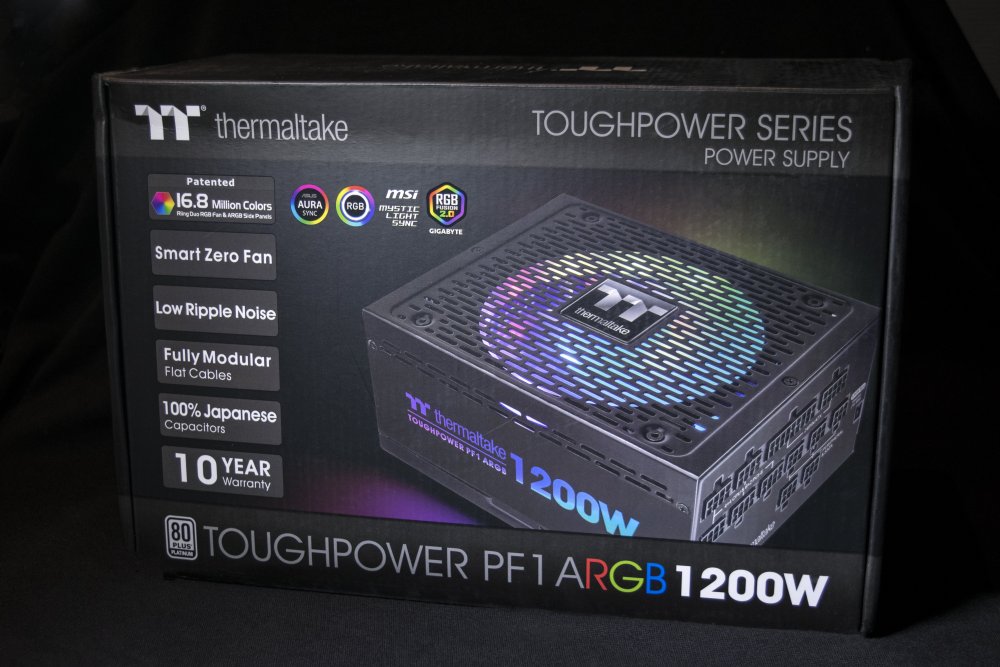
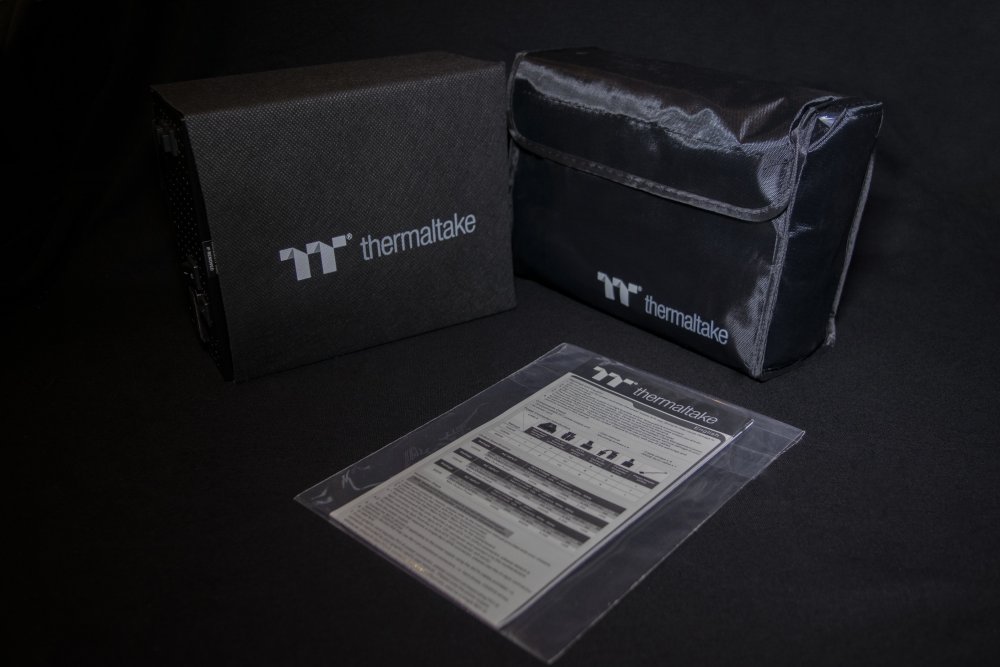
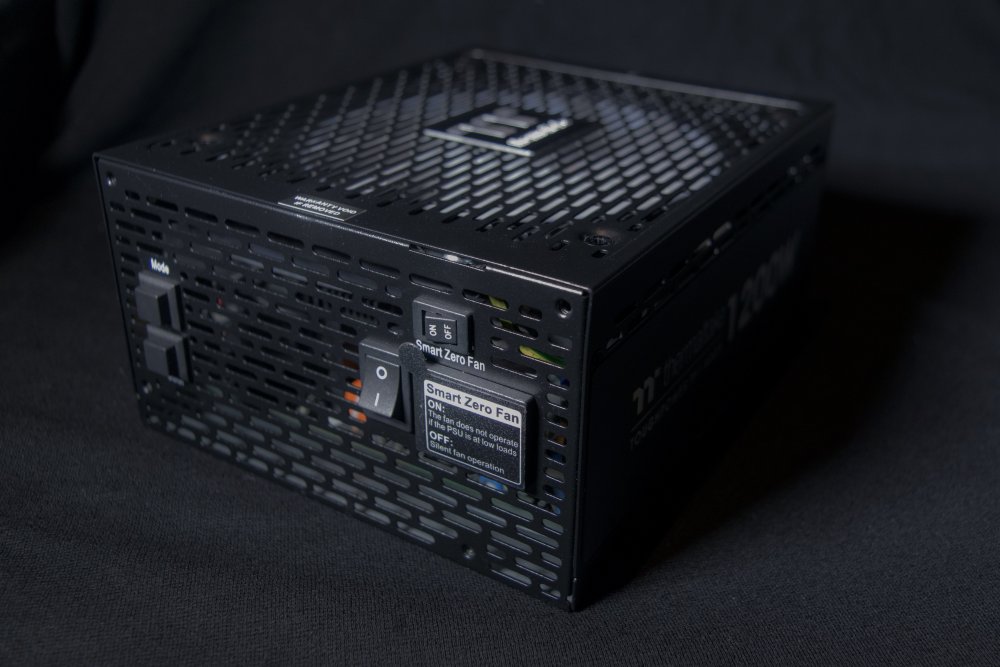
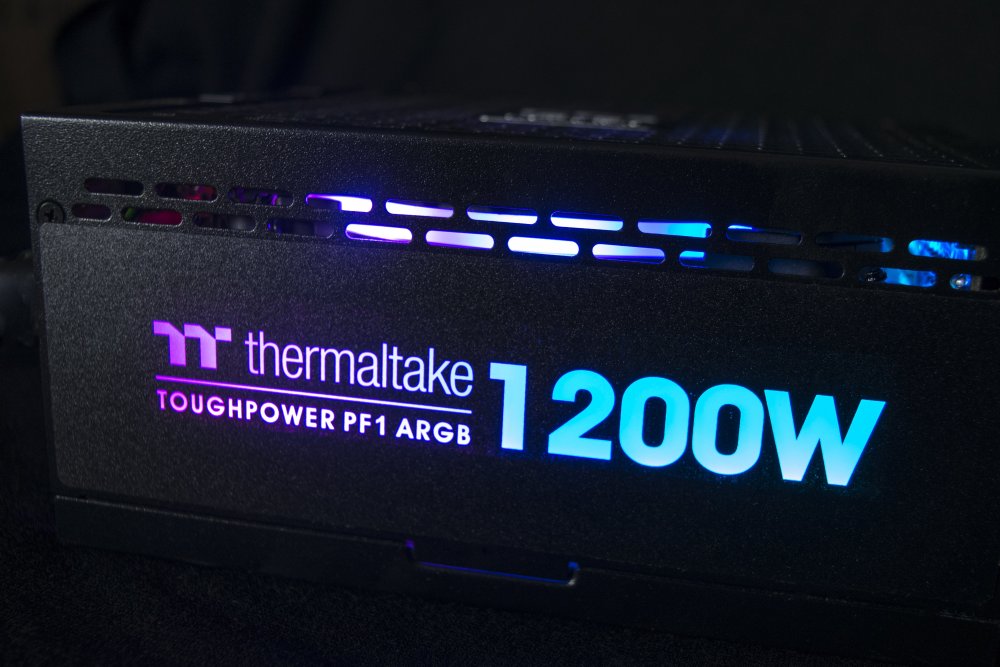
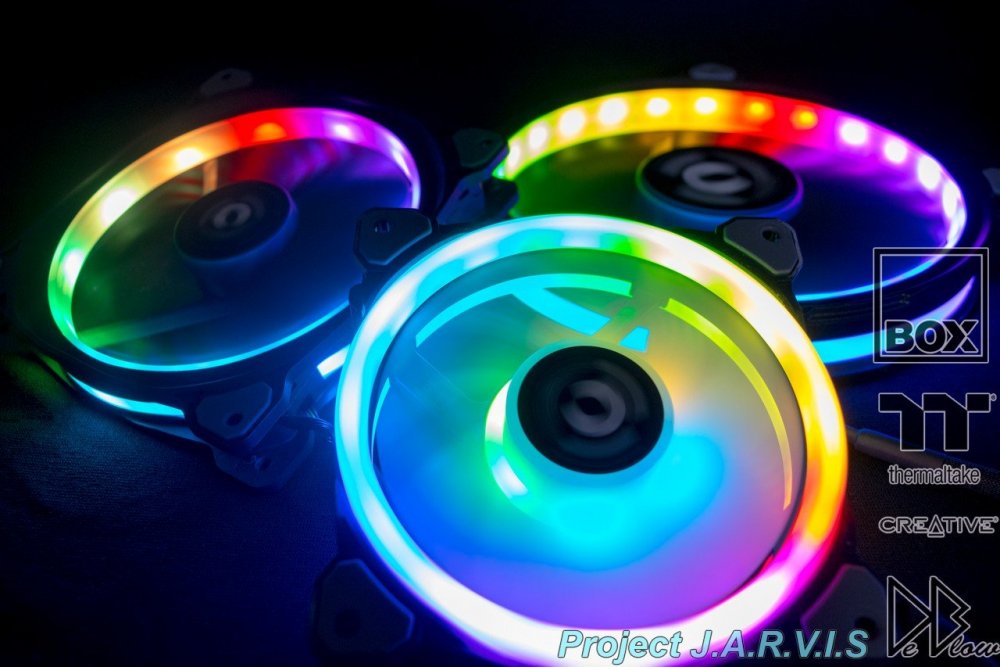
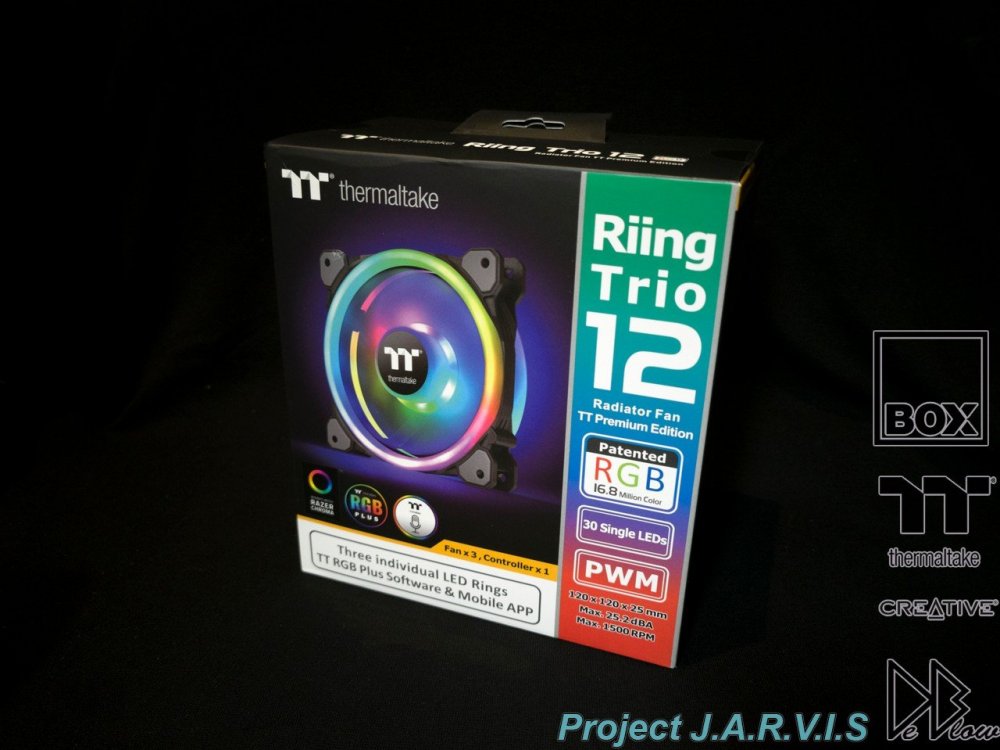
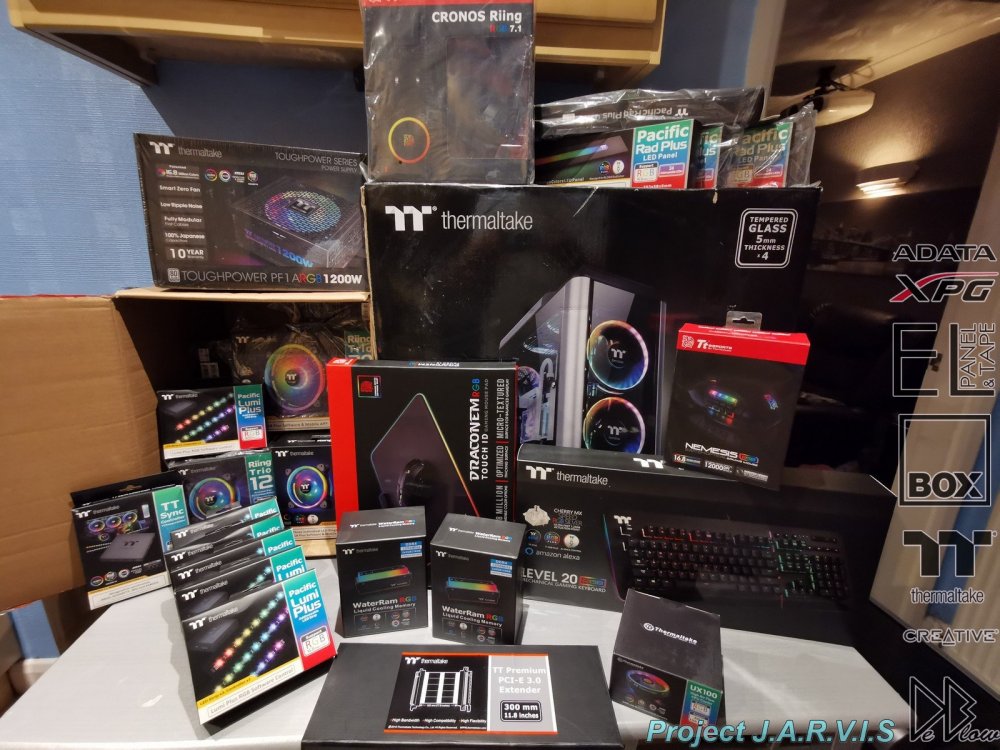
Before this weeks build update I will start of with some of the component shots. Thermaltake Toughpower PF1 ARGB will be the beast powering JARVIS. A nice improvement on the new PSU if the buttons on the back that allow you to control the RGB settings without needing to connect to anything. For the fans I will be using Riing Trio's, had them in the past and I love them. The photos shows the Trio (front) and two of the provided fans that come with the case, 140mm and a massive 200mm.


-
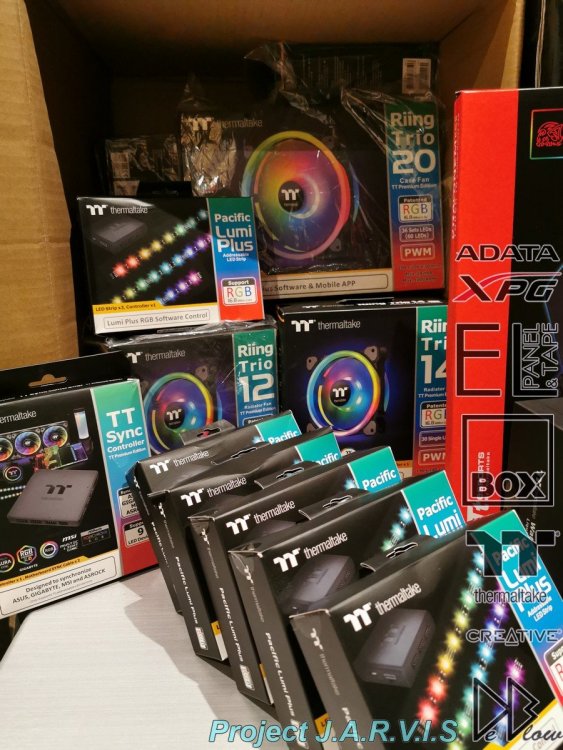
Not counting the water cooling parts, all the Thermaltake bits have arrived so its time to get stuck in More on the parts as I get them unpacked.

-
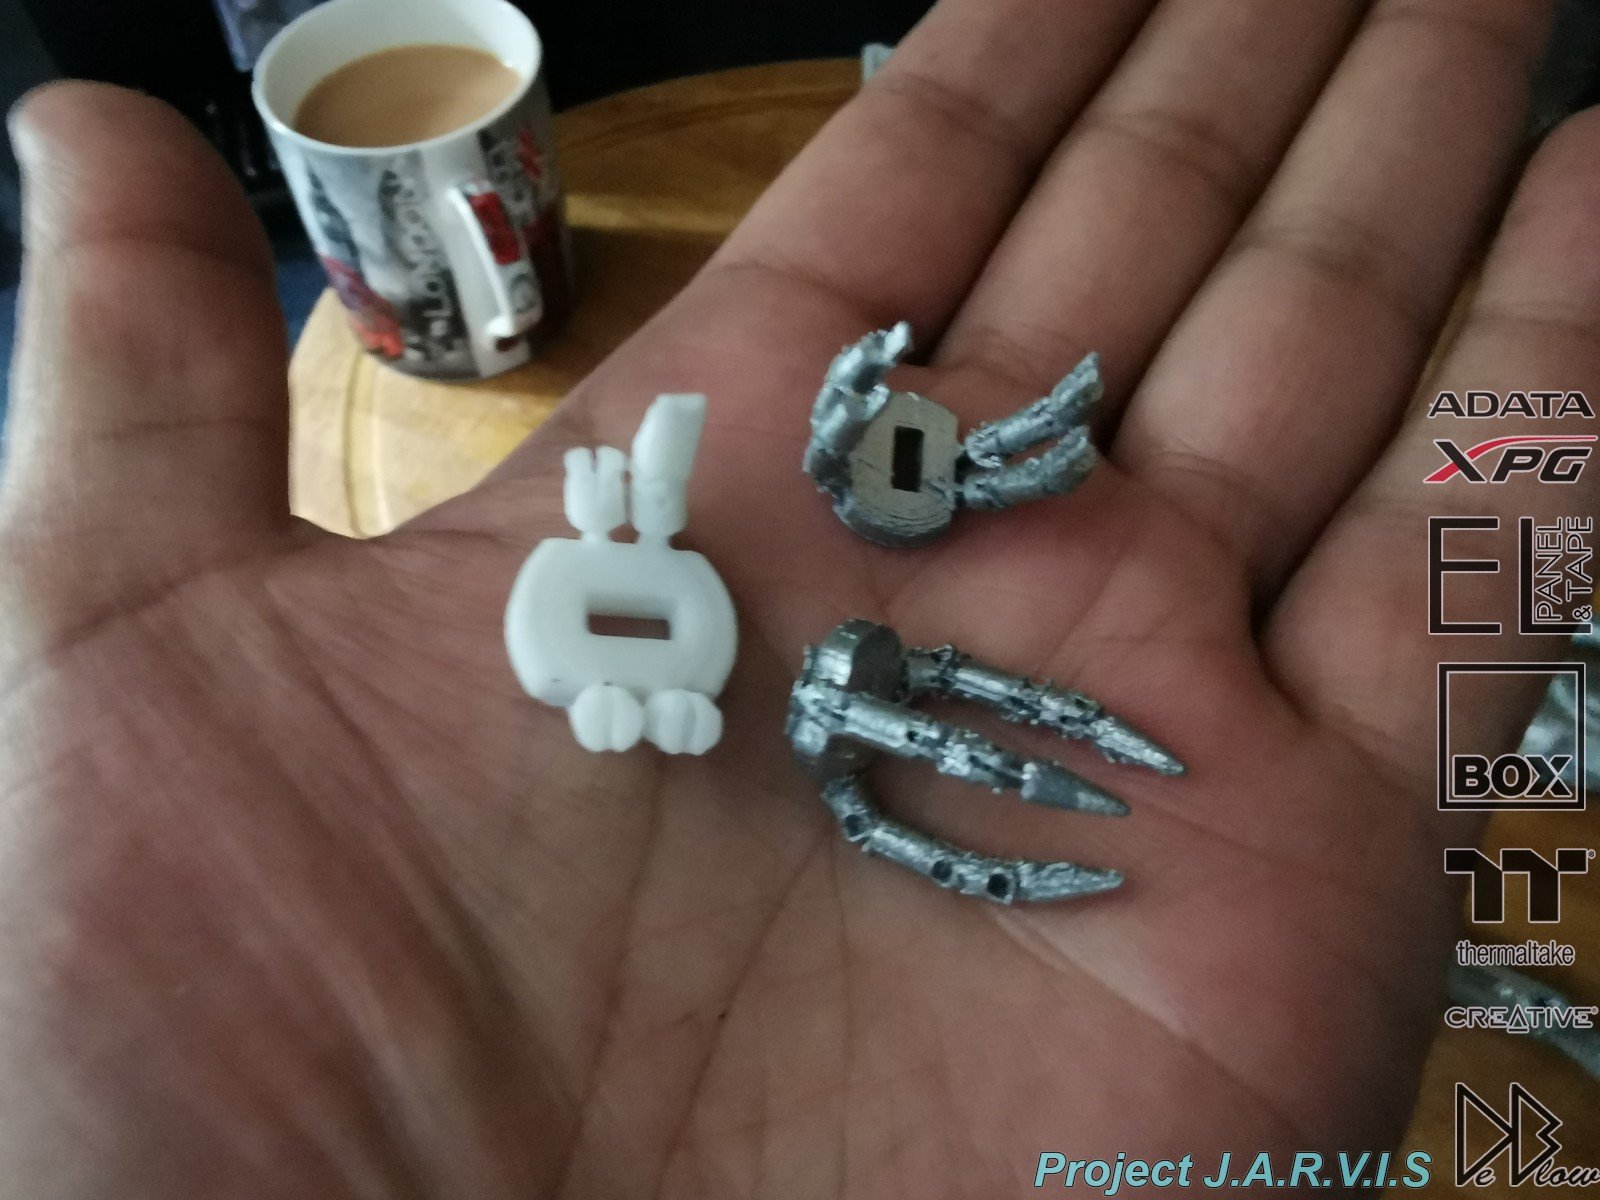
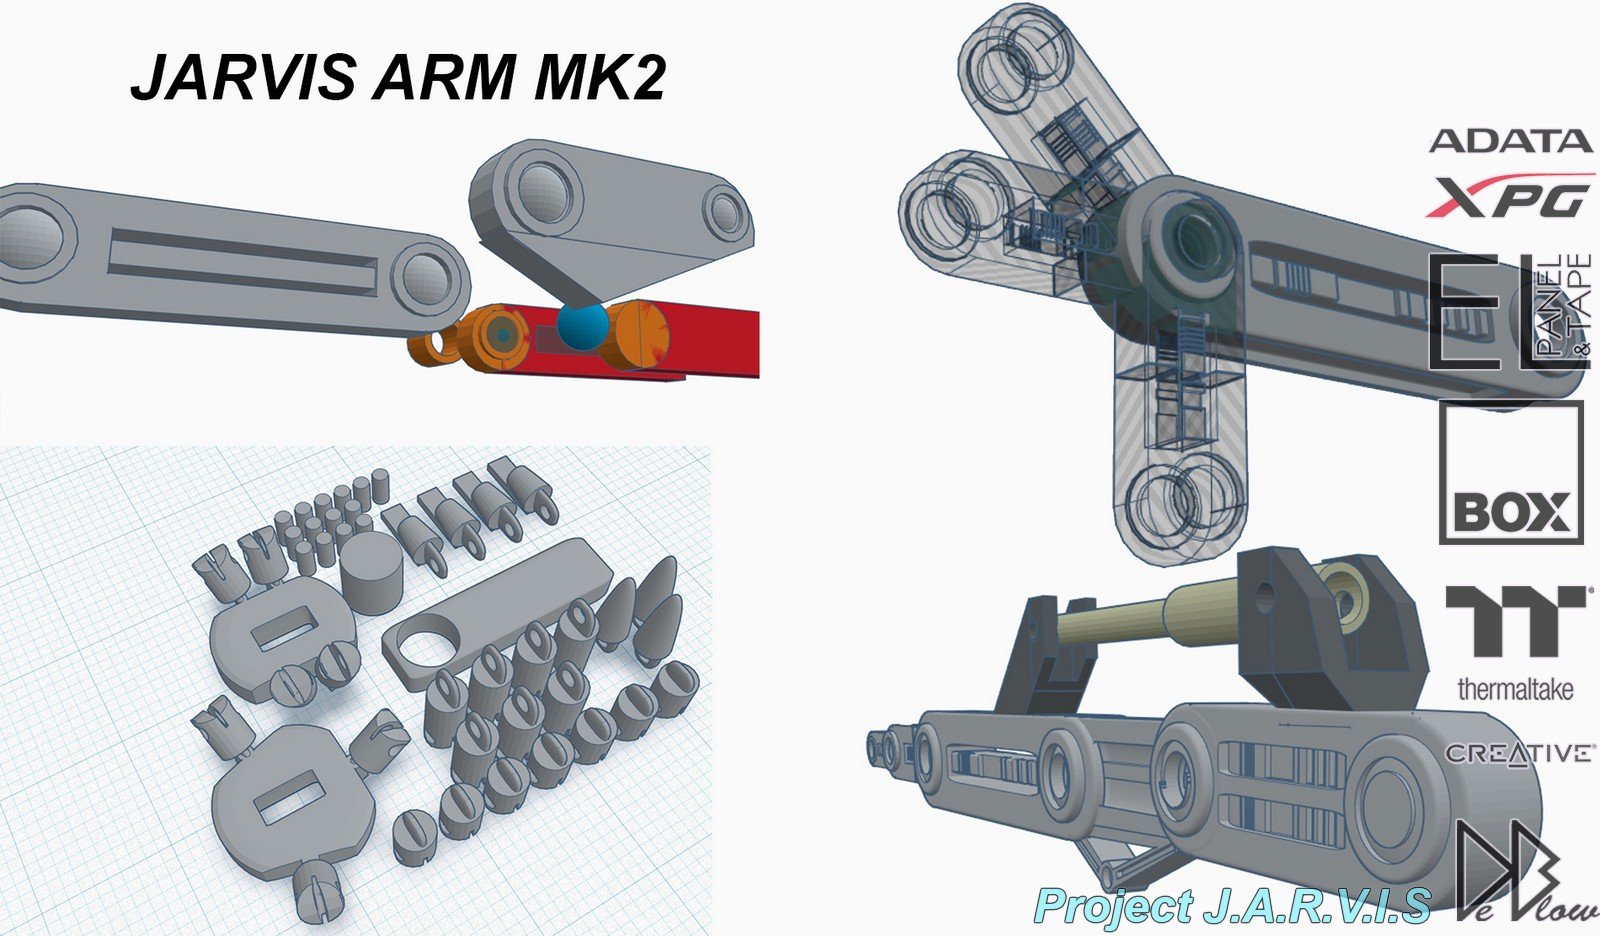
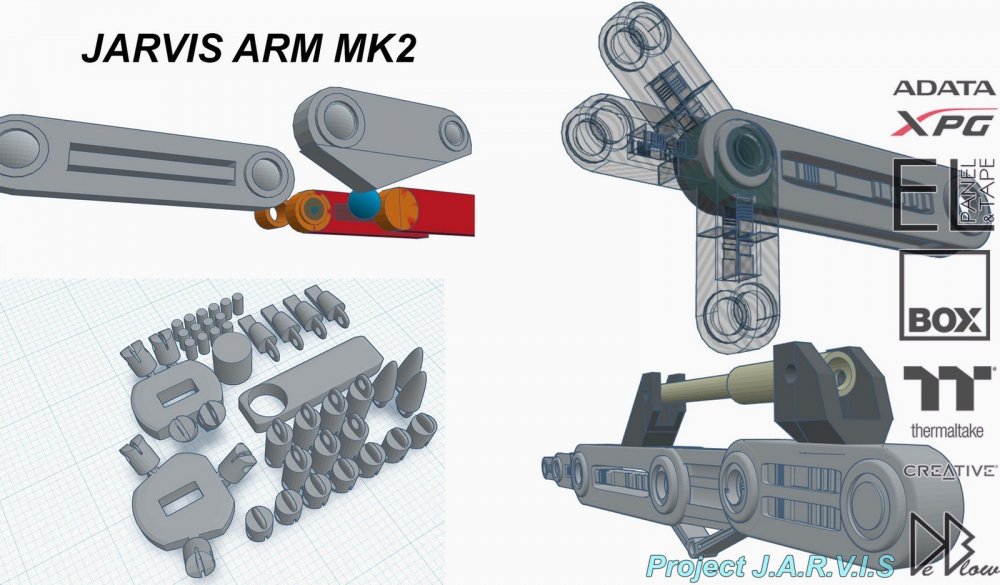
Printed 3 sets of arms to test out, they don't look that great just yet because I printed them small and fast, I'm almost at a happy stage with just some small changes to now be made for the final prototype print. When that's done I will do a small video. The gripping arms will come in 3 styles, 4 finger, 3 finger pincers & the final will have some type of tool on the end, still to be decided.


-
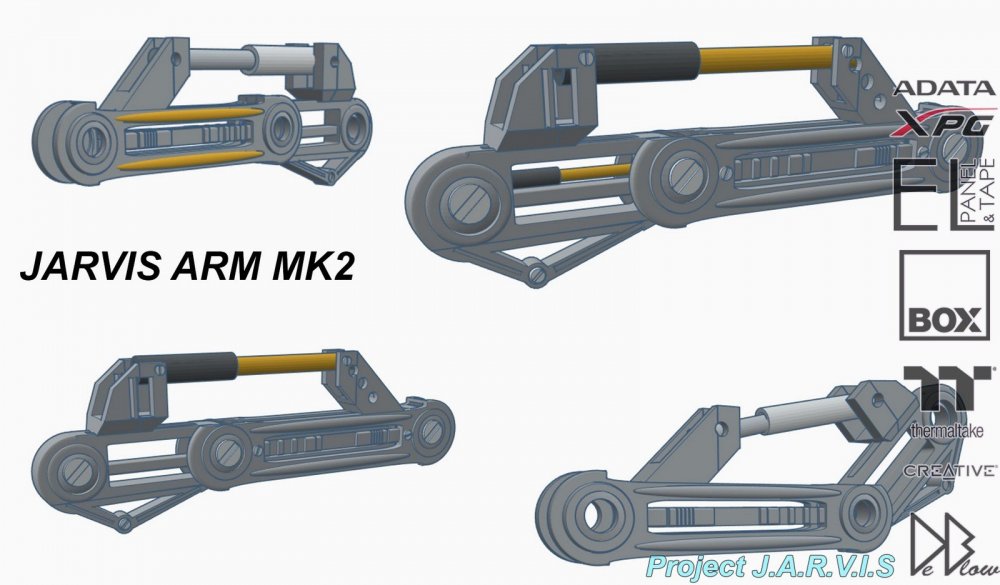
The redesign of the second set of arms (mk2) is almost complete, I will soon print them to test out how well they can be moved.
- 28 replies
-
- 1
-
-
- avengers
- project jarvis
- (and 3 more)
-
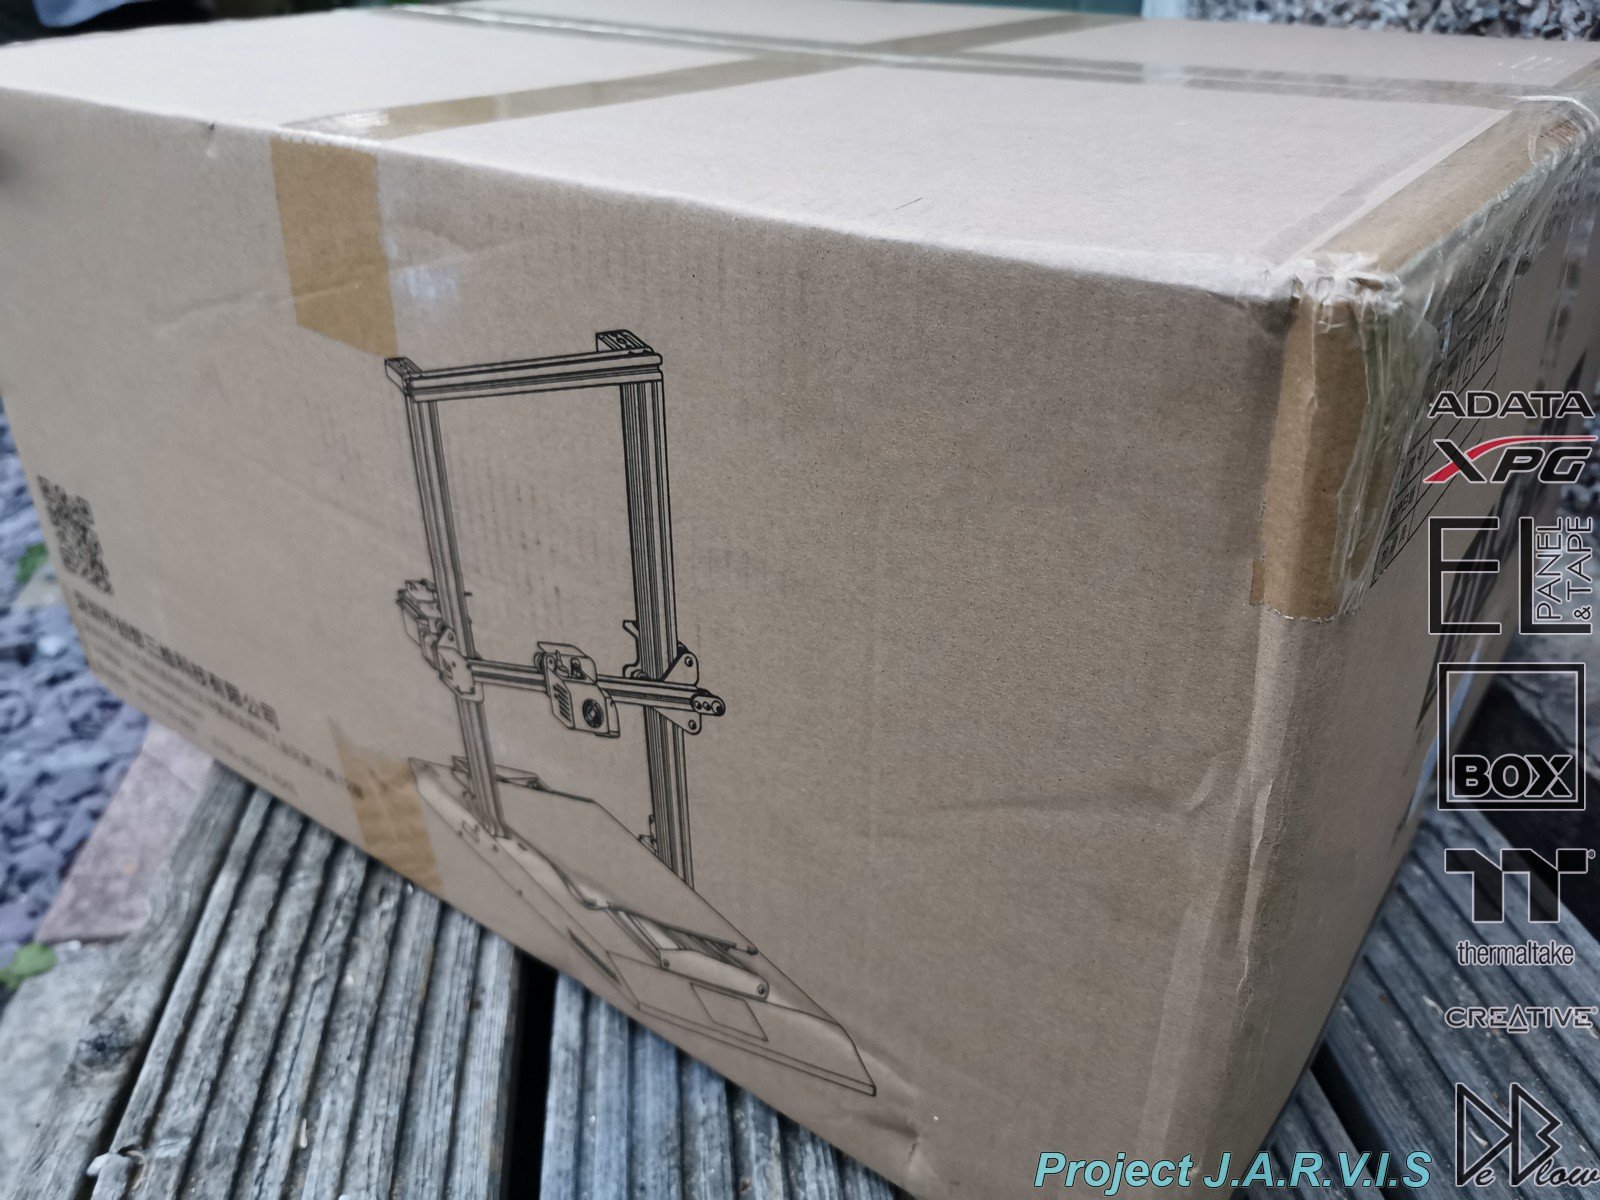
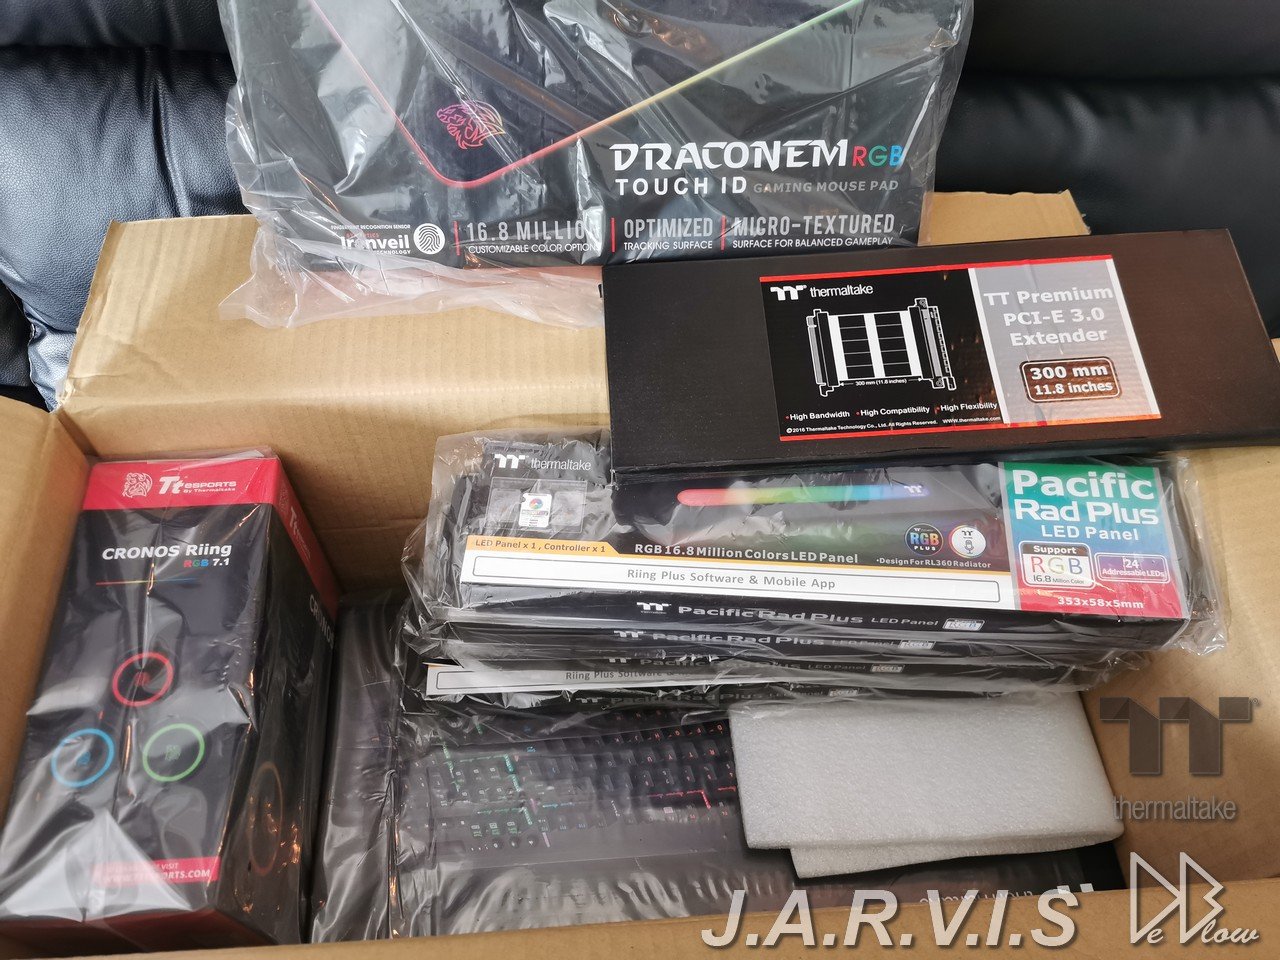
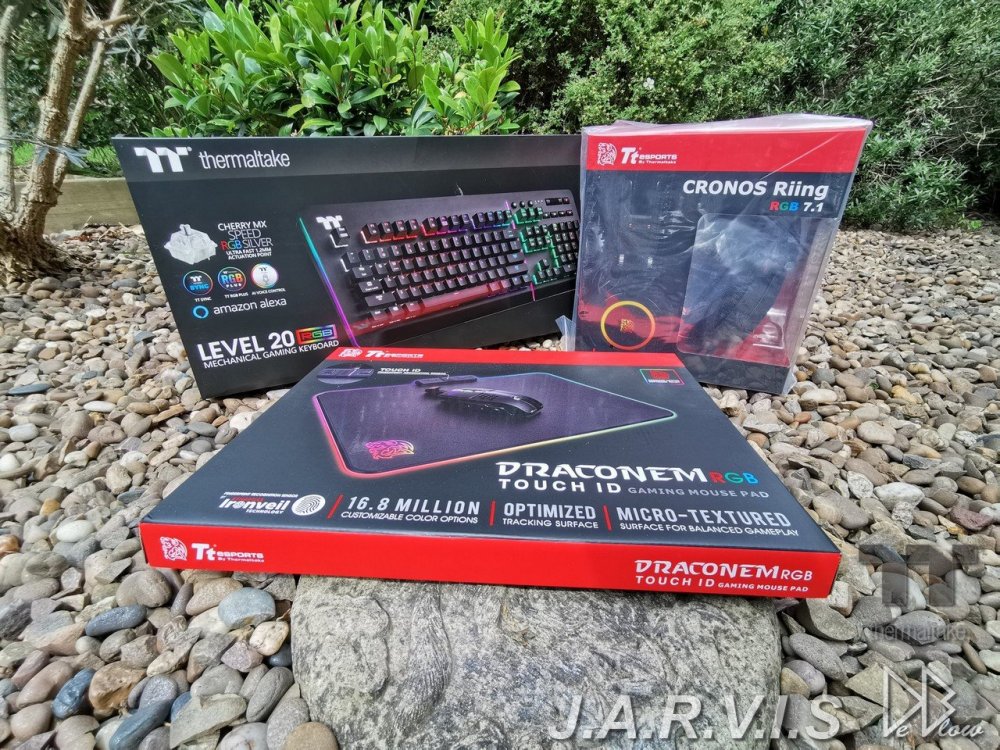
As I await the case and other parts due early next week, I will start of with the first package from TT thats arrived, mostly peripherals and makes a change as the're normally the last to arrive Thermaltake LV20 Gaming Keyboard CRONOS RGB Headset Draconem RGB Mouse Pad with Touch ID I also received a couple more bits I will go into detail with when the other parts arrive. If you have seen my original posts on the competition page you will have already seen the 3D design and print I made to help give myself and you guys a better idea of what I want the final build to look like. For anyone that missed it...... I have decided to update the 4 robotic arms so they can move, originally I thought it would be too much work but I've had time to reconsider and believe it will be helpful, should anything look crappy in the original positions I had on the concept art, it will now be more easy to change things around. I'm working in this at the moment and will update you again when the parts arrive as I have to double check sizes and how things look in person.

- 28 replies
-
- 1
-
-
- avengers
- project jarvis
- (and 3 more)
-
#PreludePC A Honda Prelude Sponsored Tribute Build
Rob "Deblow" Deluce replied to DDCustomMods's topic in Modding
-
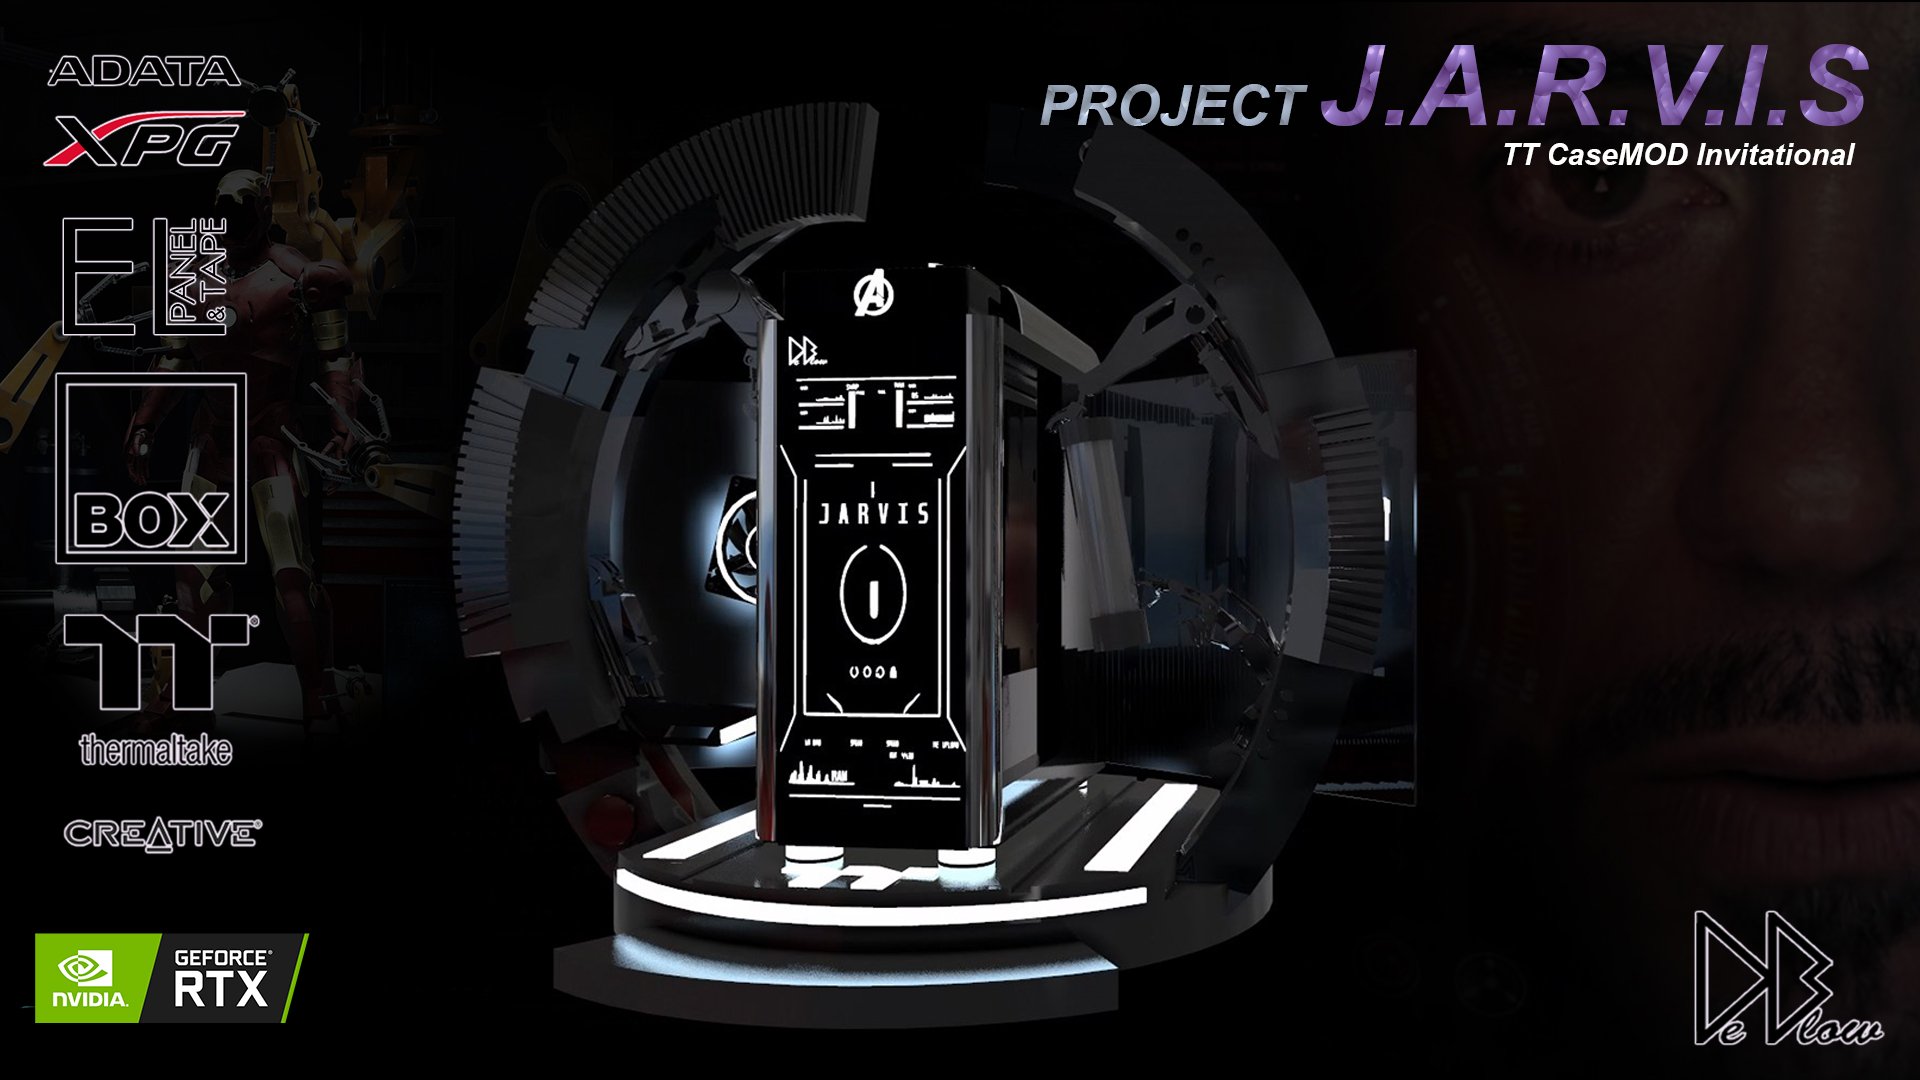
Welcome to my new project log, The project is called J.A.R.V.I.S reborn, in full. My name is Rob Deluce (megadeblow), I'm a modder in the UK and just returned after taking part in Computex 2019 with Thermaltake due to me winning 1st place in the concept design stage for Thermaltake CaseMod Invitational Season 1. This will be a big project and one im looking forward to starting due to my love of Marvel movies and comics. The design is my take on the style of gantry that Tony Stark uses in the IronMan movies to suit up, with this design the robotic arms will look to be building and installing components, using this idea will really help put focus on the great components that's going to be used to make this gaming PC and also keep the cases original shape and layout. I will be working with wood, paints, glass, plastics, 3d printing, airbrushing, wrapping and so on, so basically a bit of everything i have worked with in past builds, aside from clay Will be updating the log as much as I can, my parts should start arriving soon and I will be back as soon as they do, updating you with the specs and progress. Here's a render video, this is my first attempt at rendering to a high standard and pre planning almost all of the build prior to starting work, I tend to work on the fly normally as with all my past builds so this will be a big change for me. Main colours will be brass, chrome/silver & black but I still have to decide on the amount of each colour and placement. As always, the lighting will also be very important as was with my last build, Black Panther. https://www.facebook.com/megadeblow/ https://www.instagram.com/megadeblow/ https://www.youtube.com/user/MegaDeblow

-
Thanks gald you like it Respect! Thanks
-
This is my concept for the TT Talent 2019. BUILD NAME: J.A.R.V.I.S Reborn The lighting design on the front and top are rough due to time spent and would be more detailed and better looking should I get the chance to build my design. I won't say much more as the video is a bit long, sorry :/ Would like to Thank Thermaltake for the opportunity they have provided us with and I wish everyone good luck and congratulations for making it to stage 2!