-
Forum Statistics
7.6k
Total Topics50.9k
Total Posts -
Member Statistics
136,012
Total Members16,800
Most Online


Representtexas
-
Posts
28 -
Joined
-
Last visited
Content Type
Profiles
Forums
Downloads
Events
Gallery
Blogs
Posts posted by Representtexas
-
-
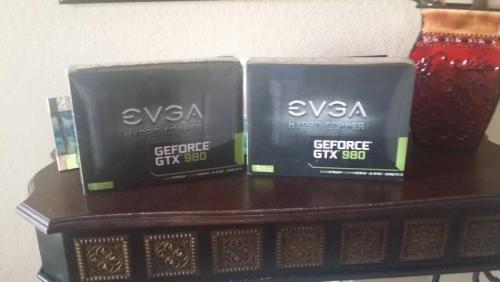
These beauties arrived today! I decided to order them while I wait in queue for the EVGA step up program since US stock seems to be limited right now.Would hate to get my 980tis and then all water blocks sell out and I have to run them on air in my build.This is my first time trying the EVGA step up program but so far it seems like a really cool service to offer. I will update once the cards get here (looks like another 4 weeks.)

-
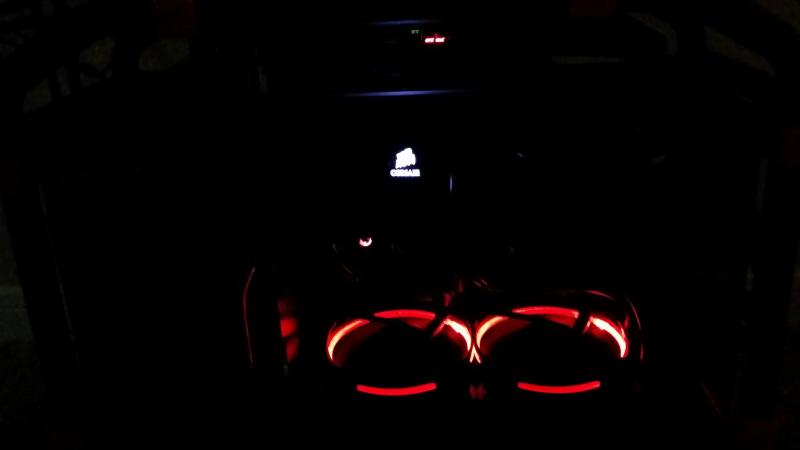
Thanks ThermalMike. The pictures don't do it justice, i need a better camera but the glow is not as overbearing in person.
In other news, I have decided to take advantage of the "Step Up" program with EVGA. I will be trading my 980s for a pair of 980tis. They will be mounted with EK Nickle blocks and pretty Blue Backplates to match my color scheme. So stay tuned for more photos.
-
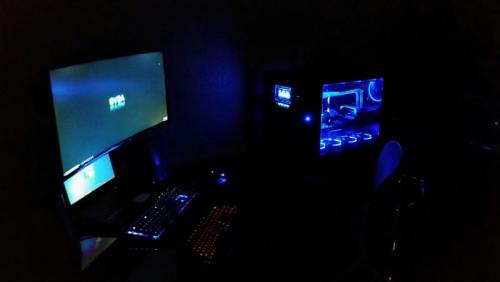
Thermaltake CoreX9It's alive!!!Booted up without a hitch.In closing, I planned these builds for almost a year. I wanted to build for my son that he could easily transport and that would meet his gaming needs at 1080p for a couple of years.I wanted a new build for me for gaming at 3440x1440 for the next couple of years with no issues. Something that would be direct 12 ready and with massive amounts of watercooling. My son wanted a classy clean build with a little bit of pizzaz while I wanted something that made people step back in awww when they walk into my office.With a $3000 budget and a few spare parts I think i achieved those goals. I do wish I had a little bit more cash to move up into x99 and a pair of 980tis but then again.. another reason for another build down the road.Hope everyone enjoyed our builds. I will still be updating with overclocking numbers and tweaking with the software features but the builds are up and running. Cheers!


-
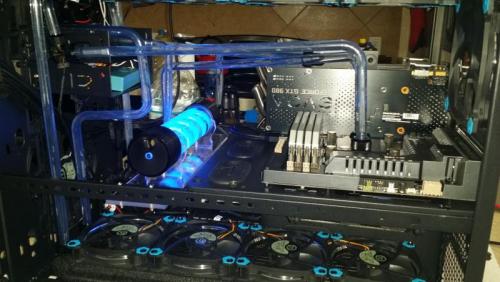
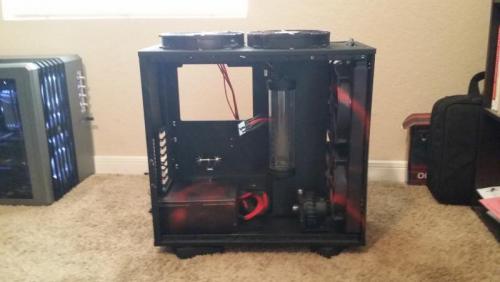
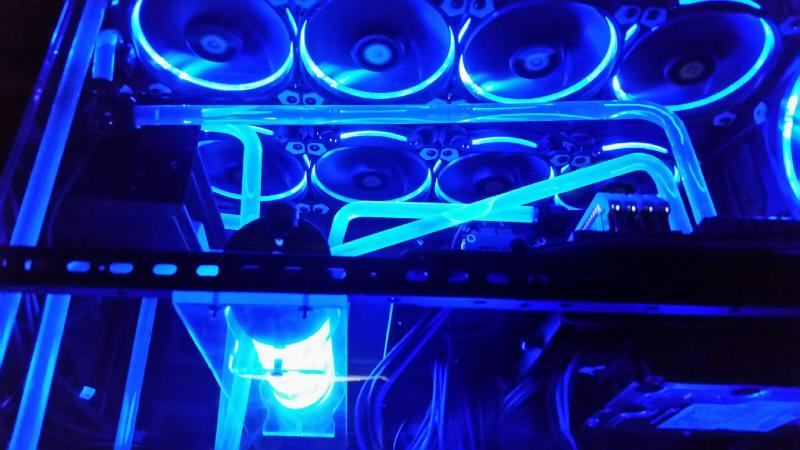
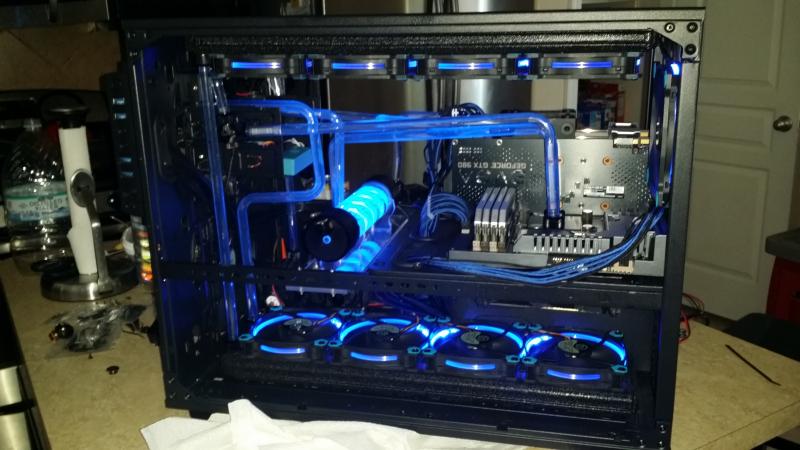
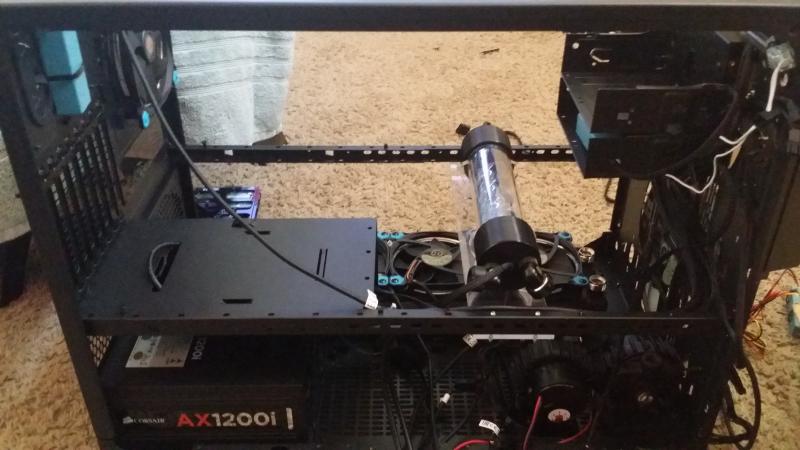
Thermaltake Core X9Leak Test Time!
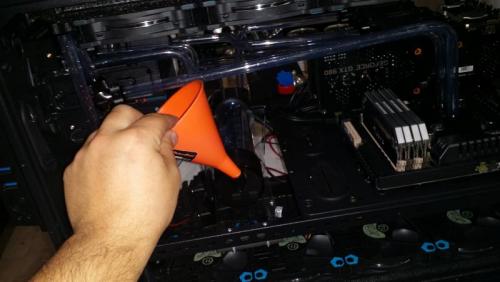
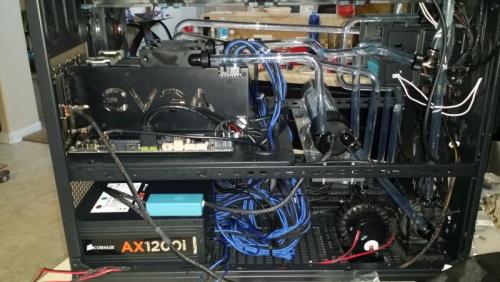
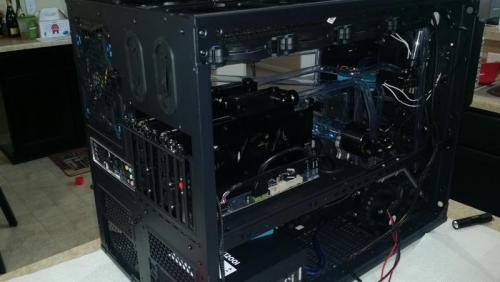
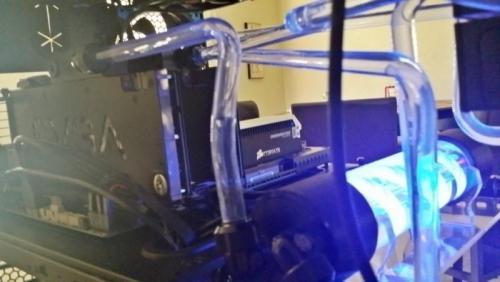
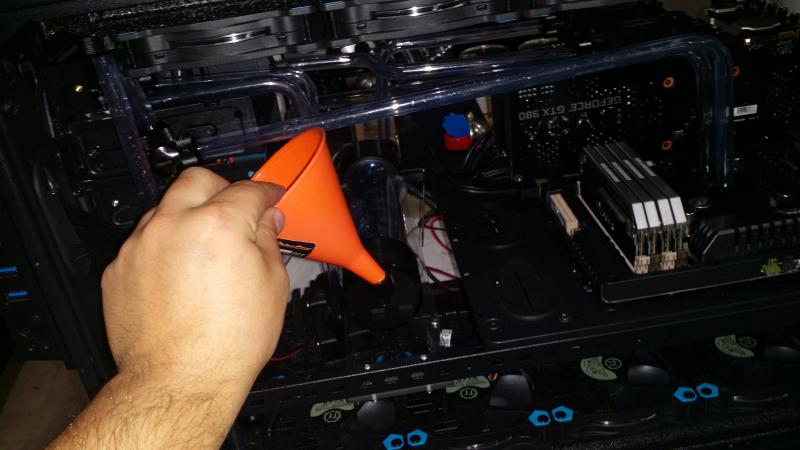
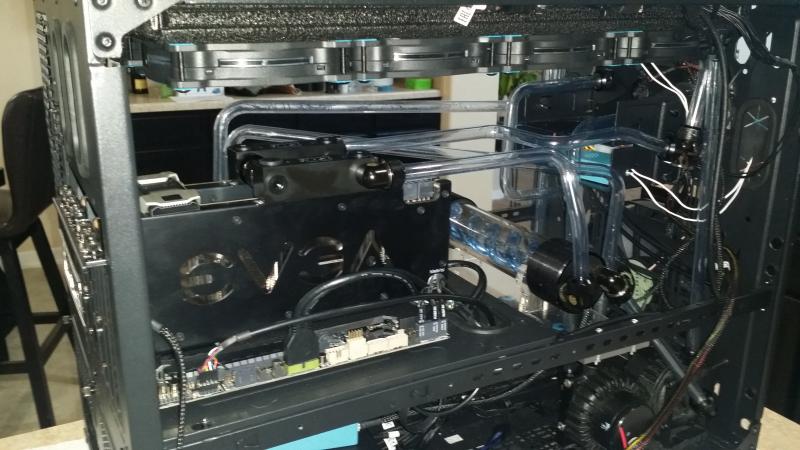
 After filling the loops and plugging the pumps into a spare PSU I had laying around, I finished up all of the other cables. Zip ties galore! I let the leak test run for 24hours. One small leak was found up front in what seemed to be a faulty washer at the pump. After replacing the one washer everything else worked great. I also went one time around during the leak test and tightened all the fittings as much as I could just to be safe.Picture dump of the leak testing.
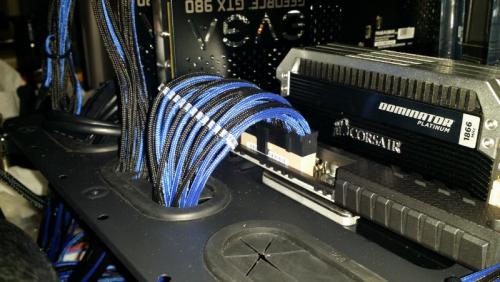


-
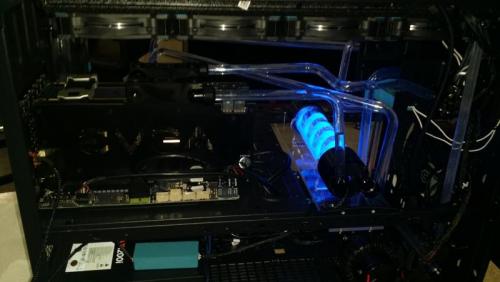
Thermaltake CoreX9With the motherboard tray back in place the final tube runs were completed. Really not much to discuss here so here are the pics I took during the process. Again, it makes it so easy when you plan every run before you even order the parts. With the guessing game out of the way it was pretty easy but man do my fingers hurt.


-
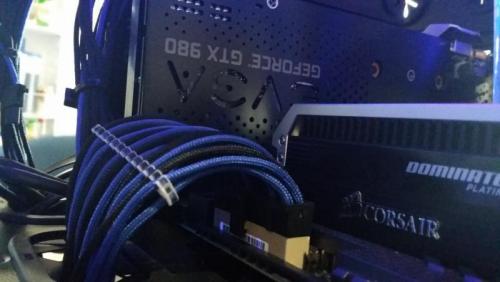
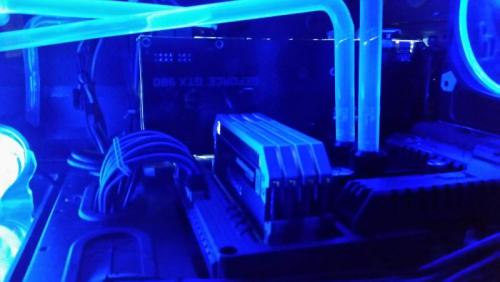
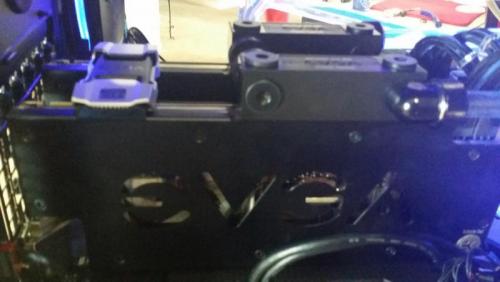
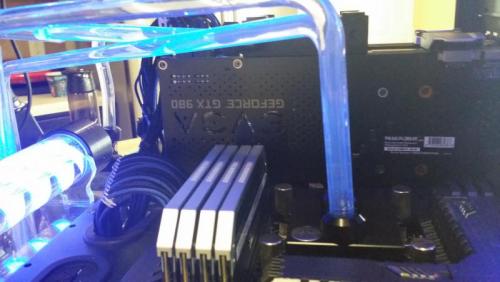
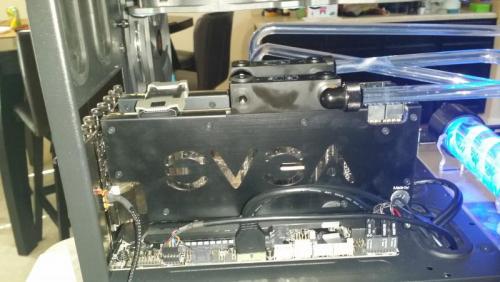
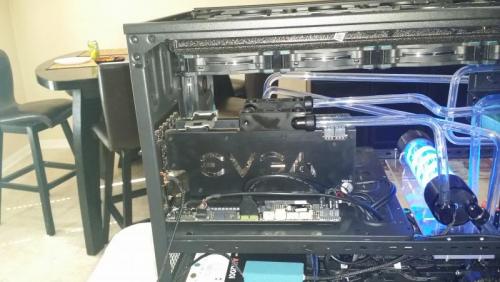
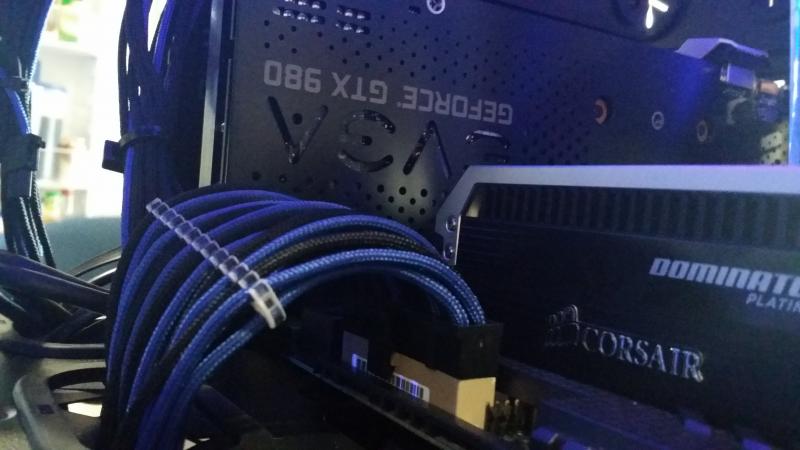
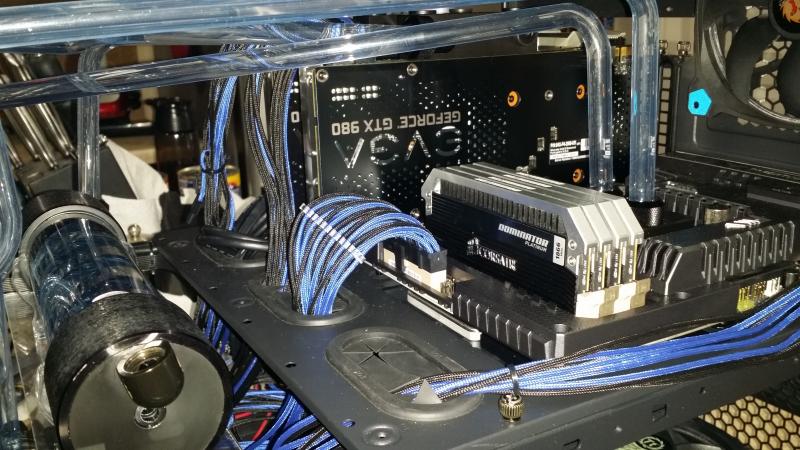
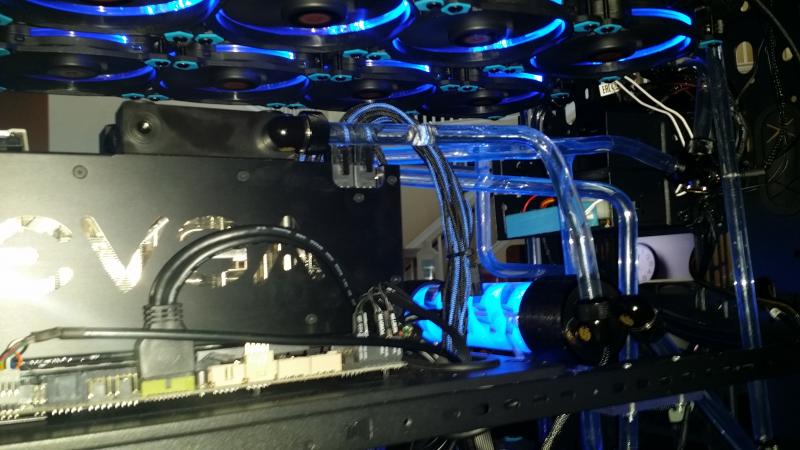
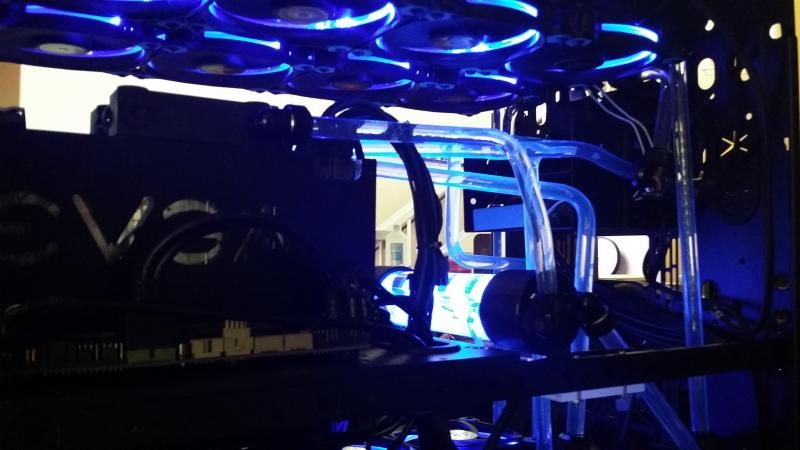
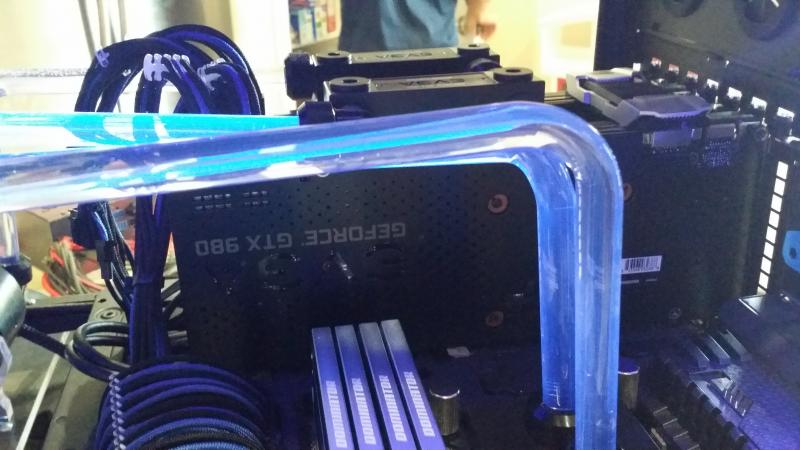
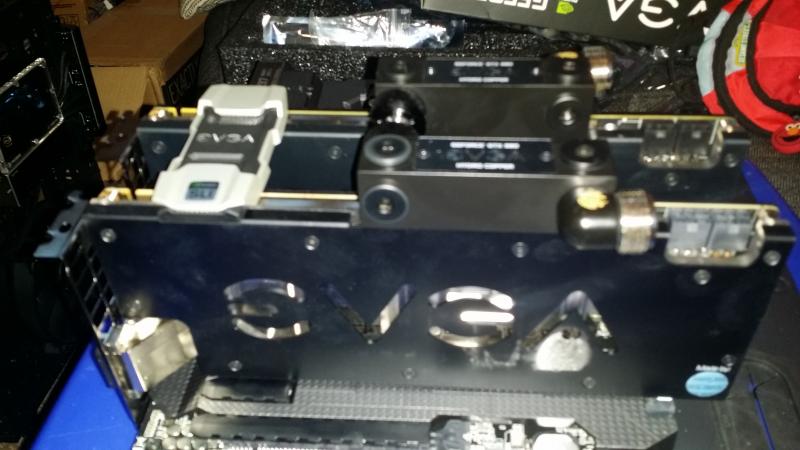
Thermaltake CoreX9Here are my 2 980 Hyrdro coppers. Excuse the photos I should have taken better ones but I was pretty sleepy at this point lol. Notice the EVGA SLI v2 bridge. I wanted a bit of accent points outside of the blue rest of the build. The White glow from the EVGA cards and the V2 bridge when added to the Corsair Dominator white leds makes for a uniform accent point. I thought it would be a nice little touch to highlight the "hardware".

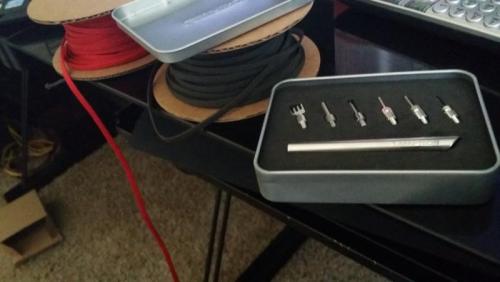
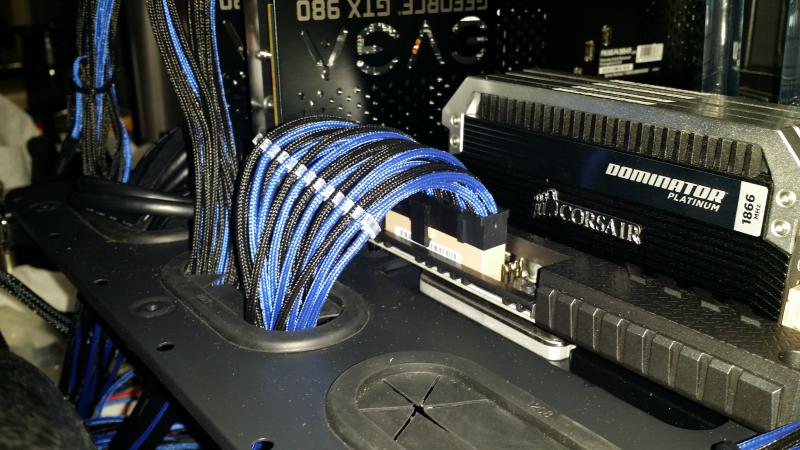
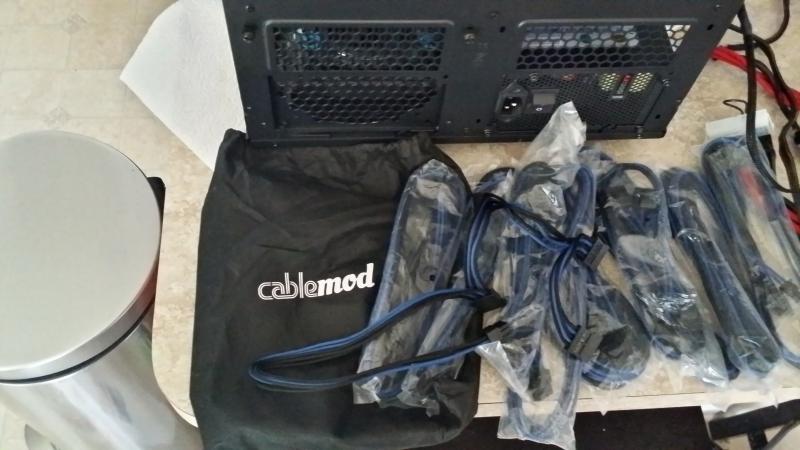
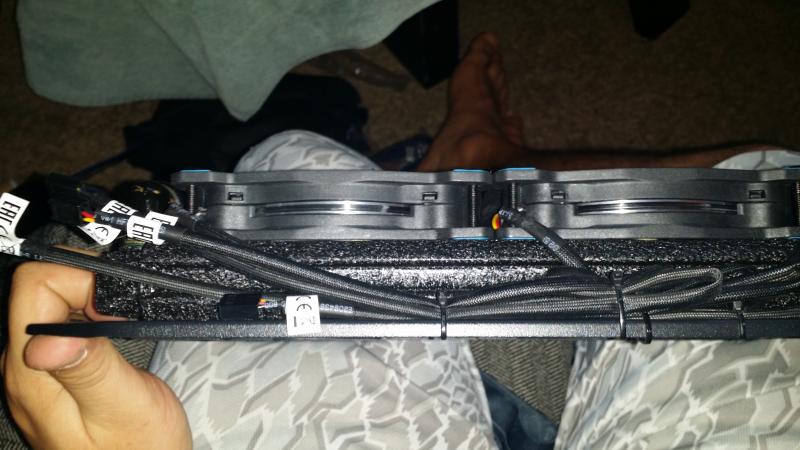
 Two great things I want to point out at this point.First sleeving. I hate it! I tried it many times and it NEVER comes out how I want it to. I don't know what it about my short stubby fingers but they cannot sleeve. I decided to give CableMods cable kit C for corsair supplies from Performancepcs. Man do I love this cable. Perfect, slightly rigid...just wonderful.
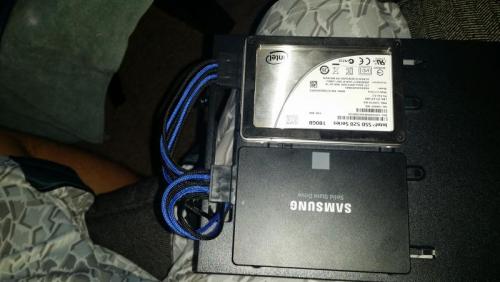
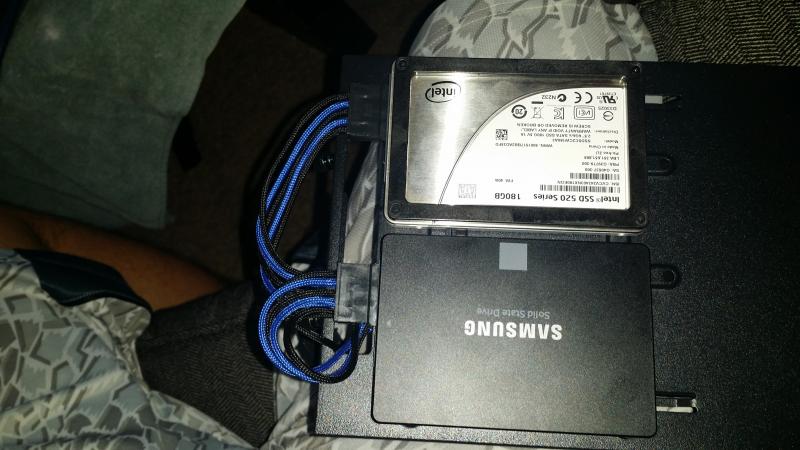
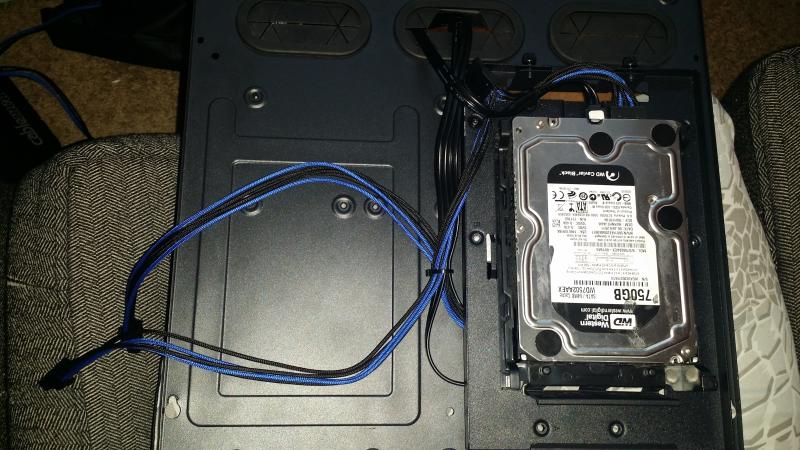
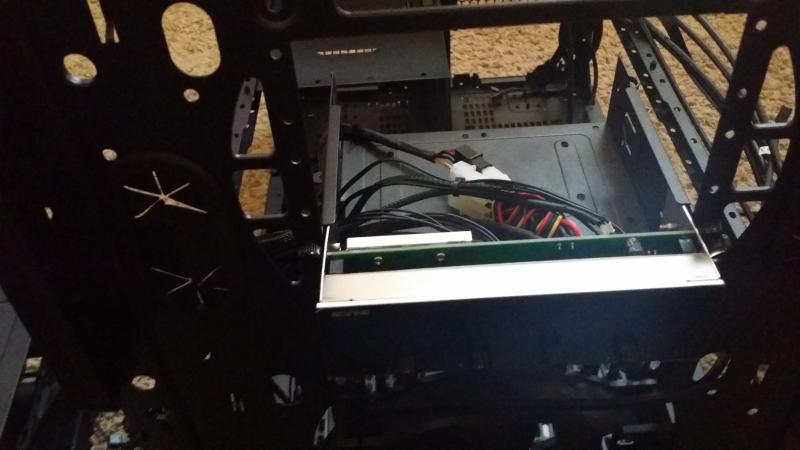
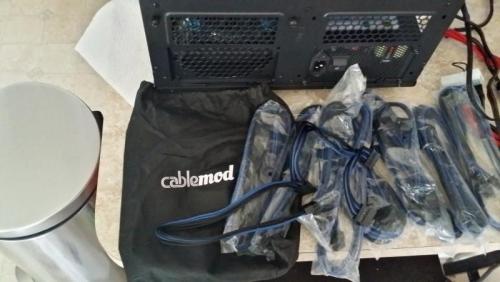 Second, one very cool feature on the CoreX9 is that two SSDS and one HDD can be mounted underneath the motherboard! Even better the tray that holds them can be removed separate form the motherboard! Man this was a very cool surprise that I didn't even know came in the design. Mounting the SSds and HDD first to the removable motherboard tray with the cables connected made that part of the build easier than to me than even quick release traditional drive trays. Since I only use 3 drives in this system it also made up for me not being able to mount the hard drive tray due to lack of mounting bracket.
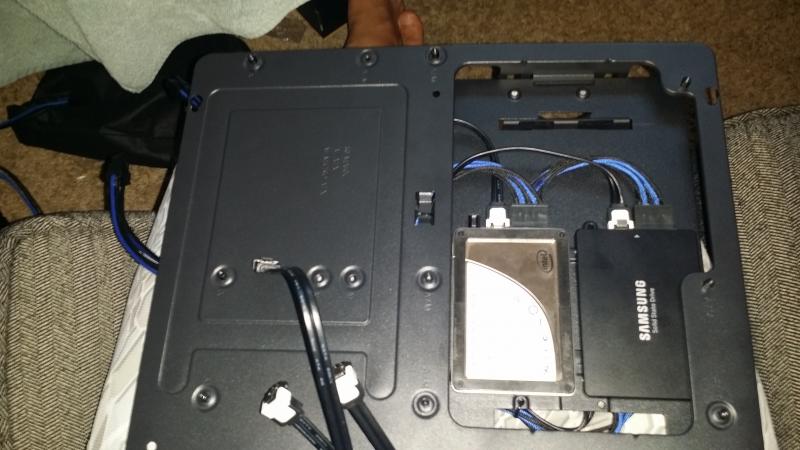
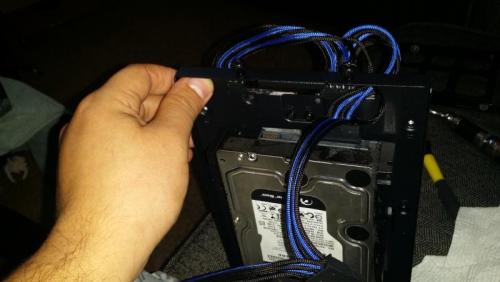

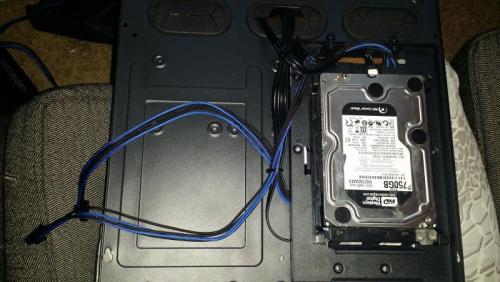 Easy peasy, done in 10 minutes. Now to slide the motherboad and finishing the rest of the tube runs.
-
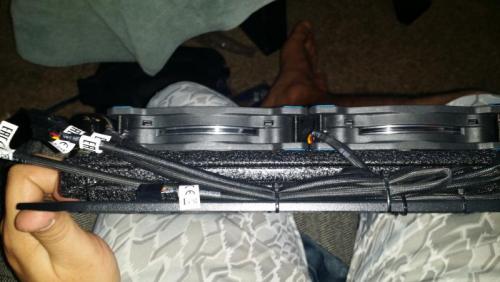
Thermaltake Corex9Next I zip tied the fans to the radiators and plugged them into the 4 way splitter I had originally plugged into the fan controller.
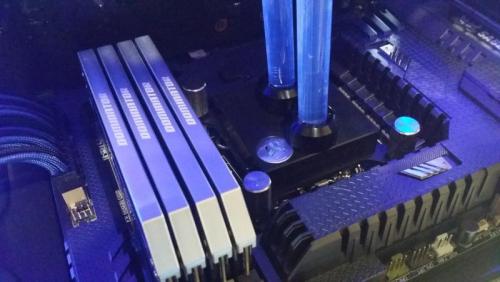
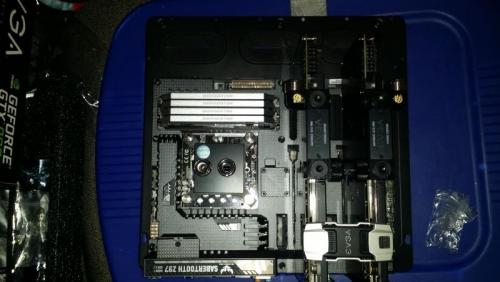
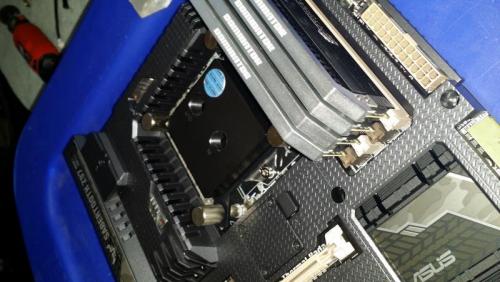
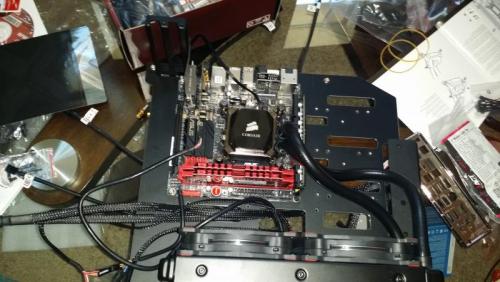
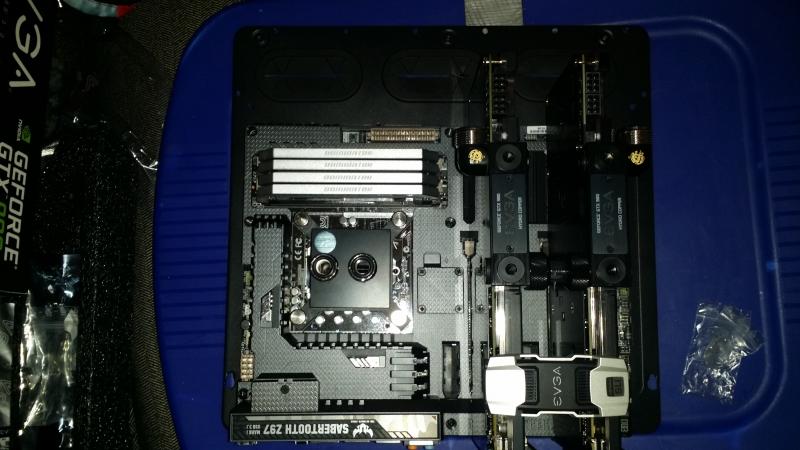
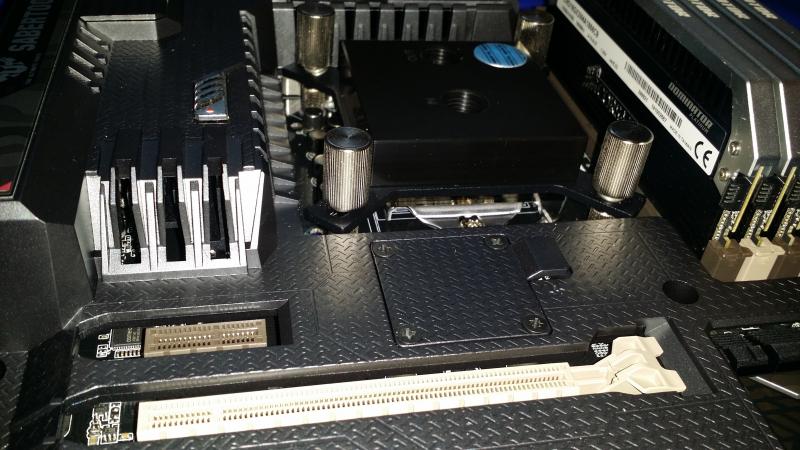
 Now for my favorite part! Mounting the EK block and i7 4790k. Fairly easy man do I love how this motherboard looks. I know what you are thinking, what about the mismatched color scheme? Green camo and blue? Well rest easy. The blue lights plus the fact that I moved the window to the other side of the case, (thanks to the thermaltake swappable doors and front panel controls) so the green cam cannot be seen form theoutside of the case.
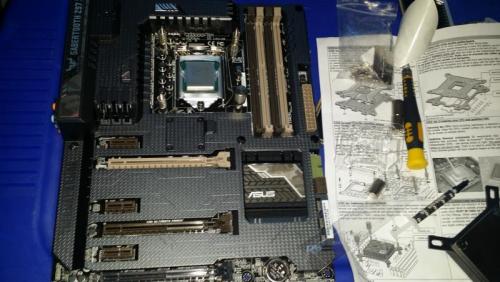 I also added the dust protectors, changed the overclock on the motherboard to unlock voltage per the manual, and inserted the Corsair Dominator 1866 ram from my previous build.
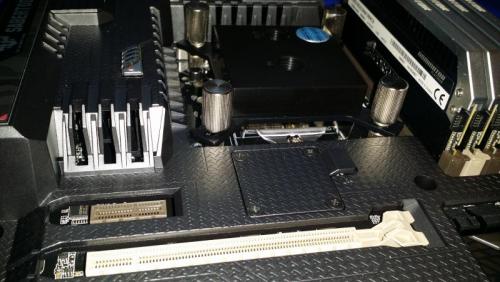
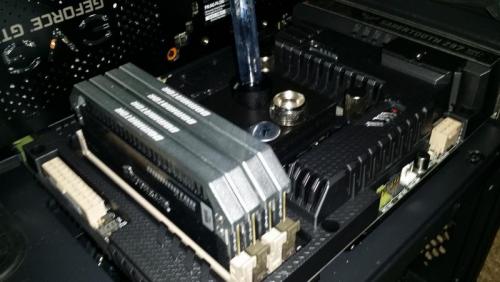
 Ready to mount the 980s!!
-
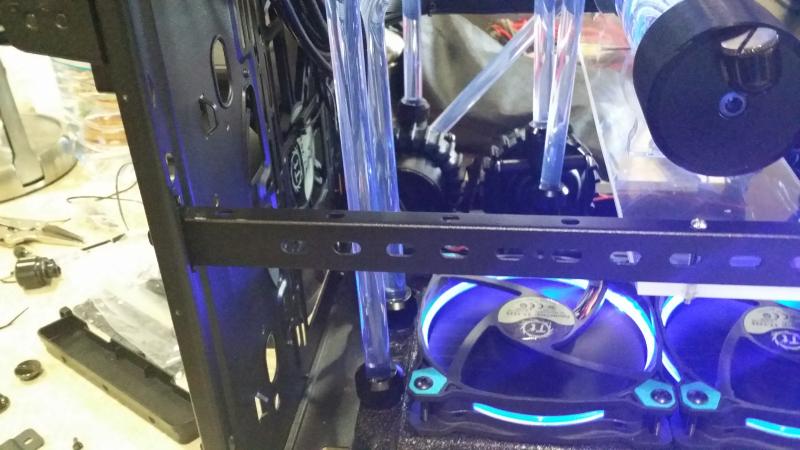
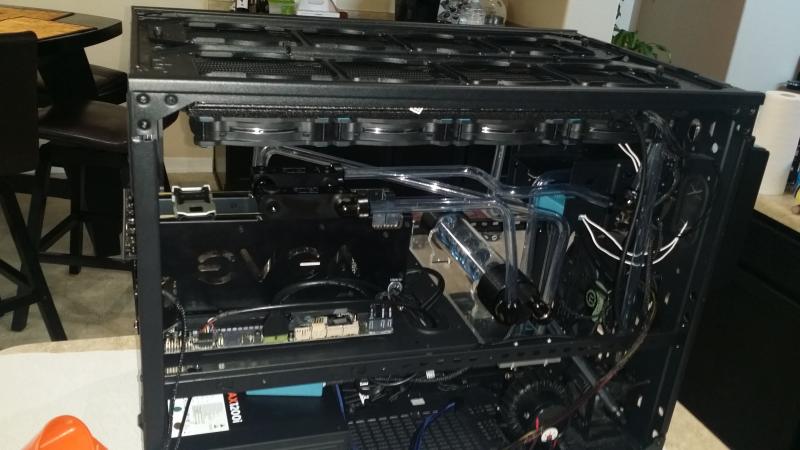
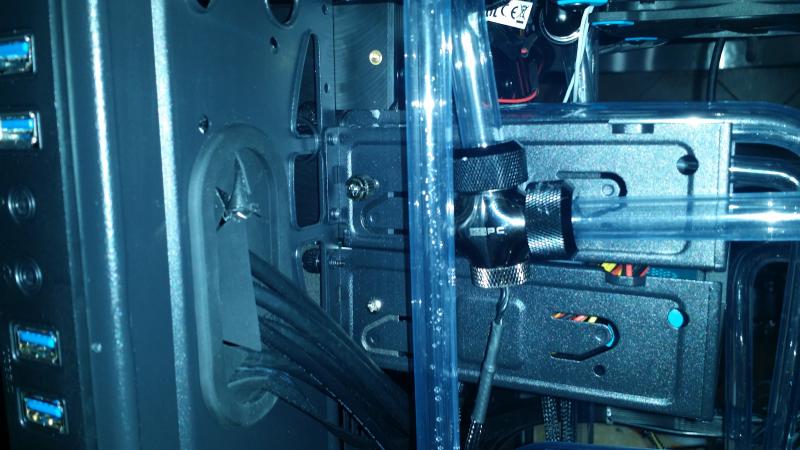
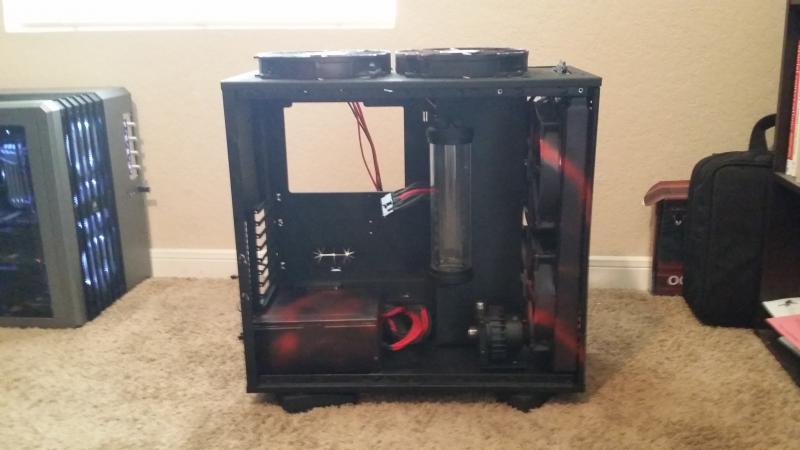
Thermaltake CoreX9One final look over the empty shell to make sure I planned the loops correctly. Also looking for a mounting point for the g 1/4 temp sensor fitting.
 I started installed the fittings and a few 90 bitspower fittings where needed for super sharp turns from the fitting point.
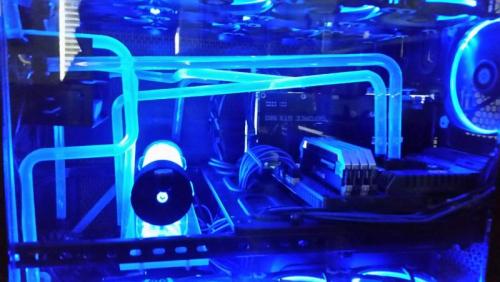
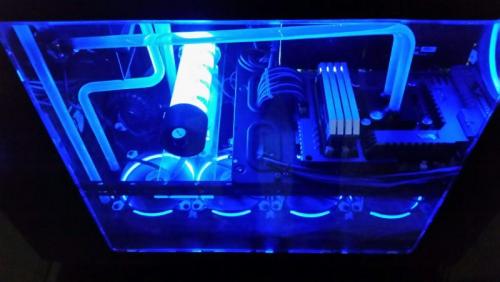
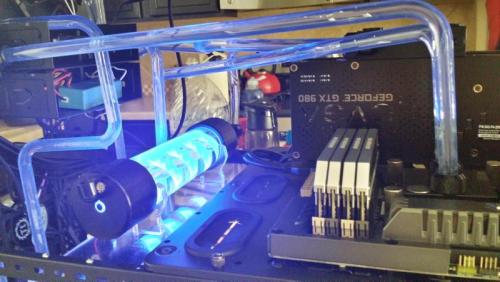
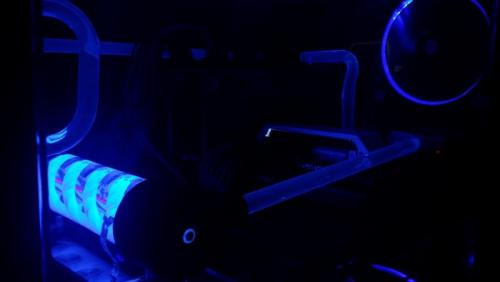
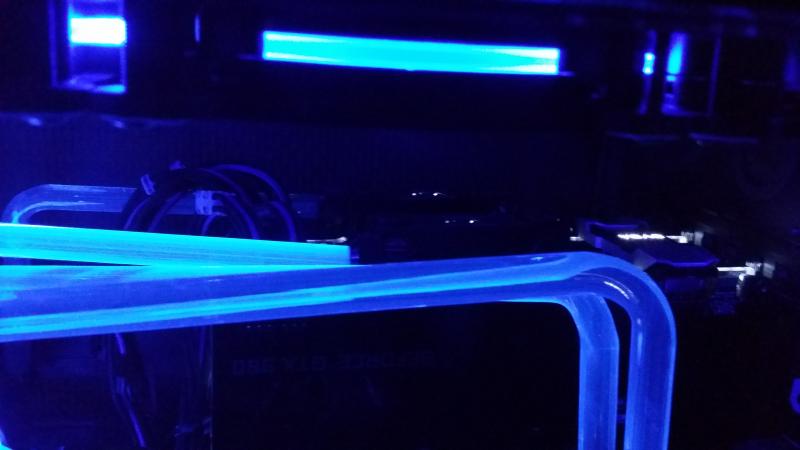
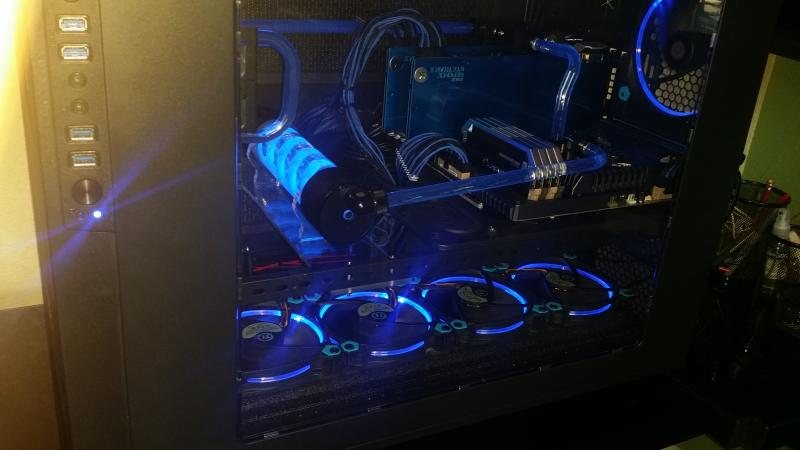
 The tubing is Primochill's UV Rigid PETG tubing. I wanted tubing that would be a subtle accent of soft blue to the bright UV reservoirs from Frozen Q. I think they go great together. I wanted the Thermaltake riing fans to frame the PC and the eys to be drawn to the middle.
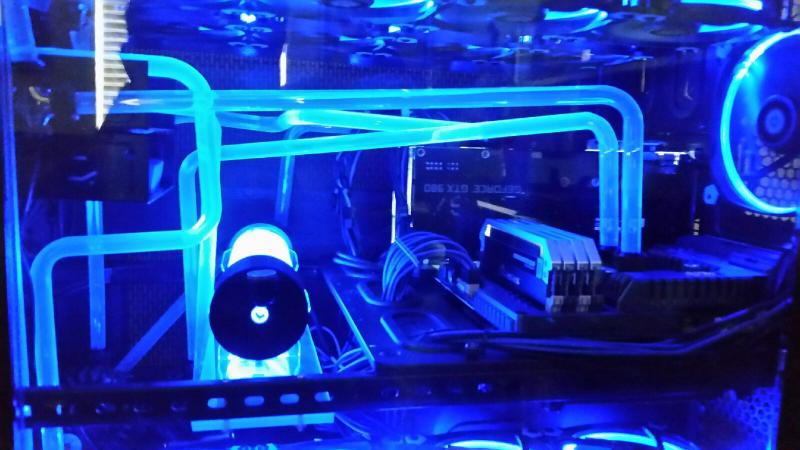
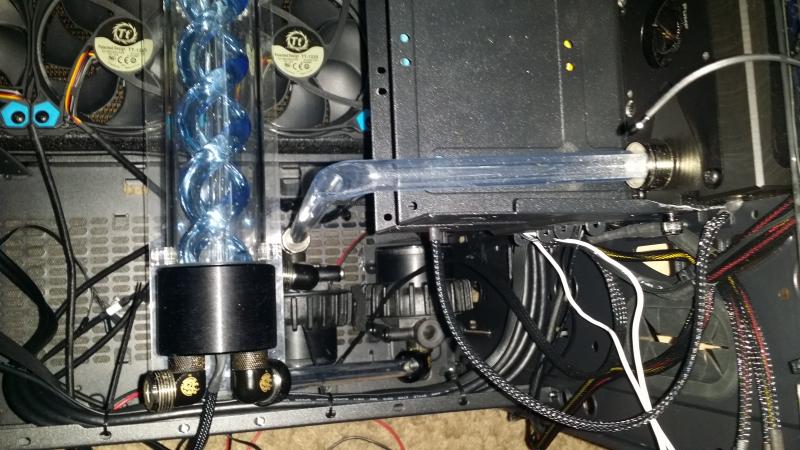
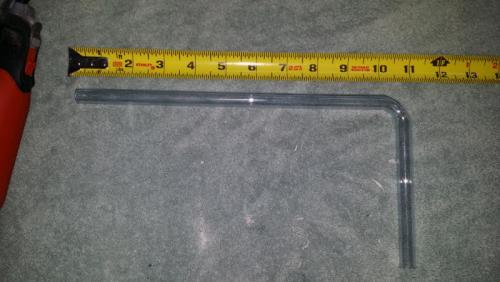 I started the loops with everything from the bottom that didn't need to be run to the motherboard area. I purposely kept the tubes running in the middle of the window, not blocking the GPU, cpu, or reservoir. Each run is hand bent and straight runs from point to point. With the exception of the 4way fitting one each side of the drive bay since it houses the thermal fitting for each loop.
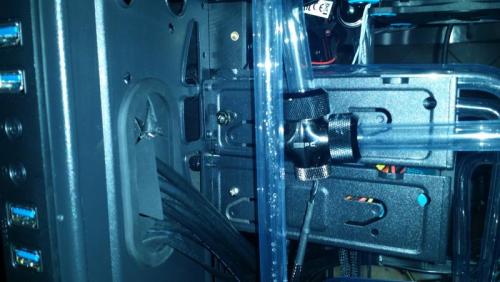
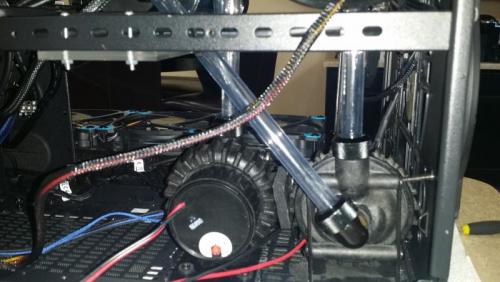 The easiest bend was from the bay res to the pump directly below.
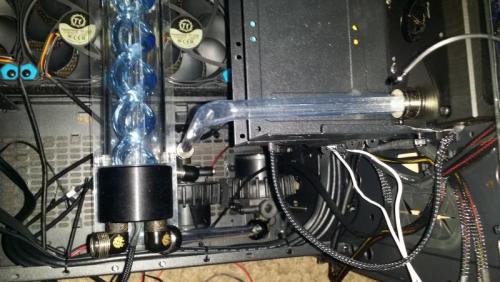 Once the "non motherboard" runs were done it was time to move on to fun stuff!
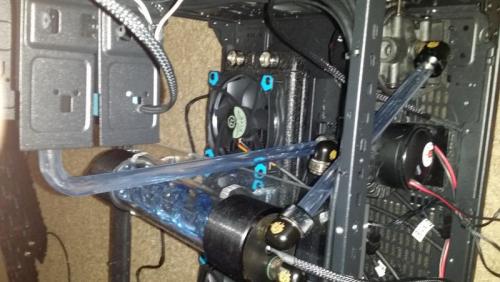
-
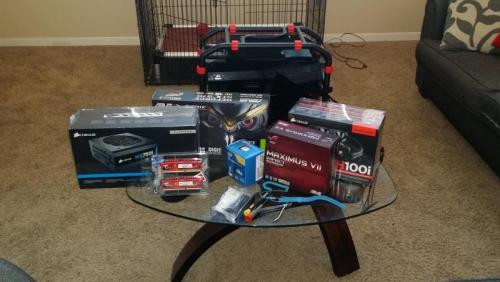
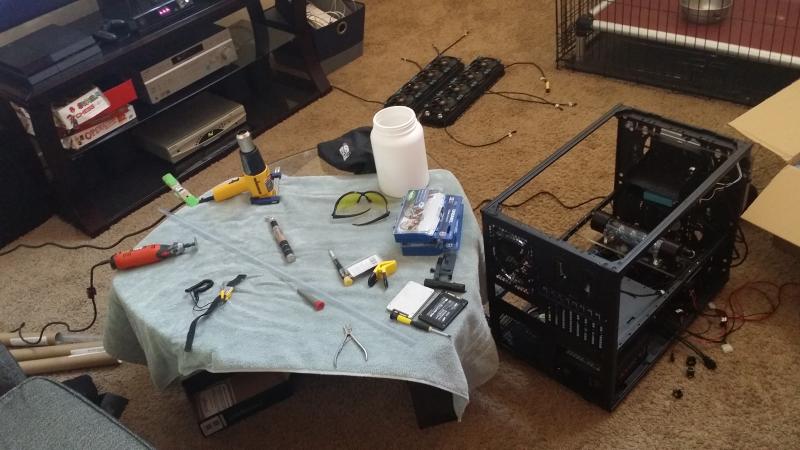
Thermaltake CoreX9All parts arrived Friday evening right after finishing my sons build. Being the impatient crazy person that I am I proceeded to spend the next 12 hours working on my build. Then 12 more hours the next day! Followed by 24 hours of leak testing etc etc.I am just organizing my pics and such but i should have everything up today or tomorrow. Hope someone enjoys.The planning phase was actually in the works in my head and inside a notebook for the last 6 months. Same for my sons build. Every route, part, and detail was already mapped out. I'm not sure if it's me but I get obsessed with these projects and I hate not knowing exactly what I want to do before I begin.The first thing I always do is lay everything out and prep. I do NOT own a bending jig but this is my 3rd rigid tubing build and I am very comfortable in doing it all by hand.
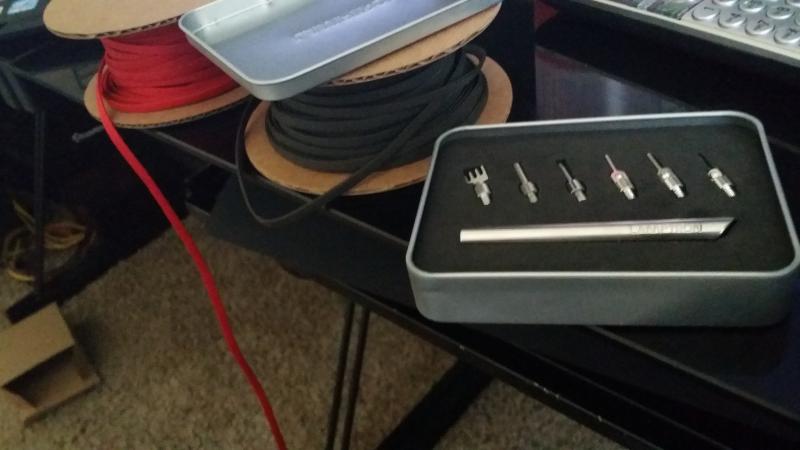
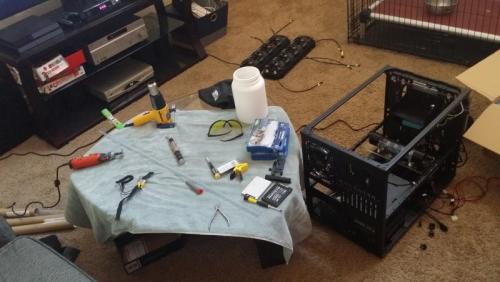 I do want to give a shout out to Primochill for including a new tool in their rigid revolver series fittings. The last kit I ordered broke on the first turn. But this new simple little tool worked through the entire build and made it very easy as opposed to using a large tools.
-
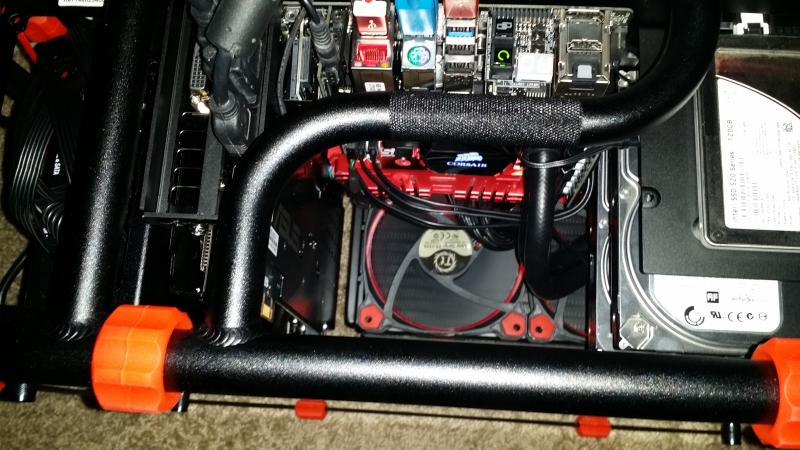
In Win Mini D FrameI love the fact that we could even mount the Corsair h100i with the motherboard out! So easy.
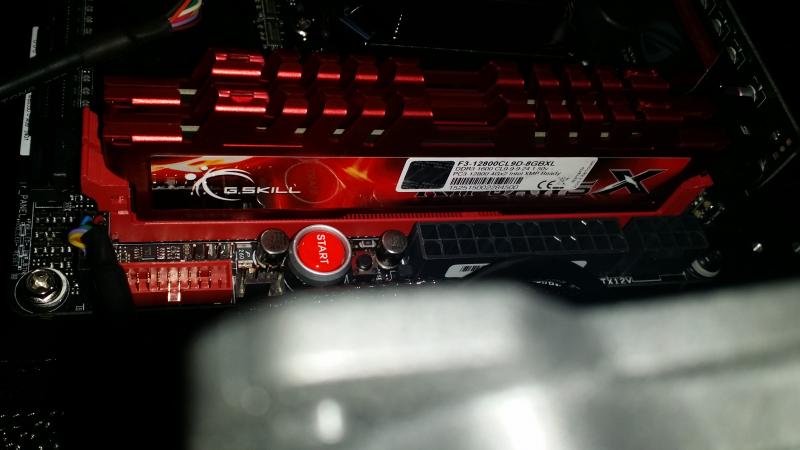
 The gskill Memory matched the Impact board perfectly.
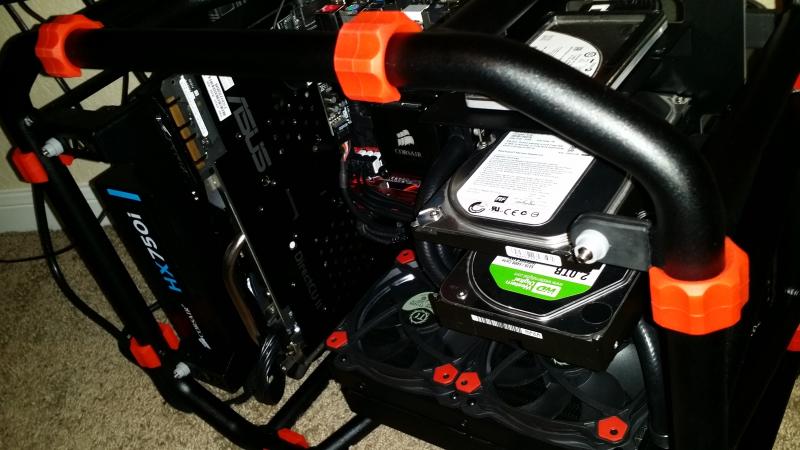
 The beautiful Strix 970 matched the impact board as well. Again, so awesome that all of this work can be done on outside the case.
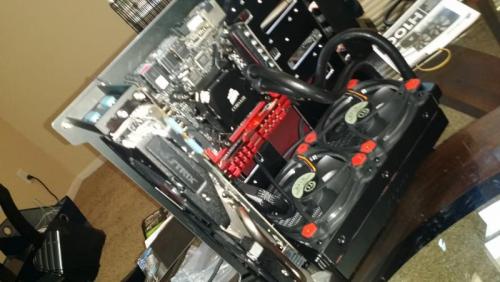 Next we plopped in the fully mounted core parts and easily added in the HDDs and SSD.
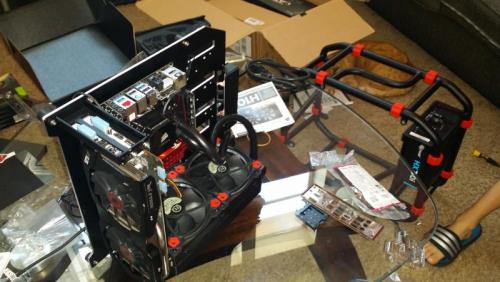

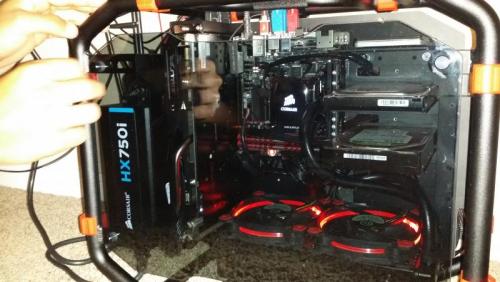
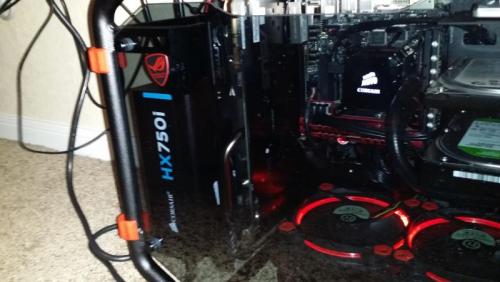
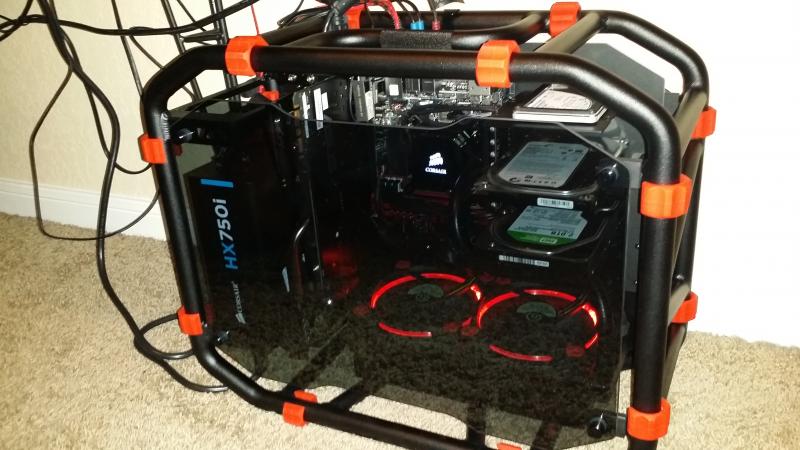
 I let my son handle the cable management. Not bad for a rookie.

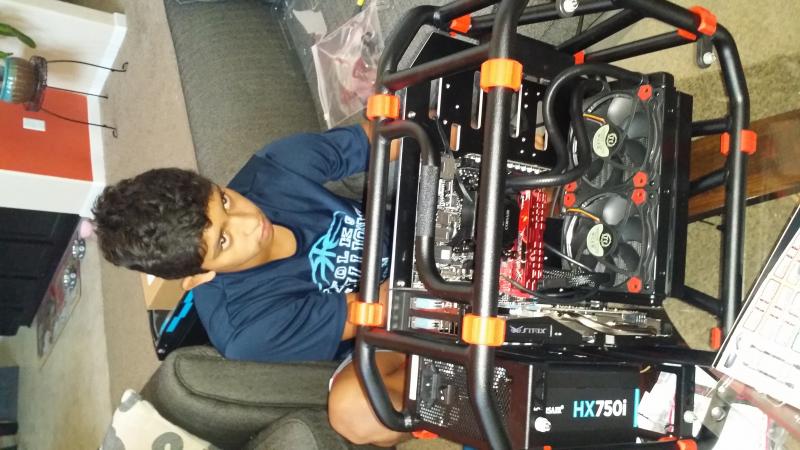
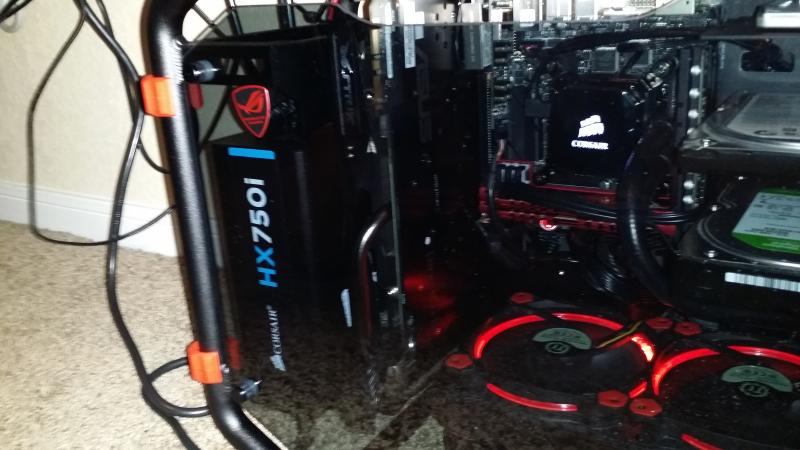
 My son placing the final touch, the ROG badge of honor.
 Here is a view peaking in from the top.
 And the final product.

 Everything booted up nicely! His OS form his old PC was on the SSD and loaded windows 10 preview without a hitch.Updated all drivers and performed about 30 minutes of Burn In time. No issues, he spent the rest of the night playing Batman and BF4 with no issues and crazy framerates.All in all he is super excited about his new build. I will post better pics of the finished product along with some benchmark testing etc... just haven't had time since I just completed my build. I will probably upload the results in a week or two.
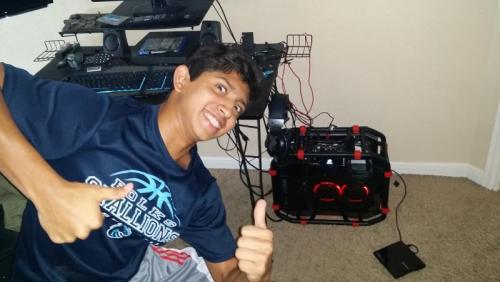 On to my build.
-
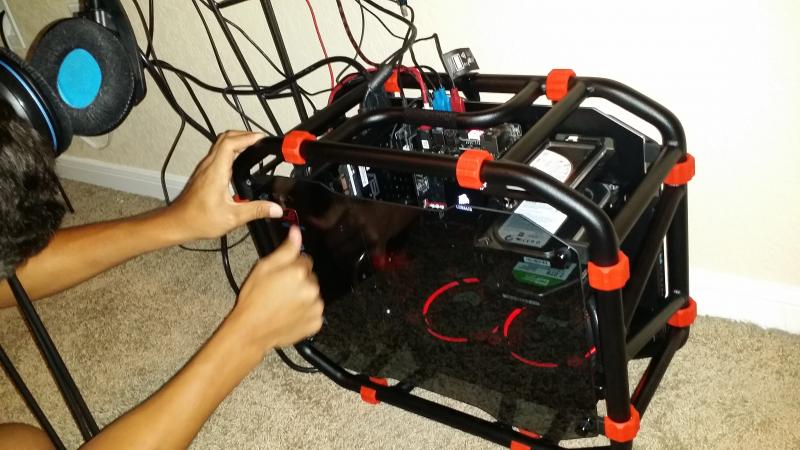
Inwin Mini D FrameWell we got everything in for my sons build!
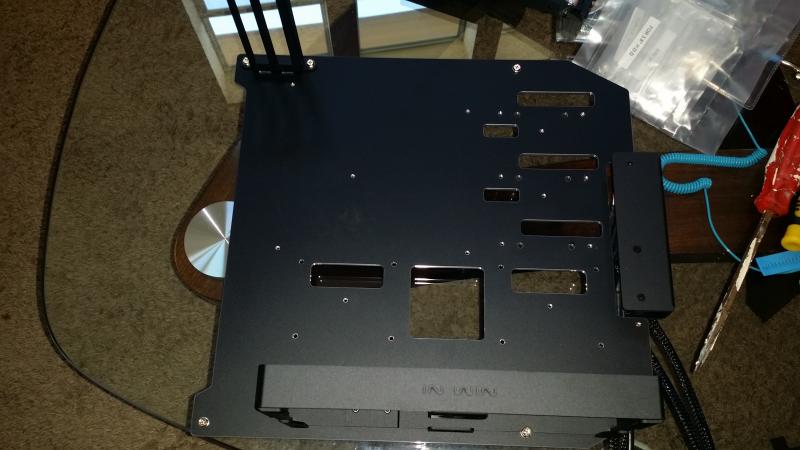
 One of the best features that I love about newer cases is the removable motherboard trays. So easy to work with.
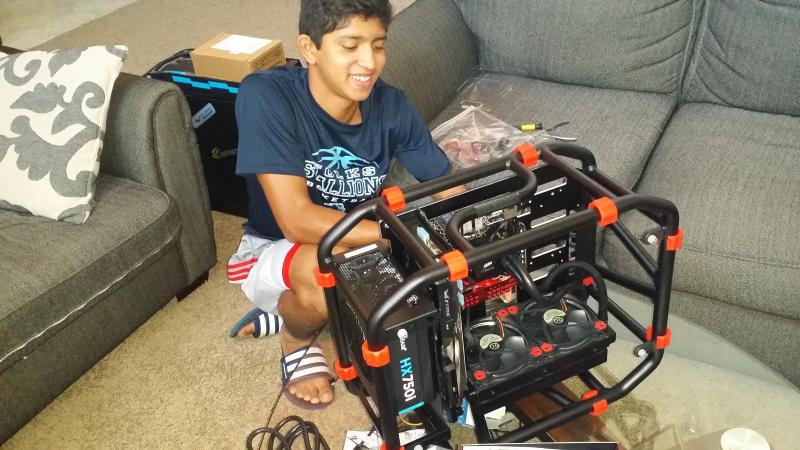
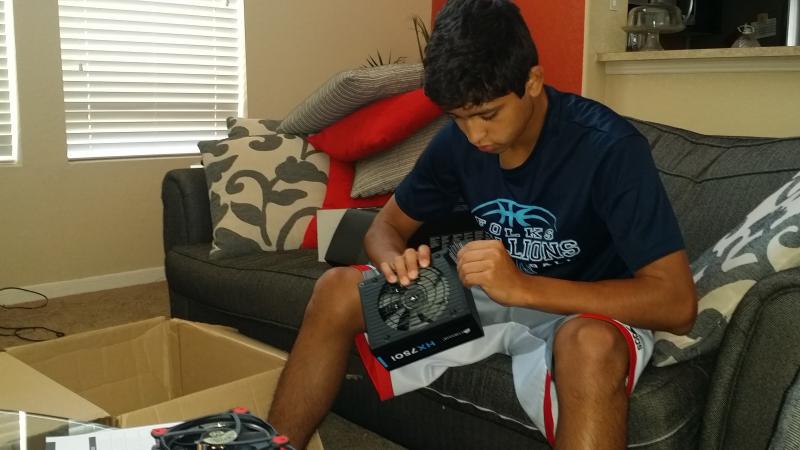
 Here is my son unpacking the PSU and securing it to the frame while I drop the CPU into the motherboard.
-
Yay! Parts are showing up! Let the mad dash begin!

-
Thanks guys! The door not latching was simply one screw that was just shy of catching. I was able to just use a difference thumbscrew. The brackets aren't a big deal, i may pick one up in a couple of weeks when they are in stock but I am going to try to mount 2 sdds under the mother board tray and my one hdd elsewhere in the meanwhile.
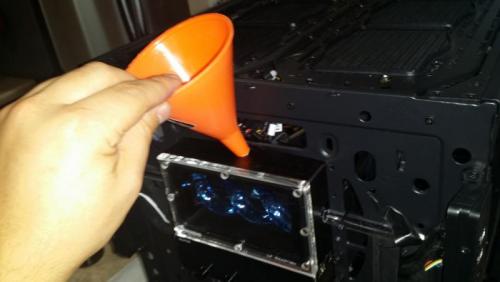
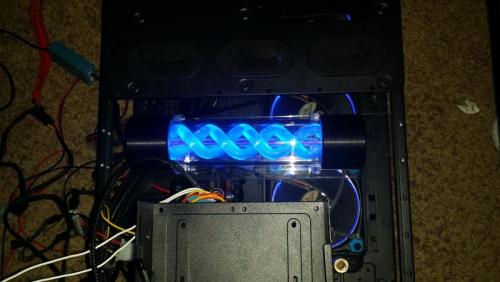
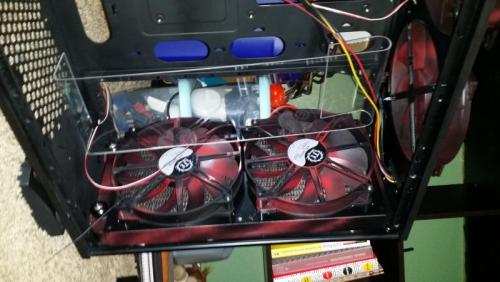
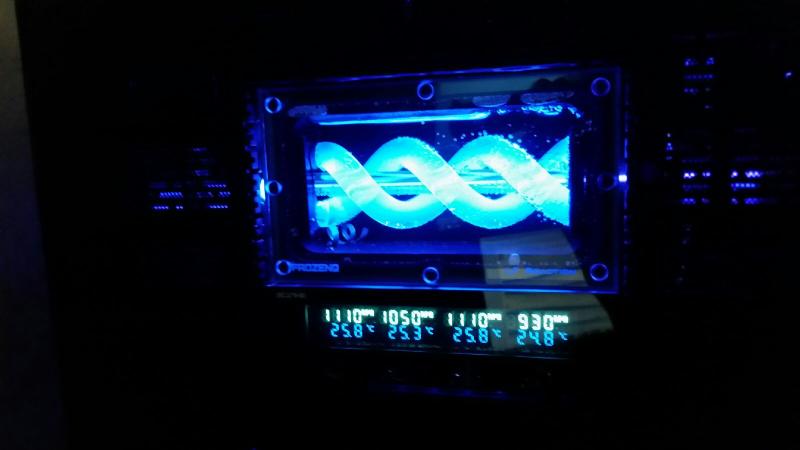
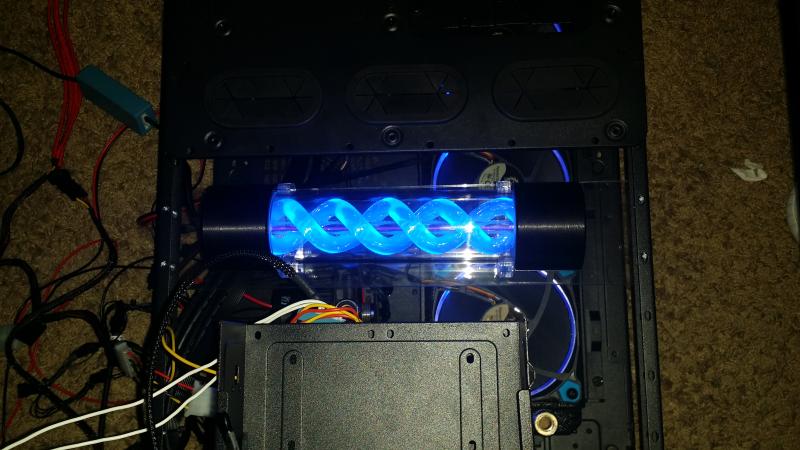
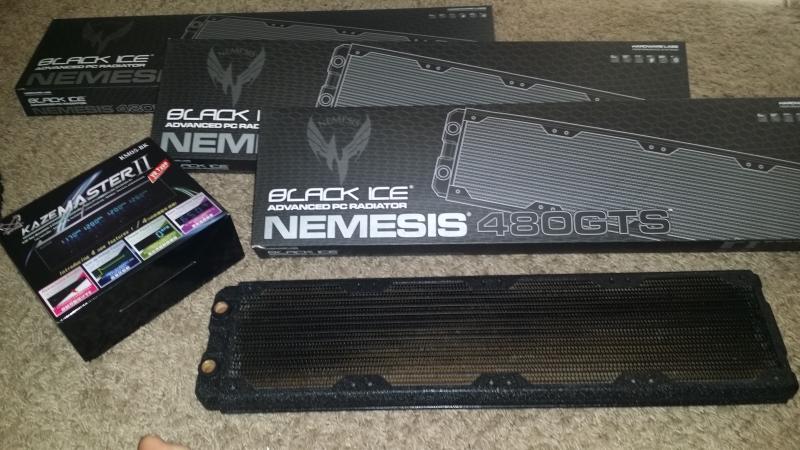
Thermaltake Core X9Last nights update.Rinsed out all of the radiators, but I was surprised to not find a single bit of debris! These Black Ice rads come so clean internally one has to wonder if they do a rinsing themselves before shipment.I also filled the two Frozen queue reservoirs to check for any obvious leaking. Everything looks good so far.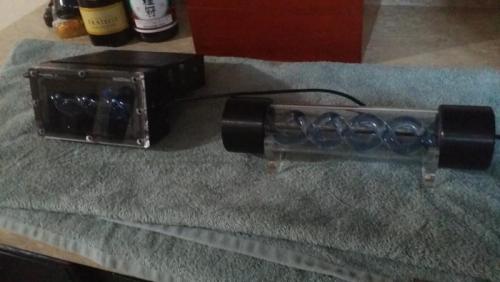 Mounted the fan controller and planned wiring out.. I have found in all my builds that if you START with the wire management out in a build it's much easier once you are cleaning up the wires at the end of the build.
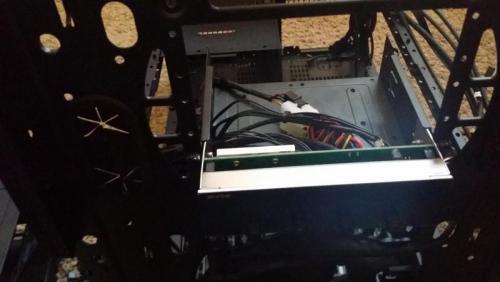
- Channel one will control the rear top 480 fans and there is a in-loop g1/4 plug for the temp of the first loop. This rad will support both GPUS.
- Channel two will control the front top 480 fans and the in-loop g/14 plug for temp of the second loop. This rad will be one of two for the CPU loop.
- Channel three will control the bottom 480 fans and has an air temp sensor at the 200mm intake fan to measure incoming air. the rad supports the cpu loop.
- Channel four will control the case fans and includes a temp sensor outside of the case over a rad to measure outgoing air temps.
 All fans hooked up. Next will be mounting the UV Cathodes out of site somehow and mounting the two pumps. However, if my package arrives today my son and I may start on his mini d frame.
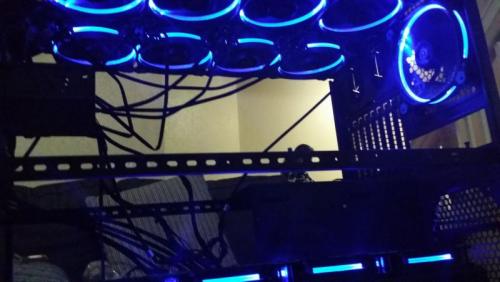
-
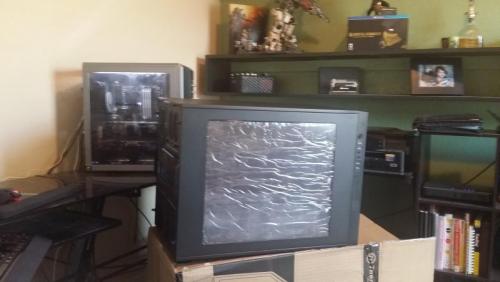
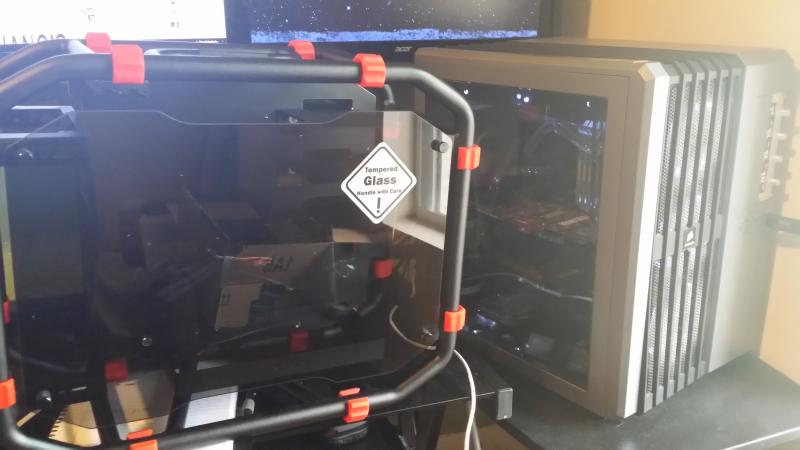
Thermatake CORE x9Starting with the Thermaltake Core X9. I love the room in this case..and the cost vs quality ratio is such a steal that I couldn't pass up on using this for my build.One side panel doesn't close all the way and the case didn't include enough fan brackets to mount my hdd drive along with a 420mm rad on the bottom. To make this worse, they have been sold out of these on their site for awhile. Besides those minor quality issues the case is perfect for my needs and budget.Here is a pic of the freshly opened case next to my previous Corsair Air 540 build. Notice the massive footprint.
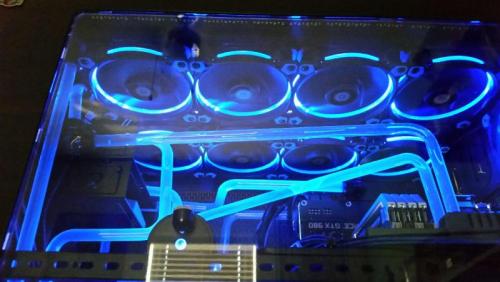
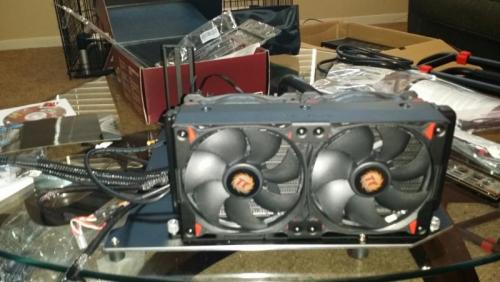
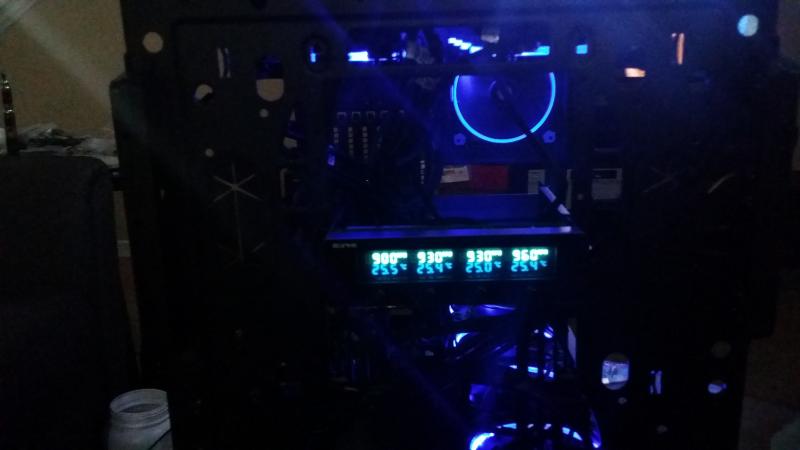
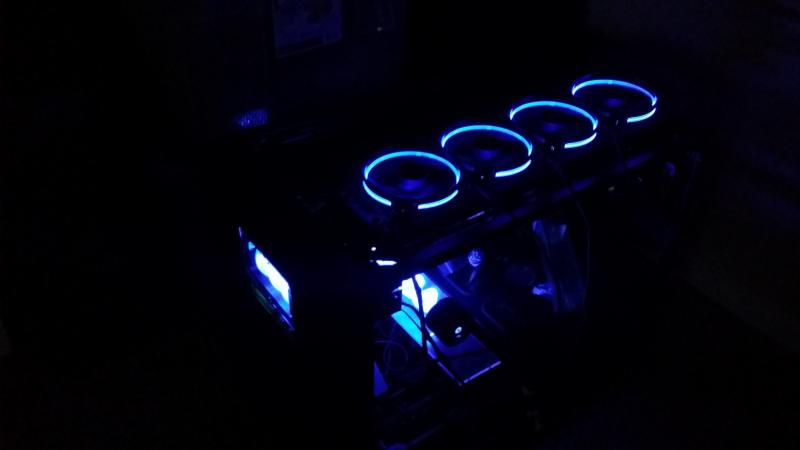
 I decided on the BlackIce 480 GTS rads due to their excellent performance at sub 1000rpm speed, quality, and slimmer profile. I wanted the fans mounted on the lower rad to be fully visible laying down horizontal. The fan controller was chosen due the fitting the color scheme mostly, and being able to power 4 fans per channel easily. I also enjoy the puish button knobs so i can hide them away instead of having them popped out like my lamptron controller.
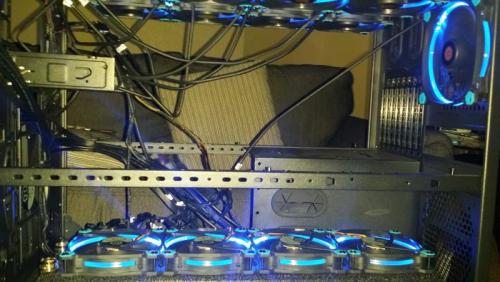
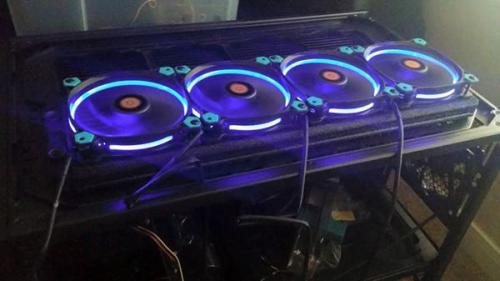
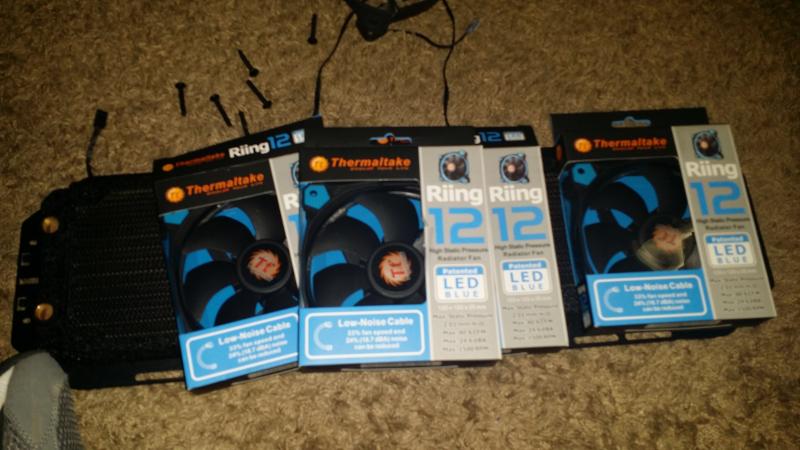
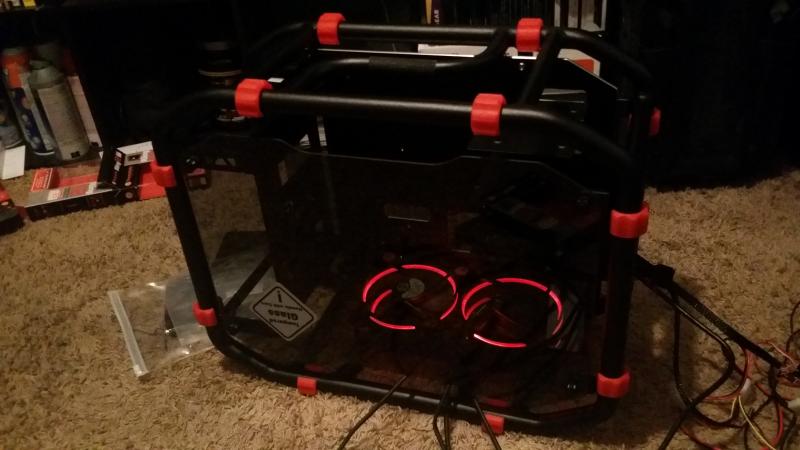
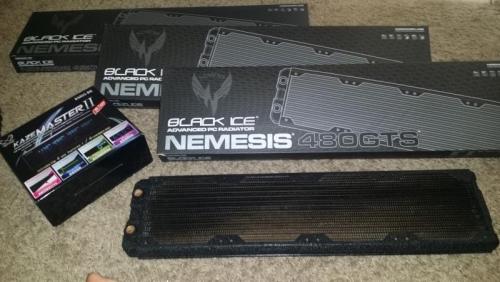 On to the fans. I love these fans! I ordered 4 to test my fan controller as well as testing the noise, performance, and to make sure the lights were not too overbearing. I do enjoy flashy, but i want it to be as subtle as possible. After testing I found that the fans are inaudible at 900rpms yet still push plenty of air through the rads. The light also dims down when you lower the fan RPM speed. All in all I am a fan of these fans. Thermaltake really knocked these out of the park. I ordered 12 120mm for my rads, 1 140mm for the rear exit and i will leave the 200mm front fan that came with the case as it is silent.
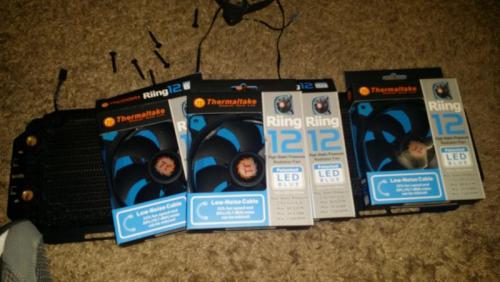
- ThermalMike and Tt Andy
-
 2
2
-
Hello All,It's been over a year since my last build. I had two builds planned last year but due to unexpected circumstances (medical emergency) I had to cancel my 2014 build plans.However, silver linings as they say, as I won a random Facebook contest through In Win scoring a Mini D frame during that time frame. As much as I love this case I needed something more for my personal gaming needs. I decided to give the Mini D frame to my son and together we will be building a i5 devils canyon gaming build that he can carry off to college when the day arrives.My wife bought me a Thermaltake Core X9 build that had been sitting in one of my online shopping carts as a surprise father's day gift so this will be my starting point for my new i7 devils canyon build.To avoid making the same mistake as last year (failing to see my projects through due to circumstances) this time I waited till all parts were ordered before making a build log. As of today all parts are ordered and the builds have begun to take form.Both builds will be mainly for gaming. Mine will be a custom water loop and my son's will have a AIO cooler. The fun part of this project was finding the balance between our two separate needs and wants..while also staying within budget. I would imagine it's what it feels like for my wife when she has 15 outfits that she LOVES in her cart...and has to narrow them down to 2.
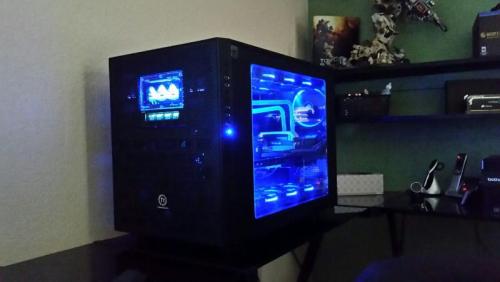
 Thermaltake Corex9 (Black and UV Blue)(Complete!
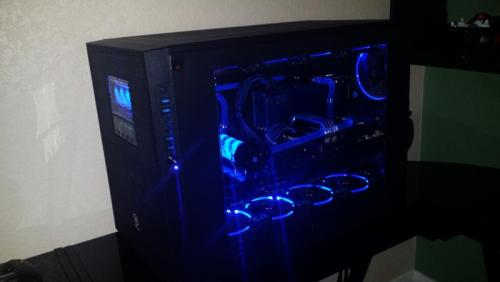

 I have a gross obsession with water cooling. I love it. It's pricey, excessive and the costs rarely outweigh the performance but something about it just makes my knees weak.I know that I could have used the water cooling money to jump into the X99 world and even upgrade to two 980tis but water cooling means that much to me. I wanted to see how far I could push a fully overclocked rig with absolute silence. Here is the fully ordered shopping list.The build will be centered around a 1440p curved ultra wide.
- Two Swiftech MCP655 pumps
- Frozen q Bay Res and Frozen q cylinder res (with UV Blue)
- Primochill rigid black revolver fittings with UV Rigid Tubing
- EK-Supremacy EVO CPU Water Block - Nickel/Acetal
- Corsair AX1200i PSU
- Coorsair Dominator DDR3 1866 (4x4)
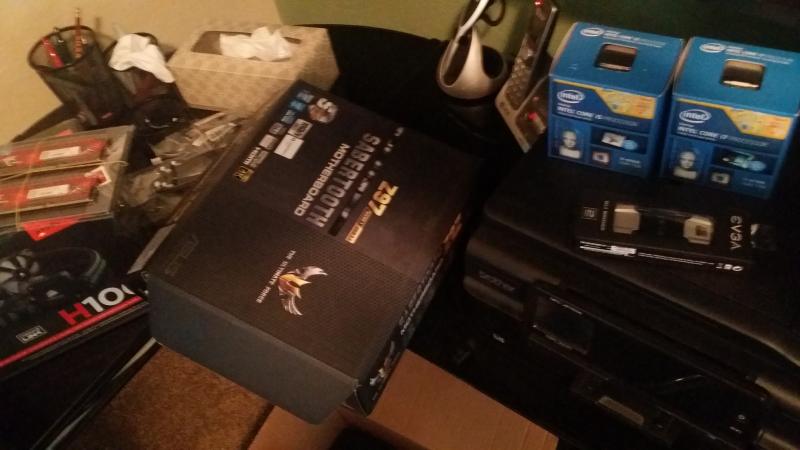
- Asus Sabertooth Z97 MArk 1
- Intel i7-4760k
- EVGA 980 Hydro Copper x 2
- EVGA Pro SLI Bridge V2
- 500gb SSD and 750gb WD Hdd black
- Thermaltake 120mm Blue Riing Fans x12 (also 1 140mm)
- 3 420mm Black ICE GTS Radiators (2 for cpu and 1 for gpus)
- Couple UV Cathodes
- Sytche Fan Controller
Here are a couple of teaser pics until I get my pics organized and I will show my progress and explain the thought process behind each piece of the build as I go. Feel free to ask any questions or provide feedback.
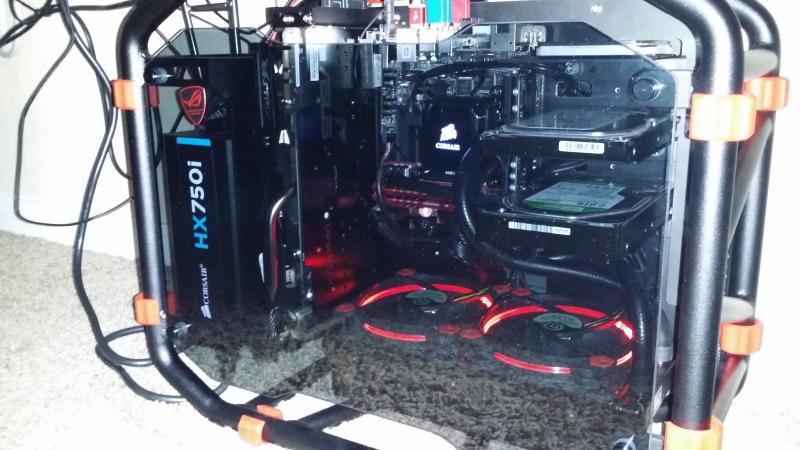
 InWin D Frame Mini - (Red and Black)(Complete!My sons build will be an affordable 1080p gaming rig. Something mobile that he can easily carry away to college in 3 years. I also wanted it to be easy to upgrade so we decided not to use a custom water loop.
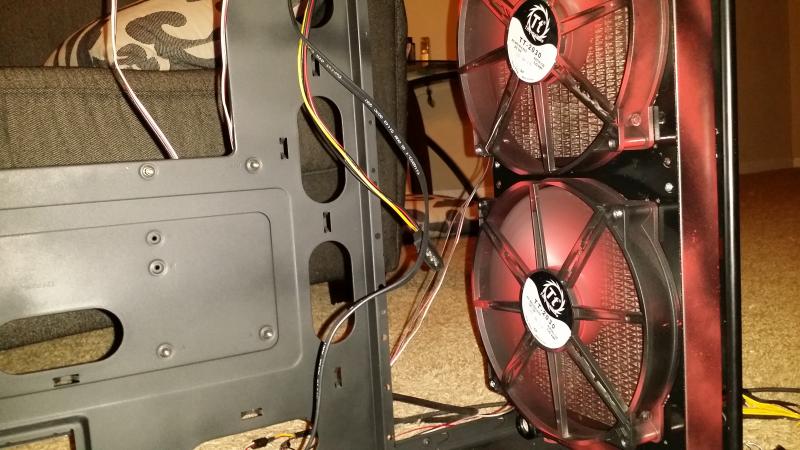
- Corsair hi100
- Thermaltake 120mm Red Riing fans x 4 (push/pull)
- Corsair HXi750i PSU
- G.skill 1600 ram (2x4) red
- Intel i5 4690k
- Asus Impact mini
- 120gb SSD
- 1tb HDD green
- 500 HDD black
- ASUS Strix 970
Here are some preview pics of my sons build. Same thing will go through the entire build as parts arrive and i get organized.
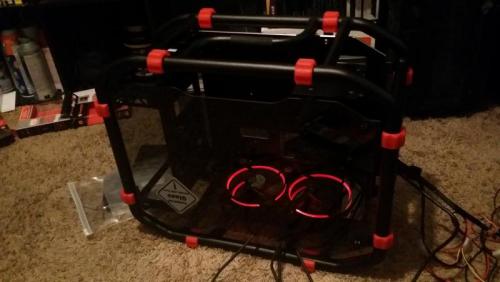 Super excited to be building new rigs after some time.

-
After recieiving my money back I decided to just buy some sleeving and a sleeve tool from amazon. I need to get this htpc done so we can catch up on all the movies we have been missing.
Learned a bunch with my first sleeving job.
I was too forceful with the tool the first time and slightly bent the tool. I didn't measure out the heat shrink well enough and so they came out uneven.
Besides all that im happy with it..better than multi color wires all over the place. Will definatly take my time and measure with more care in my next build. Here is a sneak peak. Next up will be ordering the mother board when I scrape up a bit more cash.
I keep having second thoughts about the fm2+ socket and have been looking at some dedicated gpu combos. More decisions!

-
I have a PSU chart that I created too..it's below.
- 1) Always buy the biggest (at least Gold rated) PSU you can afford!!!!
- 2) See step one.
Has always worked out well for me.
-
Just a quick update.
My order delay from Lutro0s was due to a family emergency. Thoughts and prayers to Lutro0s and family...Please don't let my experience reflect their establishment. Family first!
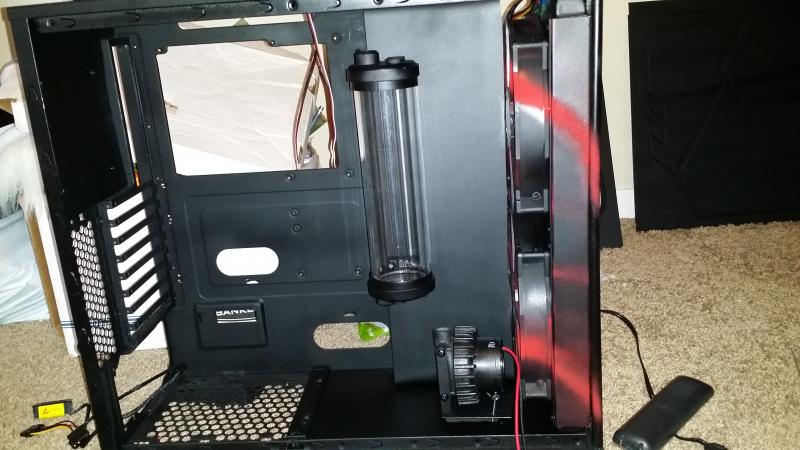
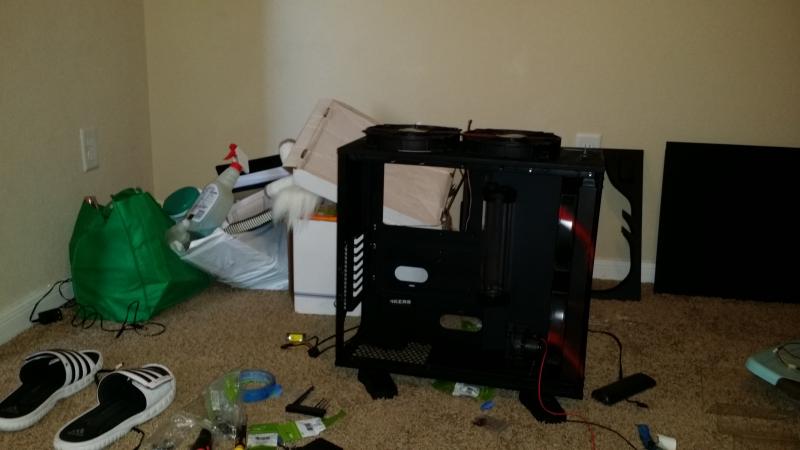
In the meanwhile I'm trying to figure where to mount the hdds? Lol. I knew I overlooked something.
-
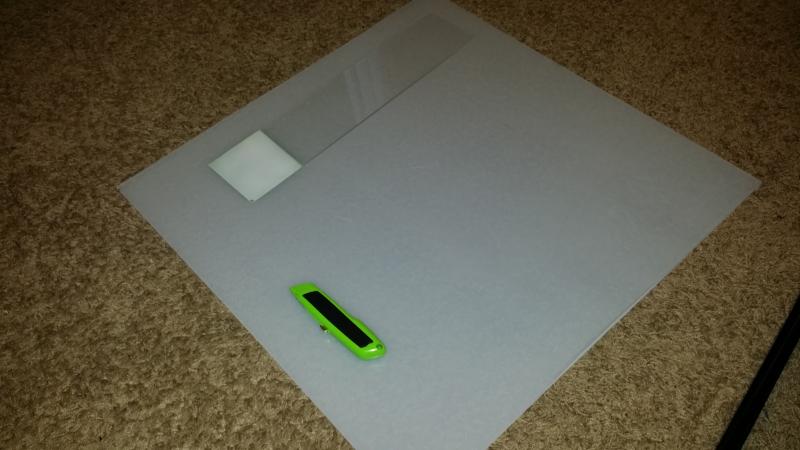
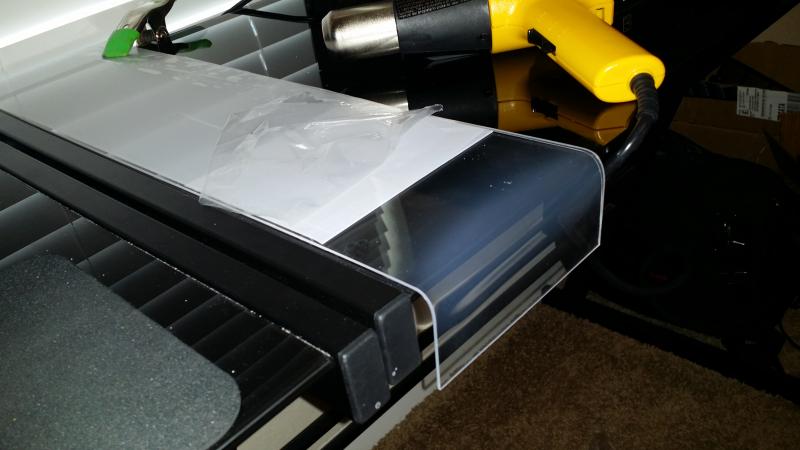
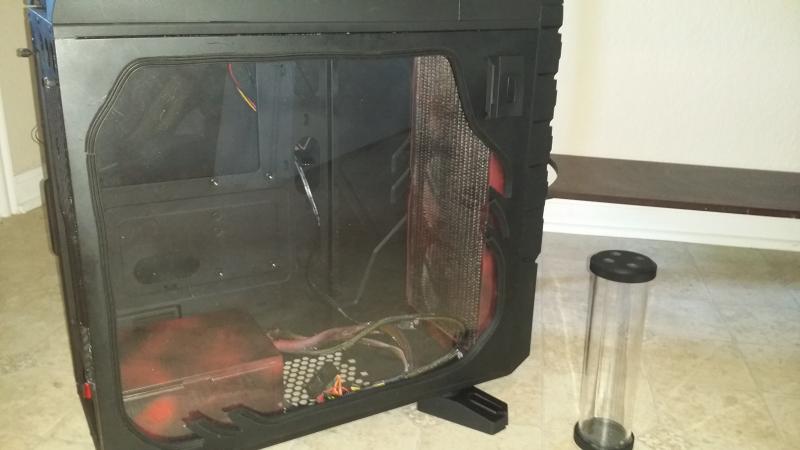
Well I've had it with Lutro0s customs.Made my purchase on August 1st, it's not August 14th and still not even boxed up. I have sent an email asking for a refund, I may try purchasing straight from MDPC-X as soon as I can get my money back.What a waste, can't Start the tubing till the sleeving si done...don'e want to order the motherboard or other hardware until I can set it up and test all together.In the meanwhile I juggled some ideas on mounting the Res and pump. I decided it was time to play with the left over acrylic sheet I had from making the window and got to working out of boredom.


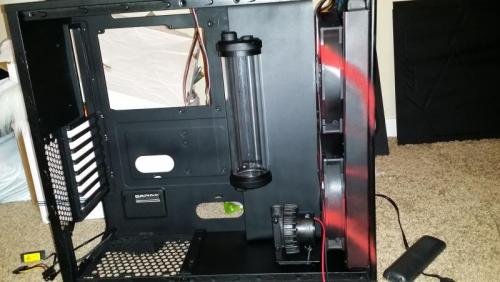
 I think the hard acrylic piping with red liquid will stand out against the matt black panels I added in. What do ya'll think?Okay well this time I am absolutely out of things to do until Lutro0s refunds my money and I get some sleeving in...have to sleeve all the fans, the pump and the PSU...run thew wires ..mount, cable maangement...then order the fun stuff. Sigh.
-
Went from air coolers to self contained liquid loops to soft tubing custom loops to acrylic to PTEG. If i had the tools I would try copper tubing.
I agree with jackjack, once I started custom loops I fell in love with the process. It's possibly the most frustrating part of a build for me but also the most rewarding. The noise/performance is top notch and it opens up so many possibilities. I still use self contained loops for my rigs built for friends and family since it is plug and play.
-
Yay!! I am also a primochill fan.. use their hardware for all of my watercooling builds.
Is this your first hard tubing build? I curious on why you passed up PETG for hard acrylic.
I have used both and PETG is soooo much easier to work with..the bends are very forgiving...the plastic itself is bendable even and I had almost no bubbles. Worth taking a look at if you get frustrated with the hard acrylic..primochill also sells the petg.
Look forward to seeing your build progress!!!
-
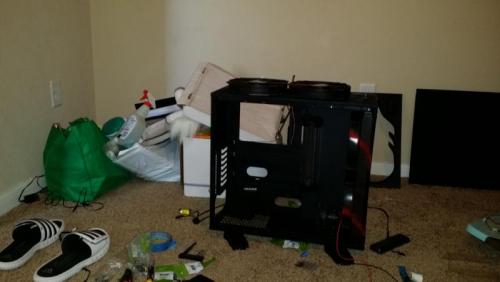
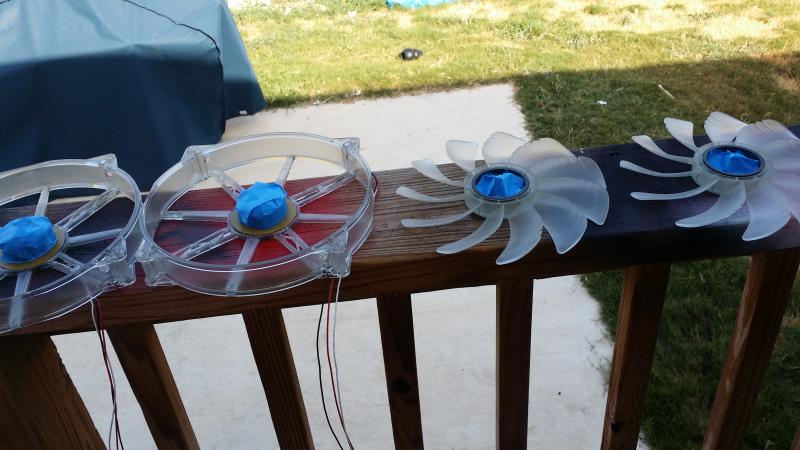
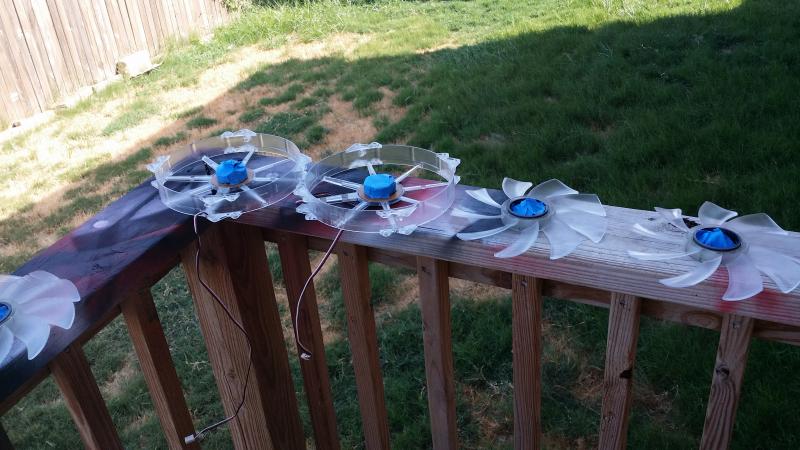
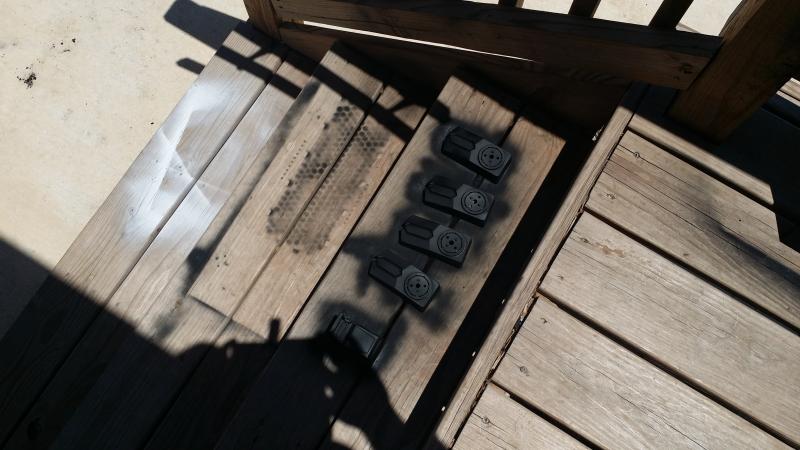
Ugh...Lutro0s is taking forever to ship out my cable sleeving and tools.I couldn't wait I have the modding bug pretty bad right now...so I decided to start looking at fan options.I had finally settled on corsair 200mm fans but then added up the costs and $100 seemed like just too much for this media center build. After digging through my spare parts I found 2 thermaltake clear and 2 cooler master clear 200mm fans!!! Yay!! Free fans!!However, clear fans with different color LEDS inside a subtle, matt black painted build would look tacky. So I did what any bored guy would do. I stripped them apart and painted them.


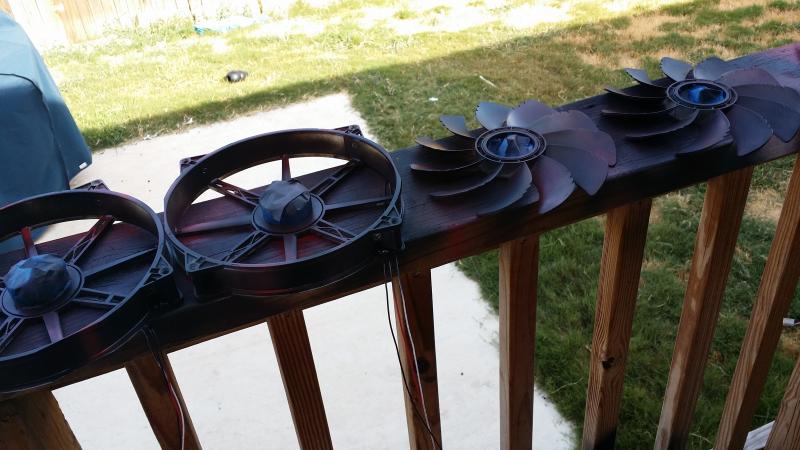
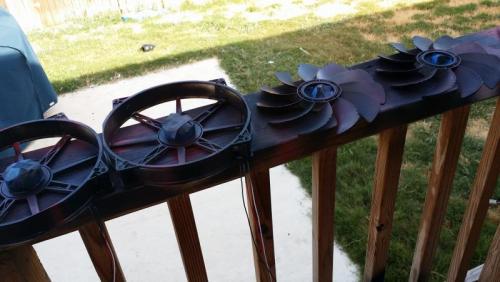 After the painting dried it was time to put them back together and perform a simple mount/fit/noise test.
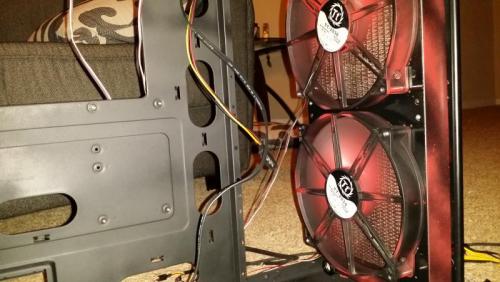
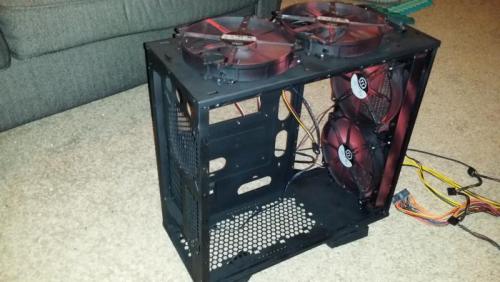
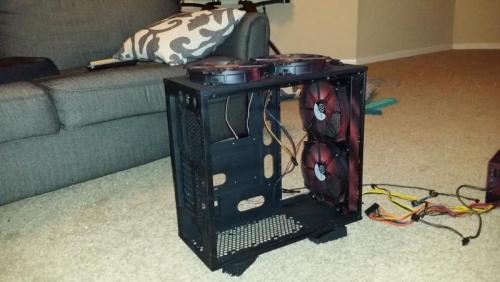 The test results are as follows...
- They fit well
- They turned on
- They were so quite I had to put my ear to them (even with the panels off) to make sure they were on. I am so glad I went this route, I know for a fact that I will NOT have to worry about any noise during our family movie time. I think the loudest component in my living room will now be our ceiling fan... lol!
Well now there is nothing else I can do until Lutro0s sends my stuff. Until then cheers!! -
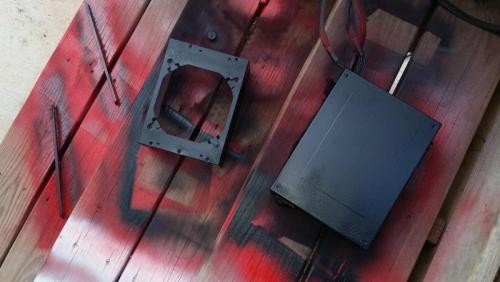
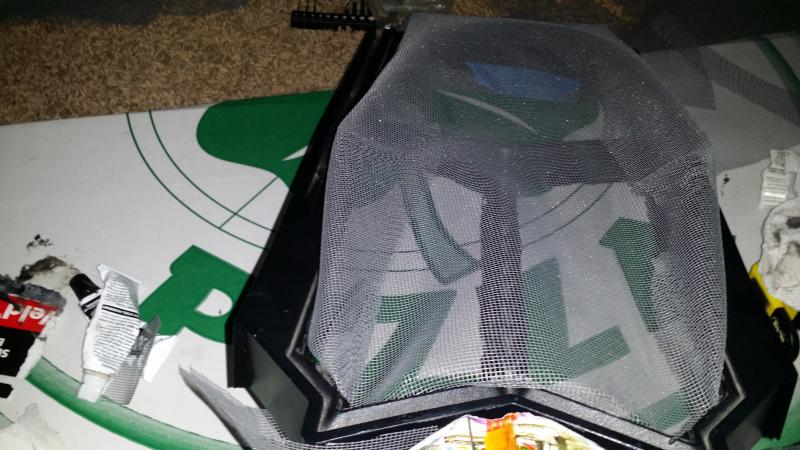
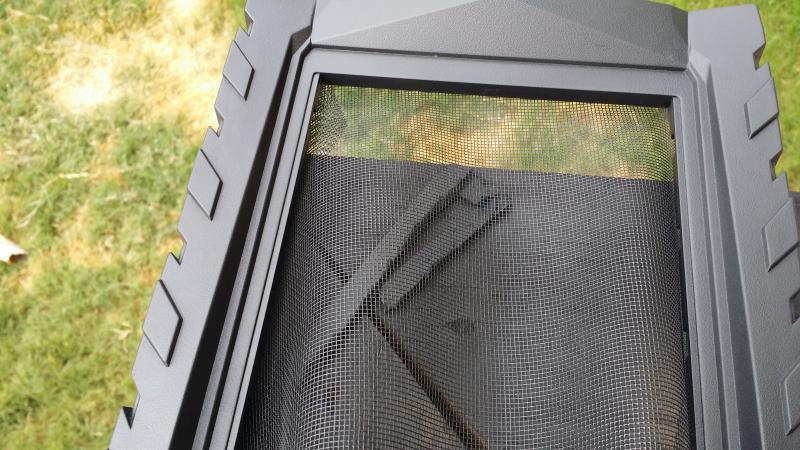
Update for project Red Screen...(formally green screen)Completed the custom screen needed for the front intake along with matching the top screen. Basically Matt black paint, J-B weld..some black Duct tape and a lot of time.

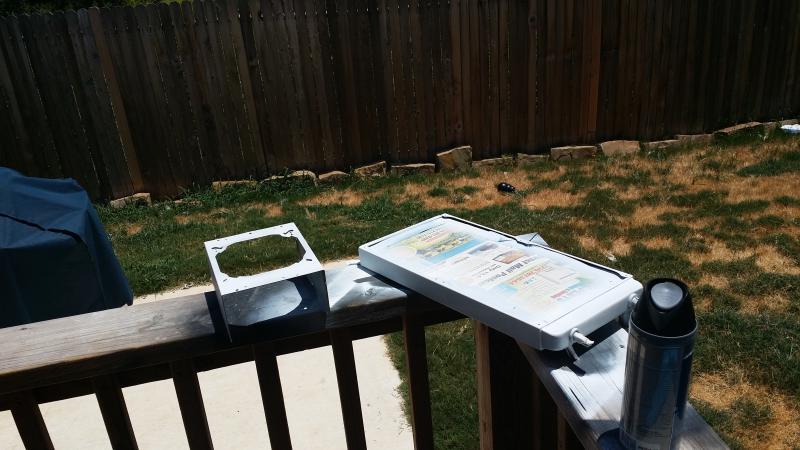
 Finished the exterior painting, along with the PSU/Rad painting.I used Plasti-Dip on the PSU and RAD so that I could peel it off if I hated it.
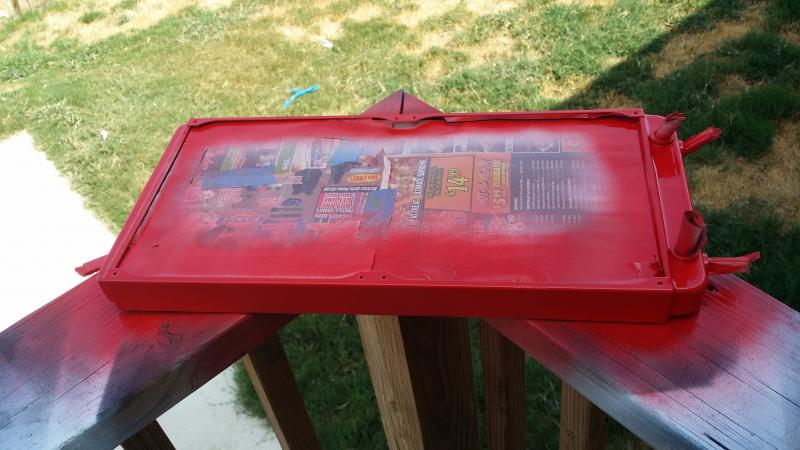
 Then I proceeded to paint everything with Red!!
 I then proceeded to hit the rest of the case with Matt Black for that Subtle look.
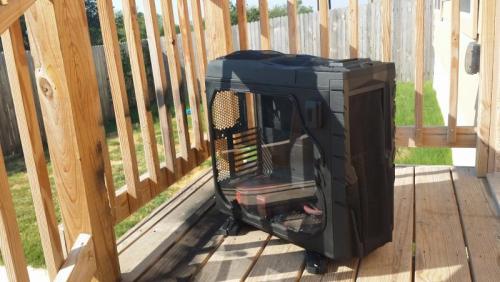
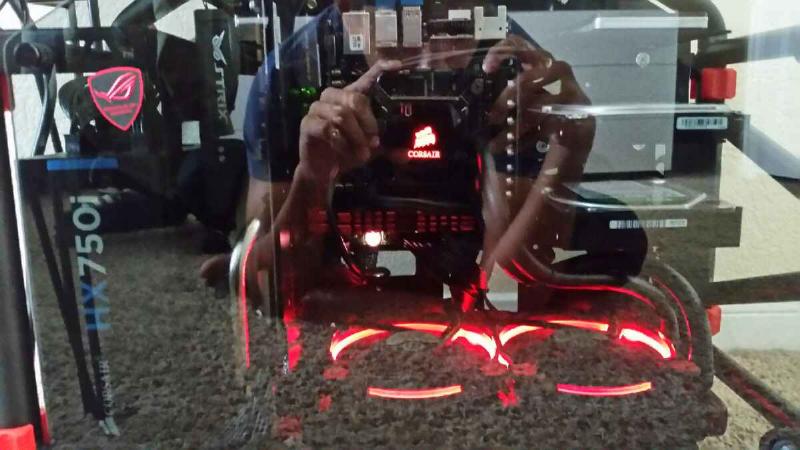
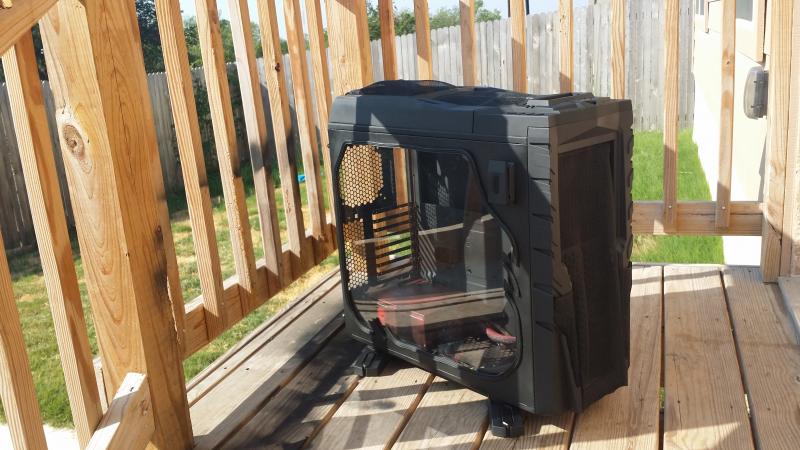
 Once everything was painted and dried I was not happy with the color combination. The red items stood out way too much against the Matt Black paint.It looked like a Goth girl with Bright red finger nails and matching bright red lipstick.I needed to tone it down. So I experimented with Matt black and some red splatter effect. In the end I was happy with this result. From a distance, someone walking through my living room wouldn't even notice the red...up close with some accent lighting on..i think the red stands out. Paired with the cable sleeving and hardware I think it will go nice together.
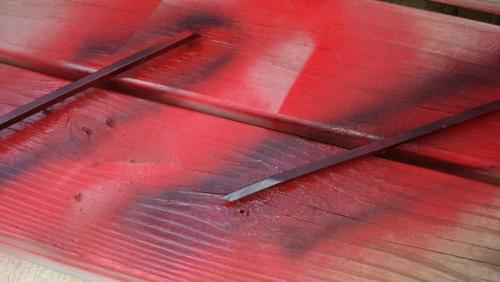
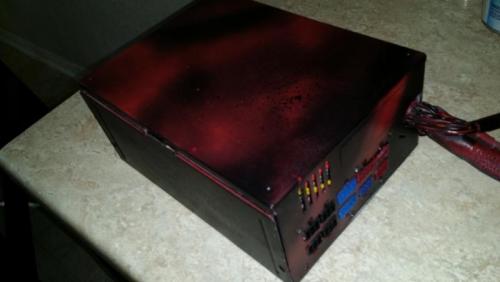 [Here is the final picture, excuse the horrible angles, lighting and cell phone pic. Once this build is complete I plan on finally buying a decent camera and a camera light so I can take some more pro-style pics.
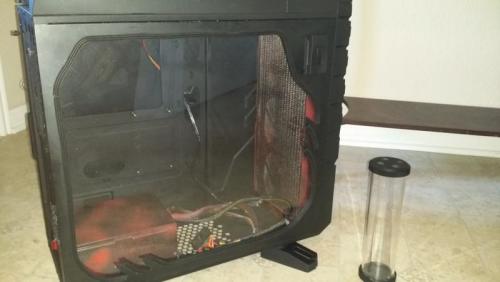
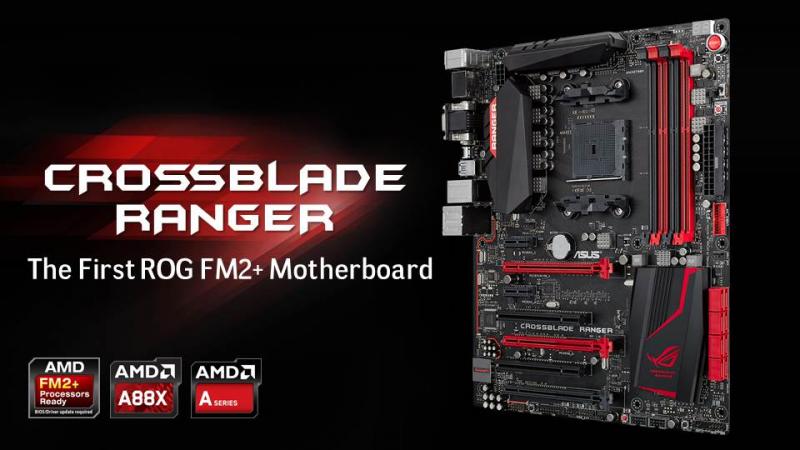
 I just placed my order with Lutro0 Customs and will attempting a Heatshrinless finish for the first time. I also ordered the Lutro0 tools available. Once the cables are all done, hopefully I can order the crossblade Ranger from Asus )If they ever release it) along with the HDD, Ram and waterblock.Once again thanks for following.
-
After reading a few reviews of the Gigbyte Sniper board and looking over the Asus ROG new FM2+ board.. I have decided to change the theme from project "Green Screen" to project "Red Screen".I love the looks of this board...I will be finishing up the exterior of this case with red accents and ordering the cable sleeving to match. My only concern is that there are soooo many red themed builds out there....we will see if mine can stand out a bit.I Wants!!!!


Father and Son Builds (CoreX9 and InWin Mini D Frame) Both Complete
in System Builds
Posted