-
Forum Statistics
7.5k
Total Topics50.9k
Total Posts -
Member Statistics
136,005
Total Members16,800
Most Online


STUART_GGF
-
Posts
39 -
Joined
-
Last visited
-
Days Won
1
Content Type
Profiles
Forums
Downloads
Events
Gallery
Blogs
Posts posted by STUART_GGF
-
-
-
Epic man, so clean and the detail is awesome
-
And the video
")
-
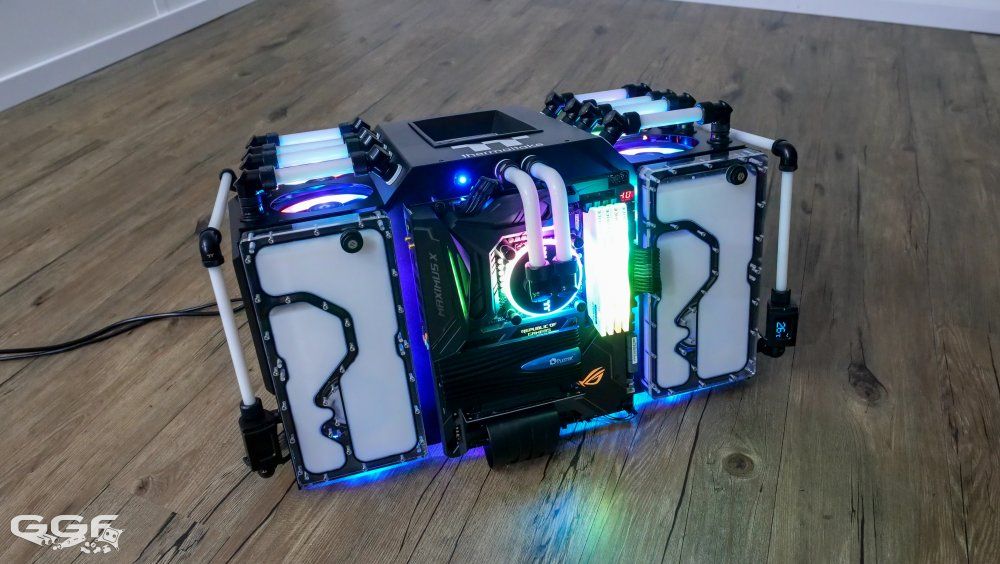
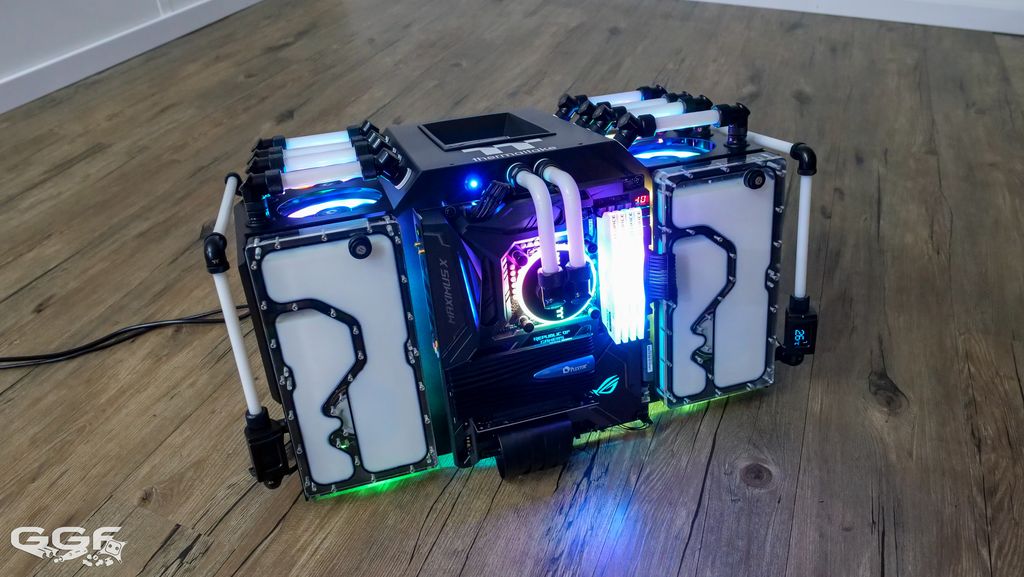
Here are some final images. Video will be up in the next post soon!


-
Here are most of the build images. I will come back and add some notes for each one.


-
-
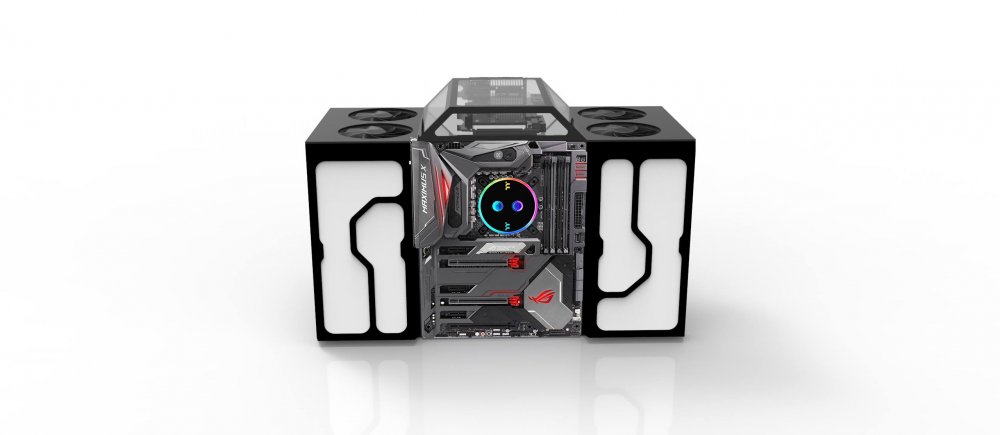
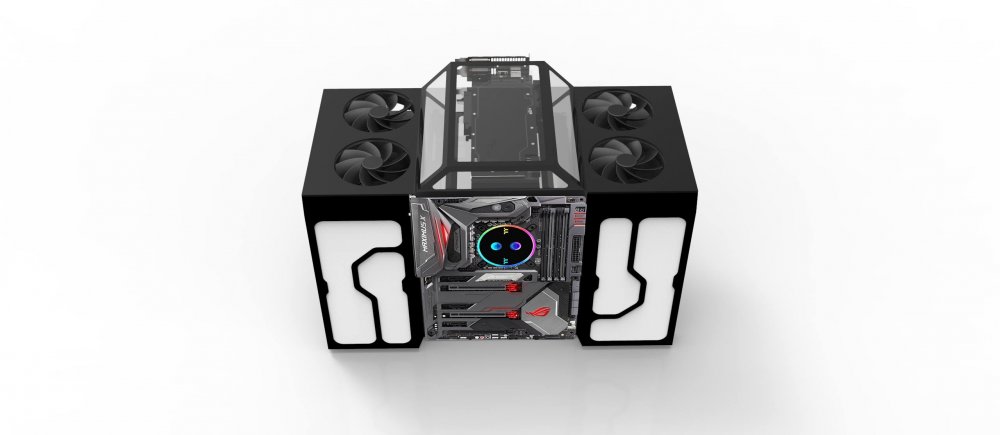
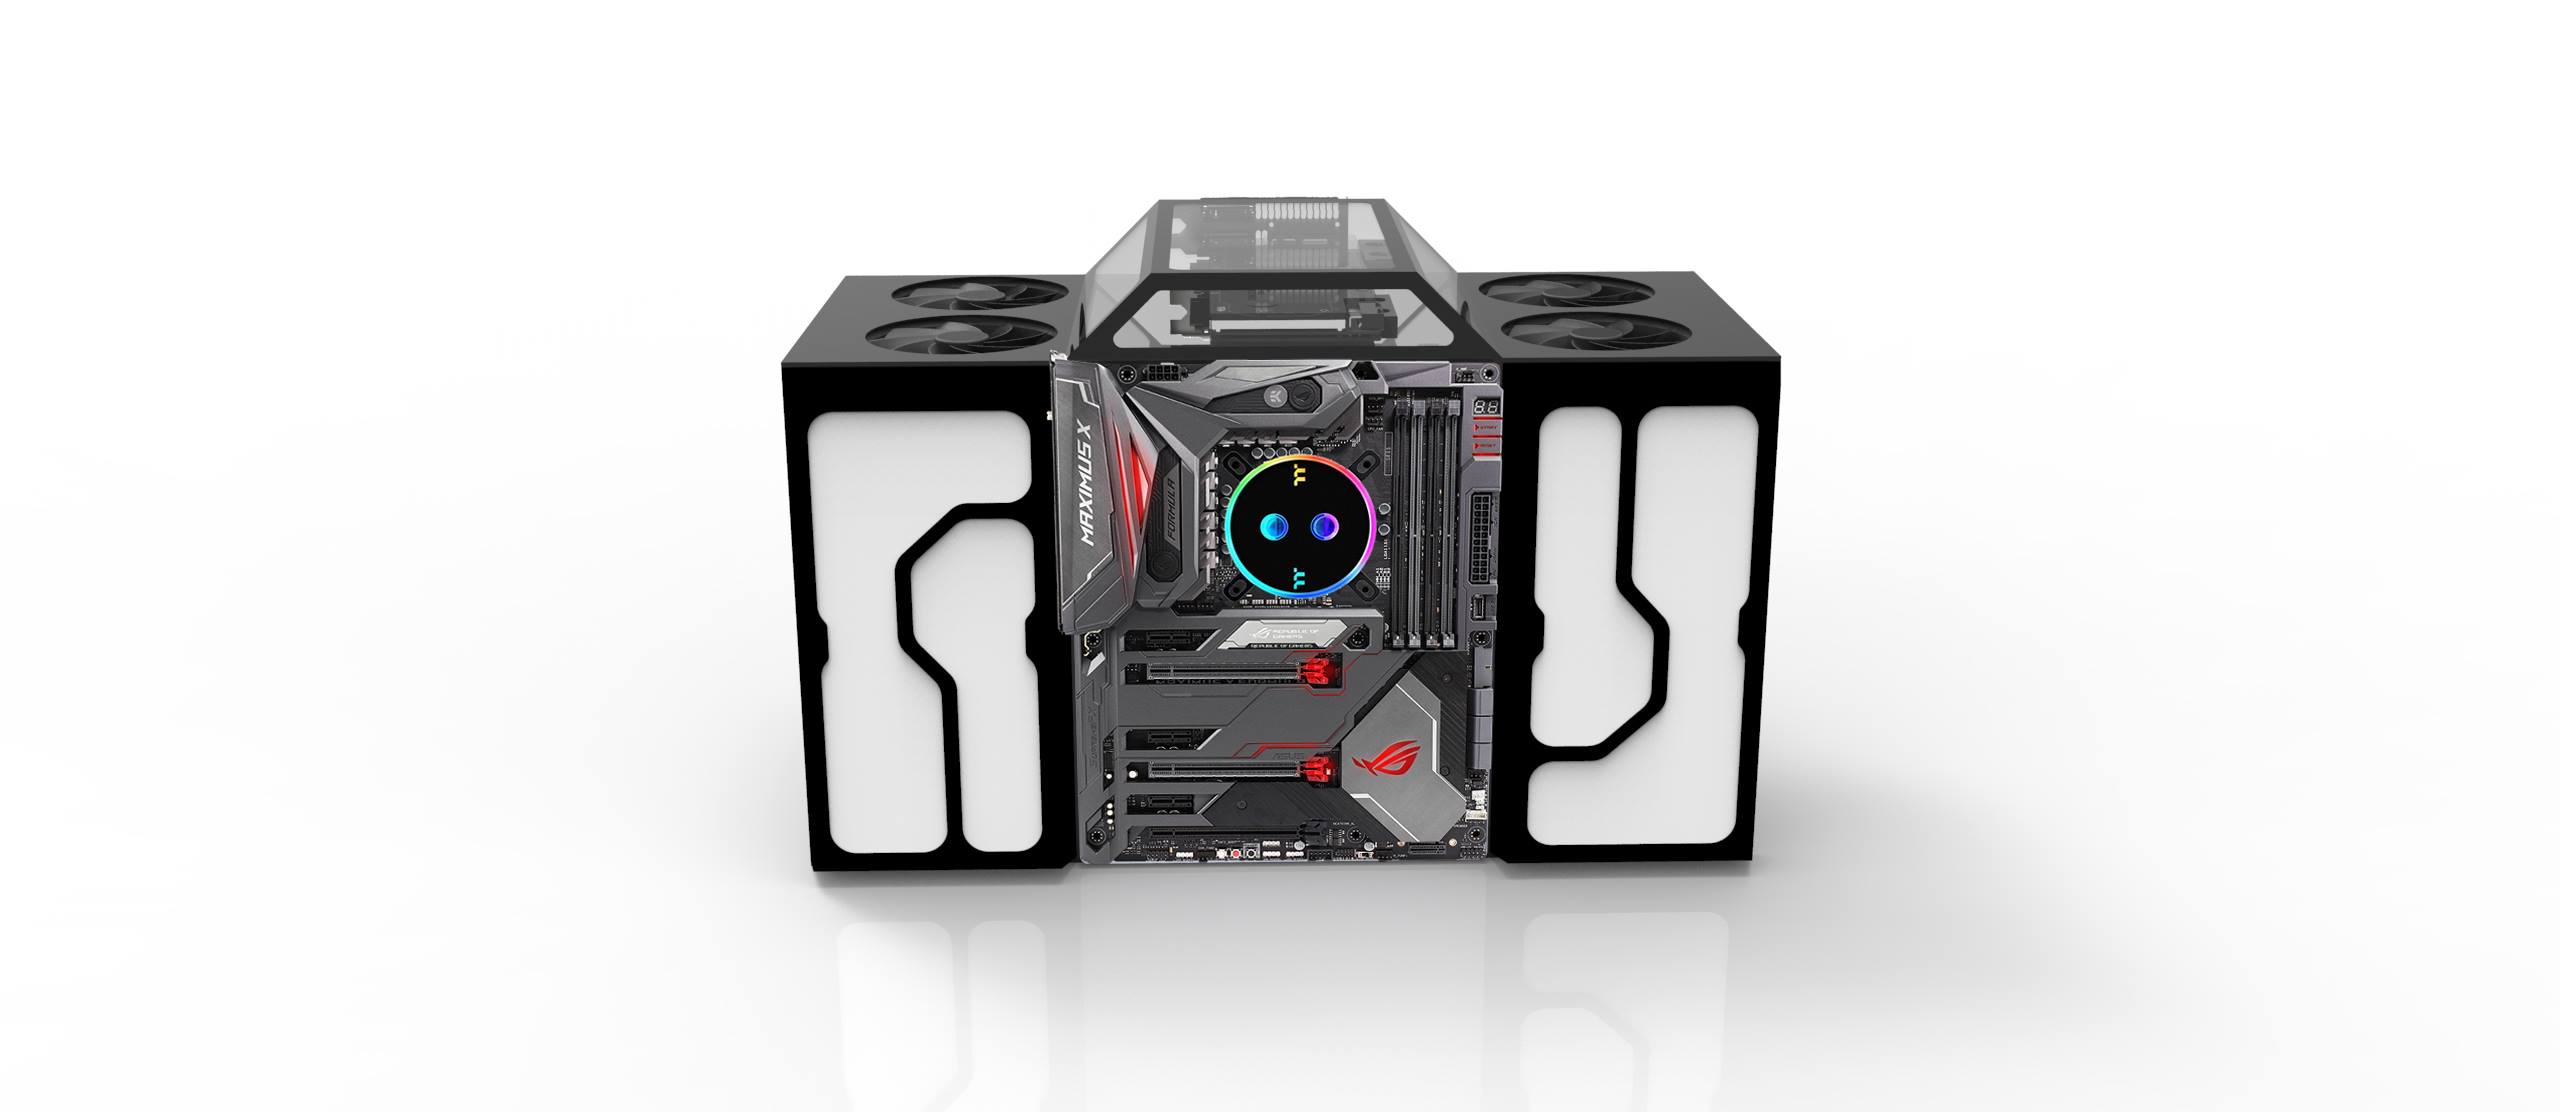
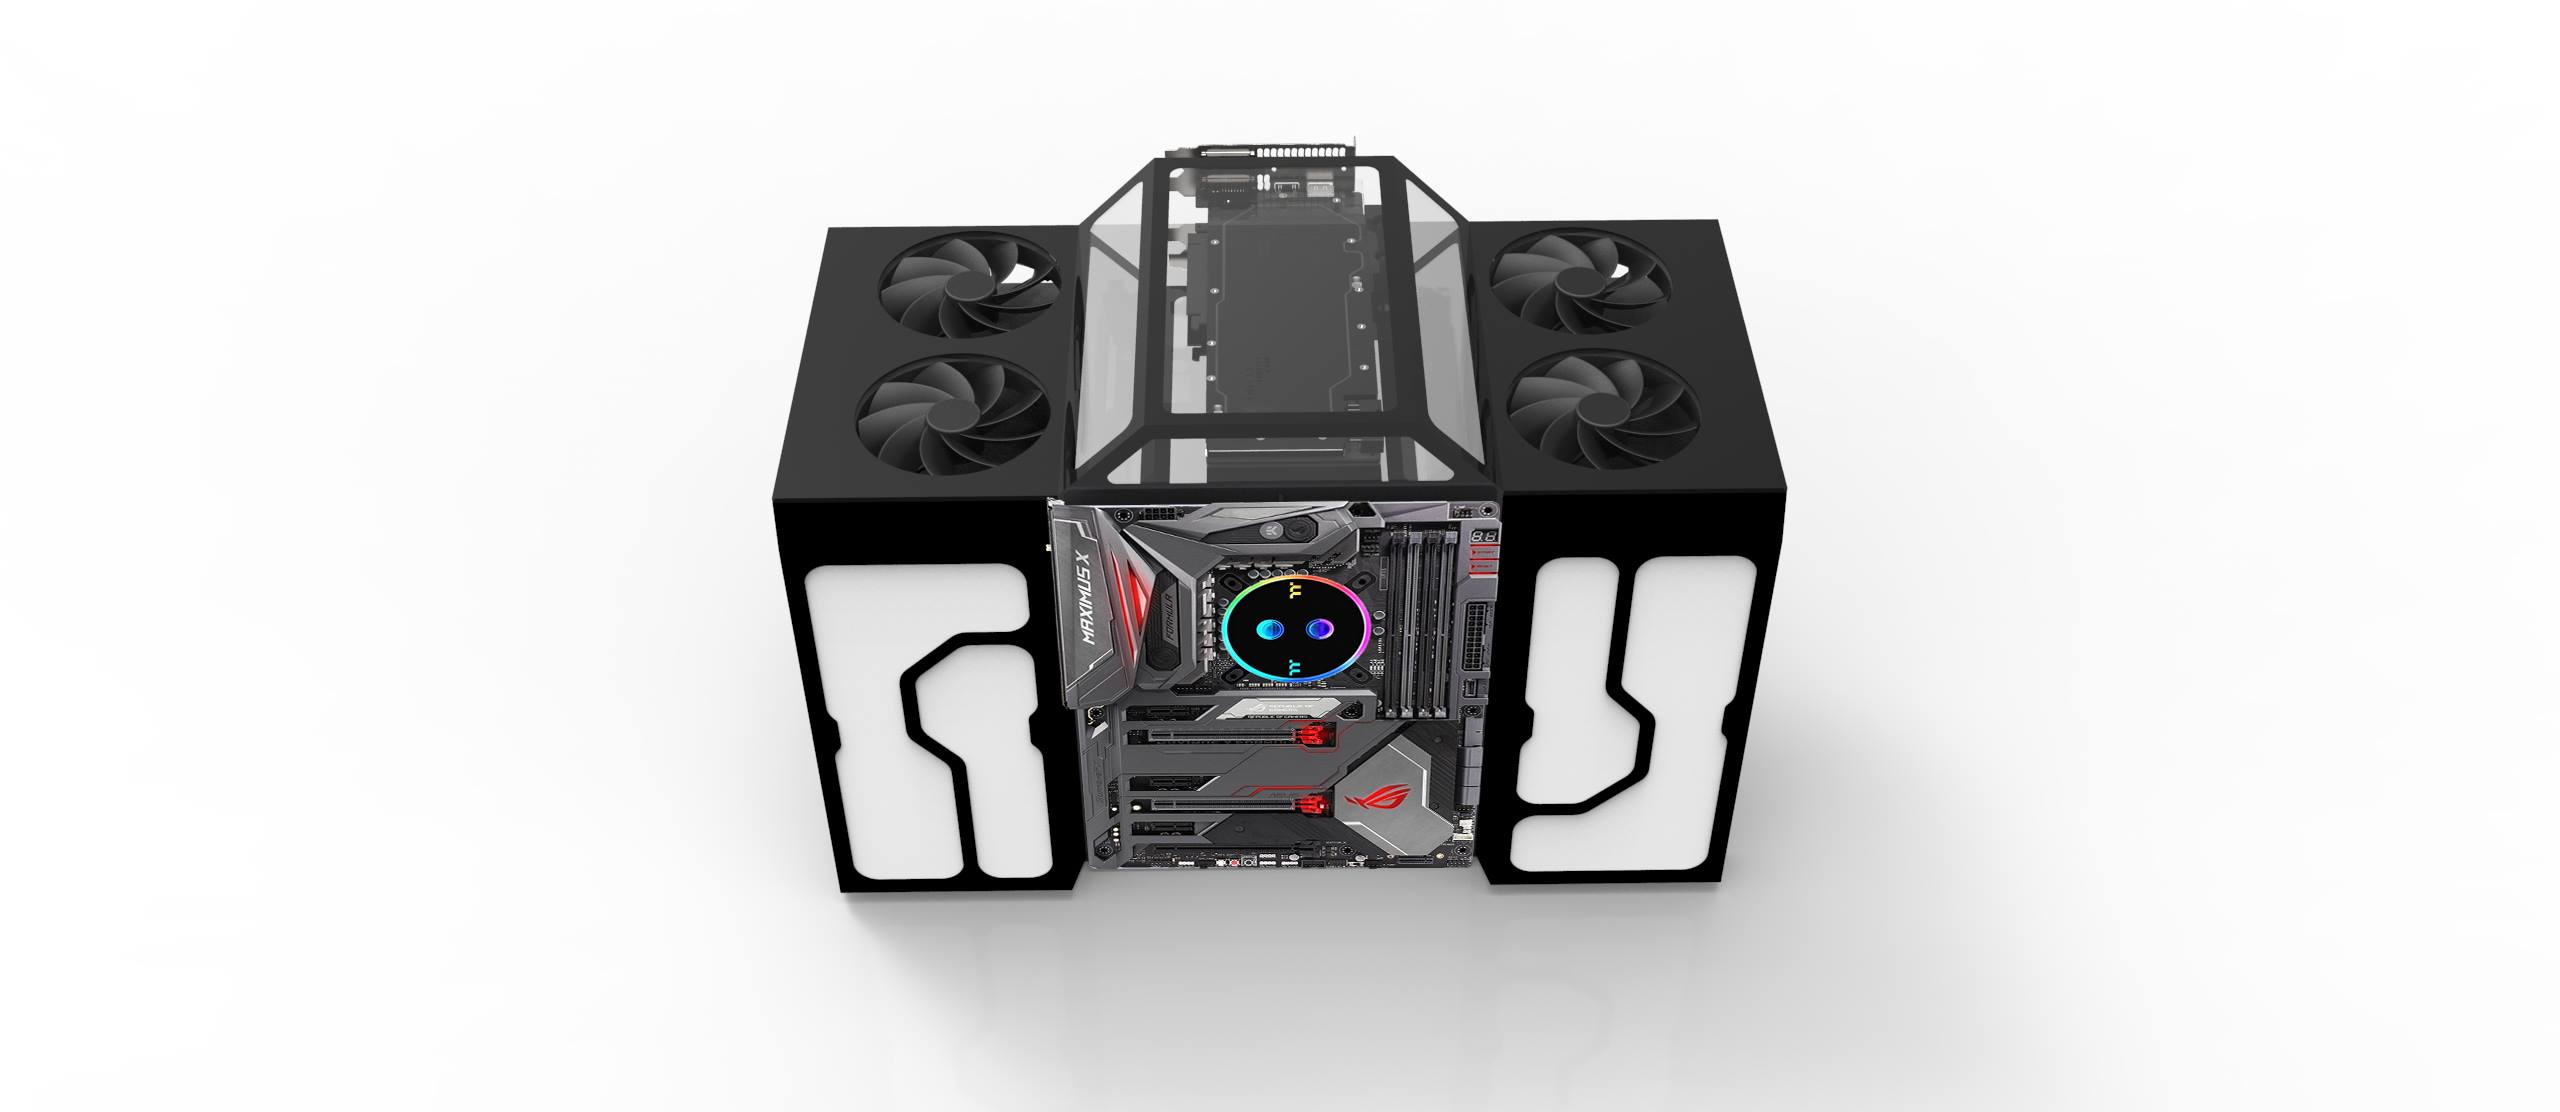
As time is short, very short, I've worked with mate of mine to bring my idea to life in the form of some renders. Hopefully this is similar to what the final result should look like
-
FINAL BUILD IMAGES. head to the bottom for more!

*******************************************************************************************************************************
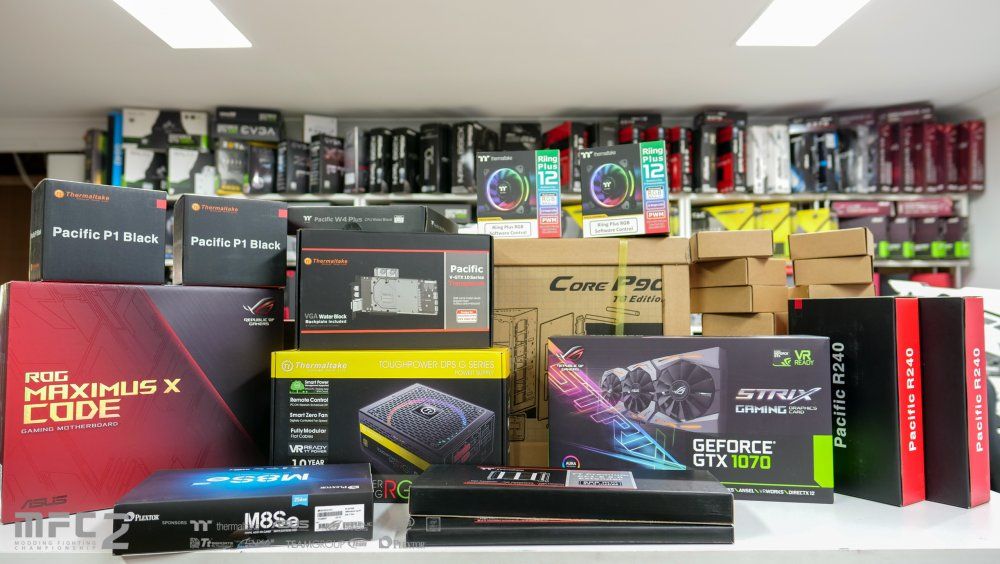
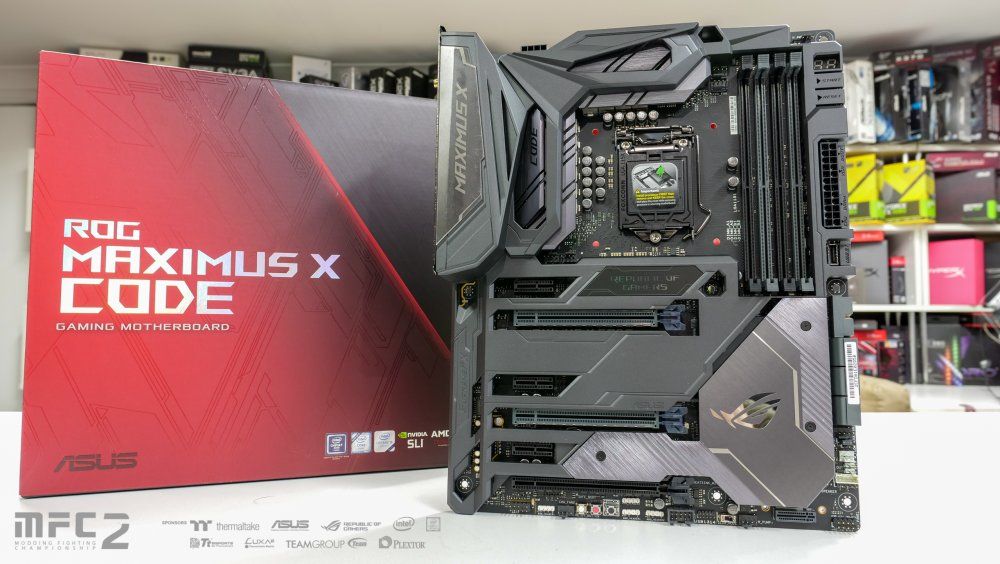
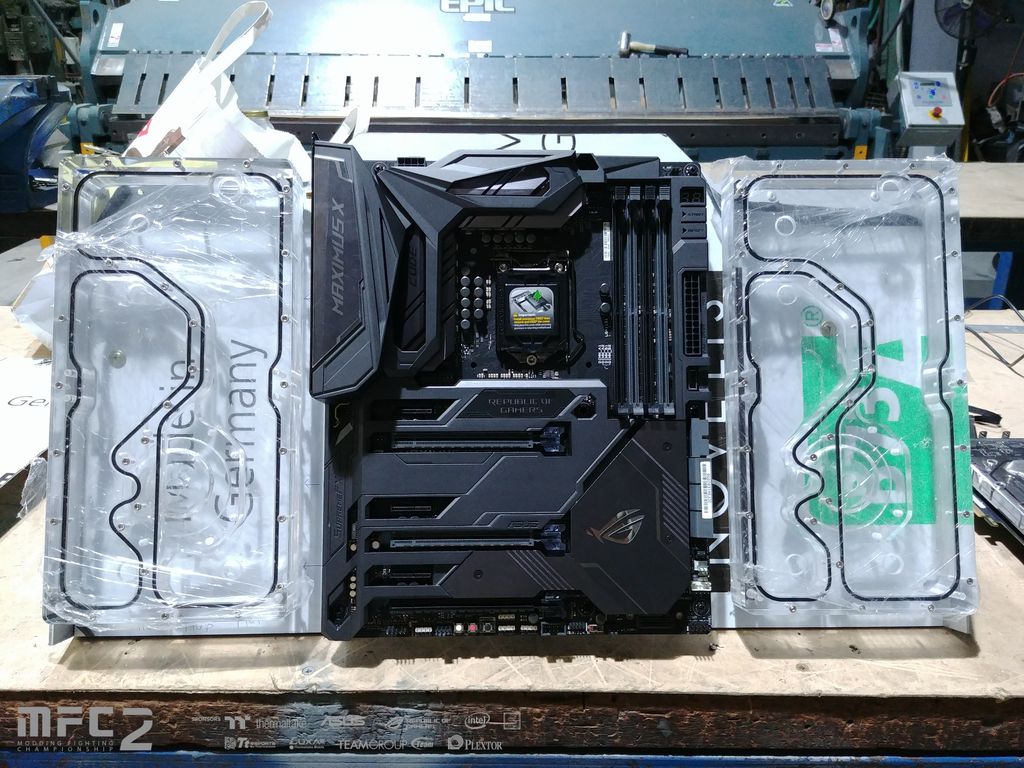
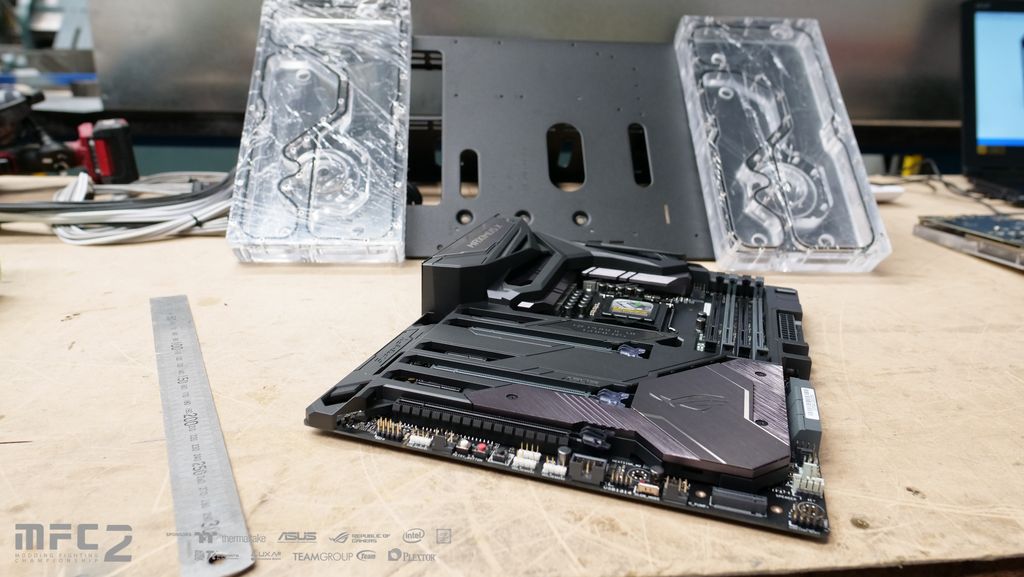
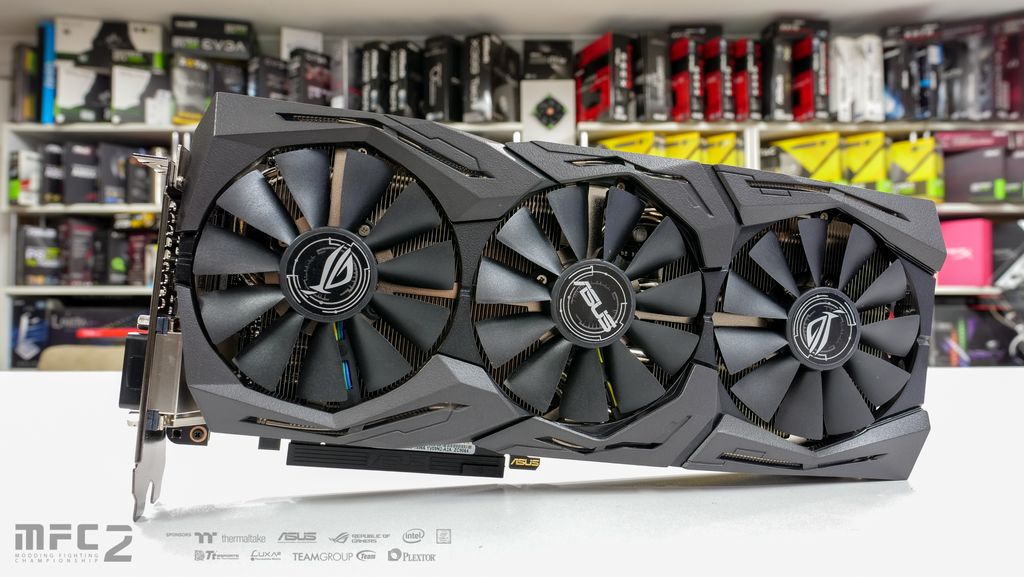
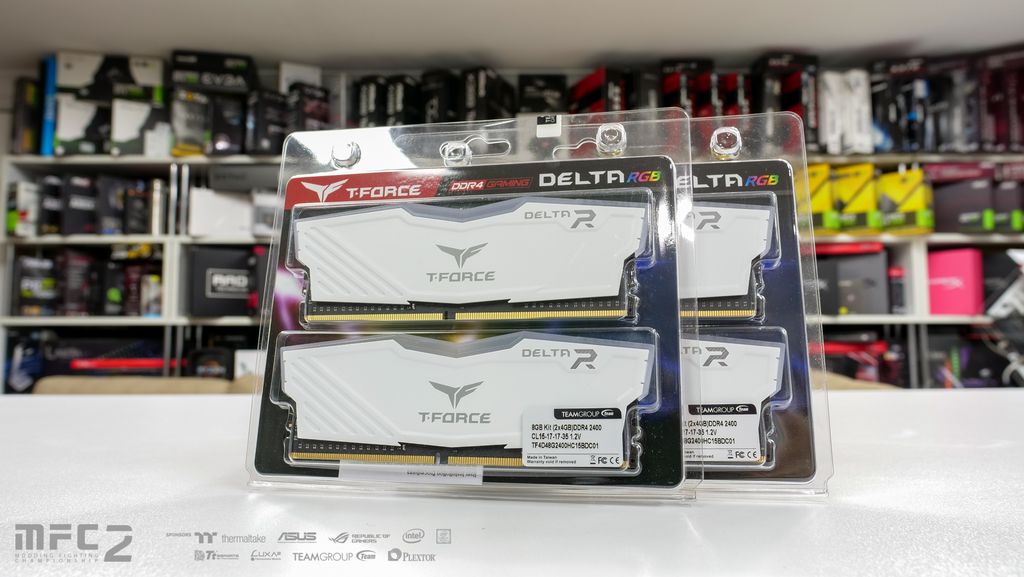
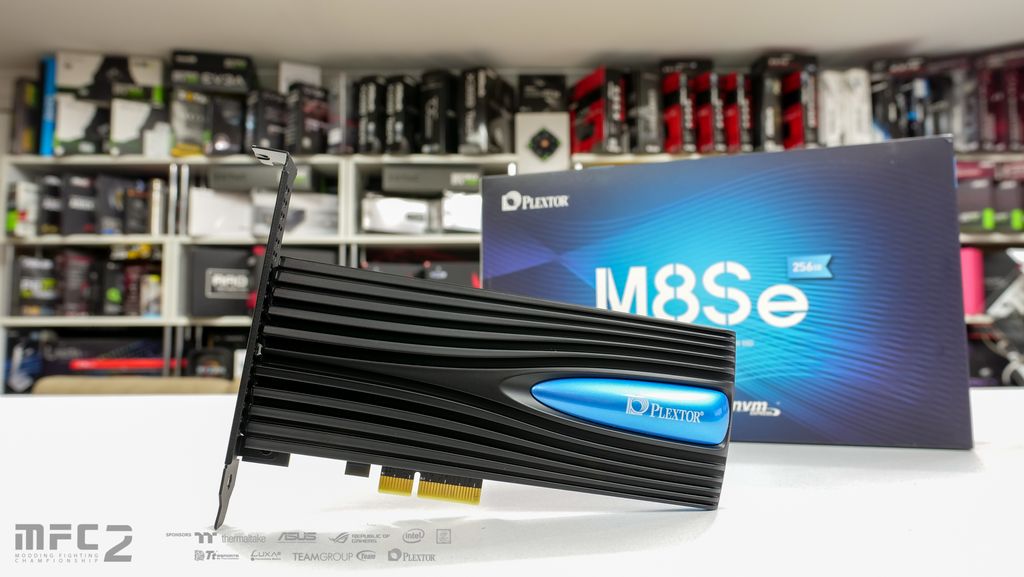
Alrighty. time to get this show on the road. First off a huge shout-out to Thermaltake and all the sponsors for supporting this competition. Below are some images of the hardware for the build.


-
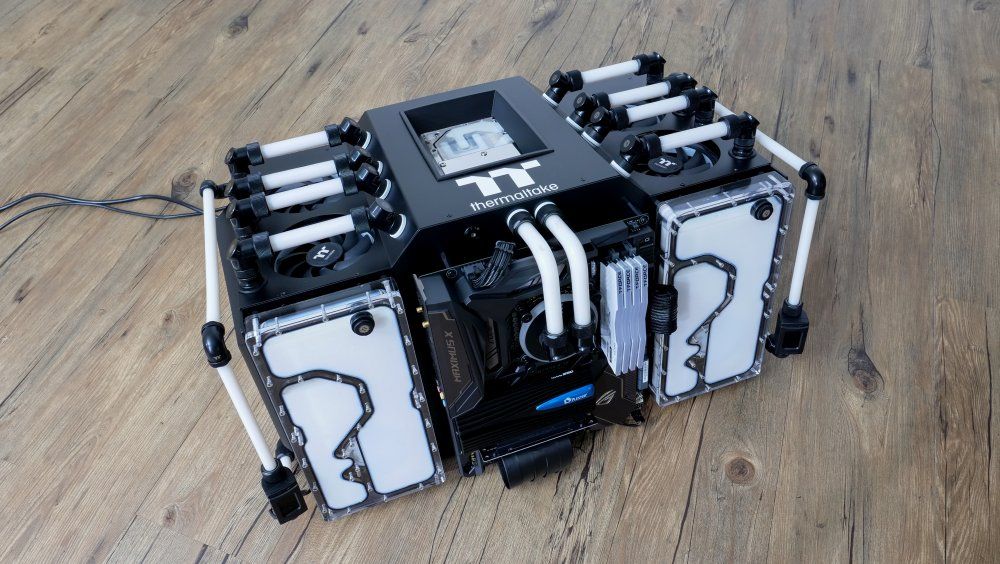
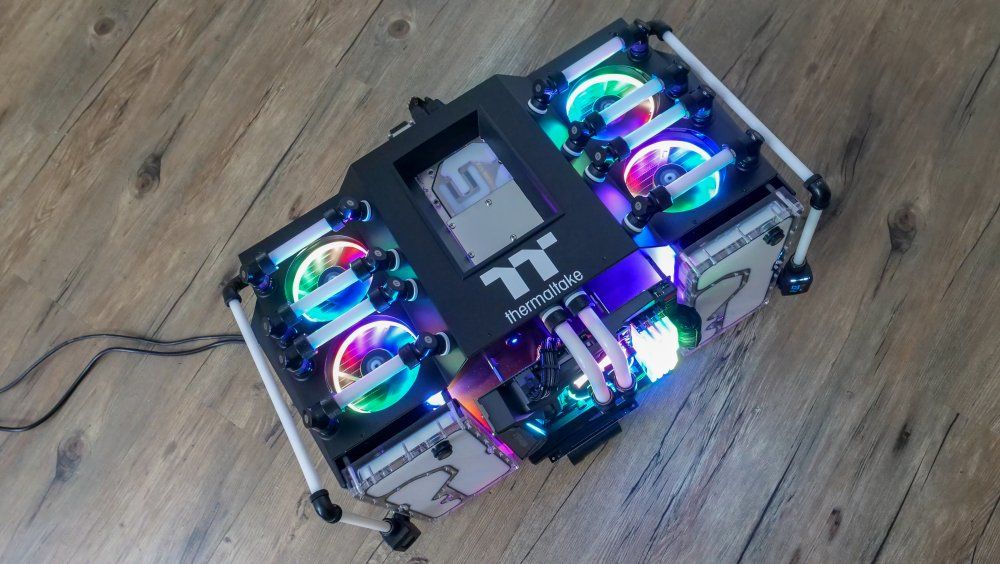
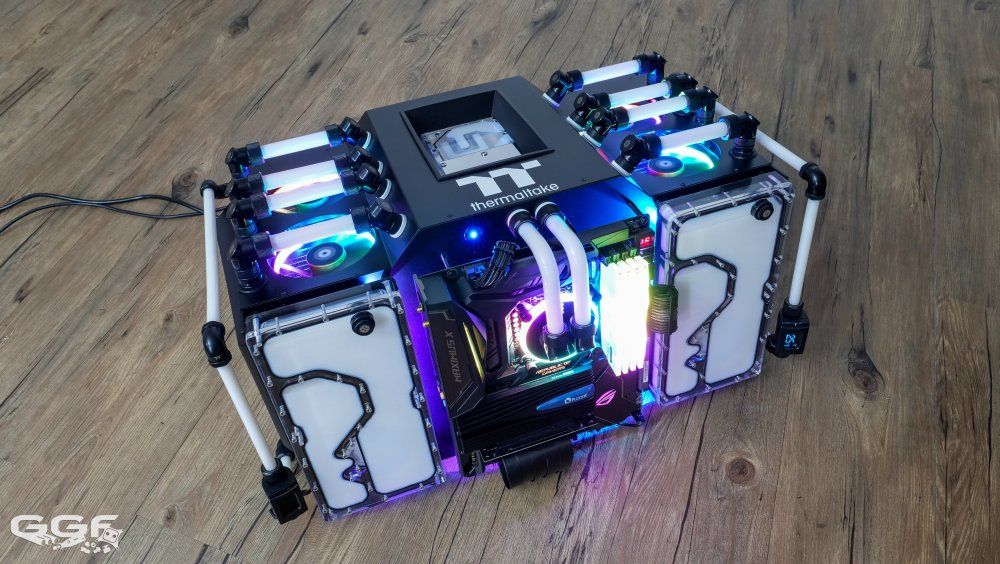
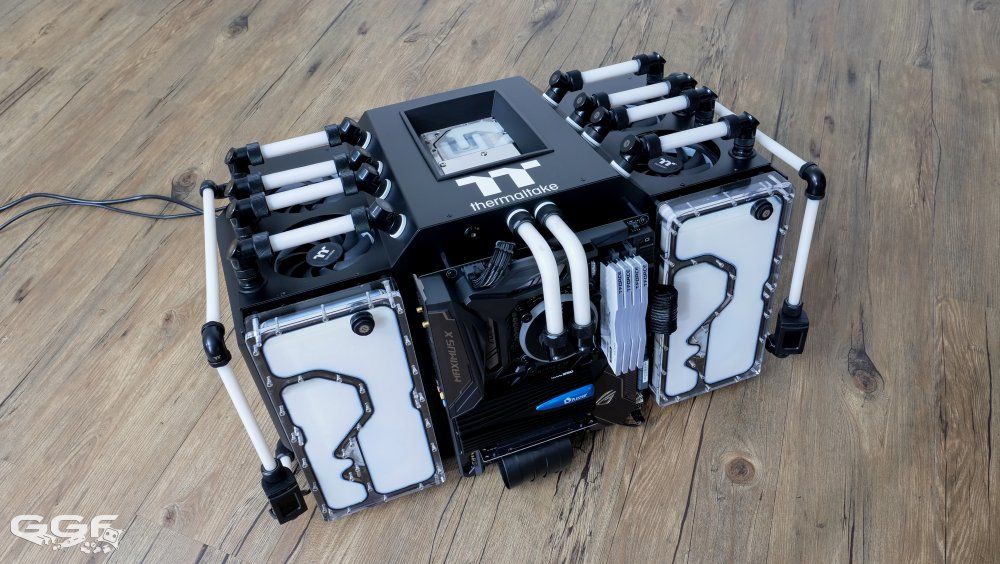
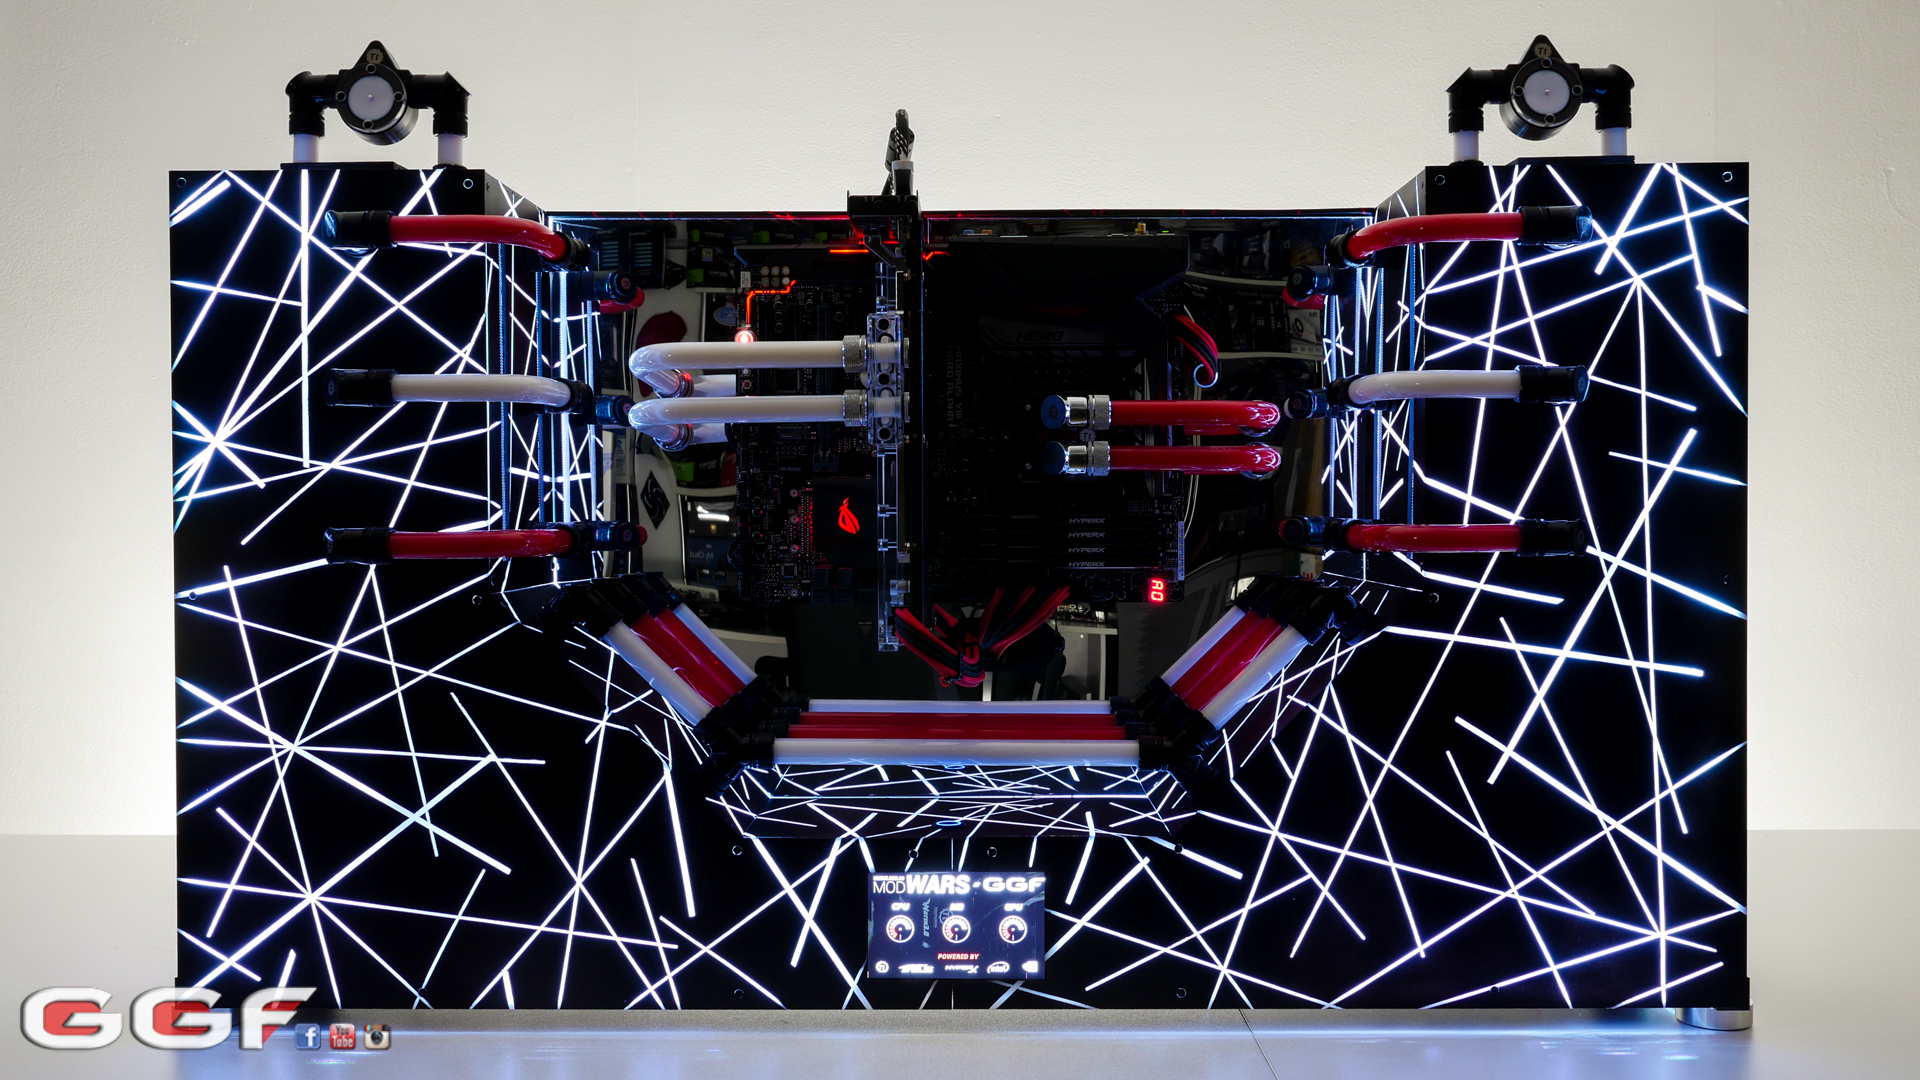
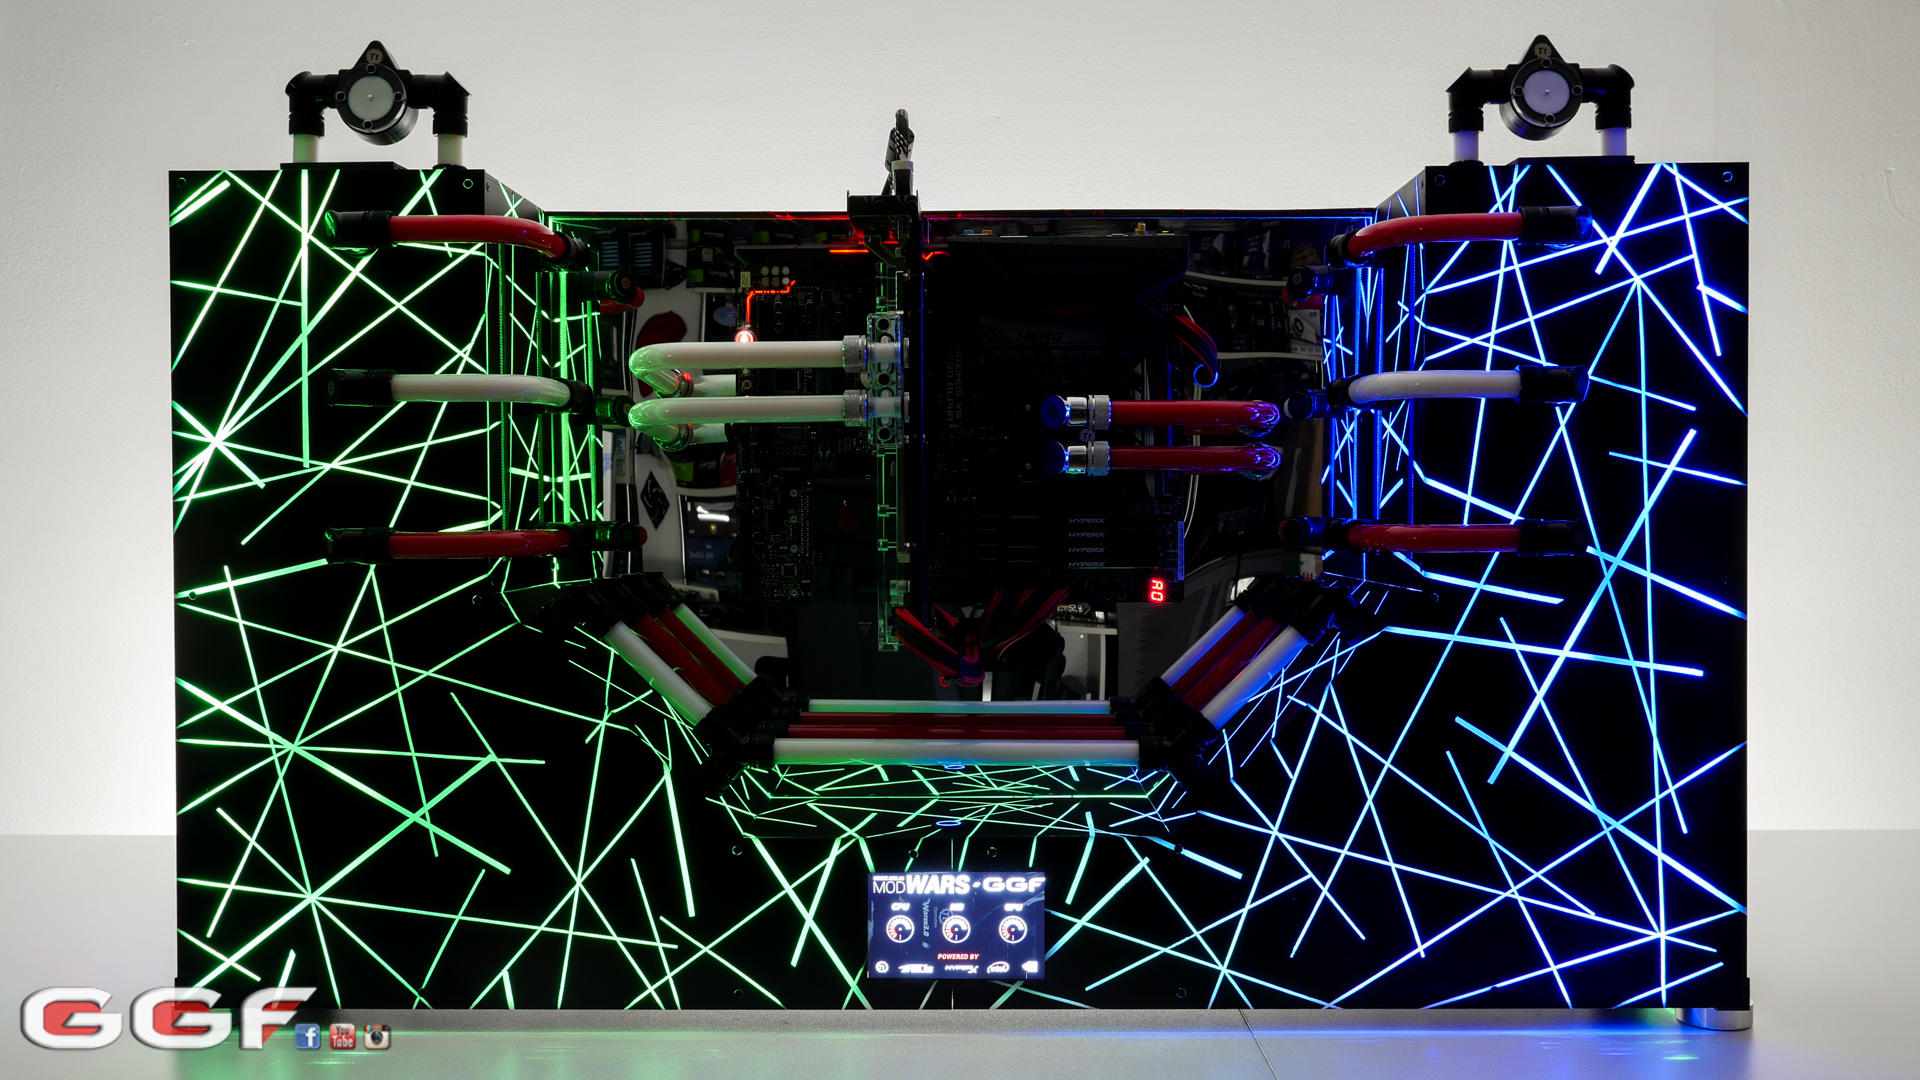
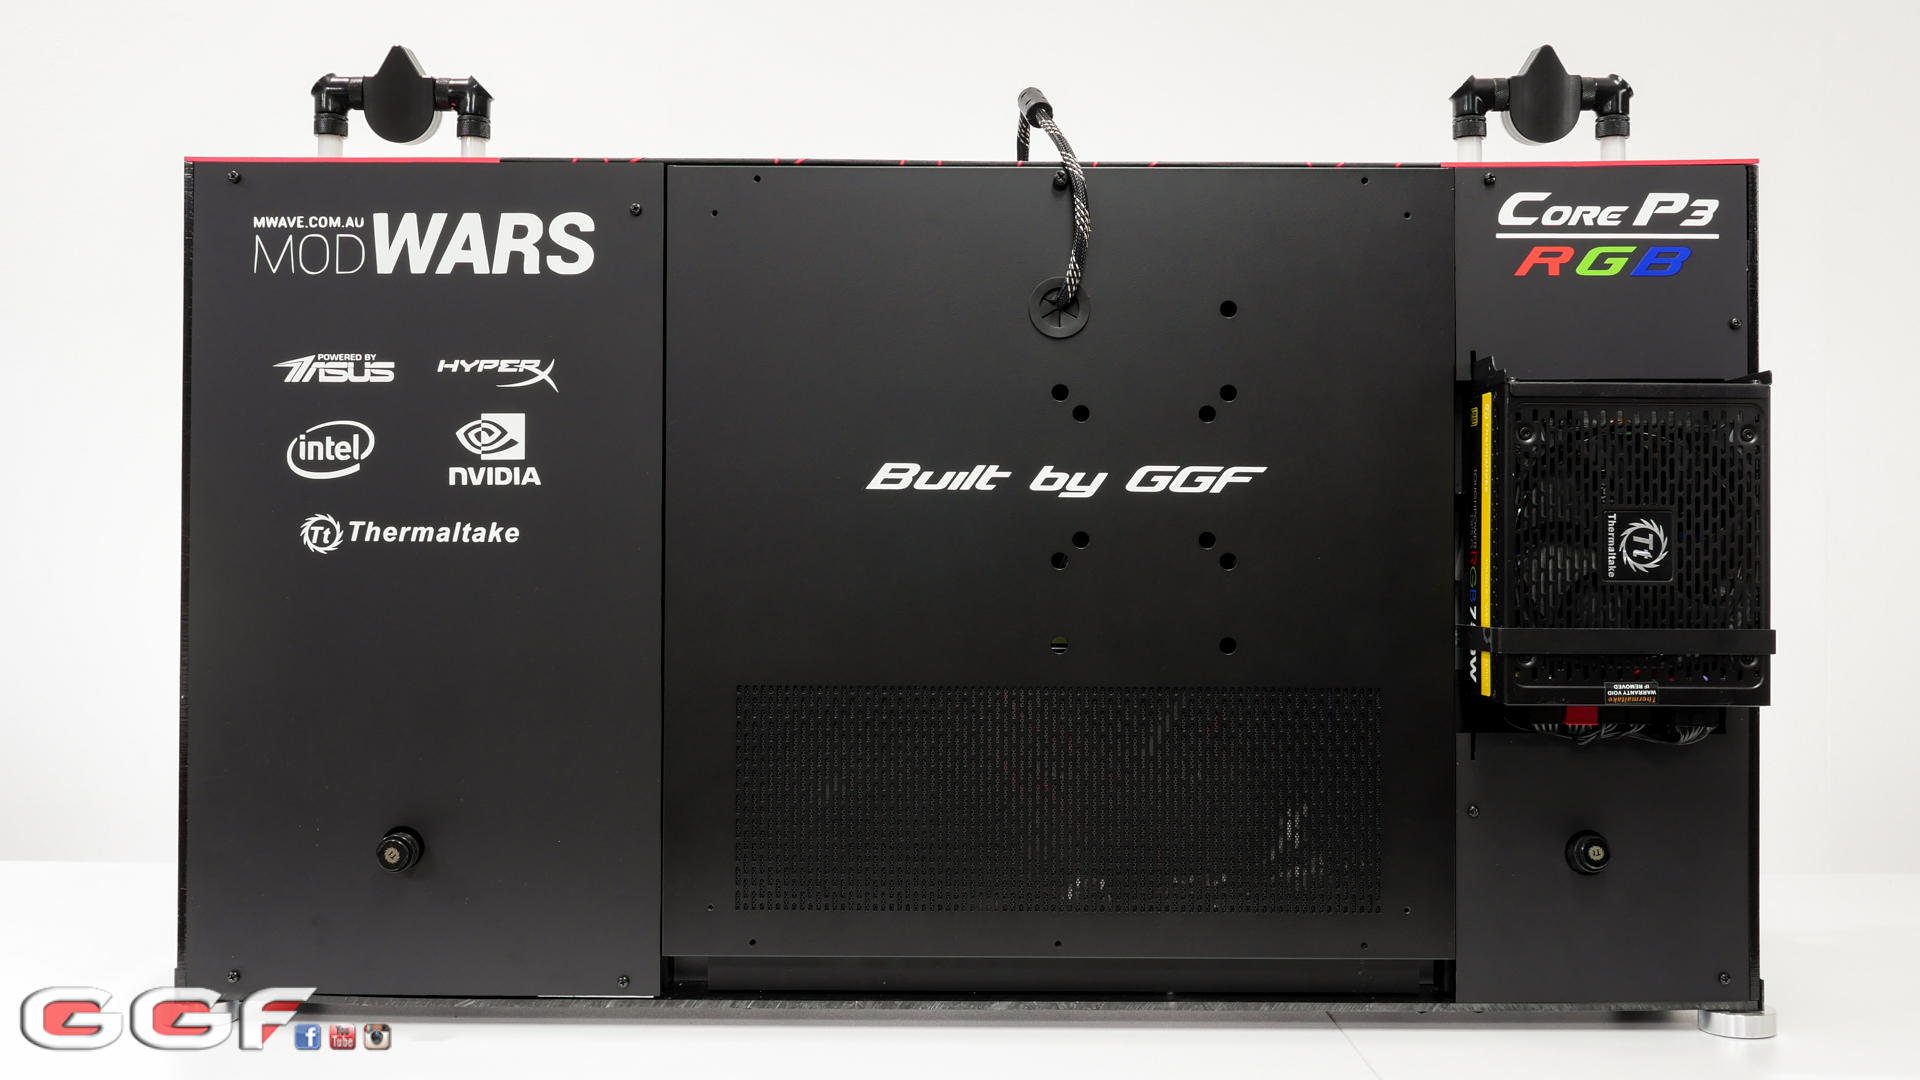
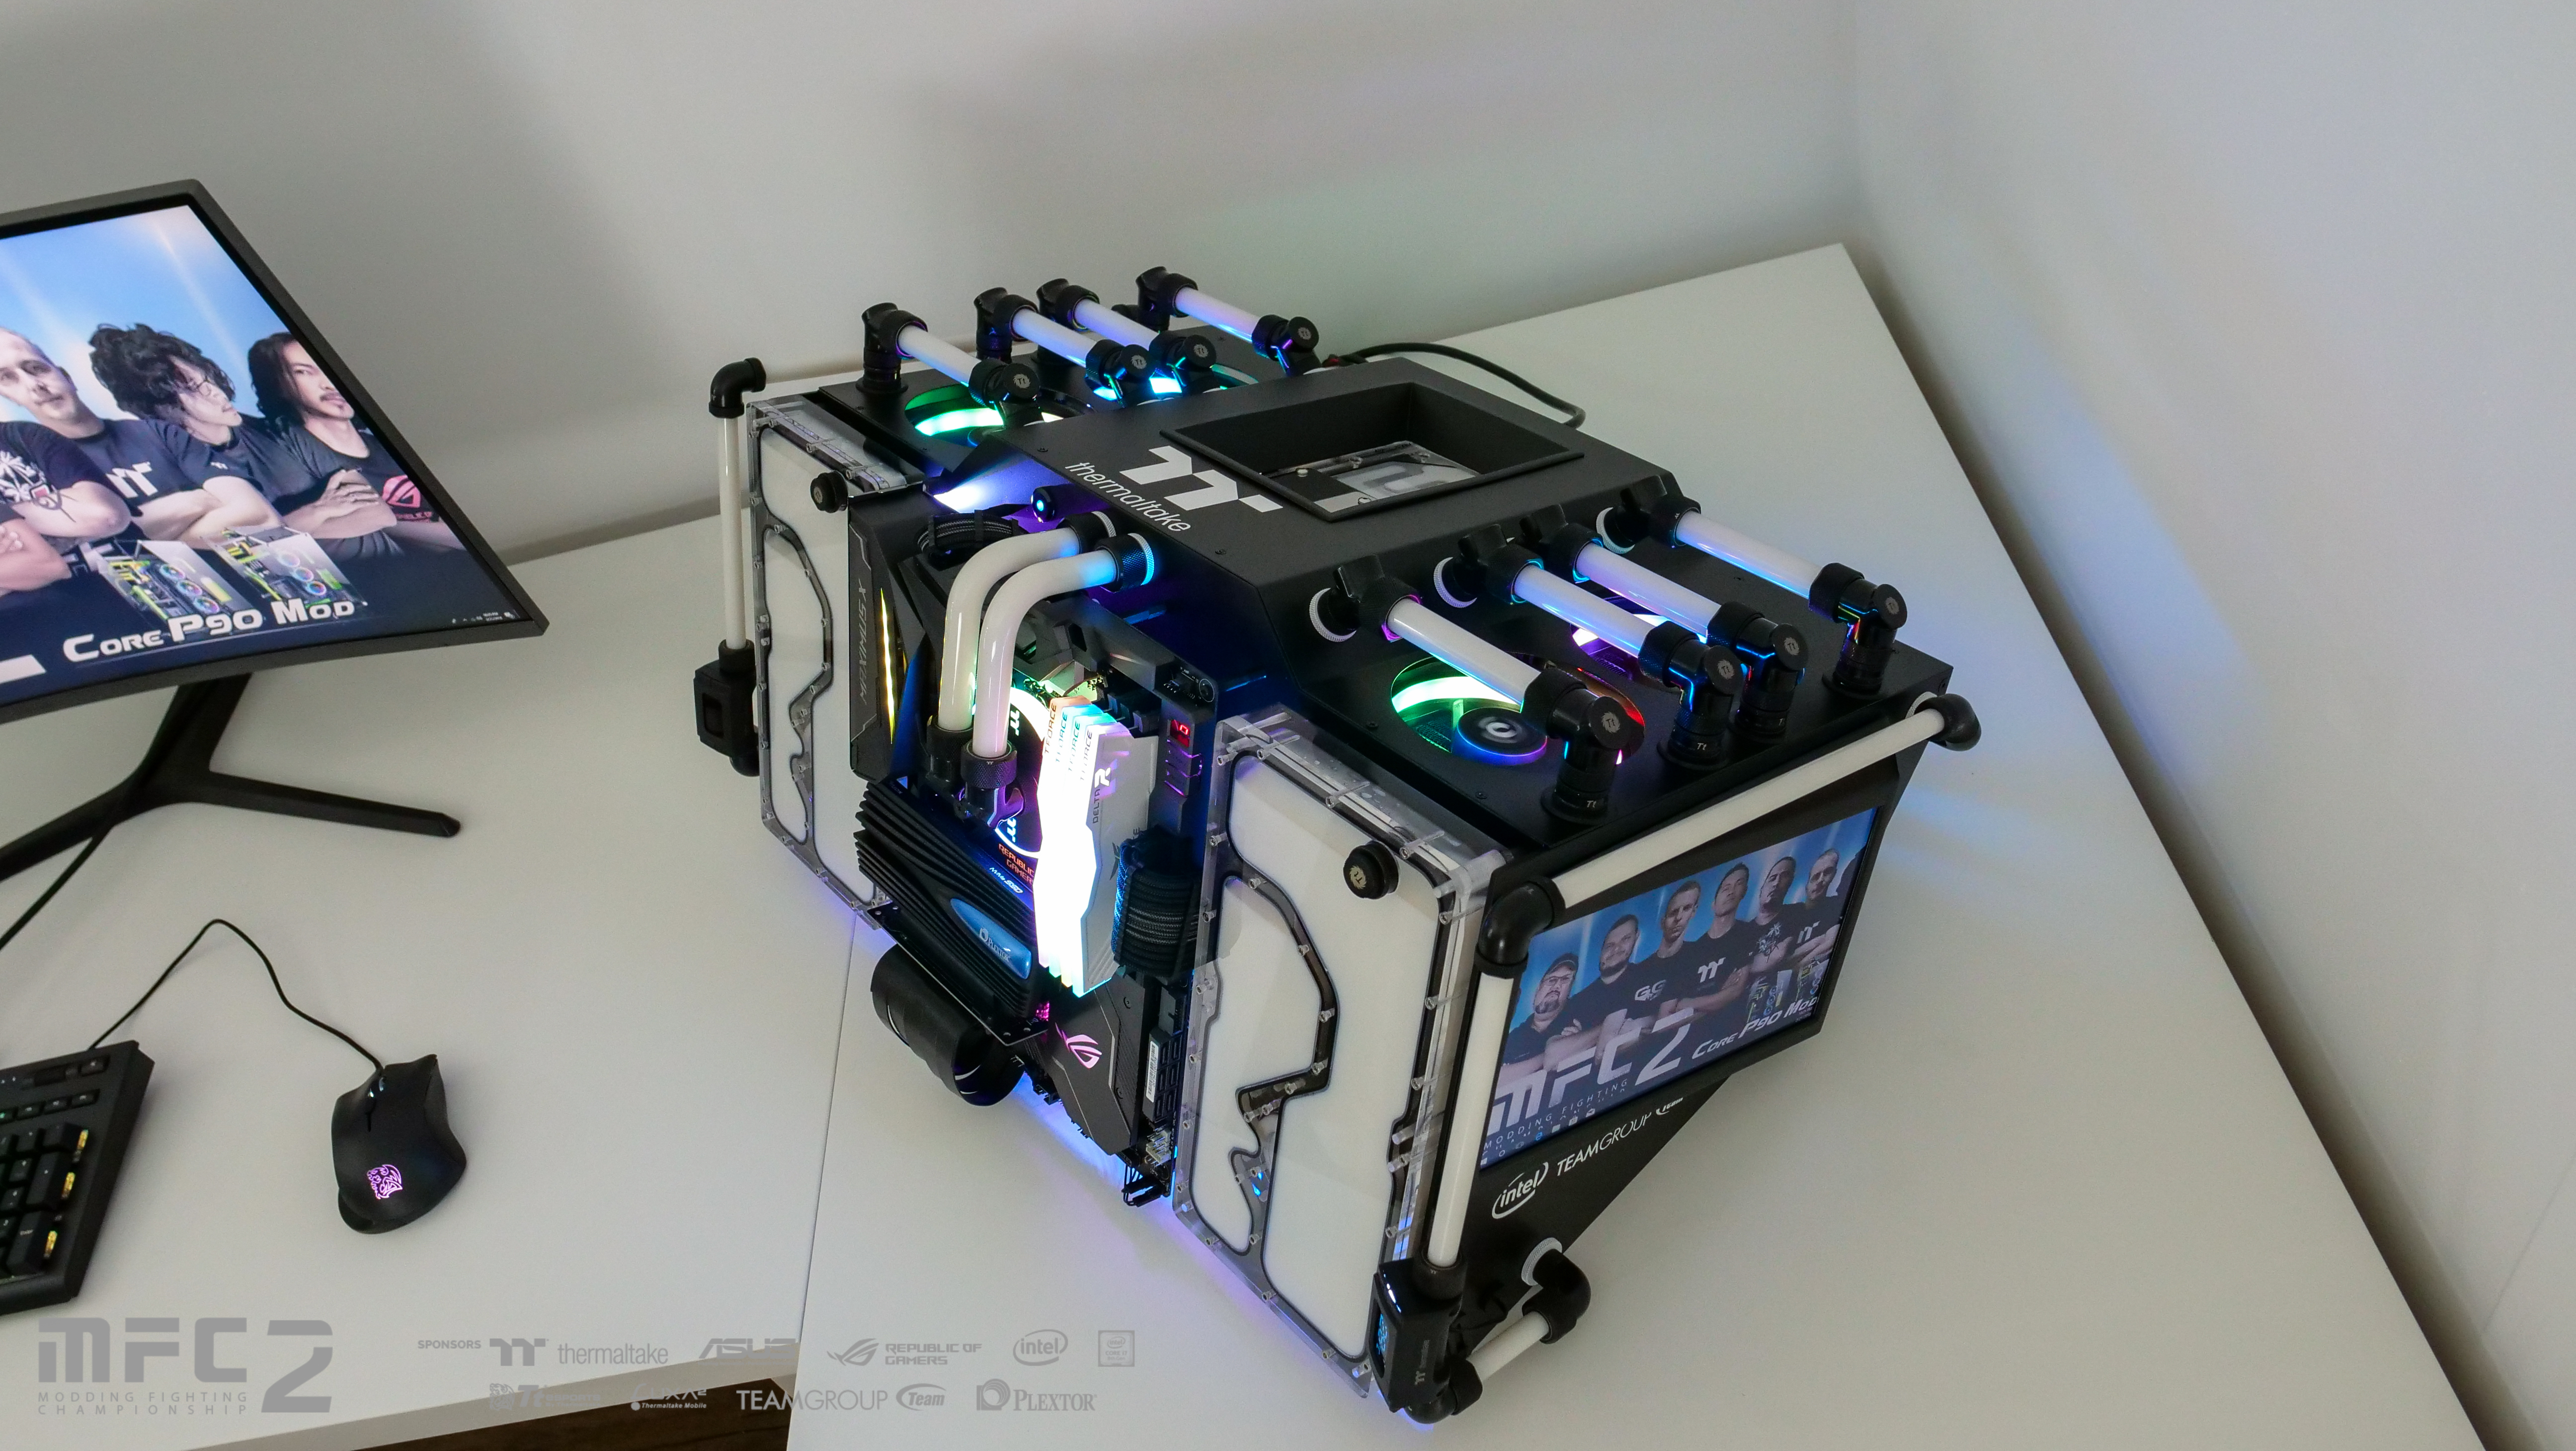
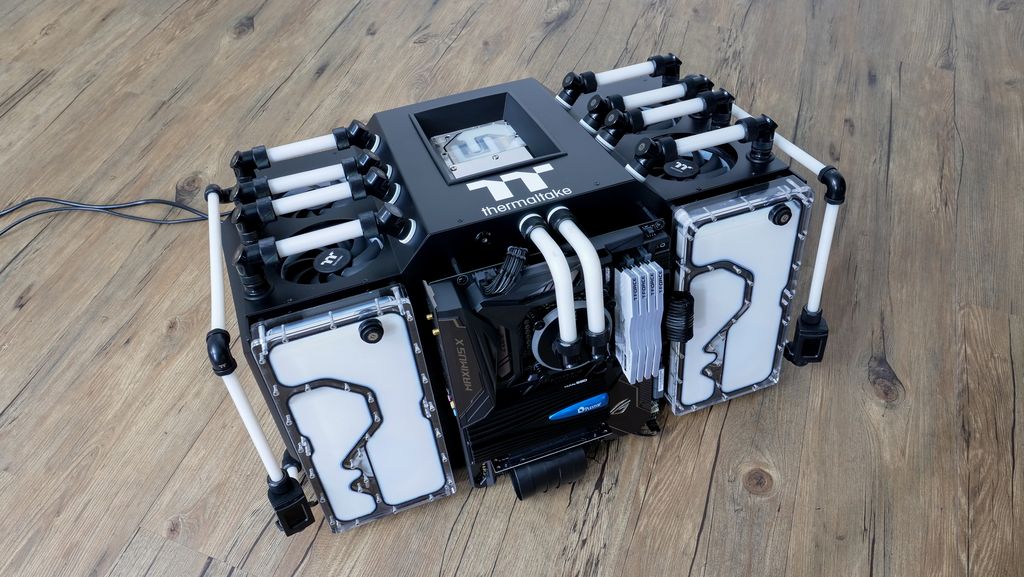
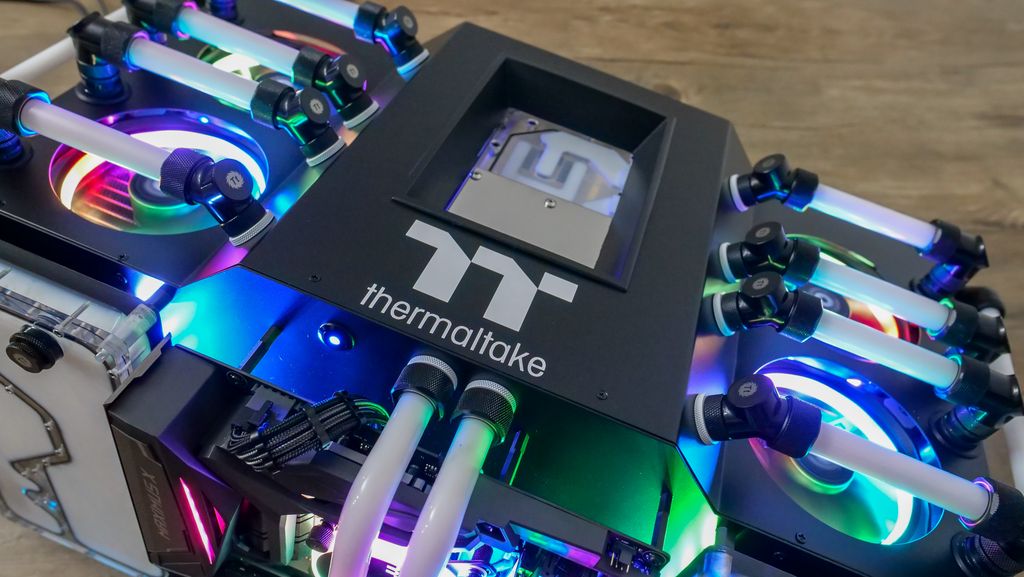
Build Complete - Final PicsSo here's the final pictures. I cannot tell you how hard it was to photograph this build and yet I still don't think the images do it justice
 --Build Specs--CASE: Thermaltake P3PSU: Thermaltake Toughpower GOLD 750W RGB Power SupplyCOOLING: Thermaltake Watercooling PartsMB: ASUS ROG Maximus VIII Hero Alpha Z170 LGA 1151 MotherboardGPU: ASUS GeForce GTX 1070 Founders Edition 8GB Video CardCPU: Intel i7 6700K CPURAM: Kingston HyperX Fury 16GB (4x4GB) 2400MHz DDR4 BlackSSD: 2 x Kingston HyperX Savage 120GB 2.5" SATA SSD SHSS37A/120GHuge thanks to Mwave Australia - Online Computer Store, ASUS, HyperX, Thermaltake Australia & New Zealand, Intel Australia and NVIDIA Australia & New Zealand for supporting this competition.High res images link - http://ggflan.com/core-p3-rgb/
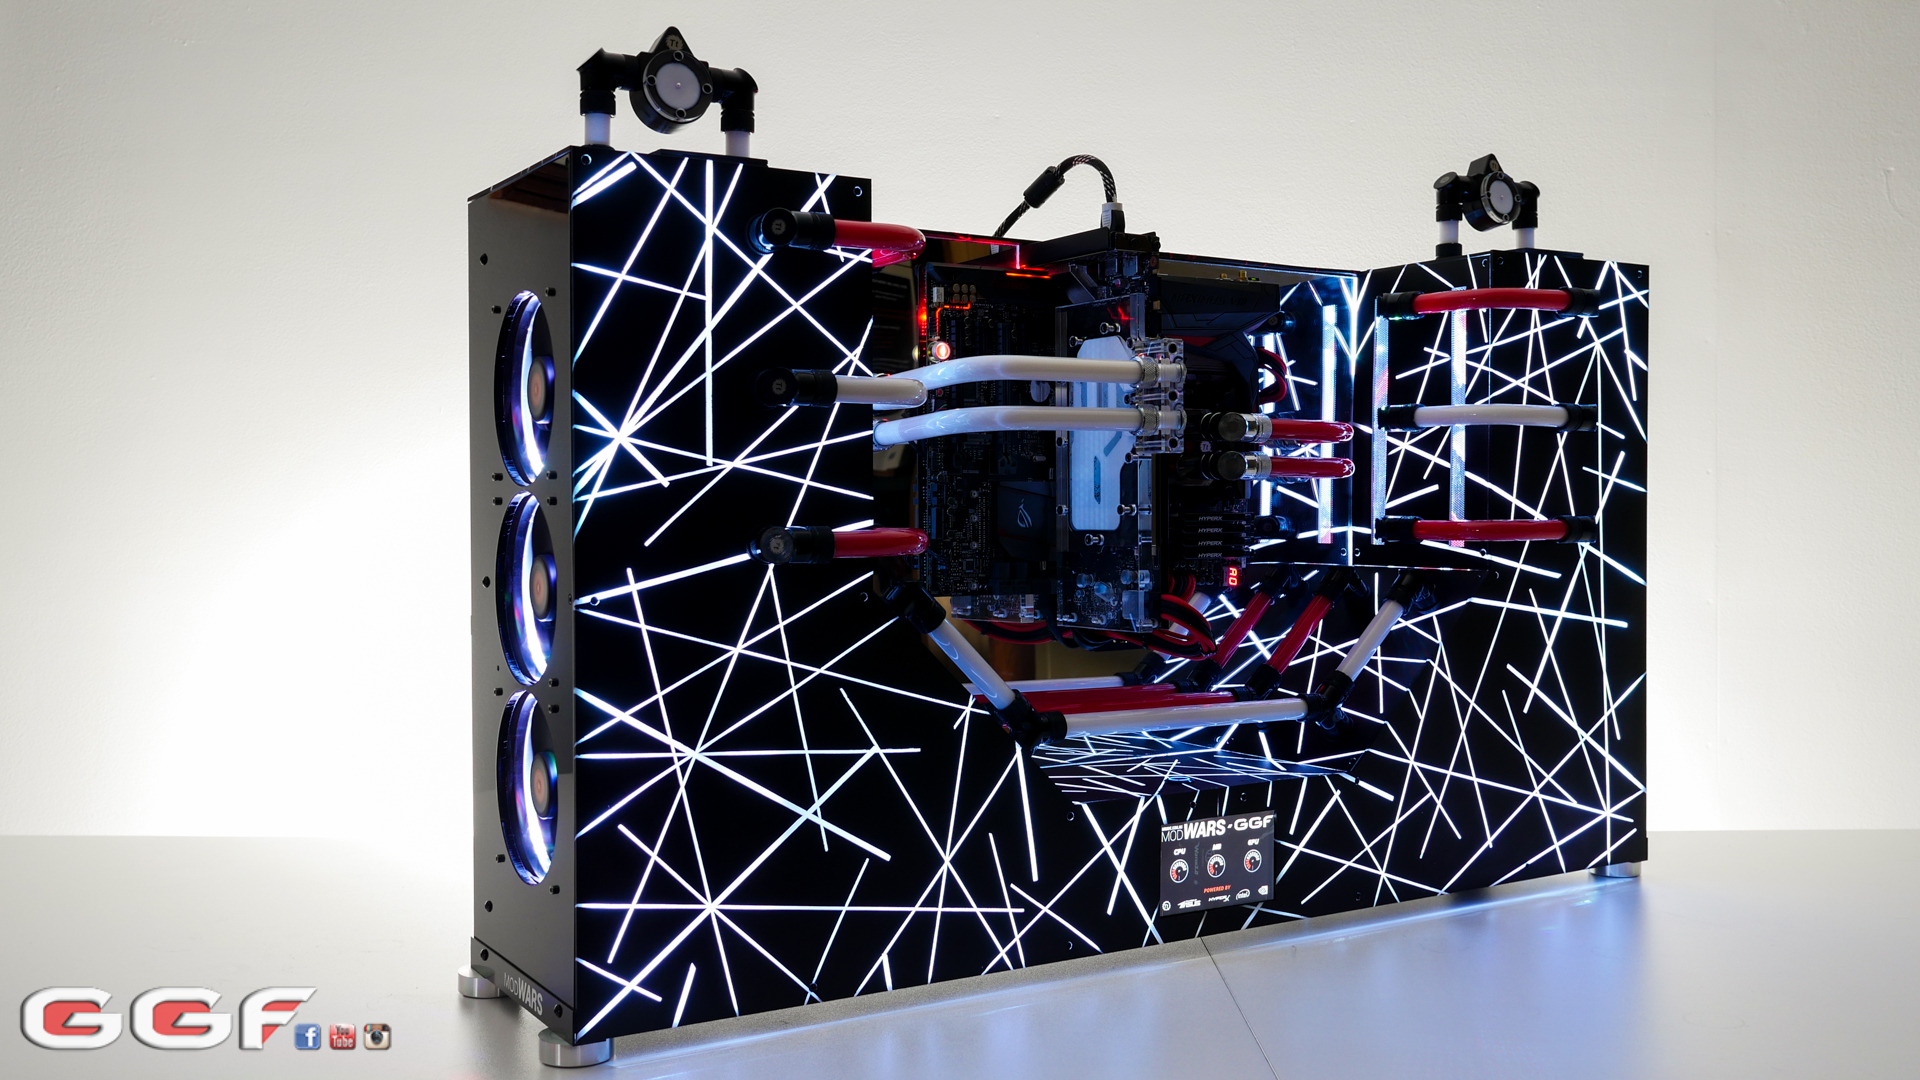


-
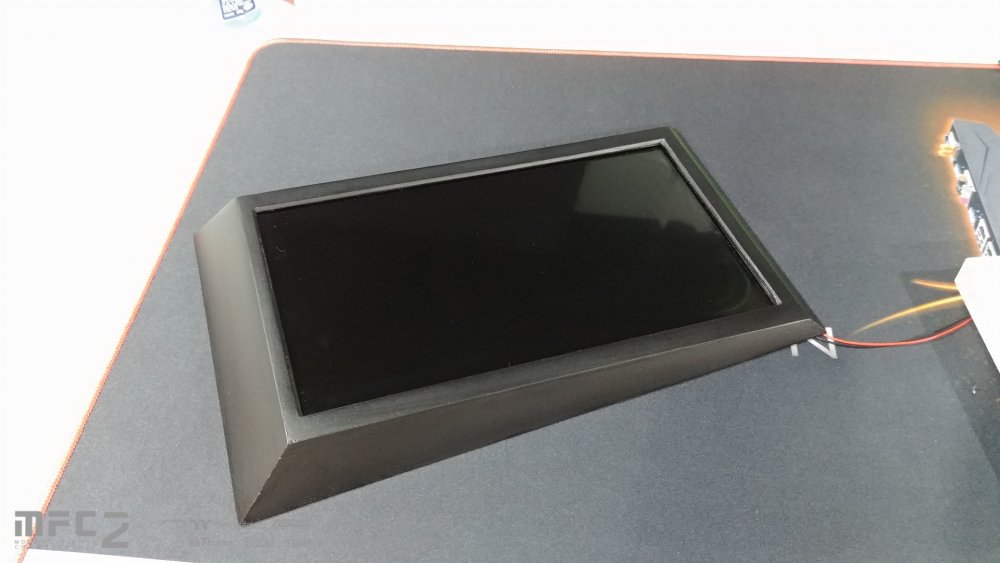
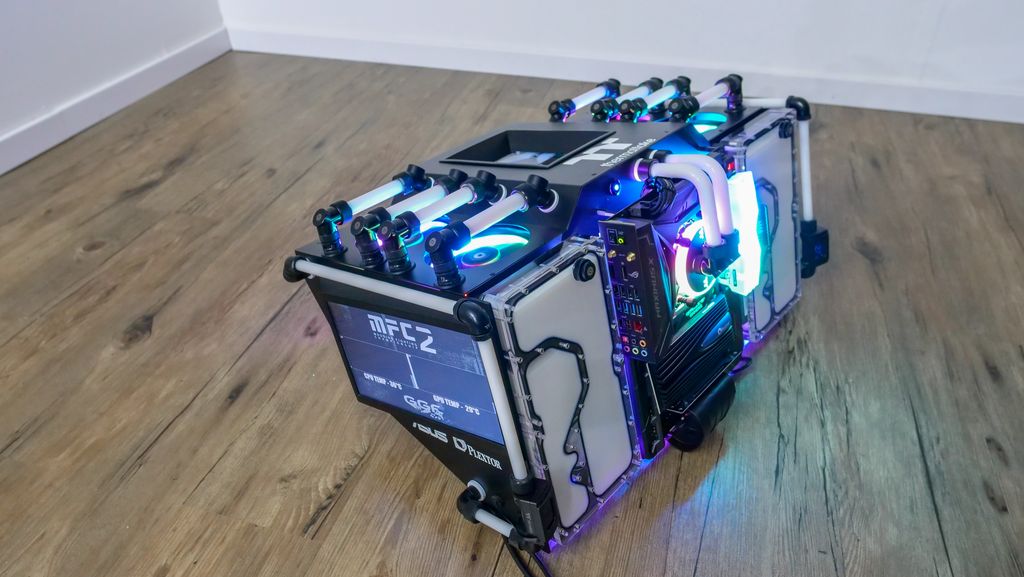
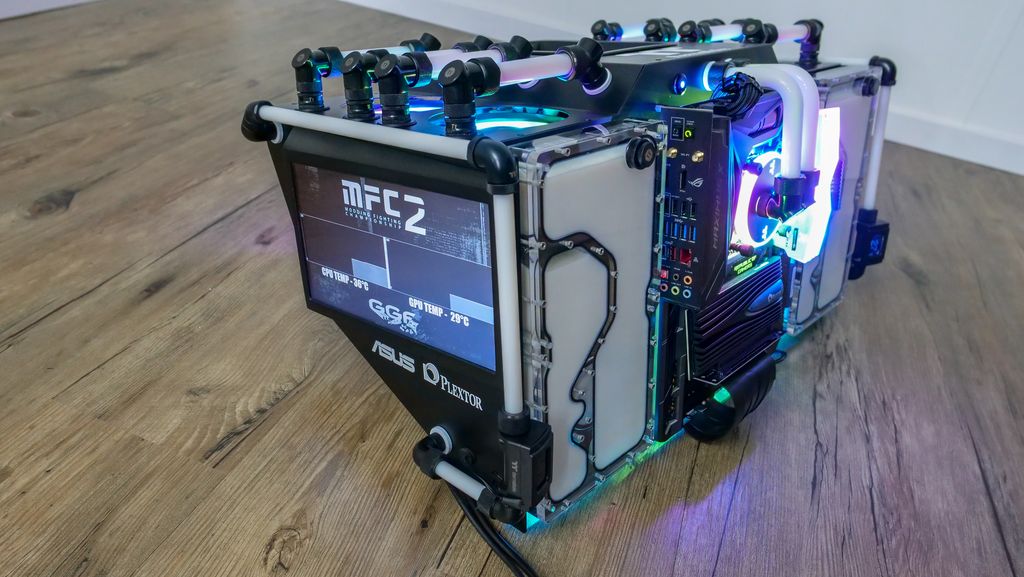
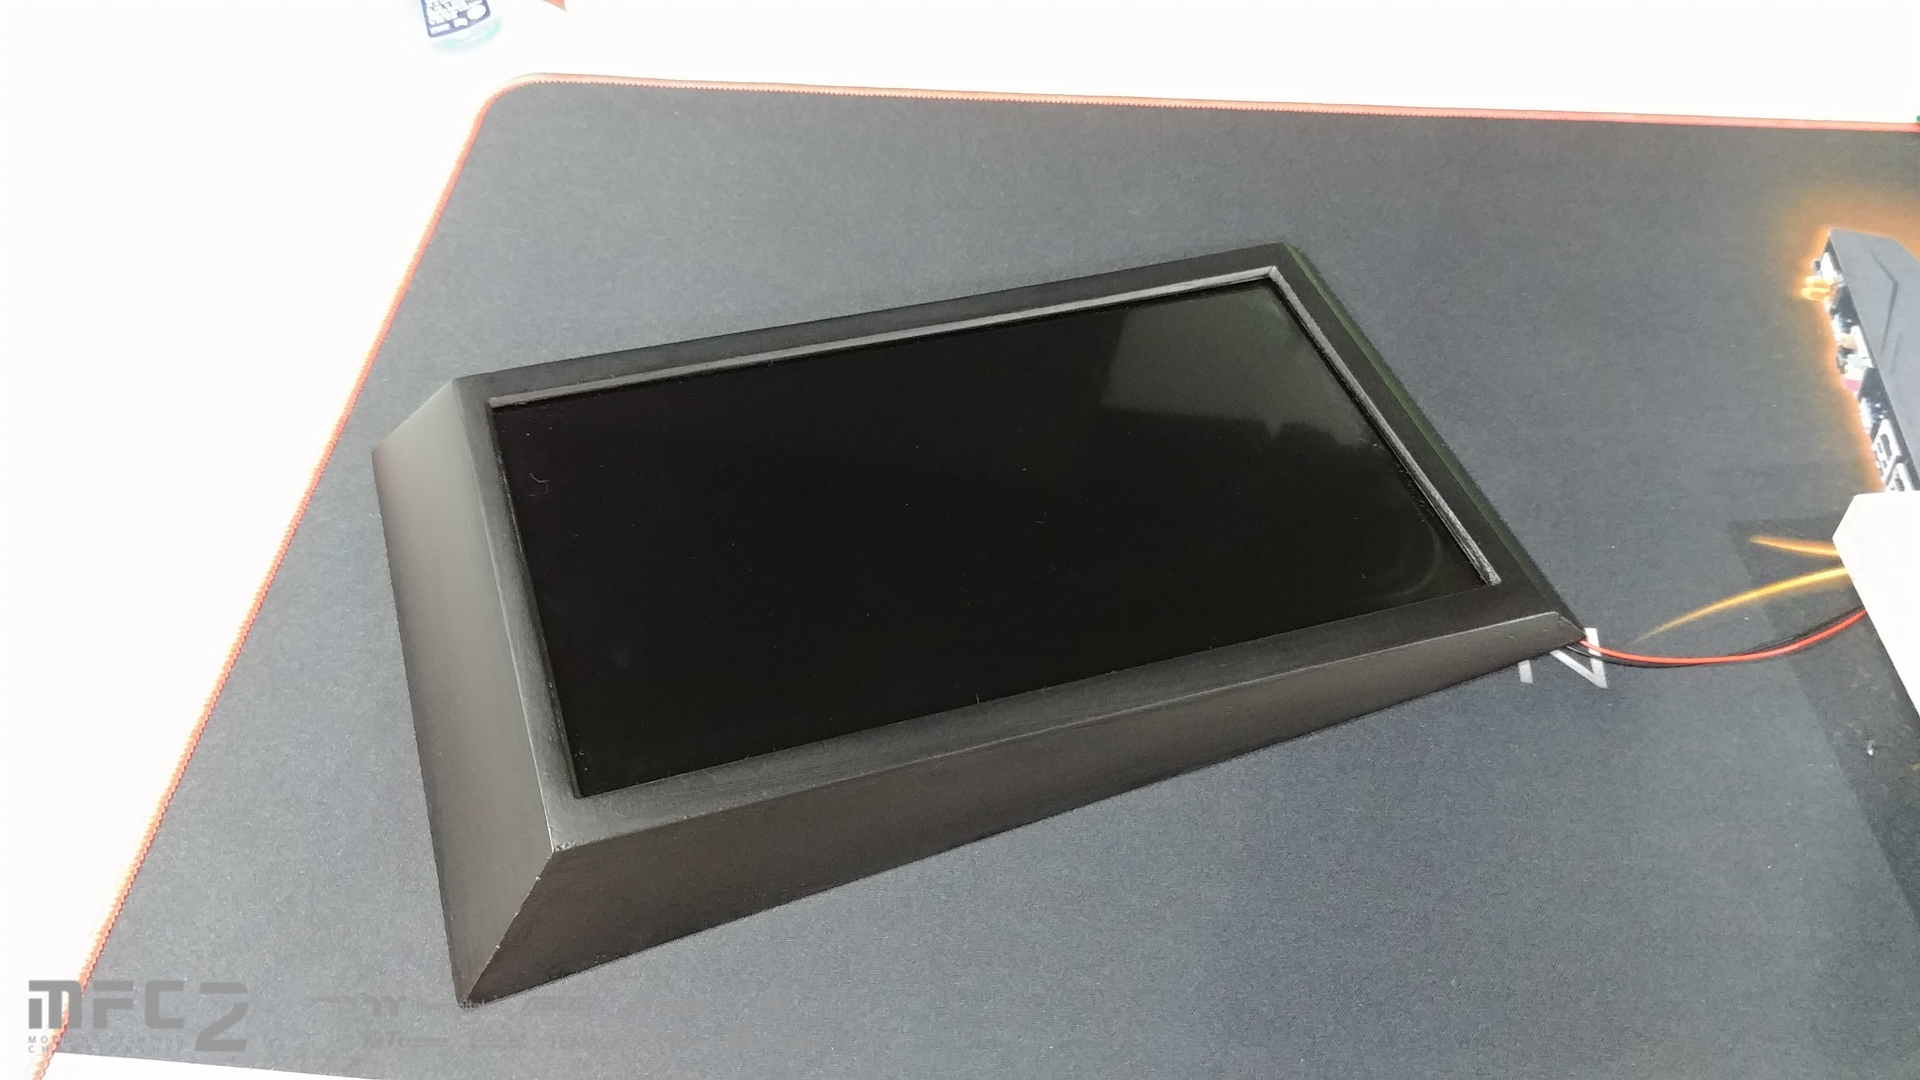
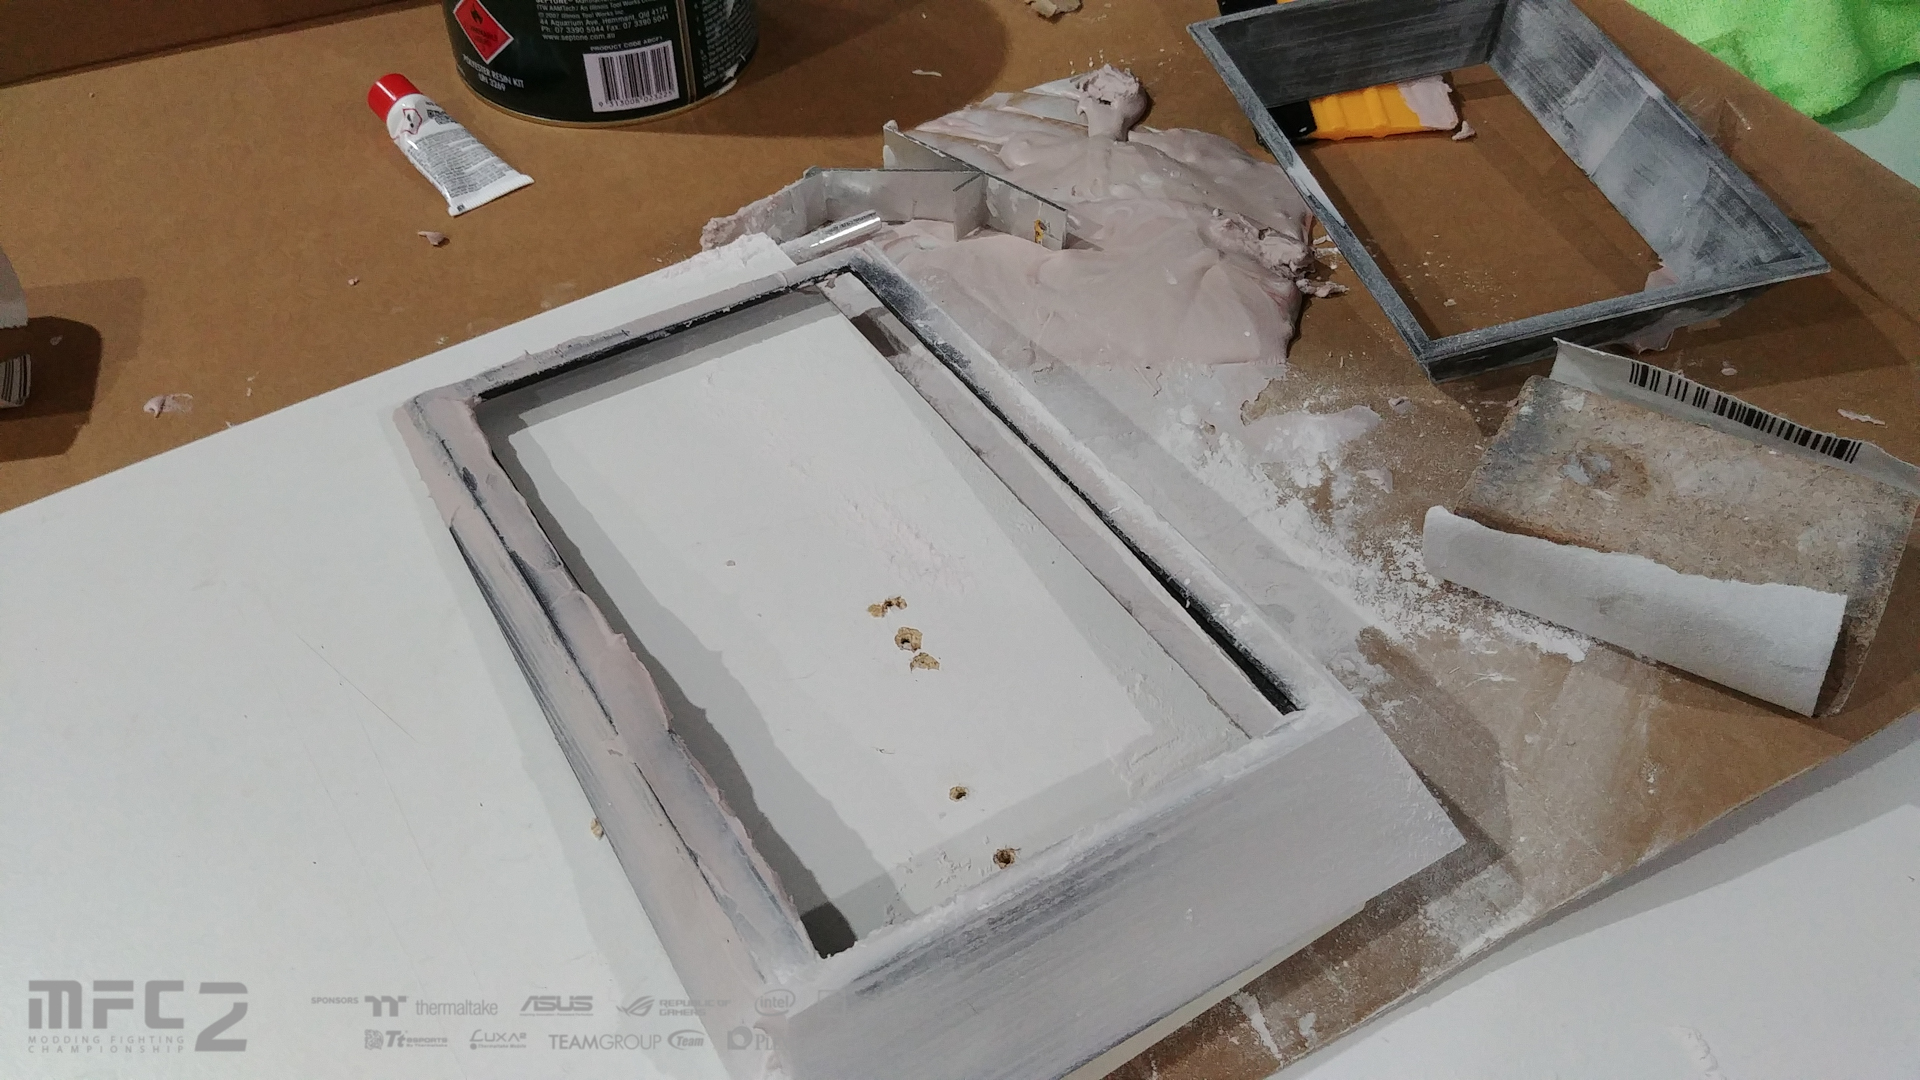
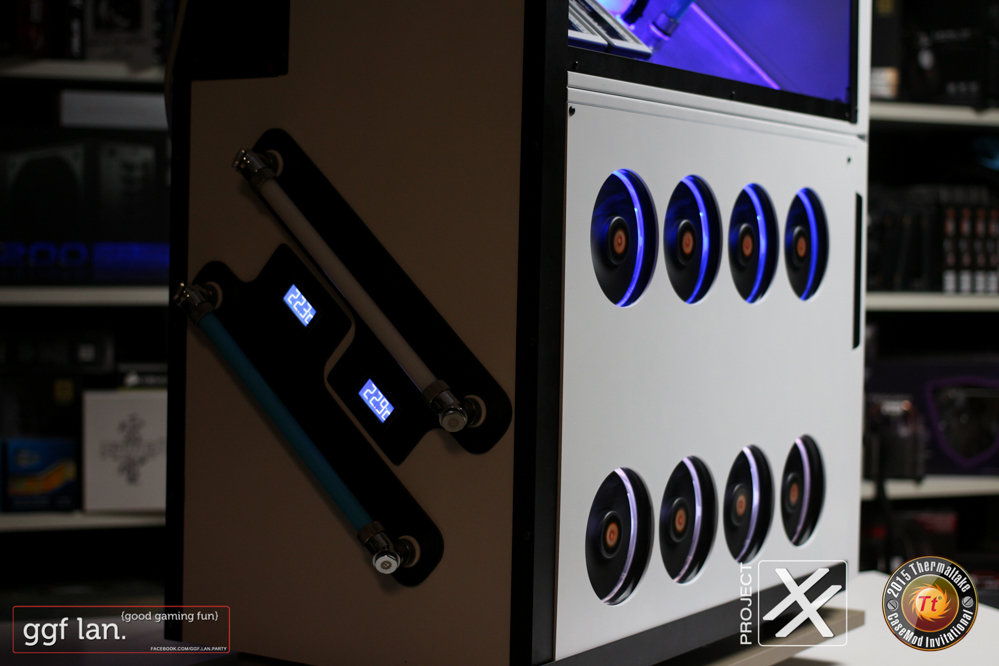
Alrighty, small update before the completed build.If you're familiar with my builds you'll know I'm a fan of these little 5.5" screens from Ebay. Basically they are a 800x480 HDMI, 12v driven panel with controller included. I normally just create a custom AIDA64 custom sensor panel like this.
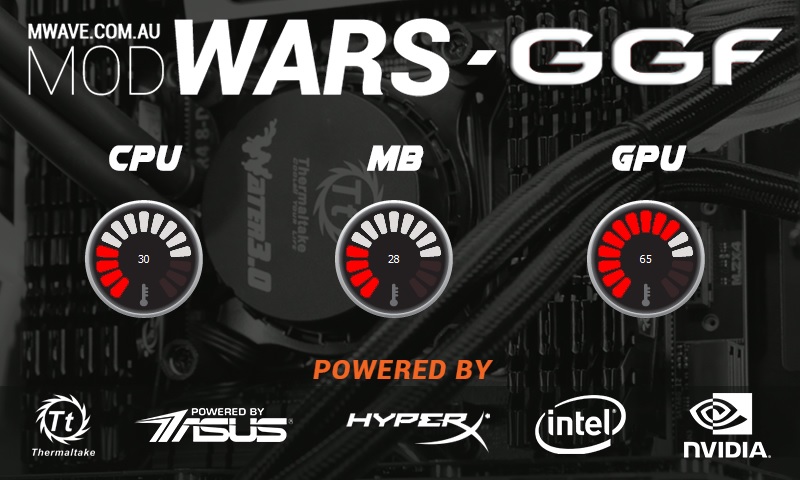 For this build I just went with a basic panel to show CPU, Mobo and GPU temps.And here is the little screen assembly.
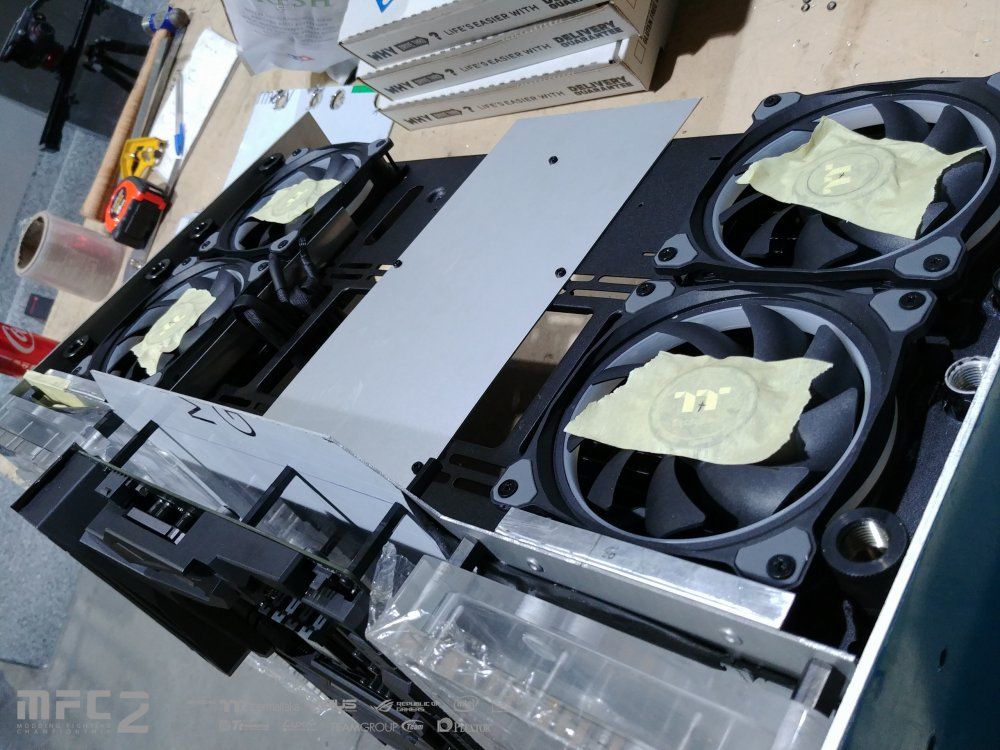
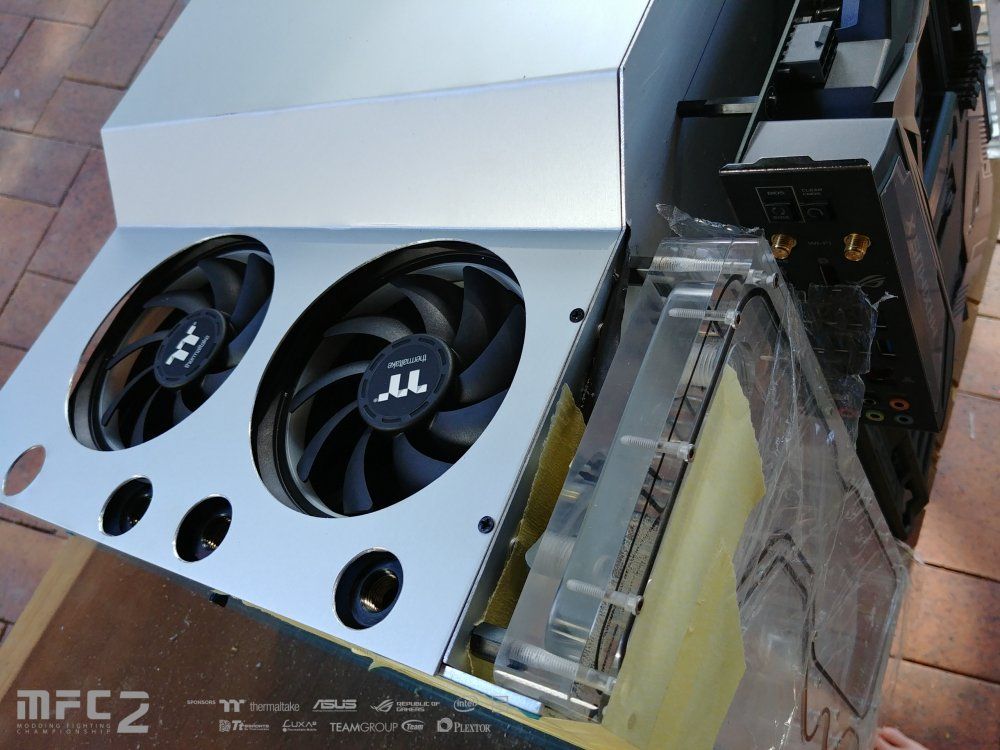
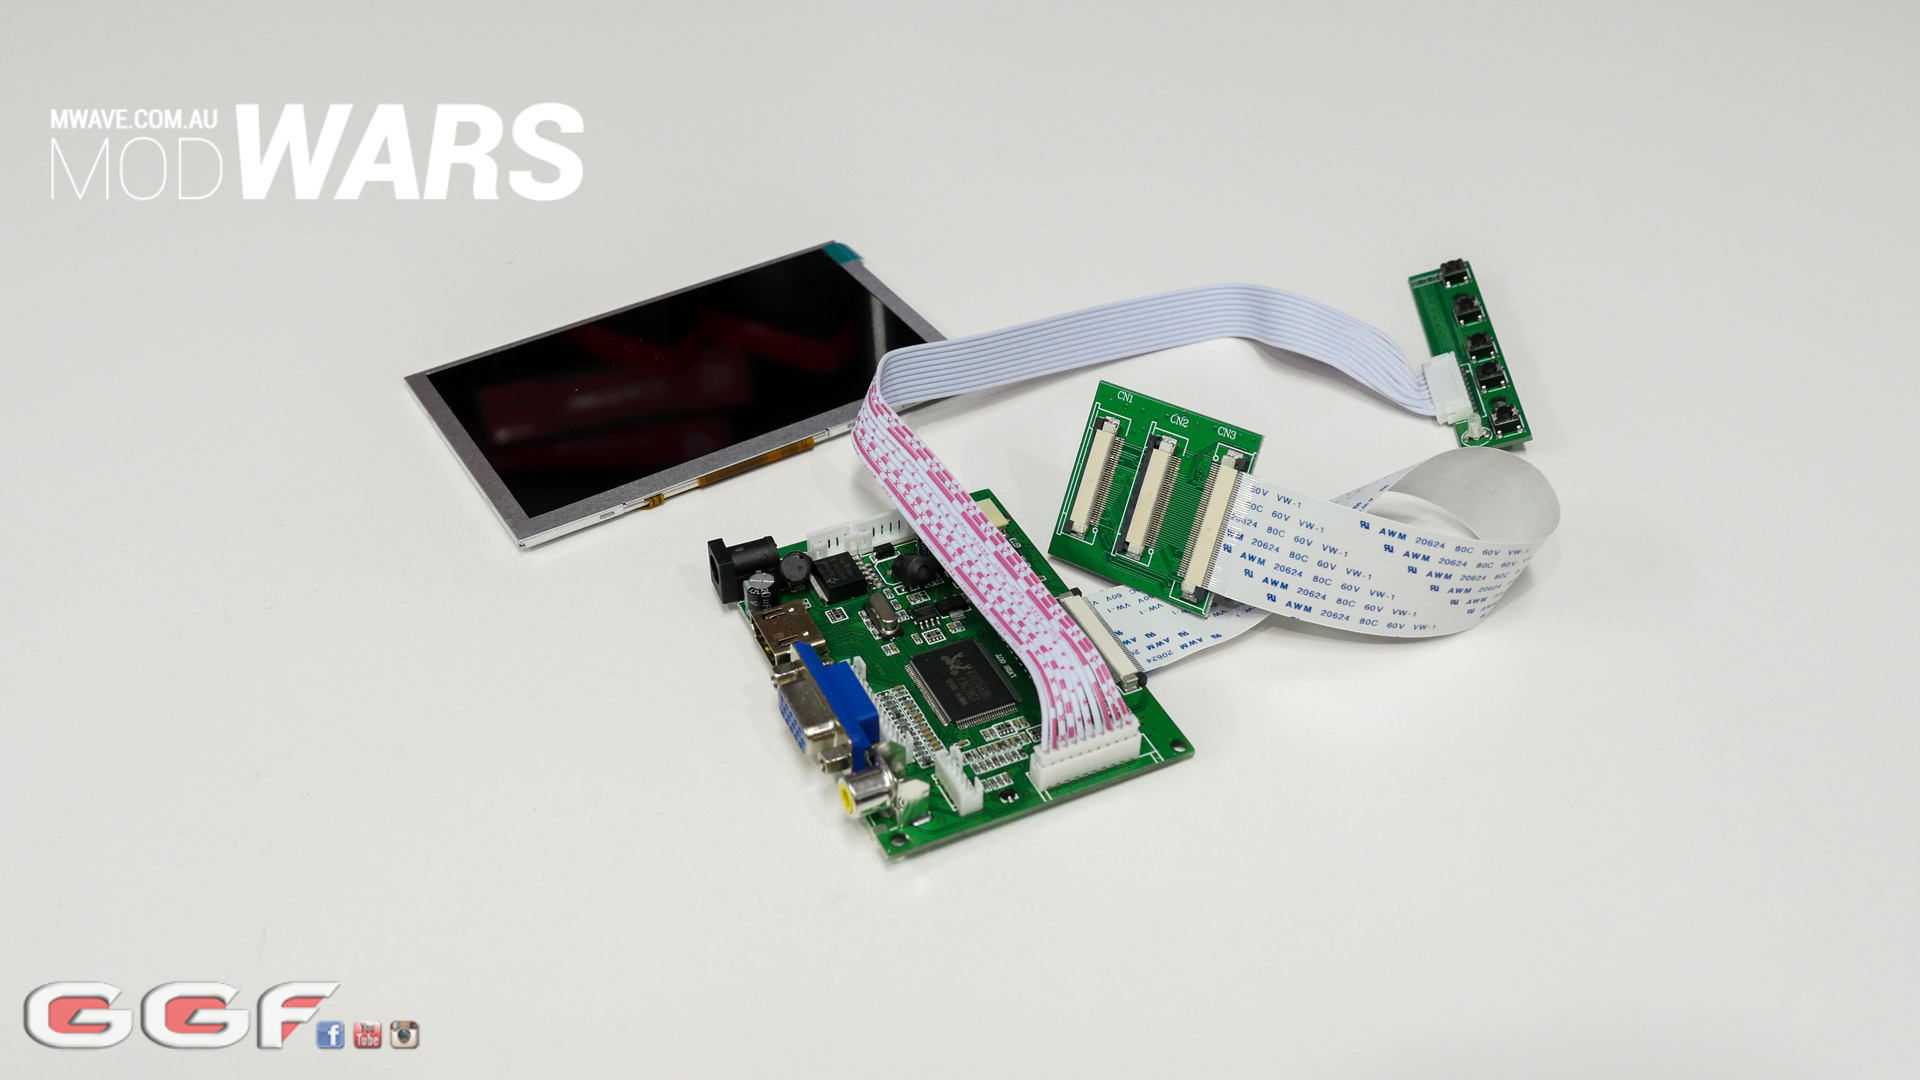 After installing the screen in the front I worked on the dust filters to cover the 4 slits on the sides. There's 2 long slits on each side for some better air flow for the fans on the rads. I simply just cut up one of the stock TT fan filters you get in their new cases. Then I just stick these in with a small amount of double sided tape.
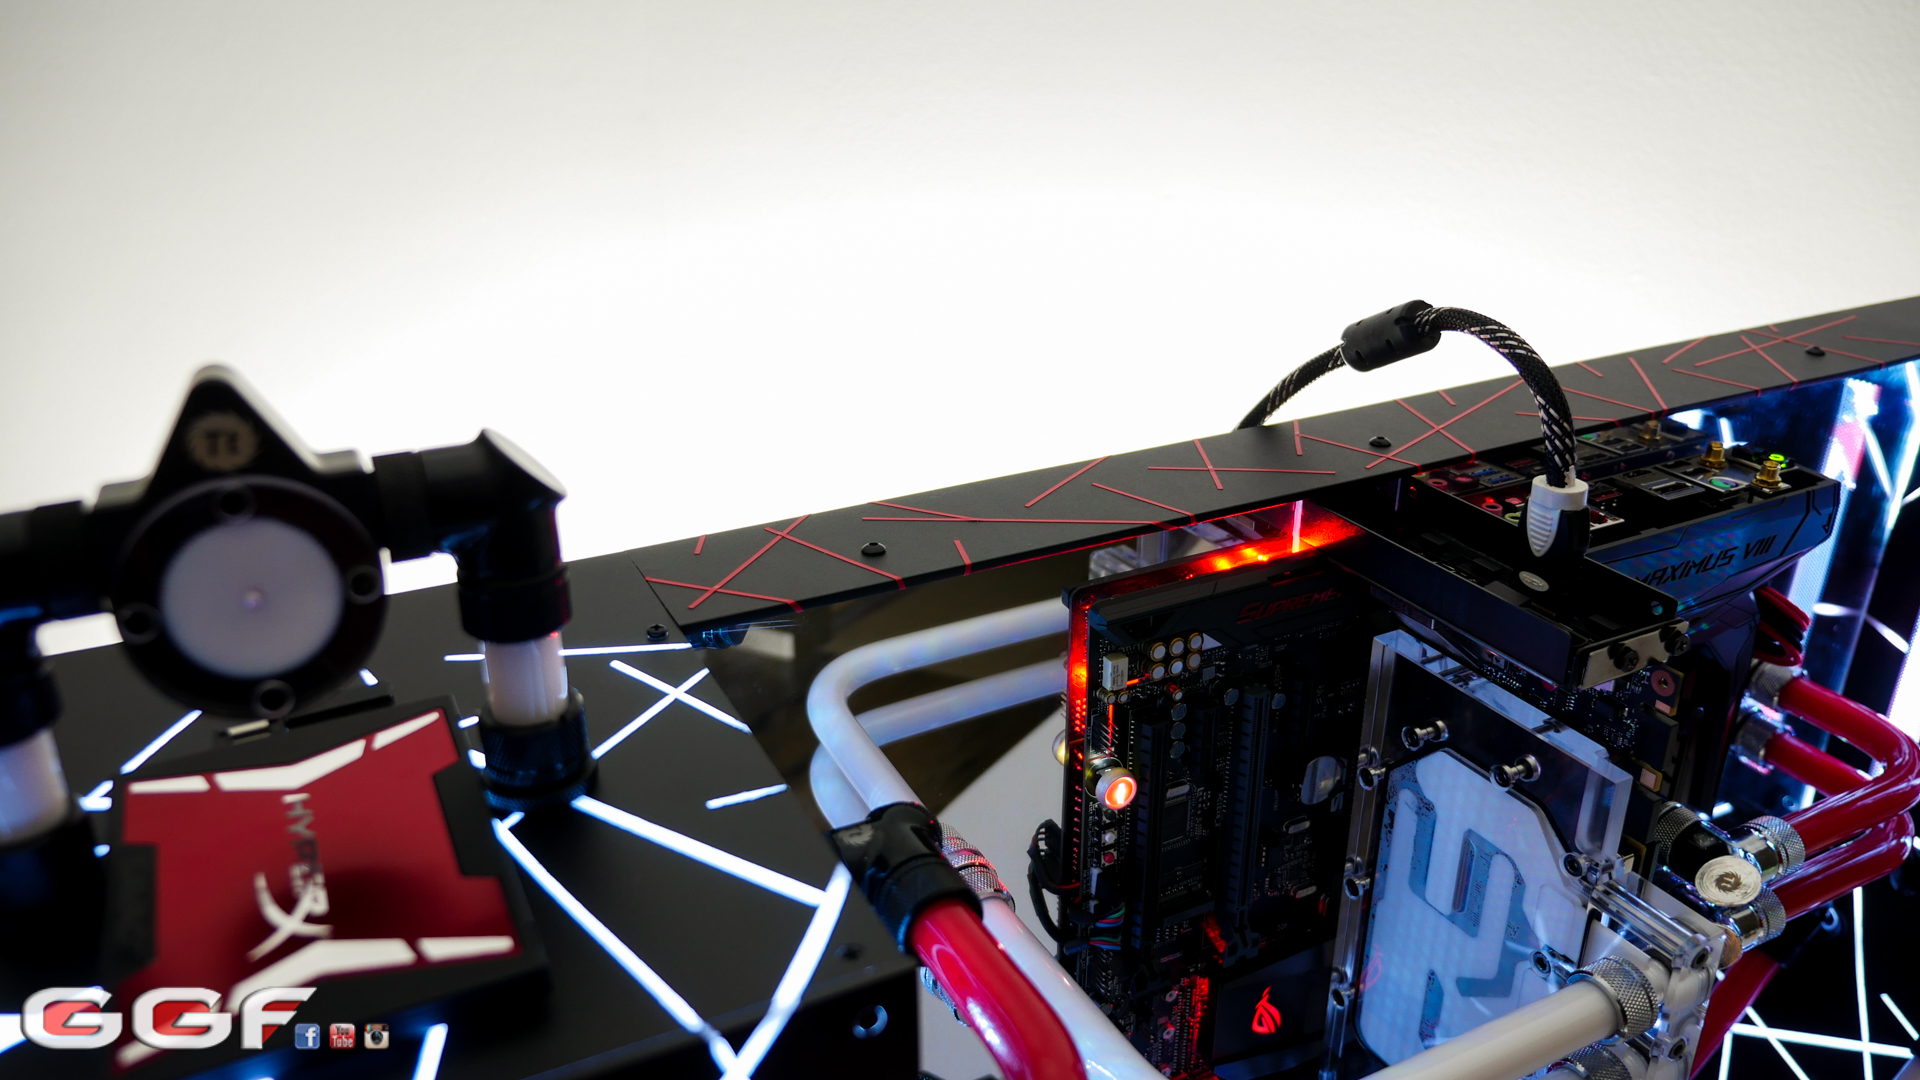
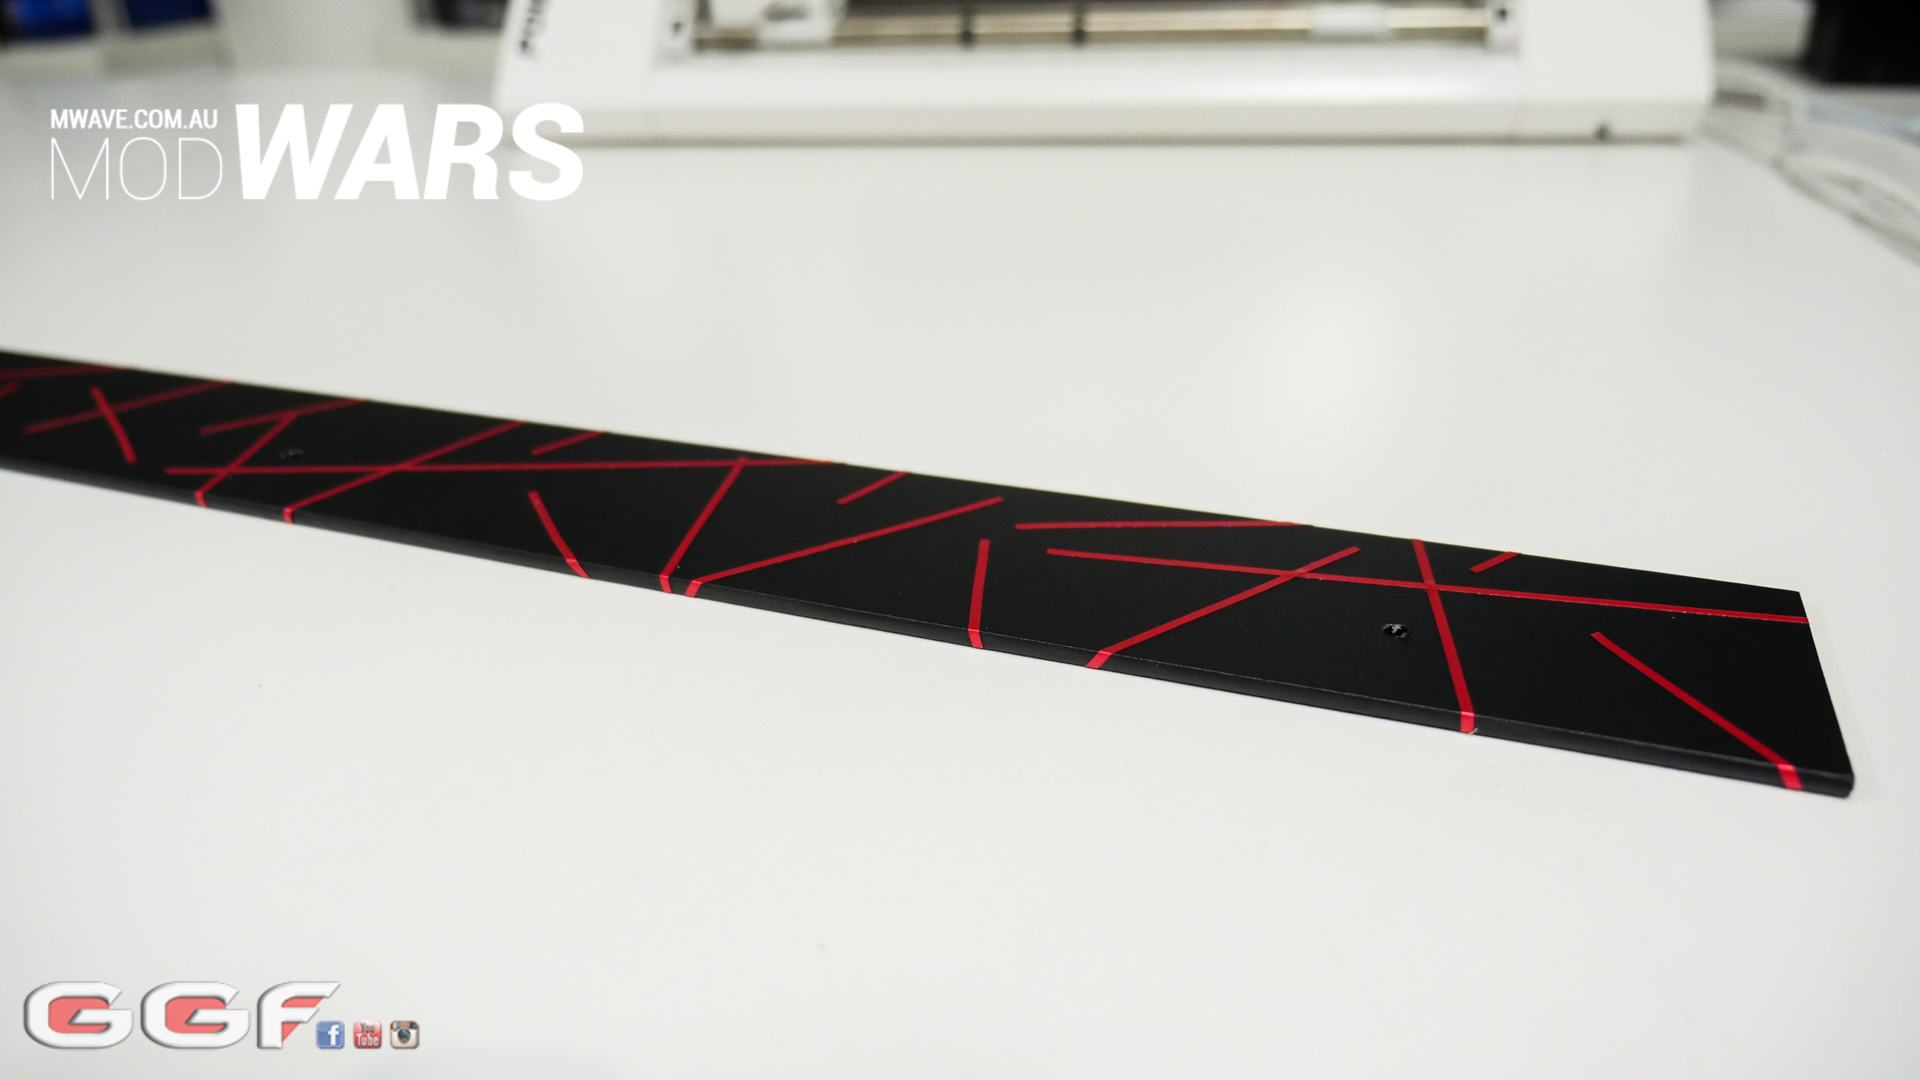
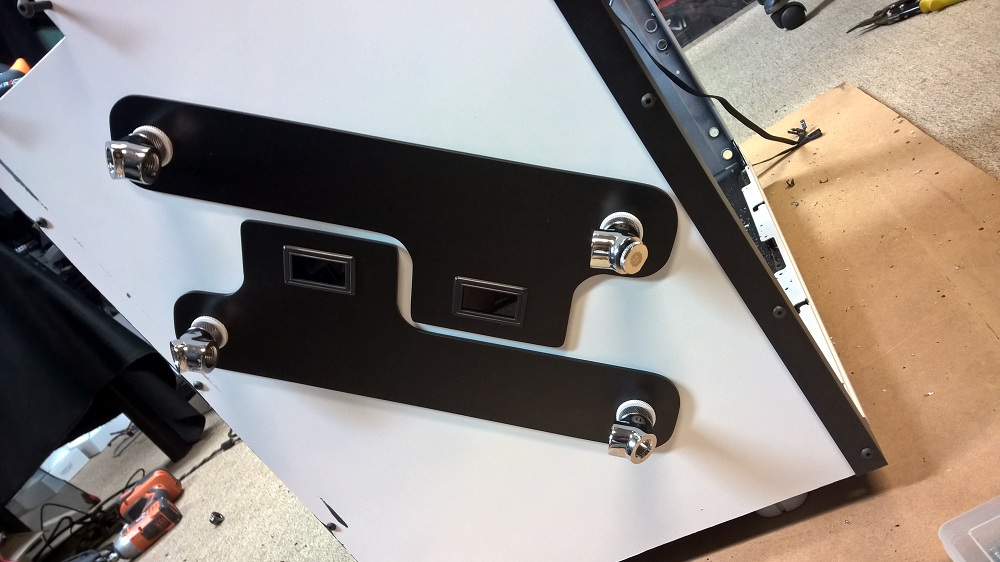
 Next up was to create a nice looking cover strip for along the top. As each side was higher than the stock P3 case bit that was in the middle. This bit just simply slotted in and was secured with 3x M4 screws. As I LOVE vinyl I decided to wrap it first in a rough black vinyl then continue the line pattern theme on this strip but in red only this time.
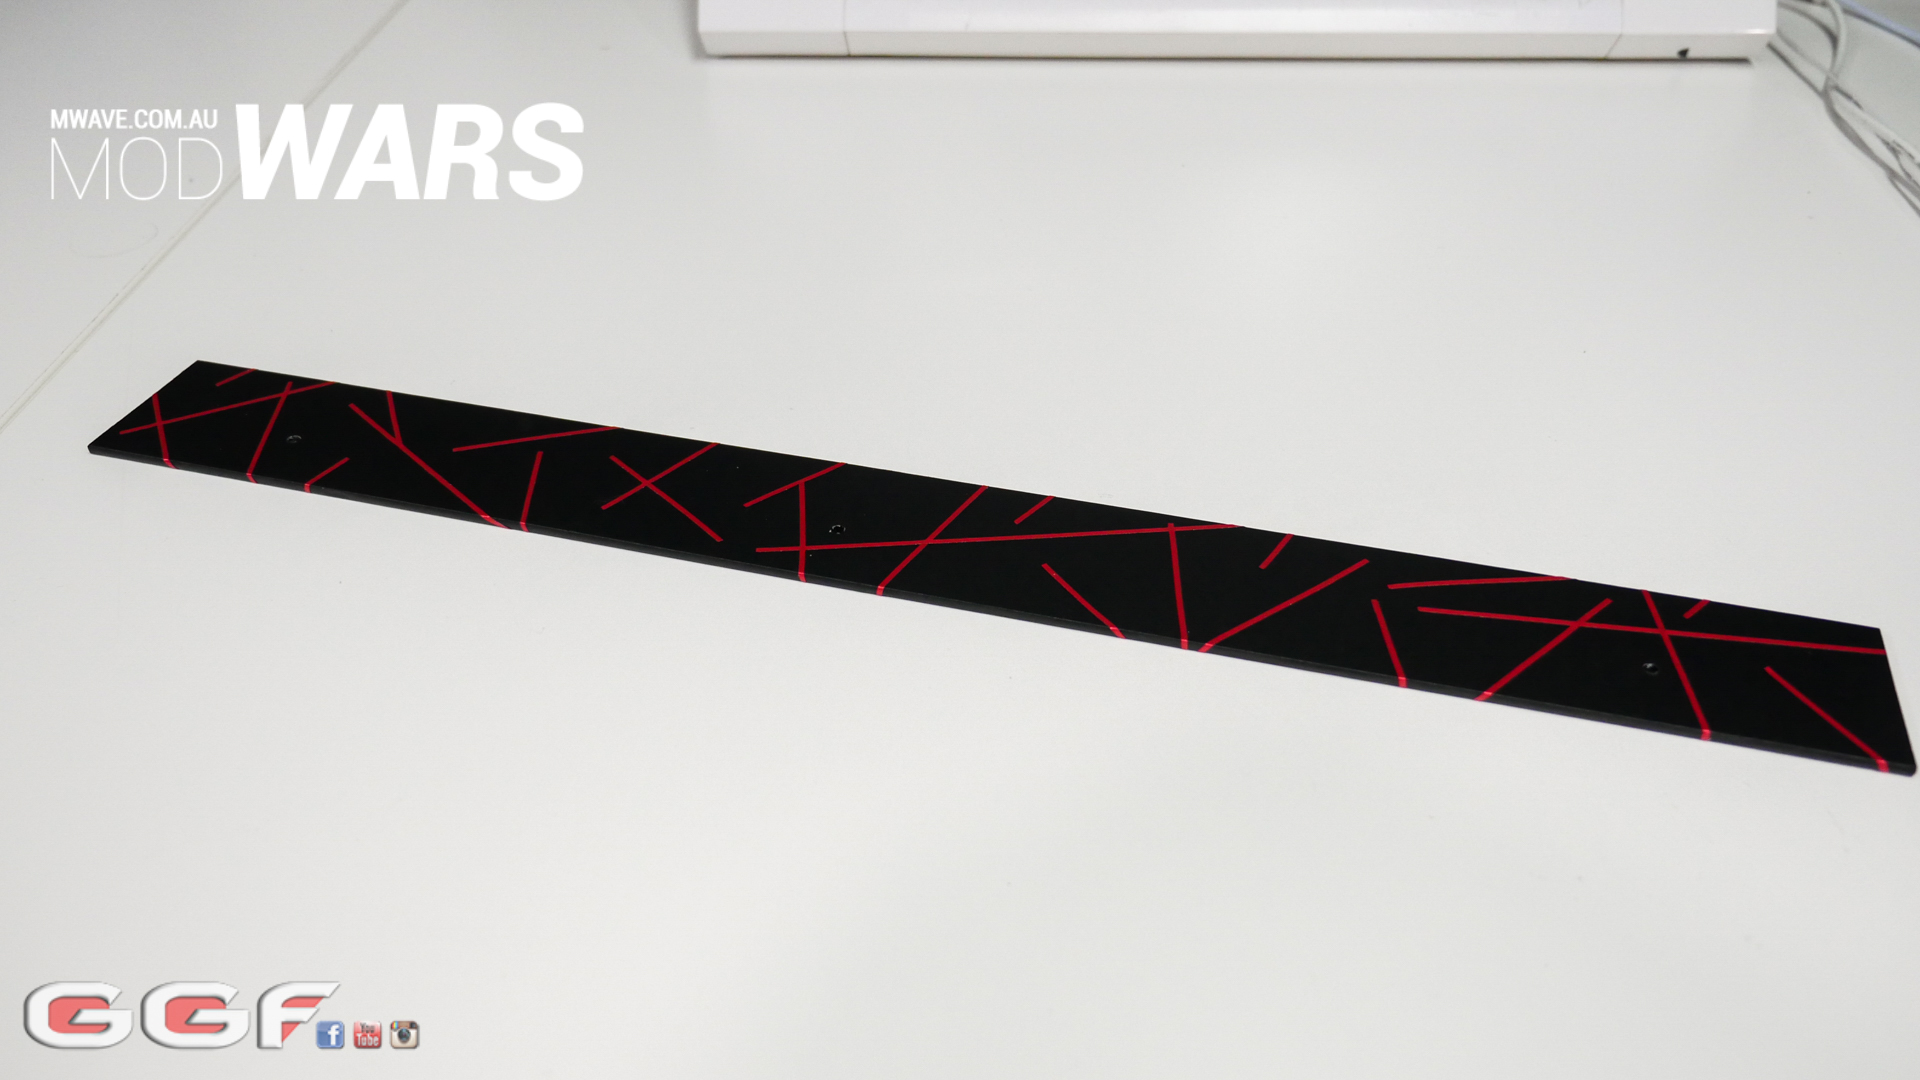
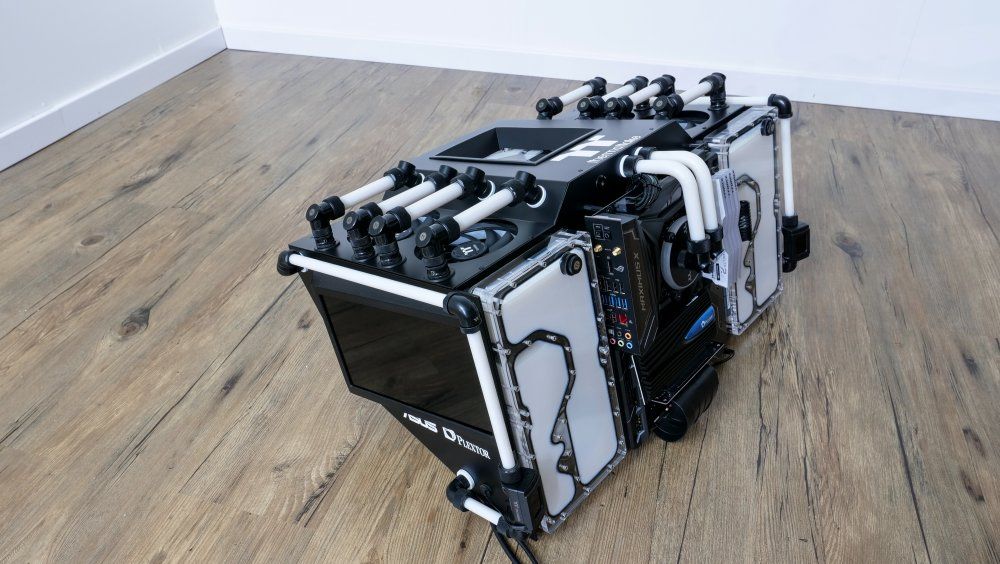
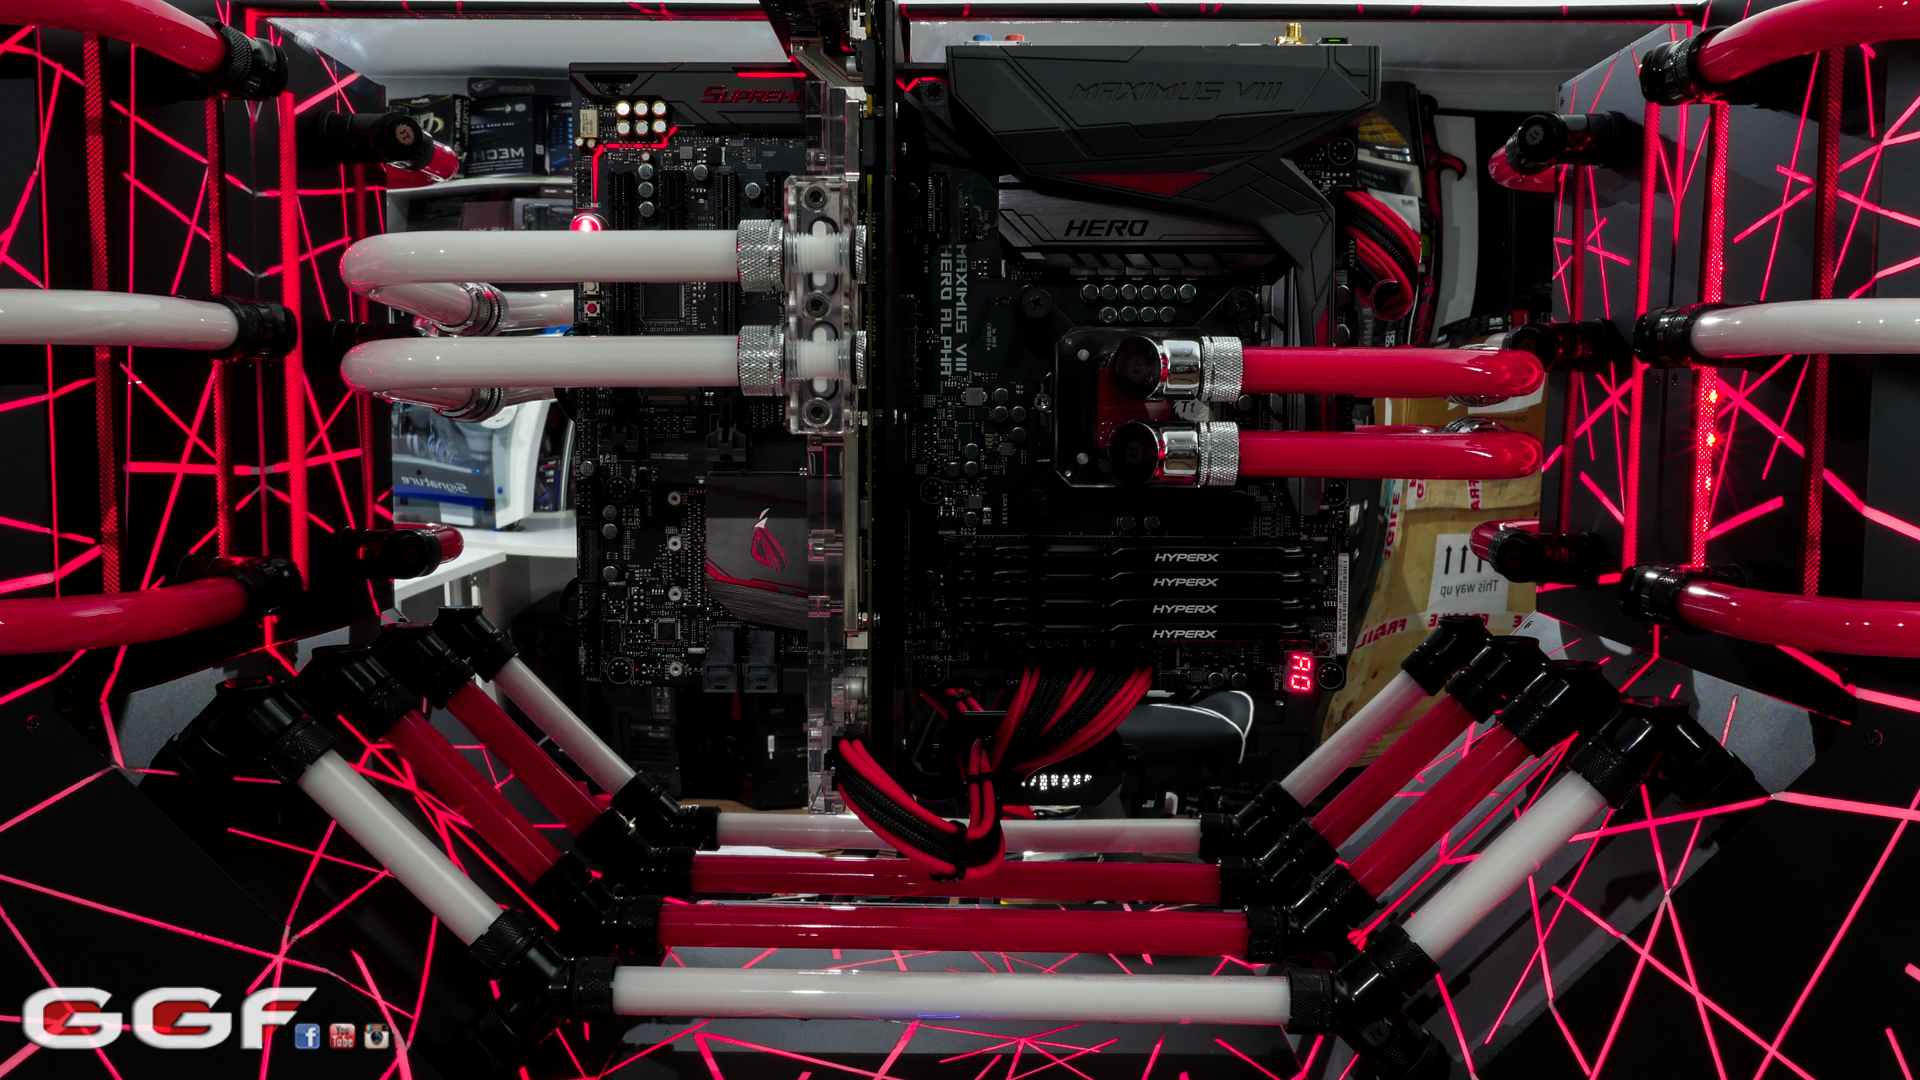
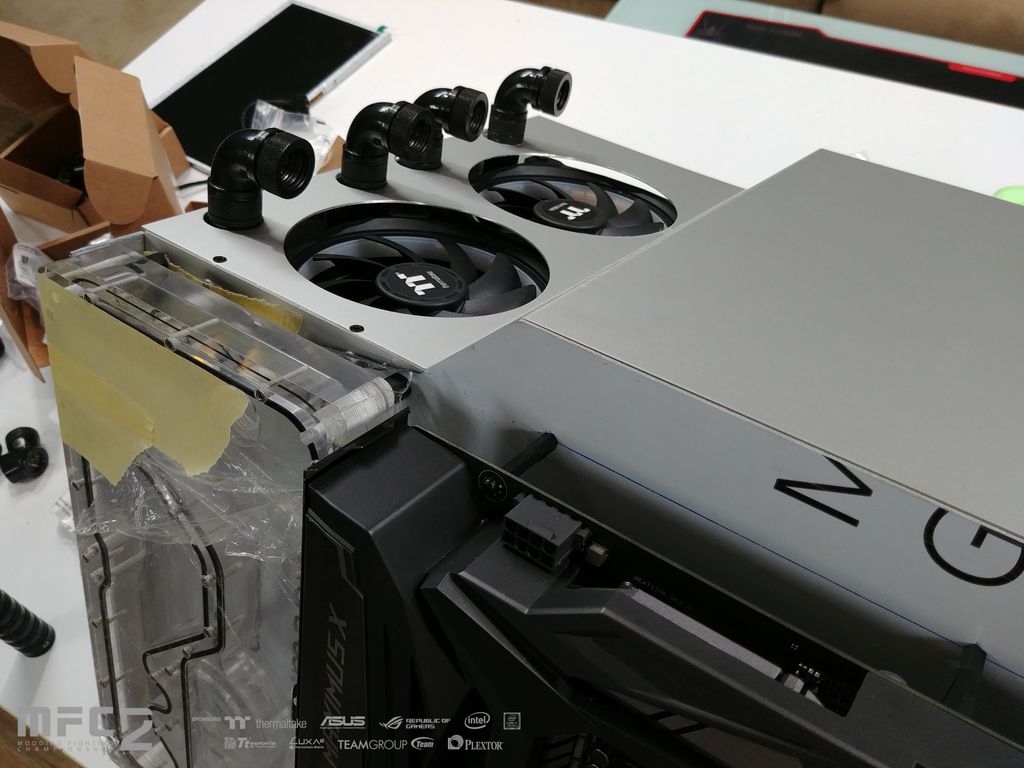
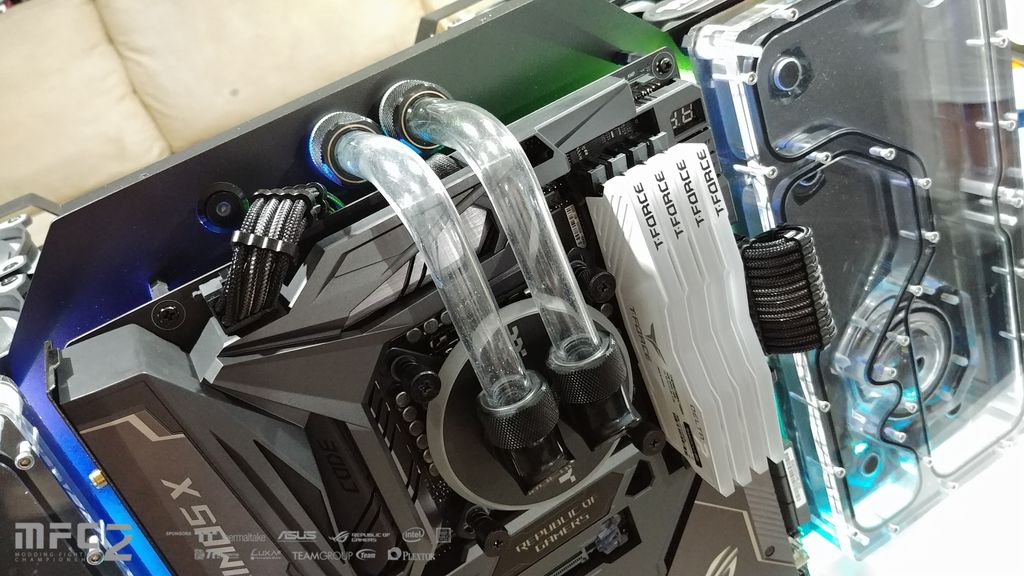
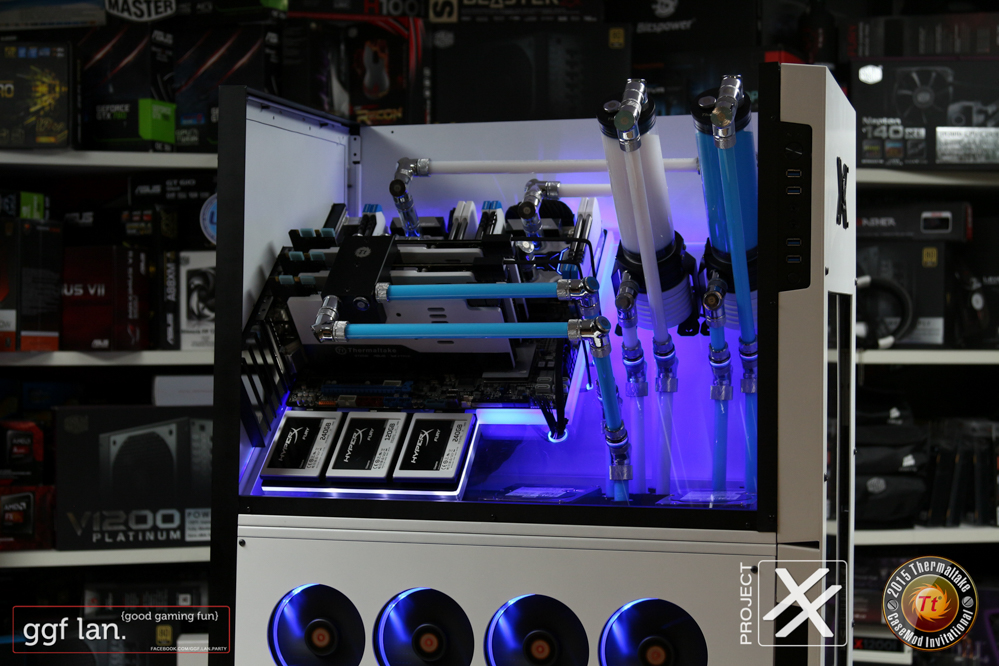
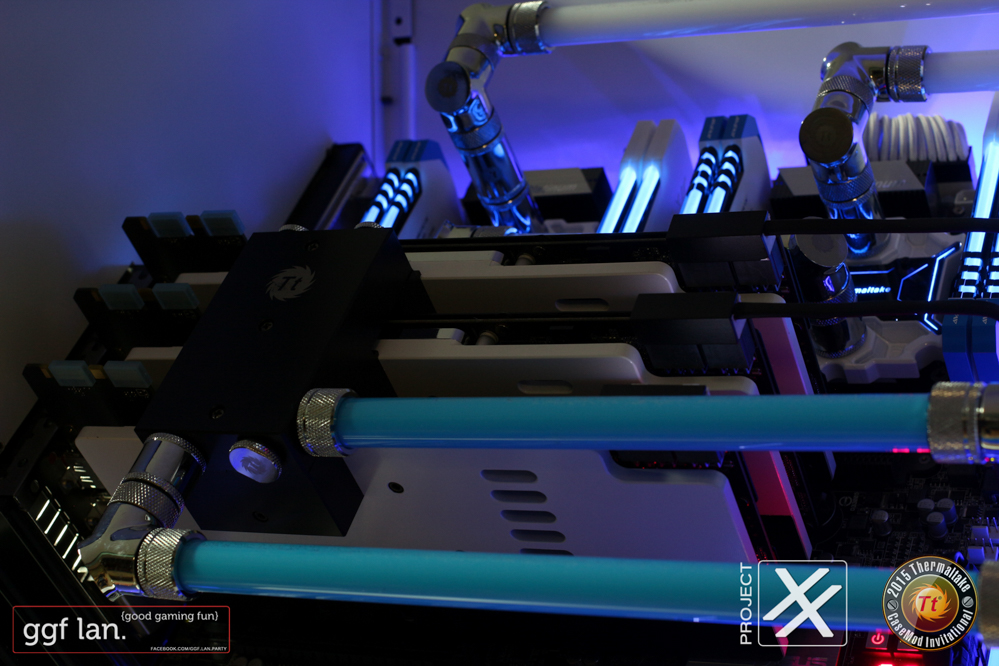
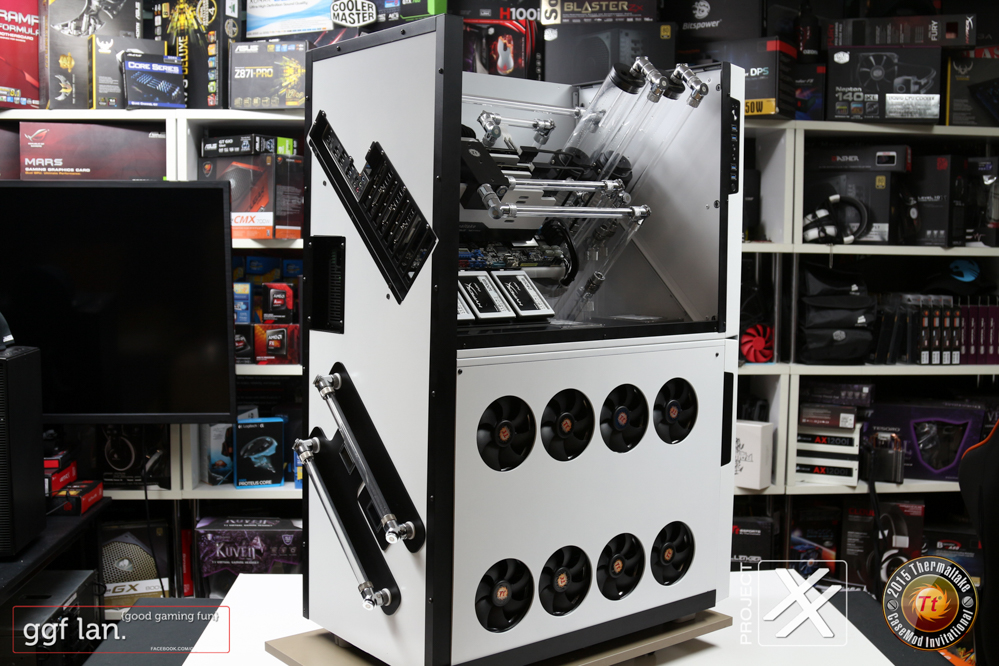
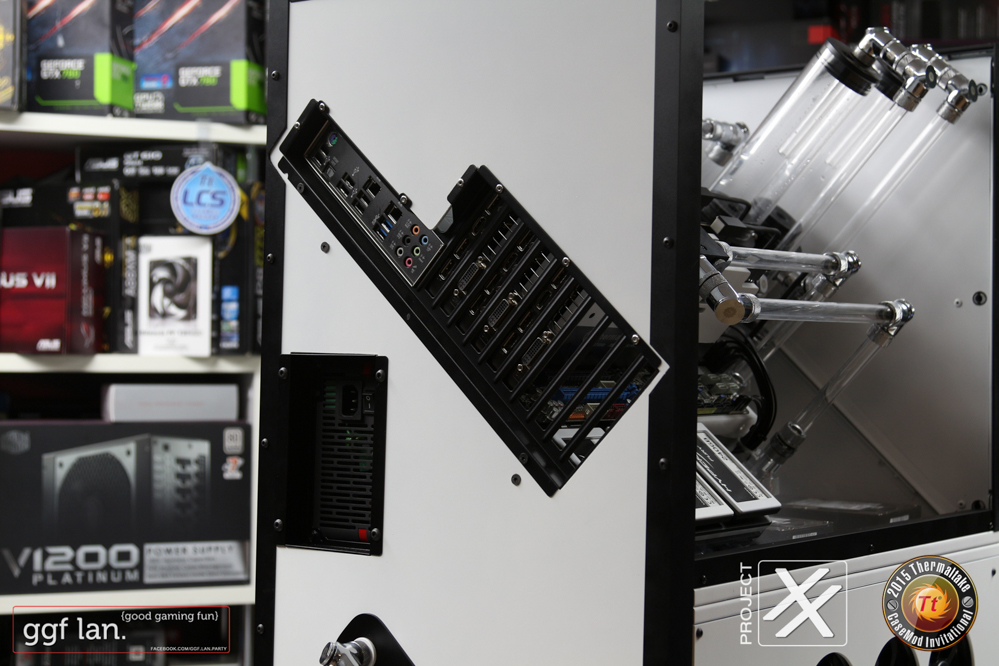
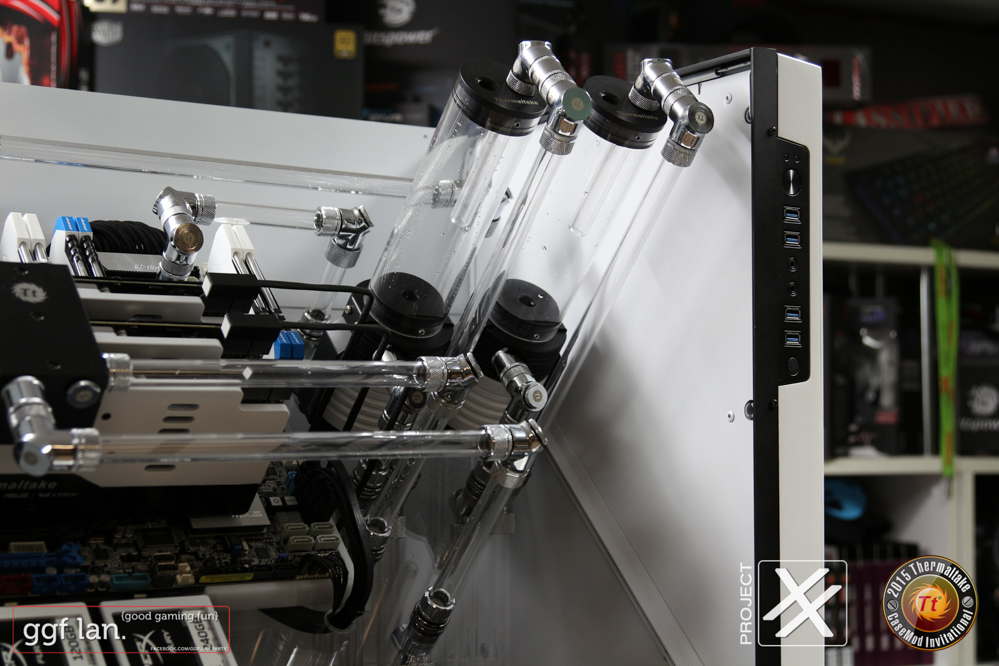
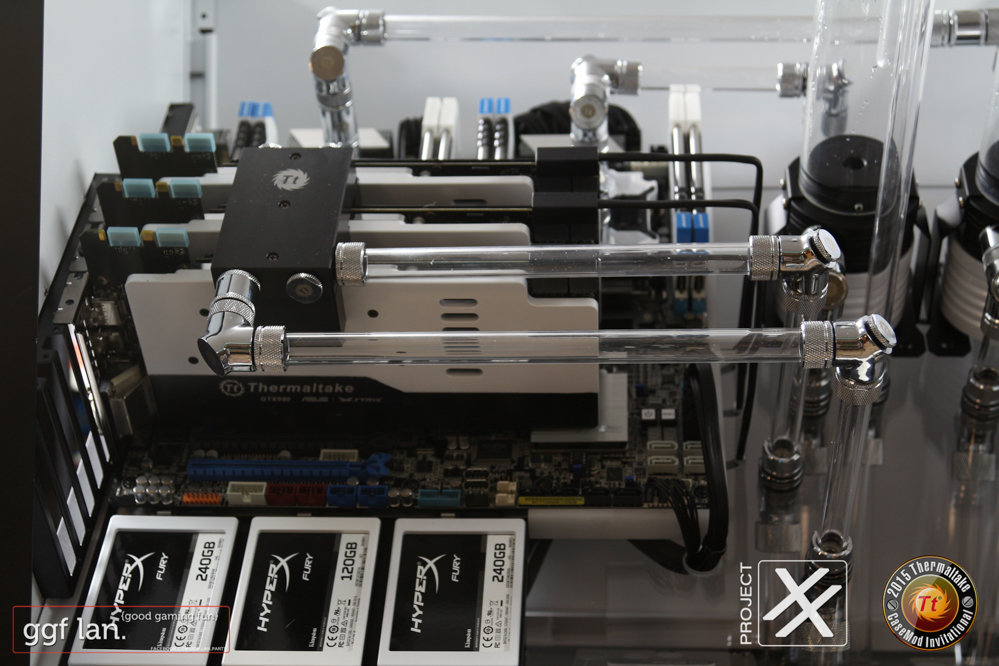
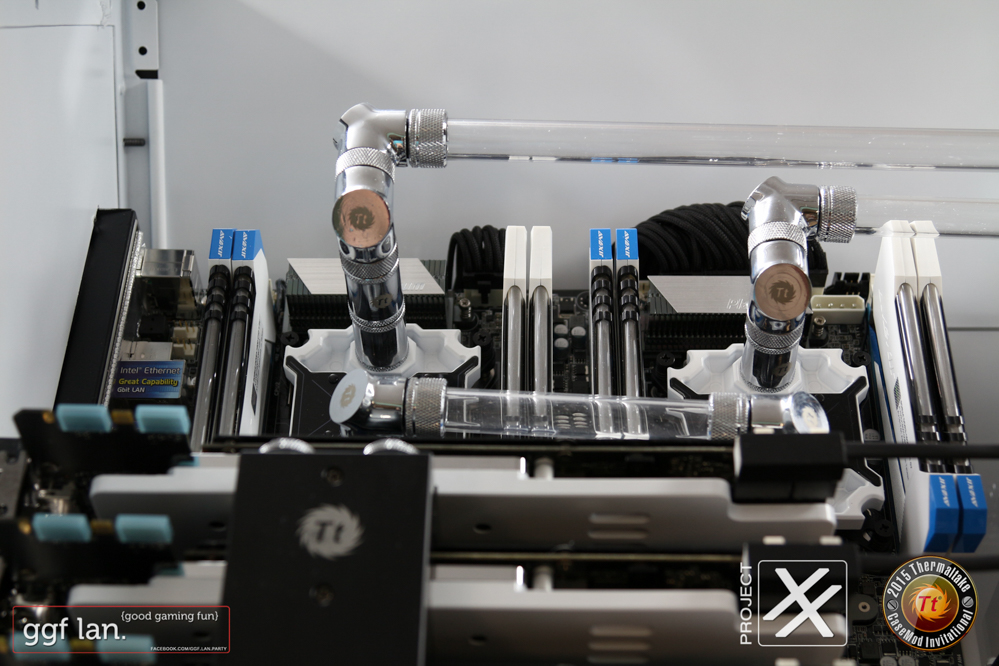
 I didn't get a pic of this added on but you'll see it in the final shots.Next I worked on all the tubing. This wasn't too bad as it was either a 90deg bend or just straight tube. Then I worked on tubing up the rear which was just a nightmare with flexi tube everywhere.Here's a few shots of the build tubed up without coolant.
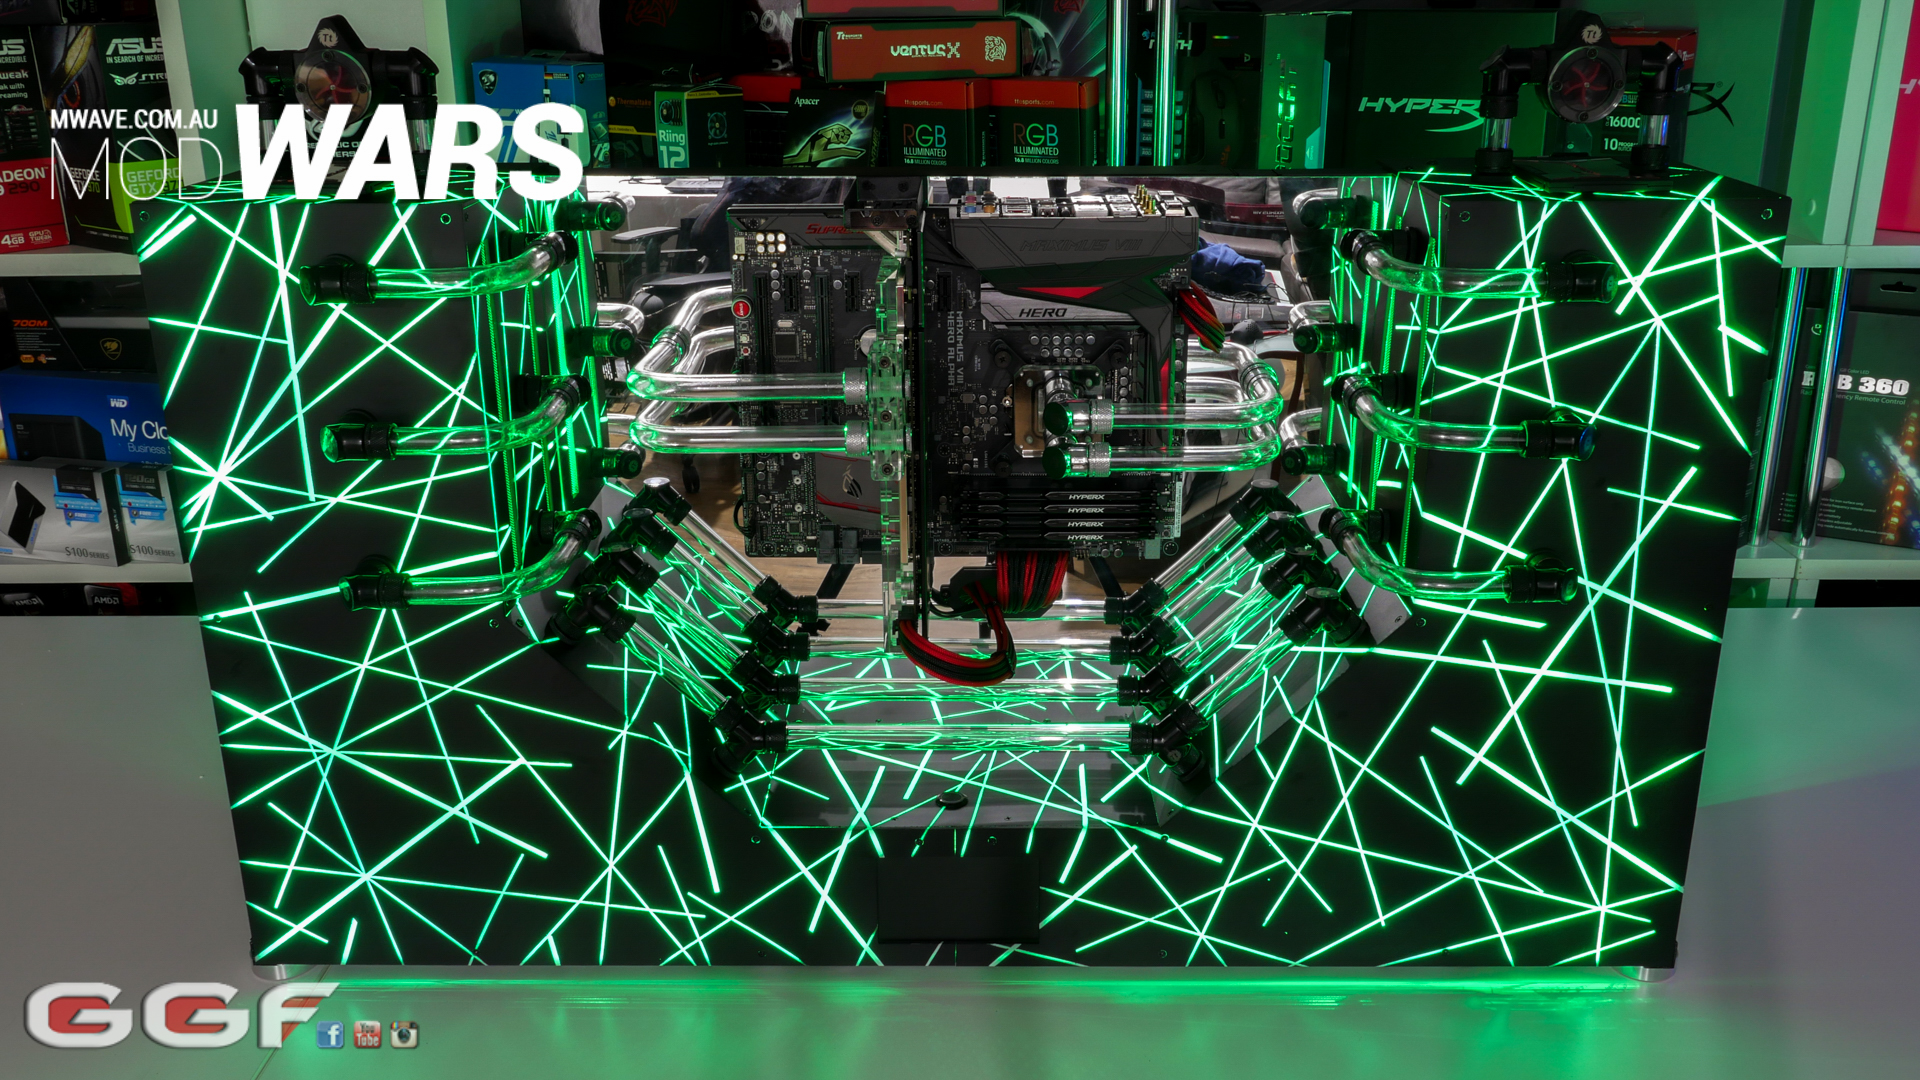
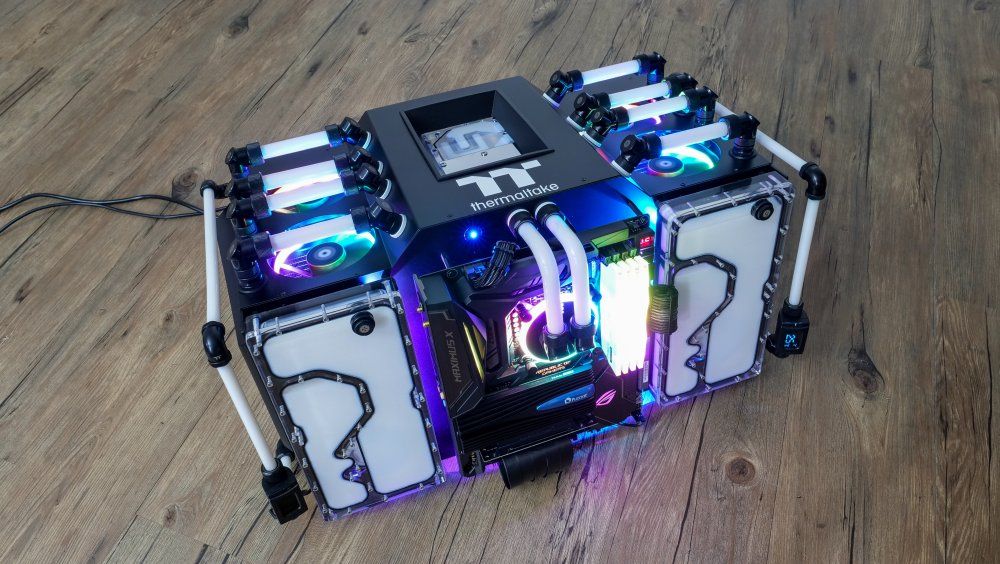
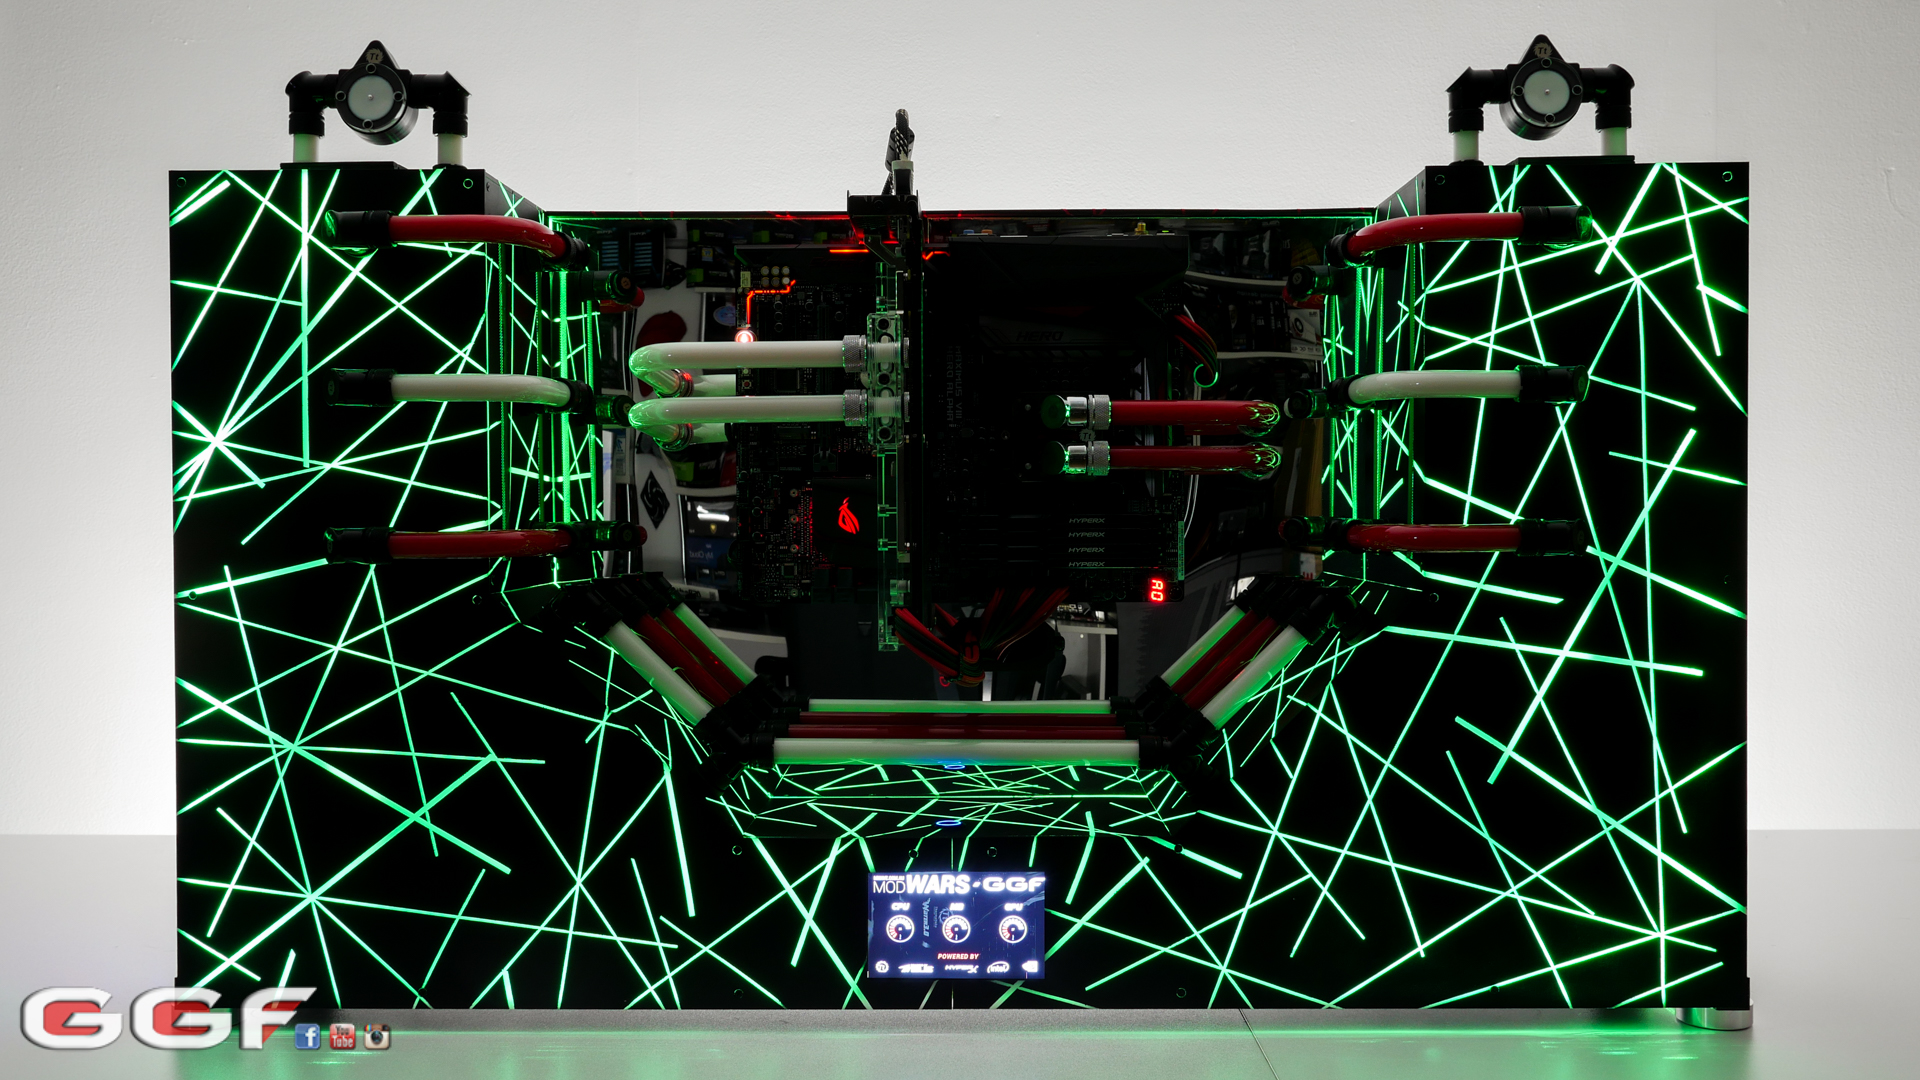
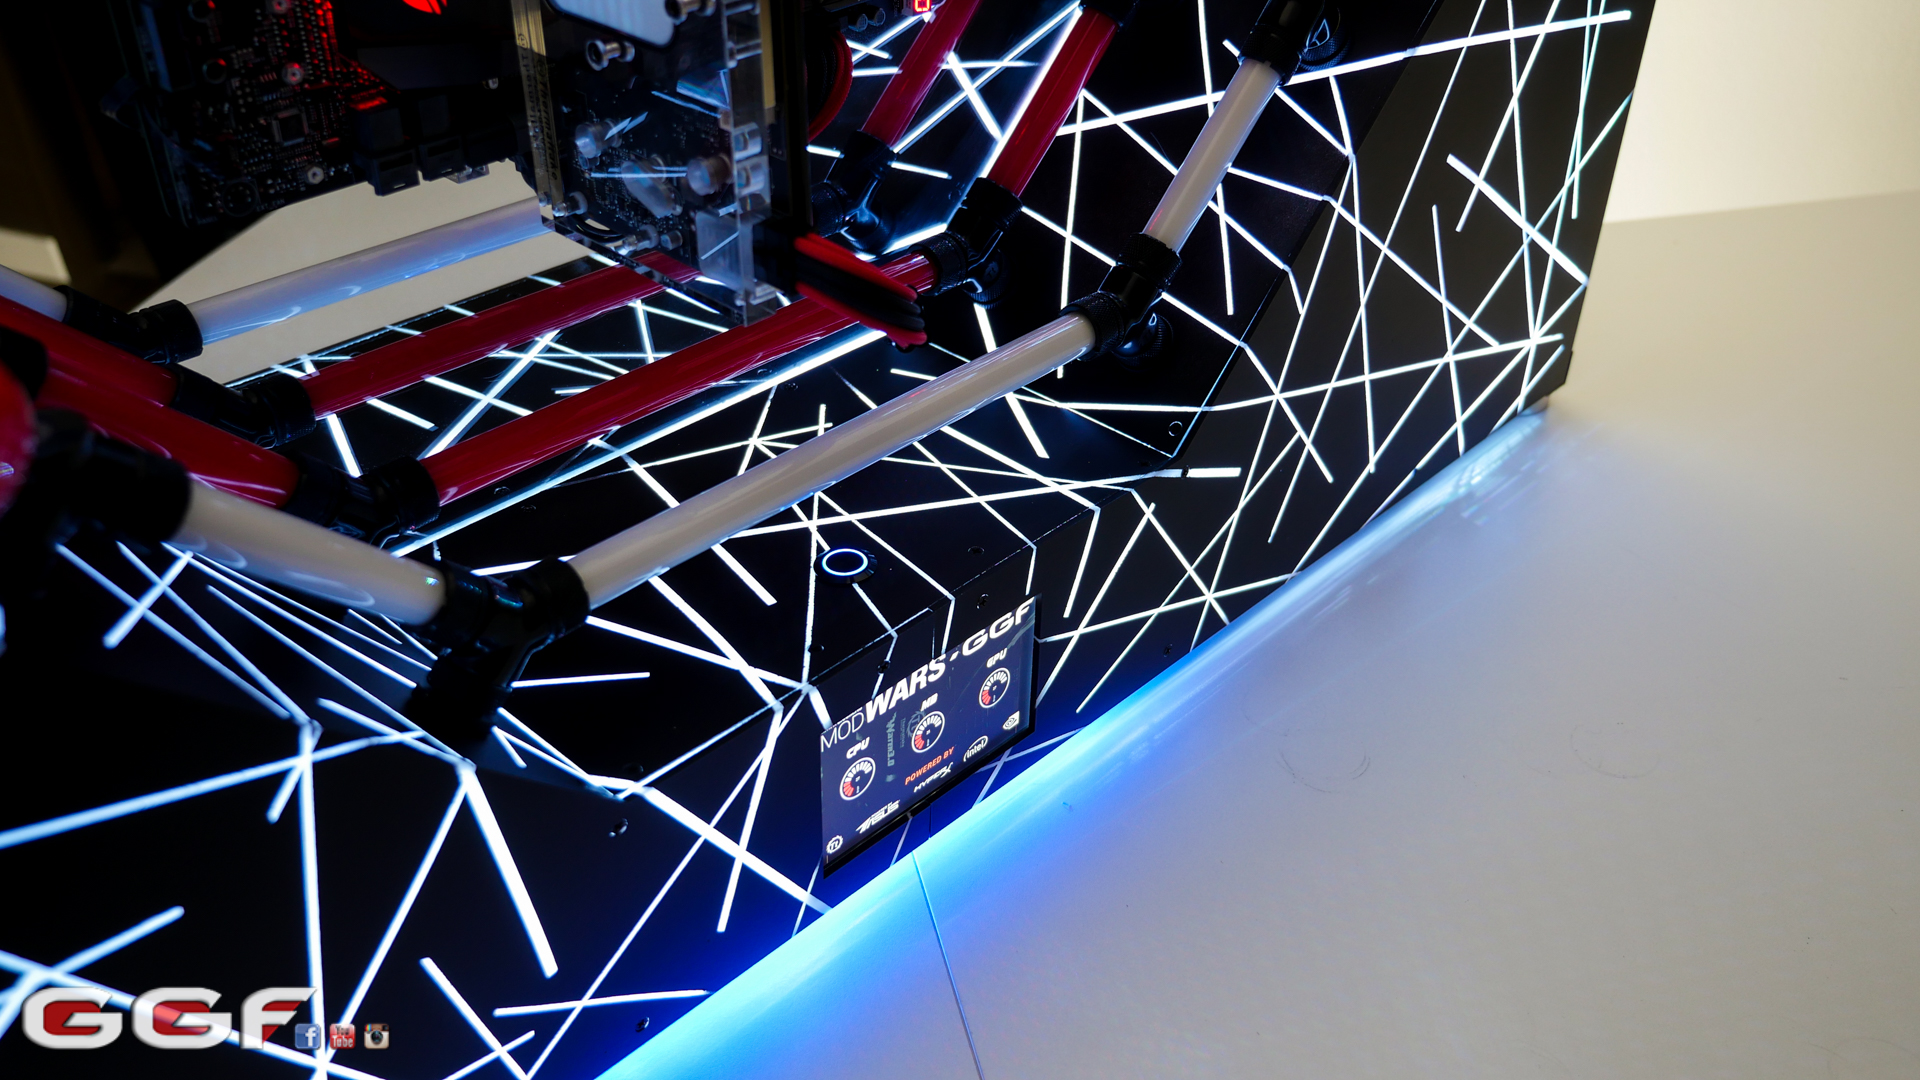
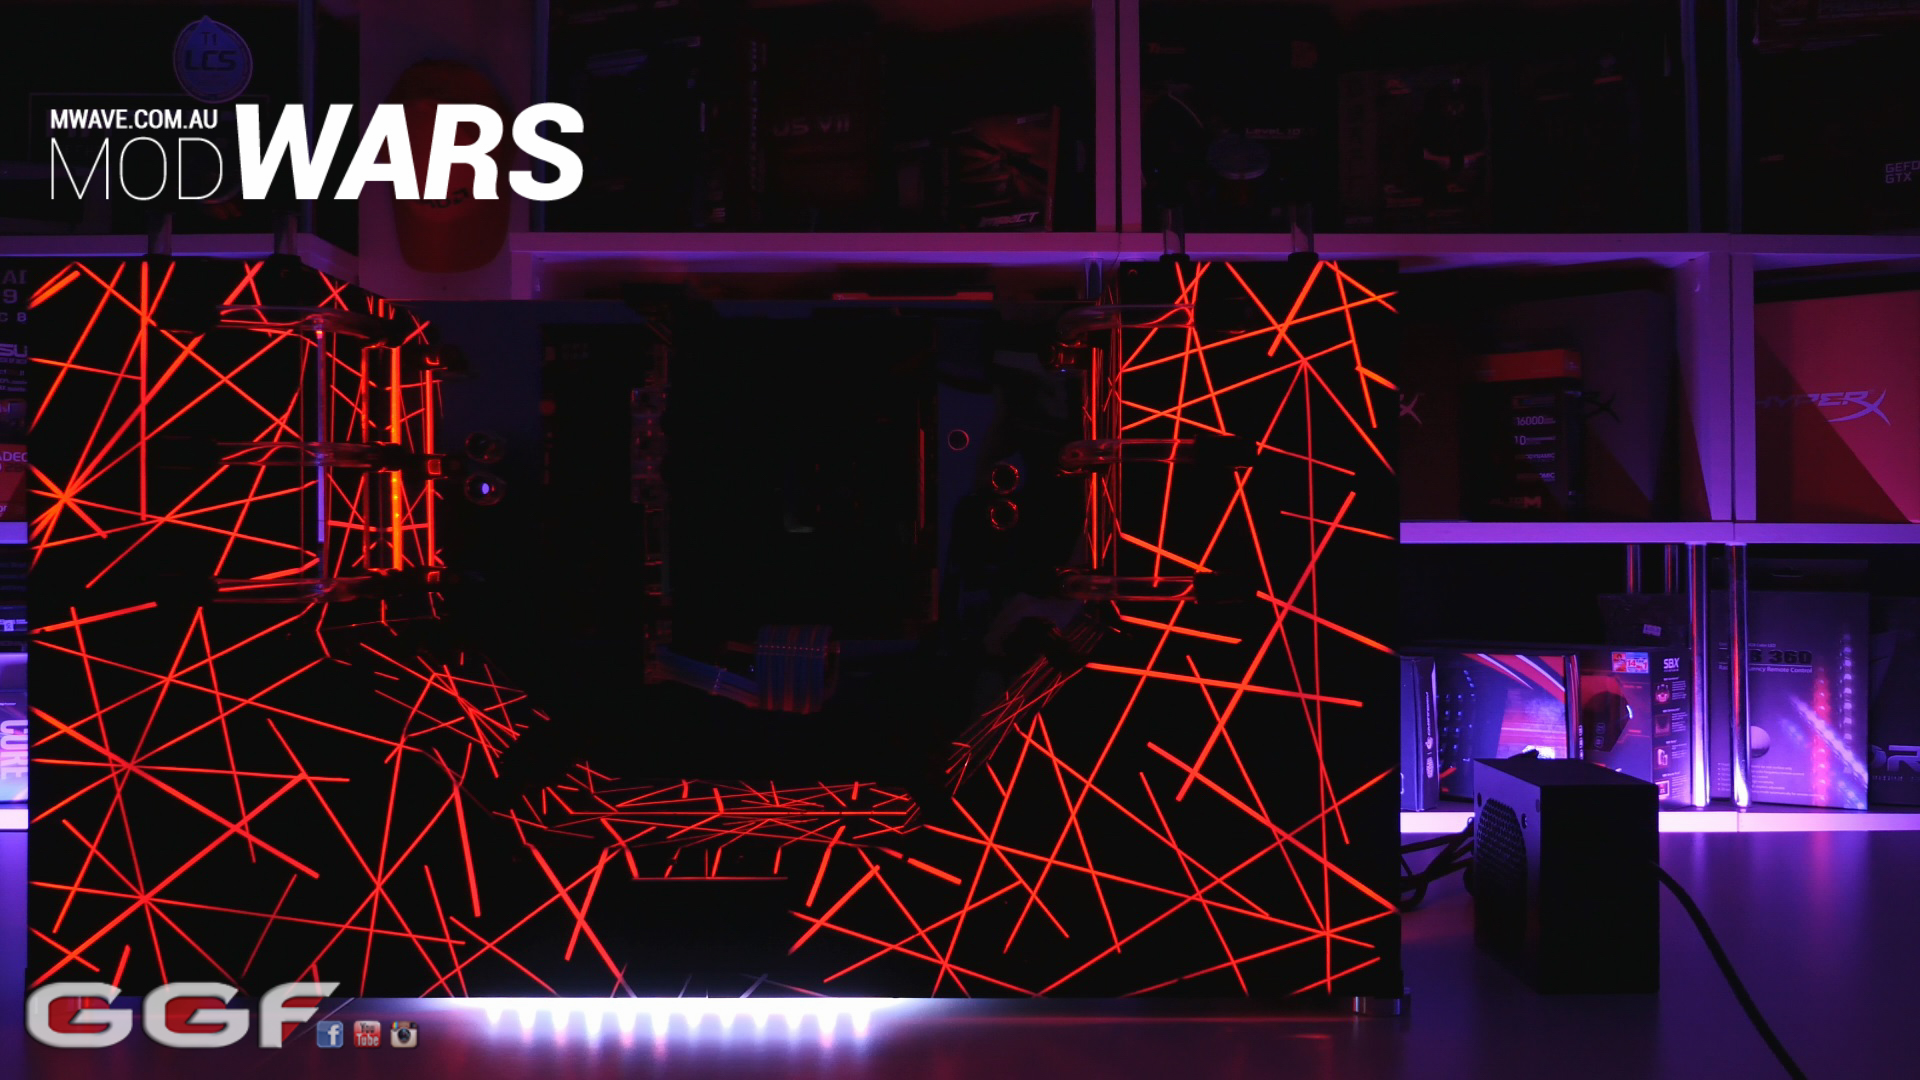
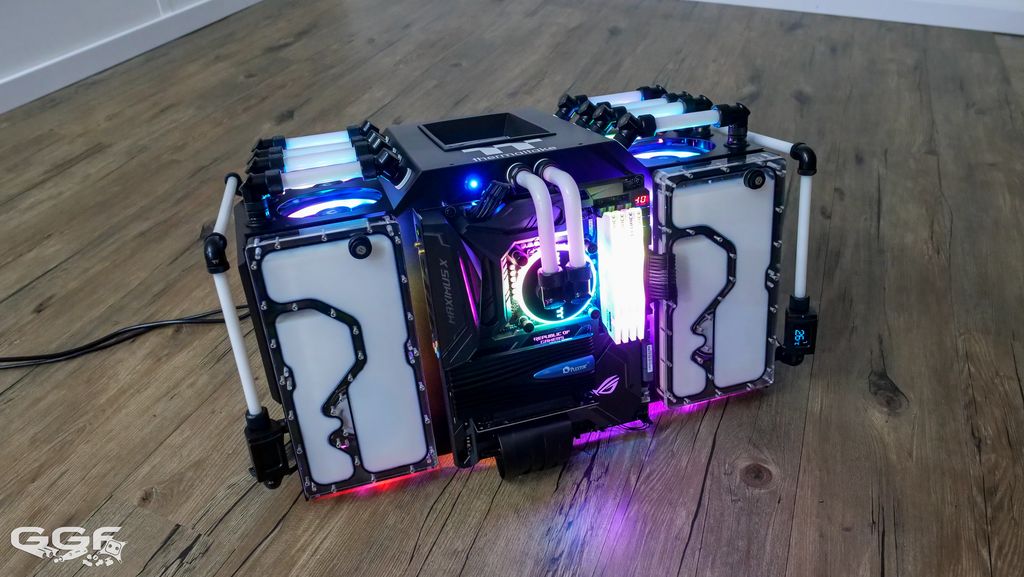
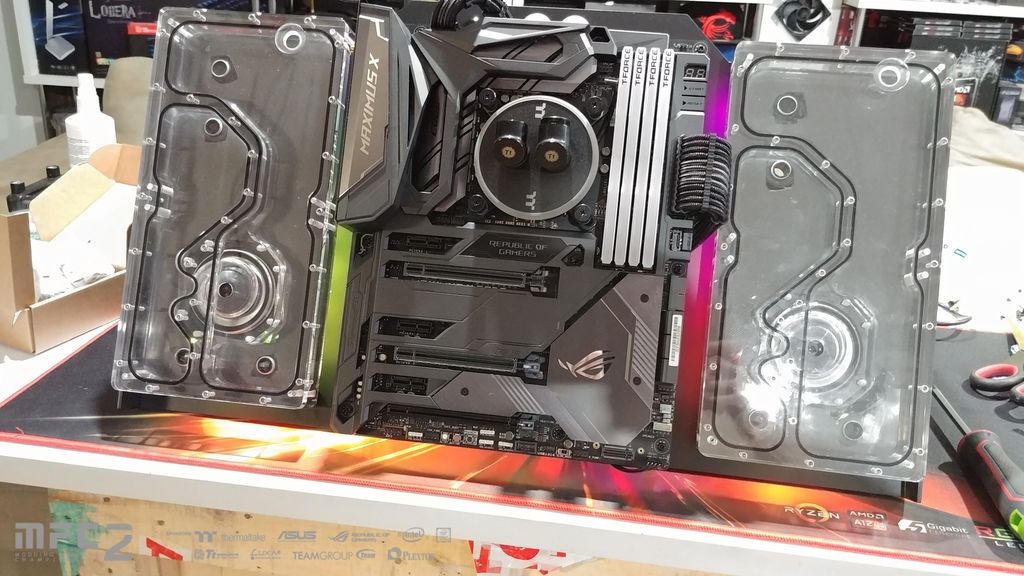
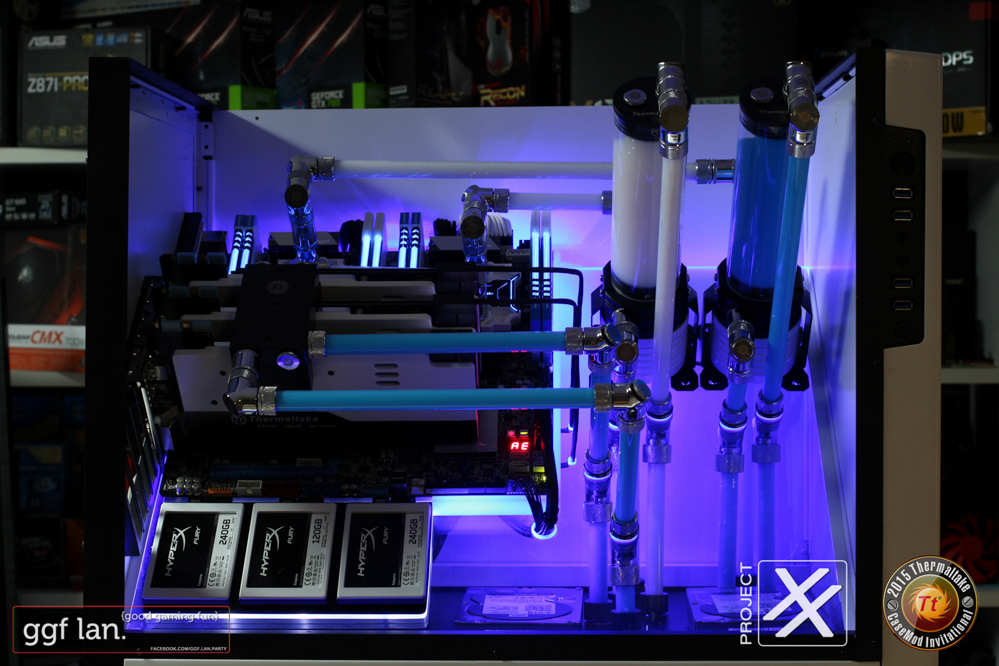
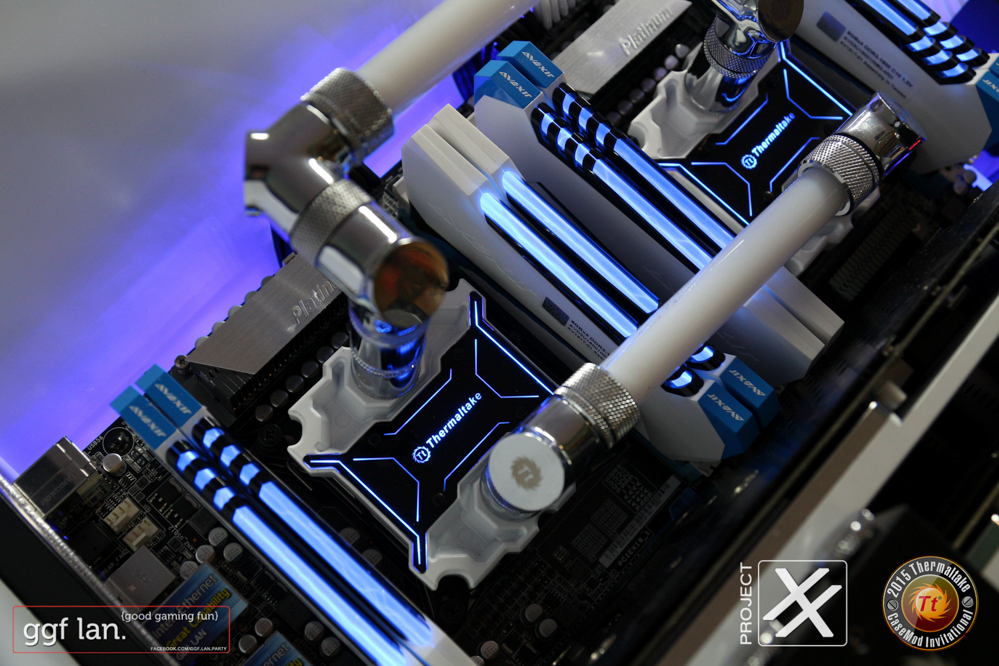
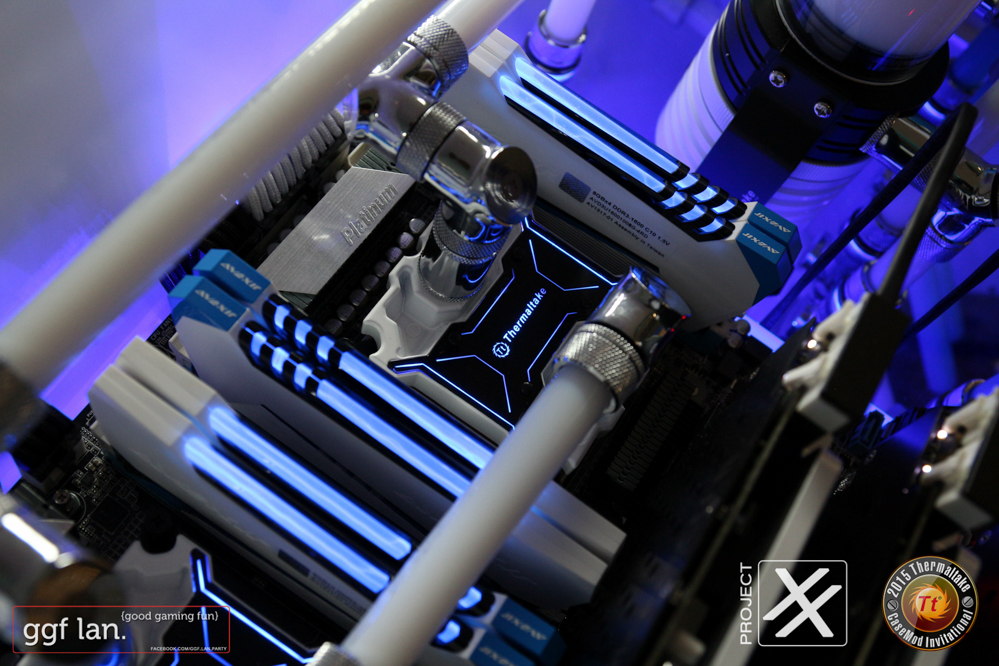
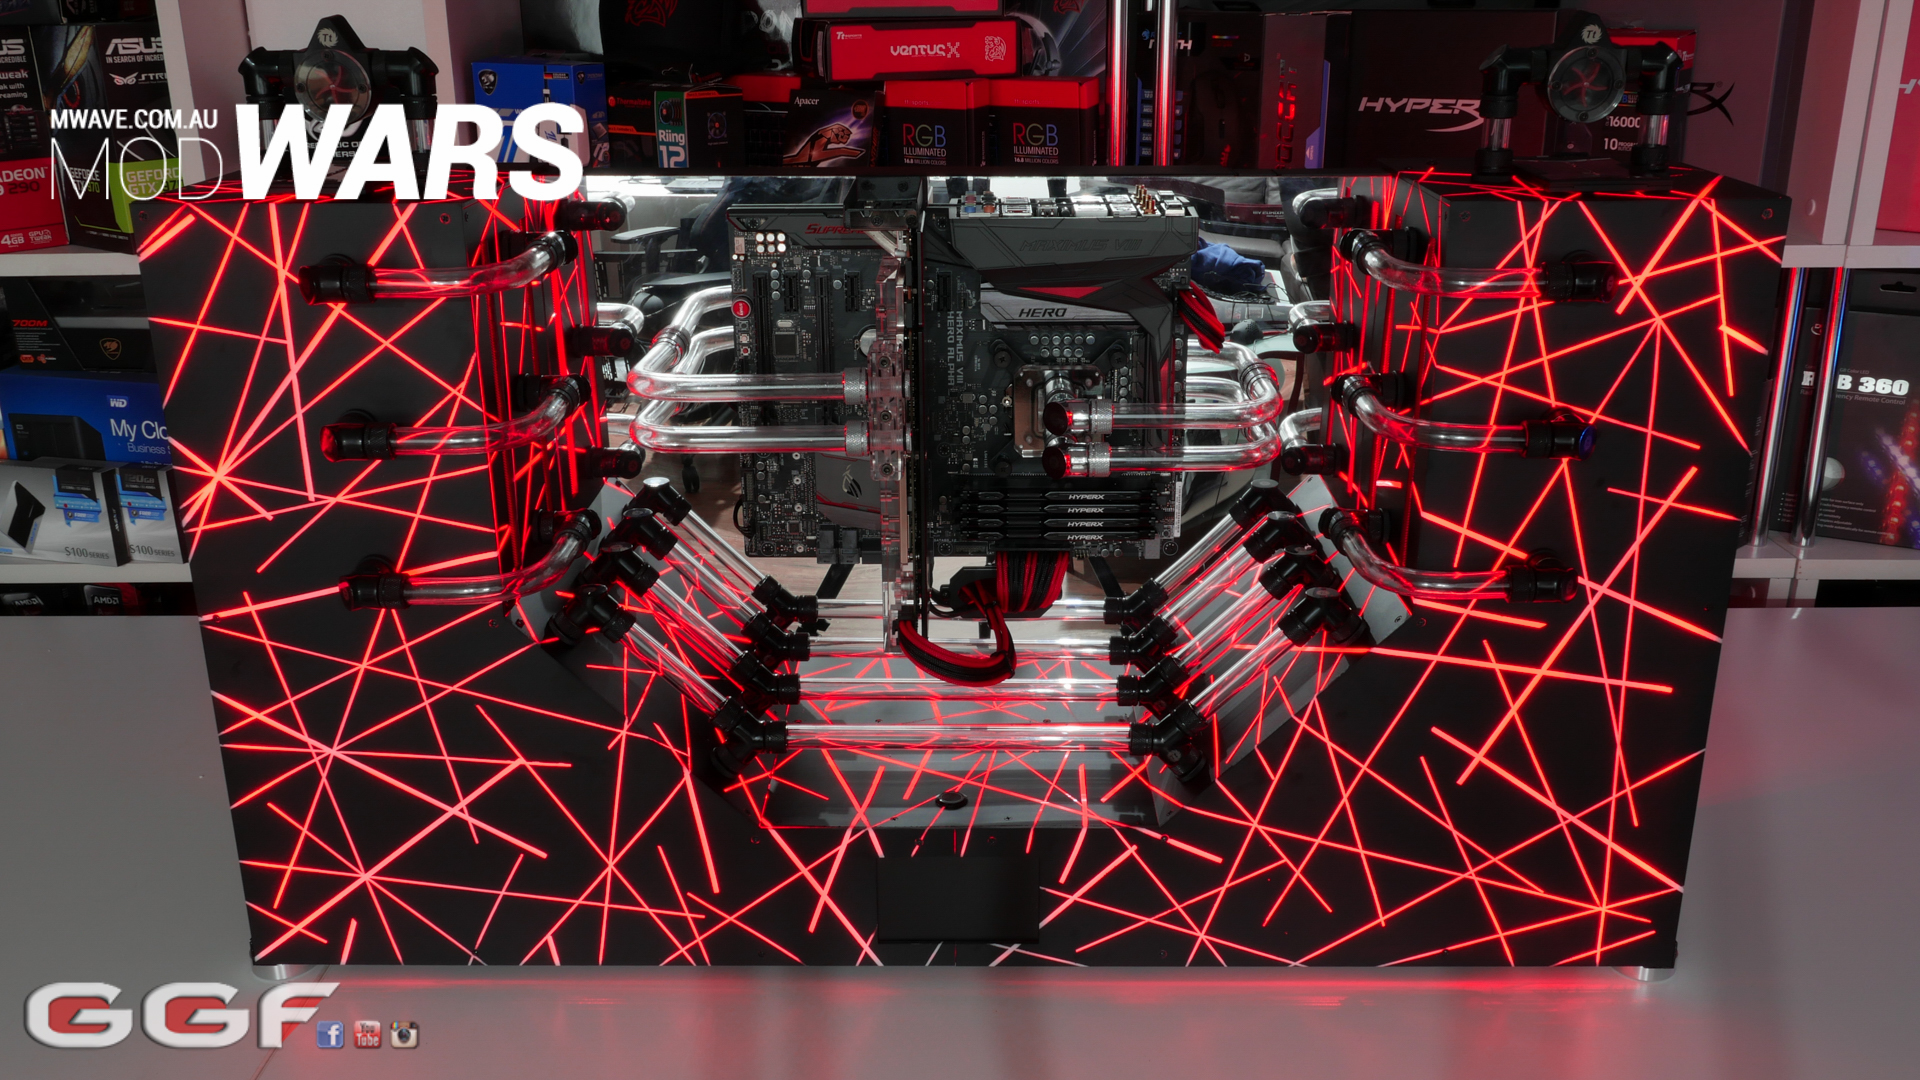 For the final coolant colour I've decided to go with one loop being Thermaltake Opaque White and the other loop Thermaltake Opaque Red. You might be wondering why red in an RGB case? I did this because not all uses for this case will use the RGB affect. Like yea it looks epic in a dark\medium lit room. But if this is showcase at an event that has super super bright room lighting. It's quite hard to see the desired affect. So I decided to favour one colour. This was red to tie in the Mobo ascent, Savage SSD red and sleeved cables. So in worst case scenario if the case is displayed in a very bright environment, I can have the case LEDs set to off or white and there will be a red theme to it Also I haven't really shown where each pump\res comb is. But they are standing up inside each side. One left and one right.
-
Short effect video on YouTubeLonger overview video on YouTube
-
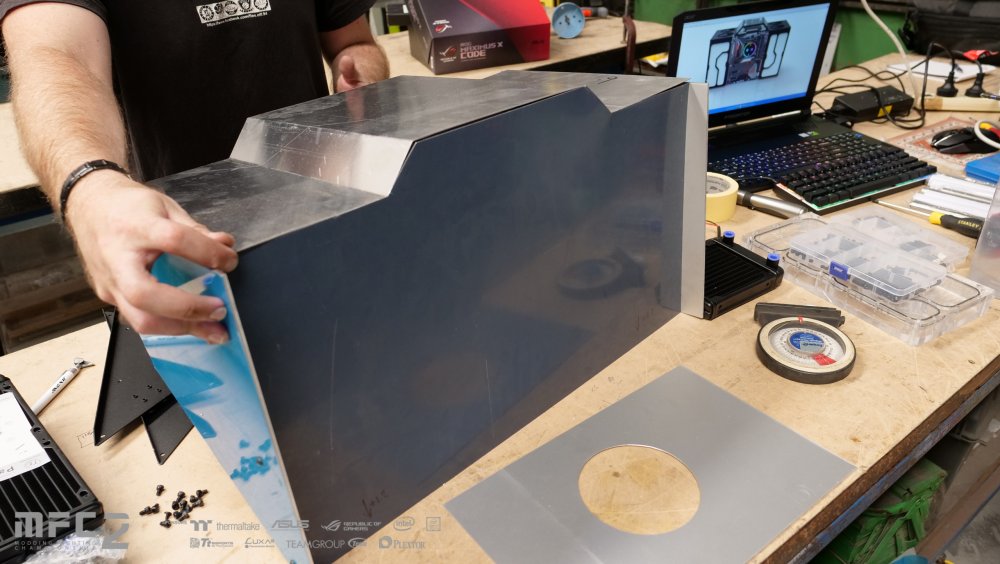
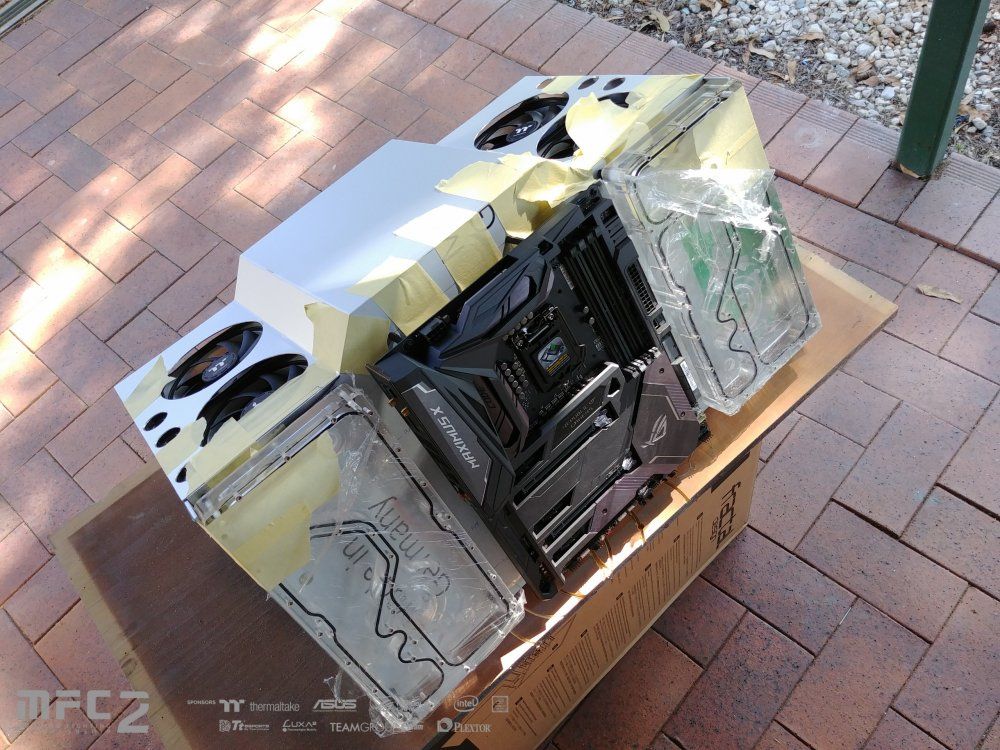
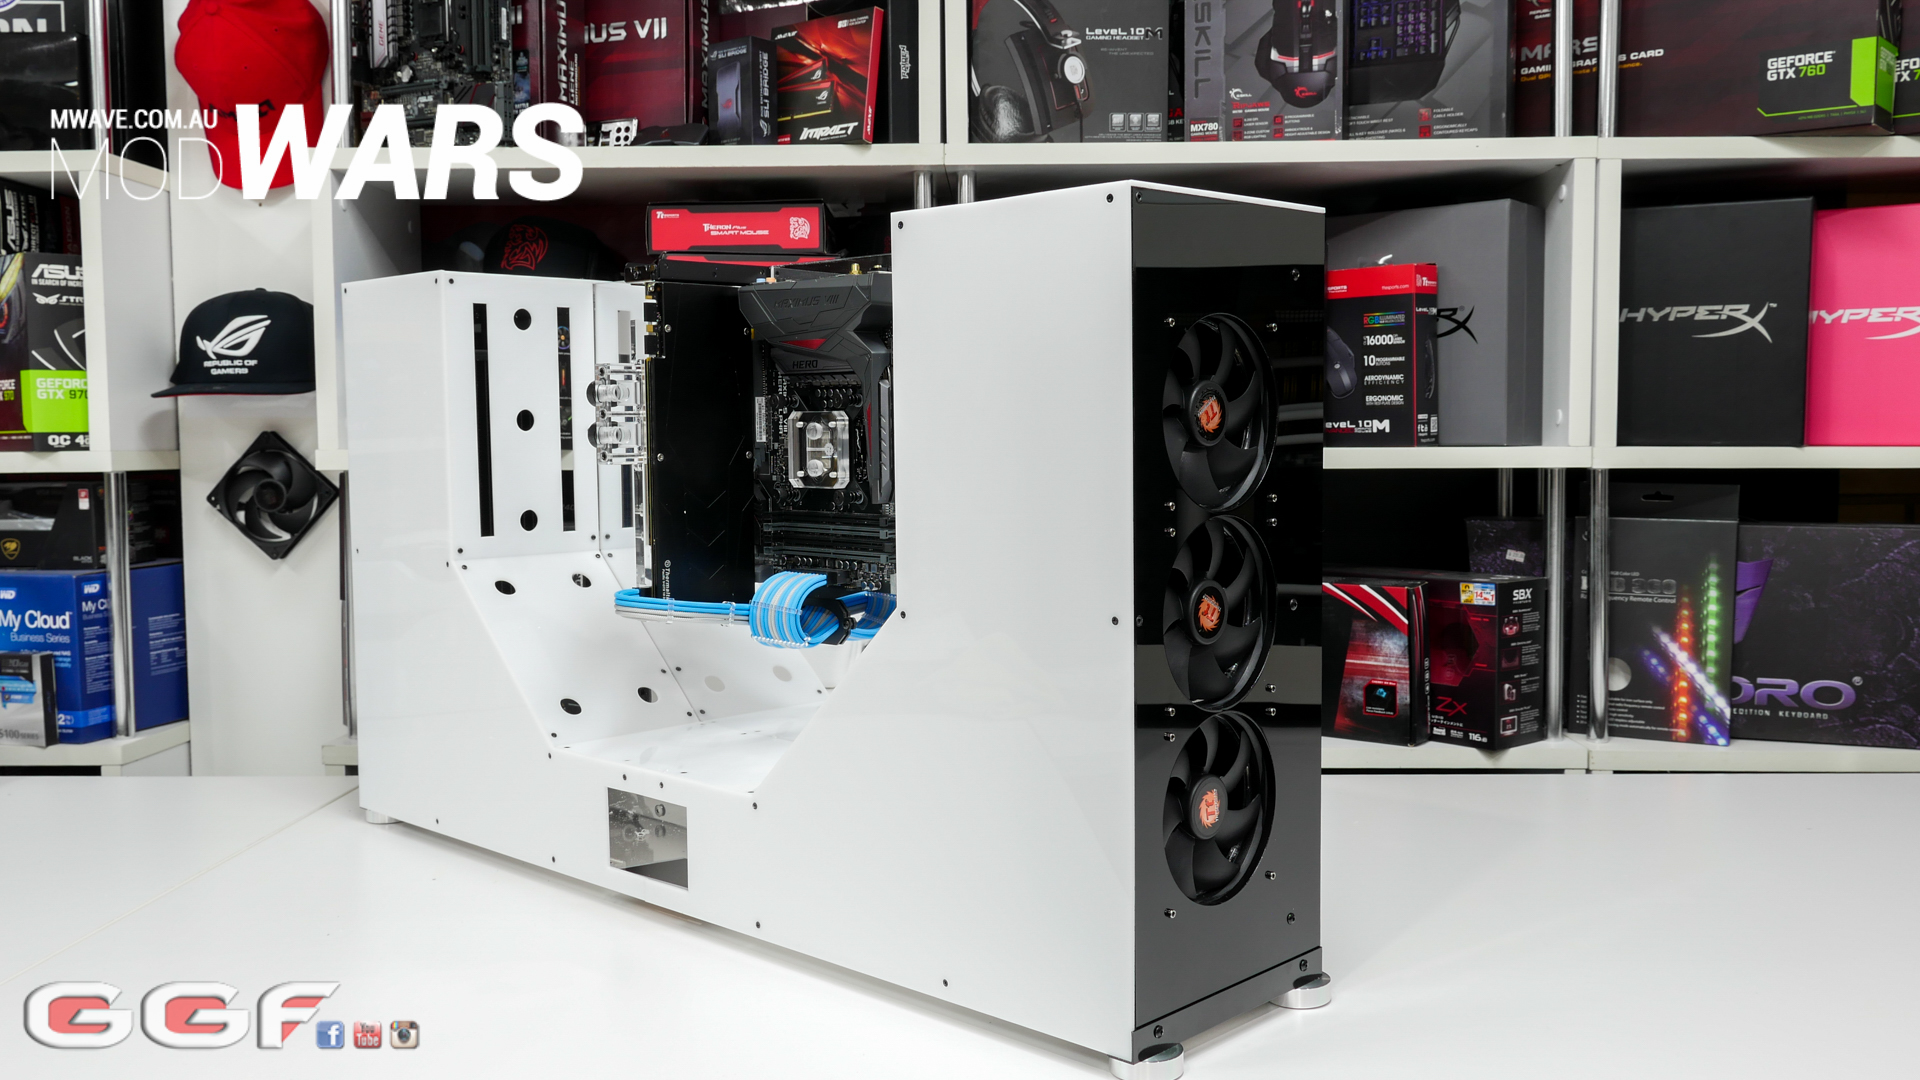
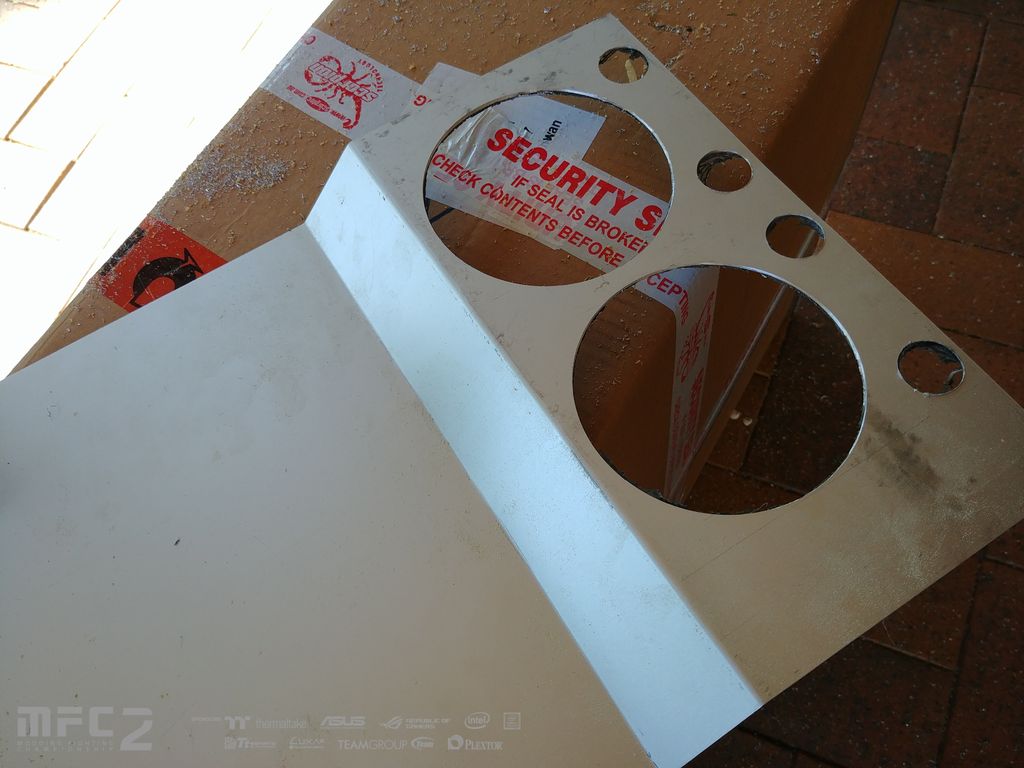
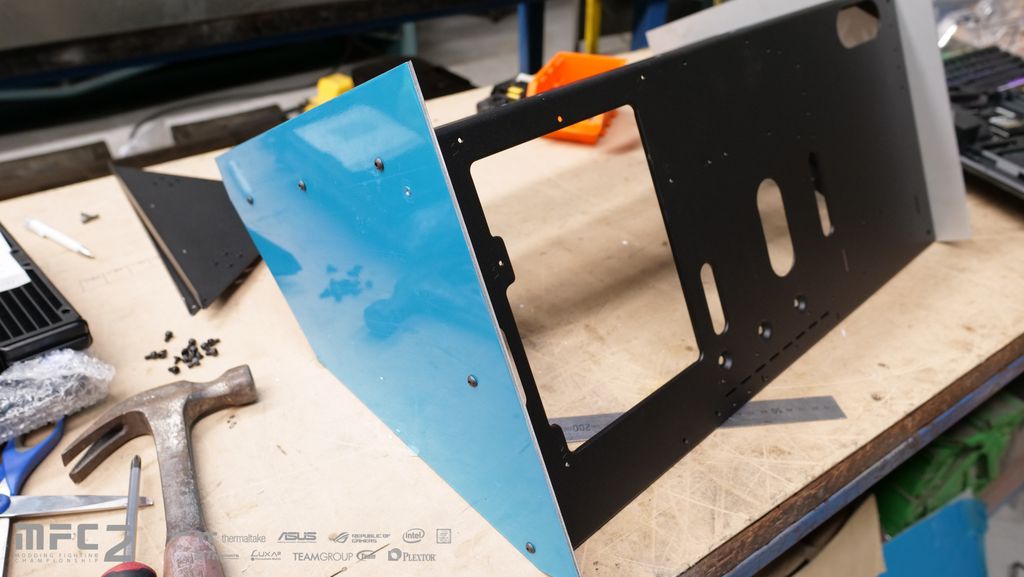
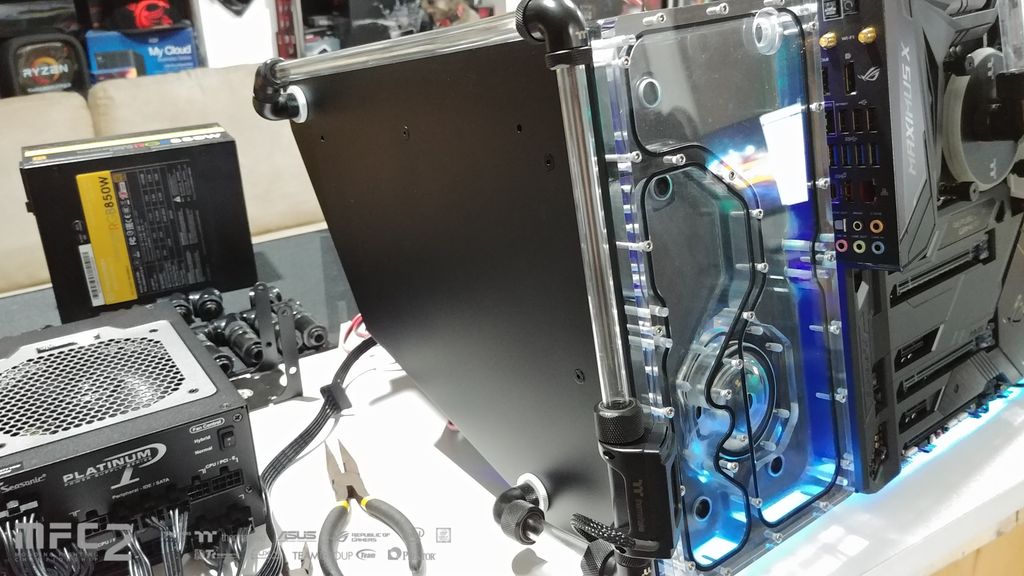
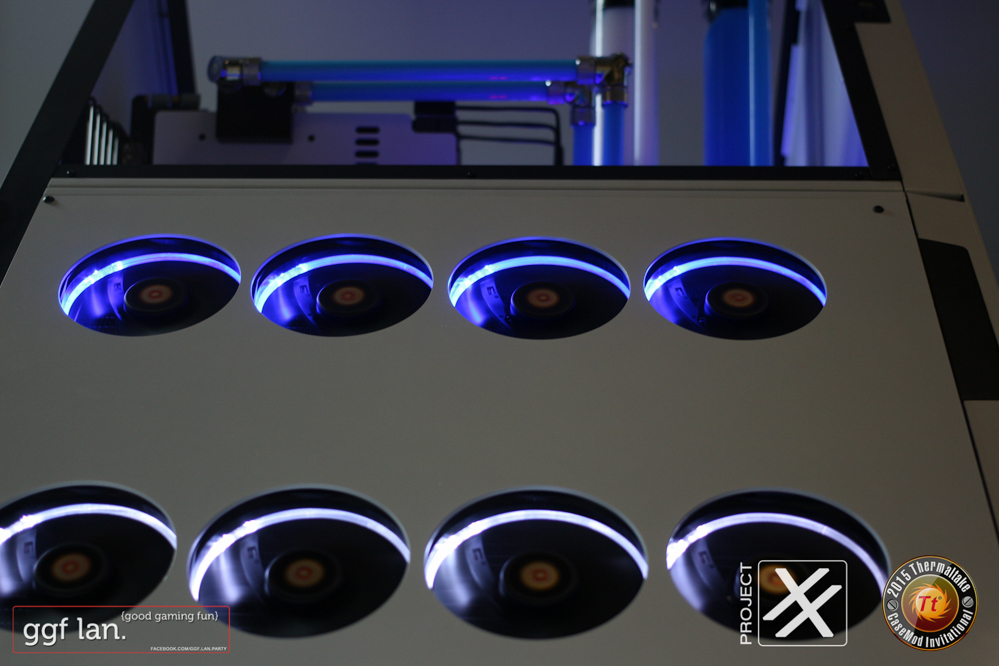
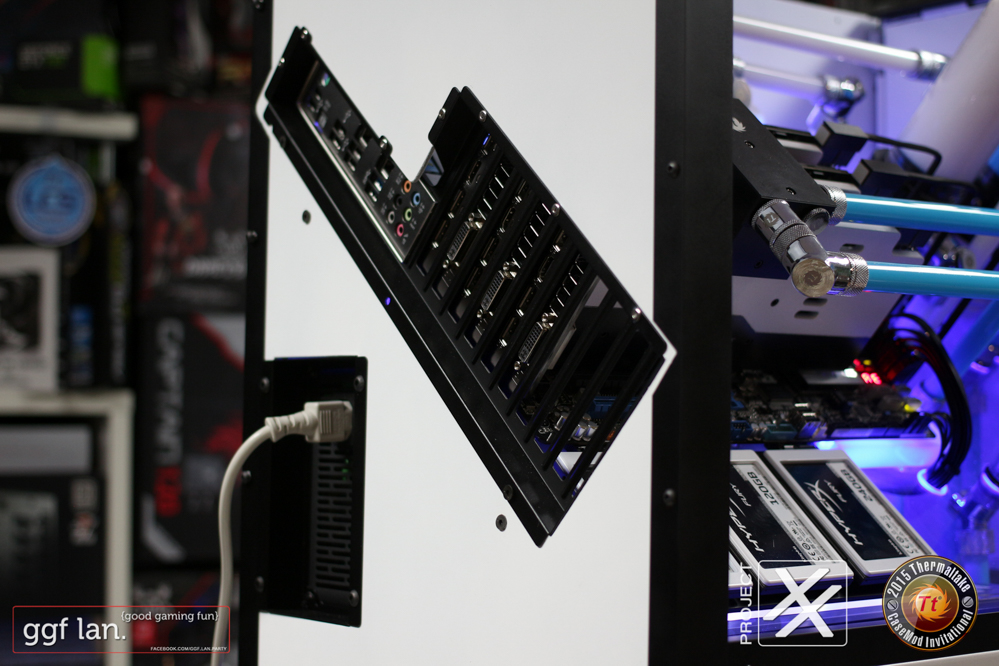
Well a HEAP has gone on so here's the build log up to where I'm at now.My initial plan for this build was to increase the Core P3's width to about double it's size. I always wanted to have one 360mm rad on each side and the standard P3 was just way too small.I ended up re-using some connect it aluminium tubing I had used before for projects. This stuff is great and very easy to put together. This gave me main frame for the build.
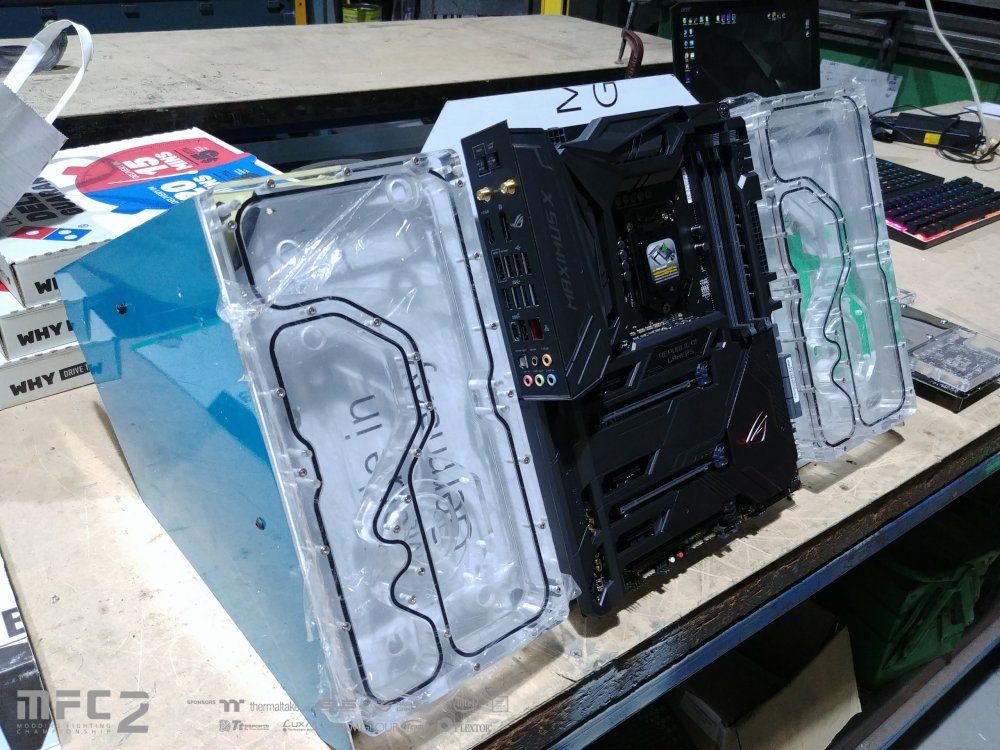
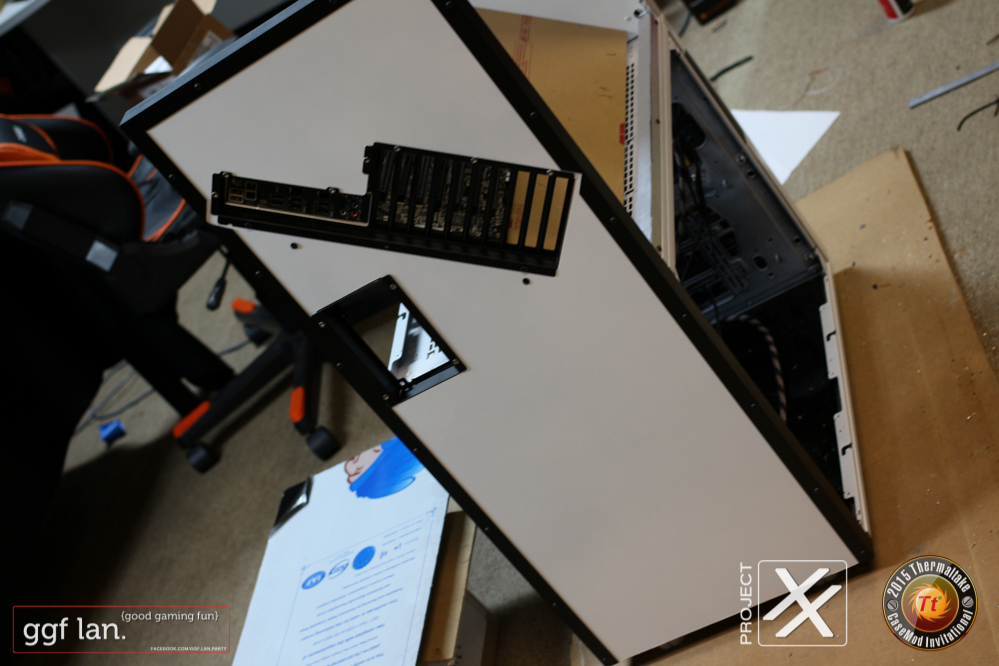
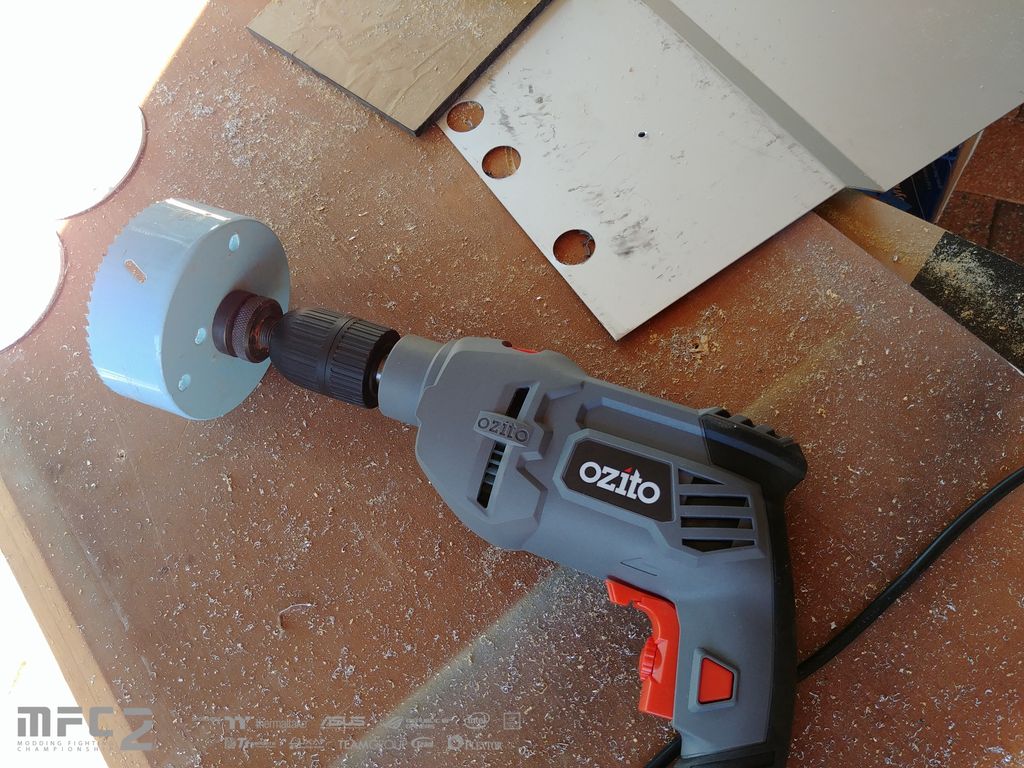
 As I try to do everything myself, I did splurge out and got the 2 side panels laser cut. This was mainly for the 3x 120mm fan holes in each side. I've done fan holes before in 3mm acrylic and #### it takes a long time. This black acrylic I used was 6mm. Also these were the main starting point to the fram shroud so I wanted these perfect
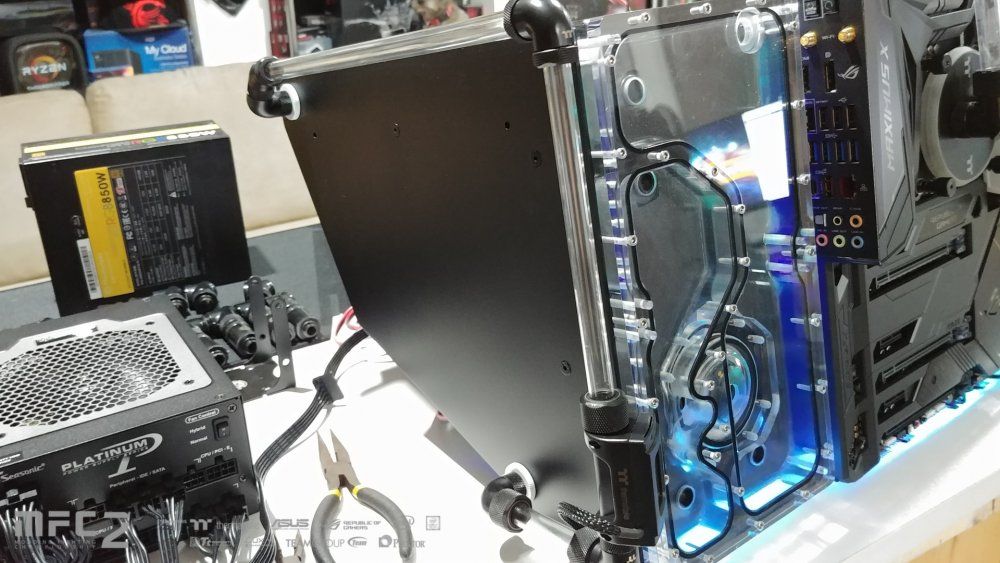
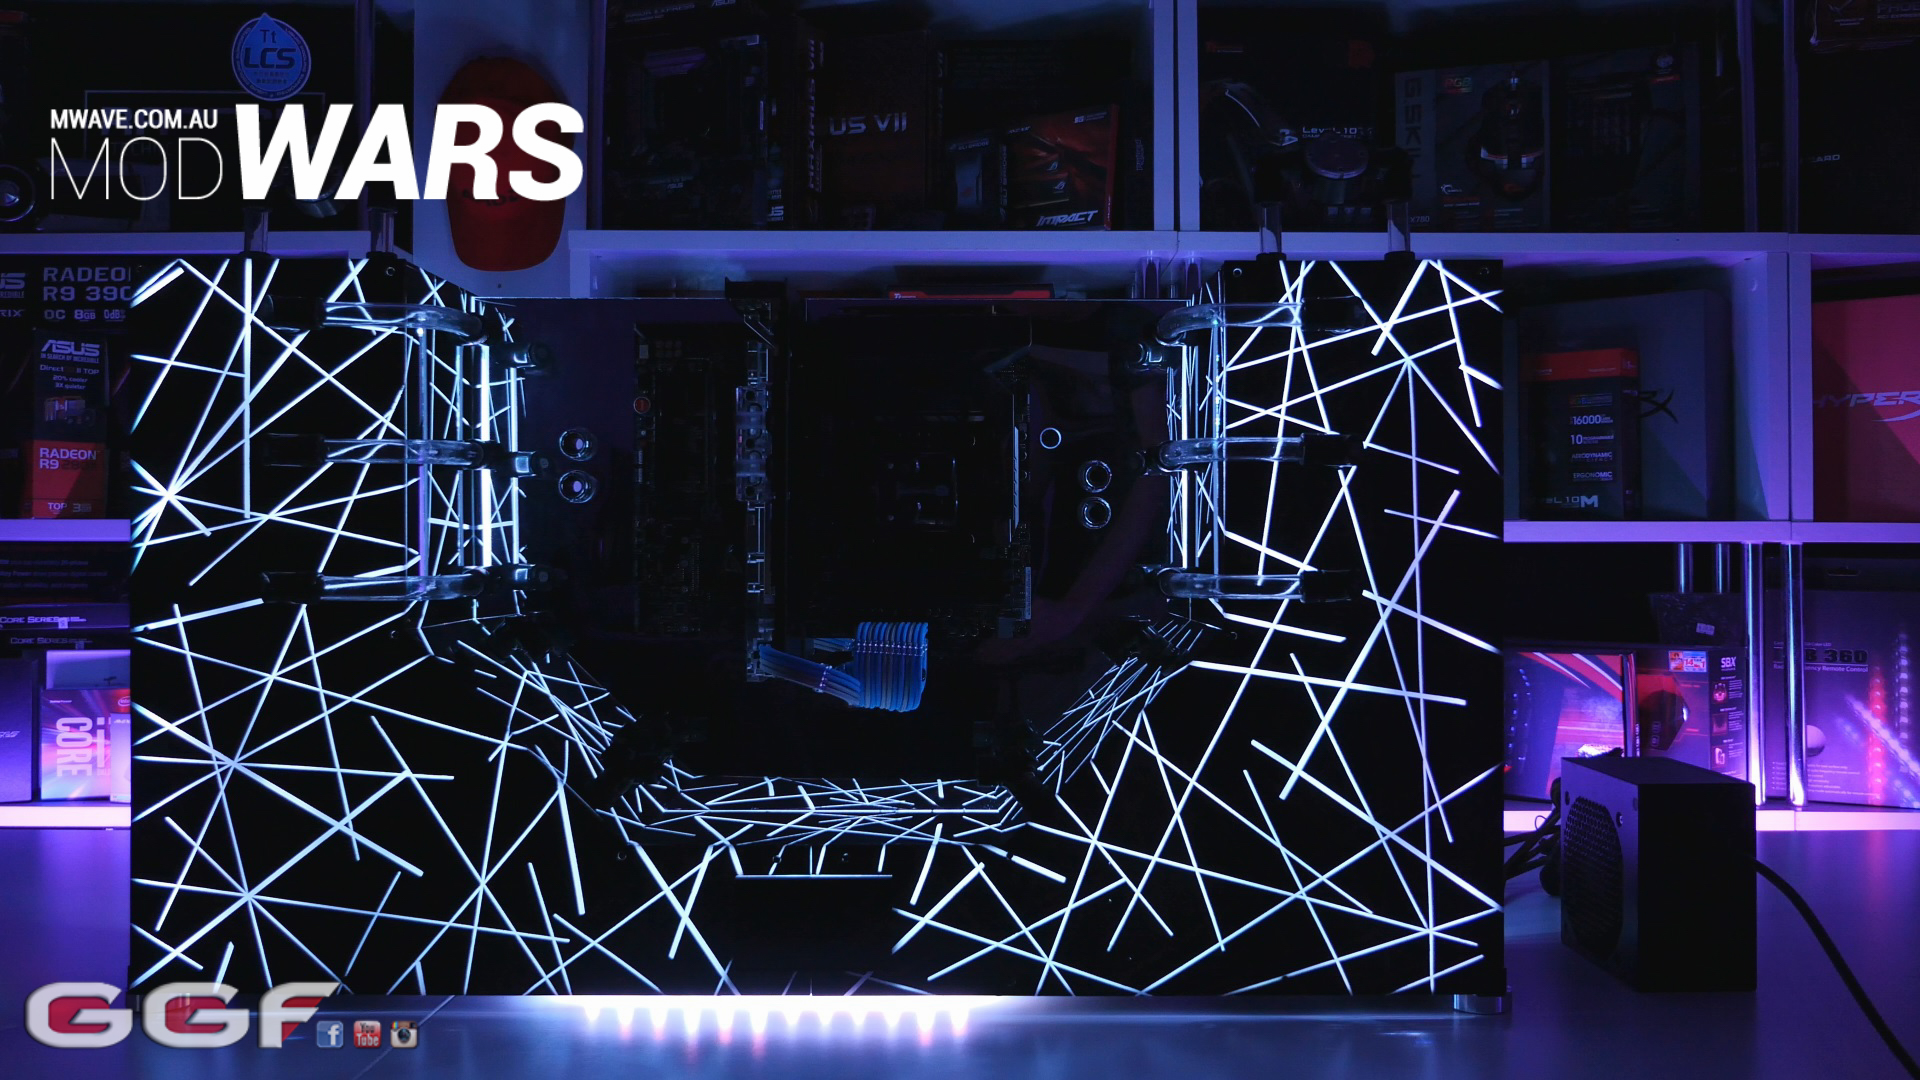
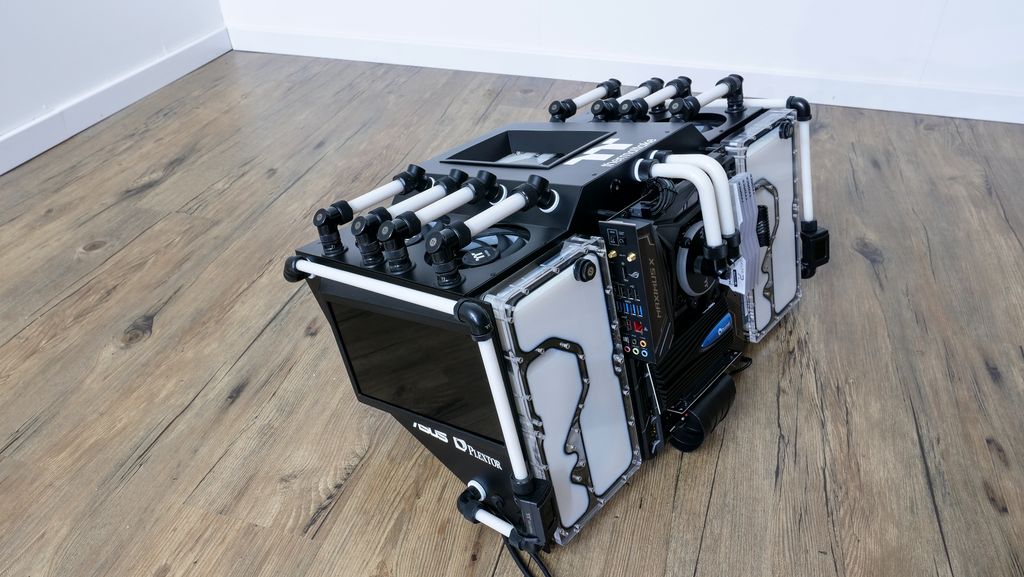
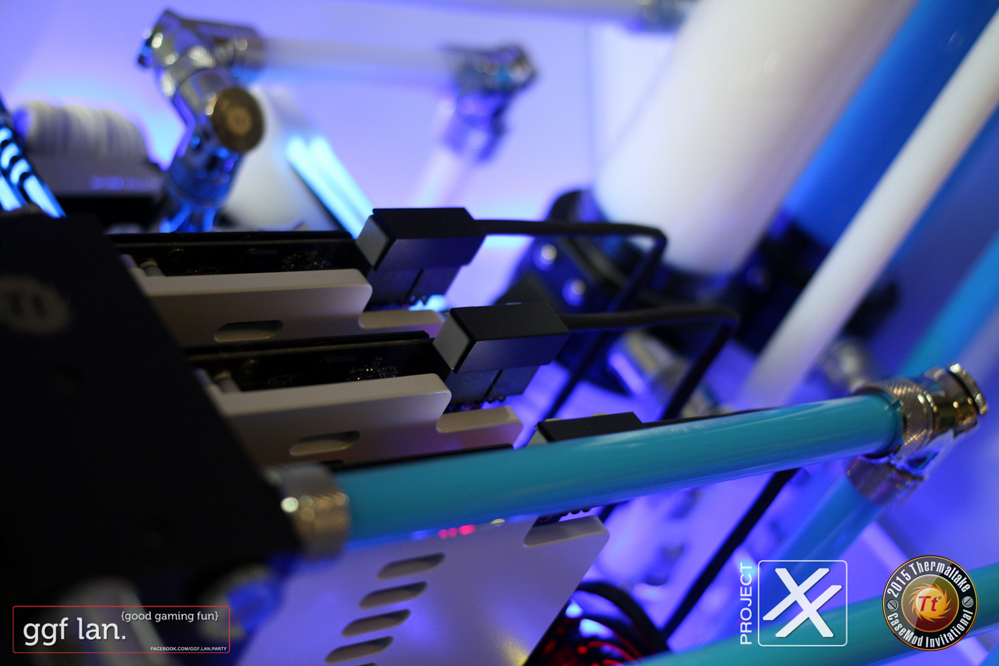
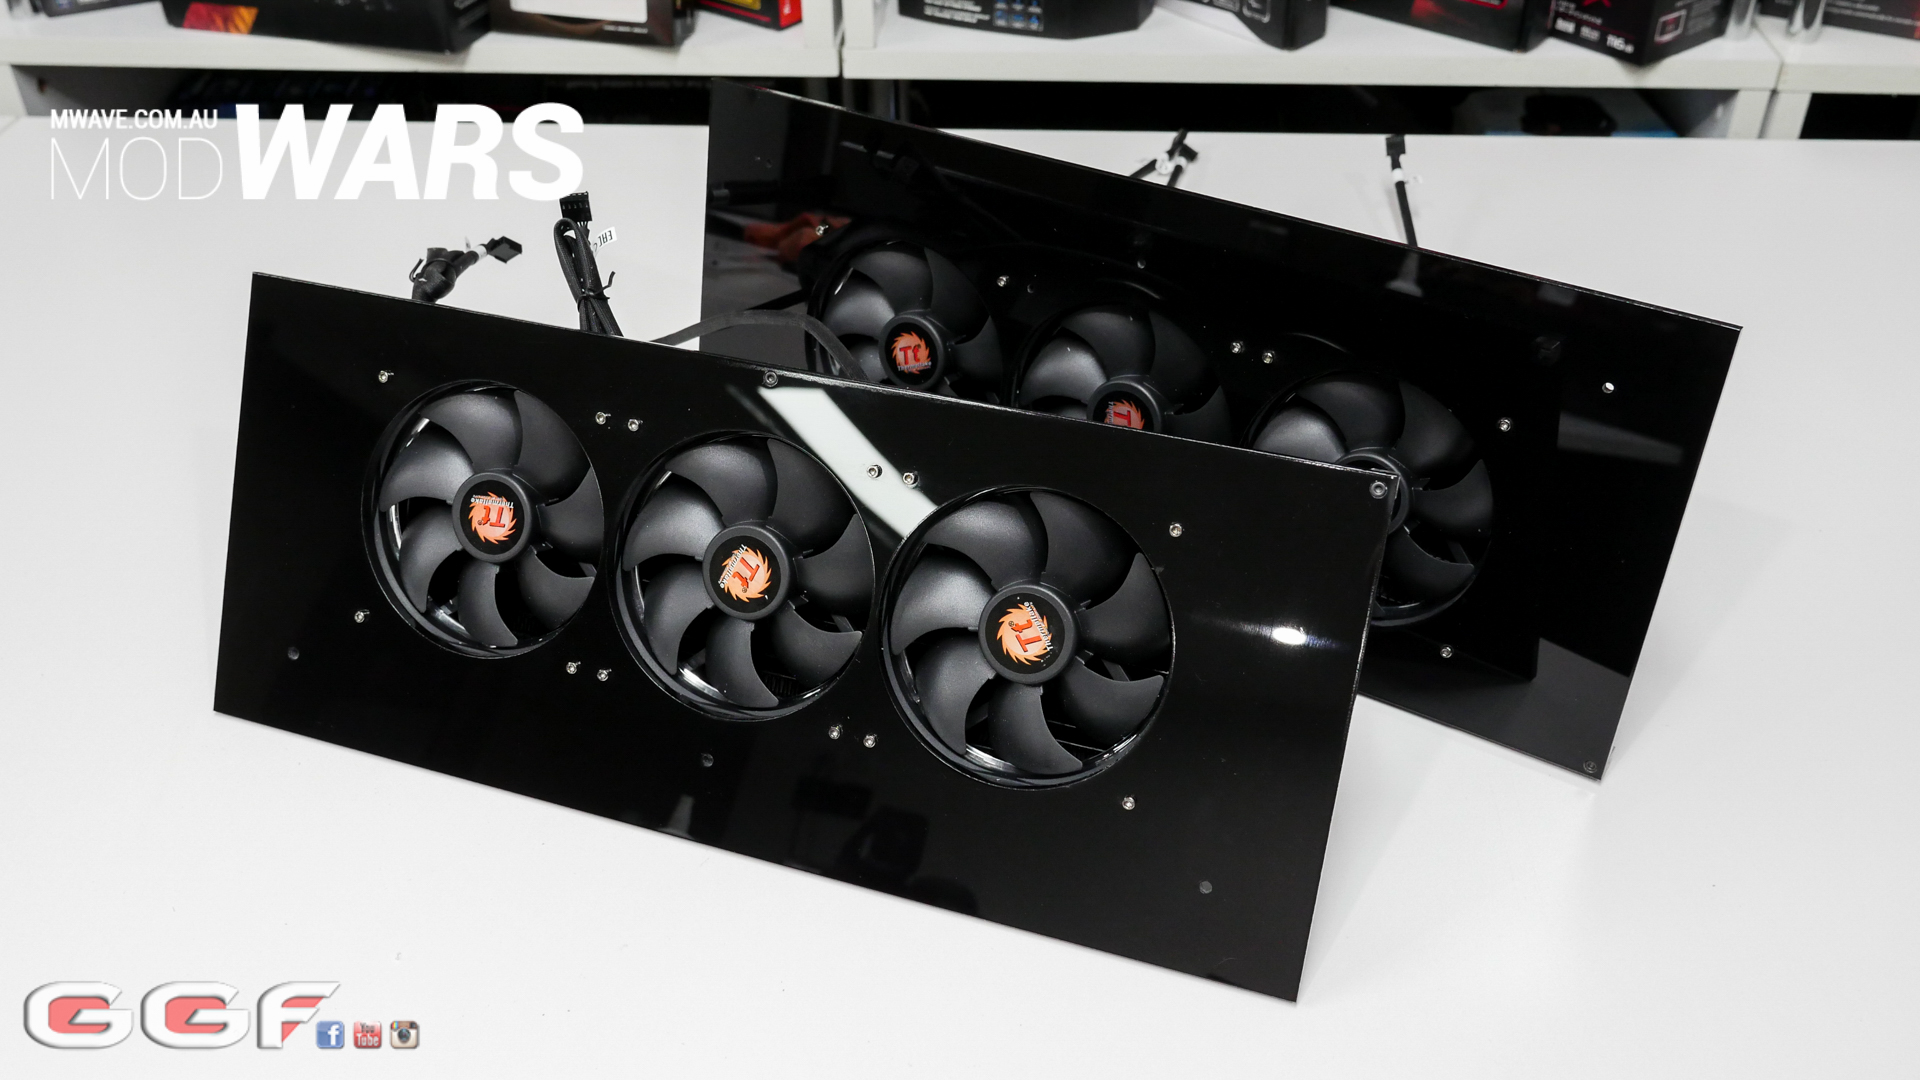 Once the two sides were on I moved on to the mobo tray. This was very very simple and I think the overall affect has turned out well. I wanted a floating motherboard look and you'll see this mor later on. This is simply mirrored acrylic attached to the frame.
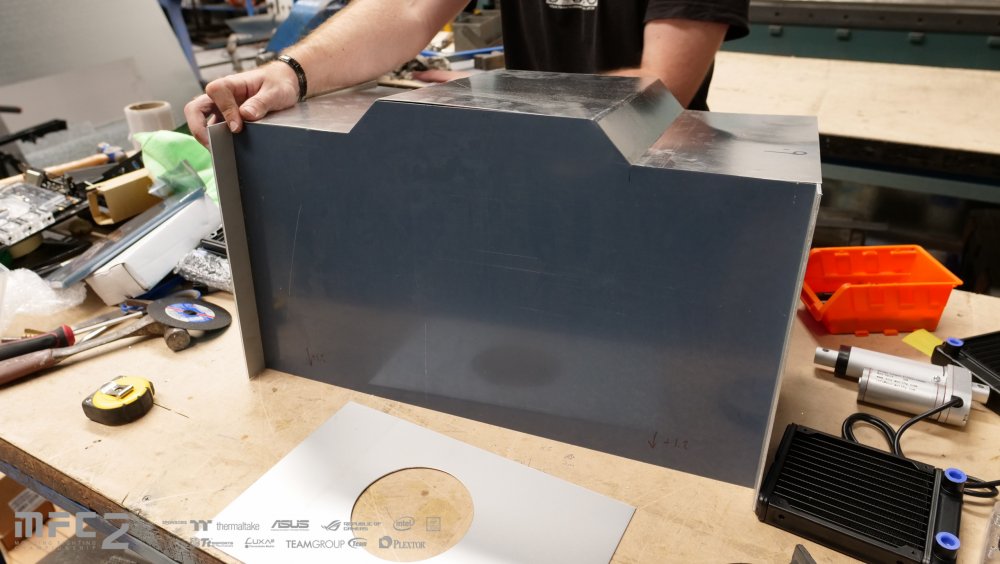
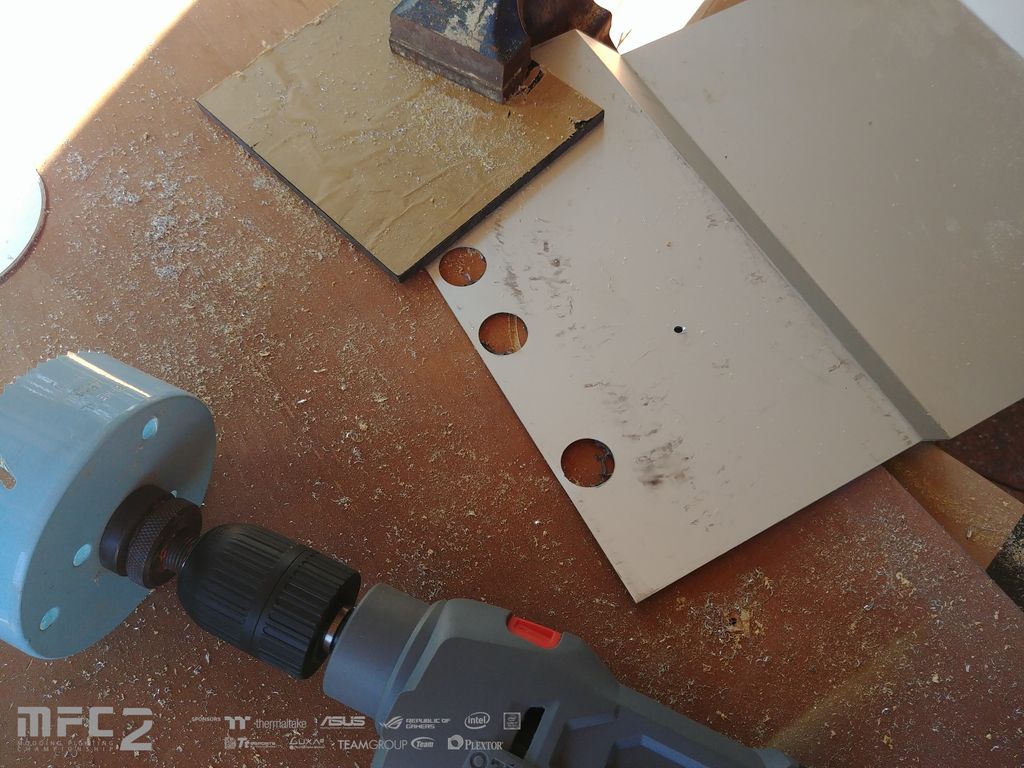
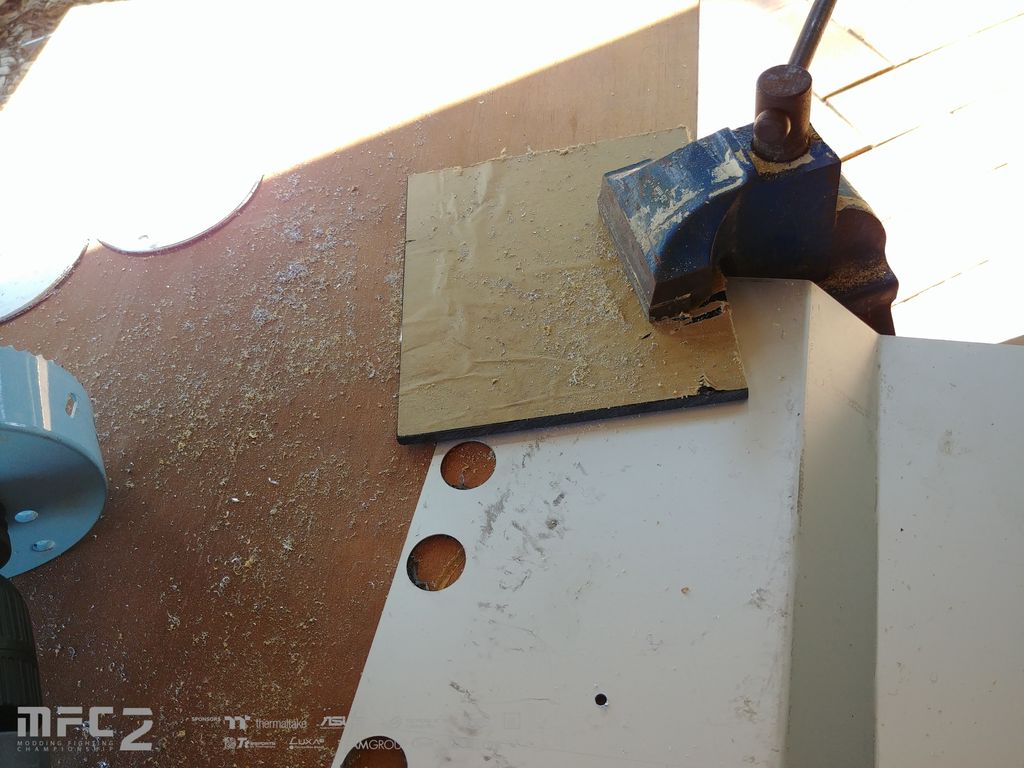
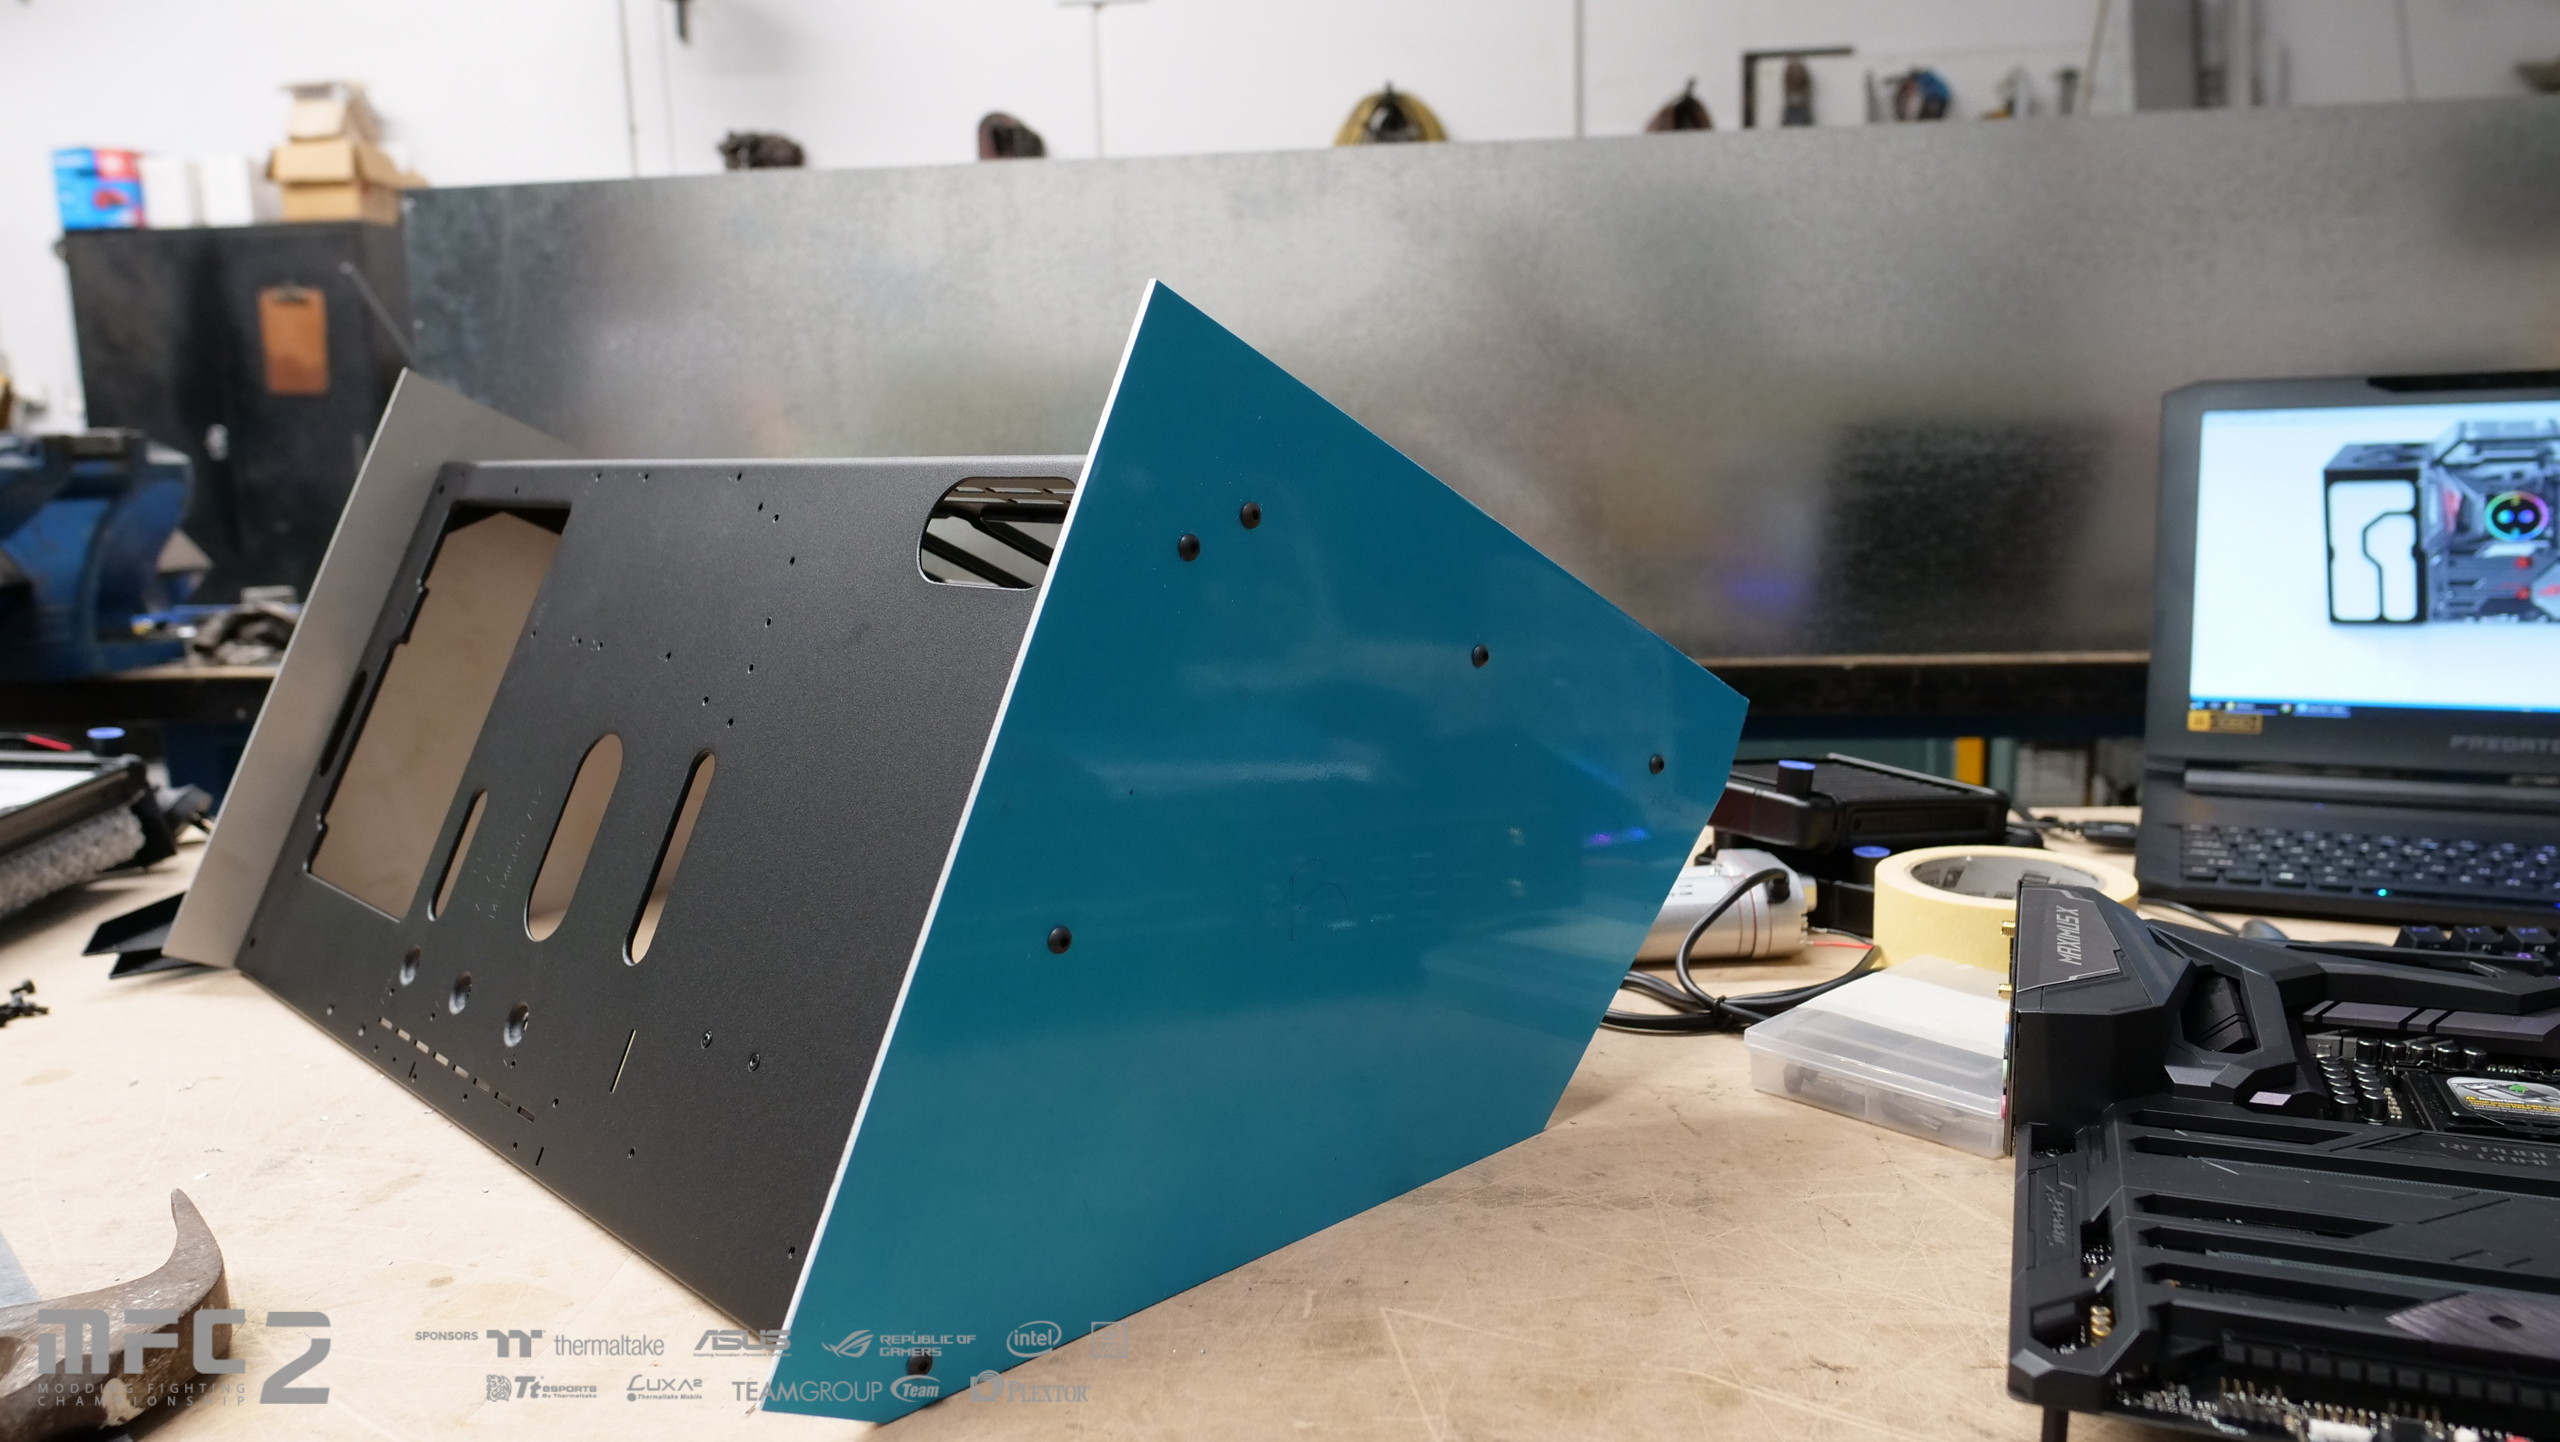
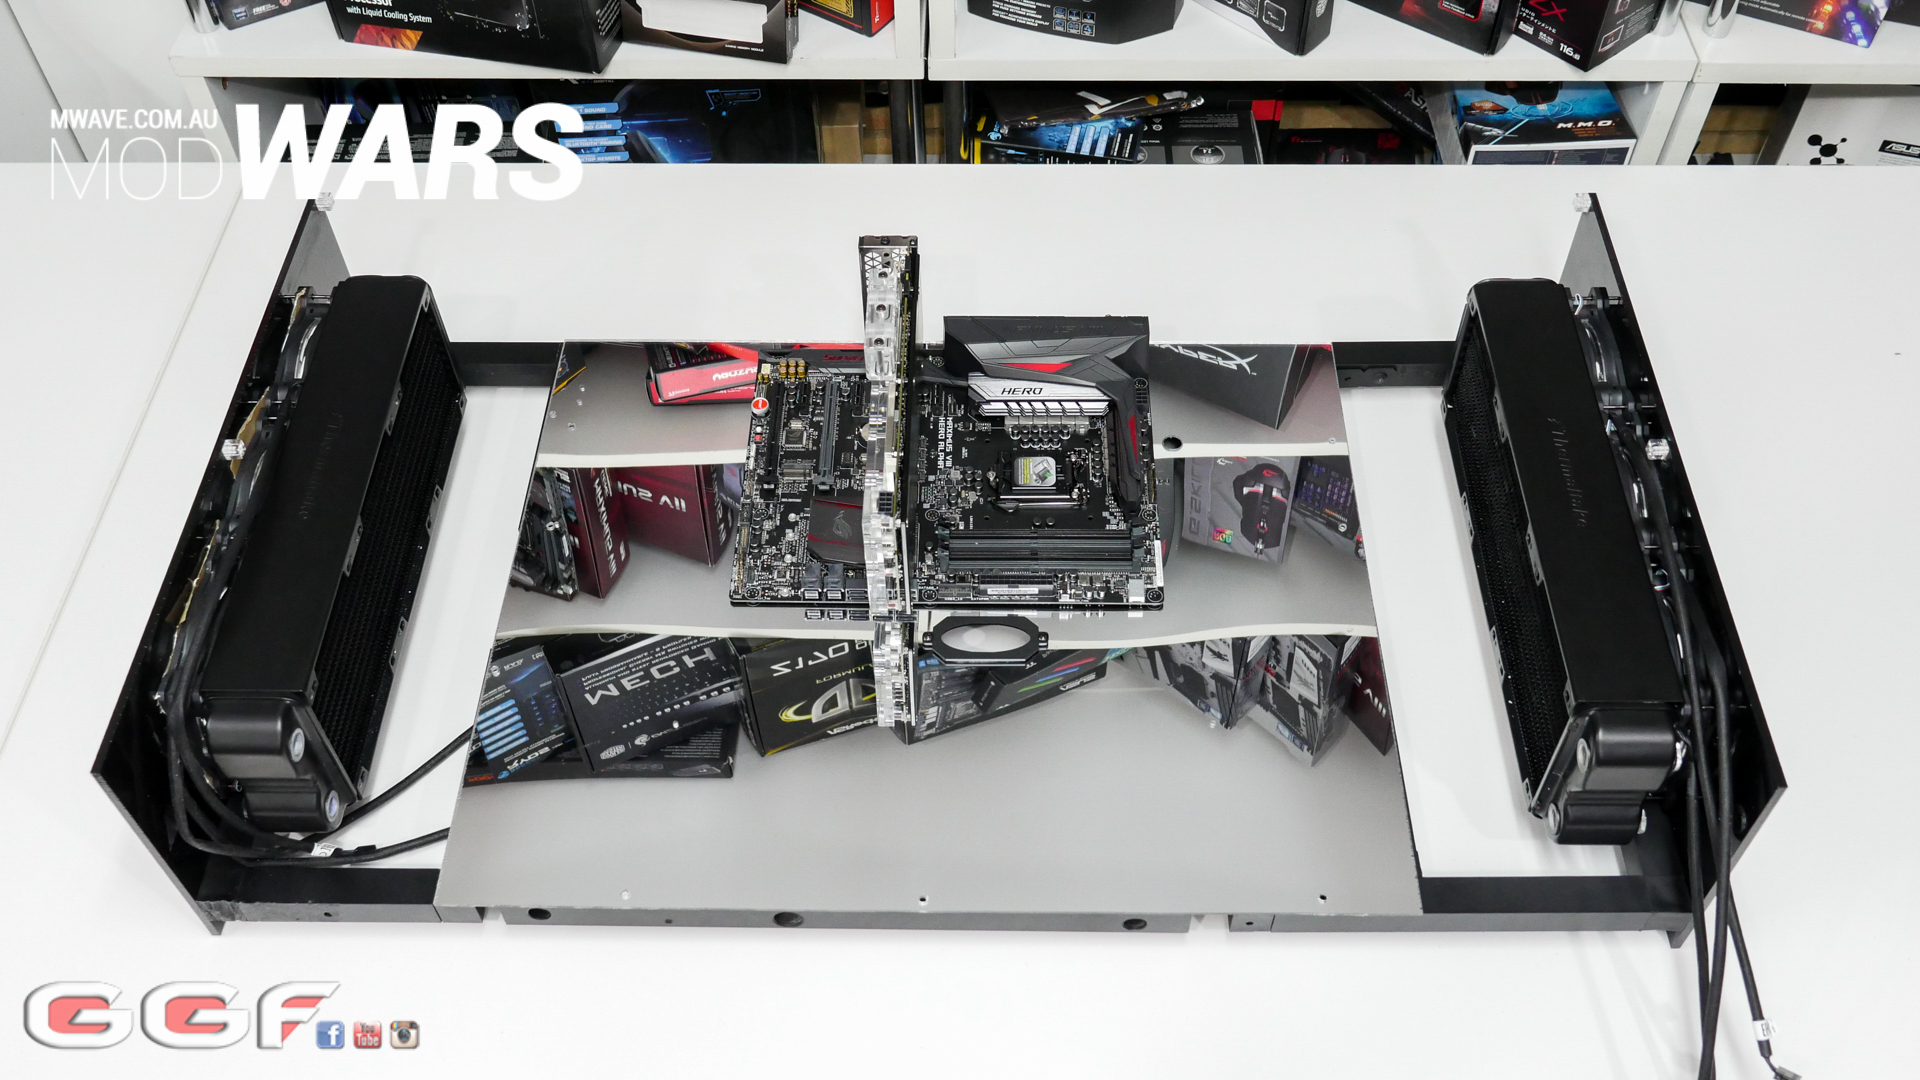 The next step was to just go nuts cutting all my frame parts for the shroud. This were just simple panels cut on my mini table saw. Then I just had to add this bit by bit to the main frame.
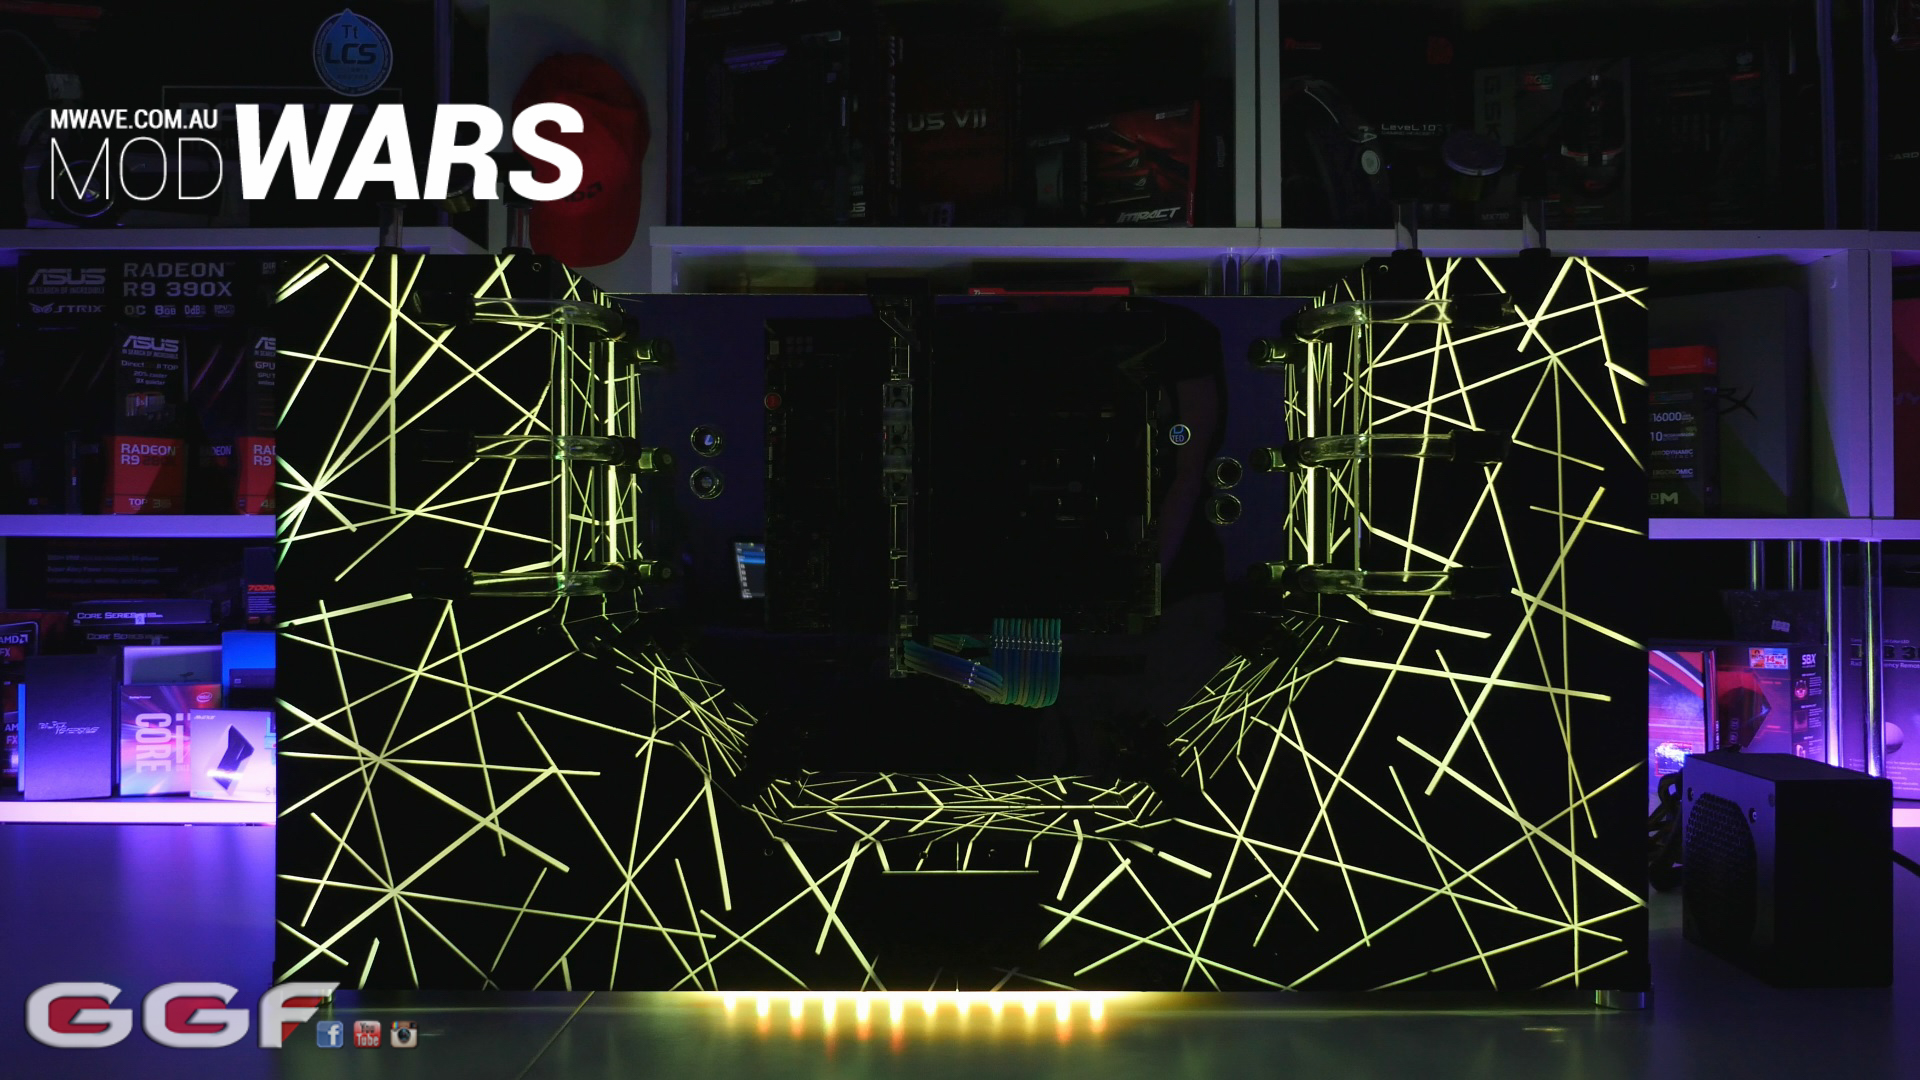
 You may have noticed that my whole frame shroud is being made from opal acrylic. If you're familiar with this you'll know it's used for light boxes as it distributes light really well. My plan for this is to have the whole frame shroud light up. This made it very tricky when it came to joining all the corners of the frame. Now there were a HEAP of corners in this build and I think I drilled, tapped and counter sunk about 100 holes. I also got these clear cubes and strips made up for all the corners and joins. I couldn't use metal braces as this would upset the light pattern for the opal. I pretty much used the same principal as a Parvum case. Where you make the case out of cubes. Accept I had to thread all my cubes.

 I even made up some 45deg ones to help out with two parts of the build that were on 45's.
 Now that I had the basic concept sorted. I just had to join it all together doing each part on each side together to keep everything even. I also wanted to keep everything screwed instead of just gluing as I wanted to be able to dismantled bits if needed.
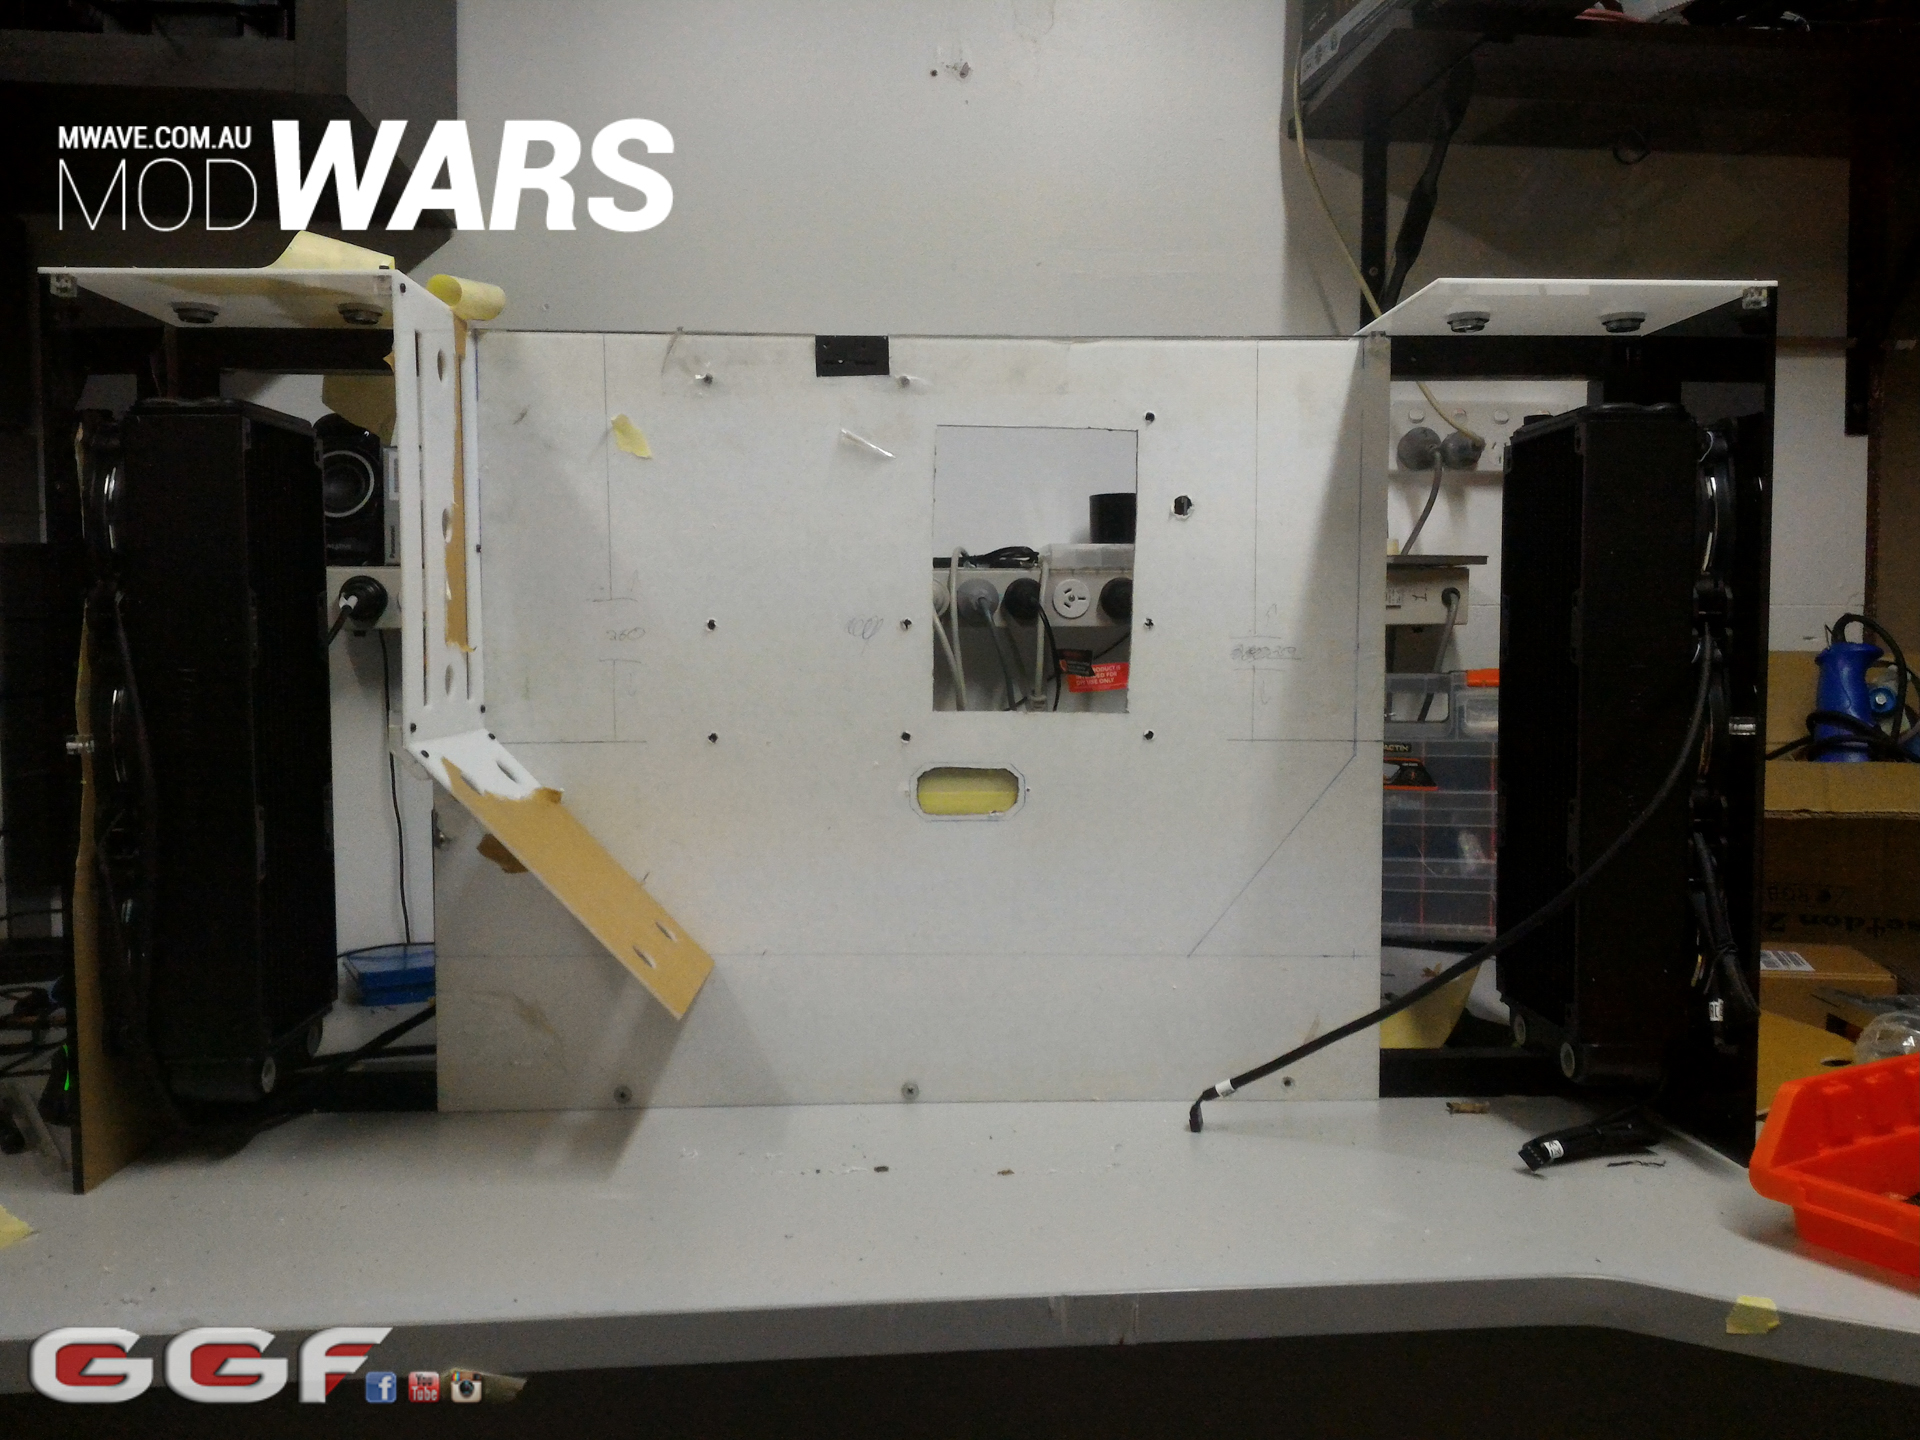
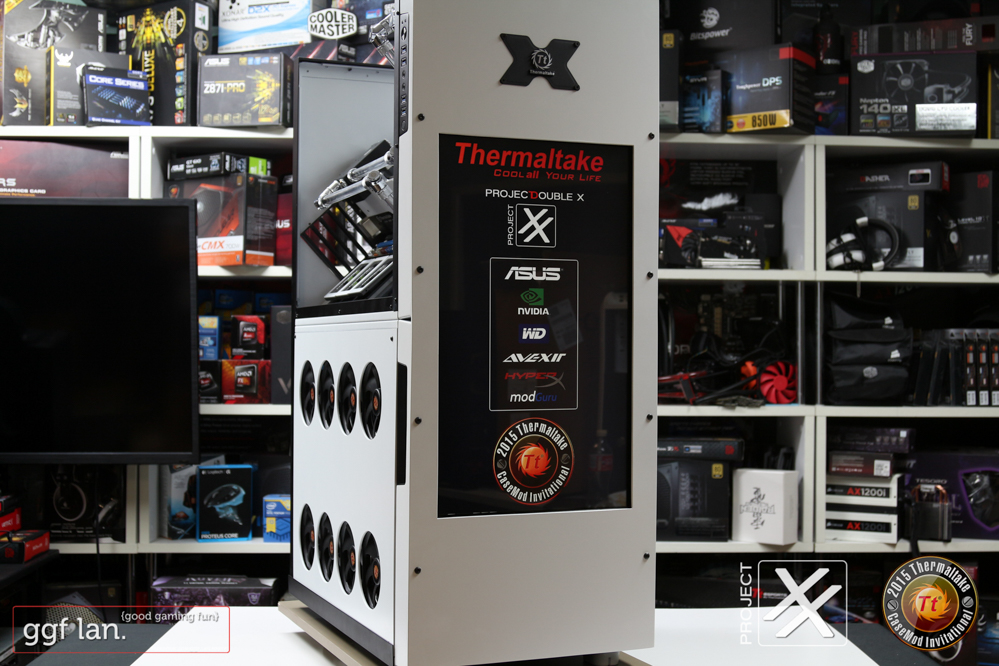
 An idea I had for the shroud cover was something like below. Something striking that would look sick with RGB LEDs behind it.
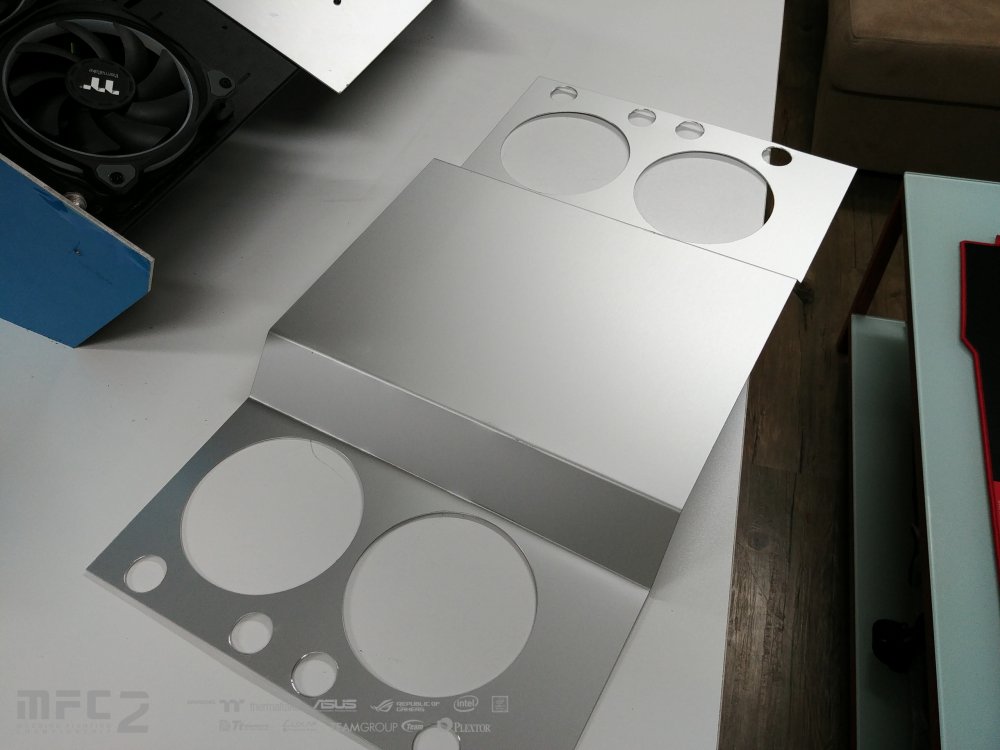
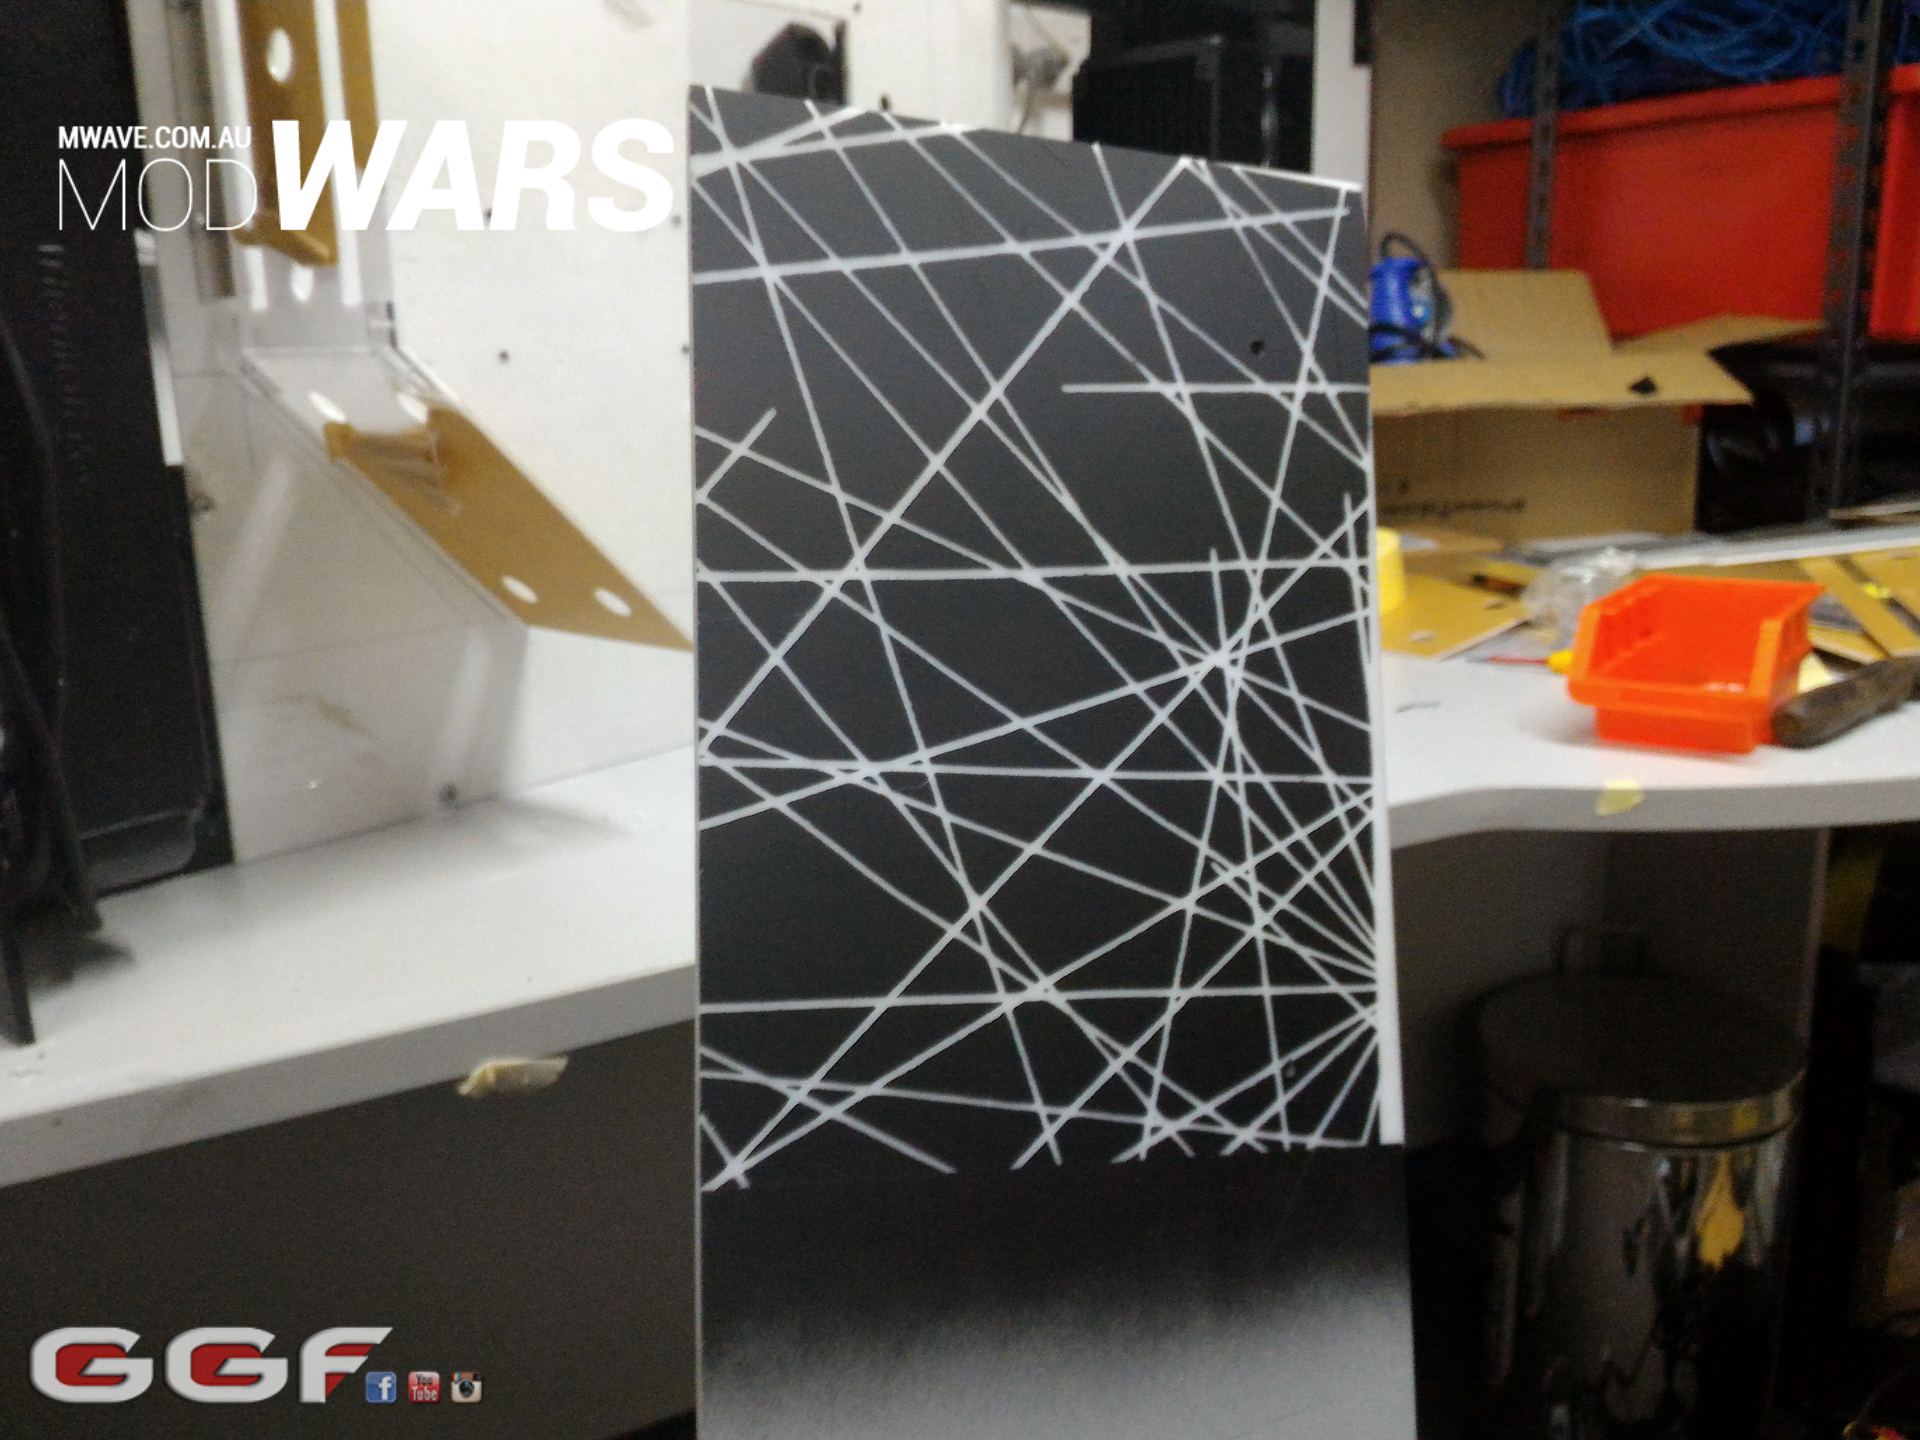 Slowly the shroud grew and the whole lot was done! Now you can see the idea of the build and each compartment is removable if needed.
 Few more shots of the completed shrouds. There's also going to be a heap of pass throughs in this build as well. Hence all the holes. Even a few more on the front to go in. I also purchased some nice feet off ebay which I think compliment the build really nicely.
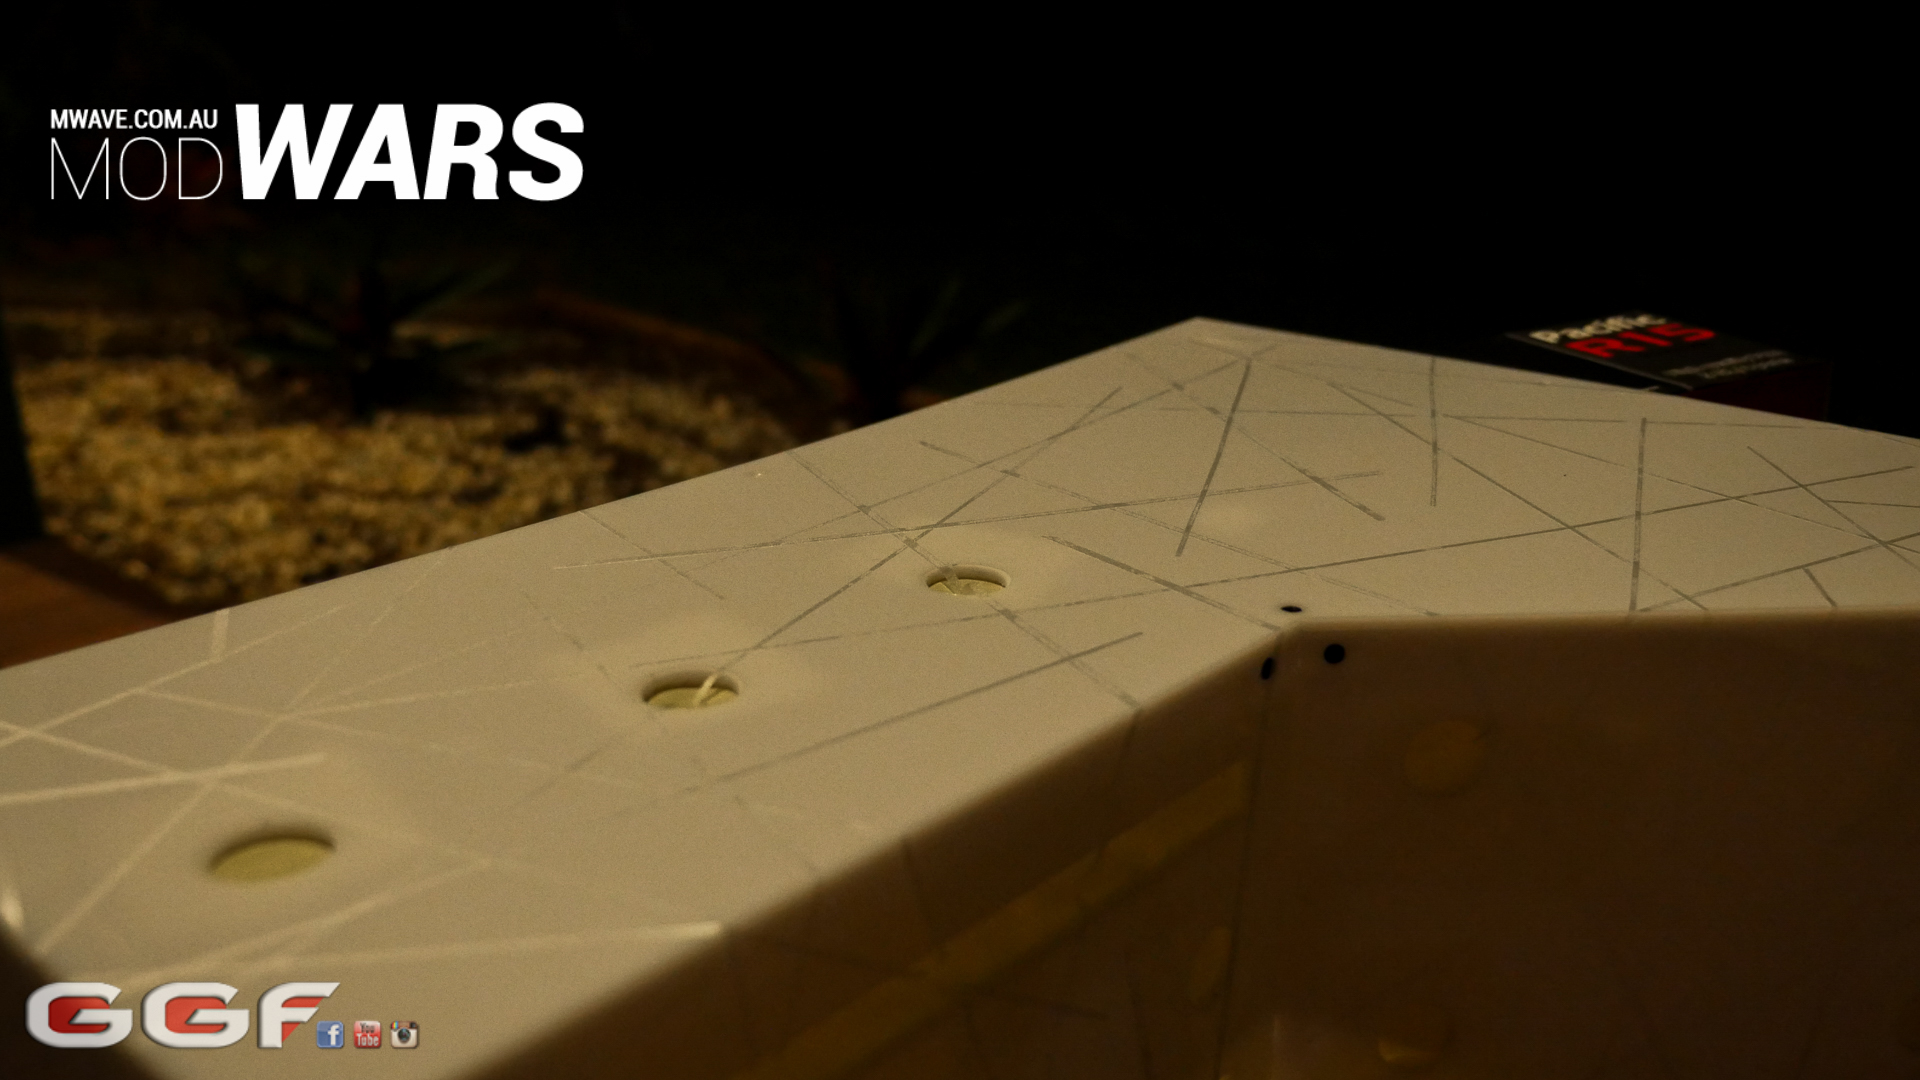
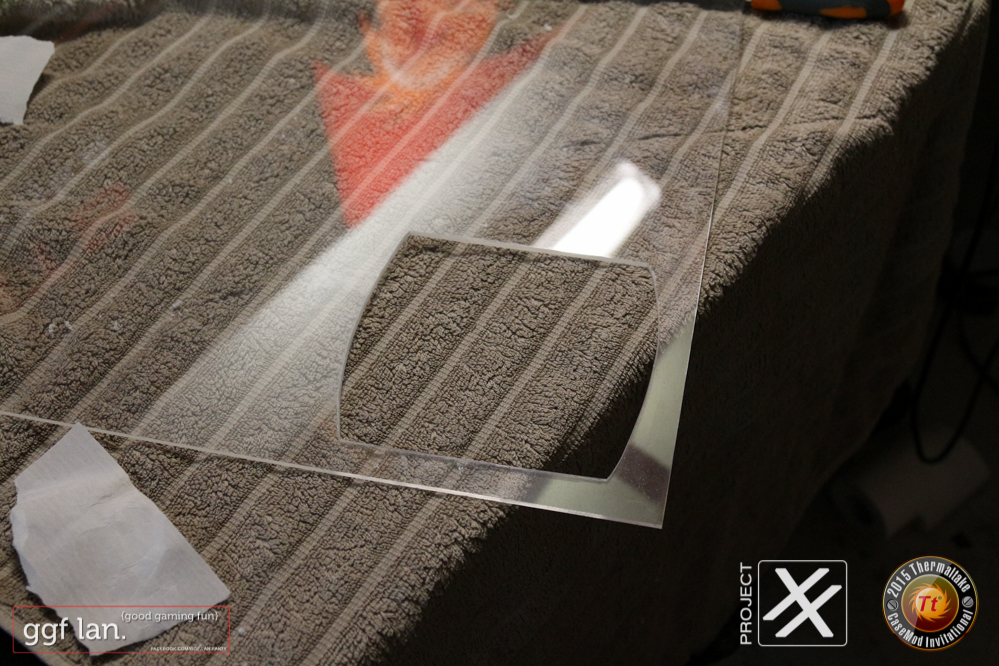
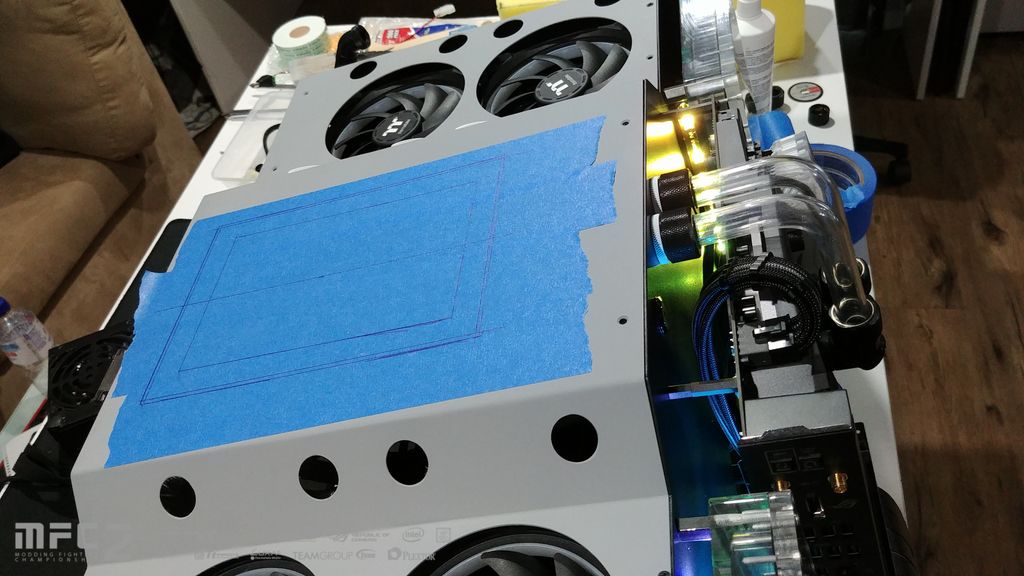
 Next was to paint the shroud. I was able to completely remove the opal shroud in one piece and add my overlay vinyl to it. At first I was going to overlay a huge image I found on the net over it all. Basically it was some fancy art with a heap of lines. But instead I thought heck, why don't I just print out a crap load of lines on my vinyl cutter and just lay them randomly all over.Few shots just before the whole shroud was painted. I was super worried at this stage thinking it might not turn out. I know it would kind of be ok due to my test piece I did earlier. But if the liens didn't stick properly, there'd be a ton of paint bleed.
 Few shots of how it looked after primed and top coat of matte black applied. You can see all the little vinyl strips
 Heap of rubbish from all the vinyl strips.
 I mentioned early that I was using a heap of pass throughs for this build. 30 to be precise and they were all chrome. I didn't think chrome would go to well on the black so I painted them all black.
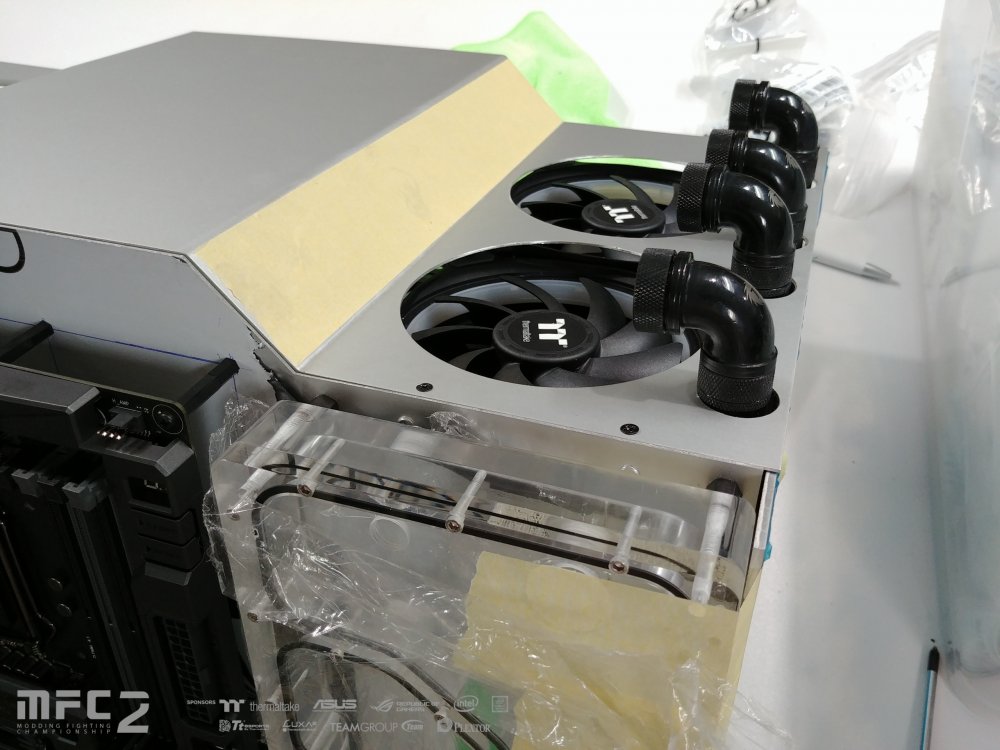
 I got the shroud back on to the main frame and started adding the fittings and did some bends. All the bends from the back will just be used with flexi tube. I've also added one RGB LED strip to see how it looks. As you can see that strip is a bit to close to the plexi.
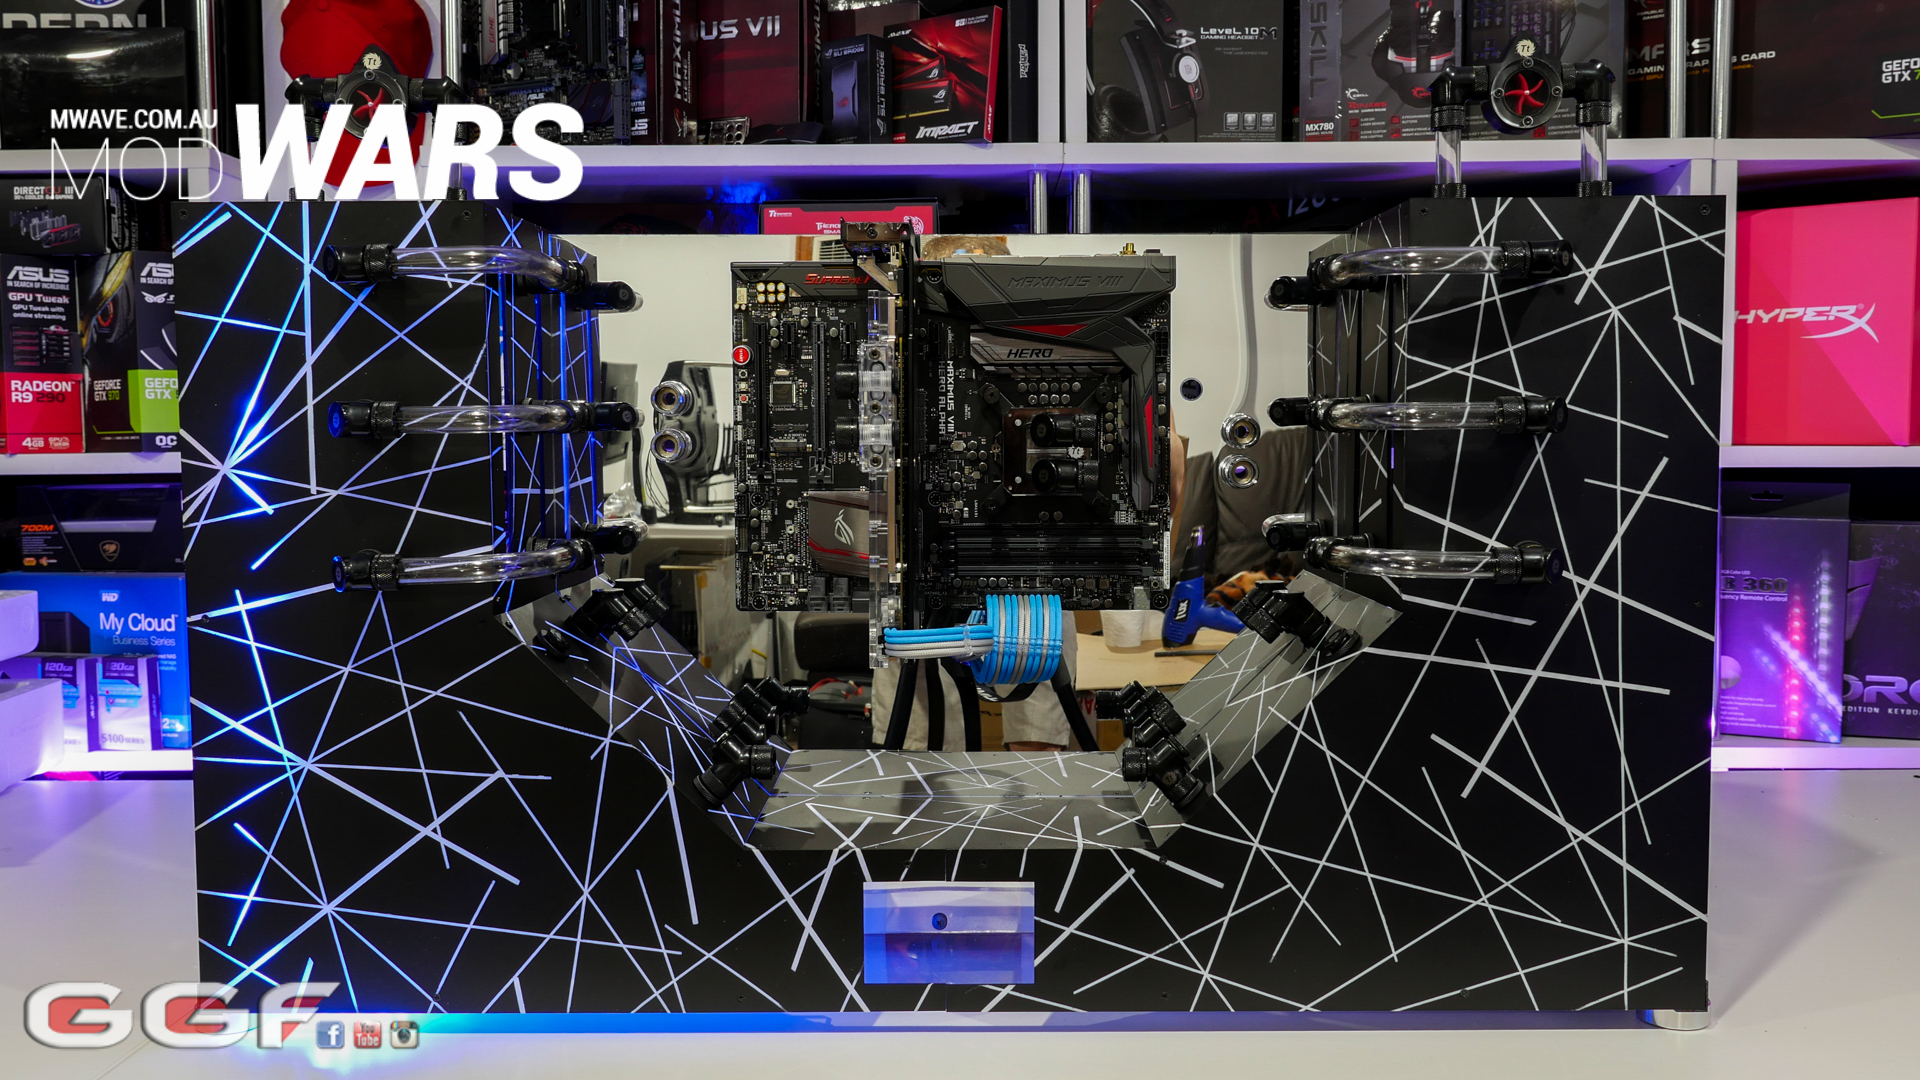 Here's a few shots from the overview video in the next post
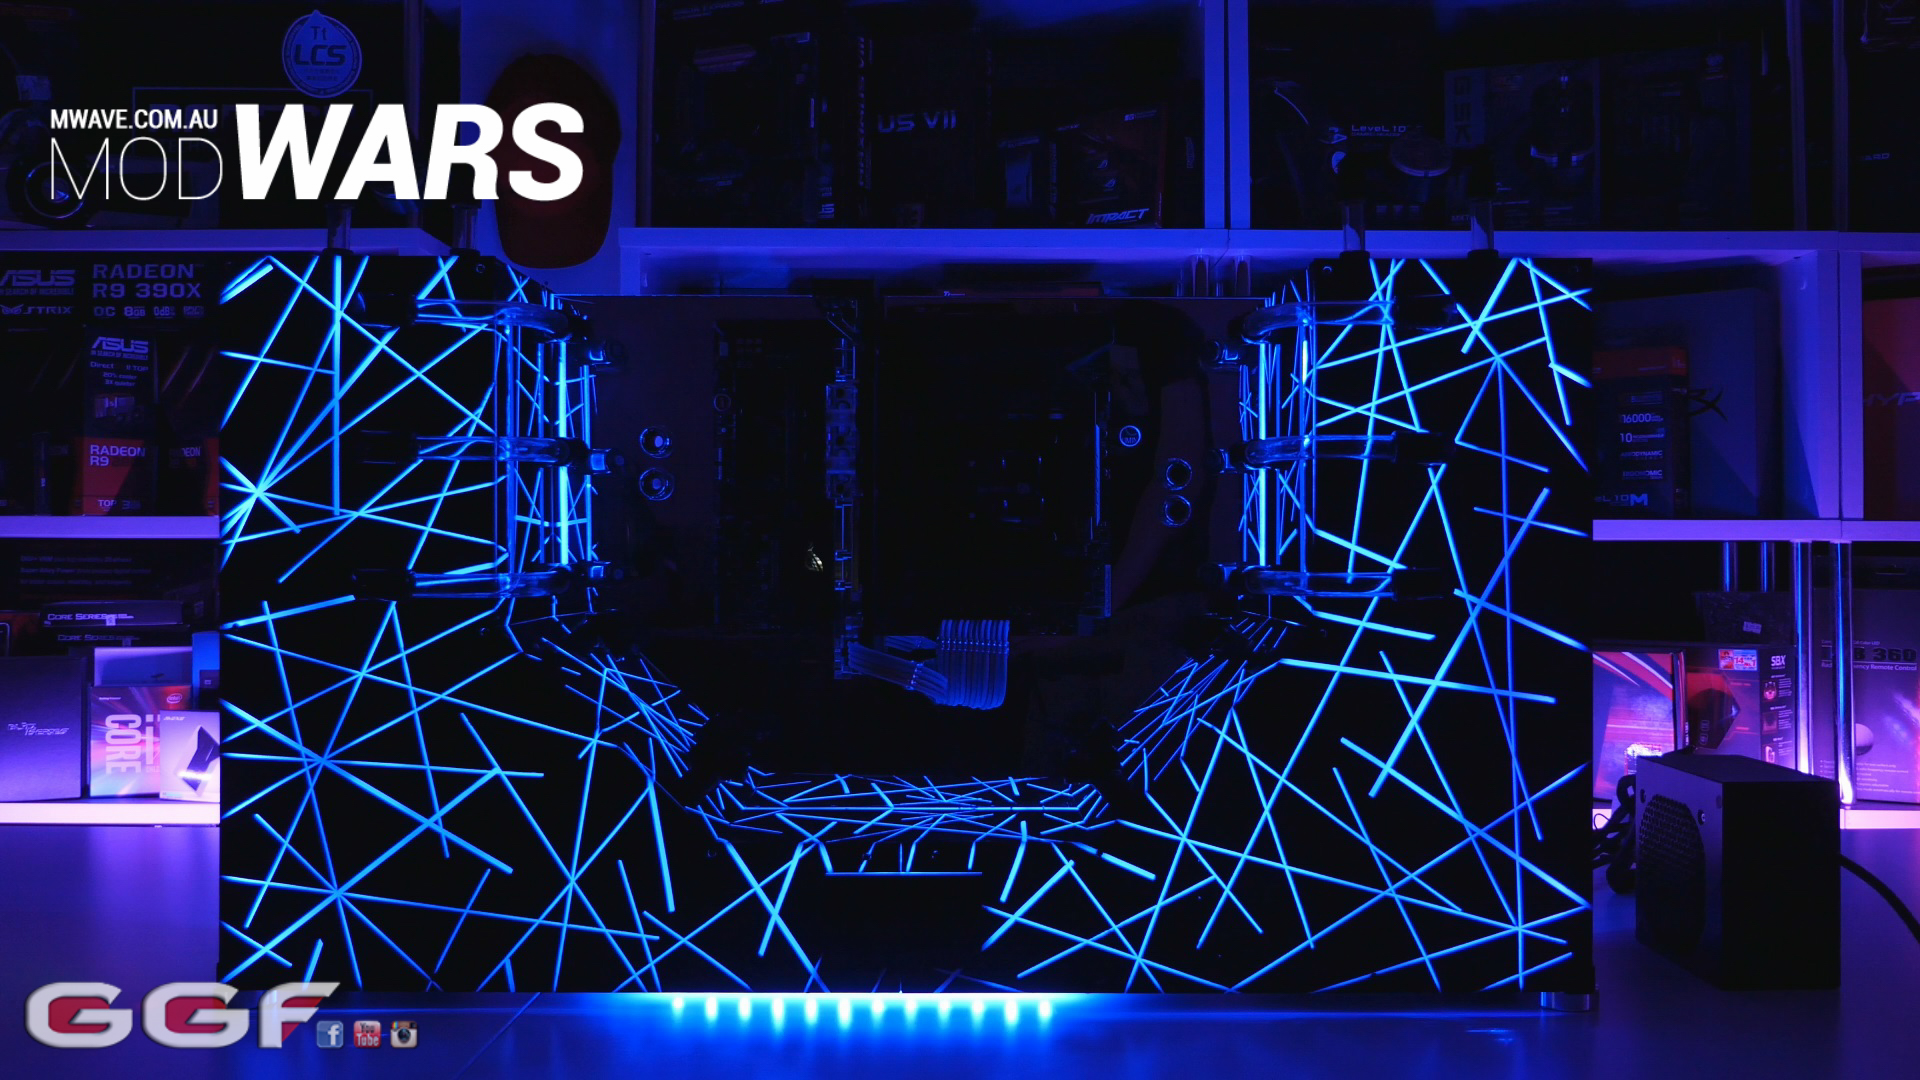

-
 MWAVE MODWARS 2016 Powered By Thermaltake, ASUS, Kingston, NVIDIA & Intel
 Hi Guys!I have been selected as one of the 5 modders in the MWAVE MODWARS 2016 Powered By Thermaltake, ASUS, Kingston & IntelThe gear I'll be using for my build are:
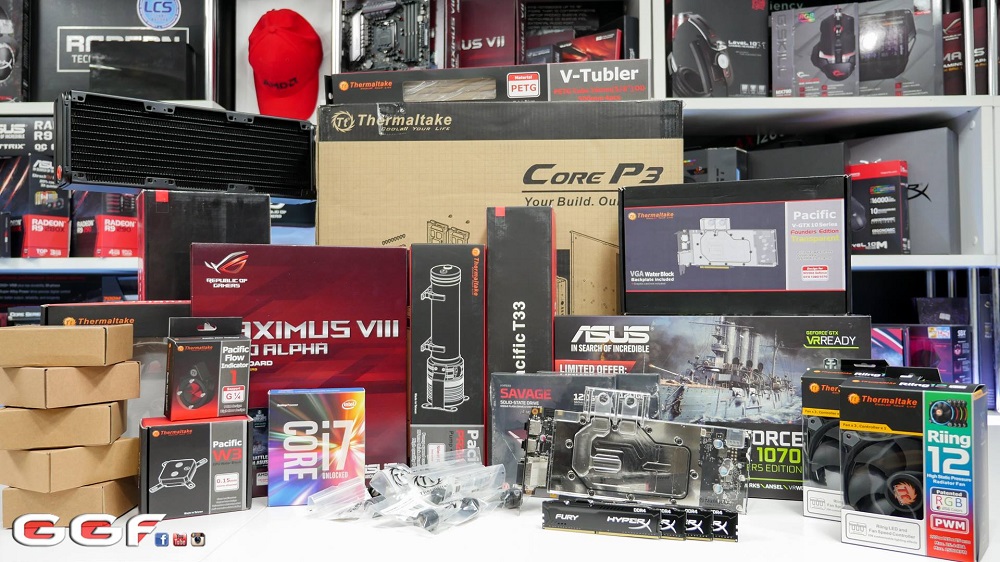 CASE: Thermaltake P3PSU: Thermaltake Toughpower GOLD 750W RGB Power SupplyCOOLING: Thermaltake Watercooling PartsMB: ASUS ROG Maximus VIII Hero Alpha Z170 LGA 1151 MotherboardGPU: ASUS GeForce GTX 1070 Founders Edition 8GB Video CardCPU: Intel i7 6700K CPURAM: Kingston HyperX Fury 16GB (4x4GB) 2400MHz DDR4 BlackSSD: 2 x Kingston HyperX Savage 120GB 2.5" SATA SSD SHSS37A/120GMore updates to come soon!
-
Stephen from Oz Modz in Australia for sure
-
Two people I'd like to see or vote for are
International - Mhike Samsin
Australia - Corey Gregory
-
The amount of work and attention to detail is just insane. Epic work as usual
-
-
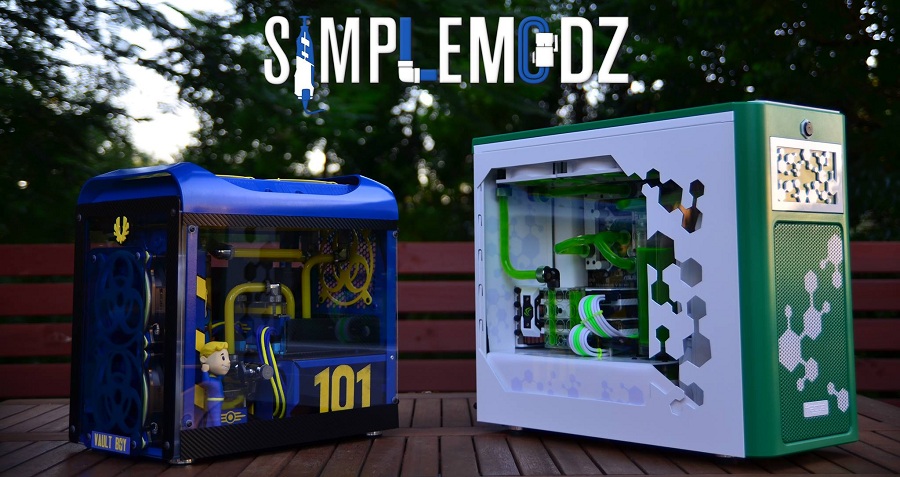
Check out Simple Modz, great builds, very clean, doesn't outsource everything and does awesome build logs. And he's from down under
https://www.facebook.com/Simpl3Modz
-
^^ Appreciate it, glad some people see the time that went into some of the builds
-
-
-
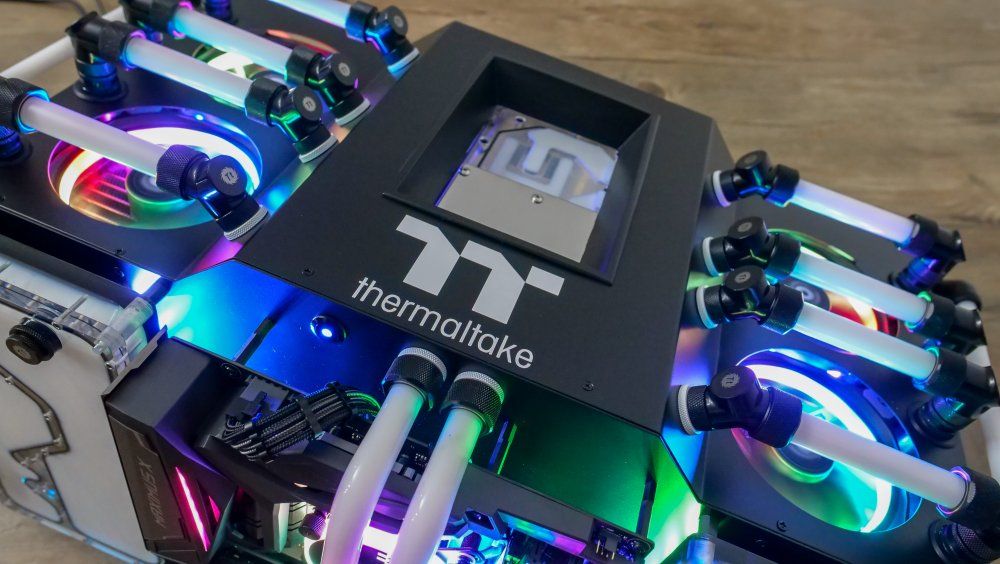
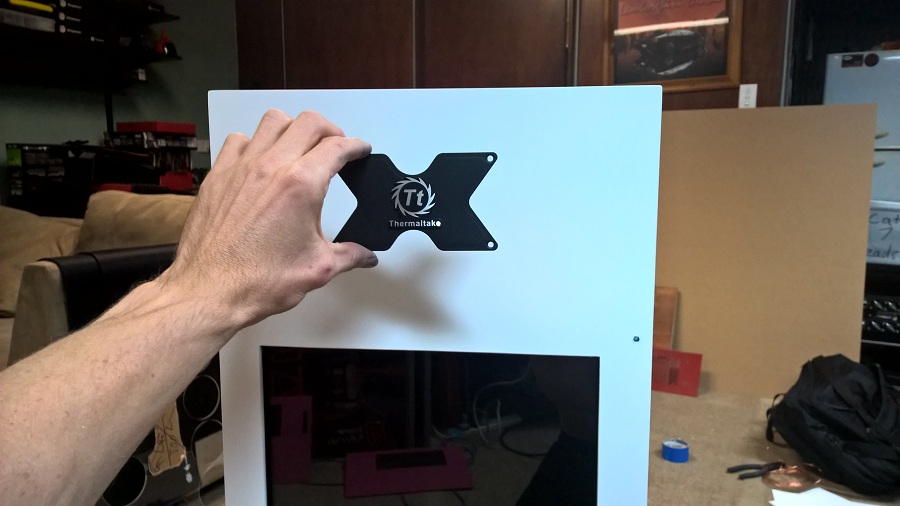
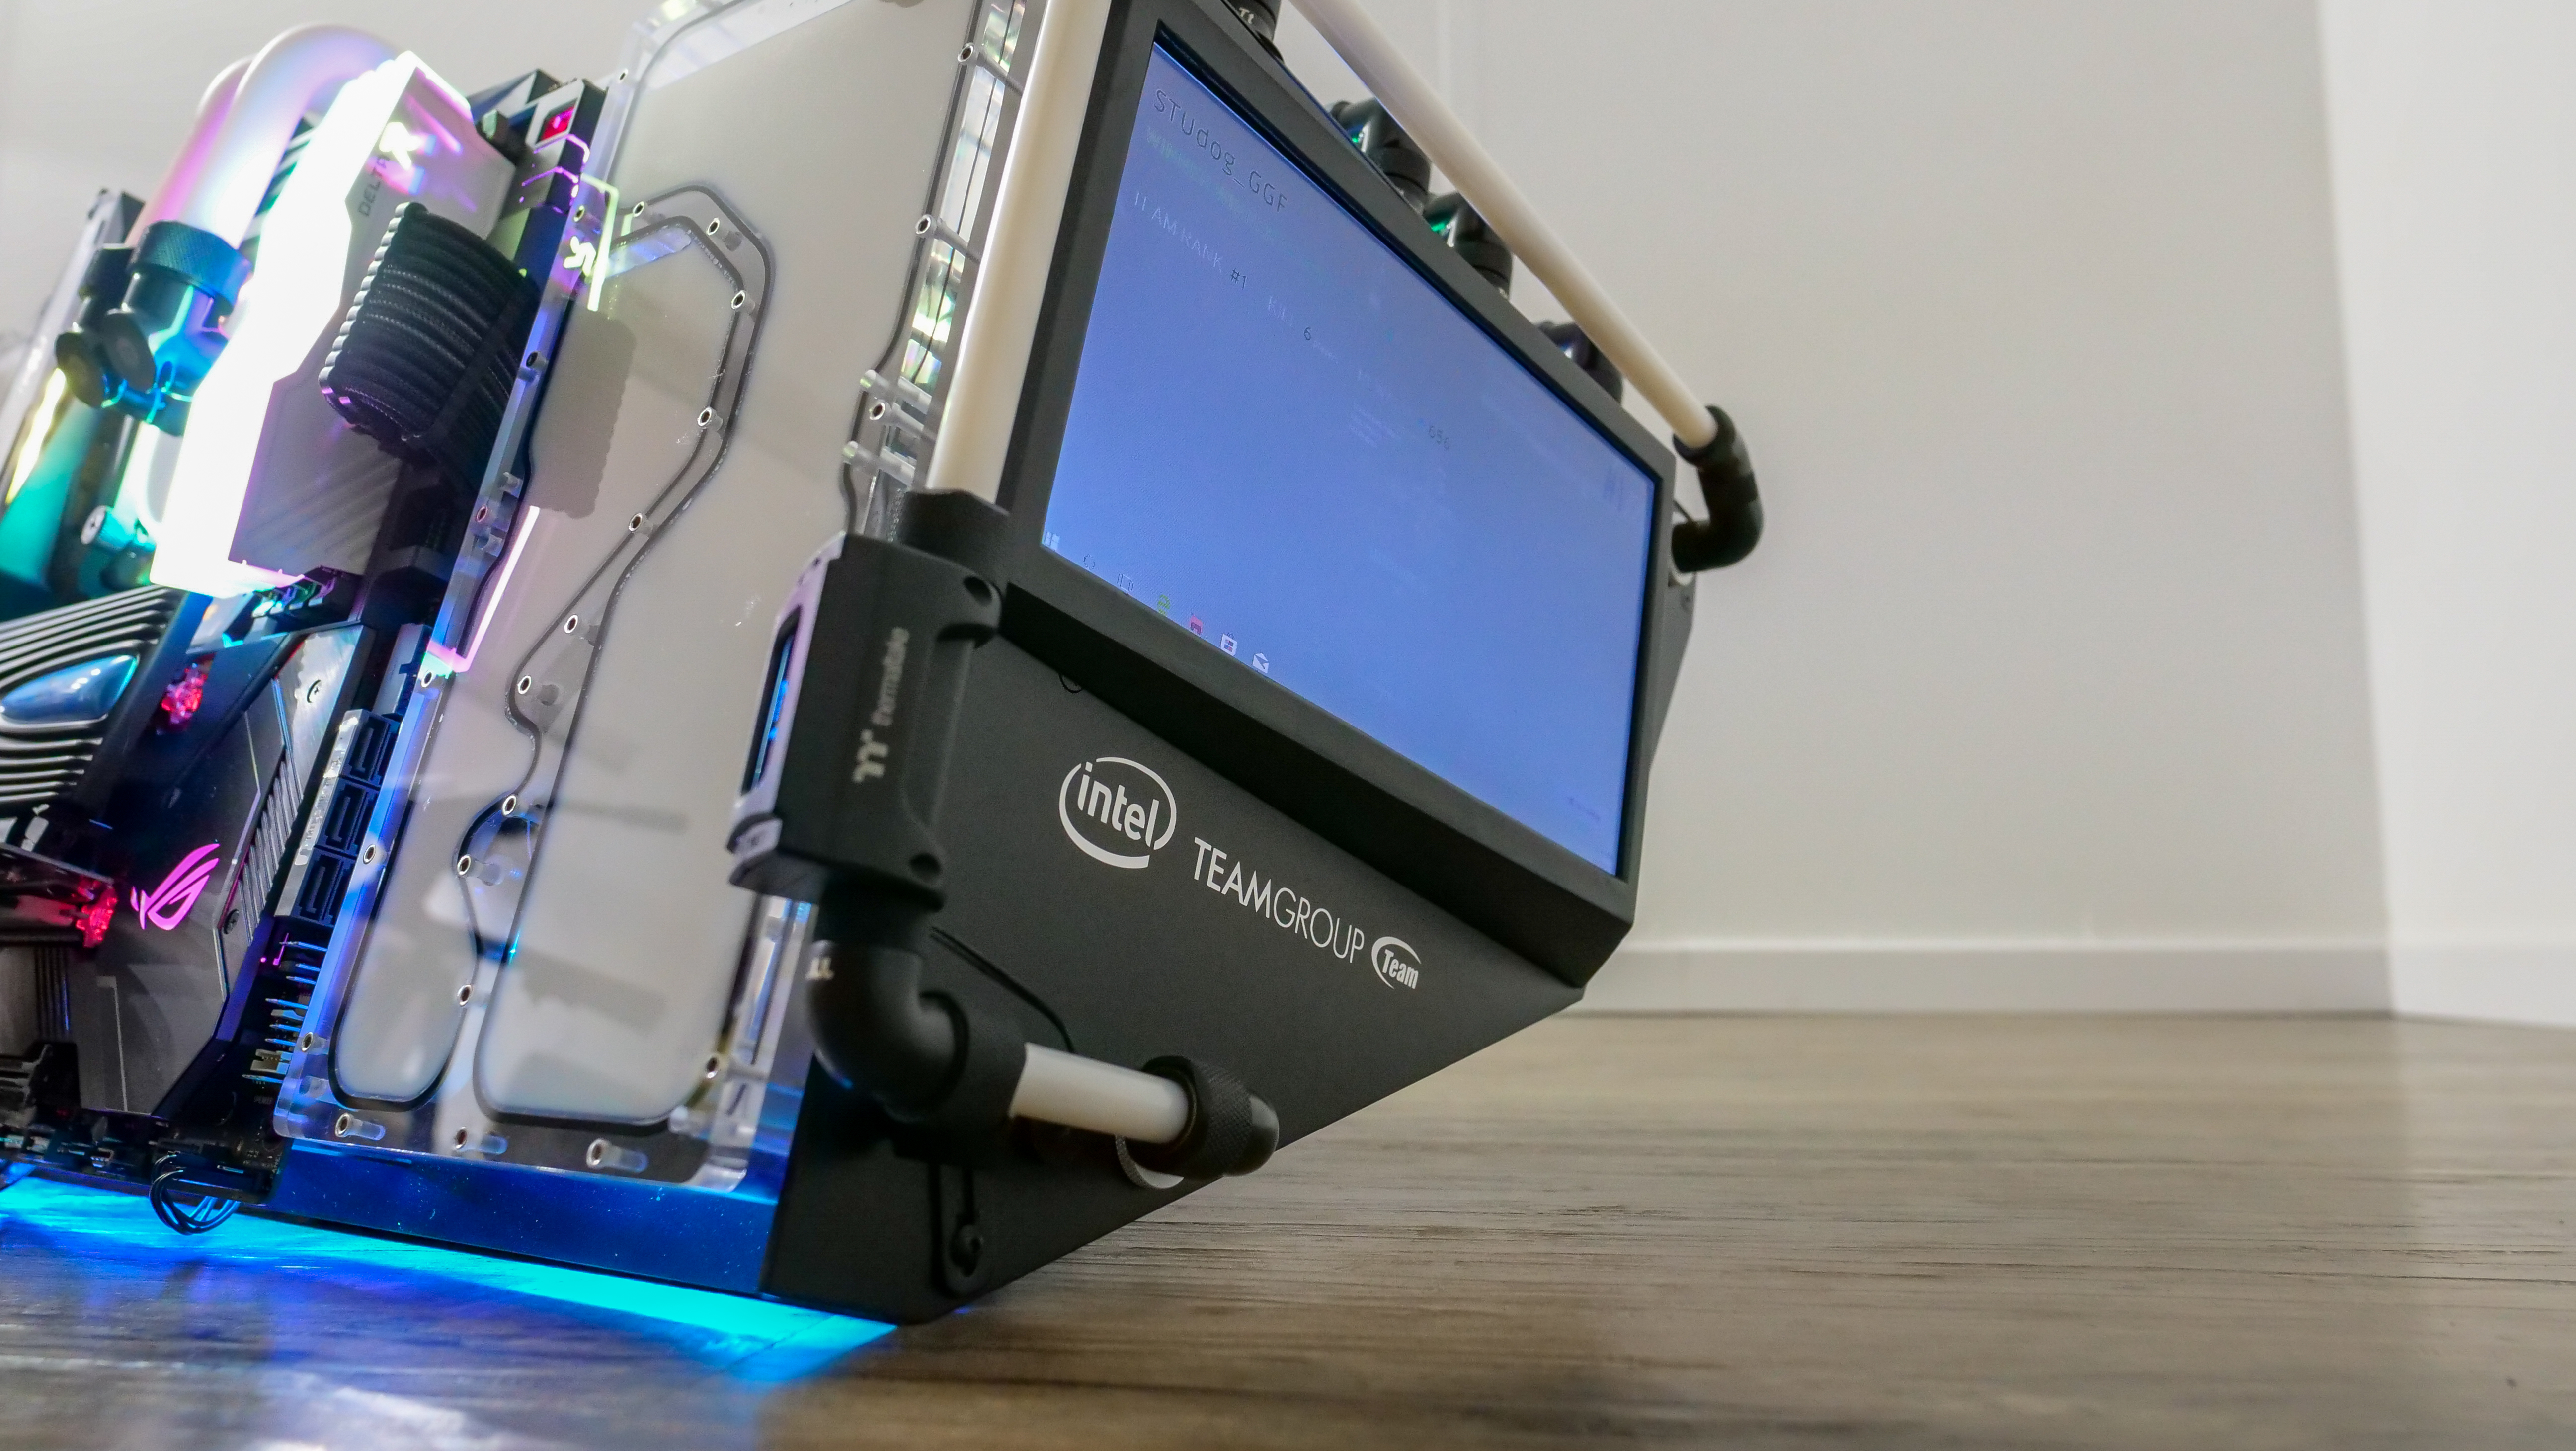
Finally got round to testing the screen once finished in the front. 2 minutes of calibrating and she was good to go. Last thing to go on the front is the TT badge.

OK time for the final bunch of updates.
Now the back was looking REALLY bland. So came up with an idea to fix that. You'll see it in it's end result in the end but this is how it got there

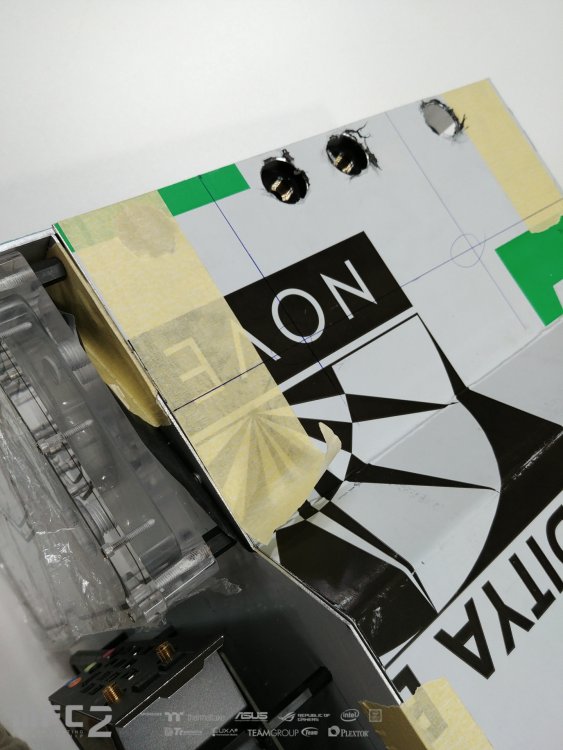
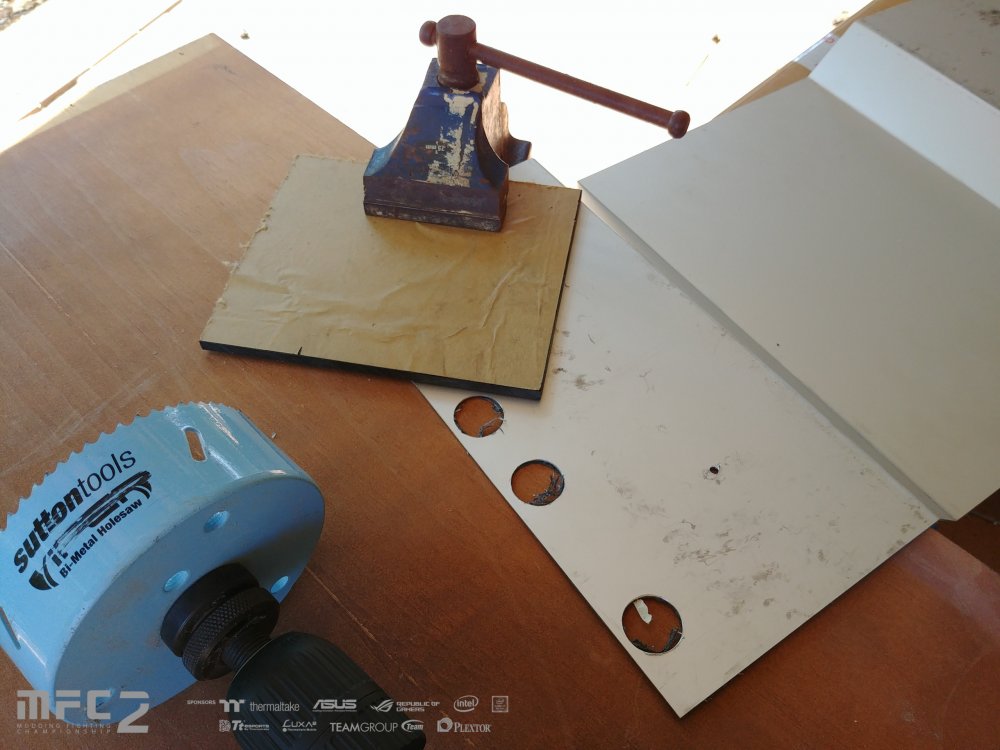
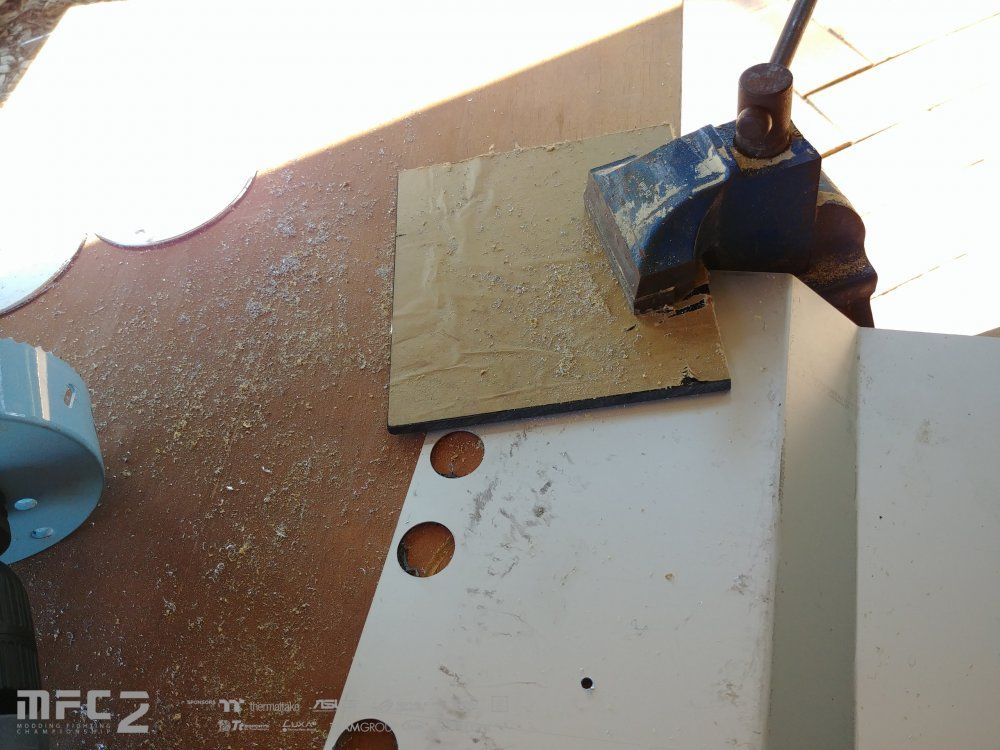
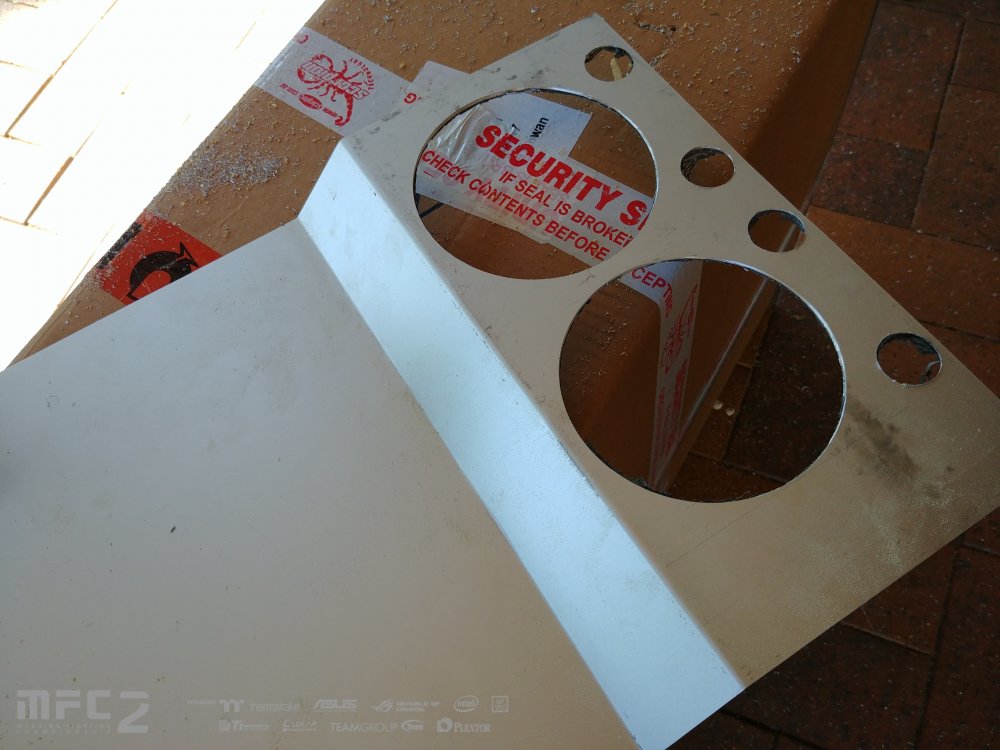
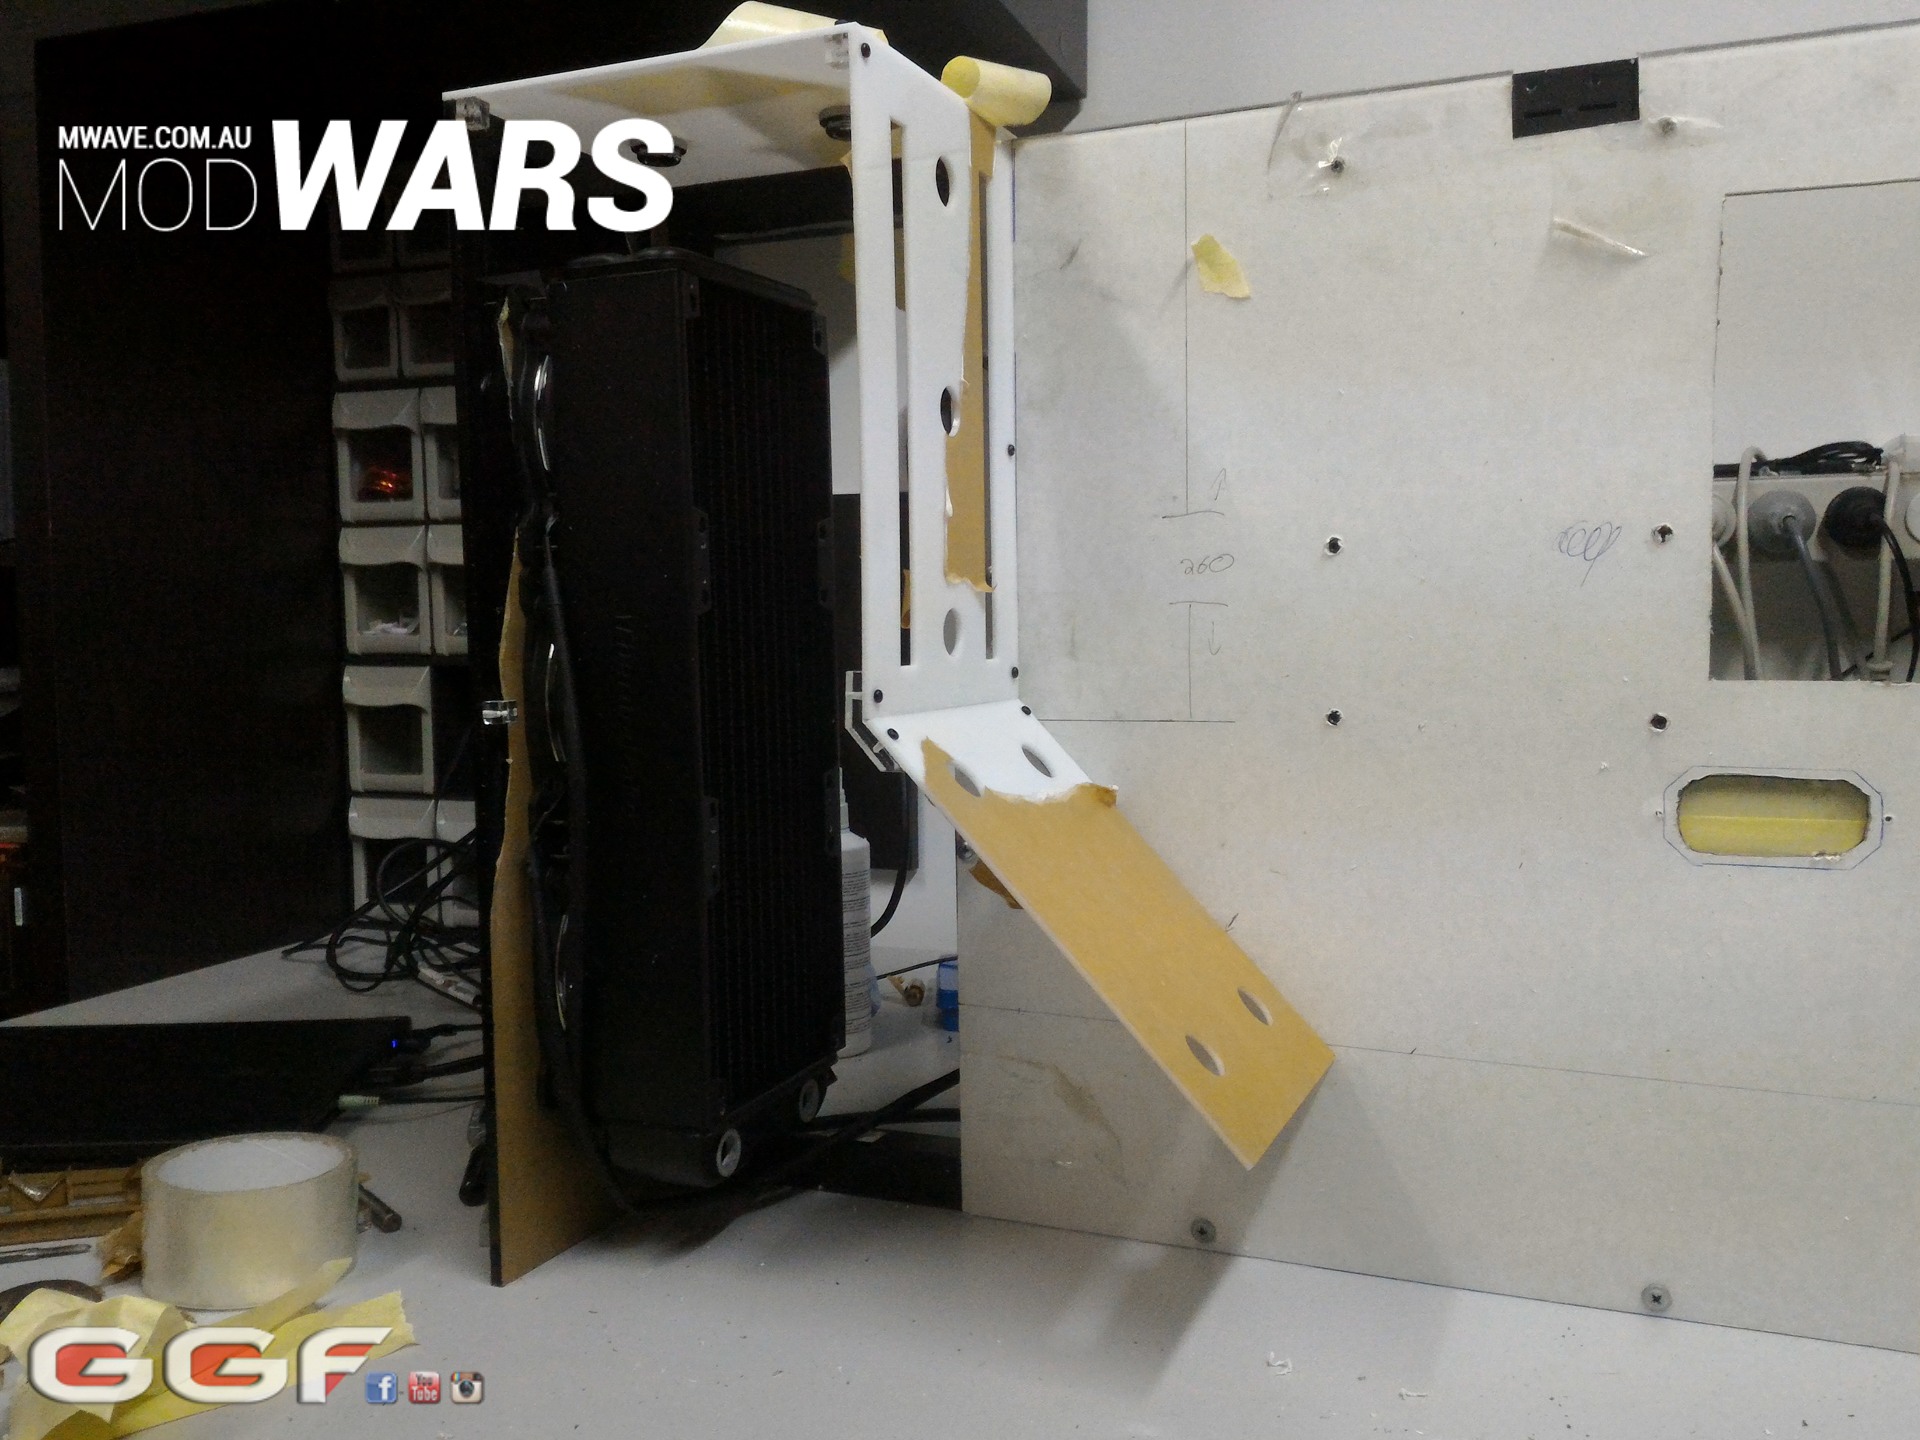
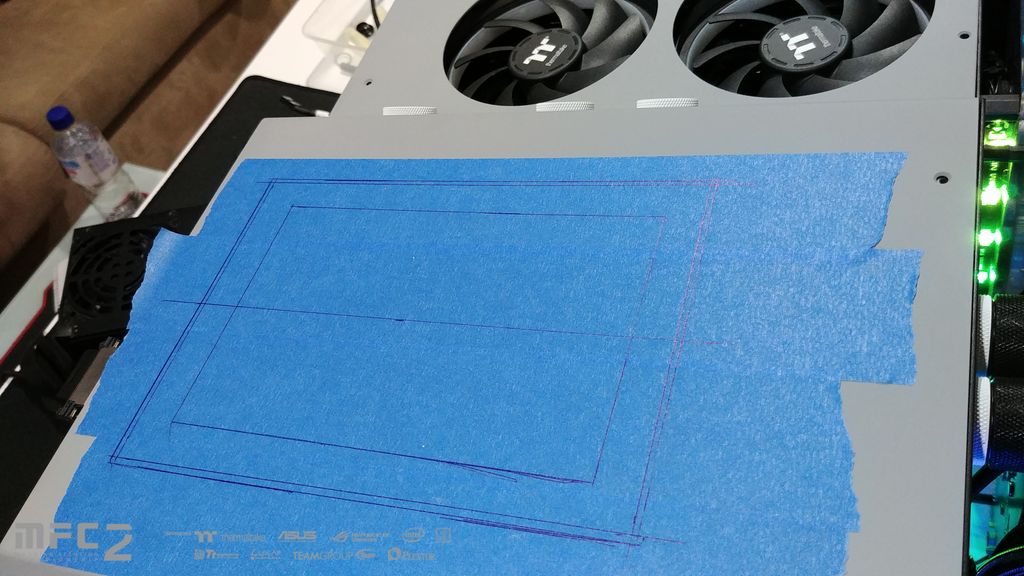
Now it was time to work on the right side panel (the PSU side) it need a vent or hole for the PSU fan
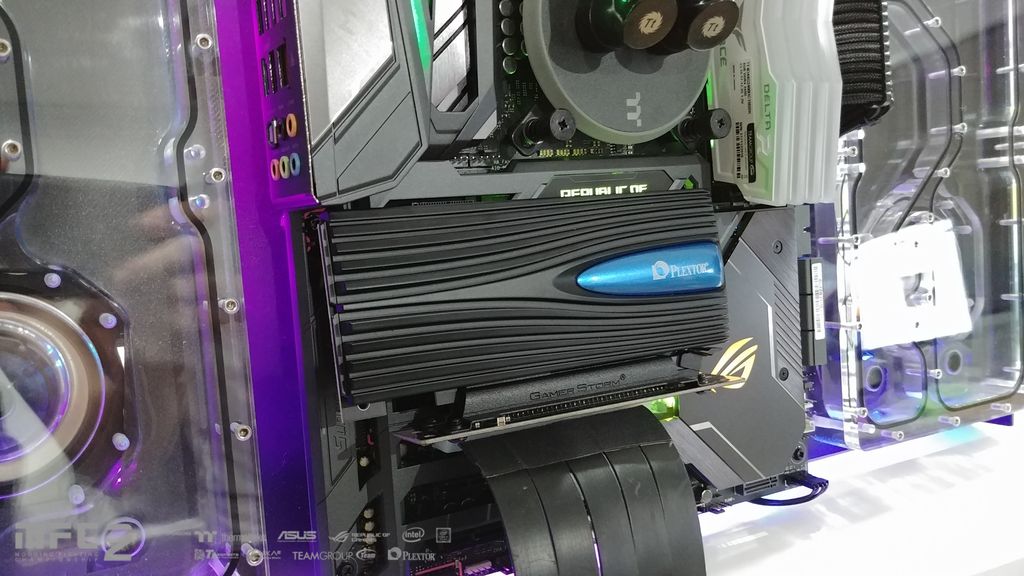
Now the main final task I had to do was the GPU power runs. From the very start I set out to running solid copper wiring.
Progress shot

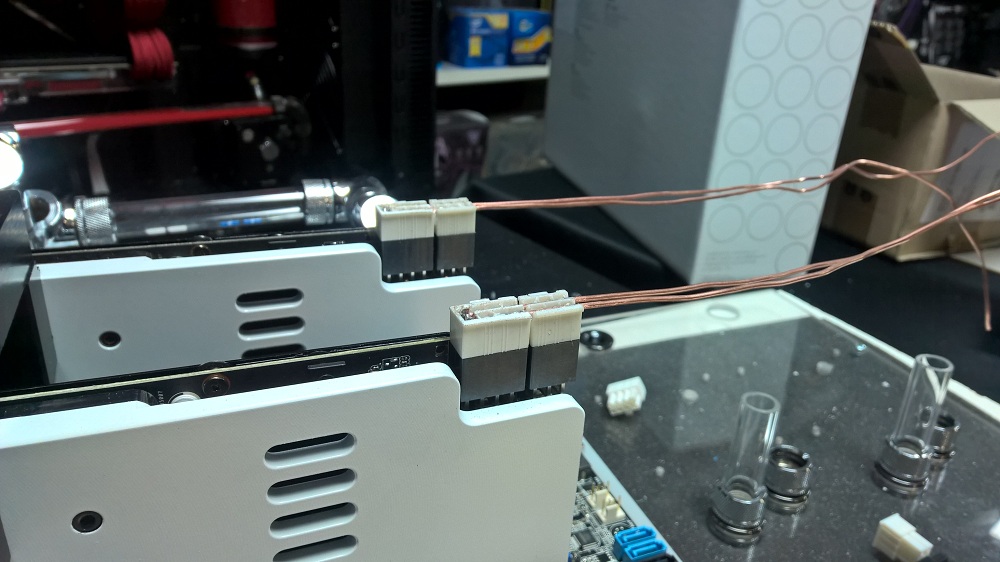
One lot of heatshrink on

Made up some caps to finish it off
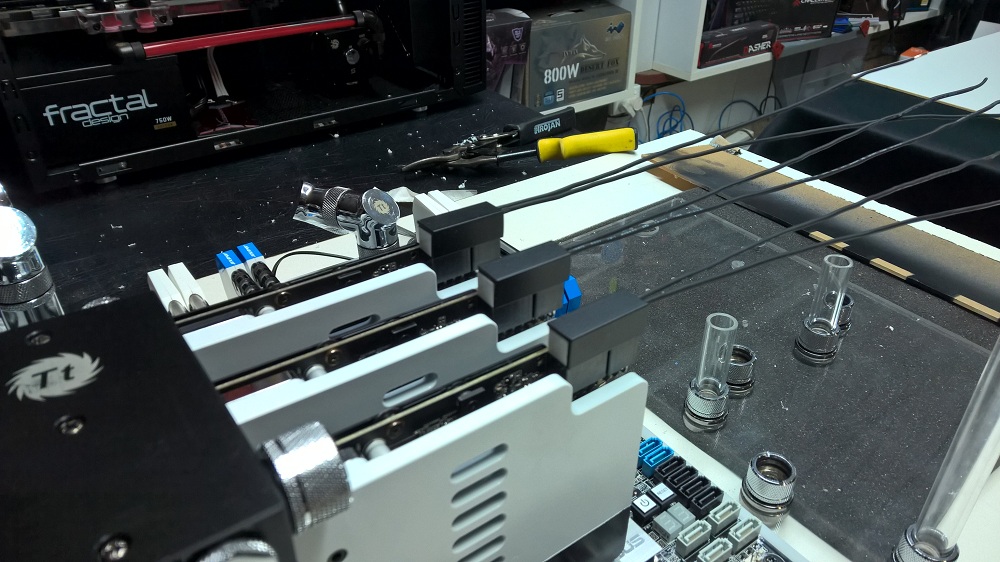
Final shot of build coming together

- hotcoolman, ForSkinGump227, RVFER and 3 others
-
 6
6
-
Drives also arrived from WD, not sure if I'll be able to fit all 4 but should go well

-
Also huge shout-out to Avexir for coming on-board and supplying 64GB of Raiden for this project.


[Thailand] Suchao Prowphong
in MFC Season 2
Posted
Absolutely amazing. Great work