-
Forum Statistics
9.9k
Total Topics56.2k
Total Posts -
Member Statistics
136,907
Total Members16,800
Most Online


Vinay Agrawal
-
Posts
25 -
Joined
-
Last visited
-
Days Won
6
Content Type
Profiles
Forums
Downloads
Events
Gallery
Blogs
Posts posted by Vinay Agrawal
-
-
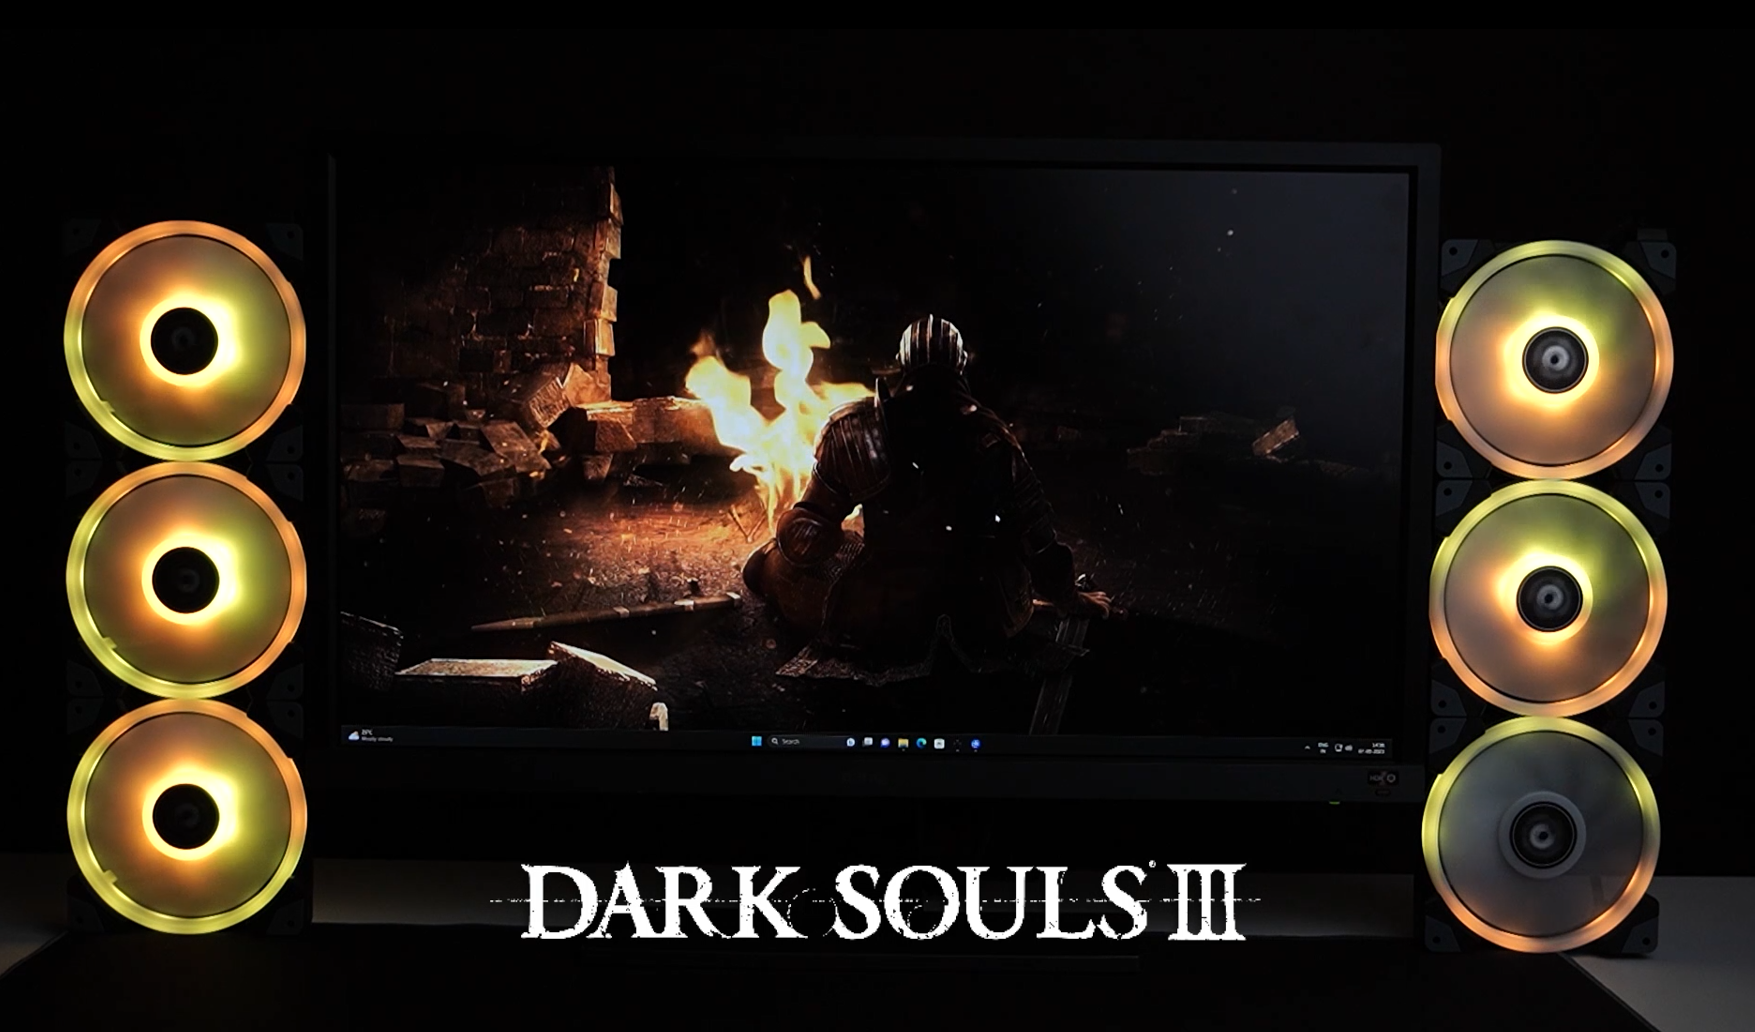
11.Dark souls

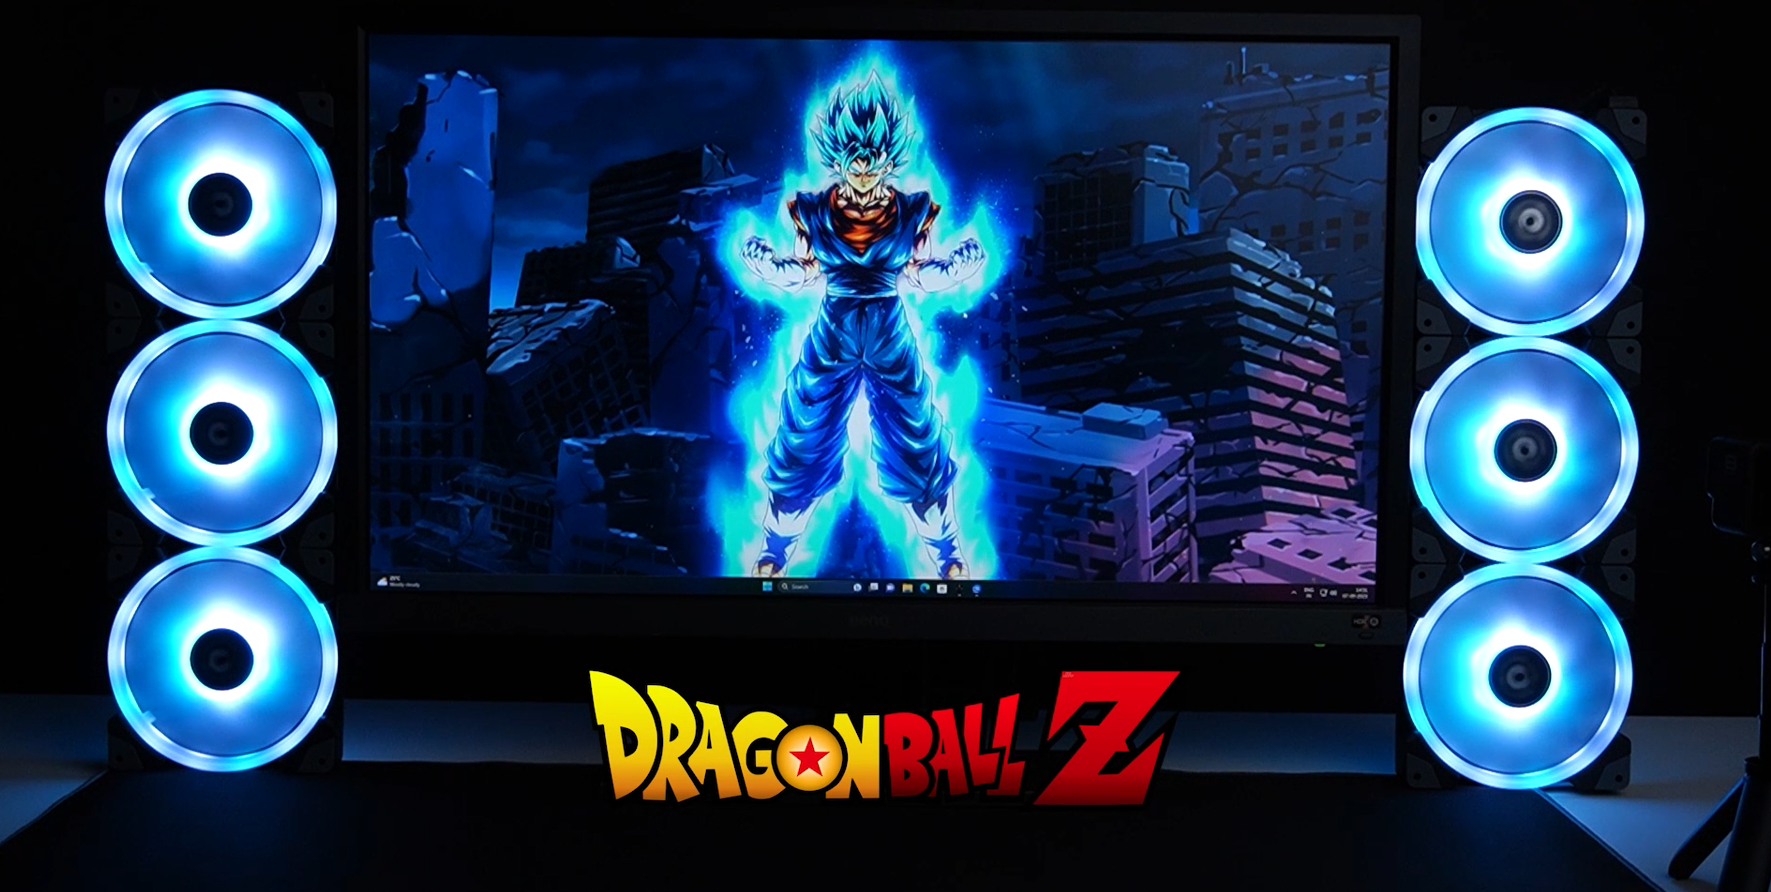
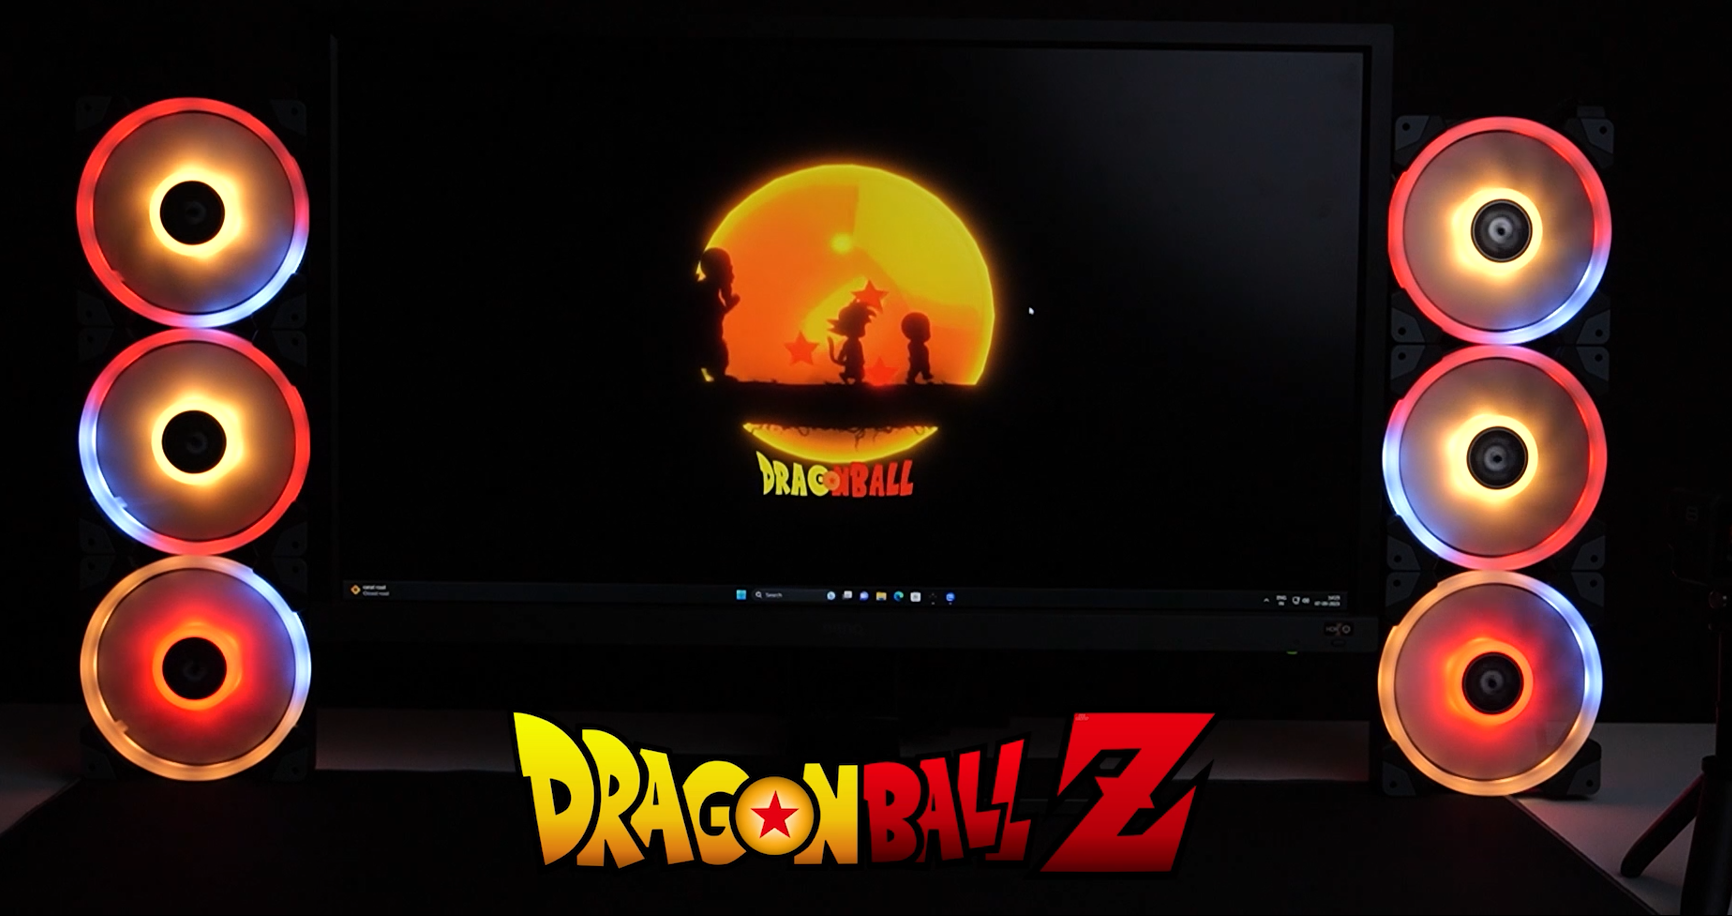
12.Dragon ball Z - Goku
13.Star Wars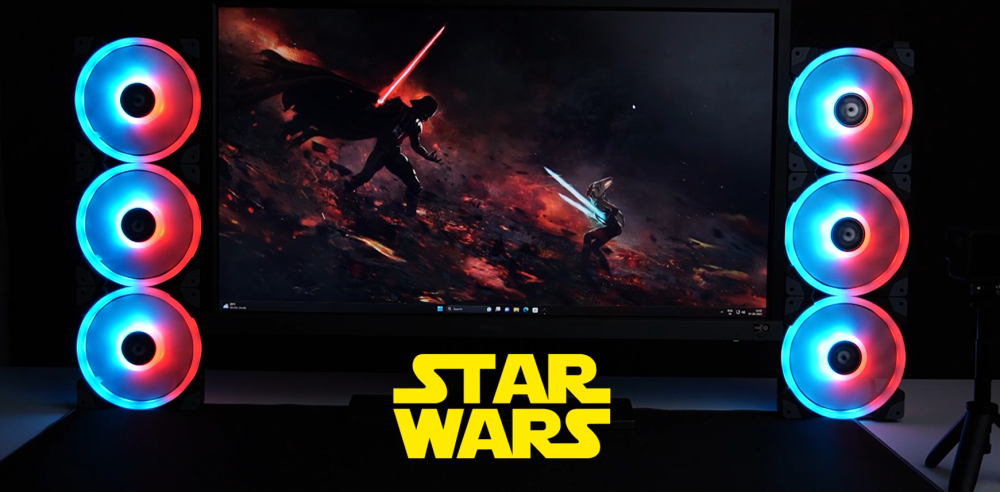
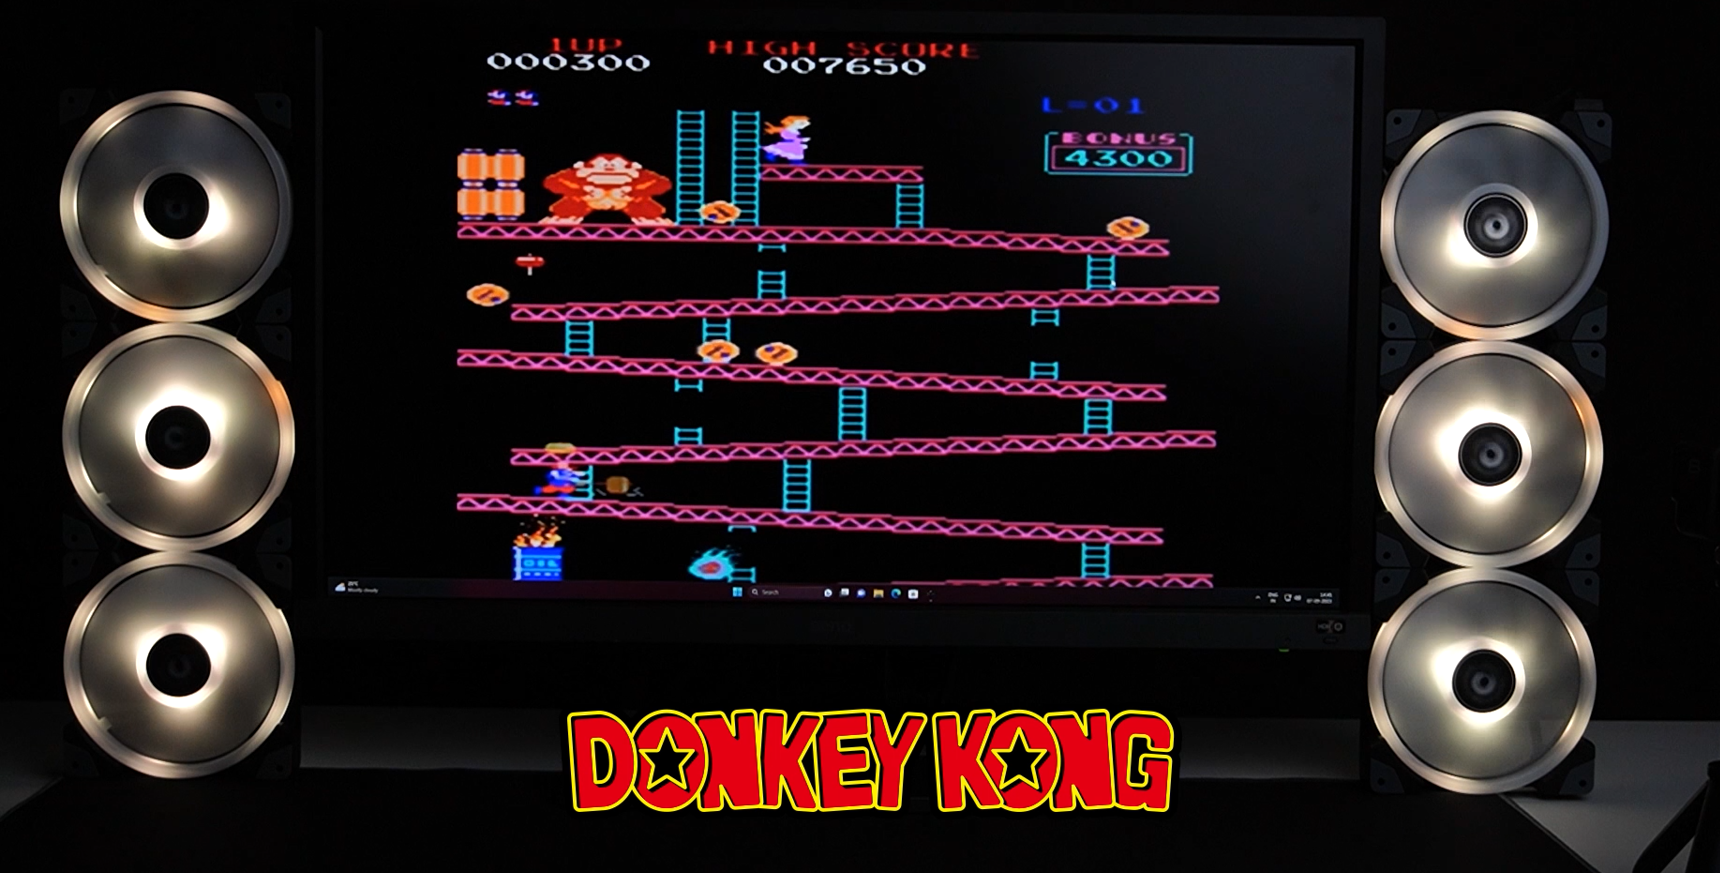
14.Donkey Kong
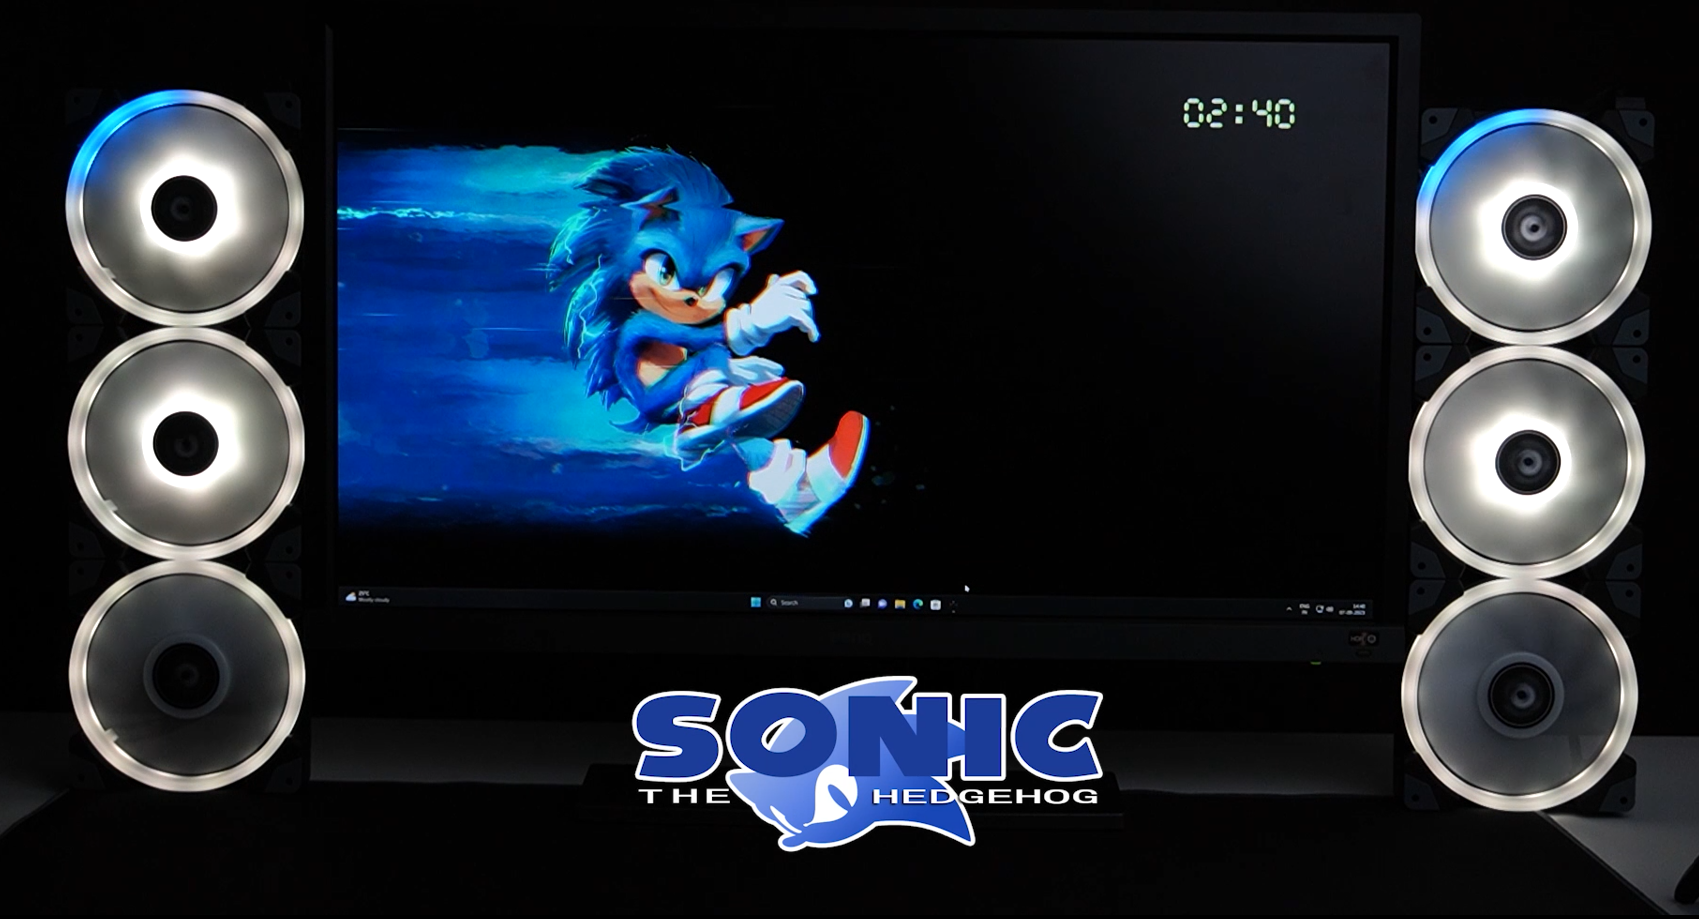
15.Sonic
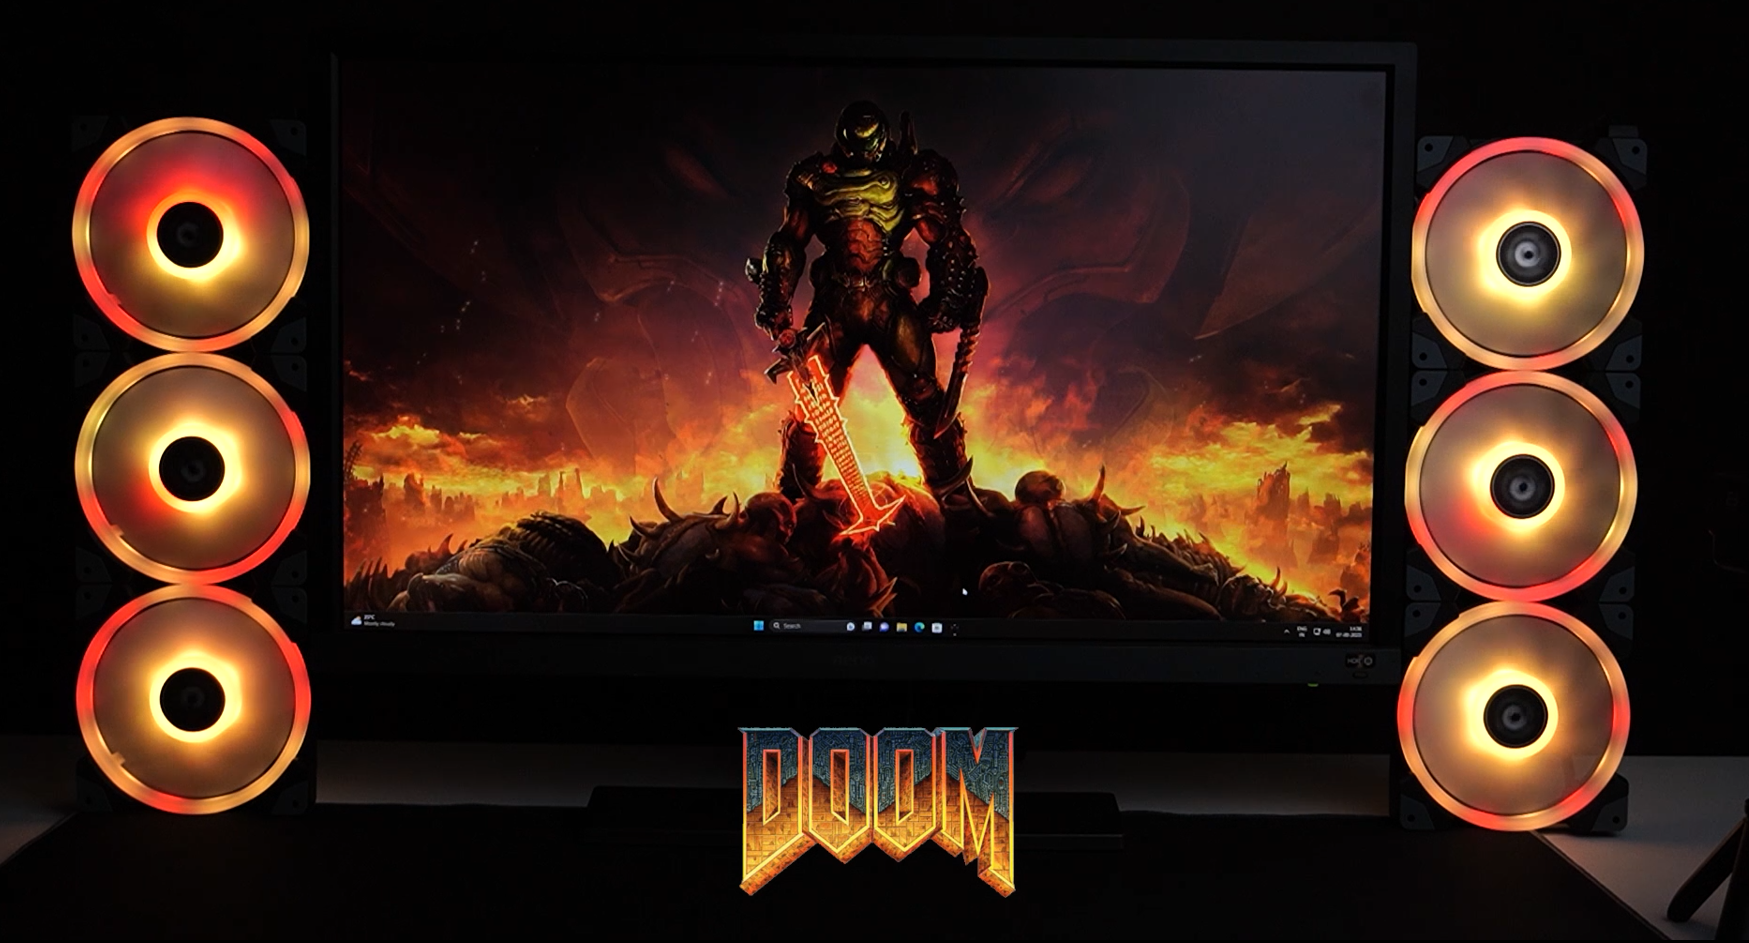
16.Doom
-
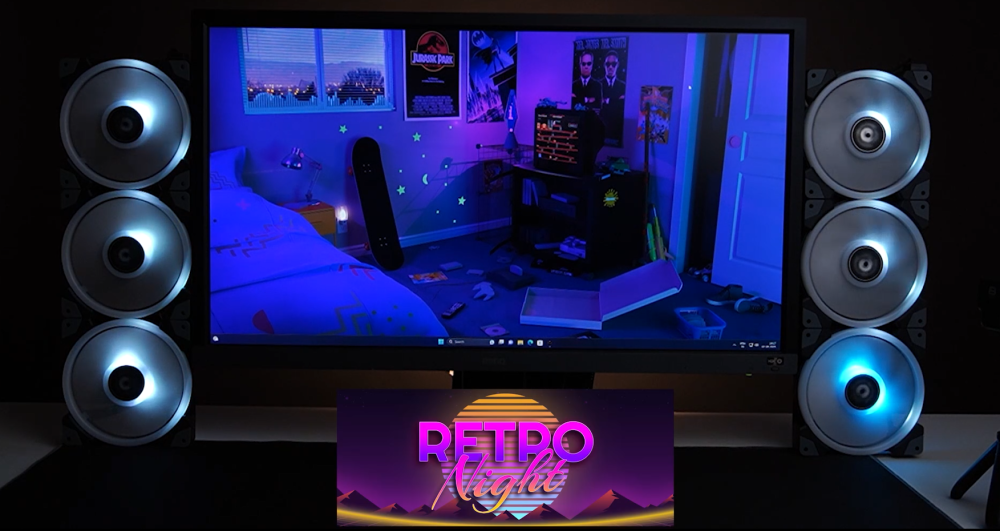
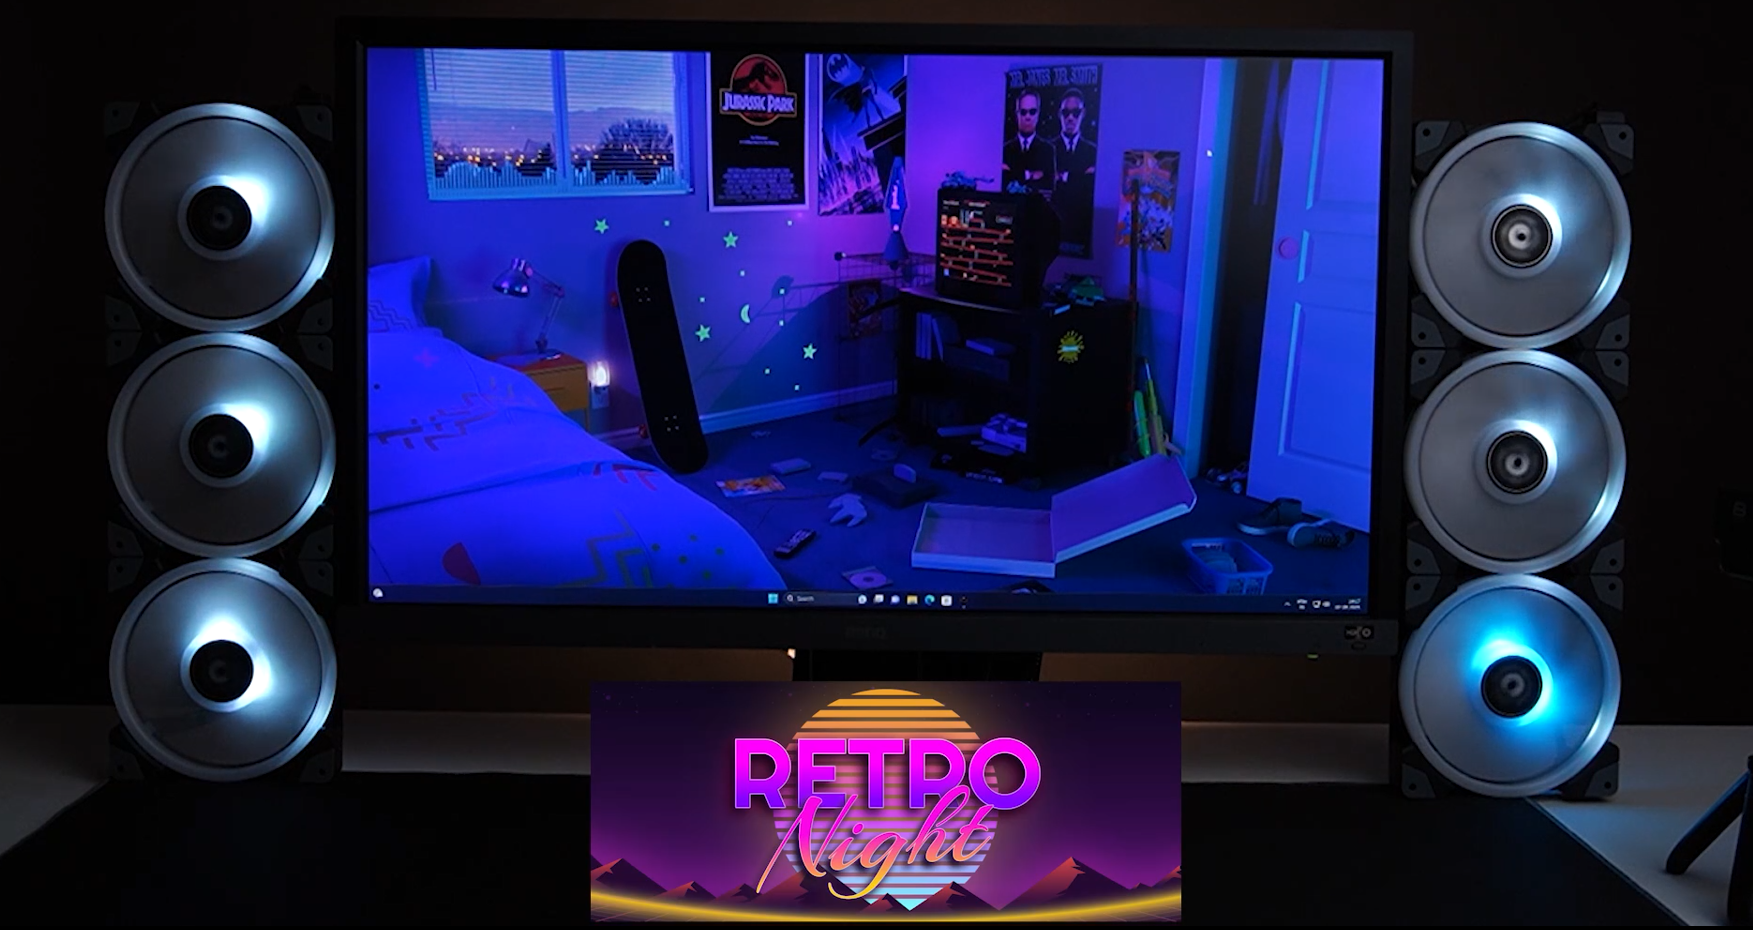
5.Retro Lo-FI
6.Matrix
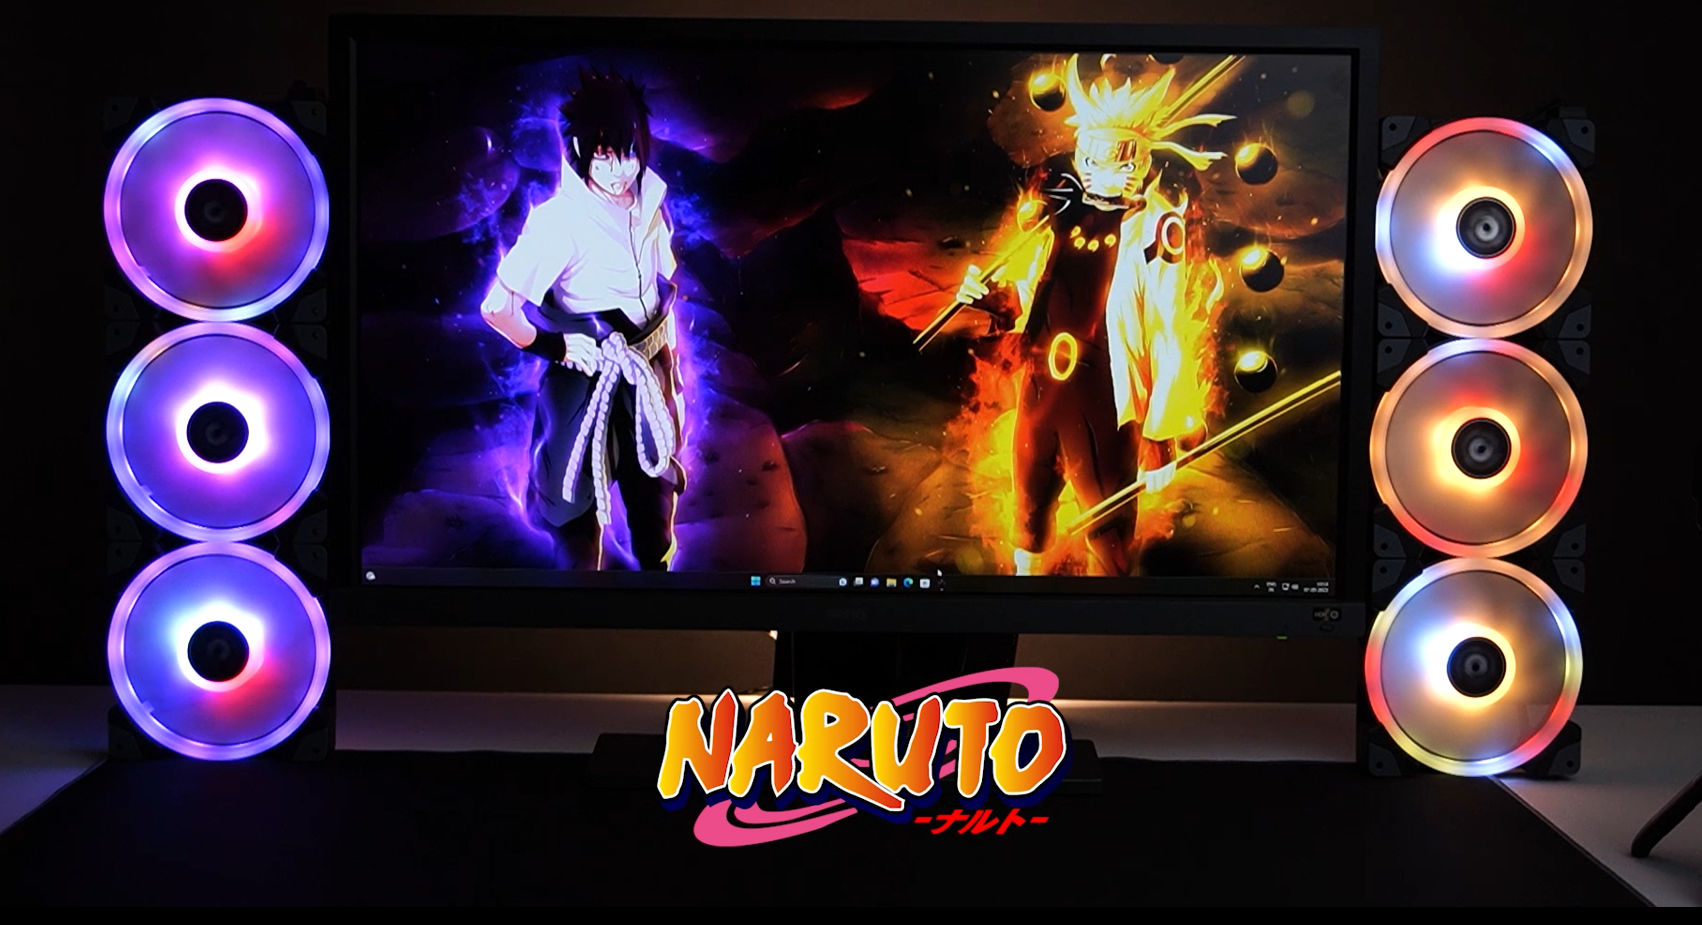
7.Naruto
8.Valoret-JET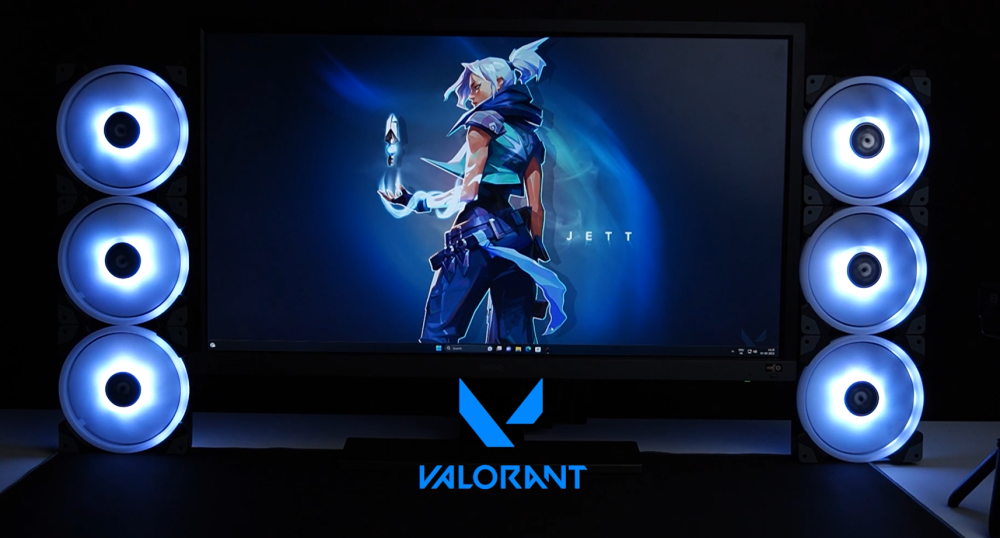
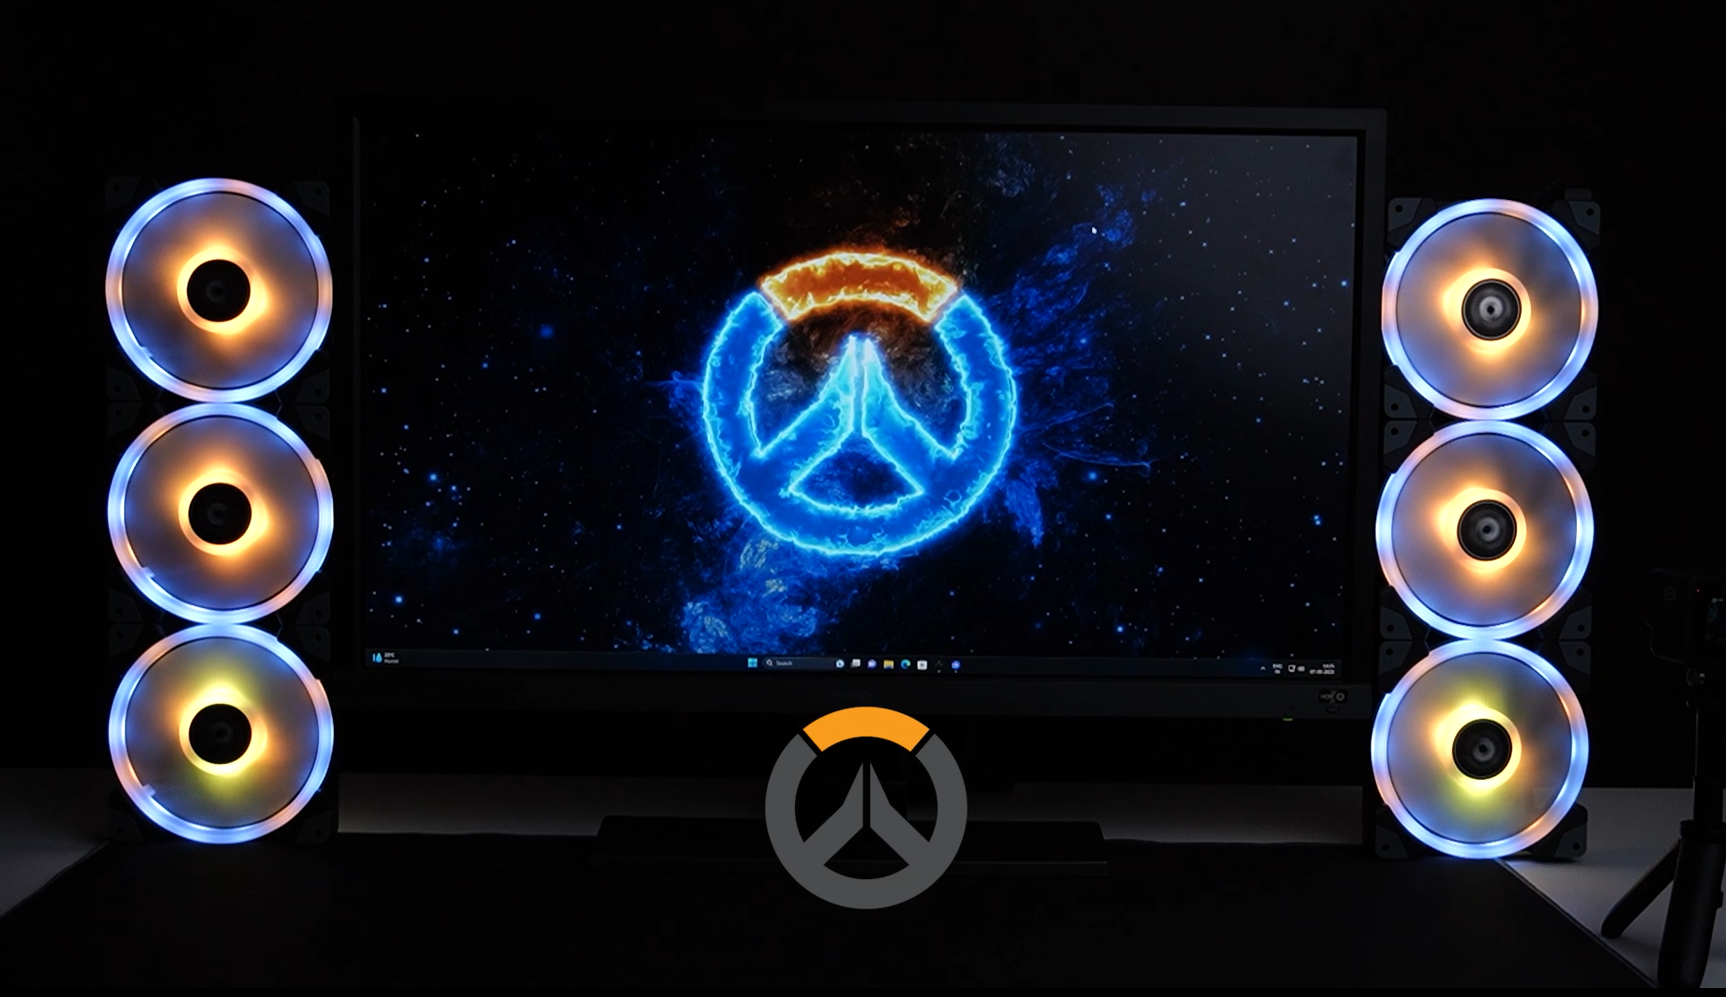
9.Overwatch
10.Dragonball Z
-
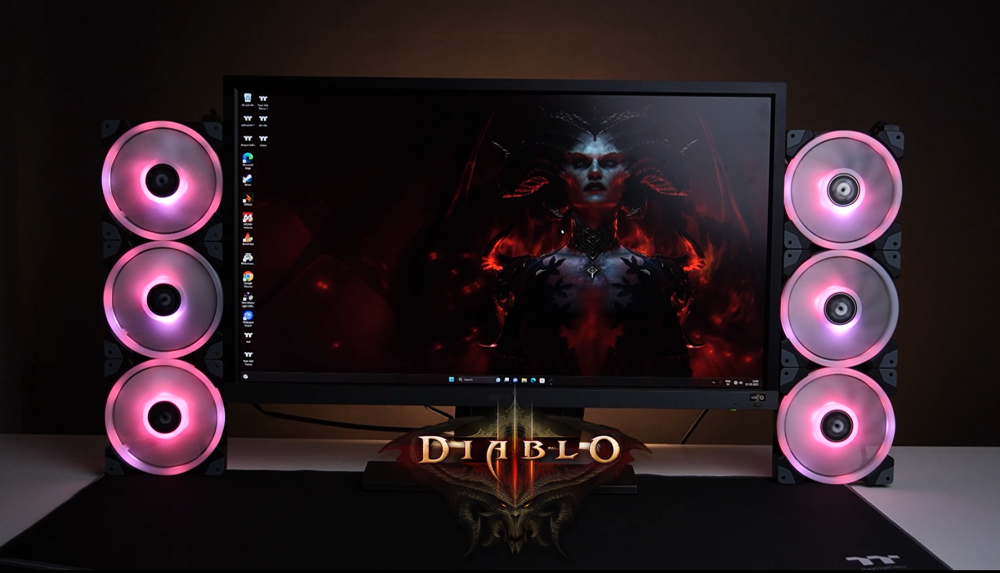
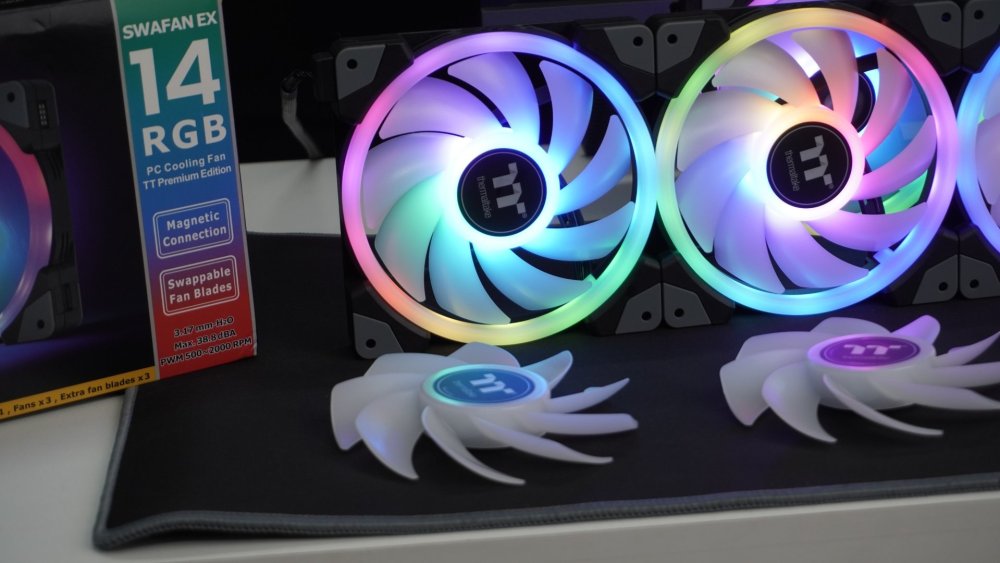
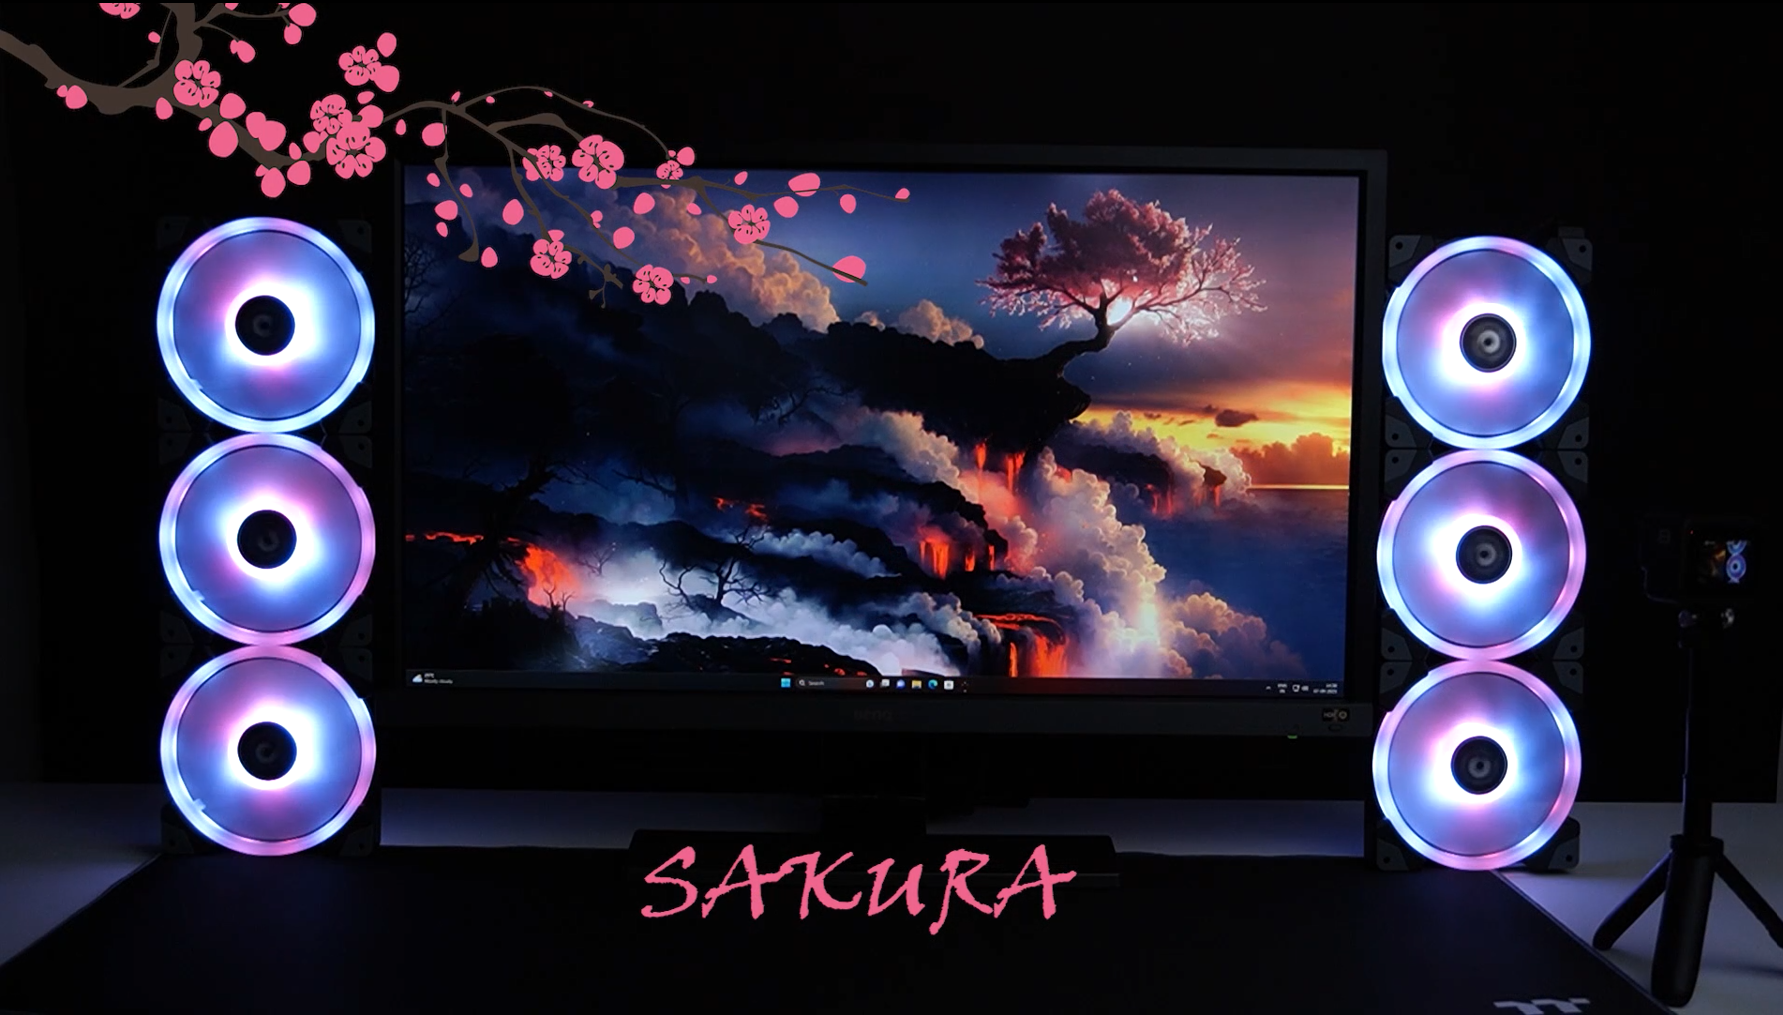
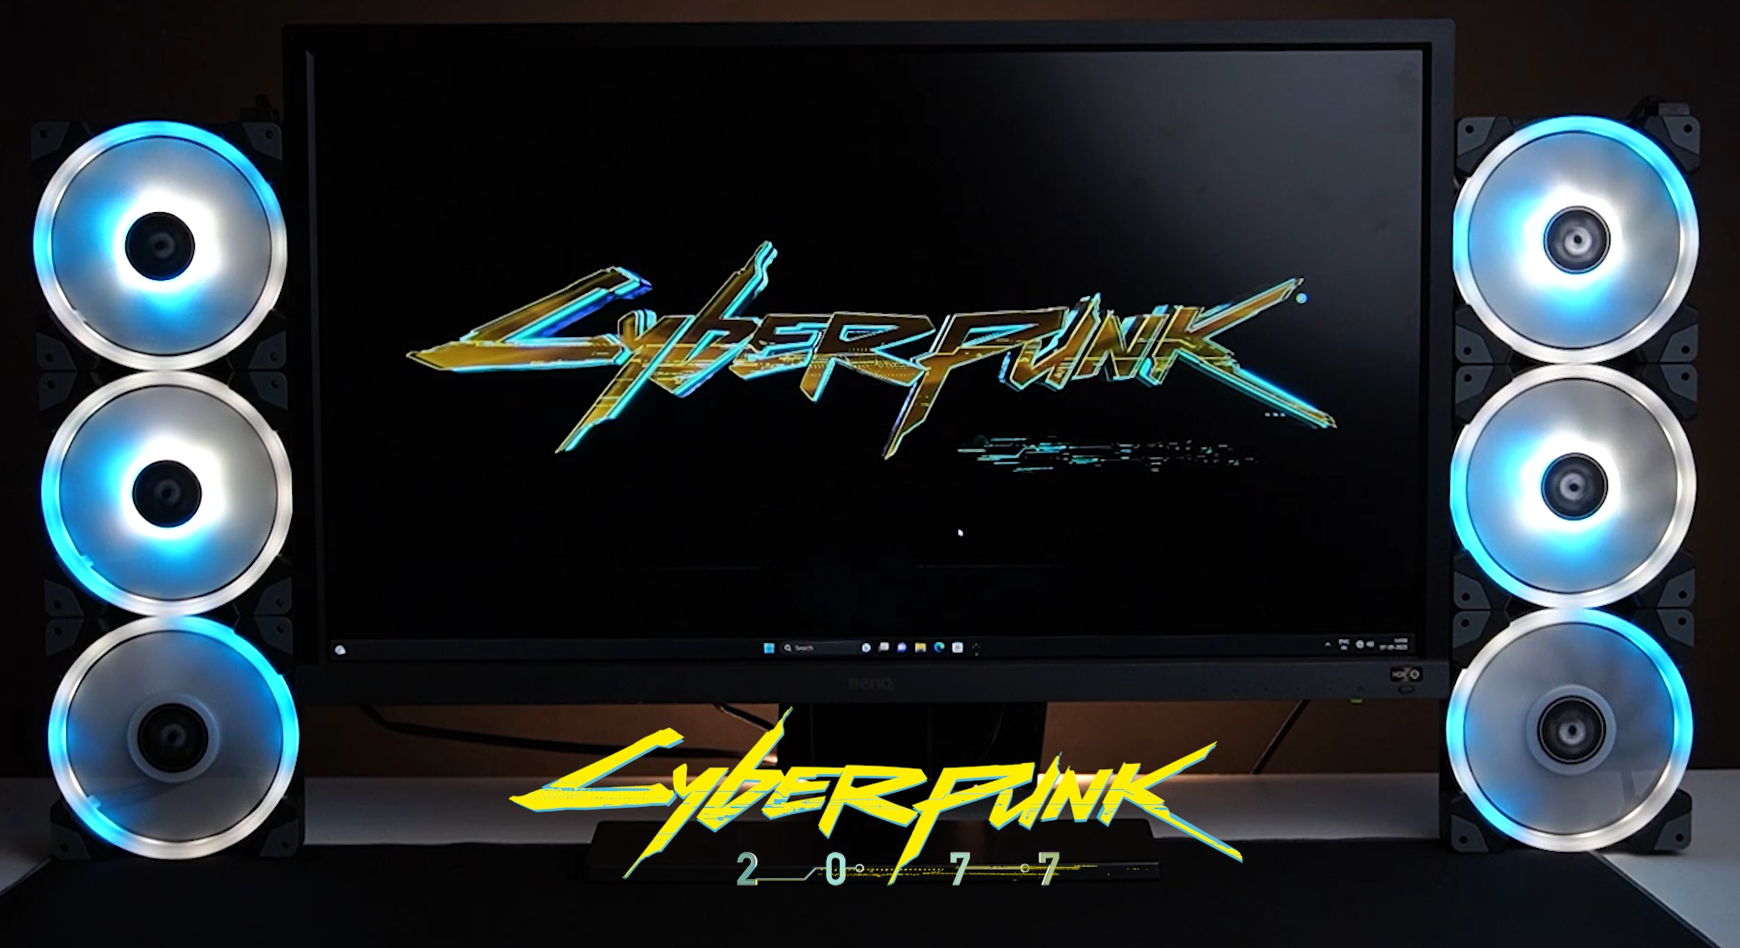
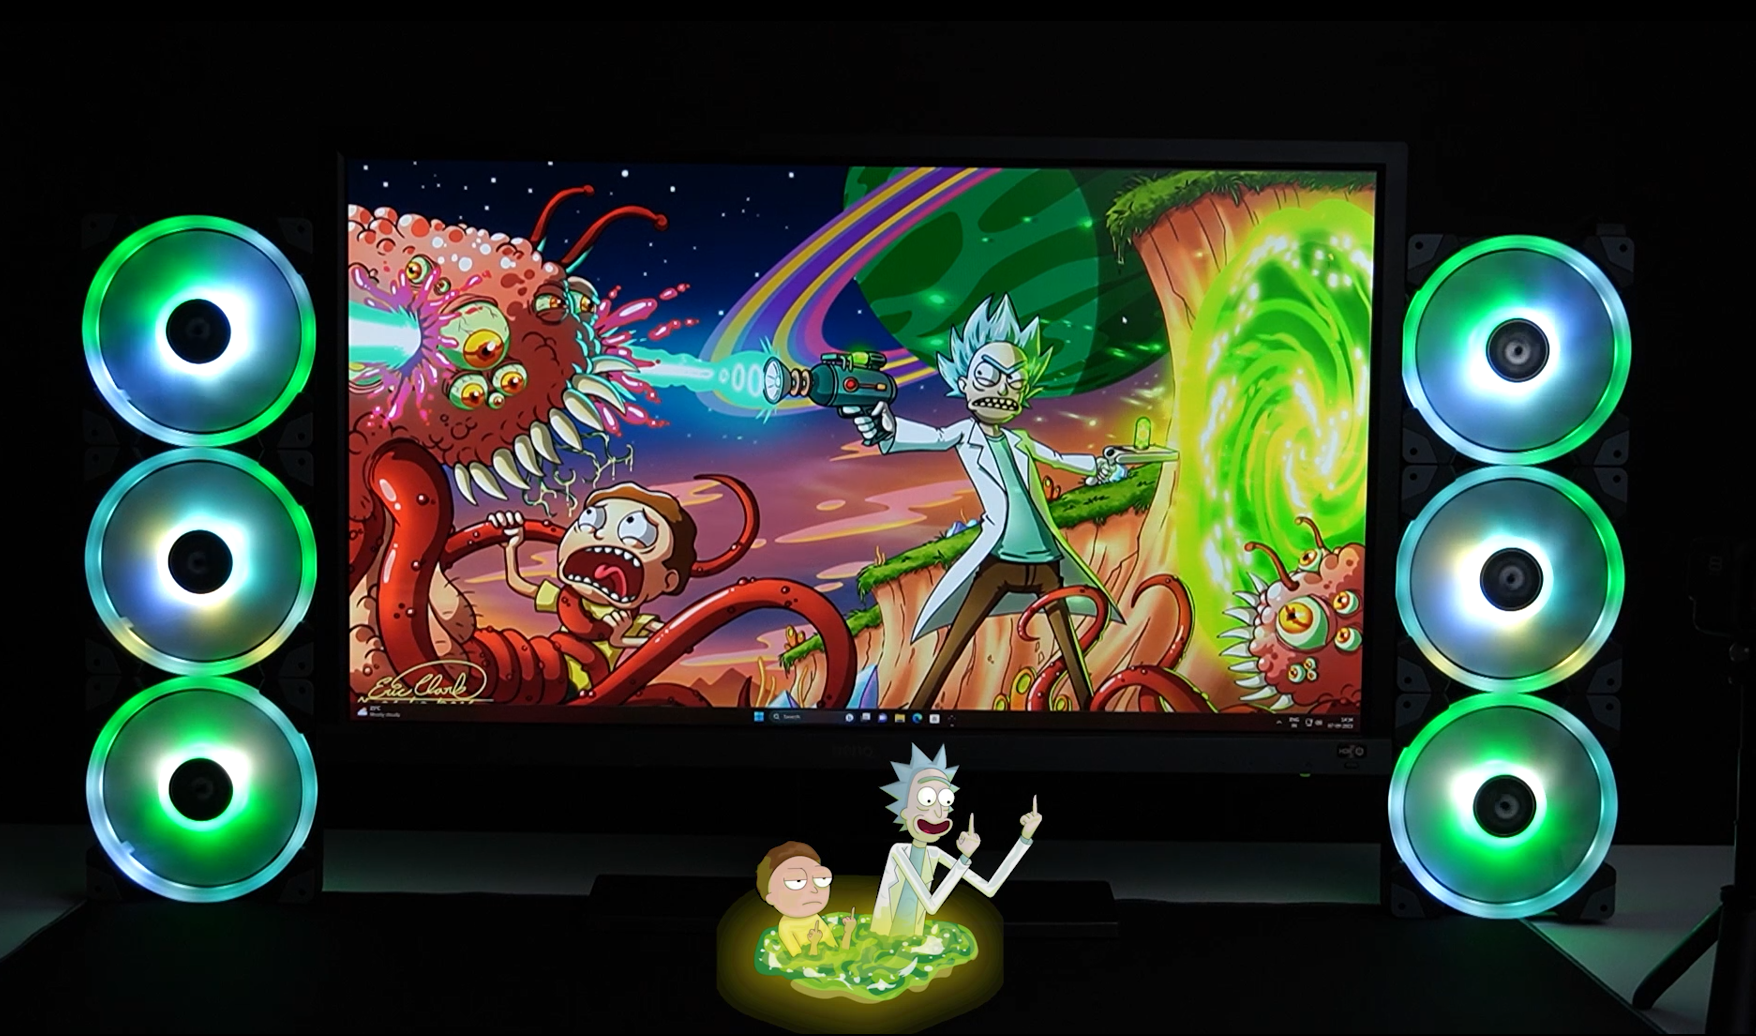
I have tried to create the profiles with most talked pop culture themes, which can be used by gamers to enhance their setup with SWAFAN 14 and Neon maker Software.
1.Diablo
2.Sakura

3.Cyberpunk

4.Rick and Morty

-
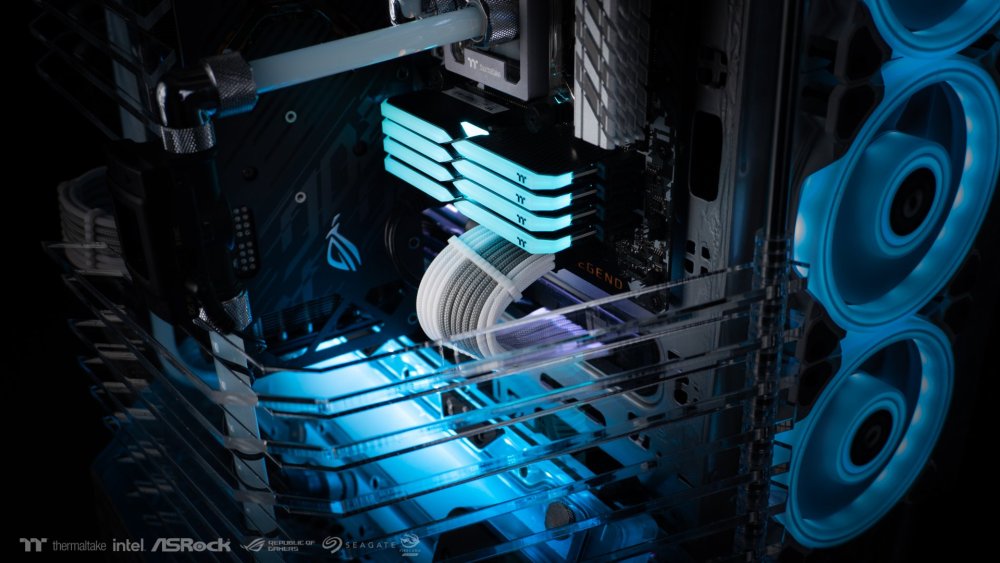
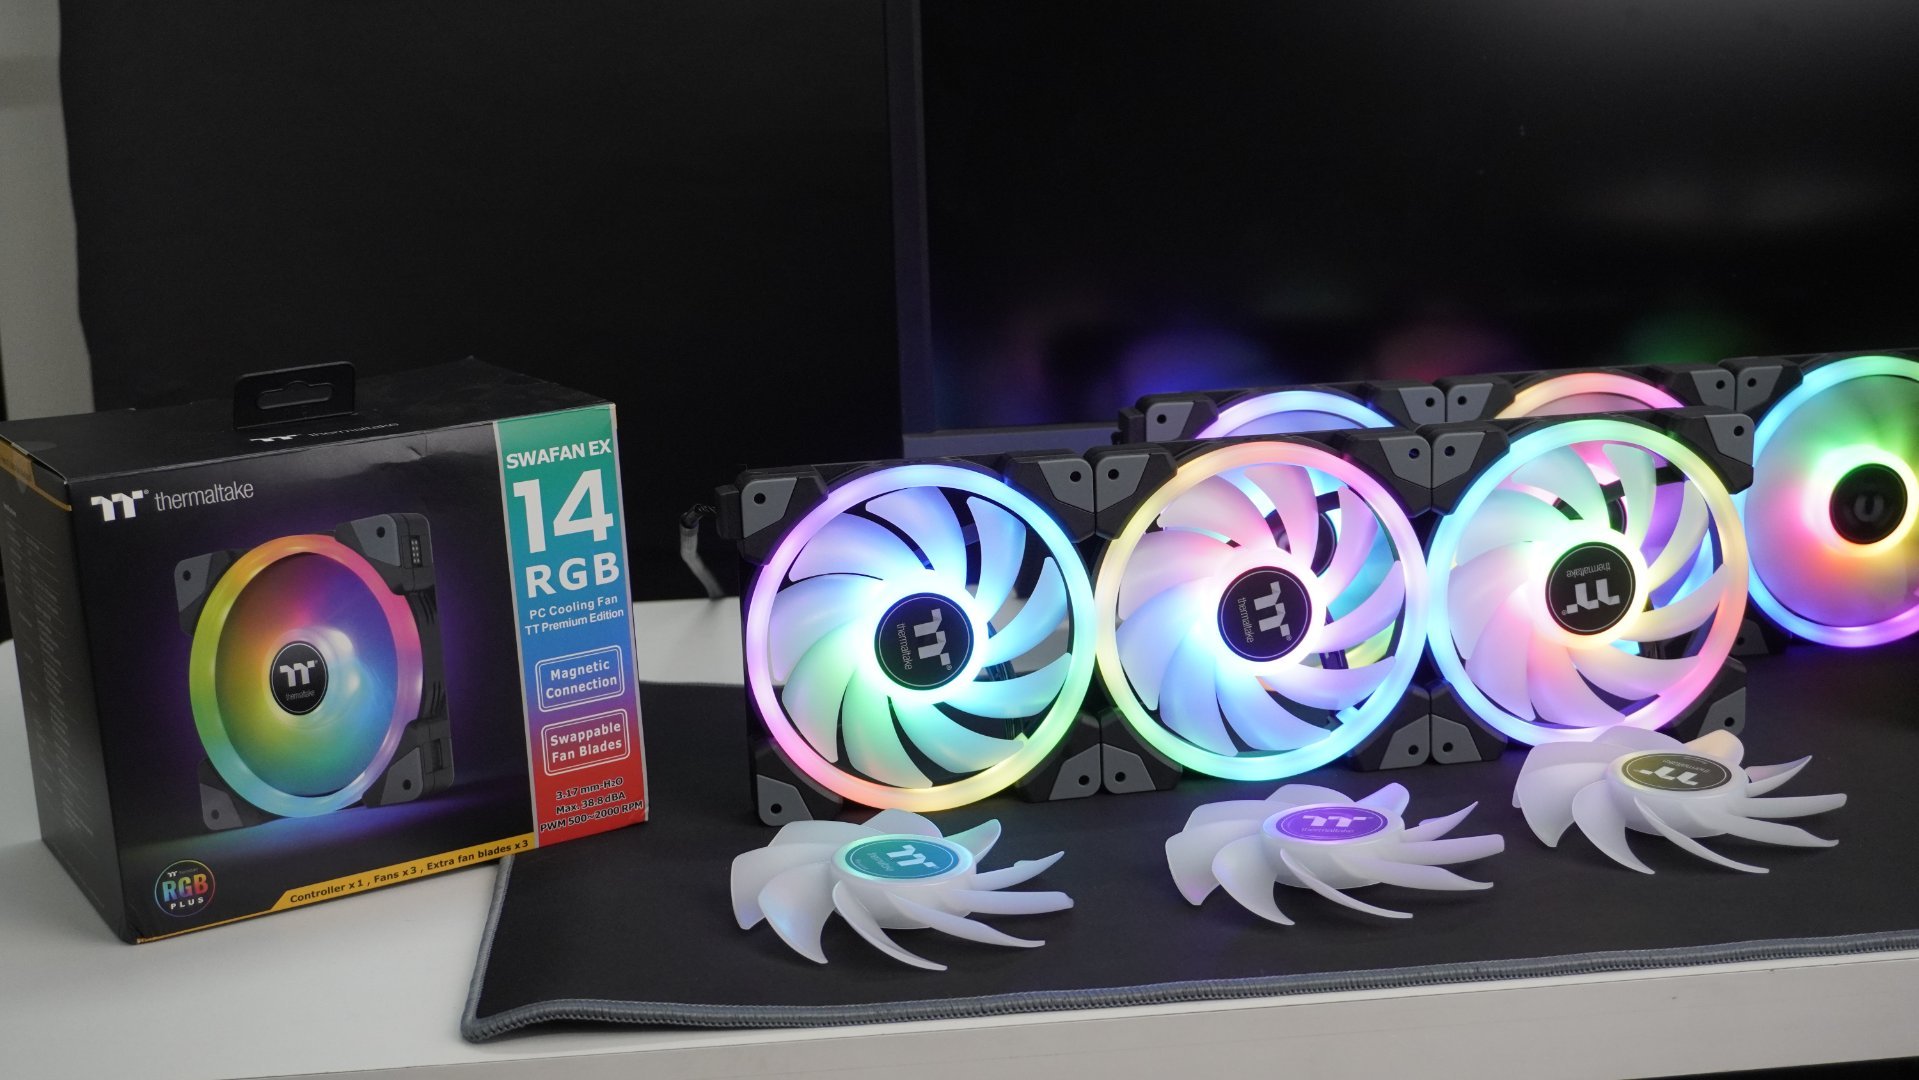
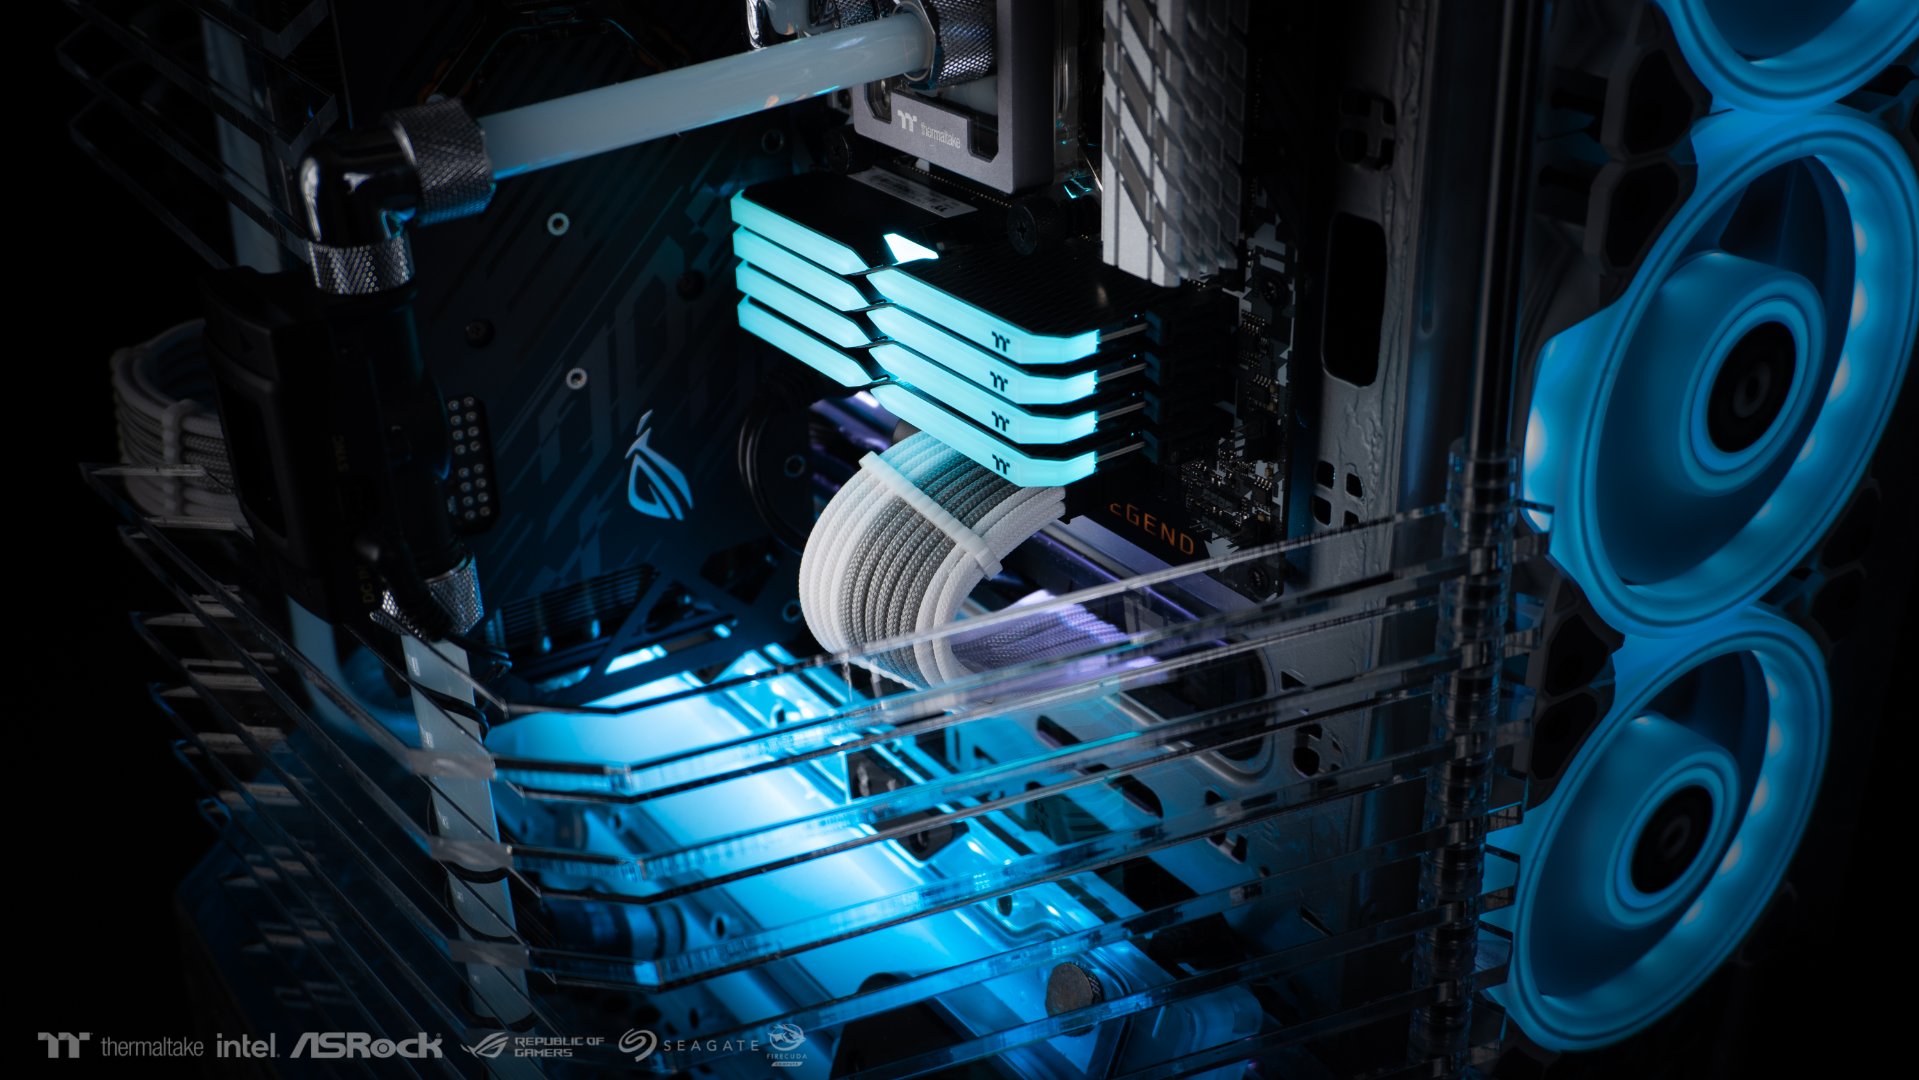
Hello Everyone ,
here we are with Thermaltake Swafan EX14 RGB fans.
some of the shots with RGB ON;

-
Here is the Video!! cheers !
https://youtu.be/NQ84J45qJ3U<iframe width="560" height="315" src="https://www.youtube.com/embed/NQ84J45qJ3U" title="YouTube video player" frameborder="0" allow="accelerometer; autoplay; clipboard-write; encrypted-media; gyroscope; picture-in-picture" allowfullscreen></iframe>
-
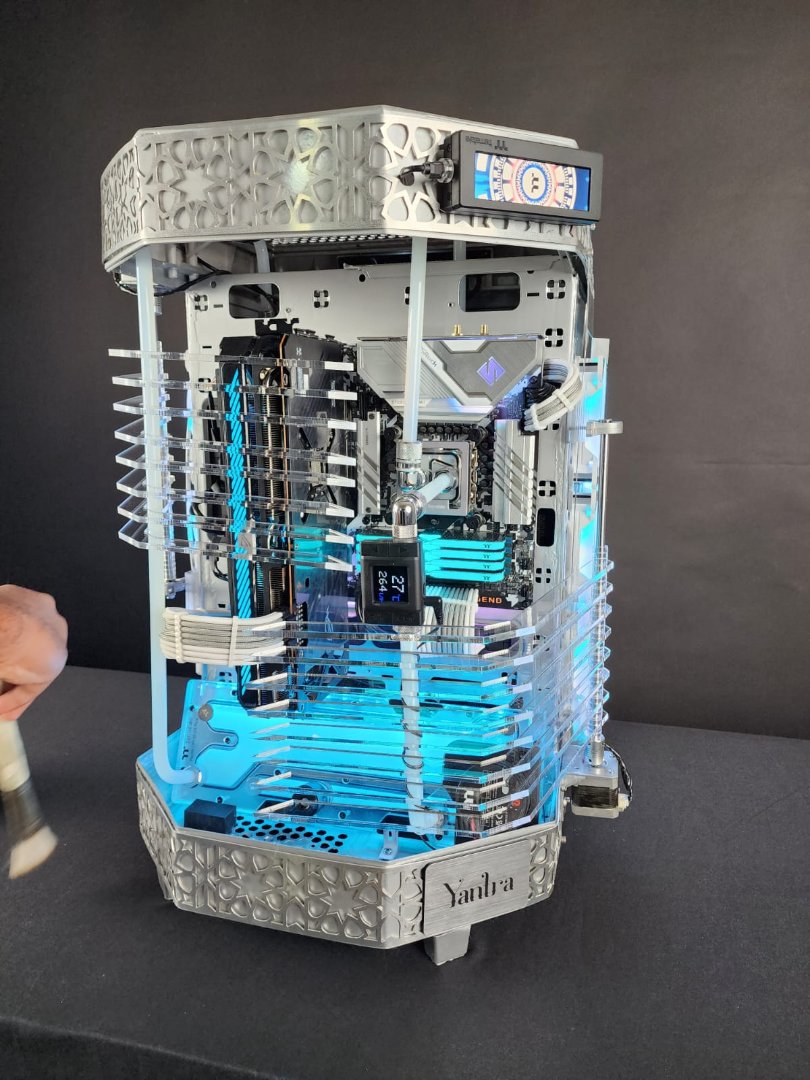
---------------------------FINAL UPDATE AND MOD PICS ----------------------------------------------
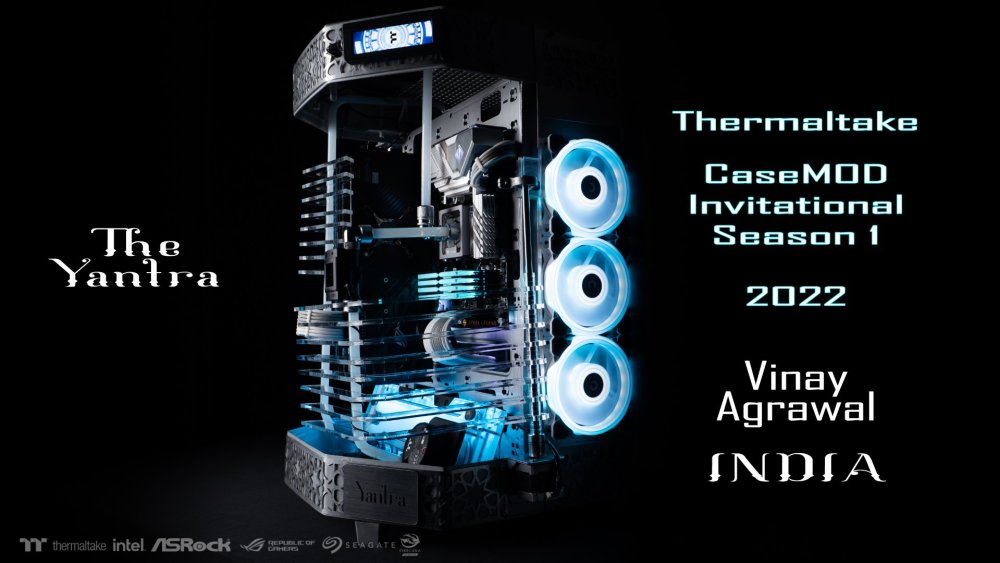
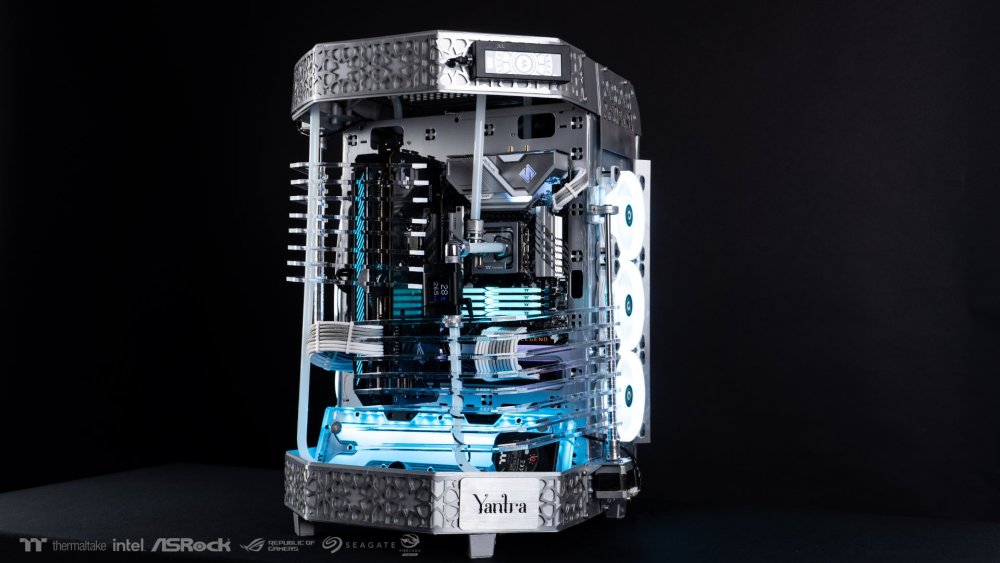
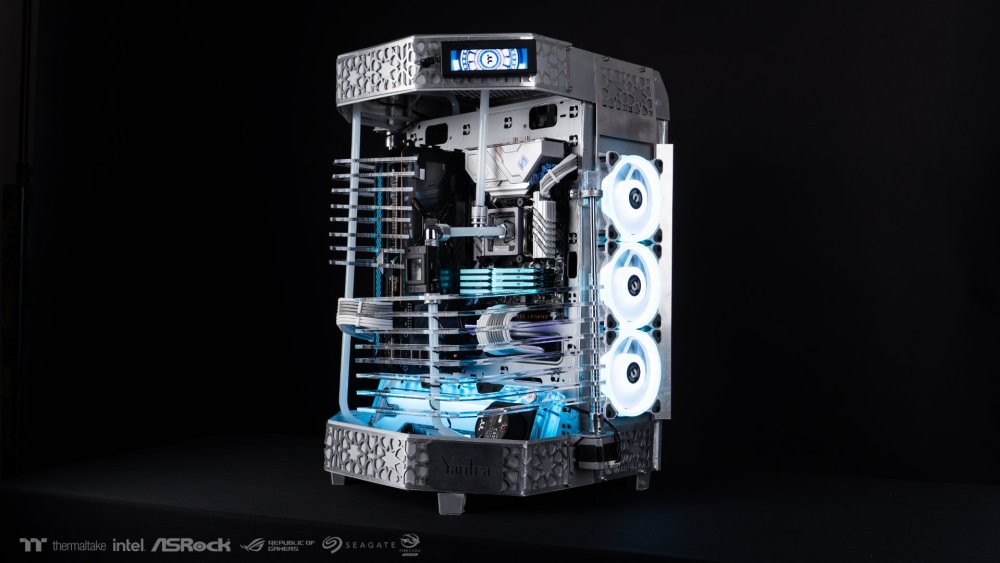
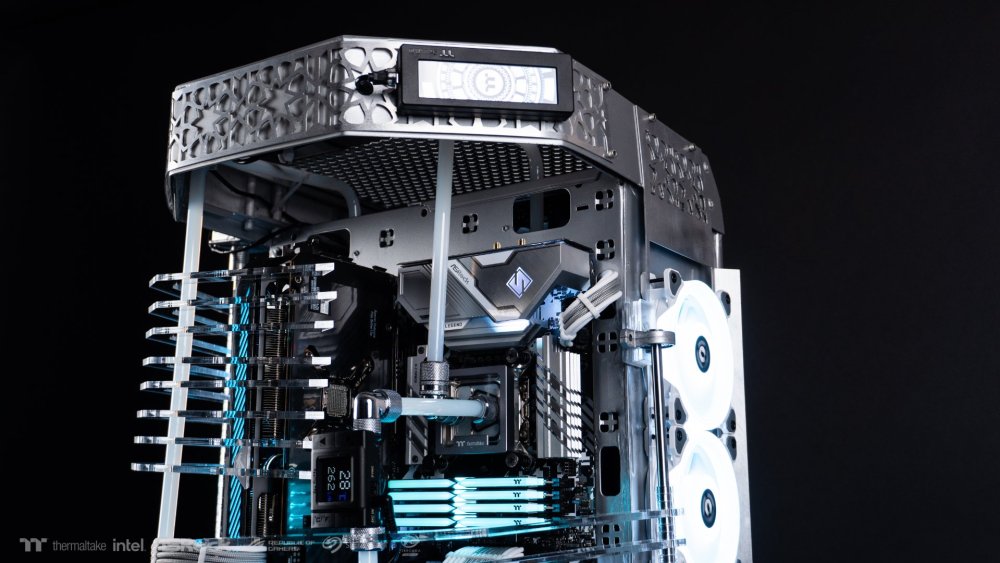
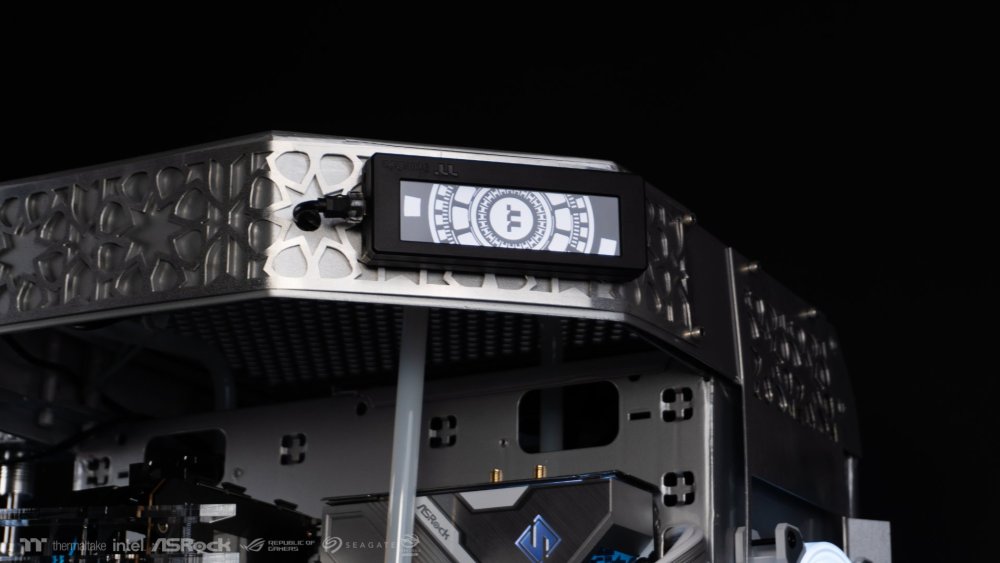

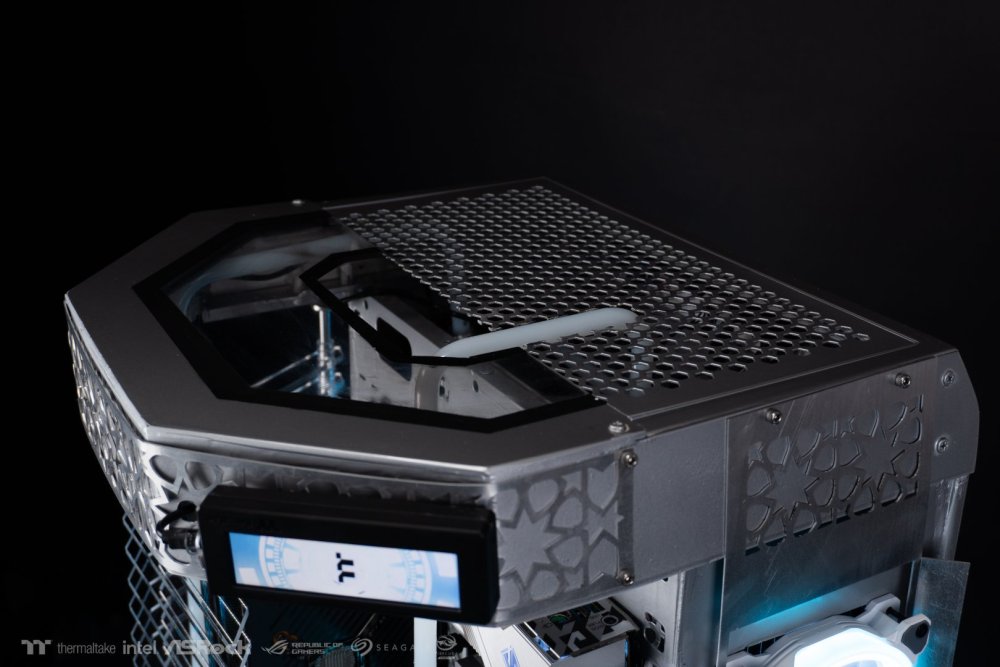
WHEN TURNED OFF :
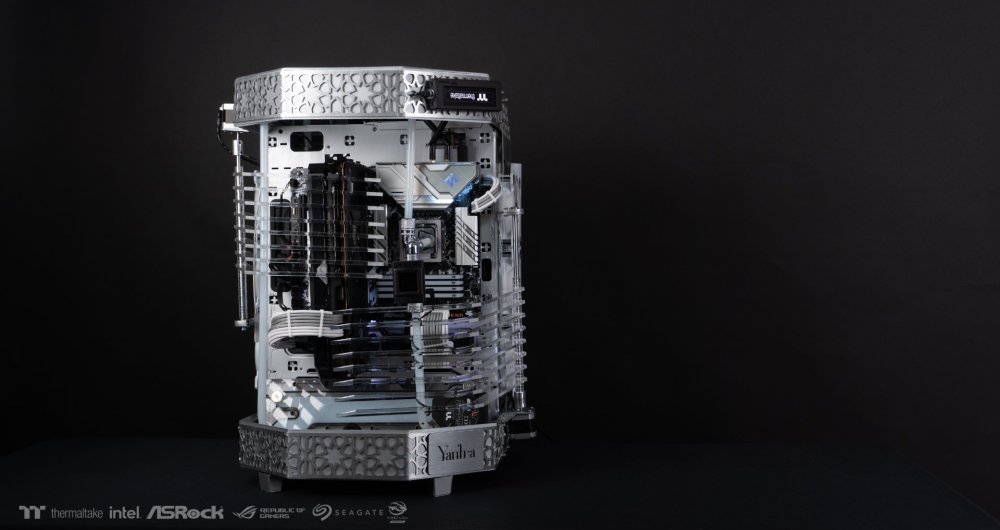
-----------------------------------------THANK YOU !! I Hope Everyone likes the build ! and enjoyed the process !--------------------------------------------------------------------
---------------------------------------------------------------------------------😄😄😄--------------------------------------------------------------------------------------------------- Andrew Makin and Anil Malche
-
 2
2
-
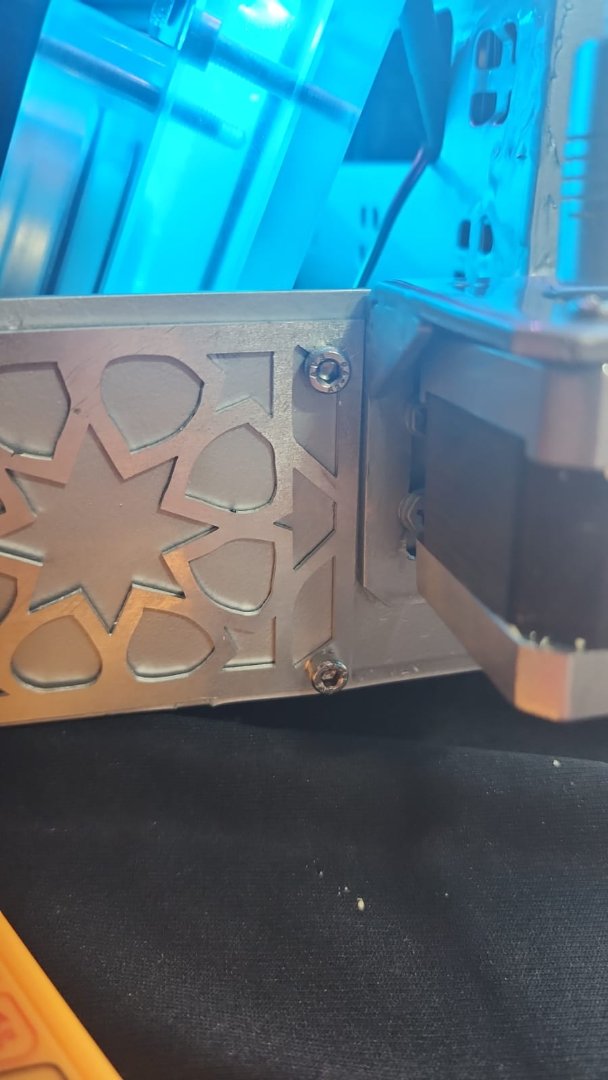
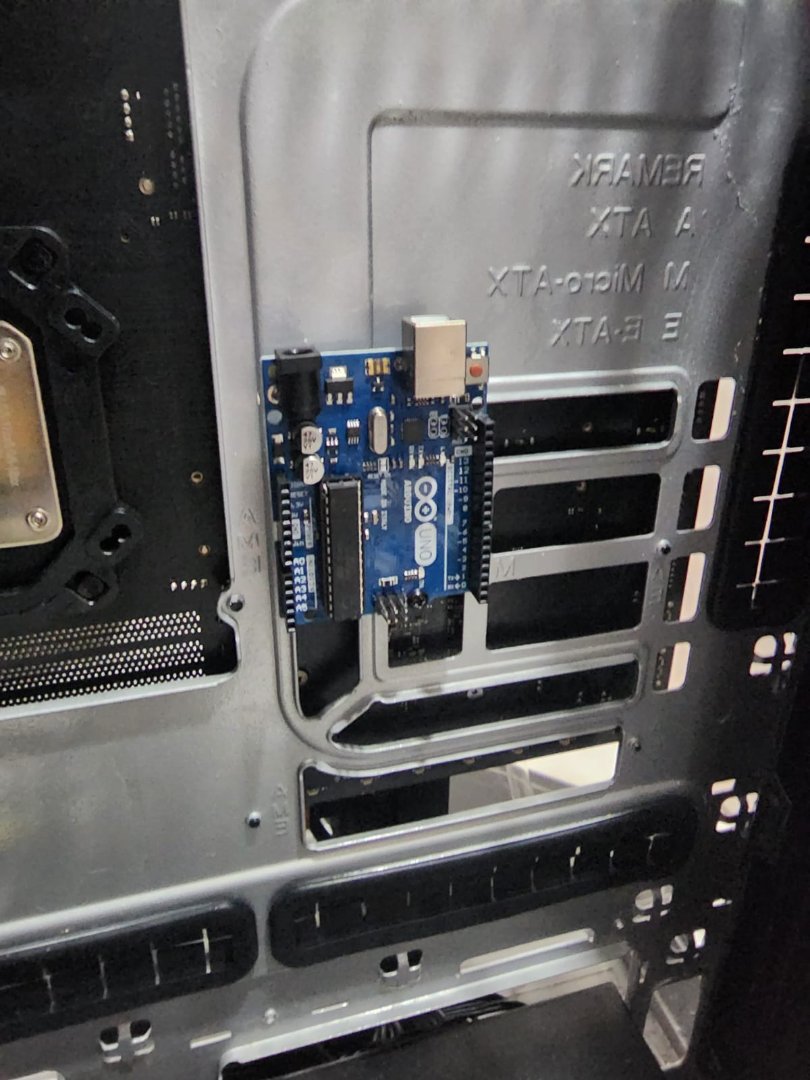
changed the temporary screws used to Allen screws. to get a more plush look.

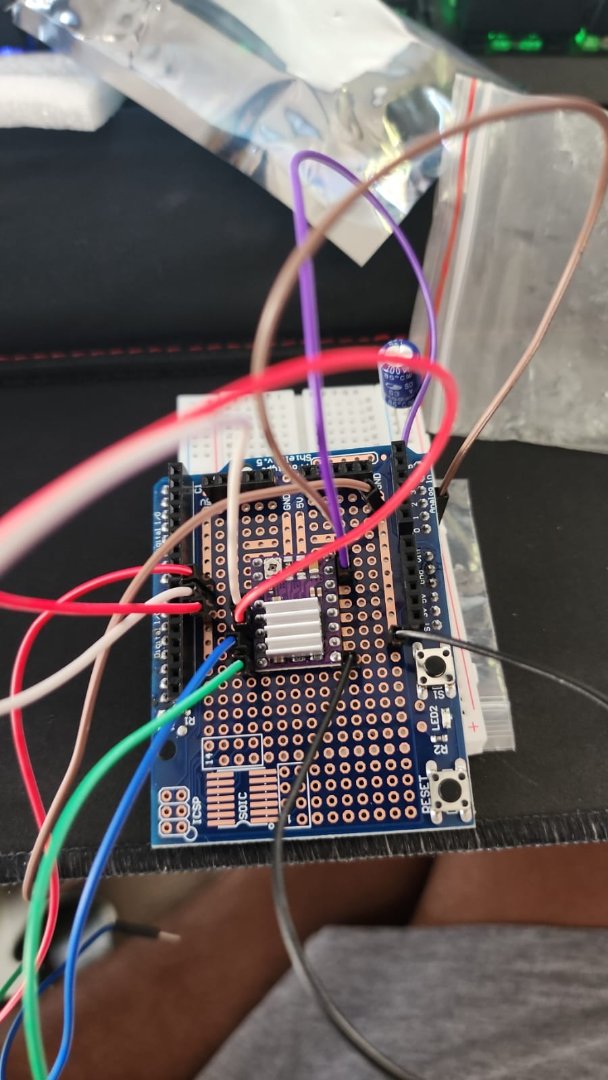
since the test fit was working with motors and Arduino, got this Prototype sheet to fit on Arduino to make it compact .
.thumb.jpeg.999ab85a7b3ae629f53a66877638e608.jpeg)

.thumb.jpeg.f1beef3cfe0cc0103485f42d1870dbe2.jpeg)
will be uploading the project files on the website incase someone needs it. This Arduino will be controllable from the machine itself .
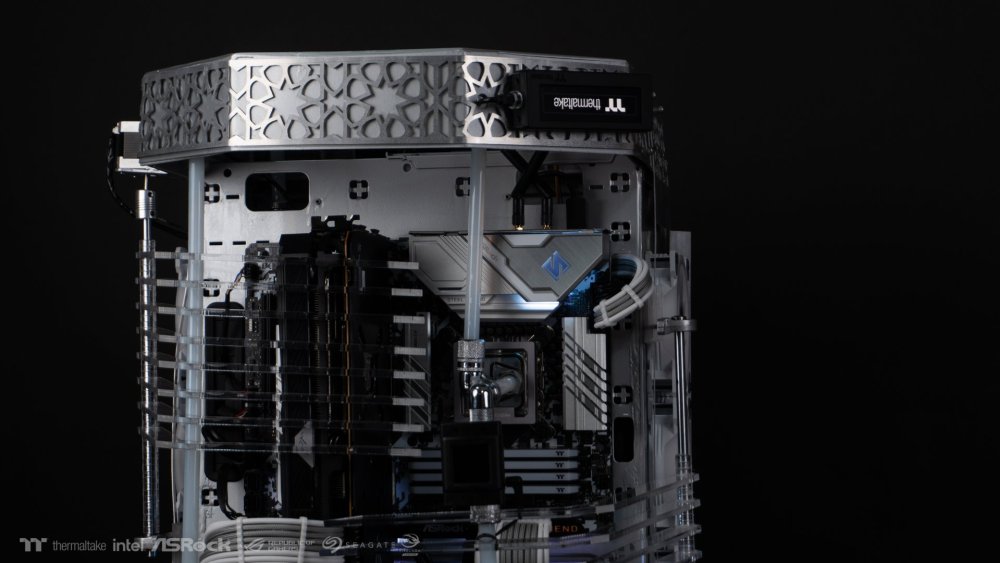
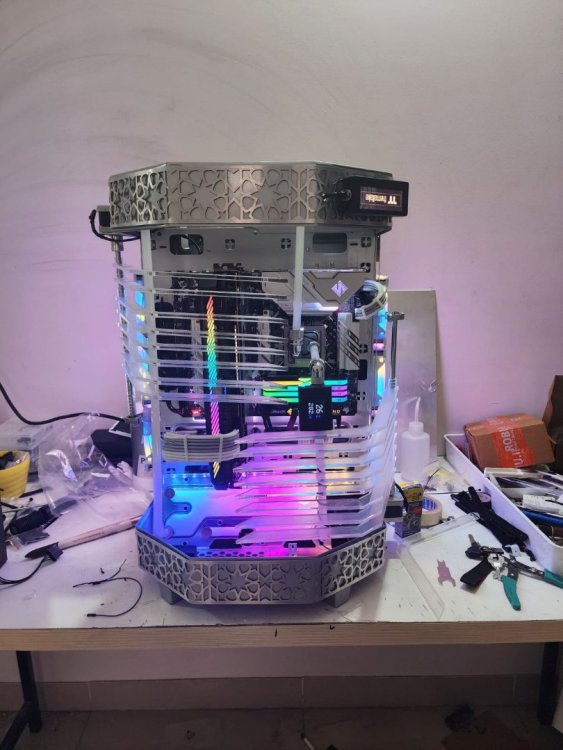
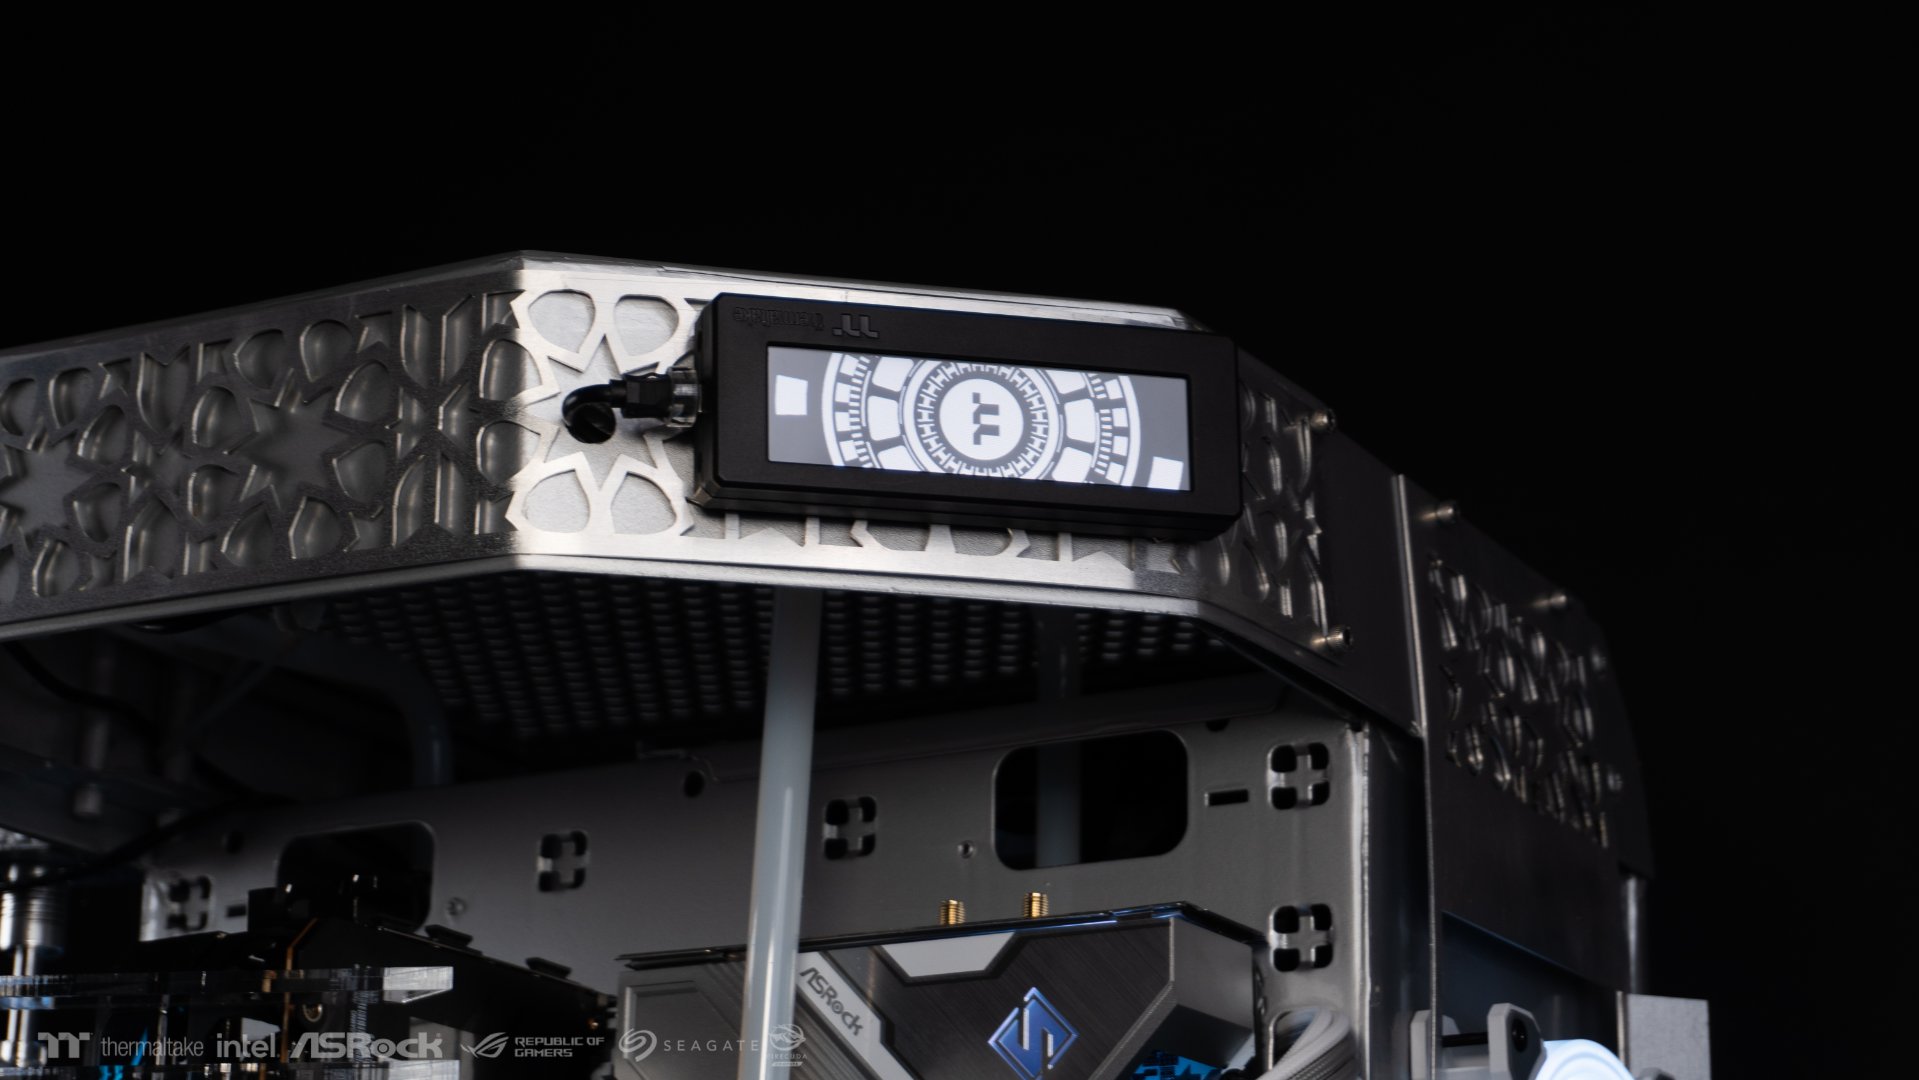
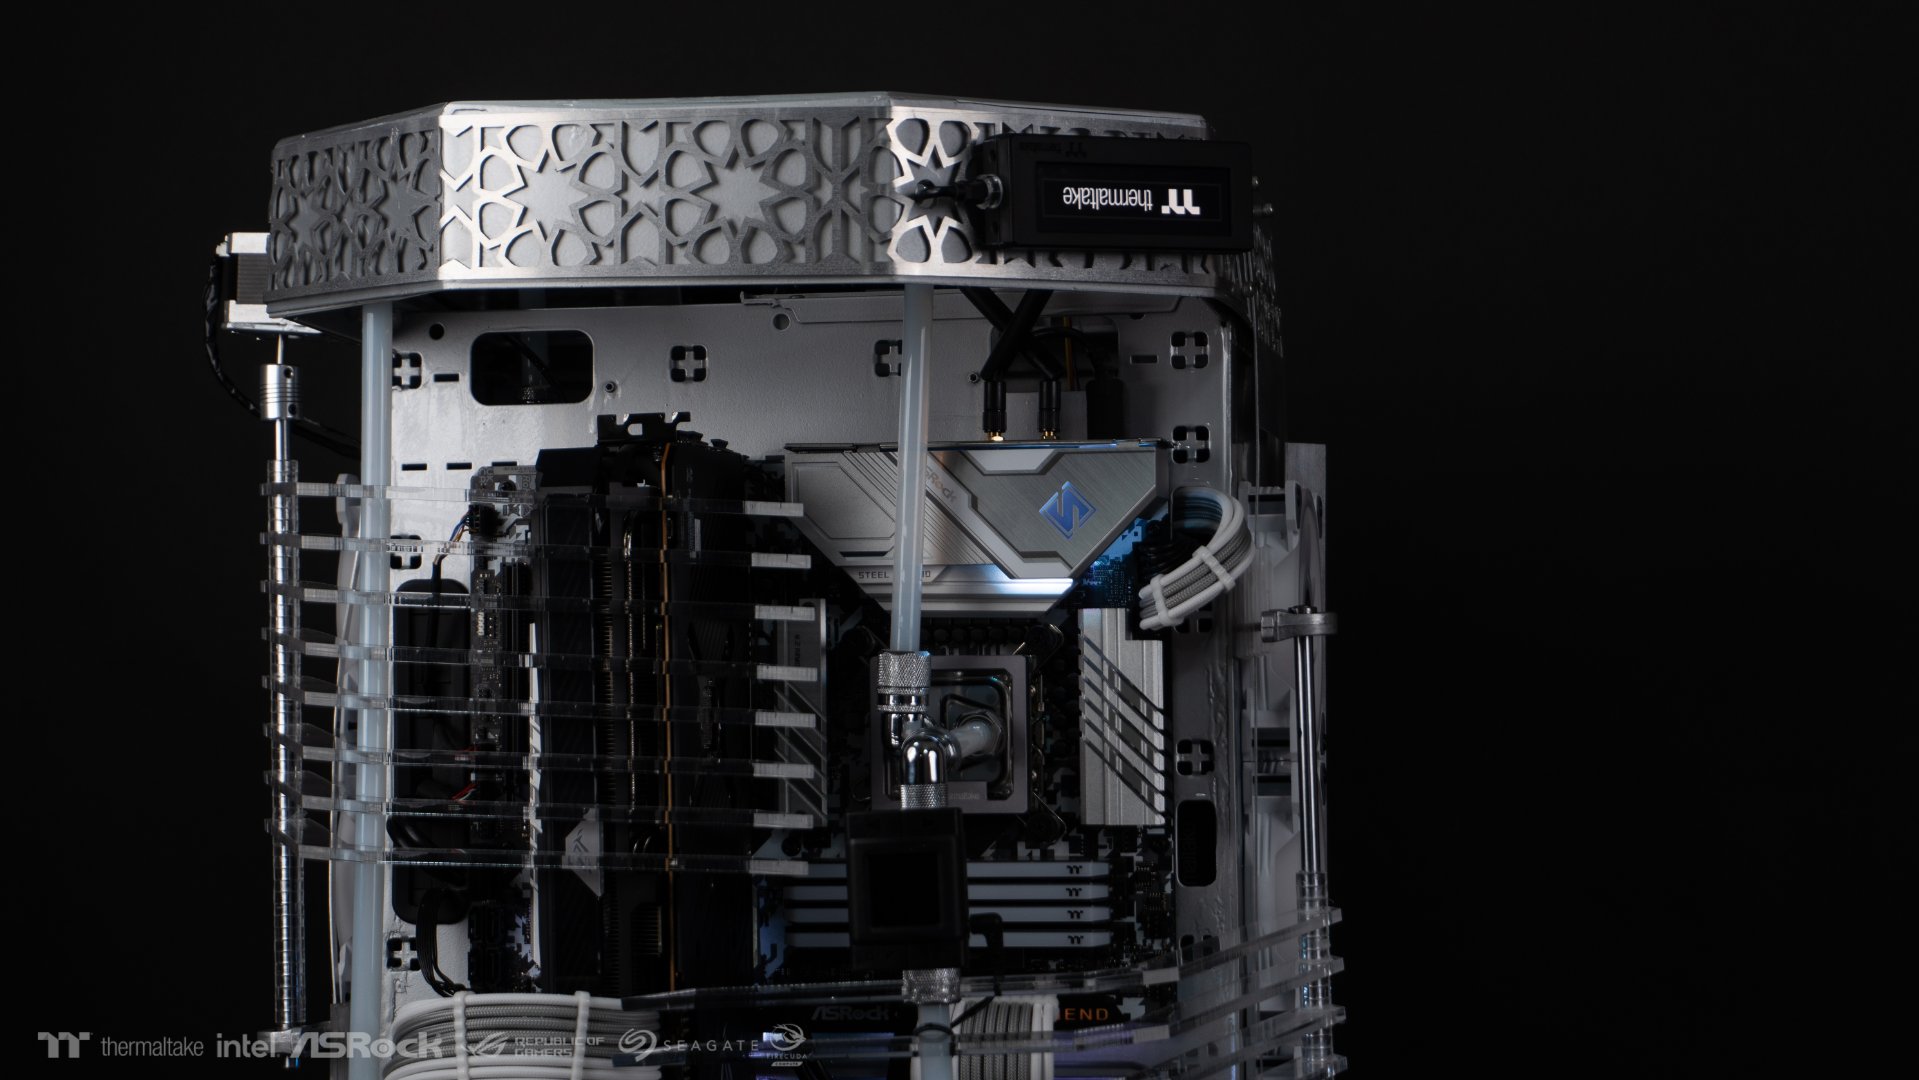
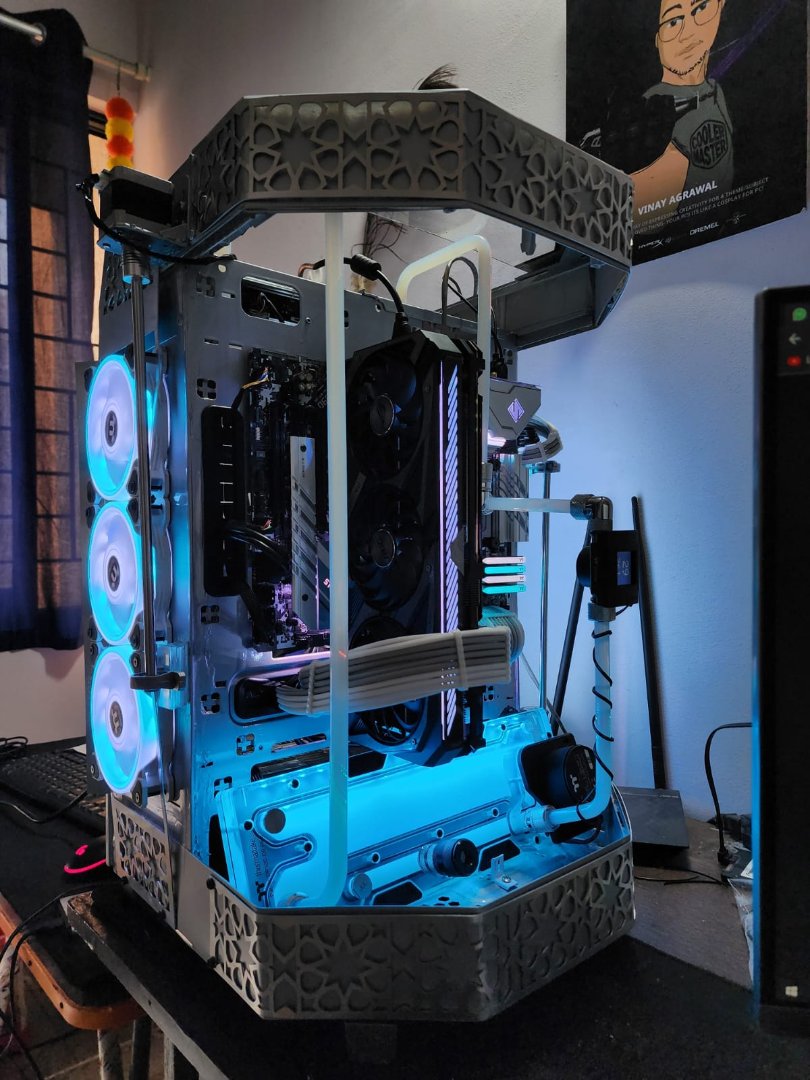
Now the upper panels are in place,
will carry out some testing with the increased load of the acrylic panels.
test of temperatures and will play with Neon, maker for best looking RGB colors .
will be seeing you all with the final post after this !
thank you for following this thread and stay tuned for the final pics !!
.thumb.jpeg.a08fce00d98ac0bf979e95a03c06d27c.jpeg)
.thumb.jpeg.deb8d282801012dc289e779317e5a6b7.jpeg)
will do some dusting and polish to make it ready for the final shoot !
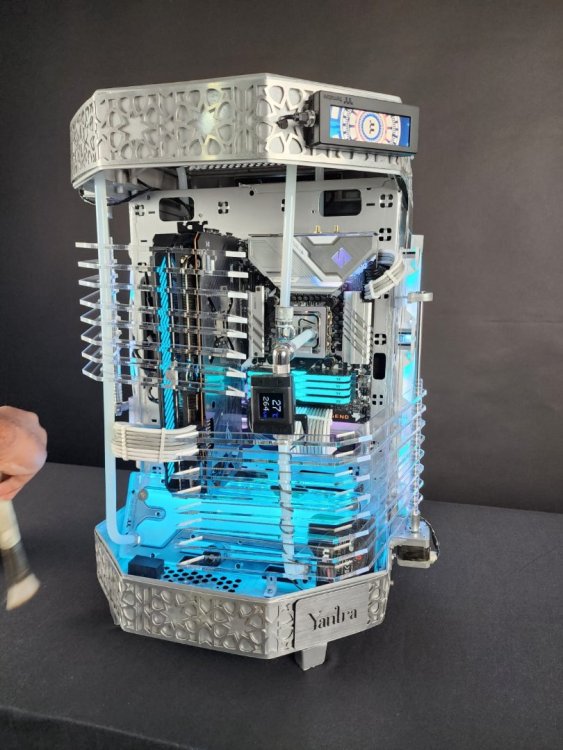
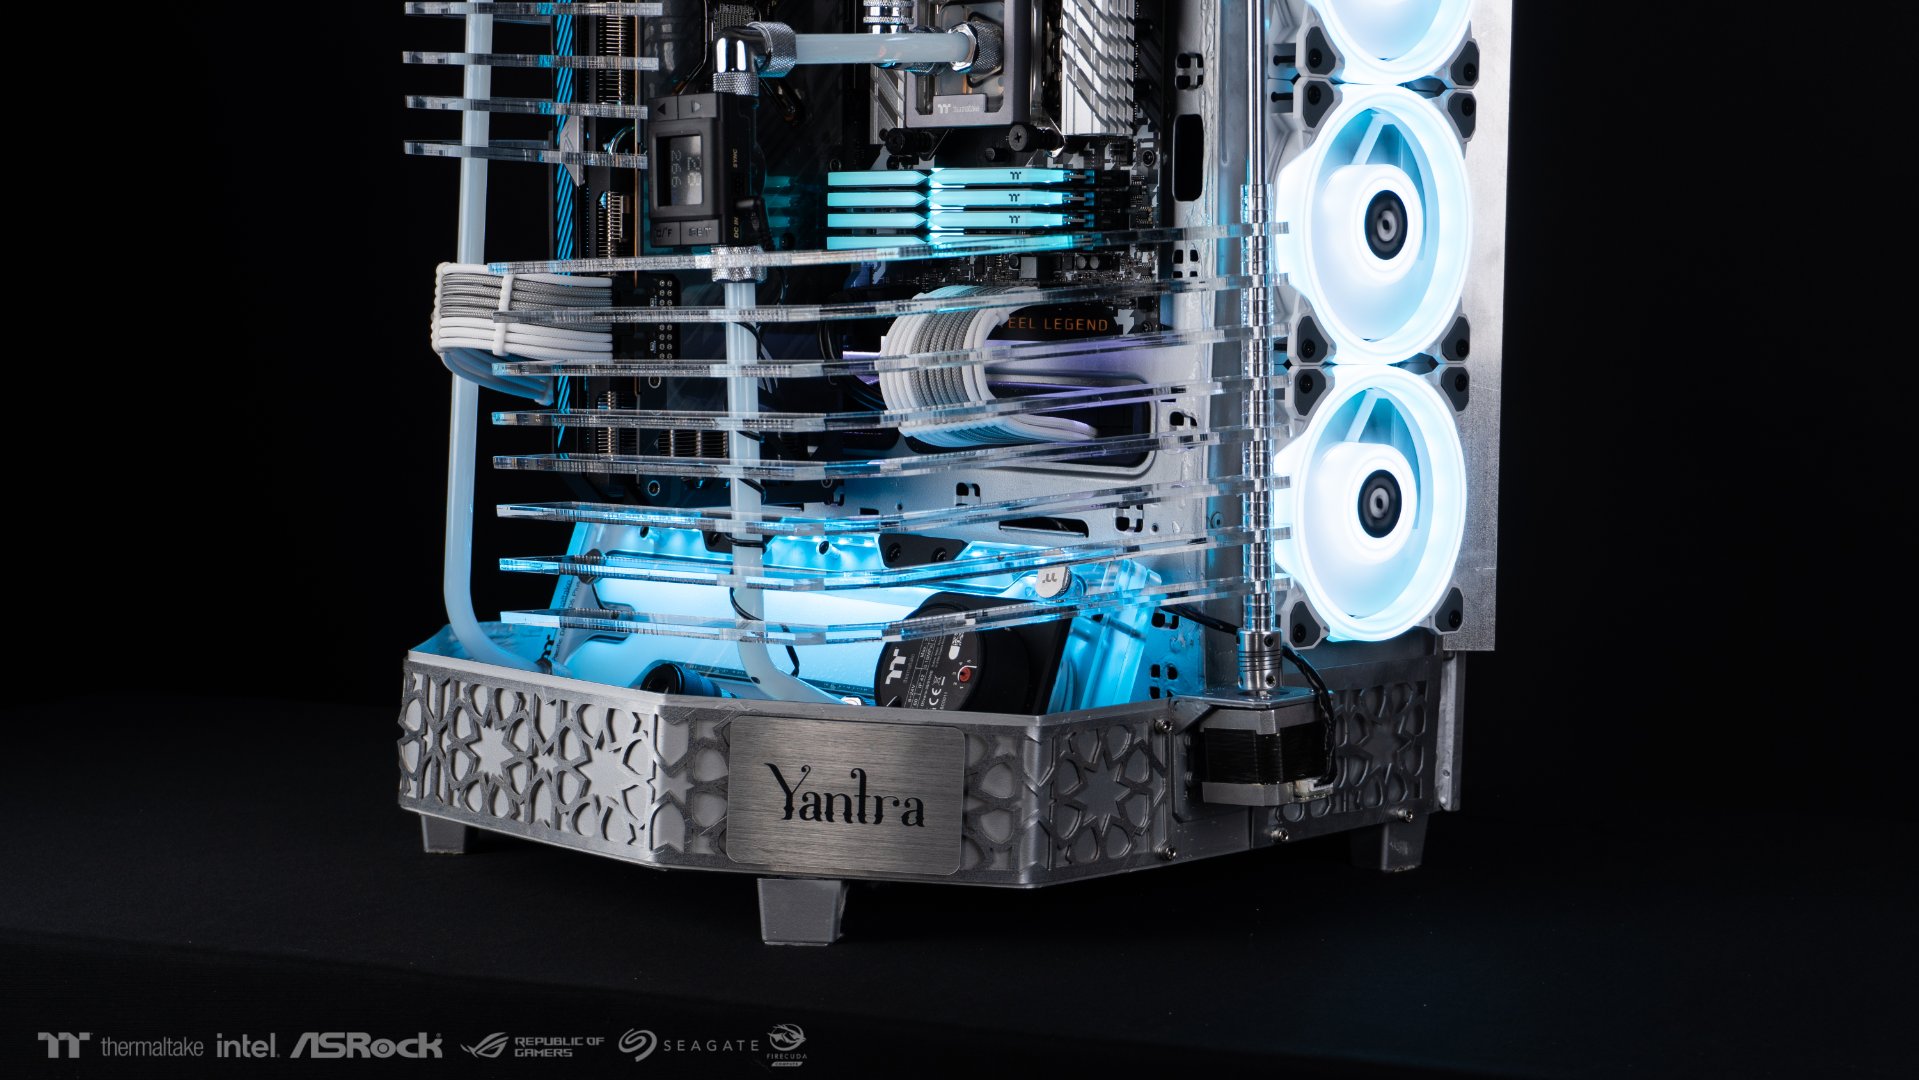
----------------------------------------------------------------------Project YANTRA--------------------------------------------------------------

Stay Tuned for final pics ! -
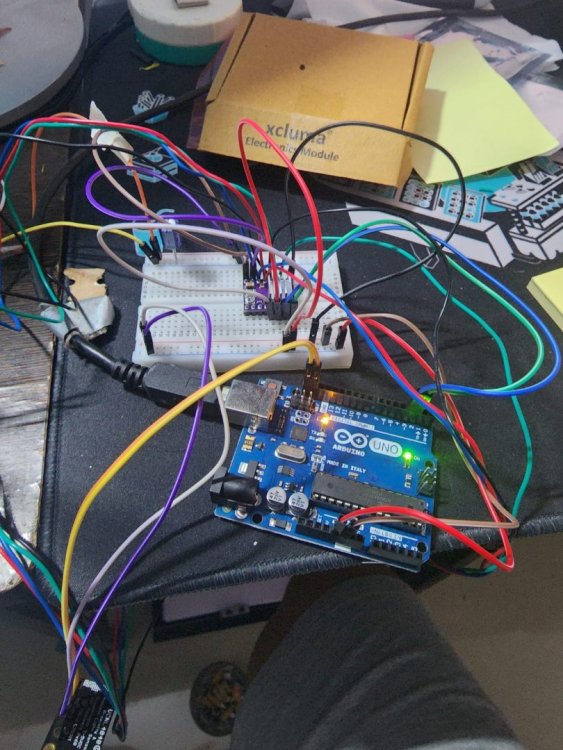
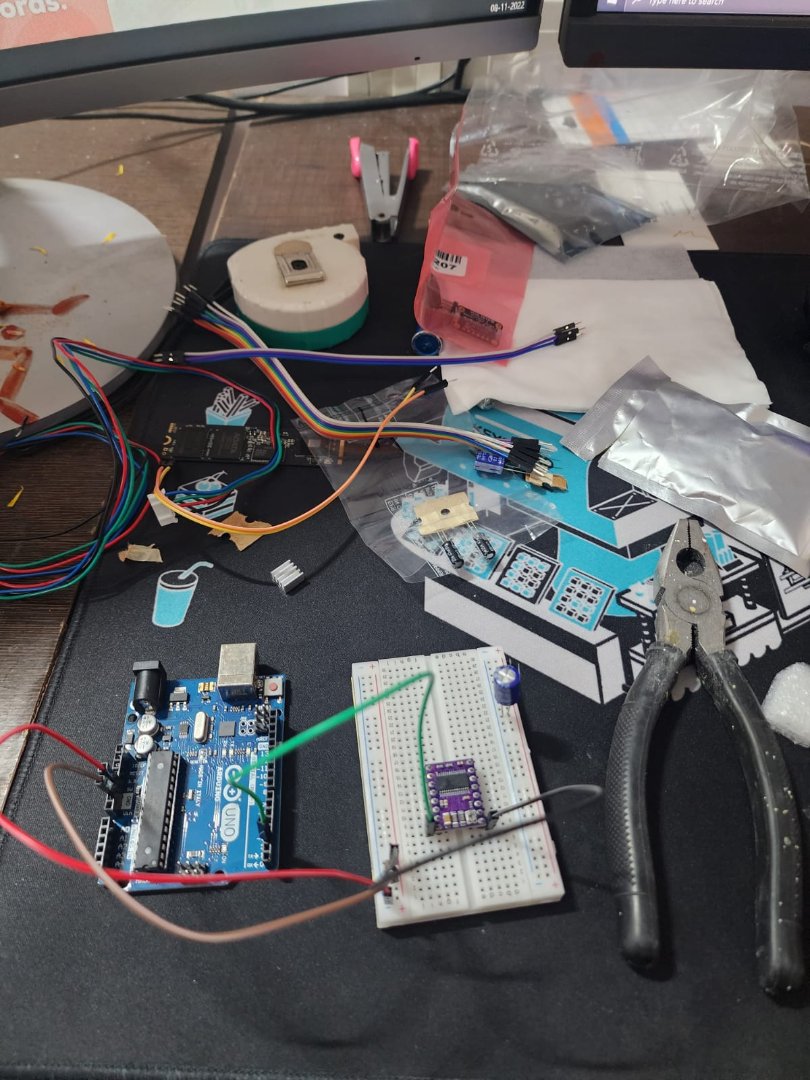
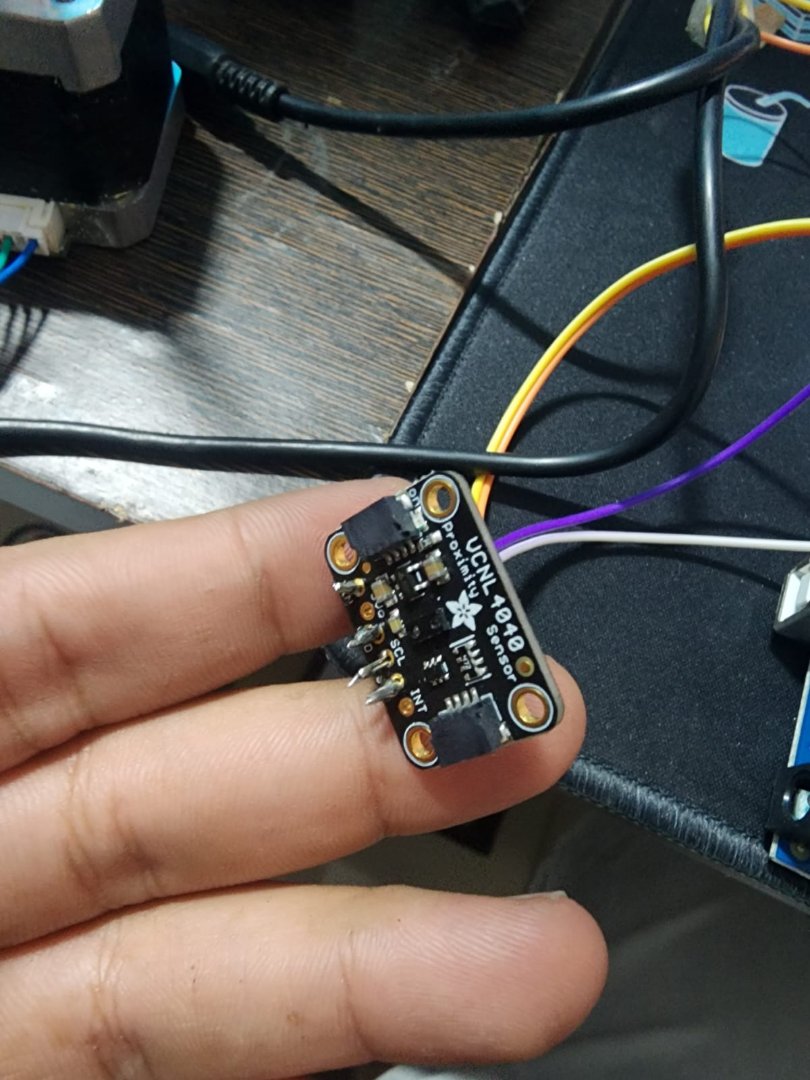
i will be using Arduino Uno 3 and proximity sensor to Open the acrylic panels on the front.
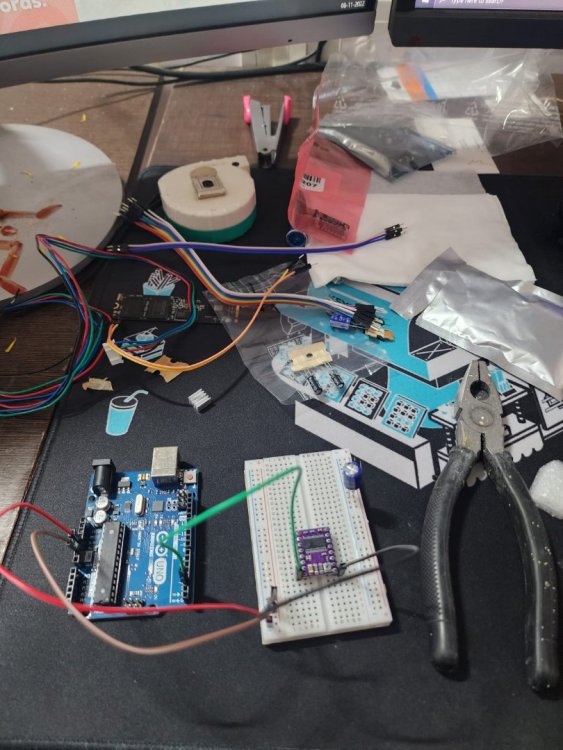
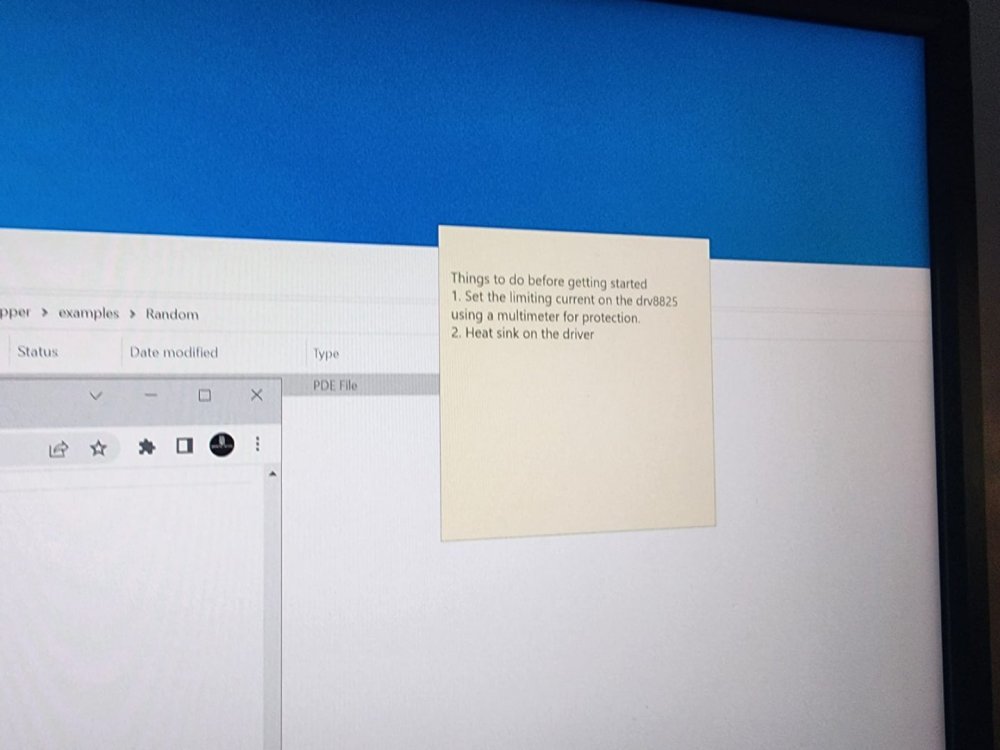
stepper motor needs a driver to set position and speed of the steps. testing things out with breadboard,
.thumb.jpeg.8e29ebf300c27454ea394ab0696decac.jpeg)
.thumb.jpeg.4eb1fad71f4f5ea539aea181e6bb0f49.jpeg)
.thumb.jpeg.6475184b62dff4af249767ca51f89608.jpeg)
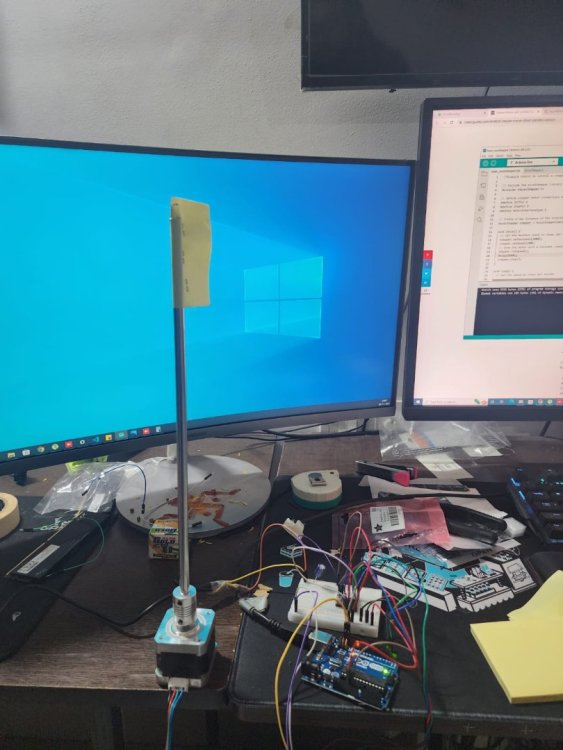
This will need some trial and error.
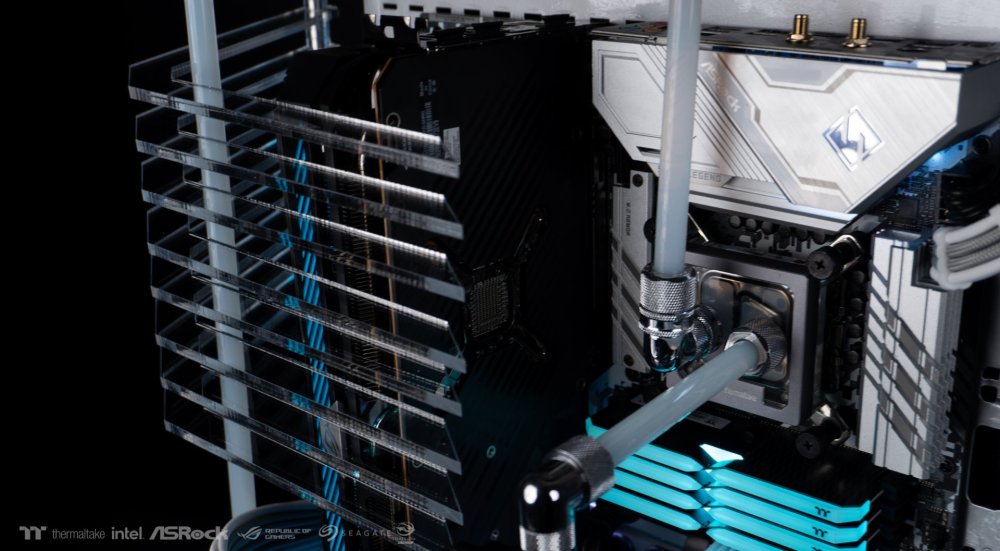
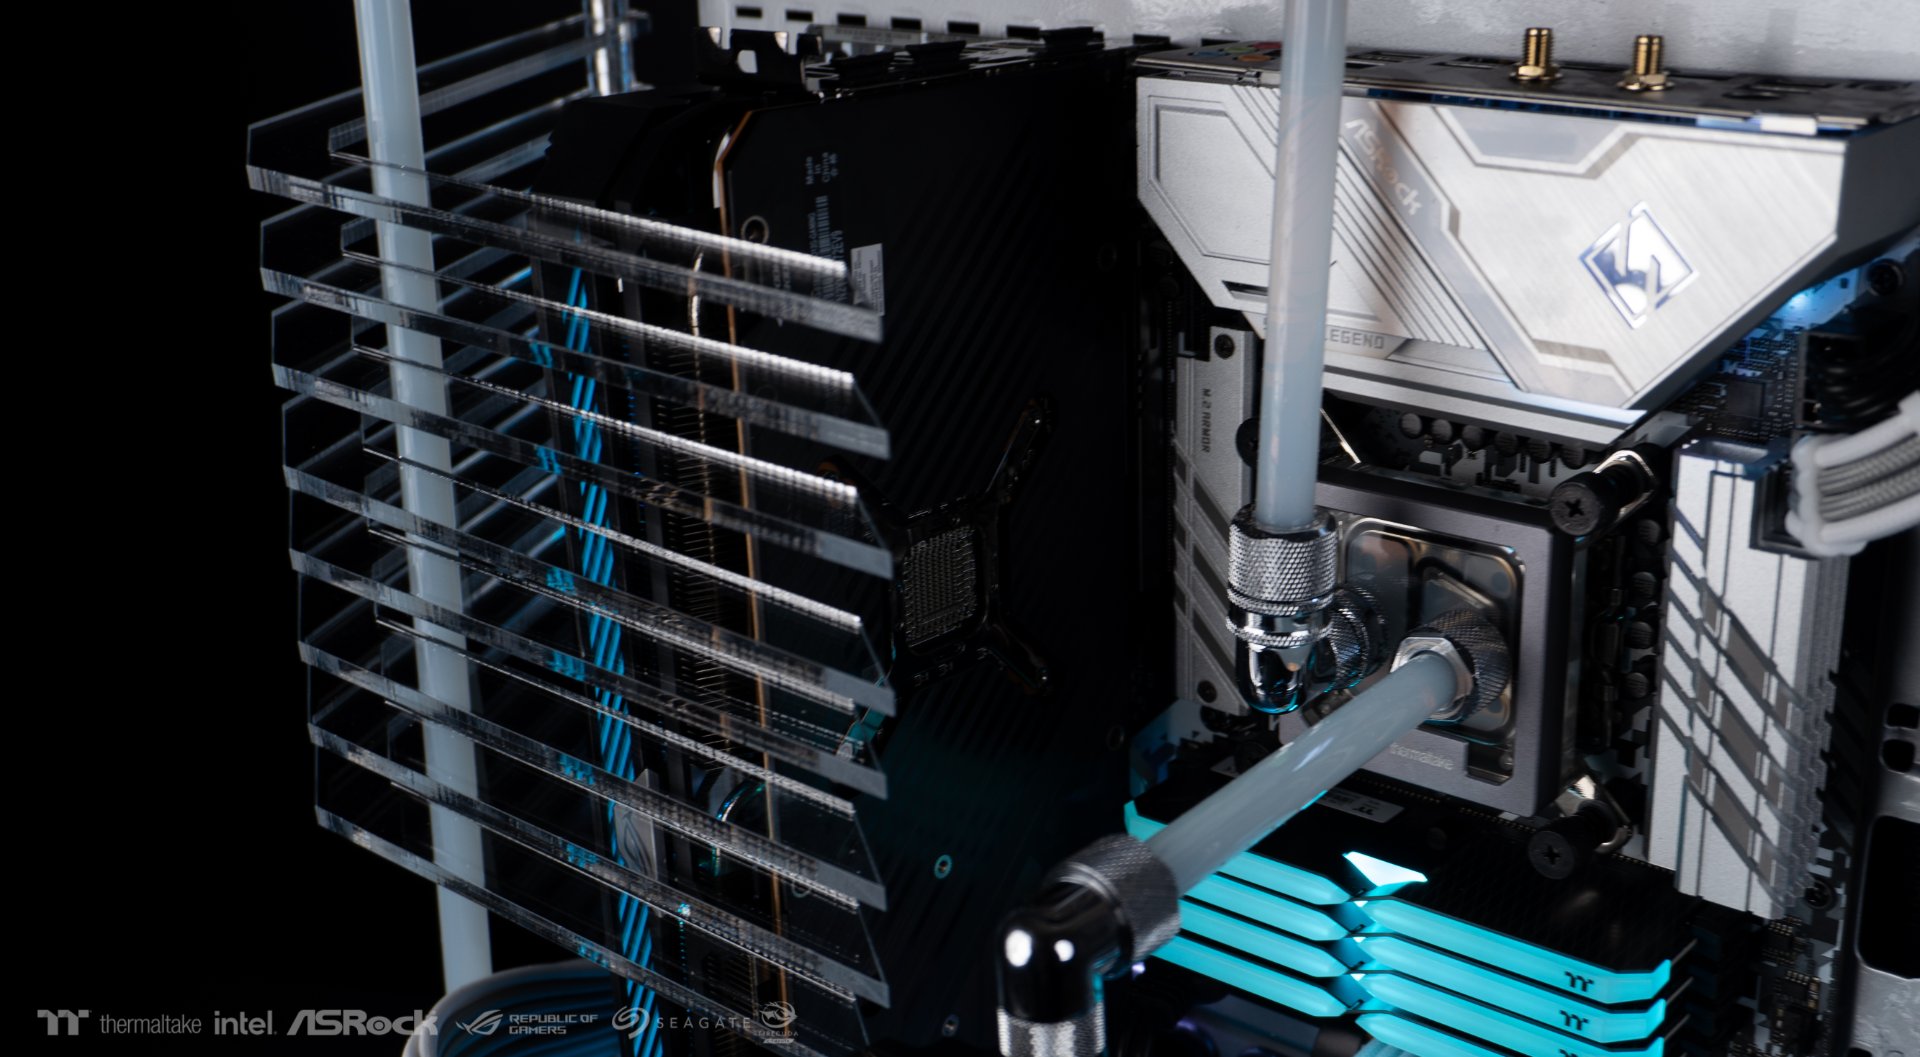
meanwhile i will assemble the machine and finish the CPU loop.
.thumb.jpeg.6566ce0e55e7f9679cc0837d92bd79e3.jpeg)
.thumb.jpeg.b71513a2806ae44ae53a34ad024596dd.jpeg)
.thumb.jpeg.df91ac29847b2908ea60e041d1265547.jpeg)

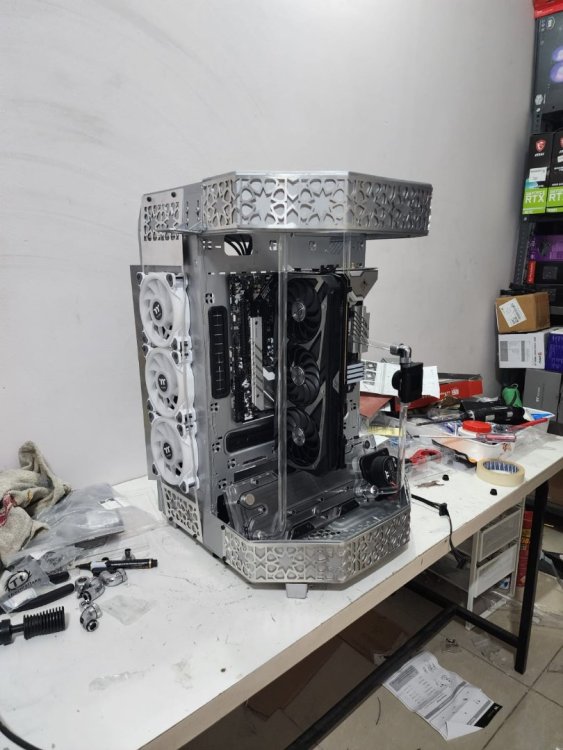
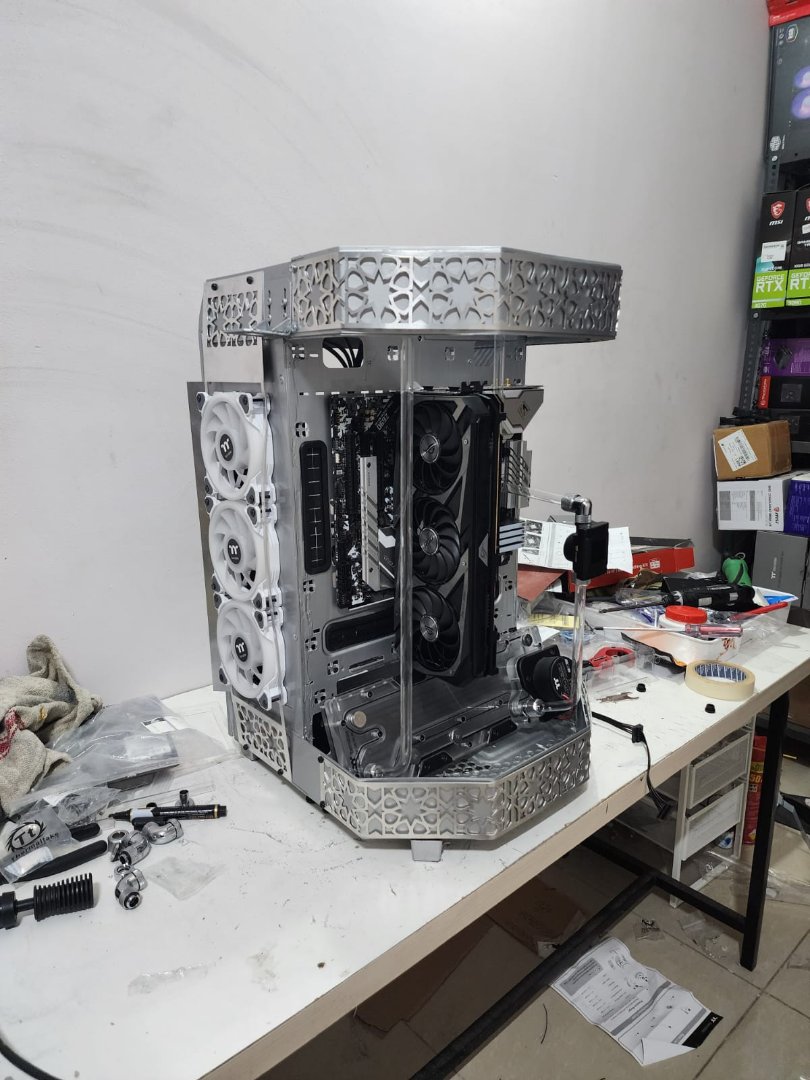
Aluminum panels are here as well test fitting with normal screws .
.thumb.jpeg.69921260eb8b062c2efcb0a44e72bac6.jpeg)
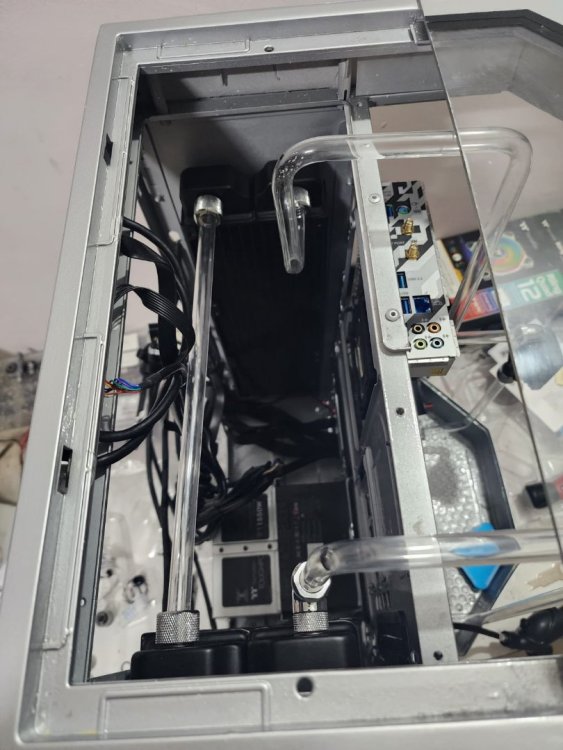
loop is complete, will start with test fitting of the Arduino first for the trial run.

.thumb.jpeg.e0949dd1c0fe49bfe77600df8df4eccf.jpeg)
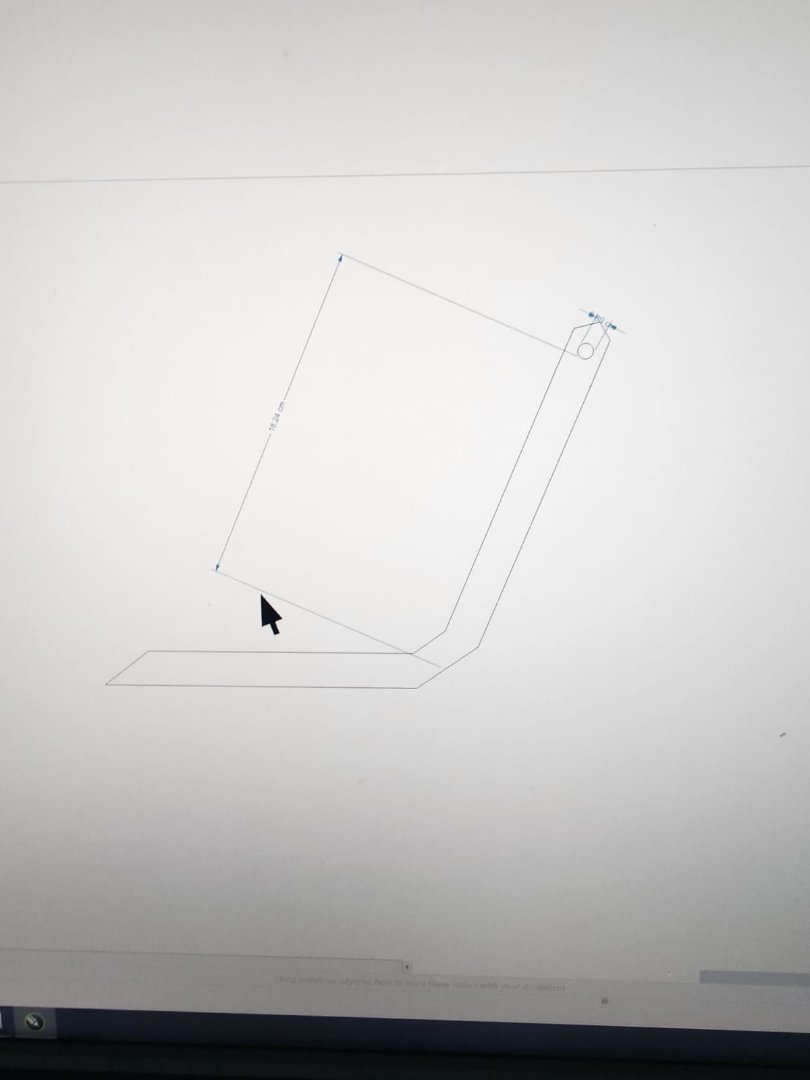
its working as expected , time for the acrylic panels . measuring out with the spare aluminum strip i had left ..thumb.jpeg.7c6b5b9fe3fd7fef345b96ef9434d584.jpeg)
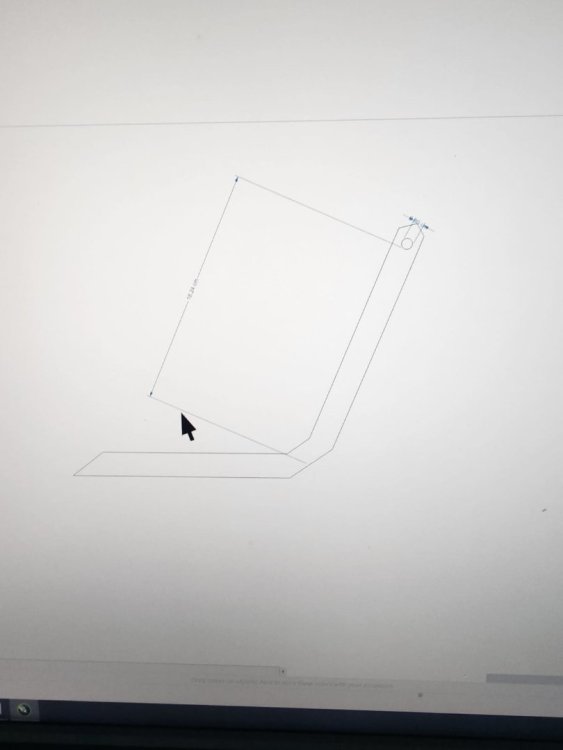
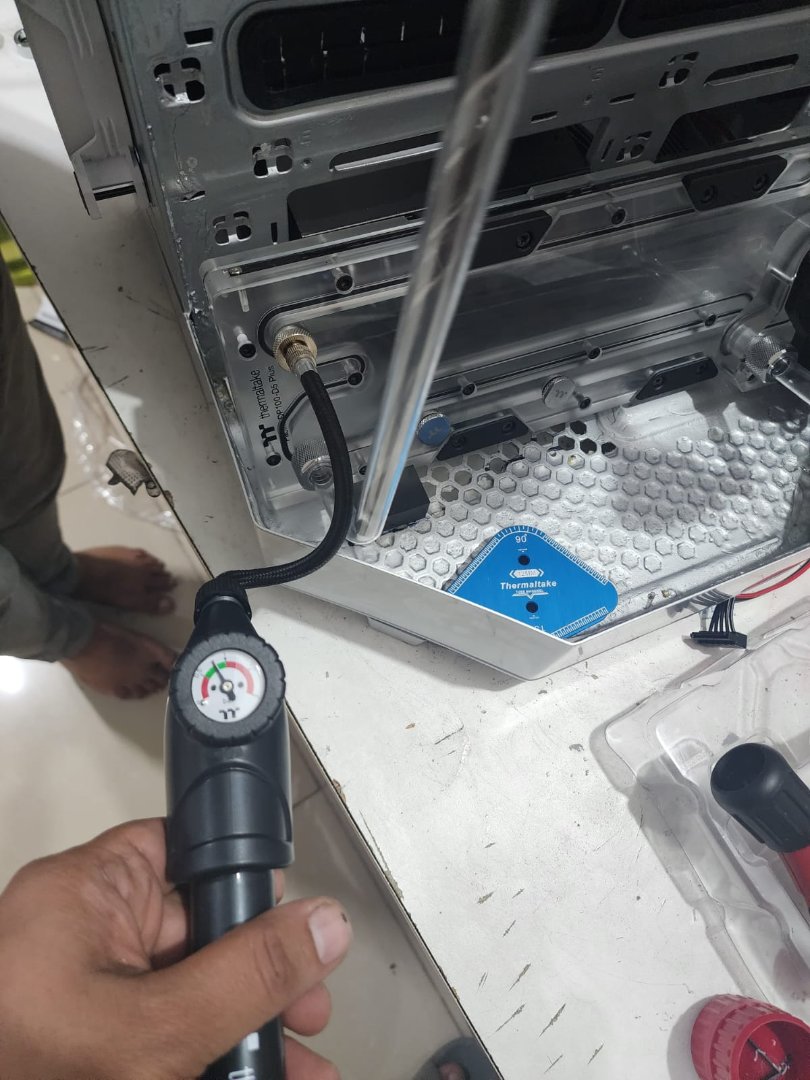
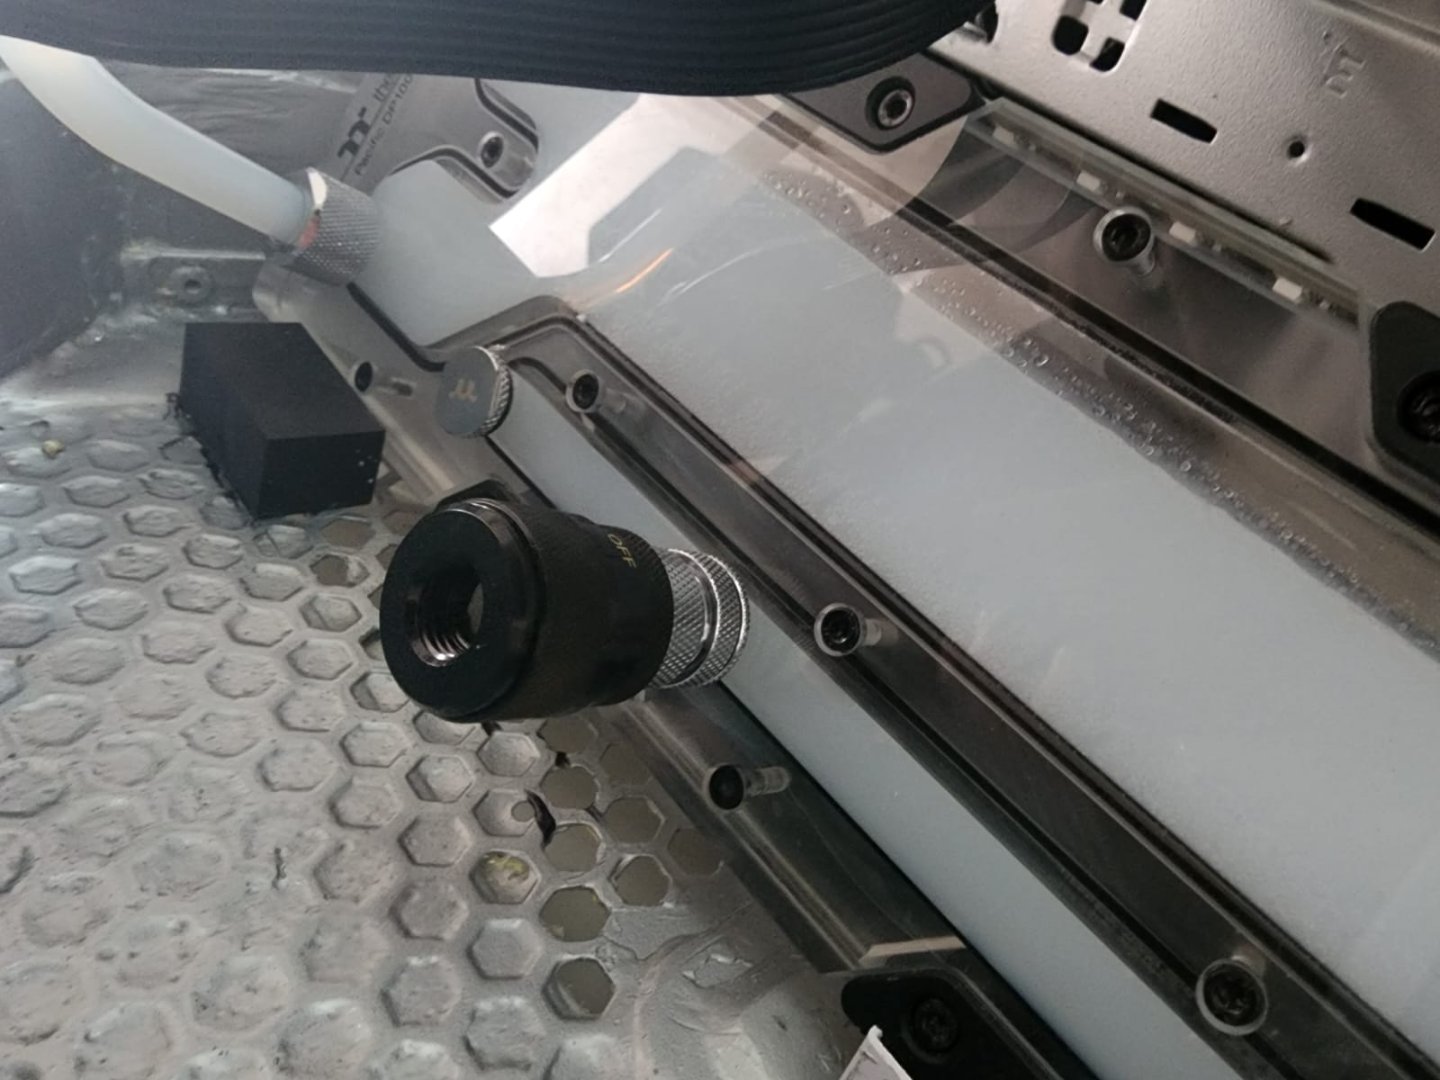
and the panels will be sent for laser cut. until i get the panels i will finish out the loop and installation in the build.
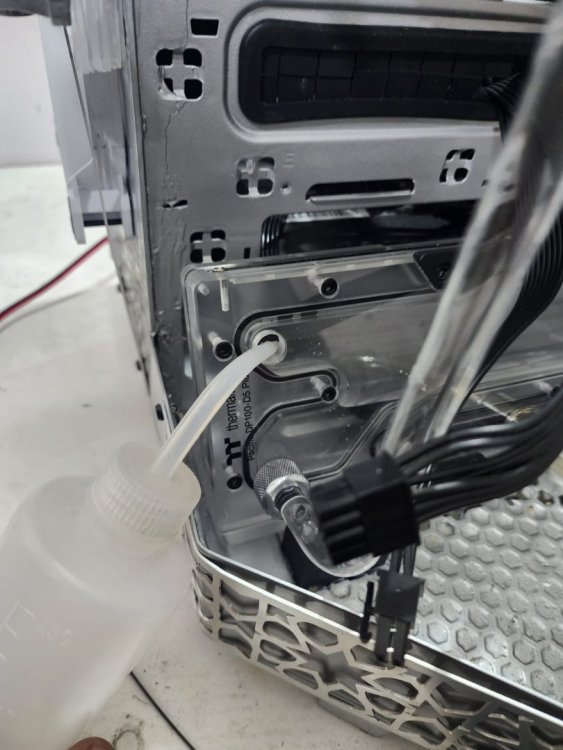
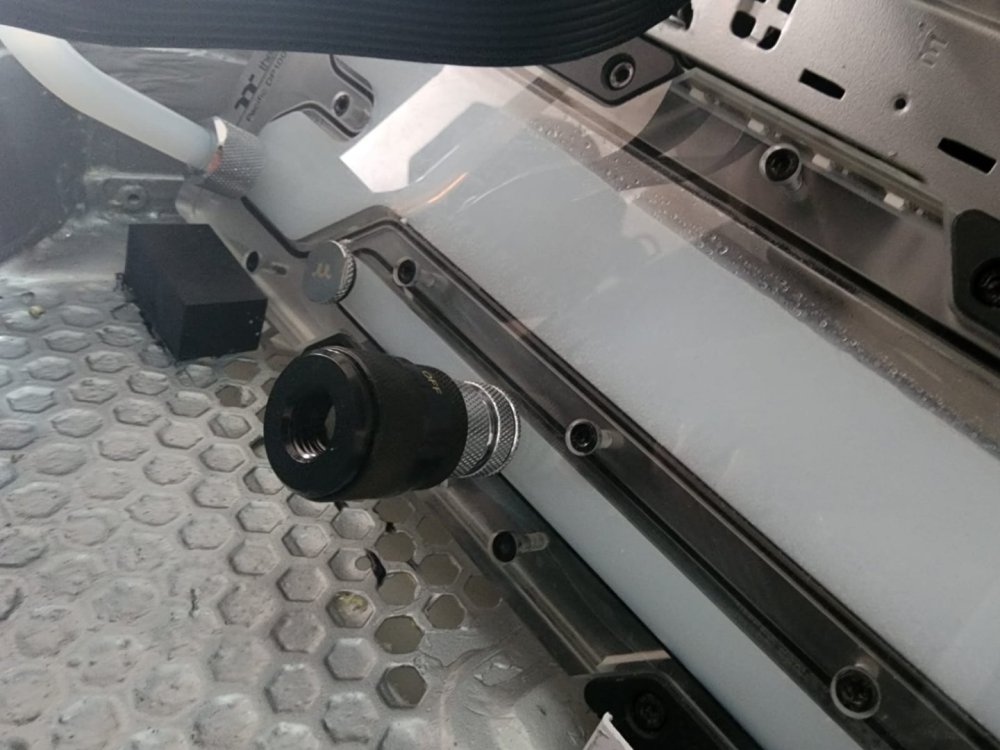
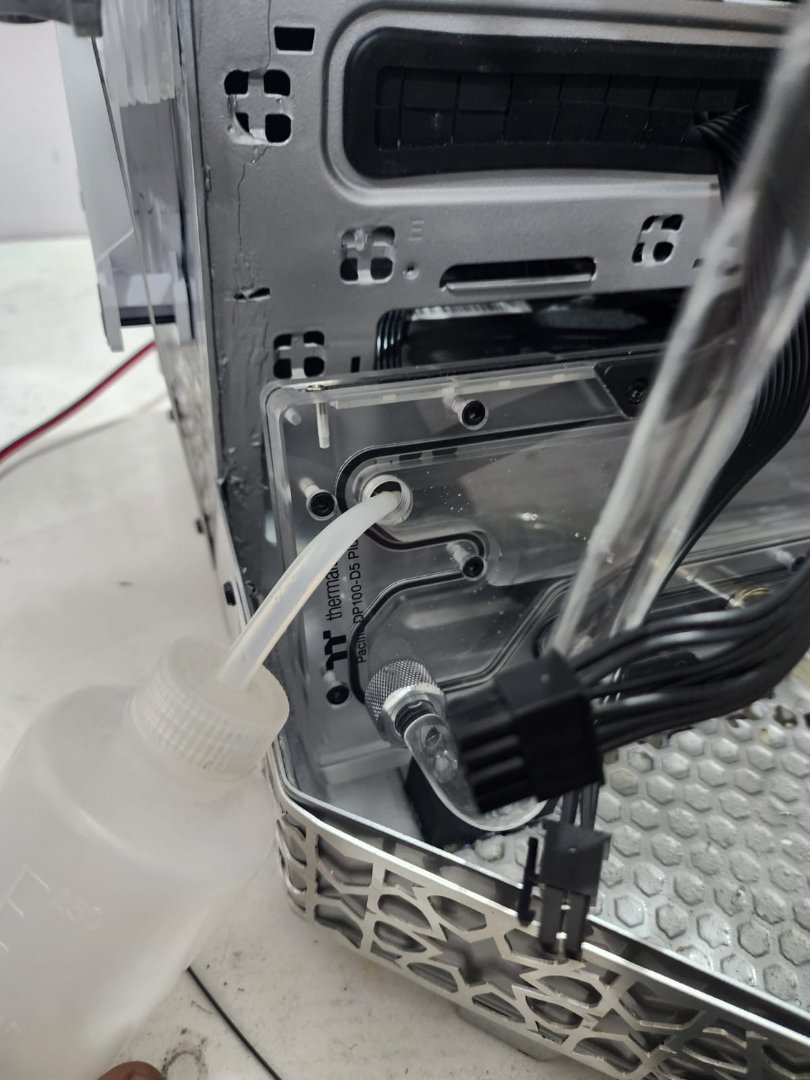
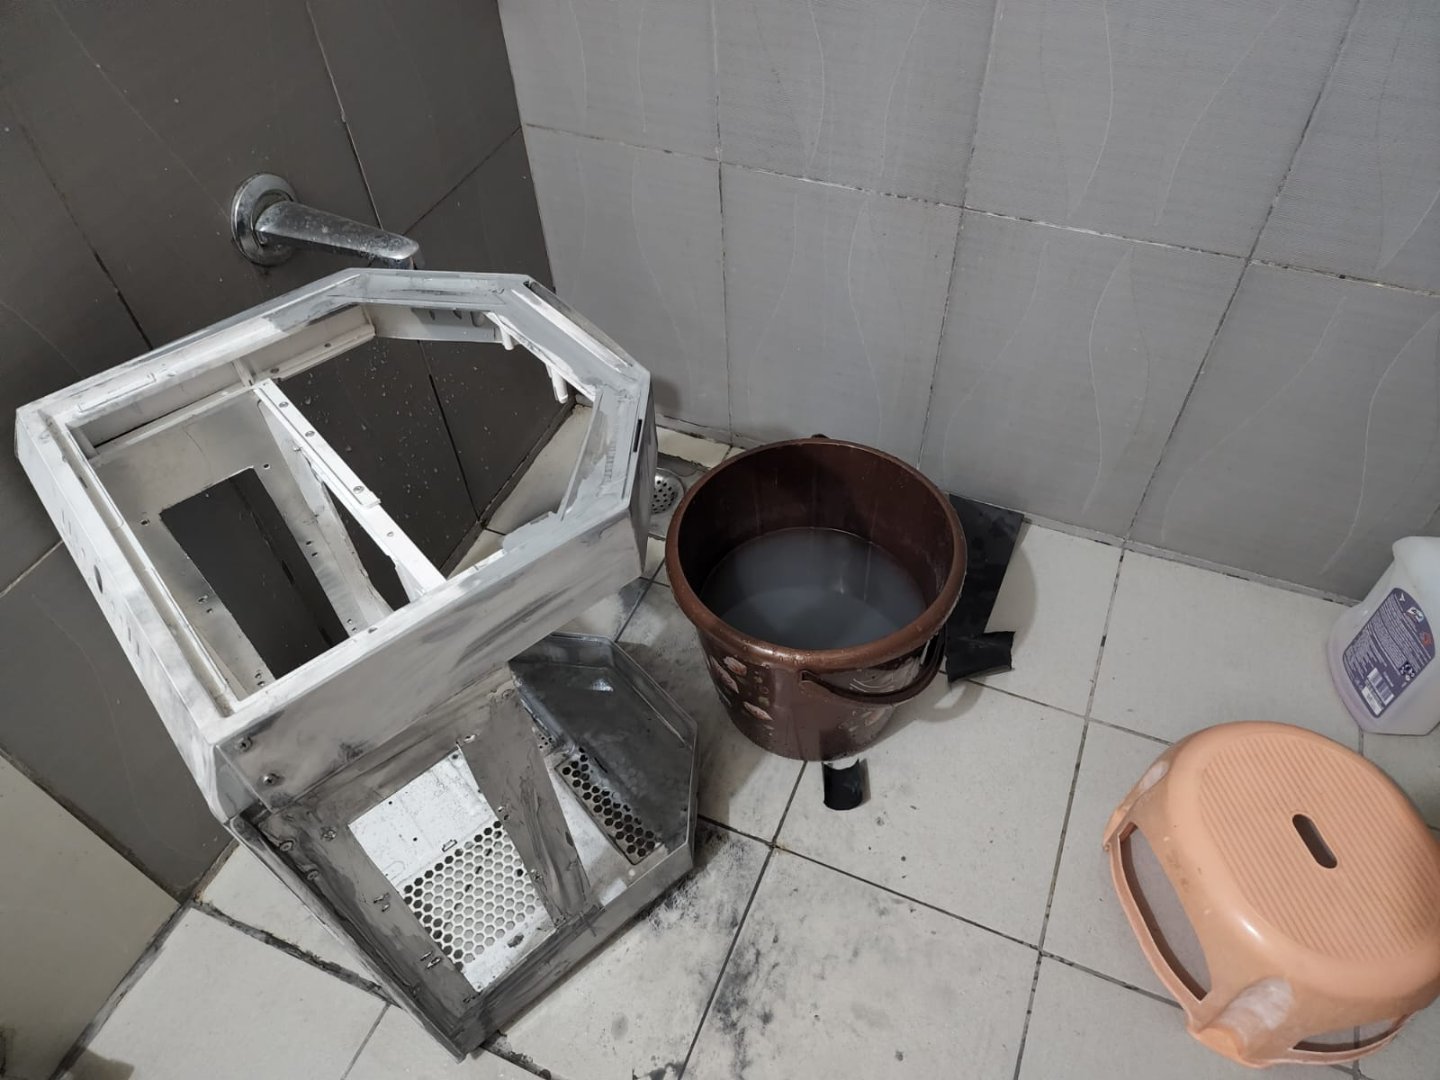
tested with distilled water.
and the leak test with liquid is done.
assembling the rest of the machine.
.thumb.jpeg.192be526ff92a65a6f1fdf8d9c5252ac.jpeg)
.thumb.jpeg.33f8fbc65c513968f64e00aec7cd447d.jpeg)
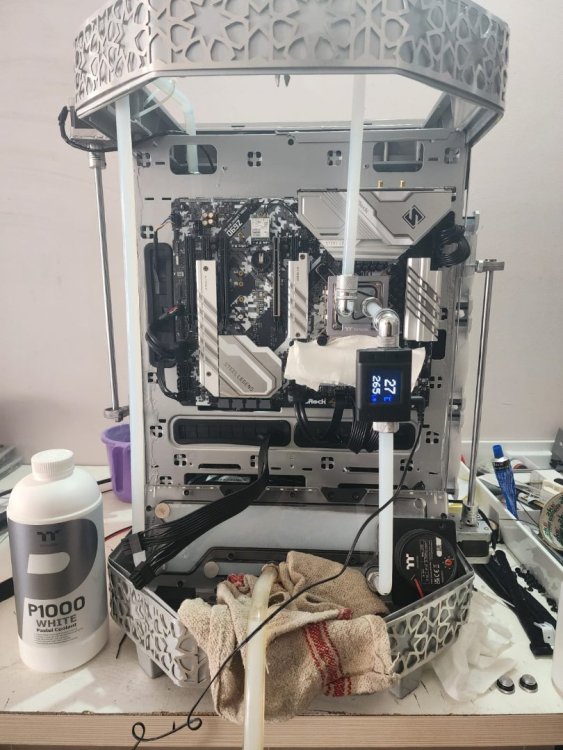
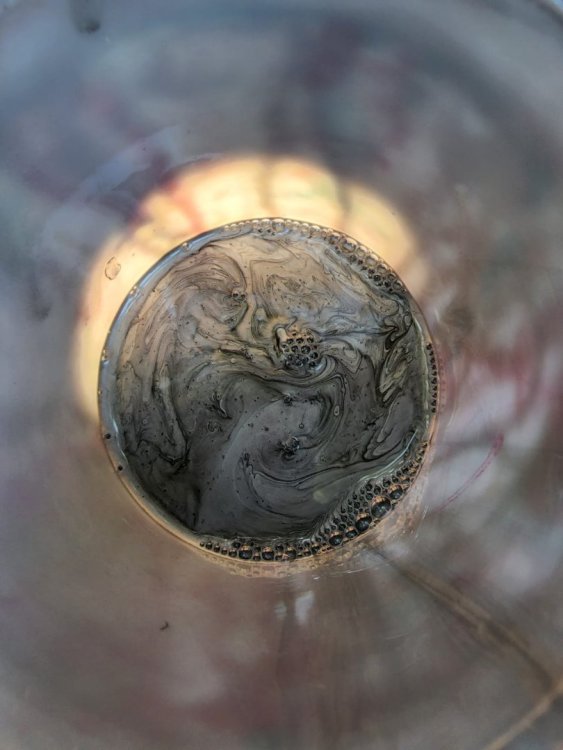
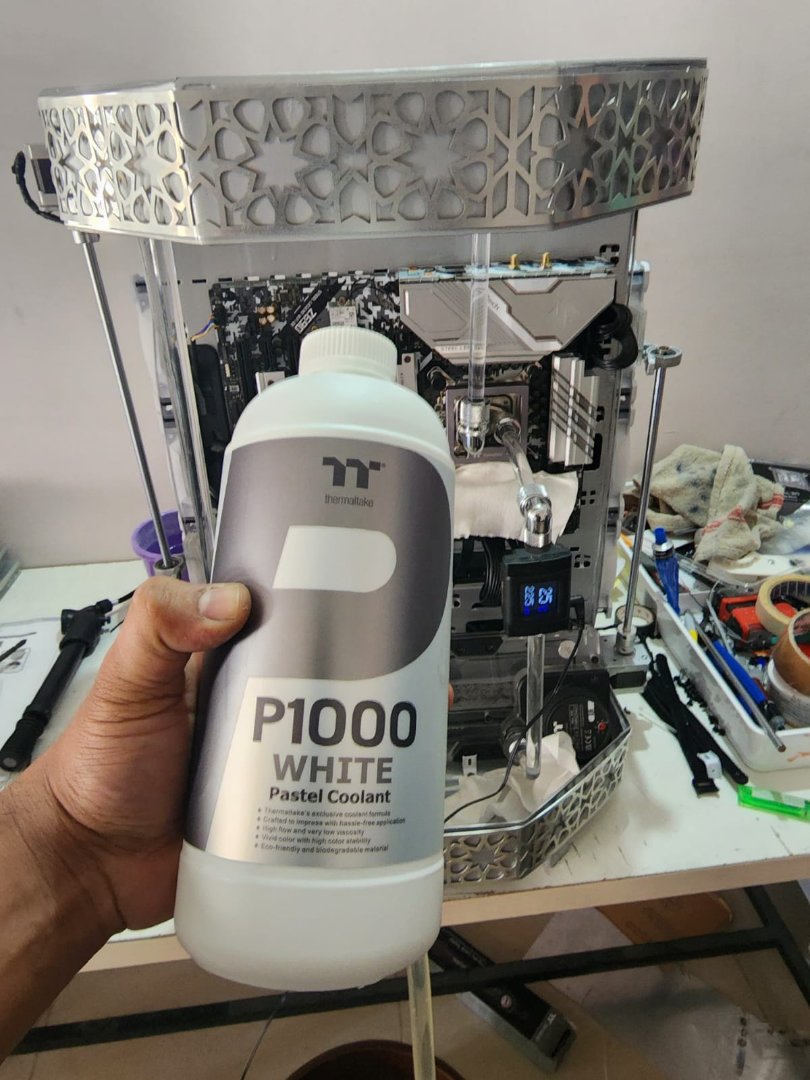
machine is assembled now its time for the coolant ,

.thumb.jpeg.80d865f00fd724c93cc0d6bc0ab5f7e7.jpeg)
after some TT RGB magic .

Acrylic panels are here as well .
.thumb.jpeg.b61af2e3ff0e243cba0d51769a7b54be.jpeg)
.thumb.jpeg.4c745dde02ff7a61546b719e63bf3cdb.jpeg)
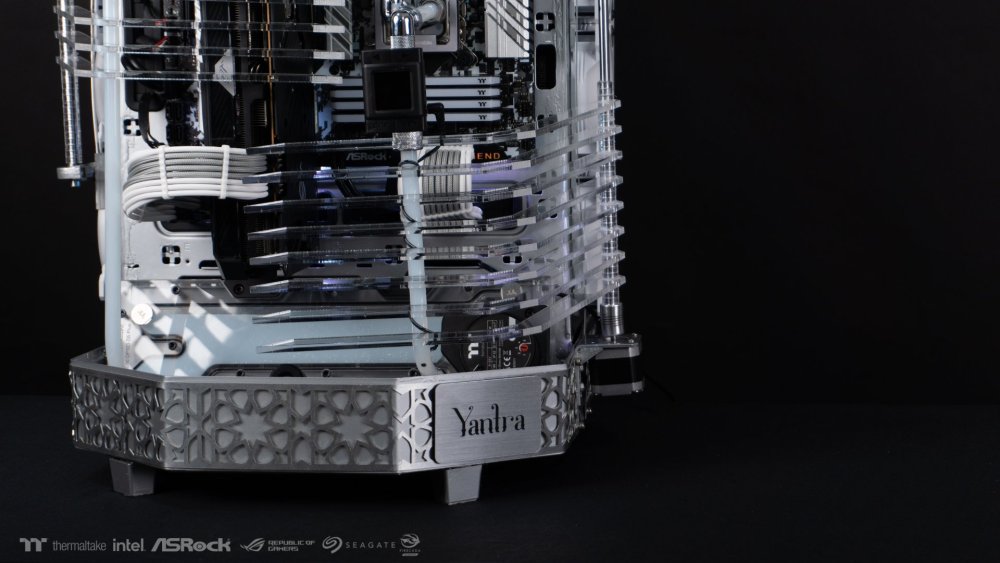
Bottom Half Done !
acrylic still has the protection film on , that's why it looks milky.
-
removing micro overspray's and droplets with water paper 1000 grit.
.thumb.jpeg.abcdb2169dcf2d32f2e3ab88c3d82f83.jpeg)
now time for some rubbing compound and finish paste to rub out the fine imperfections.
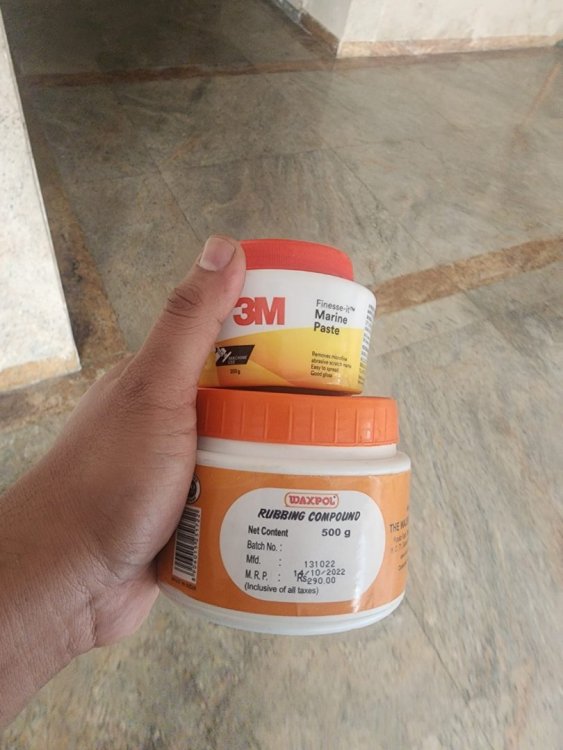
.thumb.jpeg.908216b691940ae77bc1a0bc73e50853.jpeg)
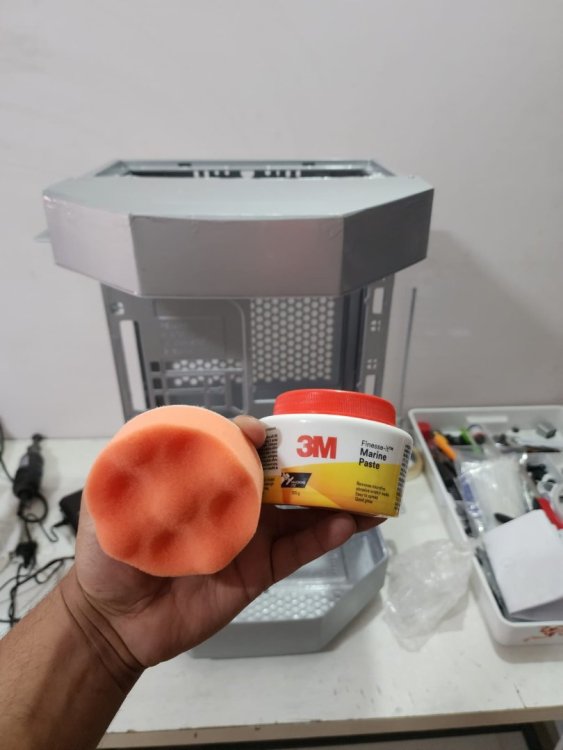
.thumb.jpeg.200943691eb76c1ce988a8c12fad9225.jpeg)

.thumb.jpeg.1a0d0239e7cf0885e143fdbbc548889d.jpeg)
.thumb.jpeg.728f07d816a835529265c2ebaf4a4f06.jpeg)
top is also finished with a Matt Black Border , will be detailed later.
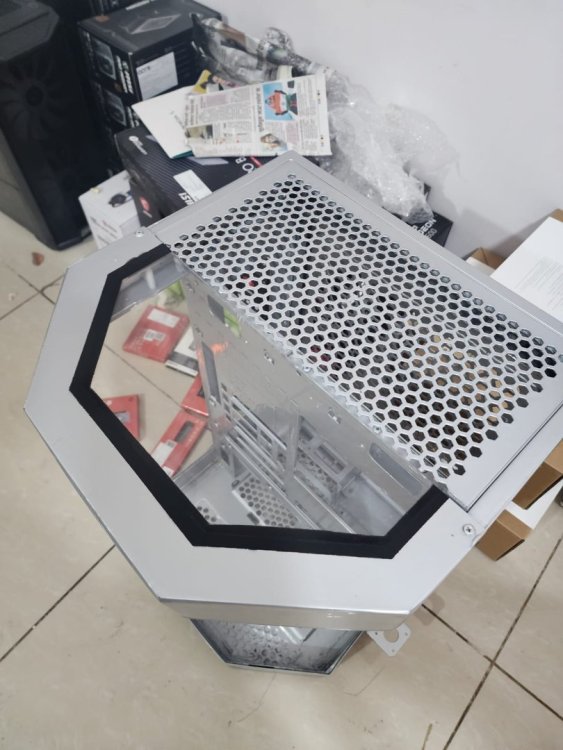
Looks good for the base , now it will be enclosed in 2MM aluminum sheets for the top and side .
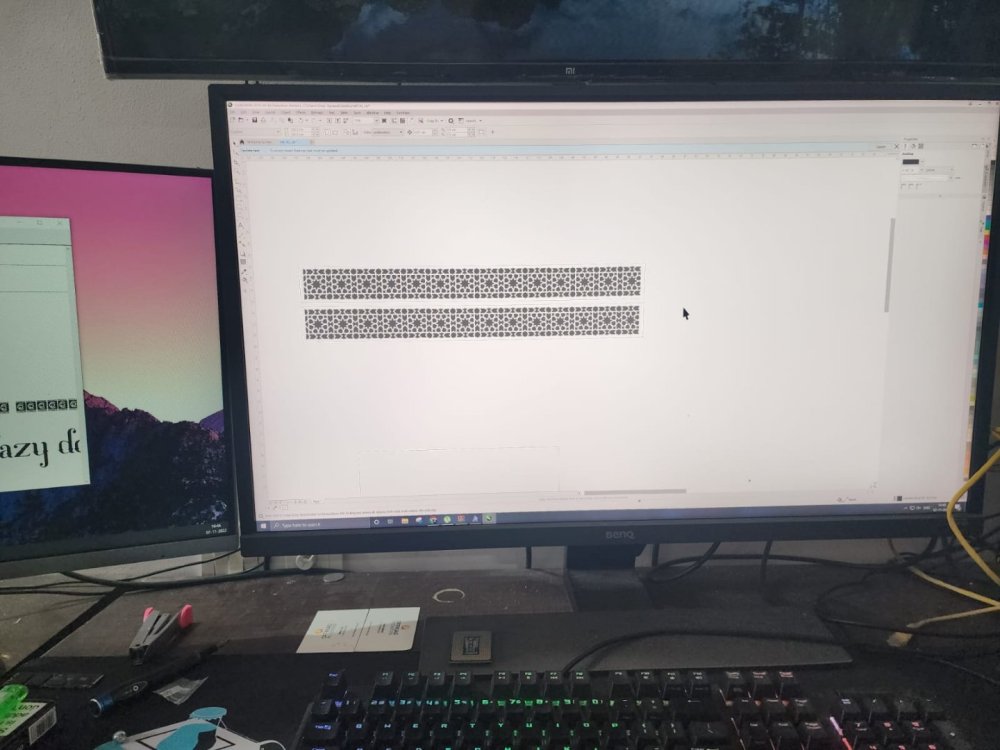
now use of some vectors to order laser cuts of the design .
-
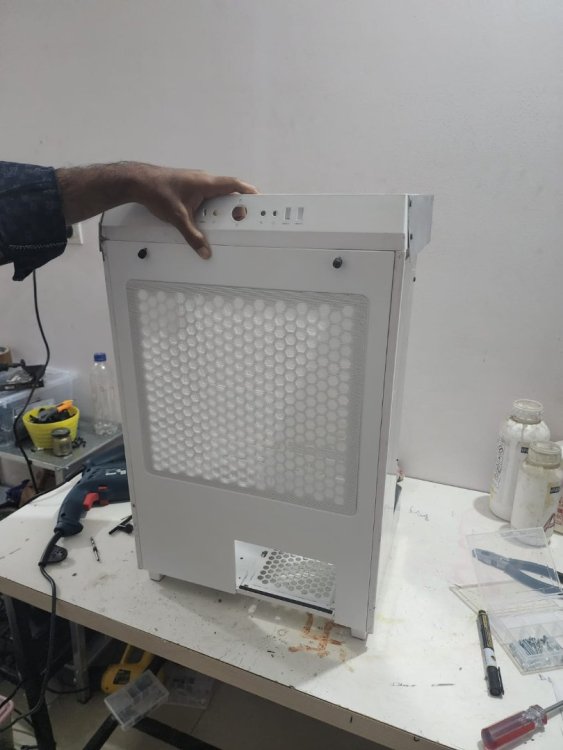
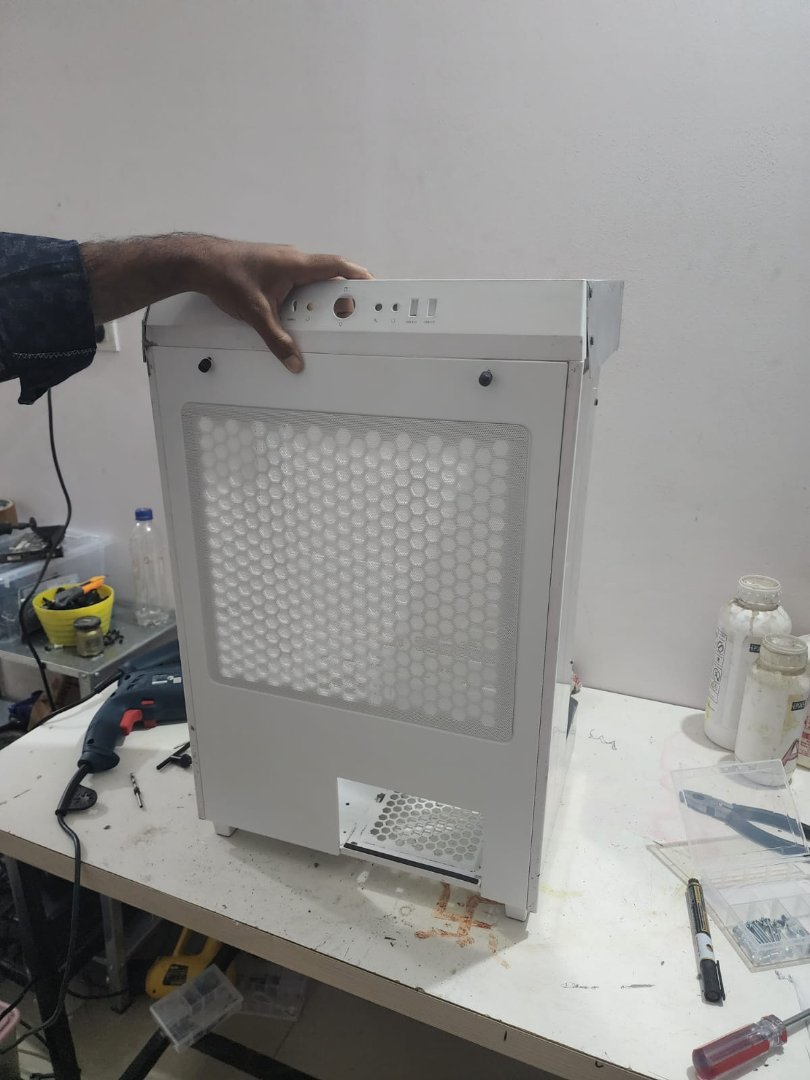
and now the 2K paint. Doing 4 layers for a good paint thickness.
.thumb.jpeg.bb31b6b5a6b9d12cad4484c850347ff6.jpeg)

kept it inside for drying overnight away from dust and birds.
.thumb.jpeg.c6fc6ecc33ad519ab69131004ce72aad.jpeg)
-
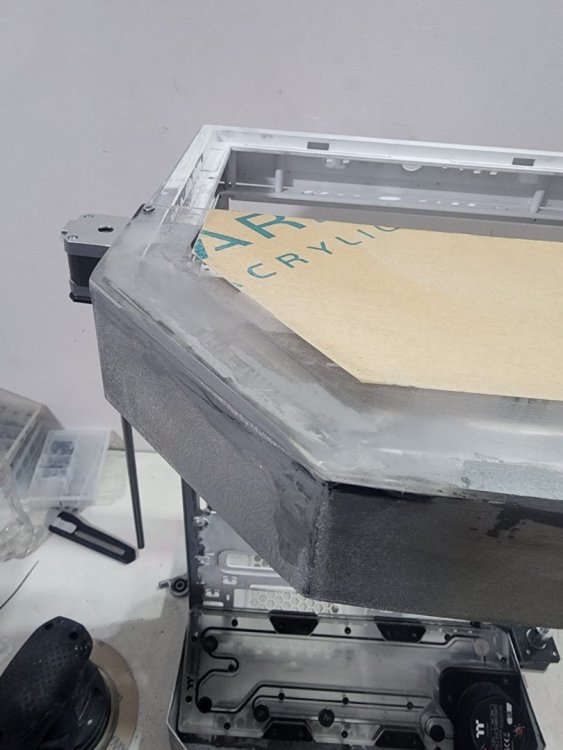
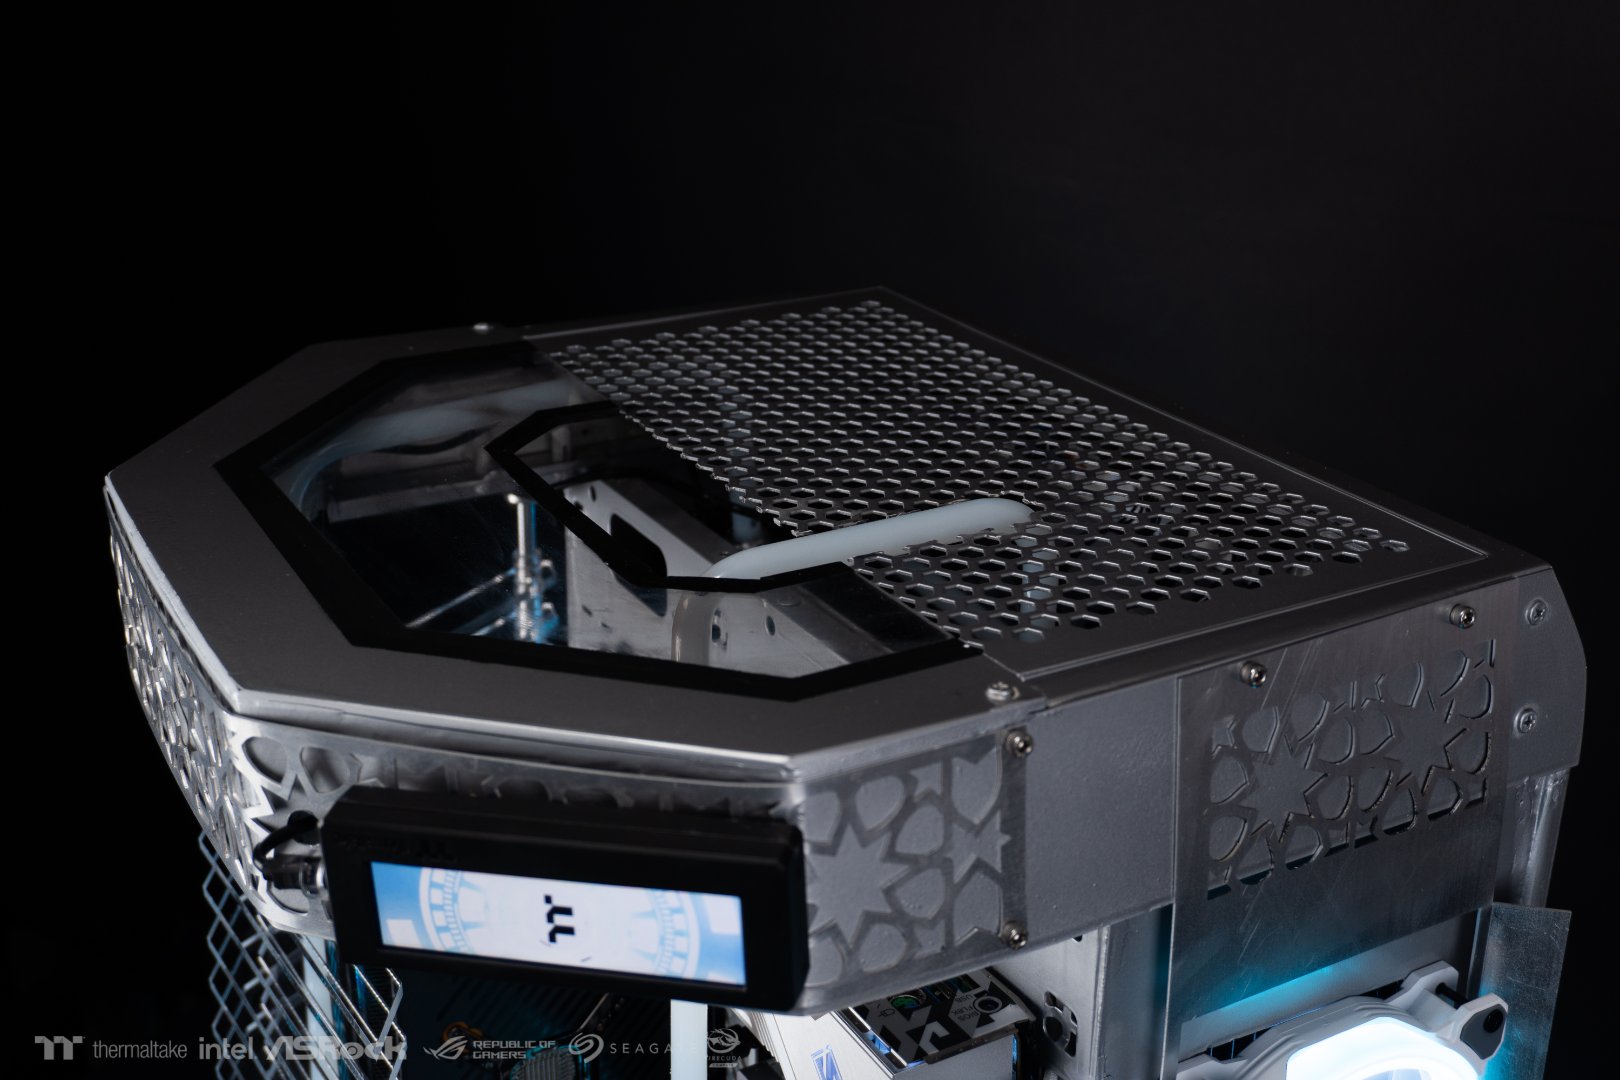
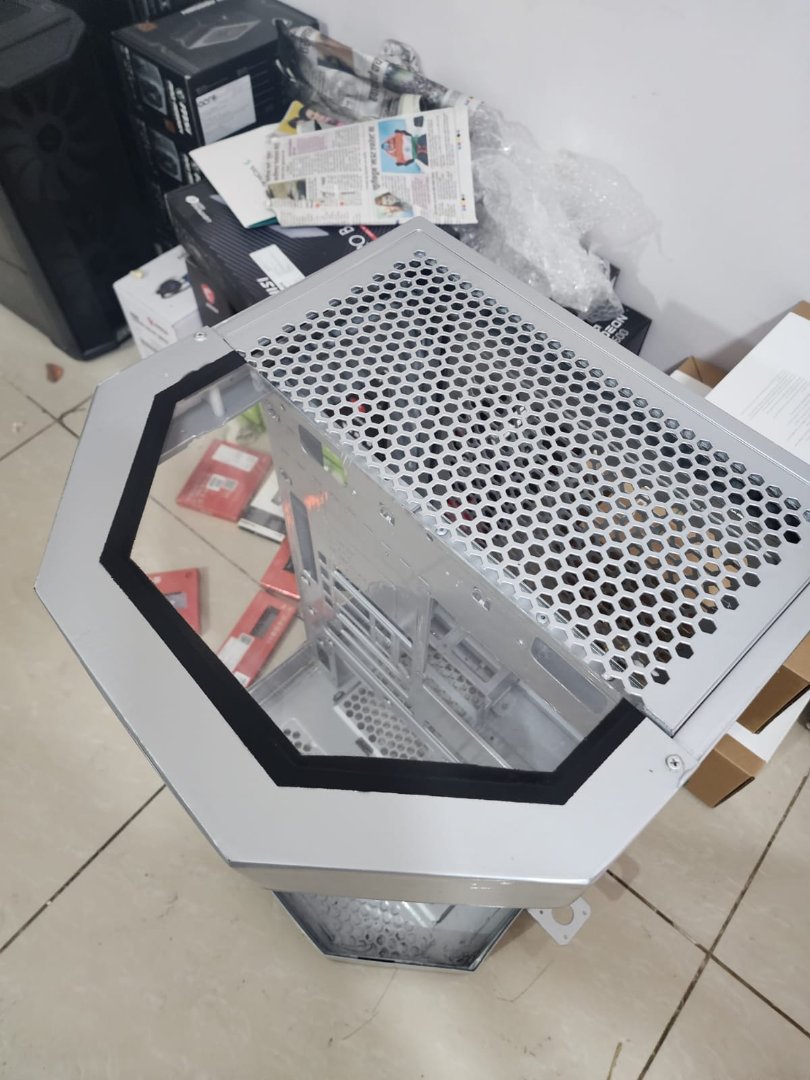
Sliced the trop panel into half will be making the front part transparent , will do the detailing ion the back part after the paint.
.thumb.jpeg.97a306f6264986a3a758930e9b44972d.jpeg)
Now adding the Transparent acrylic in the front .
.thumb.jpeg.128f7bc544350d95d478e764590a2db7.jpeg)
pasting it with epoxy resin and some putty to smooth the surface ,
.thumb.jpeg.df4b90bf4a1e51dceeaa2c013dfb9dbd.jpeg)
sanding time again , after smoothing out the putty looks way better and uniform
making holes for the Fan Cables.
.thumb.jpeg.06275c08c79828ce02c1e8b8ed230bd0.jpeg)
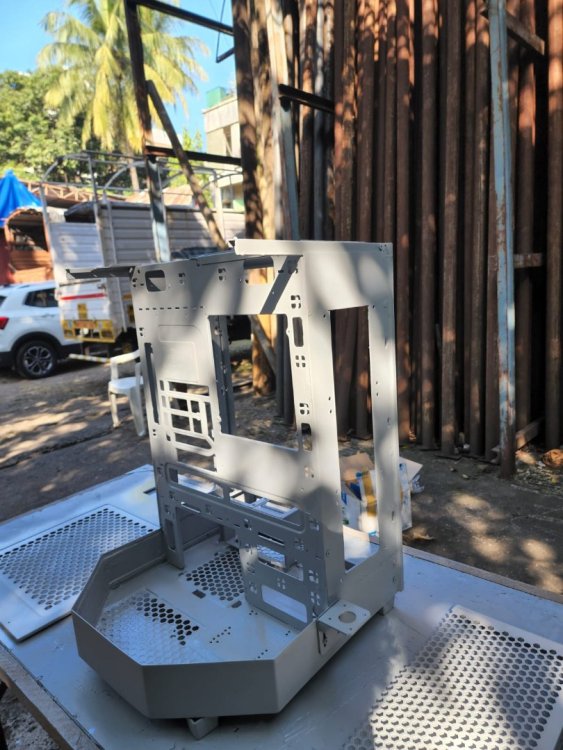
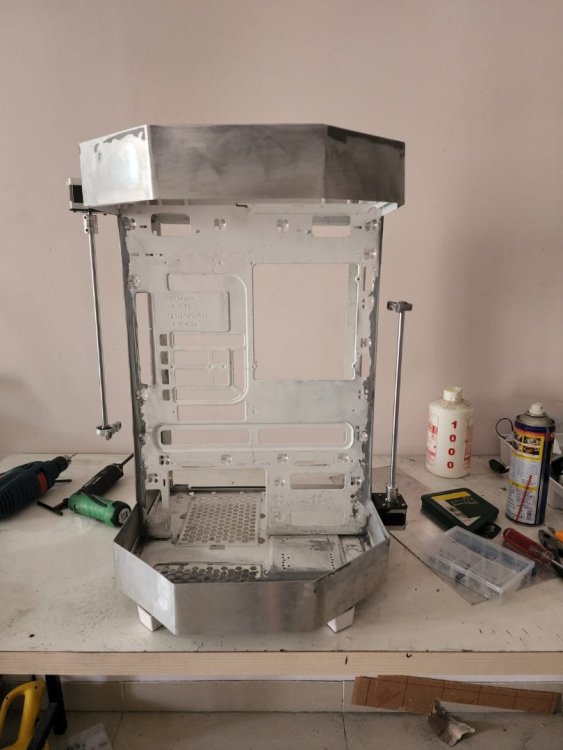
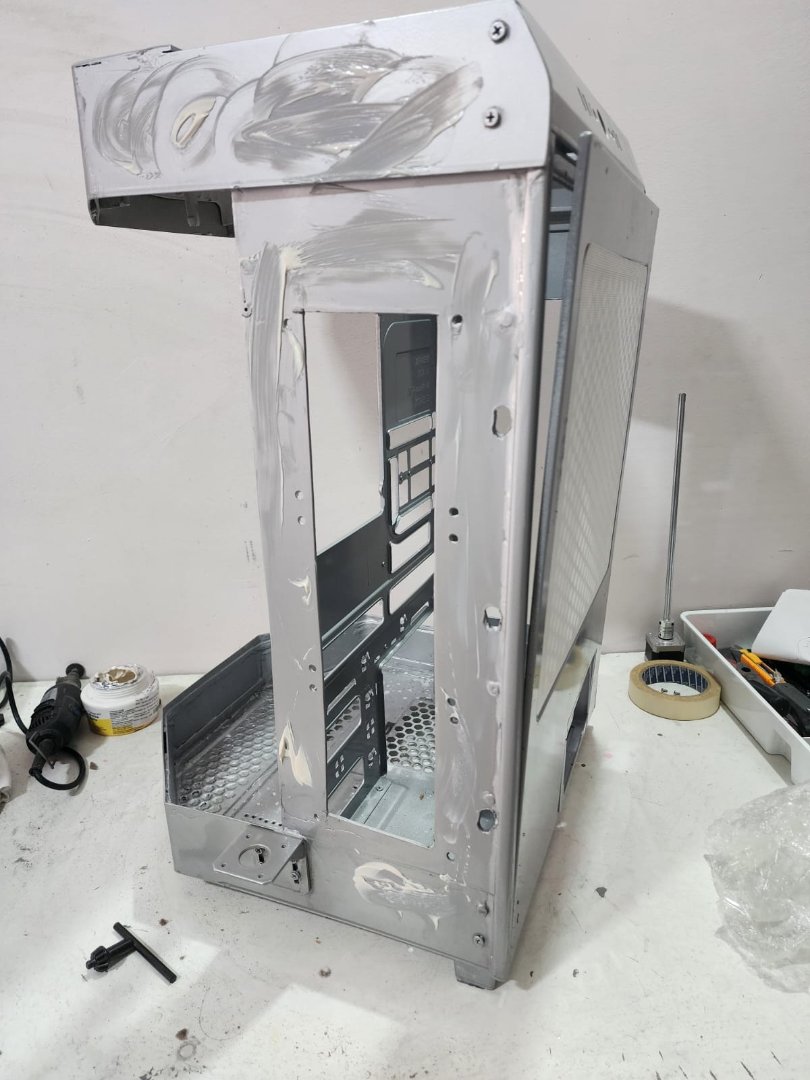
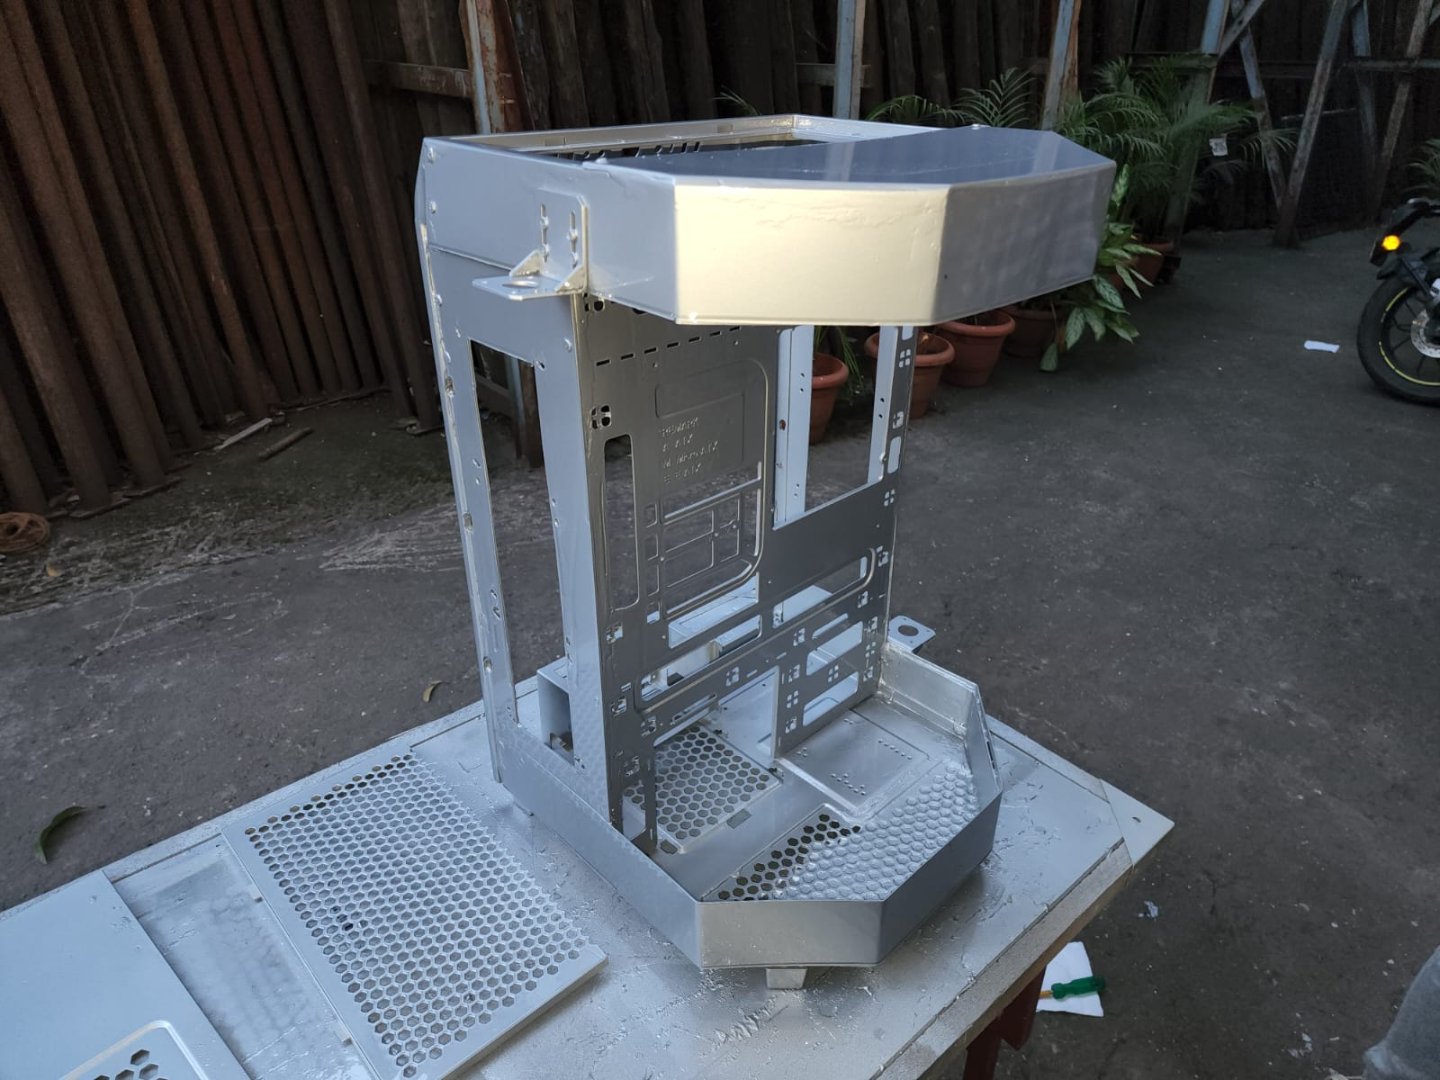
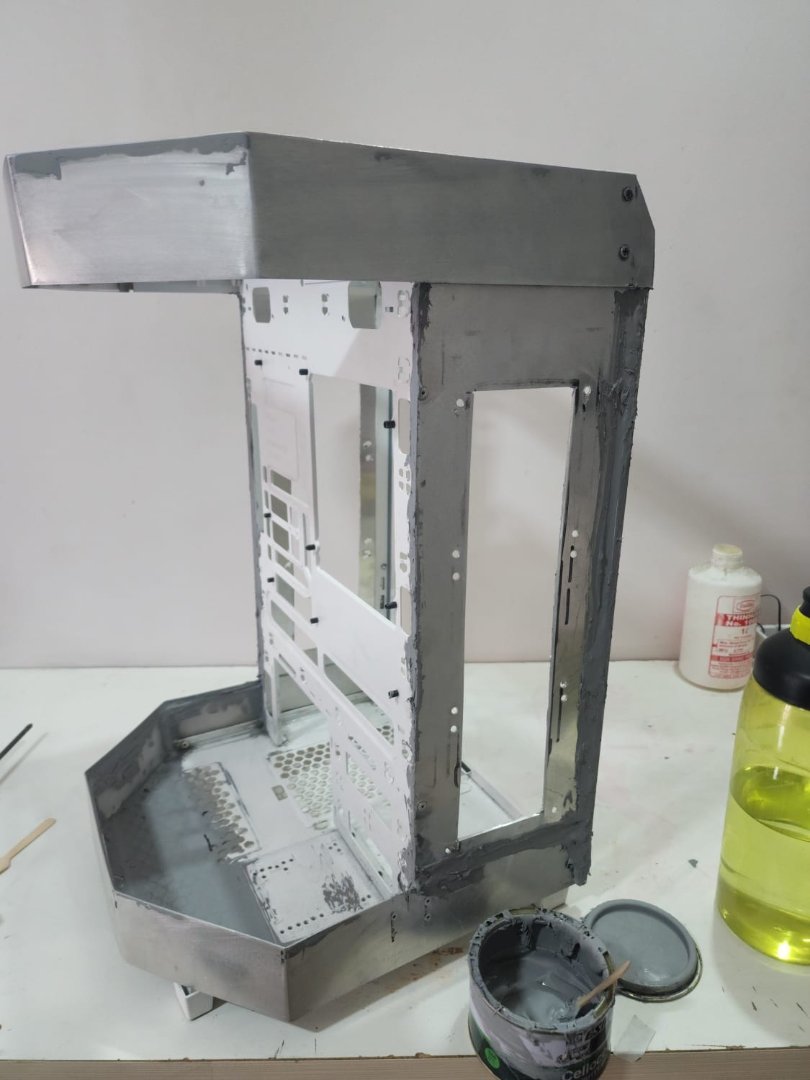
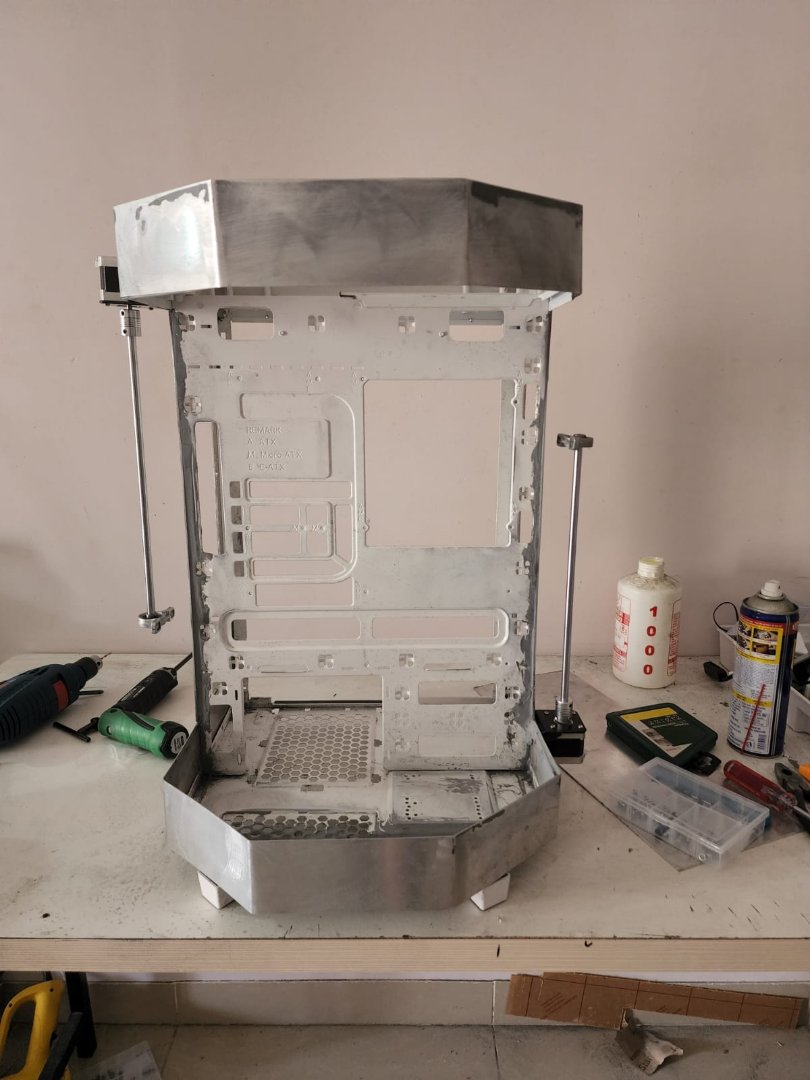
Smoothing out the whole chassis again before doing the paint job, and its ready for painting ,
.thumb.jpeg.74091959a8e634b4af7234a13f6bb17b.jpeg)
.thumb.jpeg.dbfe5c5d10ee9263f8c80c8471ac03db.jpeg)
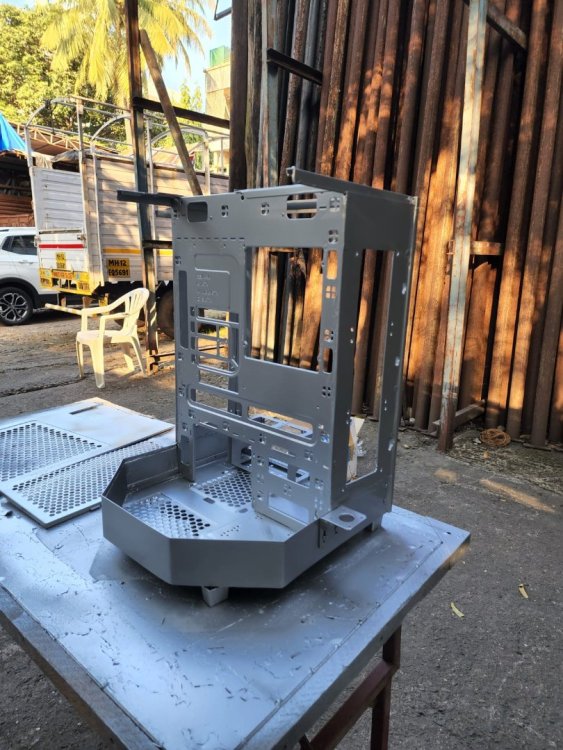
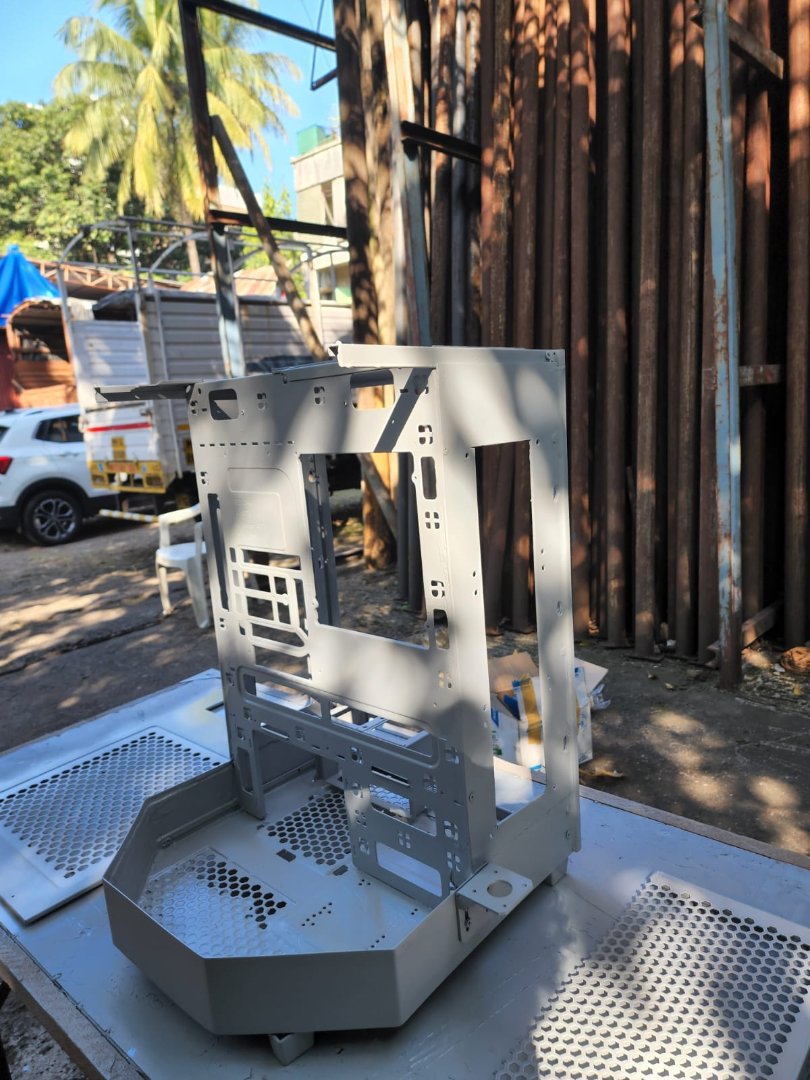
Primer coat first , to get the unevenness out, looks good , came out as expected.
using spray gun and 2K paint , sliver is my color of choice for the build,
-
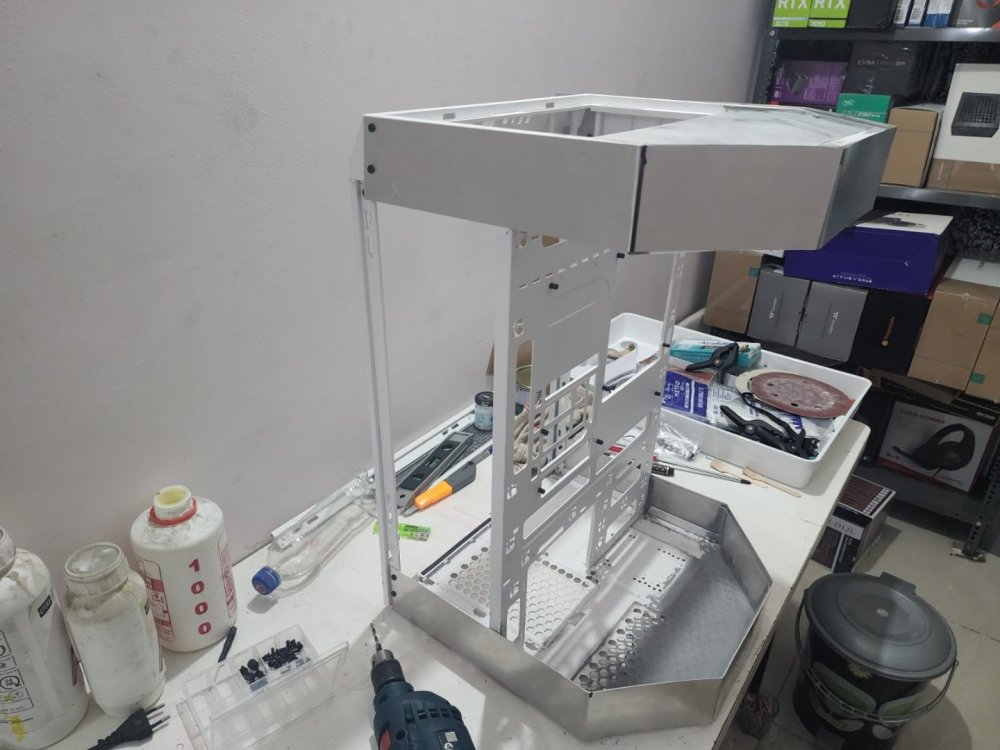
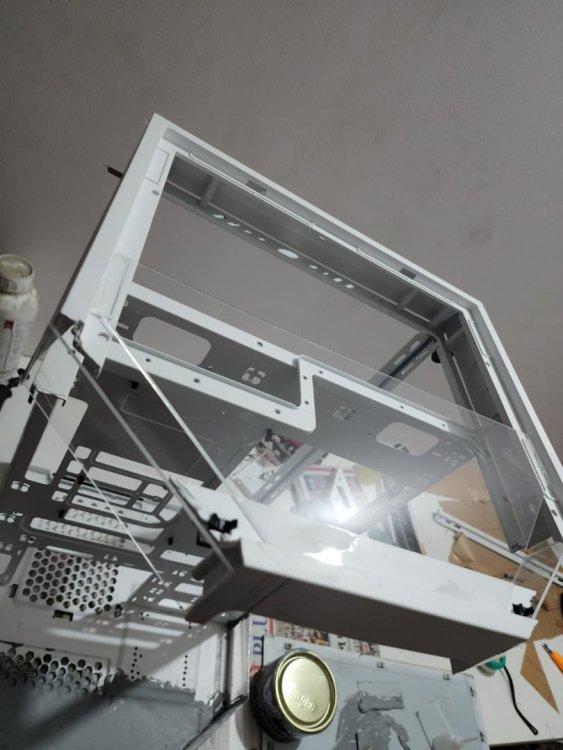
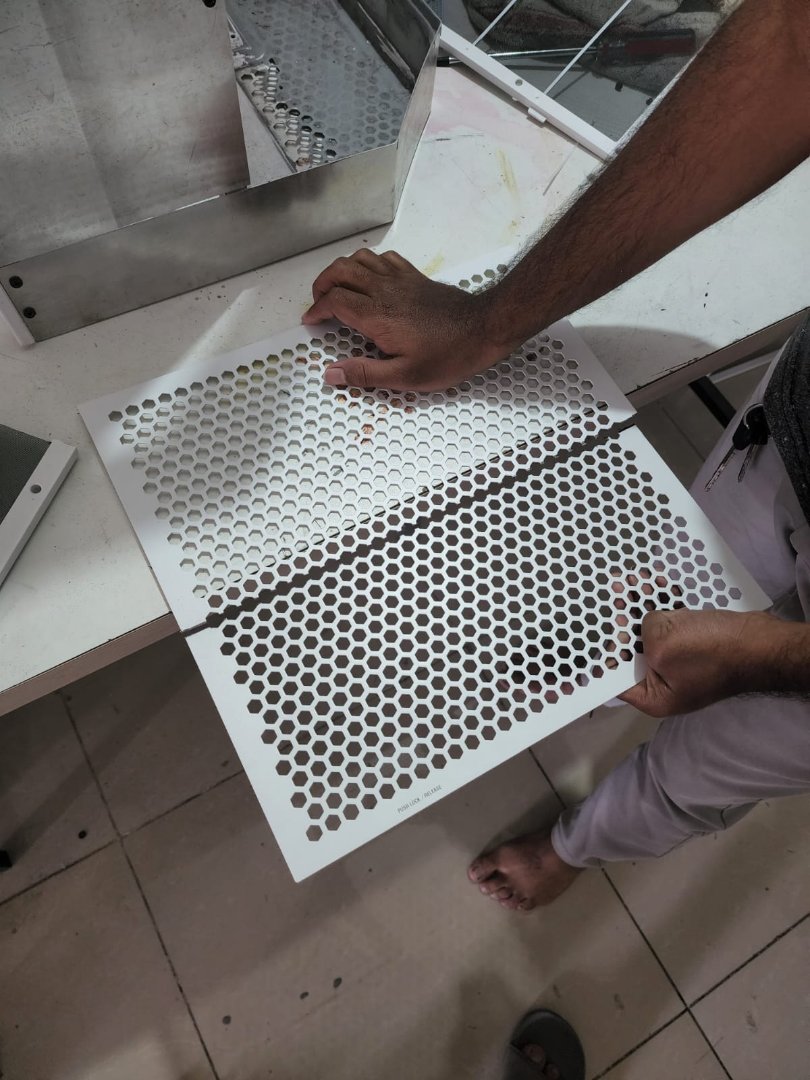
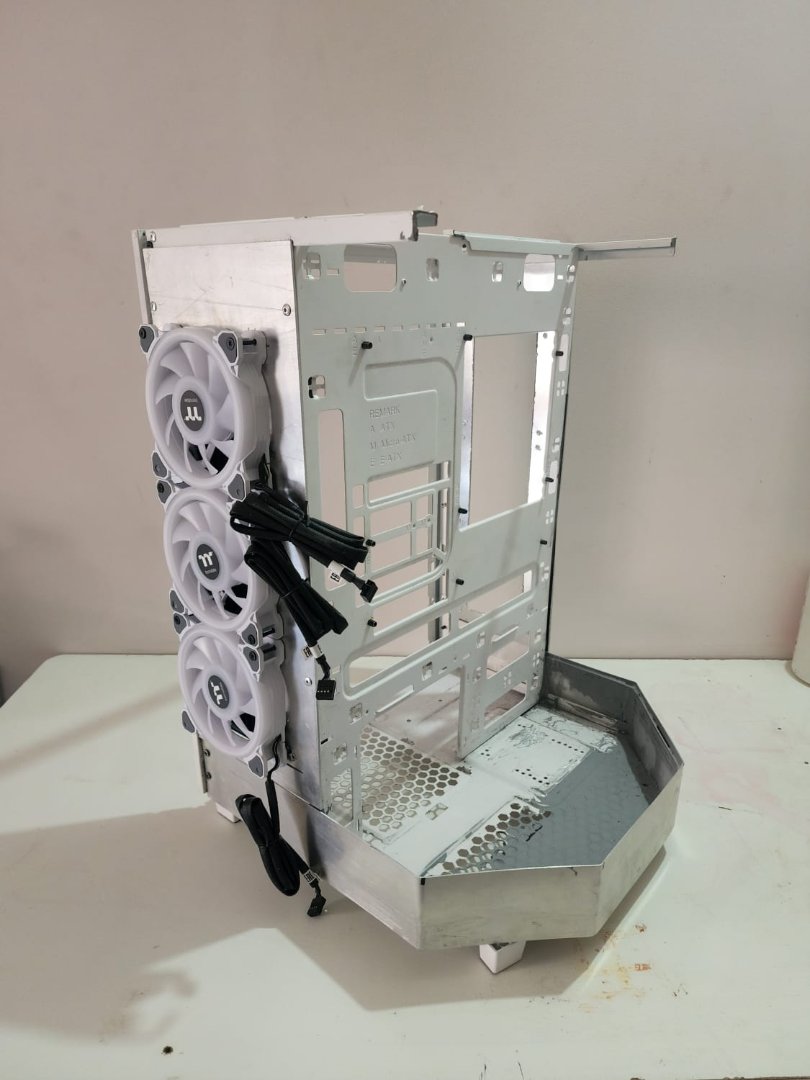
Now with Temporary screws i have completed the top shrouds and side Panels (where the rads will be )
1MM aluminium for the shorud and 2mm aluminium for the side panels
The top panel i will be dividing in two parts , one will be transparent and another will be the same default mesh.

 cuts and marking on both sides for Rad openings.


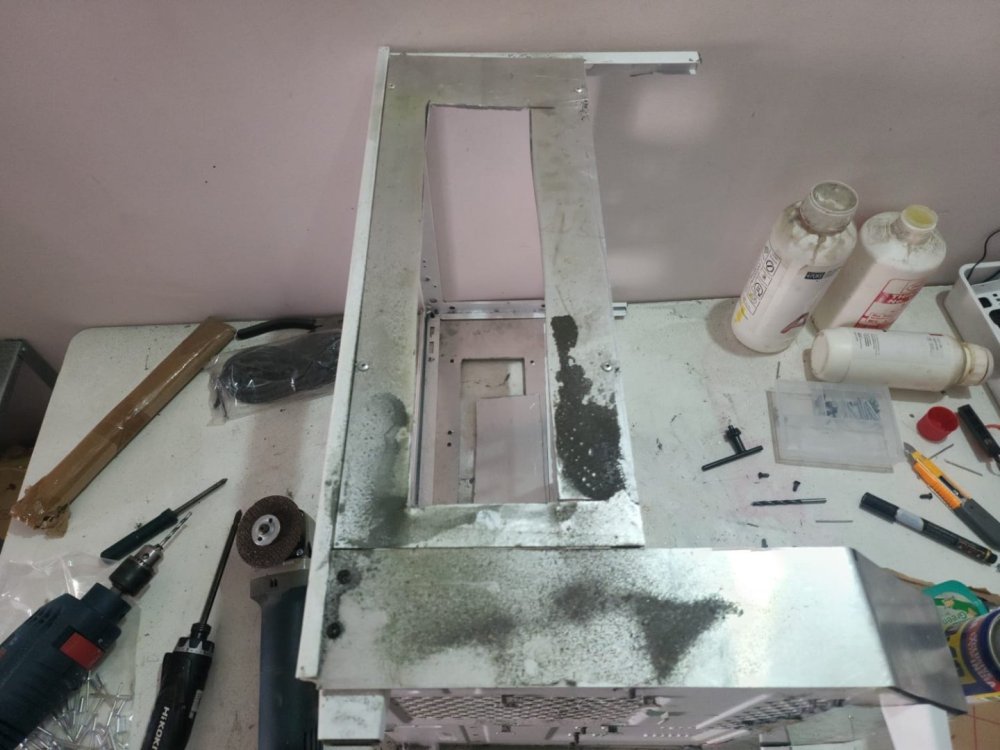
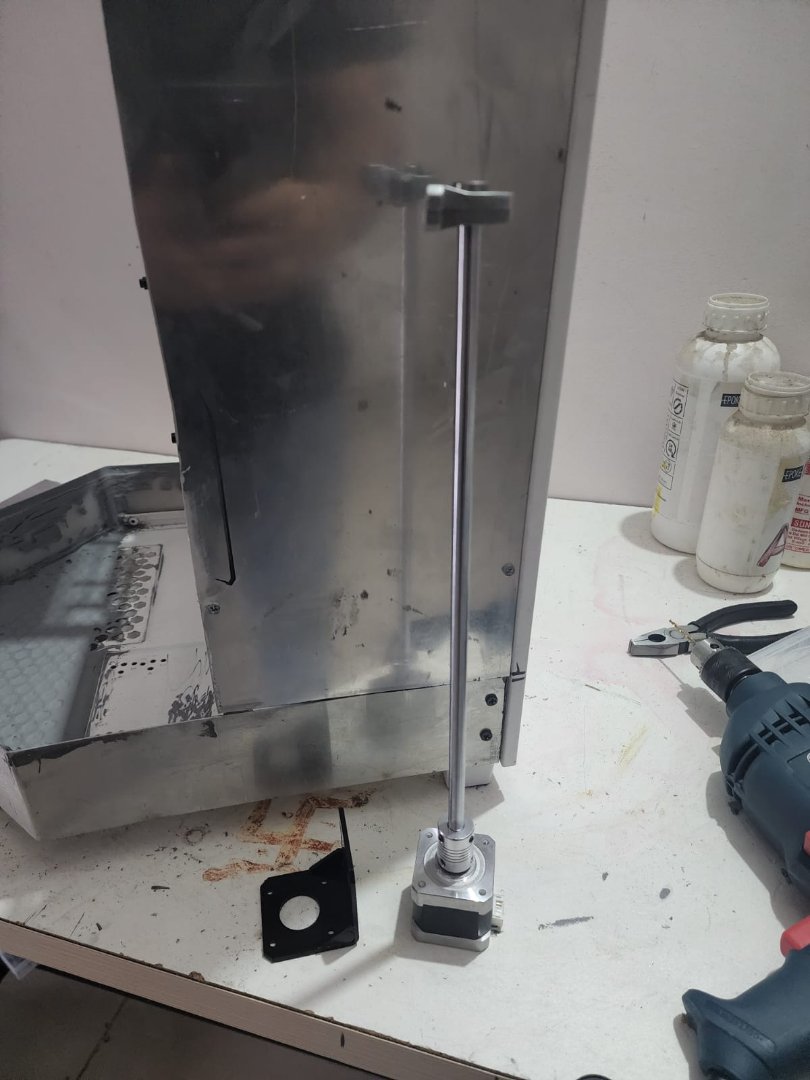
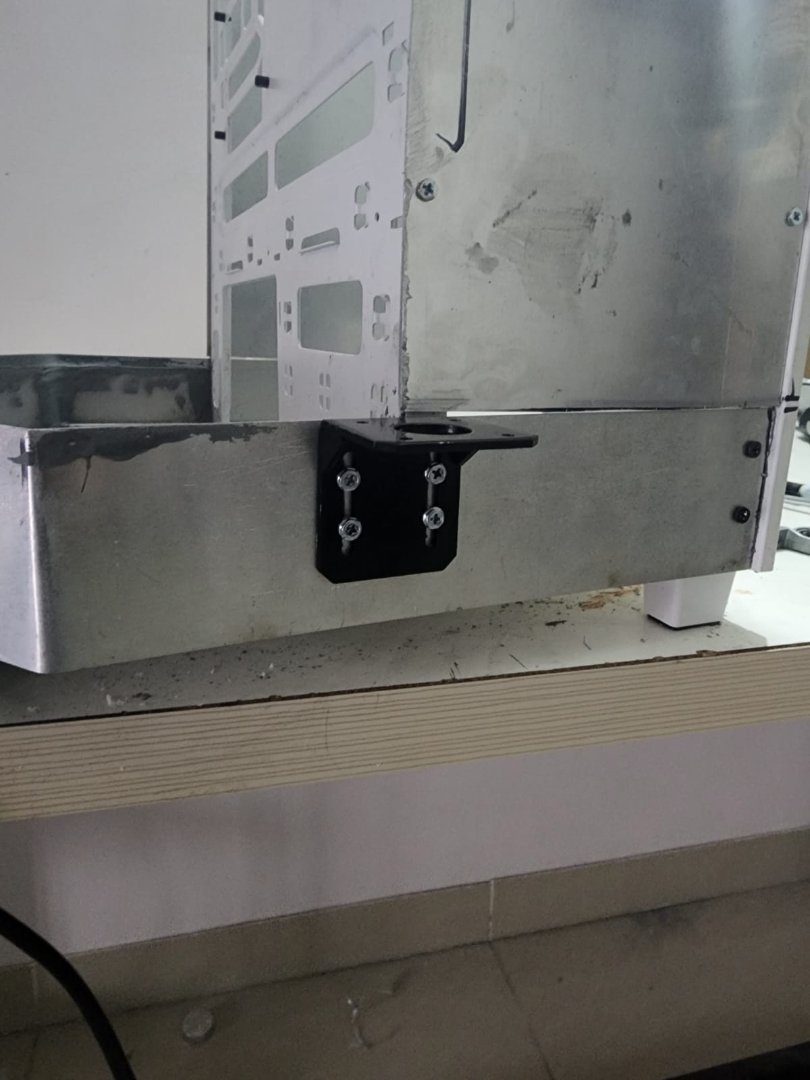
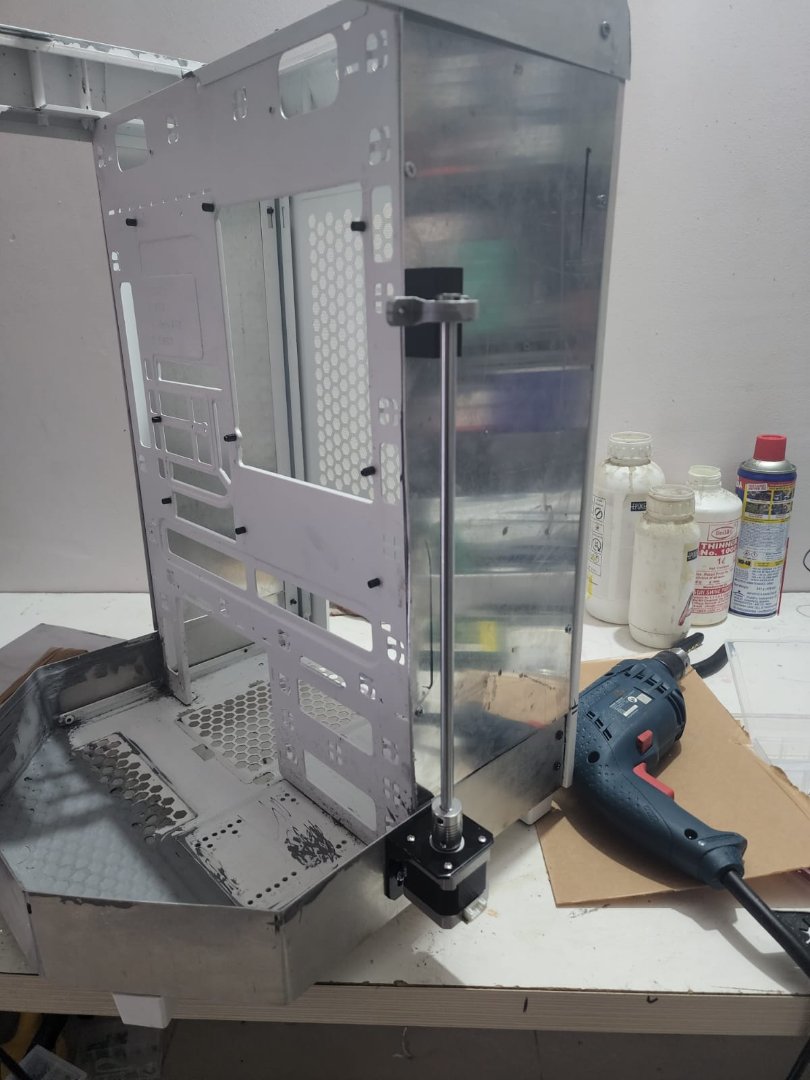
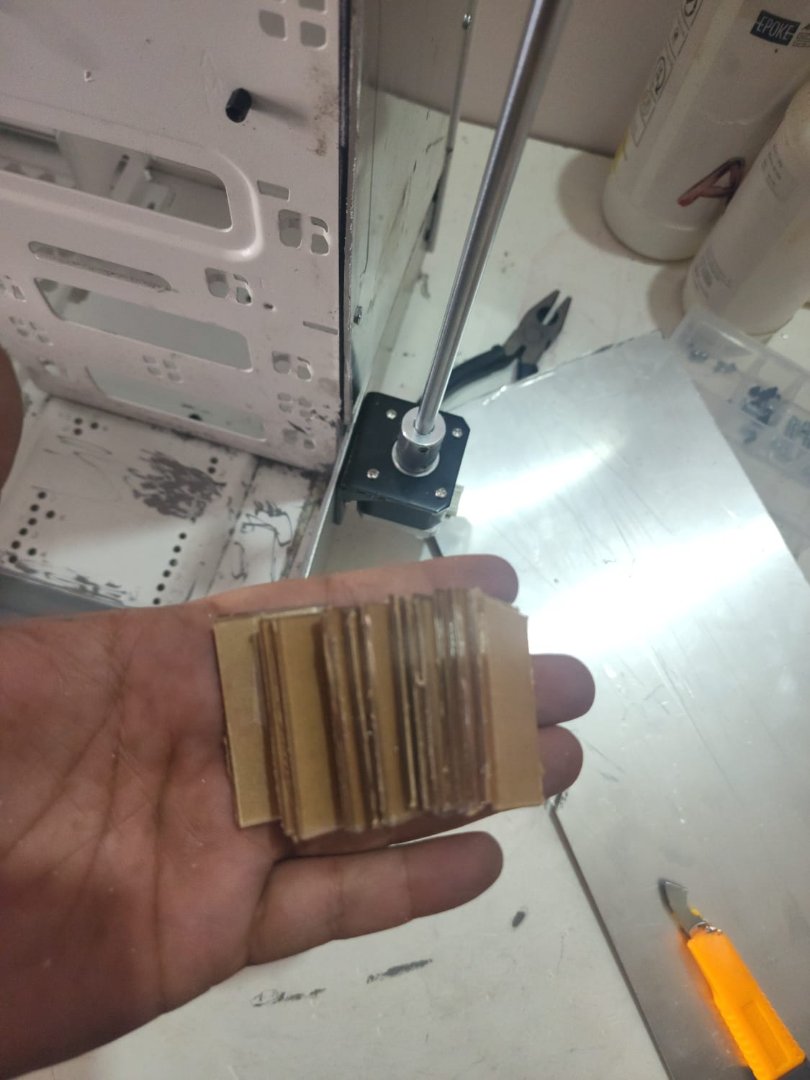
For the opening mechanism ibwill be using two 4.5Kg stepper motors which will be then controlled by arduino .
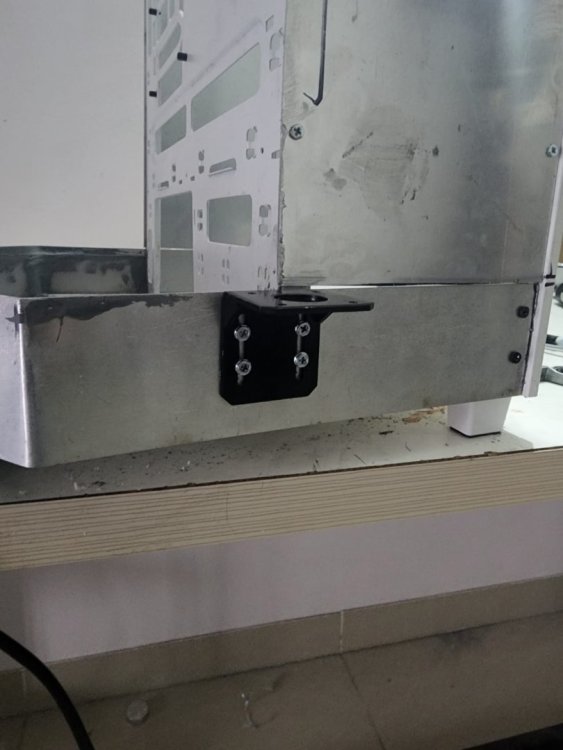
For the stepper motor brackets.

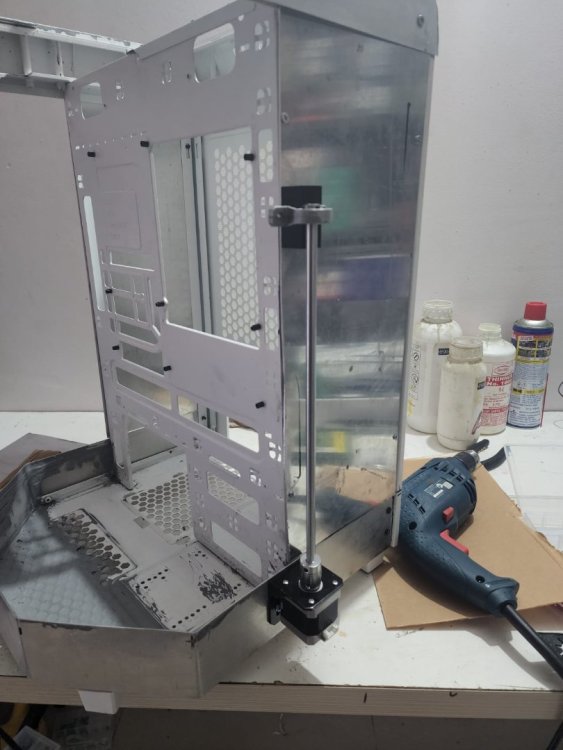
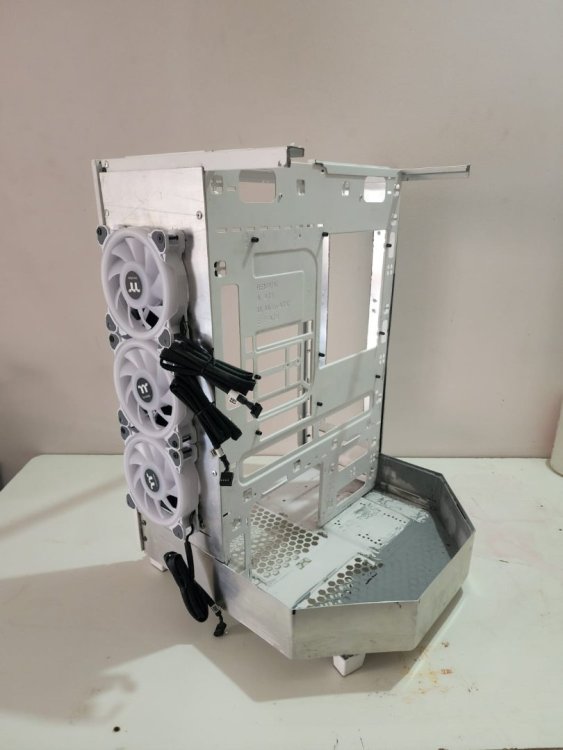
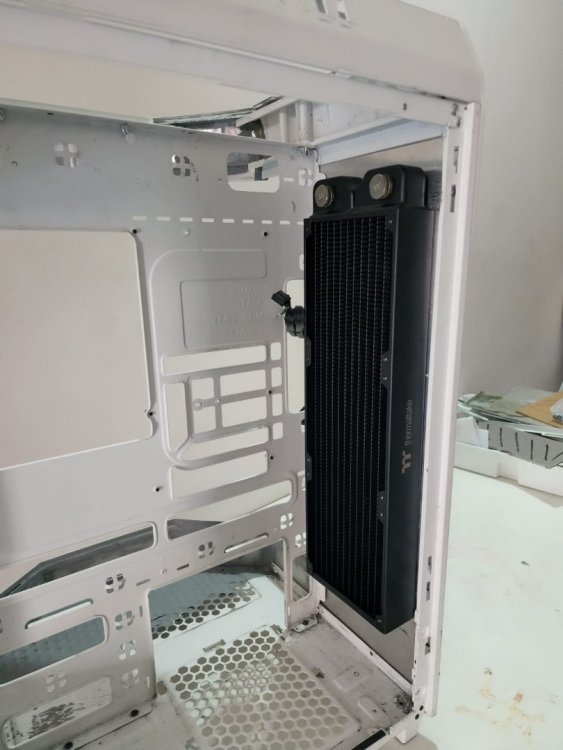
now with motor in place amd matkings done , let me test fit the fans and 360mm radiator
(Rad link )
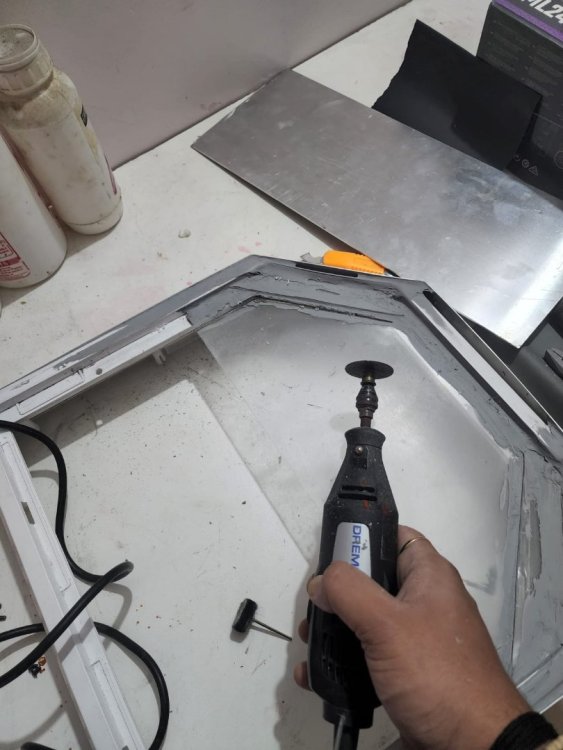
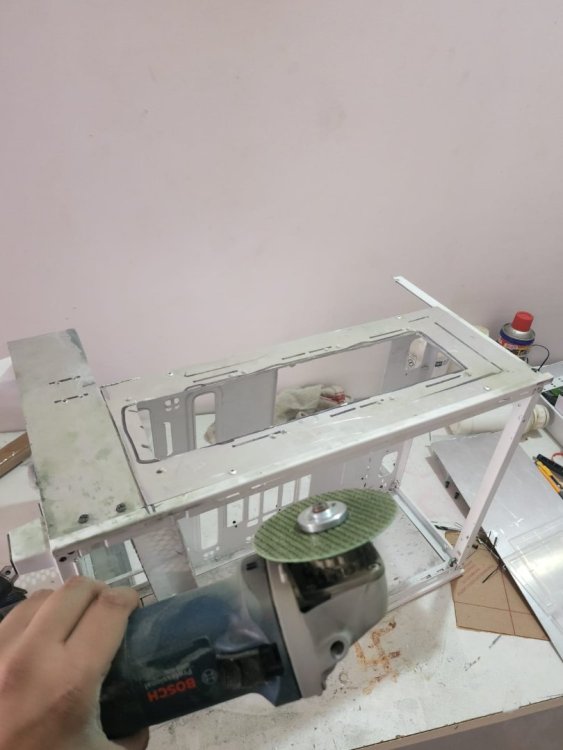
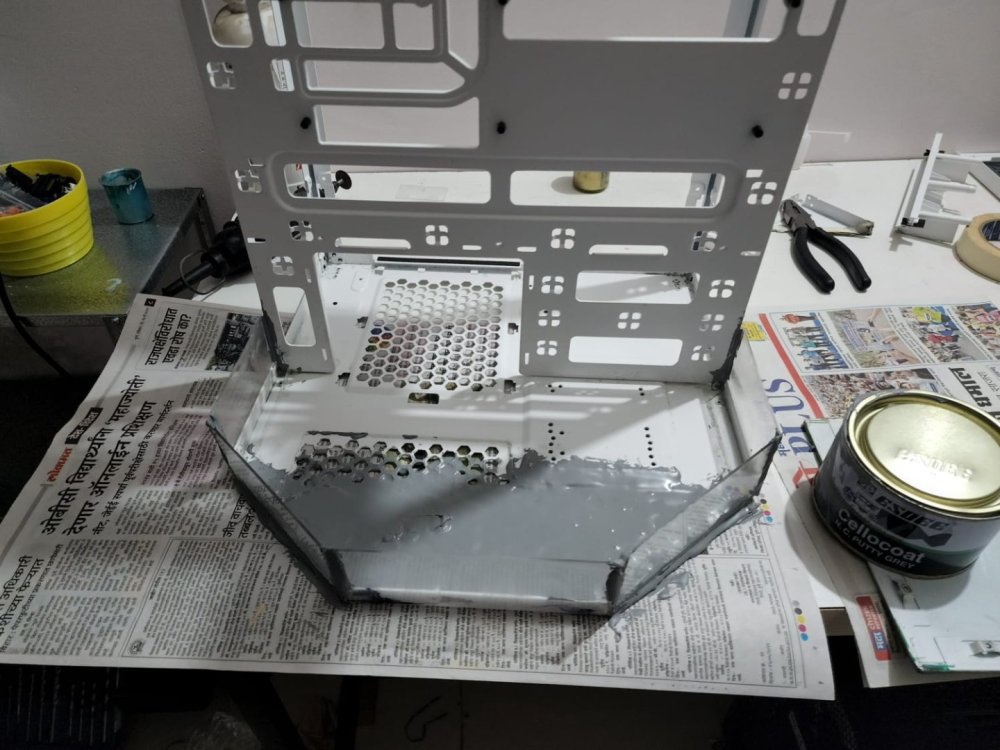
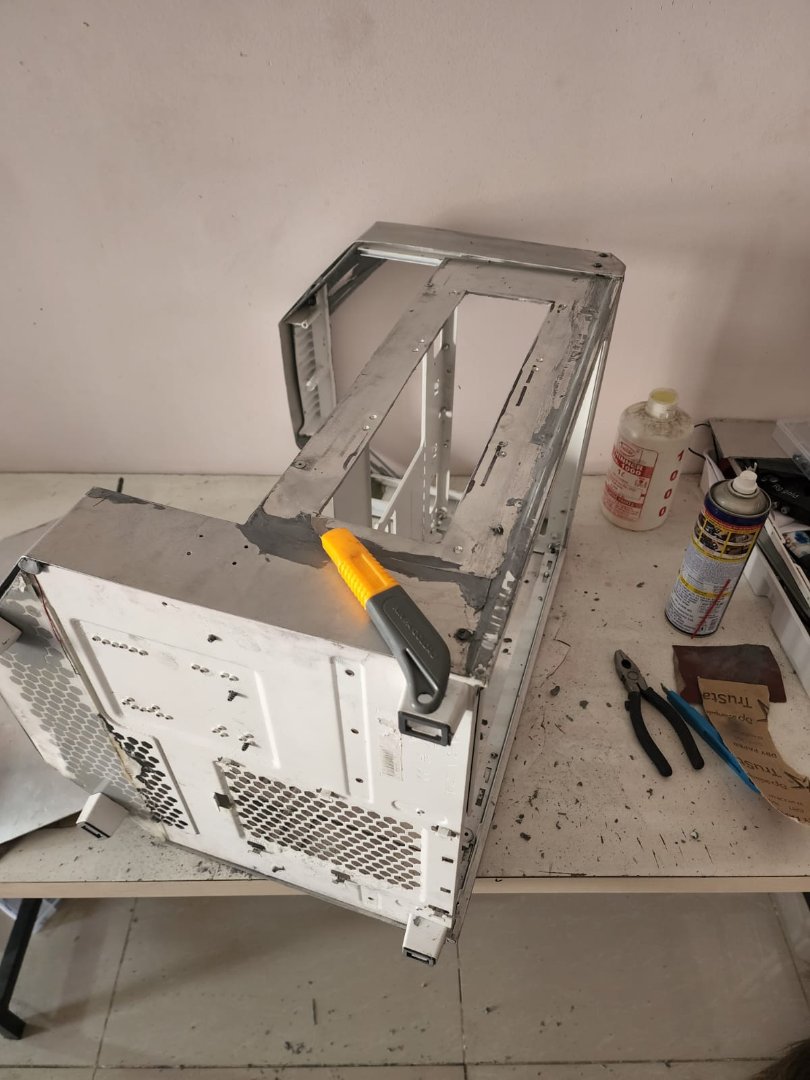
Removing everything and getting started with Grey putti again to smooth out the joints on the panels.
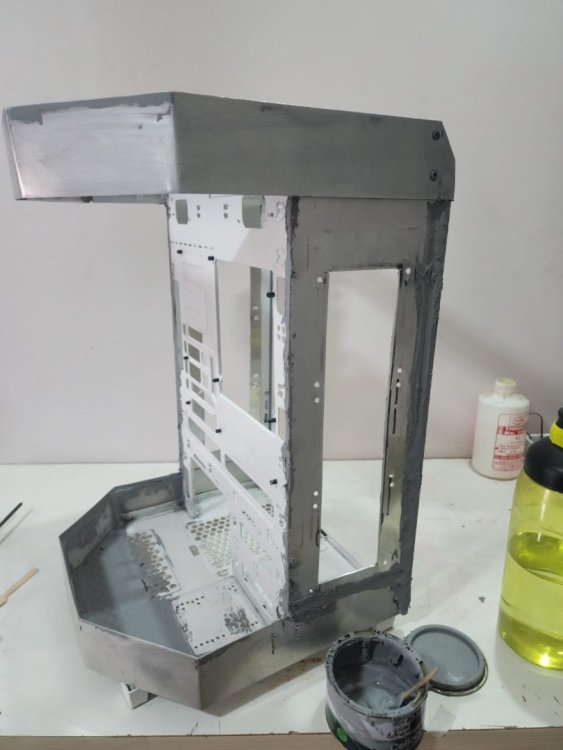
Removing excess putty when its slightly firm.
Sanding it down for smoother finish
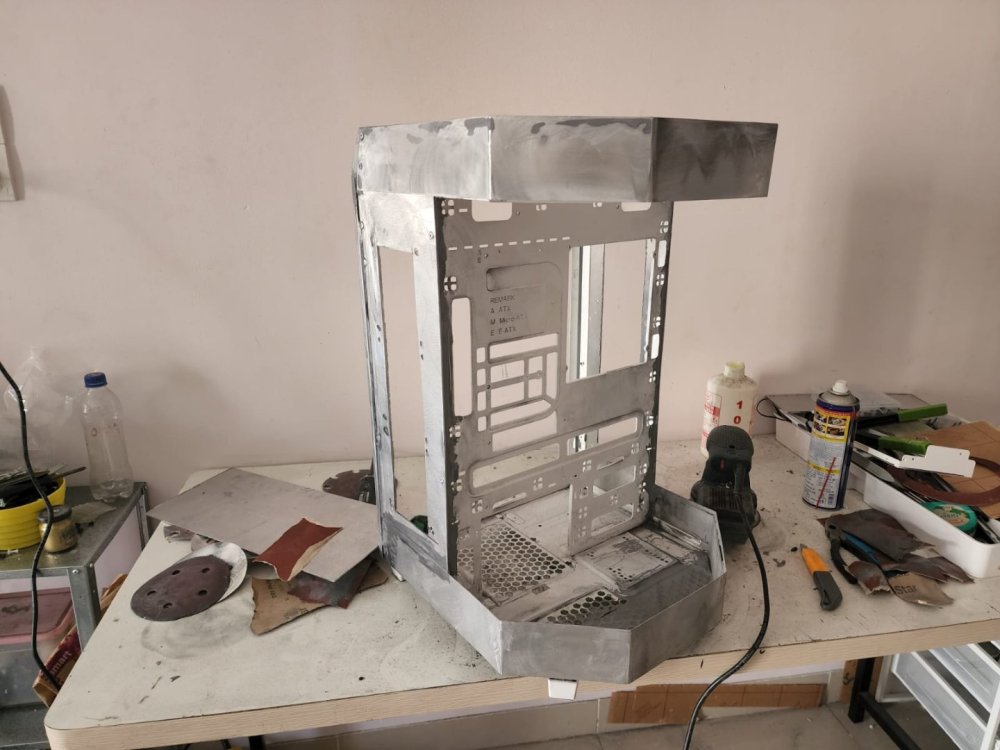

Dry sanding is more or less completed , getting started with wet sanding now.

with dry sanding , wet sanding, rad fittings in place , mod has started to take shape.
Also reused the bottom stands of the chassis and refitted them according to shape, much stable now.


-
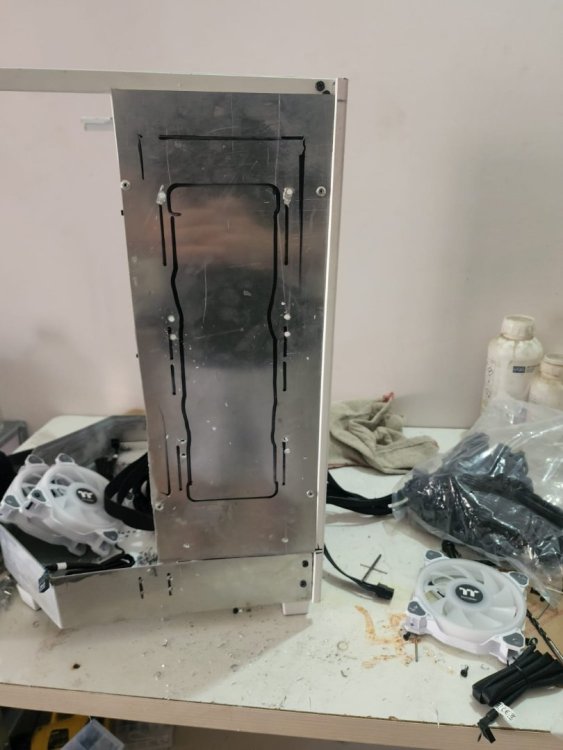
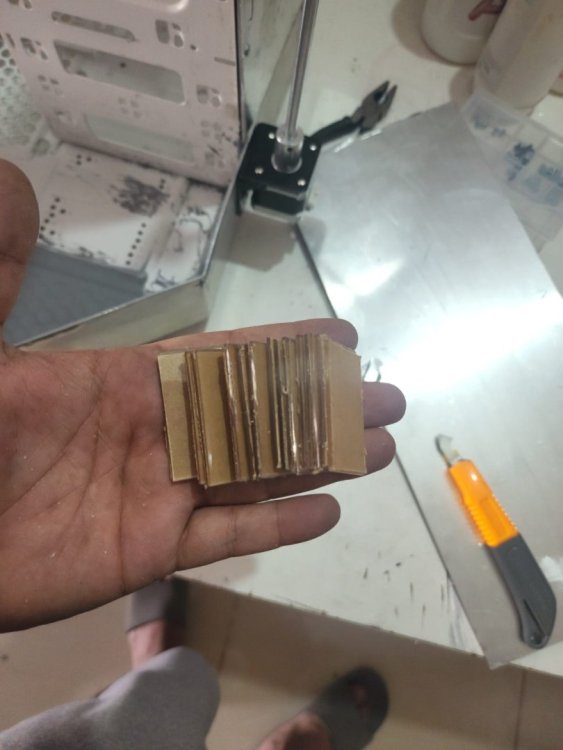
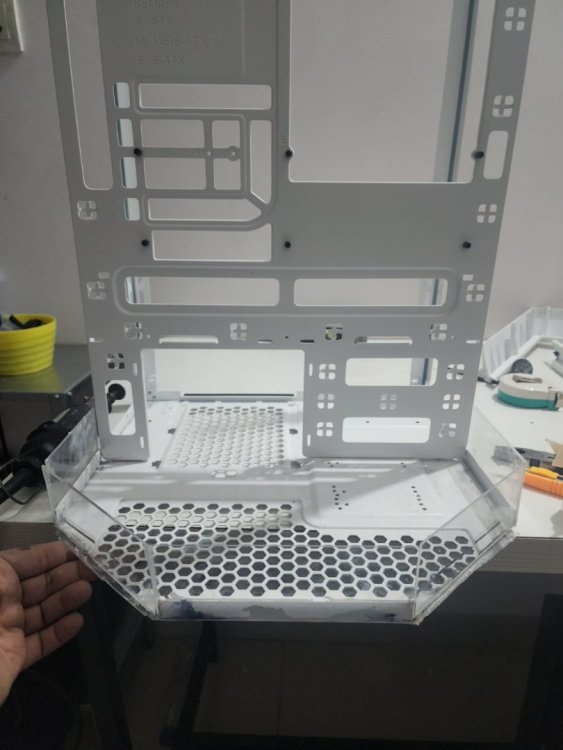
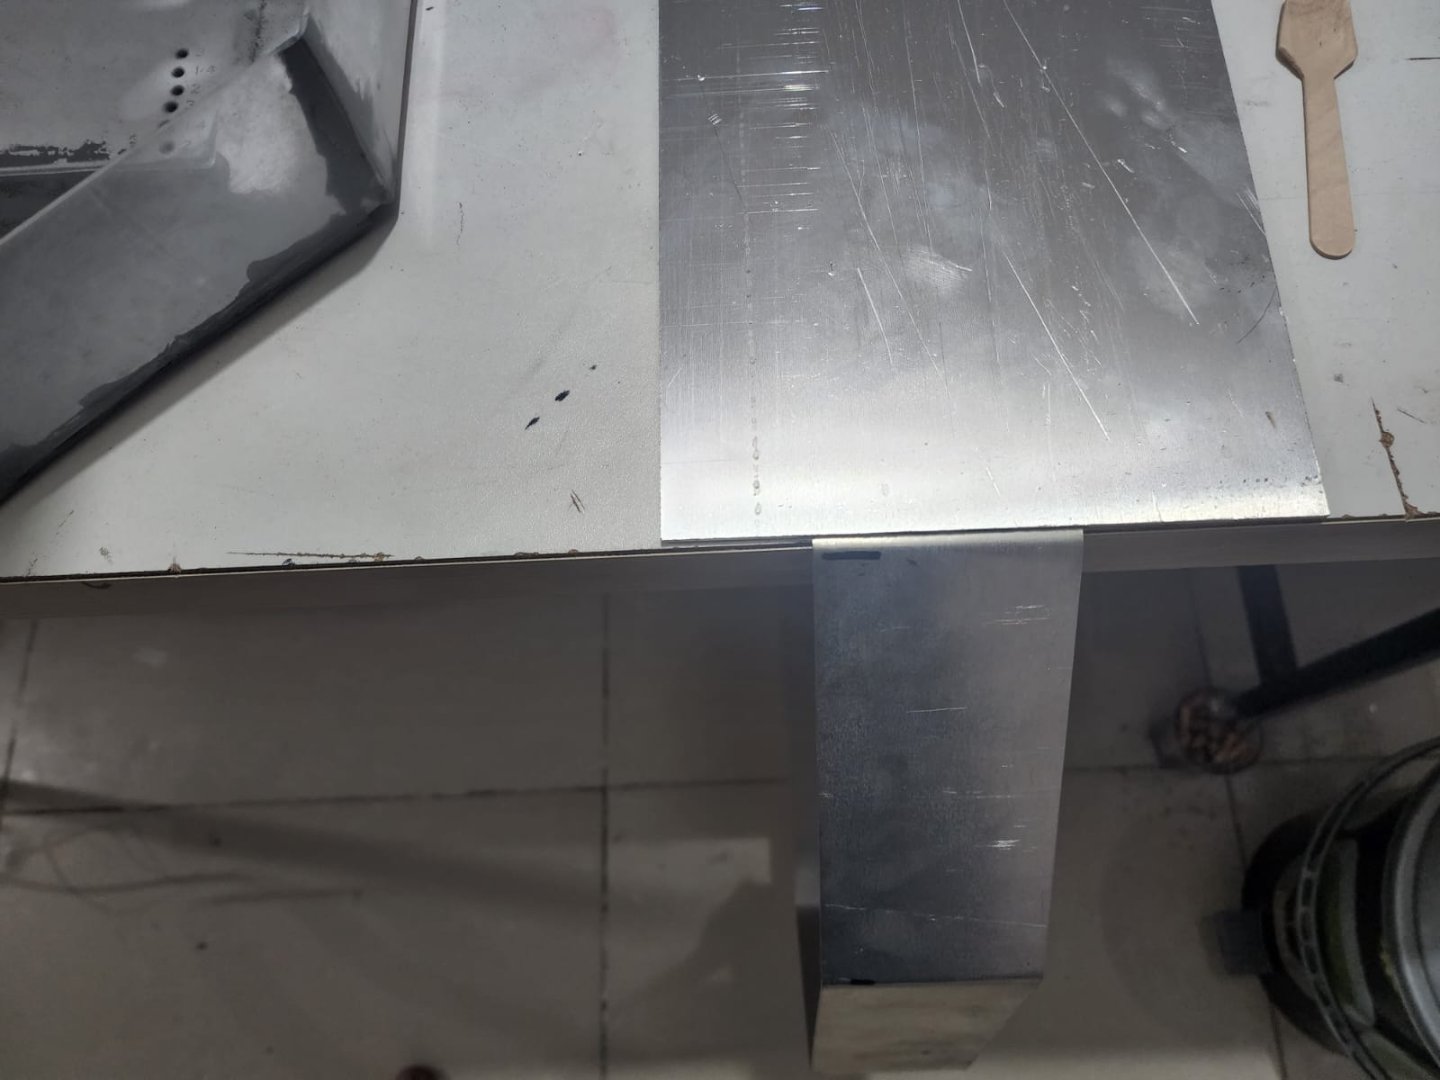
Now comes the part where i cover the base with aluminium sheet with 2 MM thickness
With hand bending the sharp bends will be little hard but we can try with more force.
First measurements with 1MM aluminium strip.
looks like perfect fit. Now lets gets to the final 2MM strip.
Bending with aluminium sheet.


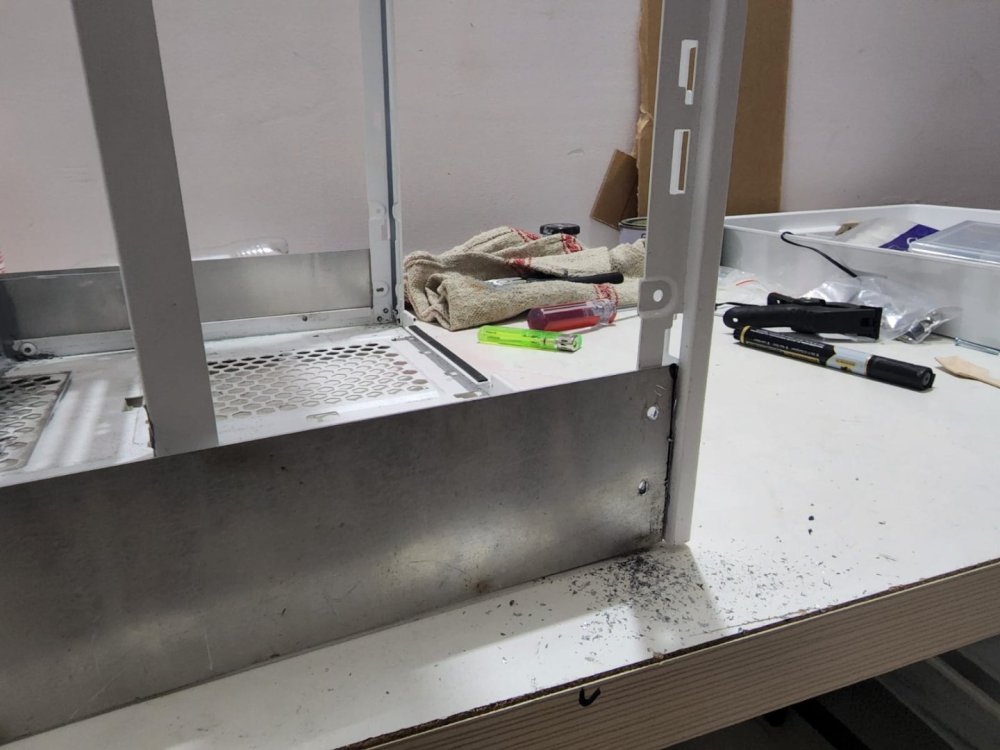
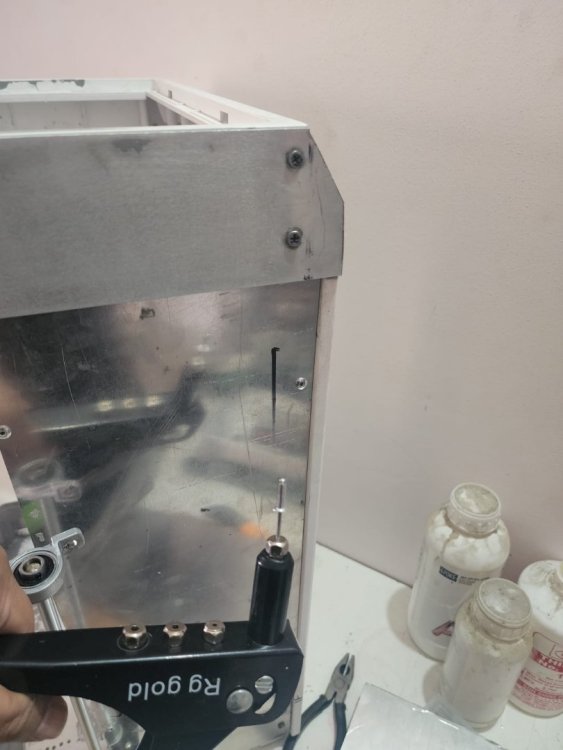
 final step is to get some screws for temporary fitting , i will fit rivets in the final step

.thumb.jpg.0ef5cf8b0fbf4b9ceac1c736483df4be.jpg)
-
Getting back to work , still little down with health!
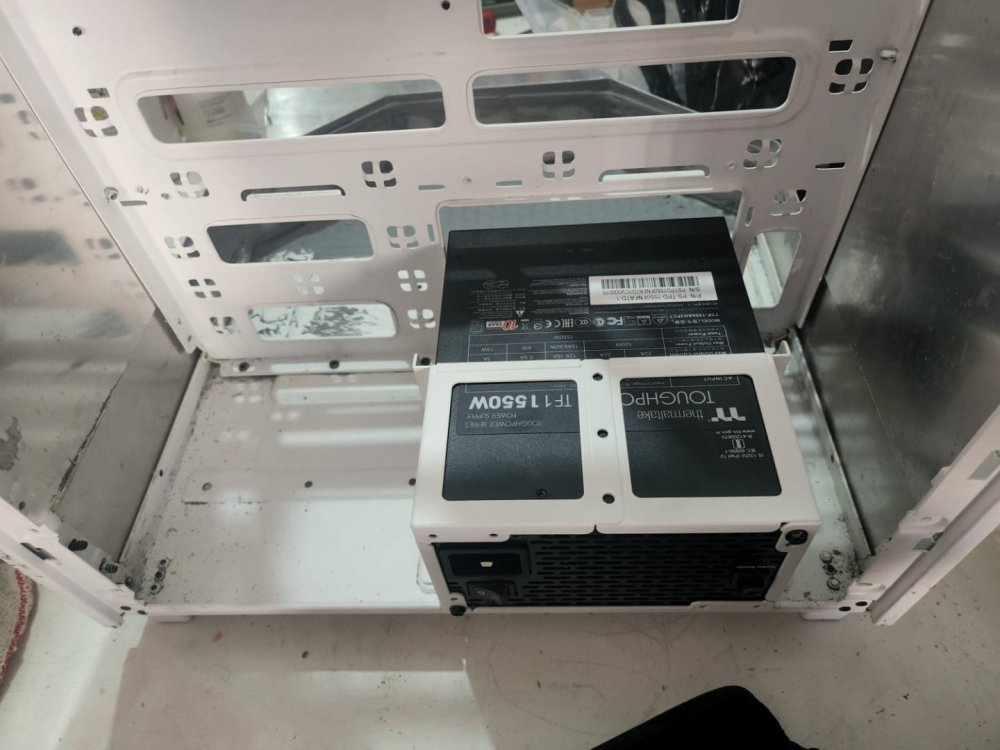
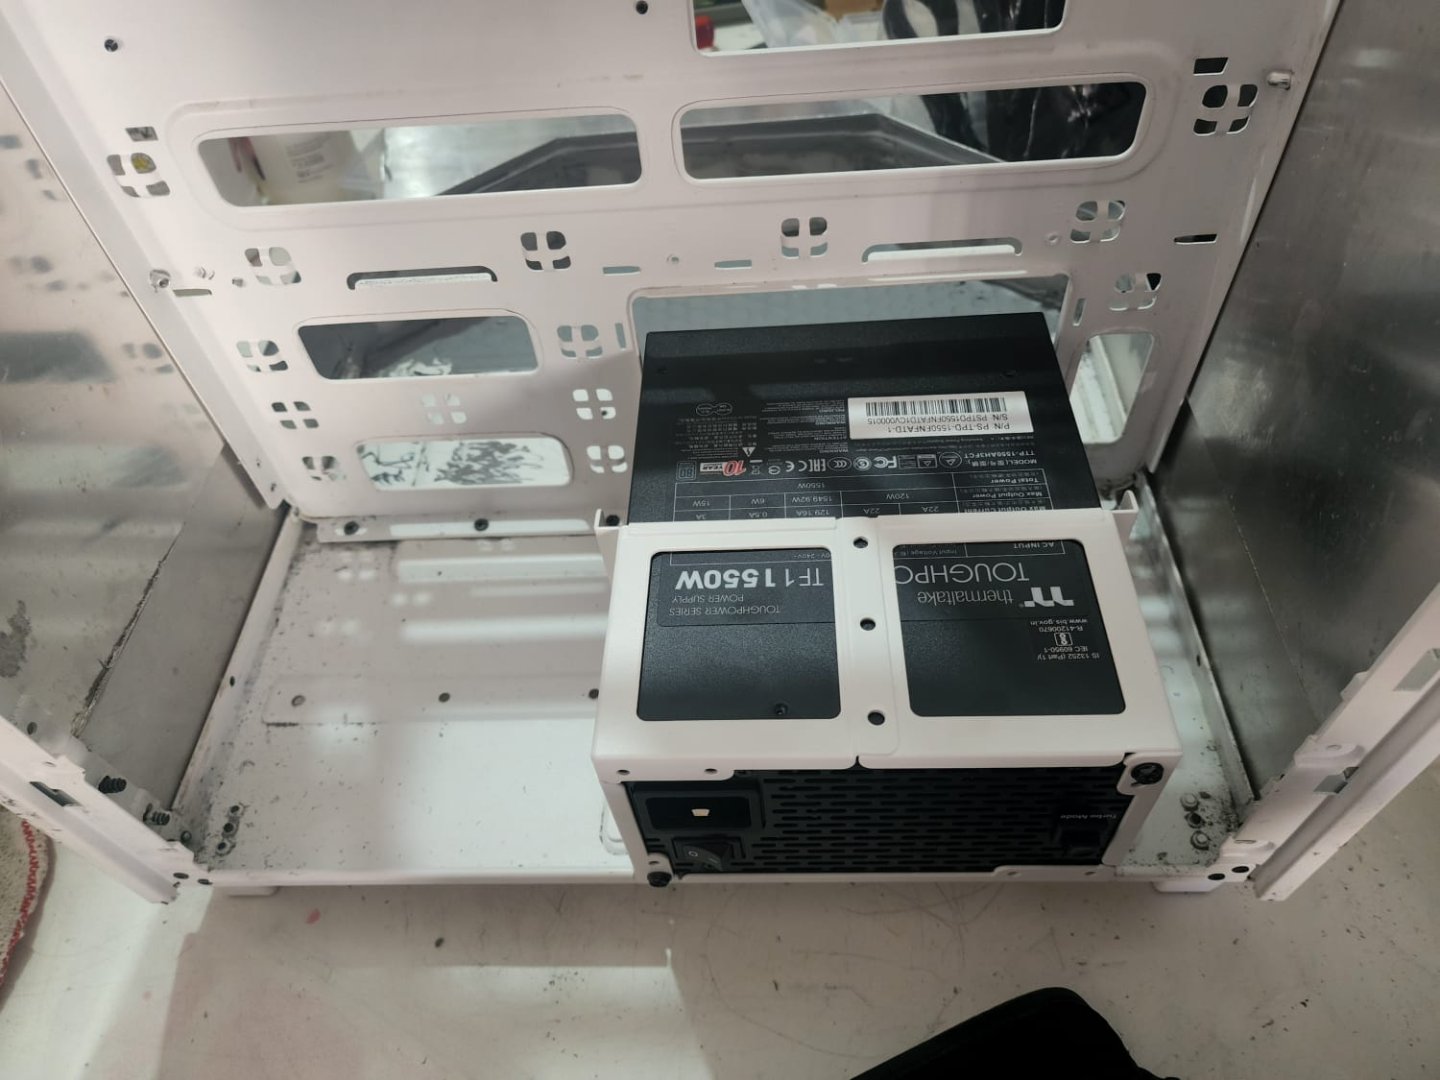
But finally got the remaining parts today , so i can take the measurements and start with the fittings.
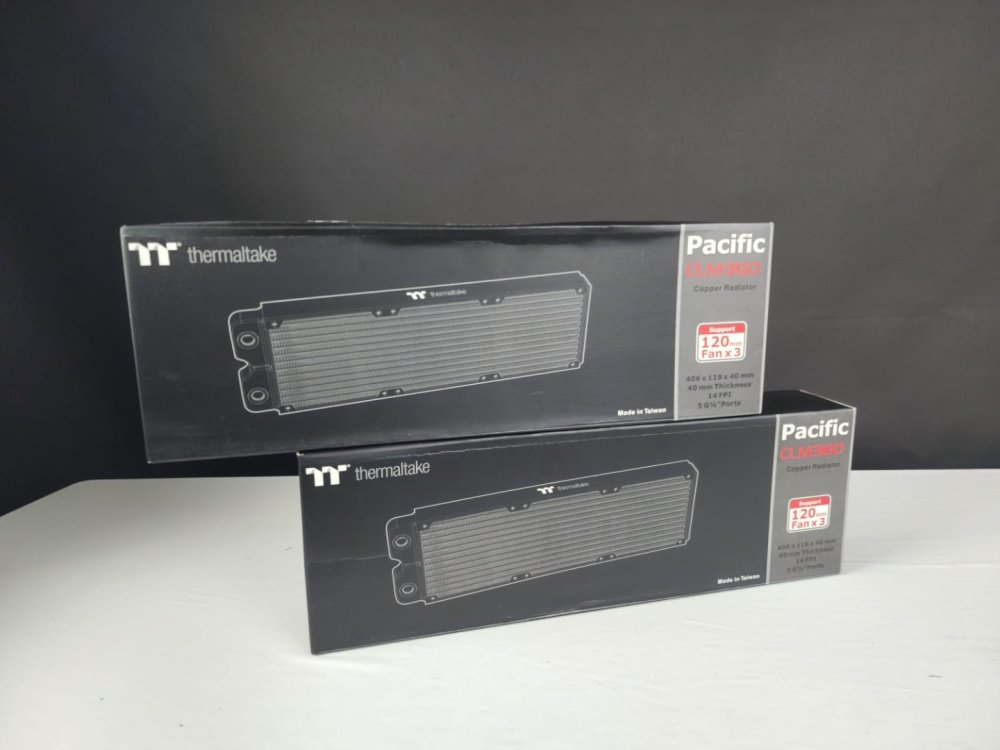
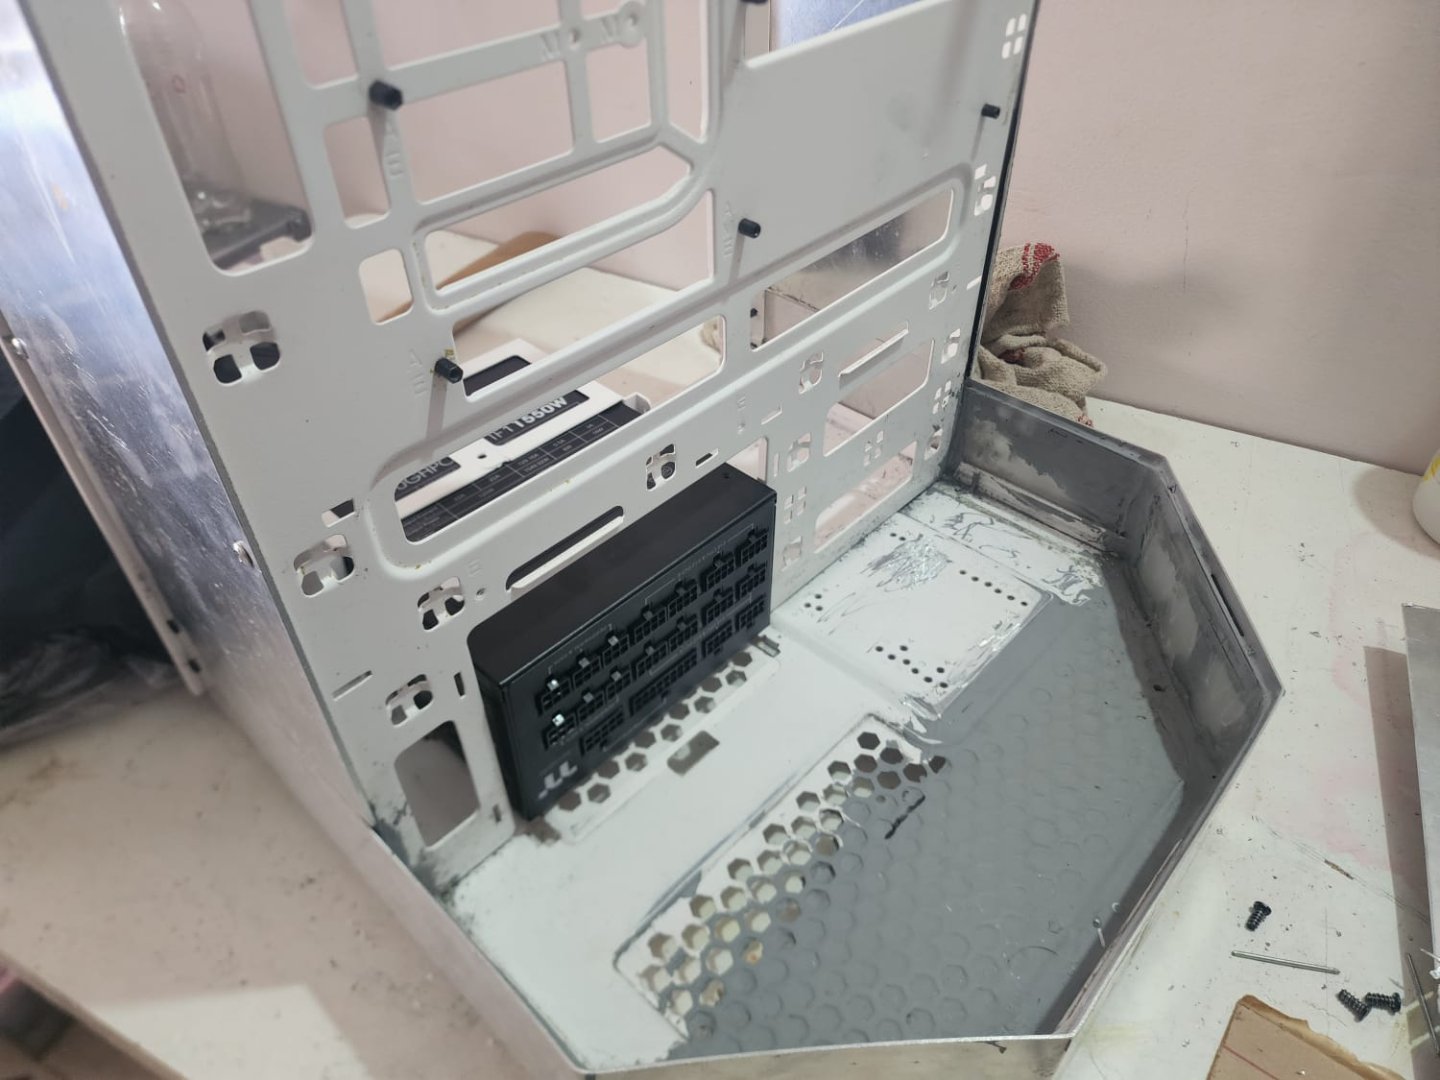
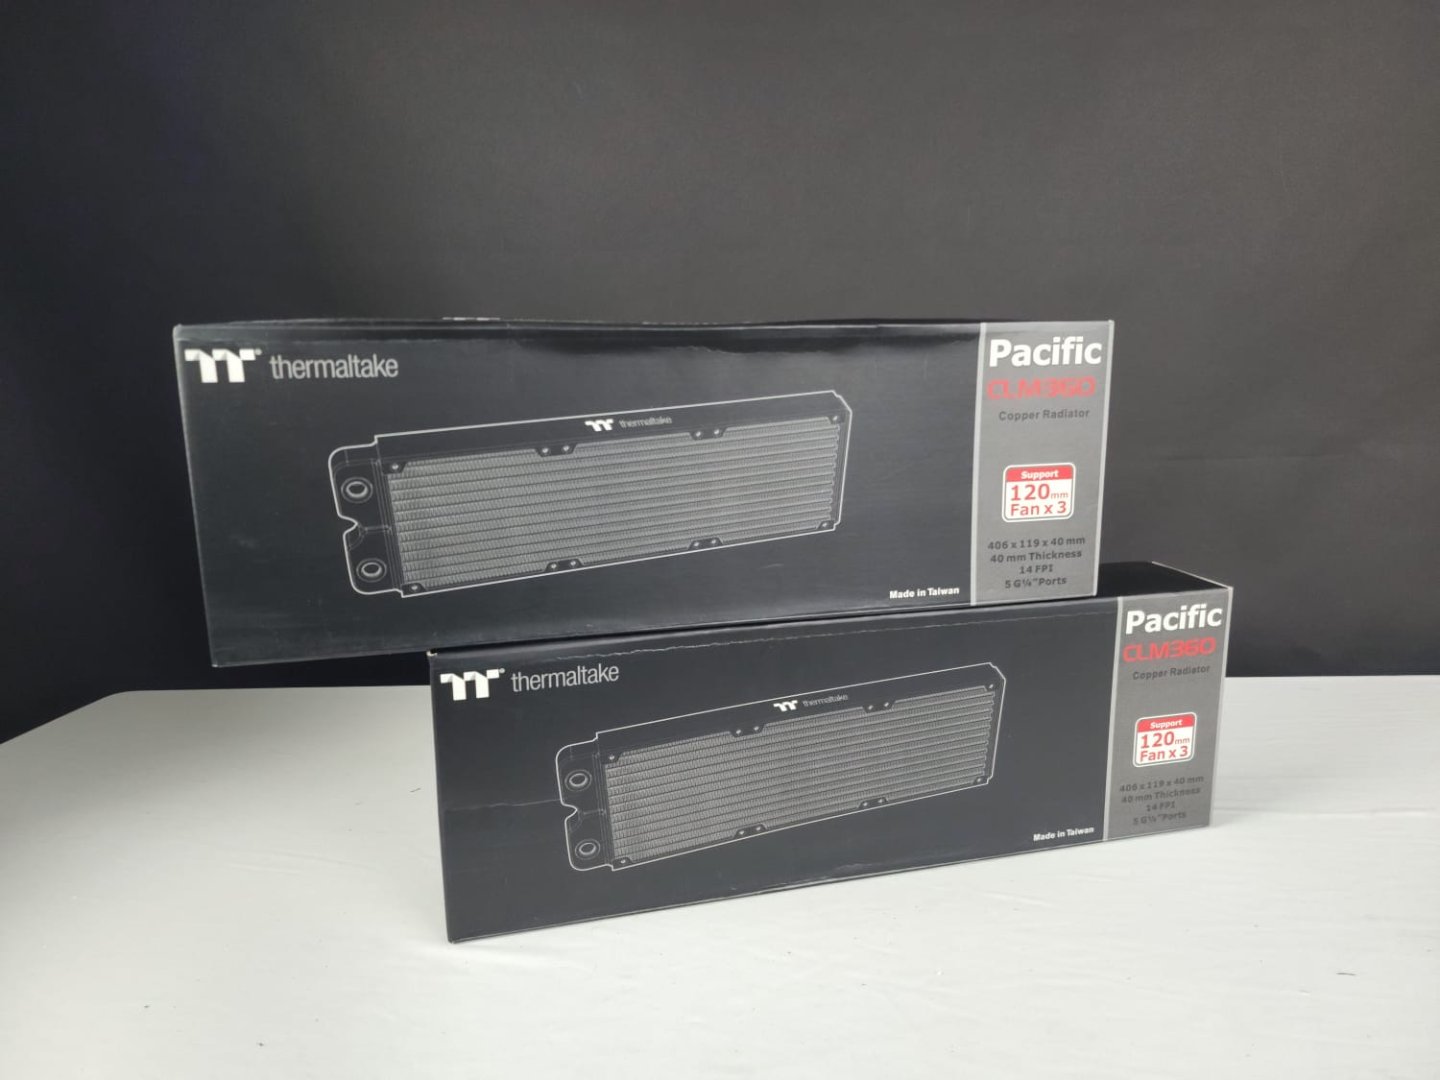
 Two New 360MM Radiators from TT and the New TT PSU

-
23 hours ago, The_Crapman said:
Take care man. I've got a horrid cough from all the plaster dust in my house. Not nice.
you too man ! I shall continue once I start feeling better.
-
-
Down with Bronchitis , need to take a brake for 4-5 Days. 🤒
-
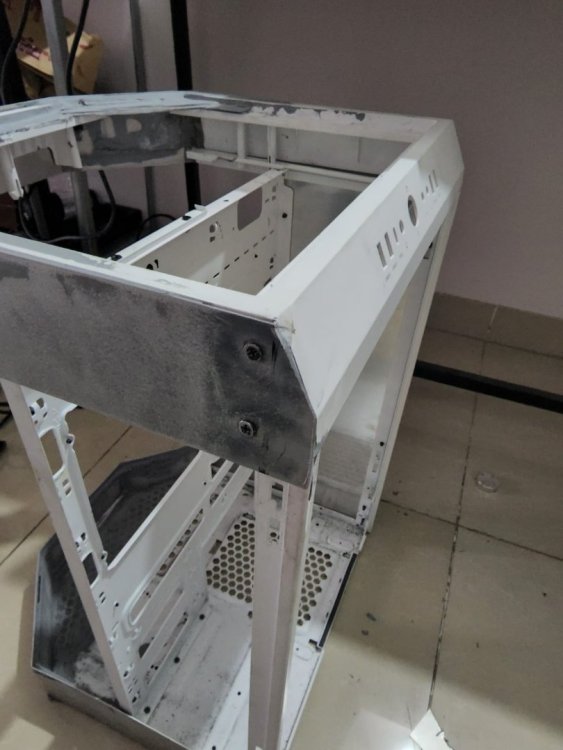
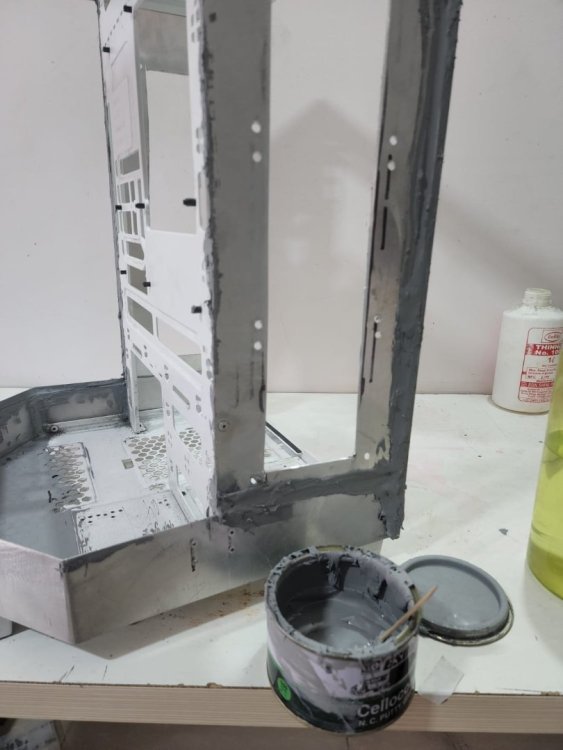
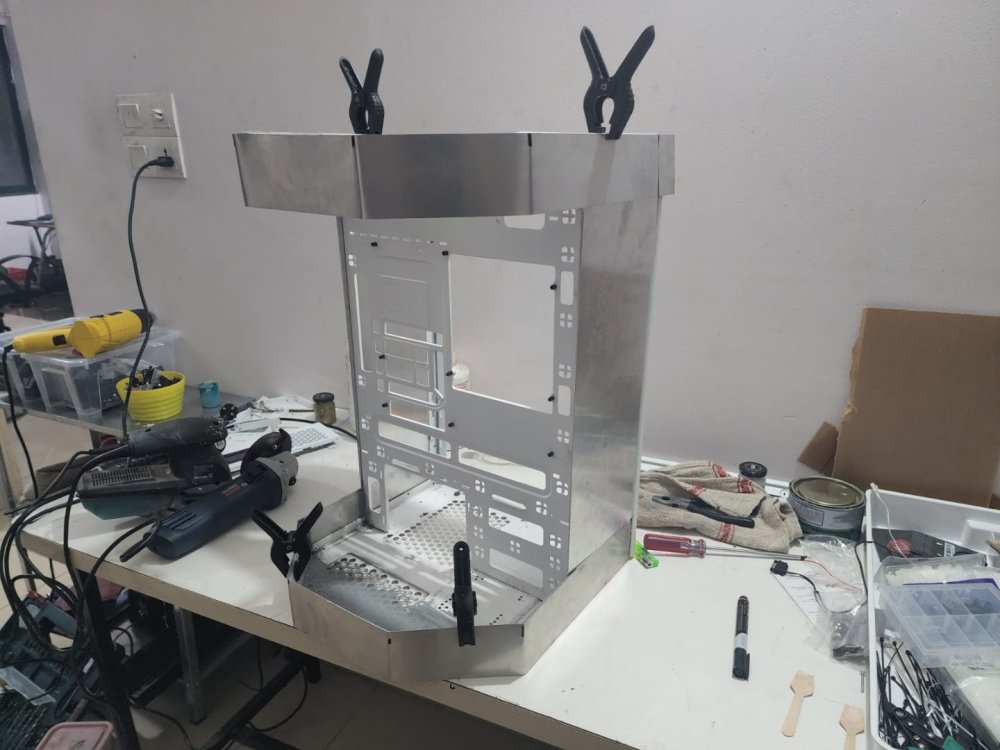
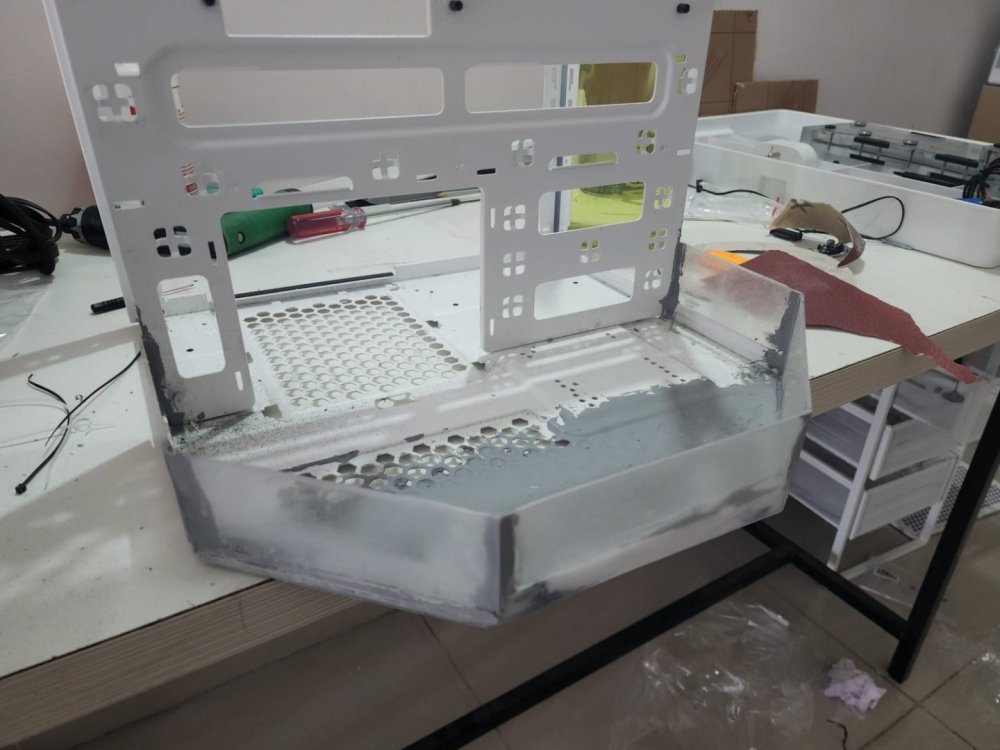
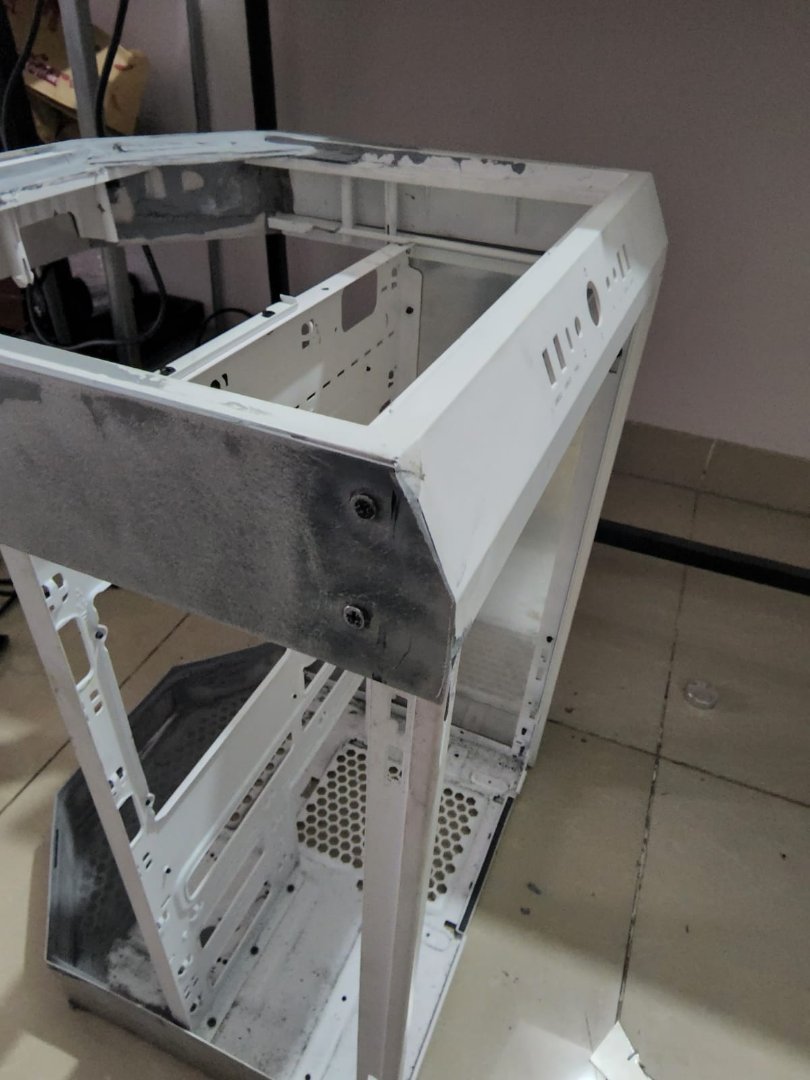
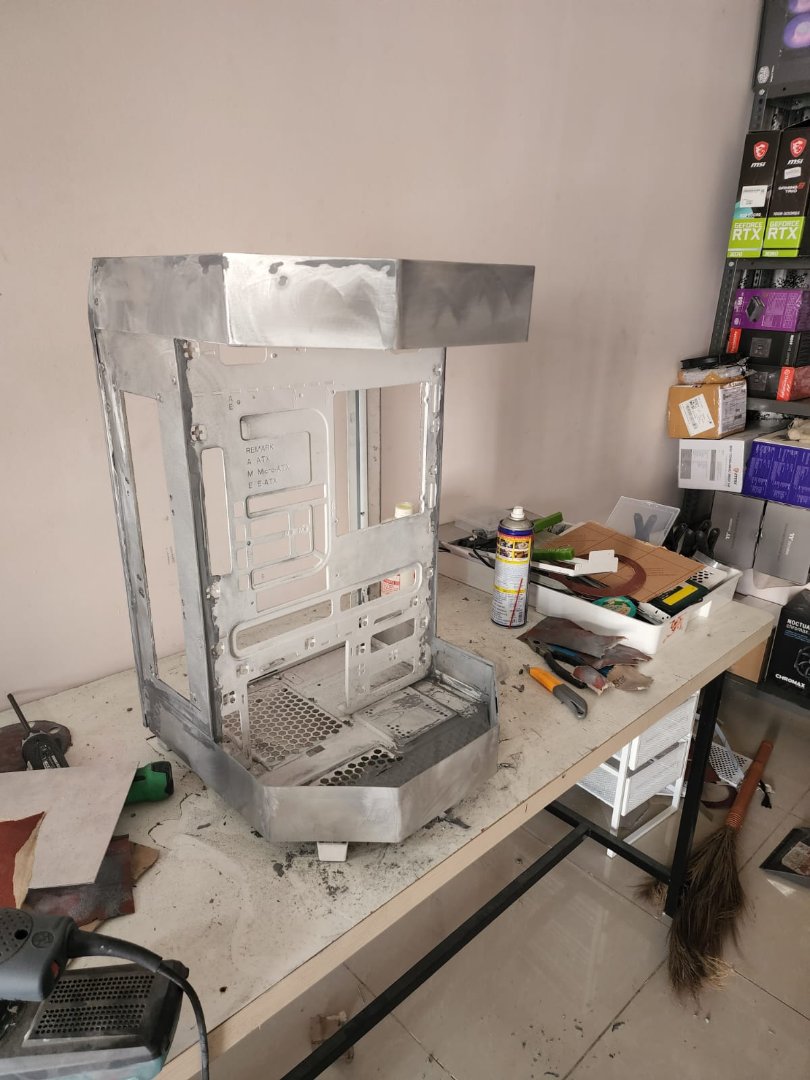
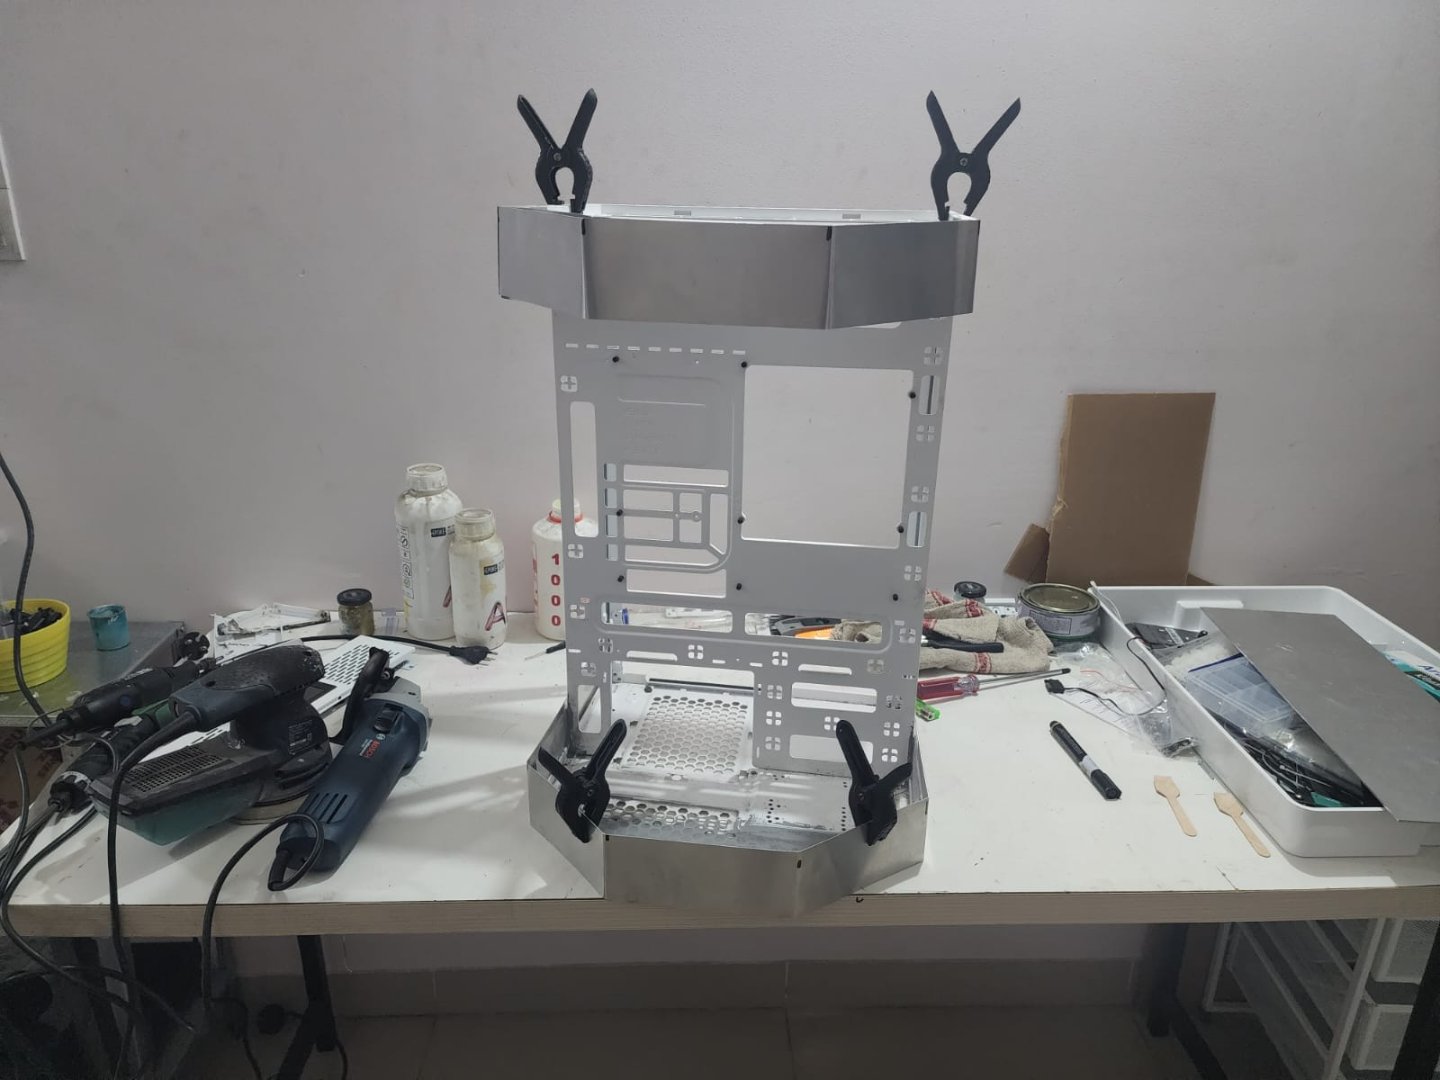
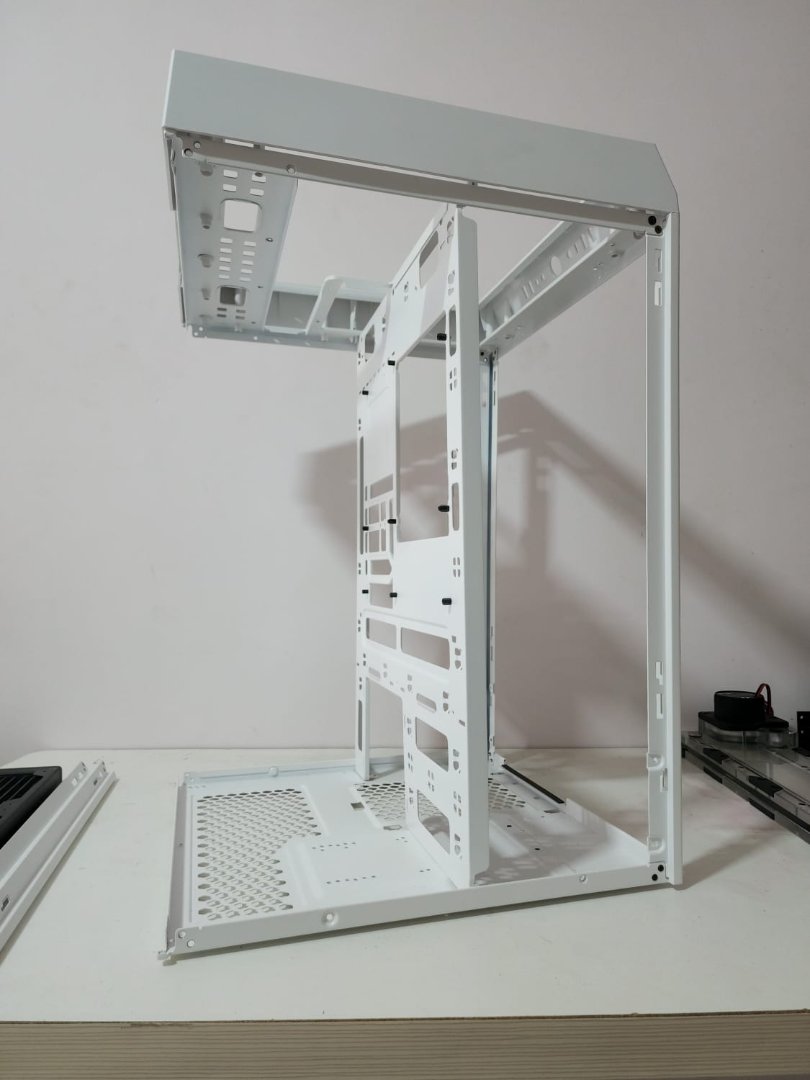
now getting to the structural supports, getting it into shape
some Grey Putti to shape the edges 🧱
 .
.
meanwhile till the putty dries we can focus on the upper structure .
.thumb.jpeg.754c6750449007a19ca6094f09fb20c6.jpeg)
some more support
😄
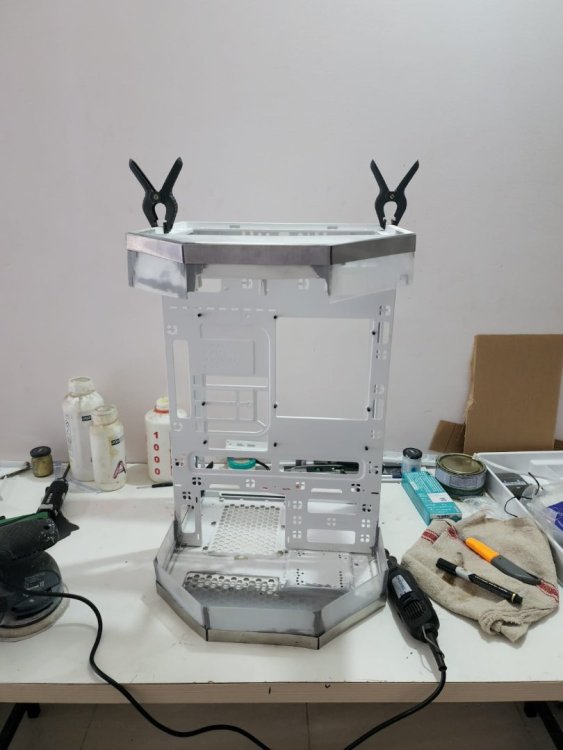
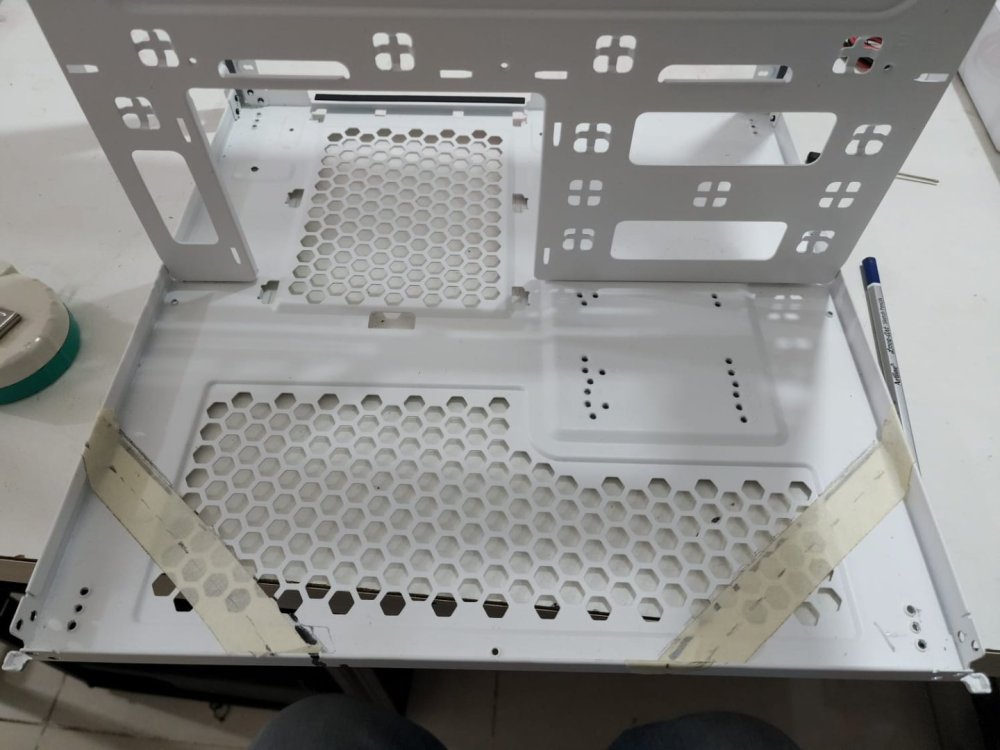
putty is dried for the bottom part.
sanding in progress. 🗯️
.thumb.jpeg.ac207fa0256dfc2046c683e26ee171bc.jpeg)
same treatment to the upper part as well.
.thumb.jpeg.9ccad03bd8daafe452fd82639c7b125c.jpeg)
coming out nice.
-
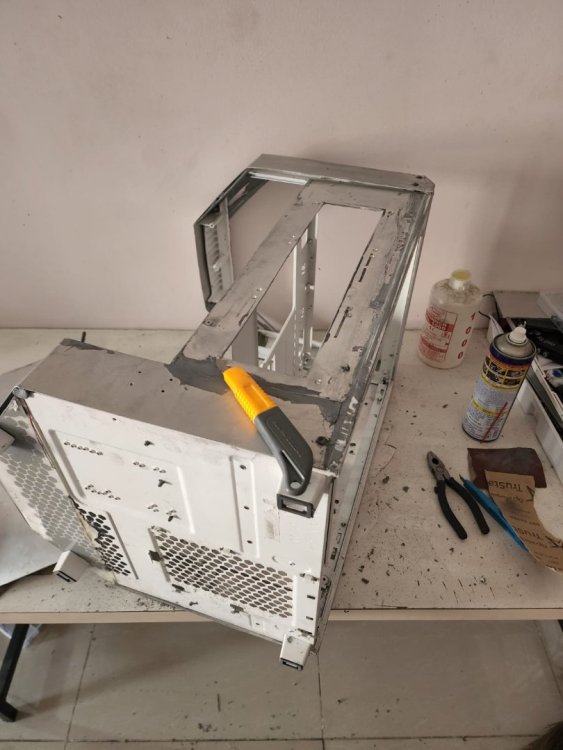
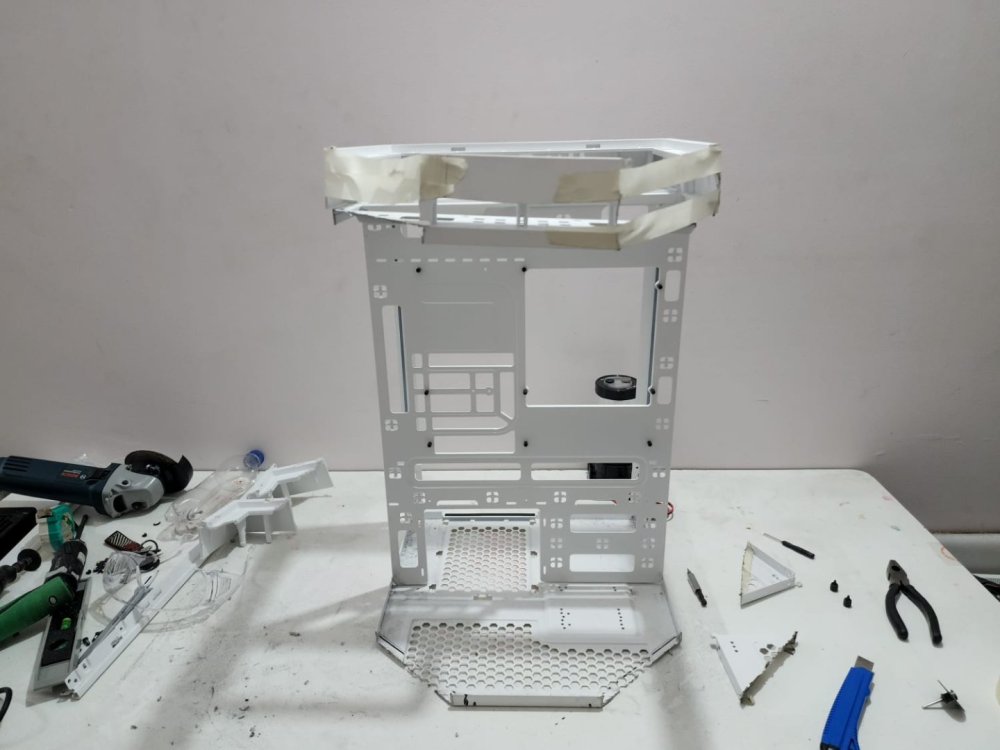
Time for some trimming ,

Now also the top,
Using tape to temporary holding the remaining part, it has no support ,
Will be working on it next.
- Andrew Makin and Yash Datir
-
2
-
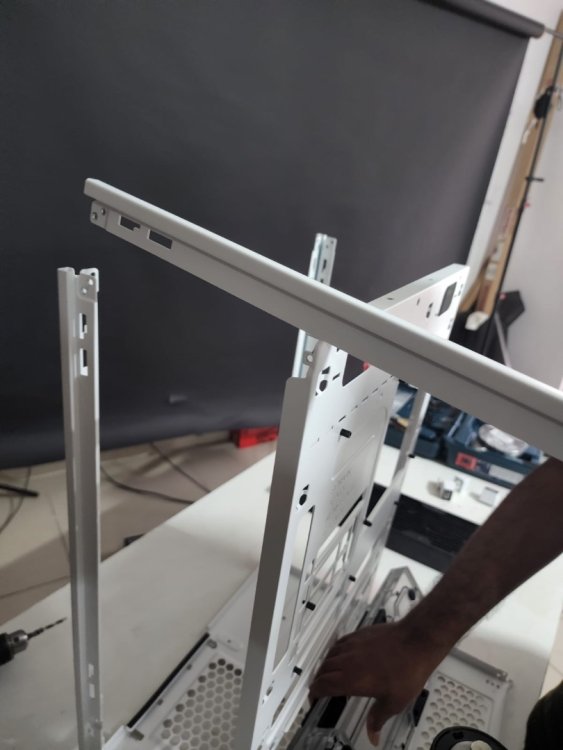
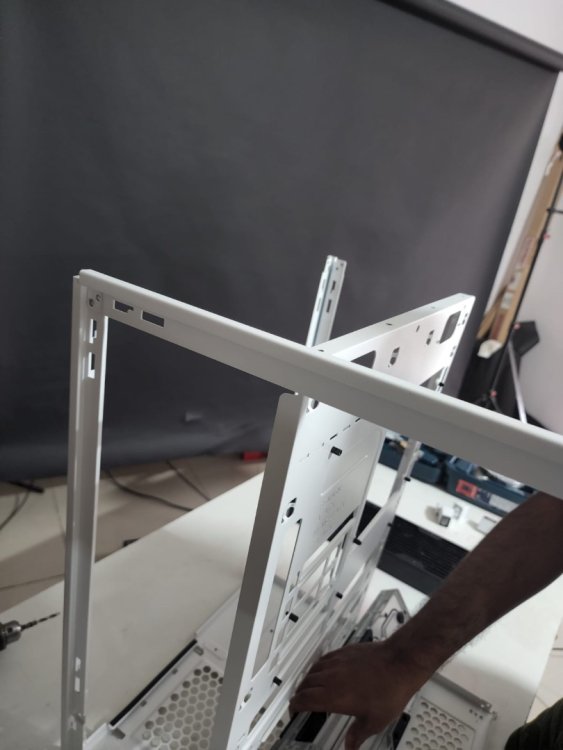
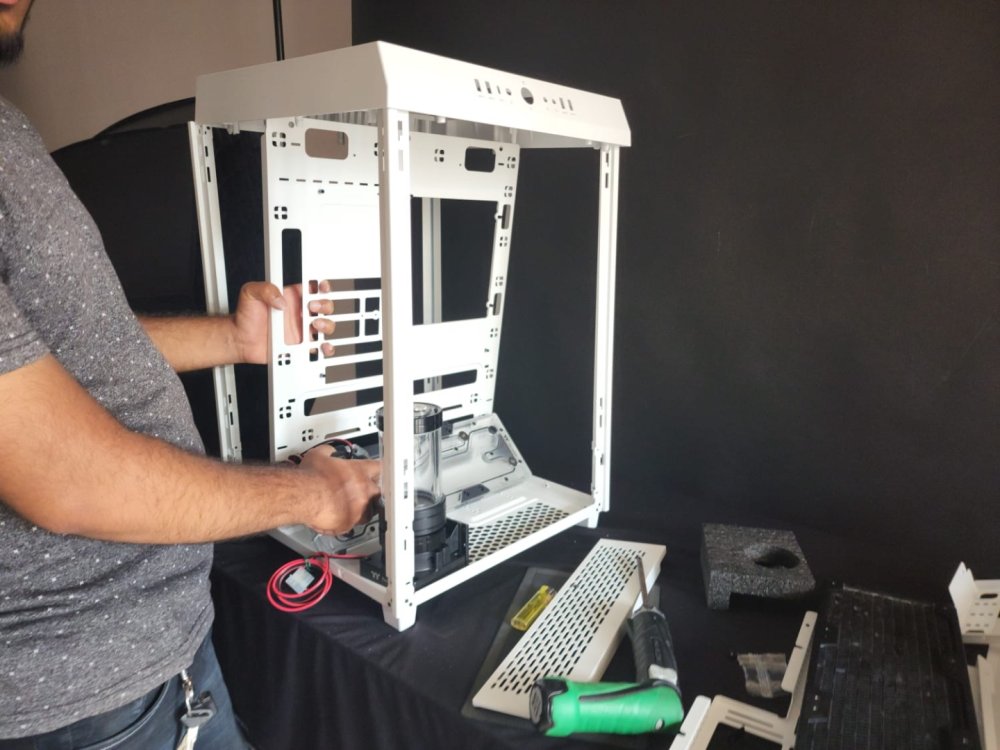
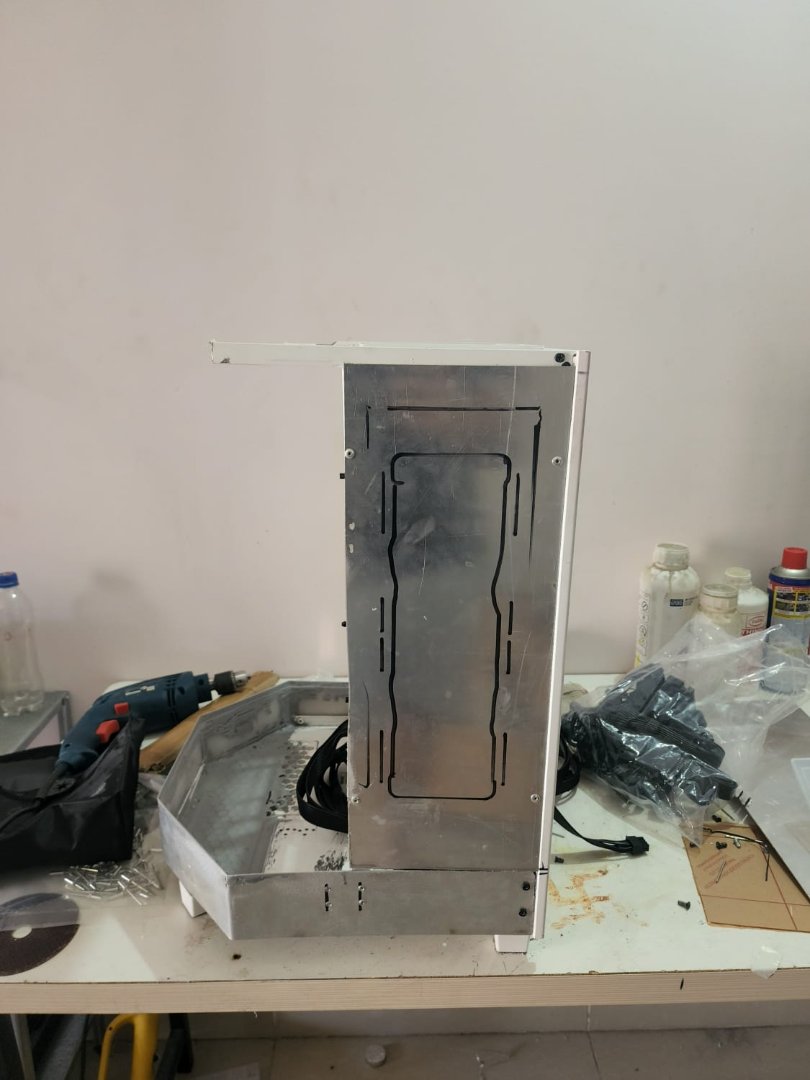
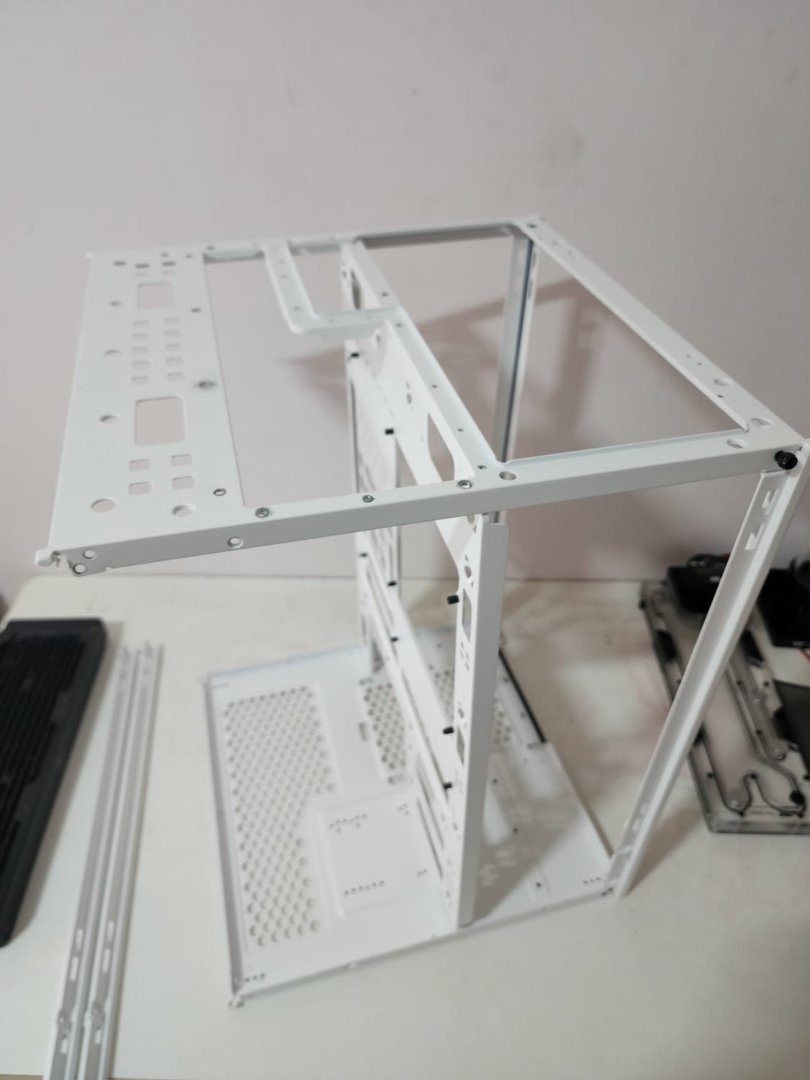
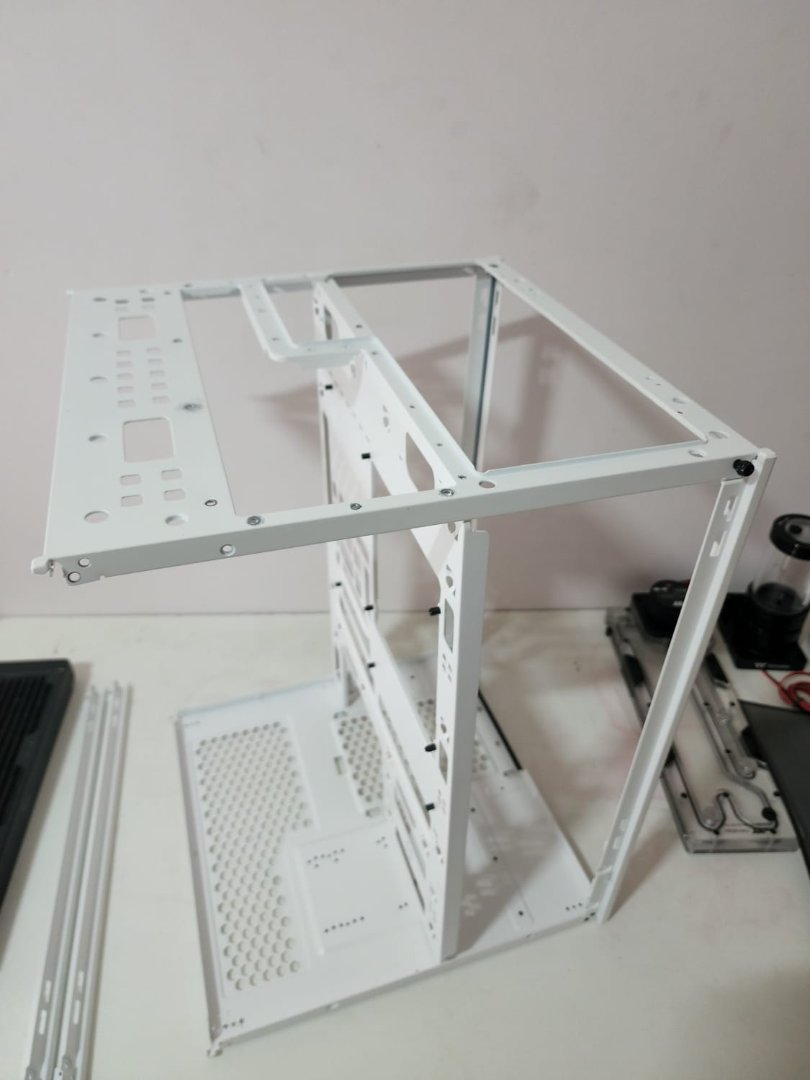
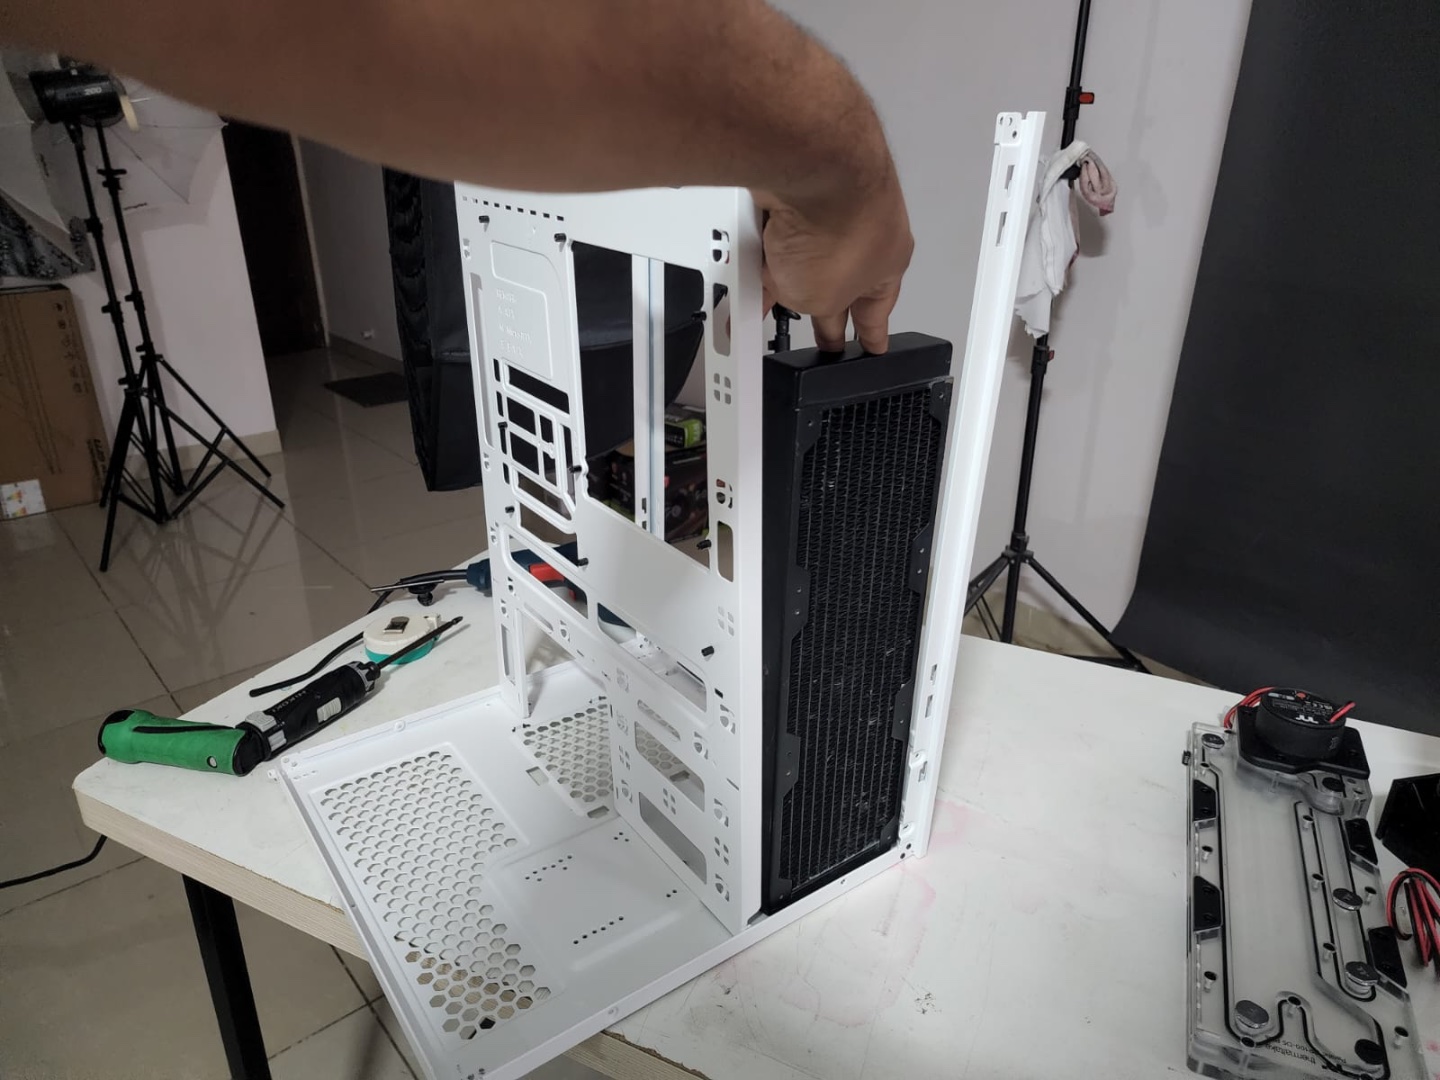
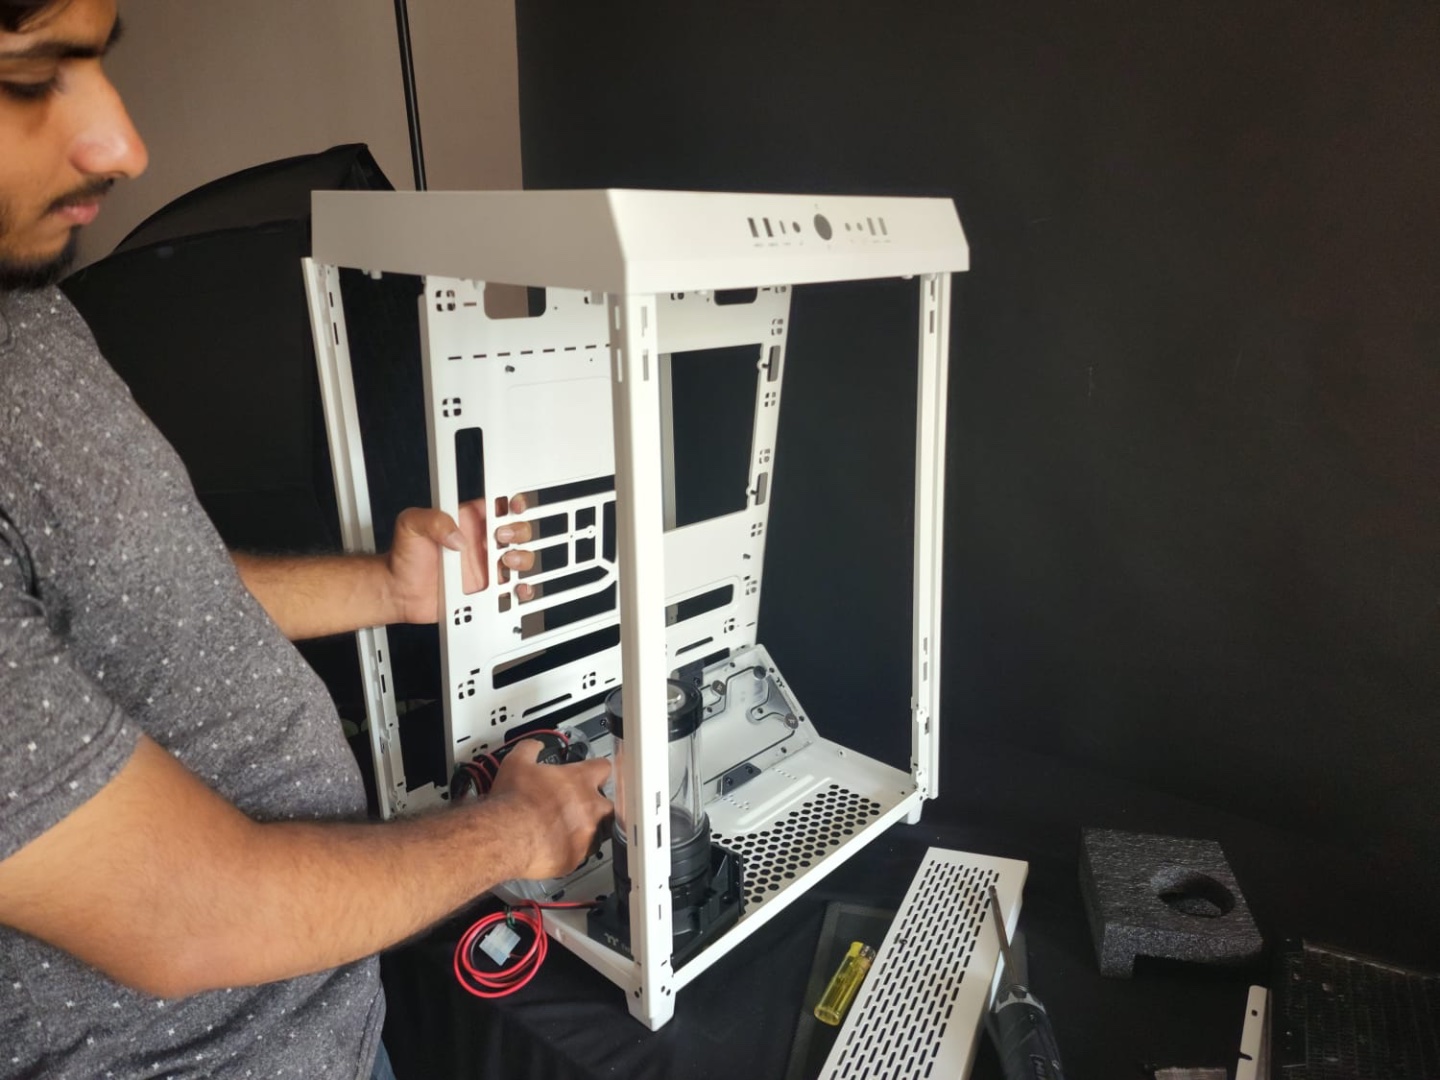
So the skeloton is taking shape , just need some chopping. Waiting for Radiators so i can take measurements and chop the parts with precison.


- Andrew Makin and Yash Datir
-
2
-
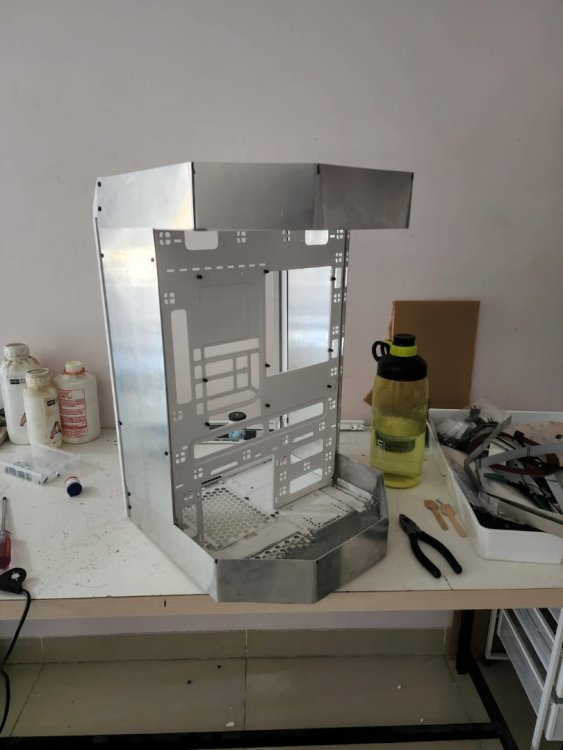
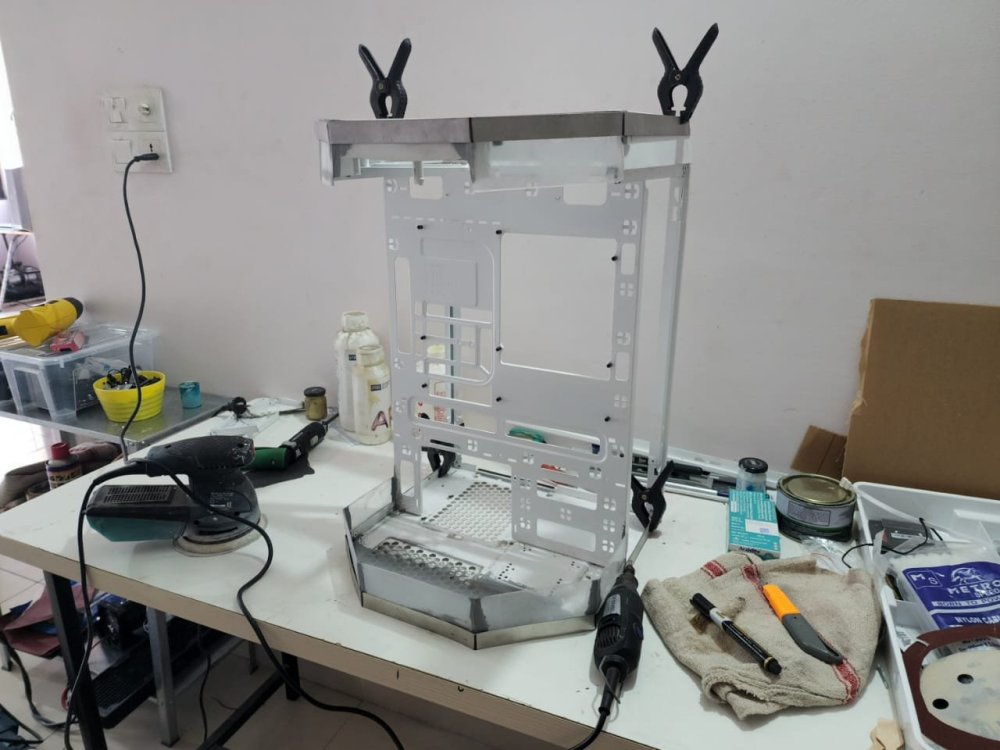
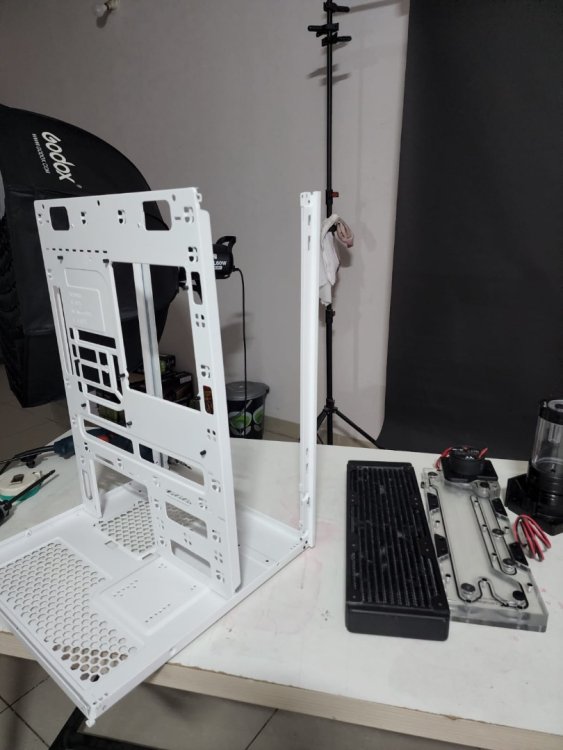
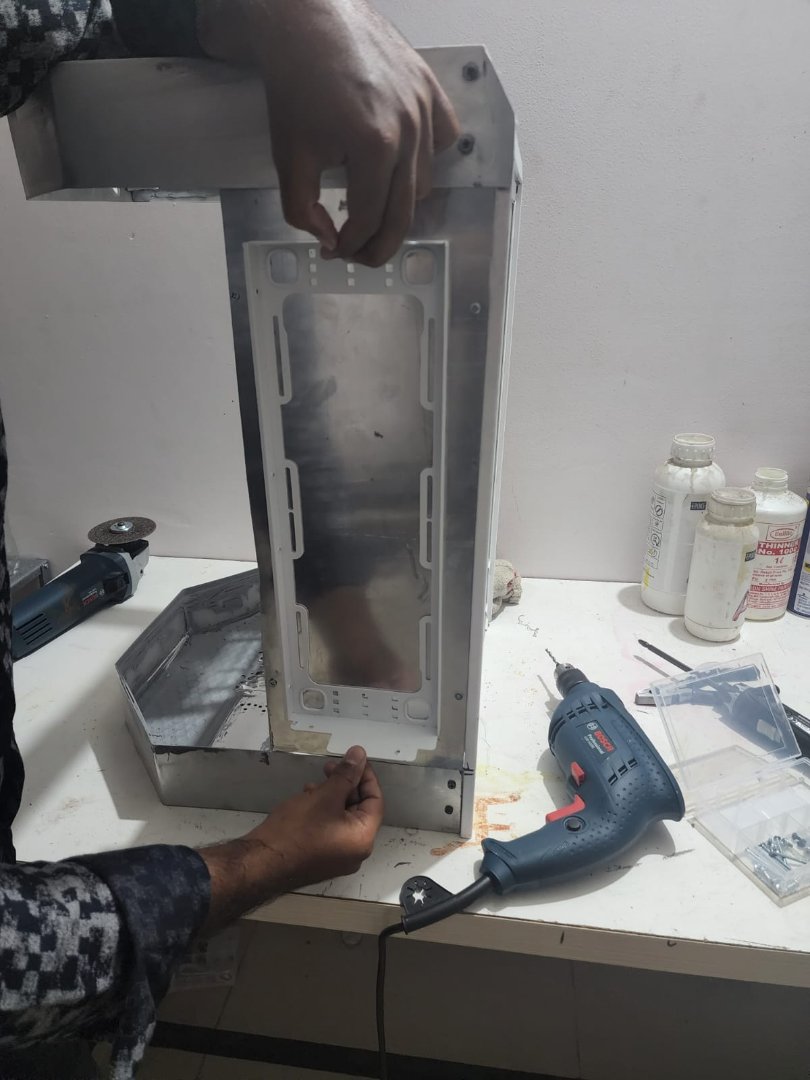
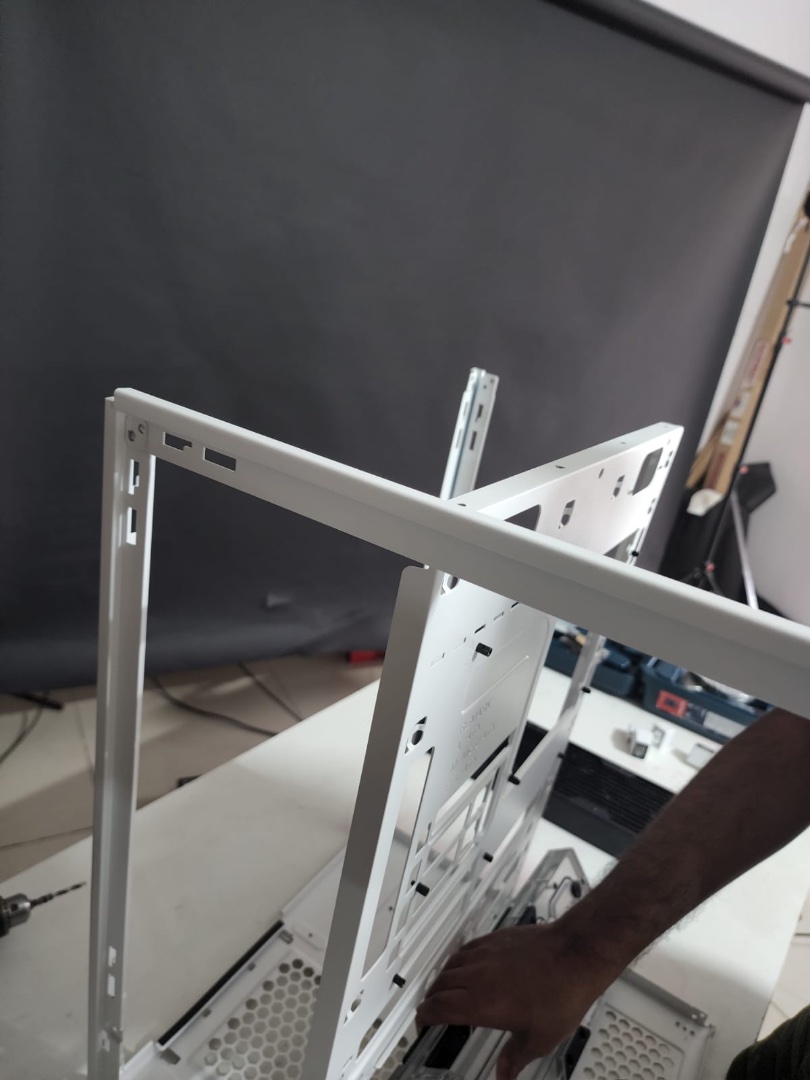
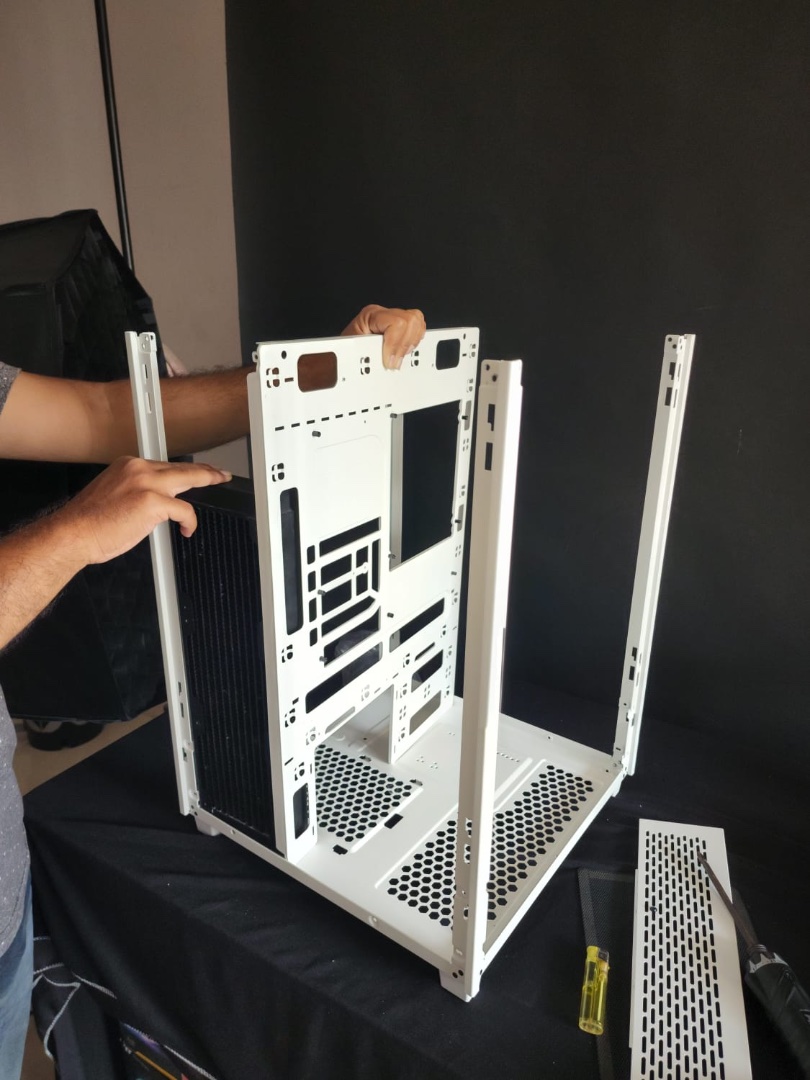
Motherboard tray fixed temporarily to a position , for speculating the component fittings.
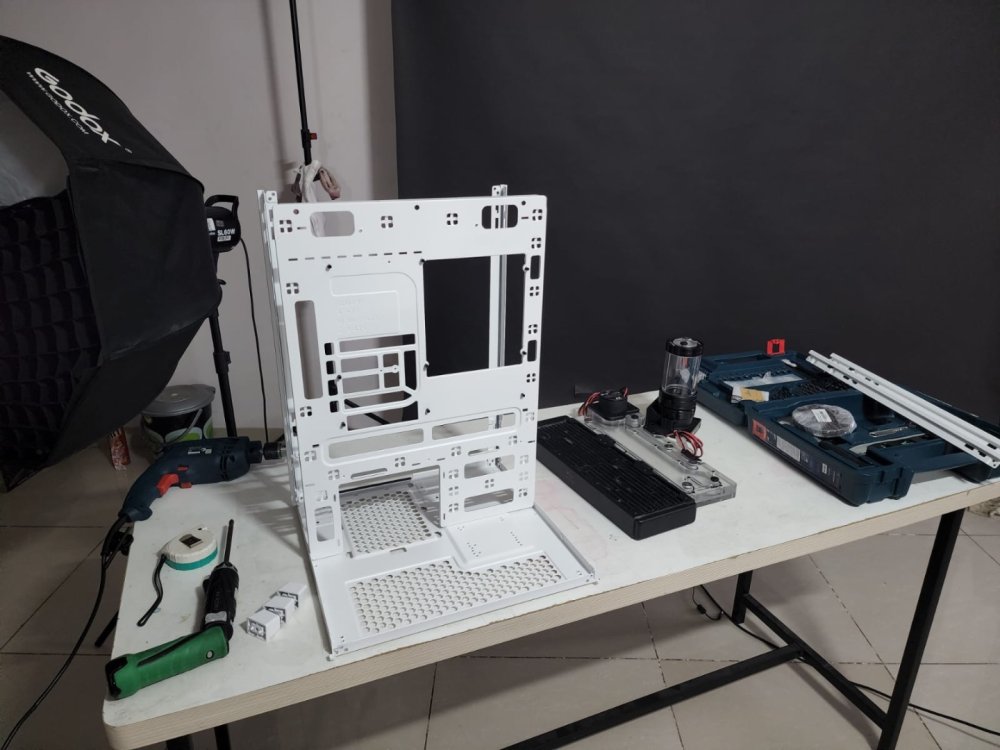
 front pillars will act as support for the back of Motherboard Tray
enough room for 2 360mm rads , which should be enough to tame i9 12900k
stay tuned!!
- Yash Datir and Andrew Makin
-
2
-
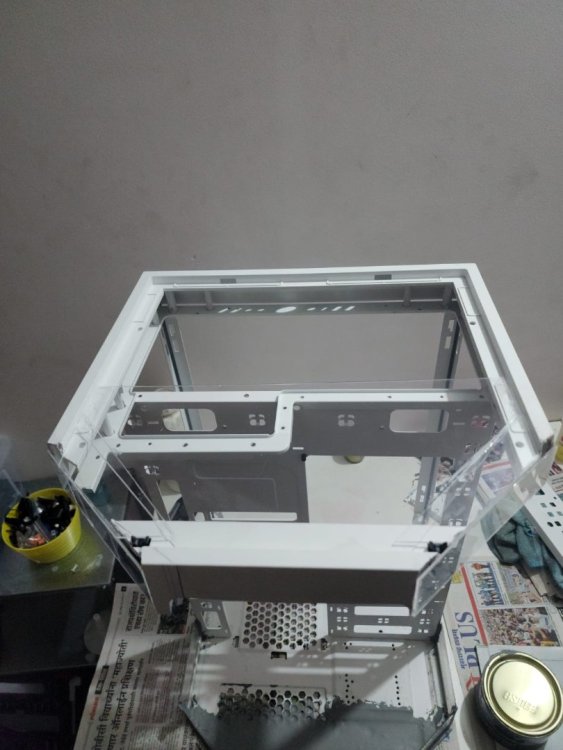
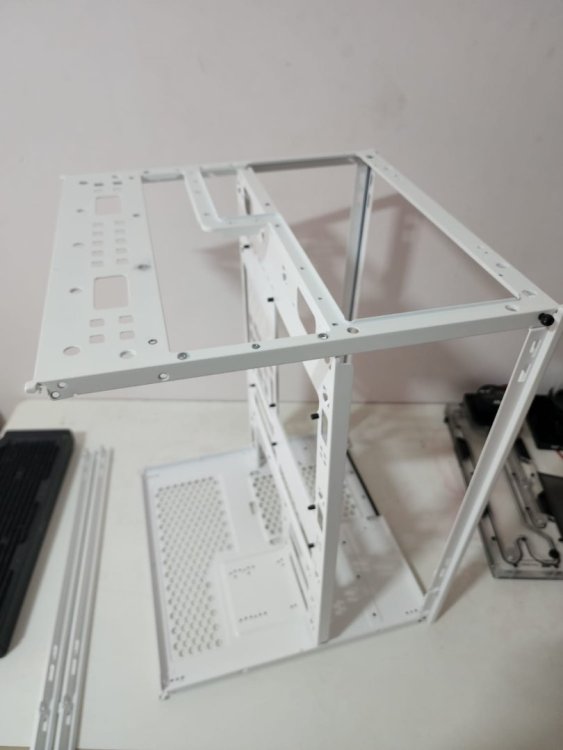
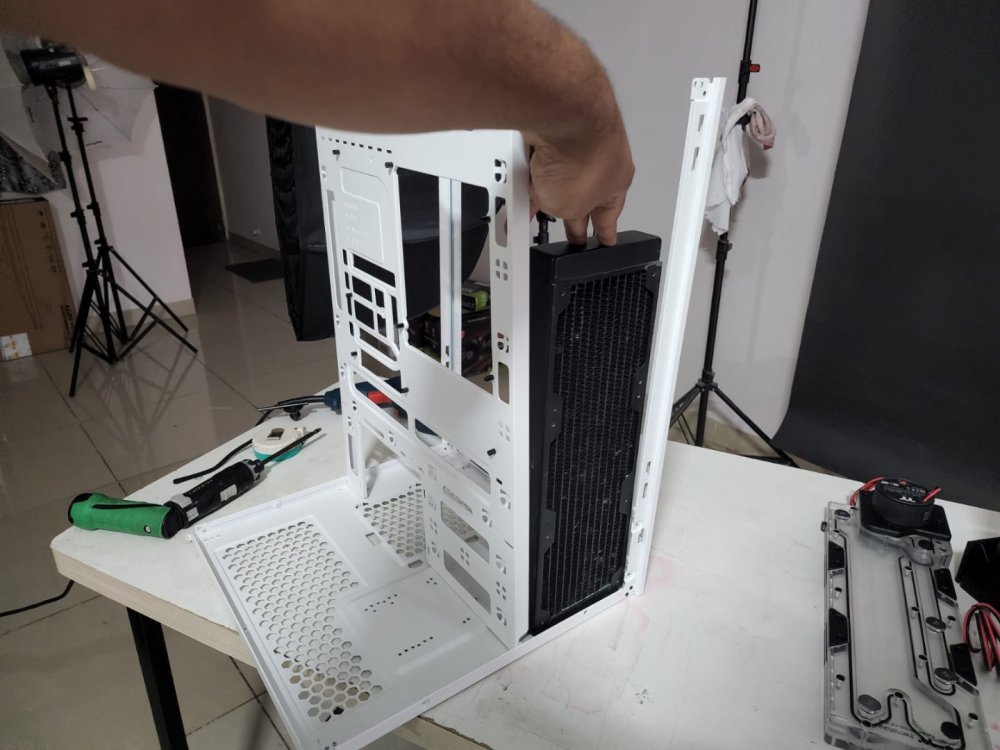
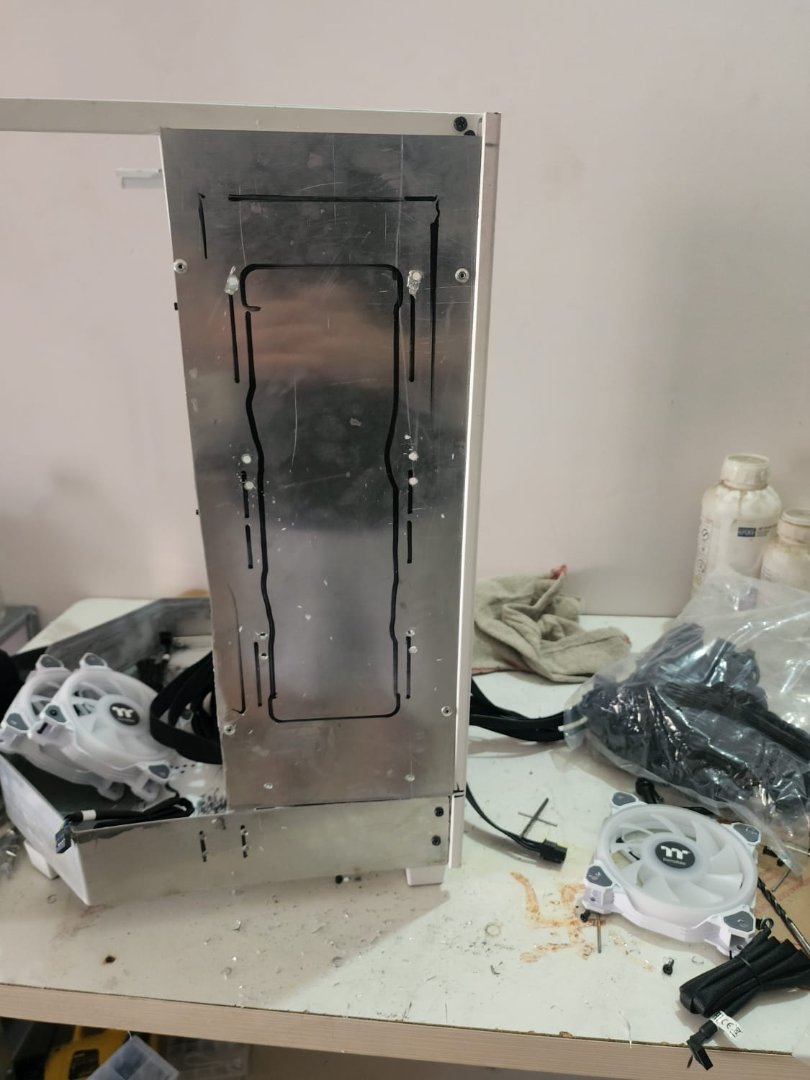
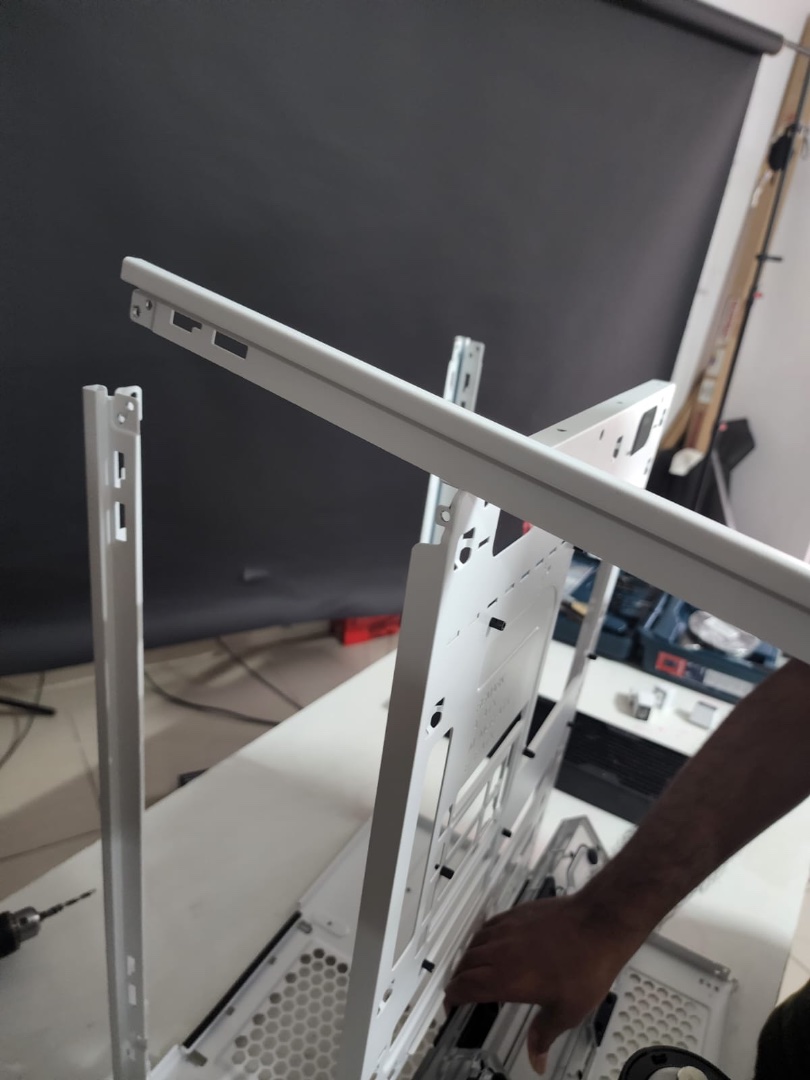
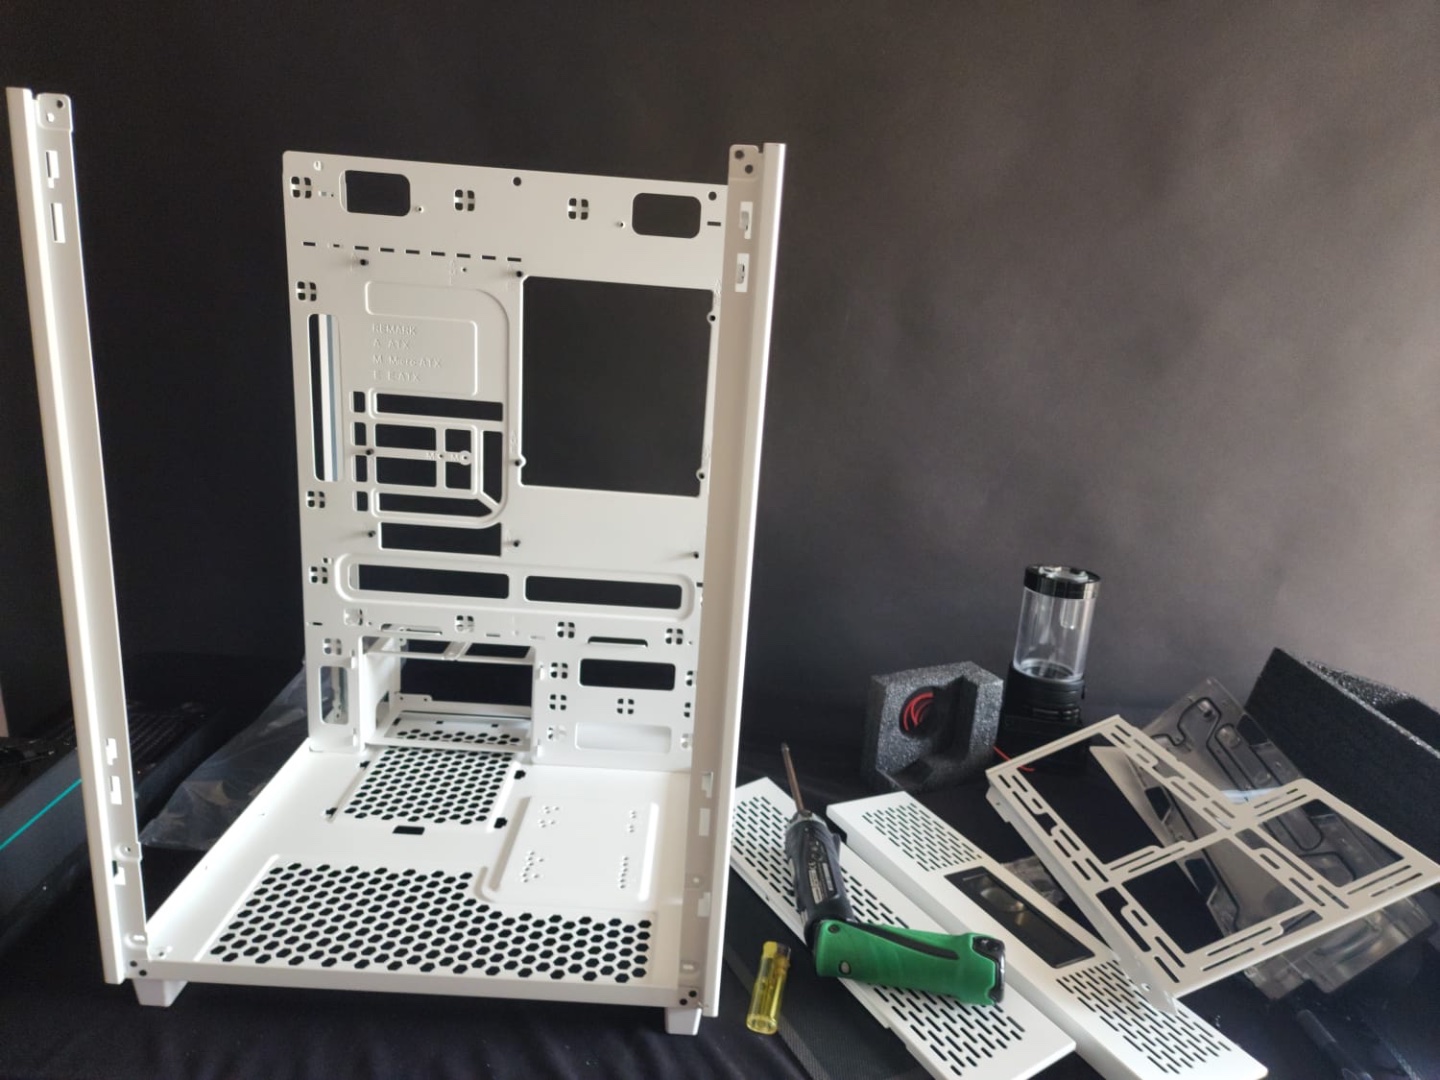
So the first thing i do is take apart the chassis , and readjust the Motherboard tray to fit my desired config.
- Yash Datir and Anil Malche
-
2
-
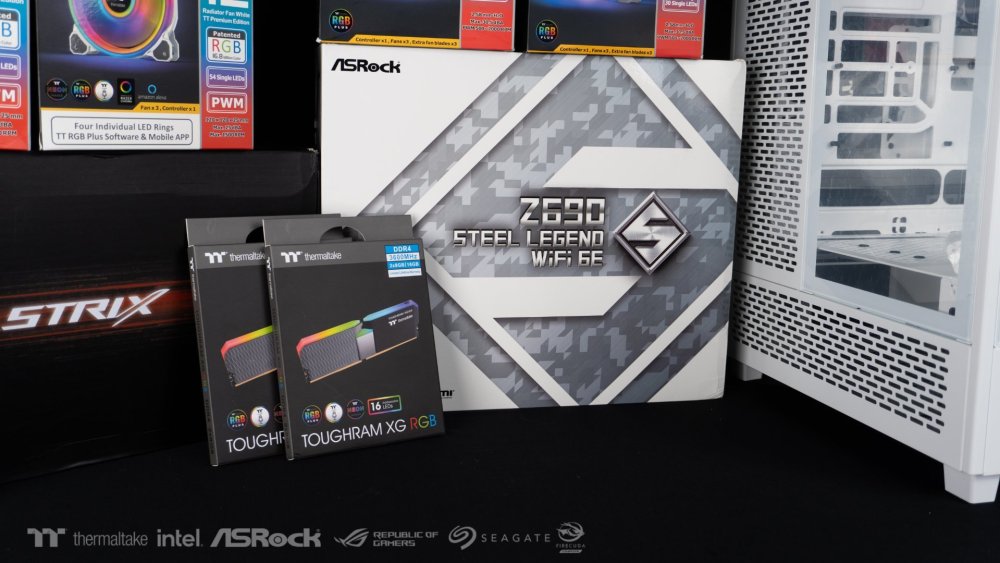
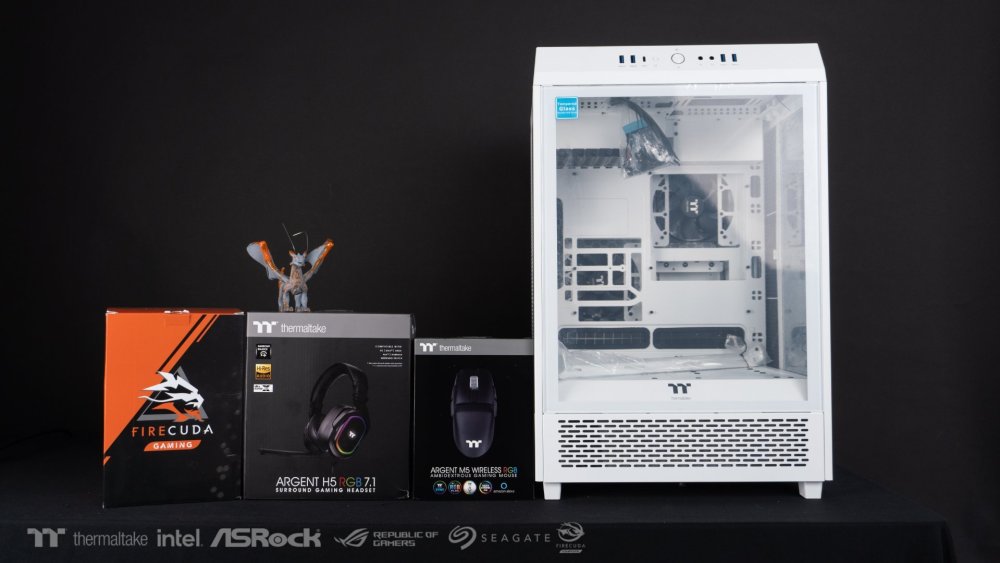
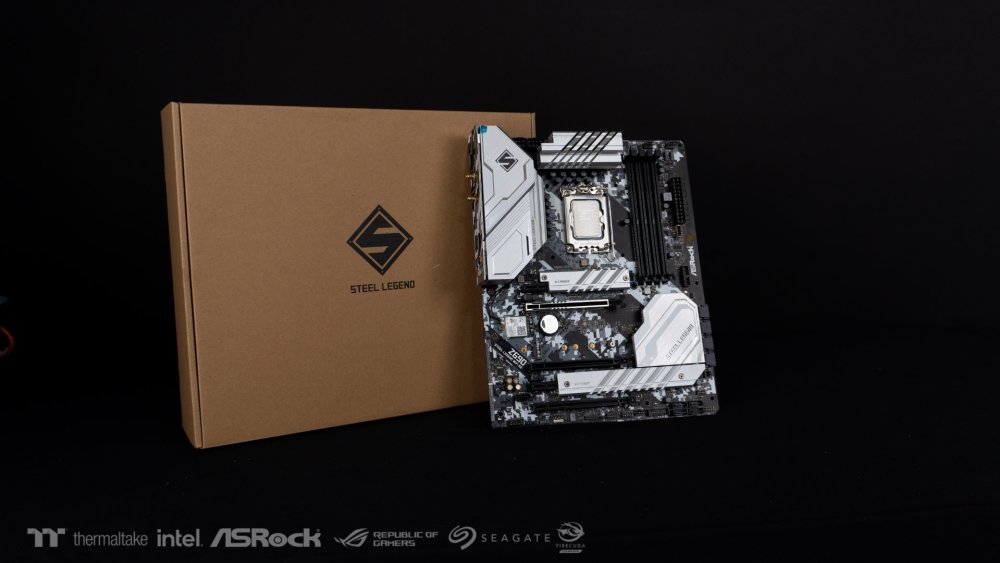
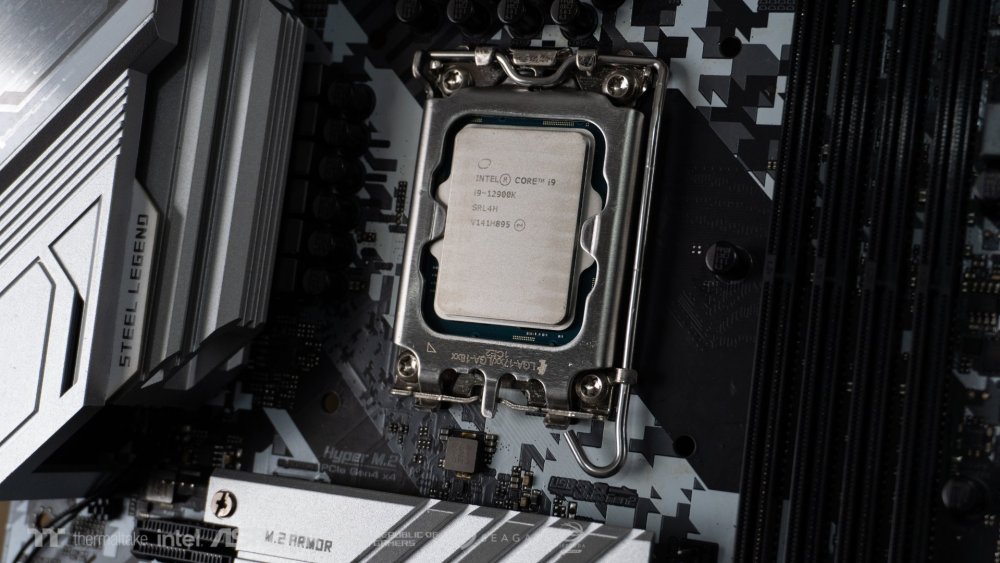
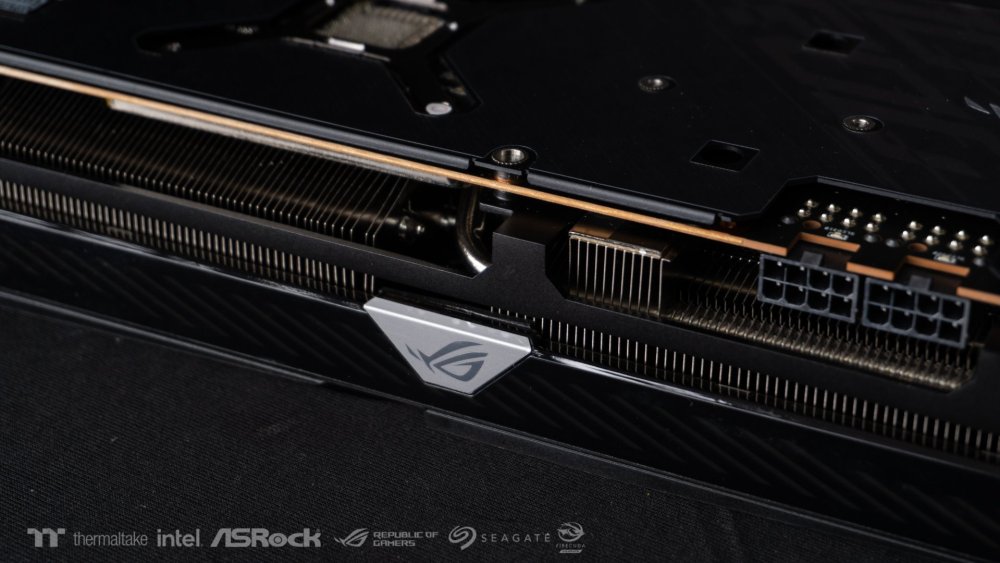
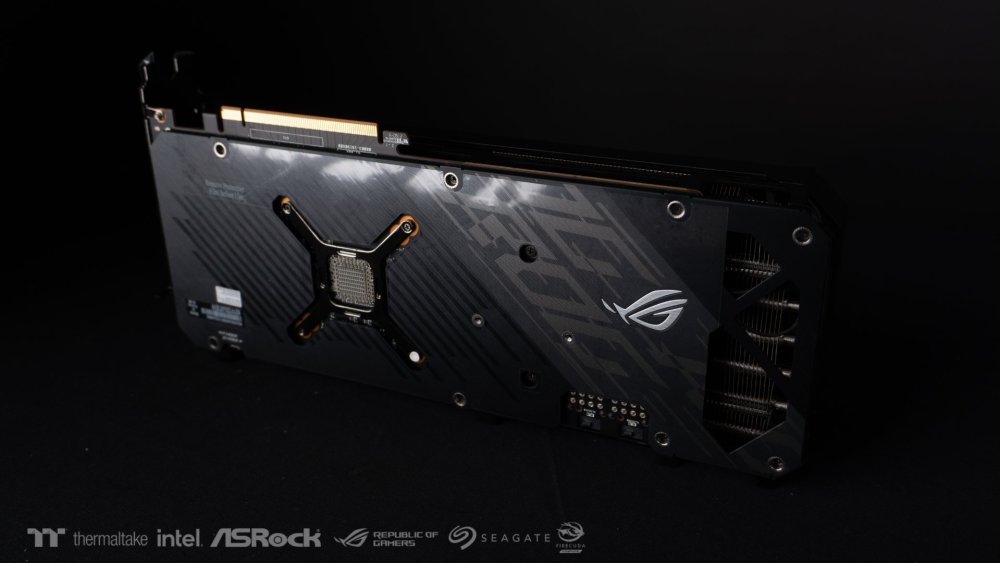
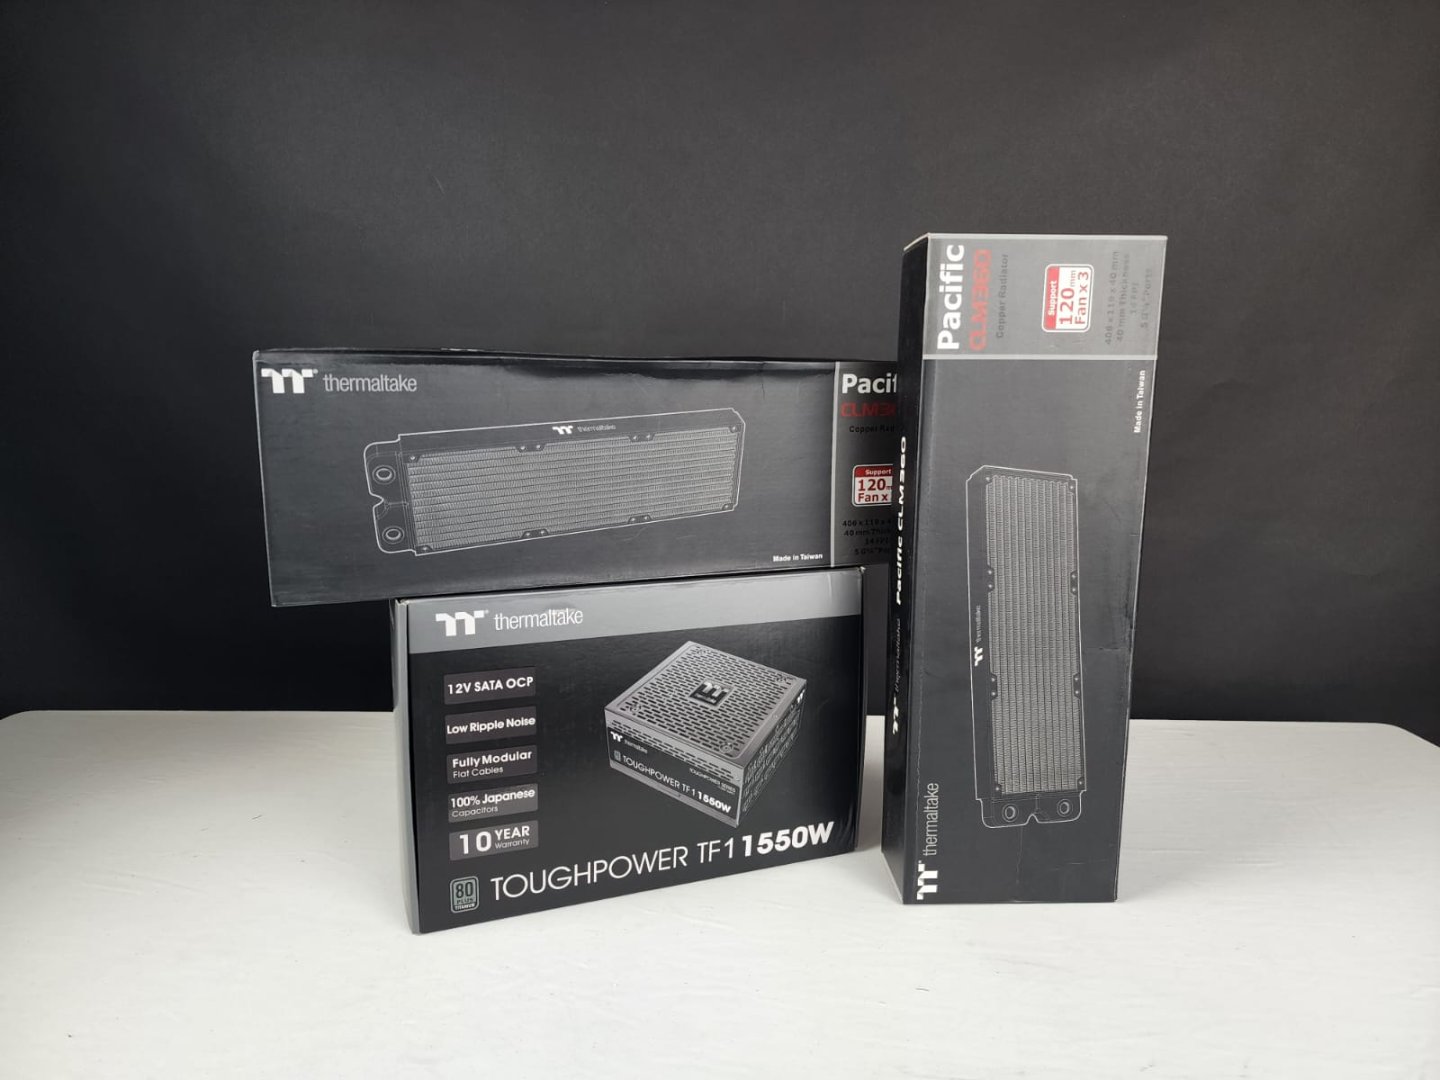
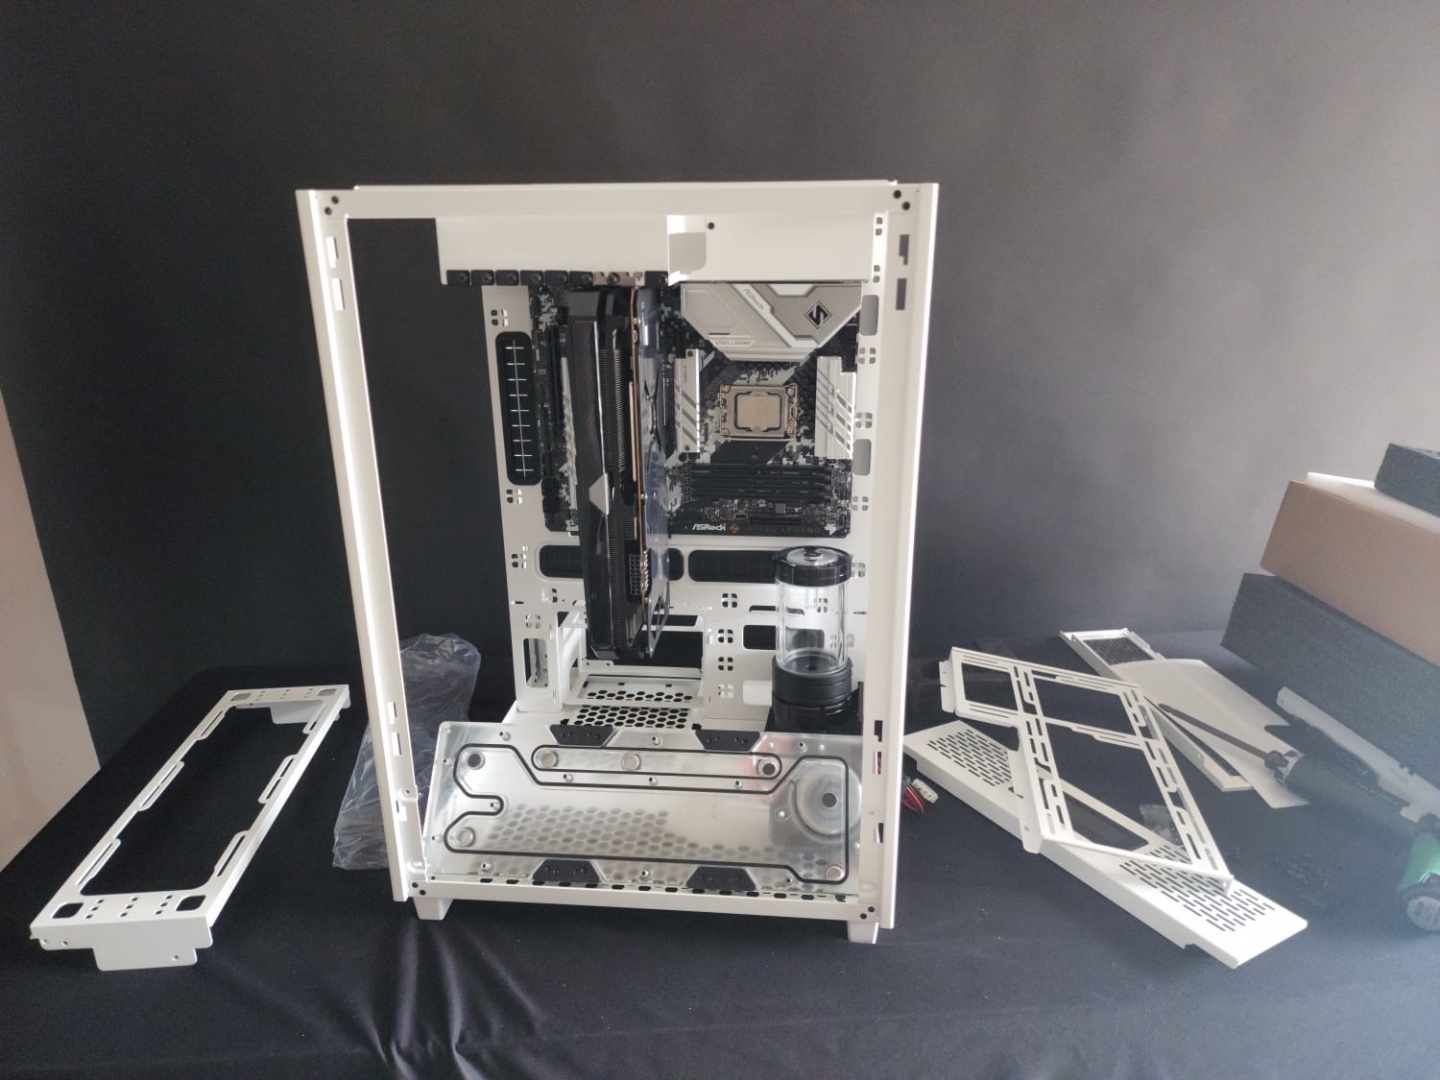
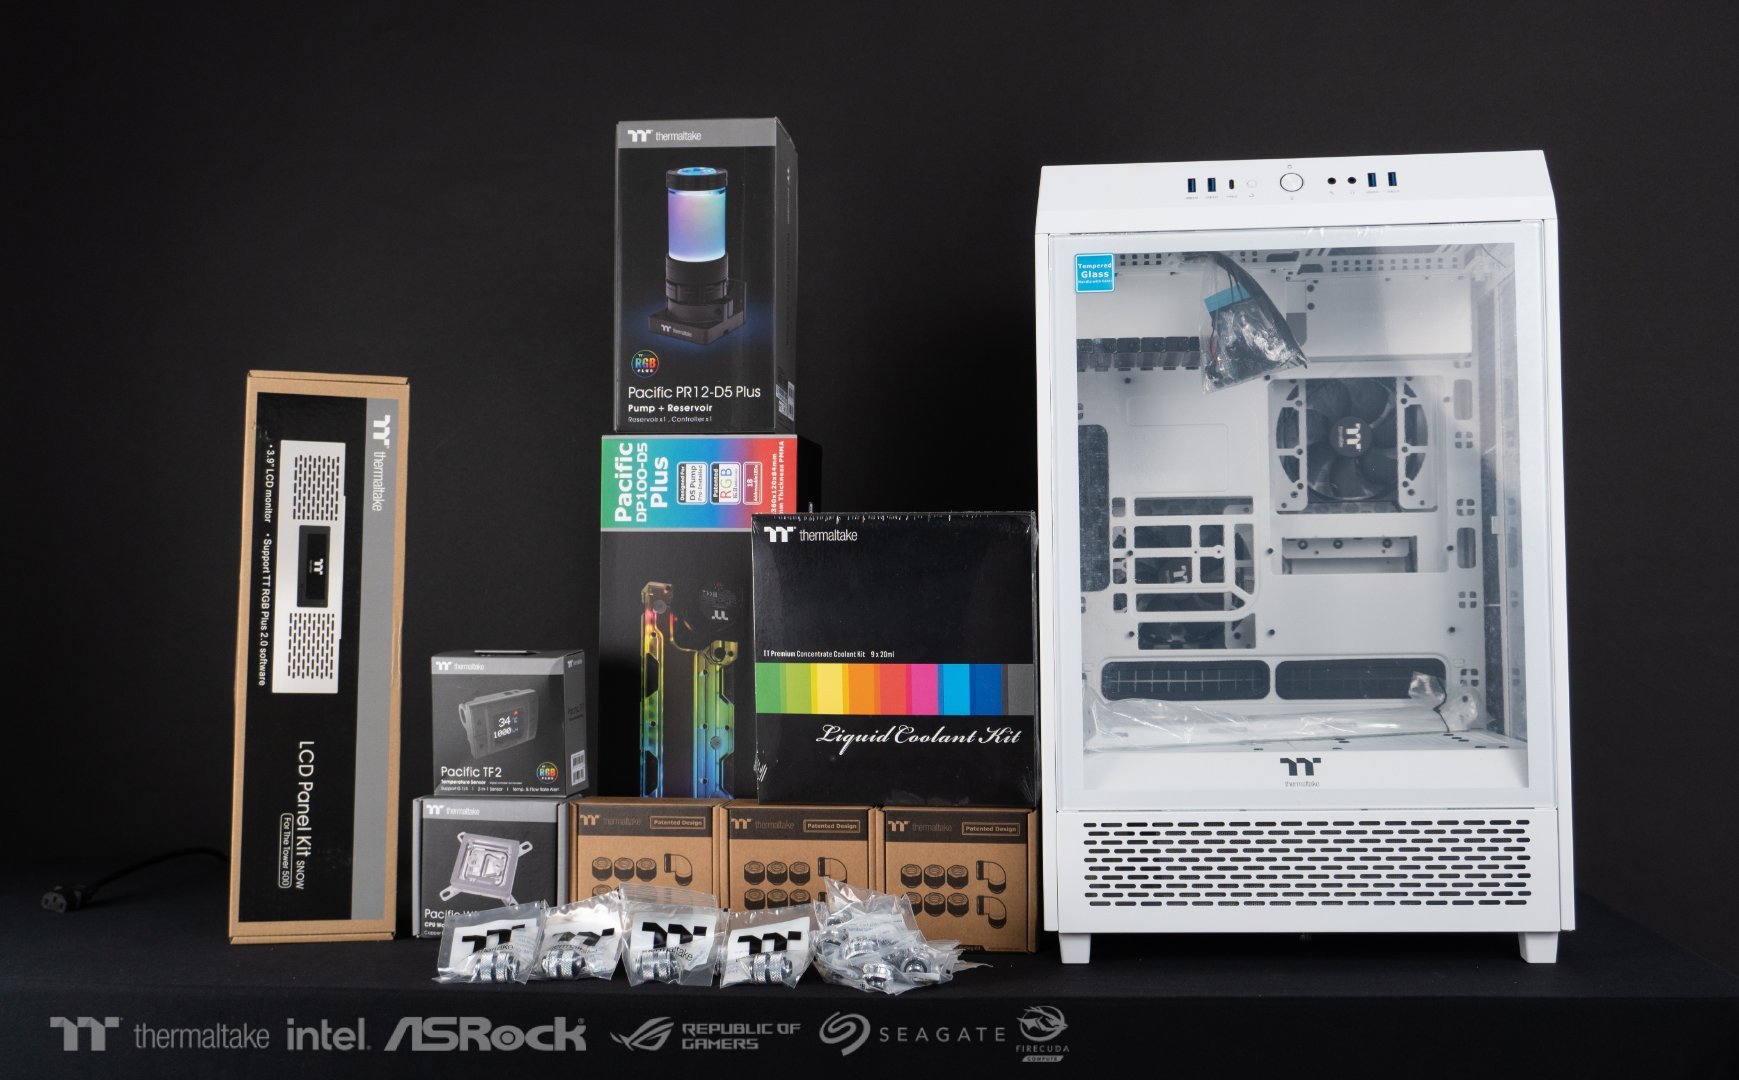
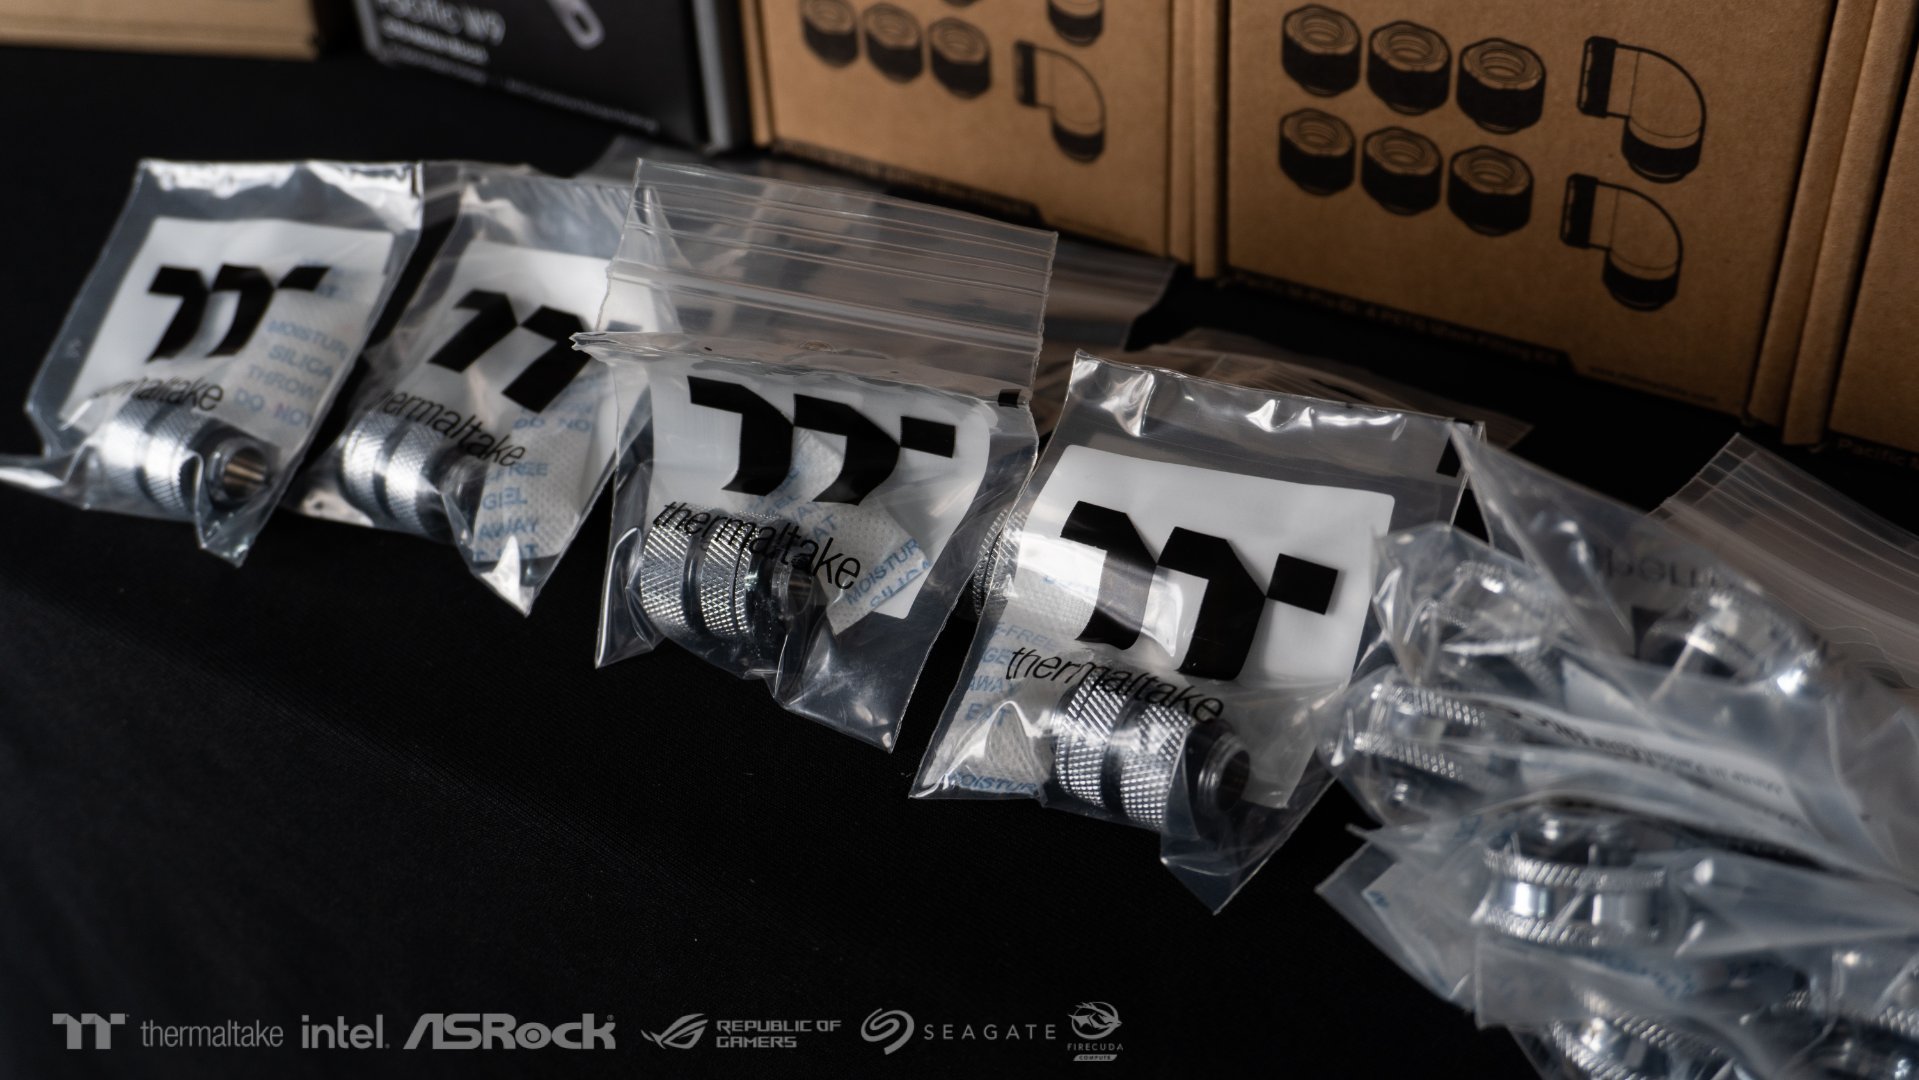
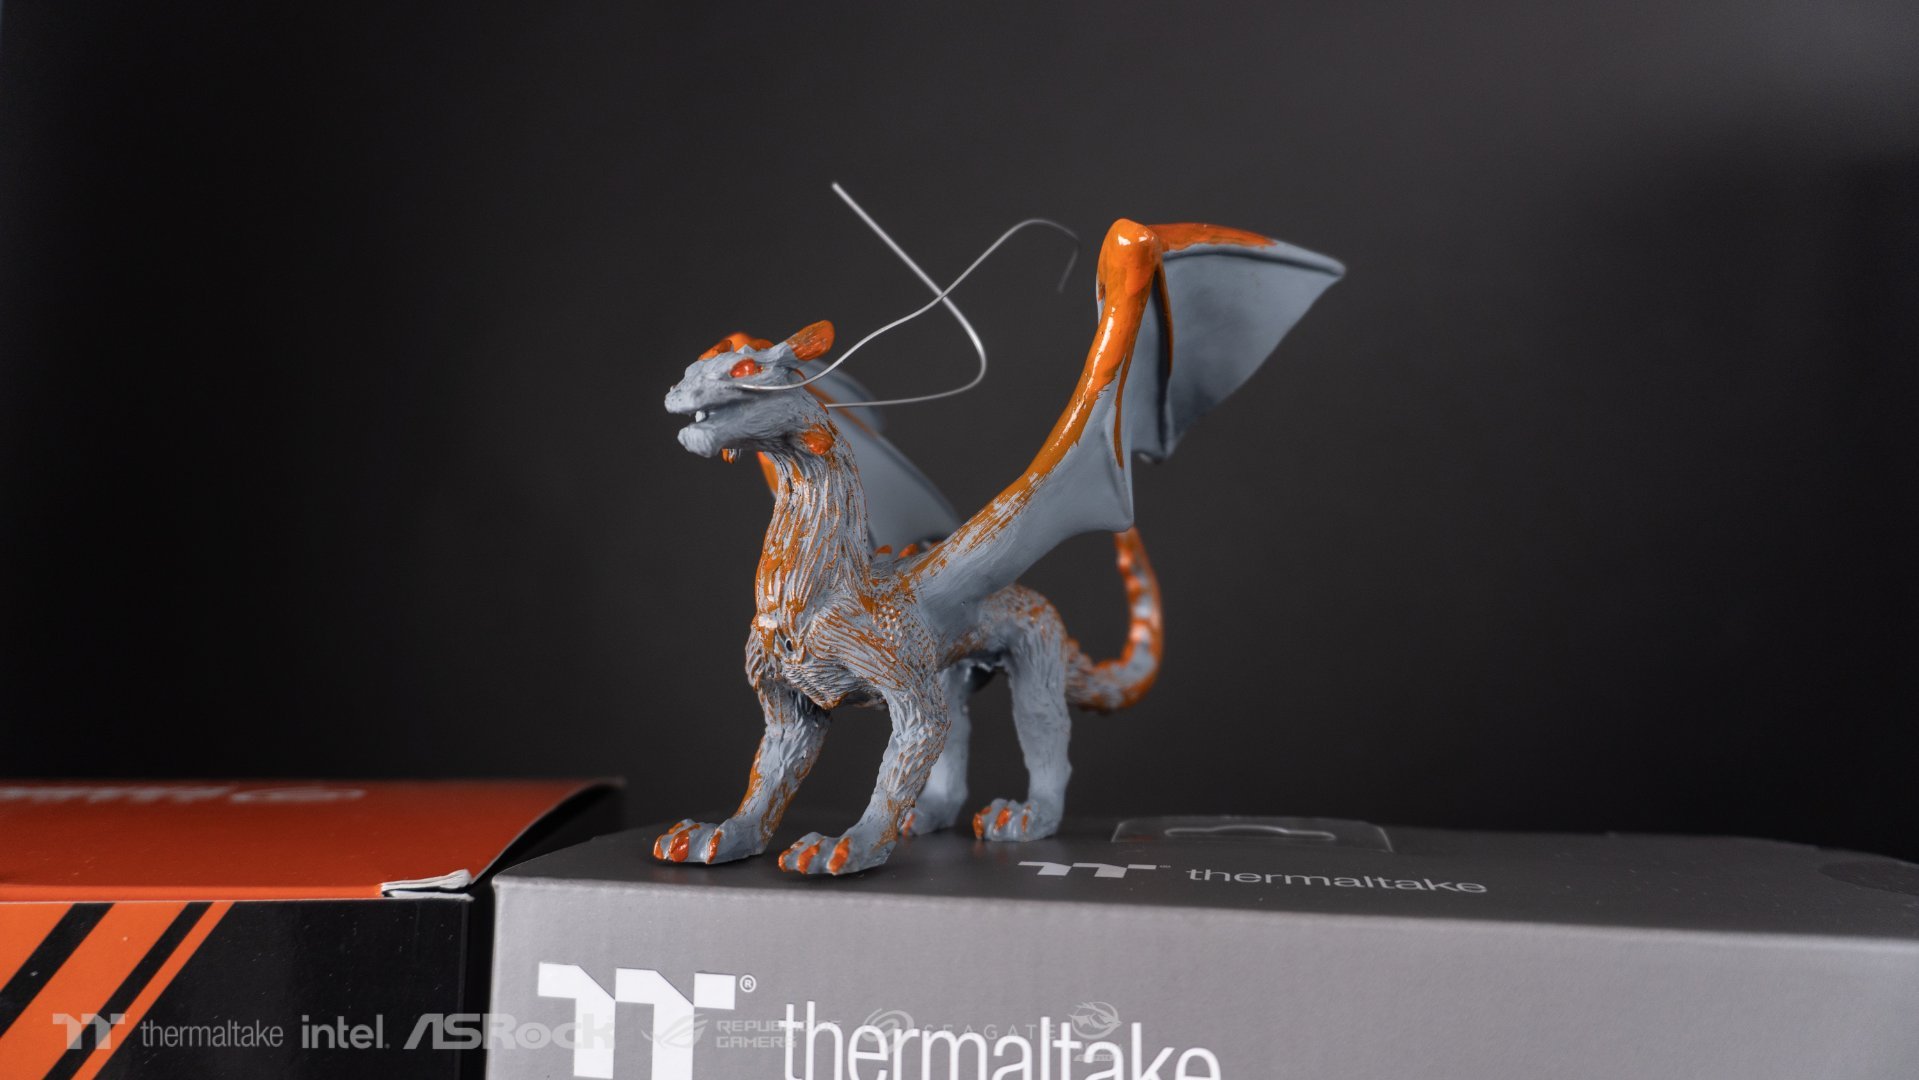
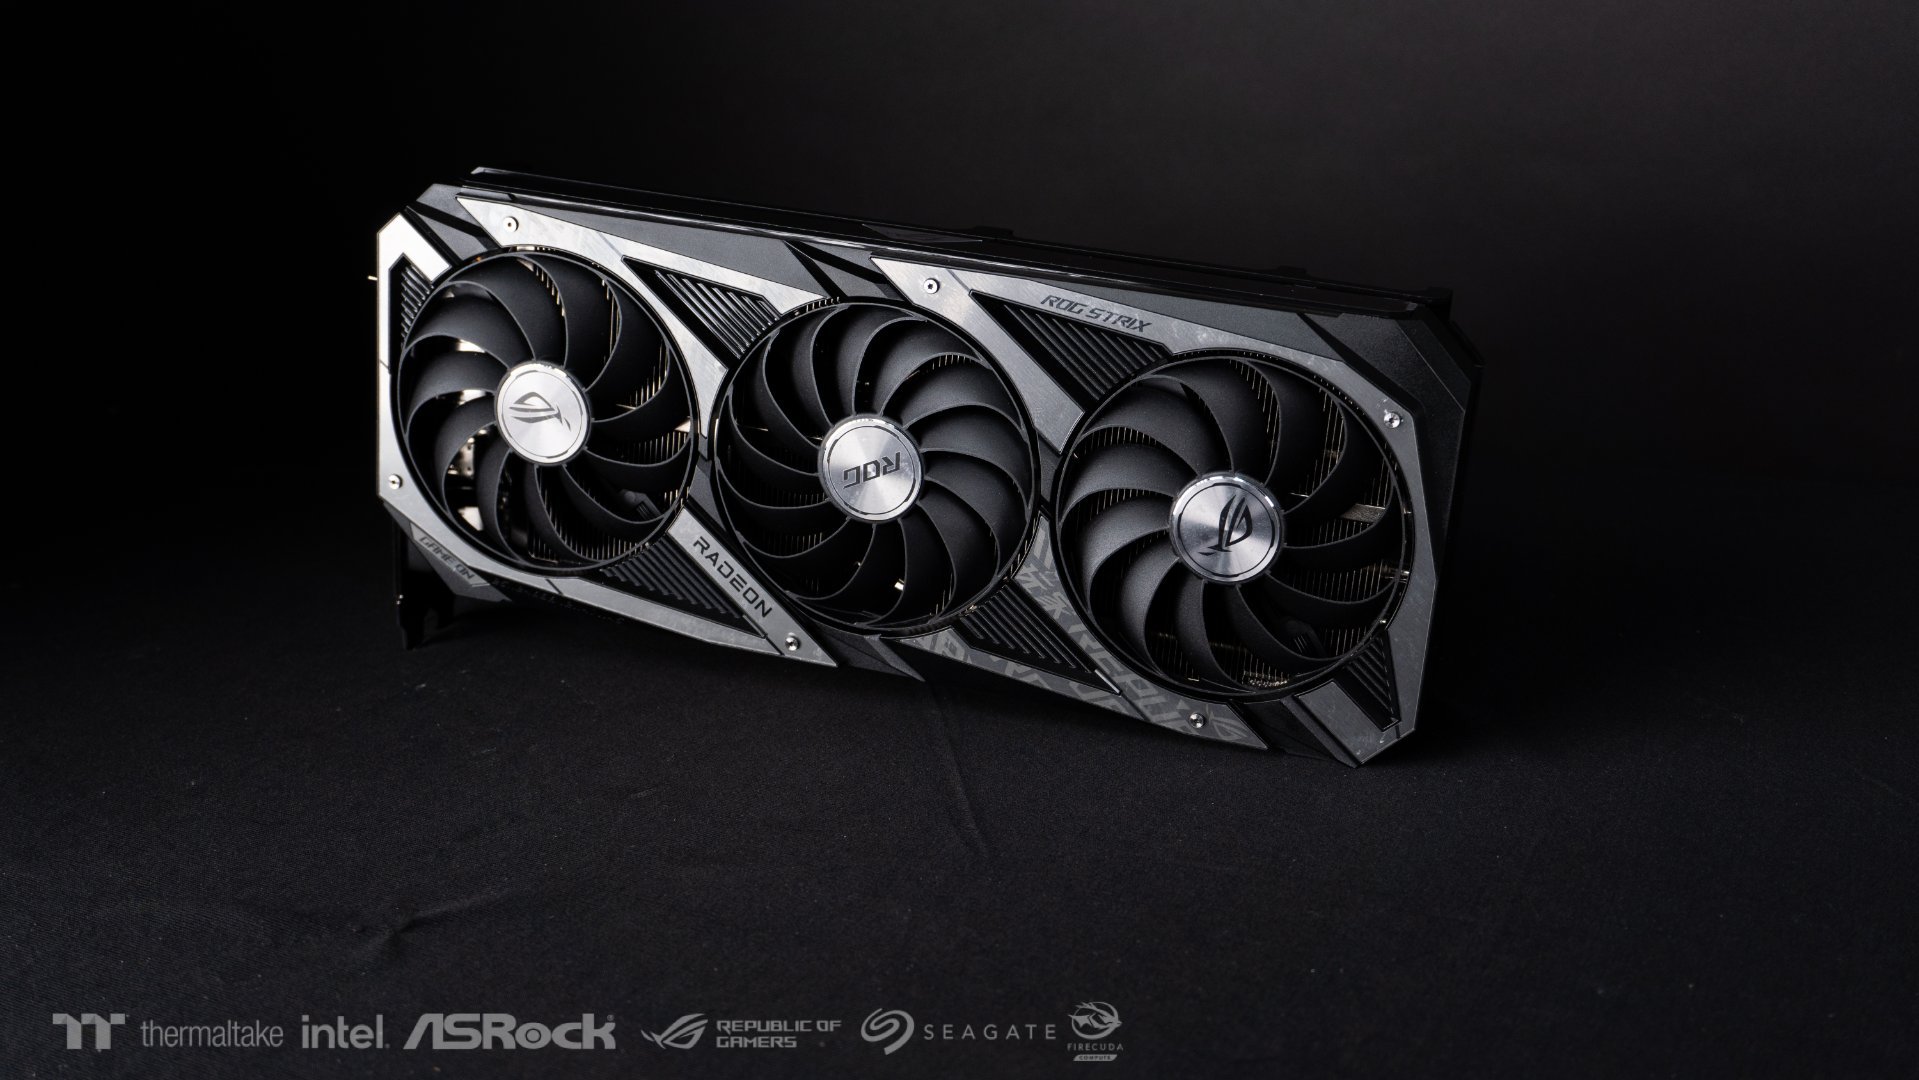
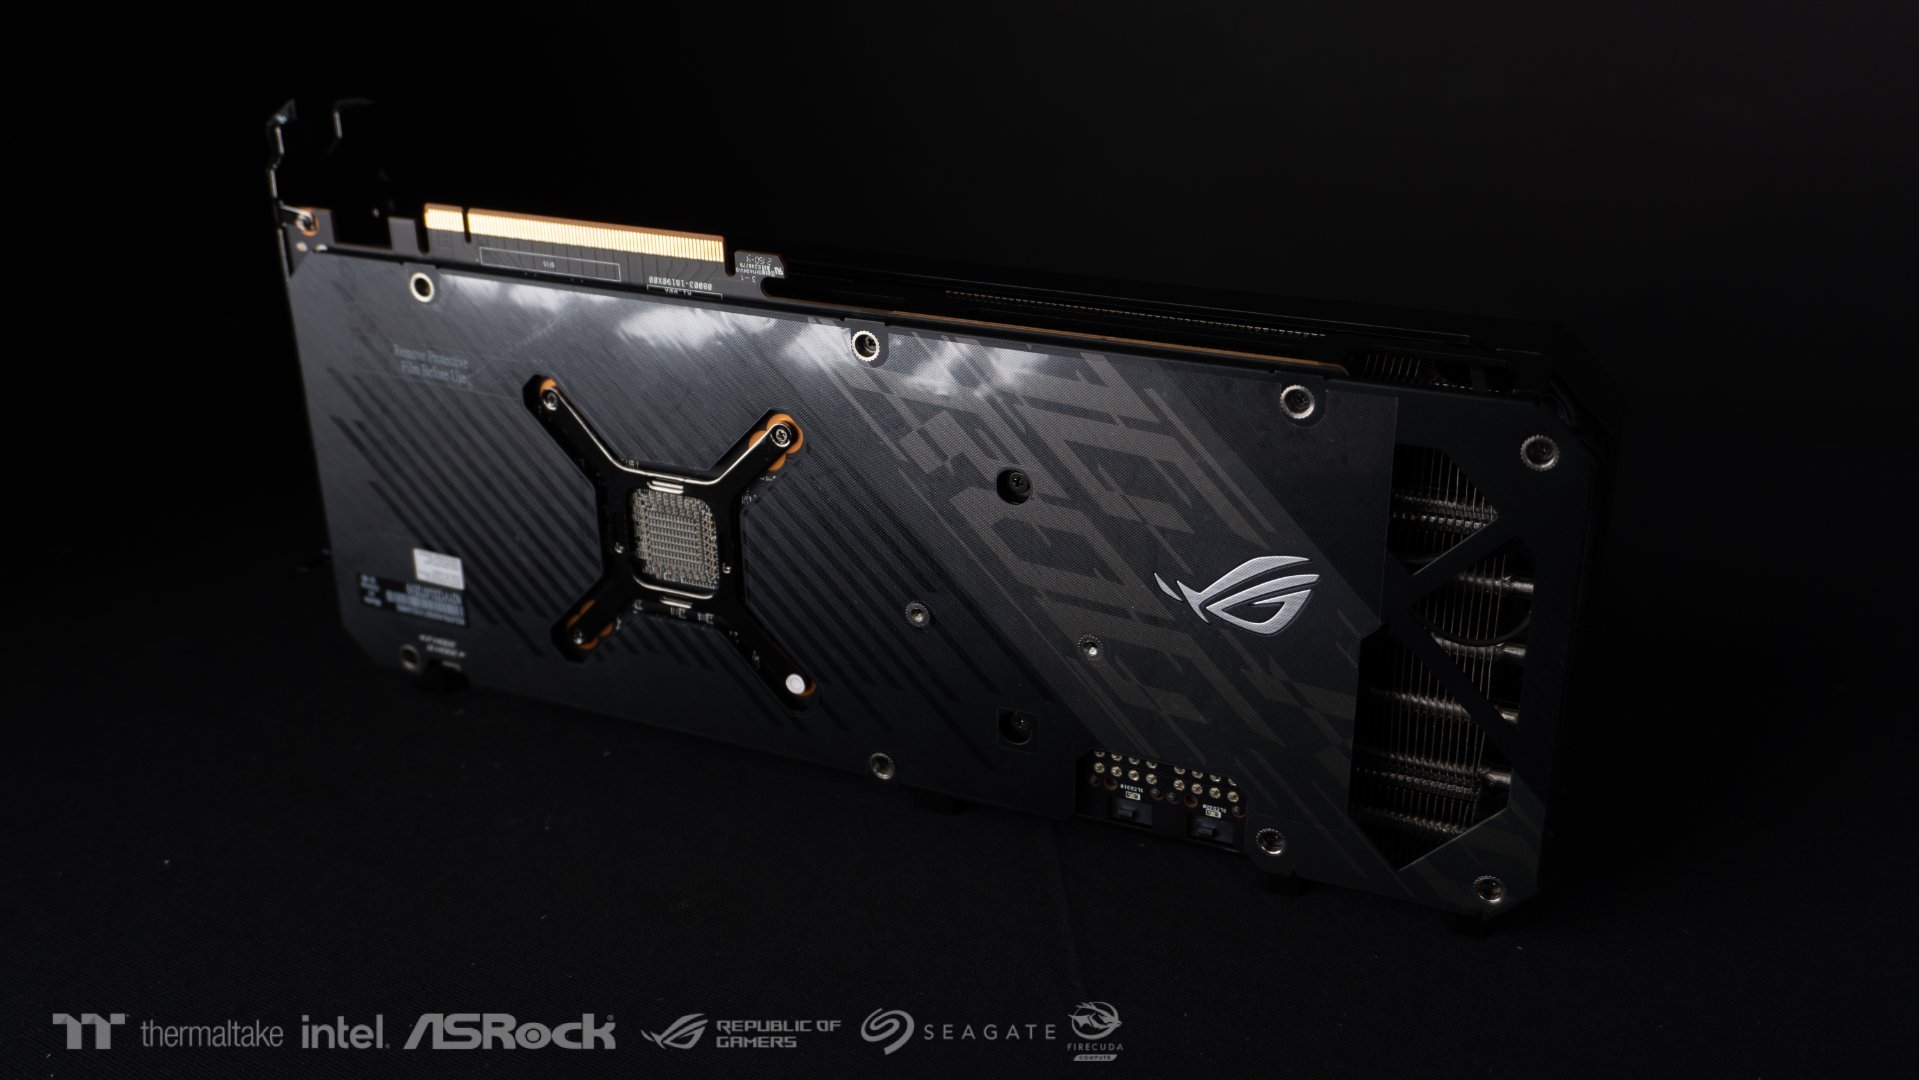
Here are some pictures of the Components received !
Thanks to all the sponsors!
Core Components !
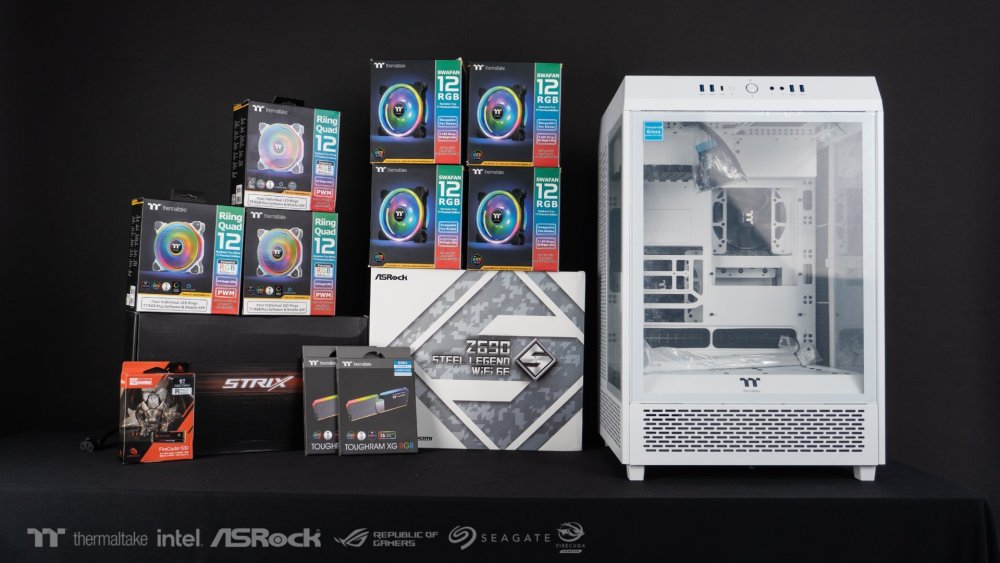
Liquid Cooling Parts.


Peripherals !
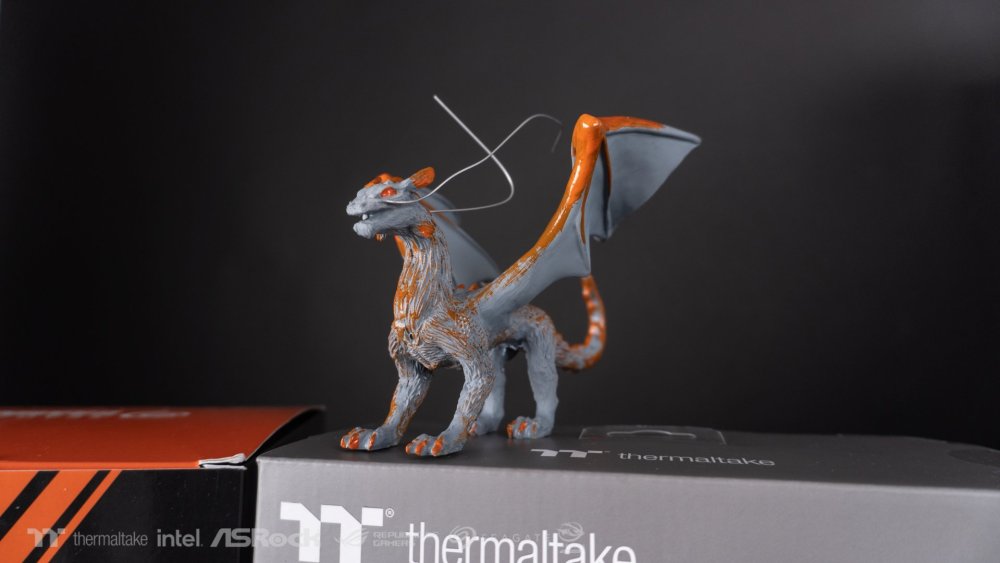
CLOSEUPS!


- Yash Datir and cheeselover
-
2
-
hey Boys,
I have received most of the parts yesterday ! lets get this started and make the best PCs out there !!
Myself Vinay Agrawal, currently working in the industry with my firm Gamerz Nation!
Best of luck to everyone! lets get this started!!


.jpeg.ce0e62a4c5bbdc93c747ae214cfcd831.jpeg)
.jpeg.d1c3bd86079869cd51199fde8df13b17.jpeg)
.jpeg.223d0193c999e91dbb71e42296632881.jpeg)

.jpeg.1491f1de32031e973afd9dfc2d980c8f.jpeg)

.jpeg.795db62b1e3a52719ef13d215ae36819.jpeg)
.jpeg.3f0eecdeb12178c465620f93932438c0.jpeg)
.jpeg.46ca35b5533132f7d9780b306a7e45a3.jpeg)


.jpeg.df6570cf340cd322d2597fe0a7b90b2b.jpeg)
.jpeg.e08f2ab1a68fdaf3c5b027e68acd25df.jpeg)
.jpeg.65422c408bf11a665c033ceff3c64802.jpeg)

.jpeg.473479ab24082dd6abf214144ab08bb0.jpeg)
.jpeg.7b19c1c63689b6e8138c815412570441.jpeg)
.jpeg.d530bb88831a3531d79a9010b556ddfb.jpeg)
.jpeg.735304f5d459d9194f6b1bf844cd6fff.jpeg)
.jpeg.a9cc69c4c163127b51720c8b8dc6a508.jpeg)

.jpeg.e74fc4e6fd44d1481c44f969c8eb11aa.jpeg)
.jpeg.0ed06461b4810eee0685ffa30916e6c9.jpeg)
.jpeg.36c6c00c7e38f665778f5365a8b893cd.jpeg)
.jpeg.82e268dc1b3f752829e0f3dfa35e954e.jpeg)

.jpeg.bdac8ddbf448e3f055c9664934e3b37d.jpeg)

.jpeg.0ee2fb262d5969c985c28f3aece2883f.jpeg)
.jpeg.9958f861d4b2ebadfd77c0c76ea10930.jpeg)
.jpeg.a8a9bb1e4b5a88f4562636ec3b9cdc04.jpeg)


.jpeg.e002c48a3982caee129949f8235944d8.jpeg)
.jpeg.c15704b86054f813c602a8fb1bc23b8c.jpeg)
.jpeg.5c0b803d030bdbf715d26045fdfab802.jpeg)
.jpeg.6eae9afbf068b5c33fa0a942079345e7.jpeg)
.jpeg.dff136a9fef268d6e9aaca50da803156.jpeg)

.jpeg.9884c6389cc85978e8faaf53cf4bee21.jpeg)
.jpeg.5589e4a0827bcd9edfd96056226854e3.jpeg)
.jpeg.43b3b19134dd2d1c5e3cdf9fc6954b74.jpeg)


.jpg.2febe60939ab6e615e380a2d3deef45f.jpg)


.jpeg.21d6af838158ee9728ef9938b5320b58.jpeg)


.jpeg.b2330d024fdc9d462a5a4c3629eb126b.jpeg)

.jpeg.9b05977f8293bef4f073decfbe2b6997.jpeg)


[India] Vinay Agrawal
in 2023 Thermaltake NeonMaker Lighting Mix Invitational Season 1
Posted
Here Is the link of the video for you to enjoy INTRO and Feel the profiles in motion !
Thank you ! Hope Everyone Likes it!
https://drive.google.com/file/d/1NeWT7kz7PLiUV4O6S3DS4H2MKYxJnp-d/view?usp=drive_link