-
Forum Statistics
9.8k
Total Topics55.4k
Total Posts -
Member Statistics
136,860
Total Members16,800
Most Online


Jon Hansz
-
Posts
31 -
Joined
-
Last visited
-
Days Won
1
Content Type
Profiles
Forums
Downloads
Events
Gallery
Blogs
Posts posted by Jon Hansz
-
-
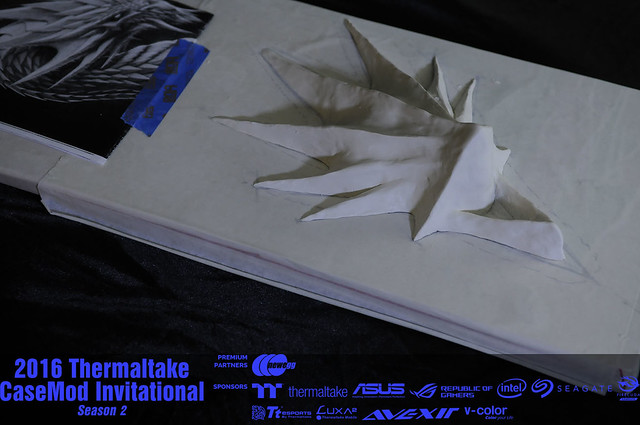
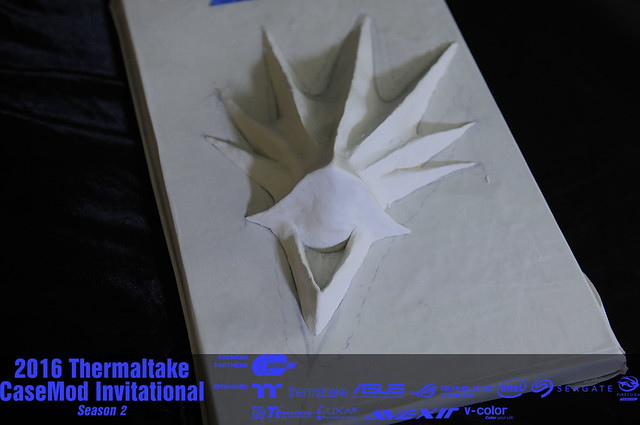
At this point, I am just sculpting the general base shape of the dragon.These pieces will be vacuum formed tonight.The clay needs to be made to were I can pull it out of the vacuum form.This is why I keep it to a basic shape.I do this to make the sculpture lighter and more durable.It also uses less Magic Sculpt, which is a little spendy.The next process is to get the outside of the case to a point that I can rivet the vacuum formed pieces to the outside.There are alot of things that need to be done in order to work with the theme.I will then build off of these pieces to create the dragon.The face will have a few more layers of polystyrene on it to help build it out.Then I can begin adding more body parts and sculpting in the details.
-
I have been wanting to do a dragon build for the longest time.So, I have decided to go with a blue and white Ice Dragon build.I'm going to start by sculpting out the basic size and shape of the body, head, and tail of the dragon with clay.After completeing that, I will be vacuum forming the clay shapes. This keeps the sculpture light and durable.When the basic shapes are done, I can start adding other peices to them before I begin sculpting.I am also tossing around some other designs for the rest of the case.
-
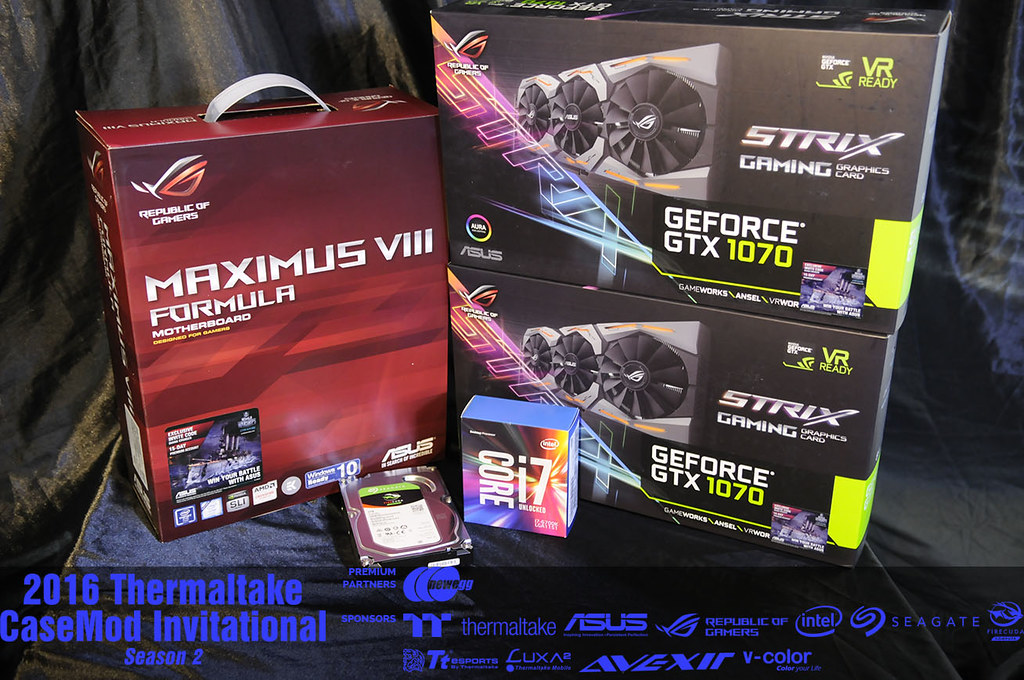
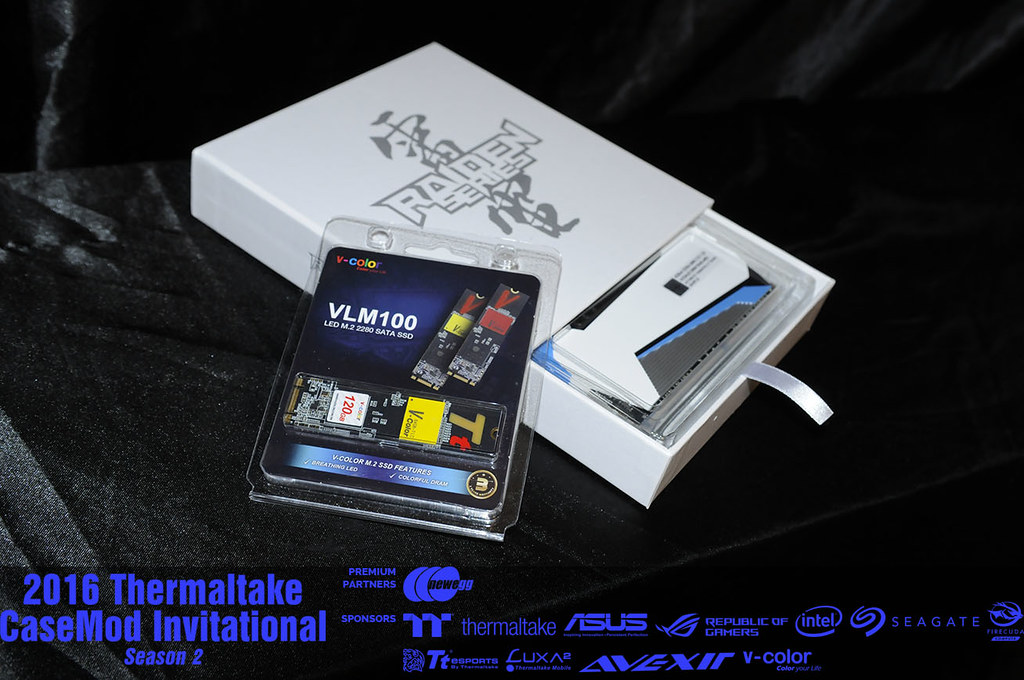
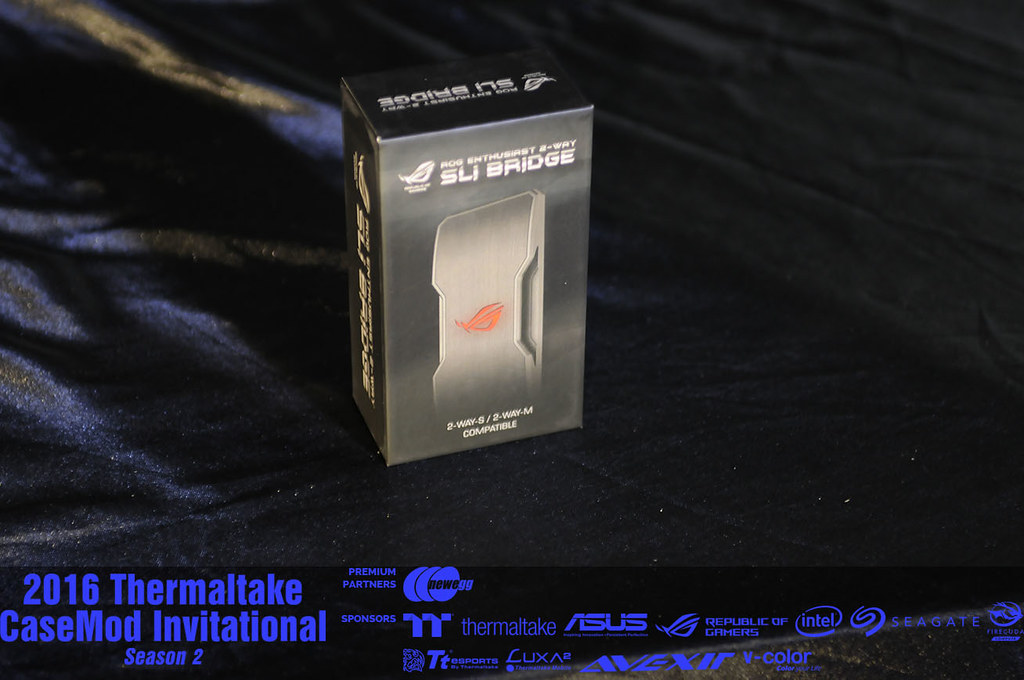
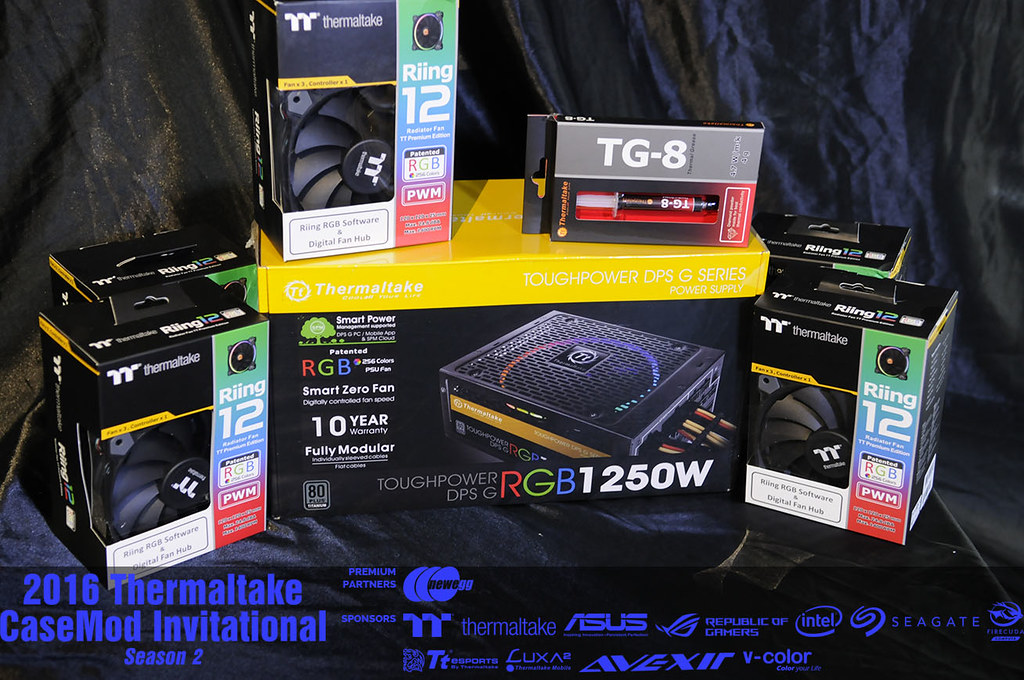
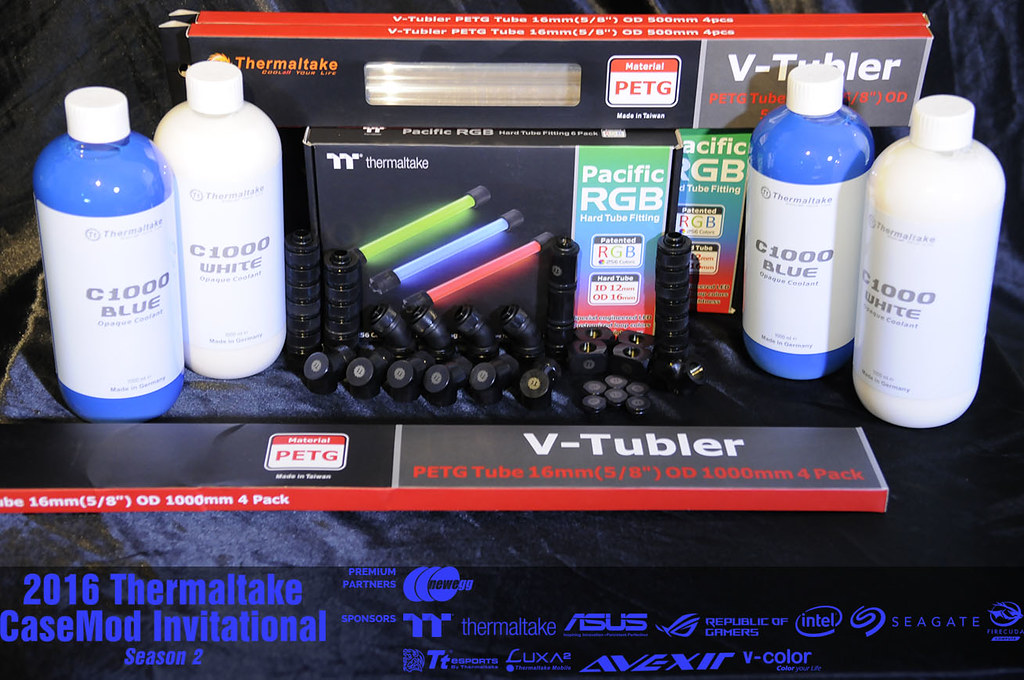
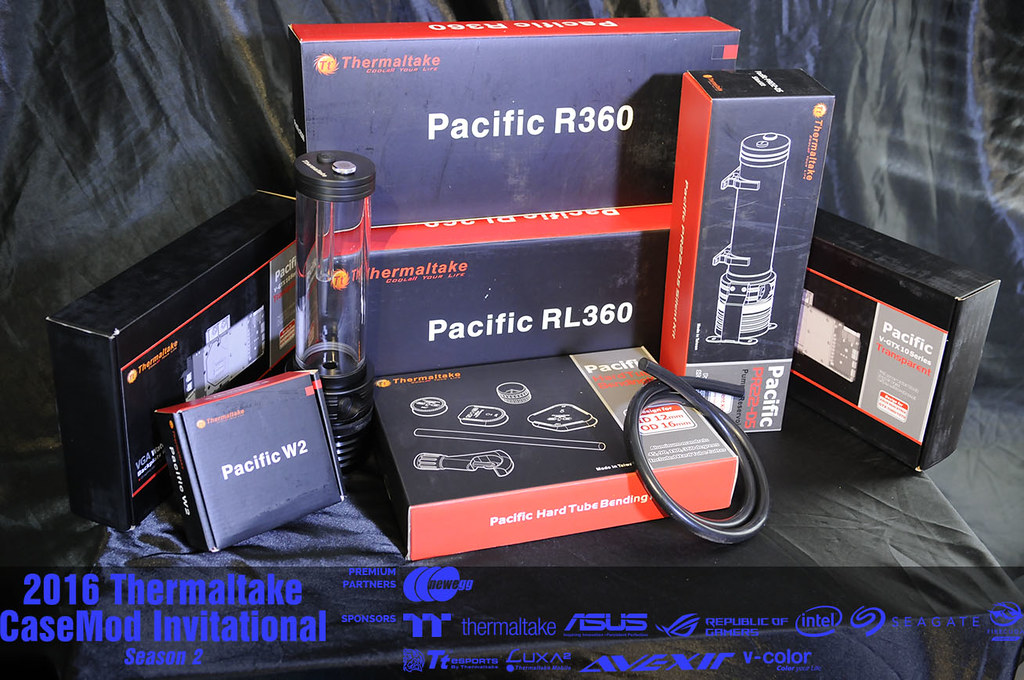
Lets get this build log started off. My name is Jon Hansz.Alot of people know me as PennyWise.First off, I'd like to give a huge thanks to all the sponsors.Without you, none of this would be possible.All the hardware has arrived and I've started working on the design.There is so much awesome here.
-
Forgot to link the video for the case feet.
Let me know what you think of it.
https://www.youtube.com/watch?v=KcoTSVw3Sos -
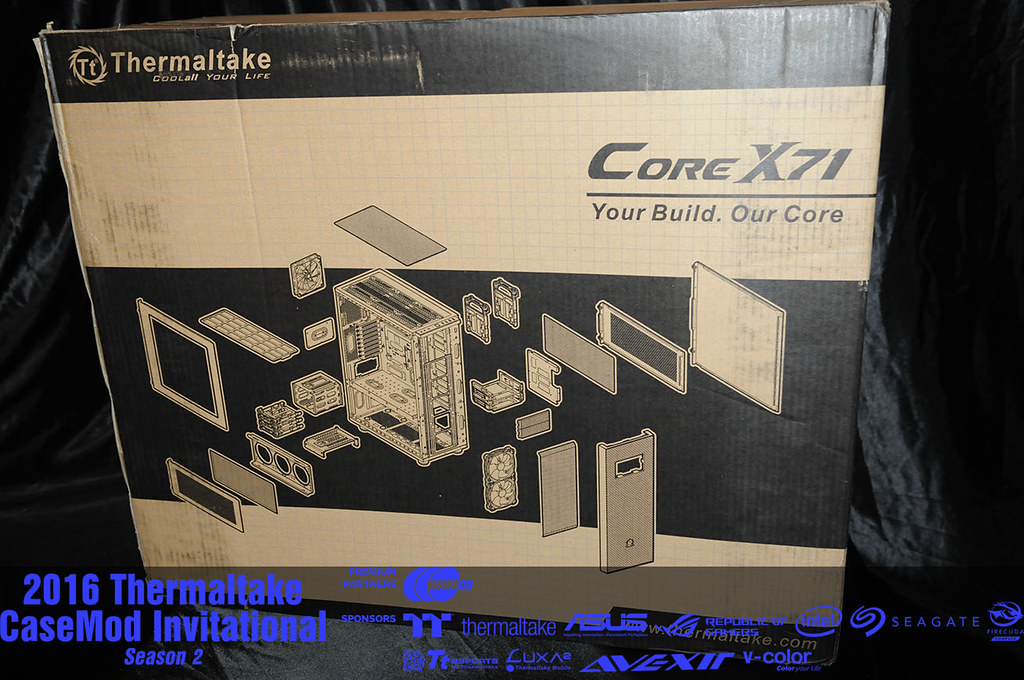
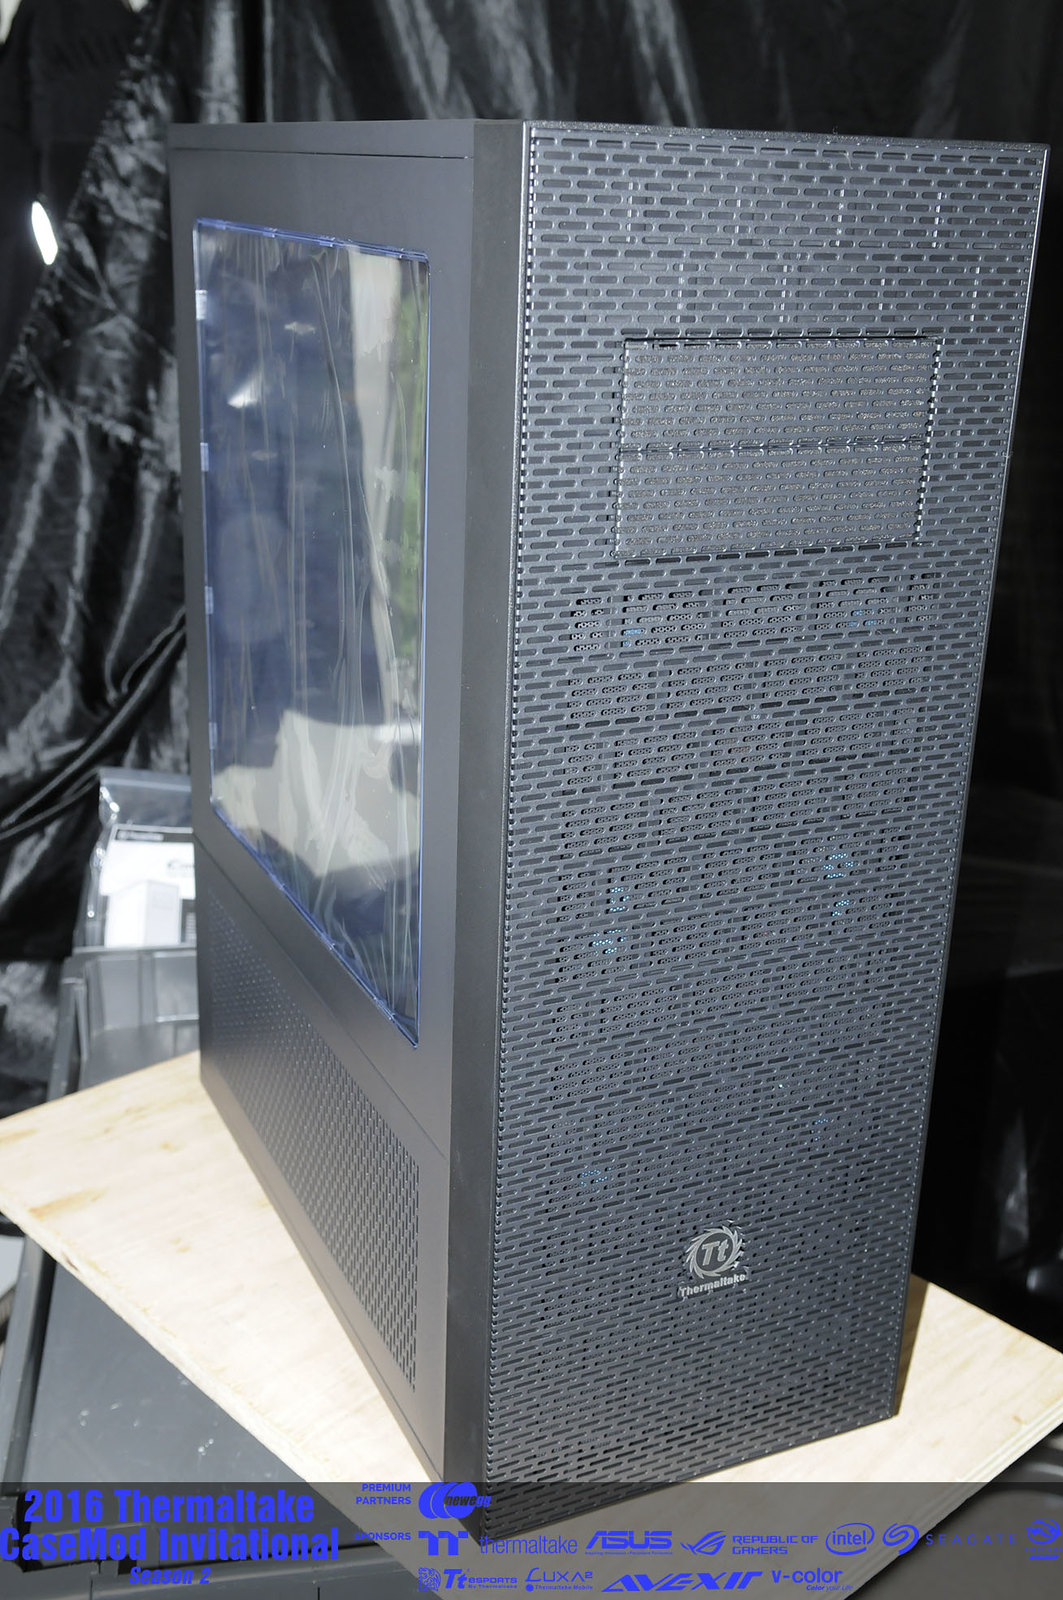
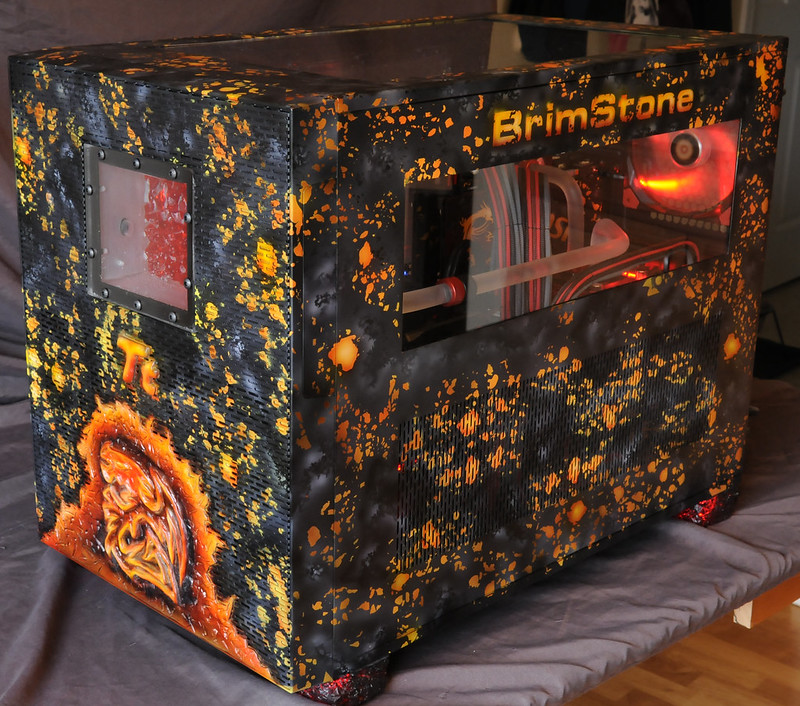
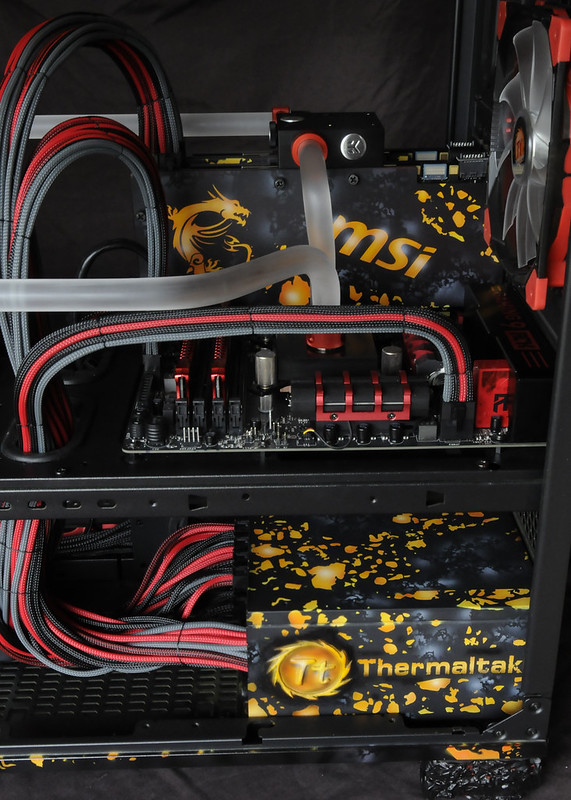
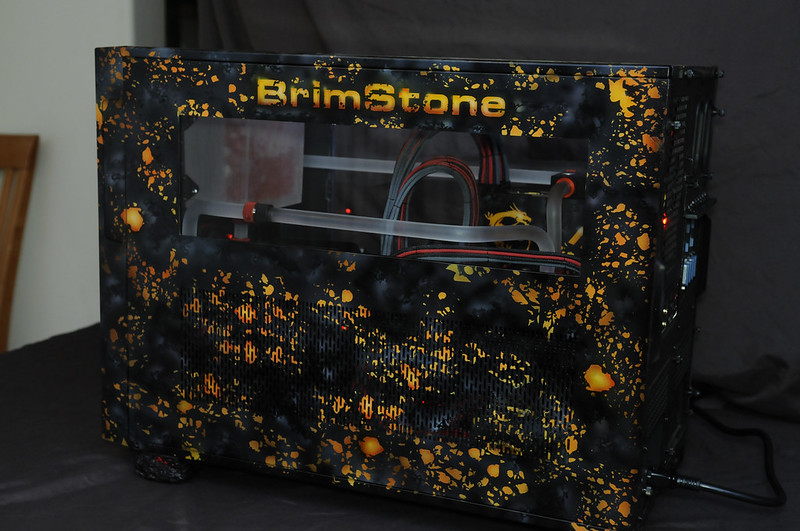
BrimStone will be based on a molten rock theme.I think the horizontal board mount is by far my favorite design.The case for this mod will be the new Thermaltake Core X9.
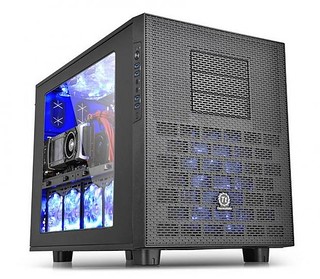 Thermaltake is taking there cases to a whole new level with this line.Hardware list for this build:MSI Z97 Gaming 9 ACK Motherboard2 MSI GTX 970 4GD5T OC GPUsIntel 4790k CPUKingston HyperX Savage 8 gig kit2 Kingston HyperX 3K SSD 128GBThermaltake ToughPower 1000W Gold PSUEK-Supremacy EVO CPU water block2 EK-FC970 GTX TF5 GPU water blocksEK-FC Terminal Dual Serial water bridgeEK-Xtop D5 Vario pumpEK-D5 Pump Cover KitEk-HDC 16mm Red FittingsEK-AF angle adapters, plugs, and extenders.EK-HD acrylic tubingEK-CoolStream 480 RadiatorMainframe Customs Sleeving, Plugs, Pins, and supplies.
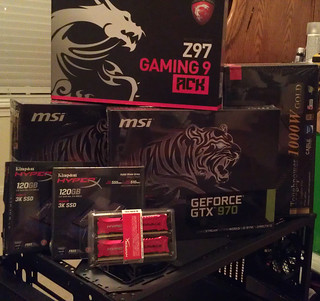
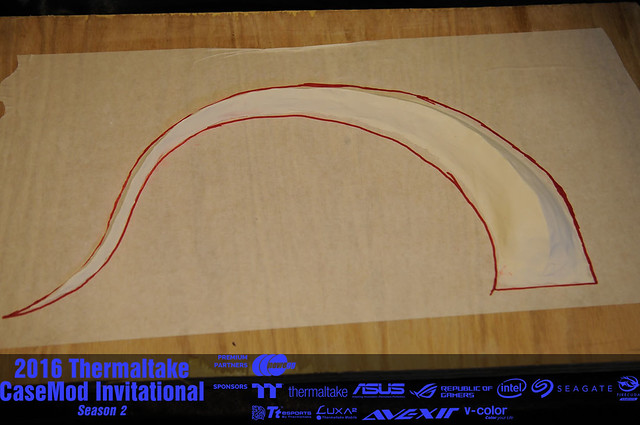
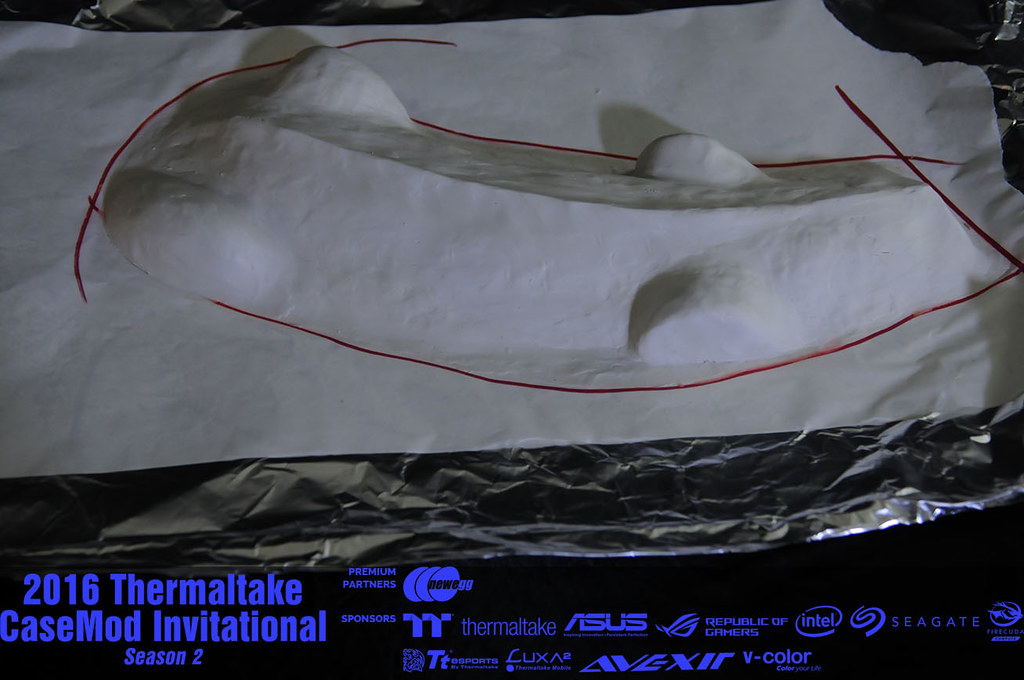
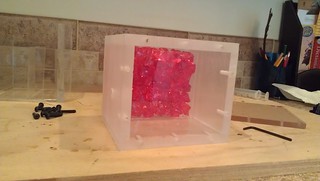
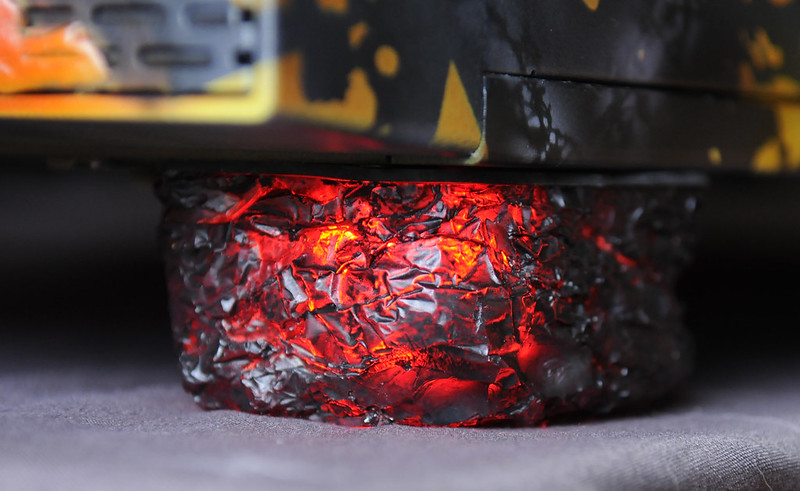
 Anyone who knows me, knows I absolutely love to design custom case feet for my builds. I came up with a design to make the case feet look like pulsating molten rock. I decided to first make a small vacuum former to help with molds and such. I cut some wood blocks to just larger than I wanted my case feet to be. I crunched up some tin foil and lined the vacuum form with it.
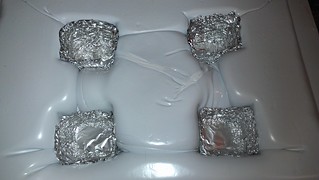 I then sprayed some mold release on the tin foil and poured in the resin.
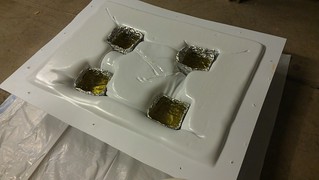 so I learned somthing about resin today. If there is any gap, even a pin hole, the resin will find it and flow through it. so after it dried and was ready to be removed, I noticed the resin was both on the outside and the inside of the tinfoil mold. So I now had to chip about all the acrylic on the outside of the mold, and pick away all the tin foil from the feet. Even after that, they turned out pretty good.
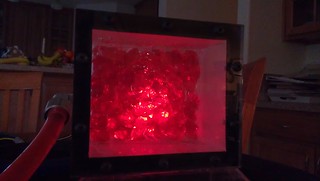
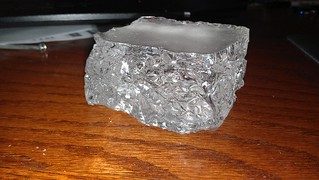 Now it was time to test how well it tossed the light around.
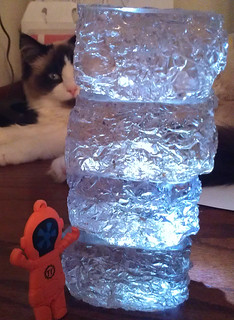
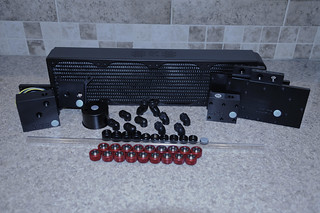
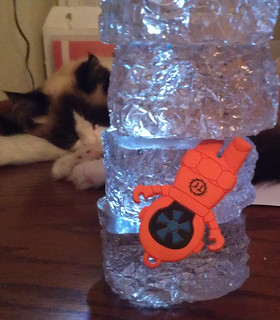 Now it was time to level it out, drill and tap mounting/led holes. I used a table top belt sander to get the case feet to the desired height. The plan is to use transparent red paint and either airbrush some black, or paint black paint onto the feet. The desired look would be when the led is lite, the cracks of red would show up. It was now time to set the feet aside and work on a few other things before I could get everything off for painting.The next project was to build 2 custom backplates for the gpus and get them ready for paint.
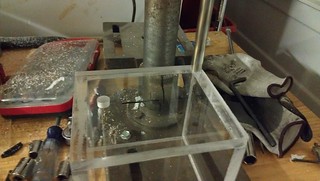
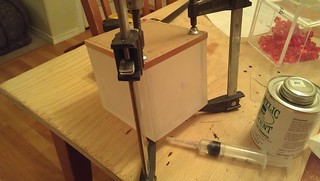
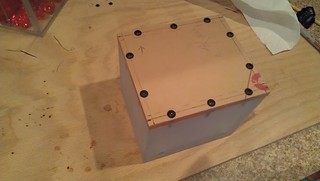
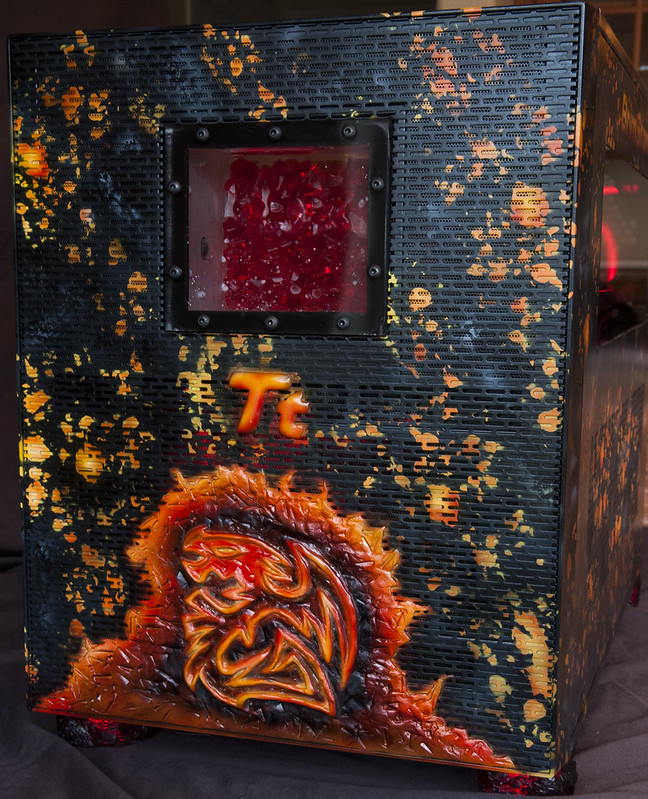
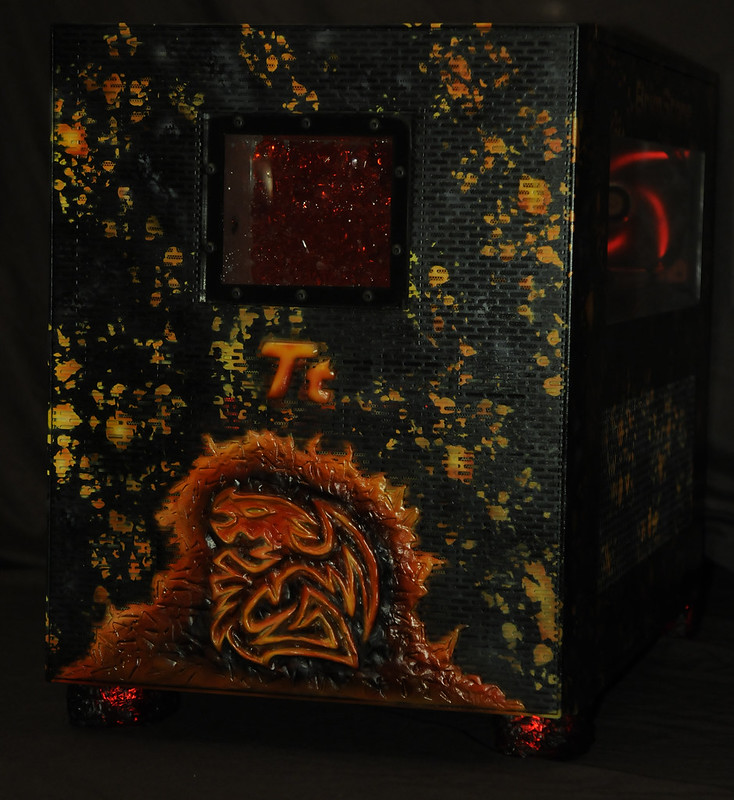
 For the reservoir I will be building a 3 bay custom reservoir. The idea is to have the front part of the reservoir fill up and overflow into the back area which will be filled with red acrylic crystals. I drilled and tapped holes for the screws and g 1/4 fittings. I cut a gasket from black rubber and sealed the front using 10/24 screws.
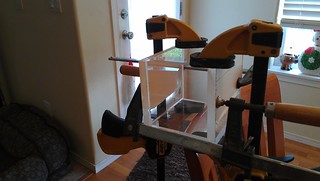


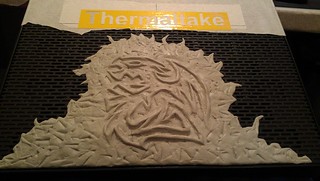
 I sculpted a cracked molten rock wall with the Thermaltake dragon embedded into it and preped it for paint.
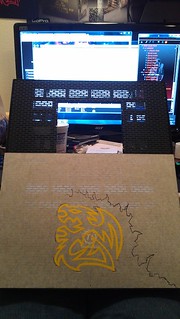
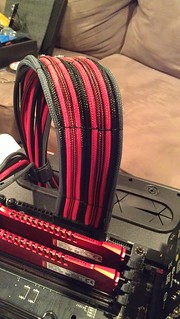
 All the sleeving from MAINframe customs is 90% complete. I am just waiting on the psu to come back from being painted to finish with the lengths. I desoldered the guts of the psu housing so I could work on all the sleeving while the housing was being painted. I have stitched all the cables and trained them in place. All the wiring is as fare as I can get it till the painting is done.
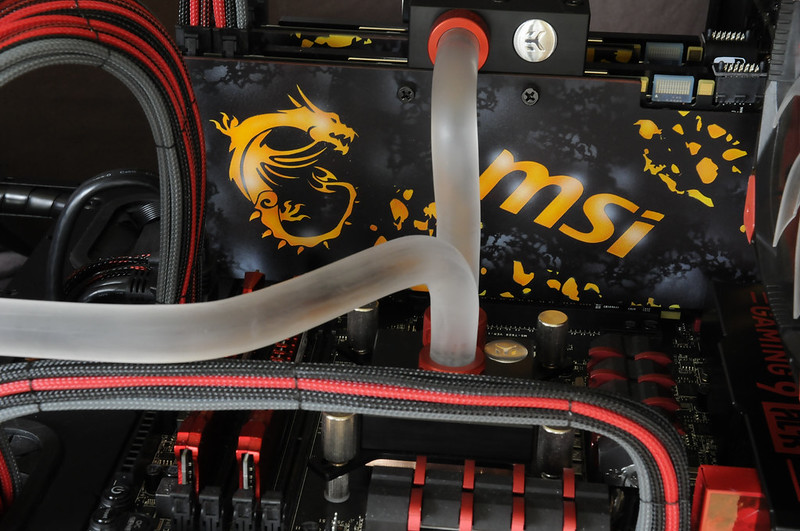
 I had my airbrush guy, Dan from Splat Designs do the airbrushing on this case and some of the parts.
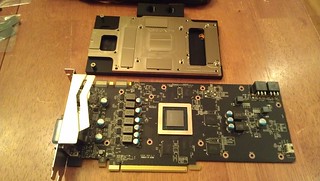
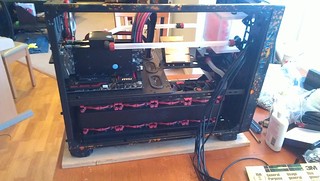
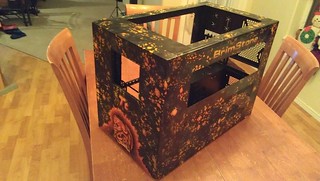 Along with the paint job being done, all the Liquid cooling from EK came in monday express delivery. I have to have this build complete and delivered to Thermaltake in Las Vegas for CES by latest the next monday. Tuesday night was the first night I had to work on everything. I started by drilling holes in the case for the feet supports and leds. I also used some rubber gasket material for any uneven spots between the bottom of the case and the feet.
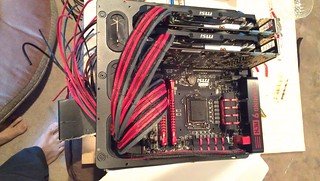
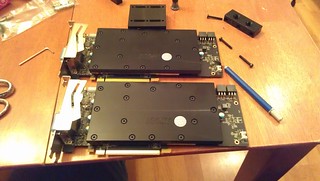
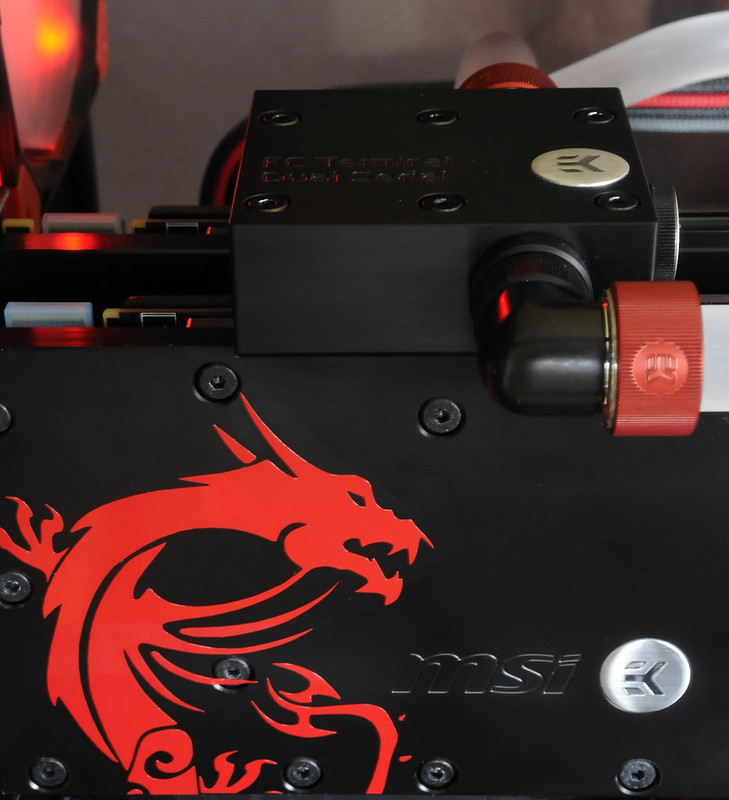
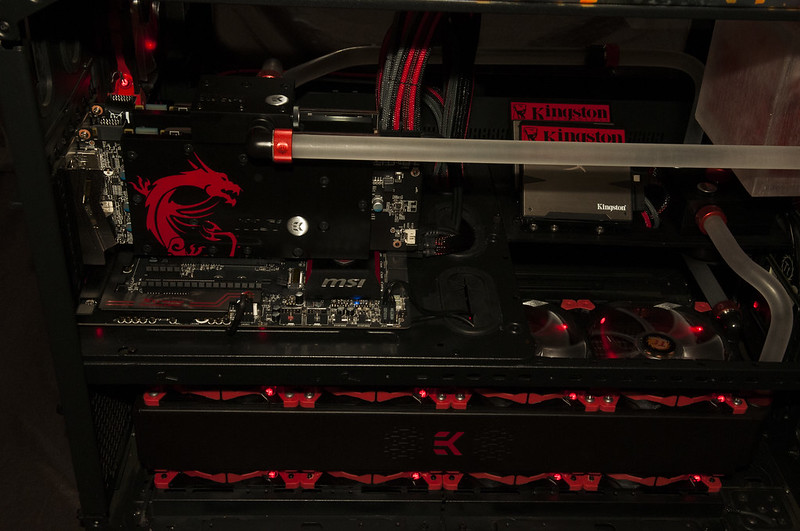
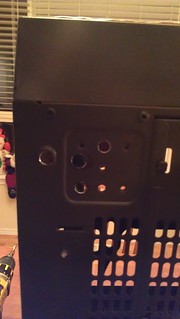 Then I installed the water blocks, water bridge, and back plates on the gpus.
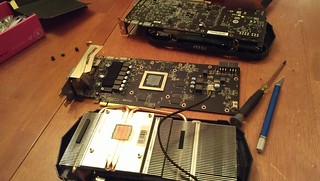

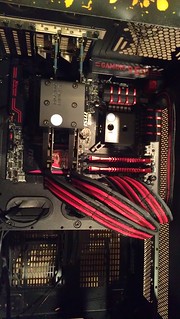 My buddy Stearns dropped by to give me a hand for a few hours on tuesday night. For the radiator we used the 8/32 stainless screens. To do this I had to drill and tap the holes larger. I then mounted the fans (which were pre wired together to fit the radiator) and installed it into the case.
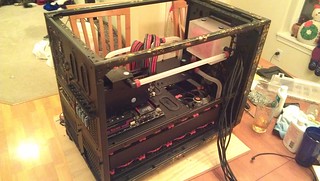 I soldered the power supply back together and assbled it. Then cut the wires to length, pinned, and installed the plugs.
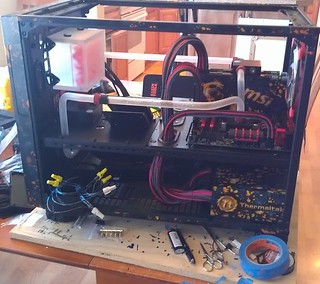
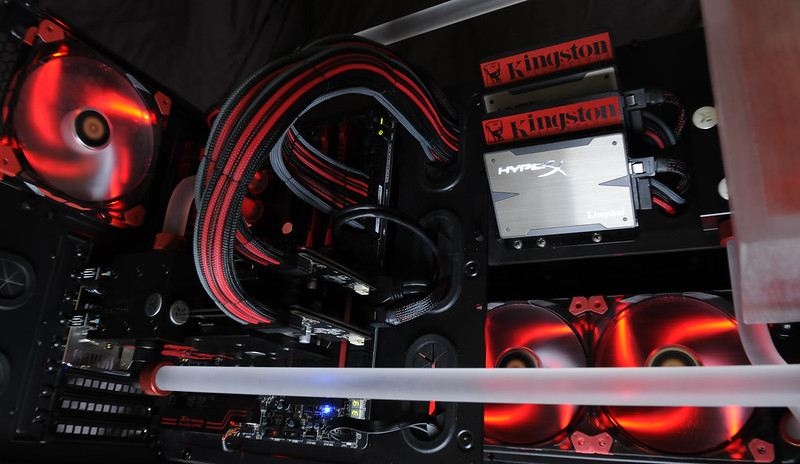
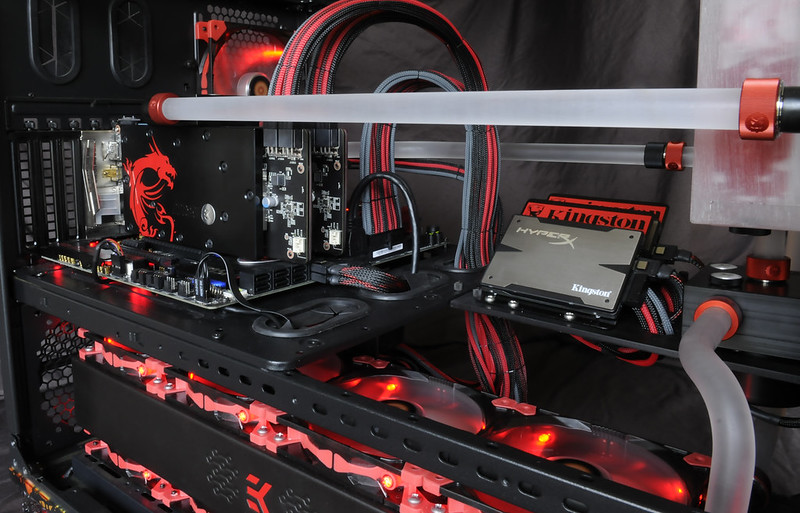
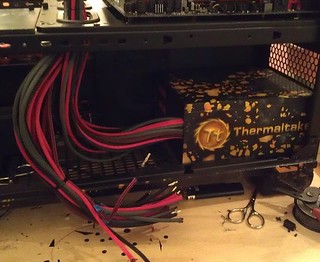 We built a jig for bending the acrylic tubing. After bending the first bend, there was a small mark on the inside of the pipe where it scraped on the wood jig. It was small enough to sand and polish back to clear. After sanding down, Shawn and I decided the frosted looked way better than clear. I continued for most of the night bending the acrylic tubing. We also made a custom tray for the ssds and pump. For mounting the reservoir, we had to build custom mounting brackets and tap the reservoir for the screws. I installed a box for all the splices to keep things neat.
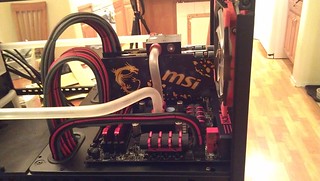
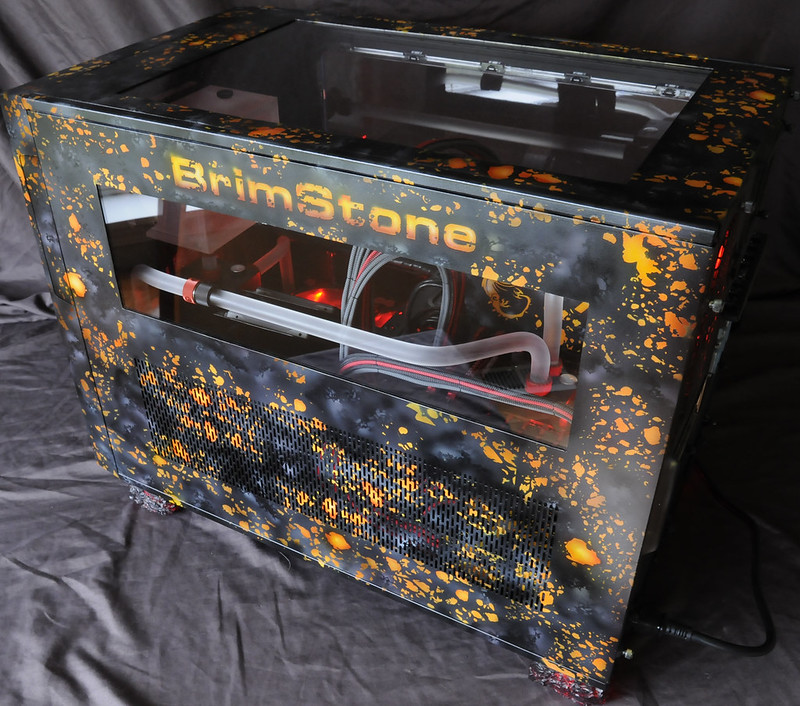
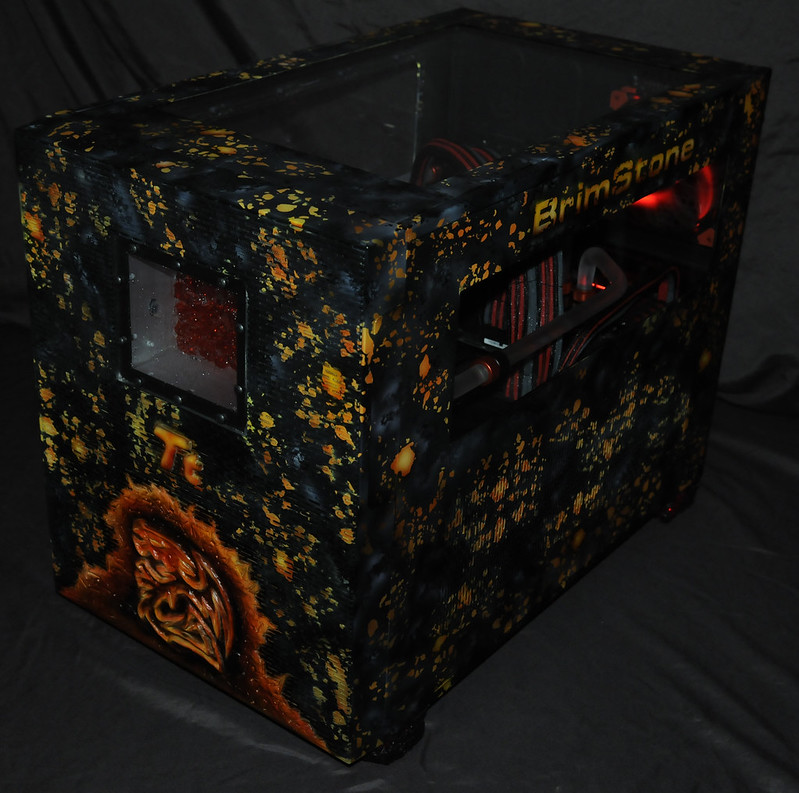
 Next comes glueing in the windows on the top and the side.
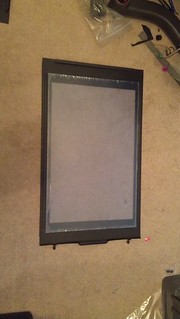
 I didn't have much time to take alot of pictures toward the end of the build. I had to have it done and final pictures done by saturday morning, when Bod and Rod from BSmods would pick it up and deliver for me. Thanks again guys.Another big thank you to Shawn Stearns for the help.Thank you to all the sponsors for all your help.-Thermaltake-MSI-EK-Kingston-MAINframe Customs
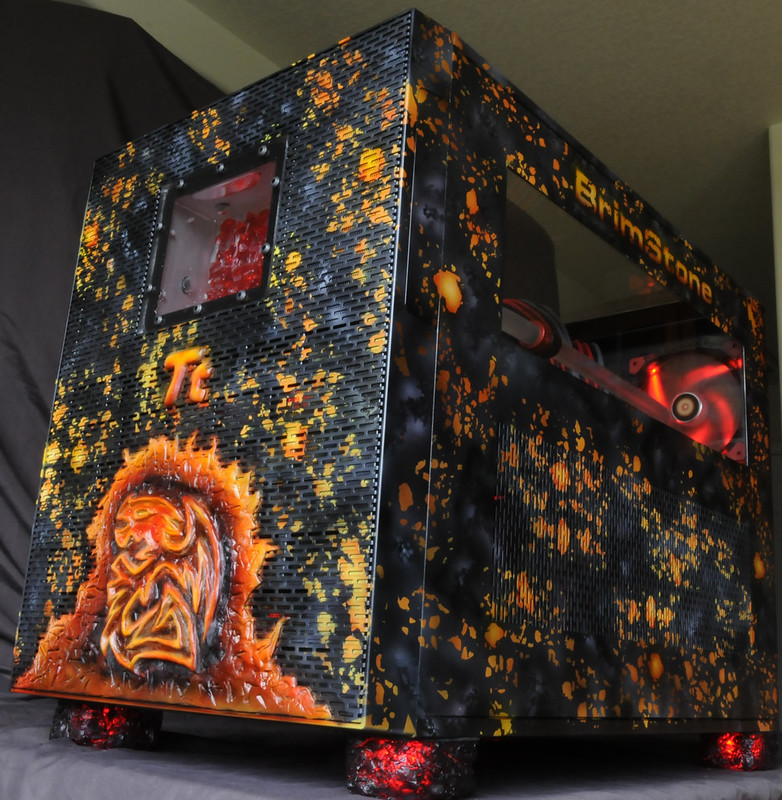

[USA] Jon Hansz
in 2016 Thermaltake CaseMOD Invitational Season 2
Posted