-
Forum Statistics
9.9k
Total Topics55.6k
Total Posts -
Member Statistics
136,873
Total Members16,800
Most Online


EddyKuz
-
Posts
57 -
Joined
-
Last visited
-
Days Won
2
Content Type
Profiles
Forums
Downloads
Events
Gallery
Blogs
Posts posted by EddyKuz
-
-
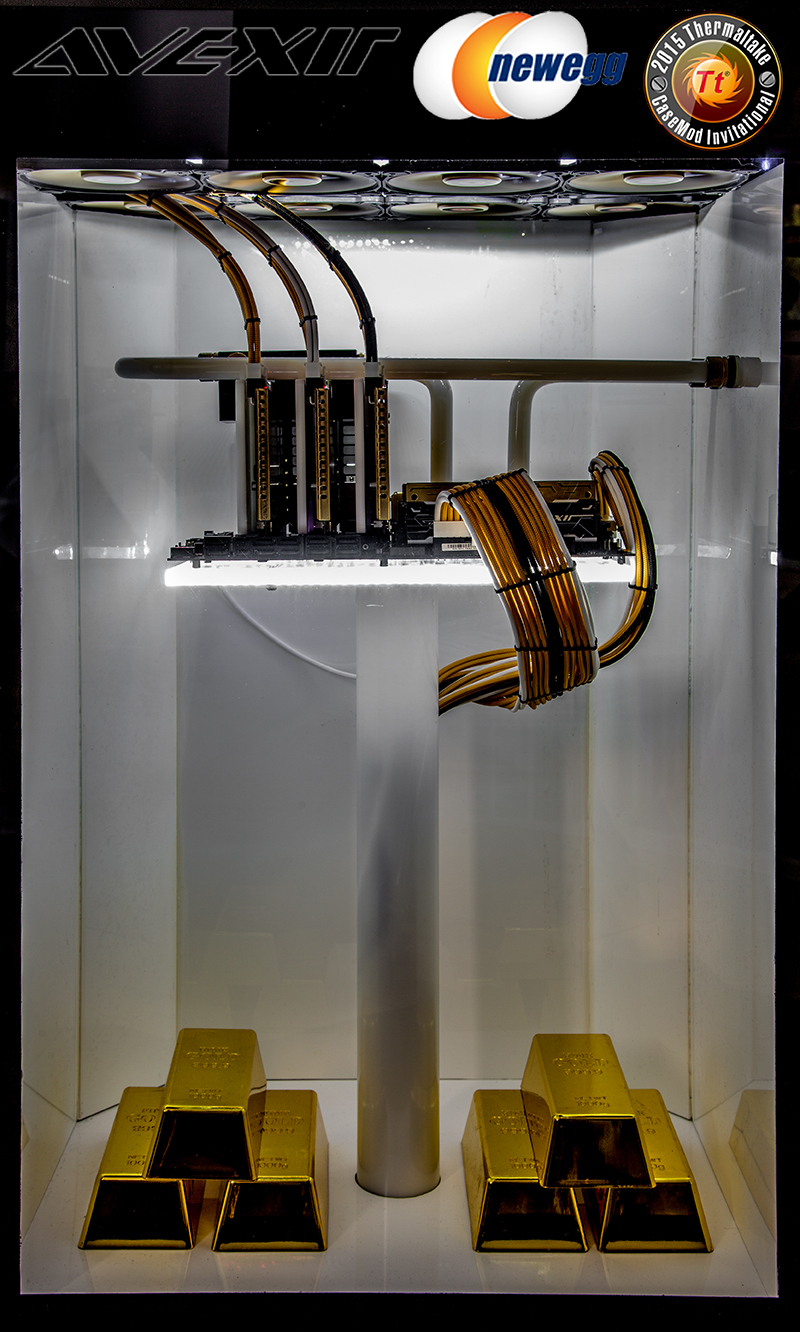
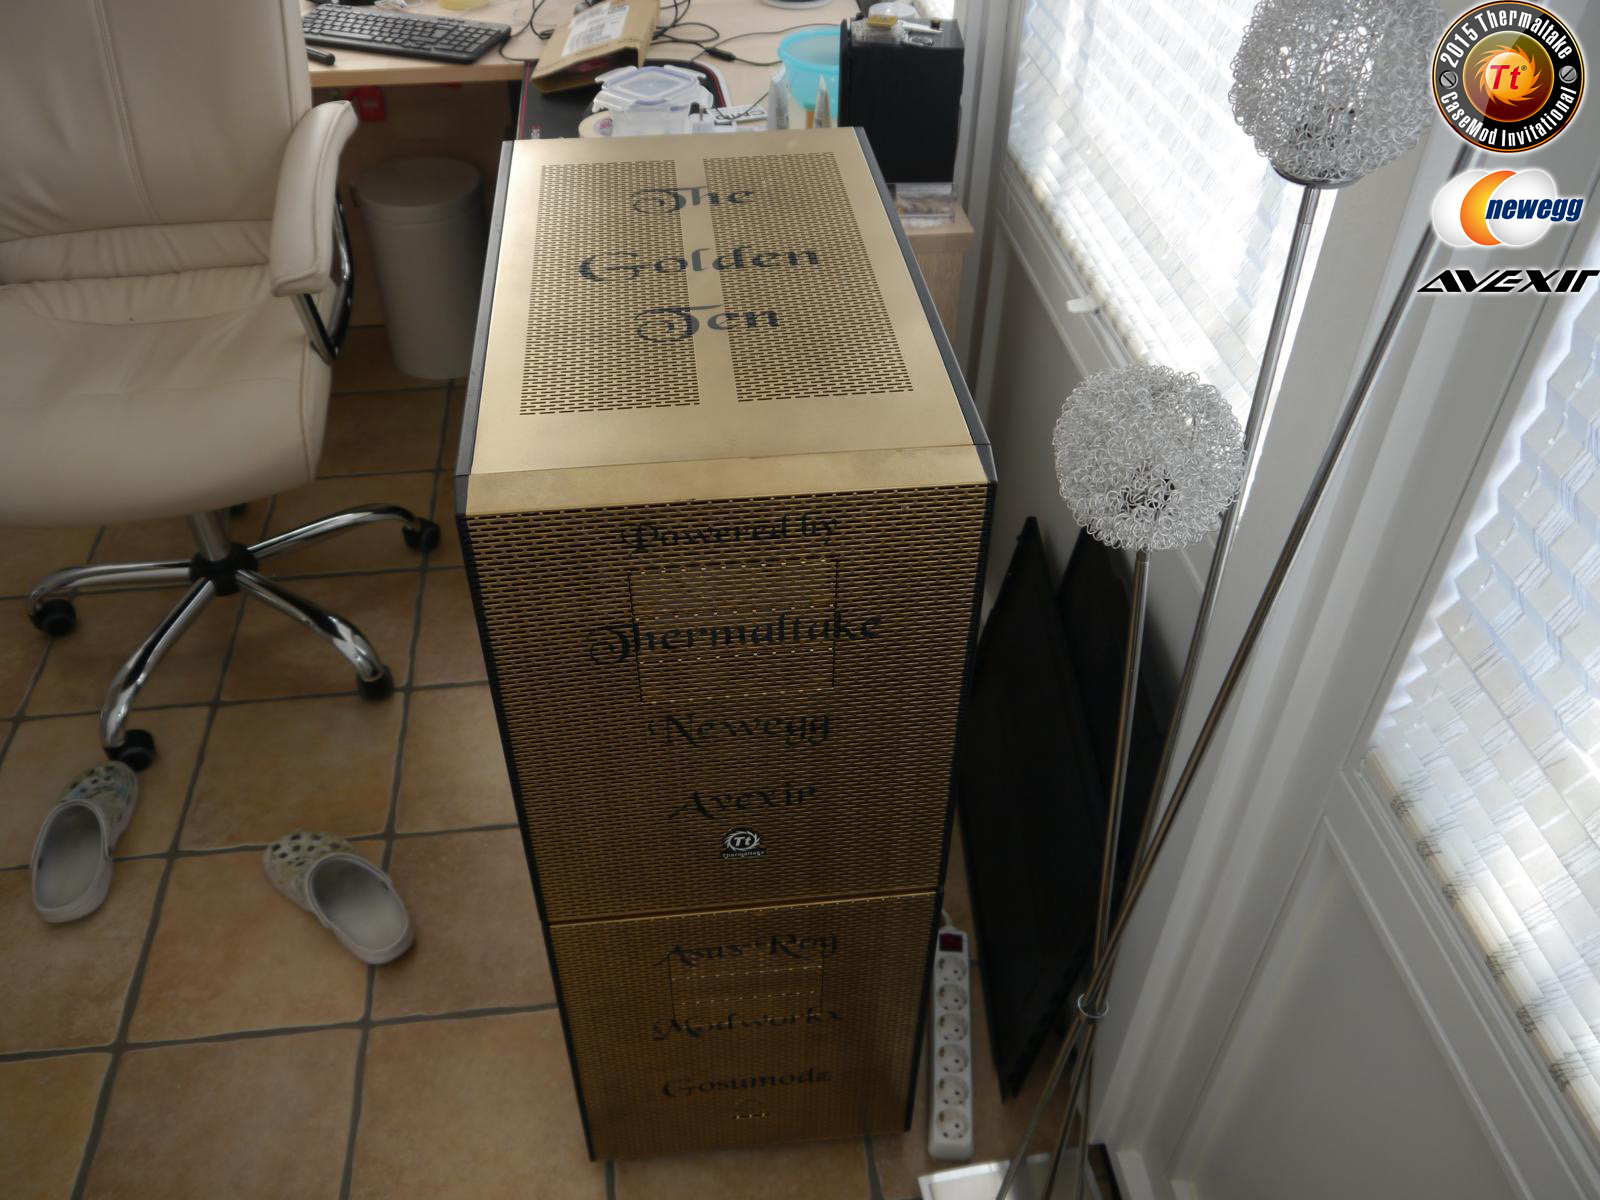
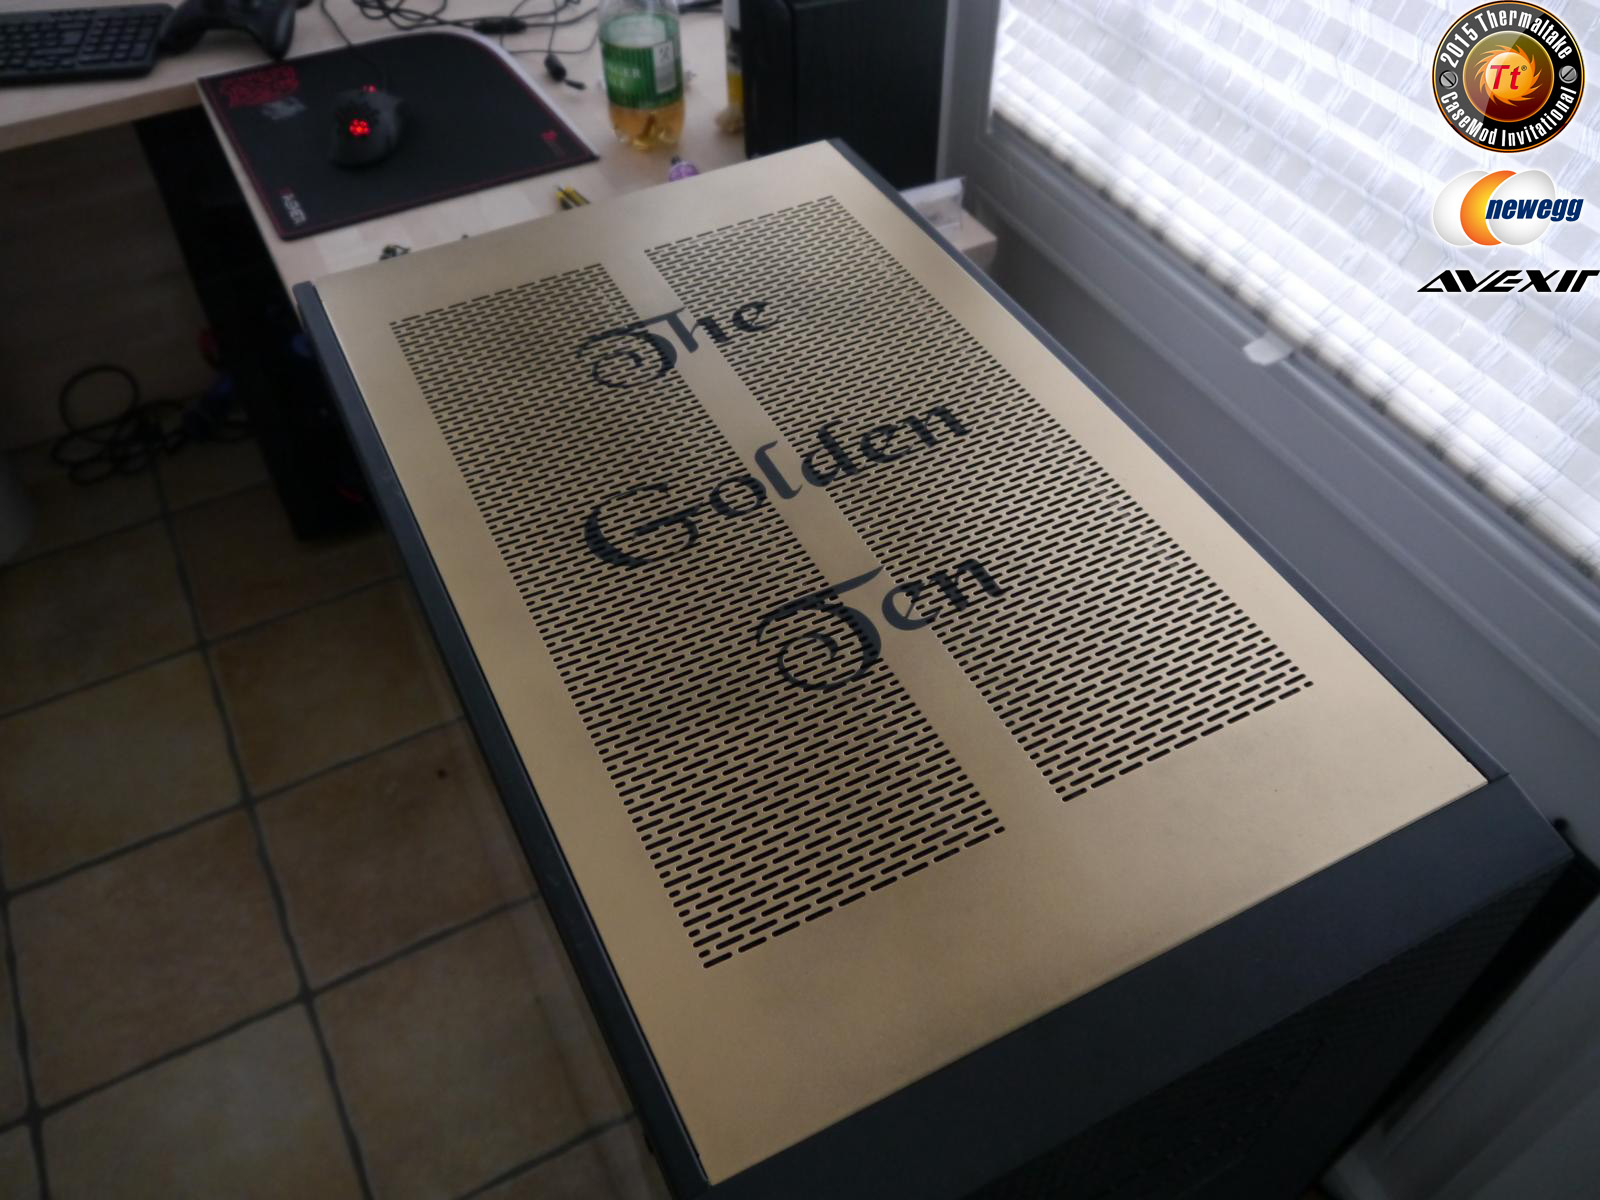
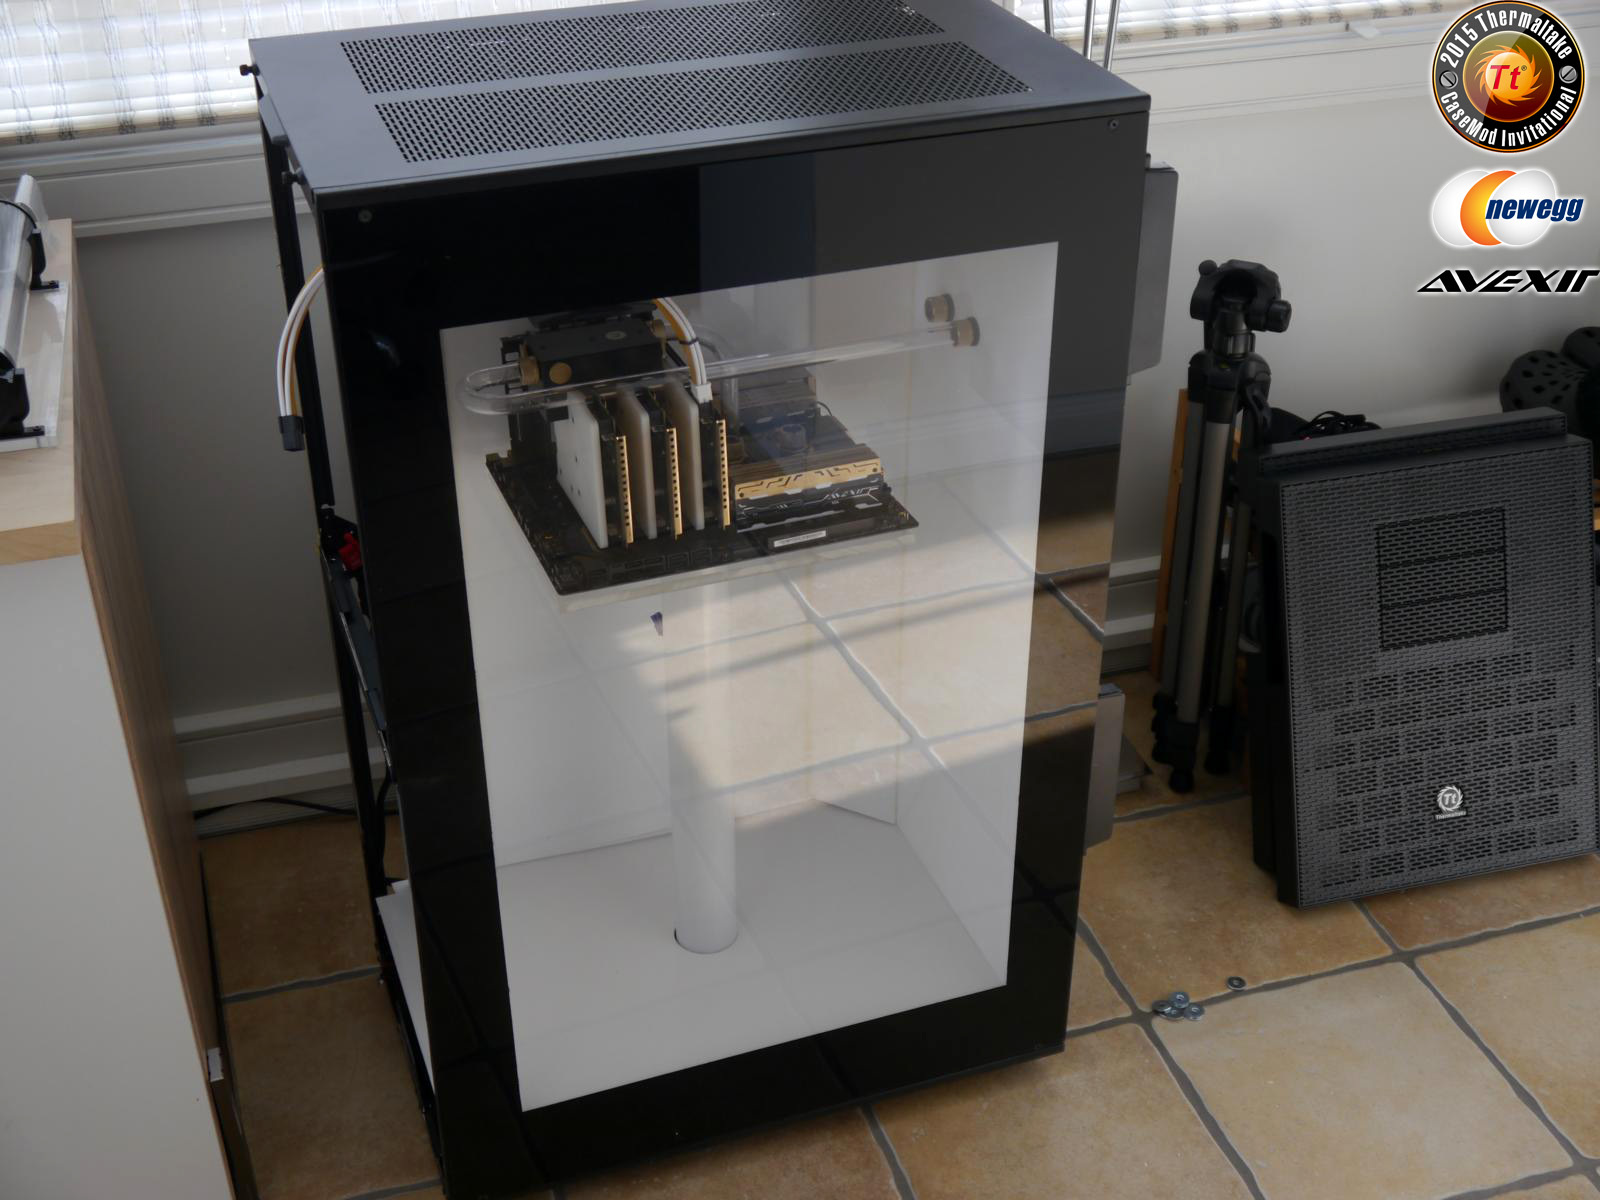
Hier sind sie nun die FINAL BILDER von THE GOLDEN TEN!!!!

Das Event Thermaltake CaseMOD Invitational Season 2 ist nun beendet und die Votes haben begonnen.
>>>----Votet----<<< für euren Favoriten....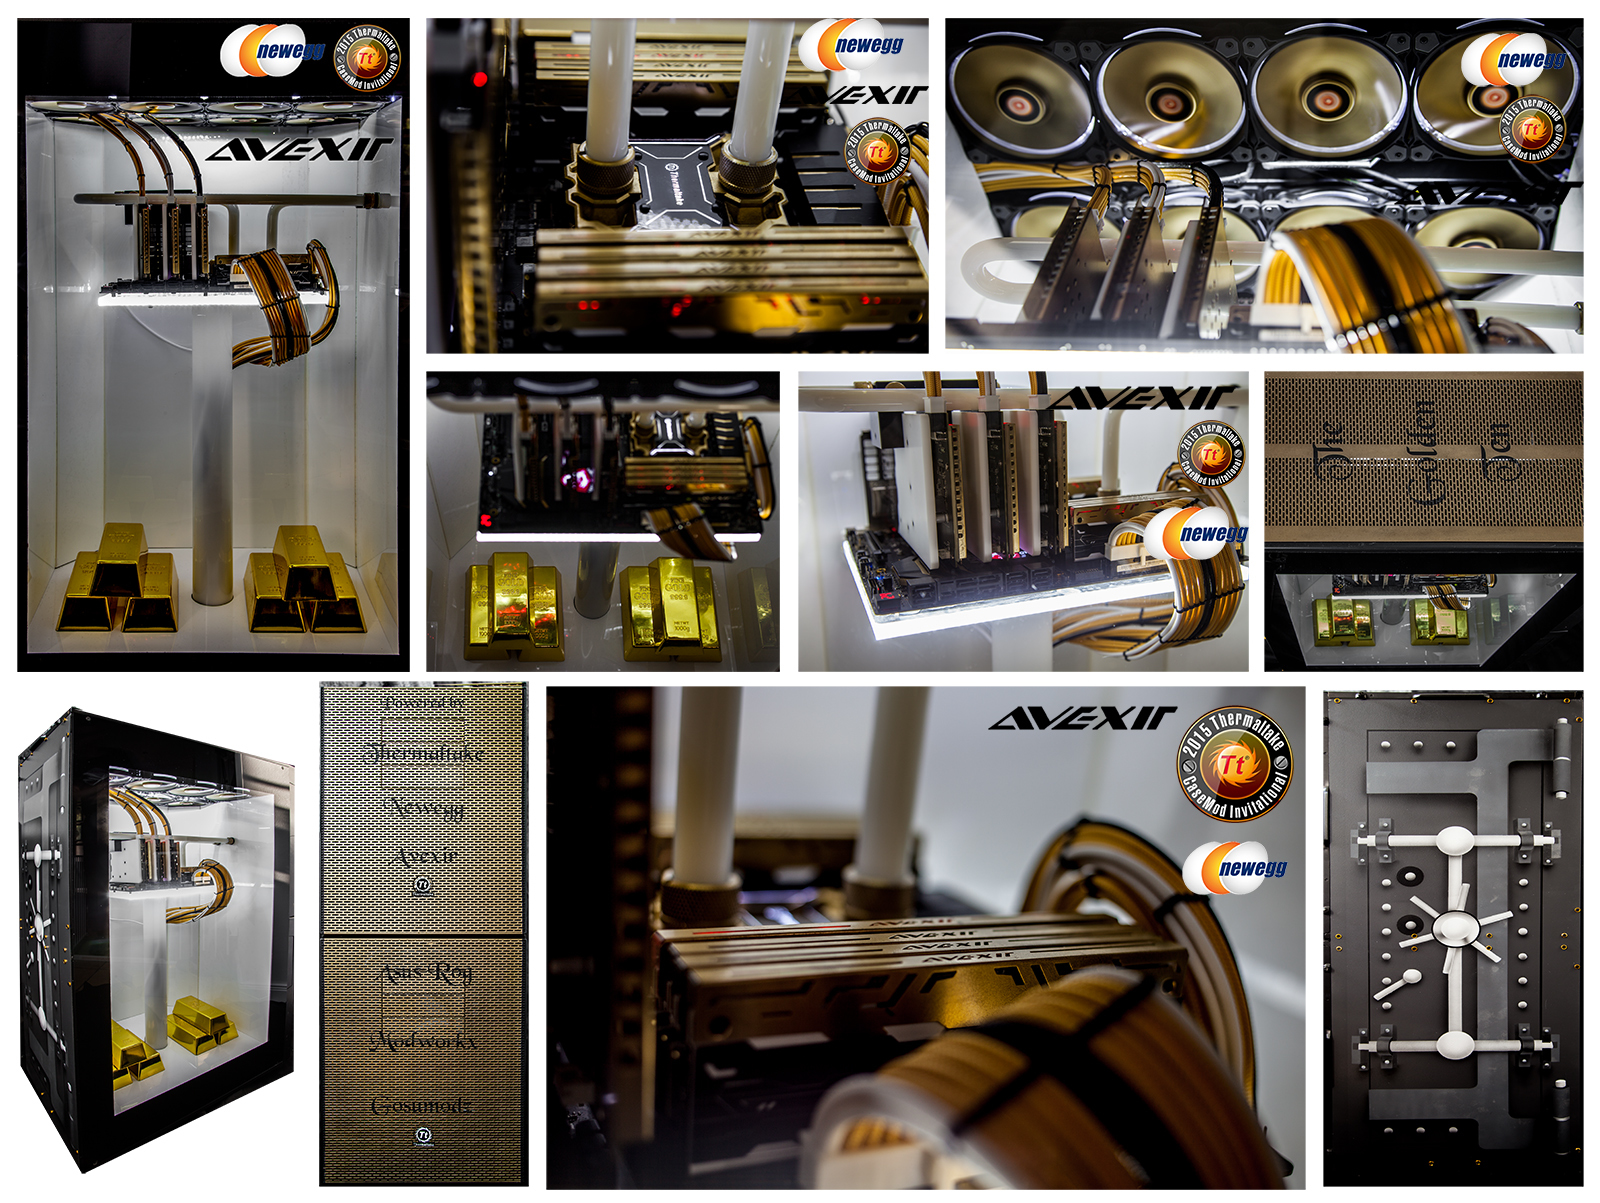


-
j don´t know...
what are u mean?
-
Looks great !
Thanks
-
Die Jungs von Farbfanaten haben die Rückwand geschliffen und grundiert.

-
-
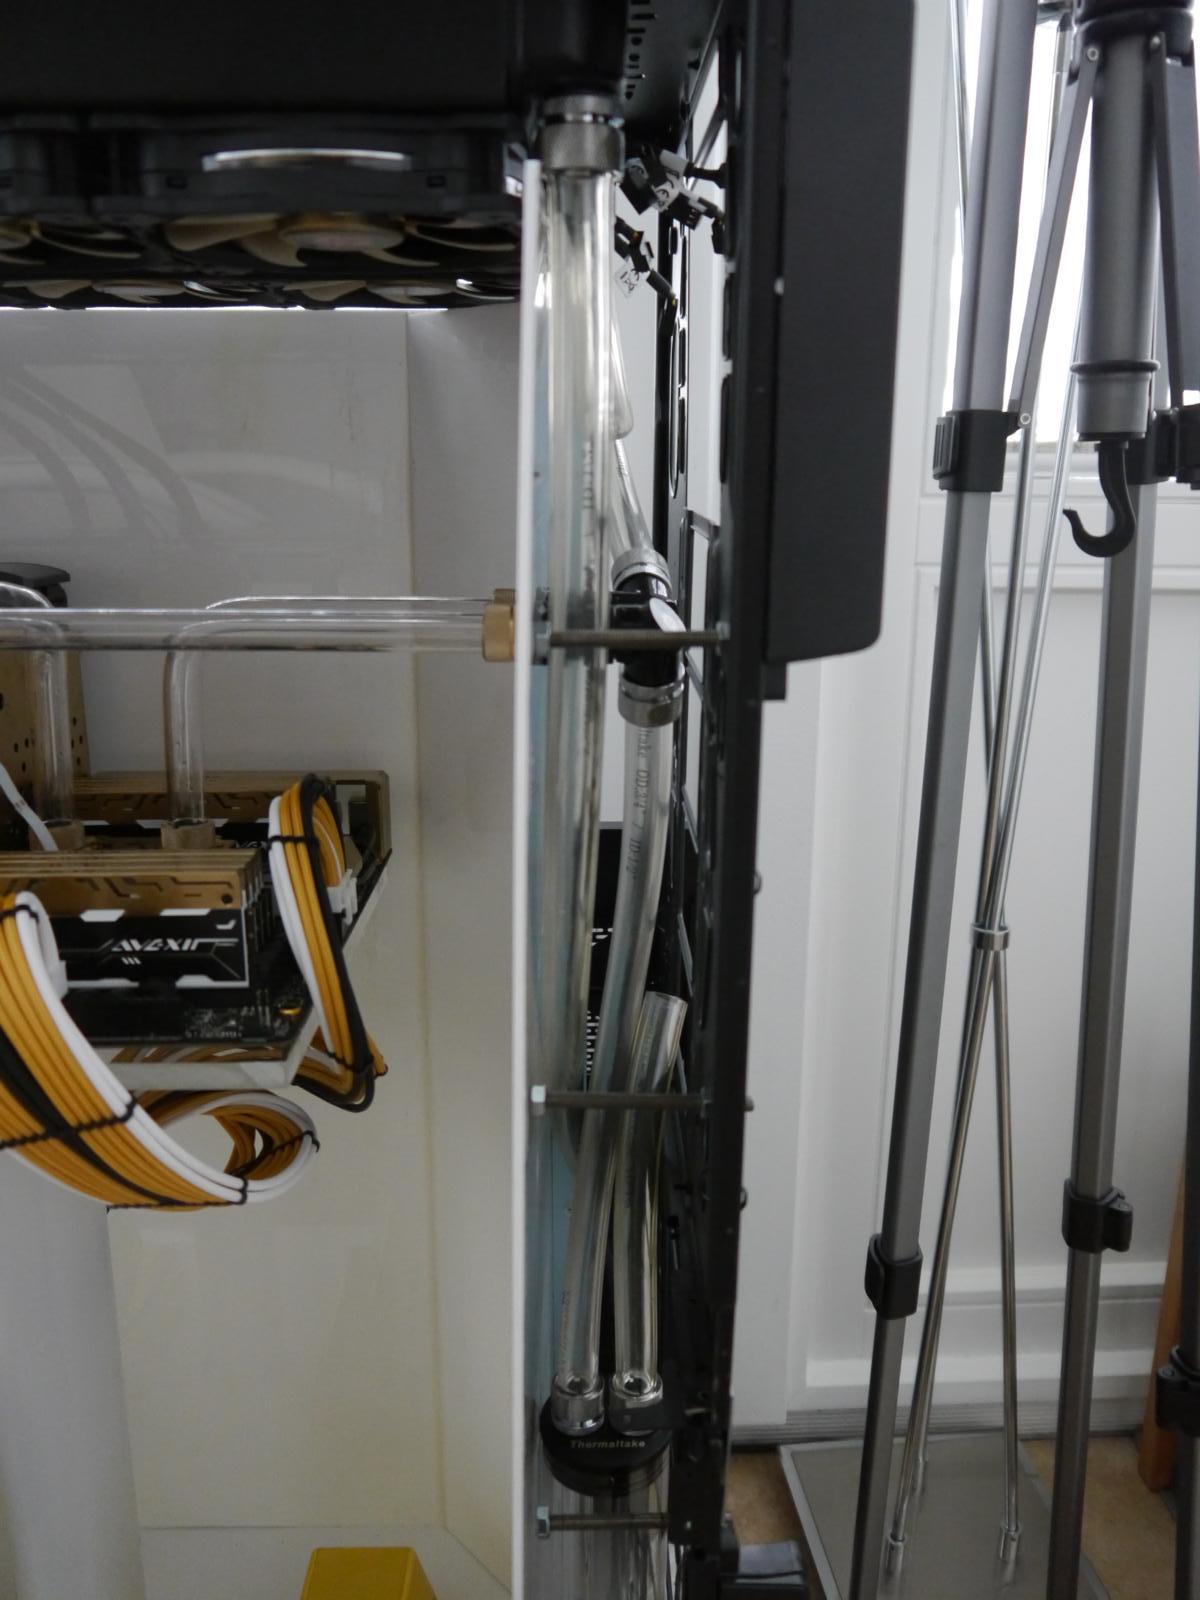
Pumpe im Kreislauf eingebracht und die Verschlauchung fertig gestellt.
-
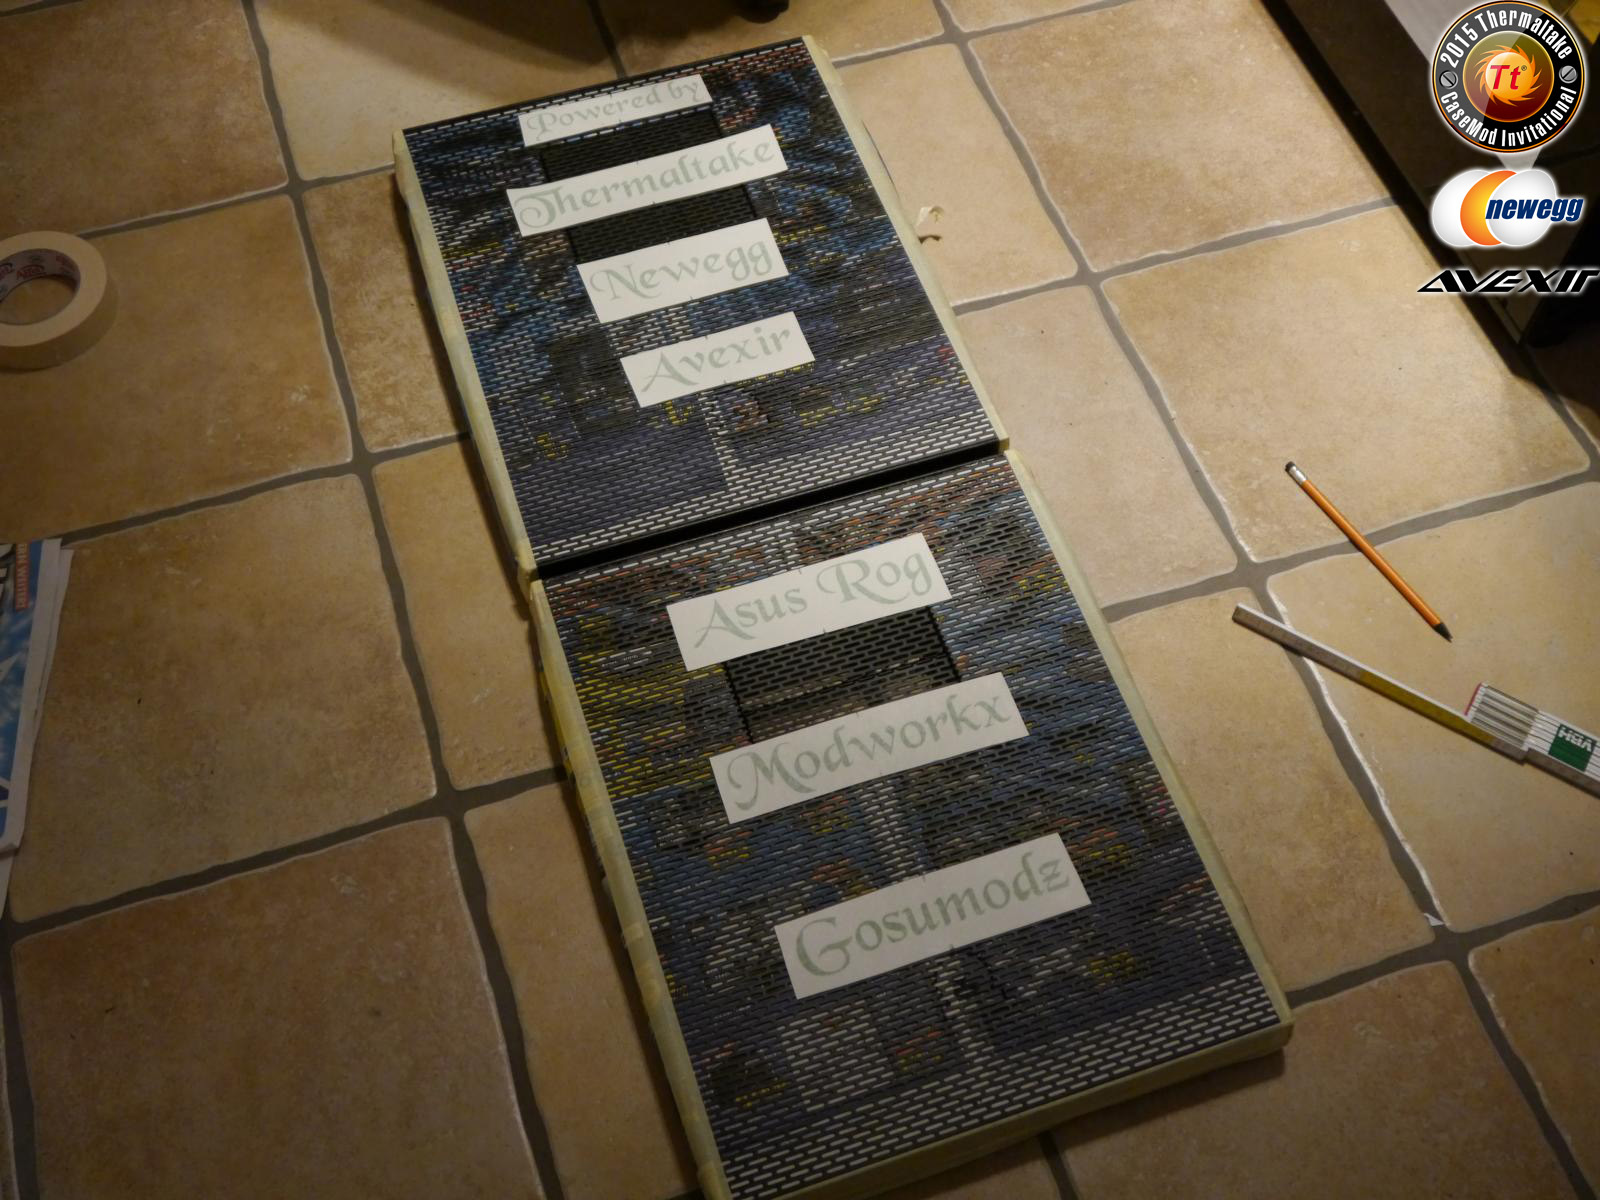
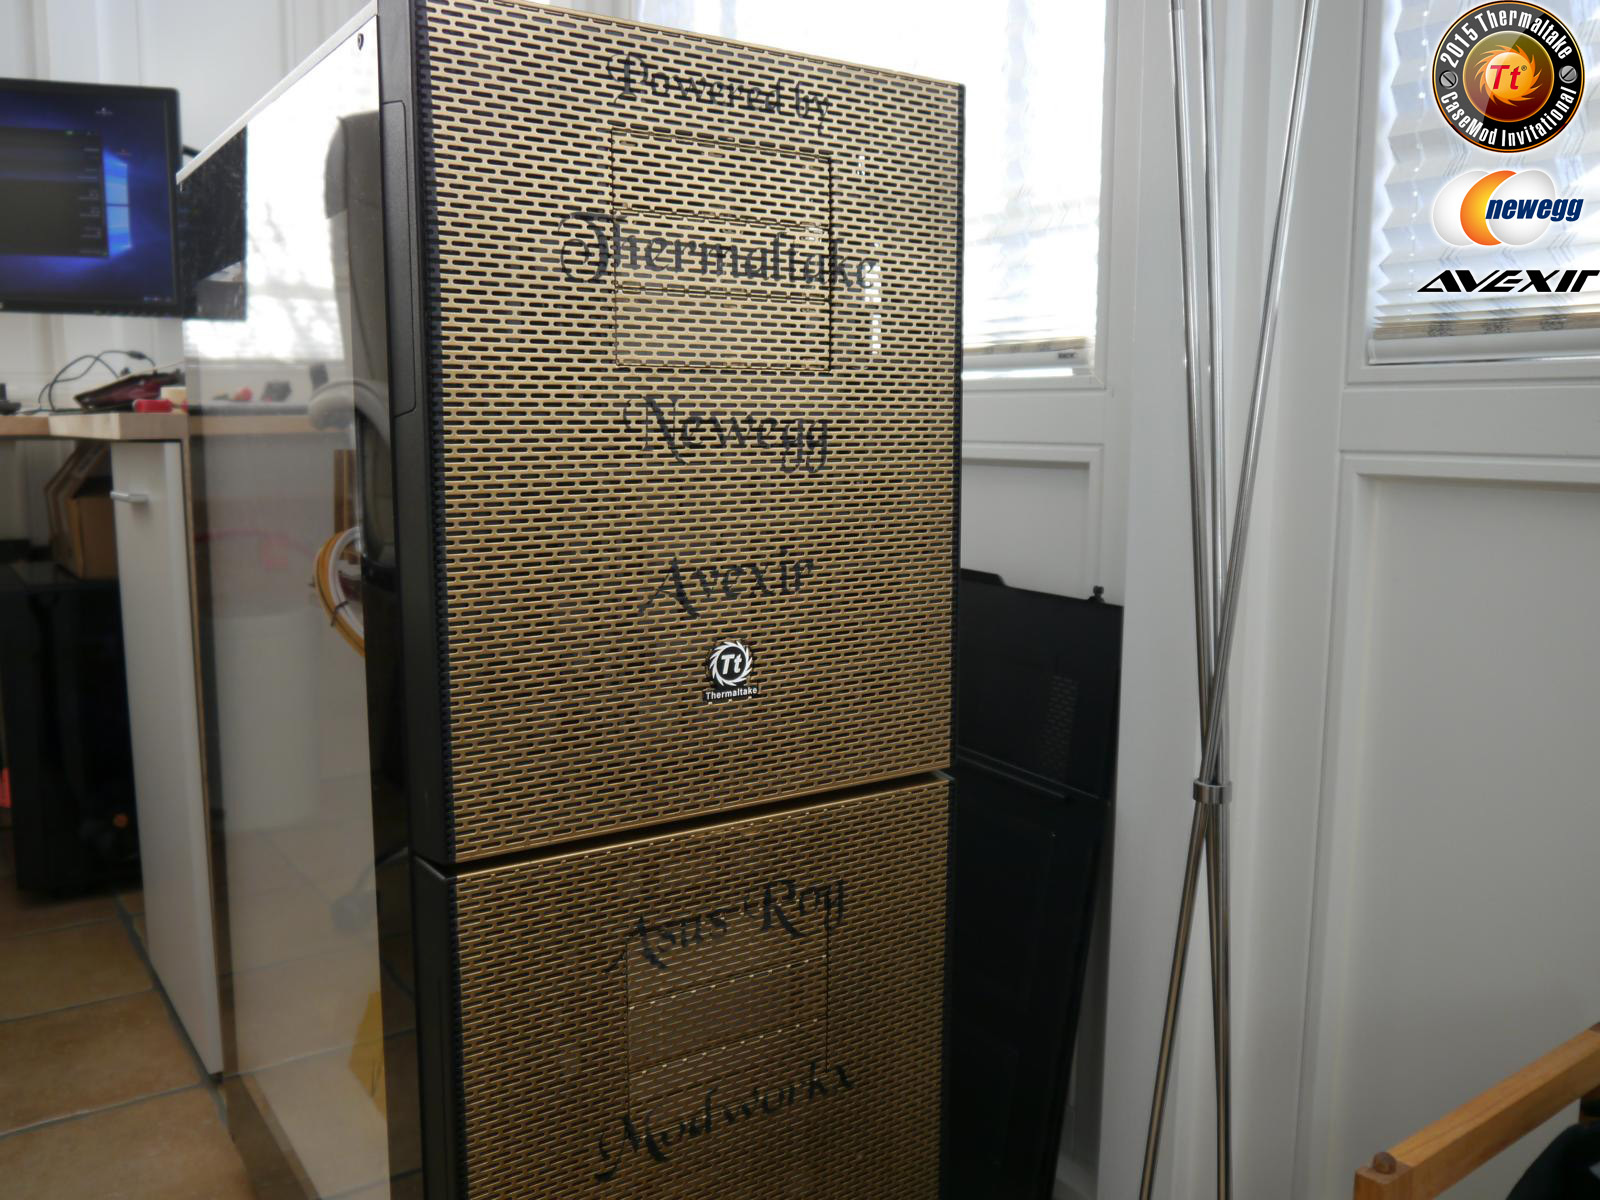
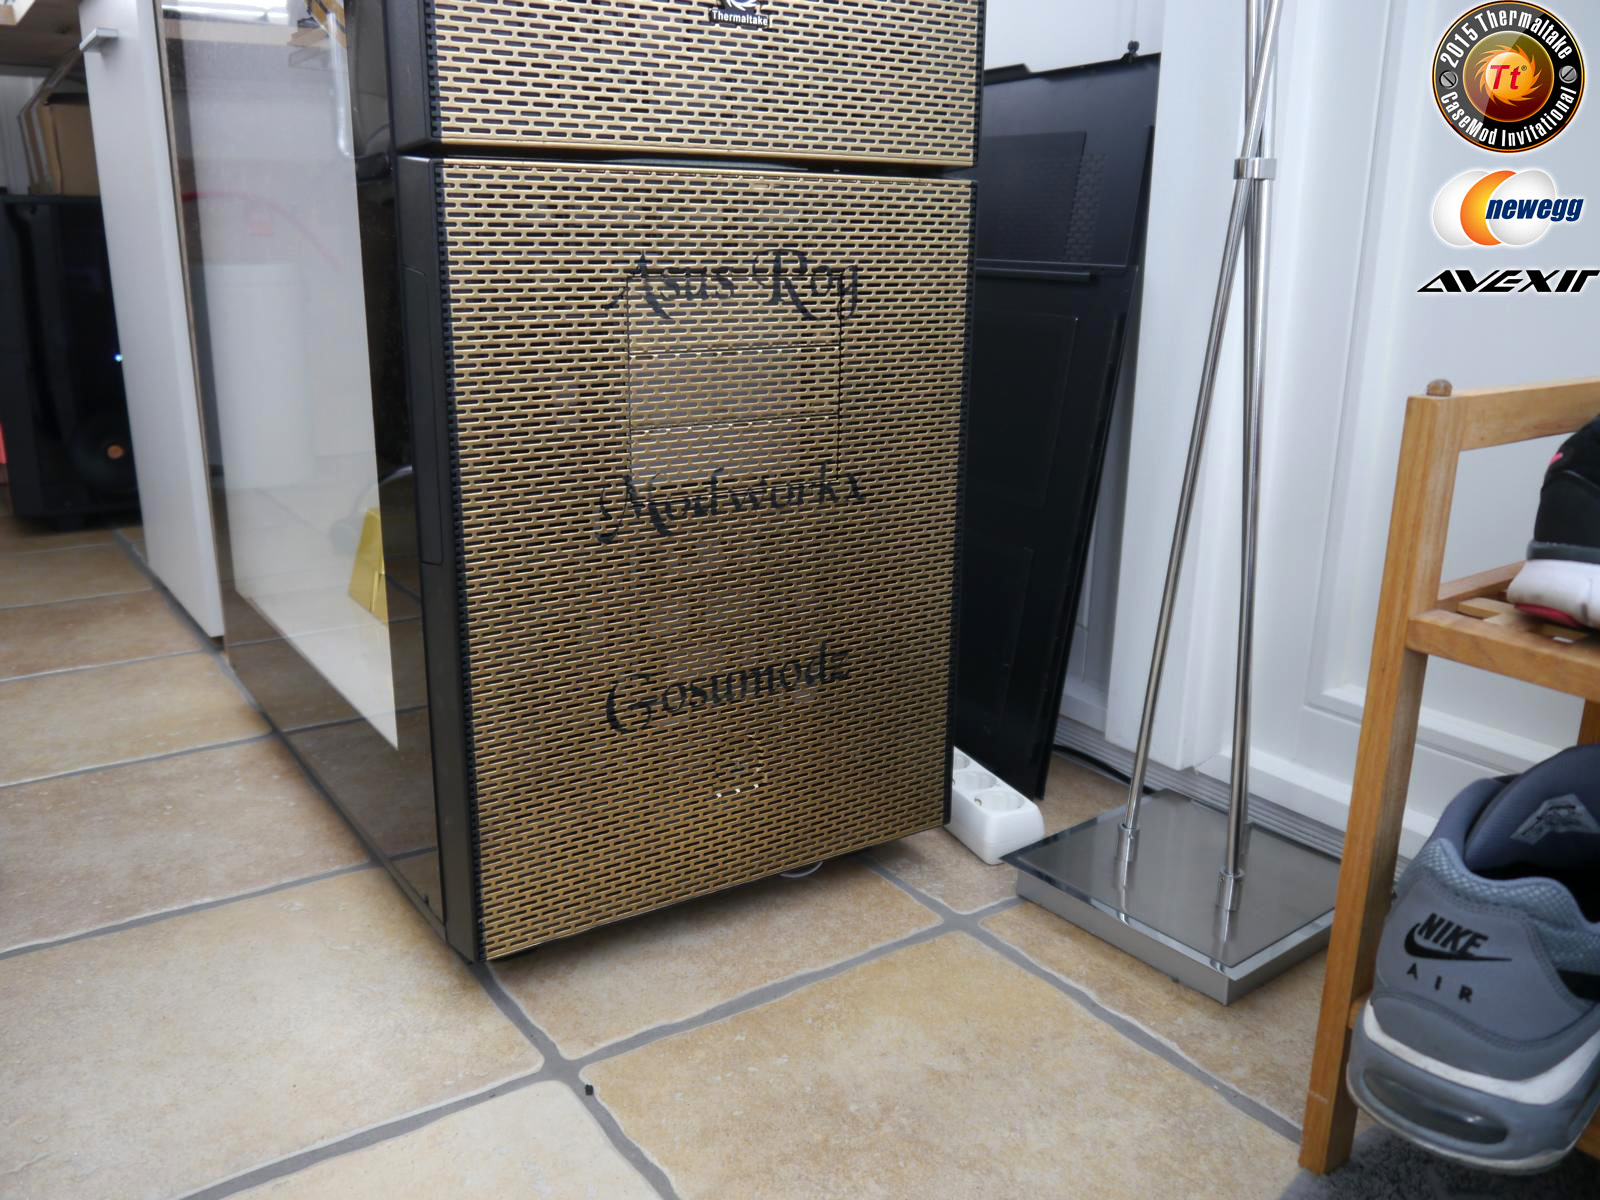
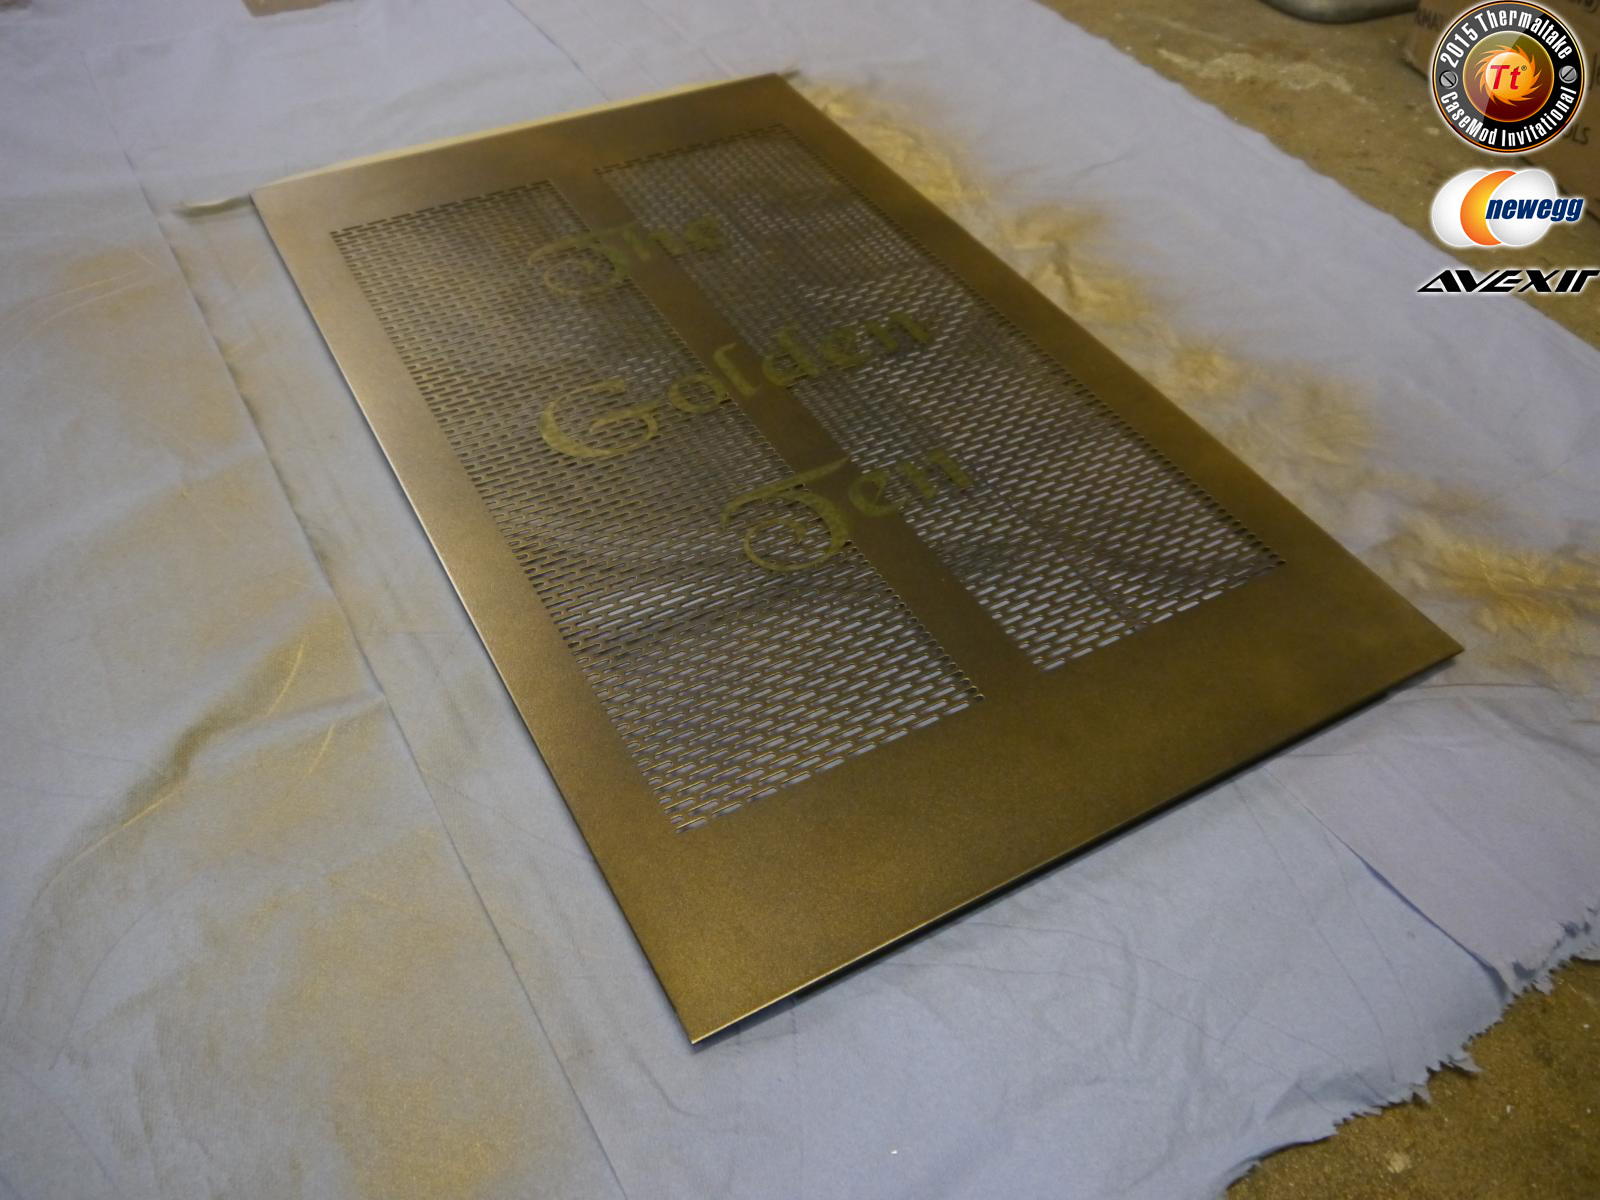
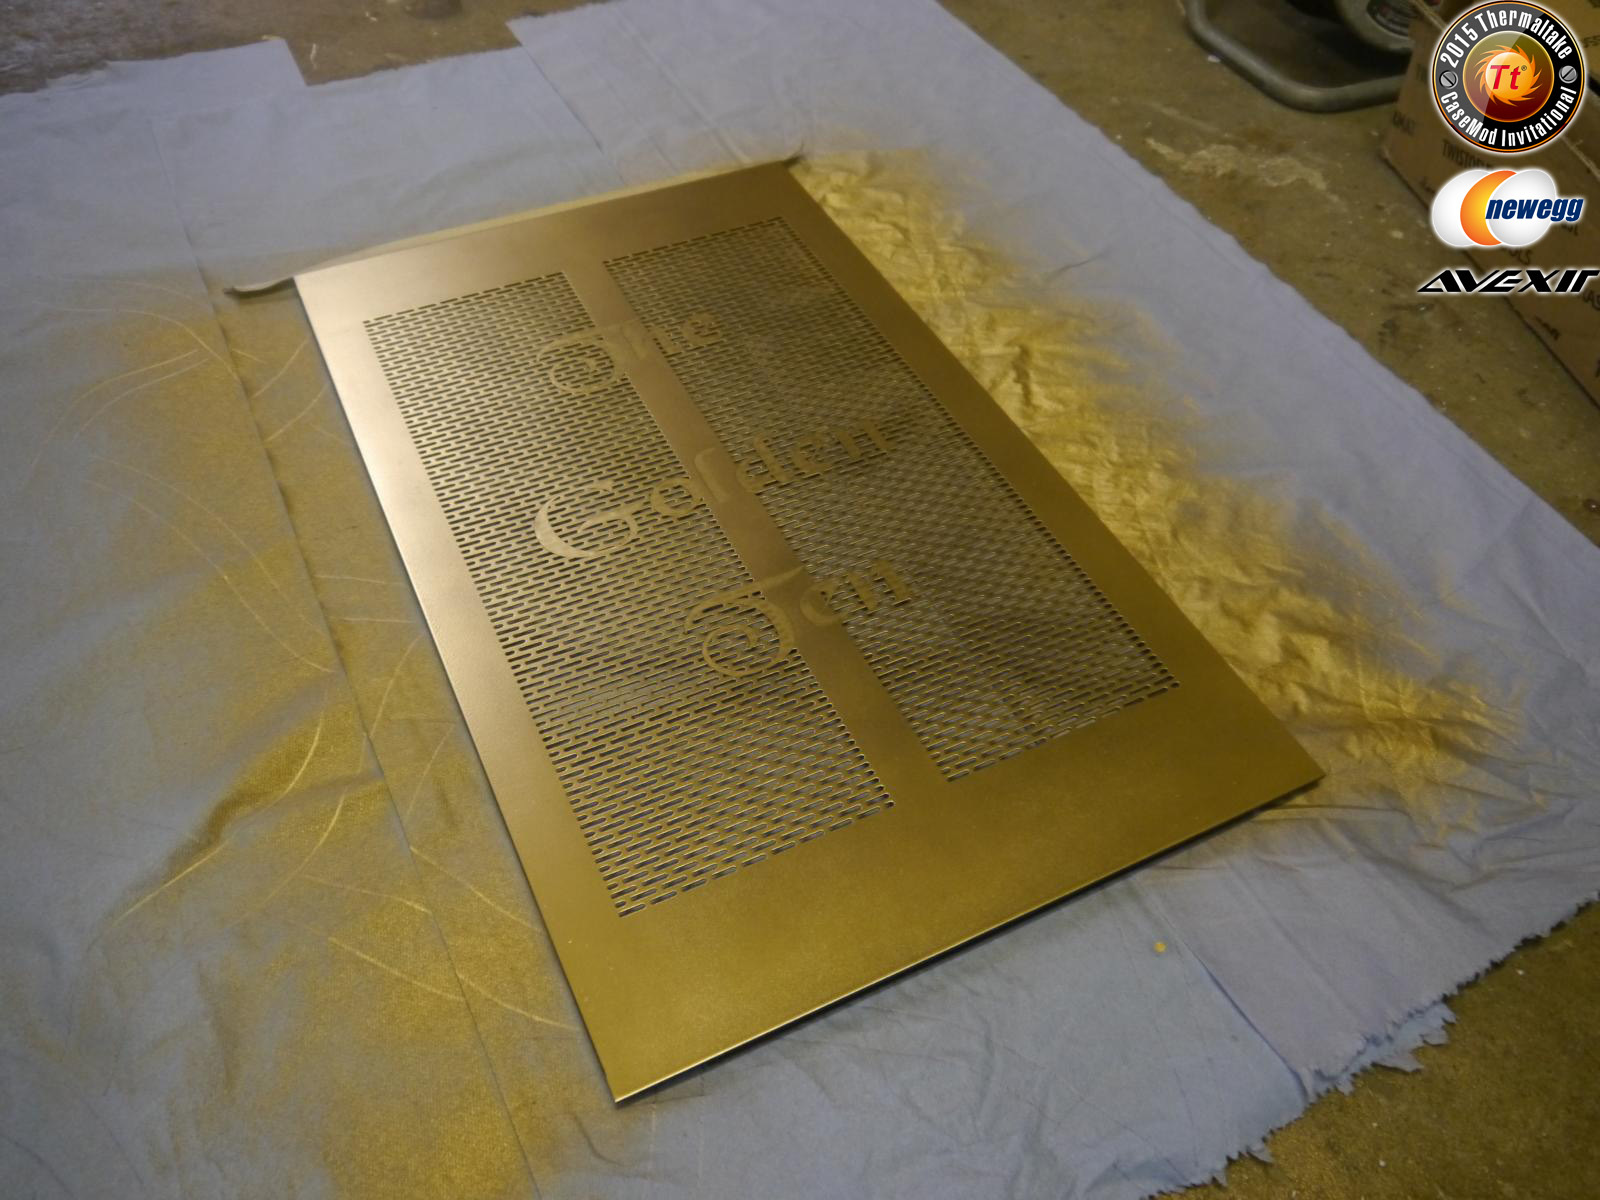
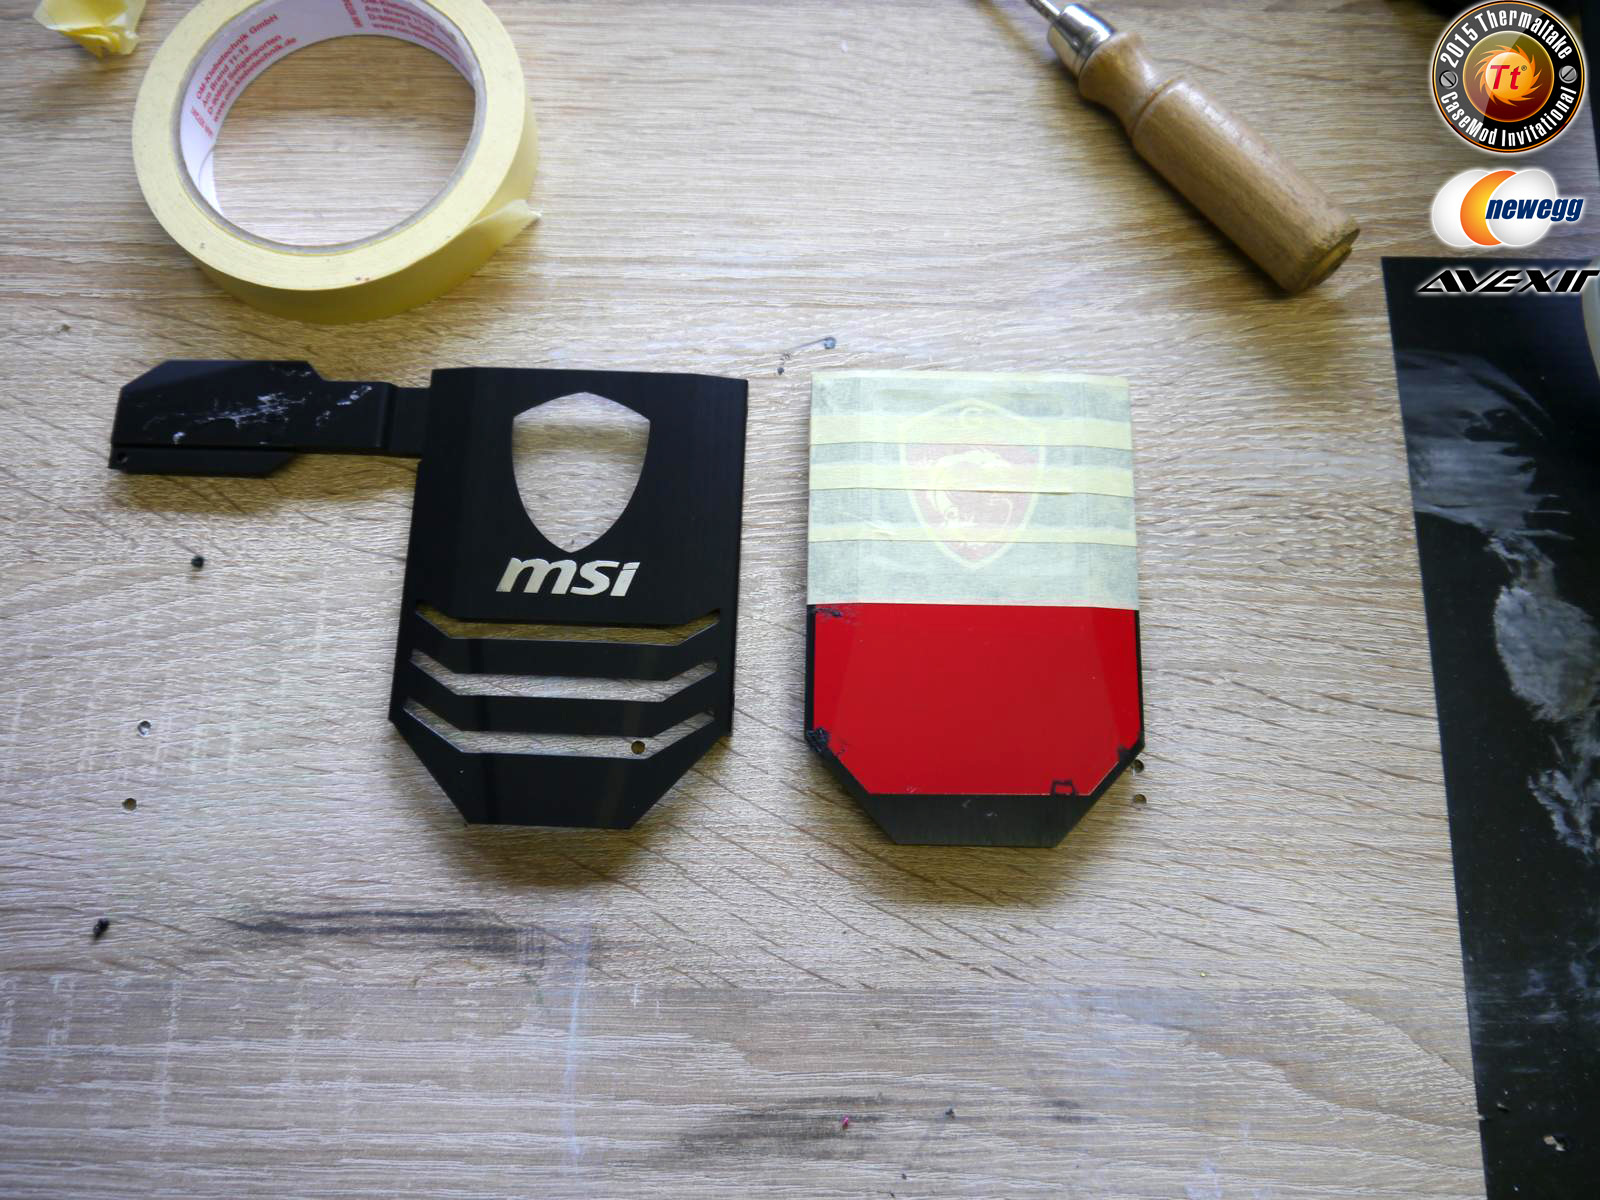
Die letzten Arbeiten schreiten vorran. Beide Frontteile mit den Schriftzügen beklebt und lackiert.
-
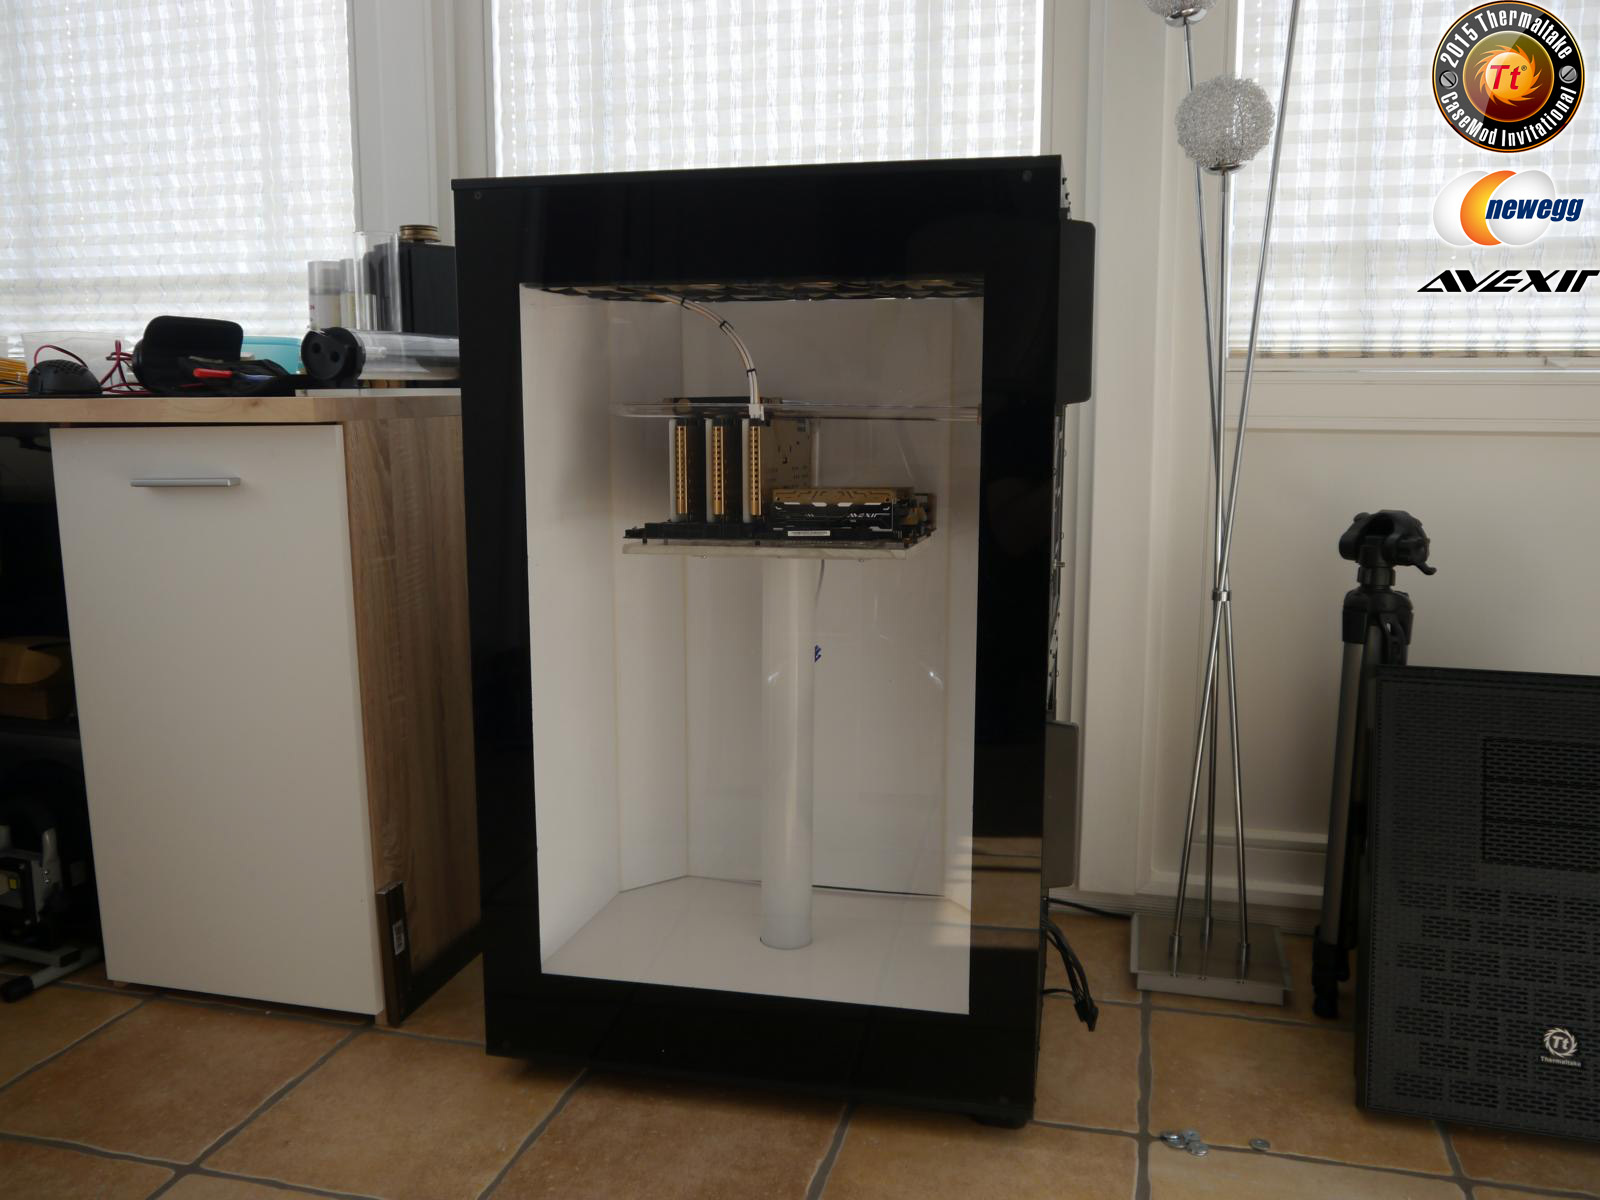
Das Ende nährt sich


-
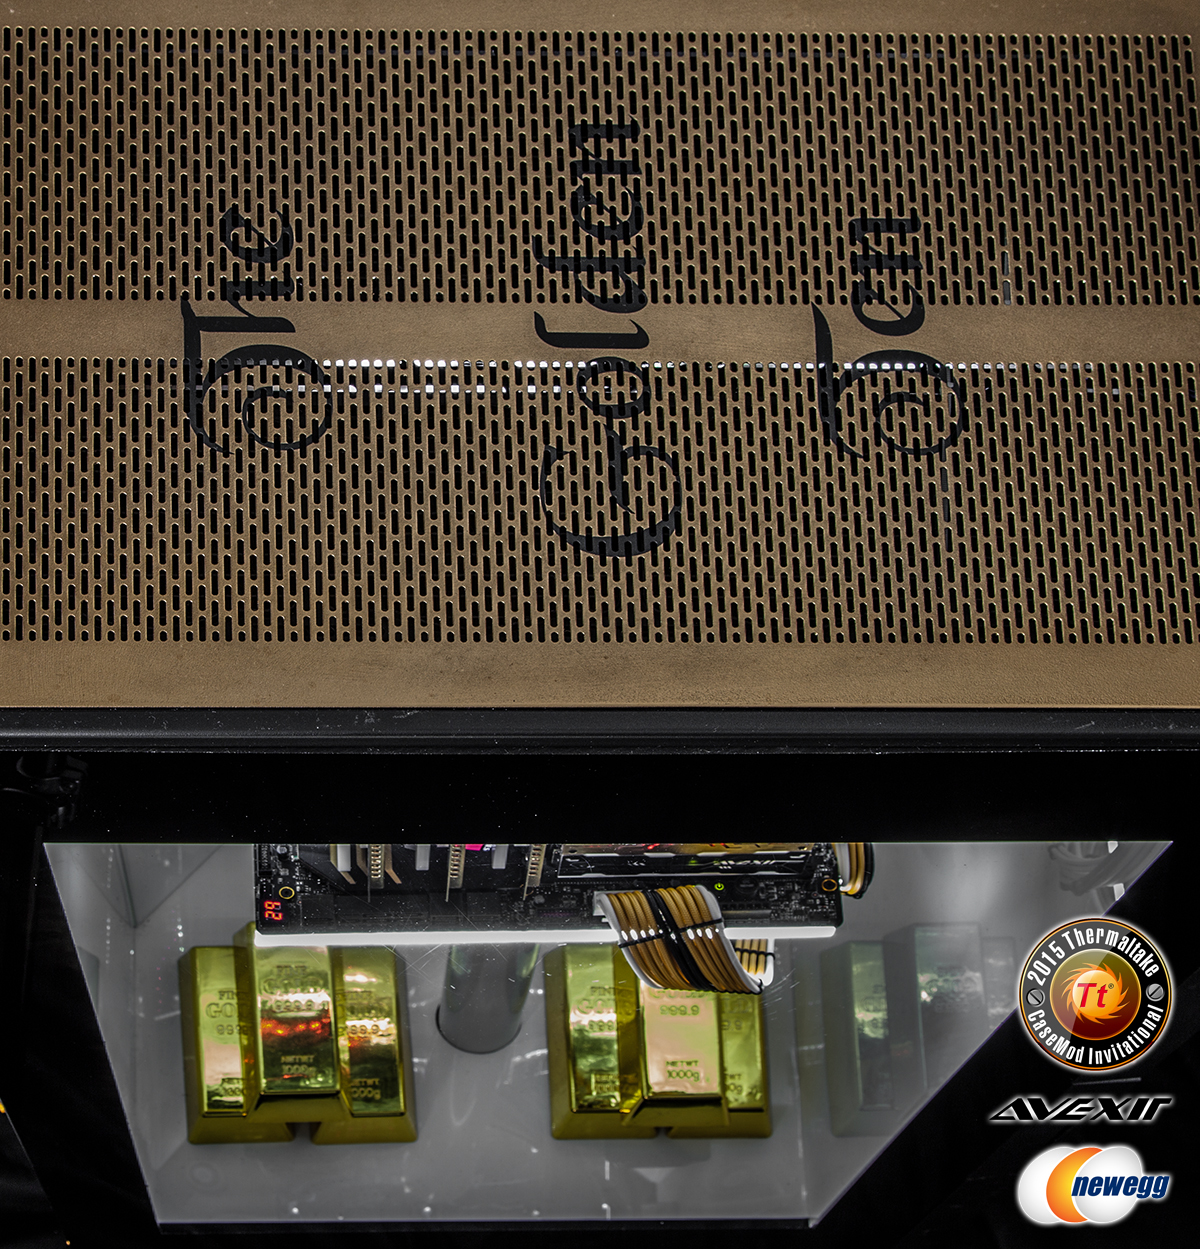
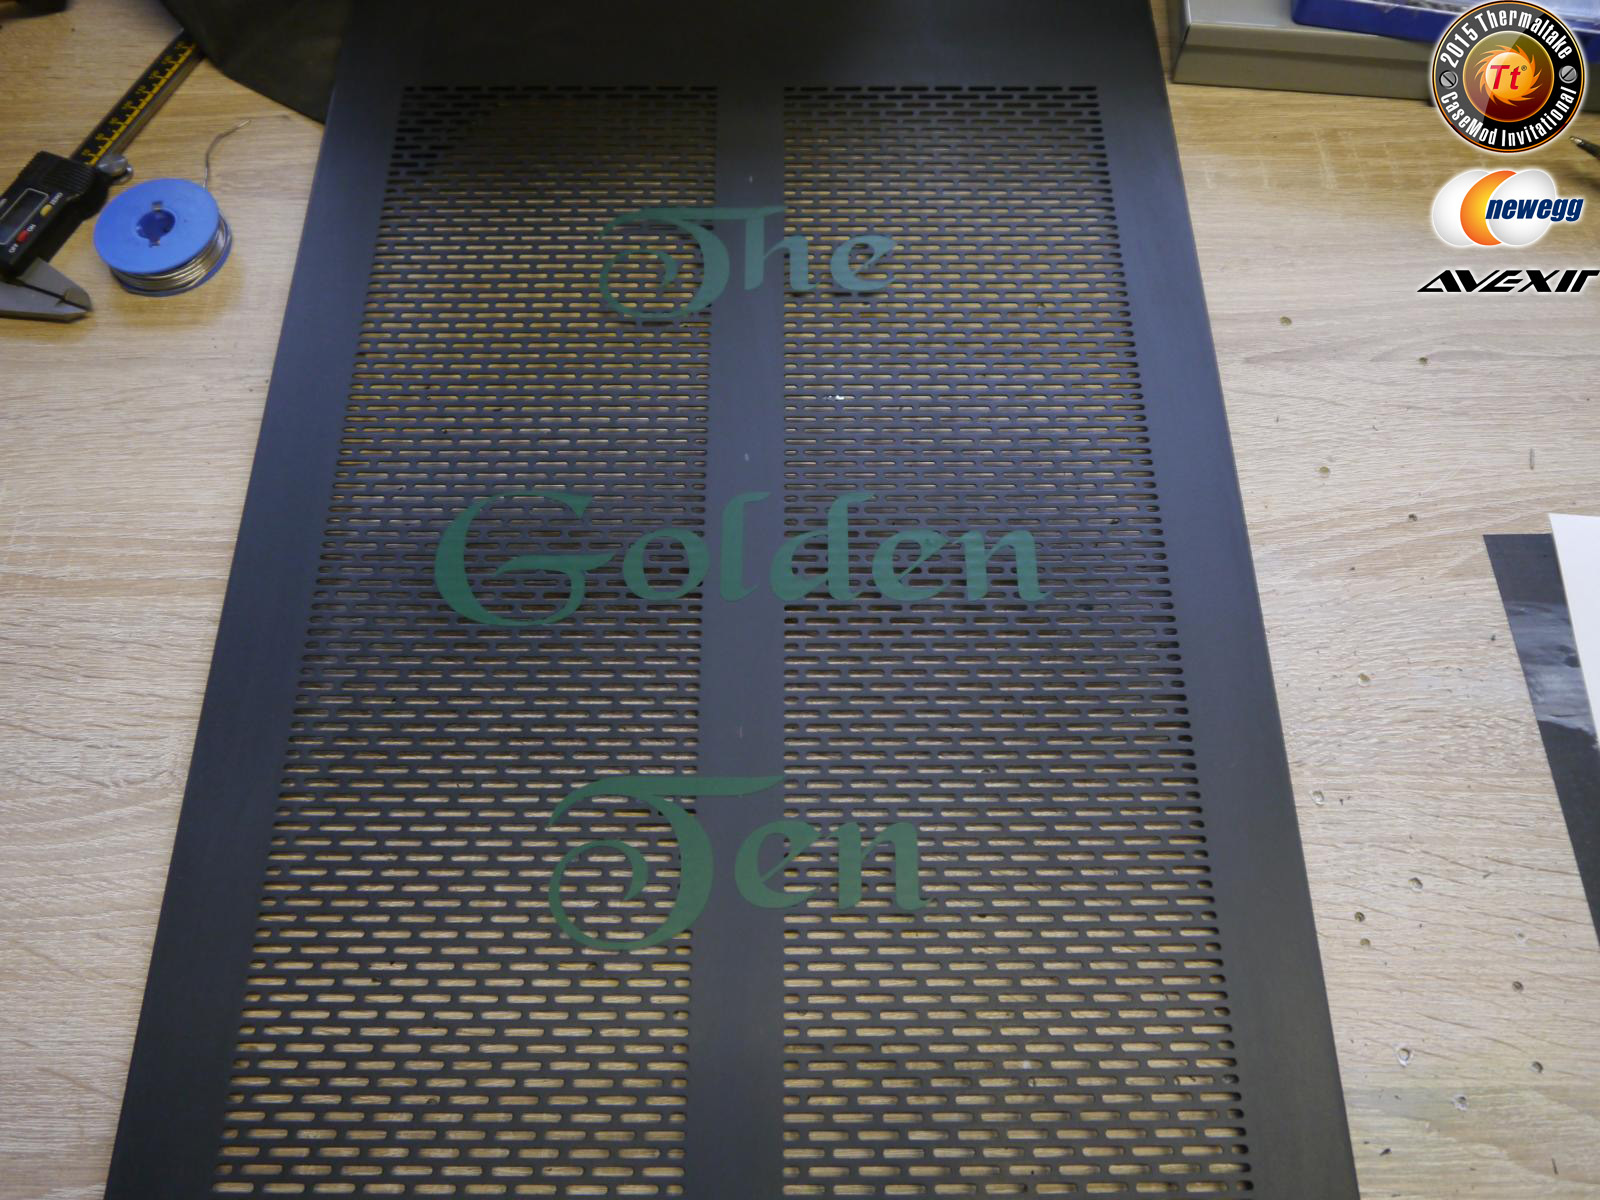
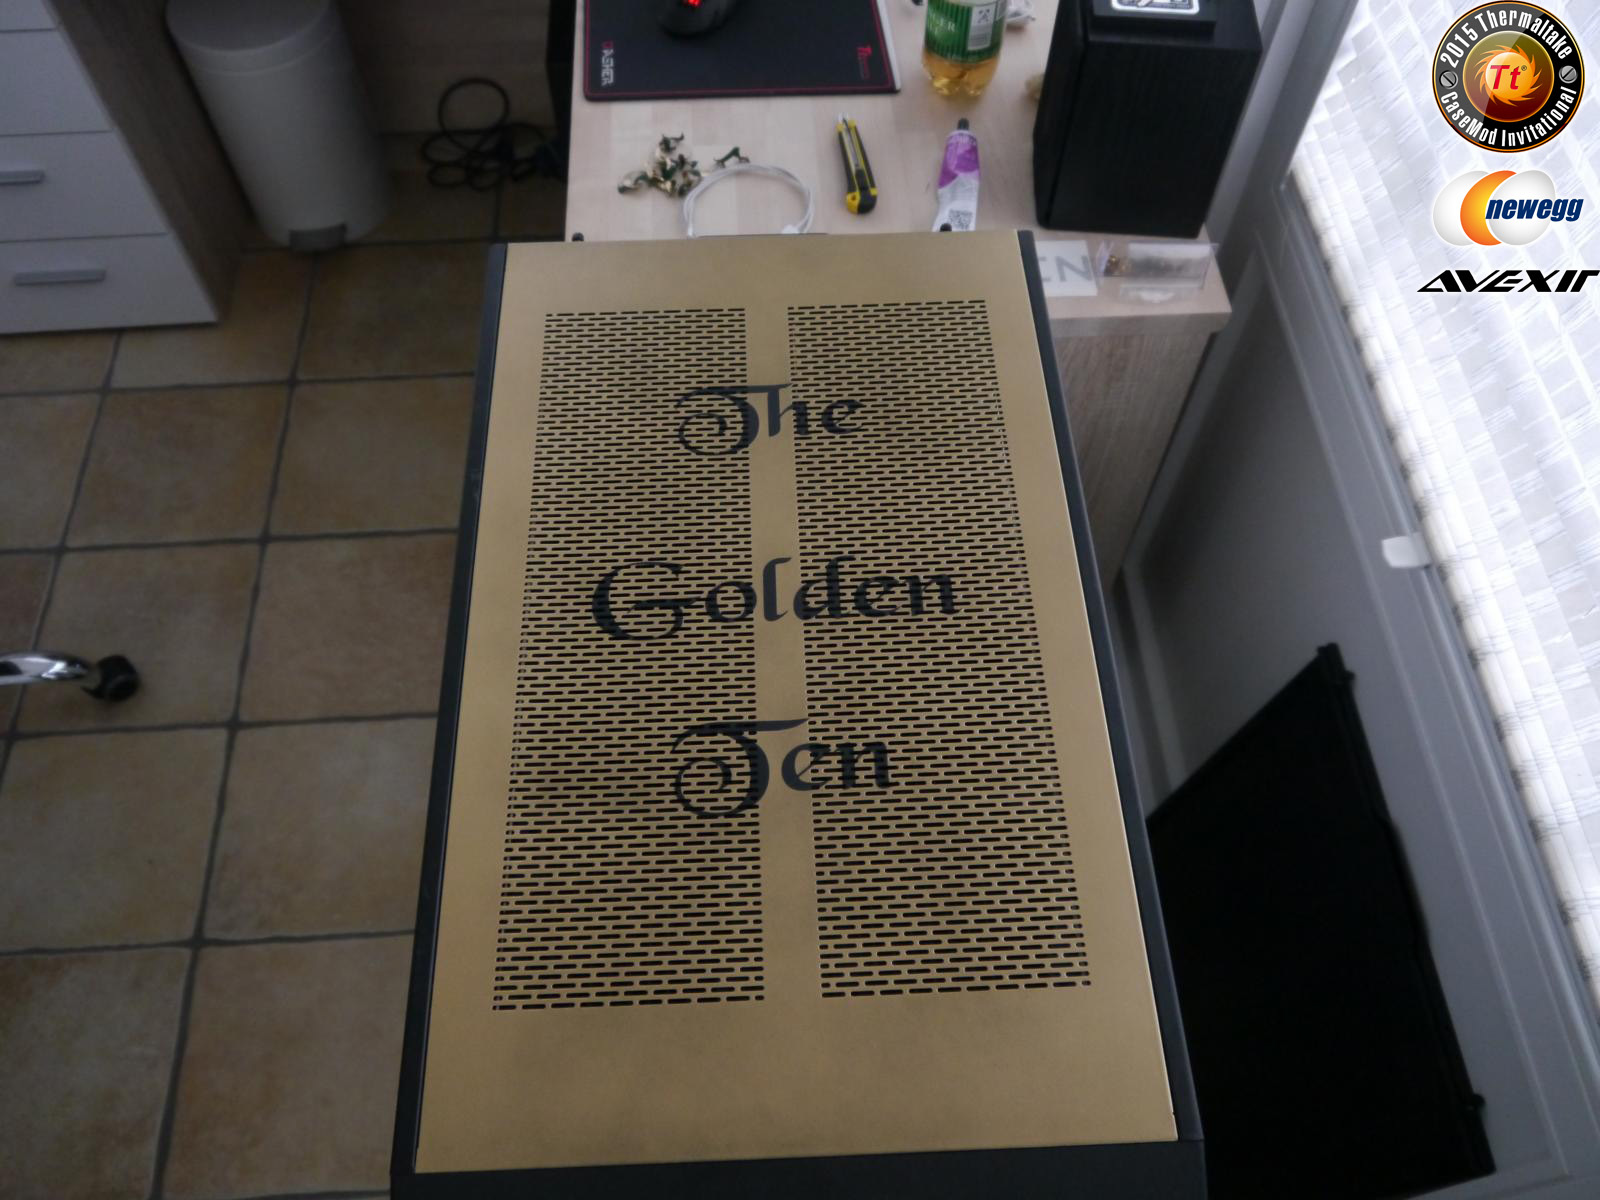
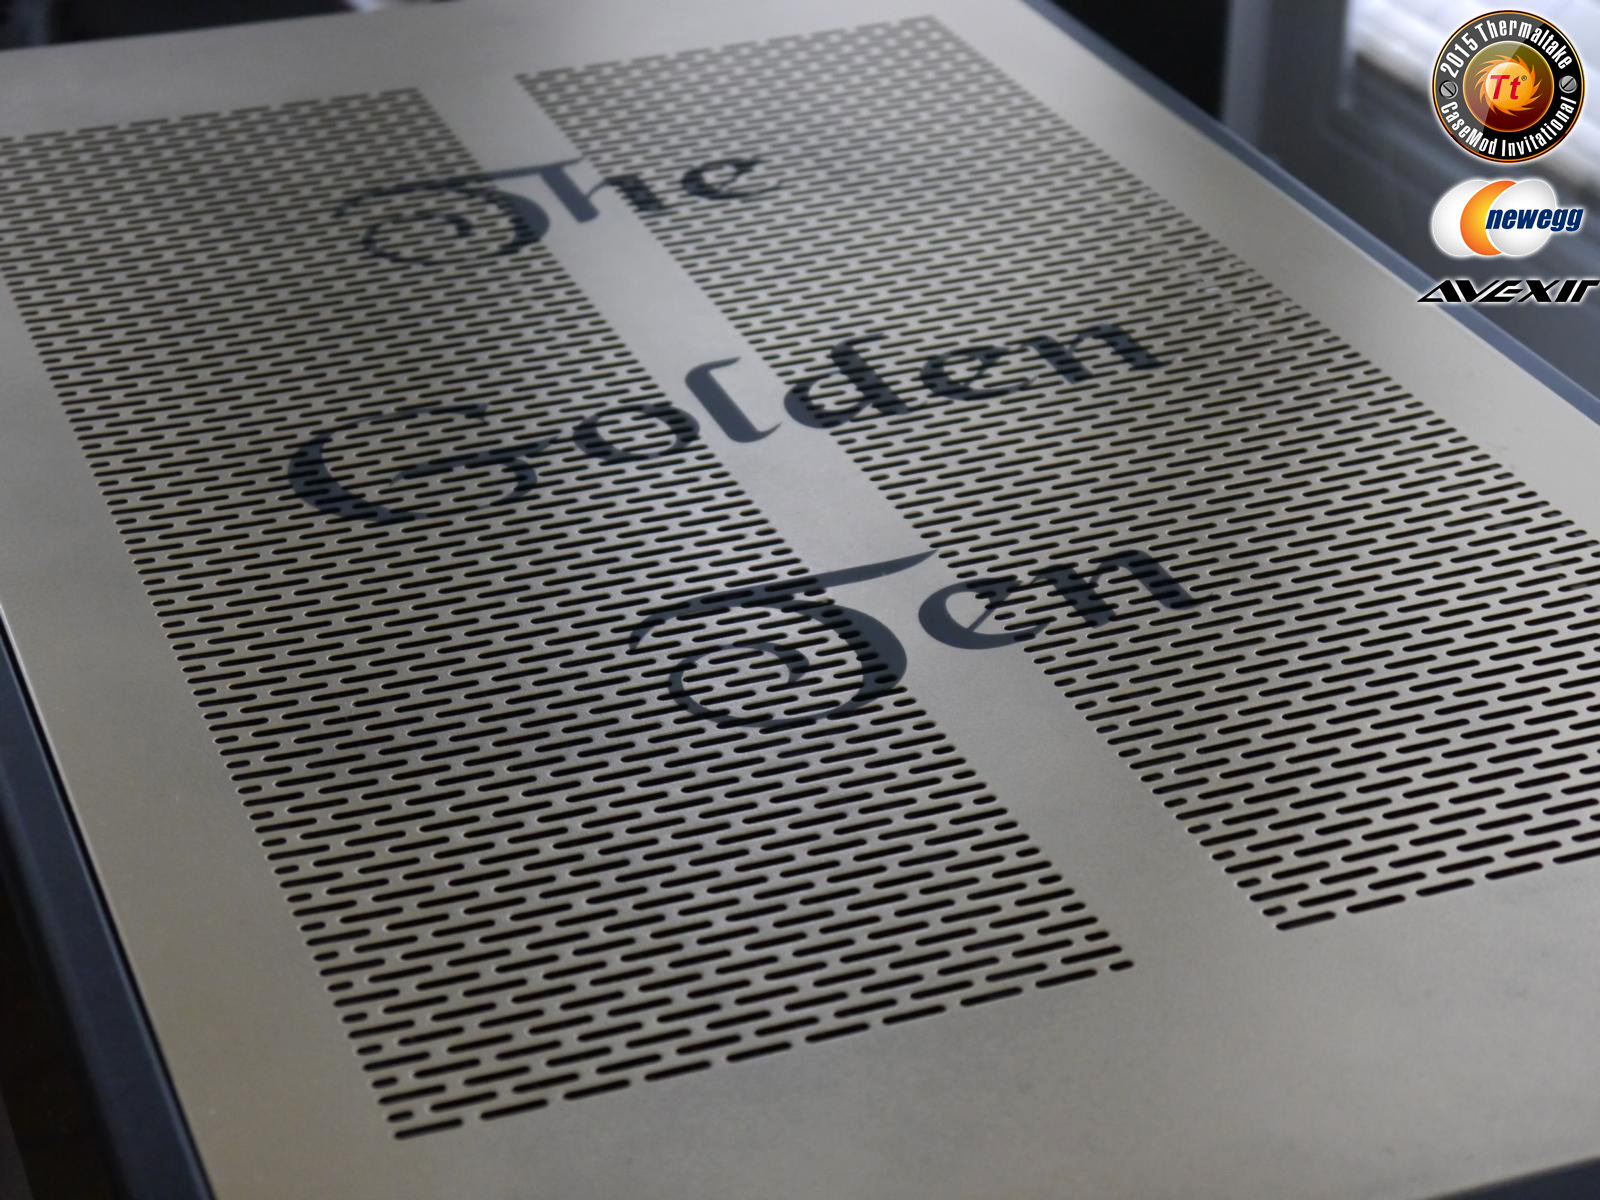
Heute den Deckel mit dem "The Golden Ten" Schriftzug versehen
Deckel mit 400. Papier angeschliffen mit Universalverdünner gereinigt. Schriftzug aufgebracht und lackiert.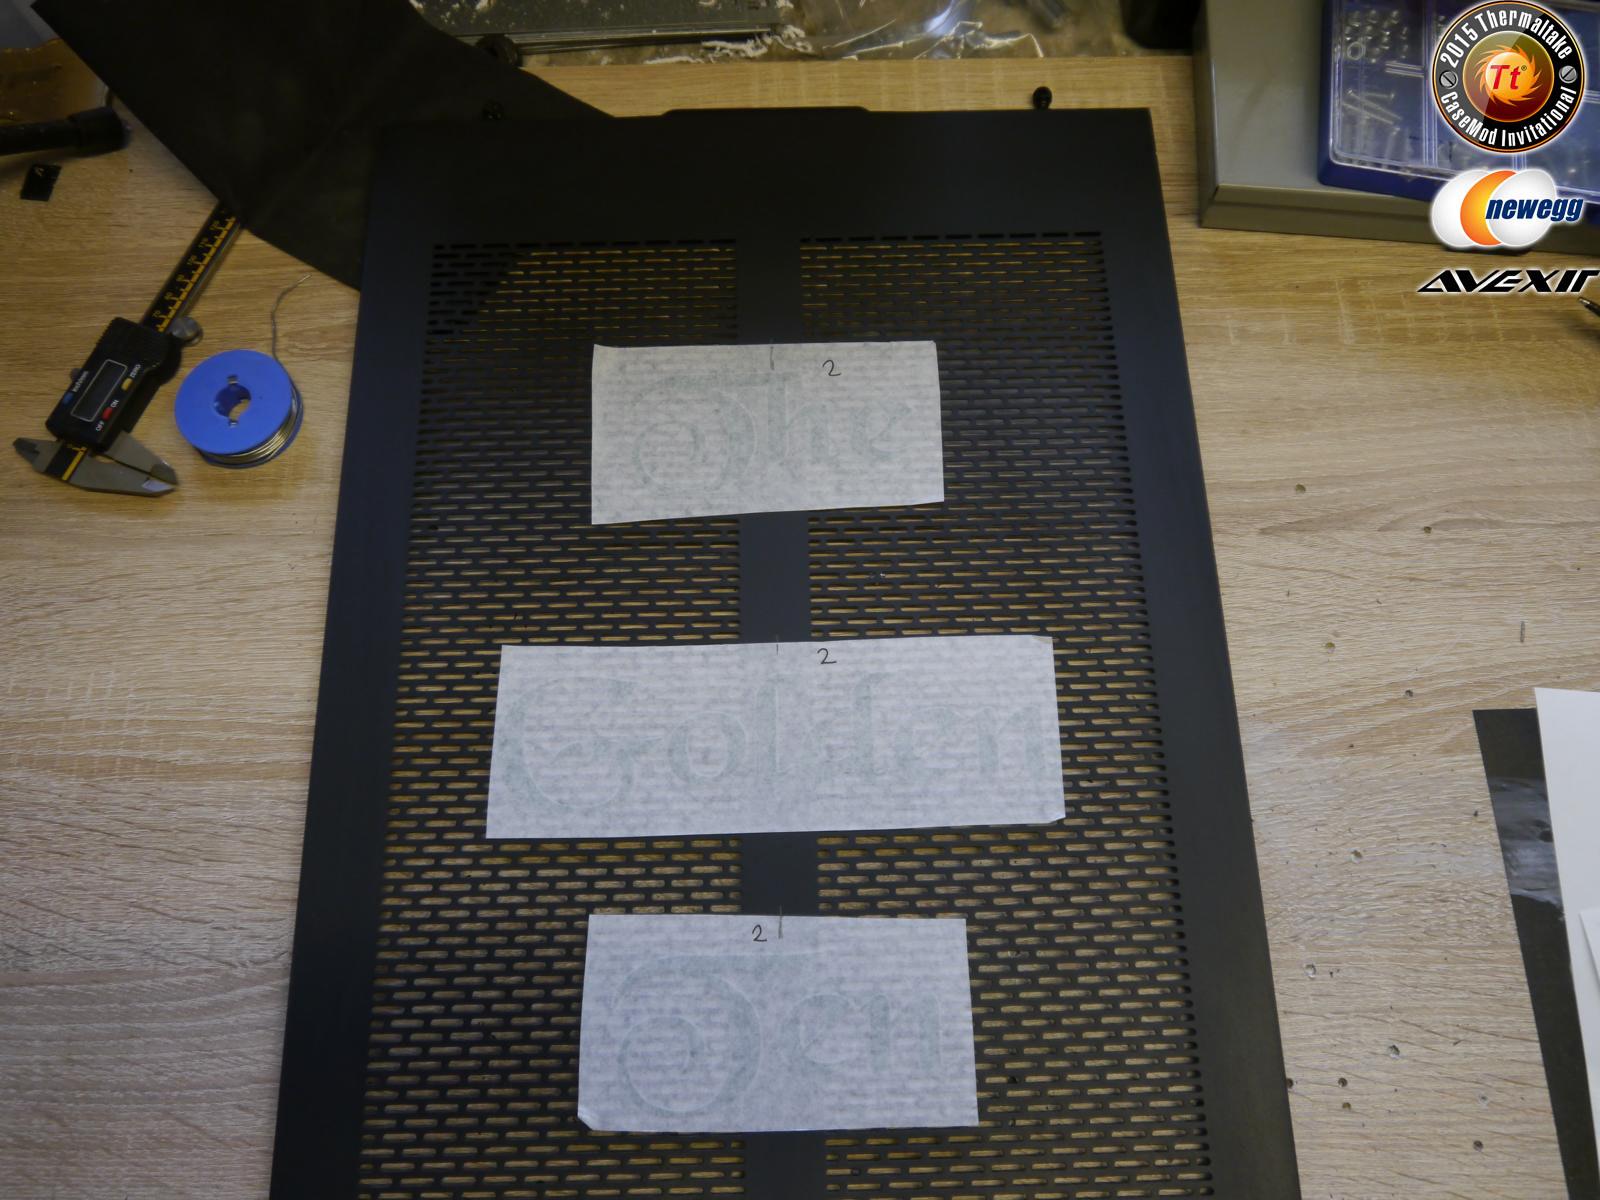
-
Einen habe ich noch für heute....
Habe noch das Seitenfenster fertig gemacht, seiten ausgemessen, innen abgeklebt und lackiert * FERTIG *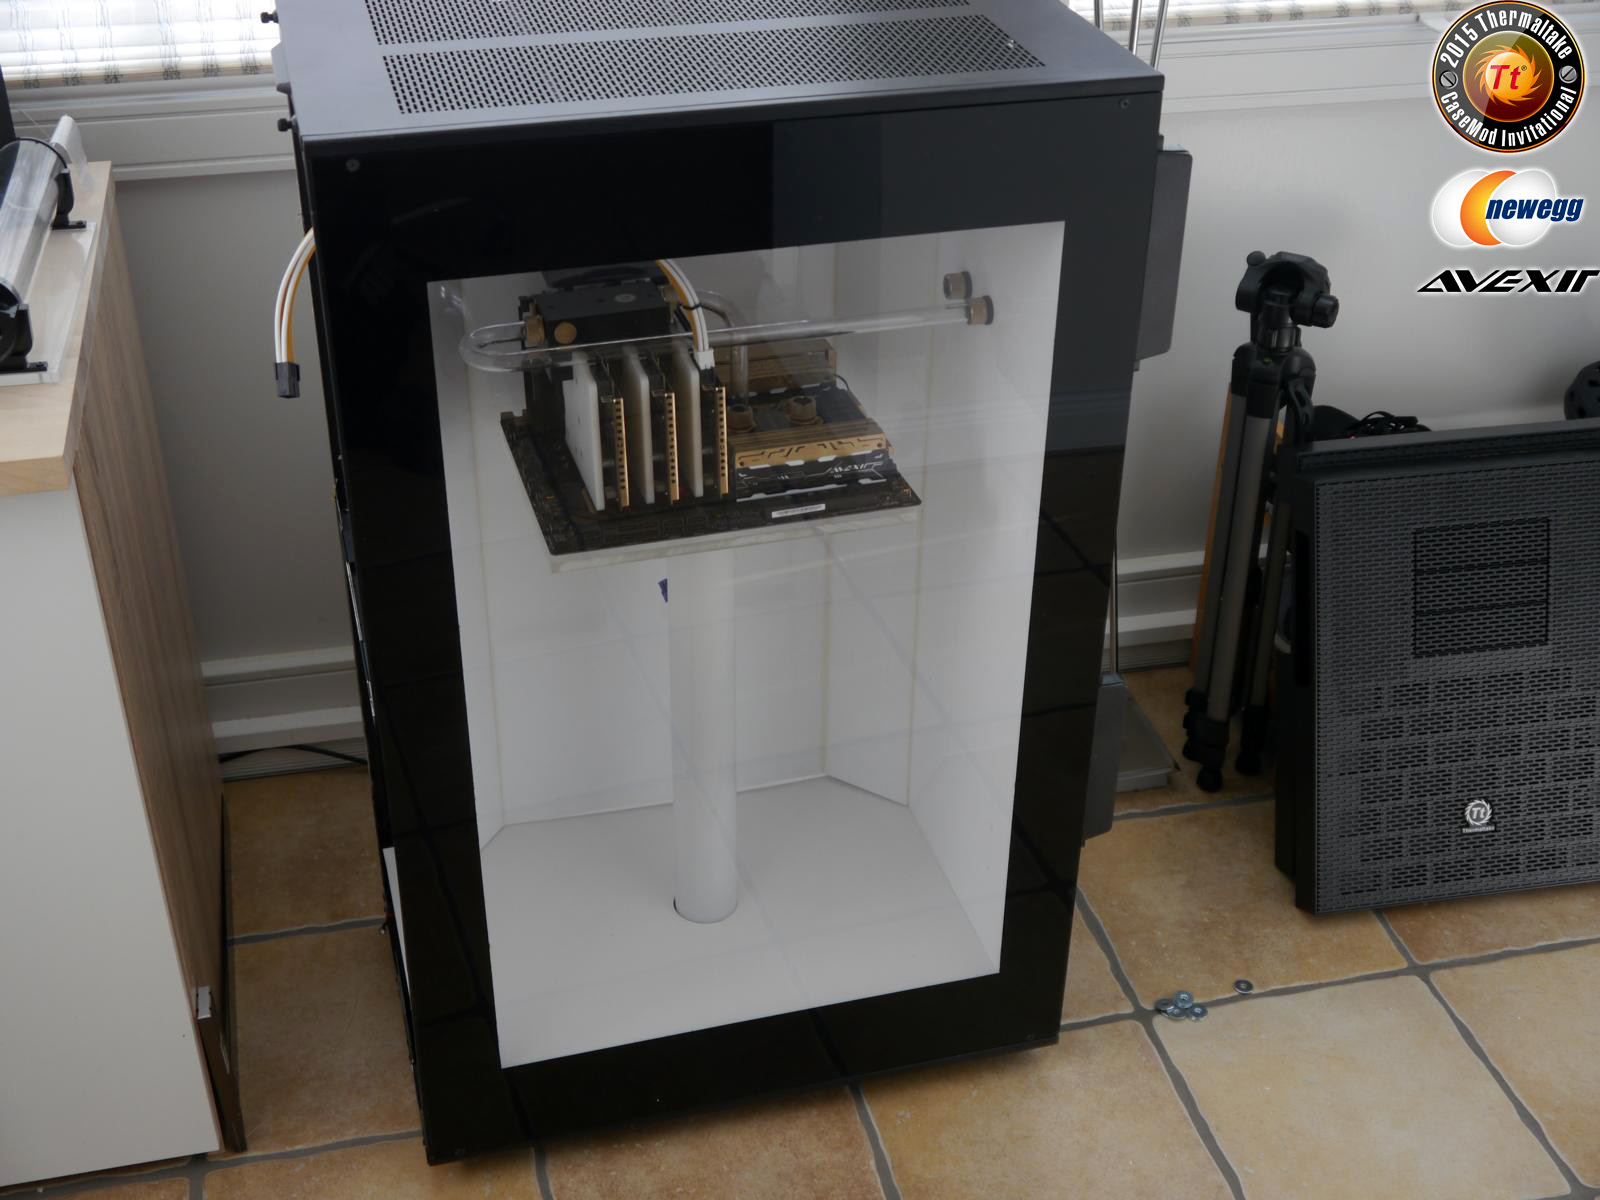
-
Here are the last tasks before I finish,
the covers for the screws are added and covered with white silicone.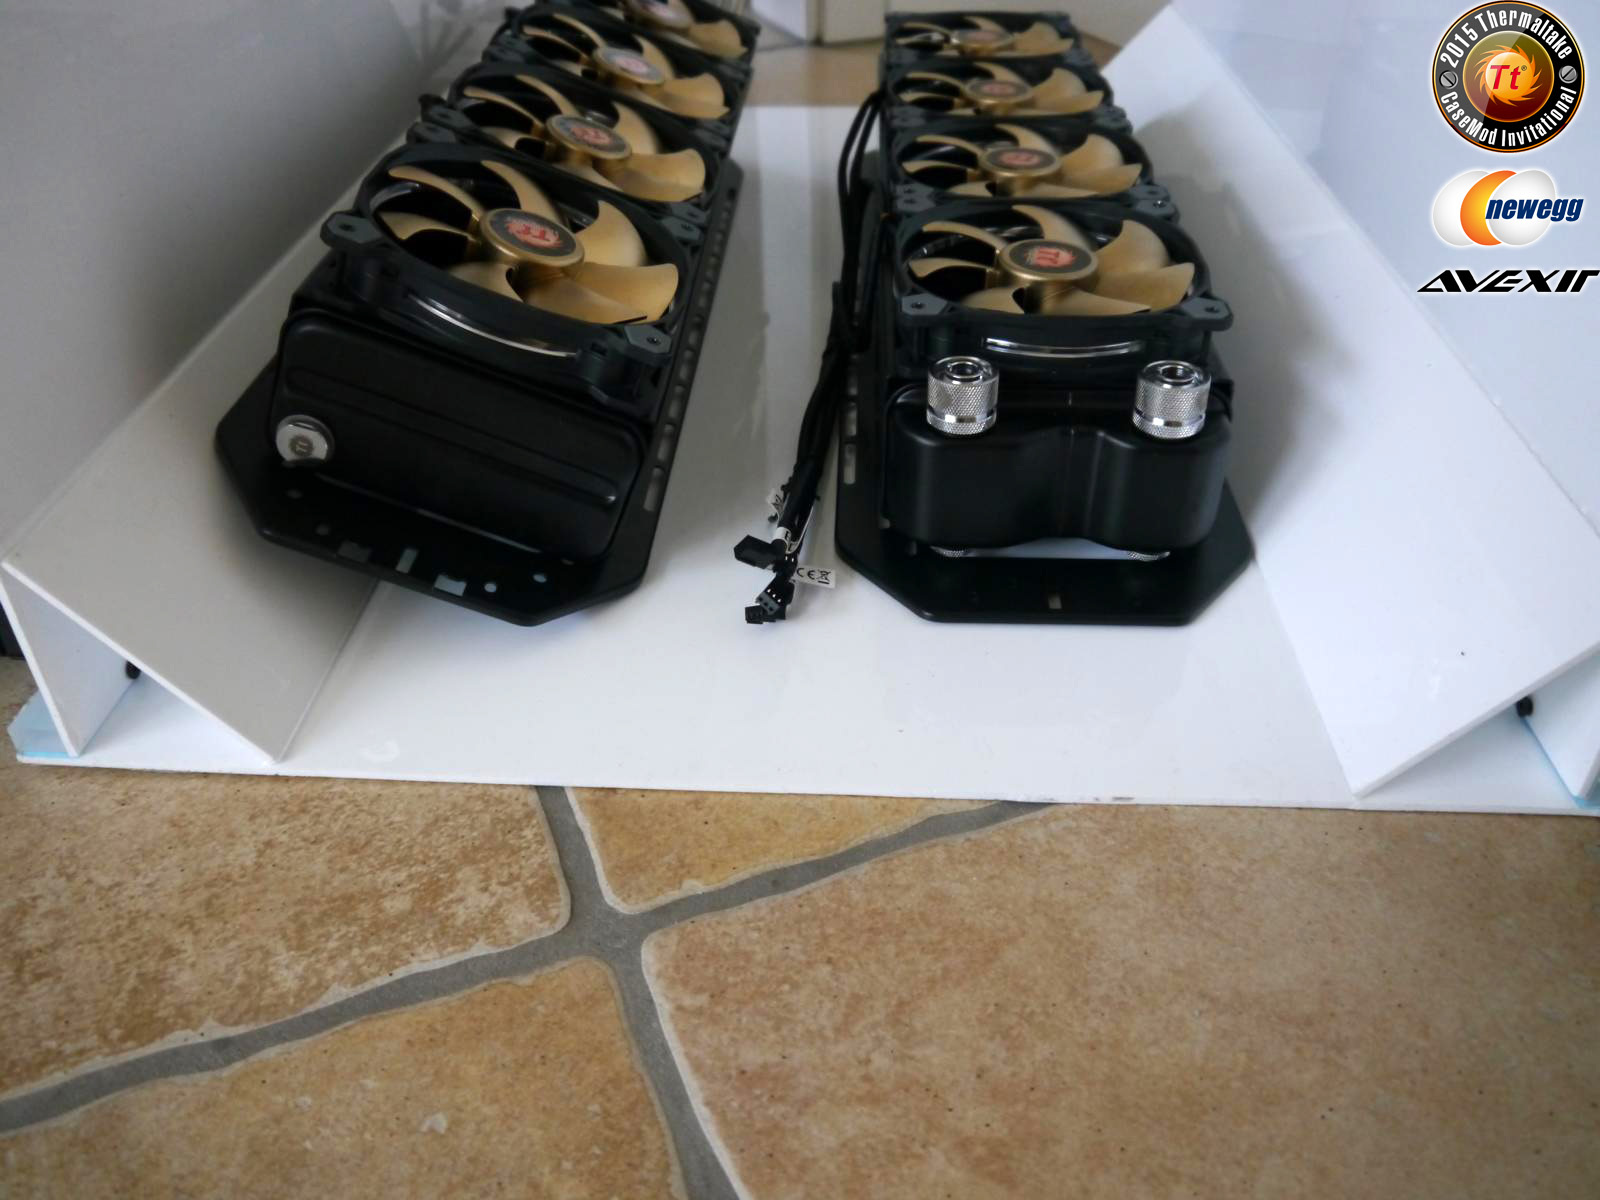
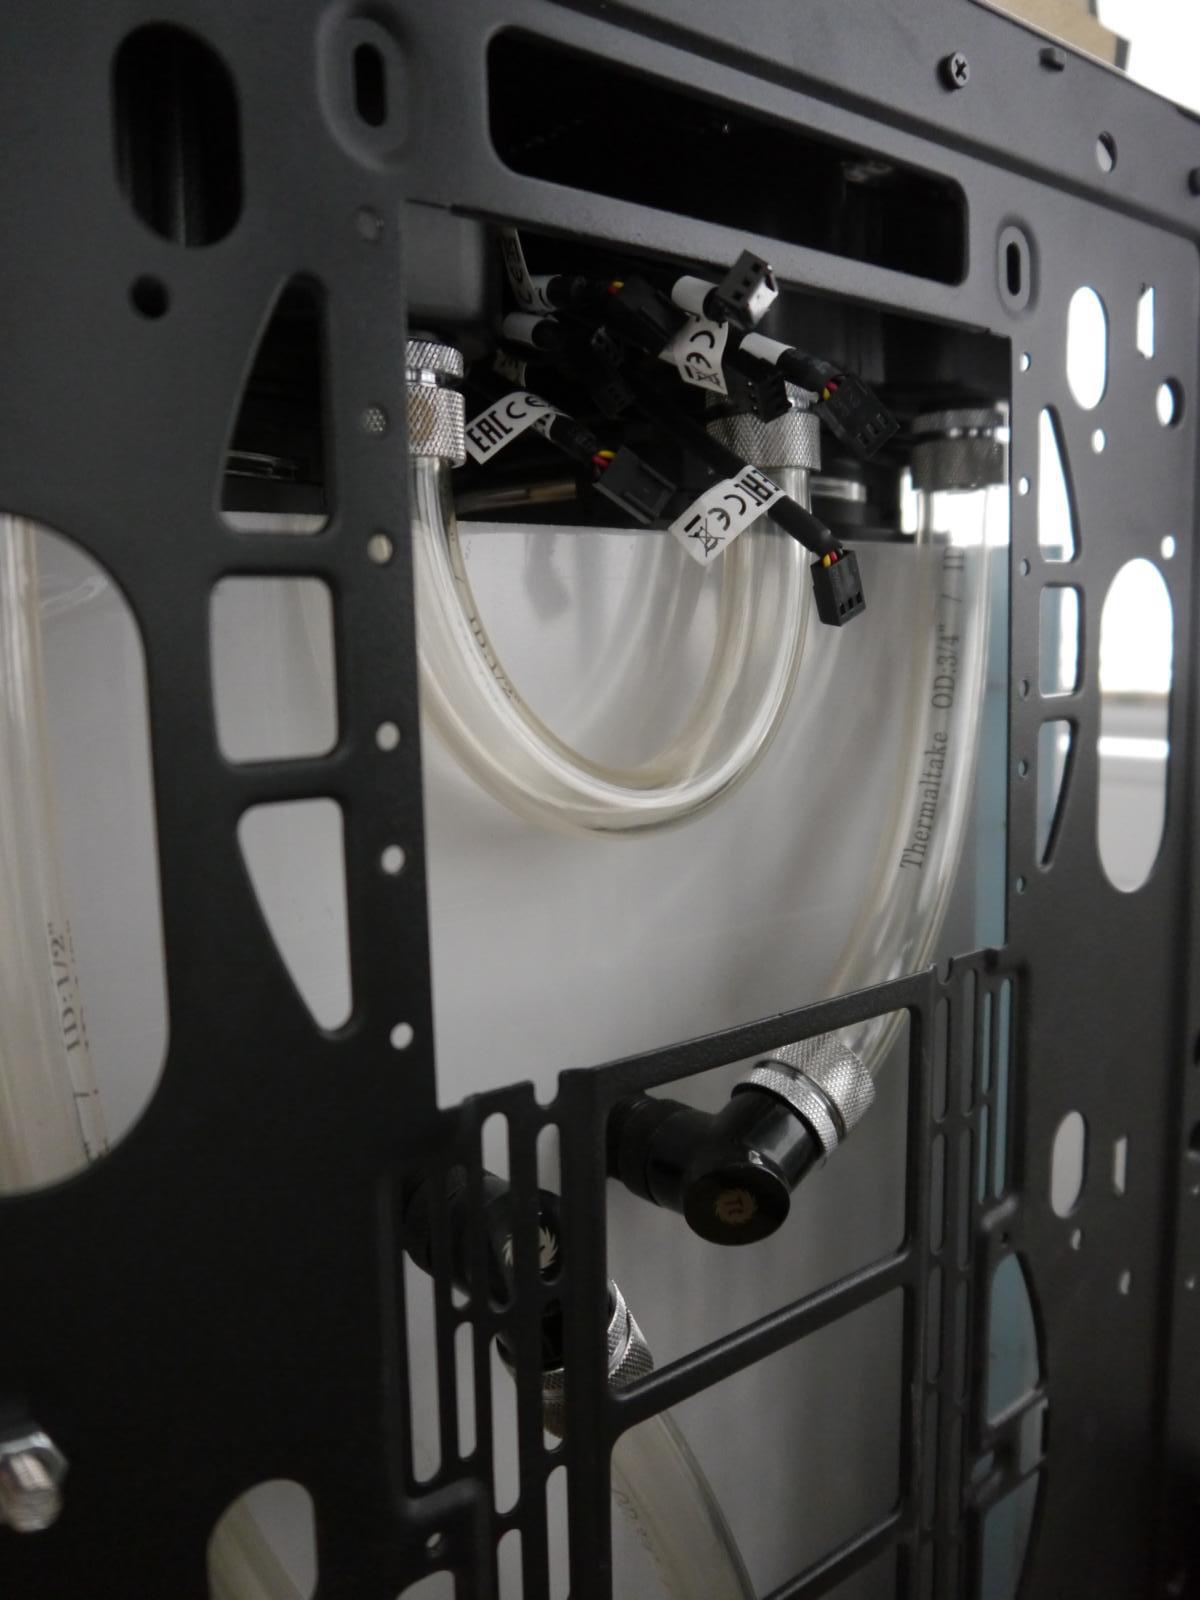
The cables are hidden in a cable tunnel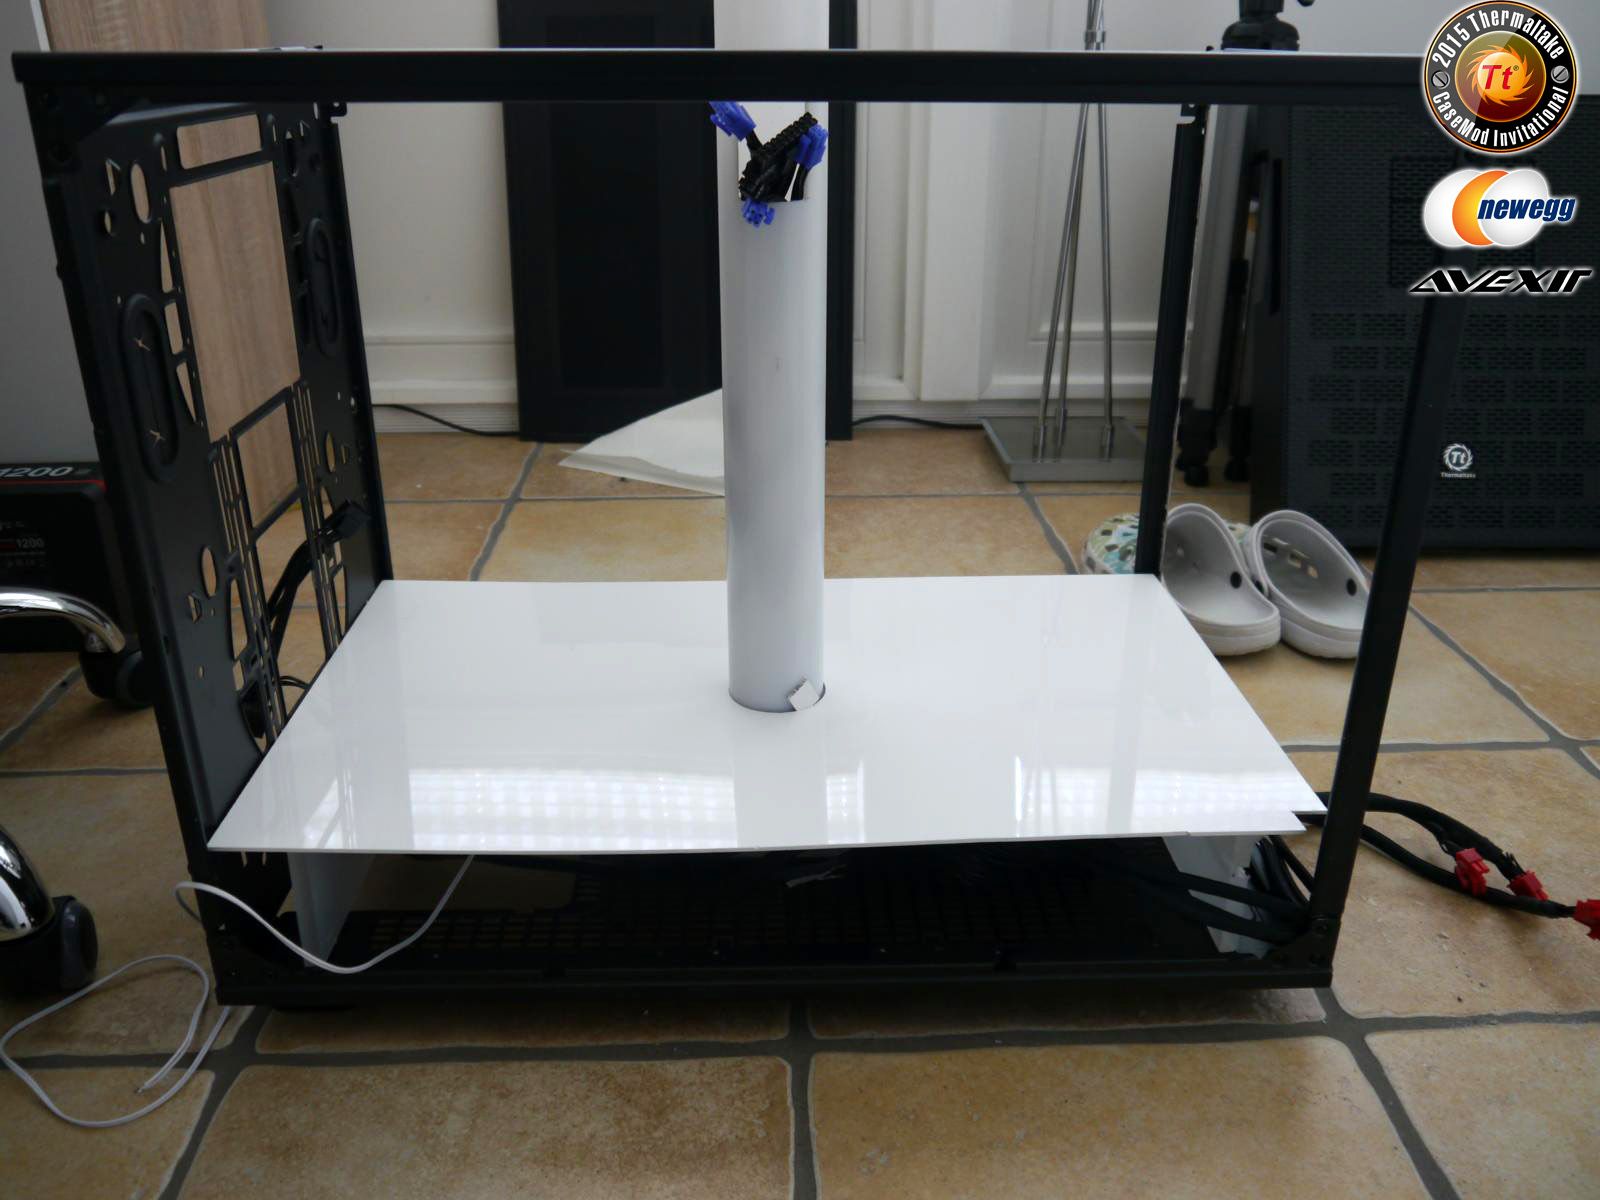
Now I just need to add lighting and the tubes and wire the rest. After that, I need to make a few cable sleeves and then I will have finished this project already! -
-
-
Enough for today, here are the last pictures of today

-
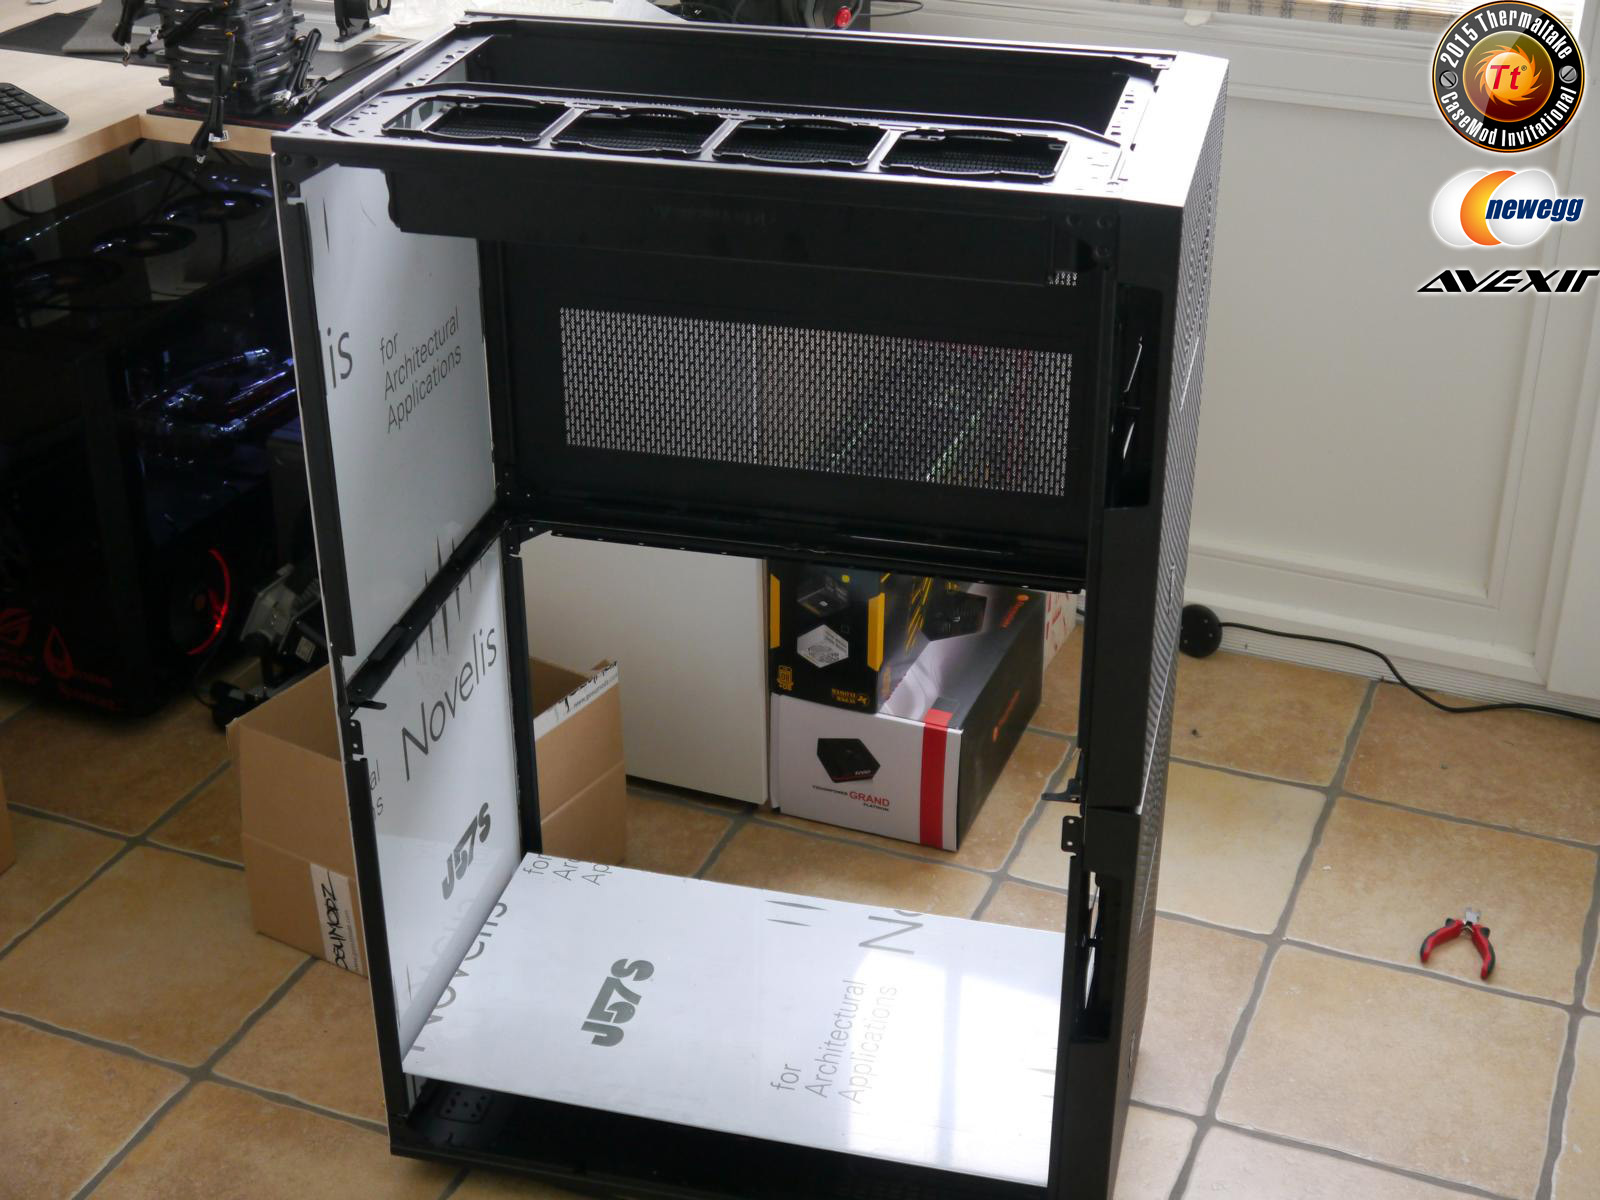
I've come a long way today.
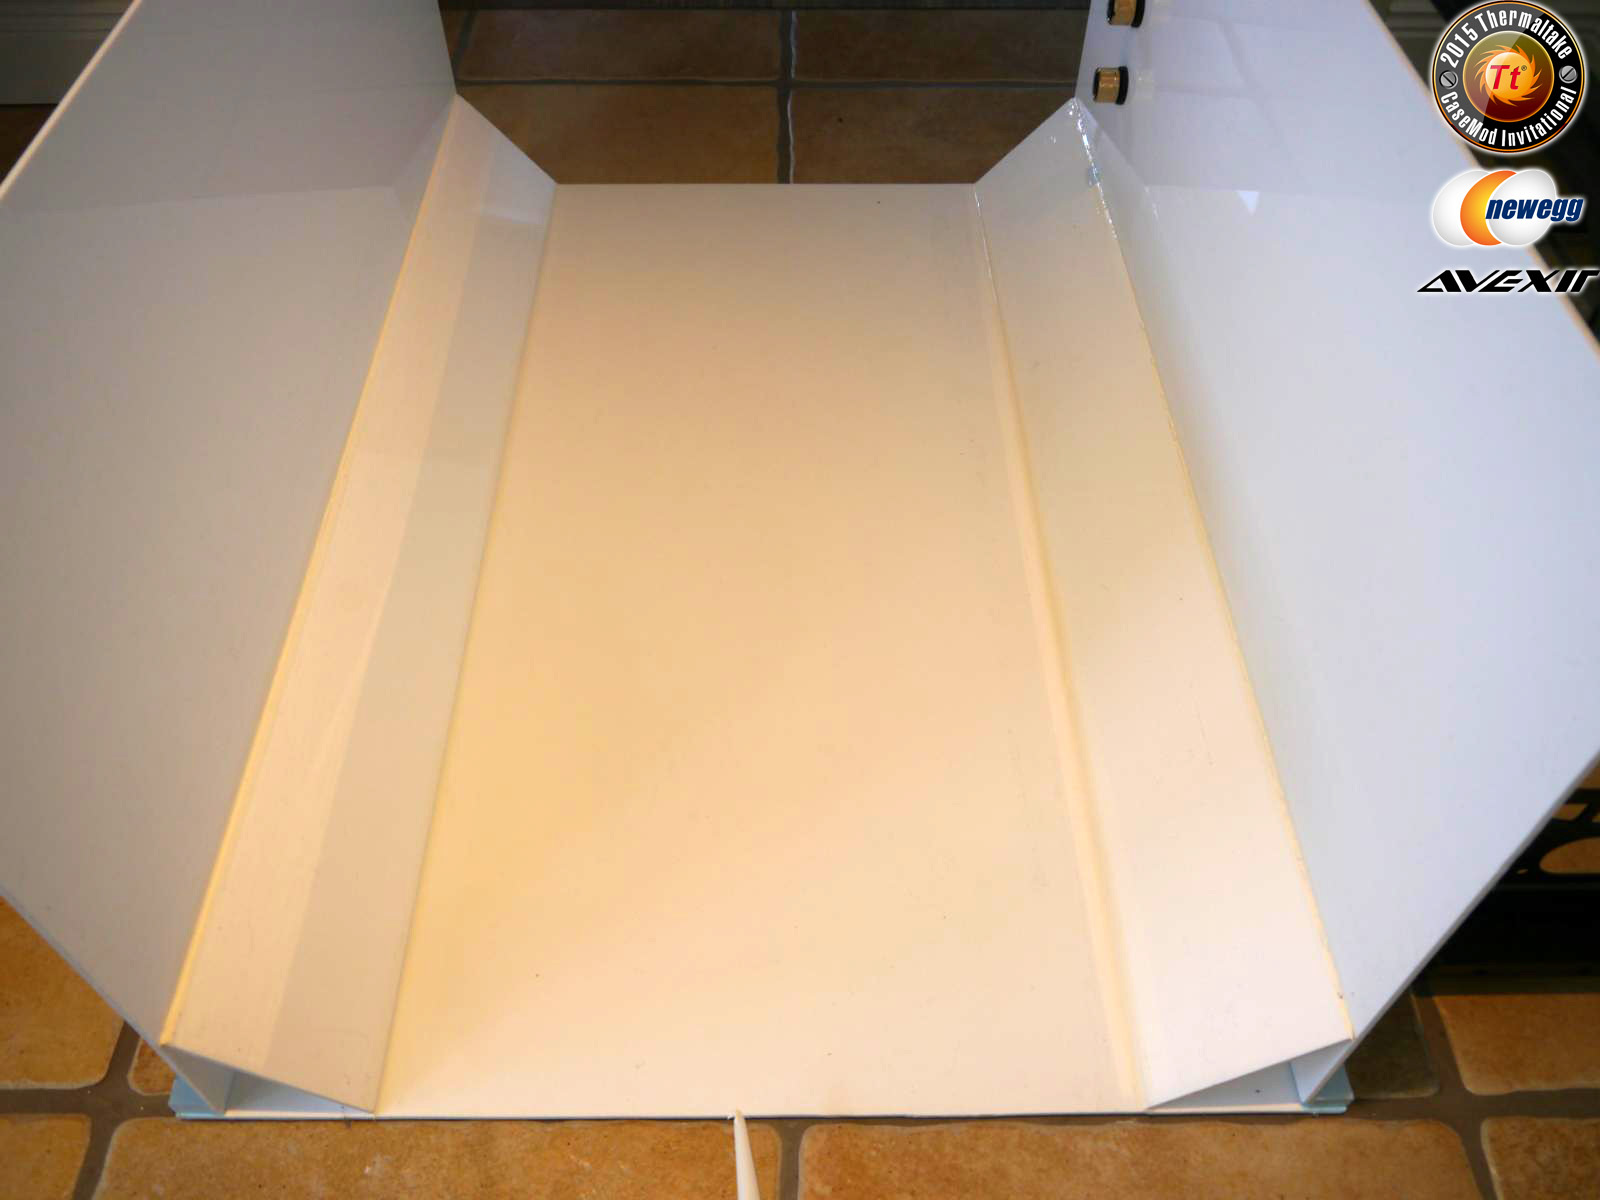
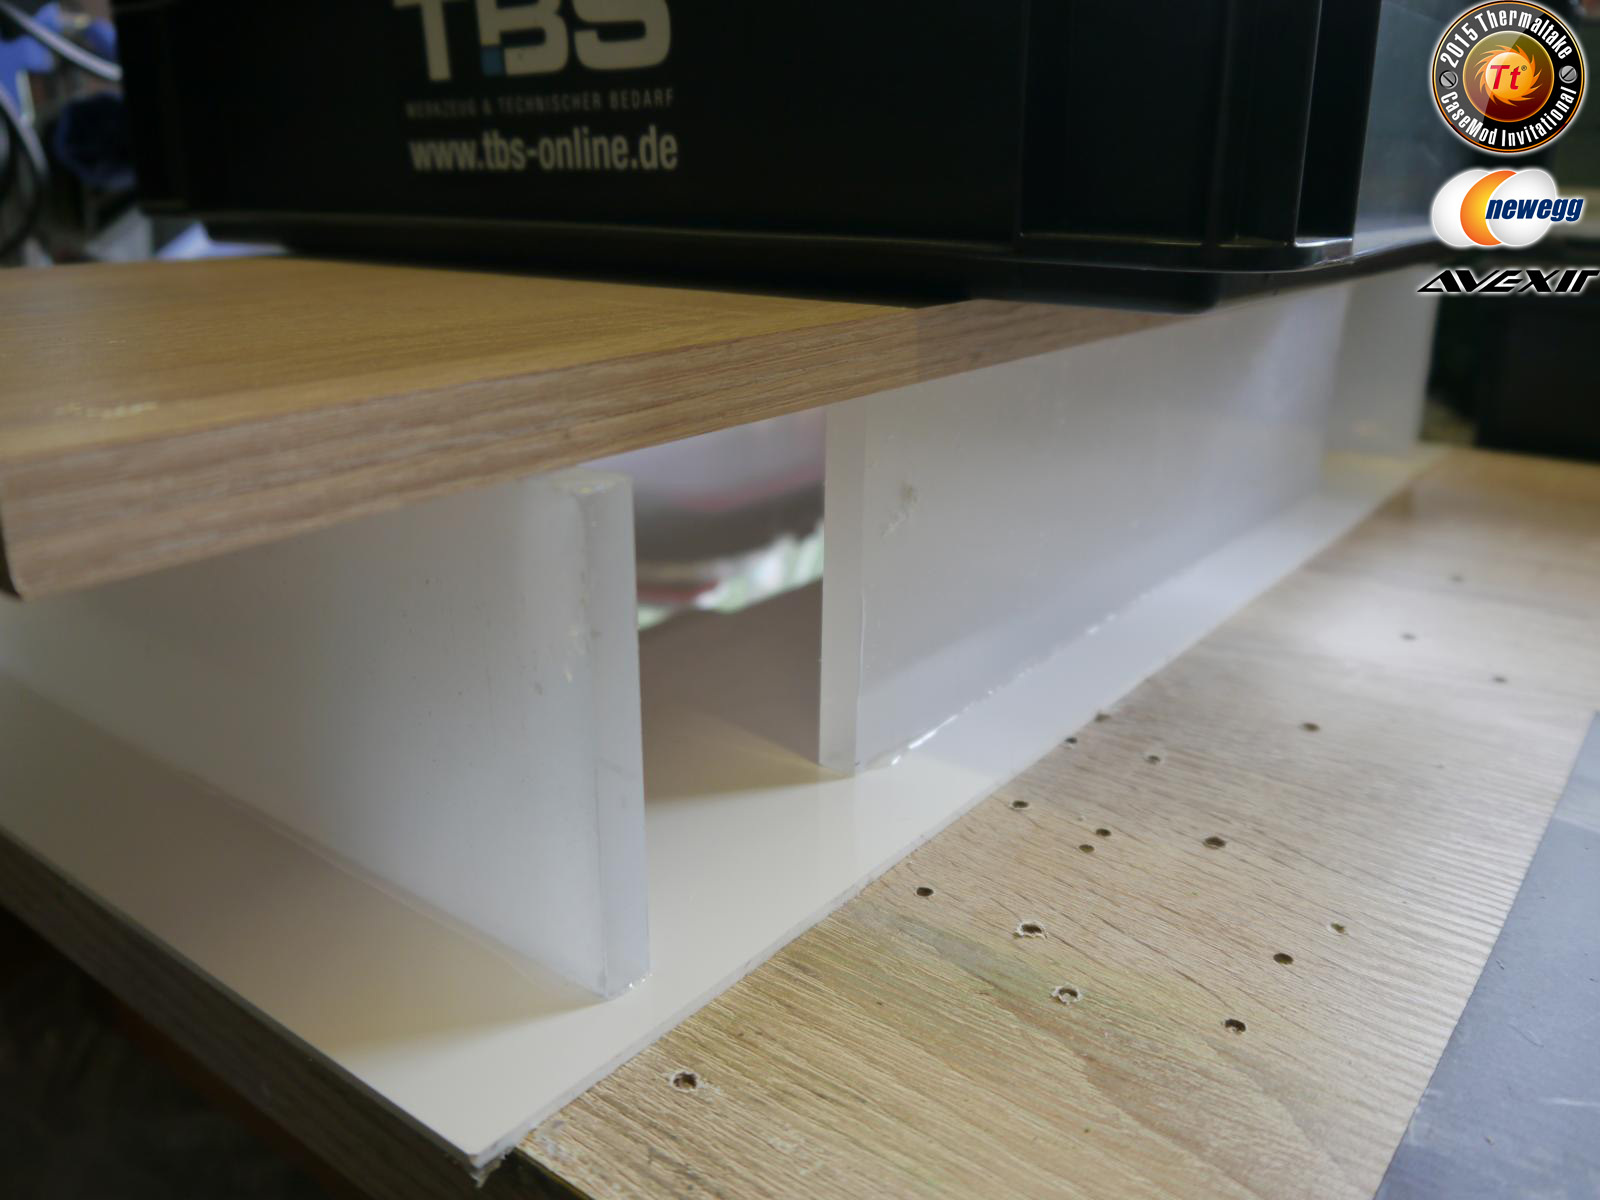
Today it was time to take care of the interior panelling.
The side panels are cut into the right dimensions, prepared mounting points for other elements and tapped the M4 threads.
In the meantime, I also painted some more fittings.
First trial is looking good, don't you think?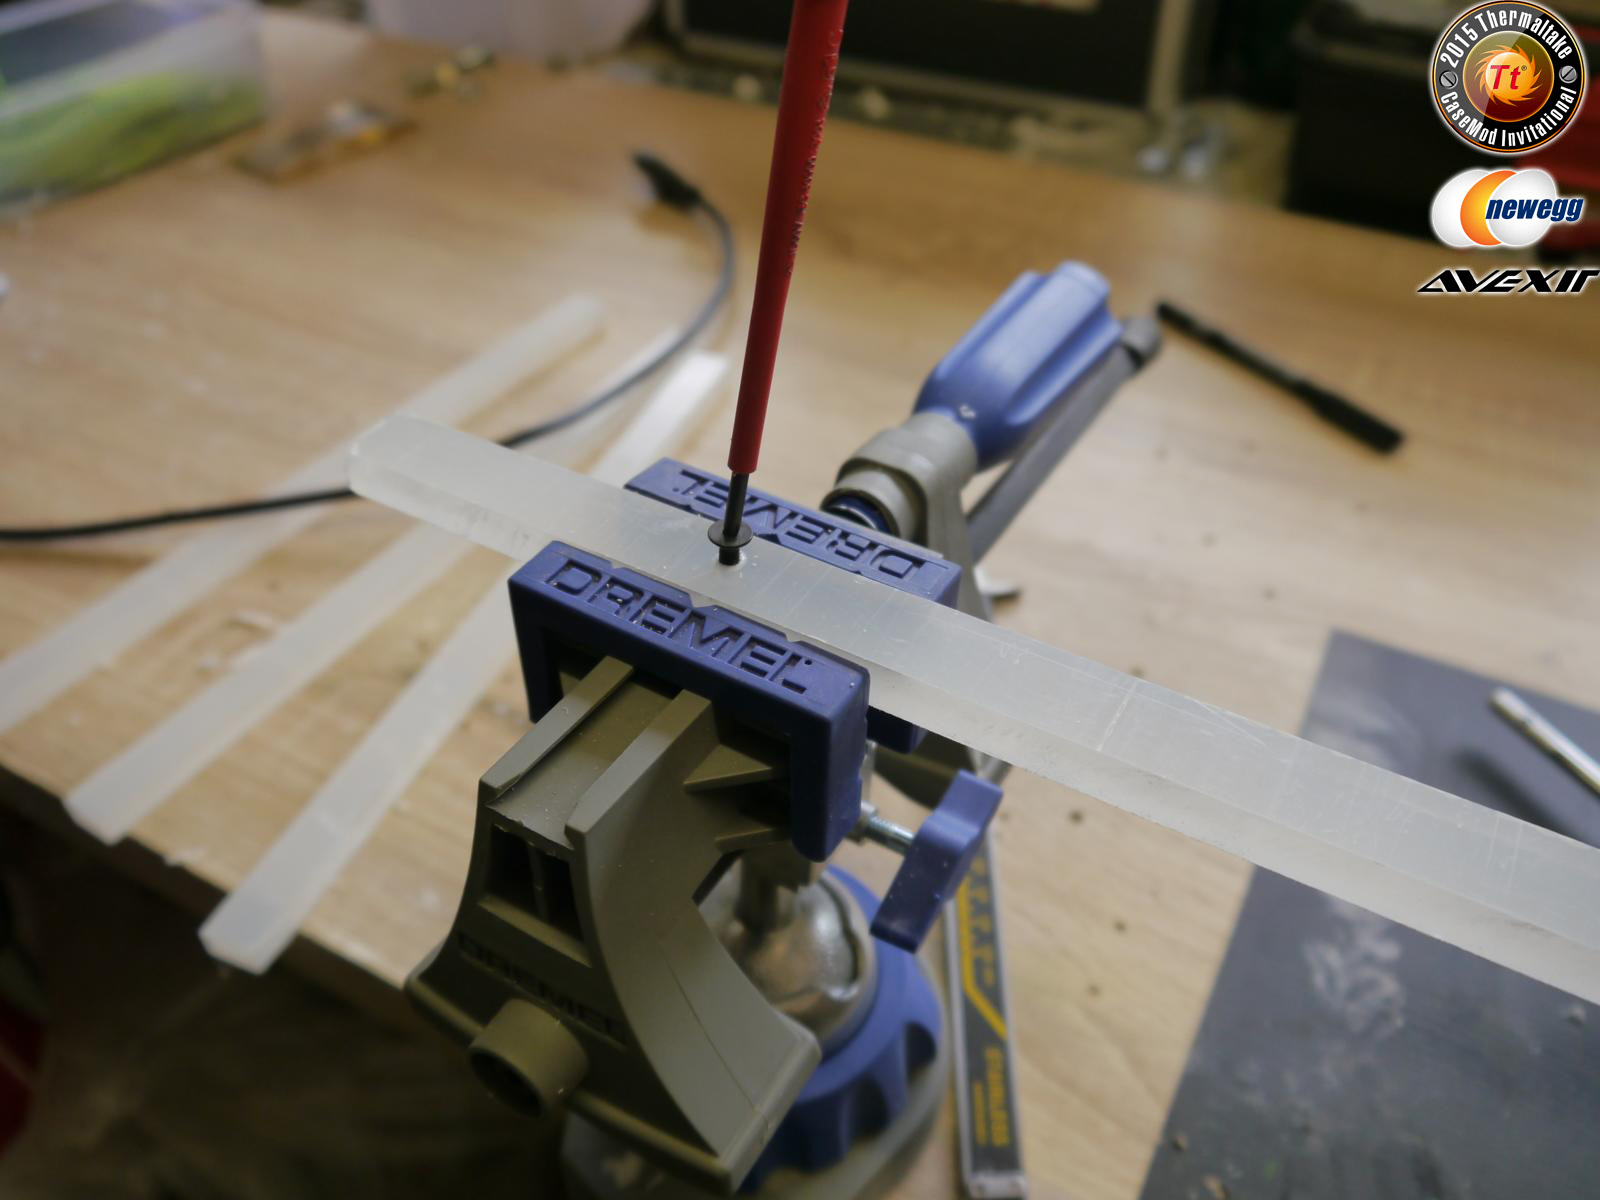


-
Top Arbeit !! Klasse in Gold sieht super aus !! Weiter so und viel Glück Wünsche ich Dir !
Vielen Danke Terrorheizer
-
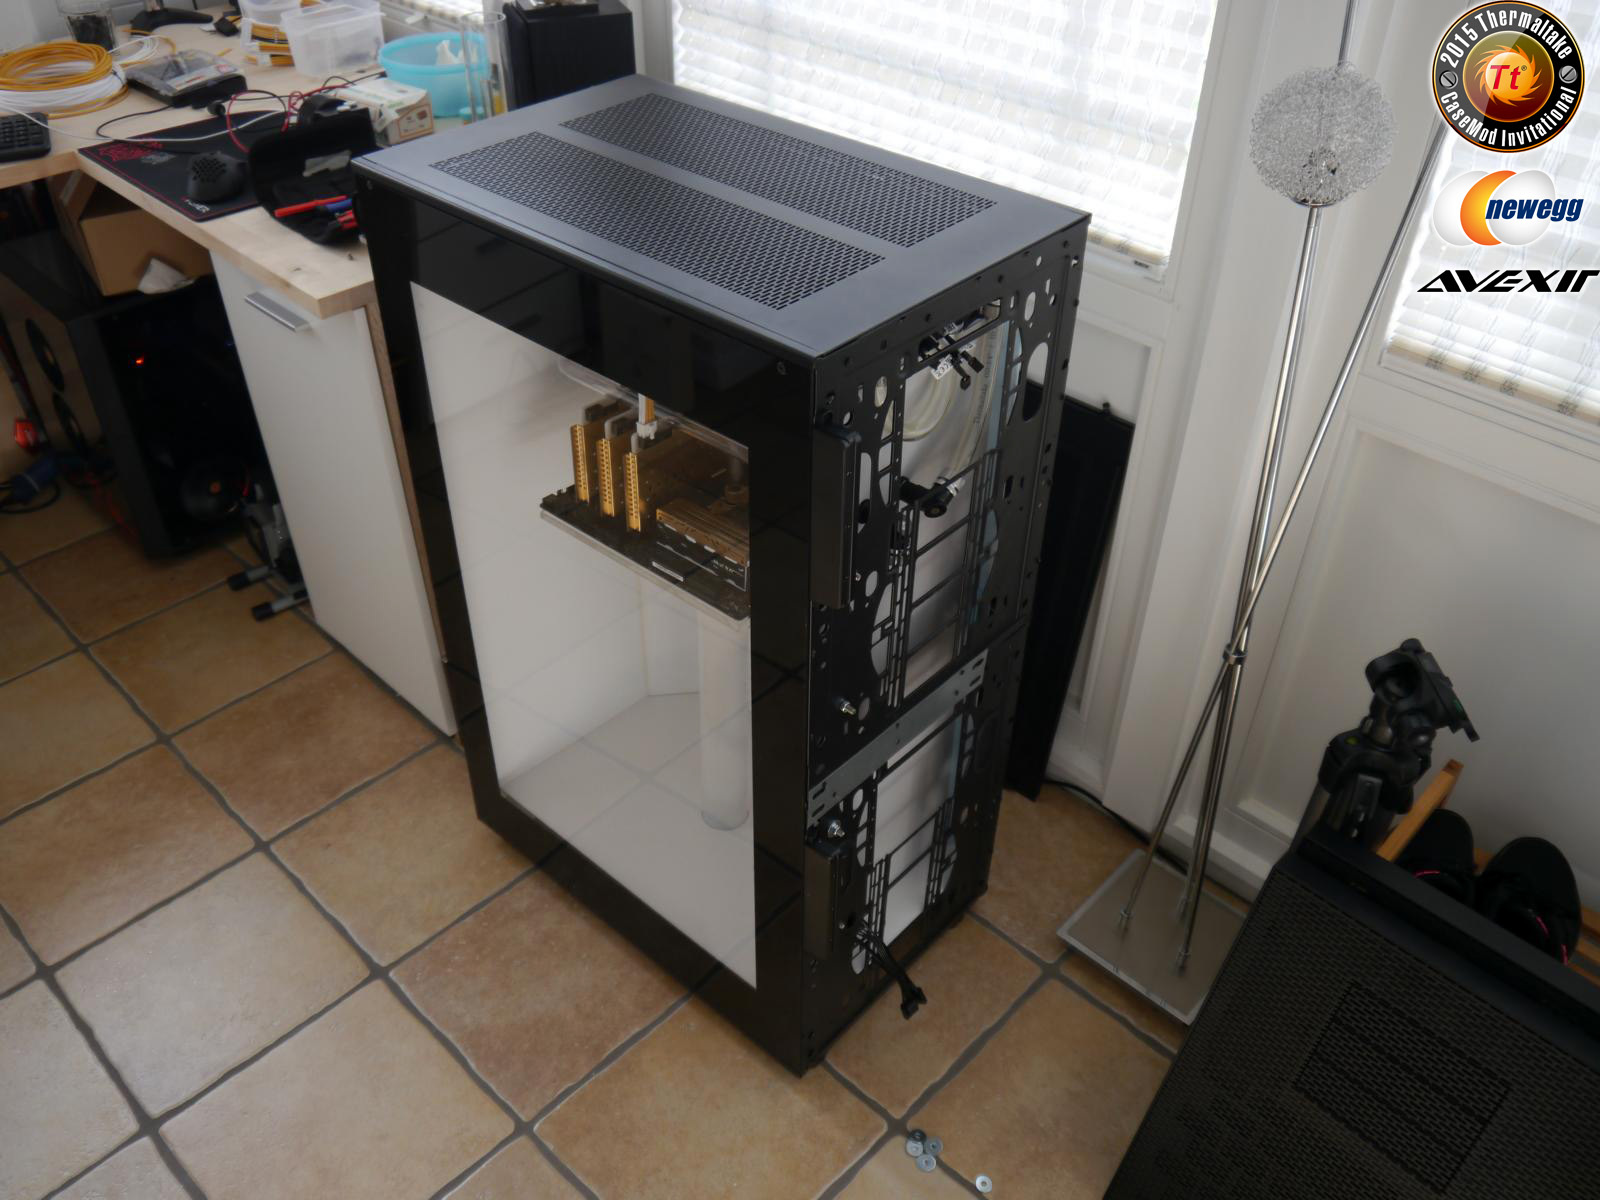
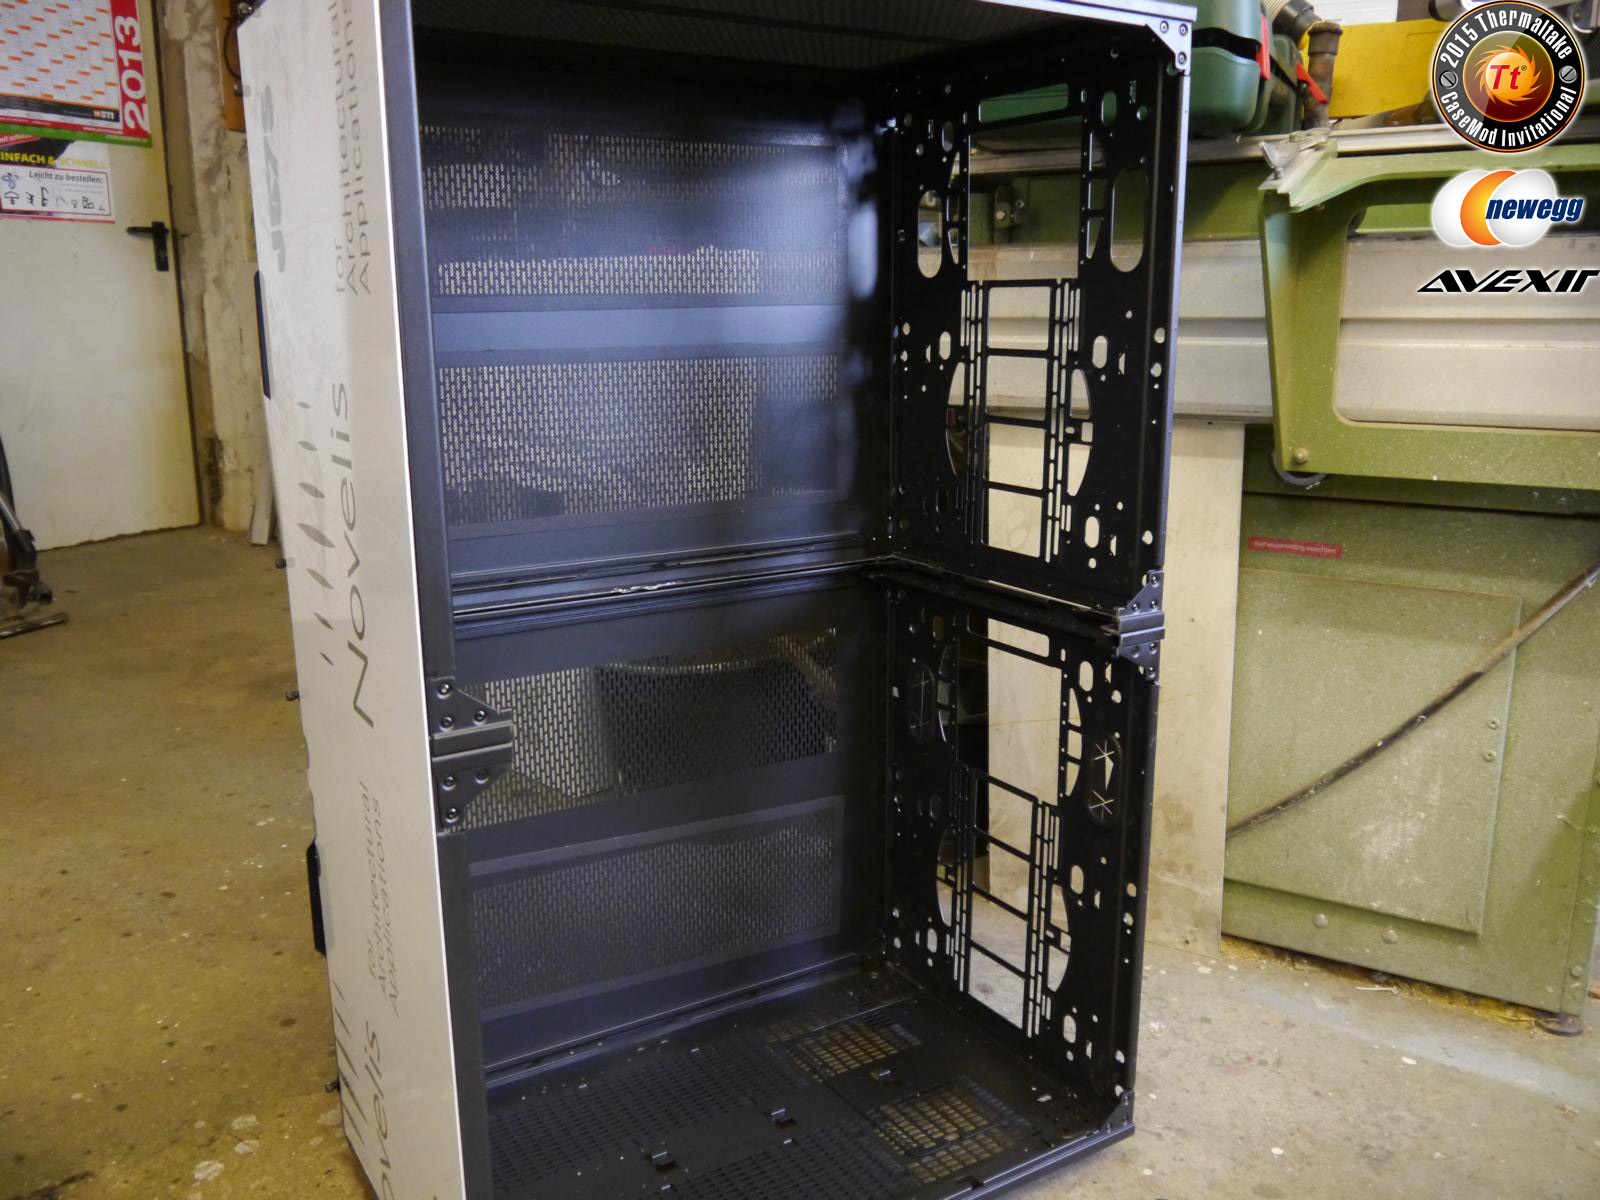
Both cases are now connected and screwed together. The rear cover is cut into the right length and drill holes are being marked.
The aluminium plate is now mounted at the rear with 3mm screws and nuts.
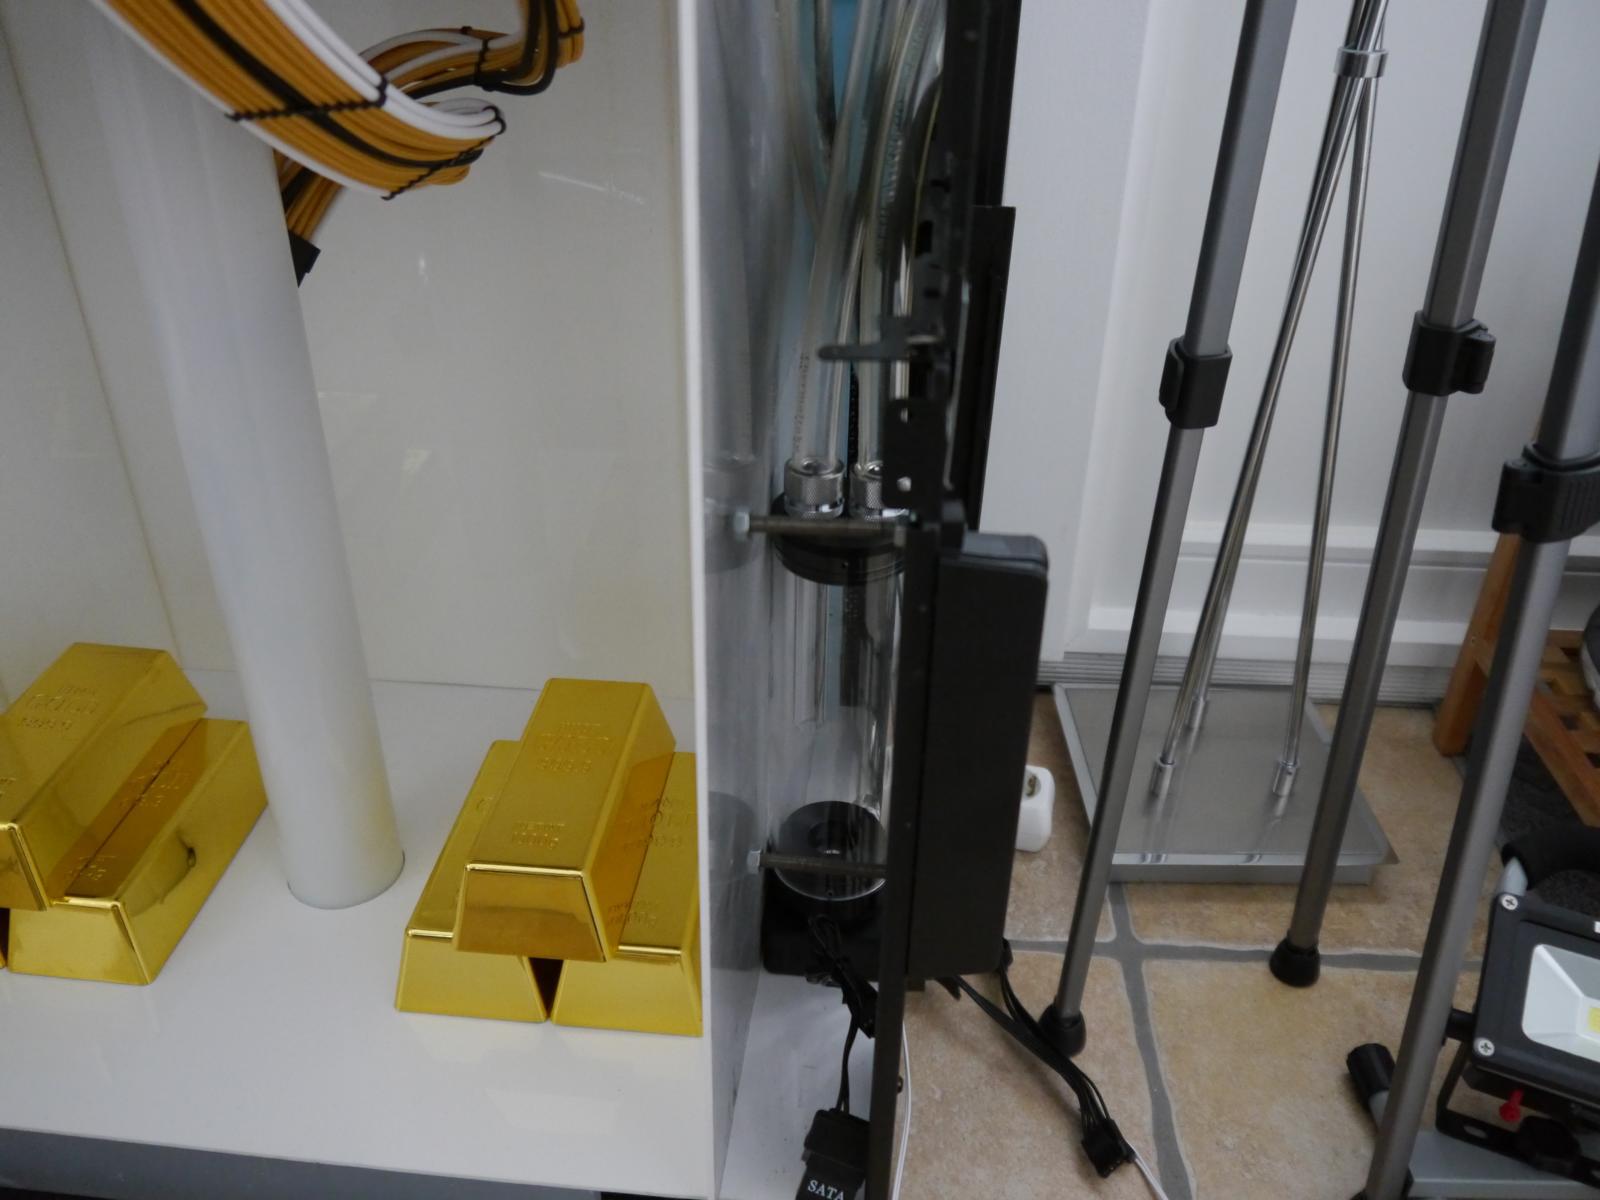
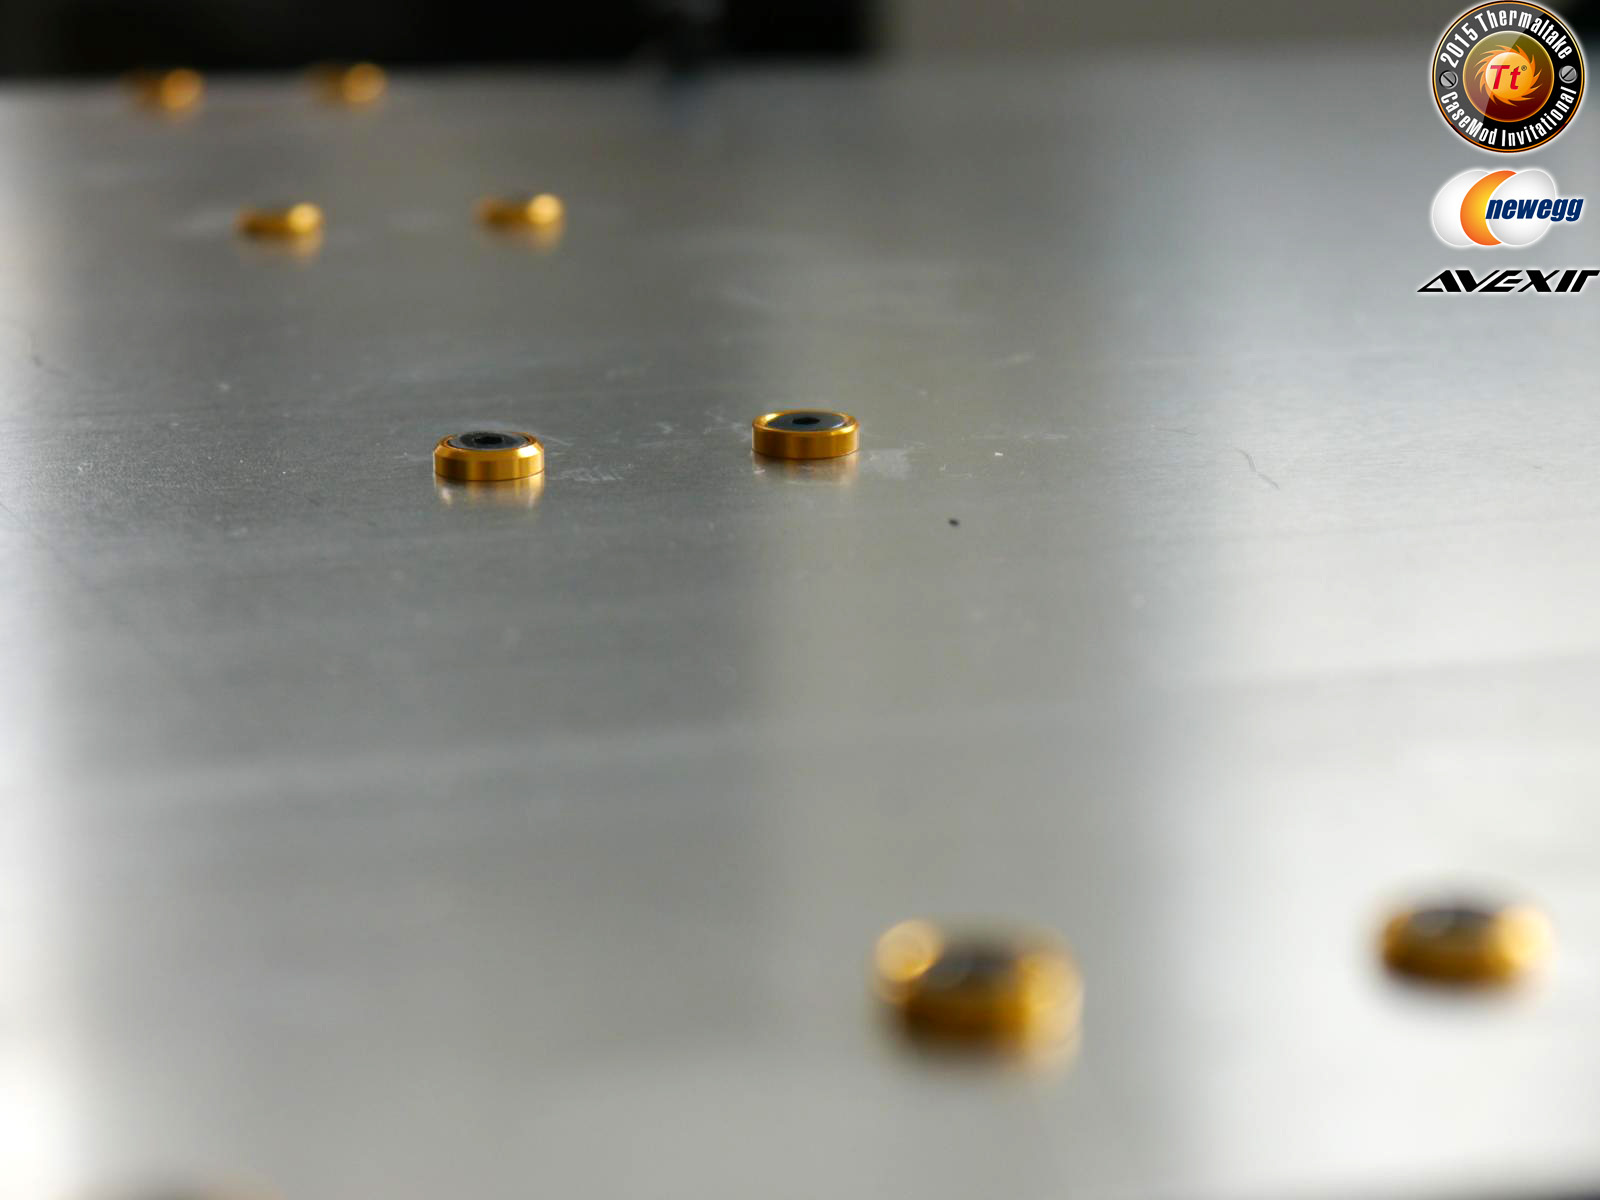
I have used the new golden washers from www.gosumodz.com
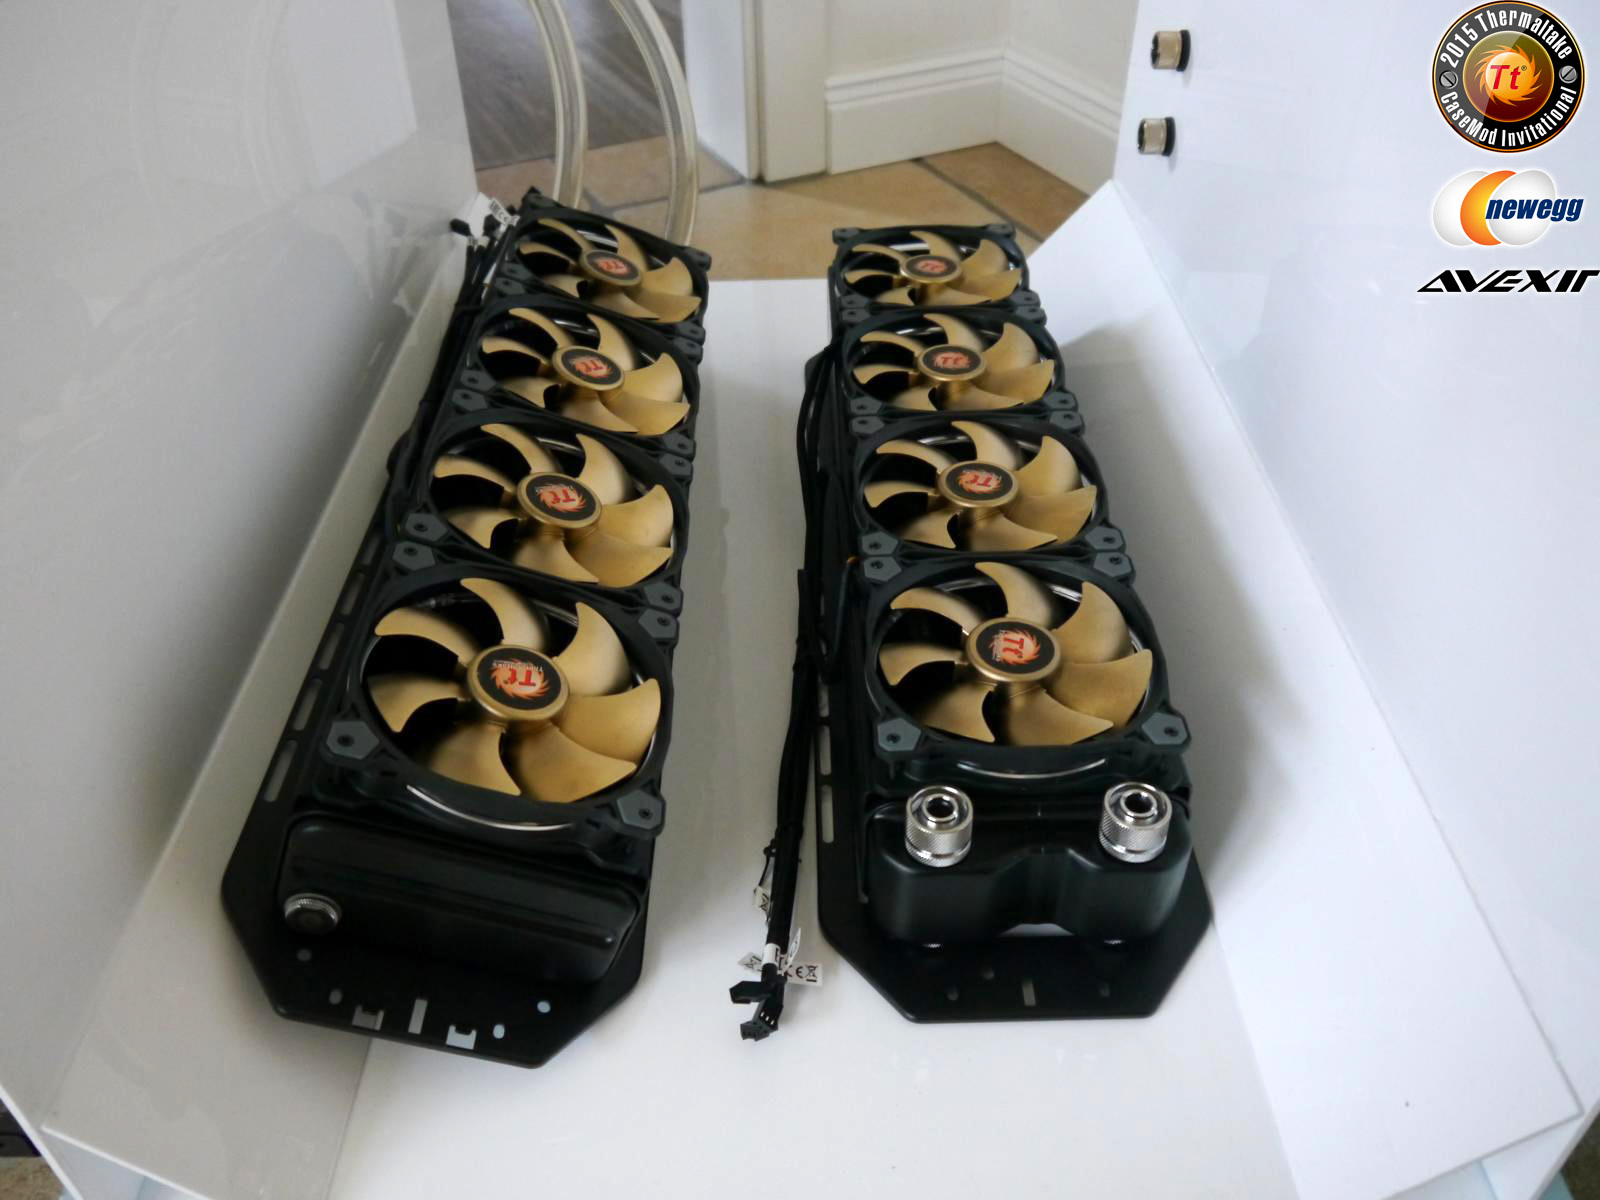
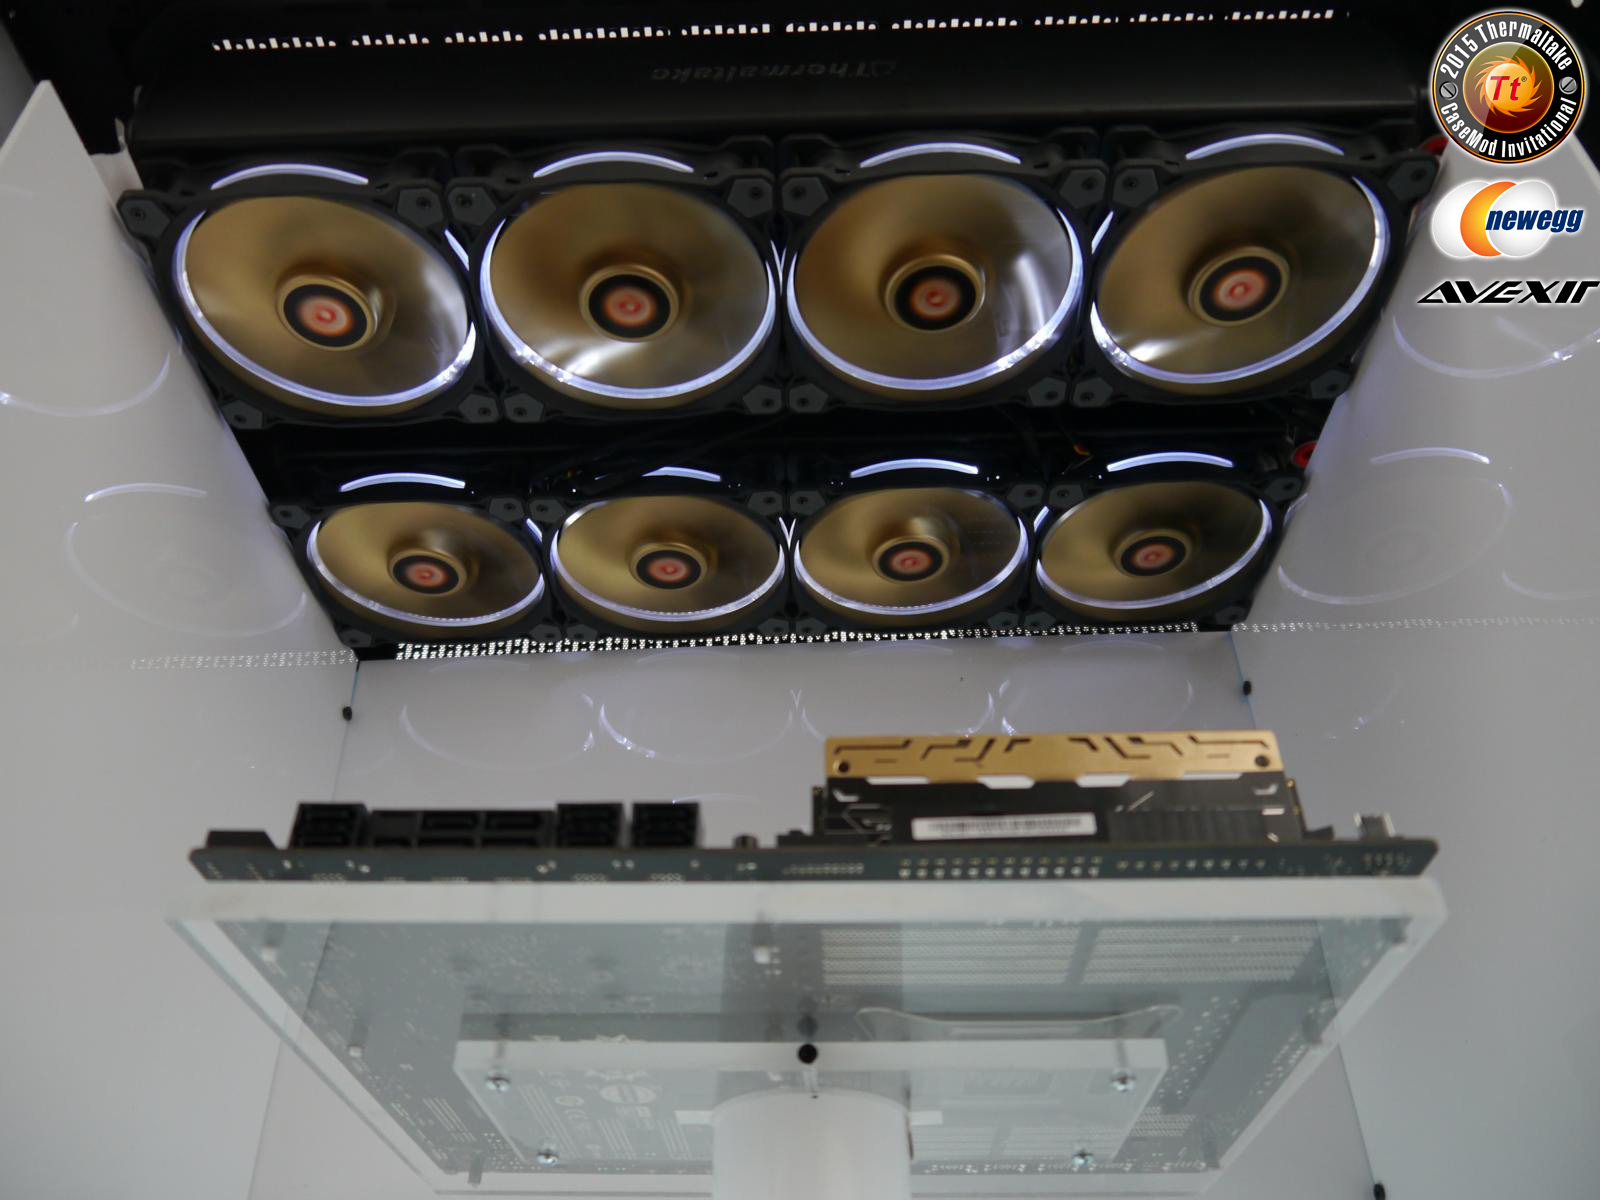
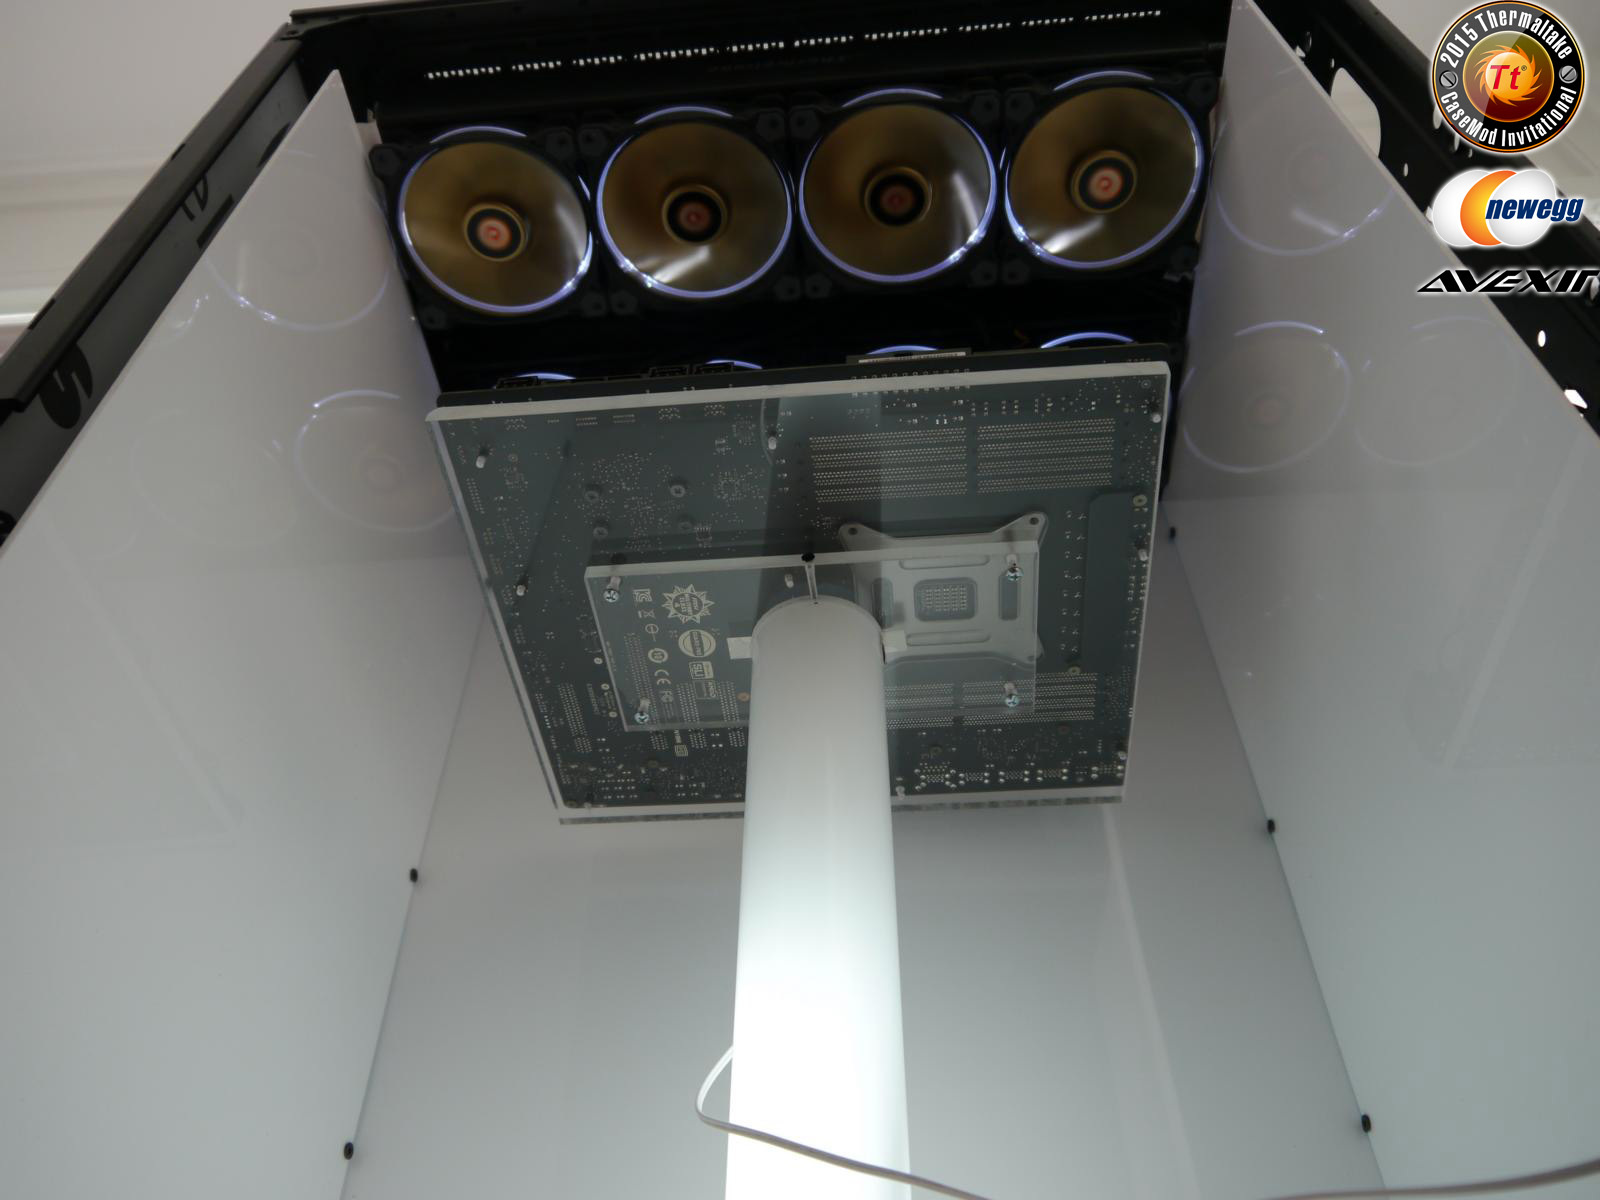
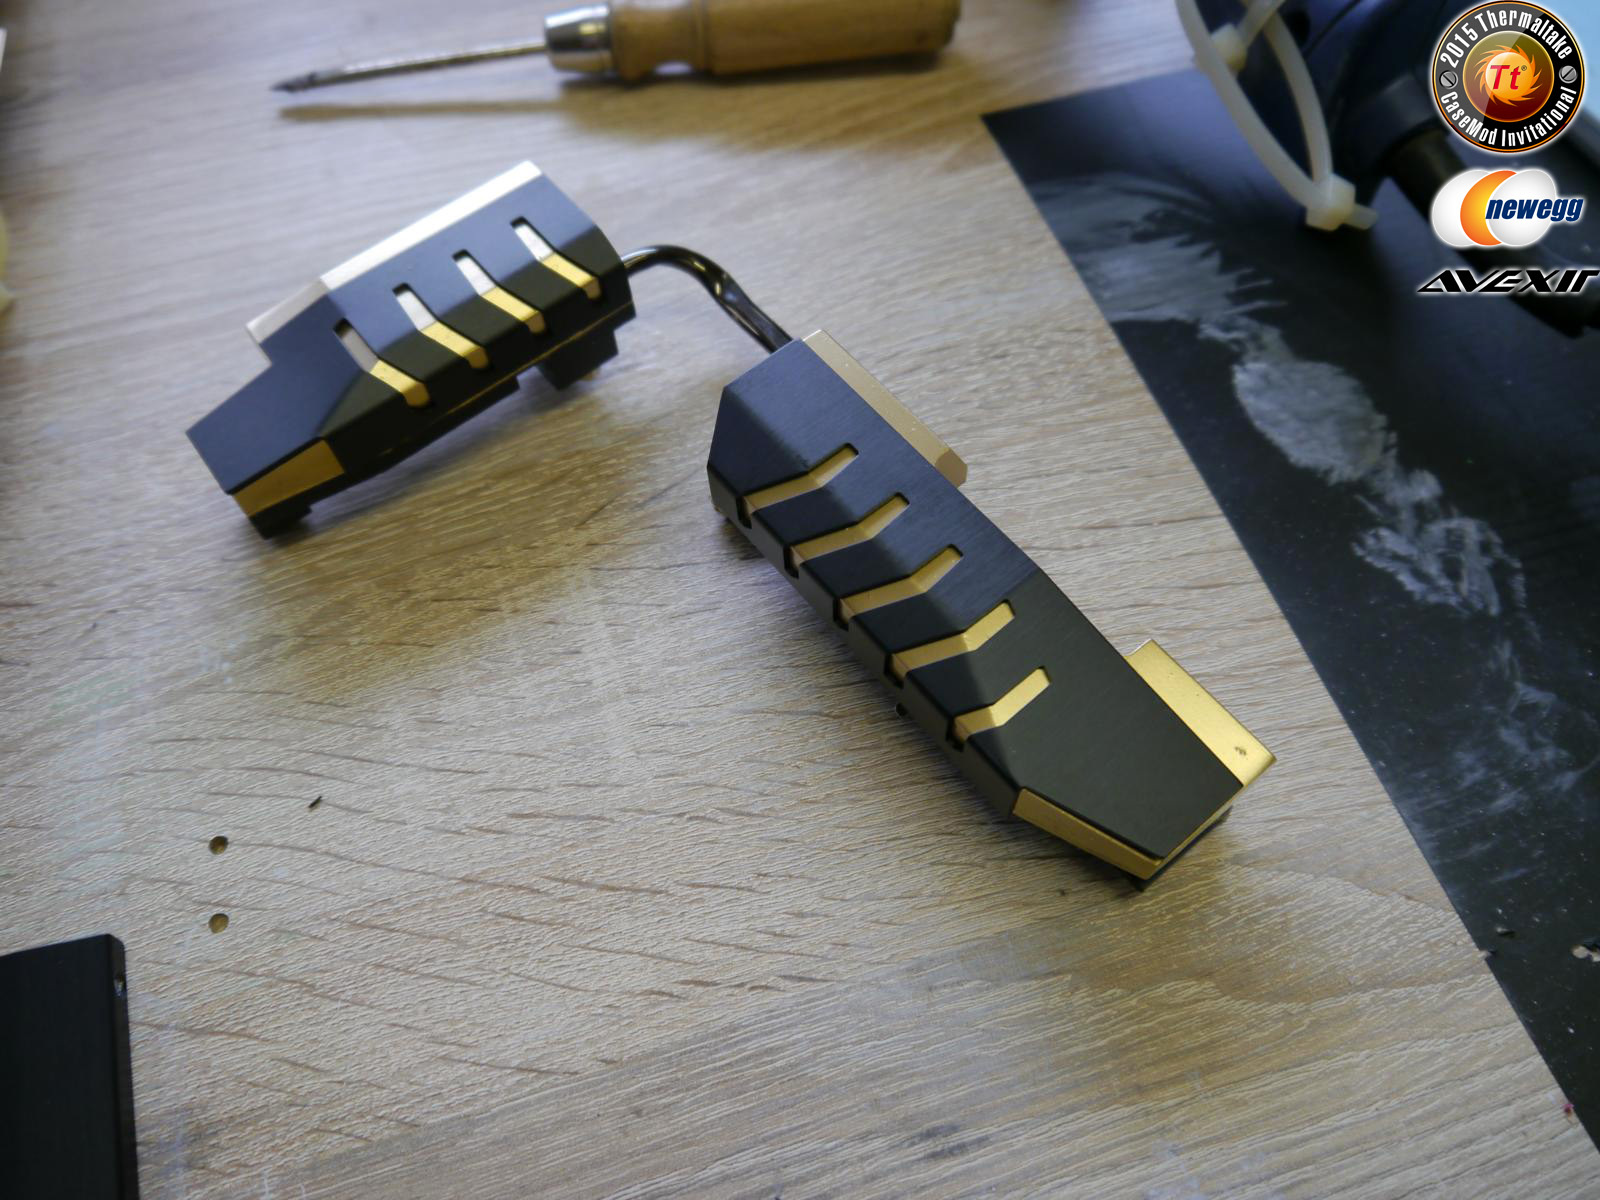
I have changed my mind and the radiators are mounted at the top after all
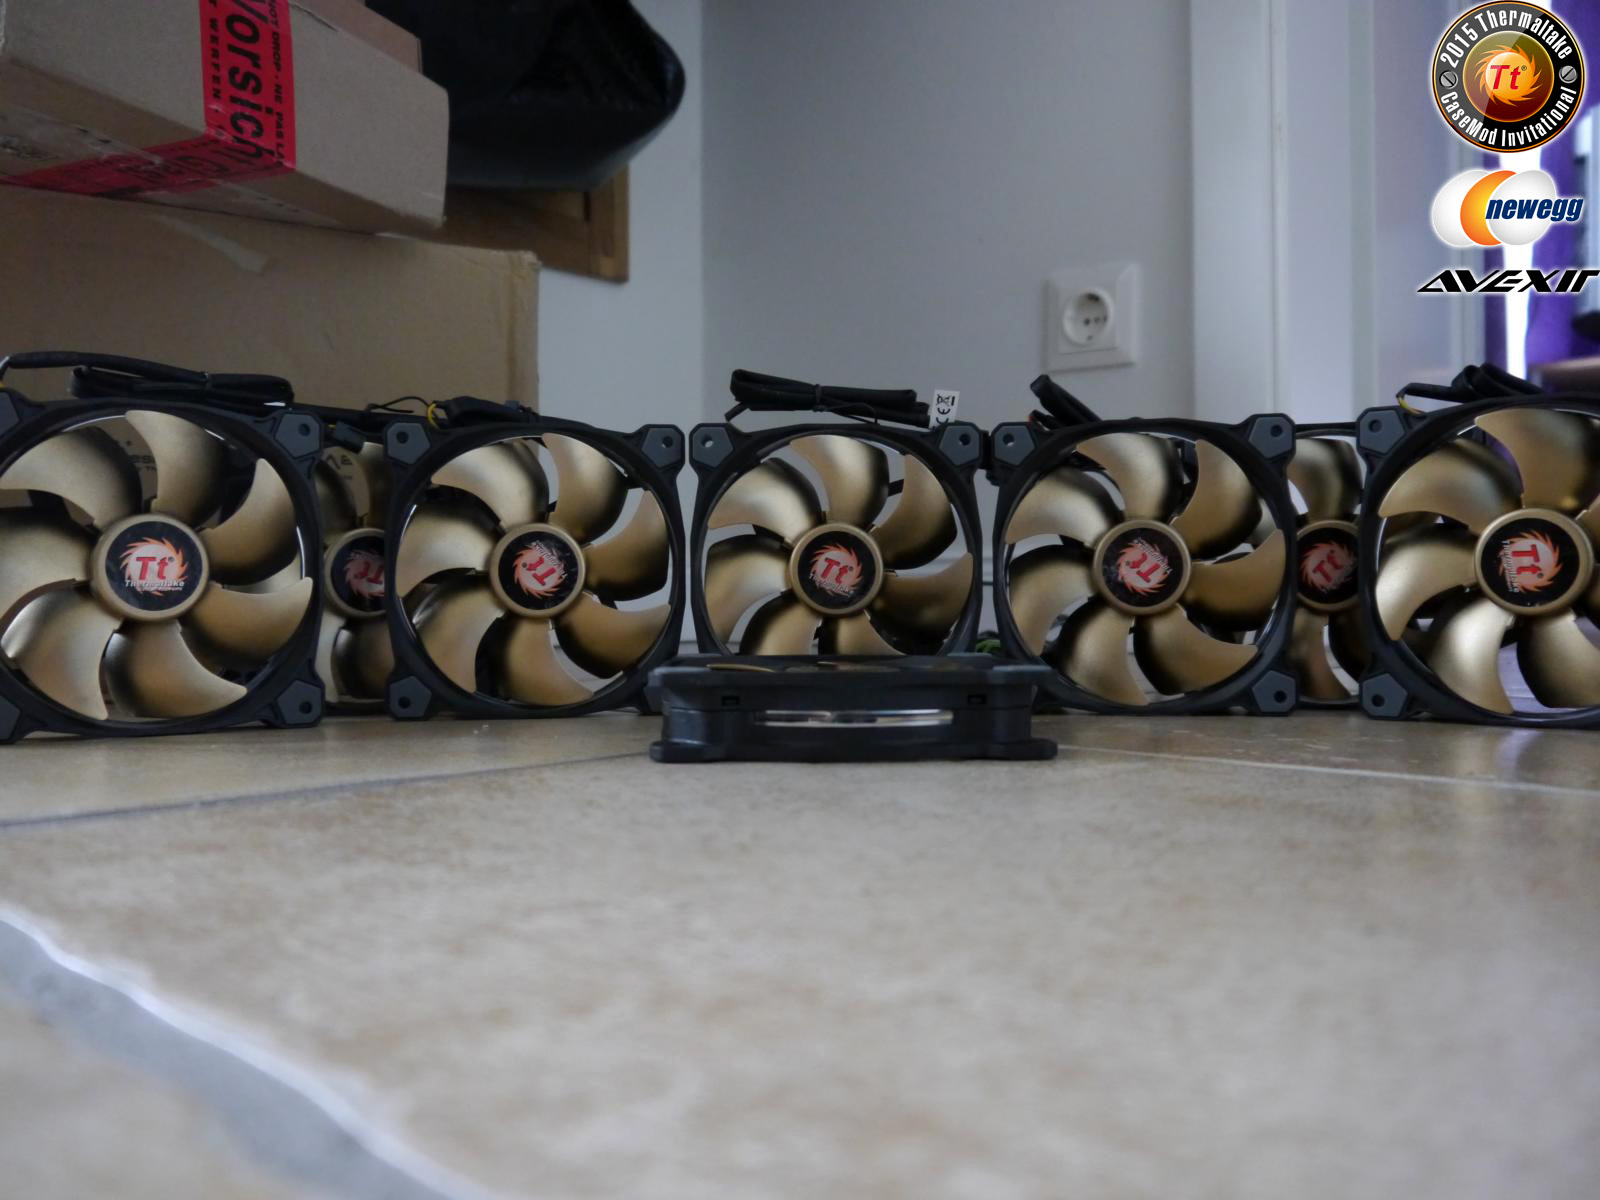
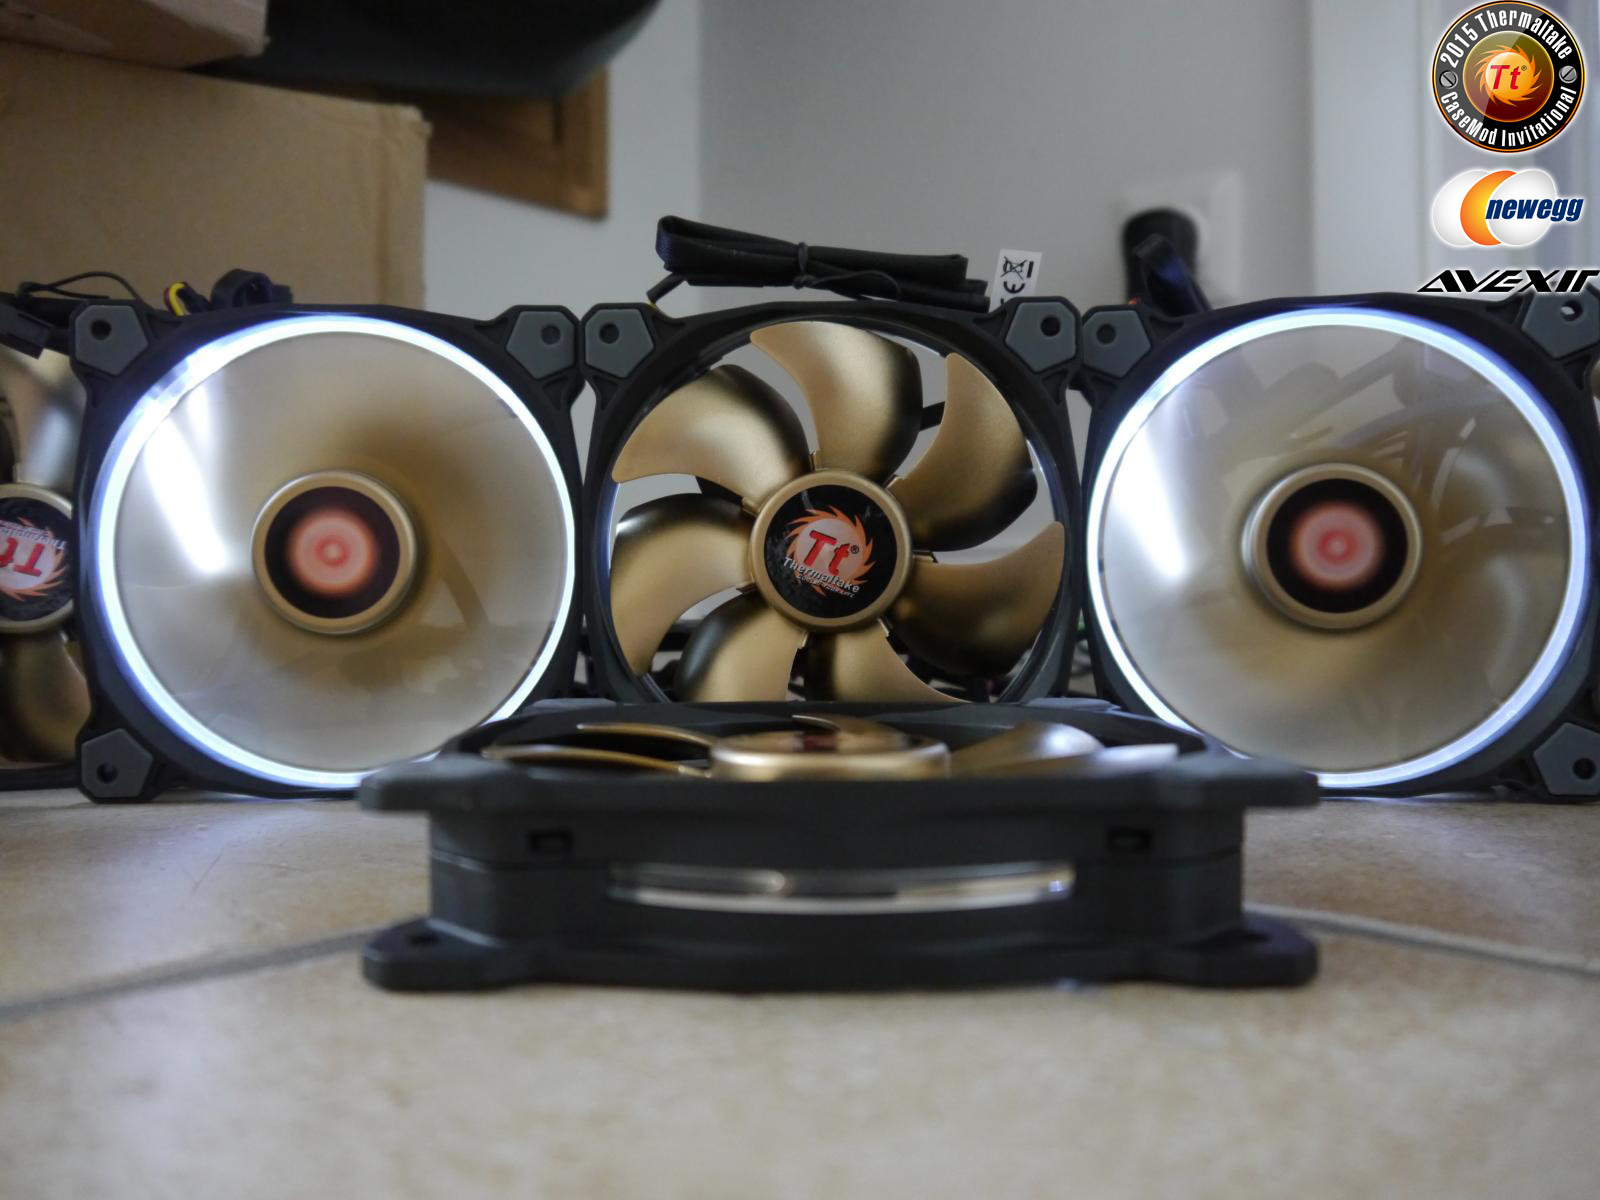
Riing are gilded too
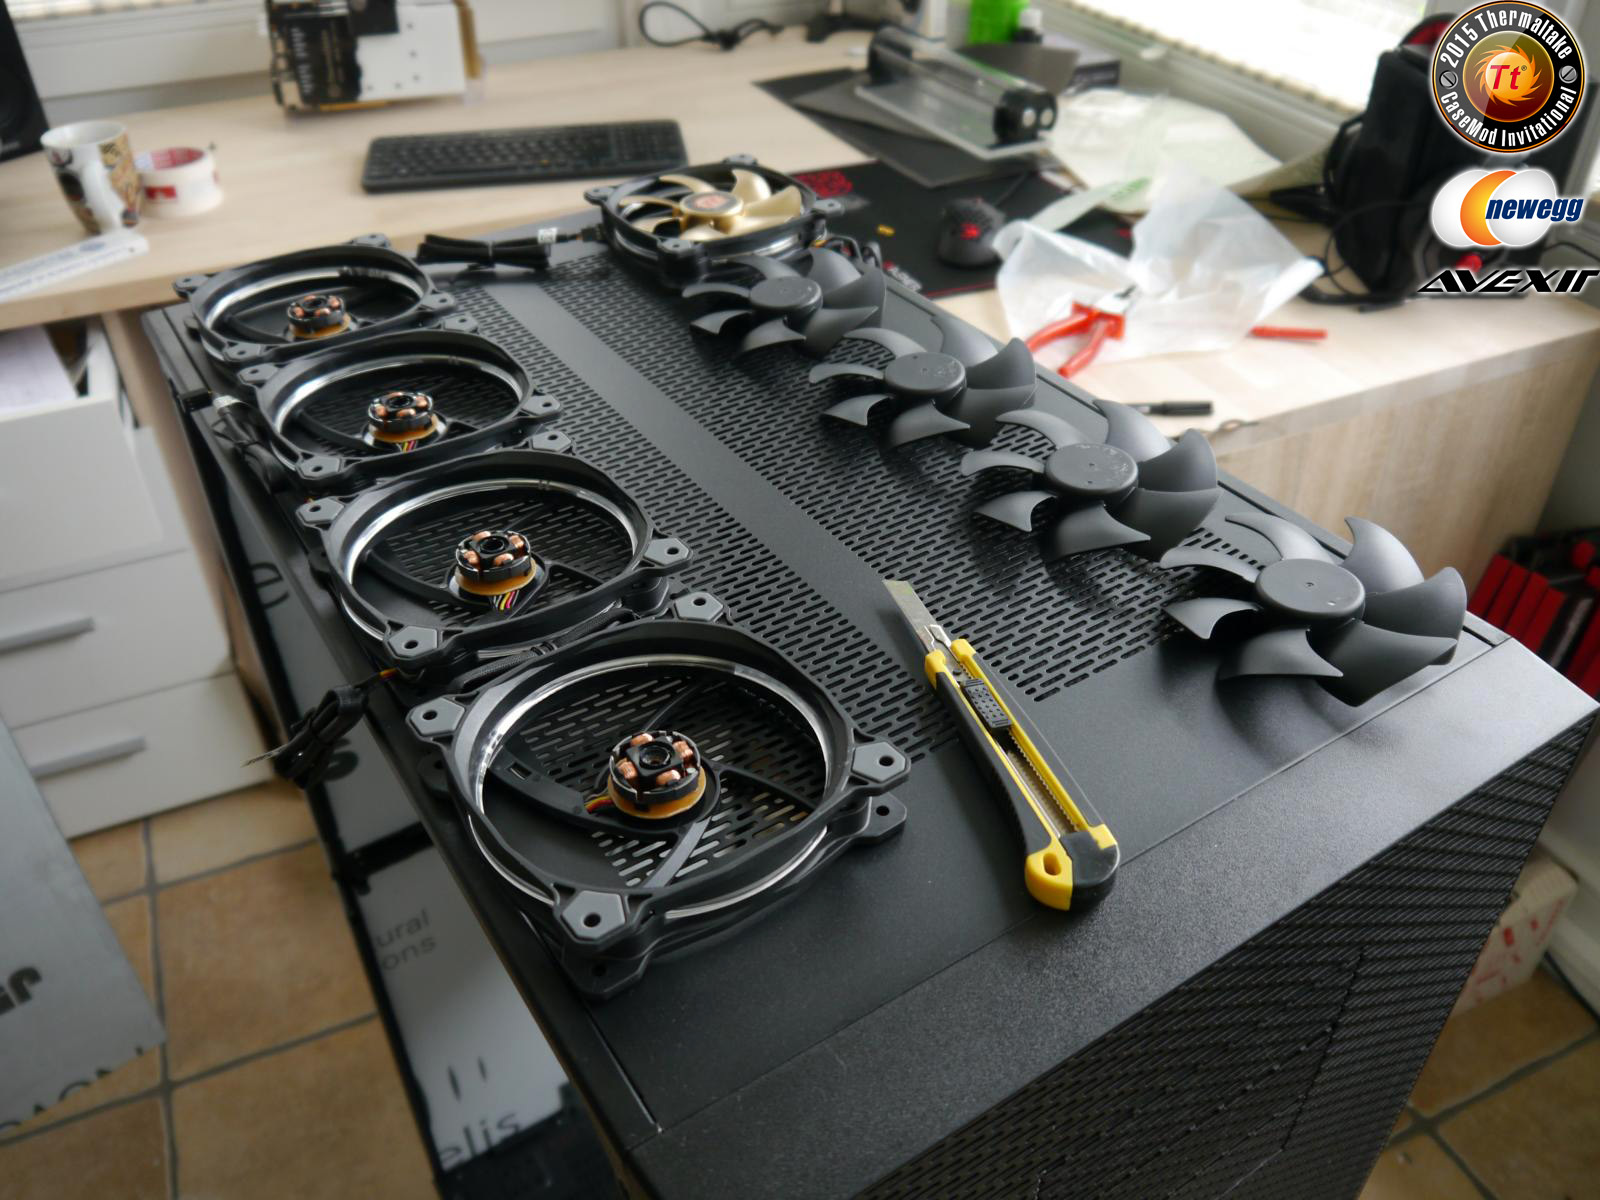
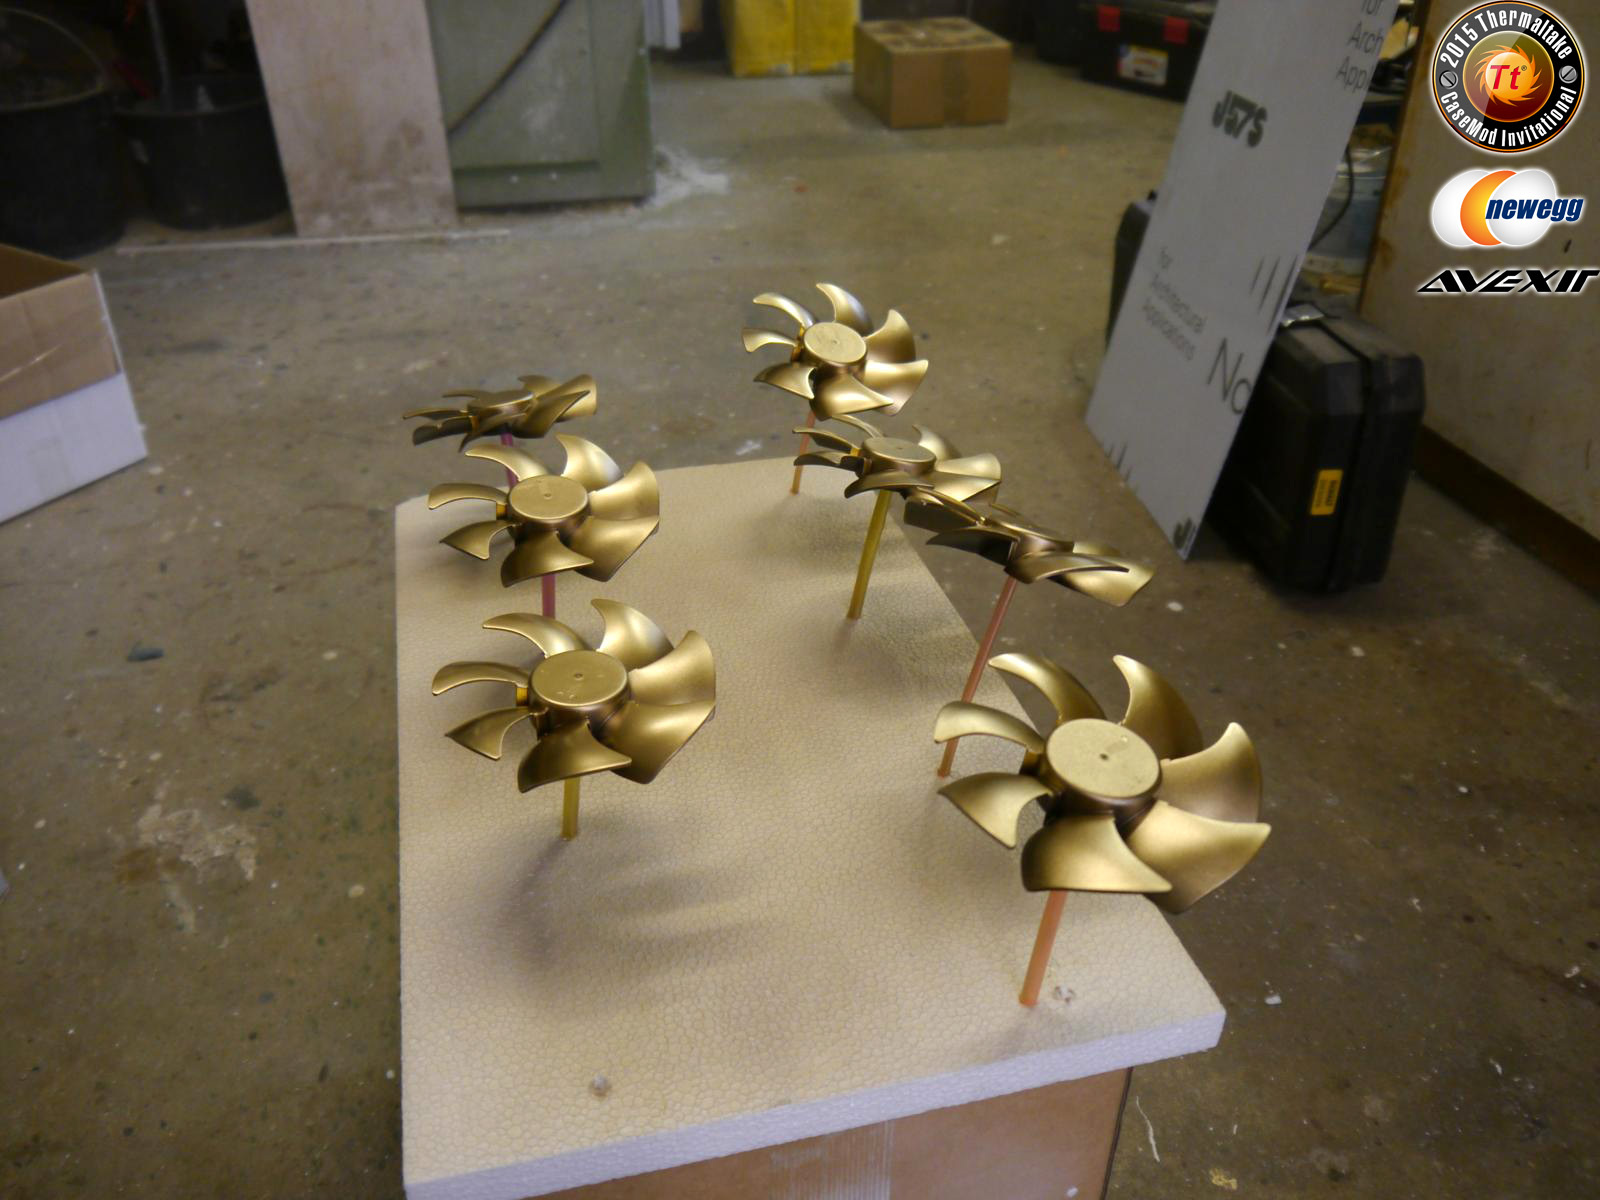
The fan blades were easy to remove (just by gently pulling)
I cleanded the fan blades and removed some greasy residue. After that, I painted the fan blades. After the paint had dried, the Riing fans are ressambled and tested

-
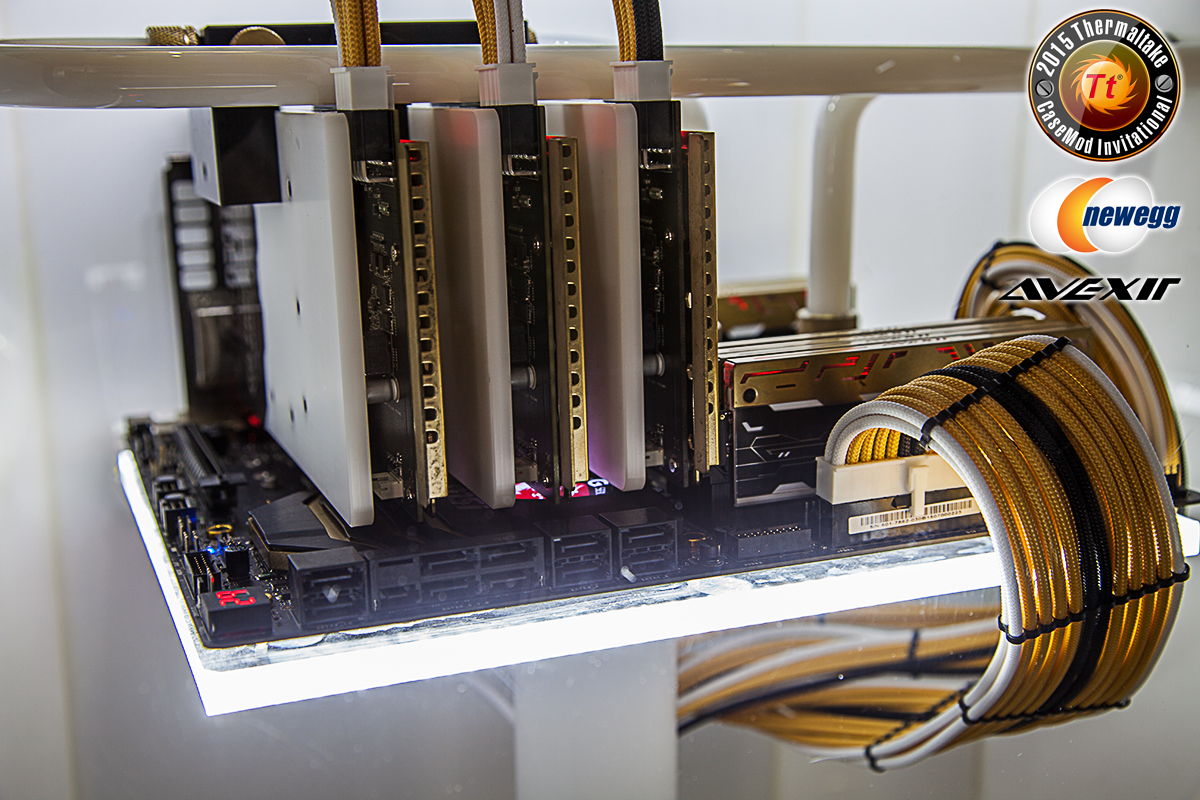
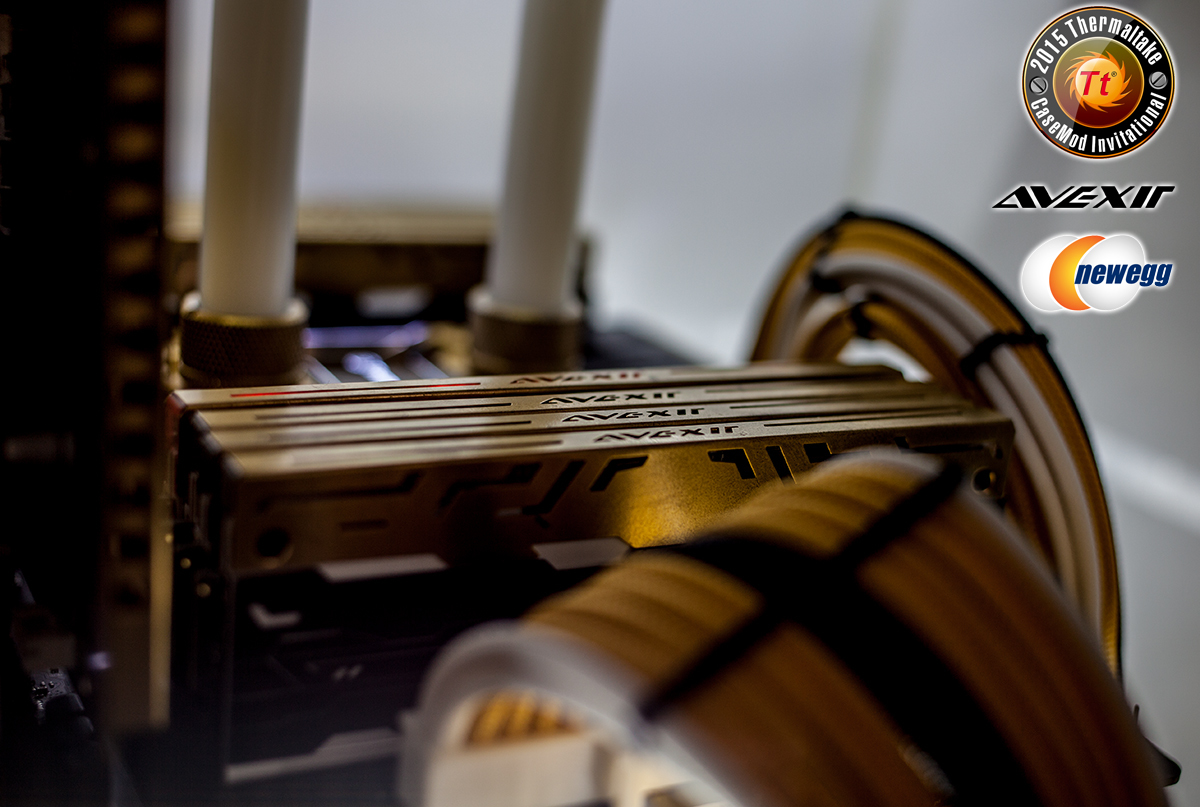
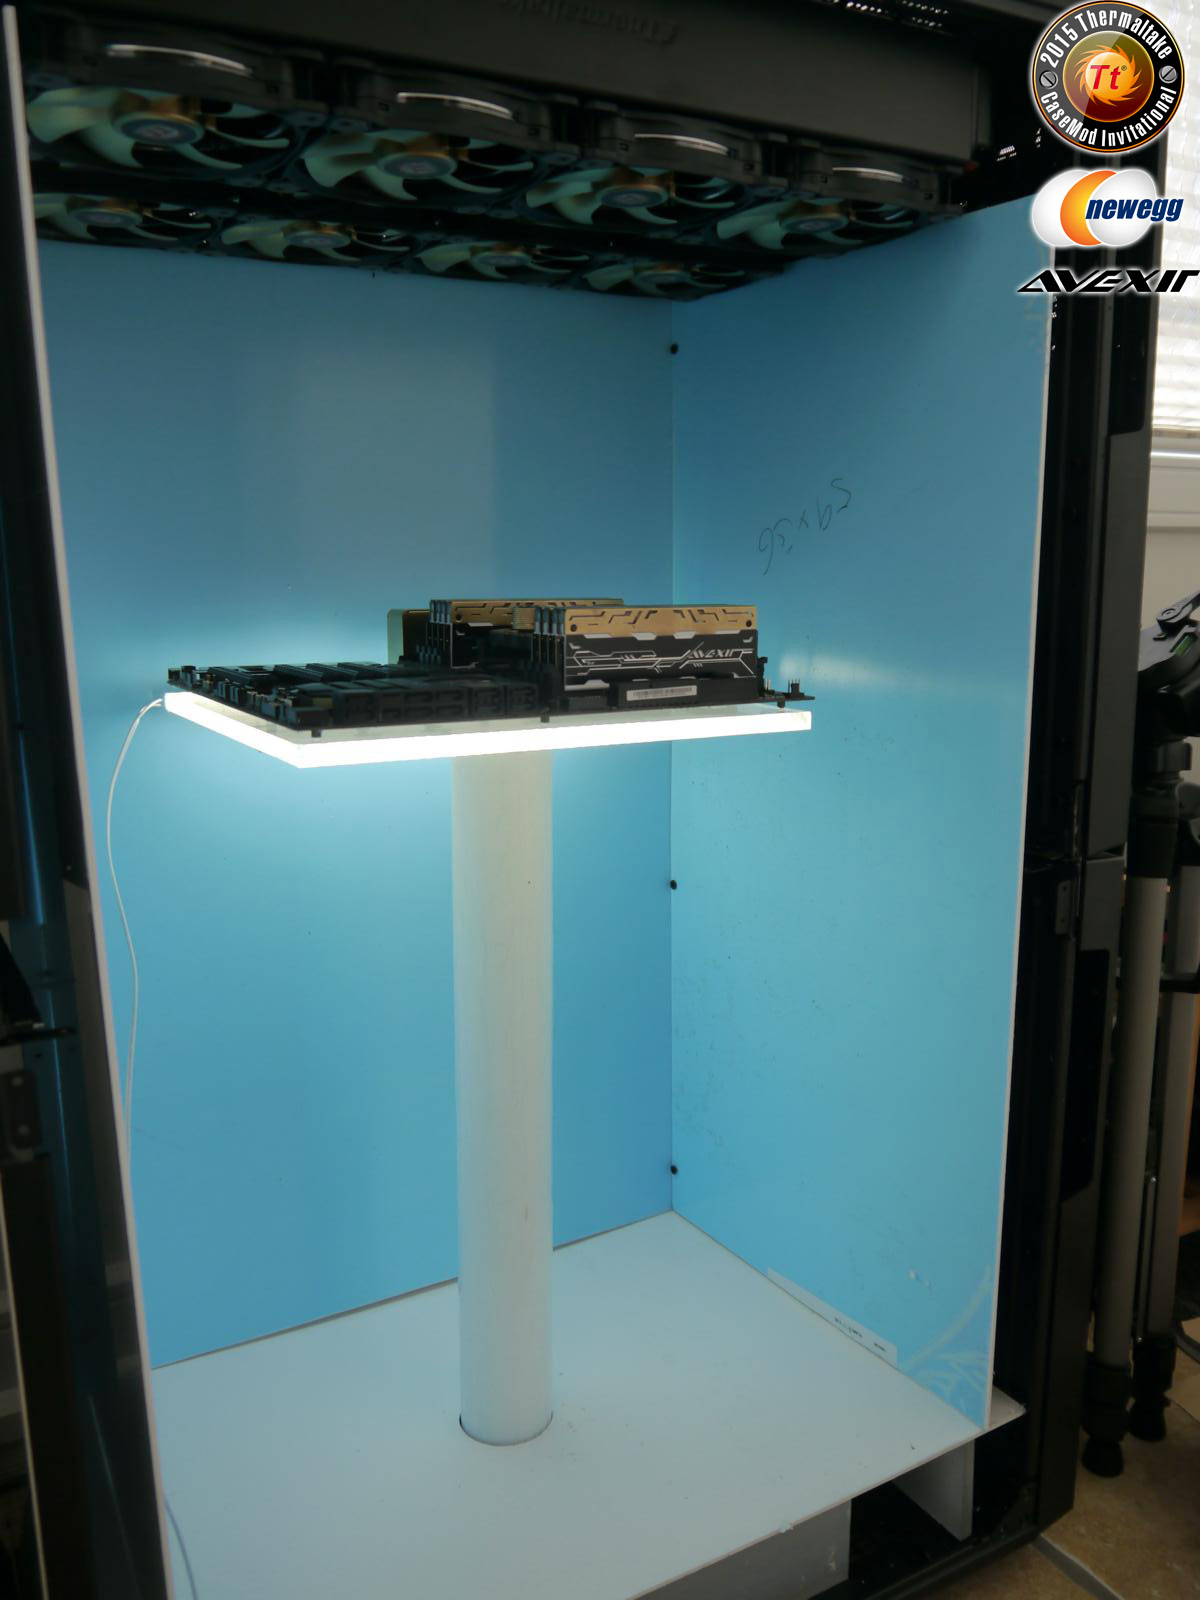
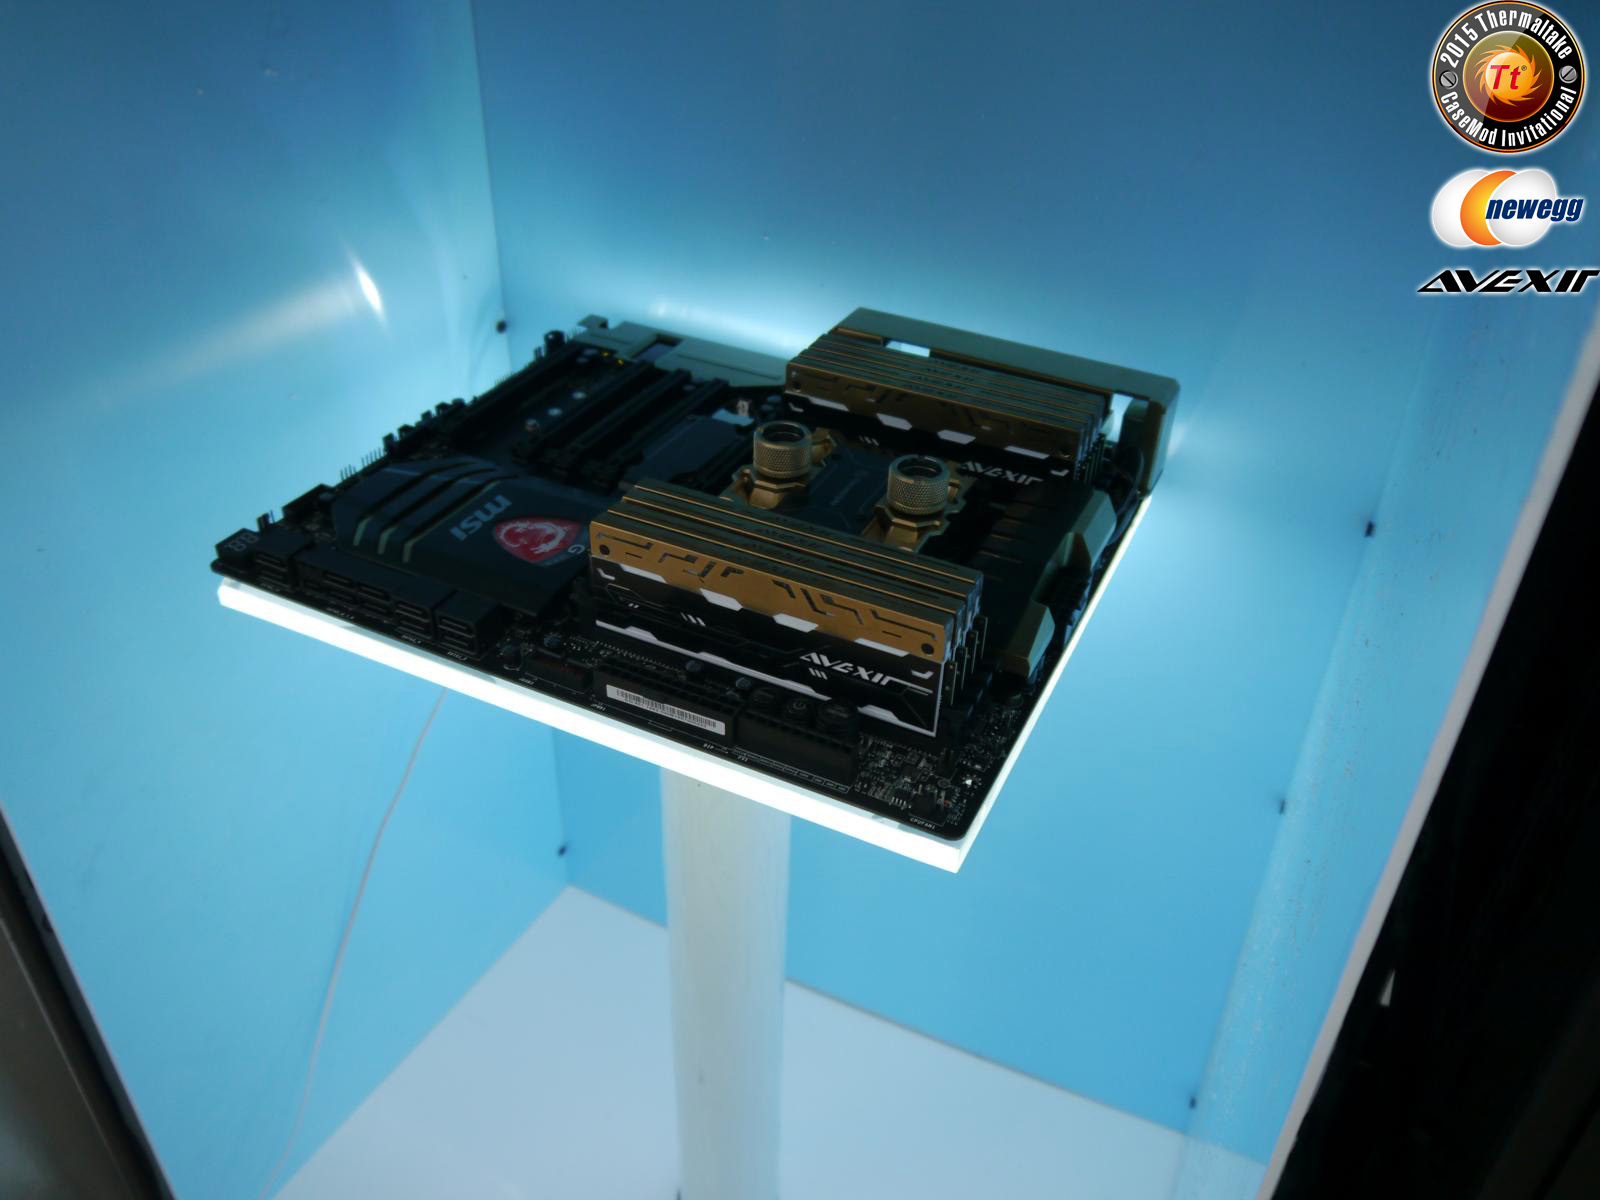
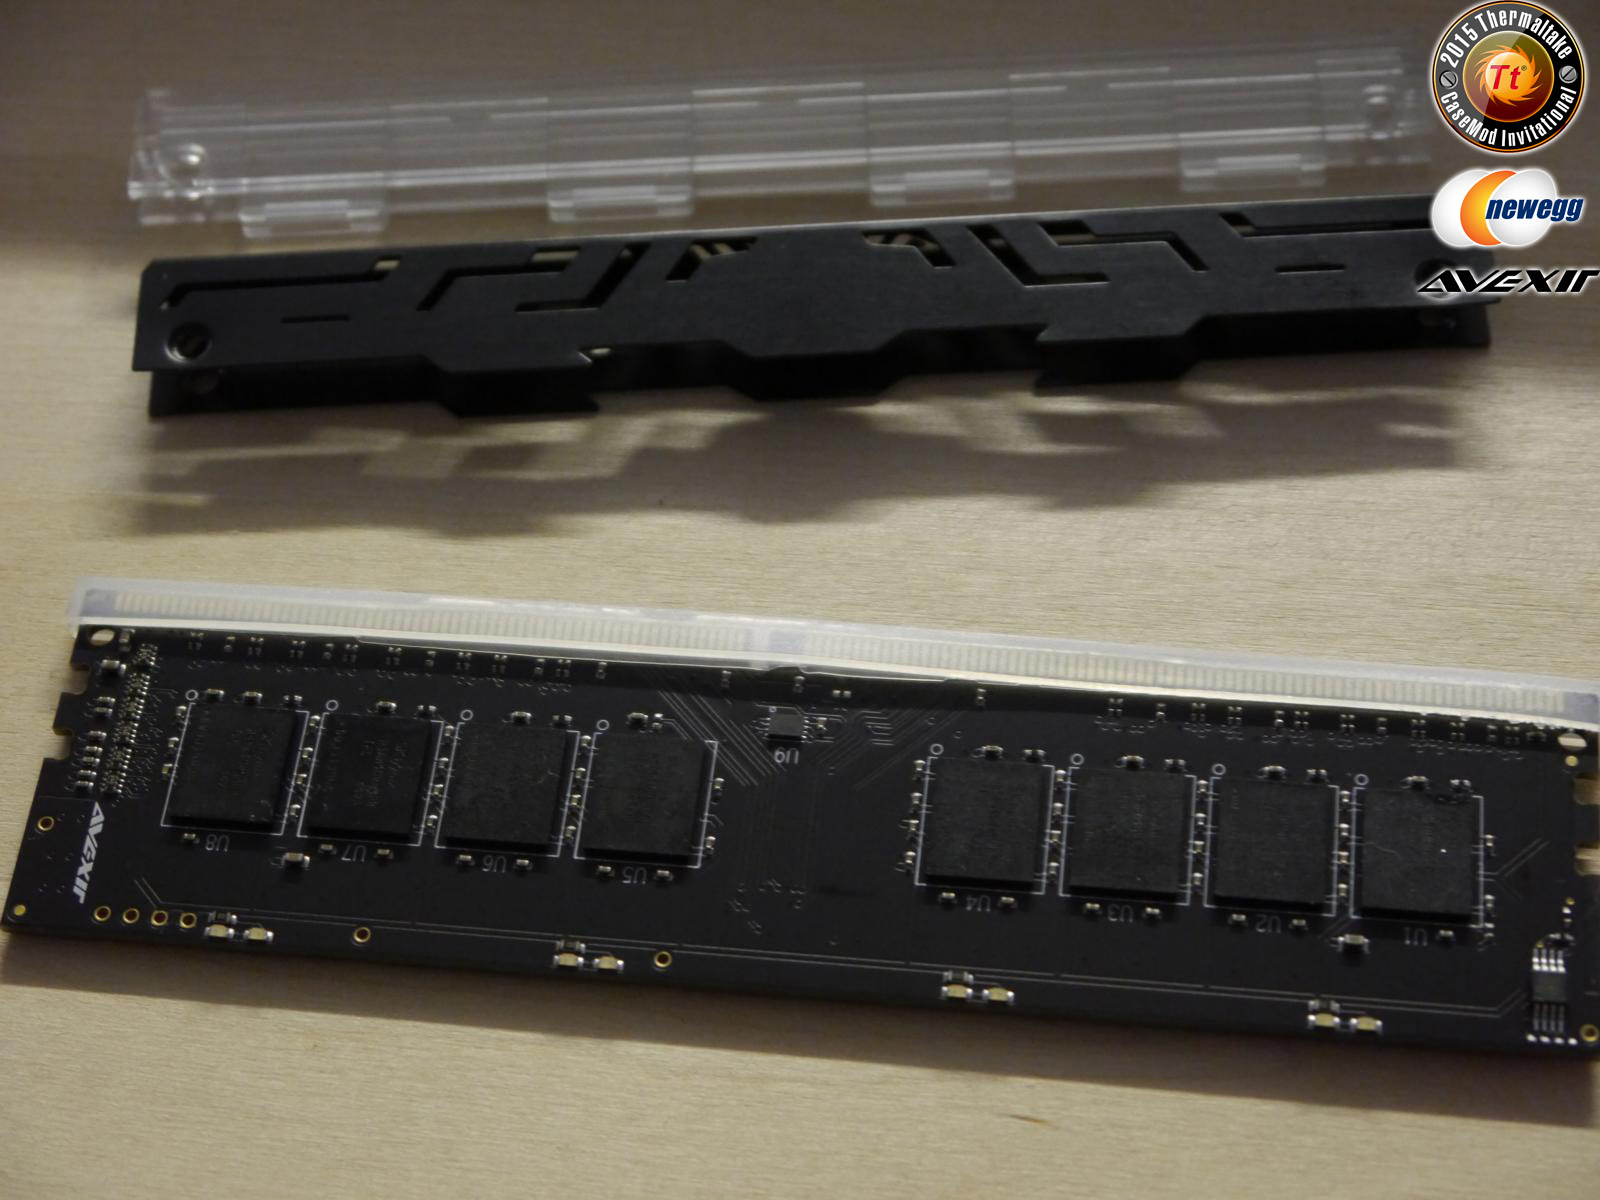
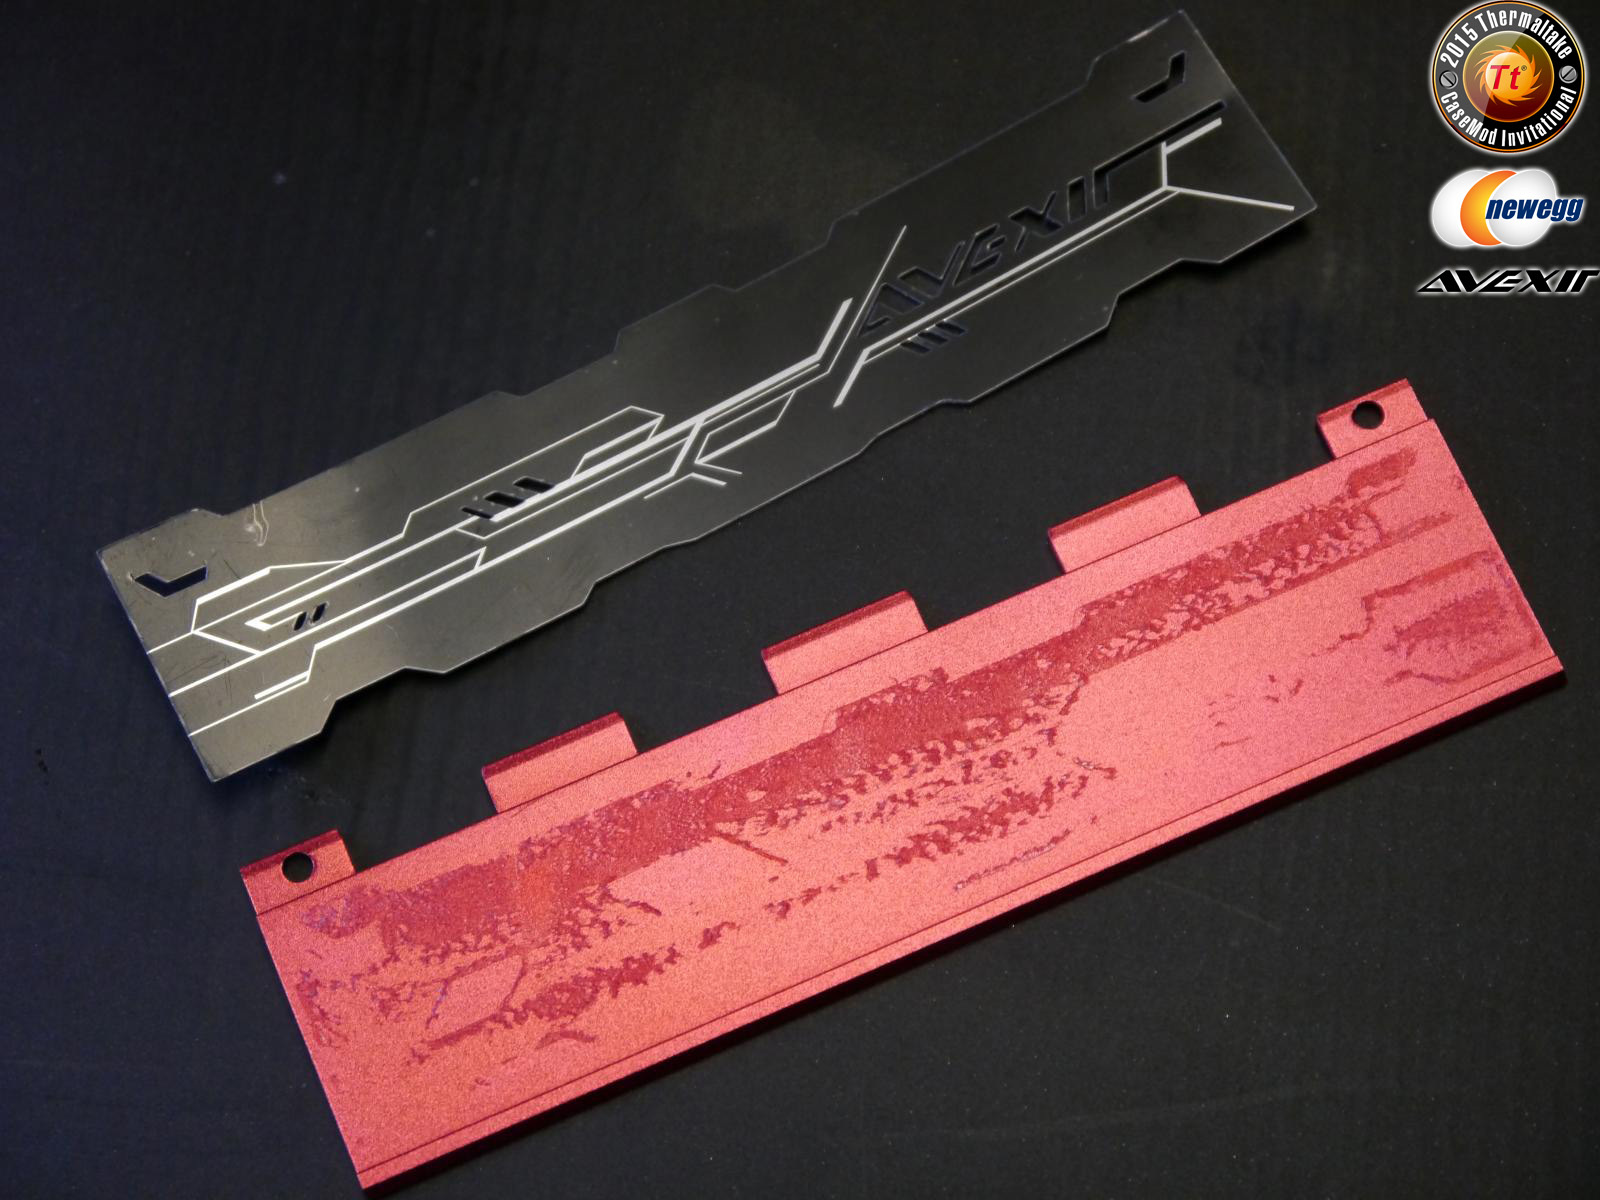
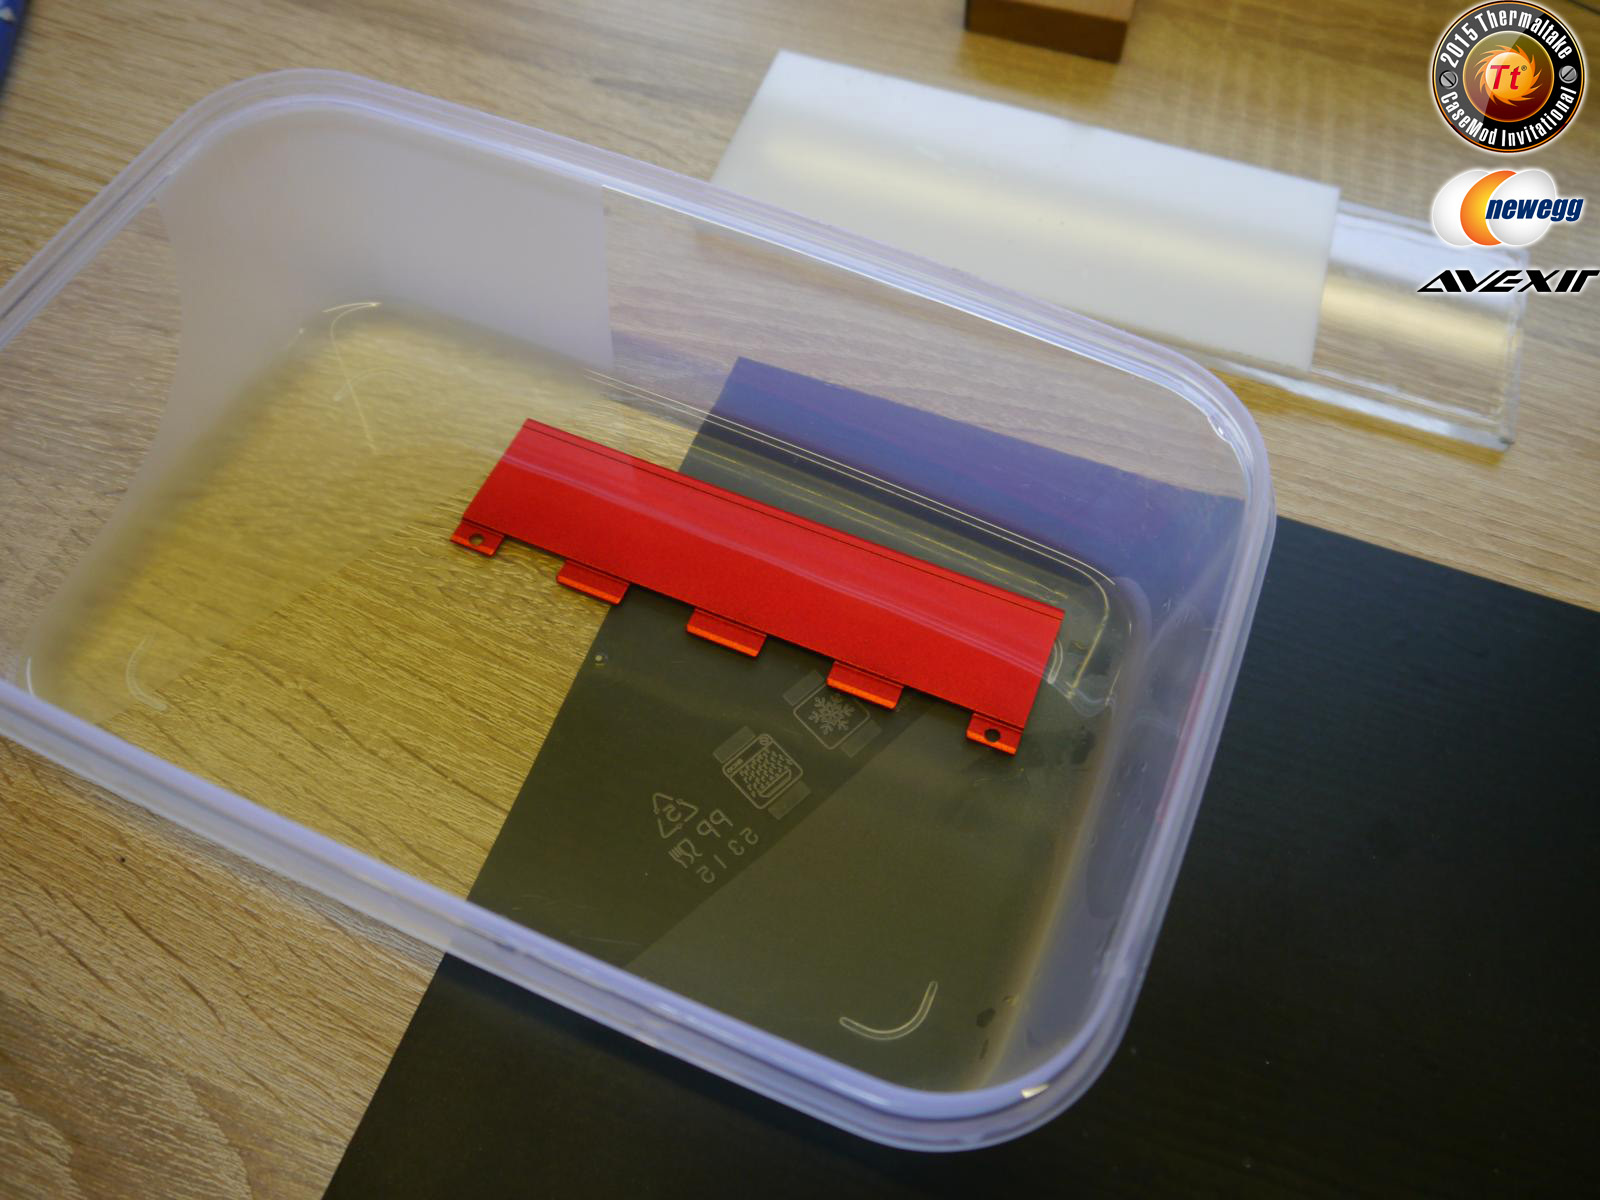
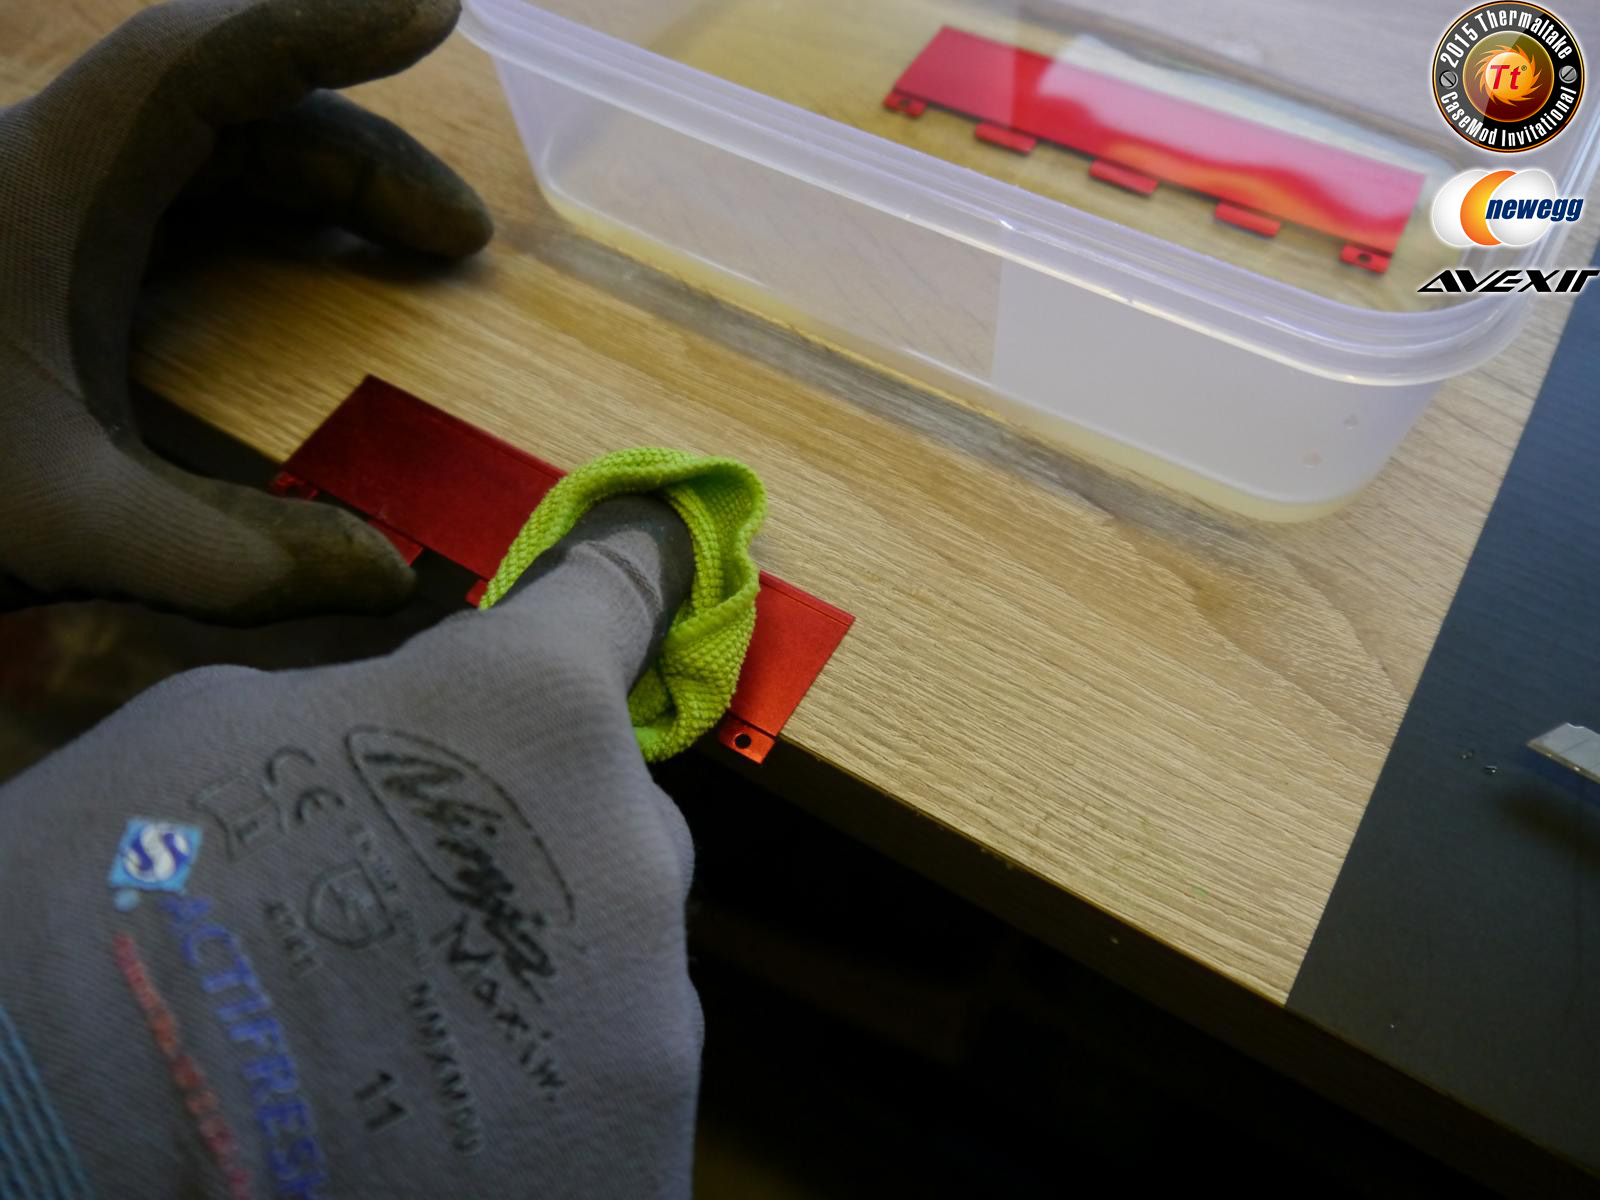
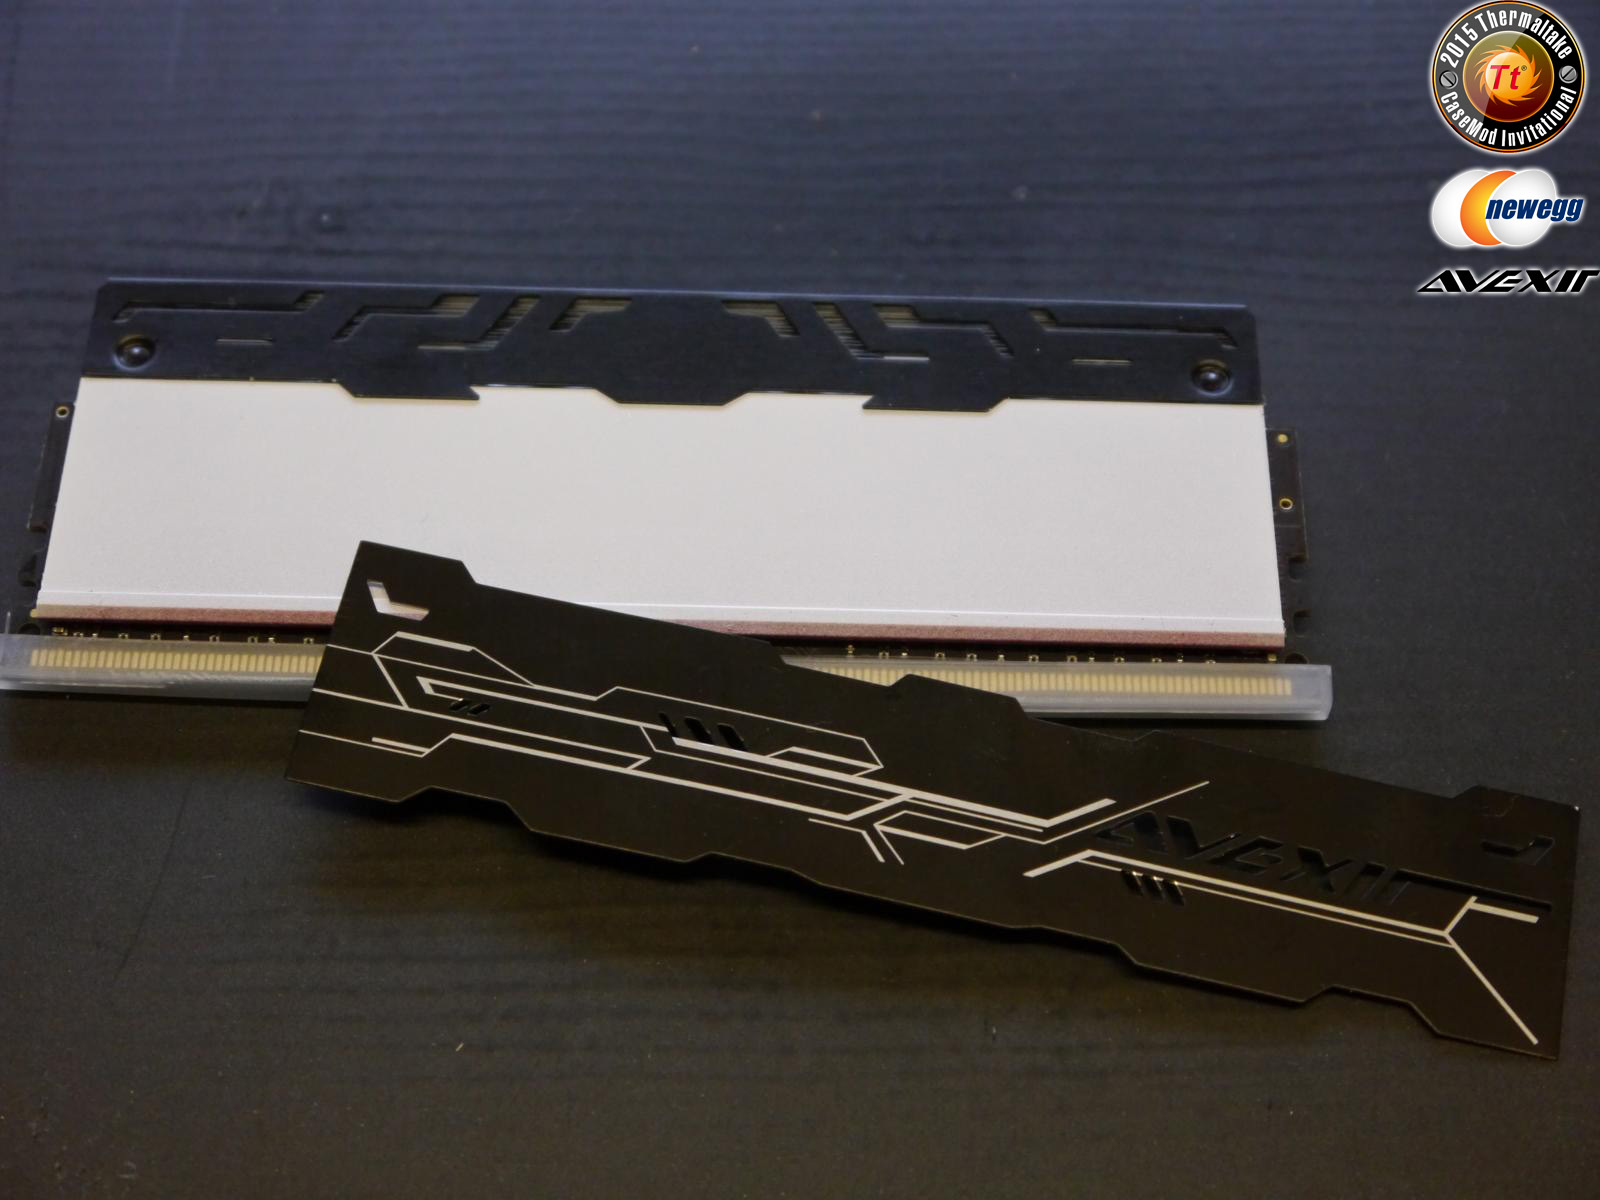
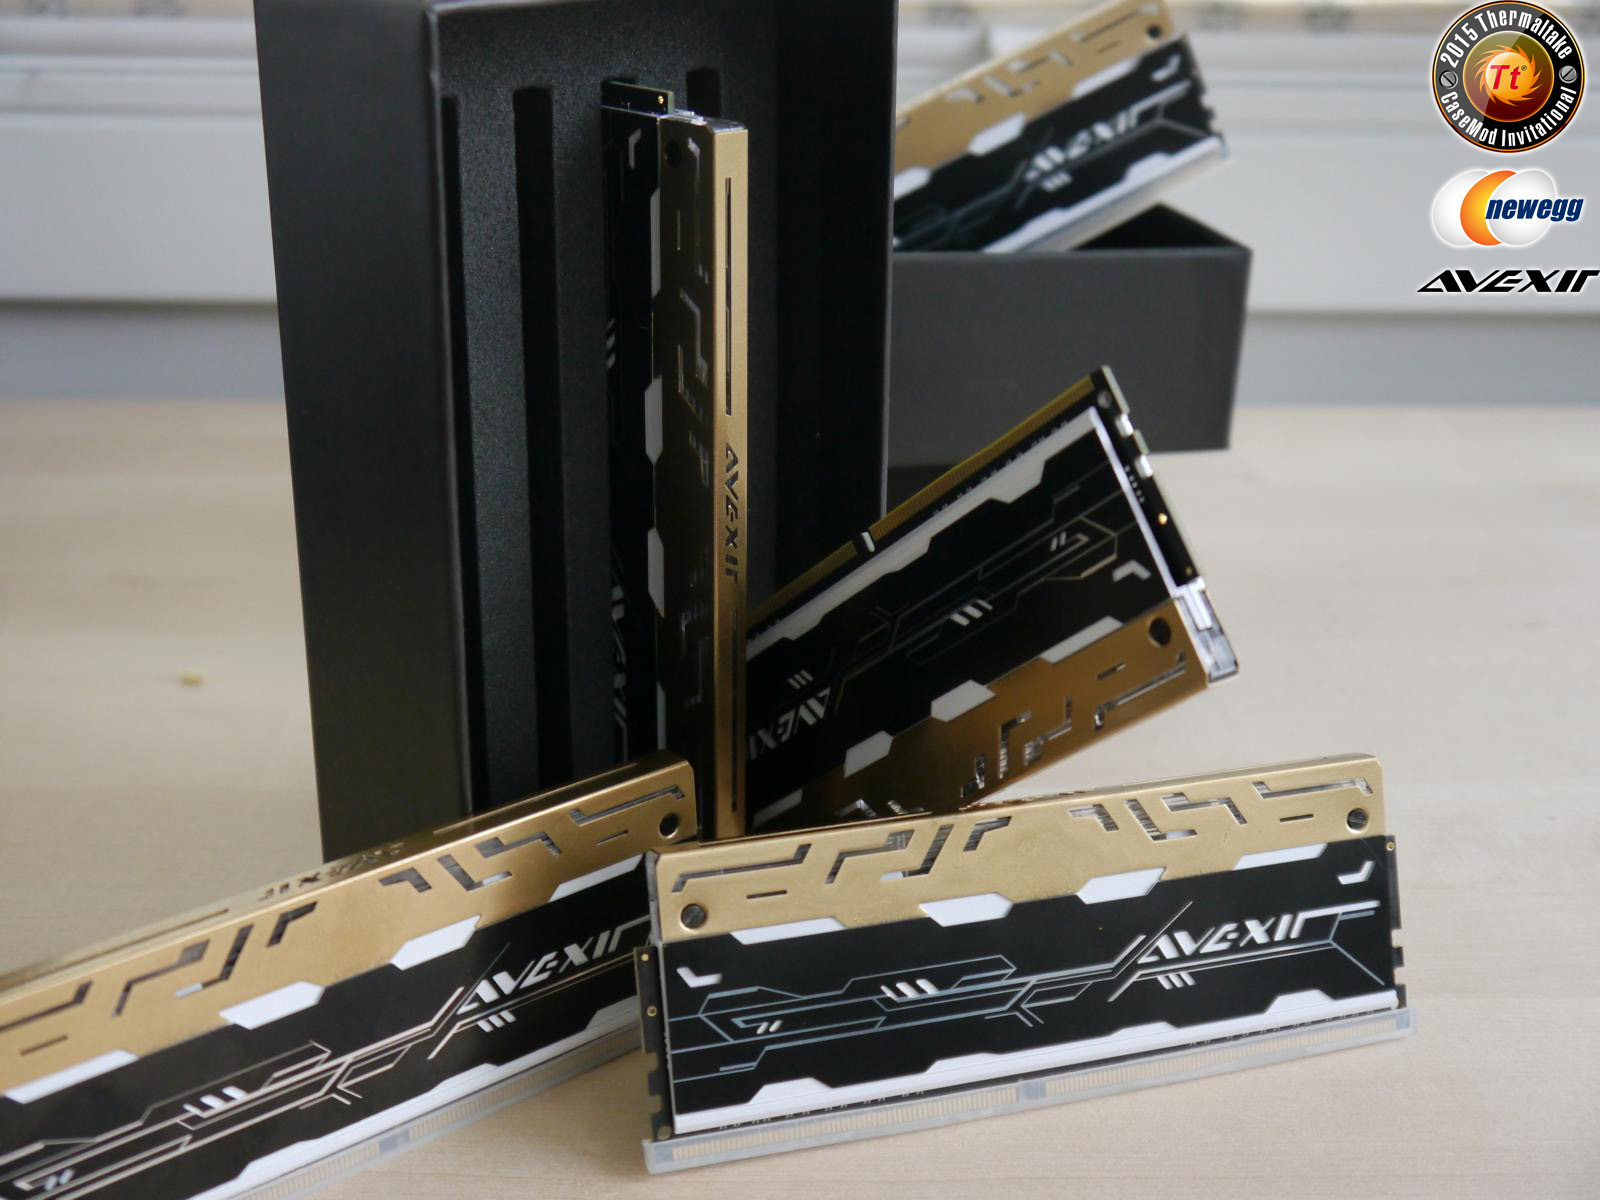
The Avexir memory is being repainted as well,
Gently removed the two screws to take off the cover. I slightly heat up the memory bar to remove the heatspreader from the memory.Then I removed the residue from the glue and painted the cooler and cover white and gold.
After the paint had dried, I reassembled the memory.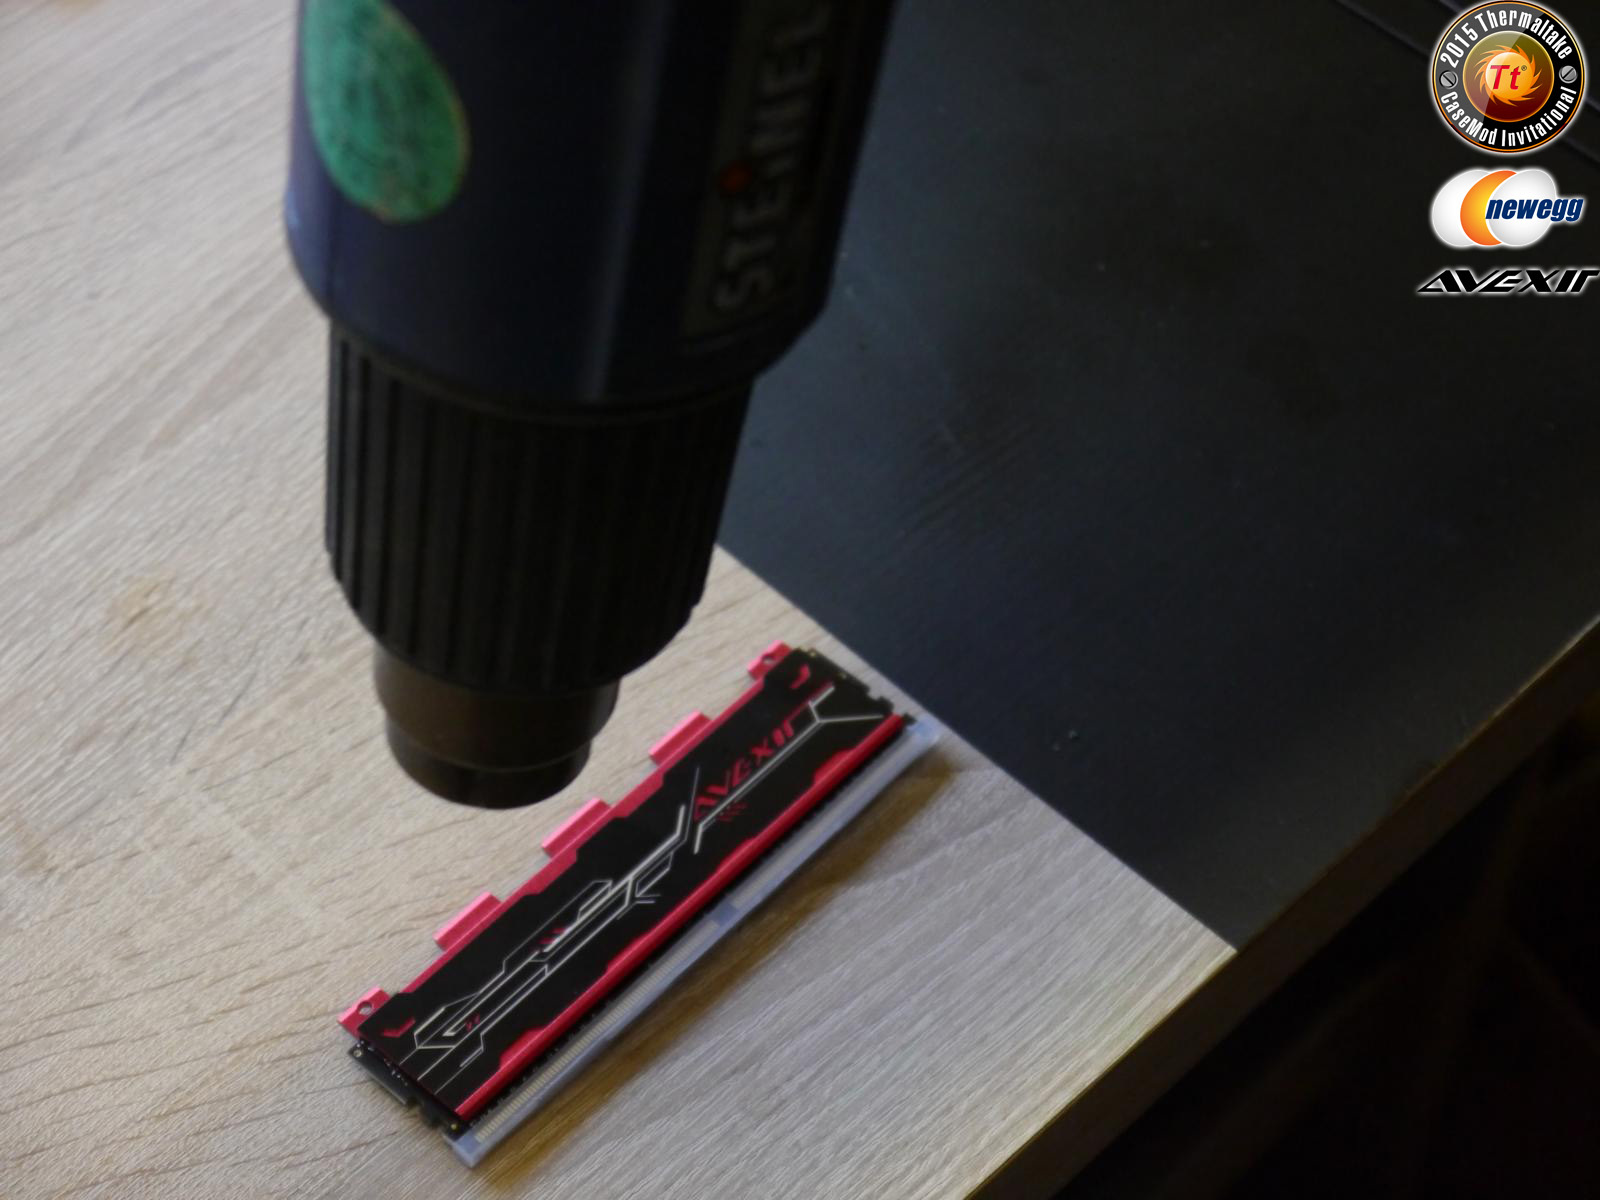


-
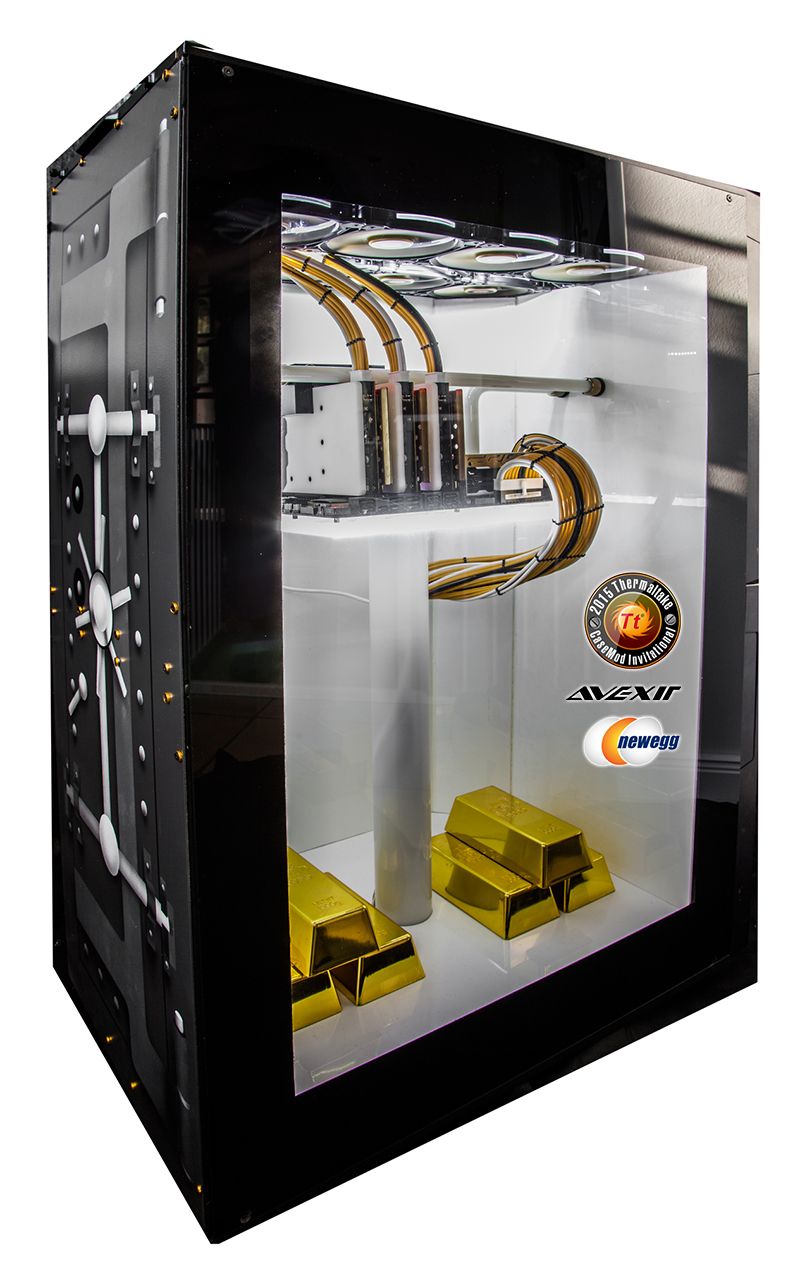
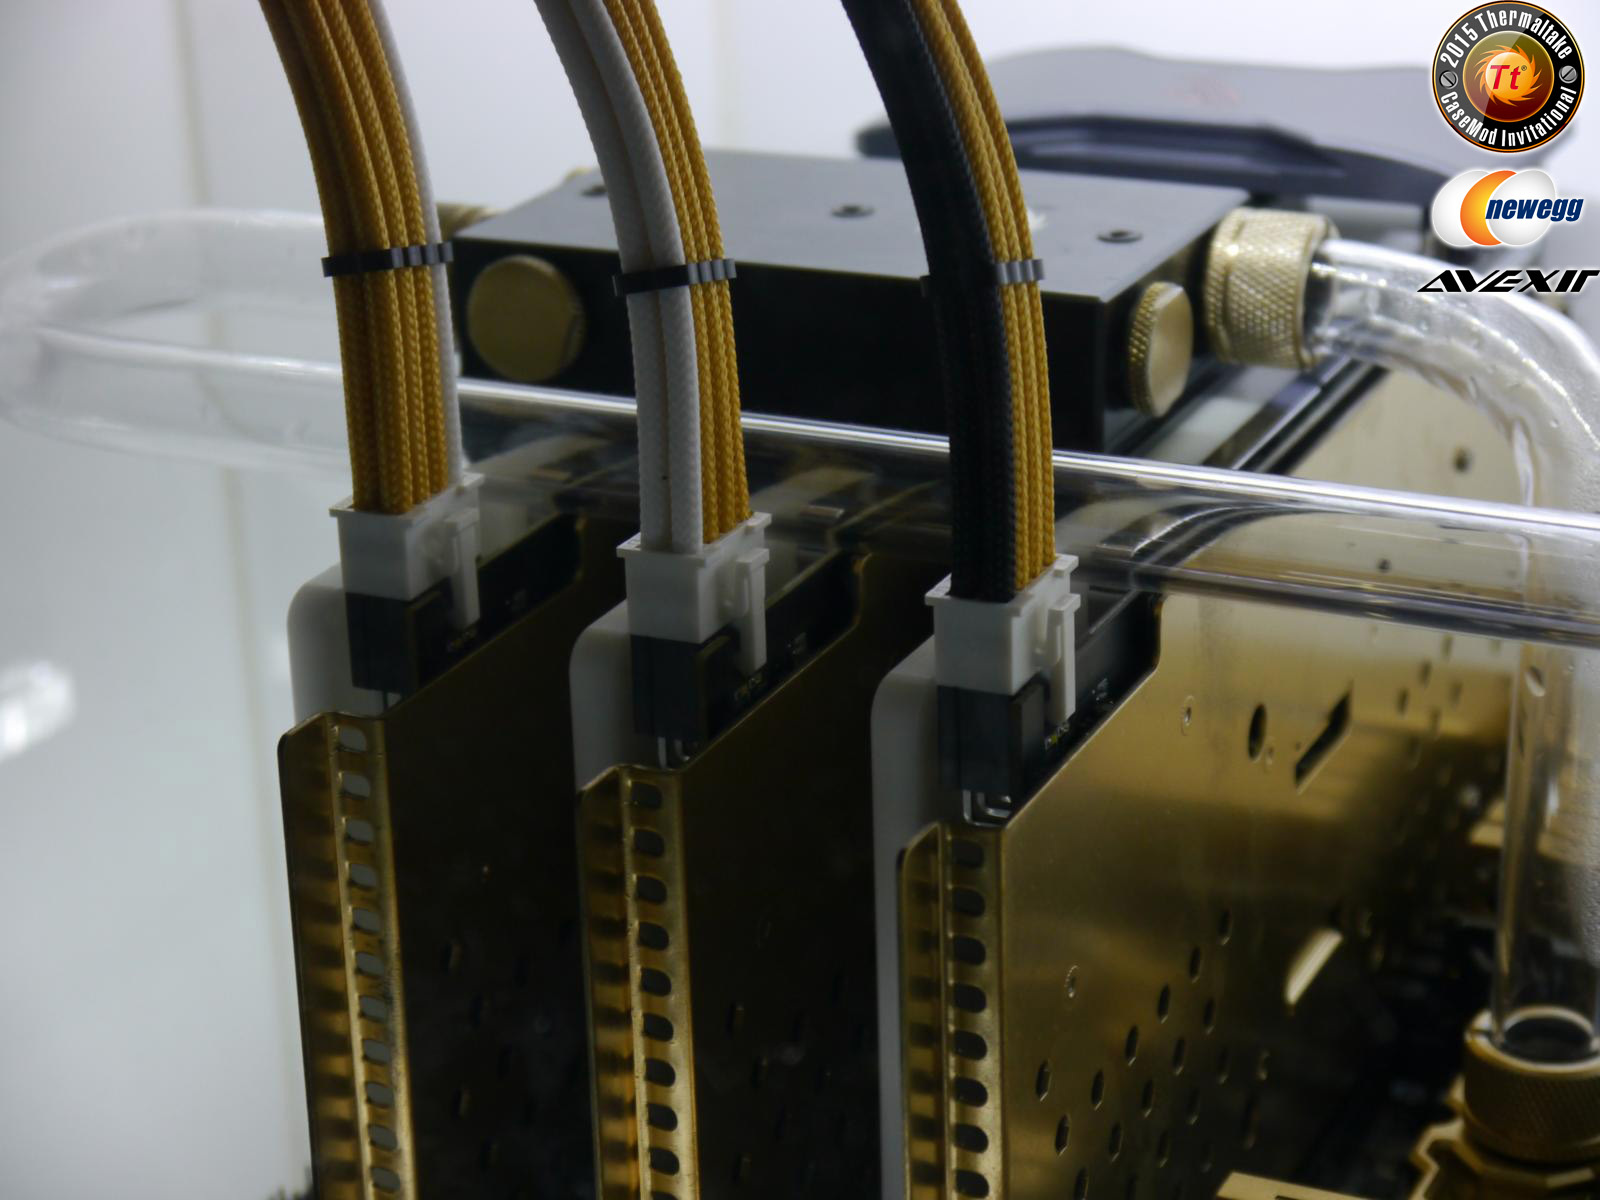
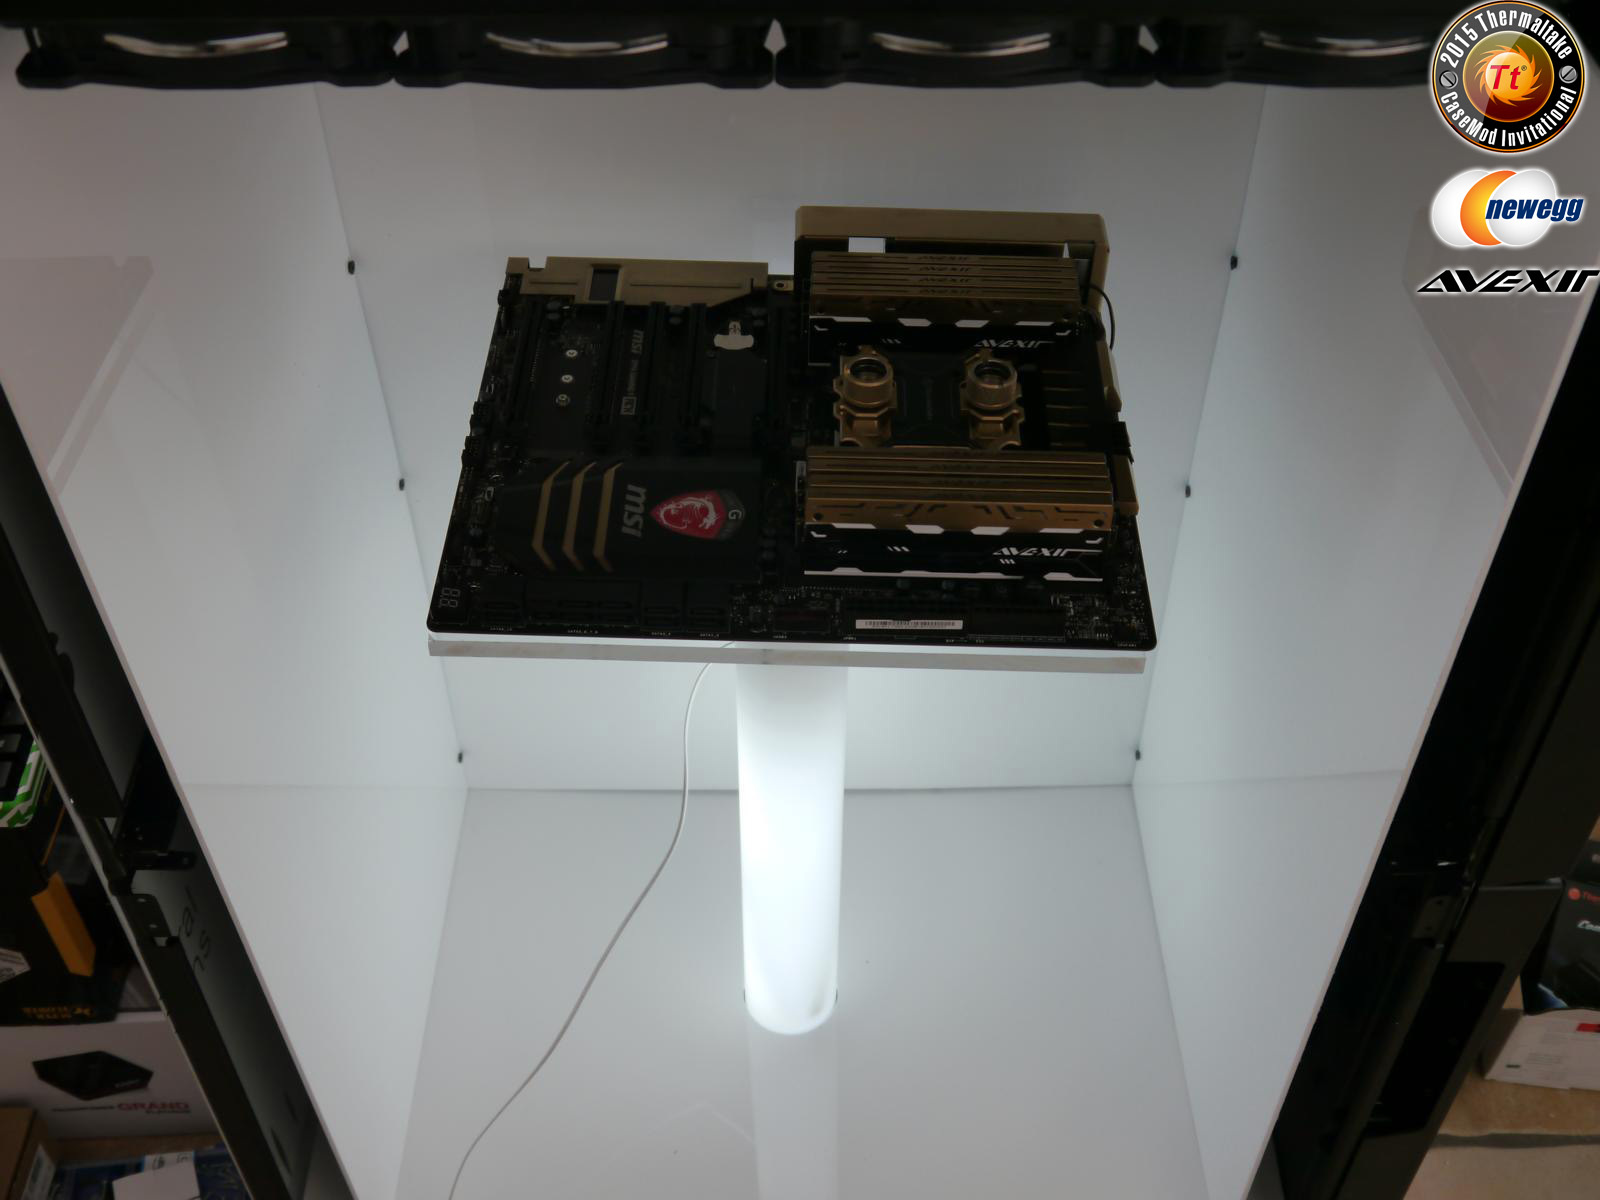
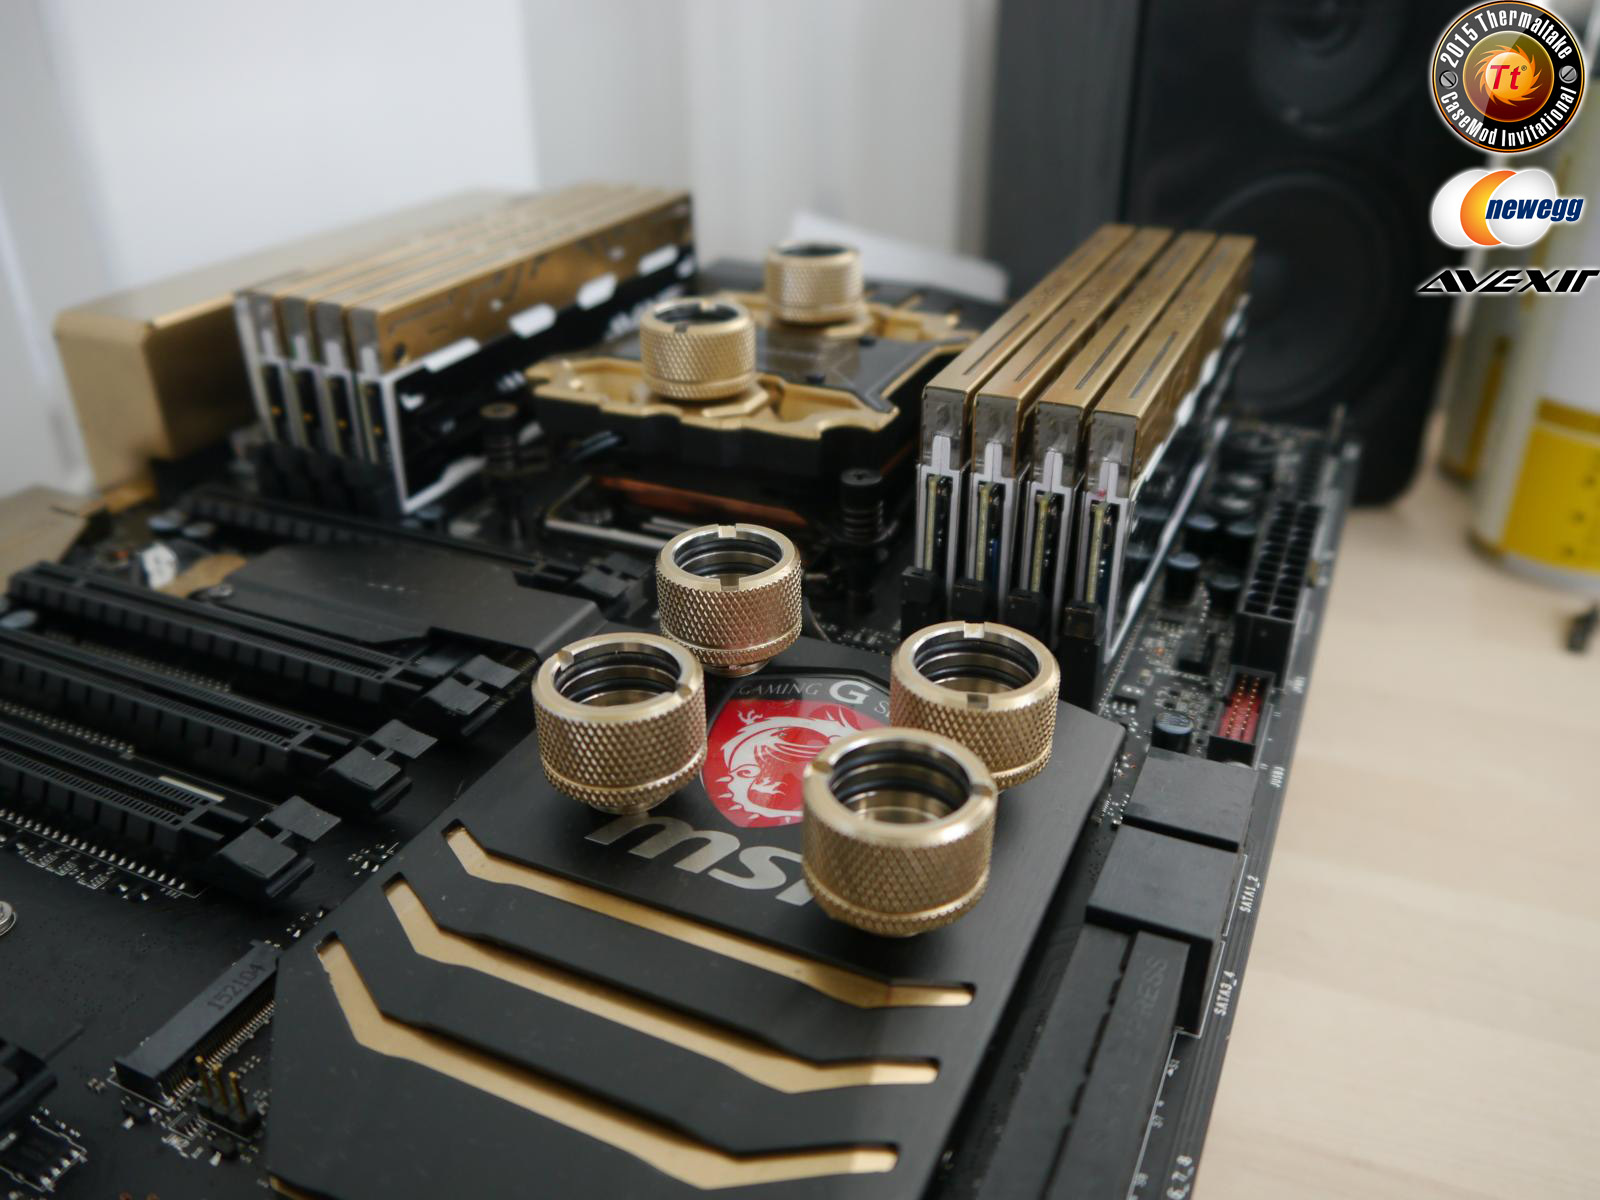
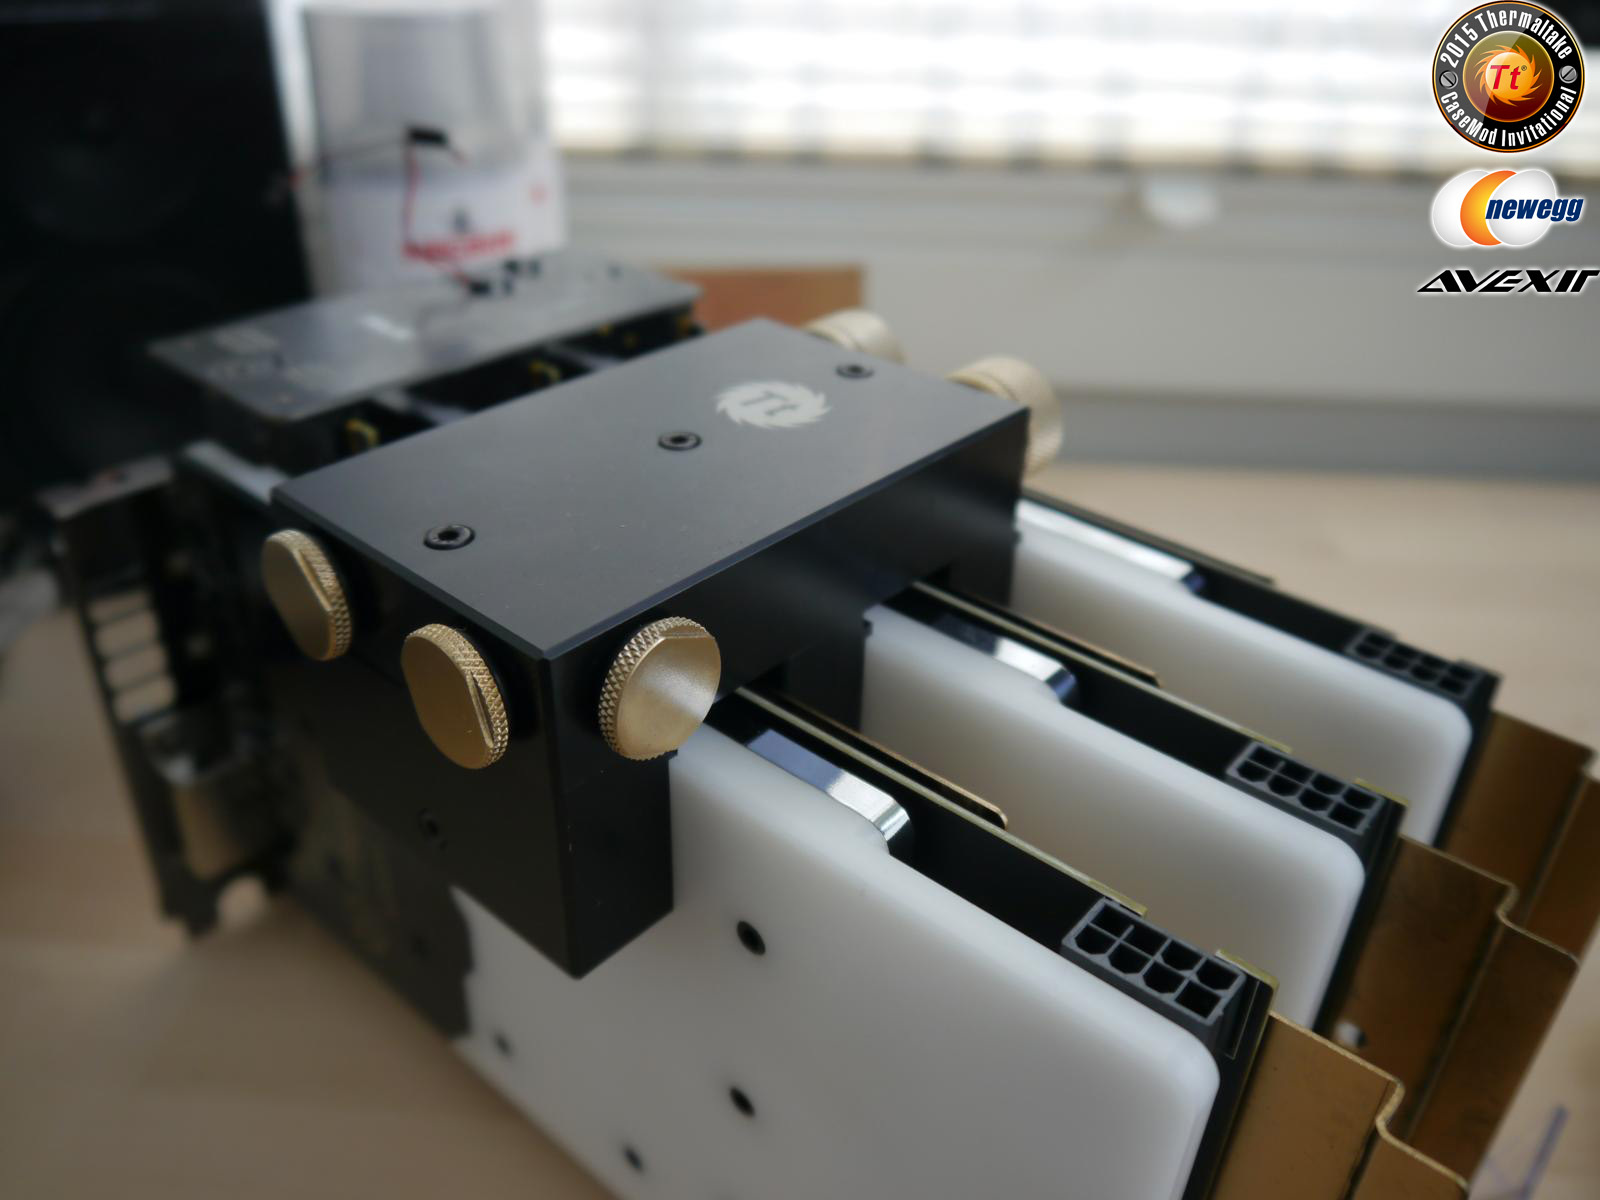
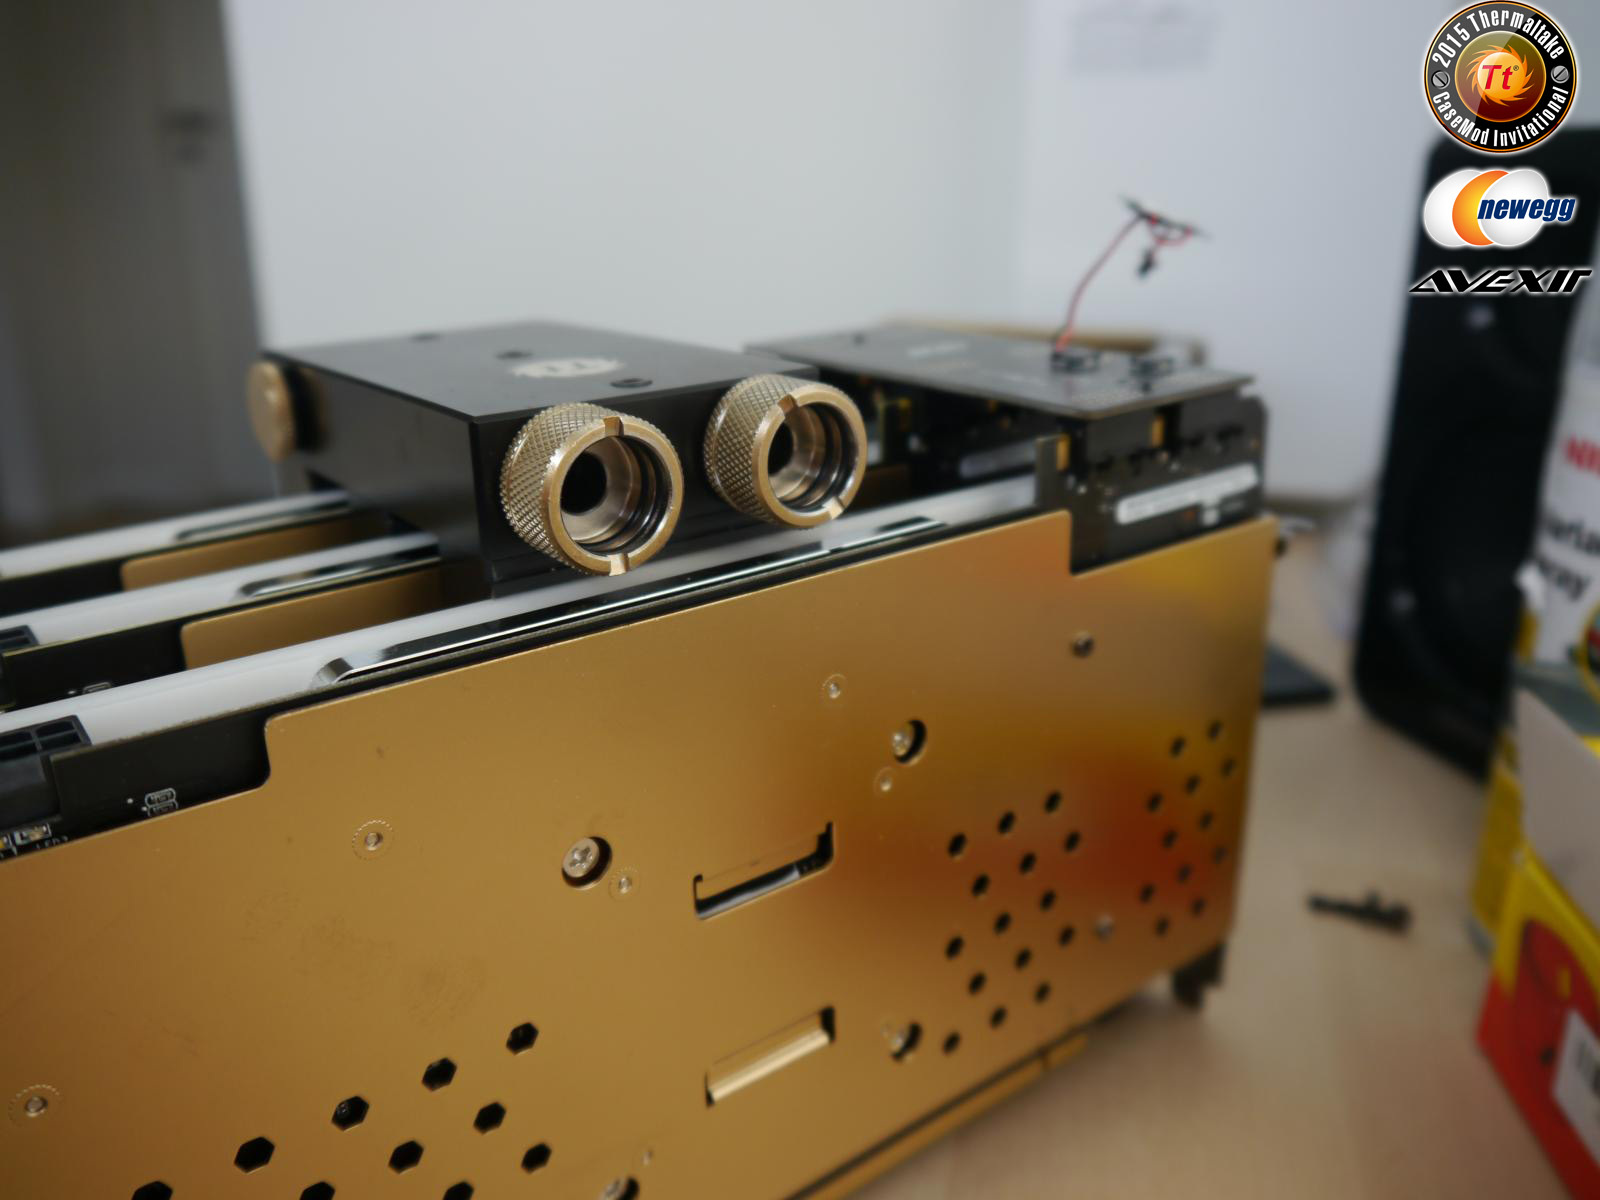
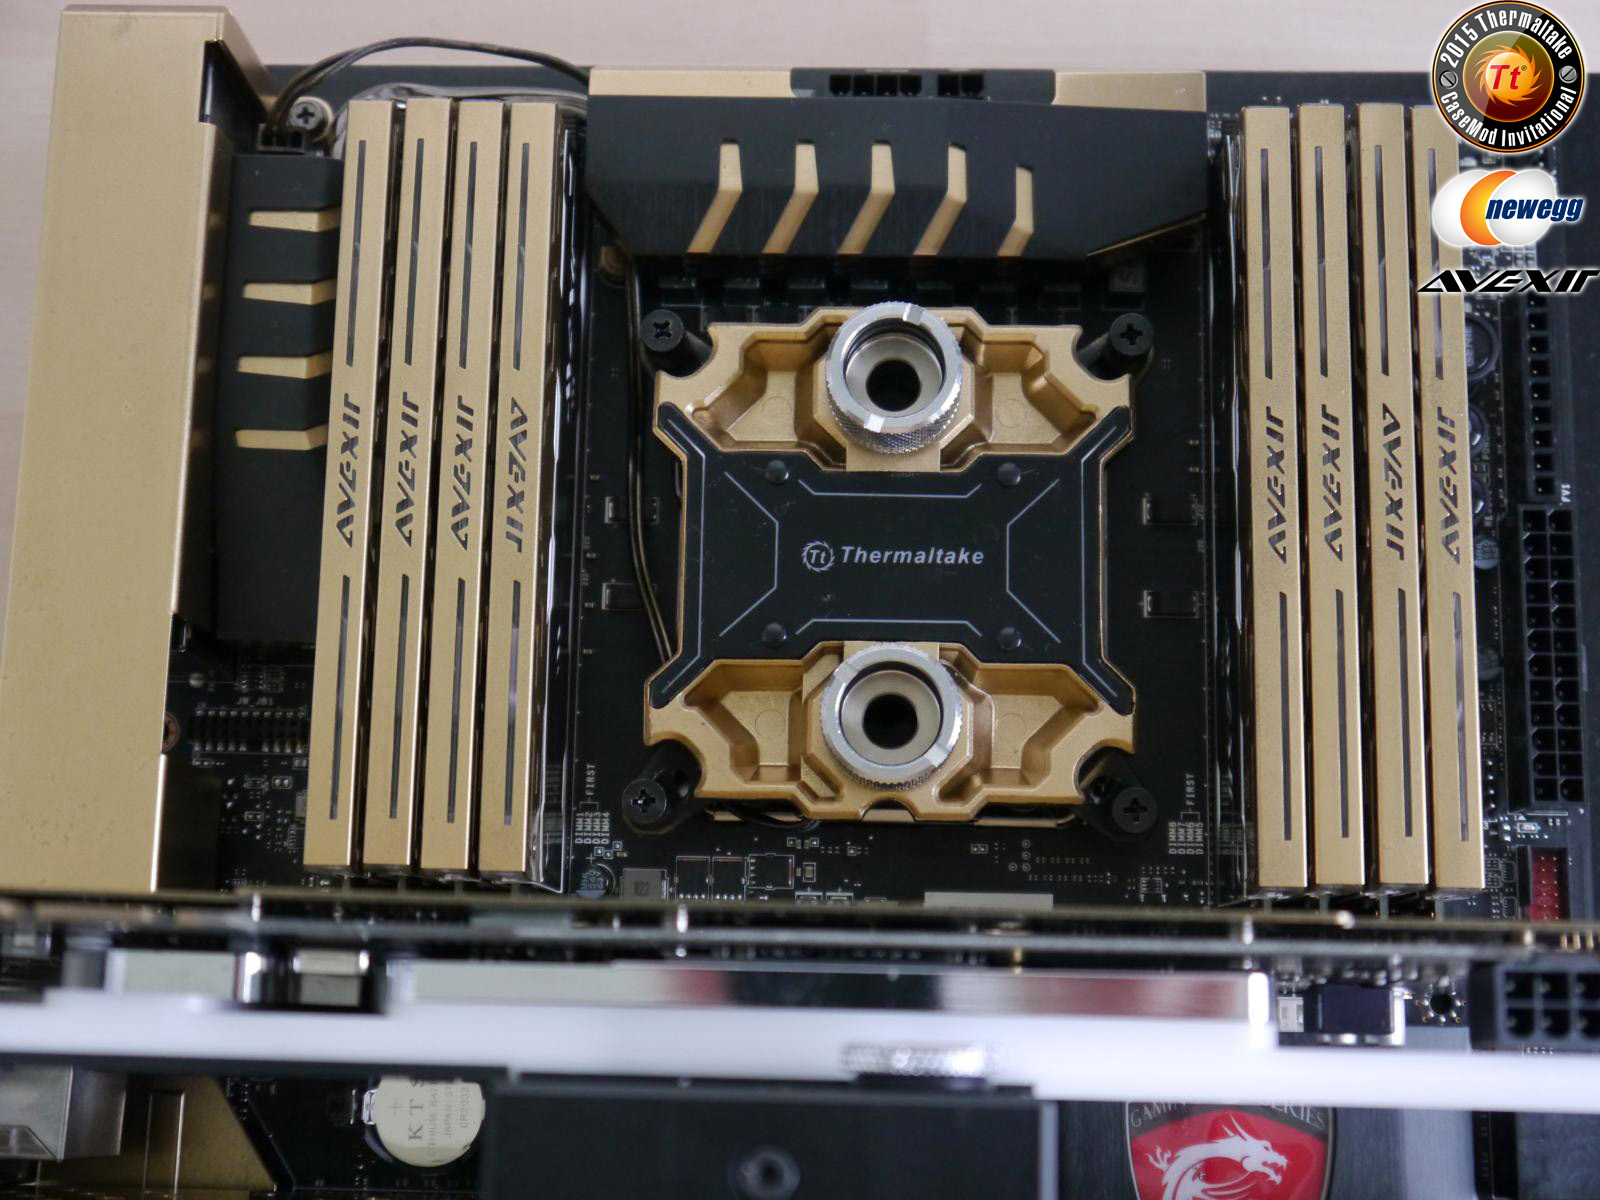
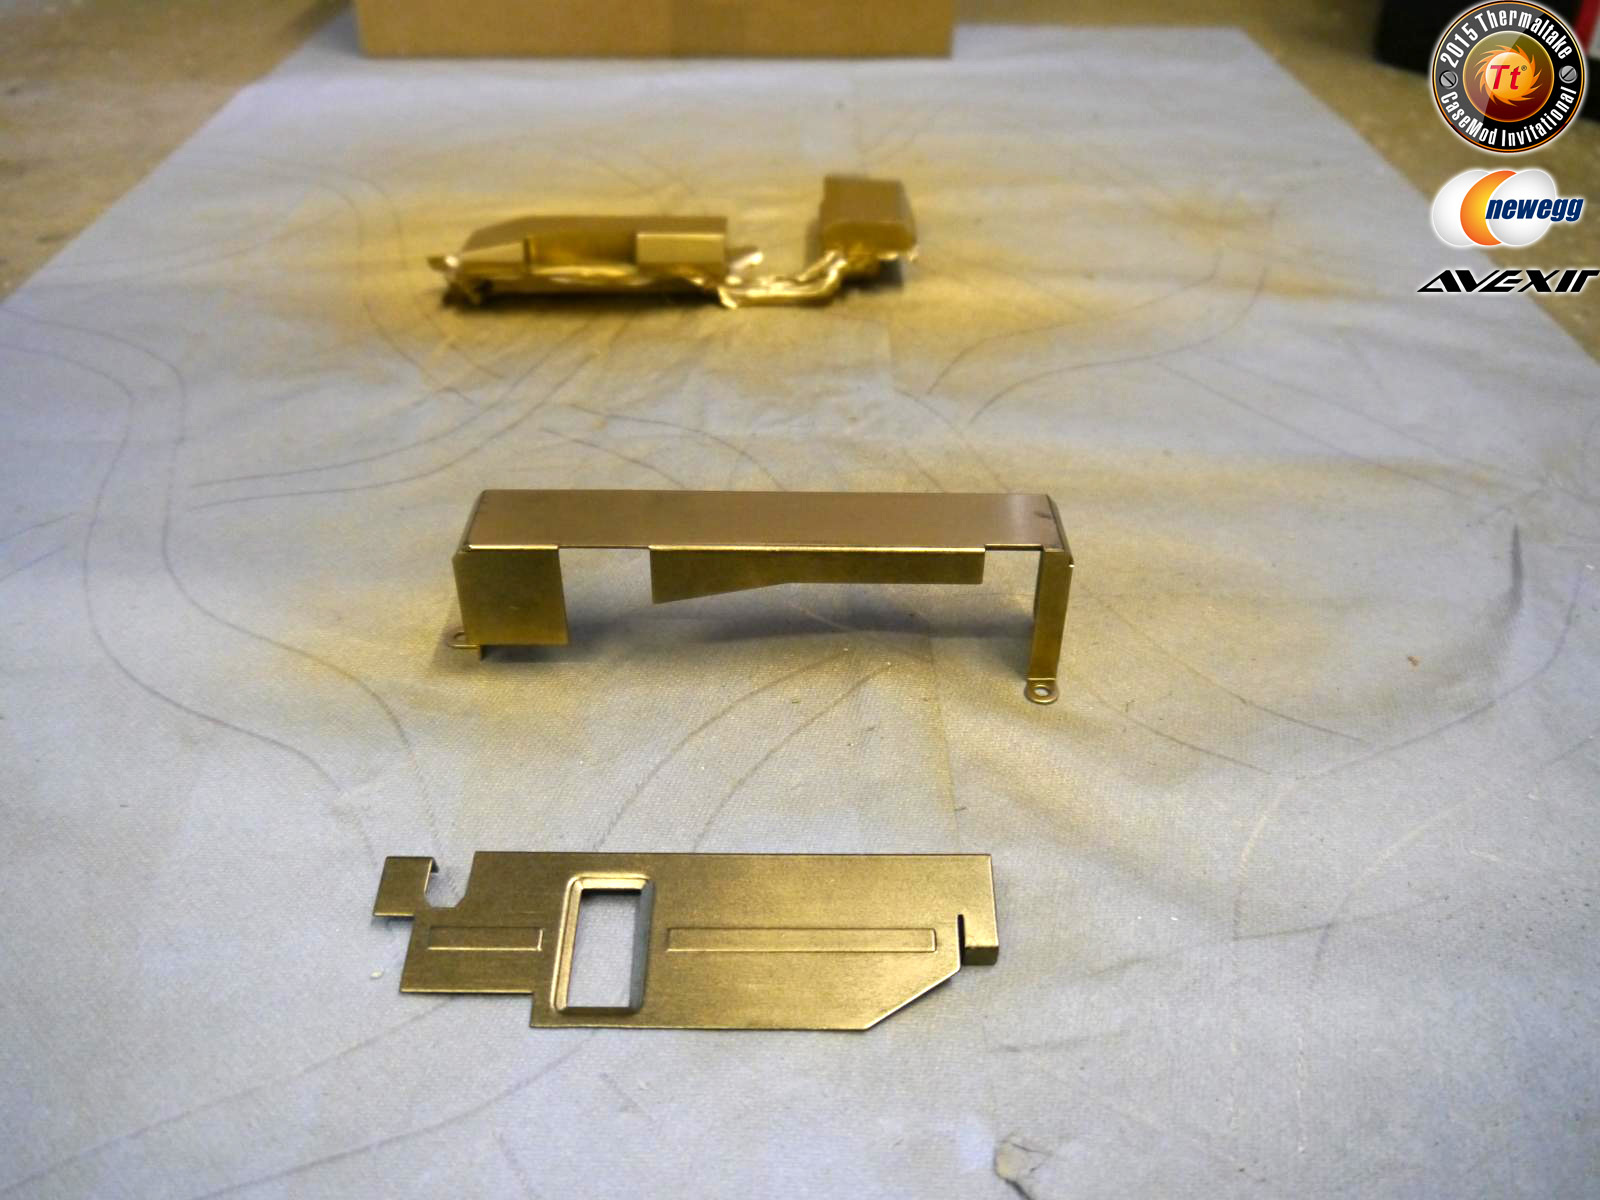
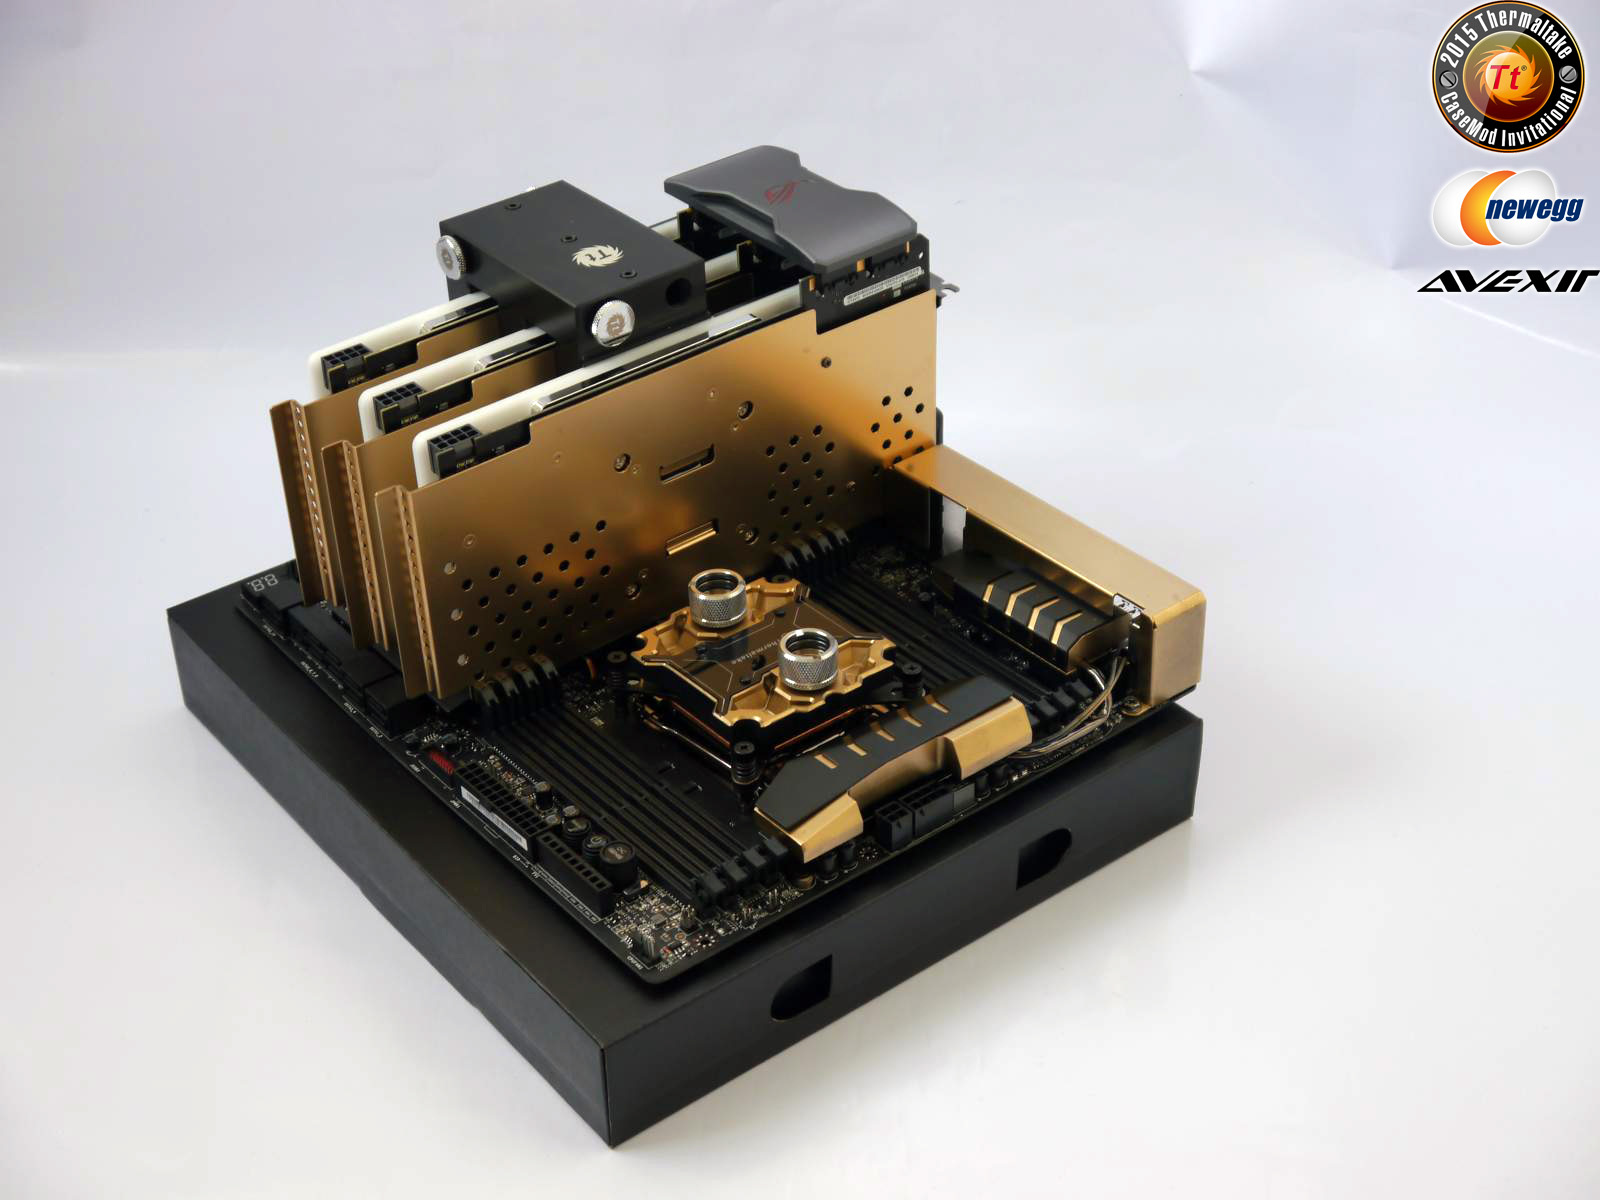
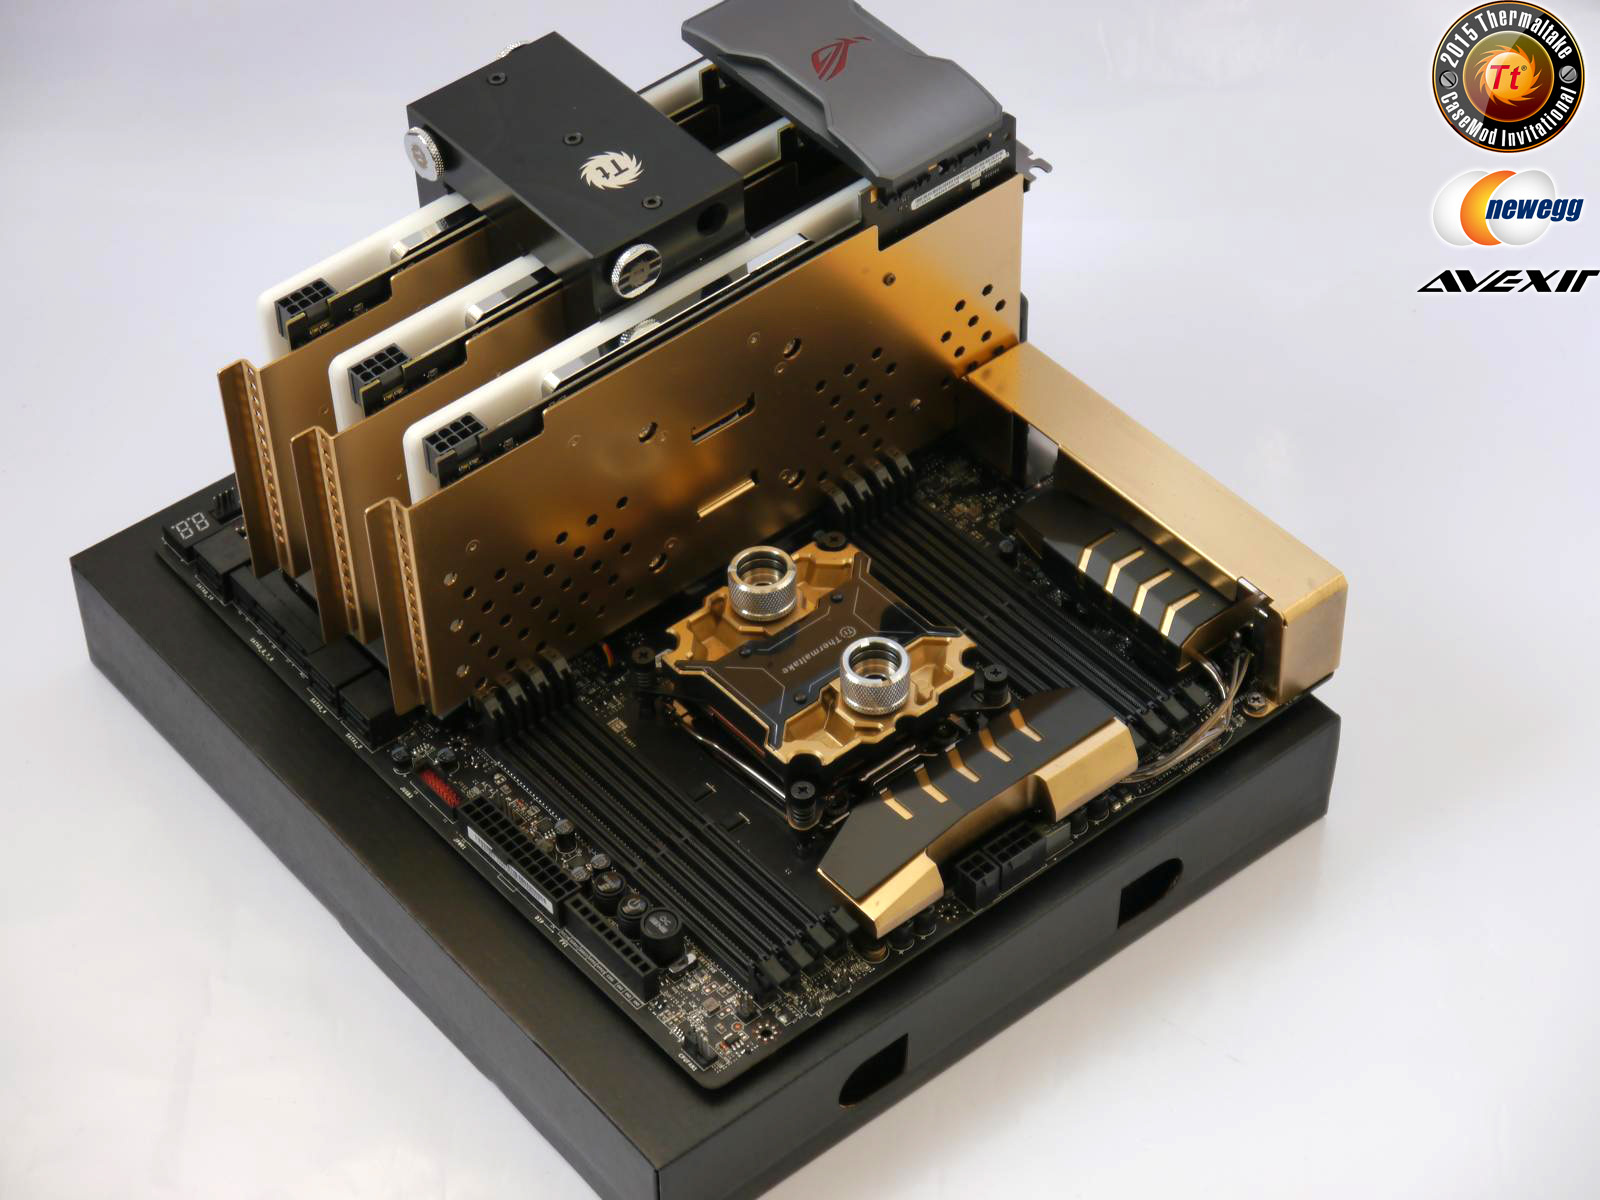
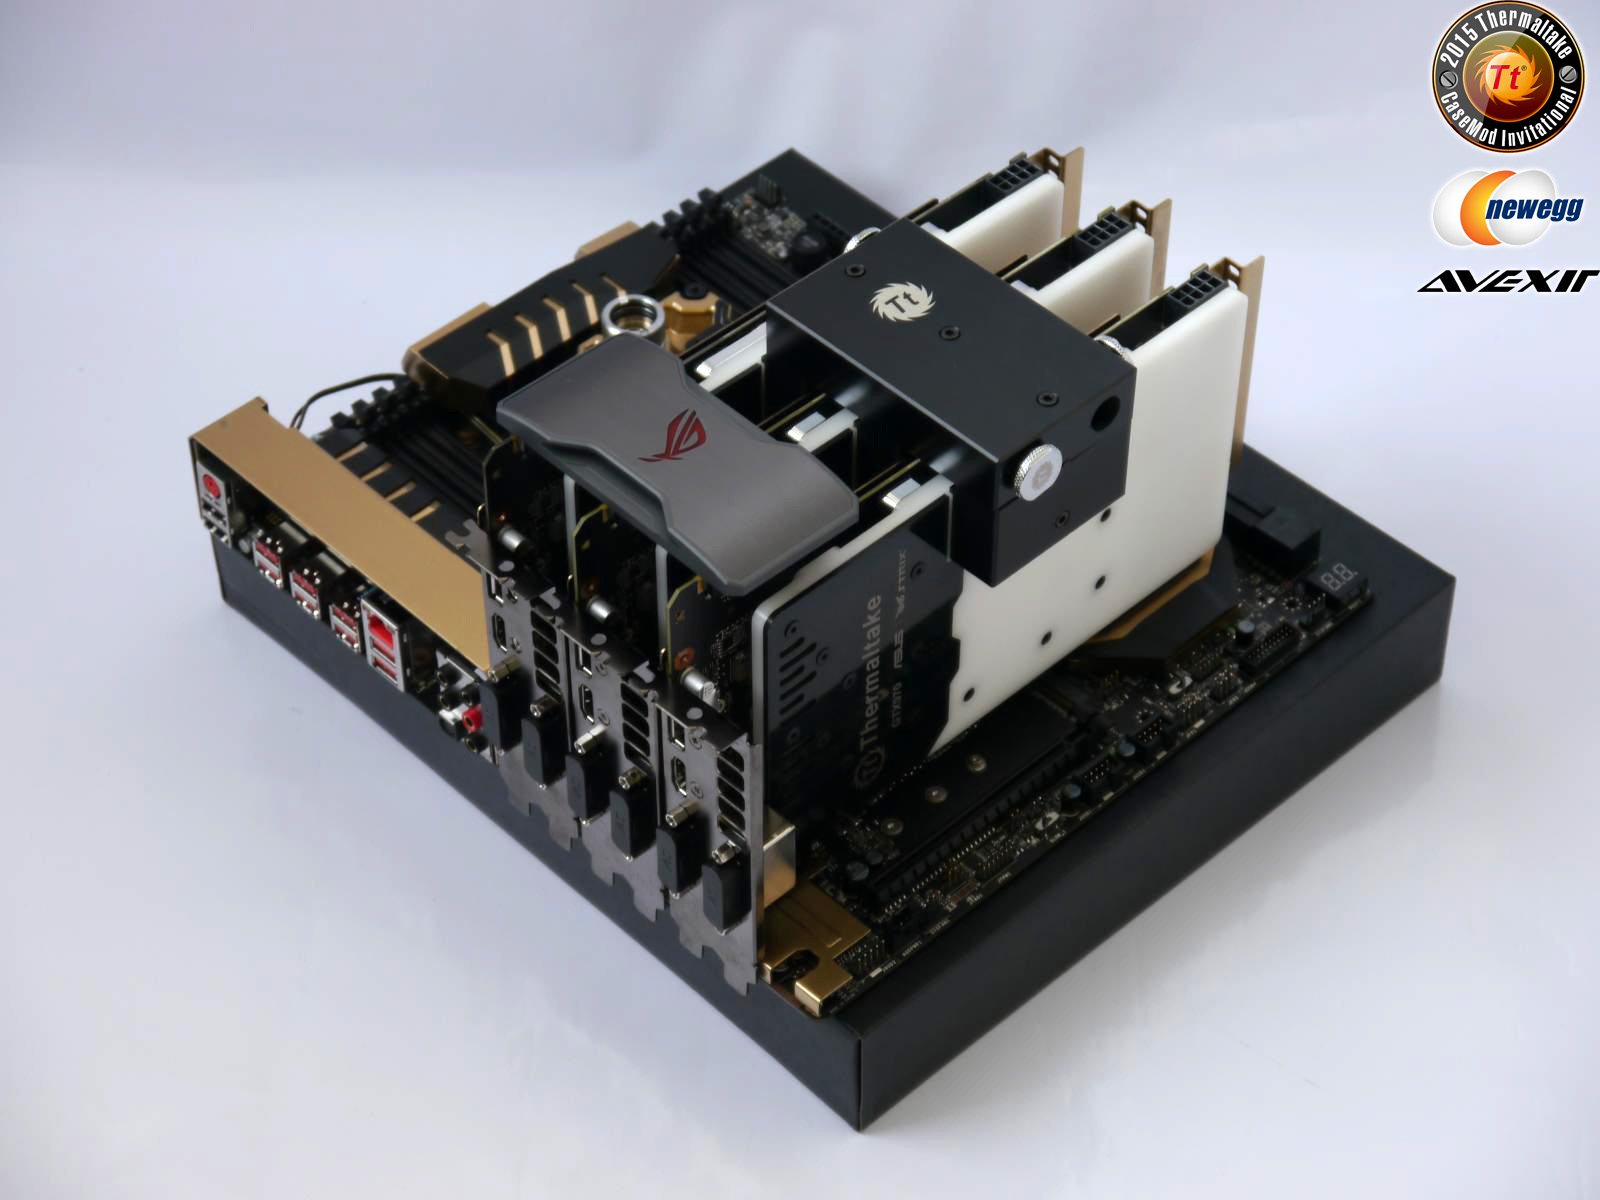
I was busy today.
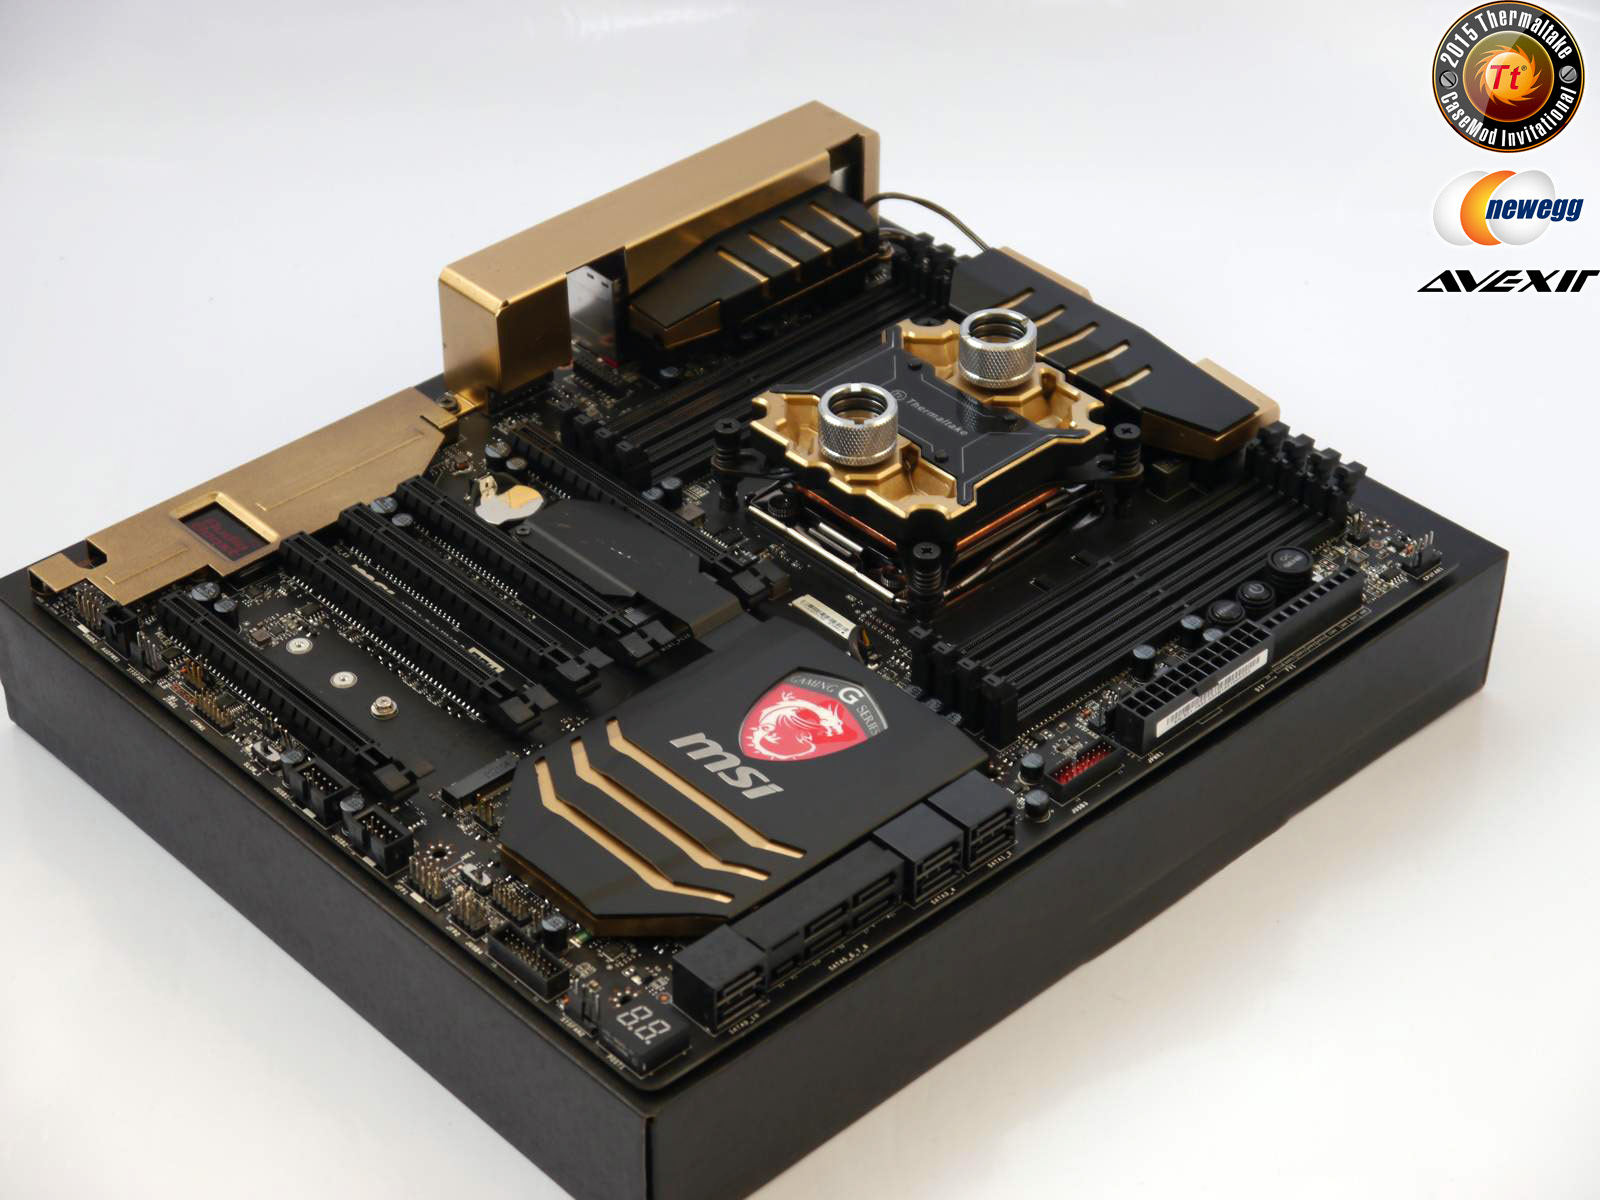
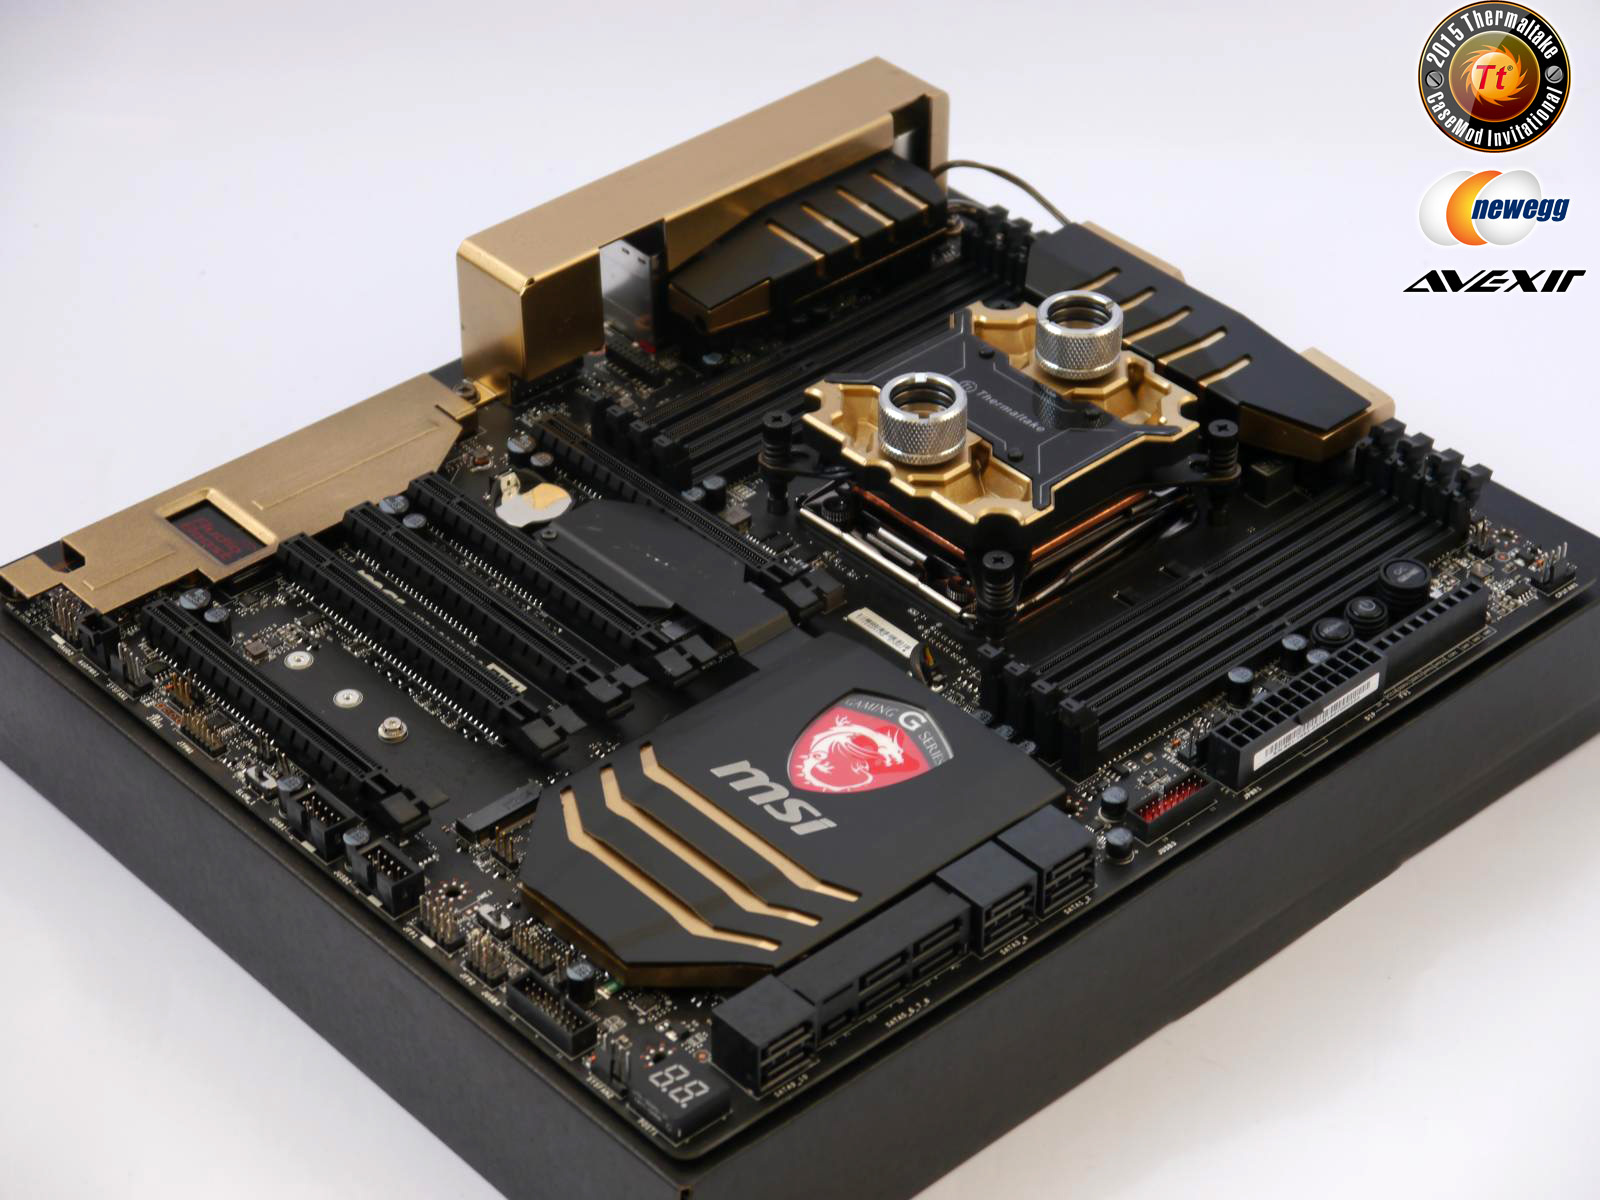
Parts of the mainboard, cooler and covers have been disassembled and painted in gold bronze.The graphics cards are now set up for liquid cooling and the backplate was painted as well.
Thermaltake Pacific V-GTX 970 V2 (a very nice cooler, if I may add)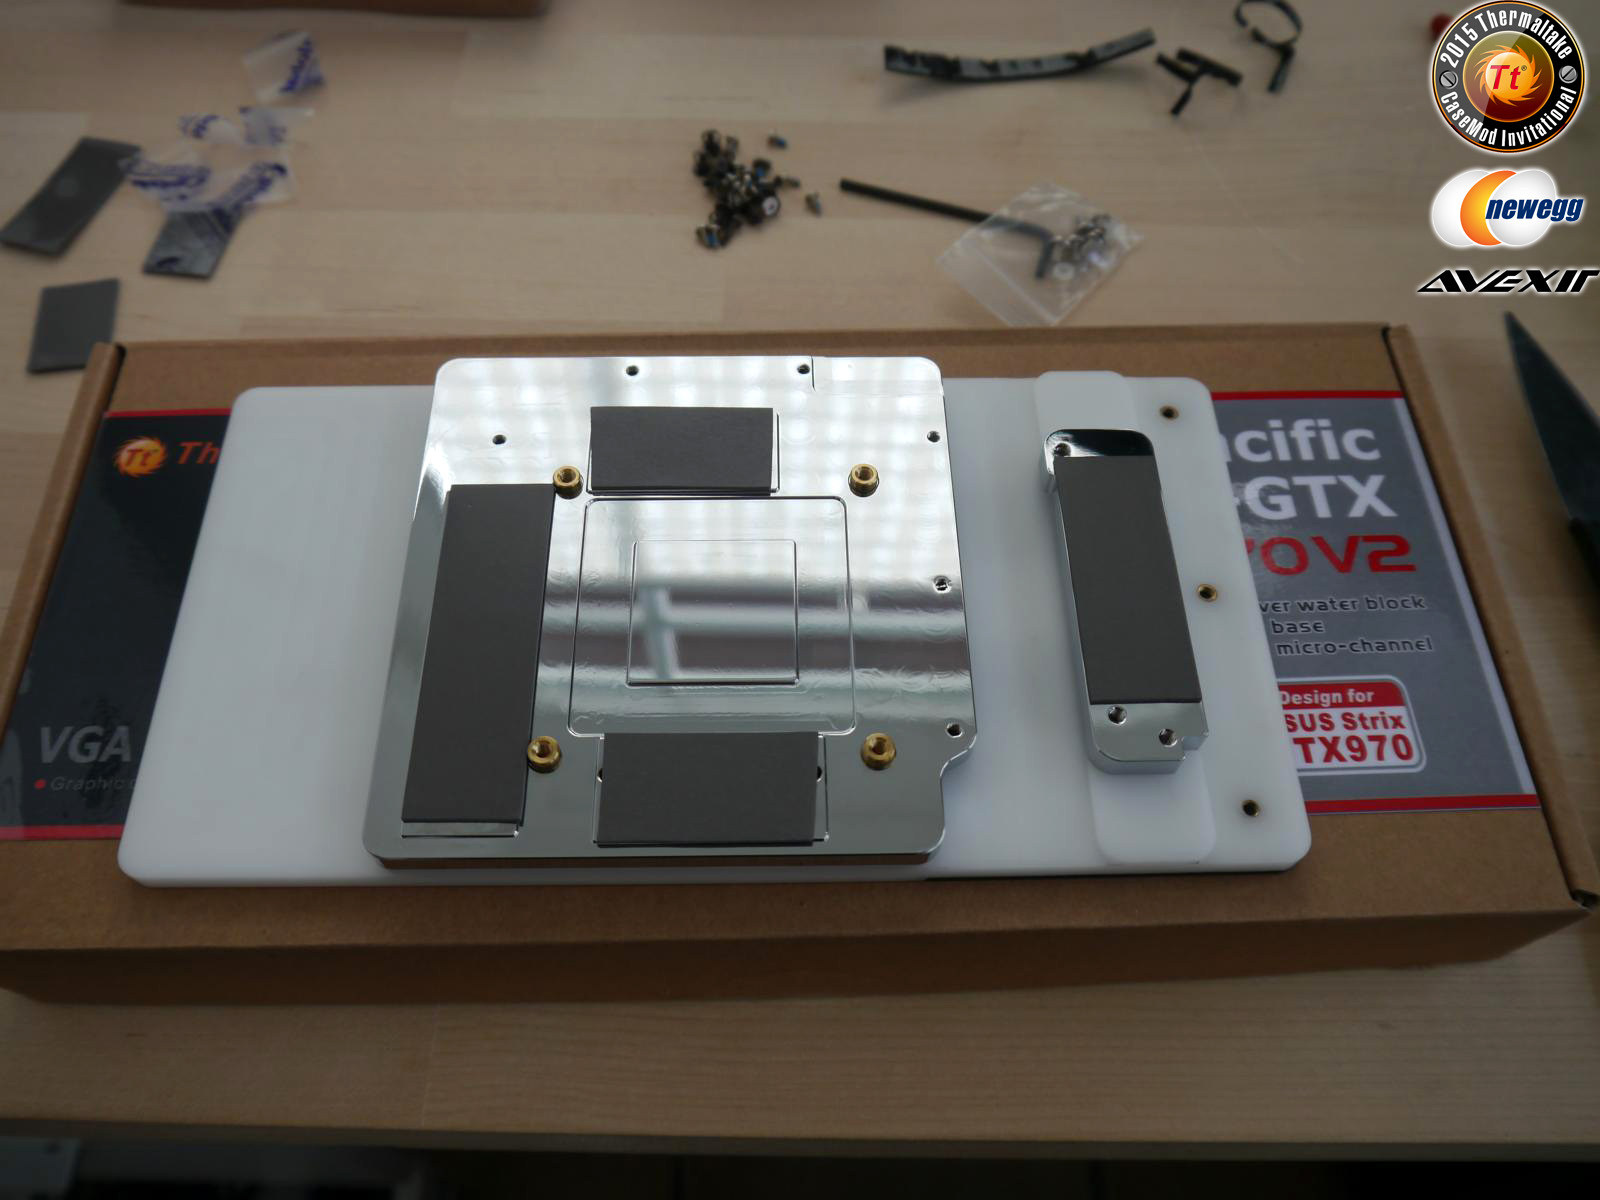
Asus Strix 970 ohne Kühler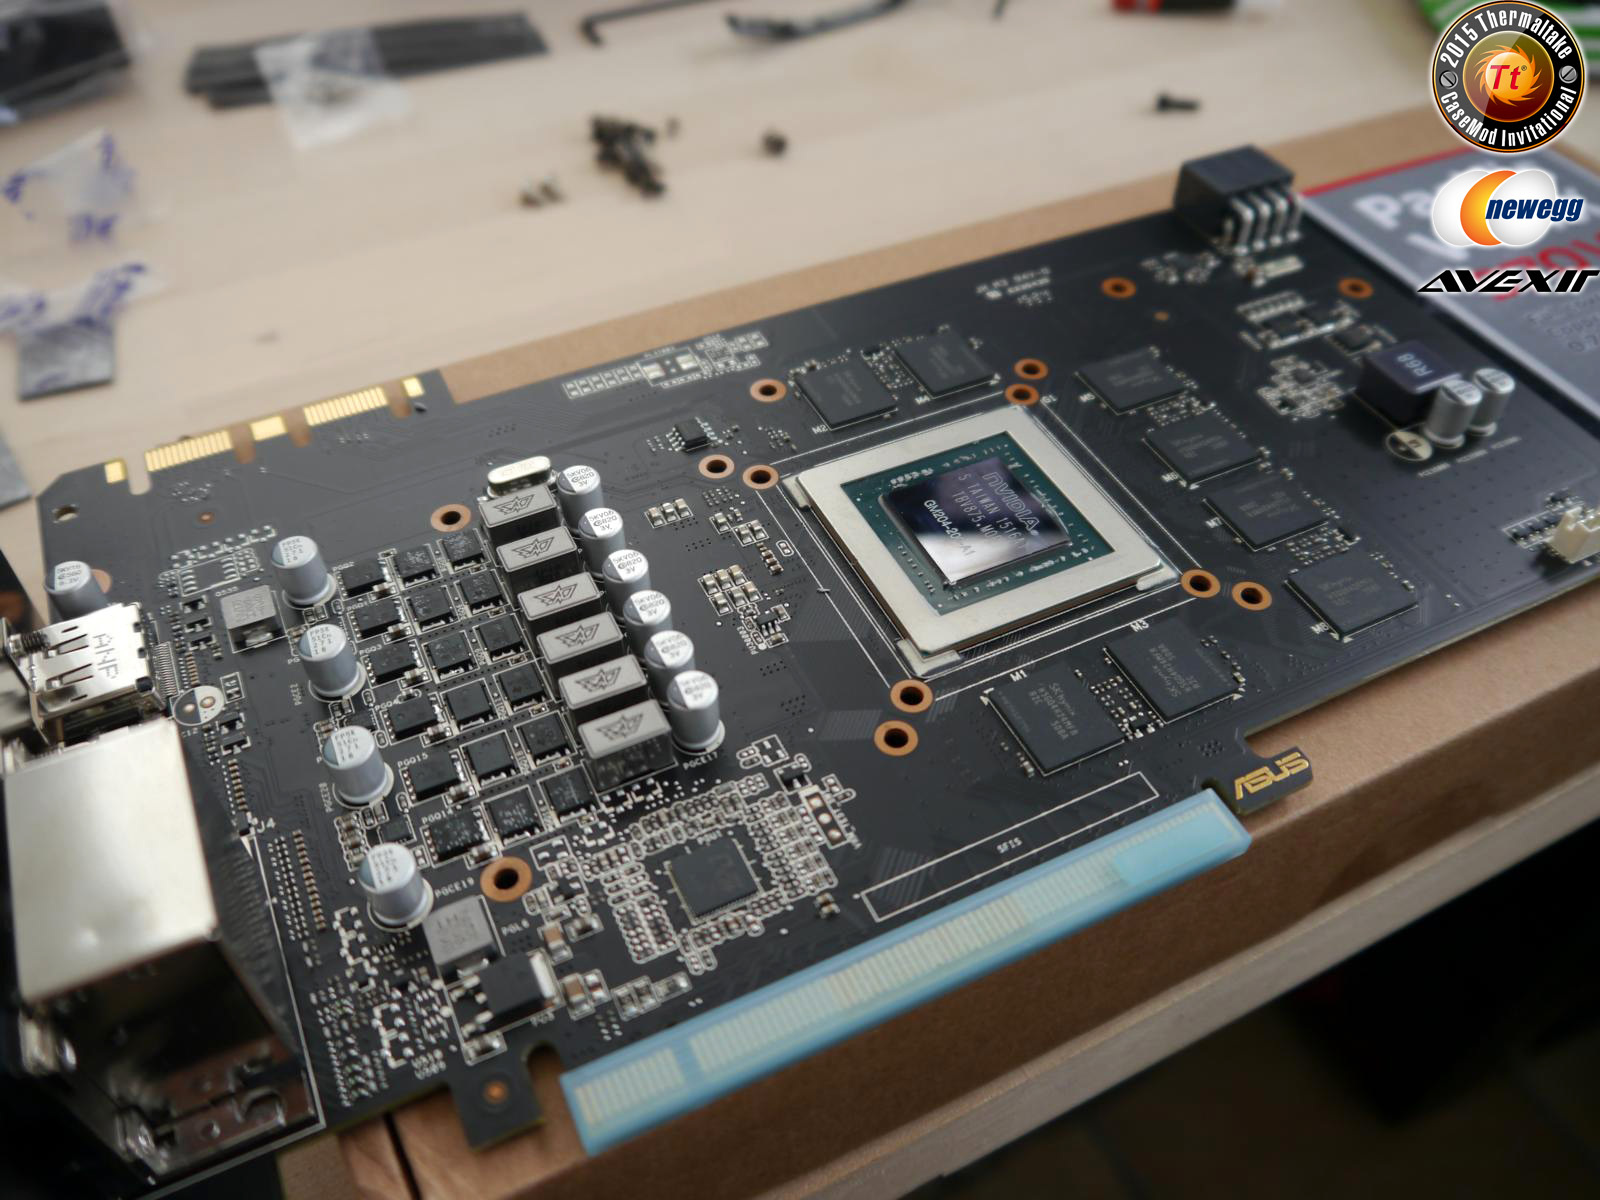
And this is the MSI X99 Gaming 9 ACK painted gold bronze
The three graphics cards from Asus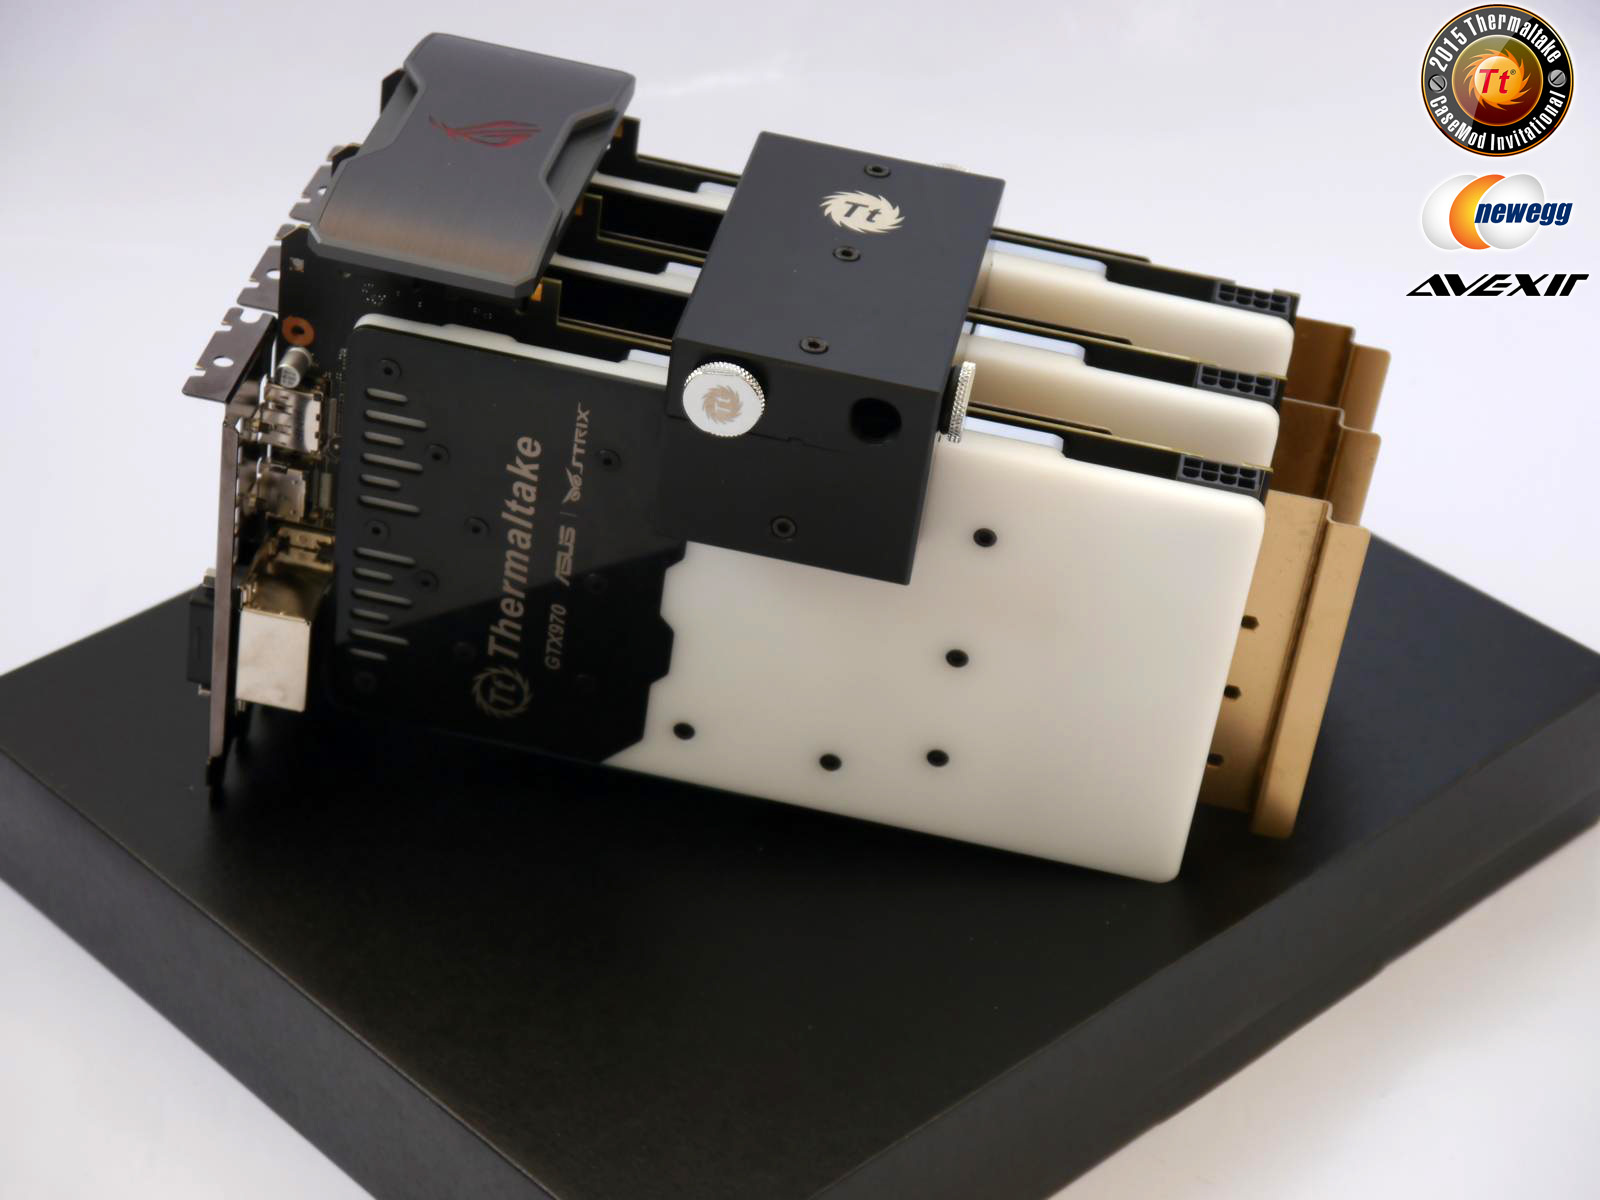
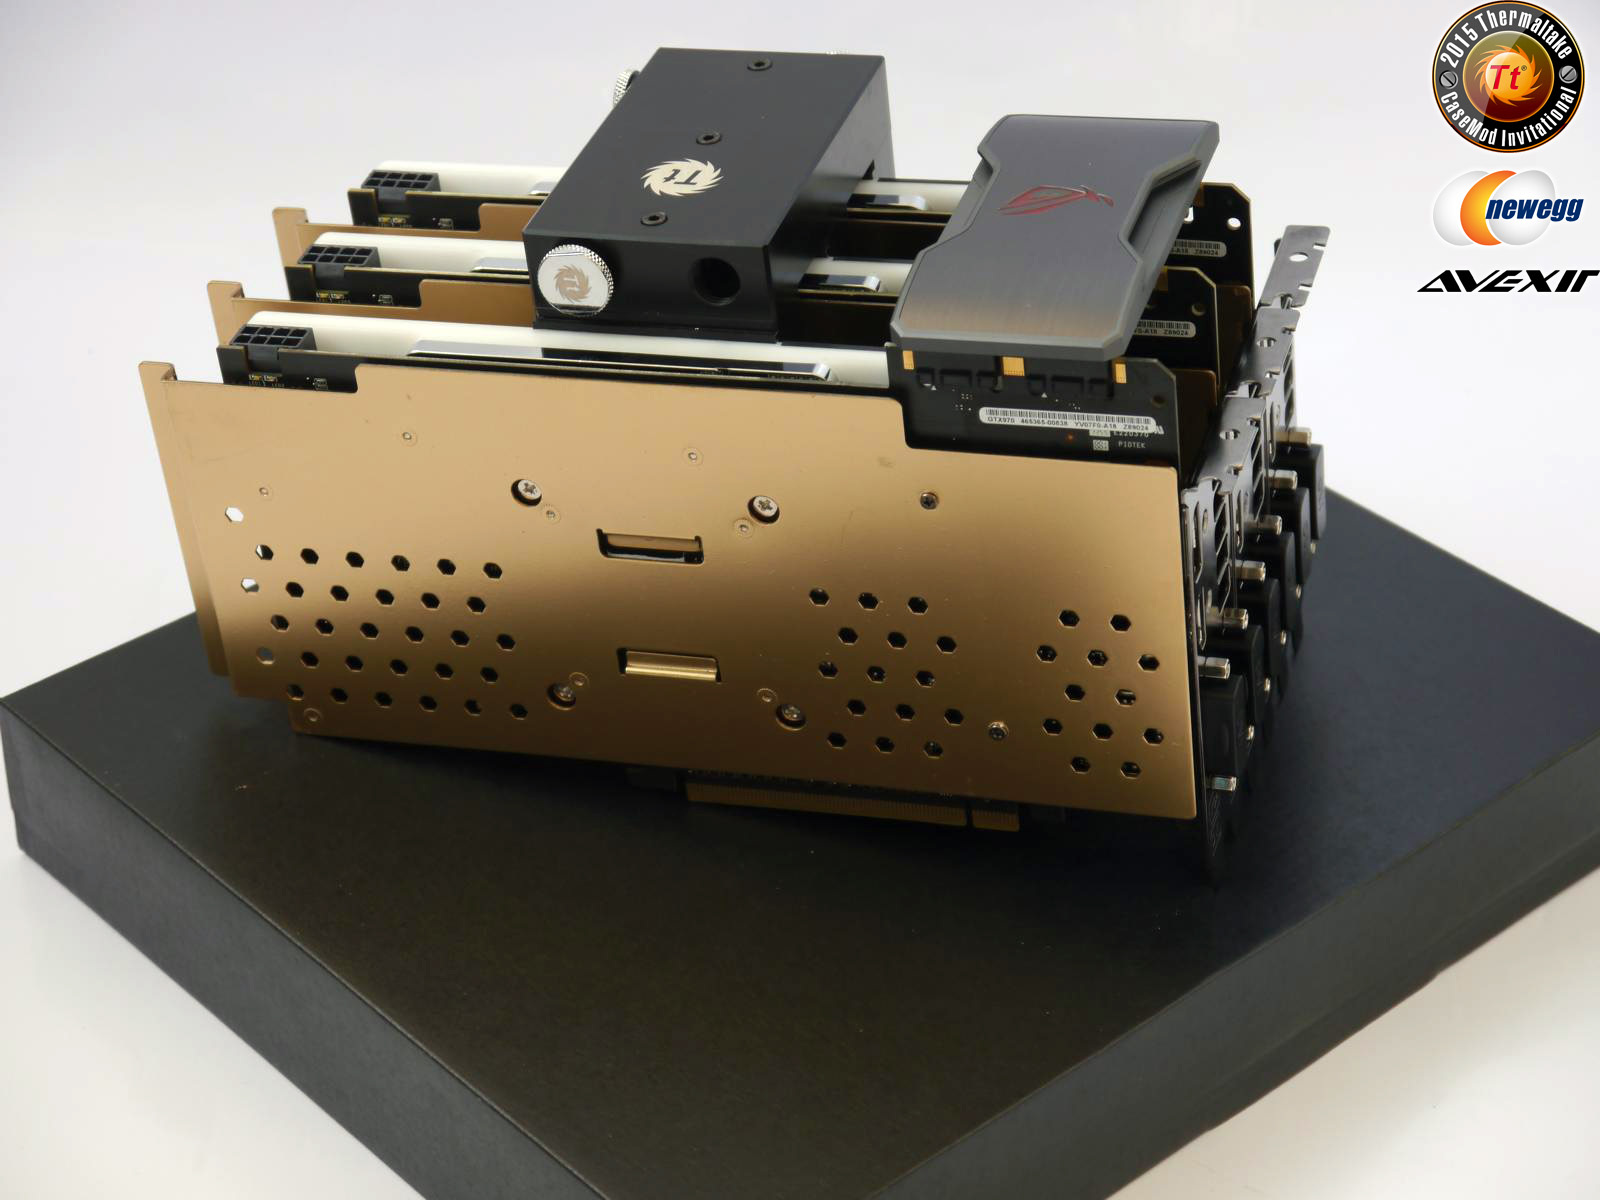
And this is how the cards look on the mainboard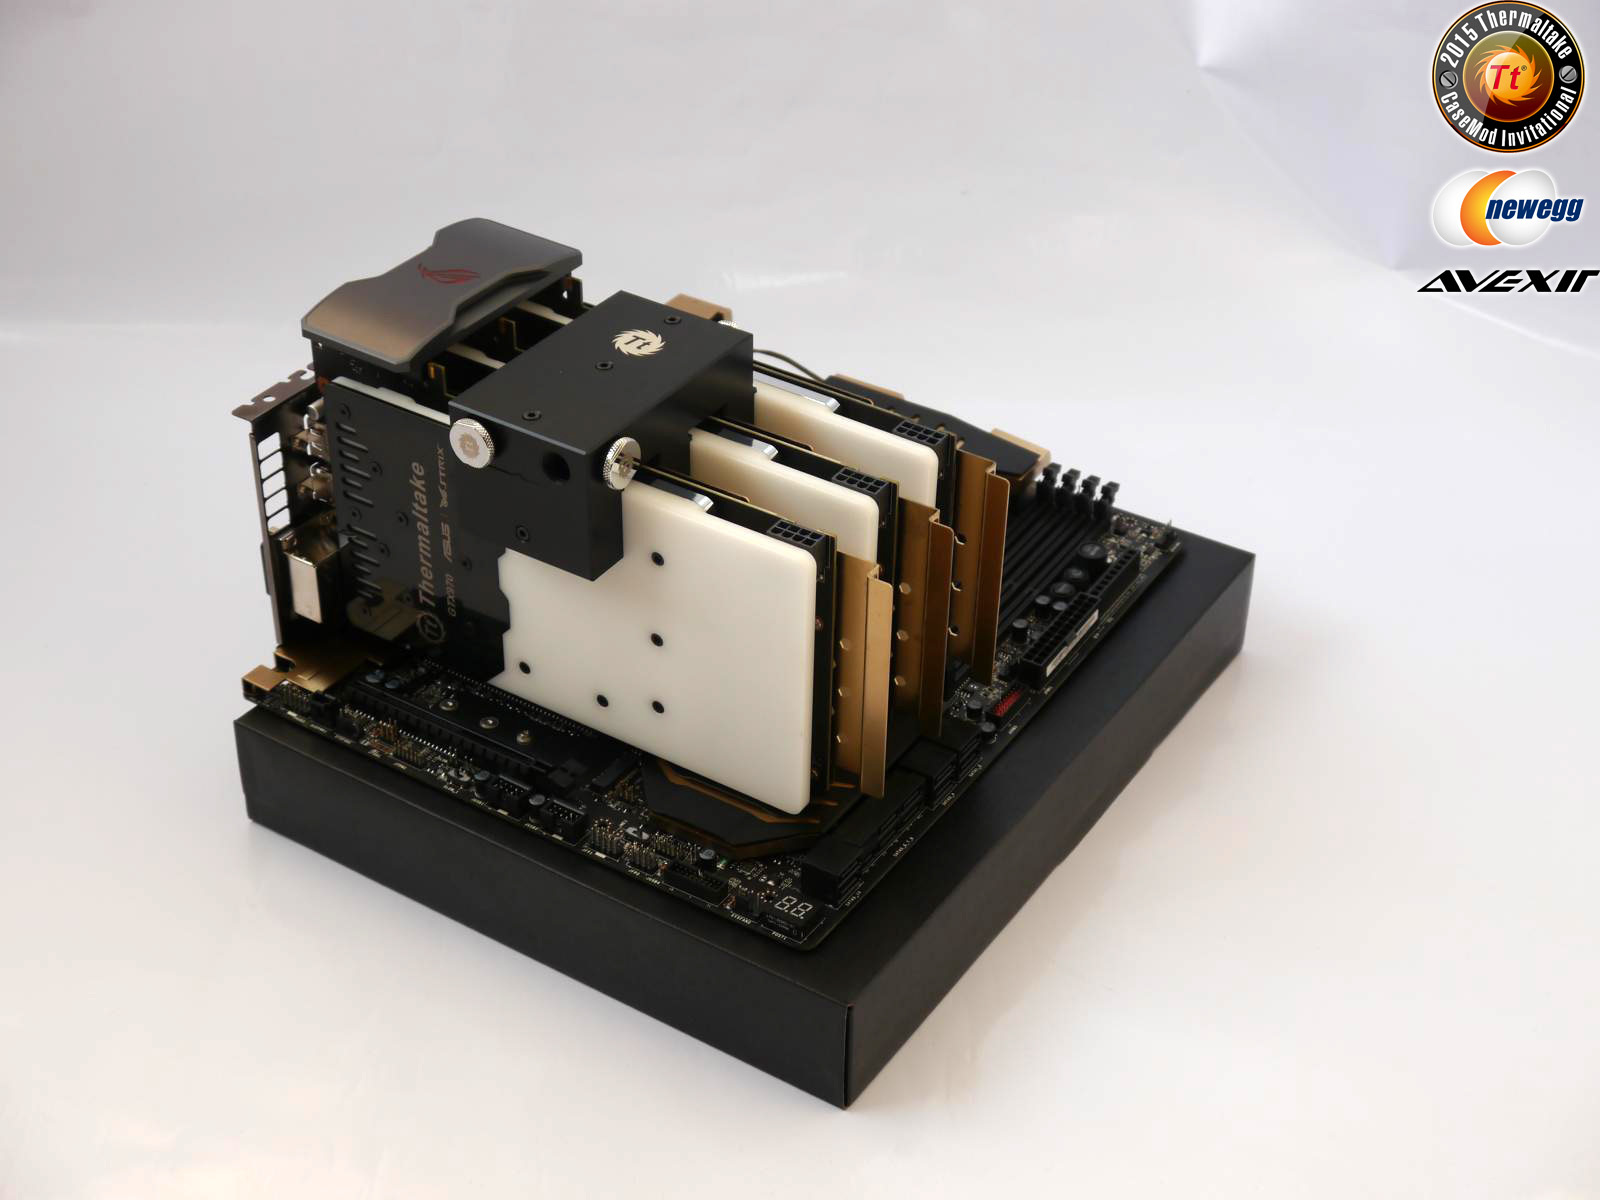
-
Hey Djec,
the plexi was processed with a laser
-
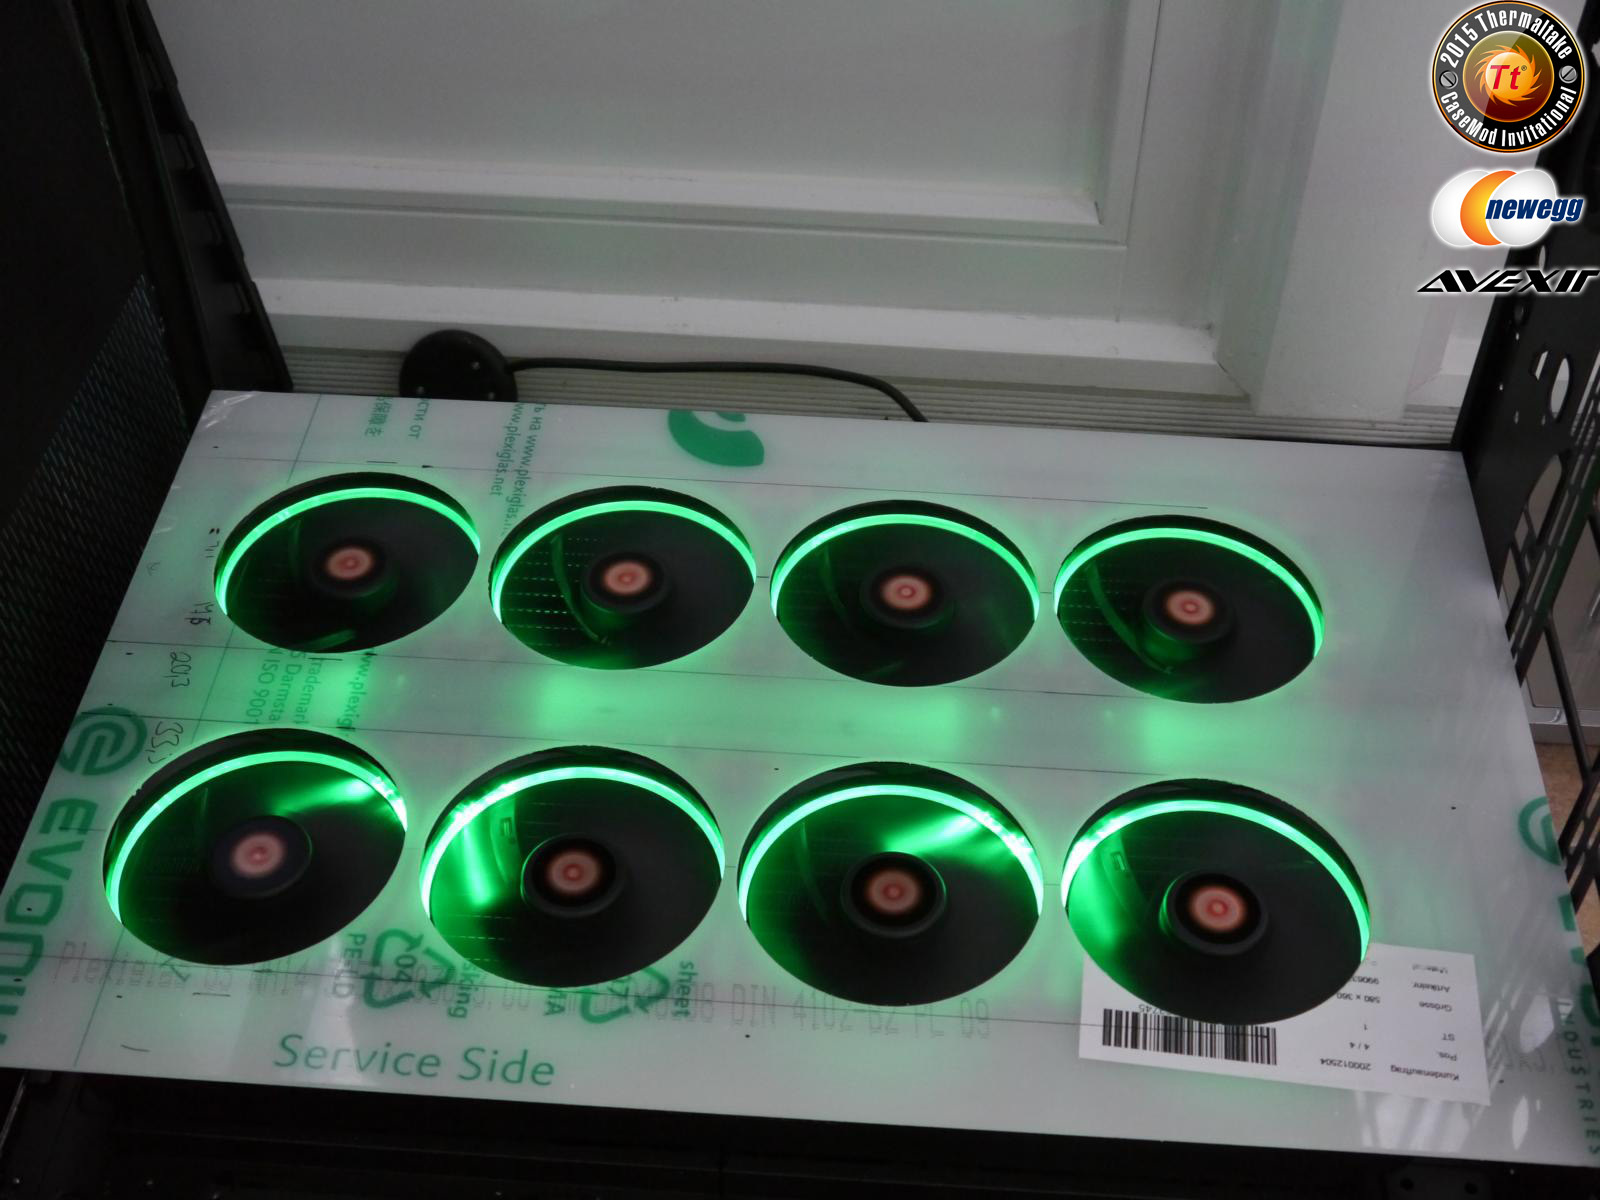
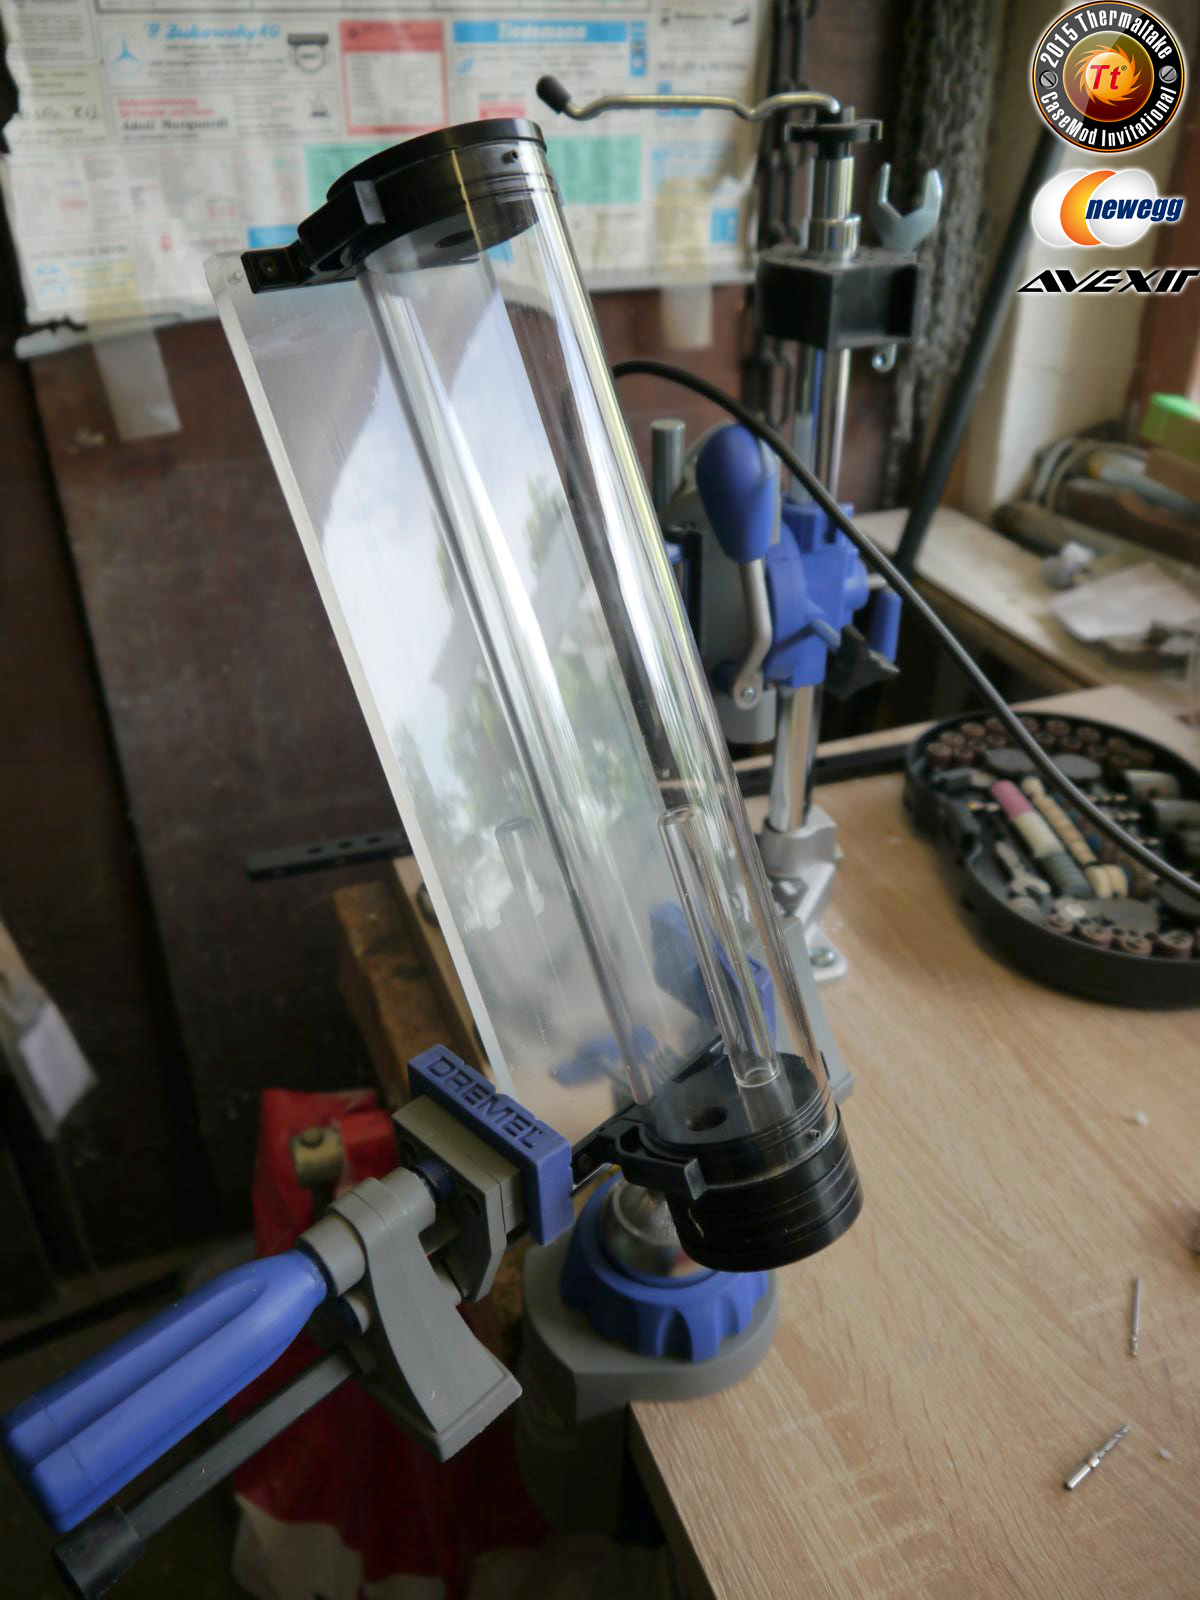
Today I could finally continue.
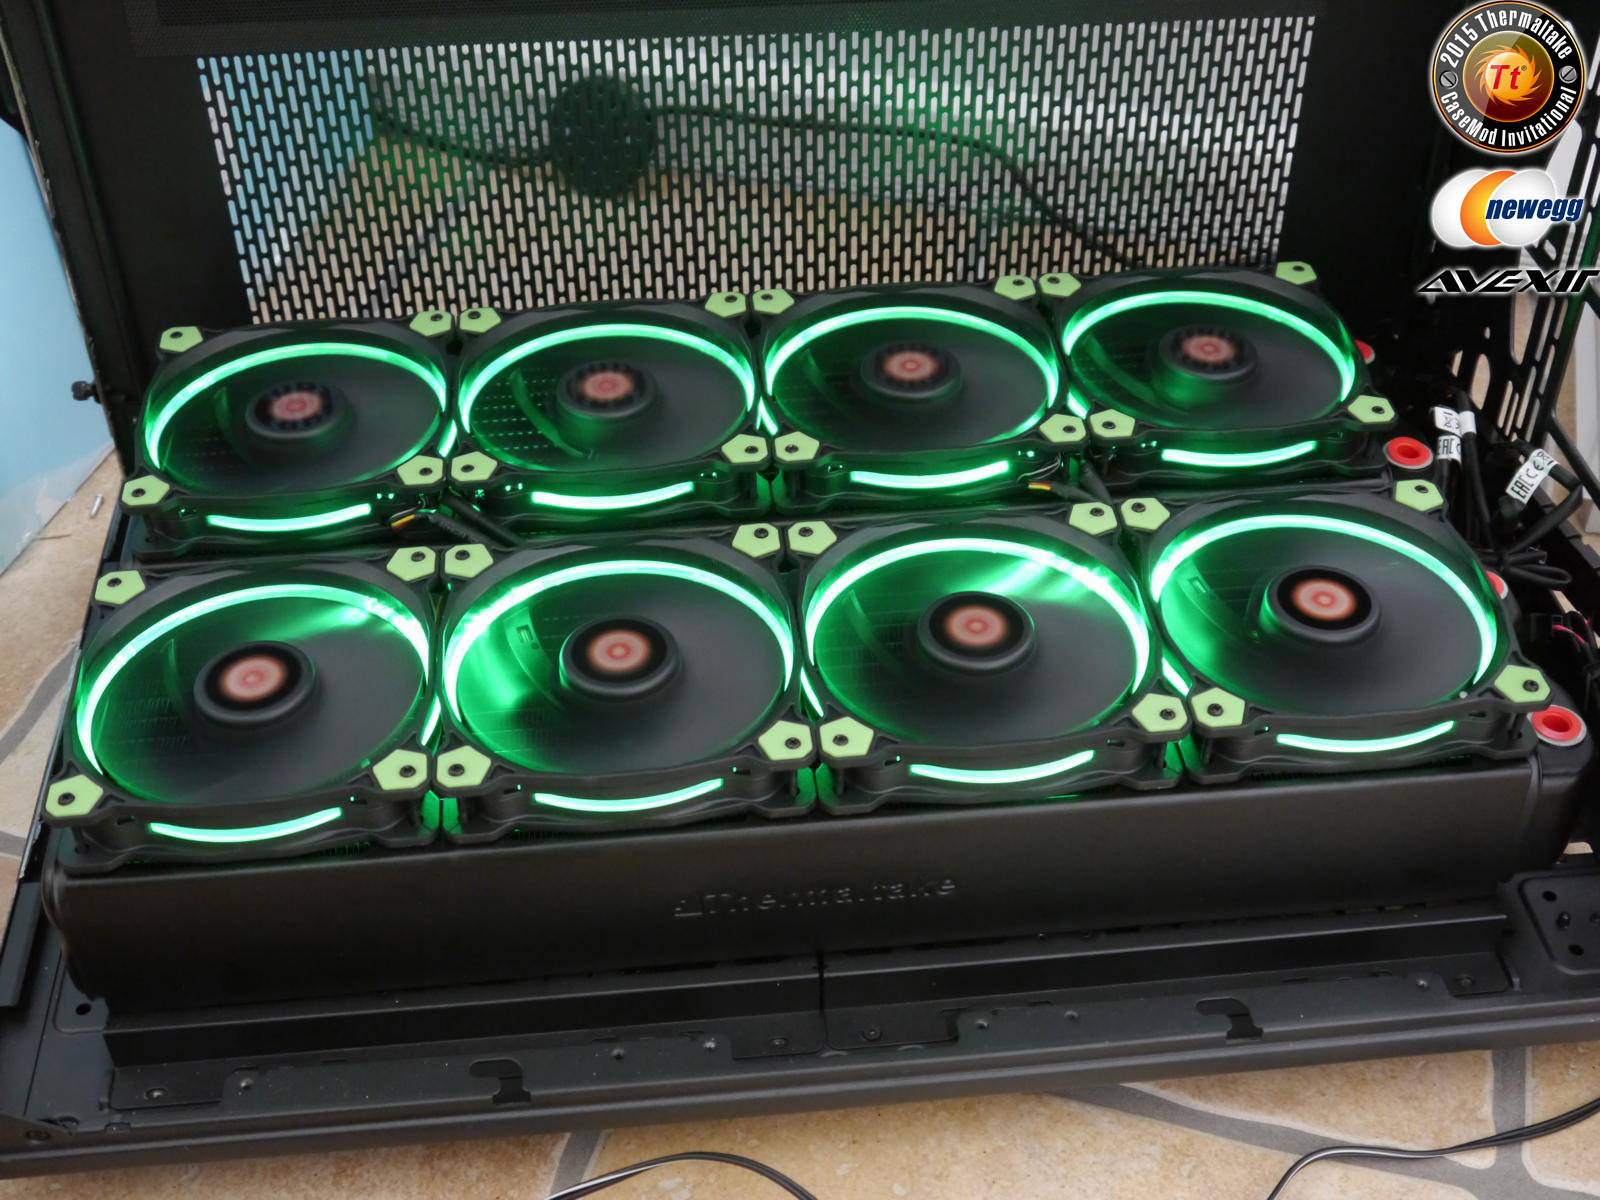
The two 480 radiators have been aligned at the bottom of the second Core X9.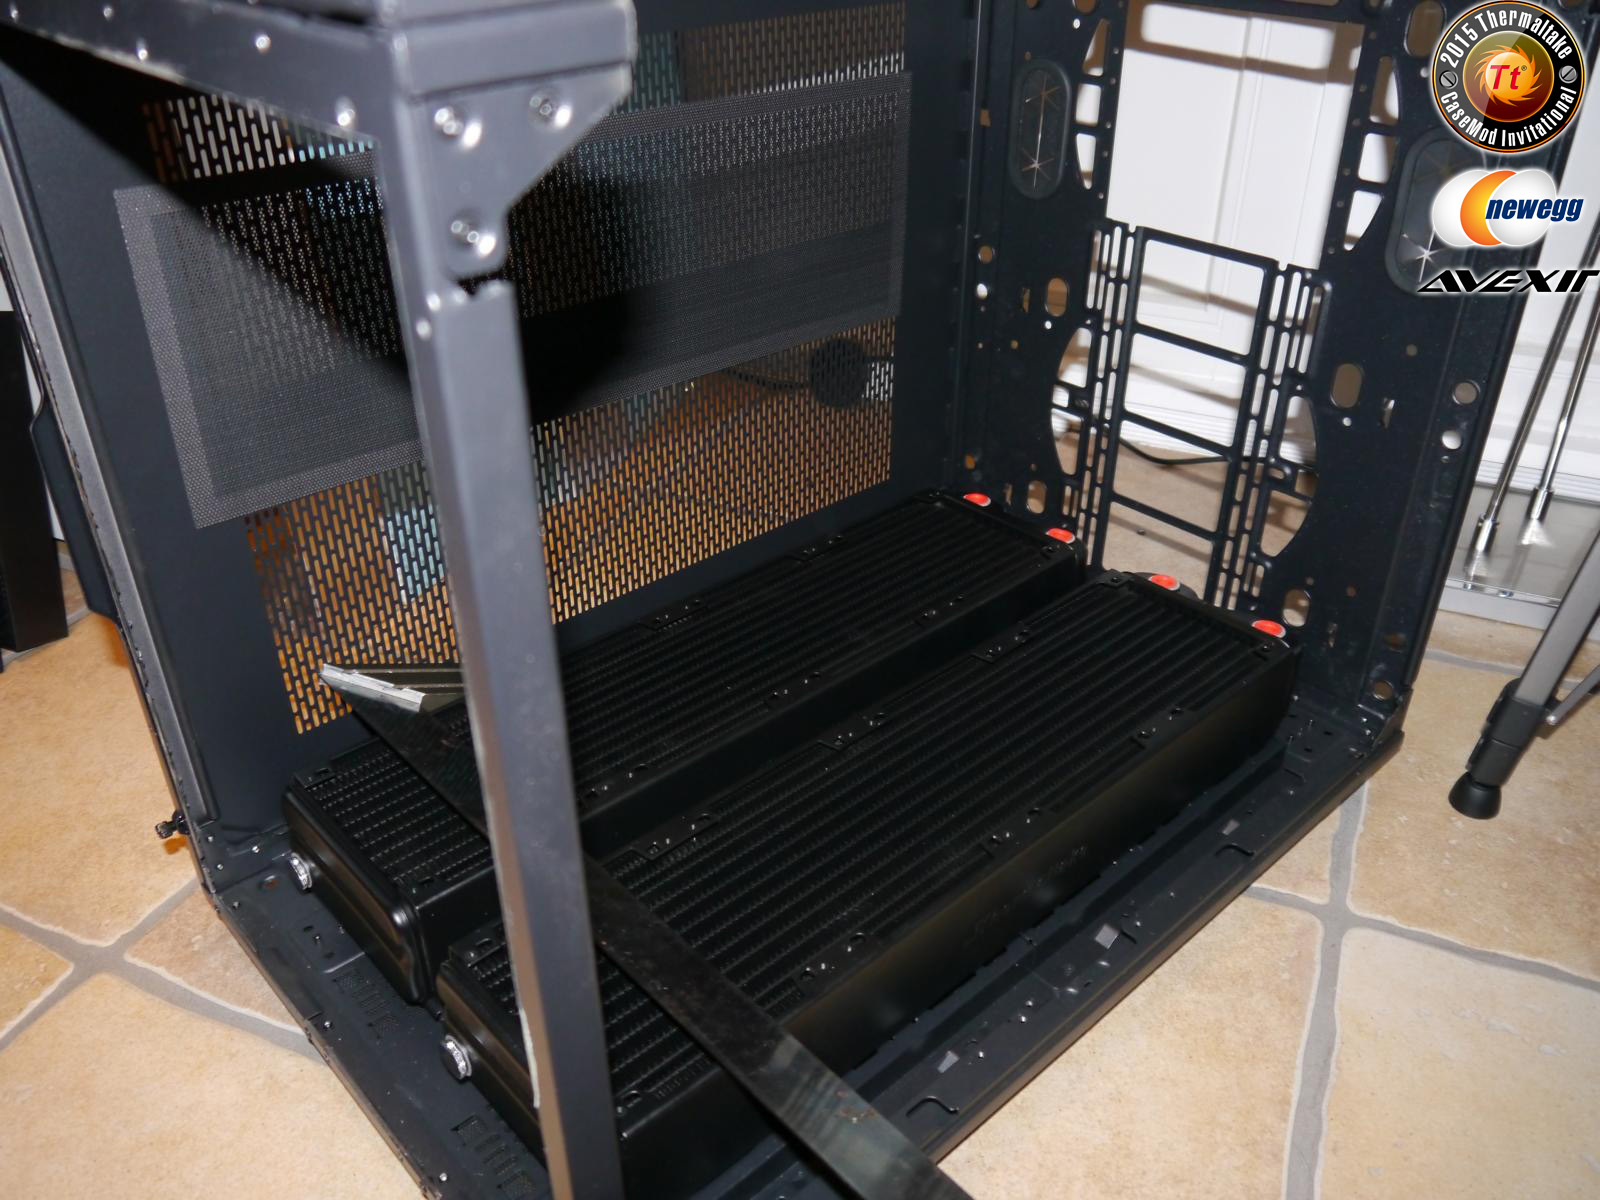
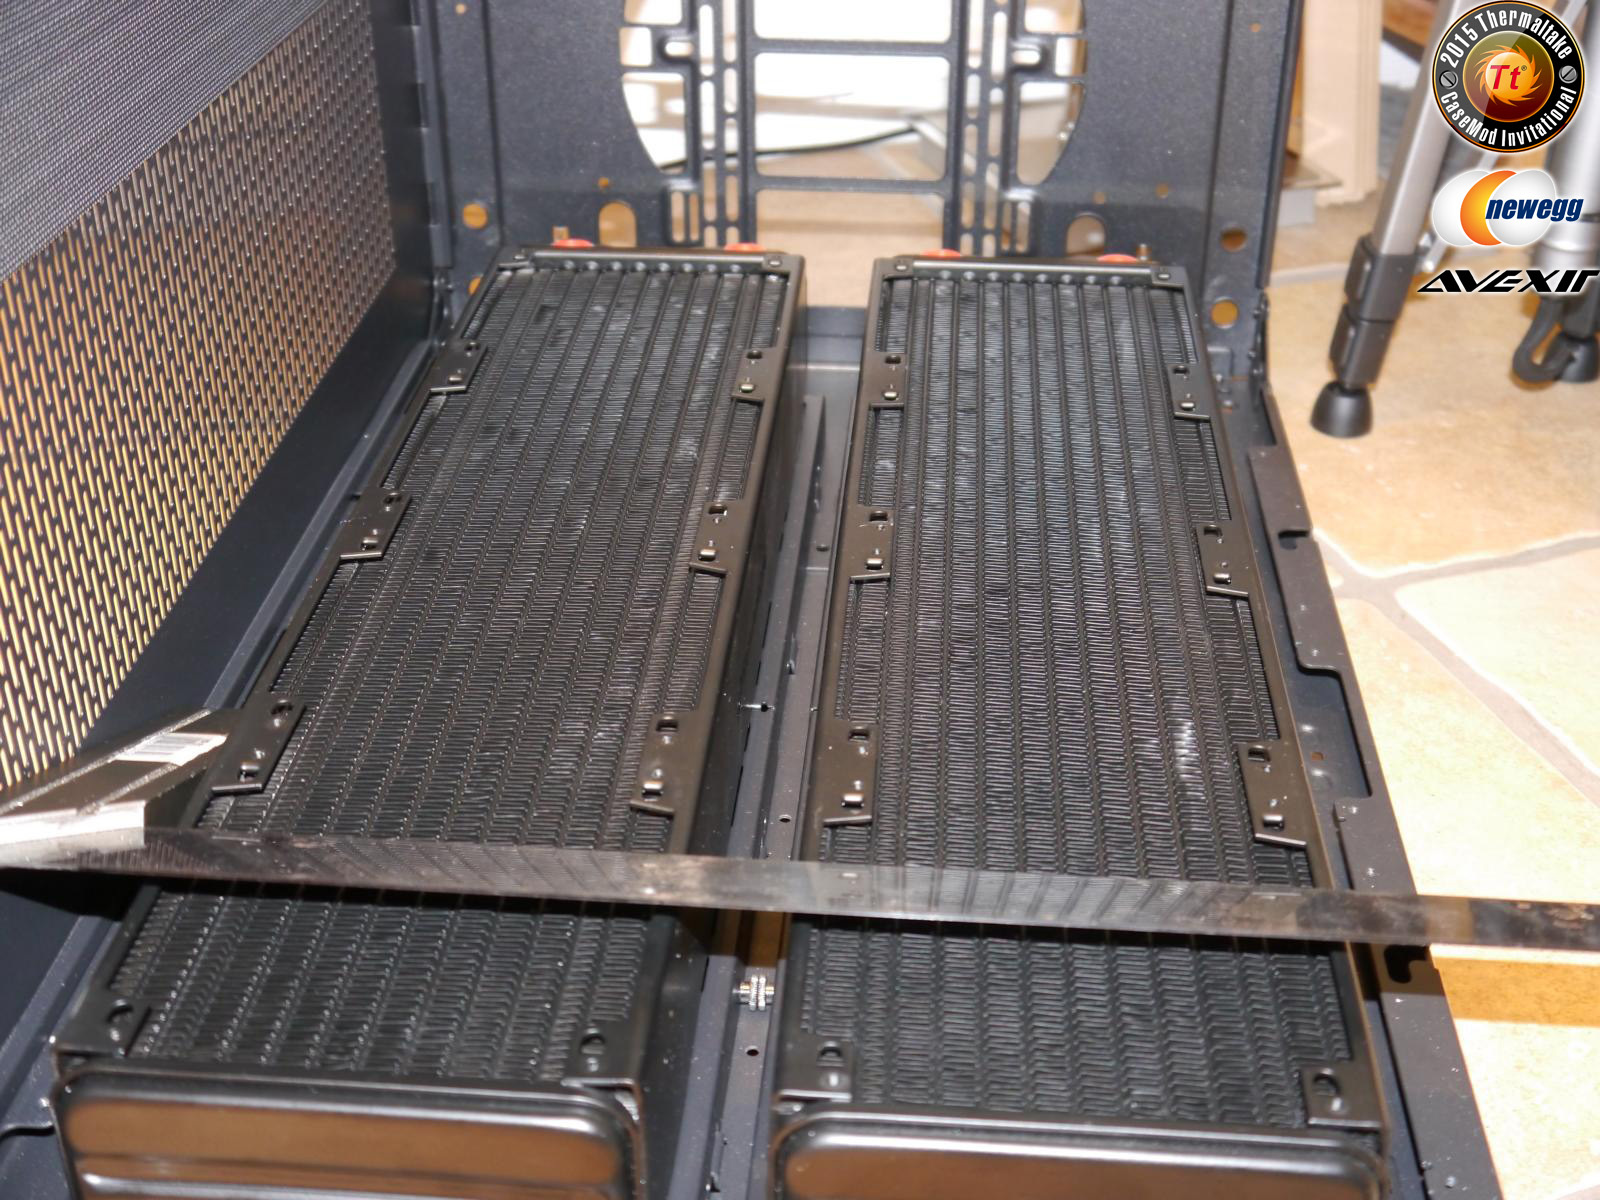
The next step was to mount the fans and start a test run.
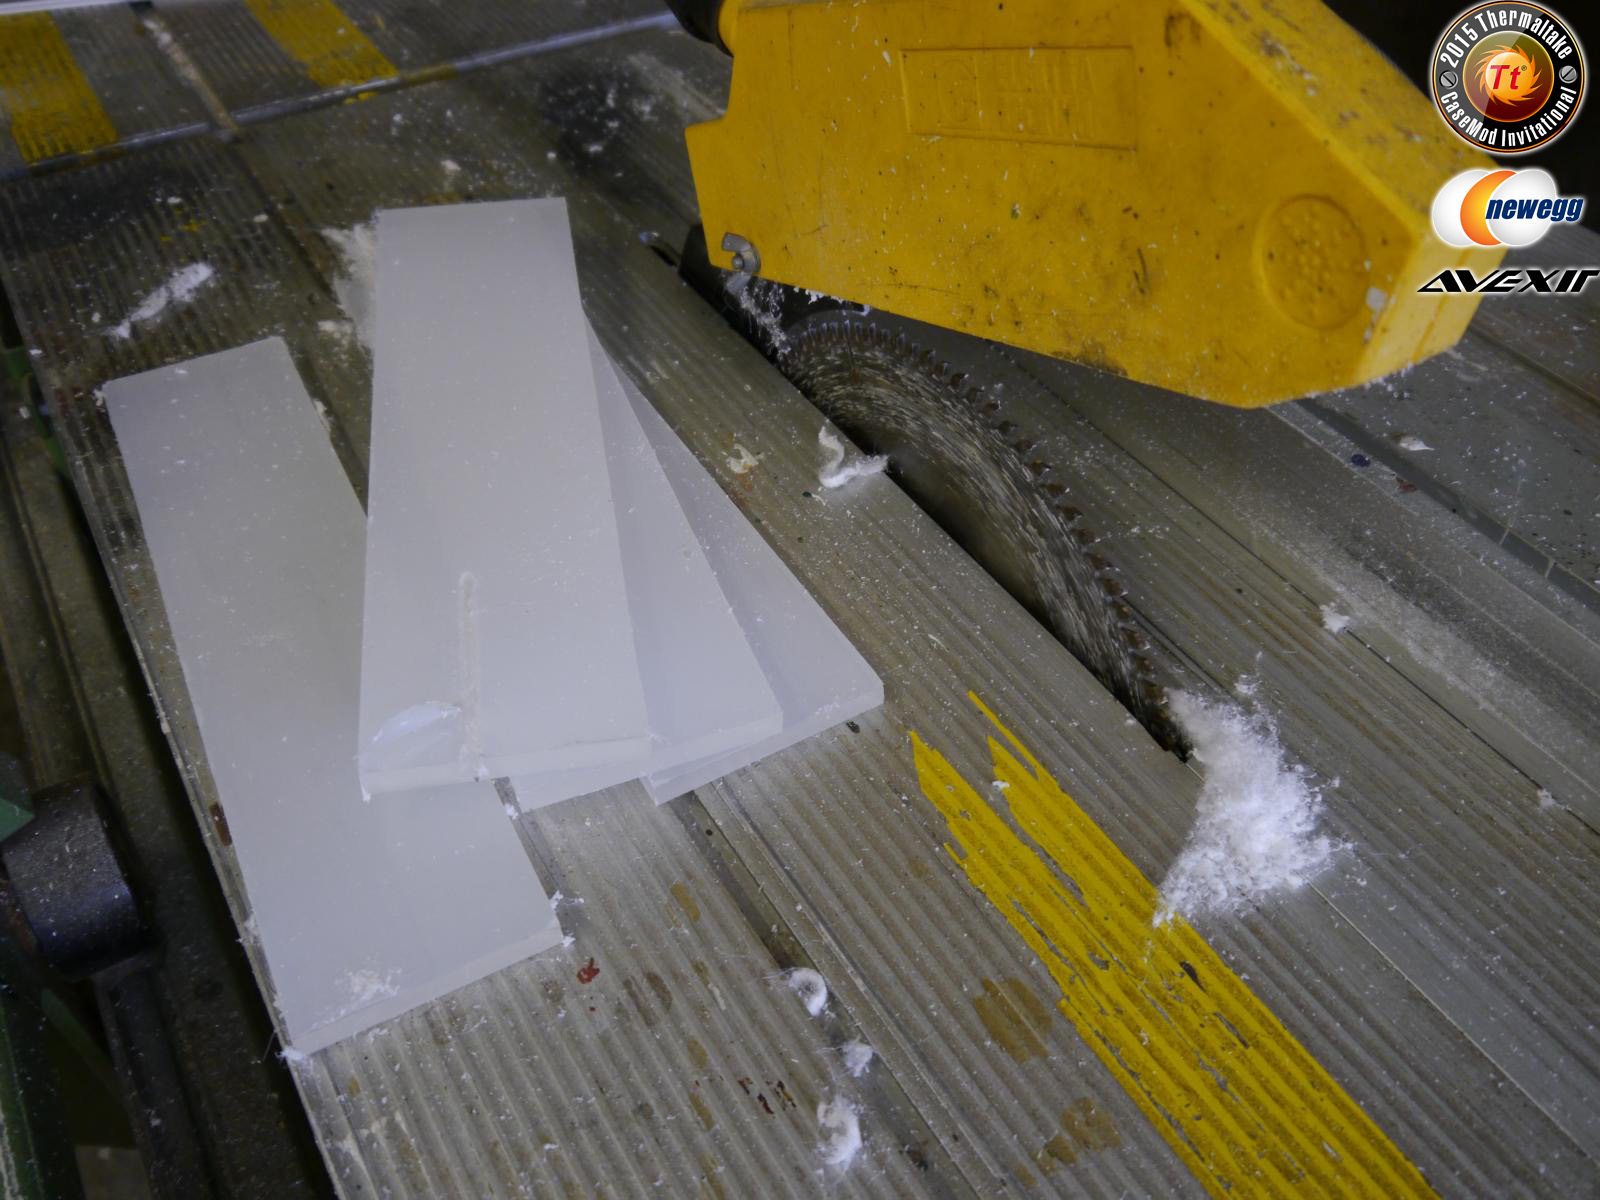
I built a support frame out of wood to avoid pressure on the plexiglass during the drilling sessions.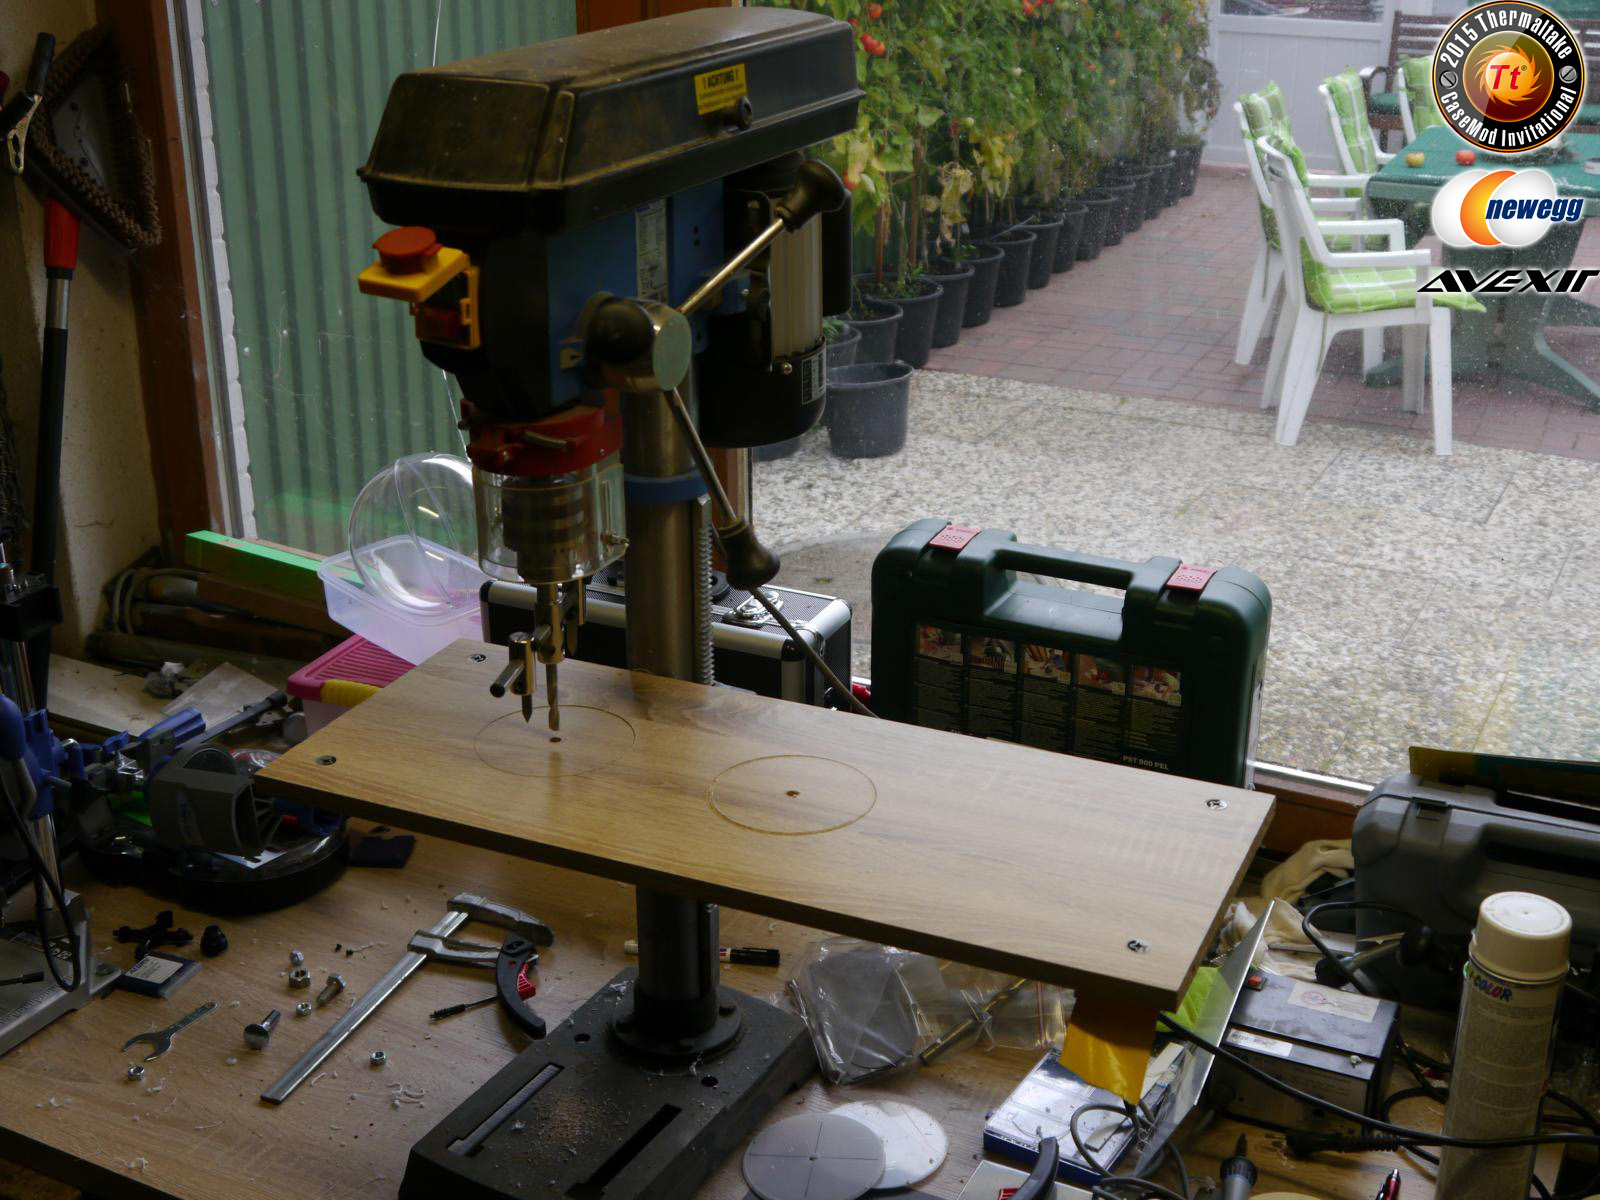
I have marked the fan holes on the plexi glass and then cut them out with a drill press and a circle cutter.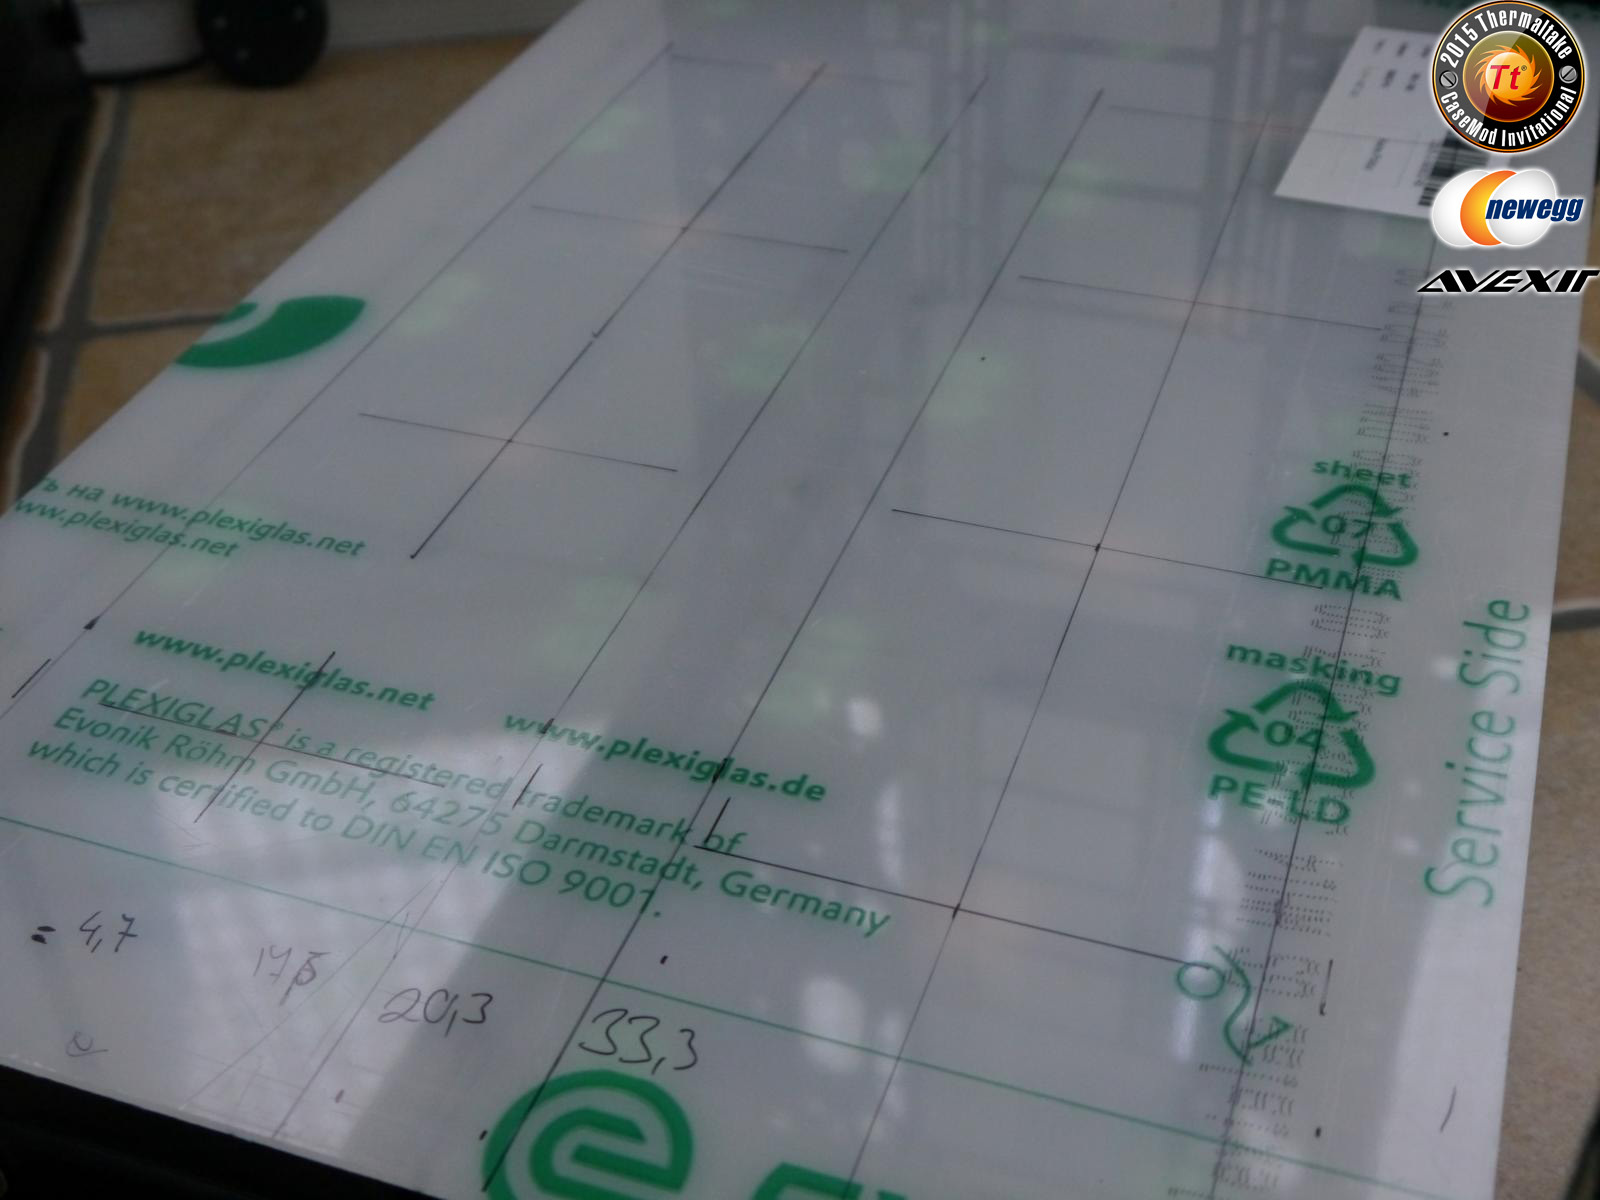
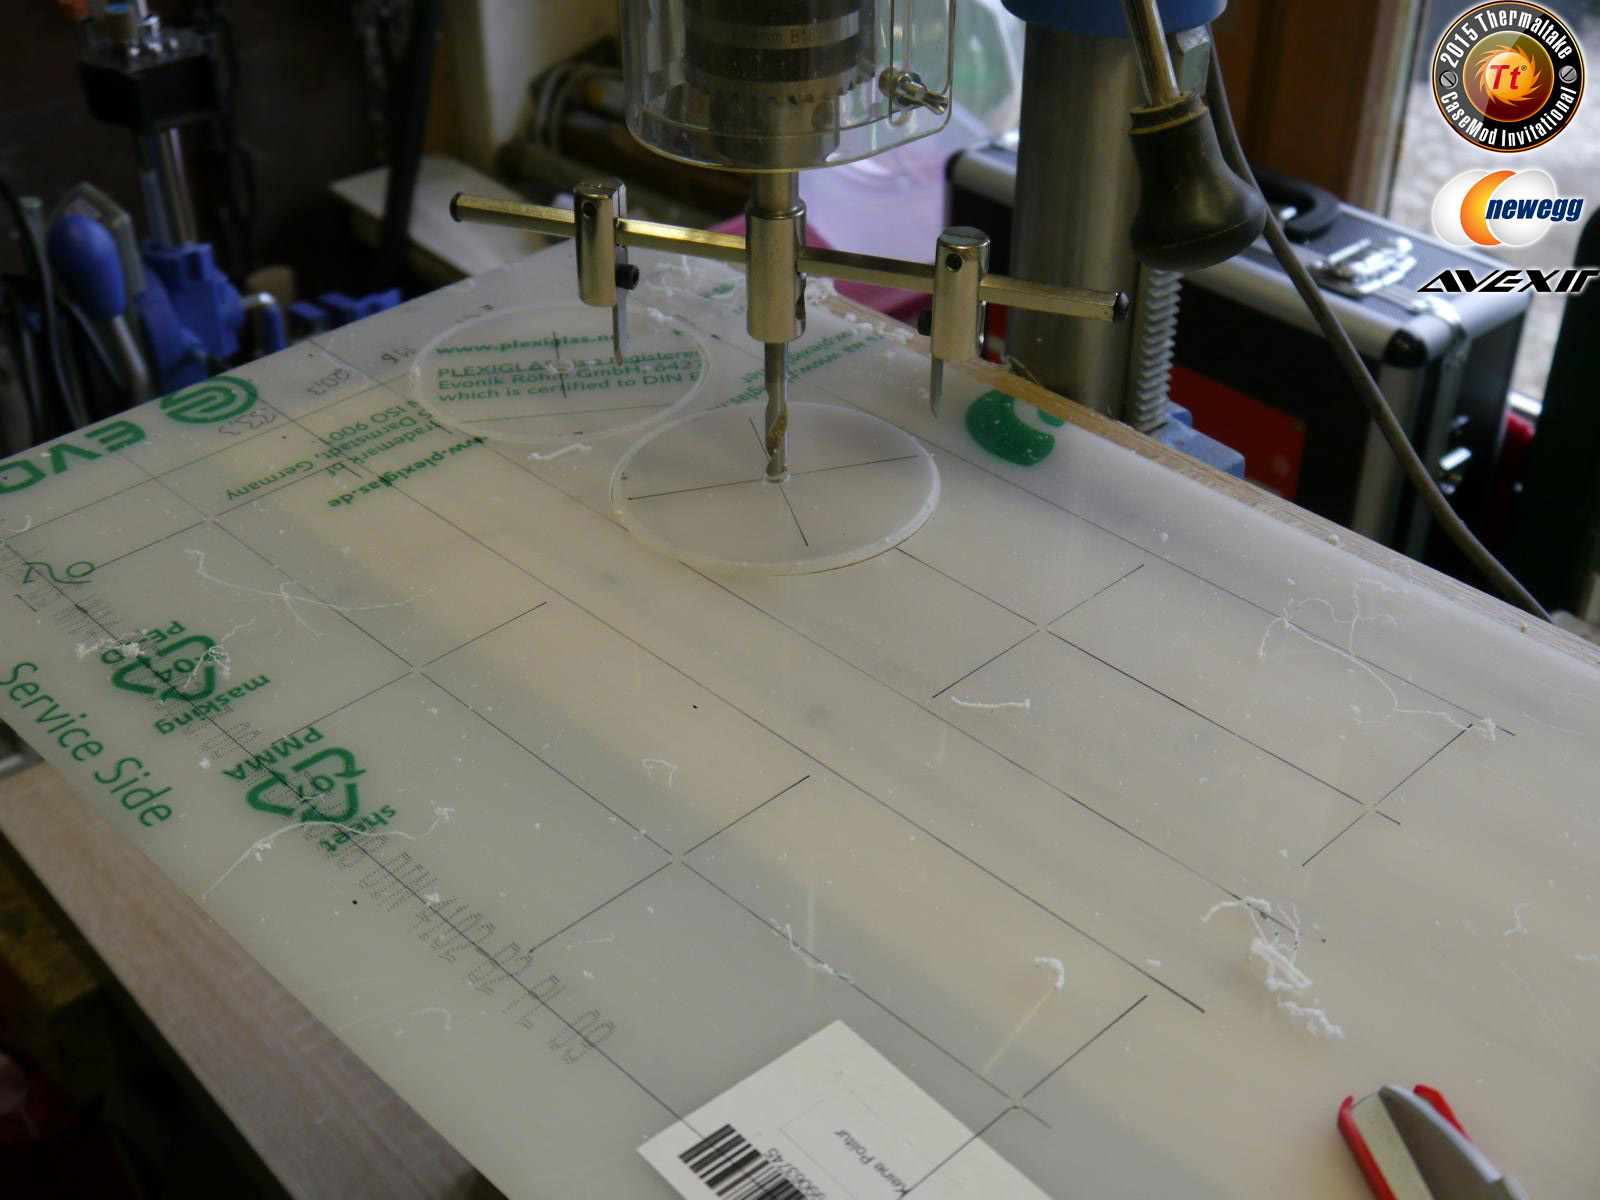
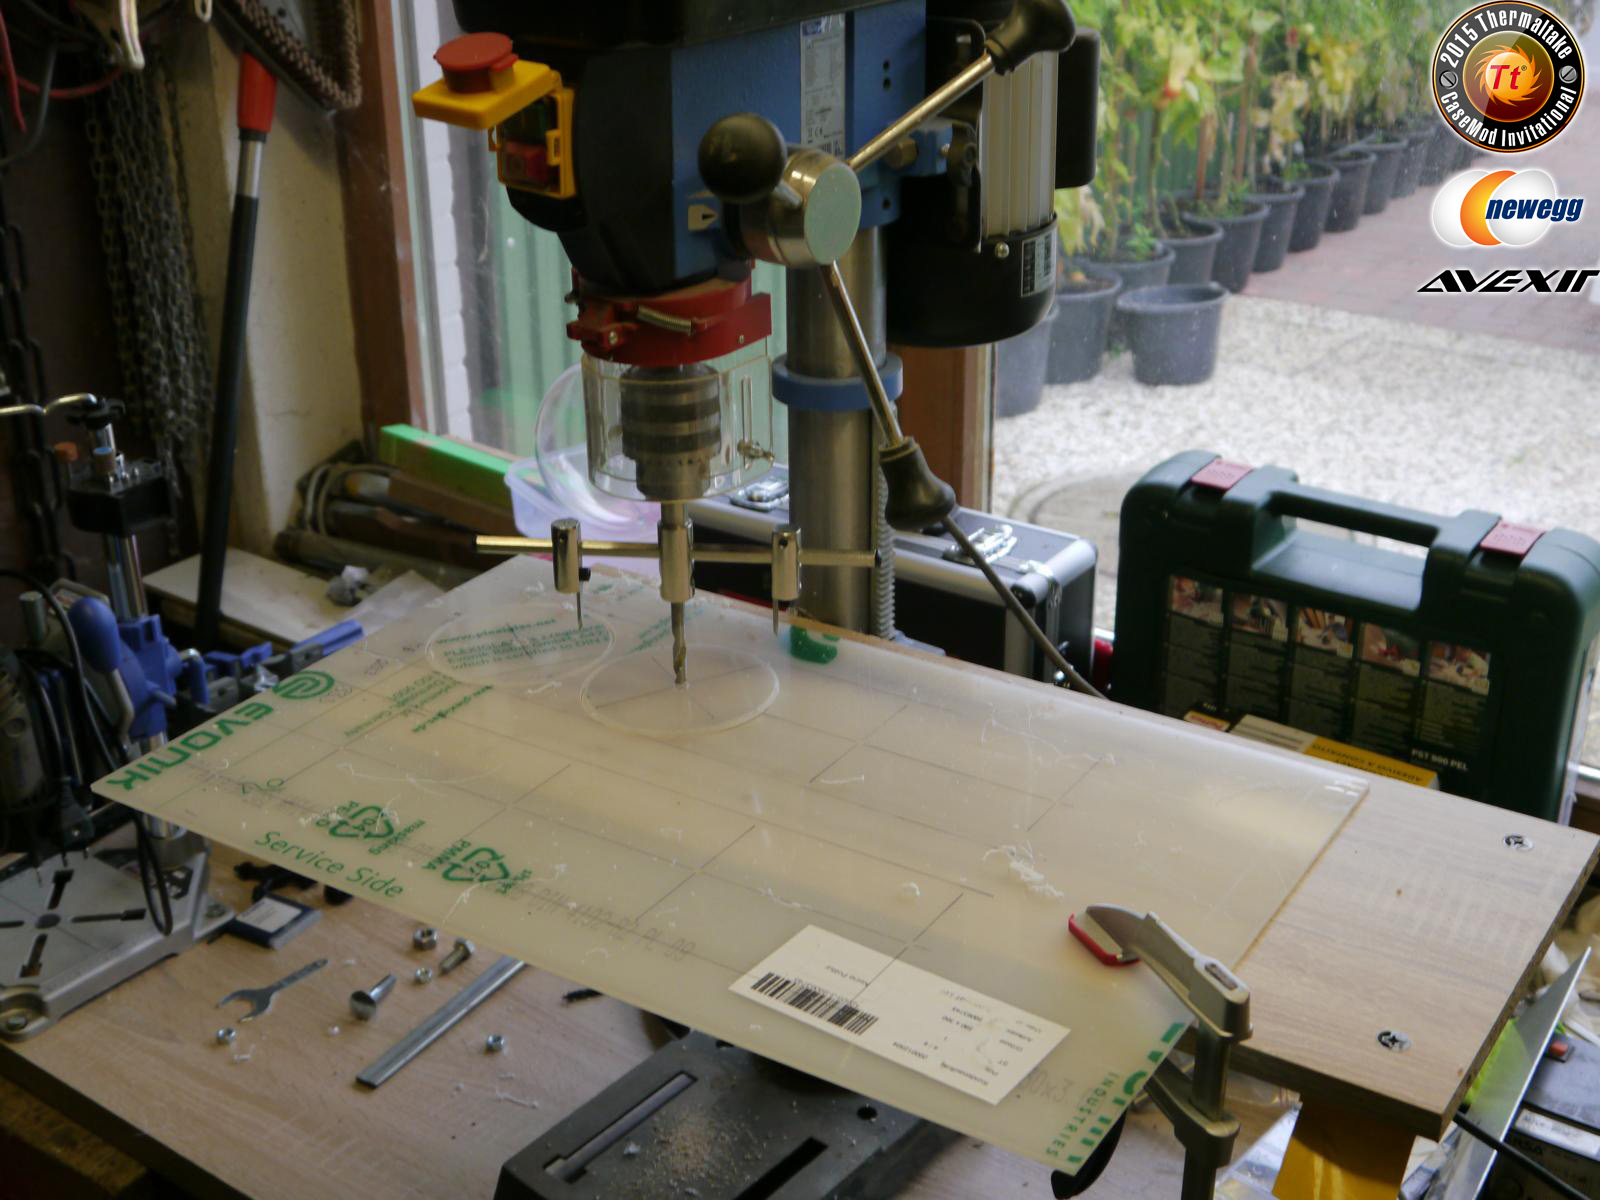
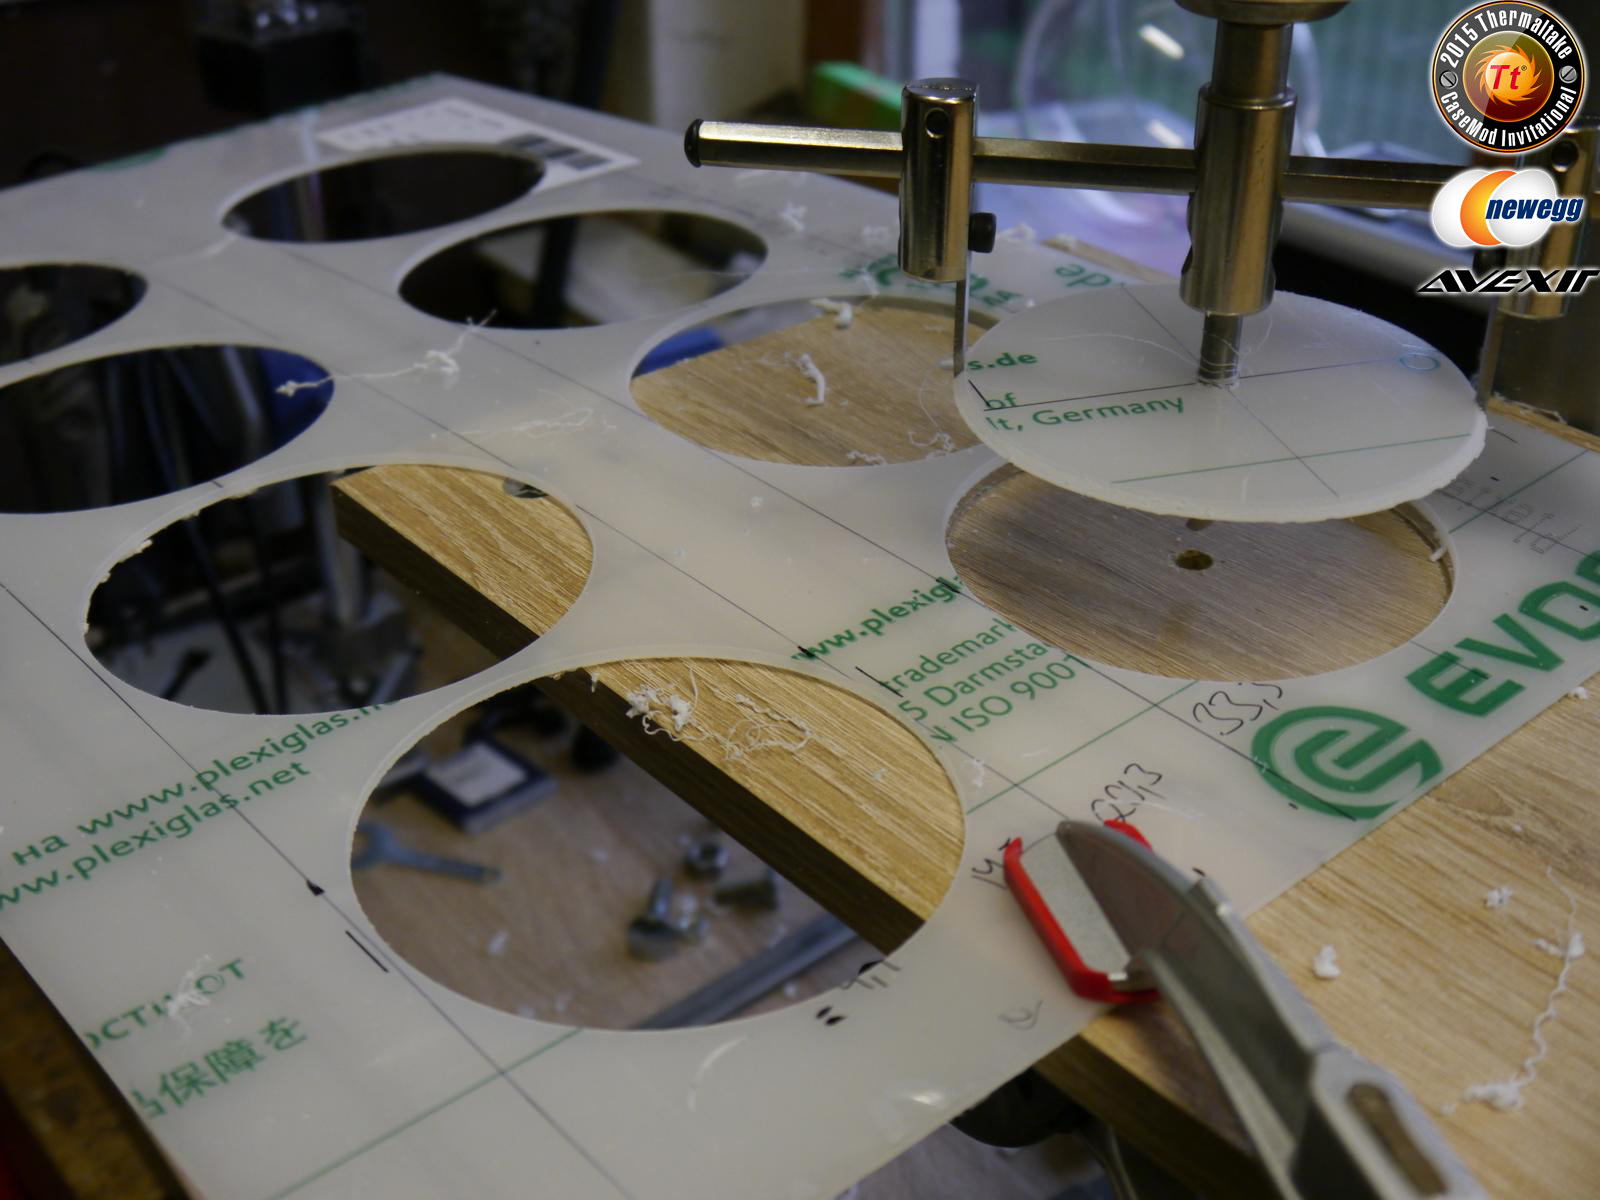
The holes fit, now I just need to sand the edges and I am done.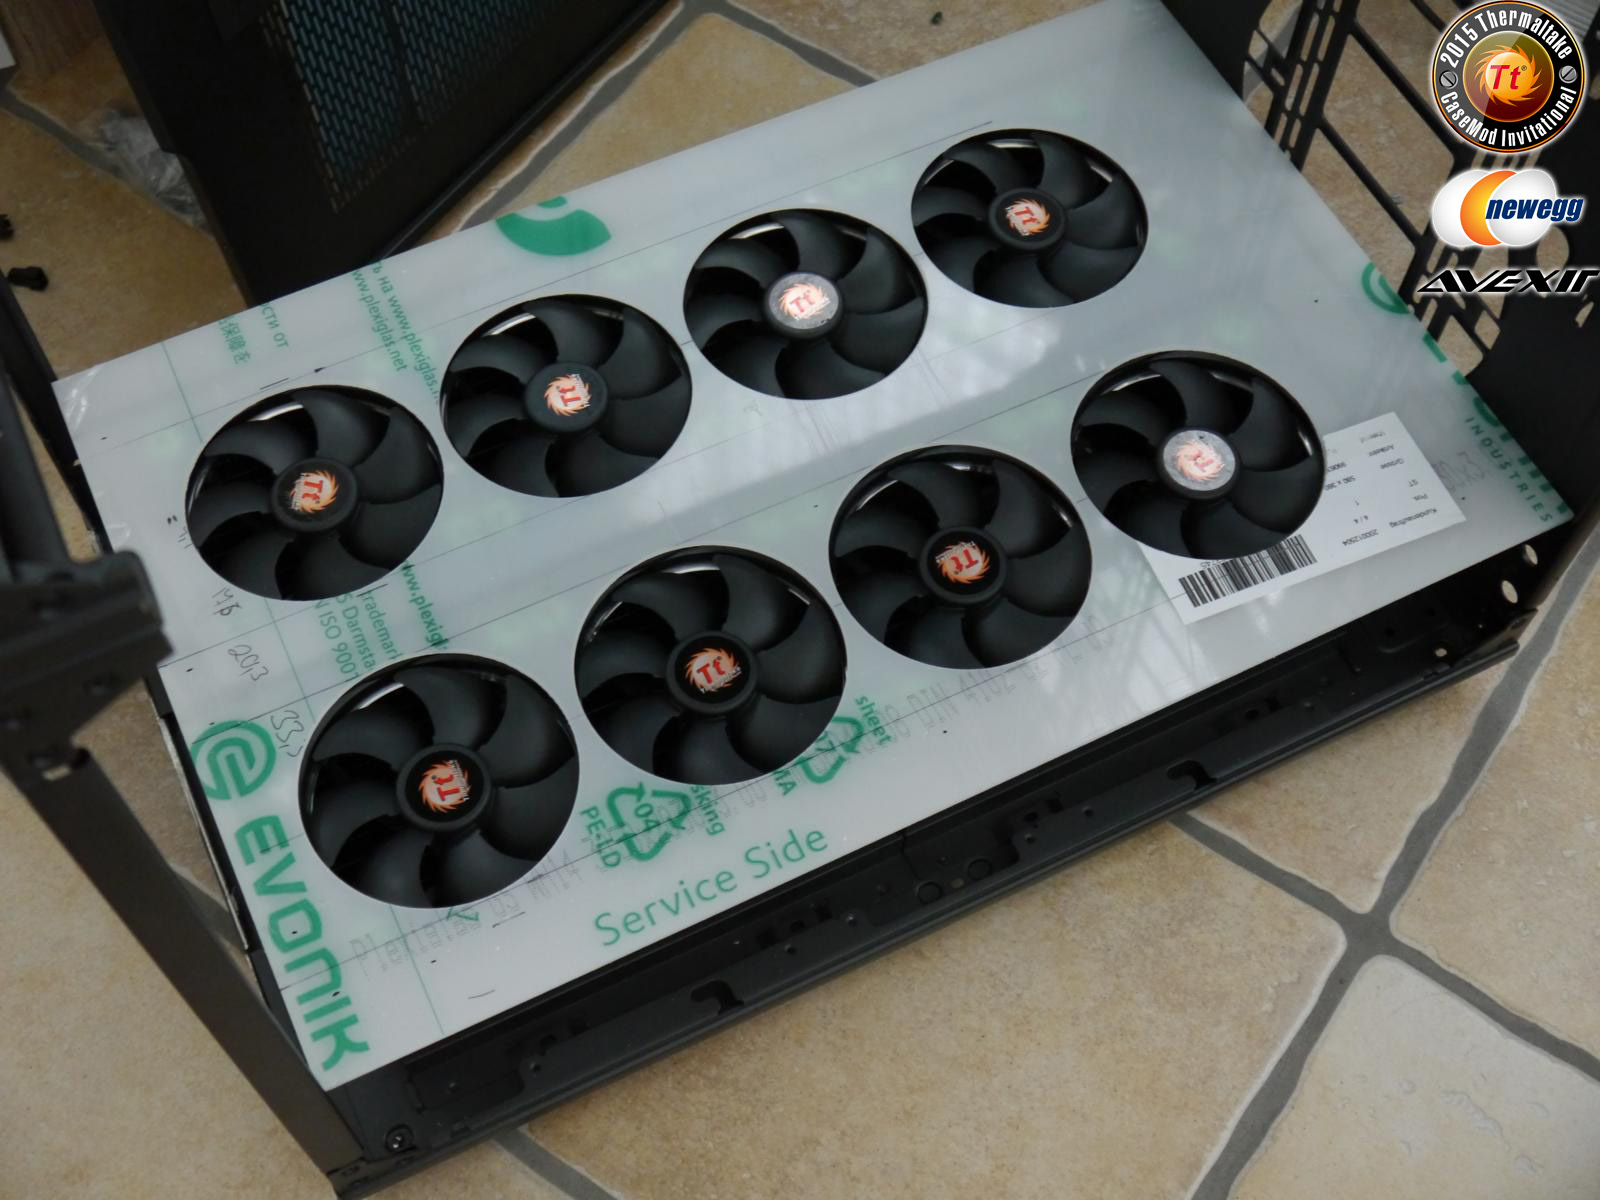
-
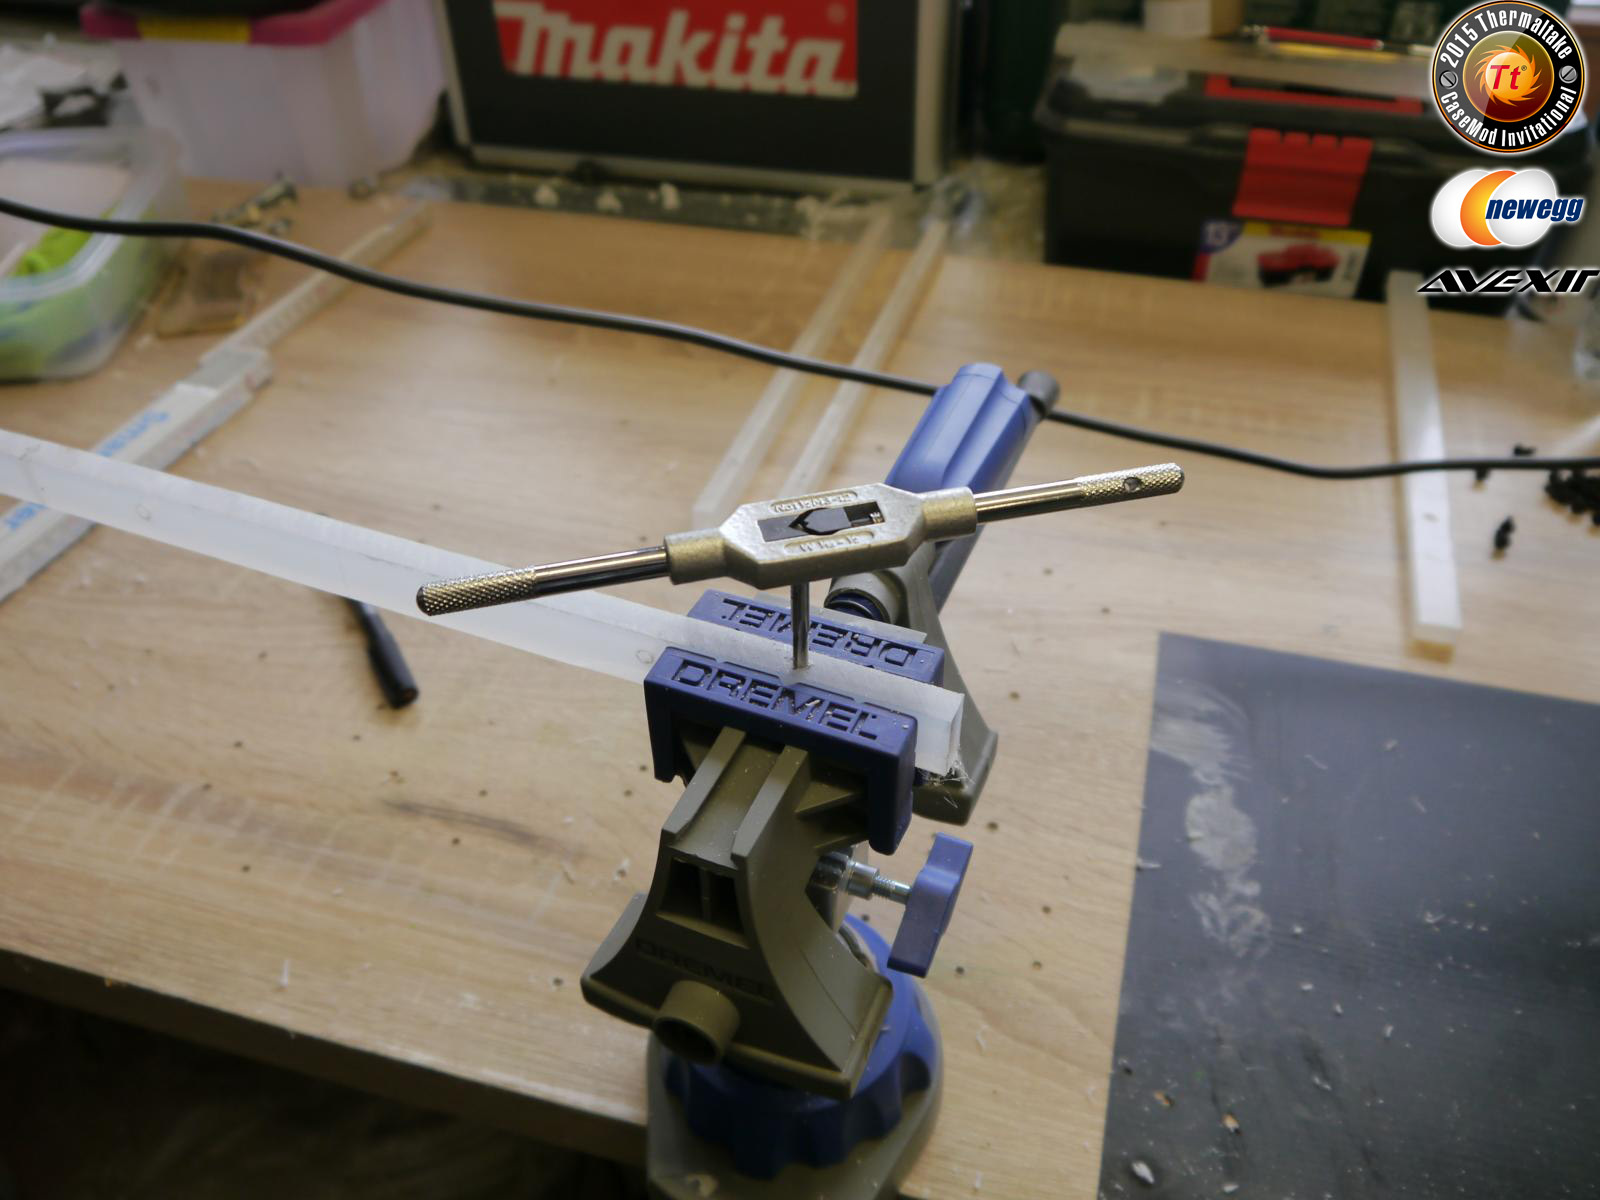
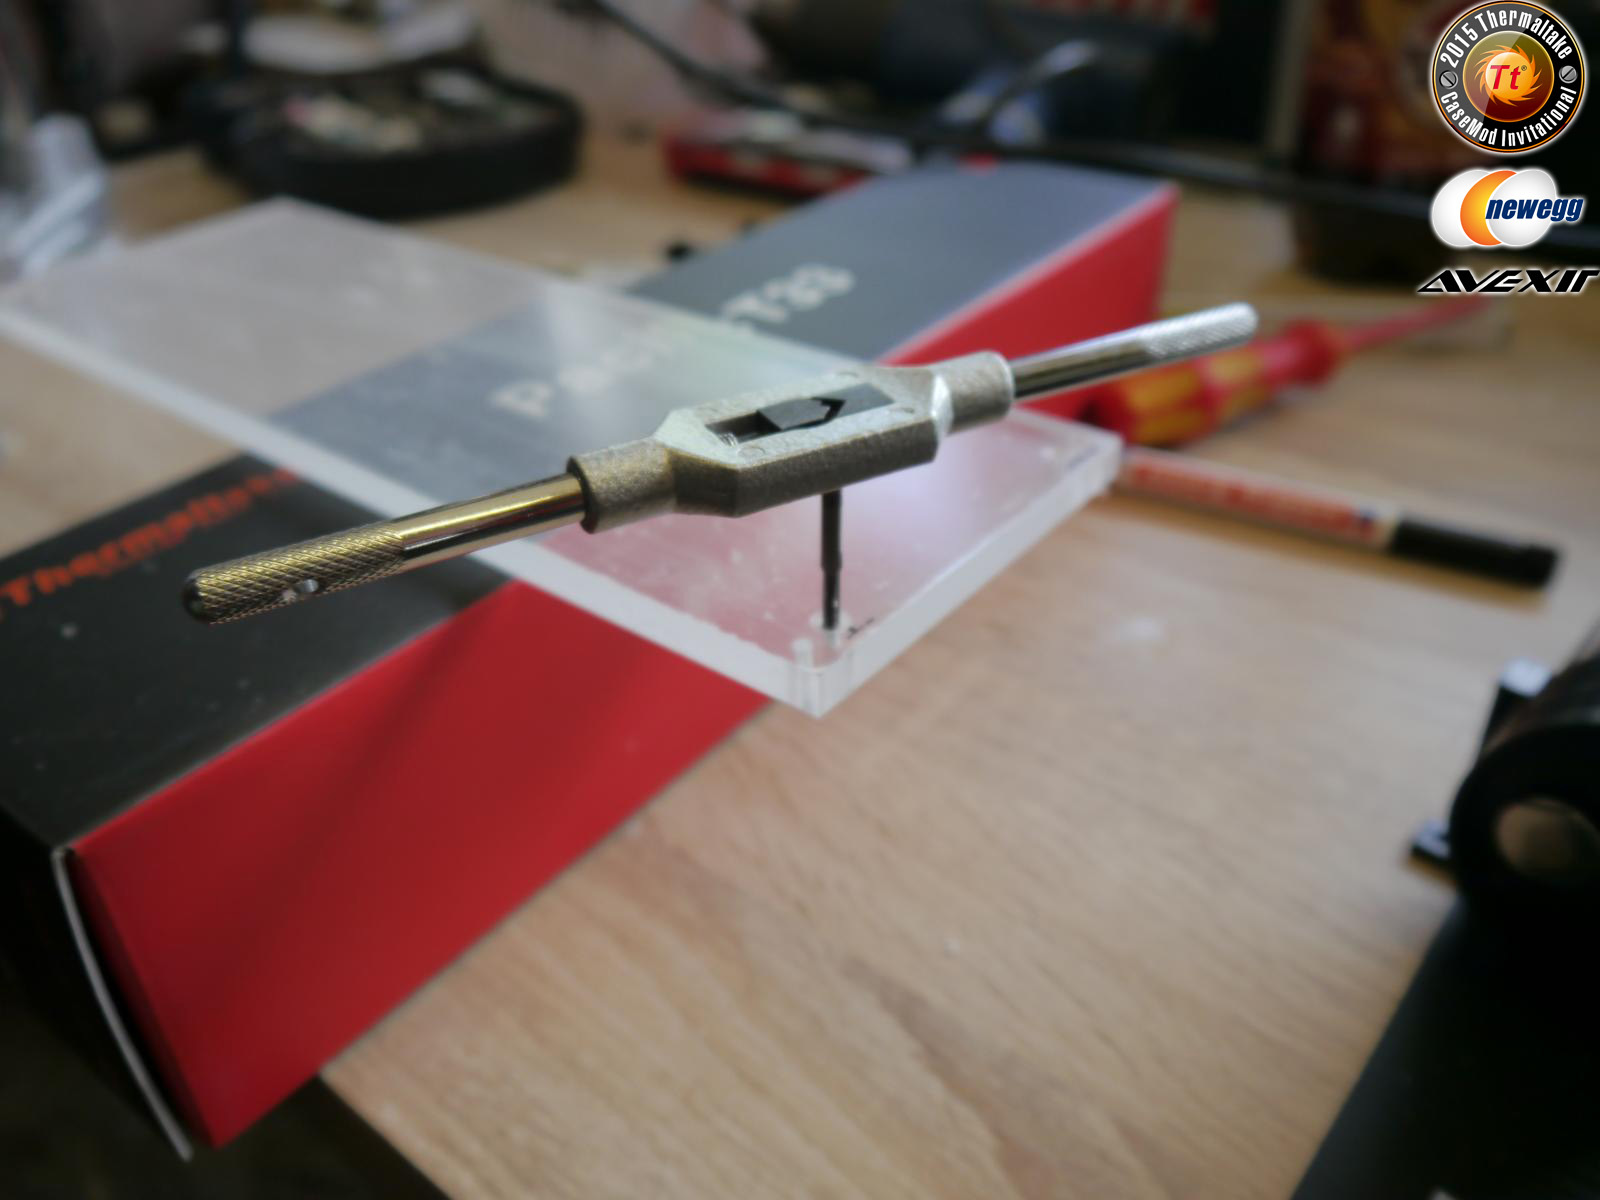
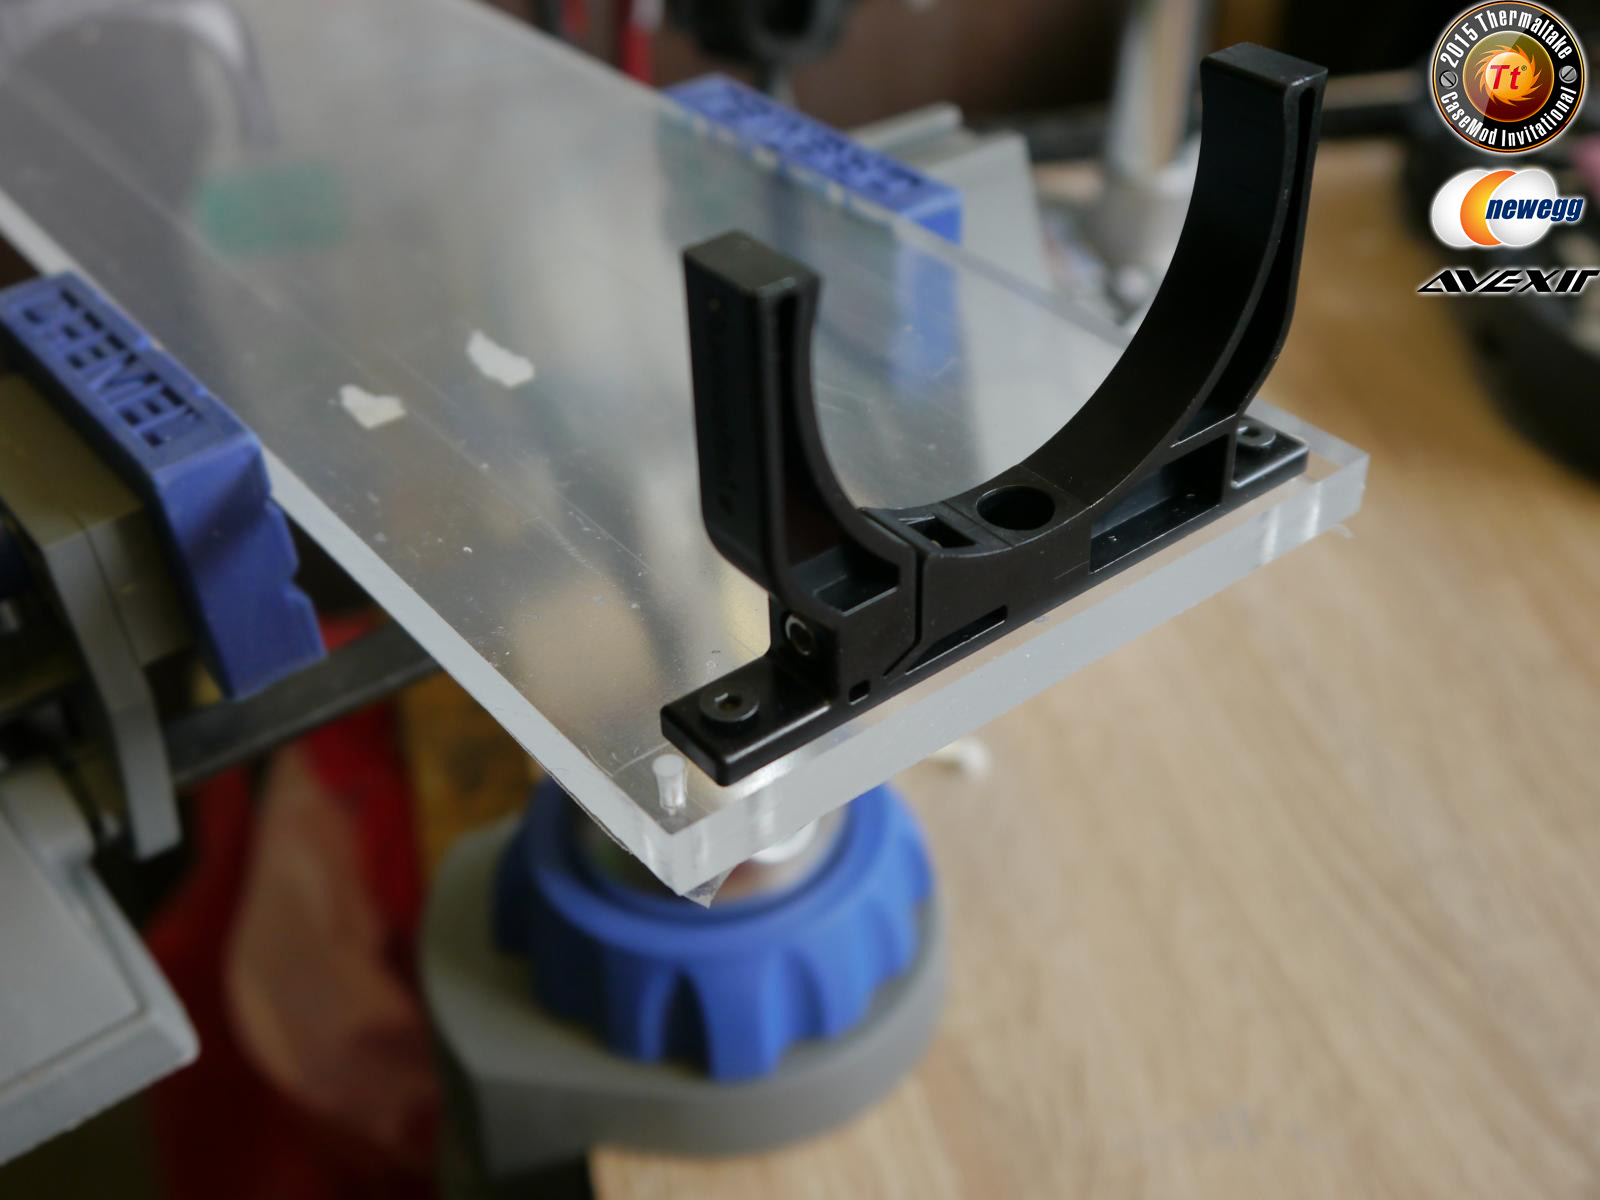
The Thermaltale Pacific reservoir is mounted onto an 8mm thick plexiglass plate.
Drilled M3 holes in all corners and used a tap and die to prepare the reservoir mounts.

- Tte Martin and Ferax
-
 2
2
-
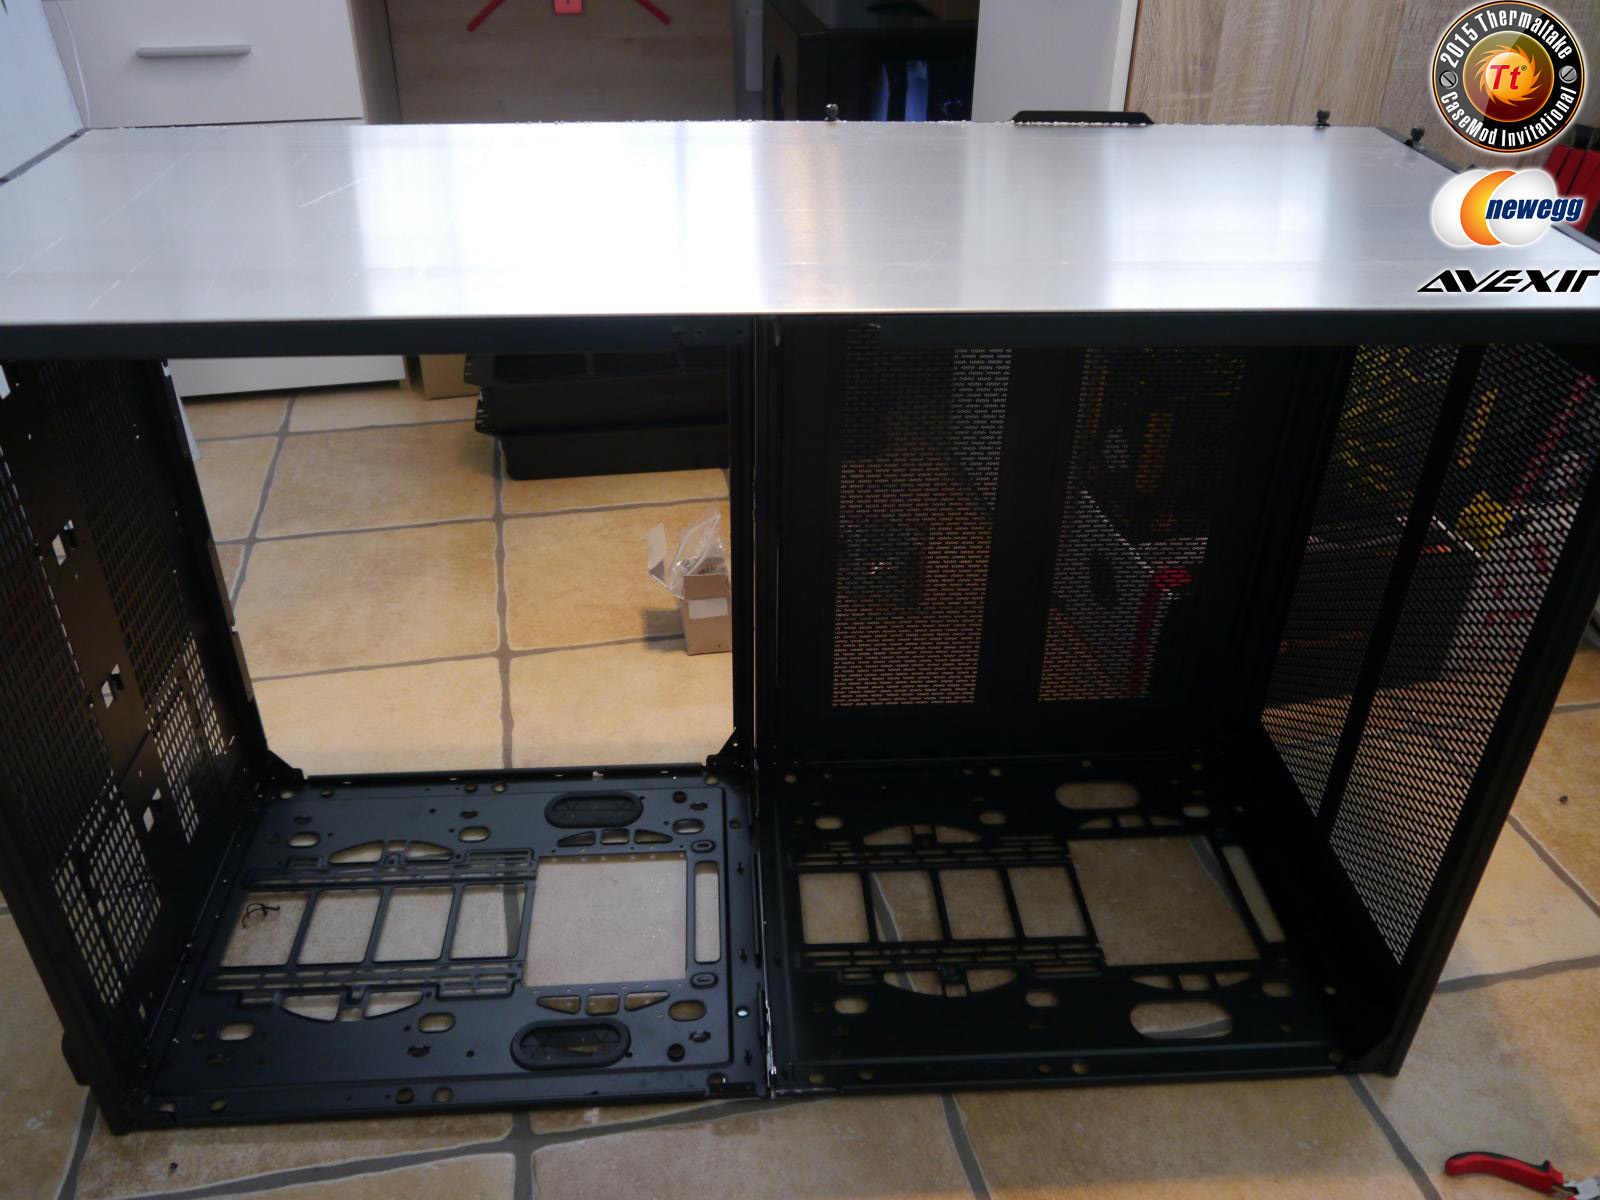
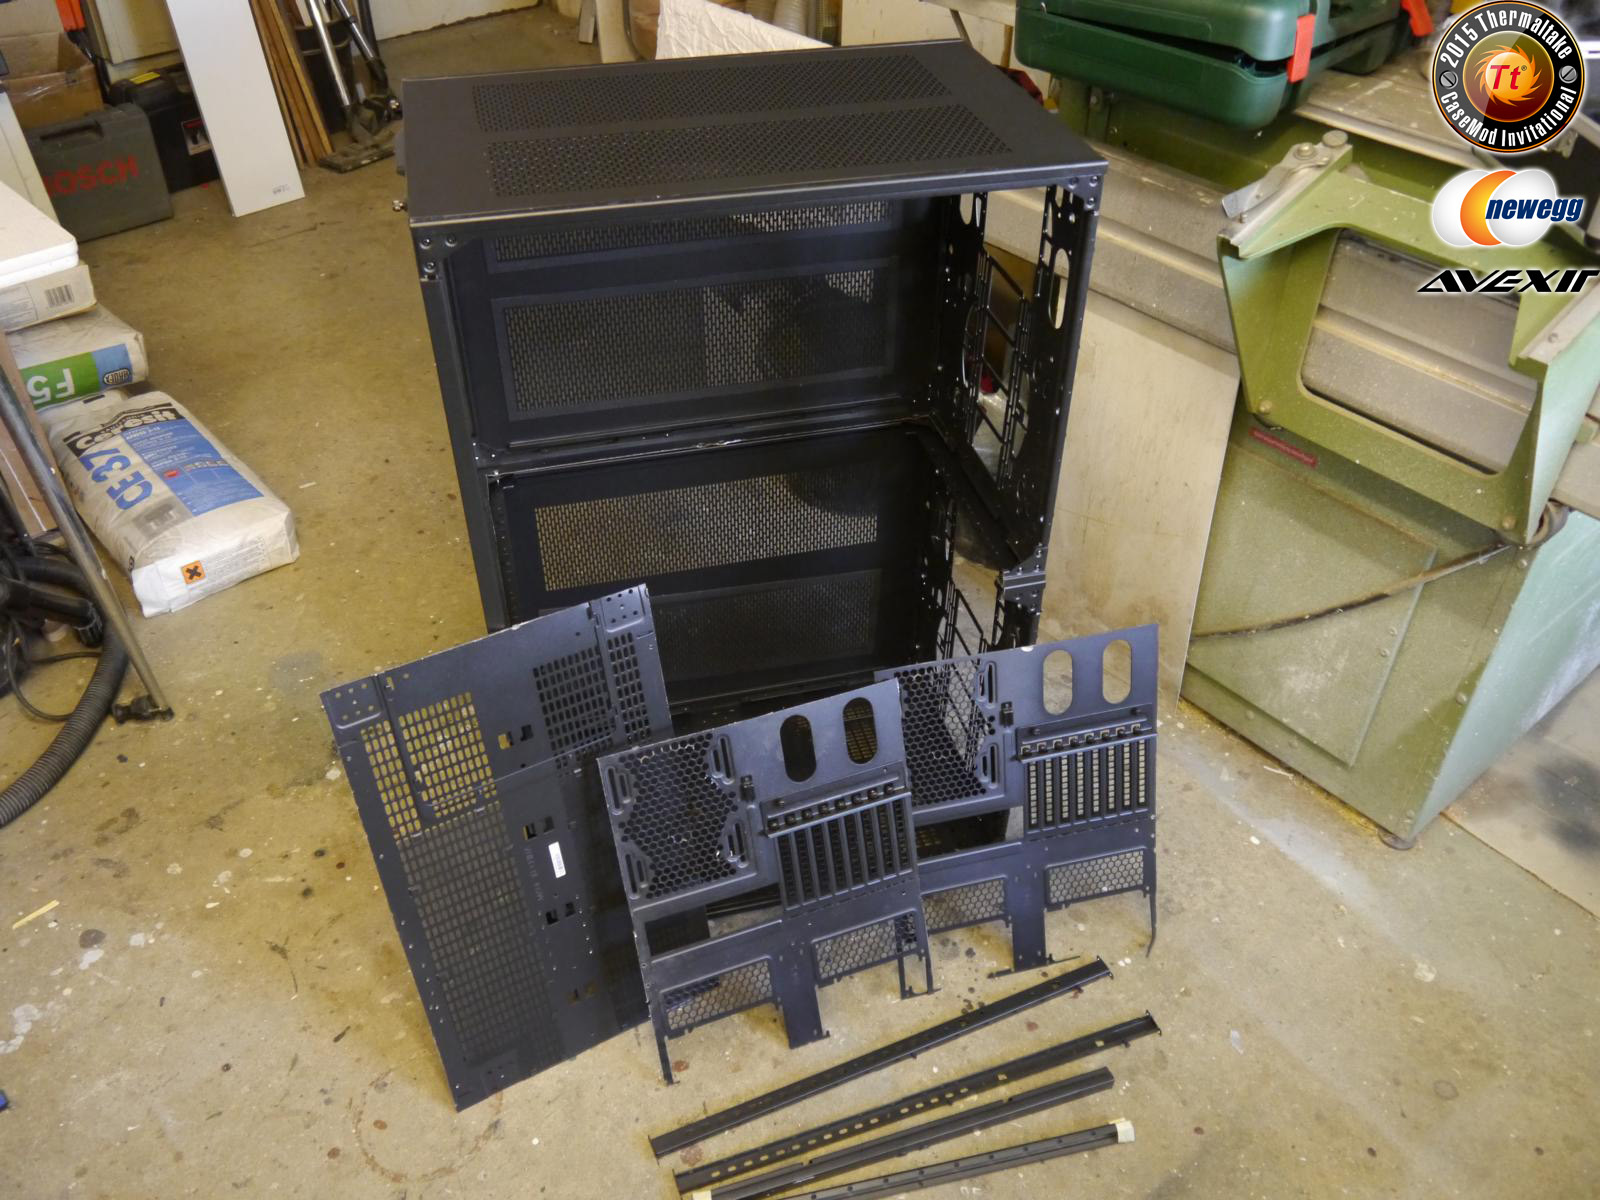
Today I started working on the case.
I removed the back panel and mid braces of both cases.
The bottom of the top case also got a treatment because I want to run a lot of stuff through.
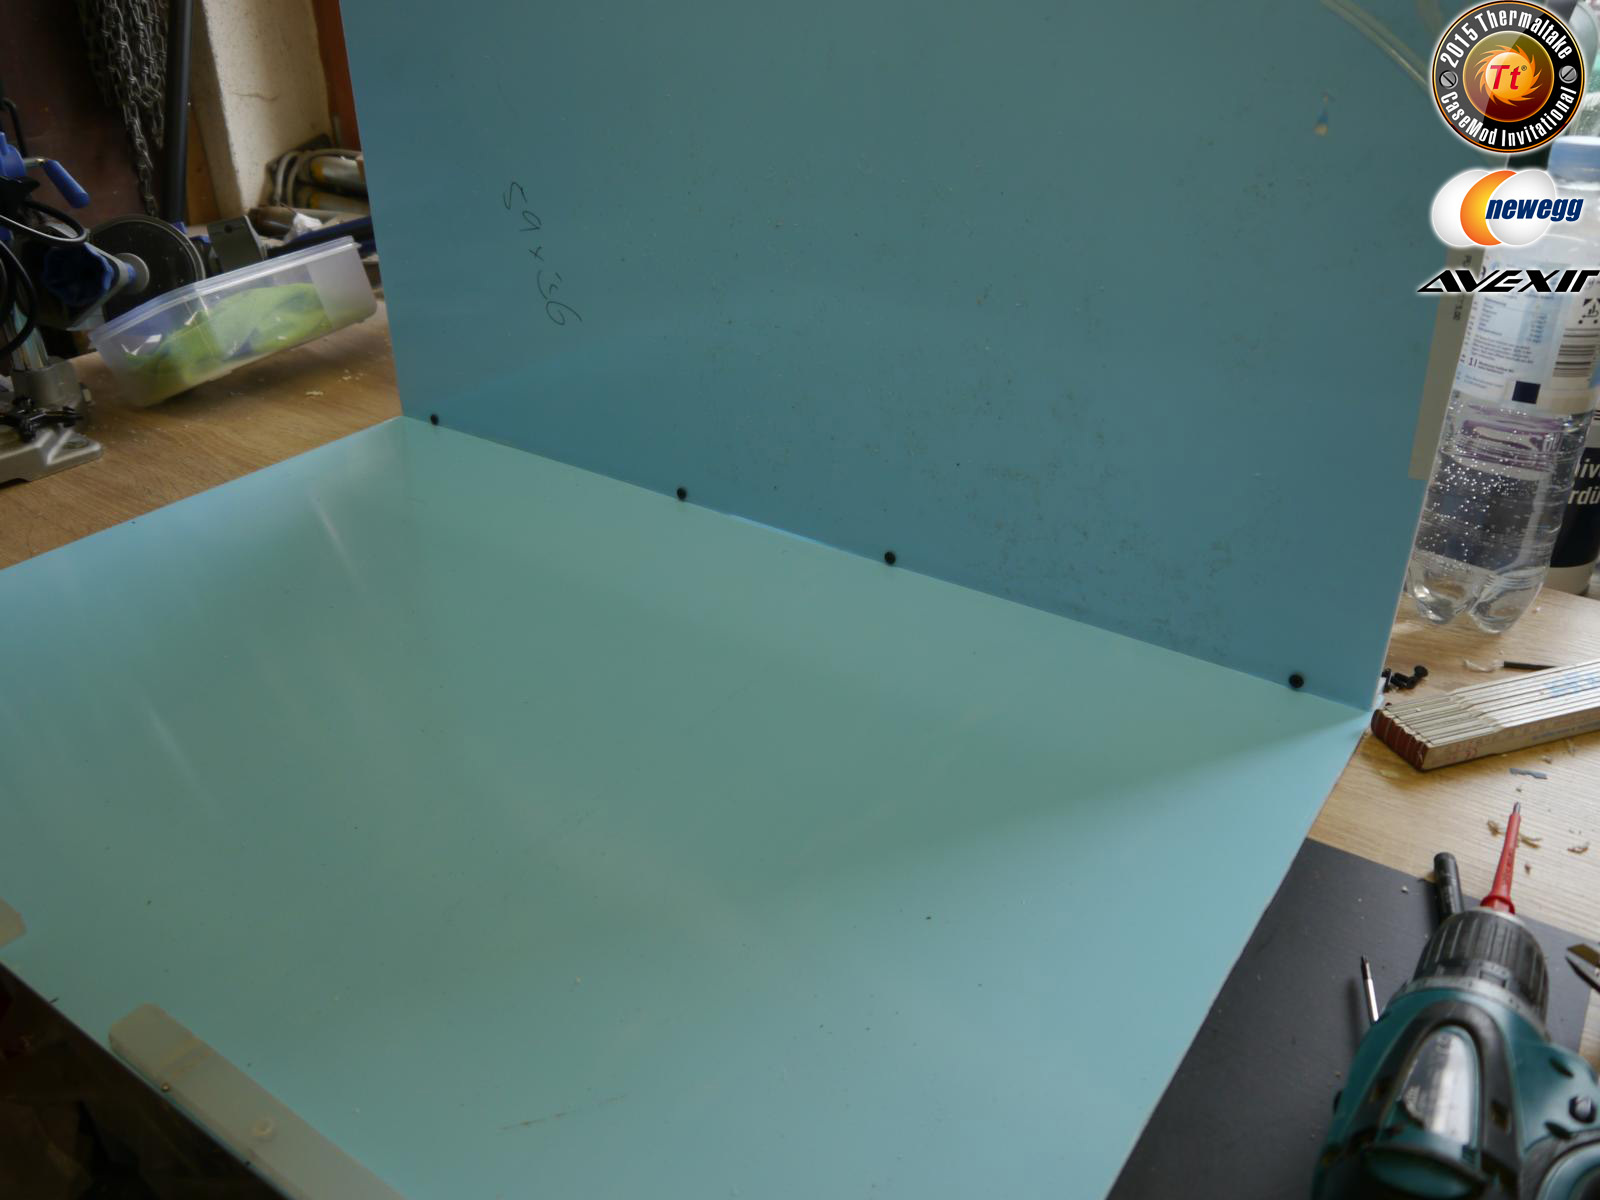
Then I prepared a backpanel of 1.5mm thick aluminium.
Thank good I always tidy up first

Preparation for the back panel
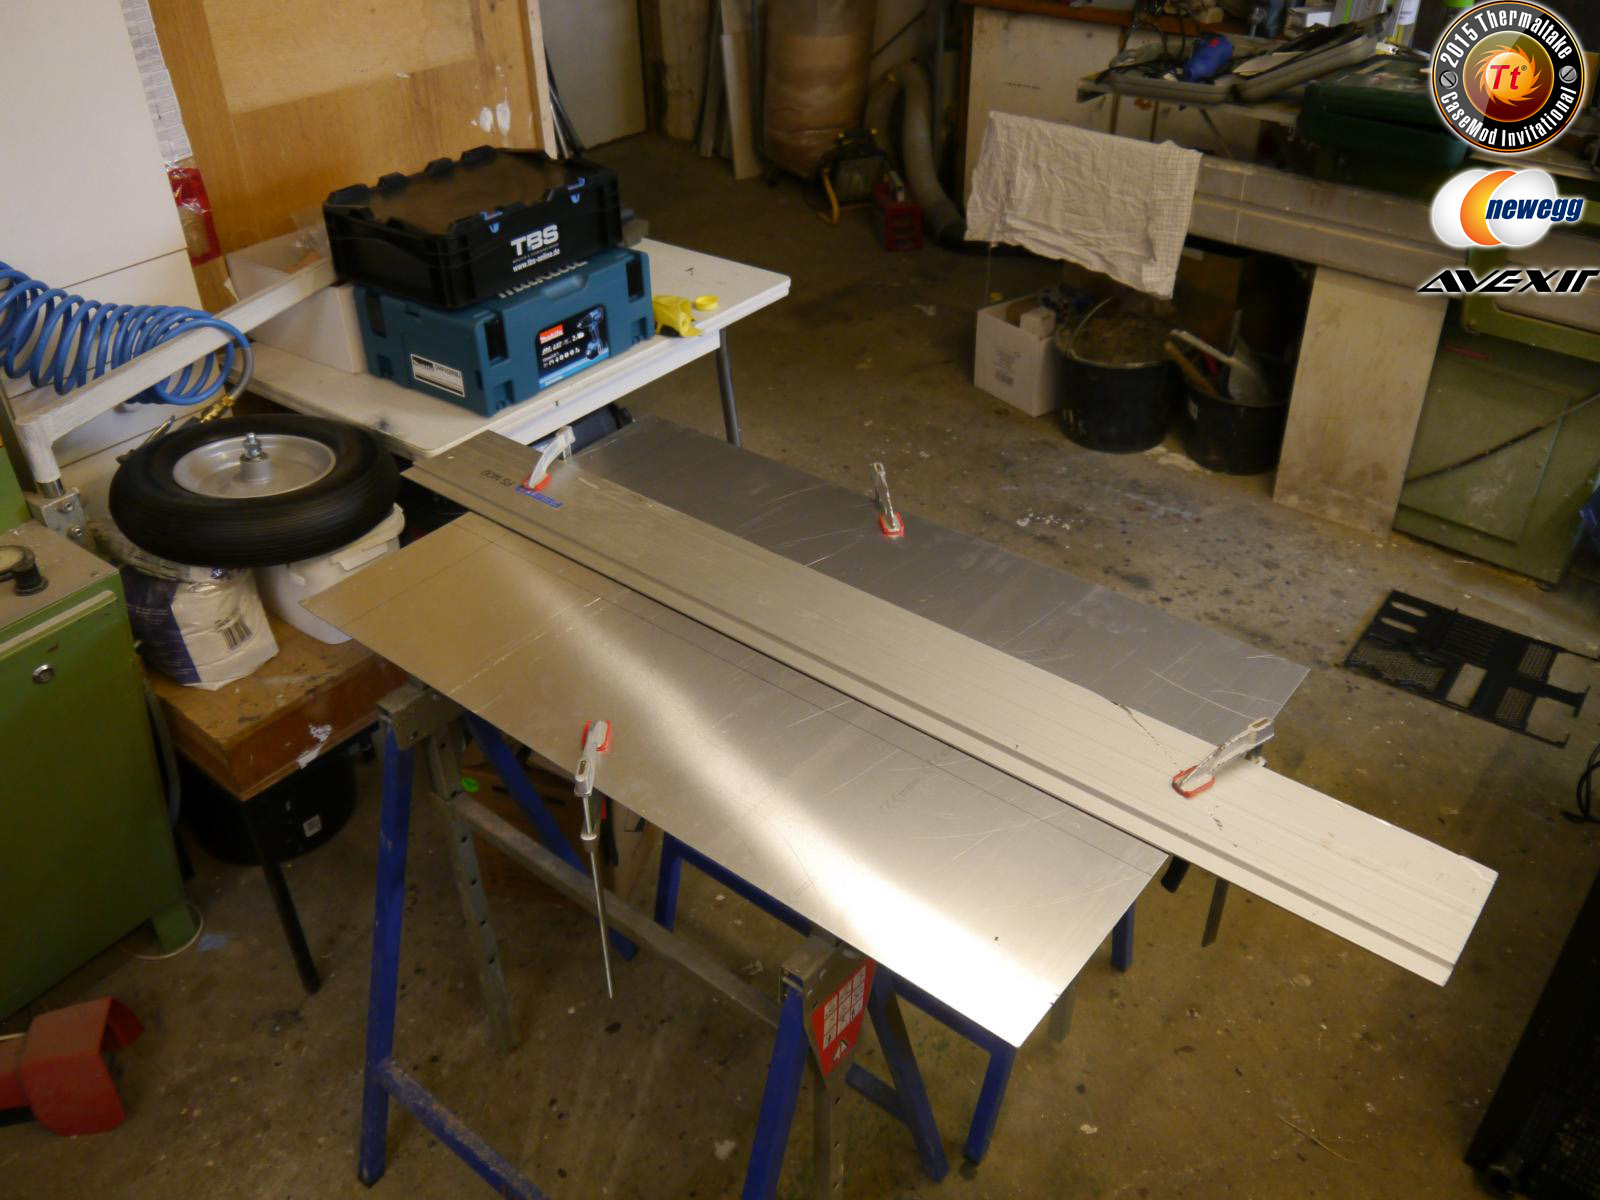


And this is what's left when I am finished with the saw :=)
- ShadoWx3Sandy and Ferax
-
2
-
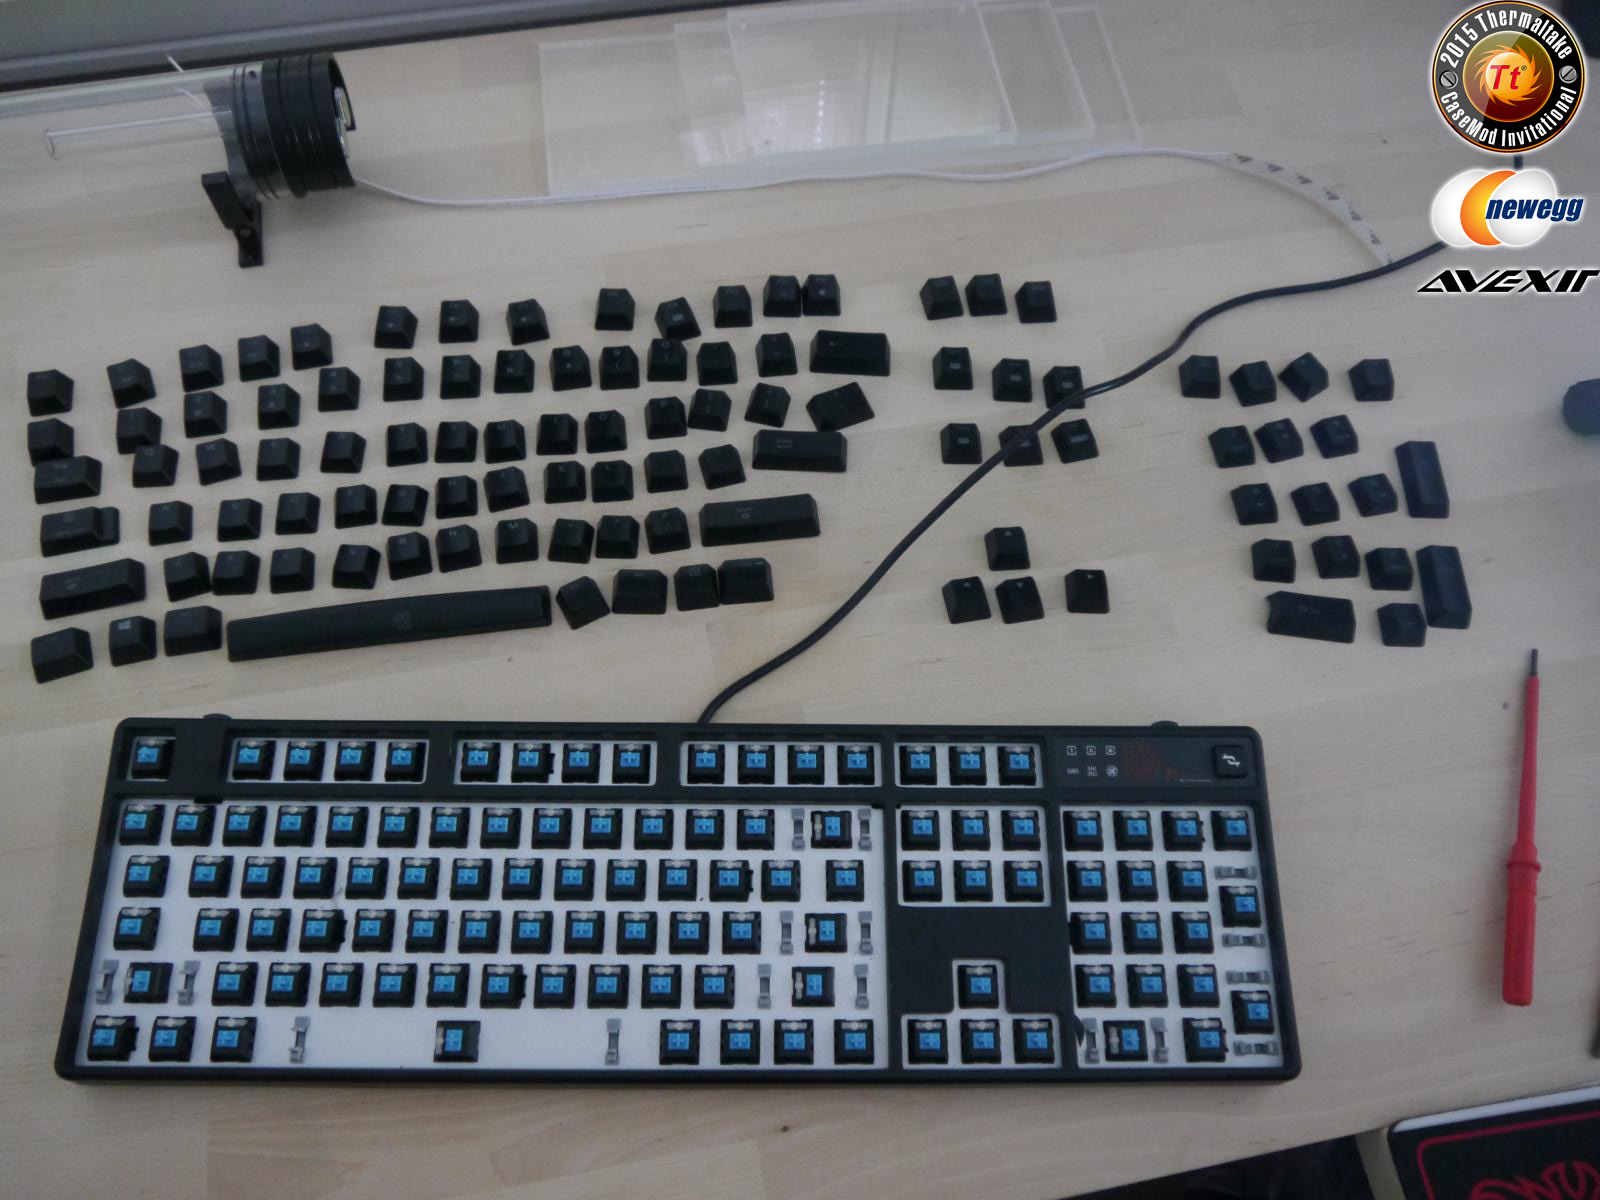
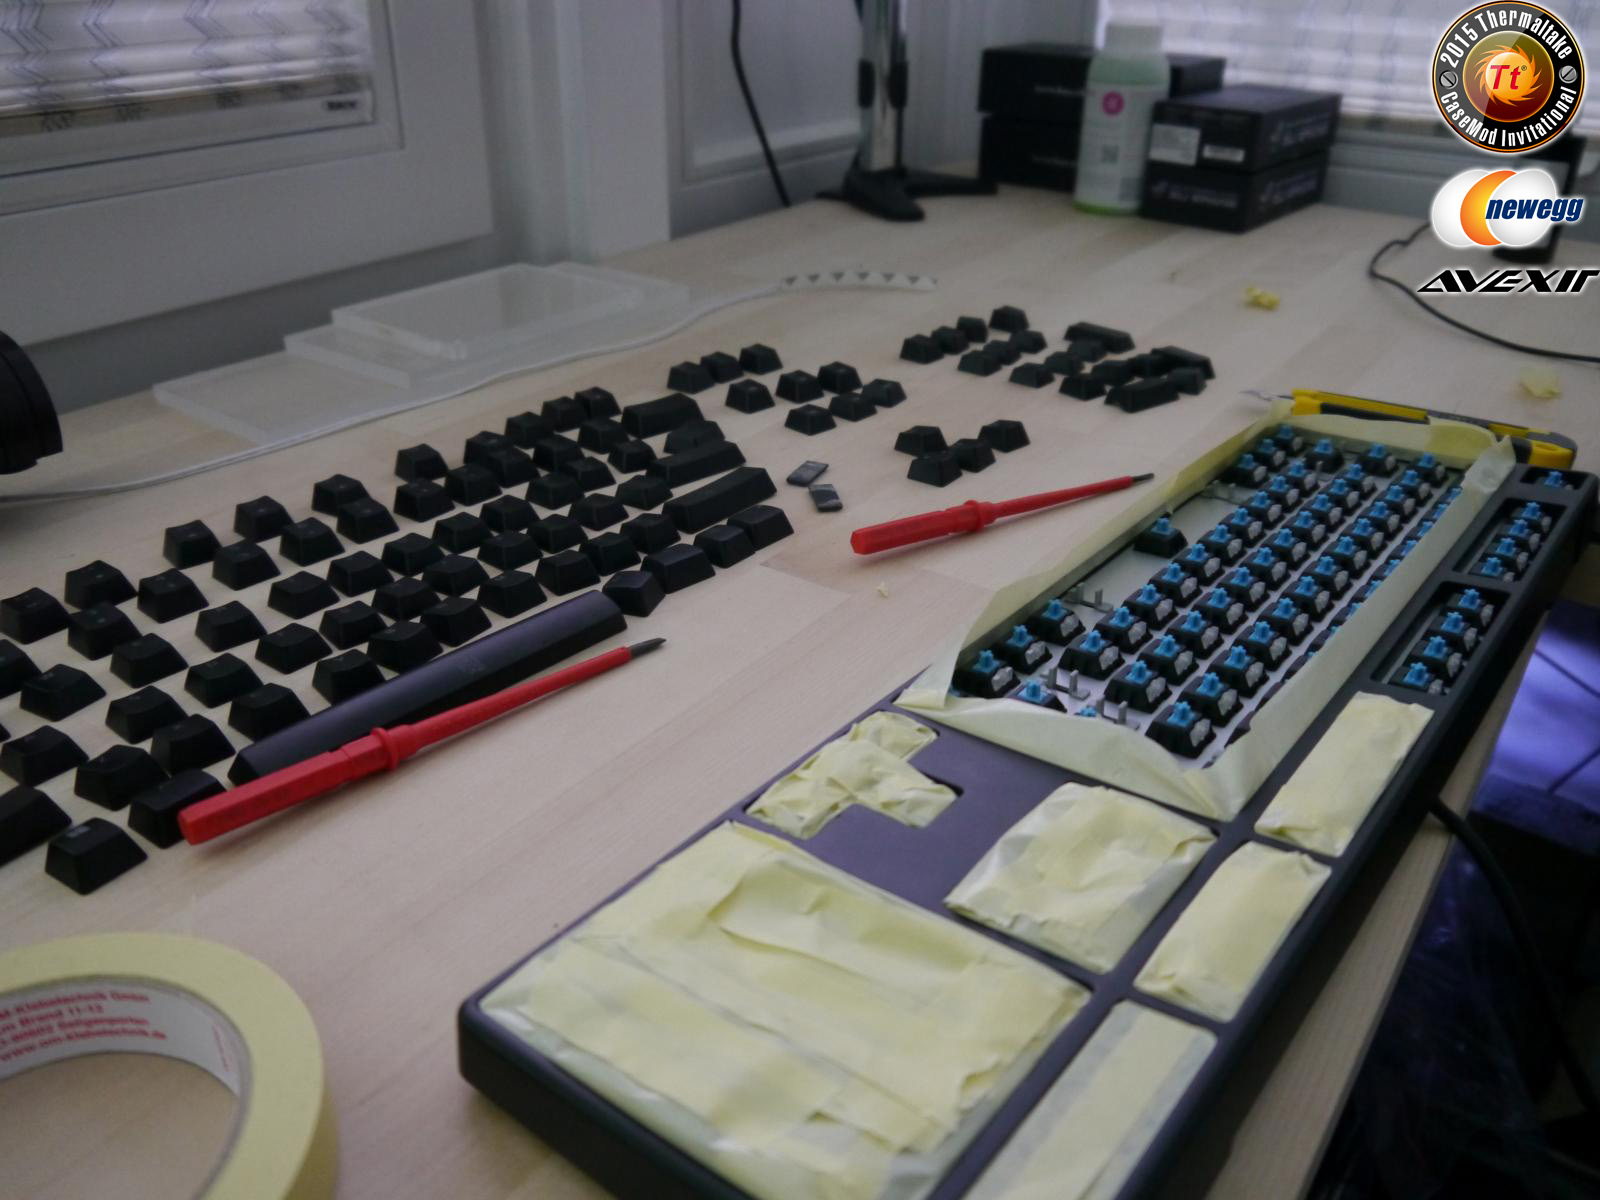
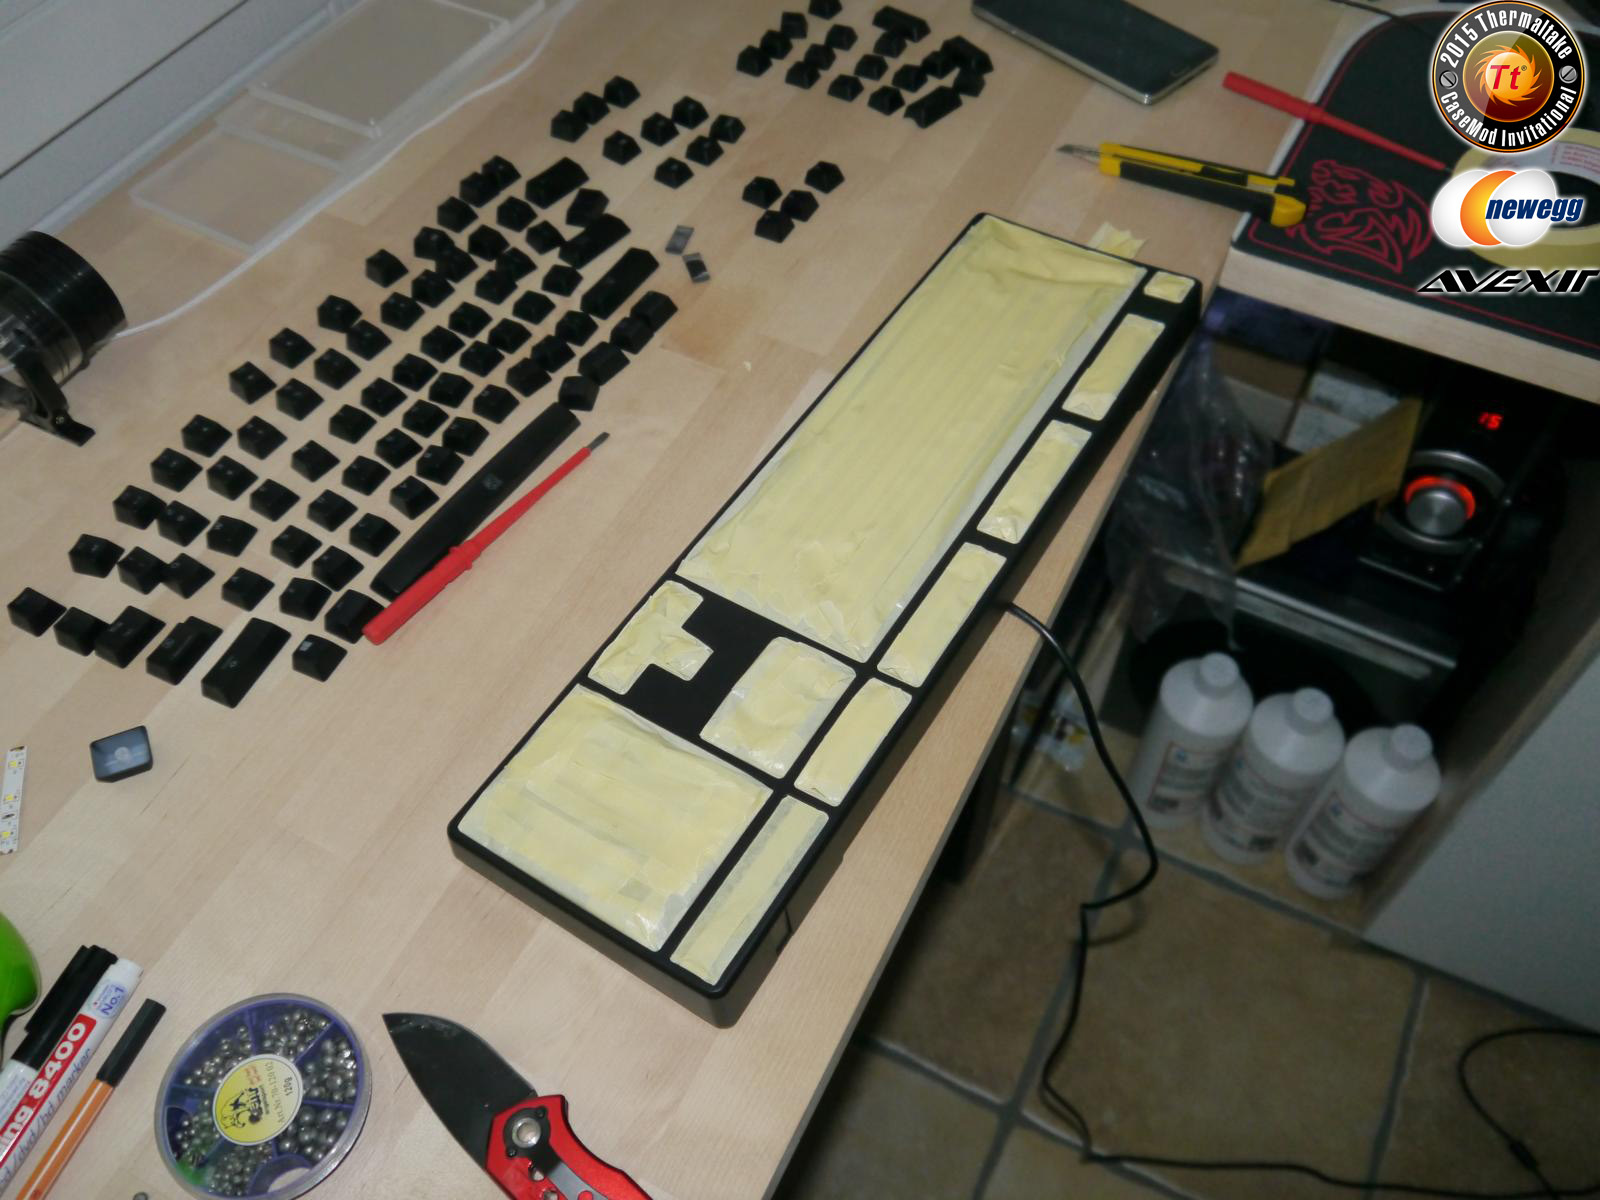
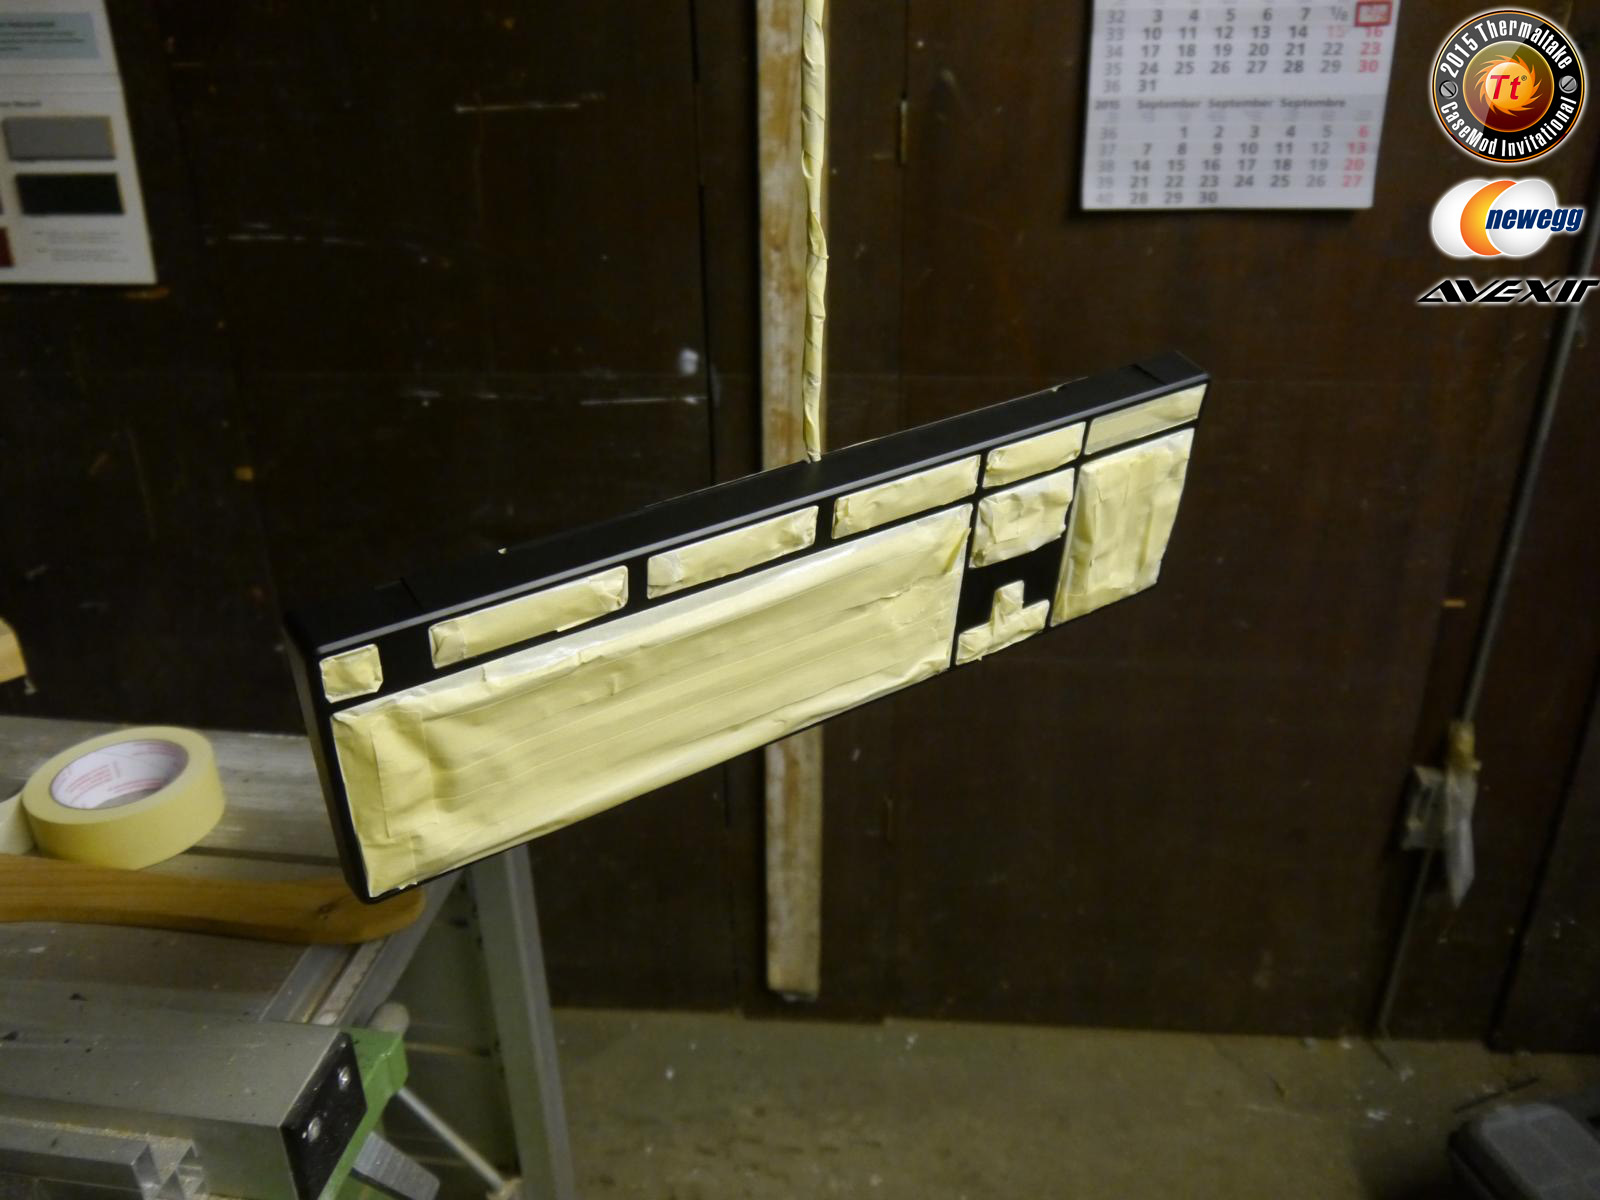
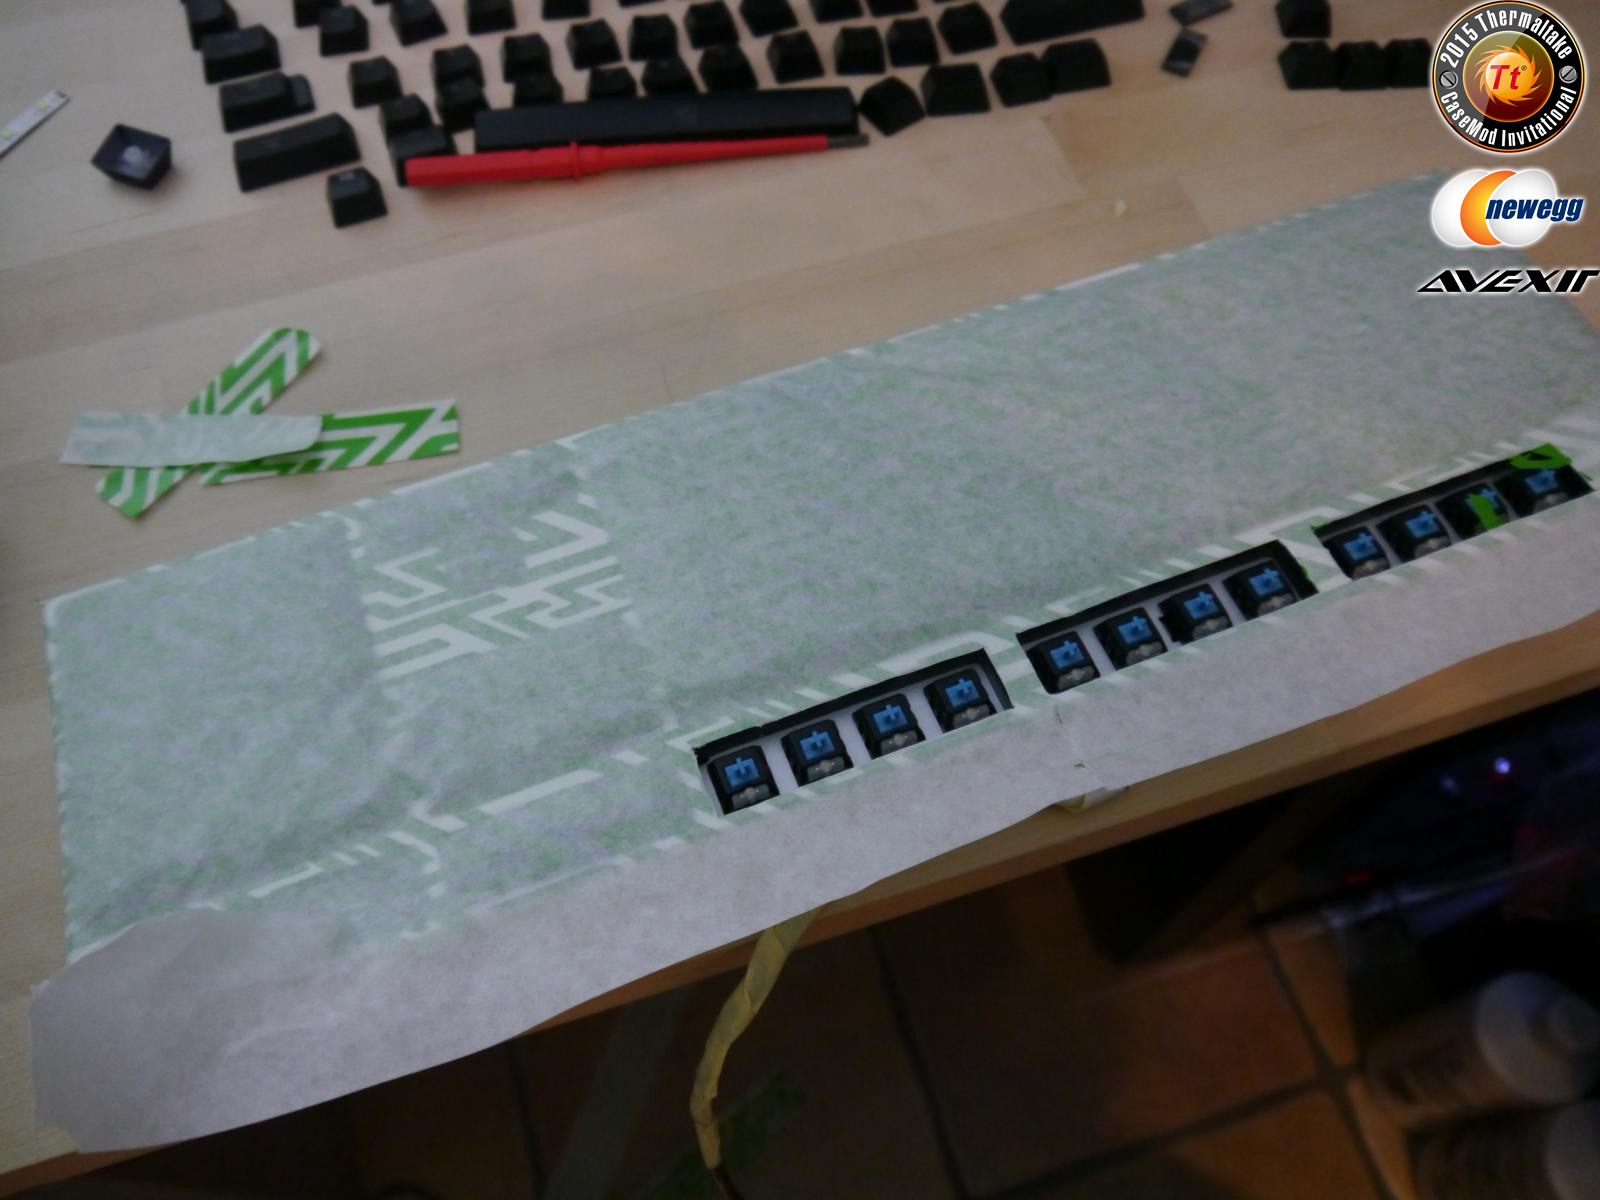
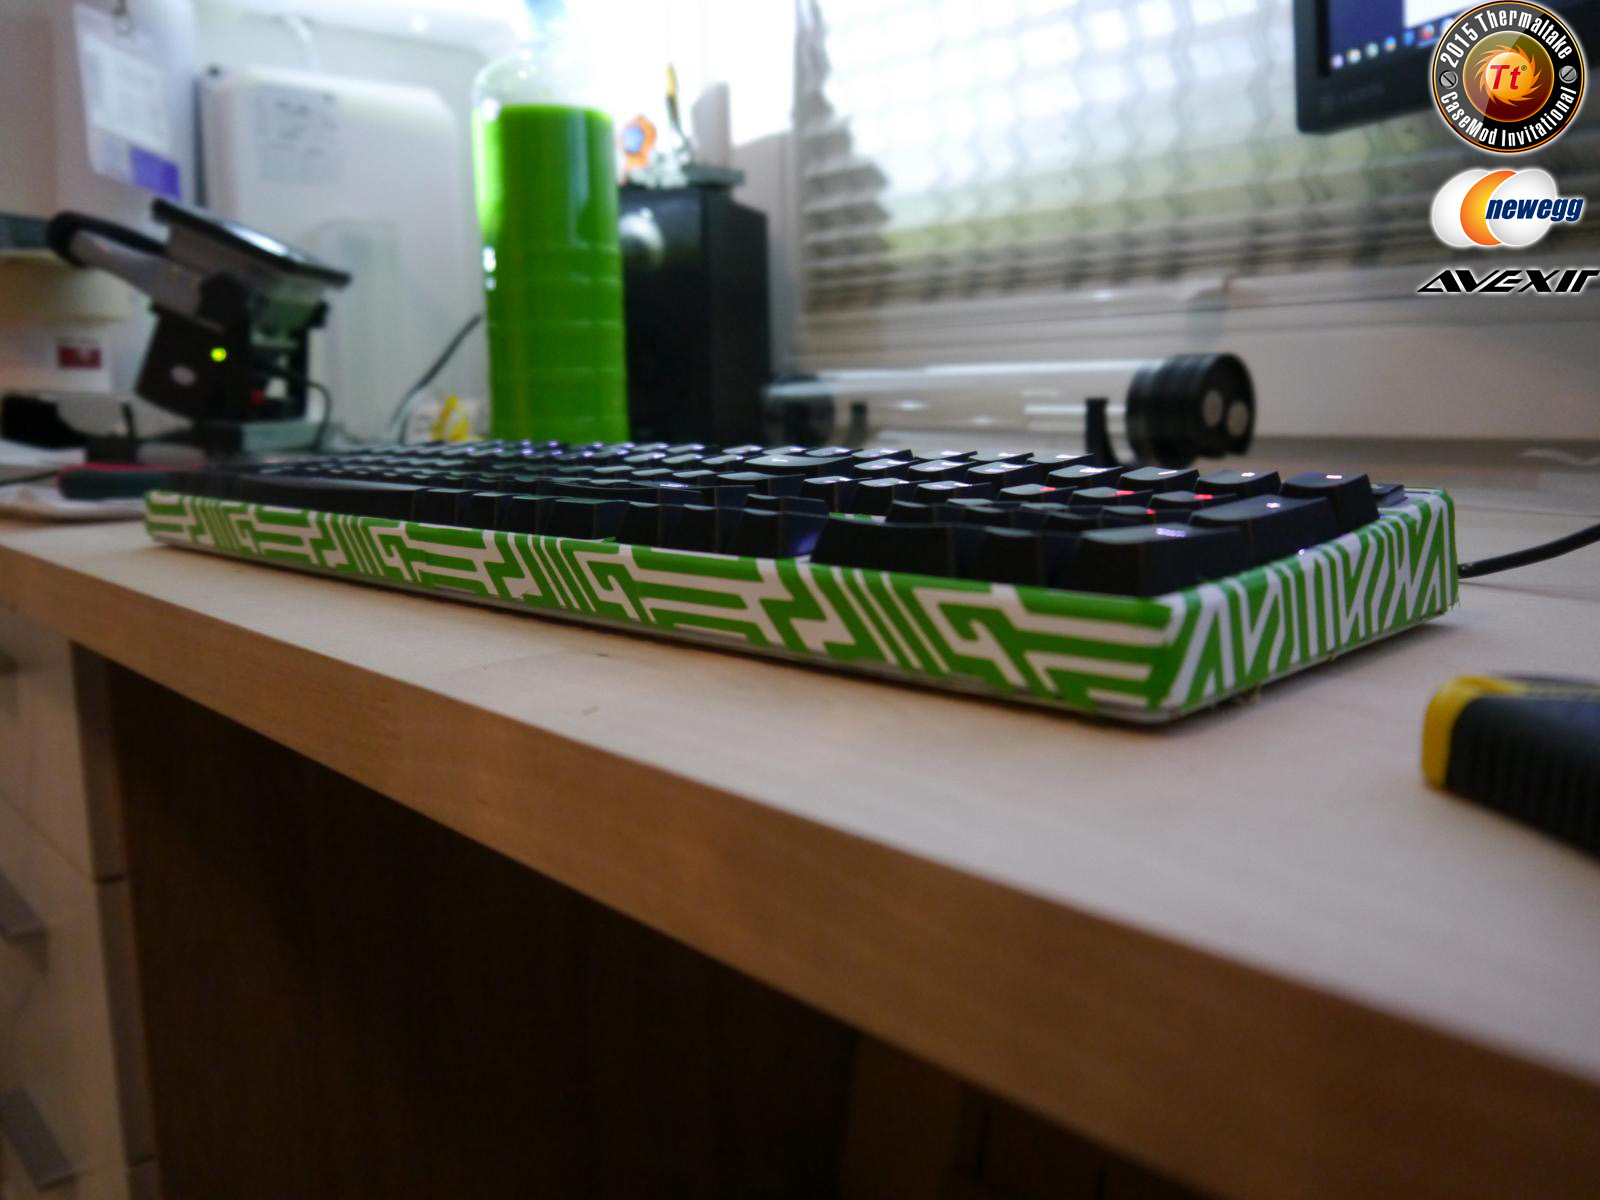
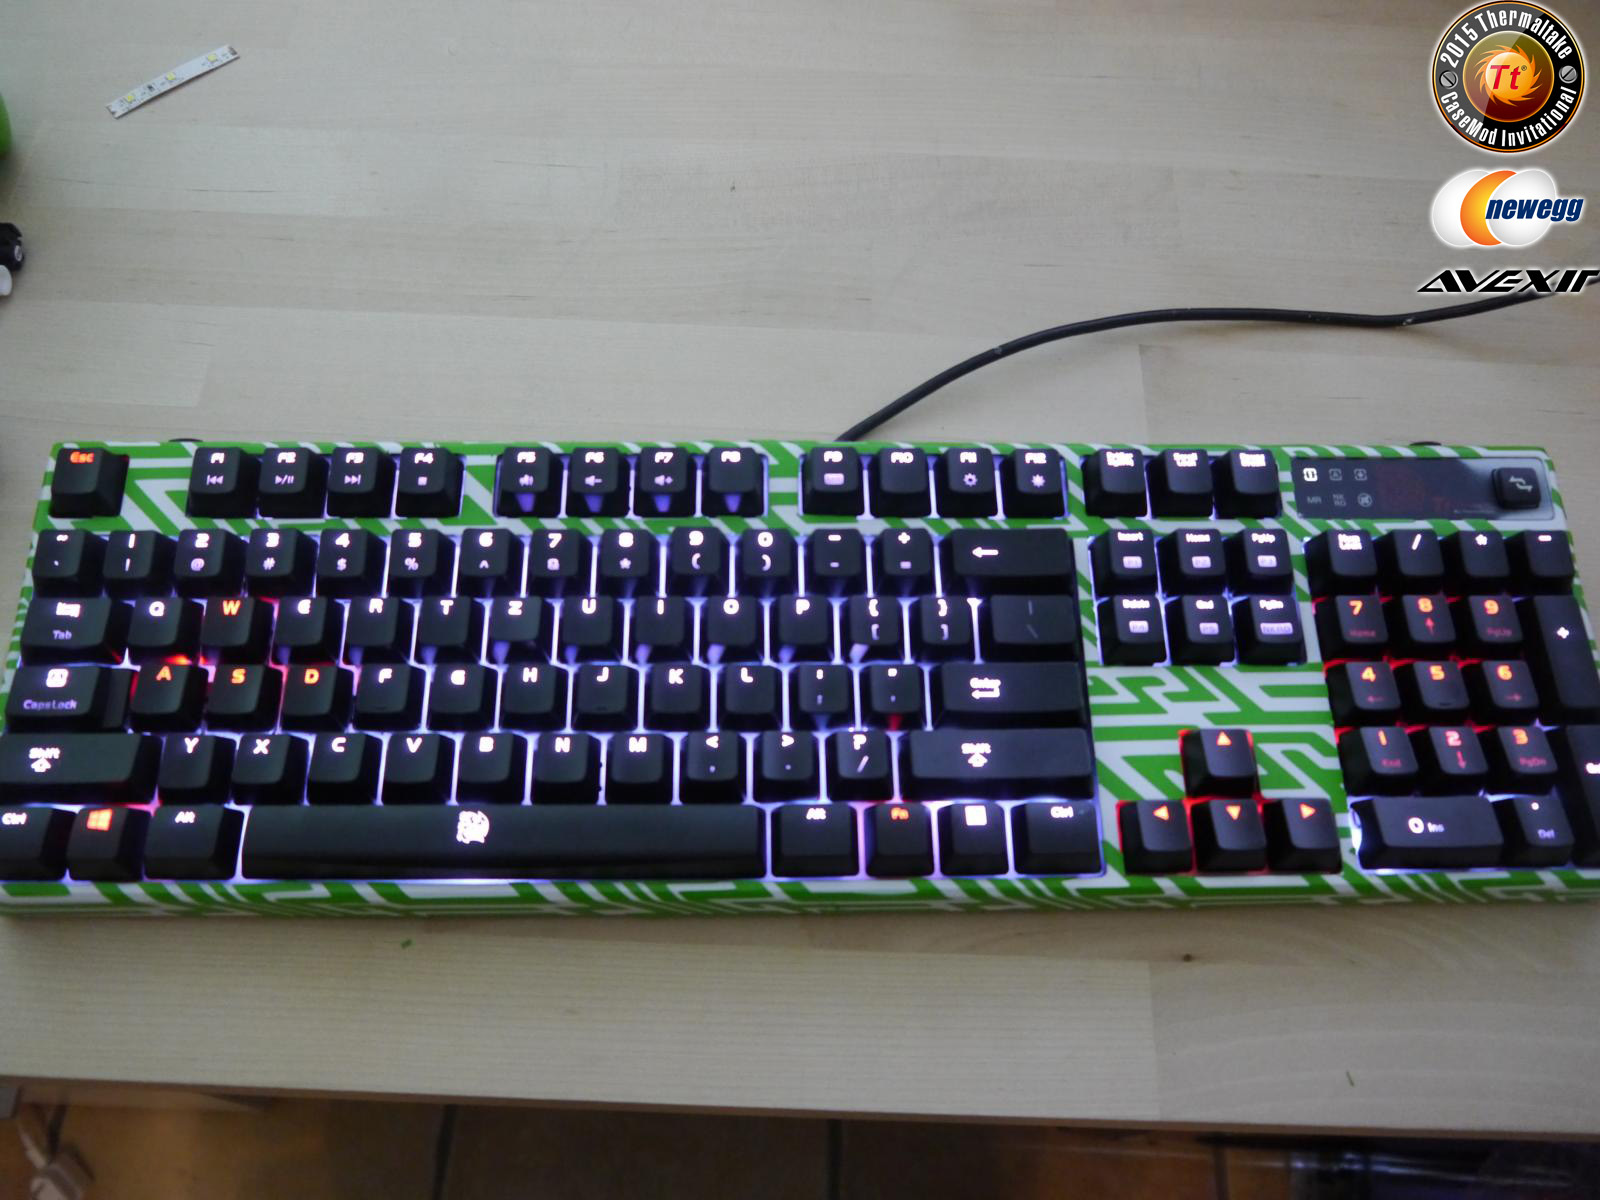
Just a little something in between
I received a POSEIDON Z RGB Gaming Keyboard and repainted its case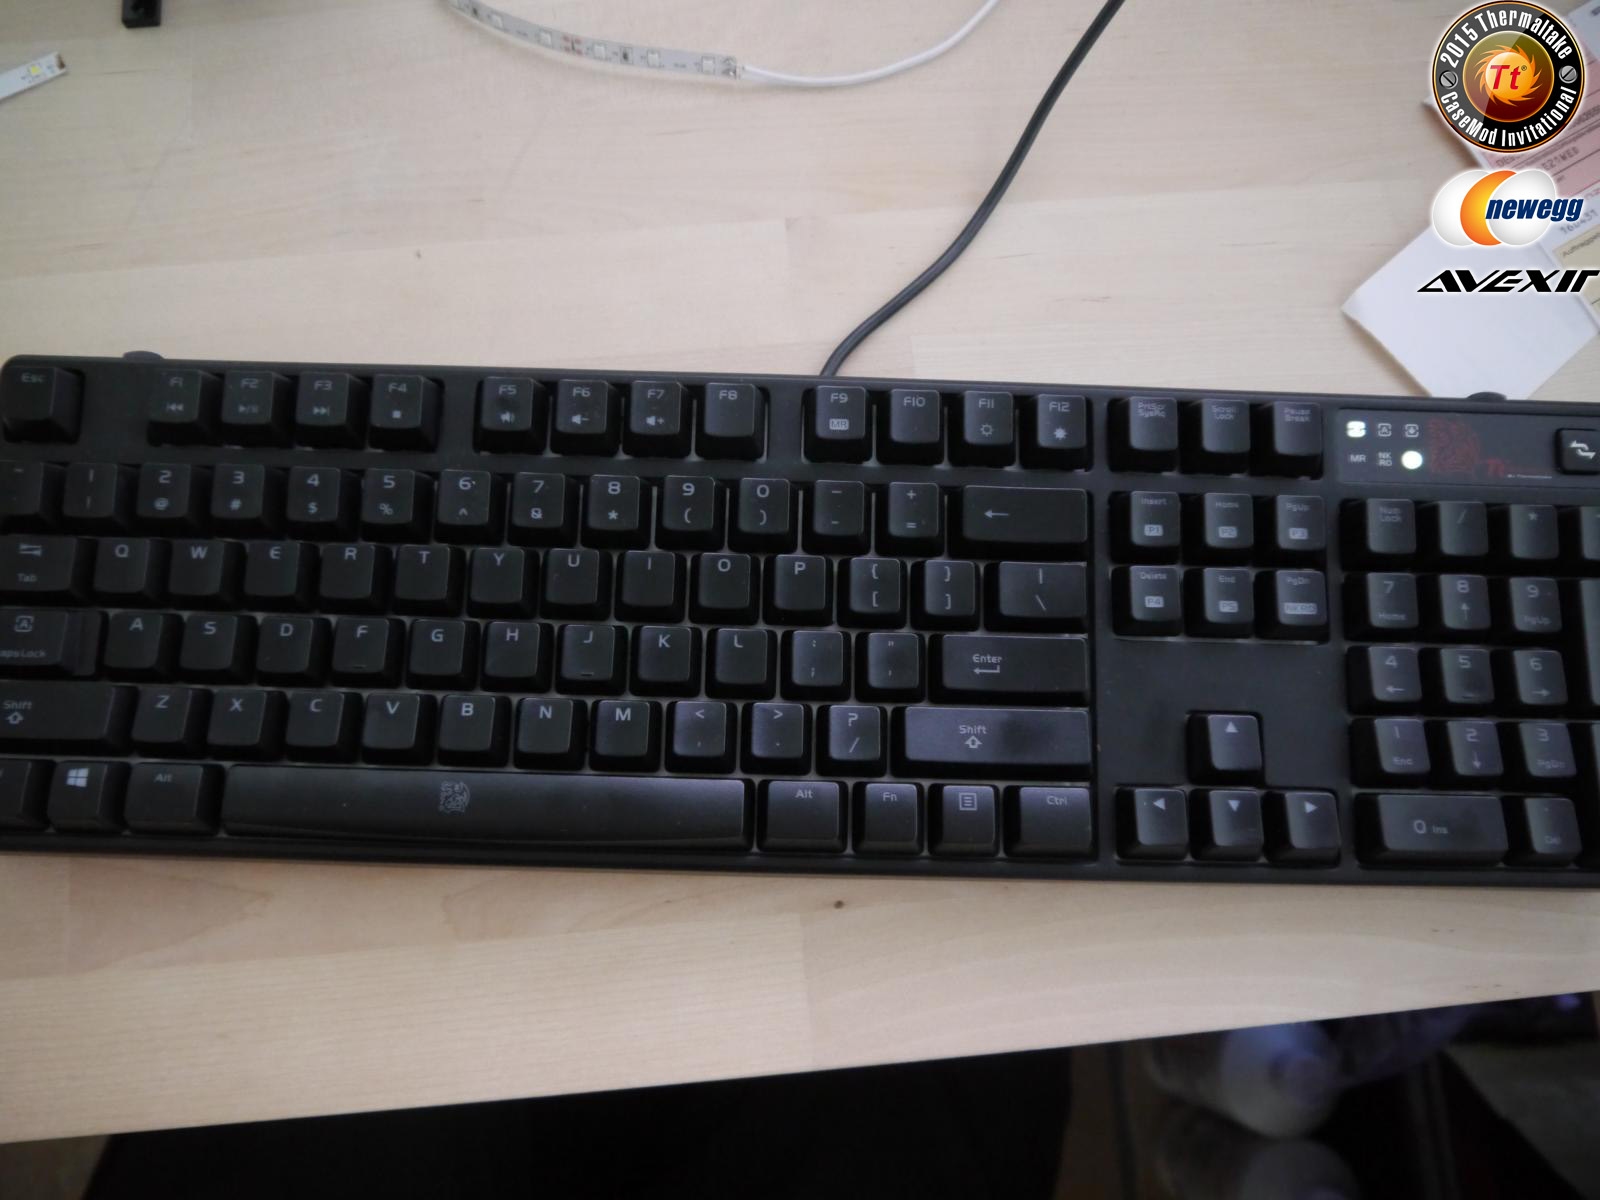


[Germany] Edgar Marckmann
in 2015 Thermaltake CaseMOD Invitational Season 2
Posted
Thanks