Search the Community
Showing results for tags 'Hard Tube'.
-
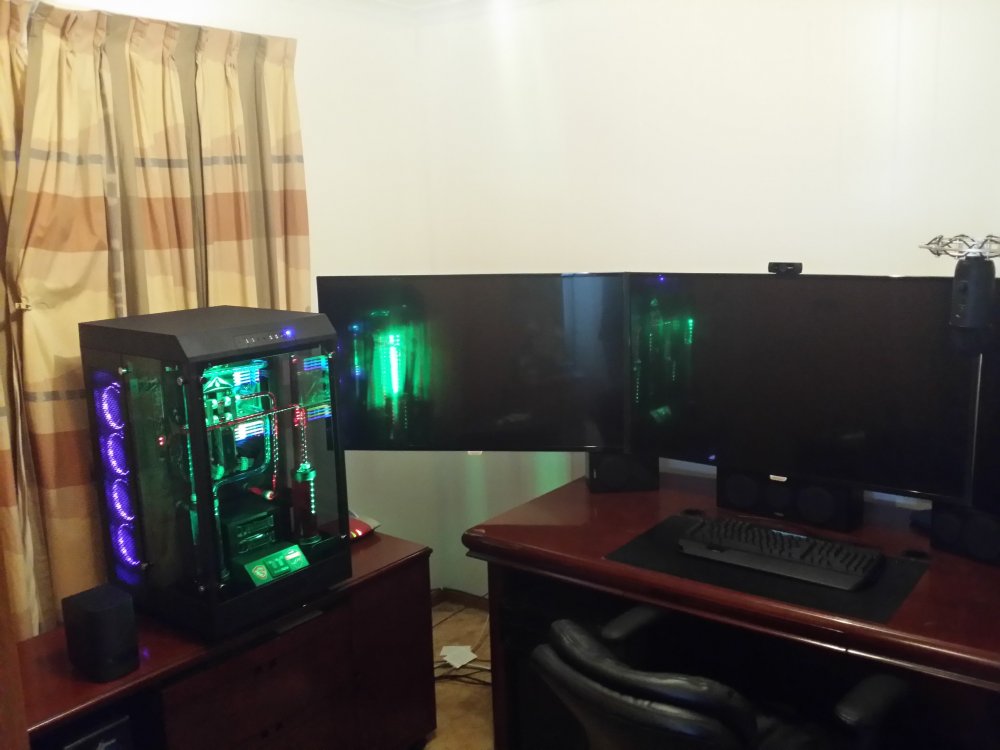
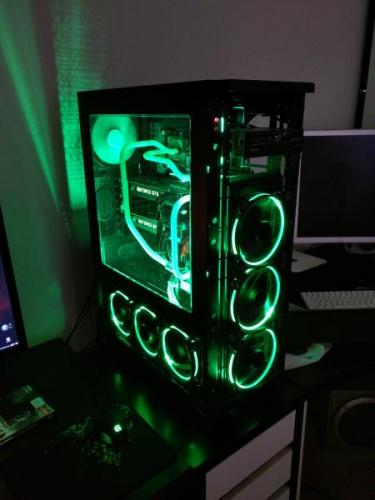
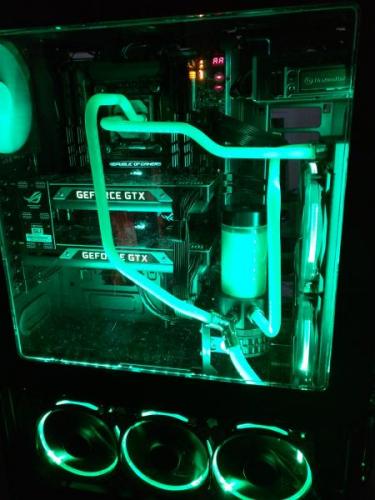
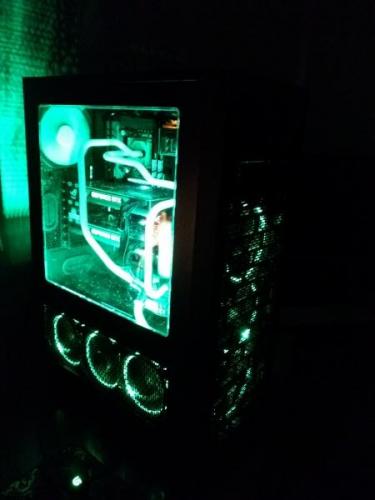
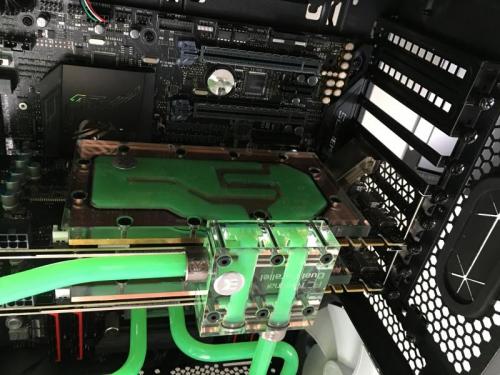
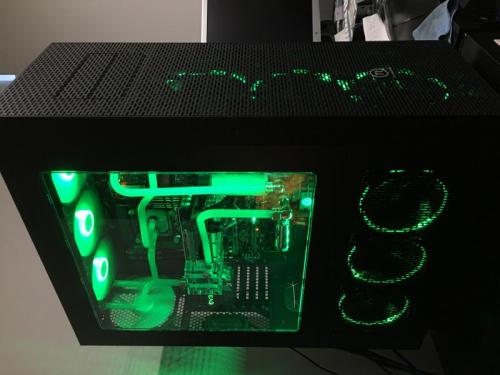
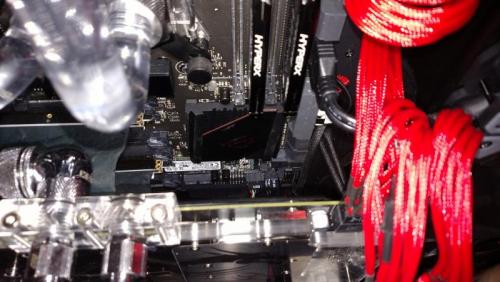
Hi all. Been about on here for awhile, but never posted. Had my rig for about 13 months now. Been down for roughly 6 months due to an Asus card throwing a waterblock and having to wait to get new blocks made/shipped to Oz. 4 long months! Don't have a name for it yet but working on it. Just spent the last 24hrs putting this back together. Sorry for the poor quality pics but on my phone at the mo. Will post a full set of higher res pictures later on. Just the basics. X299 platform. MSI ACK M7. Asus Poseidon 1080ti's.x 2 Phillips 4k 43" x 3 I'll fill in the blanks later with full specs and pics. Thanks for looking. Buzz.
-
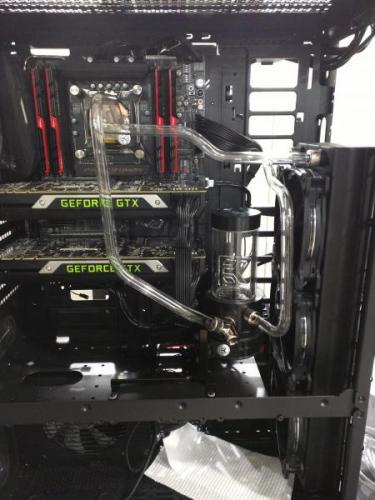
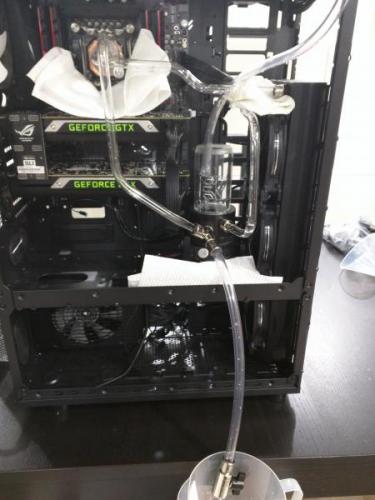
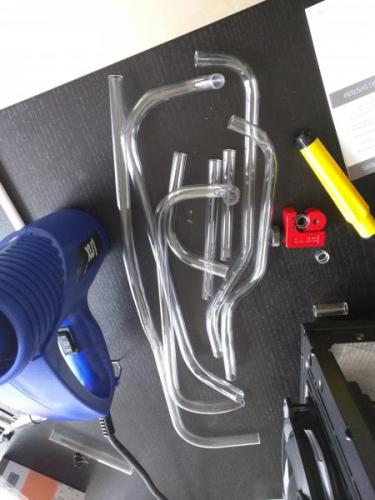
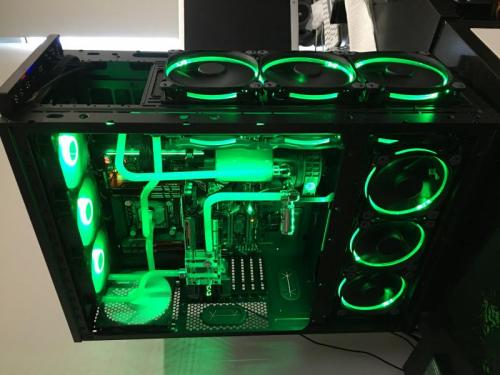
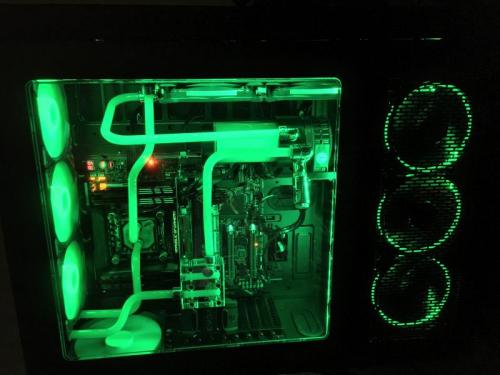
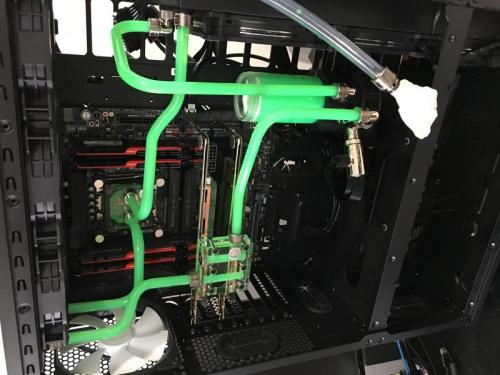
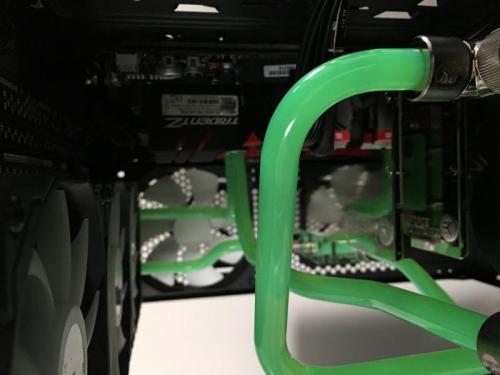
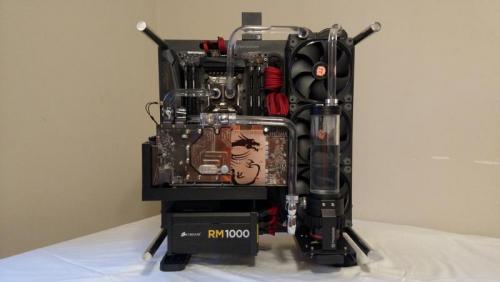
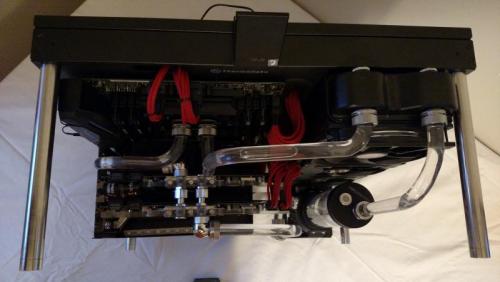
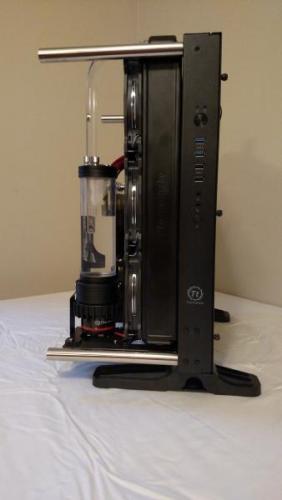
My first attempt at hard tubing in the X71, I tried to fit a EK-CoolStream CE 280 double at the top and a EK-CoolStream CE 420 Triple at the front but couldn't get the top one in because of clearance. Tubing is not the best and no where near straight, I'm thinking of redoing that centre tube coming from the out port of the CPU block back to the res. And it being my first hard tubing go, I wasted quite a bit of tube. My advice is plan and measure your tube routs carefully first before turning the heat gun on. I'm a little disappointed in this case, however I'm going to try and make the best of it. Just finished leak testing/flushing last night, will post some more pics/videos of final fill and bleed later tonight. Thanks for looking ***UPDATE*** Added a 320 CoolStream and the Titans to the loop re did all the hardline bar one, got away with shortening it... More Pics:
-
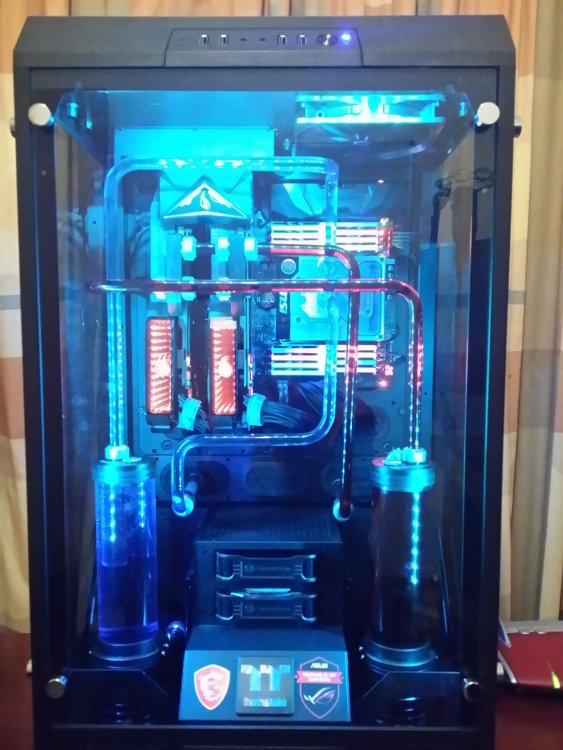
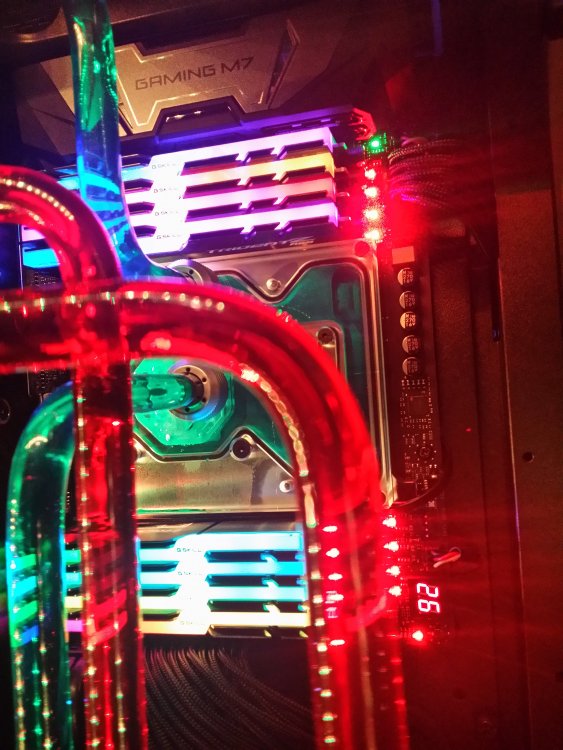
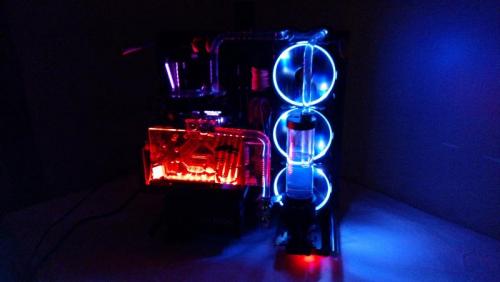
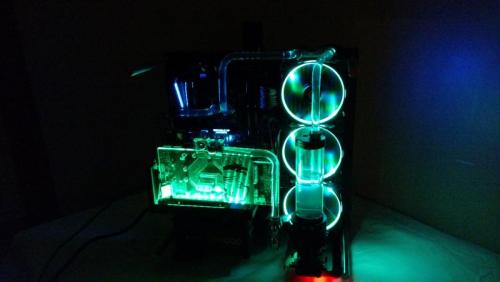
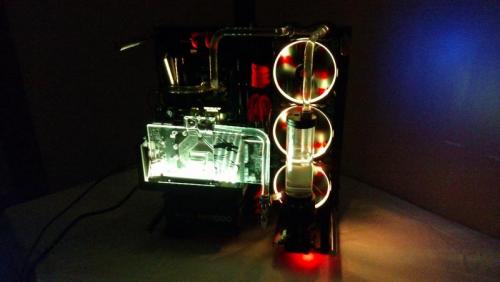
I Just built this, and I'm building 2 more. This one scored 12880 on Time Spy. 99% on all Passmark, and Futuremark test. I have red opaque coolant, for it and of course the acrylic cover. Just don't want to open the coolant, and remove the protective covering from the acrylic prior to shipping to the buyer. There are videos on you tube. Here is a link that shows off the RGB's in the dark. <iframe width="854" height="480" src="https://www.youtube.com/embed/1BQvNYfvx-c"frameborder="0" allowfullscreen></iframe> <iframe width="854" height="480" src="https://www.youtube.com/embed/WHIkSS9Da_M"frameborder="0" allowfullscreen></iframe> I know the videos aren't great but they serve the purpose. Please tell me what you think of the build though.

