-
Posts
42 -
Joined
-
Last visited
-
Days Won
1
Content Type
Profiles
Forums
Downloads
Events
Gallery
Blogs
Posts posted by AML Custom PC
-
-
Ryzen 2700X
![[IMG]](https://farm2.staticflickr.com/1946/30539430517_e39f84e913_z.jpg)
Asus 2080, can not believe how big the heatsink is![[IMG]](https://farm2.staticflickr.com/1956/30539429747_5ab4c441f1_z.jpg)
![[IMG]](https://farm2.staticflickr.com/1902/44754520264_0002ebdef9_z.jpg)
Asus Strix Motherboard,![[IMG]](https://farm2.staticflickr.com/1920/44754520374_ef0c3dfdb2_z.jpg)
![[IMG]](https://farm2.staticflickr.com/1912/44754520534_912daba98a_z.jpg)
Testing,![[IMG]](https://farm2.staticflickr.com/1937/44754520864_fda809748a_z.jpg)
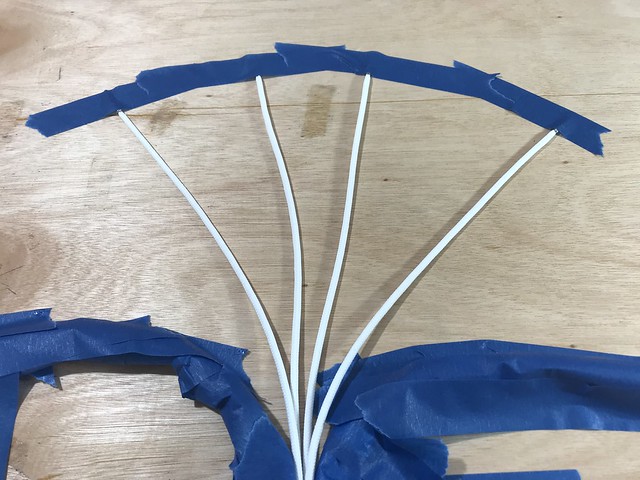
I have spent a few days testing paint, machine settings, and even did a quick test on some cable combs, I have also got some sleeving that I will be using, went with orange, carbon and black.
I just need to pick up all the cast acrylic on saturday and then it is full steam ahead.
Cable combs.![[IMG]](https://farm5.staticflickr.com/4876/31806721708_35d9fddec9_c.jpg) ]
]![[IMG]](https://farm5.staticflickr.com/4845/30738430807_f16872a574_c.jpg)
I have upgraded my CNC to the work bee from ooznest,![[IMG]](https://farm2.staticflickr.com/1933/30738430837_373be7c44e_c.jpg) ]
]
Did a little test on machine speeds and feeds,![[IMG]](https://farm5.staticflickr.com/4885/45628356682_bf20920525_c.jpg) ]
]
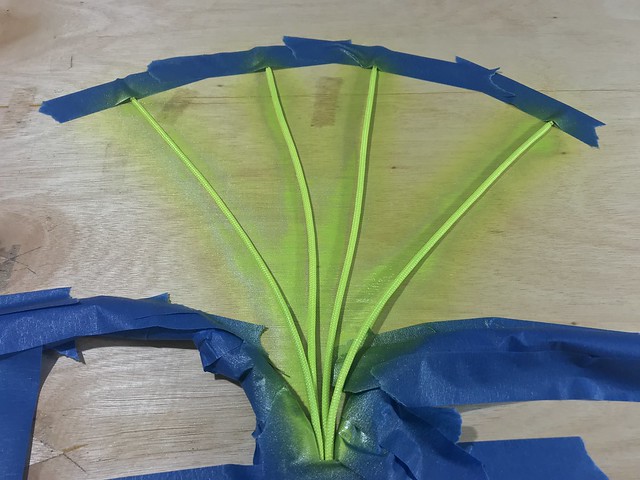
This will be the colour, I am using for the sleeving,![[IMG]](https://farm5.staticflickr.com/4836/44954103194_e165c34382_c.jpg) ]
]
I didn’t know if I wanted to paint my fittings so I did a test think I am going to go black with a hint of orange.![[IMG]](https://farm5.staticflickr.com/4867/45679008481_78171c0297_c.jpg) ]
]
Think I am going to stick with the black and maybe add some orange.
I will try and show every process of me making my distro plates, so if you are not following the build log best hit the follow button.
Richard -
![[IMG]](https://farm2.staticflickr.com/1963/30011127177_8cd82a5938_z.jpg)
Small update,
Had some more goodie from thermaltake,
Thermaltake Dasher Gaming Mouse mat,![[IMG]](https://farm2.staticflickr.com/1965/44211744575_d617a019a6_z.jpg)
Thermaltake X1 RGB, think I am going to mod this.![[IMG]](https://farm2.staticflickr.com/1929/44211745125_9c688a061a_z.jpg)
TT esports Nemesis mouse RGB![[IMG]](https://farm2.staticflickr.com/1904/44211745665_f766fdf78c_z.jpg)
Like I said in my last build log I will be updating once I have more products.
If you have any question please feel free to leave them below -
Hey everyone,
Sorry for the lack of updates, Project:Snow is now completed, if you were at EGX 2018 @ NEC in September you would have seen Project:Snow on the Cyberpower booth. I have also been doing design work for the Thermaltake UK Modding Trophy 2018 sponsor by thermaltake, Asus, AMD, Adata, Bit-tech and Scan. This build log is live.
I just want to say a massive thank you to Thermaltake for sponsoring the project, I think the build turn out great.
Final Photos,![[IMG]](https://farm2.staticflickr.com/1959/45106707842_9d4c257c40_z.jpg)
![[IMG]](https://farm2.staticflickr.com/1941/44433822764_71eb731374_z.jpg)
![[IMG]](https://farm2.staticflickr.com/1932/44433817034_8a1f14e3e5_z.jpg)
![[IMG]](https://farm2.staticflickr.com/1929/44433814384_b47742f541_z.jpg)
![[IMG]](https://farm2.staticflickr.com/1980/44243765605_67f5236db0_z.jpg)
![[IMG]](https://farm2.staticflickr.com/1978/44243763075_b7350c91c3_z.jpg)
![[IMG]](https://farm2.staticflickr.com/1930/43341415950_35b57ce70a_z.jpg)
-
![[IMG]](https://farm2.staticflickr.com/1963/30011127177_8cd82a5938_z.jpg)
Thanks for checking out my build log, I have been lucky enough to have been pick (1 of 5) to be apart of the Thermaltake UK Modding Trophy 2018, It’s been 2 years since the last one, I am very honored to have been chosen.
I just want to say a massive thank you to all the sponsors, Thermaltake, Asus, AMD, Adata, Bit-tech and Scan for their support in this competition.
The name of my project is #TT20.
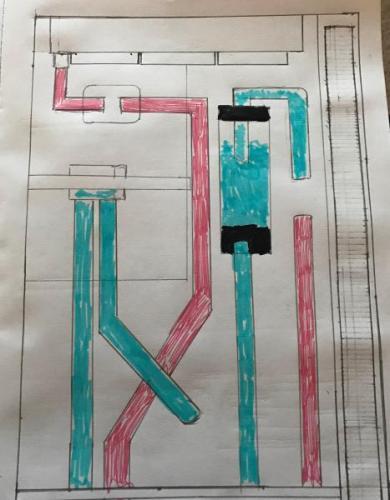
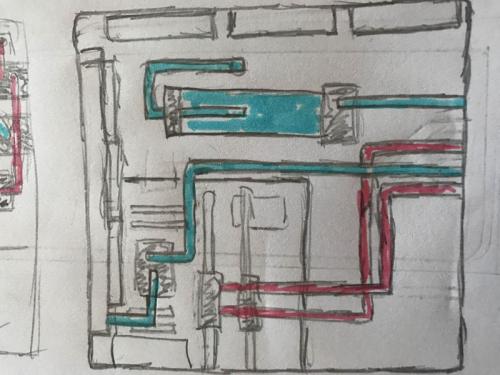
I have attached some drawing below that I submitted for the project, It will have a very clean look to the build. I always like to try new techniques or do something that I have not done in a build before and this build will be no different.
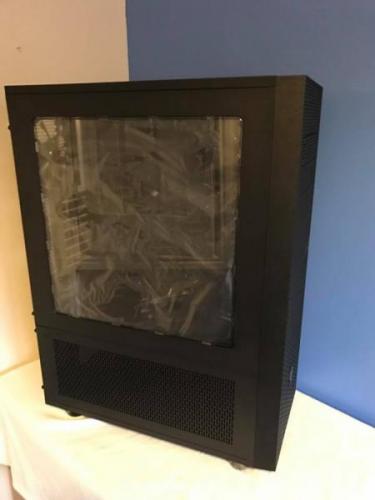
I will be keeping the front and the top of the case stock.
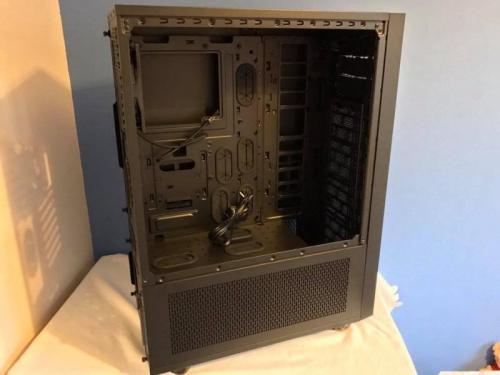
The back, side and the internal of the case will all be modded,
Back and Side
Front and side,
The Hardware,
![[IMG]](https://farm2.staticflickr.com/1906/44211751225_dd2c01290d_z.jpg)
2x Riing Plus 20 fans RGB![[IMG]](https://farm2.staticflickr.com/1919/44211749575_bfca9d3f2e_z.jpg)
6x Riing Plus 12 Fans RGB![[IMG]](https://farm2.staticflickr.com/1972/44211747845_e1cff5895c_z.jpg)
TT Premium PCI-E 3.0 Extender![[IMG]](https://farm2.staticflickr.com/1942/44211748765_008dfd8bf5_z.jpg) I
I
Thermaltake also gave us,
Thermaltake Dasher Gaming Mouse mat,![[IMG]](https://farm2.staticflickr.com/1965/44211744575_d617a019a6_z.jpg)
Thermaltake X1 RGB, think I am going to mod this.![[IMG]](https://farm2.staticflickr.com/1929/44211745125_9c688a061a_z.jpg)
TT esports Nemesis mouse RGB![[IMG]](https://farm2.staticflickr.com/1904/44211745665_f766fdf78c_z.jpg)
I do have more stuff coming once I have them I will update the build log.
Feel free to comment below.
Thanks Richard. -
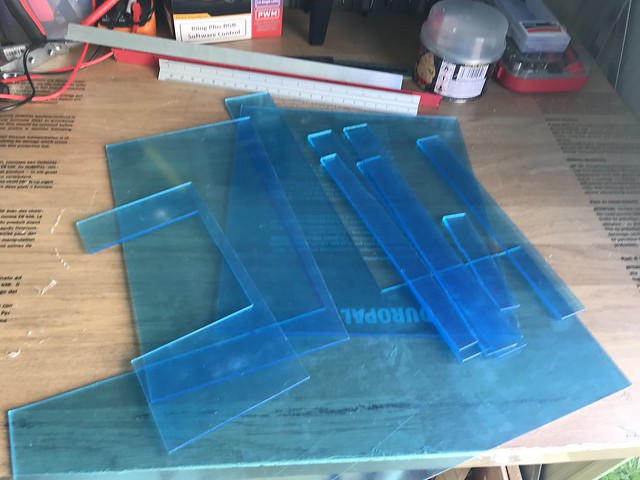
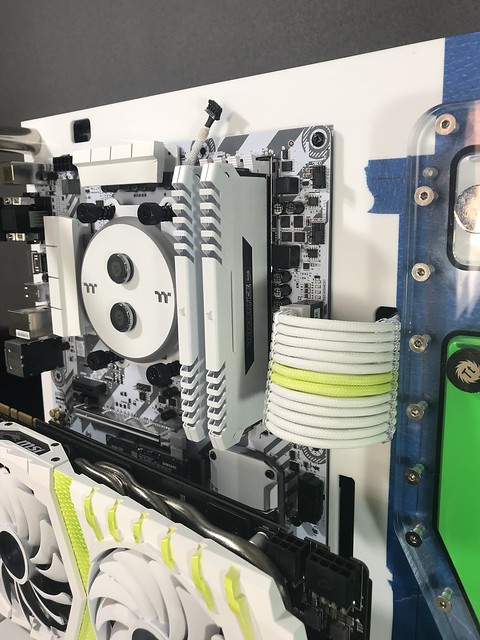
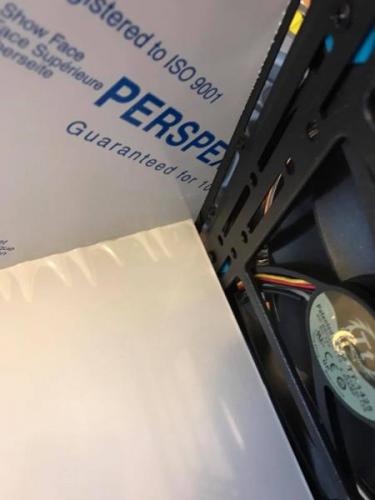
The build is all most completed, I have had a little delay due to me moving house and all my gear is in storage, should have been in the new house on 27/07/20108 but now it will be 10/08/2018.so the last time I posted we can everything white and in place to where I wanted everything, I was not to please with the color of the cables so I redid them. I wanted the green to match the rest of the build so painted the cables green with the airbrush.I think they turned out great.I cut some 3mm perplex to make a cable cover for behind the motherboard, this is not going to be on show but thought it will be a nice touch.The build is almost completed, need to run the hard tube and do a small PSU cover then the build we be completed.Here is a little sneak peak.Thanks for taking the time to check out the build log.
-
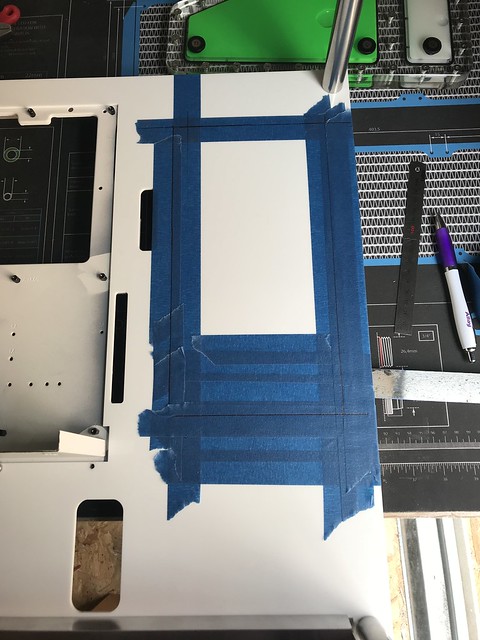
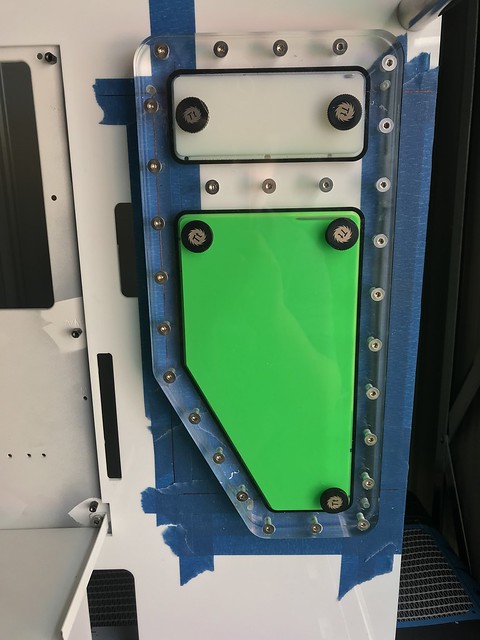
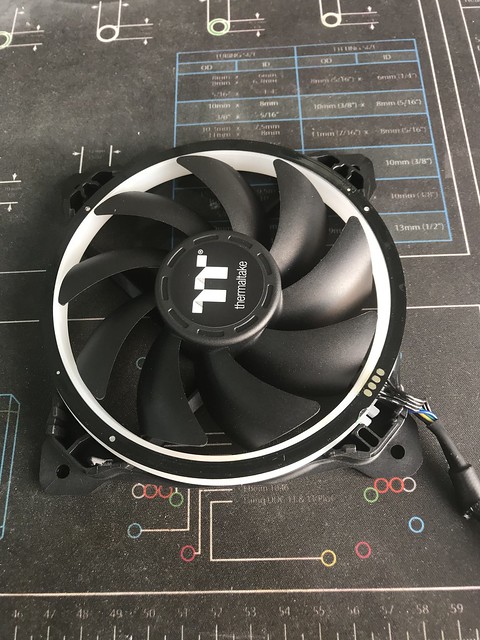
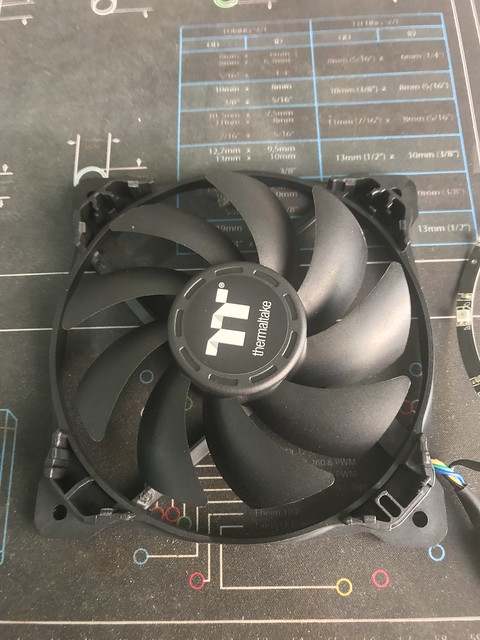
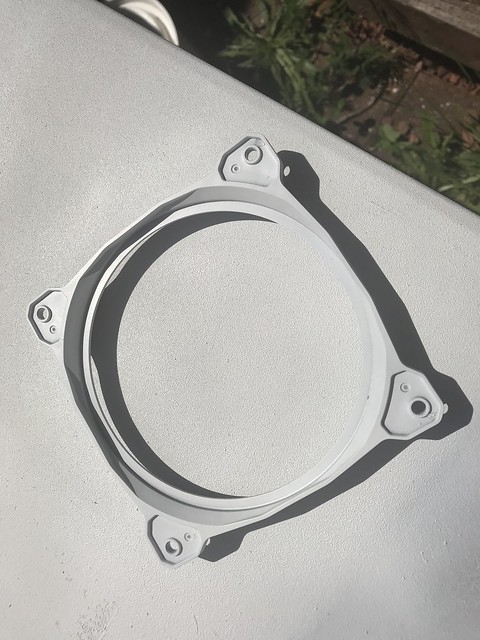
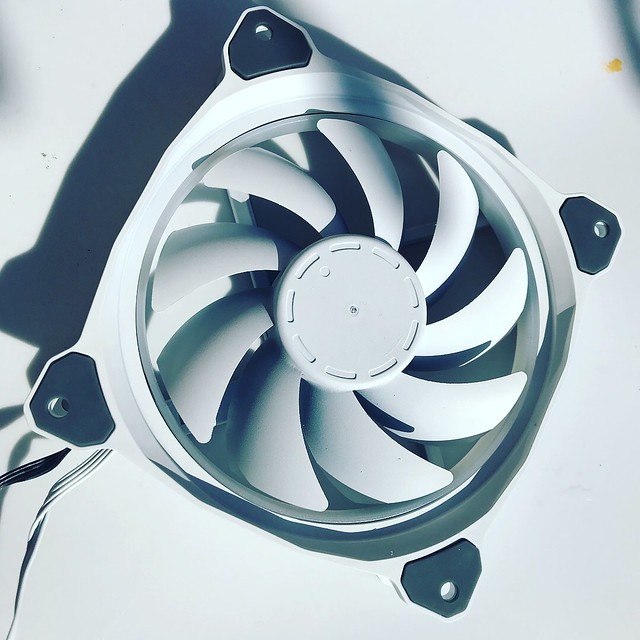
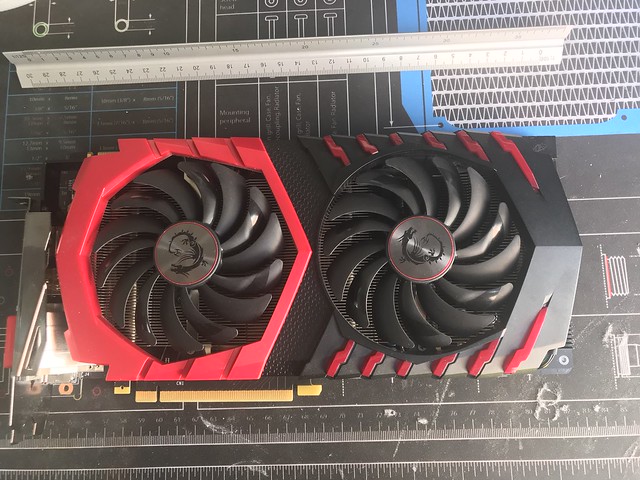
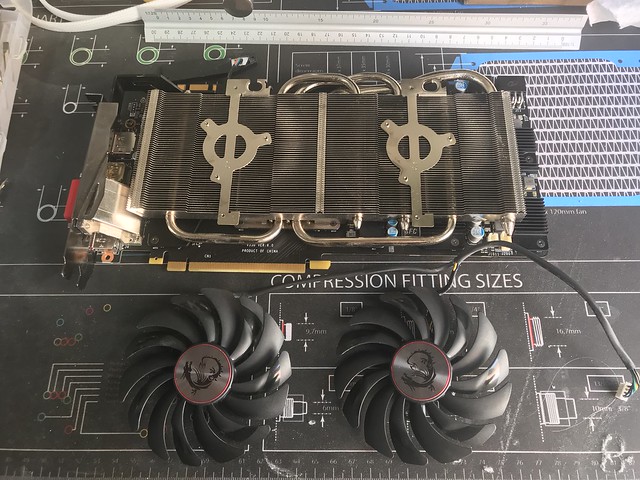
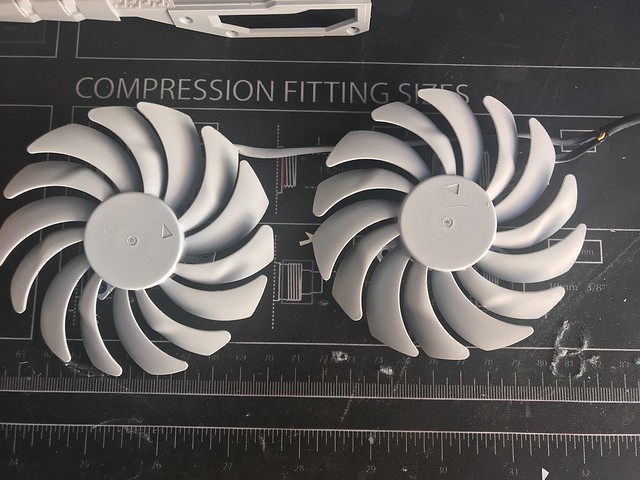
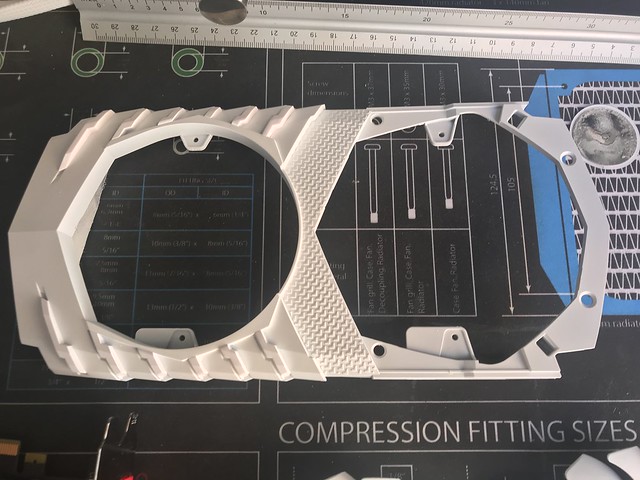
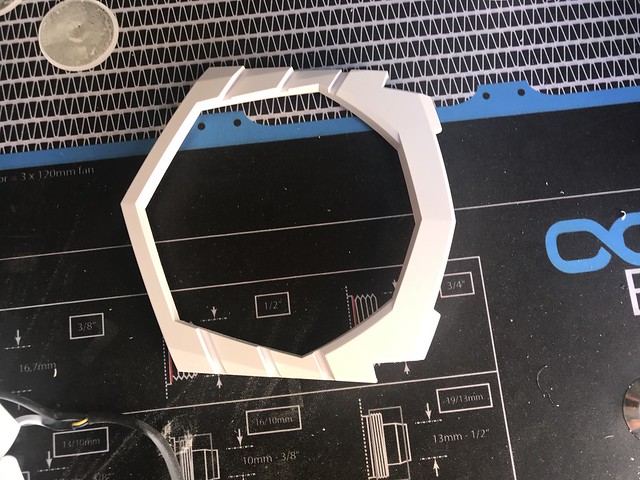
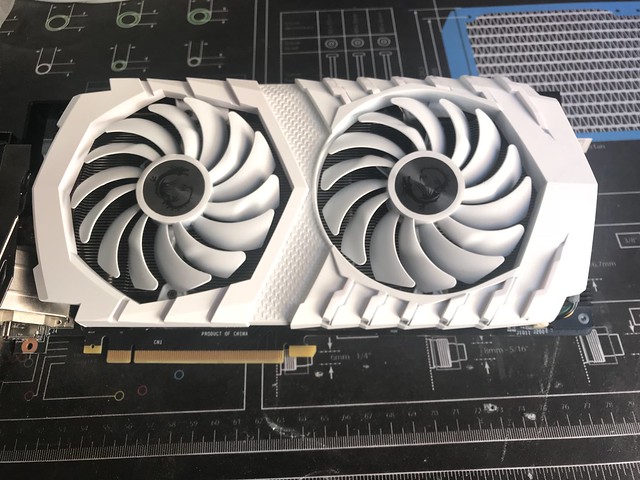
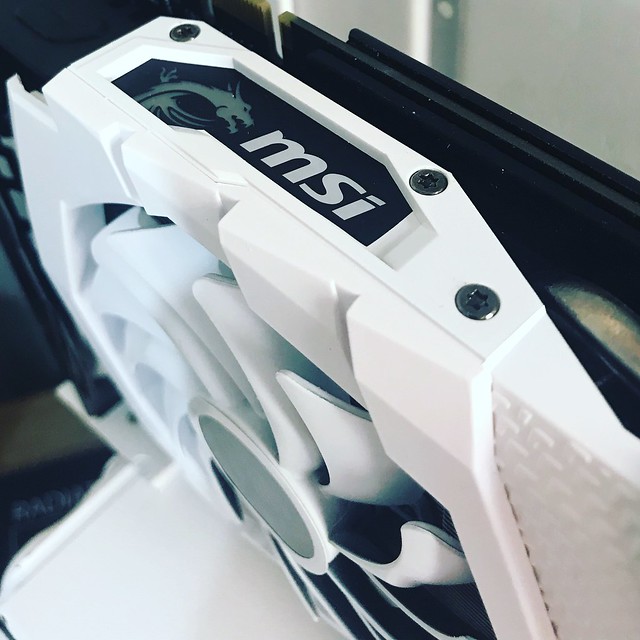
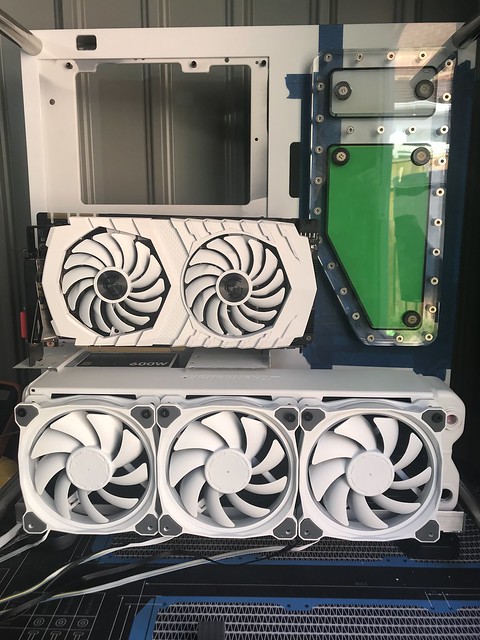
Hey,I have been really busy the last few weeks working of the build,Let start with the biggest issue, I broke my CNC which I have only had for about 6 months, I got this from china, have been able to do a few mod with it but not the main reason I got it. This meant I needed to ask Praetex Design for some help in cutting the design I made for the custom reservoir,Here is the design I made in fusion 360,Alex was able to produce the product and it turned out great.Here is me leak testing it,I then need to add the reservoir to the case. I must taped and marked the holes about 5 times I didn’t want to mess this up.Before,During,After,Think it turn out great.Now the Thermaltake Riing Plus fans as you can see from the photo above I needed to paint the fans so I strip them down.I have taken these fans apart before with out breaking any of the clips, this time I must of broke 5 in total, the fans still hold together well.I didn’t take many photos of the painting but I just made sure I gave a lot of light coatsI think the end result looks great,What do you think?Next up was the MSI 1070 Gaming X graphic card,I followed the same process with the fans and striped the card right down. If you are going to do this and paint the fan you are going to have to bend two metal clips over (cable management) which holds the cable for the fan.I need to take the sticker off the fans before I paint these I wanted to reused the stickers.I made sure I did lots of light coats of the paint.Here are the after photos,Housing,End result,Just want to make it clear I am going to add a bit of green on to the card. I have also add a white ring on the MSI stickers to hide the red.I need to add a little bit of white vinyl where the MSI logo glows, again this was just to hide the red.I was not going to show this next photo until the build was completed, what the heck here it is anyway.We still have work to do I need to support the GPU better so going to add an enclosure to the PSU this will then support the GPU. I am also changing the green out of my cable I made early to a better match green. I want to added as much detail as I can to the build.I am wanting at add a enclosure behind the case to hide the internal wires.Like always I hope you like the build log so far, if you have any question or feedback please leave below or come find me on Facebook / Instagram
-
Hi Everyone,
This is just a small update, I have had a few issues with my CNC and it no longer works I have blown the spindle, so I have not done as much as I can hoped.
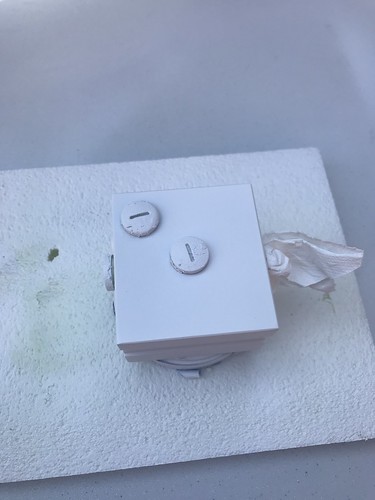
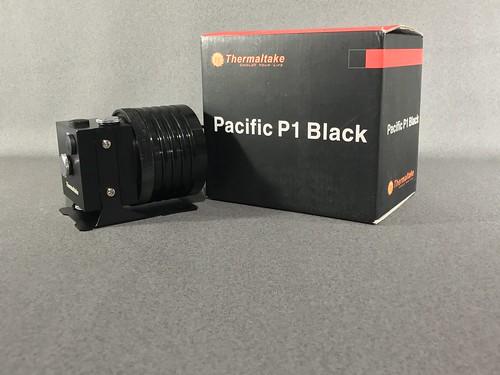
I have been painting the thermaltake Pacific P1 pump, this has cause me loads of issues, as I only get to mod on a weekend. I have painted this 3 time and I can see I am 98% happy with it. The photo below is showing you the process the 1st time I did it.
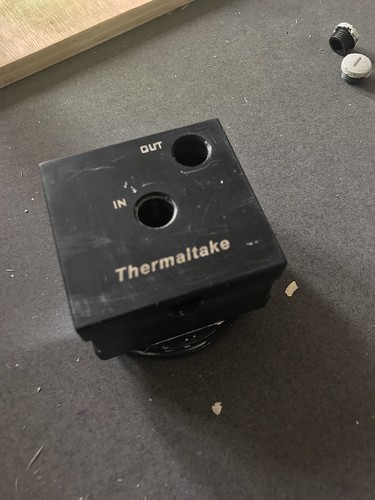
Before,
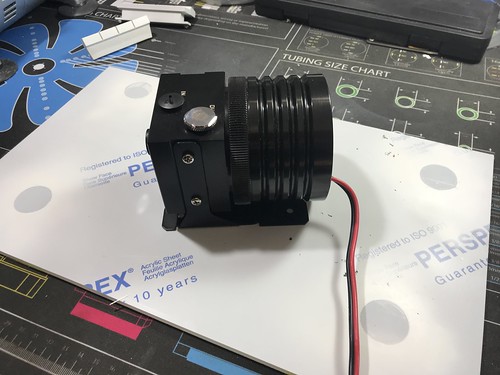
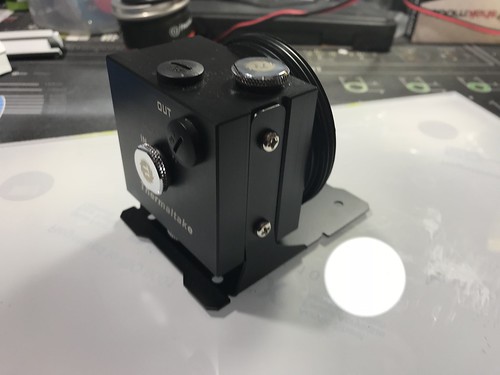
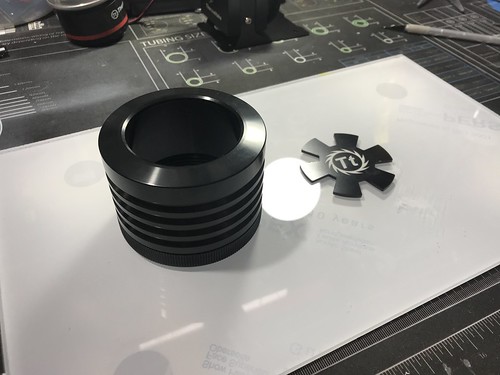
I needed to sand the parts done so the primer would stick to the parts, can I use spray can you apply the paint.
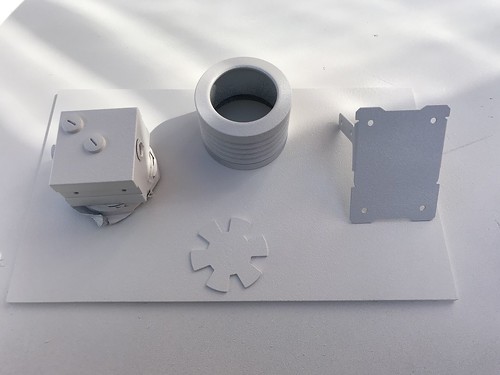
You can see the paint looks a bit bumpy, I then did some vinyl logos and added them to the pump and airbrushed the green paint on.
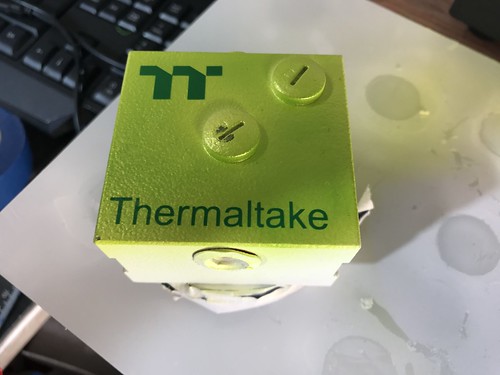
Here is the end result,
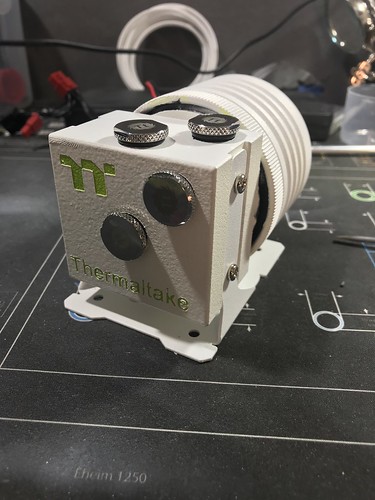
As you can see it looks ok but I want it looking better. So I striped the pump and started again.
This time I used the airbrush for every layer I also wanted to add green to the D5 cover and to the bracket.
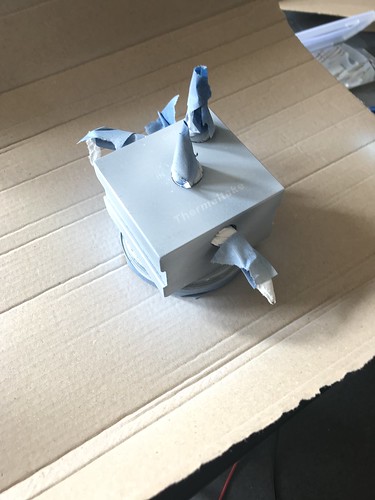
I did this over a few nights adding one layer at a time,
Here is the end result,
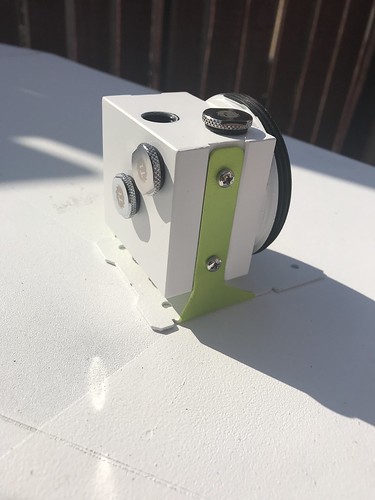
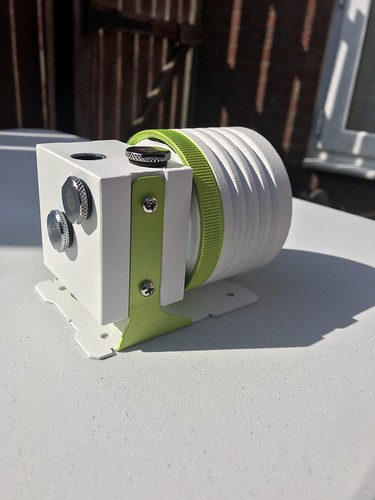
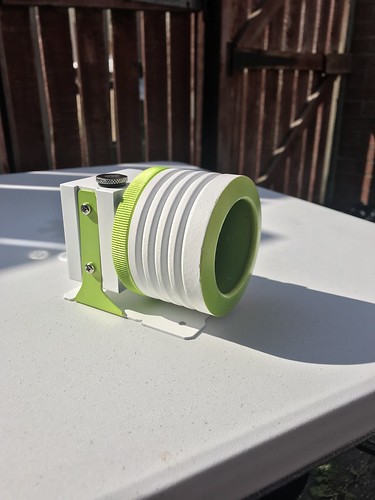
I am much happier now with the end result.
I still have a lot to do, I still have a lot of wires to sleeve, fans to paint and a graphics card to paint.
I did hope to show more but I thought it would be best to post something than none at all.
Until next time,
Richard.
-
I have a big update, most of the painting has been done, and I have started to do the cables.
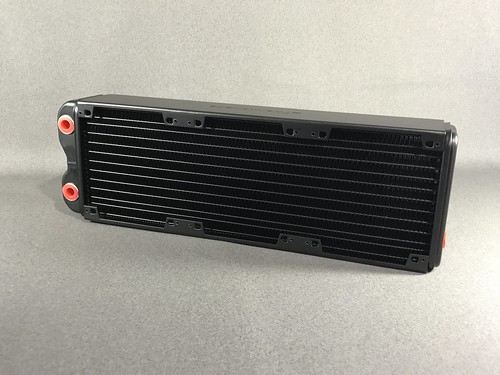
I will start with the Pacific RL360 Rad, I have painted this snow white, covered the fins and did light coats, the spray paint I use is Montana.
Before,
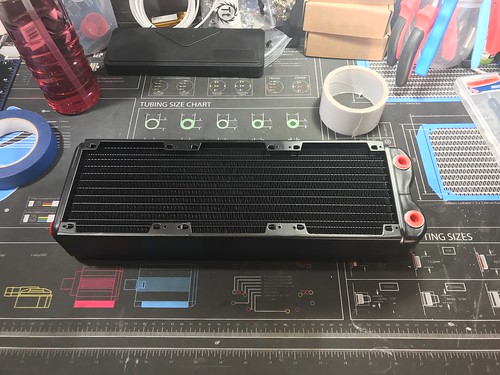
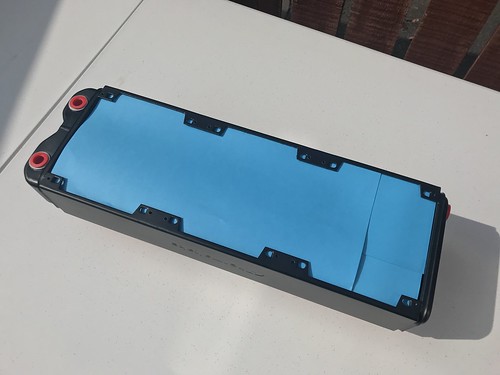
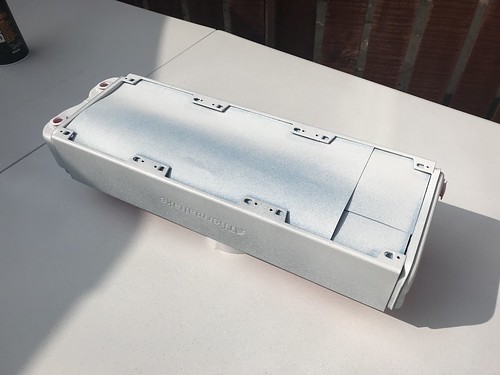
After,
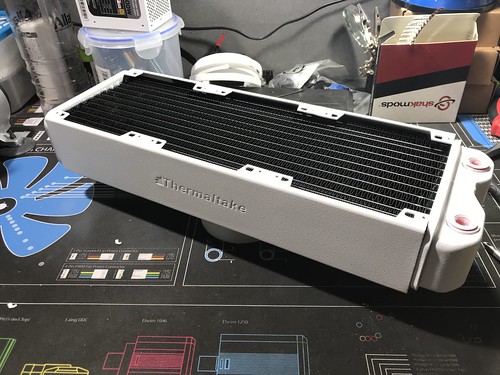
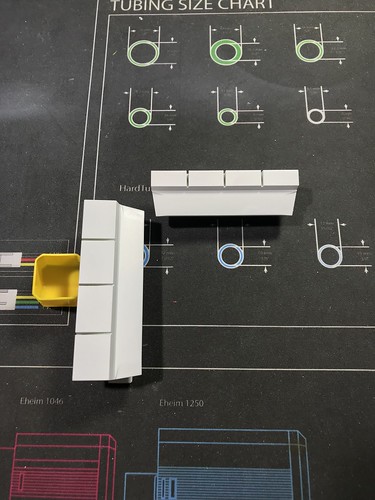
I have also painted the heatsinks, I am thinking about adding some green to them.
Before,
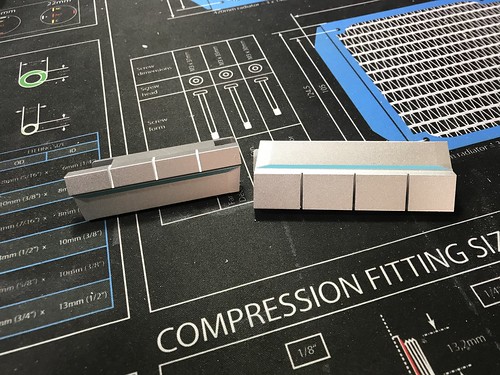
After,
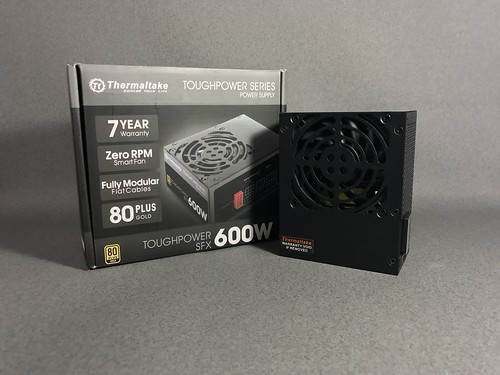
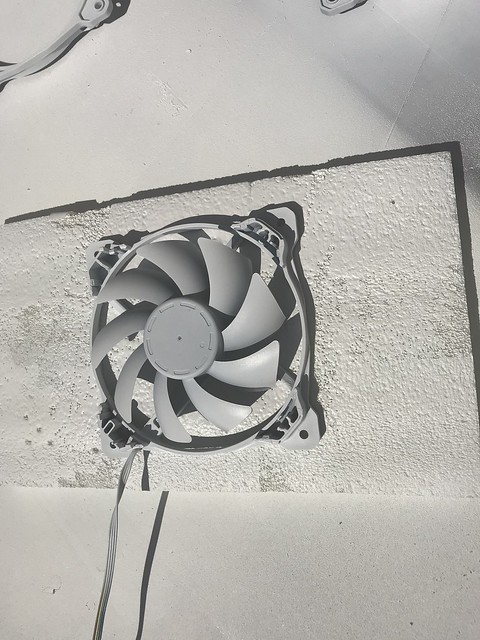
I wanted to paint the Thermaltake tough power 600w PSU white, this was a lot harder than I thought it would be, I striped the full PSU down but couldn’t find the last screw so I needed to cover all the enteral components. I also made sure to save the labels as I want to add these back on to the PSU.
Before,
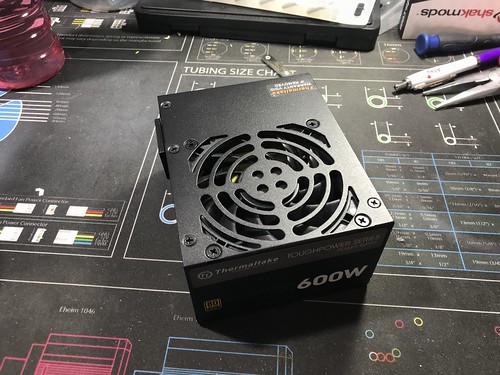
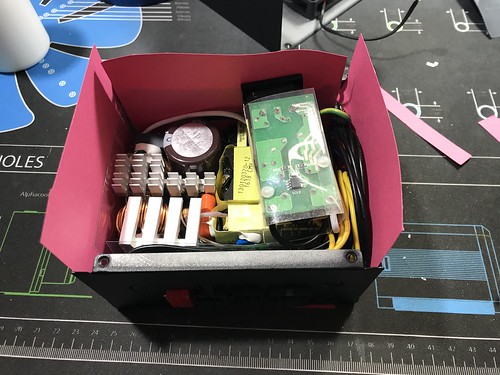
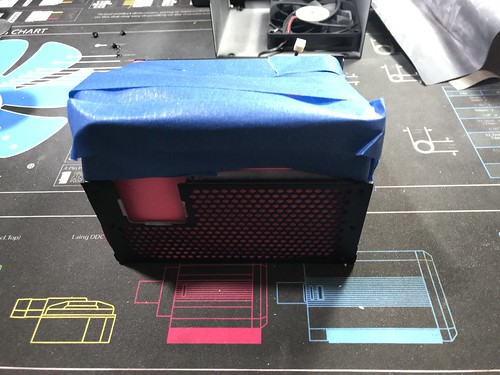
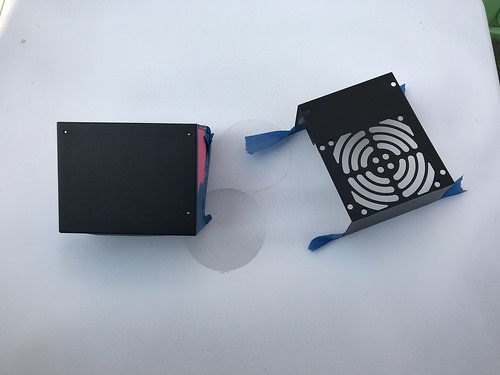
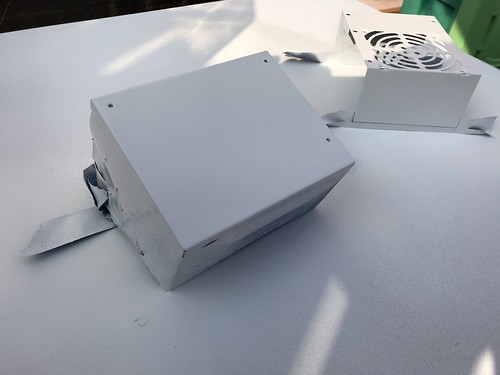
After,
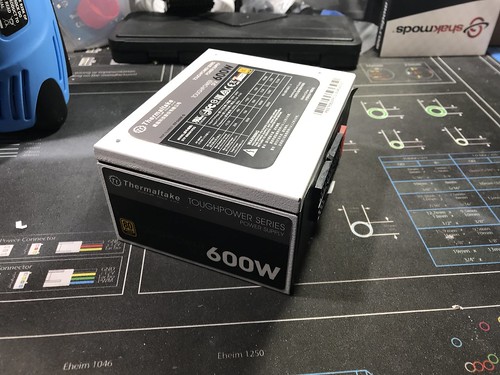
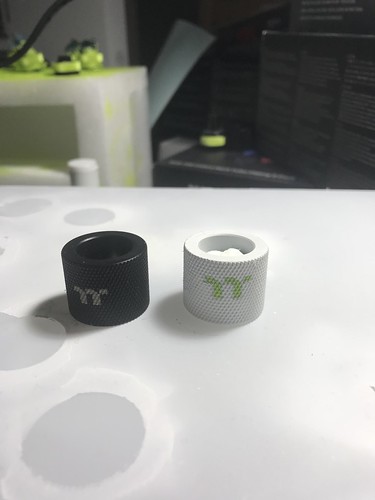
Next up to paint was the thermaltake Pacific W4 plus CPU block and the Pacific RGB fittings. I started with the CPU block, I heated the front of the block to loosen the glue of the black back ground as, I want this to be white, I had already made some little TT logo’s to cover the TT logos on the back ground, then I just lightly sprayed it white. I also added the bracket for Ryzen and painted this white too. The fittings were very time consuming, I wanted to get as much detail of the fitting as I could.
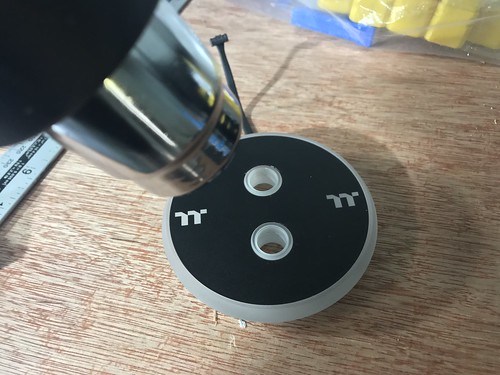
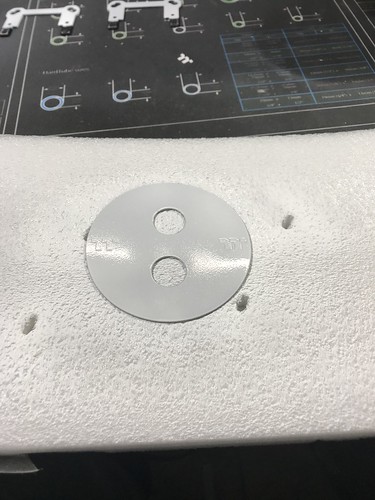
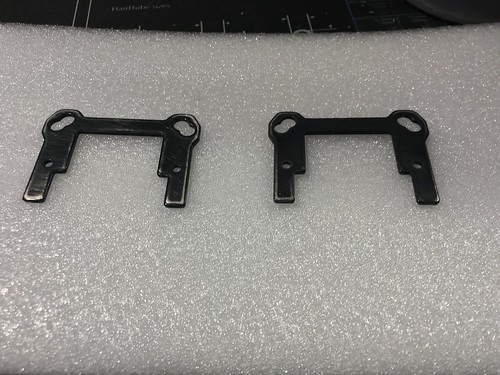
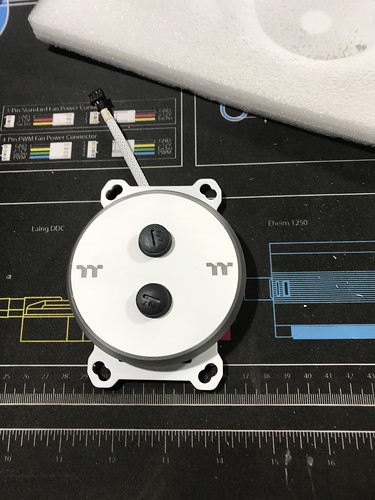
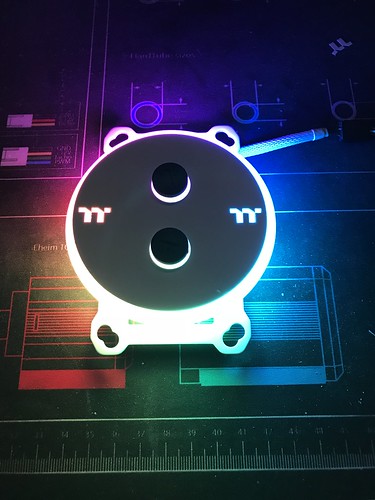
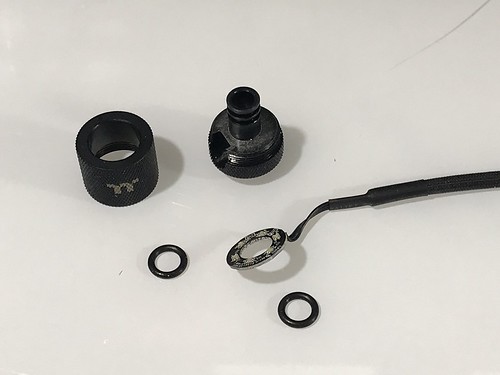
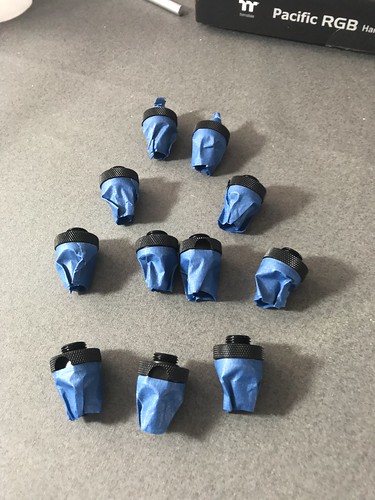
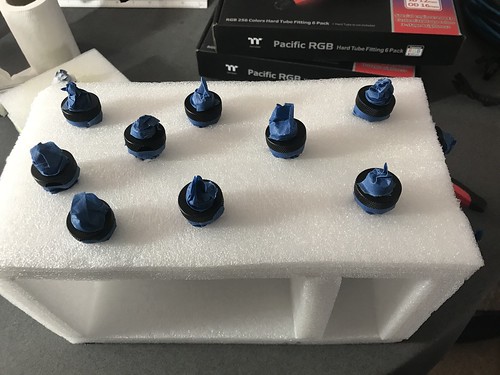
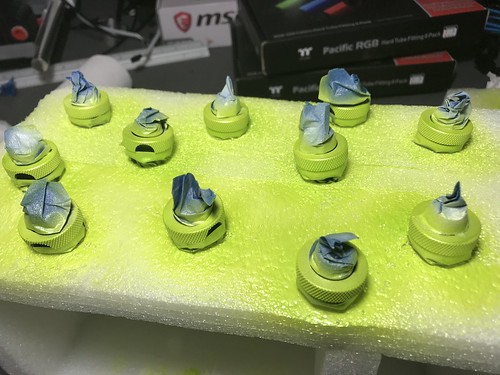
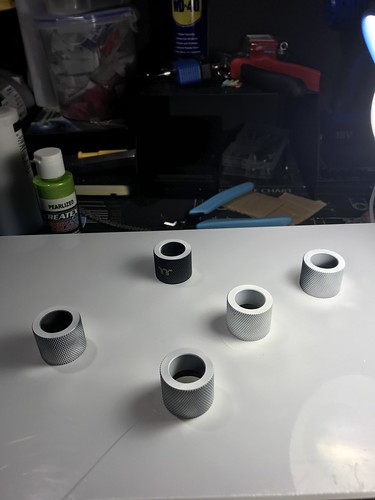
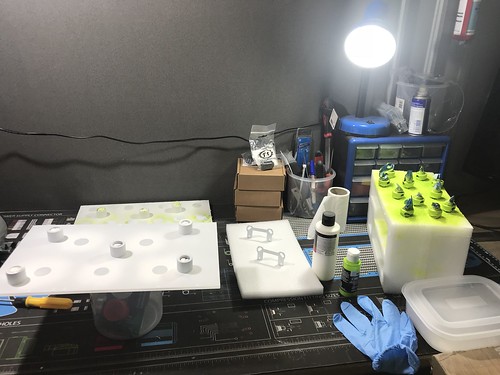
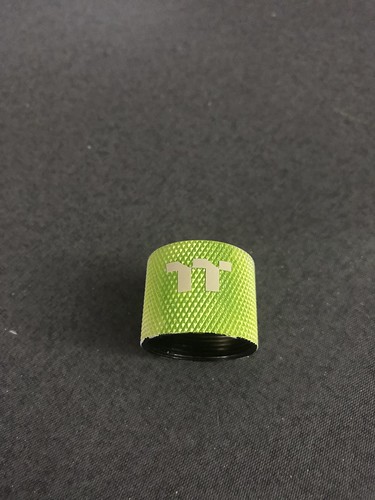
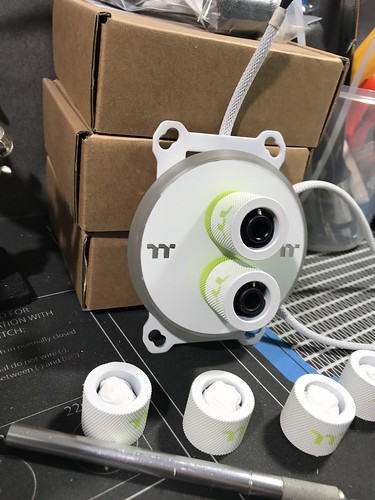
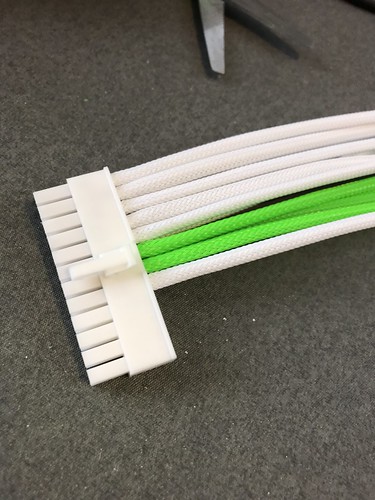
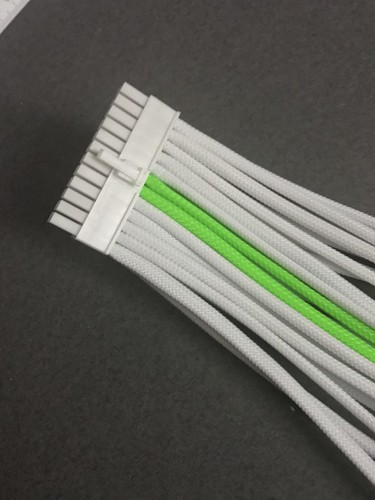
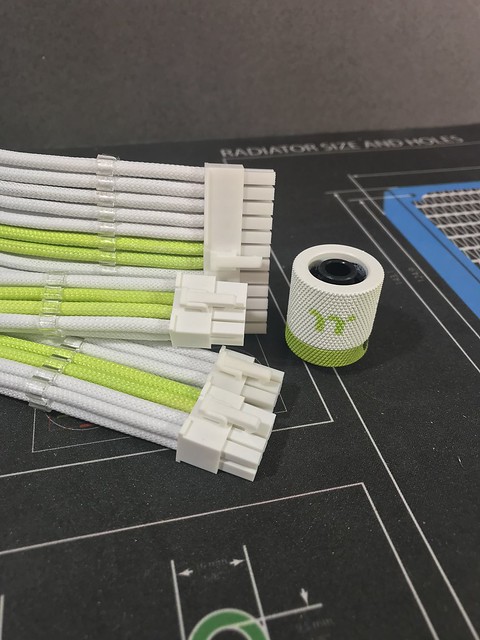
Sorry for all the photos, think I have went over the top, I have a few more then that it. I have started to sleeve the cable here is the 24 pin.
Hopefully the next update will not be as long, need to do the pump and the GPU, then that’s all the painting done.
If you have any questions or feedback please let me know.
Richard.
-
Welcome back,
I have a little update for you all,
I wanted to move the radiator to the bottom of the case where the PSU would be, I have not seen this on a core P3, I needed to make sure to would support the radiator, as I do want to mount this to the wall.
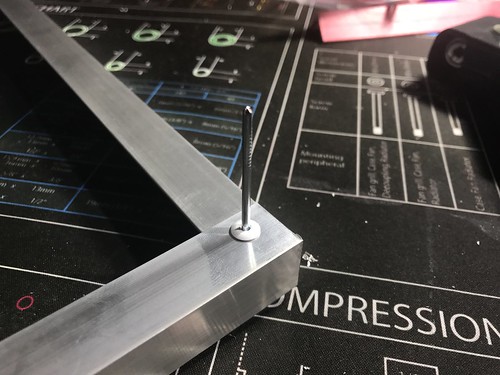
I am using 19mm x 19mm aluminium to start the framing of the holder.
Mark where I need to cut,
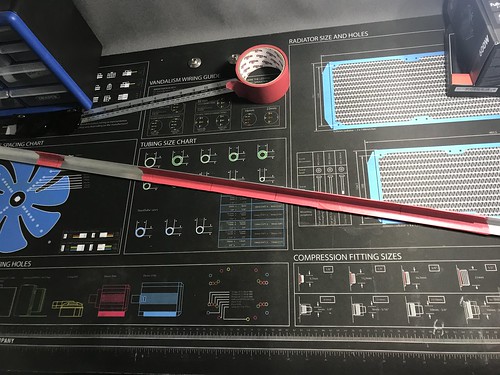
The bits I need,
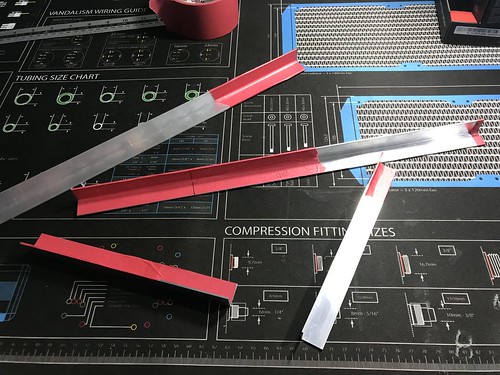
Marked where the hole will go,
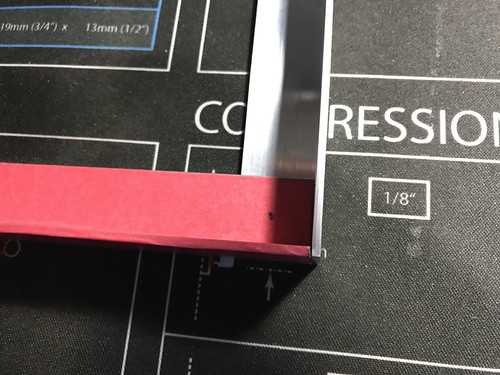
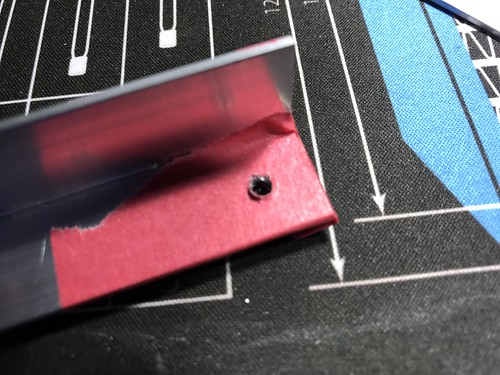
Drill a 4 mm hold for the rivets,
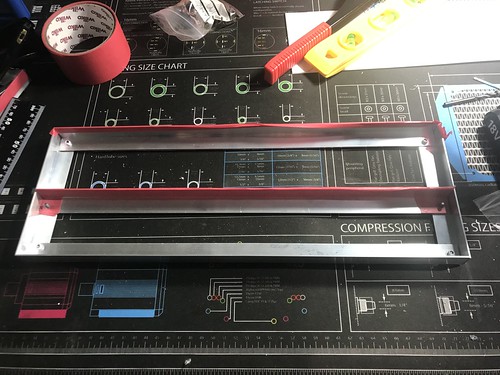
Test fit,
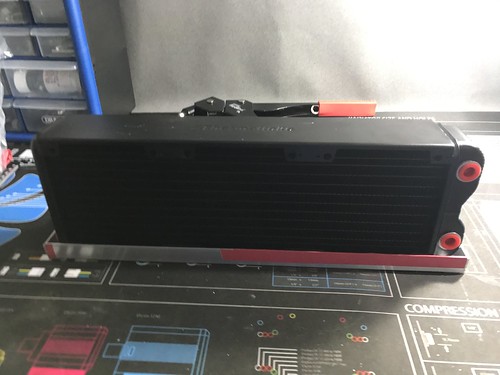
The 360 radiator sat very nice in the space now needed to make the support,
Now to make a new GPU bracket, but thought I would be easier to mod the one I have, I need this to be shorter.
Before
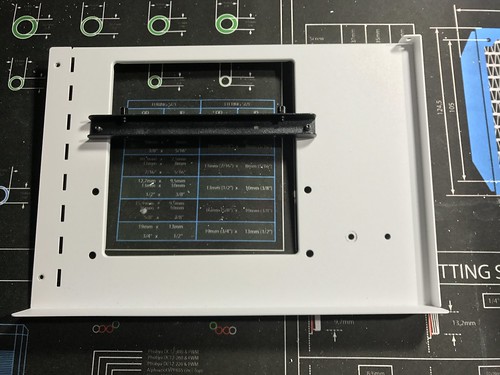
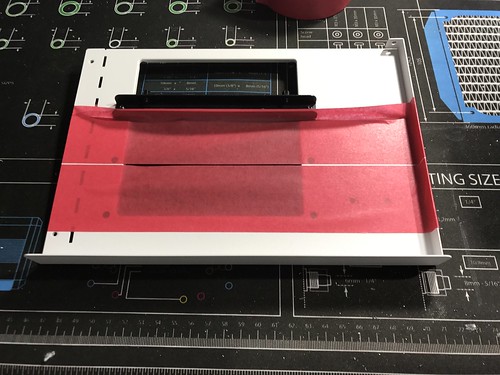
After, I am going to add some 19mm x 19mm aluminium to the outside of the bracket.
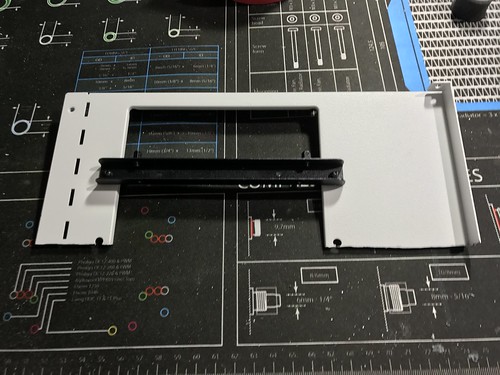
Here is the end result, I just want to stress that this is not the finish product for the brackets, this will give me a feel on what it will look like.
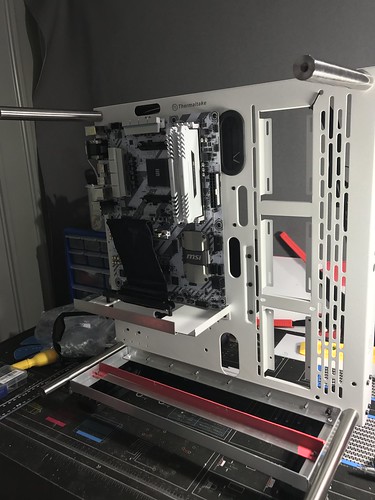
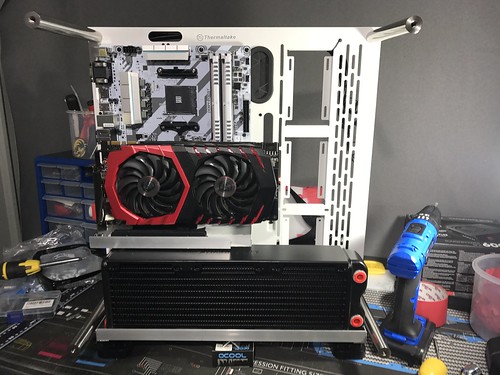
Hope you like the update.
-
Project : SNOW
I am back with a new build for 2018, I want to start by saying a big thank you to Thermaltake for supporting this project.
I am doing a Ryzen 1600 build paired with a MSI 1070 gaming x8 graphics card. I will be building in the core P3 from thermaltake, this will be fully watercooled.
I have set myself a big challenge to think more outside the box for when it comes to where to place the reservoir and radiator. I have also set myself a challenge to make everything white so I will be doing a lot of painting and resleeving and a lot of cables.
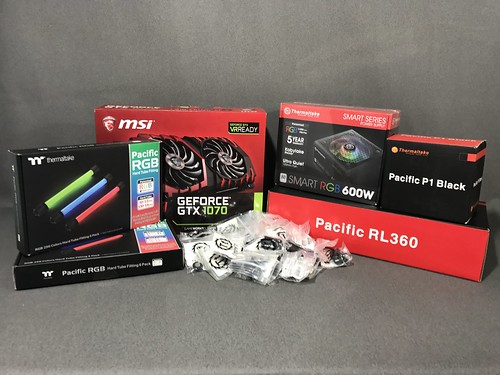
Here what I will be using,
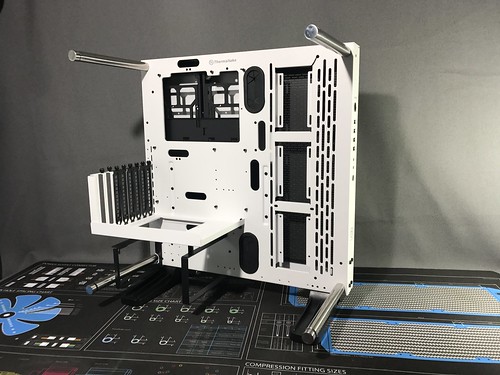
The thermaltake core p3 snow edition,
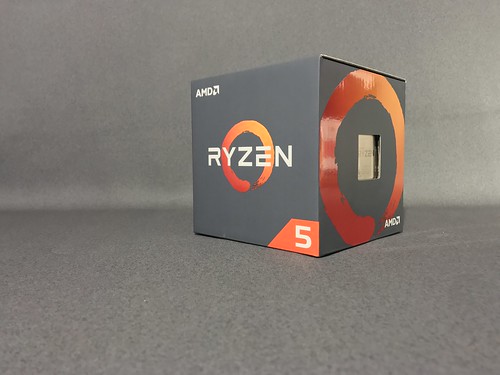
Ryzen 1600,
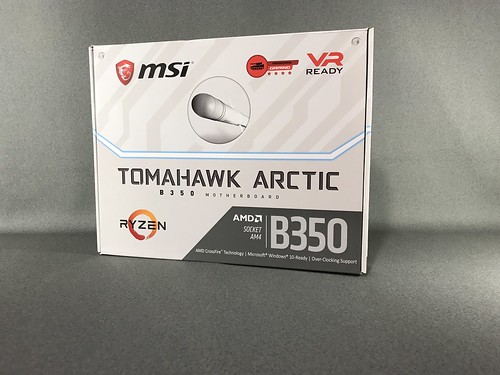
MSI Tomahawk Arctic B350
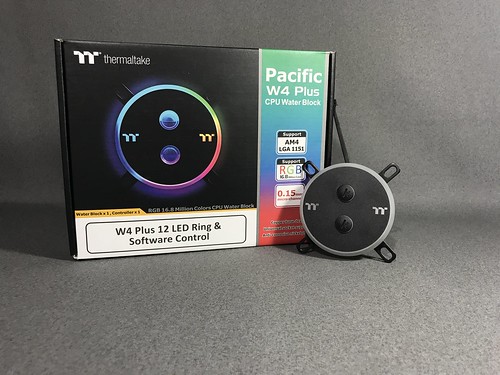
The thermaltake Pacific W4 Plus CPU water block,
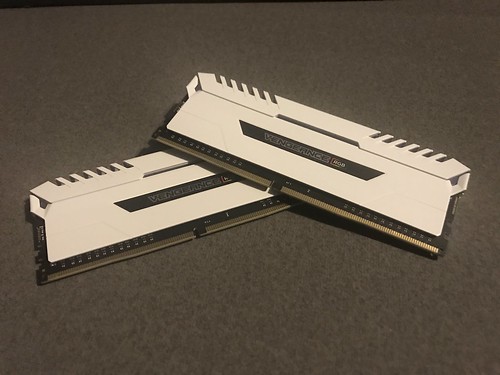
Corsair Vengeance RGB 2x8gb 3000Mhz could upgrade this two 32gb,
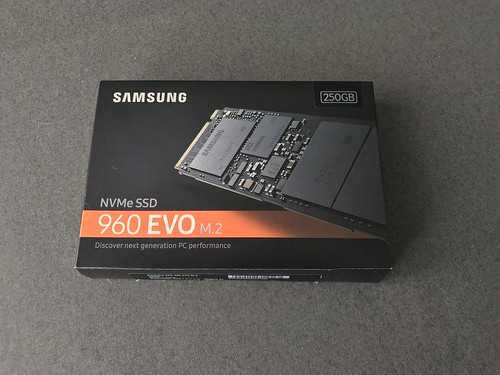
Samsung 960 EVO m.2 250GB this will be used for OS,
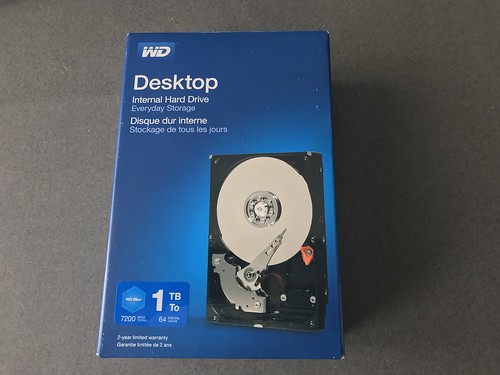
WD HDD 1TB,
Thermaltake Toughpower SFX 600w PSU,
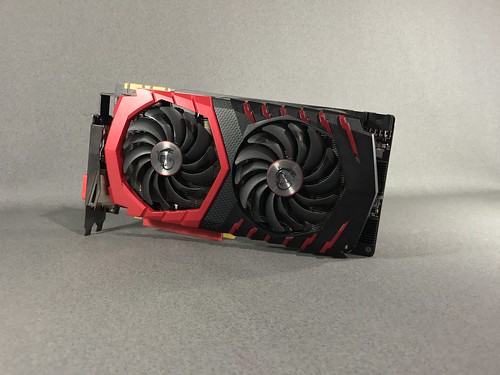
MSI GTX 1070 Gaming X8,
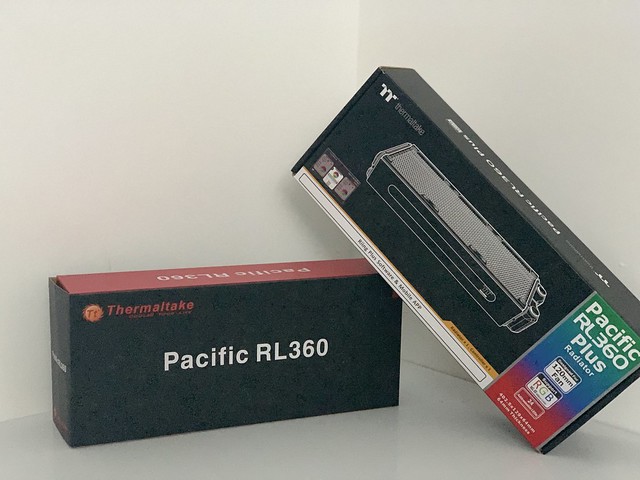
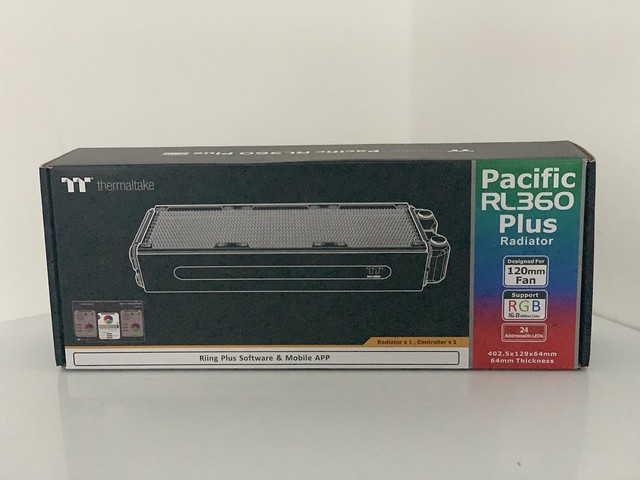
Thermaltake Pacific RL 360
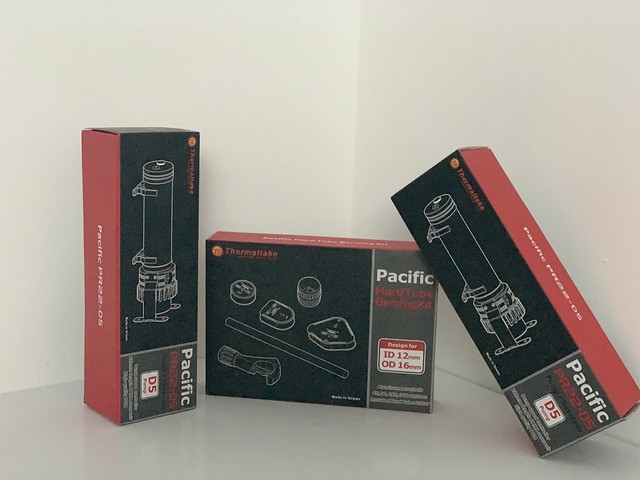
Thermaltake Pacific P1 Black,
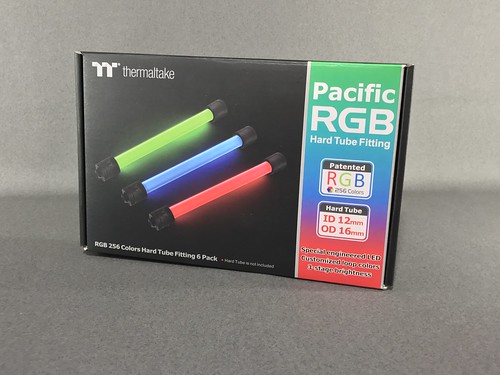
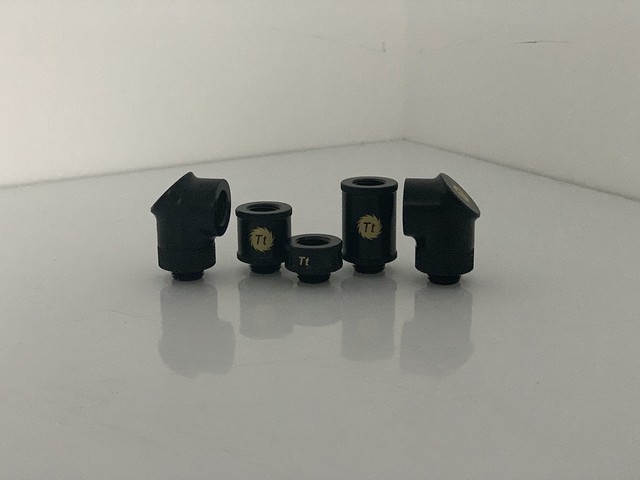
Thermaltake Pacific RGB Hard Tube Fittings,
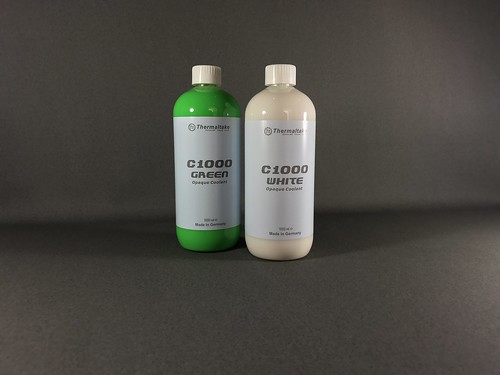
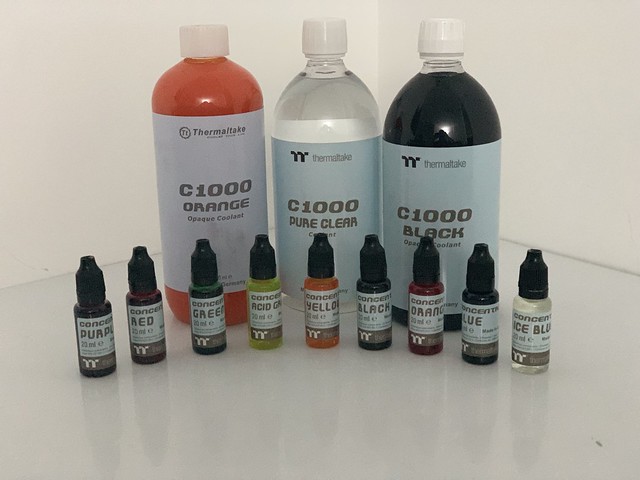
Thermaltake C1000 Green and White,
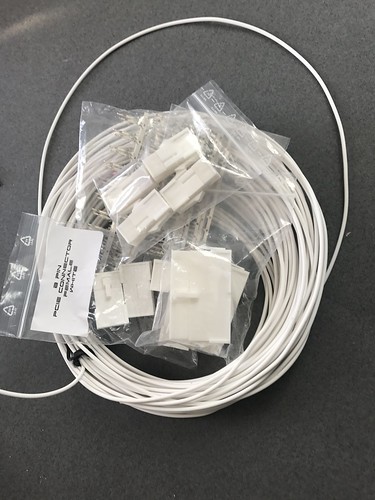
Some of the cable and connectors, I am using mdpc sleeving.
Thanks for checking out the post if you have any question or suggestion, leave a post and I will get back to you as soon as I can.
-
Hi everyone,
Sorry for the lack of updates, the build has been completed for a few weeks now. I thought I would share some photos of the build.
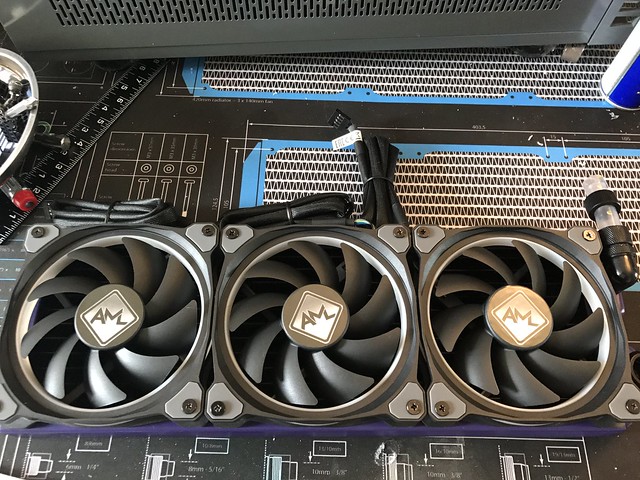
The Fans I am using 4 x 140 Riing plus and 6x 120 Riing plus.
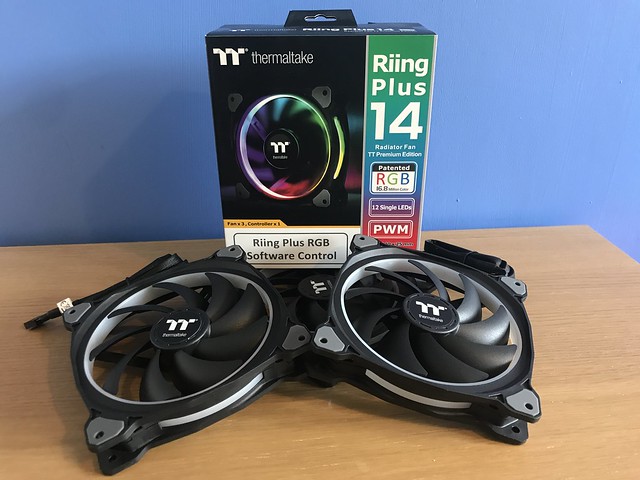
I made a new front grill so I could show of the fans,
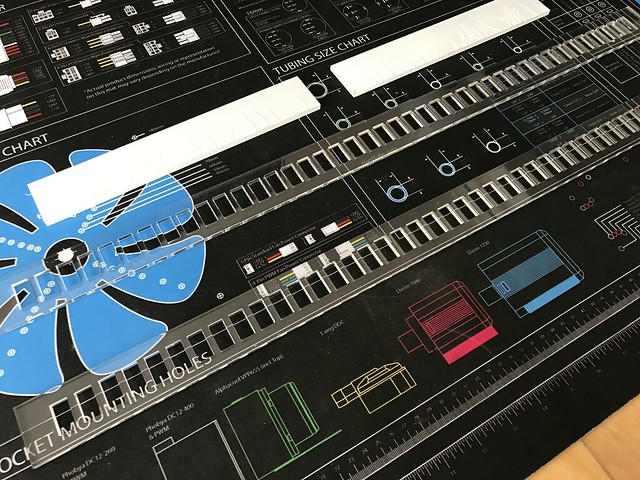
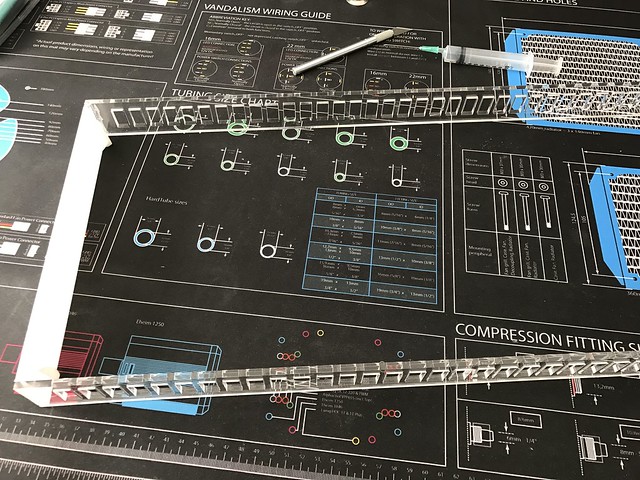
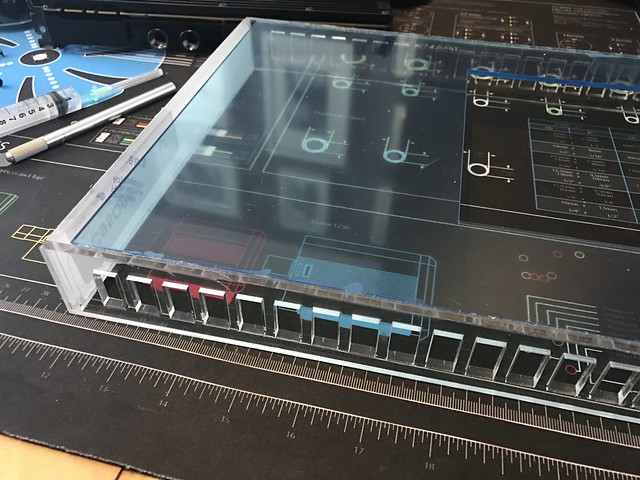
This is how it looked on the case.
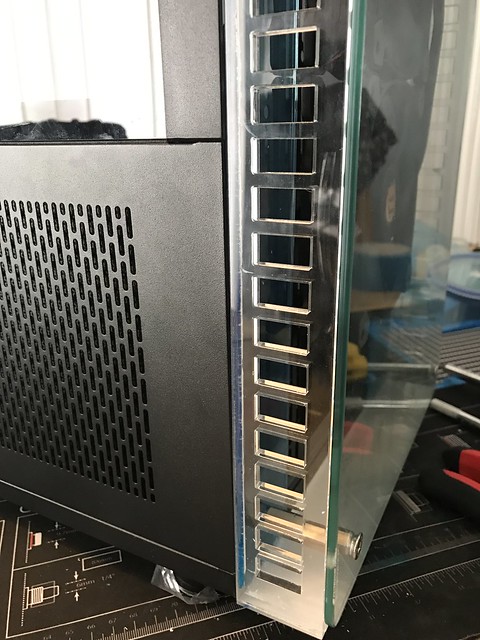
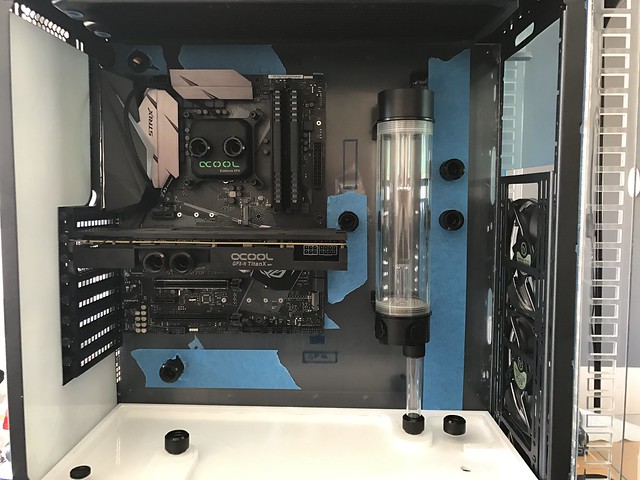
Test fit of all the components and customs res
Fans added to the rads.
Here is the build completed
.
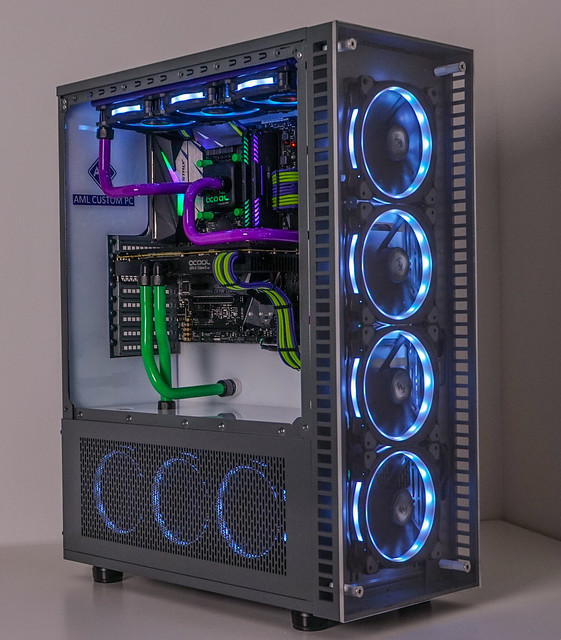
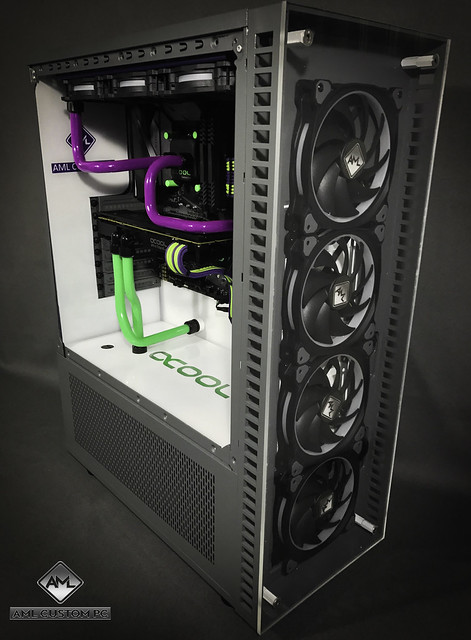
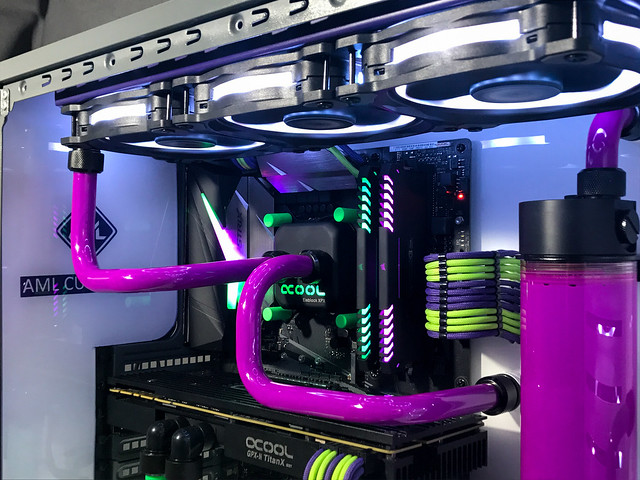
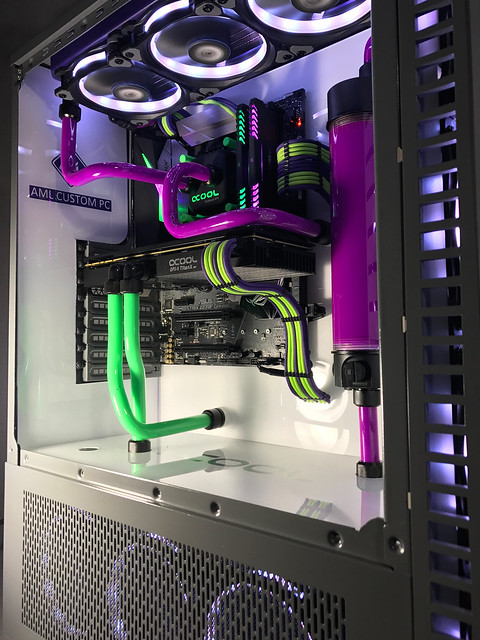
Hope you like the build.
-
Looks great buddy well done, I am looking at doing a Core P5 build for my son for Xmas he want a PC on the wall.
-
Hey Guy's
Had a busy day today.
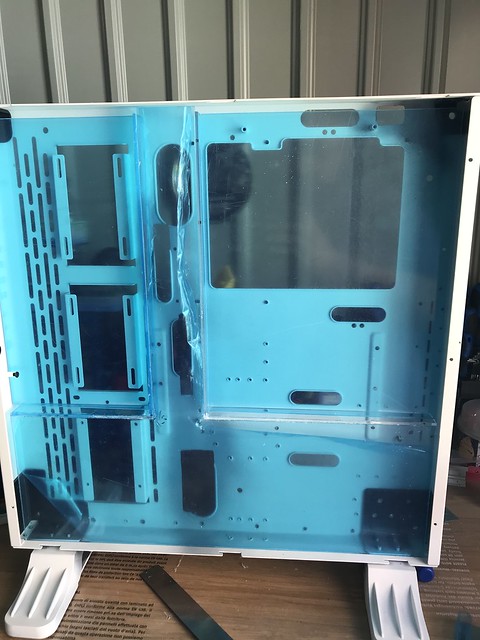
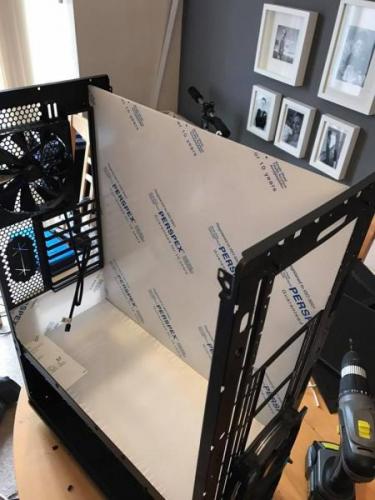
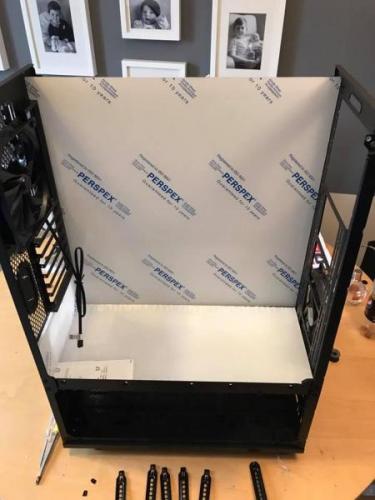
I have drilled all of the rivets out of the case and added all of the perplex. I have also got a few more parts for the build. I have started to mark out the holes and cut outs for the motherboard tray and I have added one of the reservoir.
New PartsStarted drilling the rivets.
Missed one.
Perplex in.
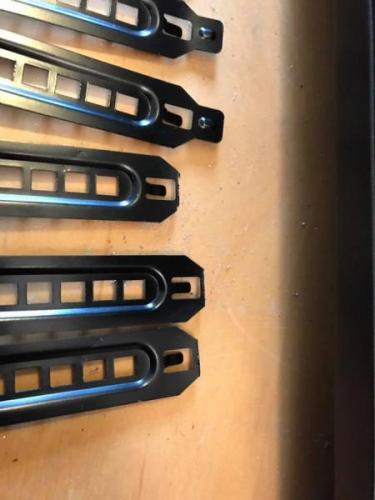
Had to cut down the PCIE covers.
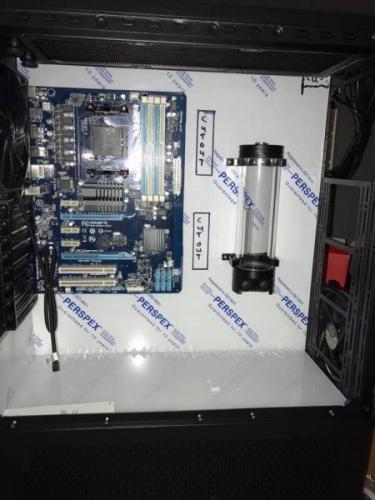
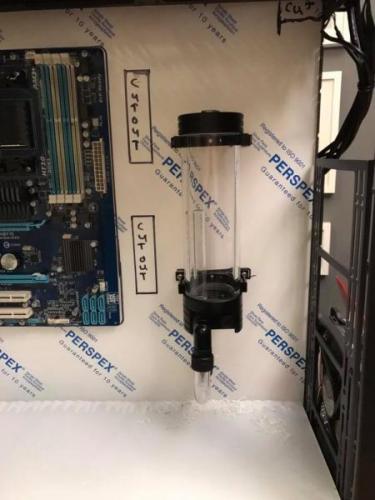
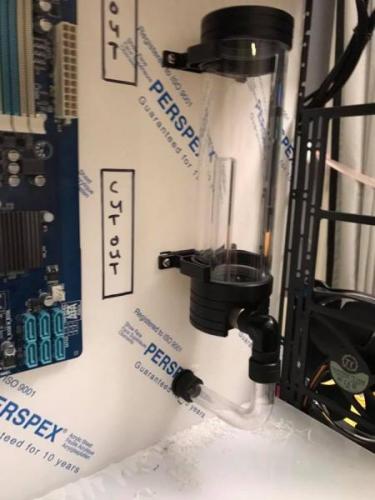
Added the res.
Wanted to see what it would look with a bit of tube in.
Was hoping to have the temper glass this weekend but it broke while being toughen.
I will be starting the basement and the sleeven the pumps on sunday.
-
Hey guy's
Just a quick update not had a lot of time to mod the case this week I have started to take a part the case about ready to take the size for the new motherboard tray. I am also still awaiting the tempered glass. I will upload the photos at the weekend. -
Hey buddy nice to see a friendly face.
Another great build buddy looking forward to your next.
-
Hi Guy's
I am new to this forum.
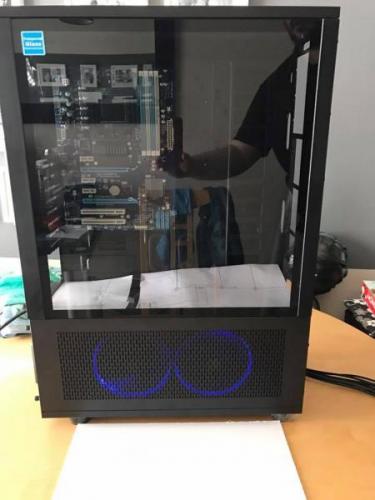
I have started a new project (no name) in the x71 case. I am going to be modding the front of the case and adding temper glass. It will have a dual loop two pumps two Res and two 360 rads, I am looking at replacing the motherboard tray and add my own plus a few little surprise a long the way. Also going to we extending and sleeving all cables.
Components.
CPU: i7 4770K overclock to 4.6RAM: Corsair vengeance Ram 16gbGPU: Zotec 980tiPSU: Corsair ax 860WATERBLOCKS: EK2x Pump: EK d52x RAD: EK 360FANS: 7x 120 Riing 12 thermaltake RGBFANS: 3x 140 Riing 14 thermaltake RGBFITTINGS : Thermaltake pacific petg 16mm compression.FITTINGS : 3x EK pass throughHARD TUBE: Thermaltake Petg 16mmHere are some early drawingsX71 case
Some of the components.
Was not sure if I should use 2x 140 or 3x 120 fans still not sure what do you think?
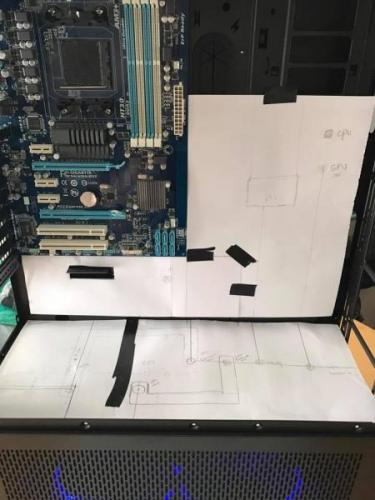
I like to draw out what I want to do and I took size for new motherboard tray.
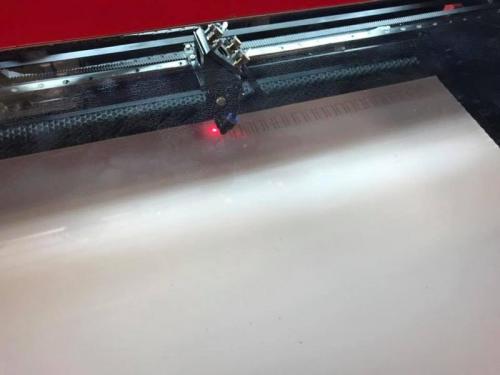
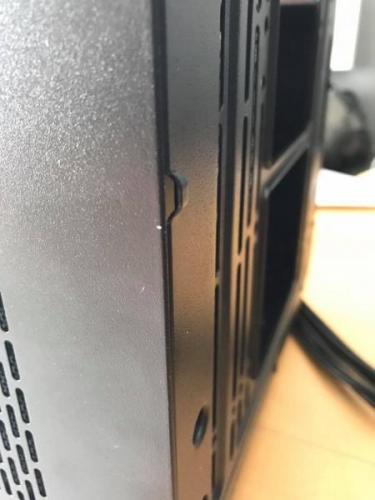
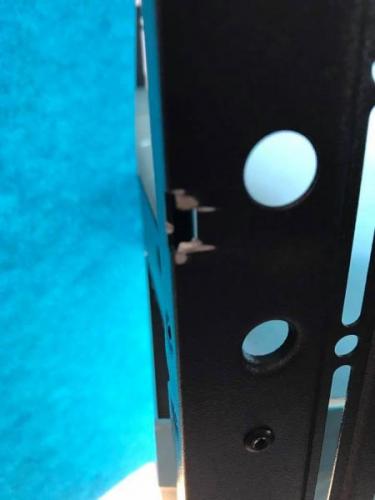
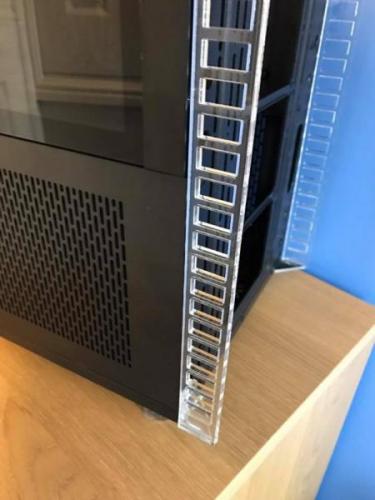
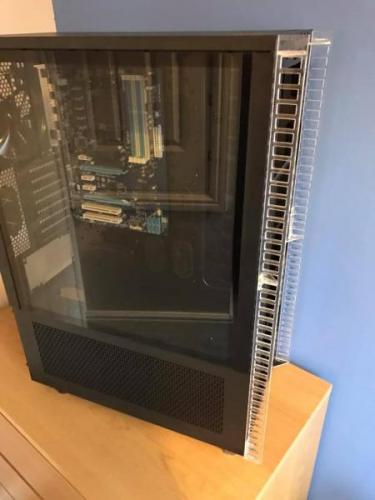
I did draw up some designs for new air intakes then got them laser cut. I had to cut some of the front case for them to fit. These are removable not sure if I am going to leave them clear or paint them.
This weekend I am hoping to drill out the rivets and start the motherboard tray. Sleeve the pumps and front panel connectors.
Thanks for check out my mod any question or feedback let me know below.


![[IMG]](https://farm2.staticflickr.com/1944/31249692468_8fb9b37523_z.jpg)
![[IMG]](https://farm2.staticflickr.com/1910/44211746565_84b4c8ba2b_z.jpg) I
I![[IMG]](https://farm2.staticflickr.com/1932/44211747305_002a098a07_z.jpg)
![[IMG]](https://farm2.staticflickr.com/1974/31249741278_83e9279b82_z.jpg)
![[IMG]](https://farm2.staticflickr.com/1936/31249745328_bb2984f790.jpg)
![[IMG]](https://farm2.staticflickr.com/1965/43310160680_cd3b10f783_z.jpg)
![[IMG]](https://farm2.staticflickr.com/1932/44211750695_b38951c71d_z.jpg)
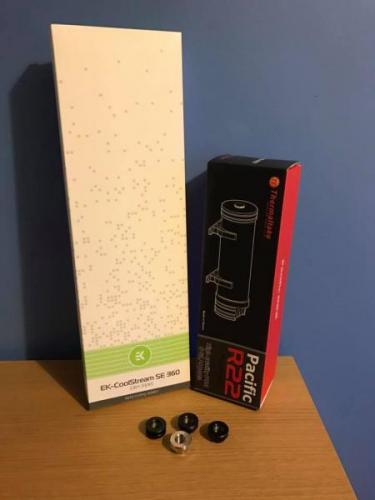
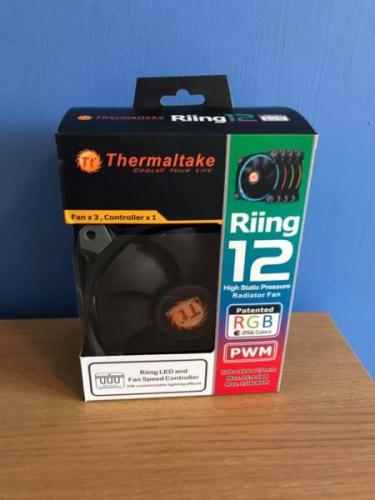
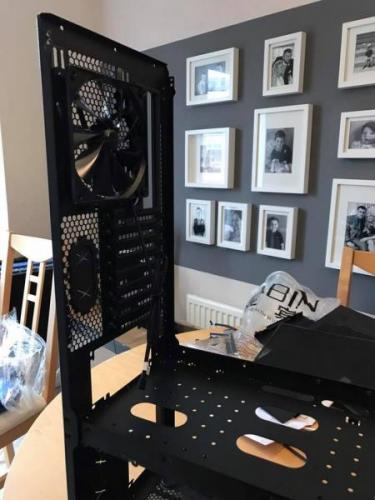
Thermaltake UK Modding Trophy 2018 #TT20
in Modding
Posted
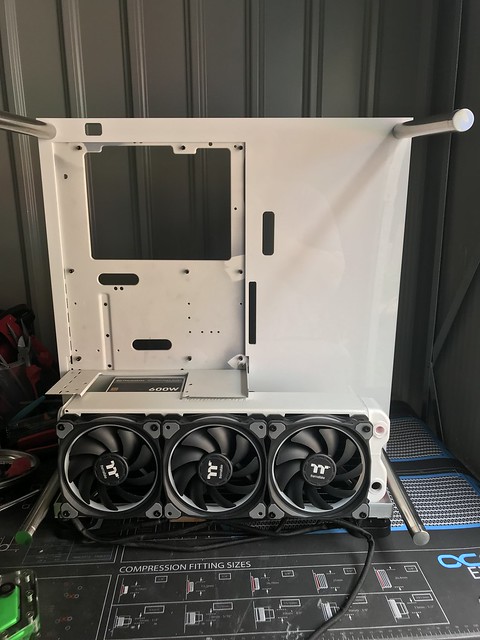
So I have a few days off work this week have the house to myself so thought it was best to get a move on, so I have pull this case apart.
I dont need the back or mid plate as I will be replacing these with distro plates, here is a litlle sneak peek,
I have have no back on the case, I can start the basement, this is going to house the PSU the res and pumps and RTX 2080 card.I want to have a false floor, this will help cable manage the fan cables pump.
Start with marking it out.
I did make a mistake here, I had to move the RTX back 30mm I amended this when I cut the acrylic.
This could have cut with a jigsaw and filed down put I wanted to to use the CNC, plus the more I use it the more knowledge I get.
forgot to share my stack of acrylic I am sure I will need more.
I have place the false floor in to the case and add a big piece of acrylic on the back I am using 3 of these for just the back distro plate.
Its, start to look like something.
I tested the psu, I want this to over hang so it goes through the back of the case.
Think it looks good, at least I know the holes are straight.
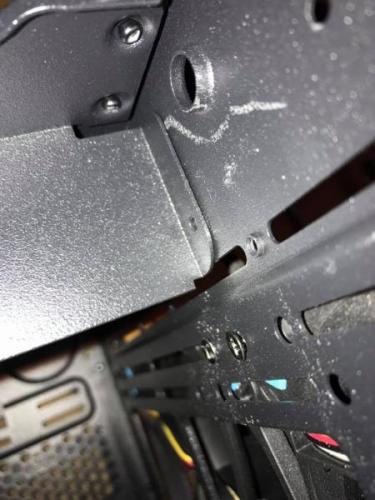
Next was to try and get everything level, the has really pee me off, because I want to make the distro at the back of the case, and the case is being judged I need all the edge match and need it to work. I used the CNC to take a mm off at a time on the bottom and the side. I took 5mm each side and it was still a bit off, here is a photo any way.
I know the cause and a way to fix it but I will do that once I have done the distro plate but will need to do it before I put the mid plate in.
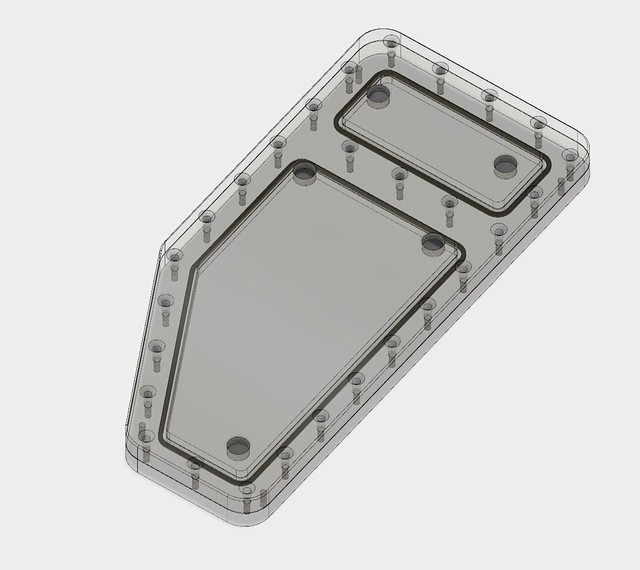
This is what I want to make, this will be on the back of the thermaltake level 20 xt.
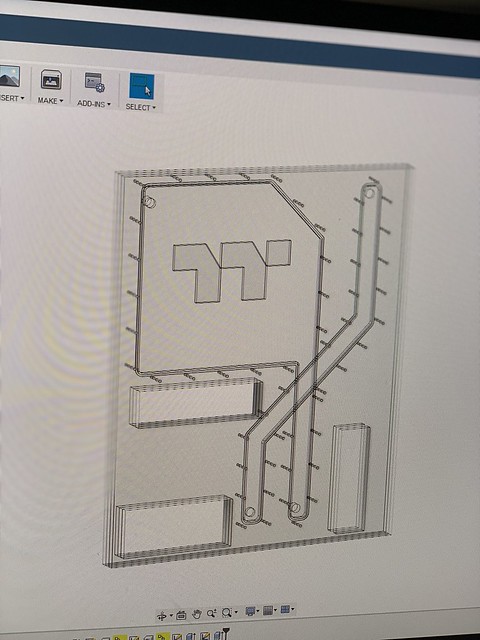
I have never seen one done where the loops cross over in the distro plate, I have never done one before and with my old machine I had only ever done basic 120 res nothing as big as this and with a short time frame, here we go.
I am using 10 mm cast acrylic 365mm by 465mm. We are doing a base, this is one loop, middle for the second loop, and the third is the lid.
I made a custom bracket on my waste board so I new where to place the acrylic so each piece is using the same zero on the CNC.
This is what we started with,
Lid
I machine out the gpu, psu and the io, and drilled all the holes, everything going well.
Next, We do the middle
Everything still going well, and for the base.
Now that we have every thing is cut we need to tap the holes this didn't go well I normally use 3.3mm hole and use a m4 tap with my drill, this have always work for me when I have made custom motherboard trays and always did it this ways, should have done it by hand as the bit got to hot and was not doing the thread just a hole. I was gutted saw the light, when I should have just taken my time.
We did get a few positives it looked great everything fitted well and I could start to see my vision.
Negatives I messed up on the taps and I will need to sand the channels down.
I did test fitted it in to the case and it look great.
I was hitting my head off the wall and needed to step away, trying to think of a way for it to work.
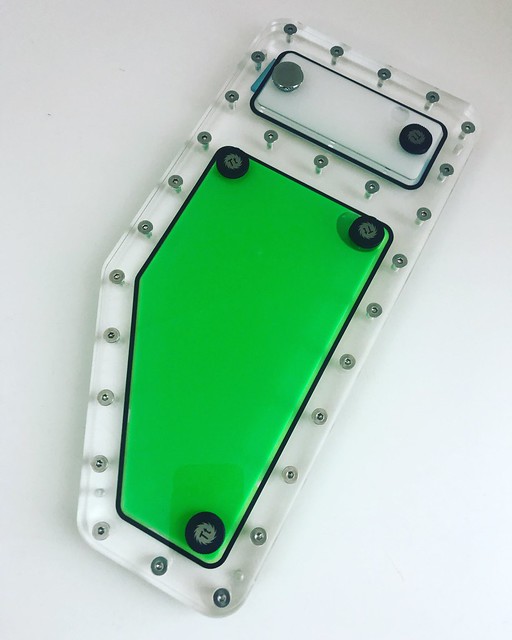
The next day I went back to the shop and re bought the acrylic, I changed the design just a little bit and went back to the machine,
This time when it was all completed I taped all holes by hand,
Once the holes were tapped I needed to screw them all in.
At this point I was yes it done, just need to leek test,
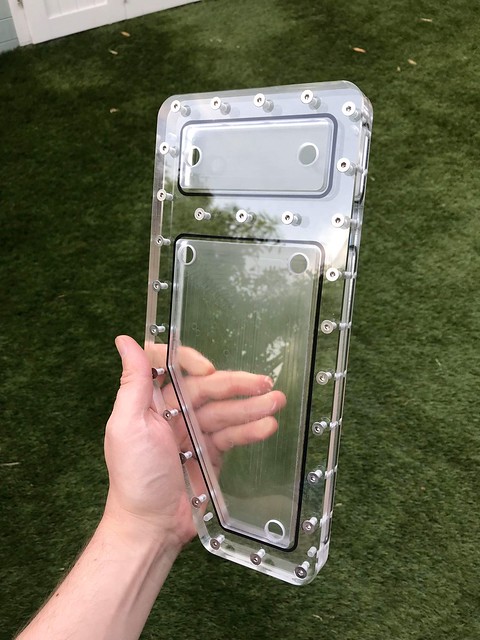
I filled it up and left it over night, the blue tape on the photo below is the fill line
As you can see it drop on a little but its too much.I added a few more screw but it does not seem to work.
I have spoke to a few people, I have no idea where the water is escaping and it could be an issue with the o ring channel could have a few deep pockets, it means the o ring is not sitting right.
Now I have two of them.
I now need to think how I can fix this, or I need to rethink the distro, maybe I should not over lap the channels.
Any ideas leave them below.
Thanks for taken the time to read the post.