-
Forum Statistics
8k
Total Topics53k
Total Posts -
Member Statistics
136,375
Total Members16,800
Most Online

Rob "Deblow" Deluce
-
Posts
148 -
Joined
-
Last visited
-
Days Won
12
Content Type
Profiles
Forums
Downloads
Events
Gallery
Blogs
Posts posted by Rob "Deblow" Deluce
-
-
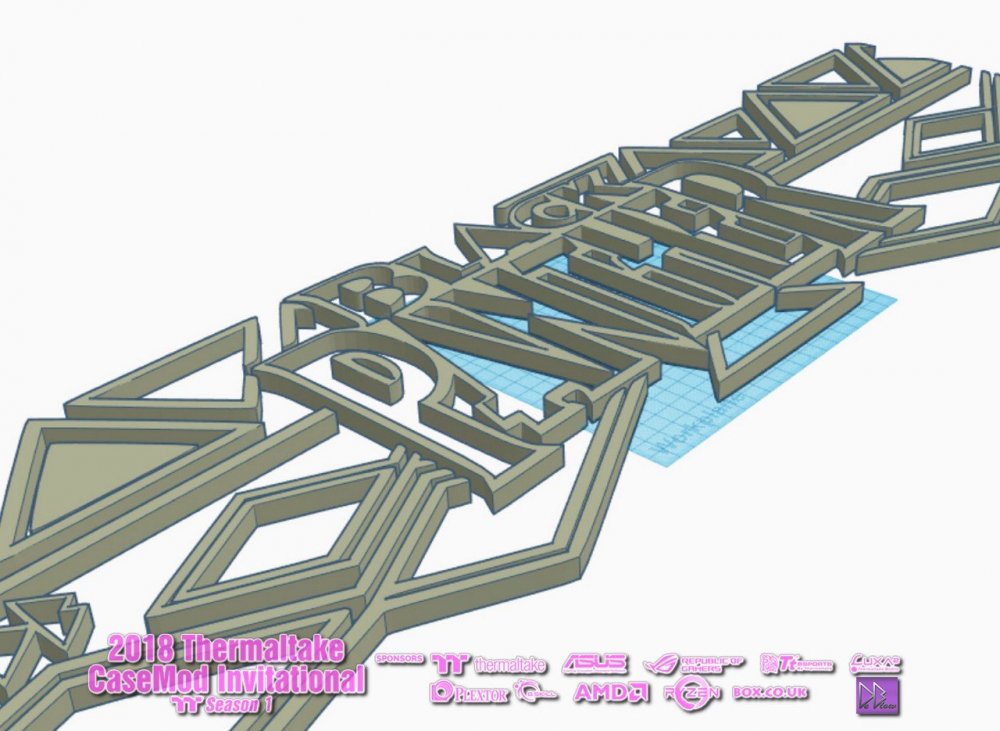
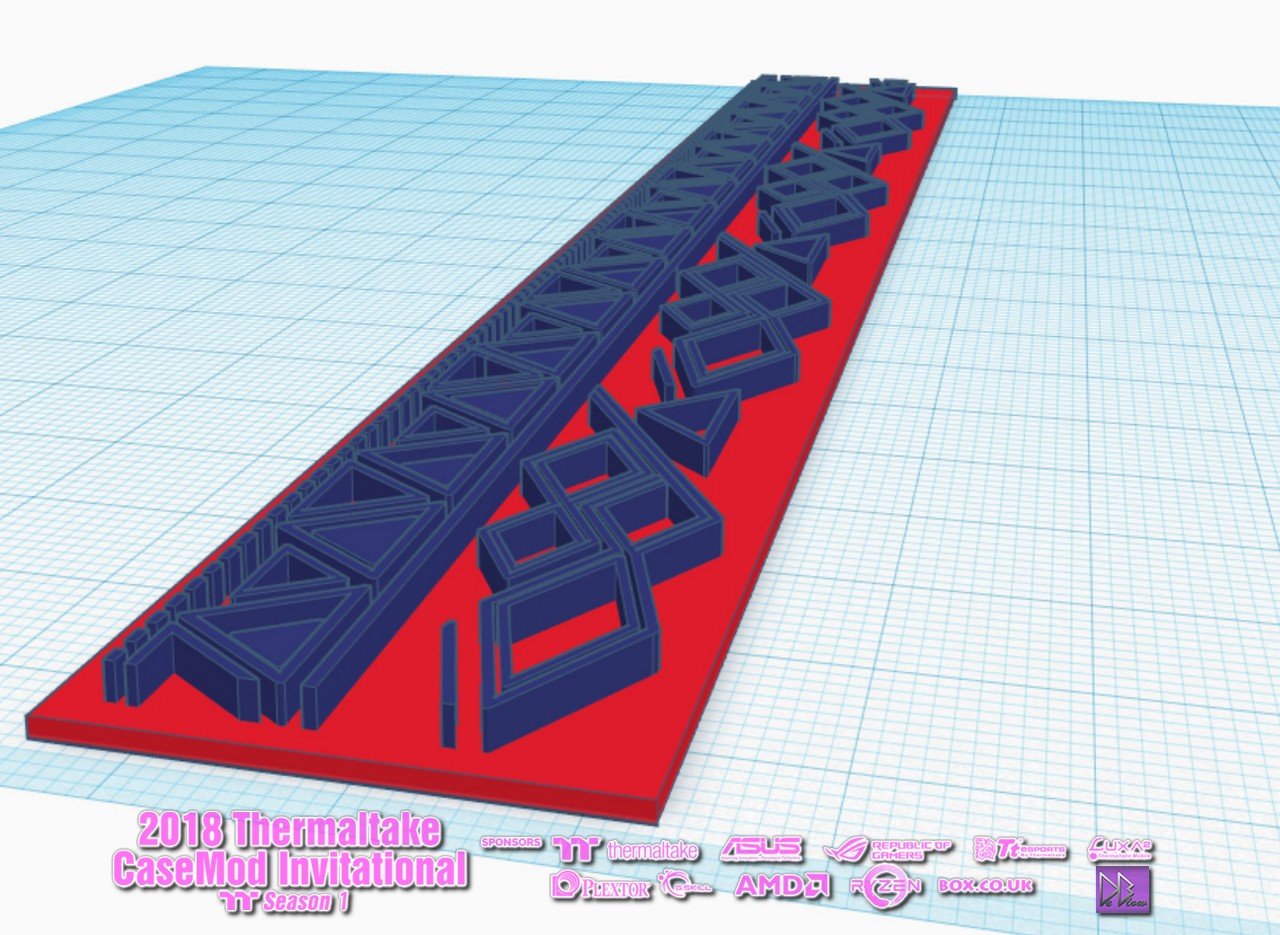
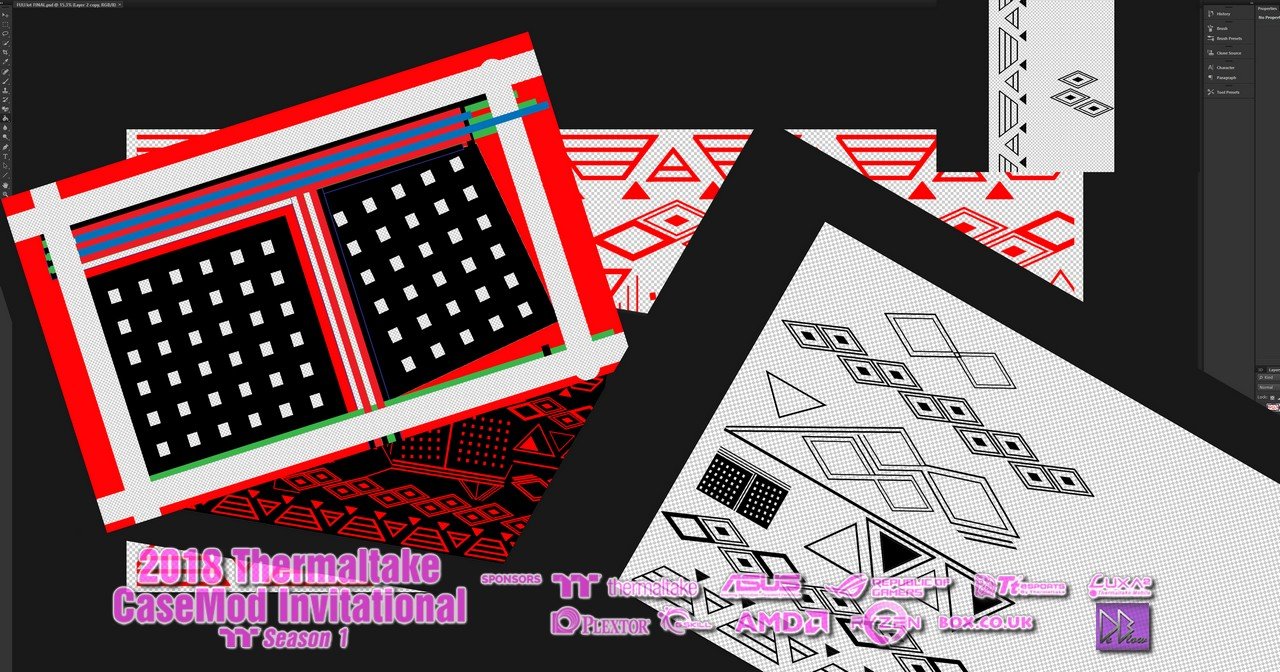
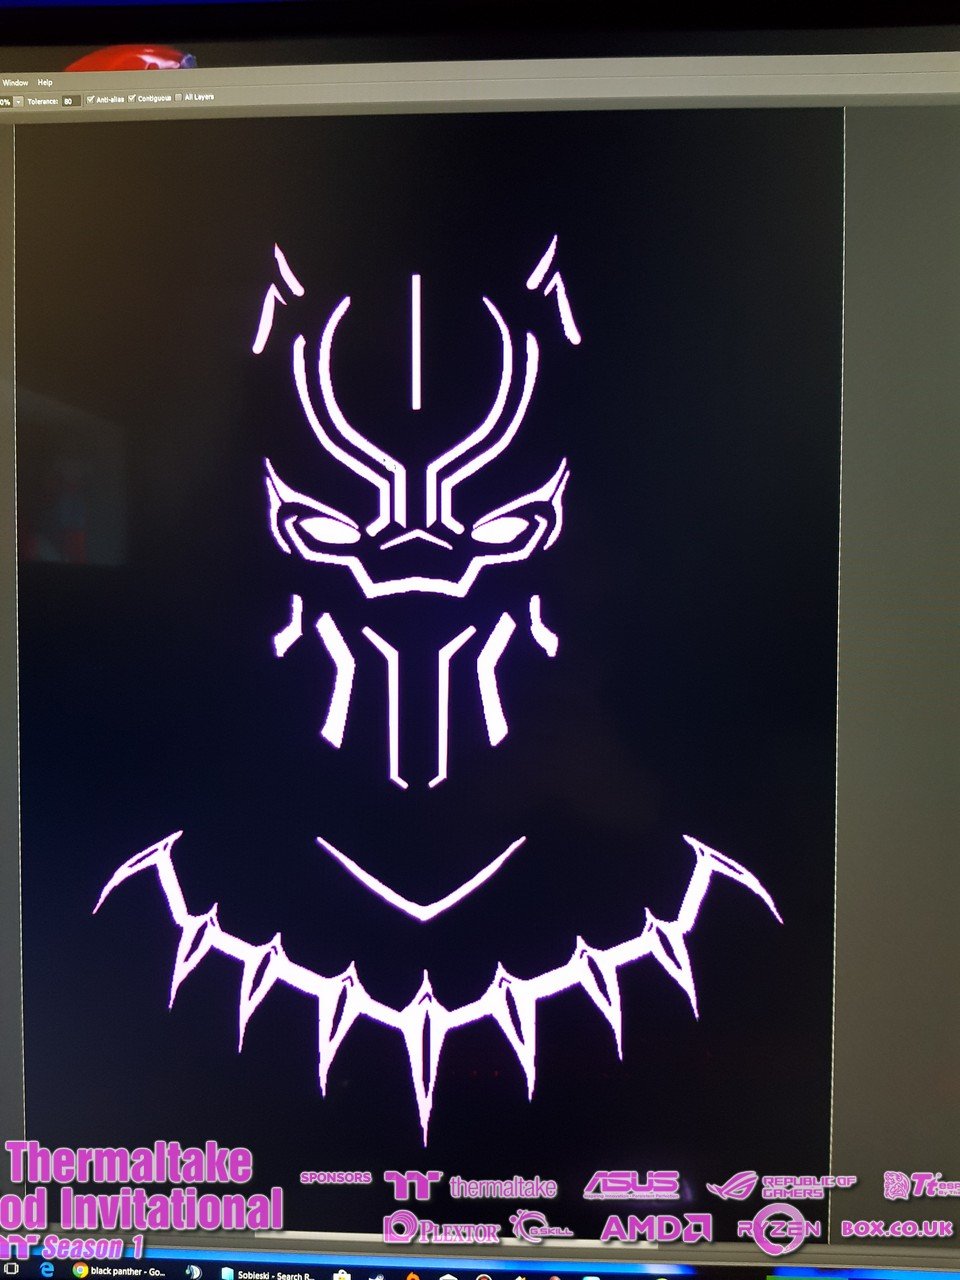
Some designs for the front of the case.
I have reworked both twice, depending on time I might have another change depending how I like them when painted and in place.
-
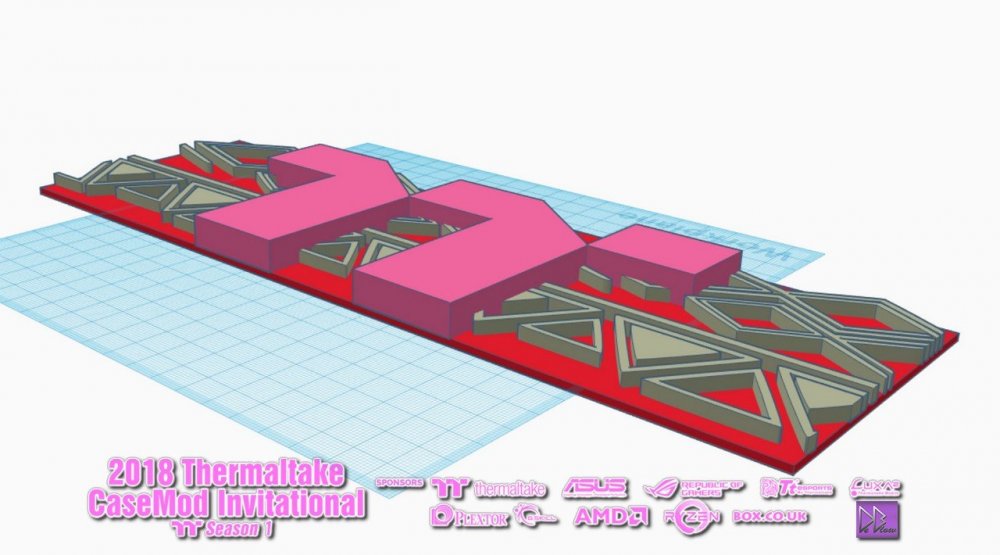
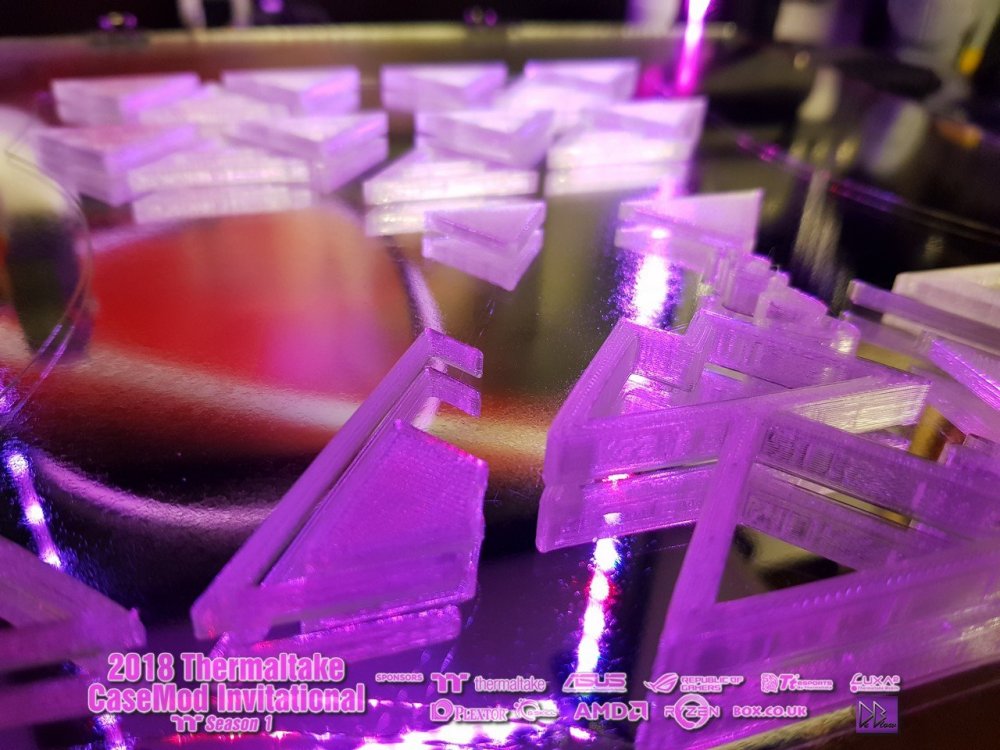
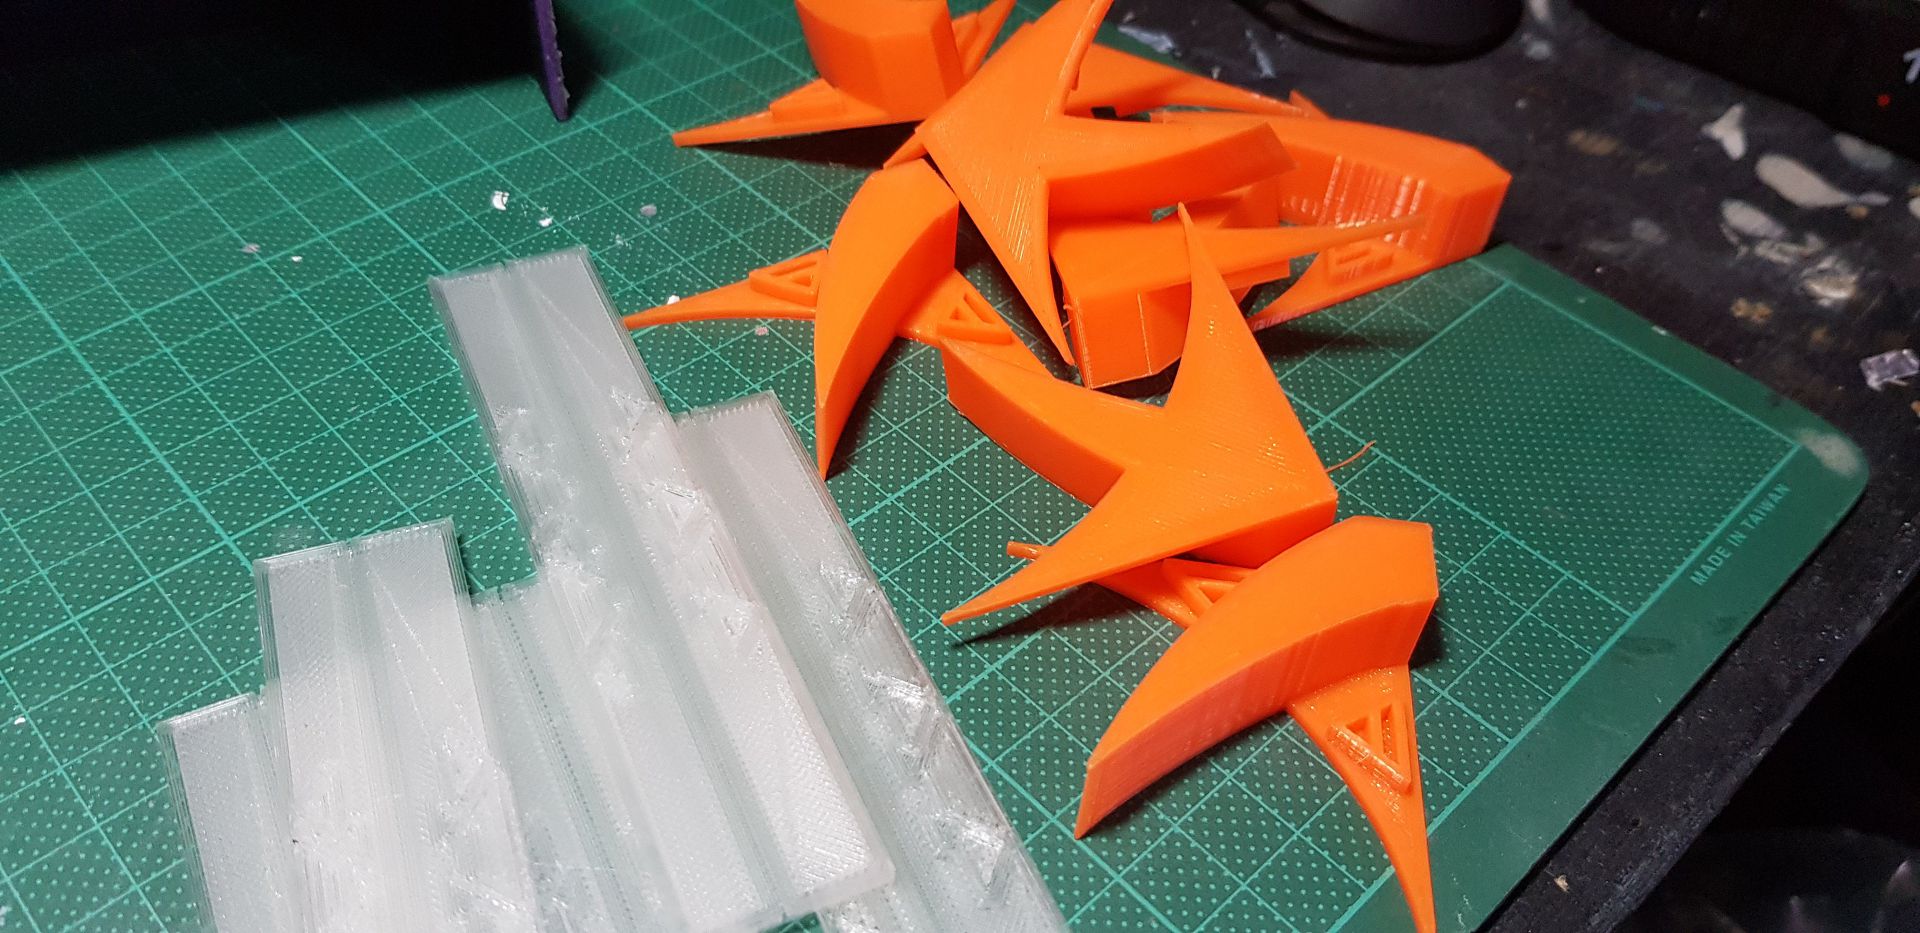
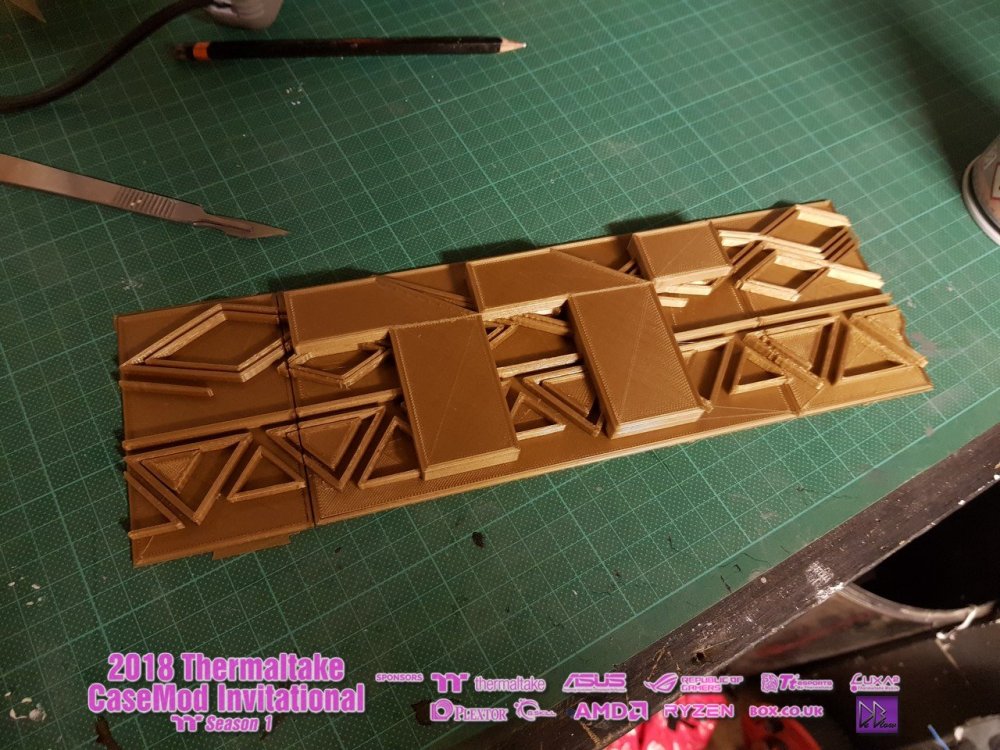
The second part of the PSU cover, using the same design I made for the vinyl I then reworked them so they could be printed in clear steadytech PLA to add more depth to the cover/covers instead of having the usual 2D.
This will be the first time im using lighting that will be projected through the 3D prints, I have done similar with my virtual build for TT a couple of years back, but that was just a 2D version of what im doing this time.
Project Virtual (2016)
This is the look im going for, but in 3D.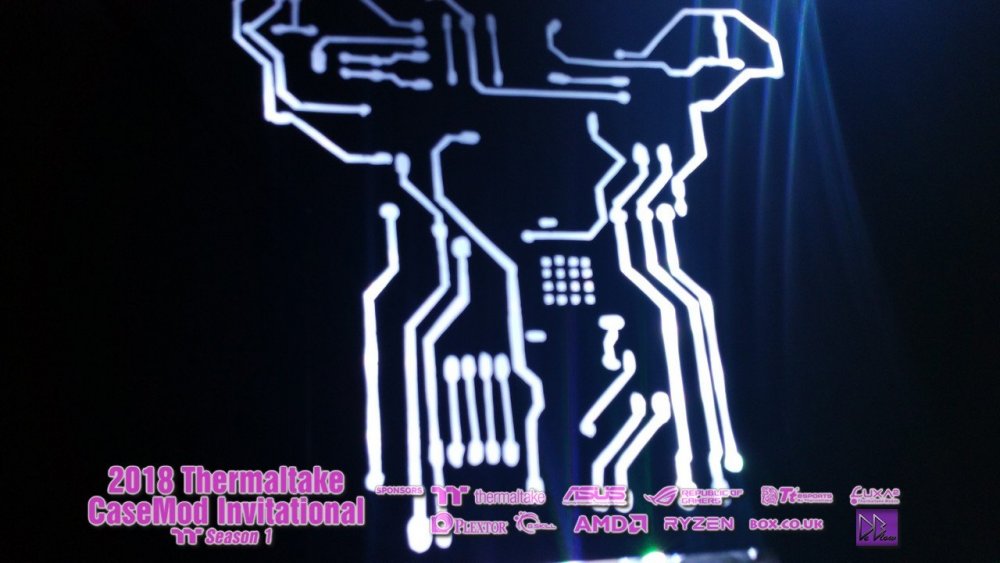
-
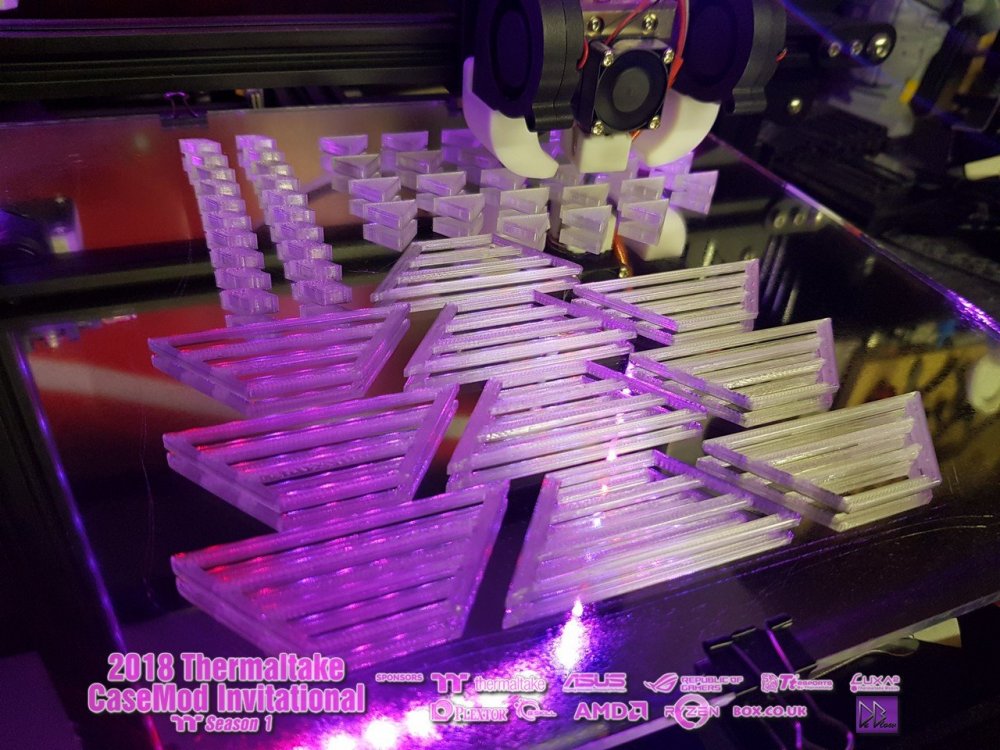
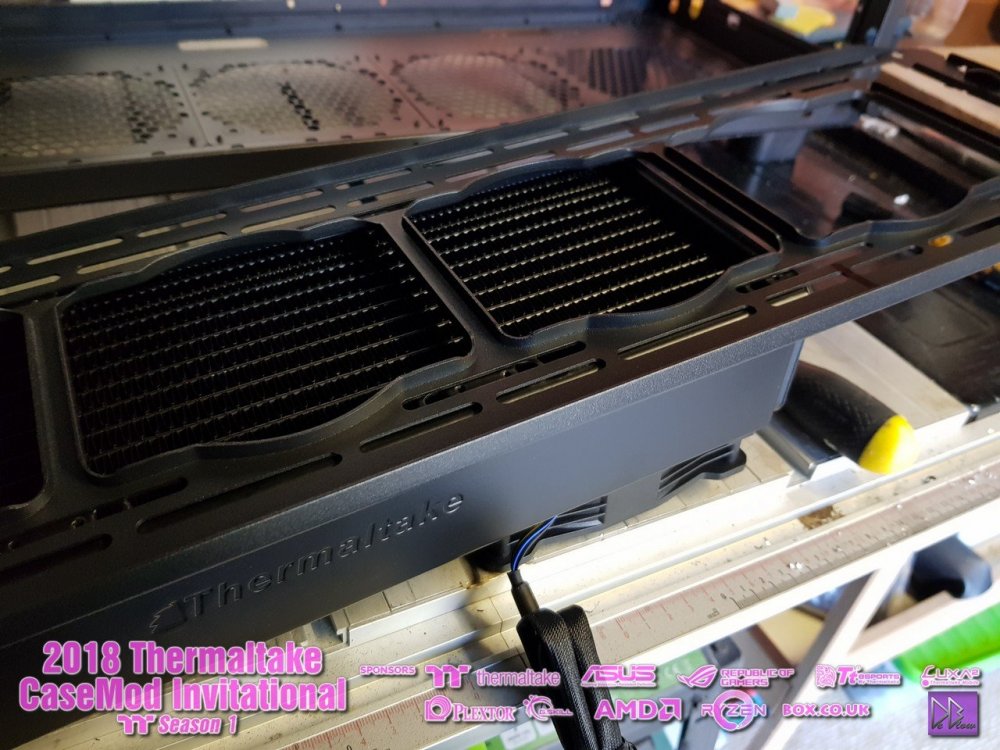
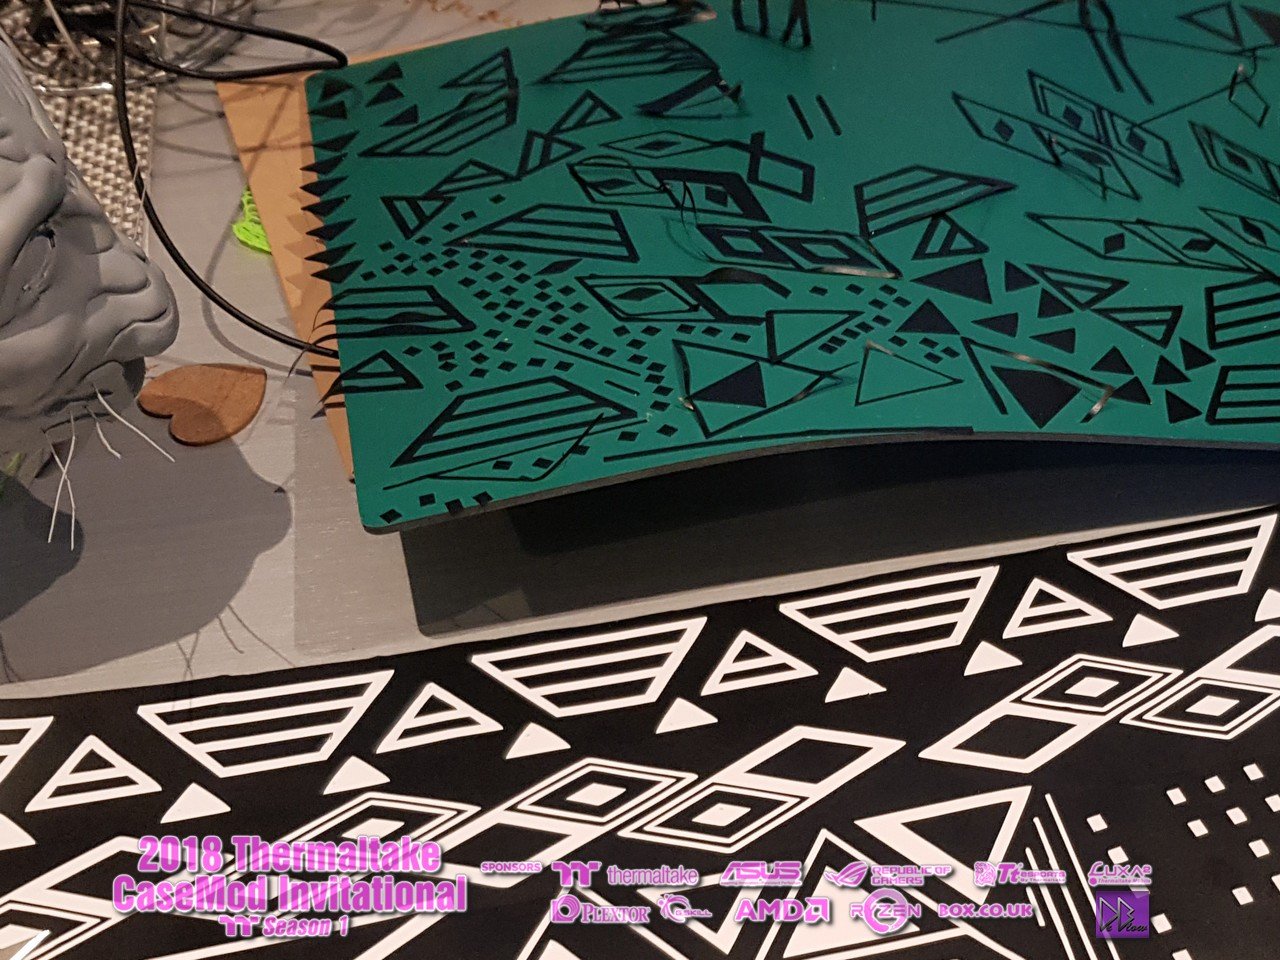
Making fan covers for both the RADs, just done the 360s covers so far to see how they look when completed, then I'll start the other covers.
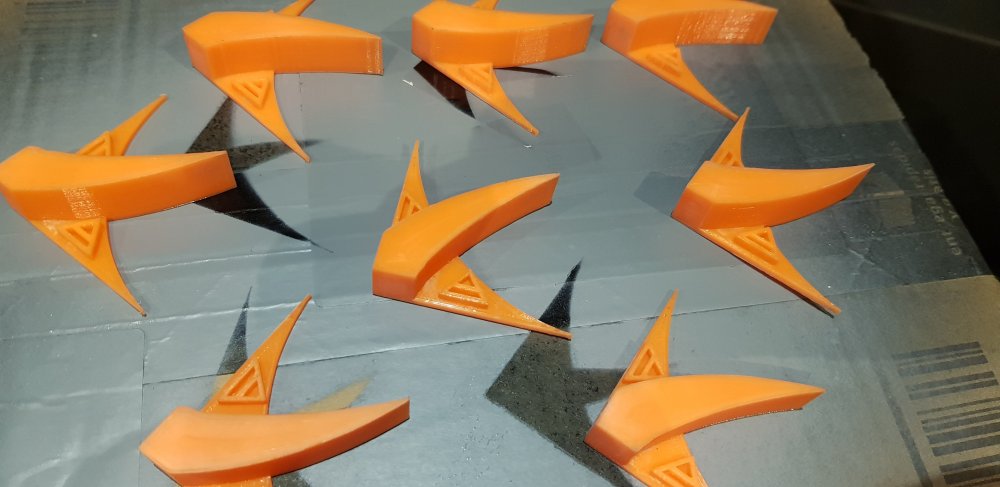

this design is a mixture of a pattern similar to that found on the panther helmet and I also added some claw shapes to the mix.
-
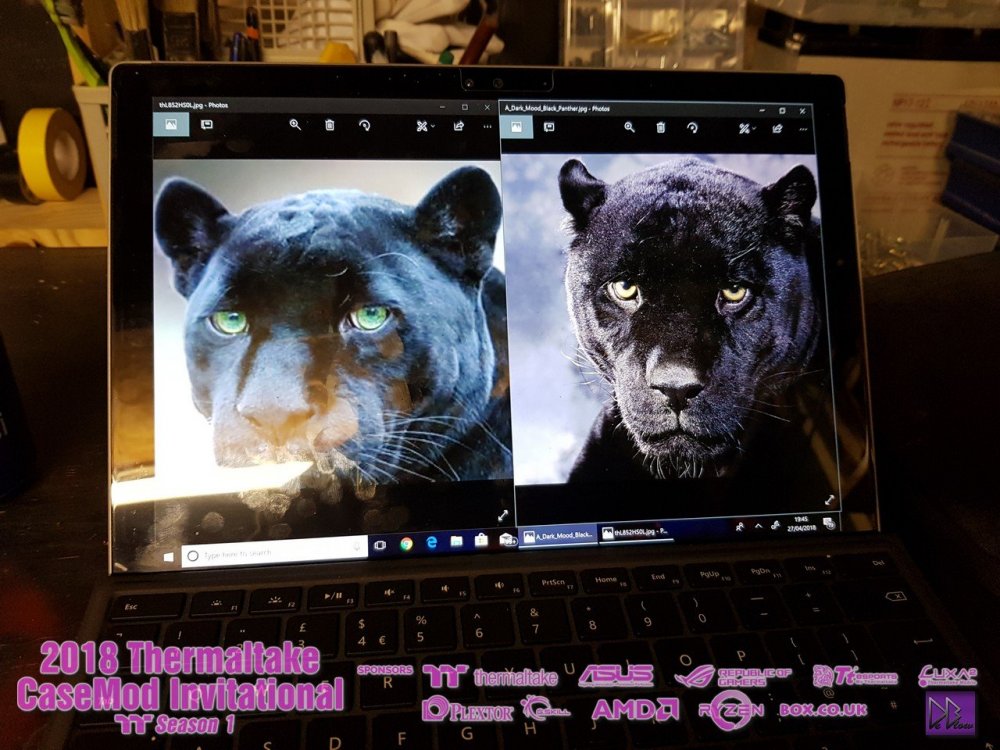
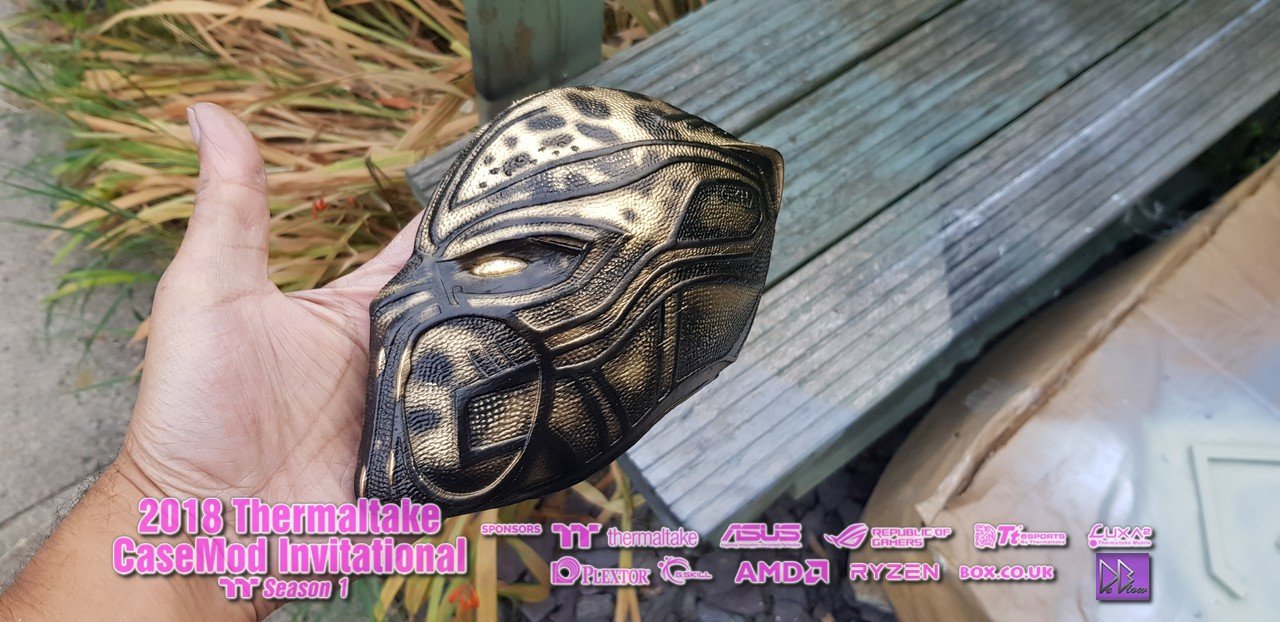
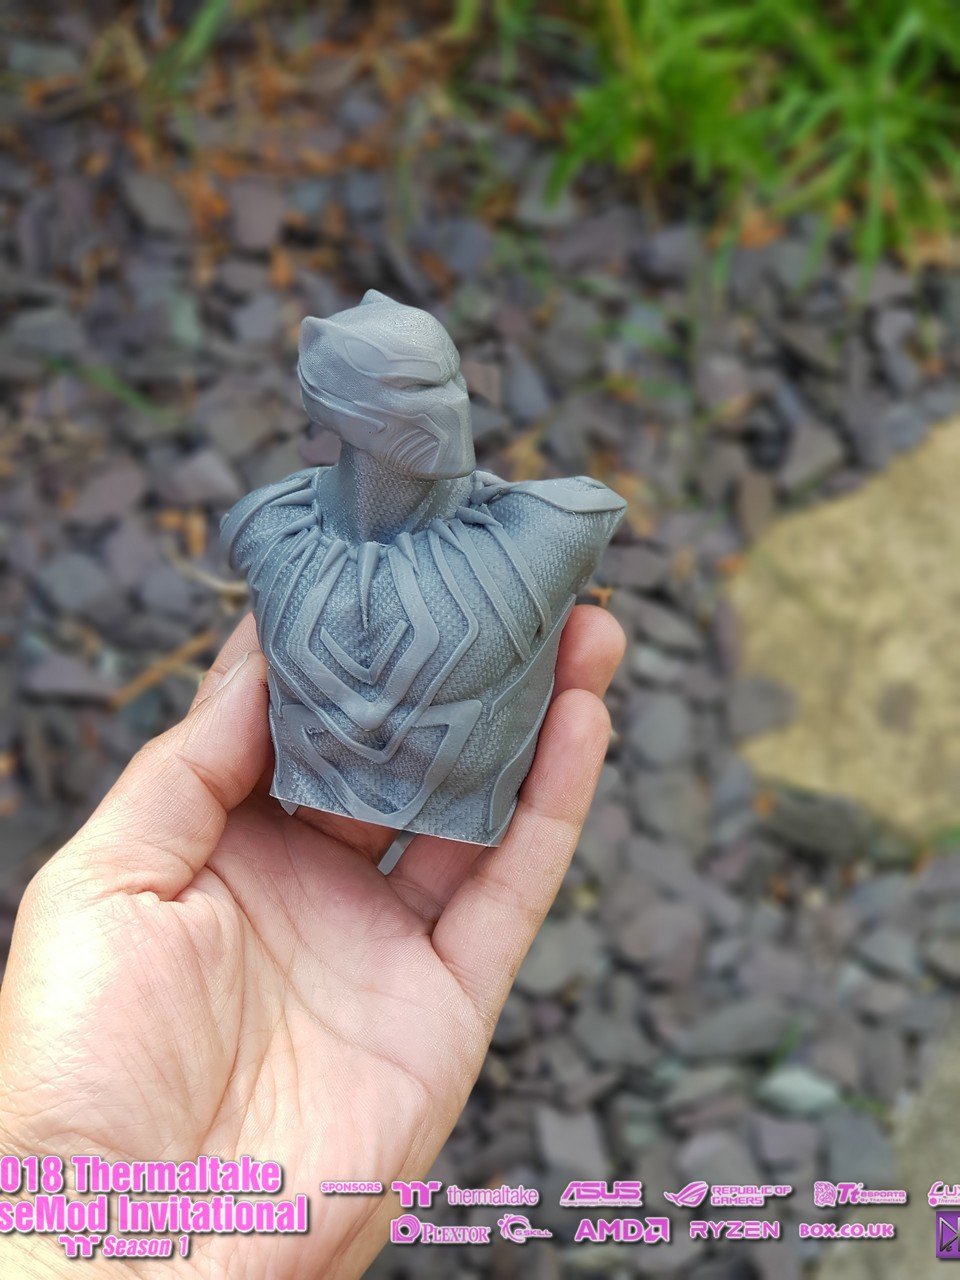
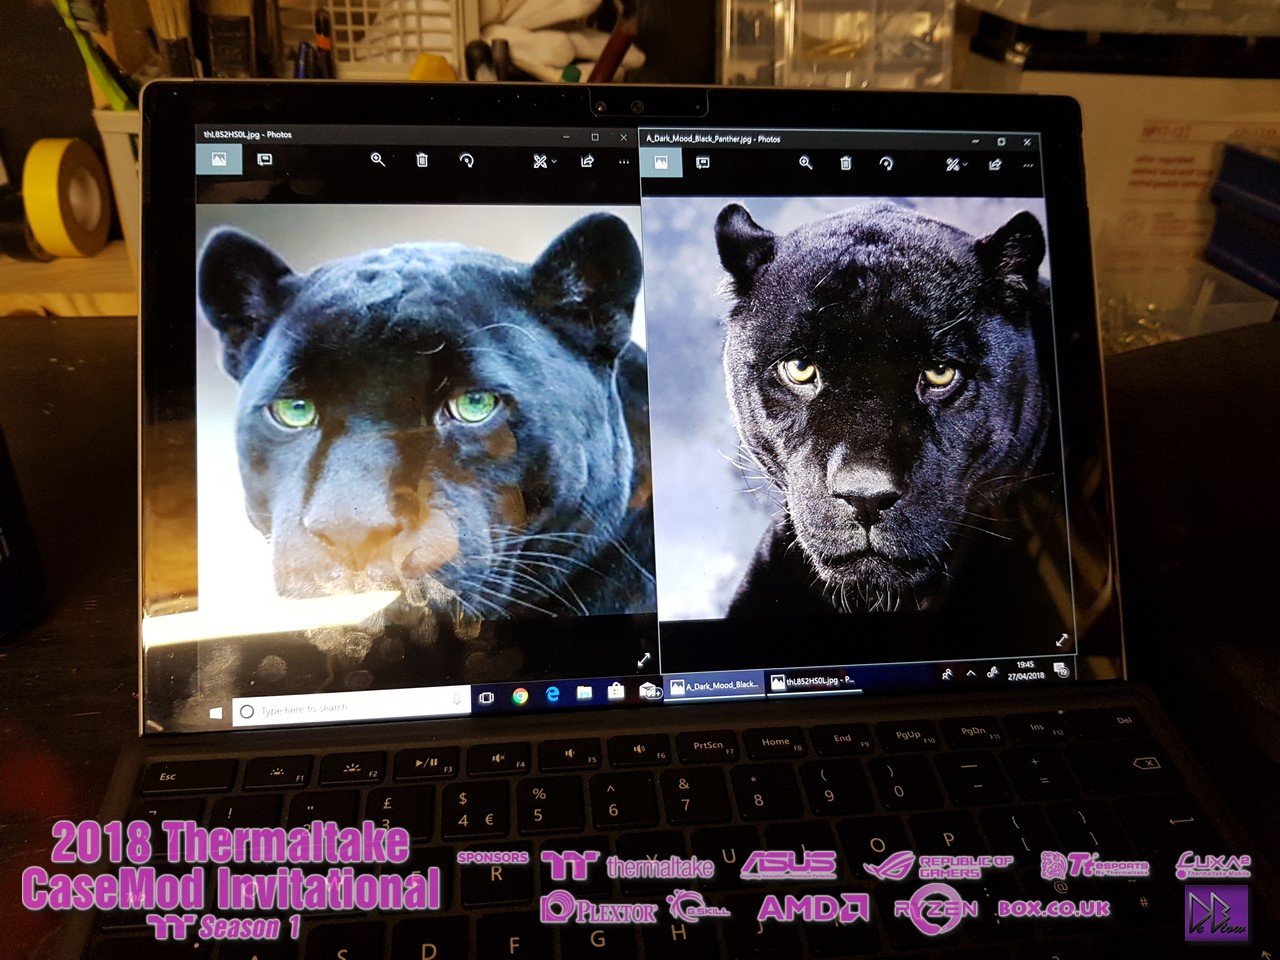
Although I have done some full size panther helmets, for the build i'm going with half face that will be used on the outside of the case.
I want to try keep as much of the original glass and outer case visible as possible.
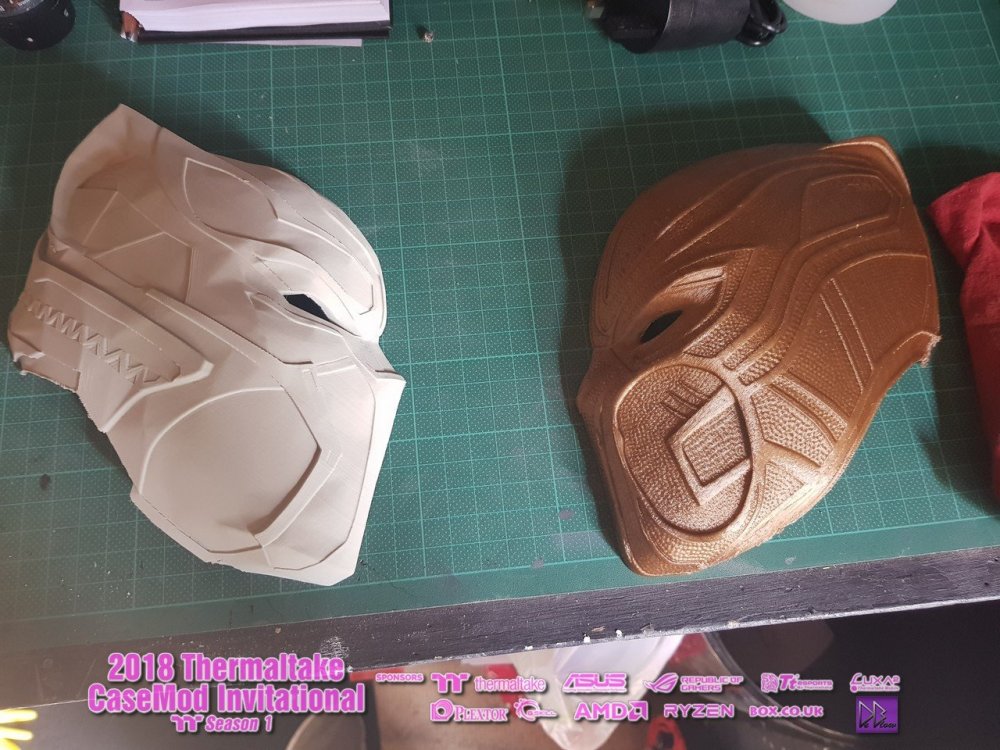

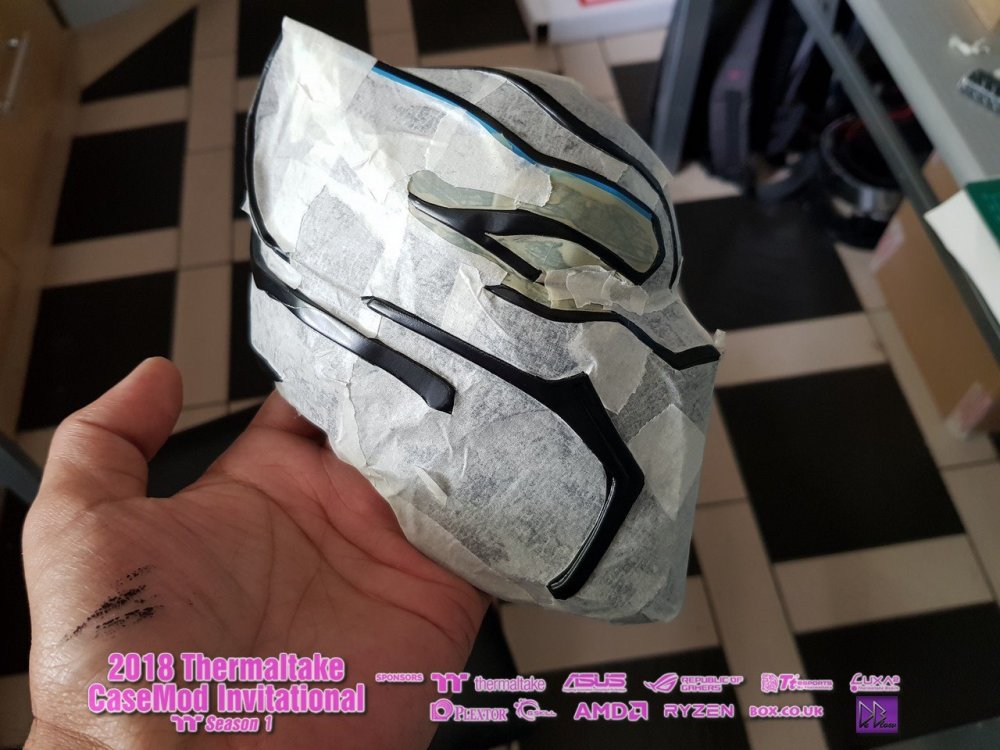

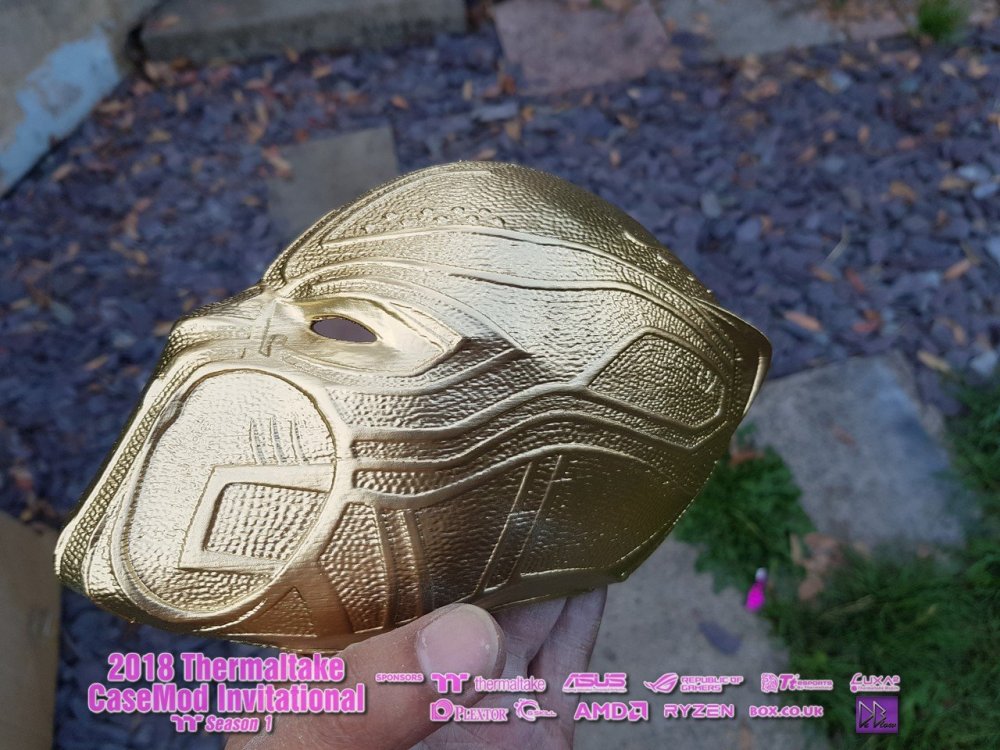

Because I like the black and gold pattern on the Killmonger I did them both.
-
-
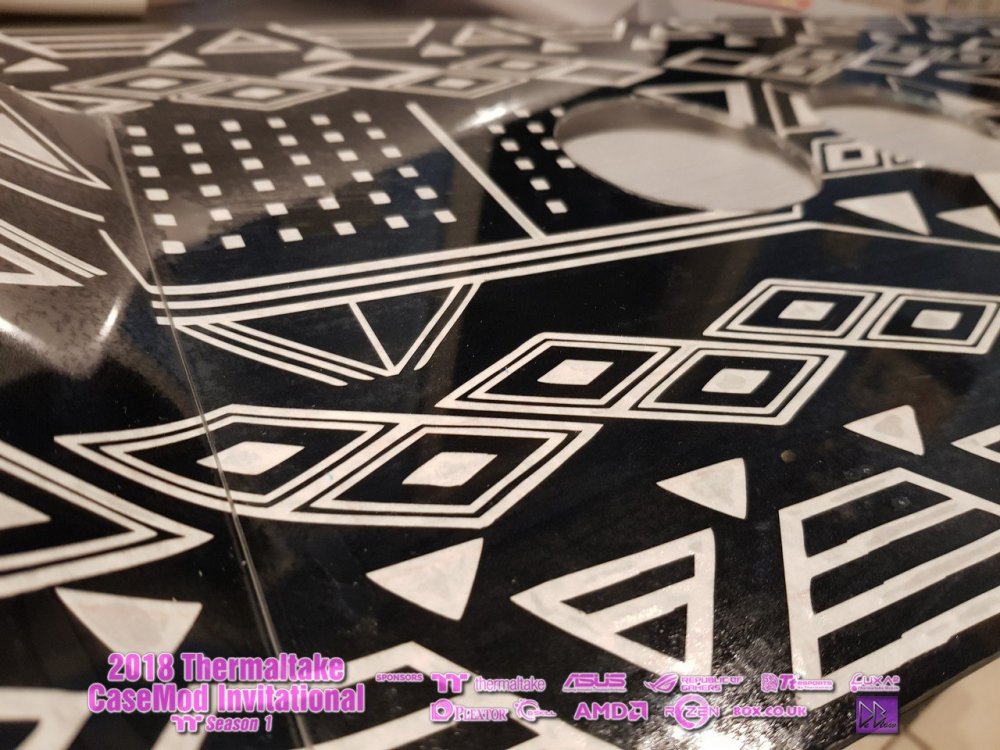
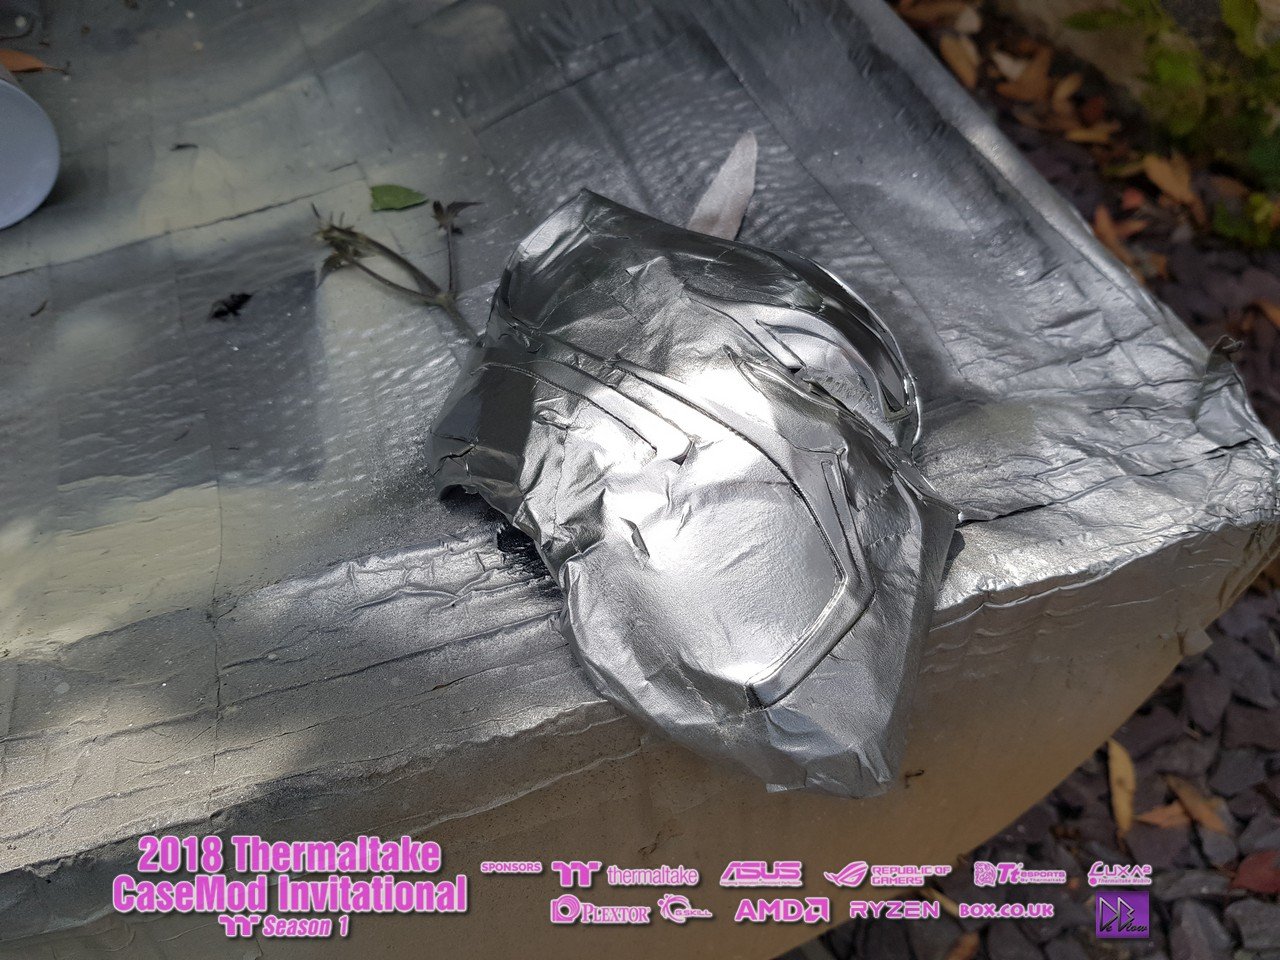
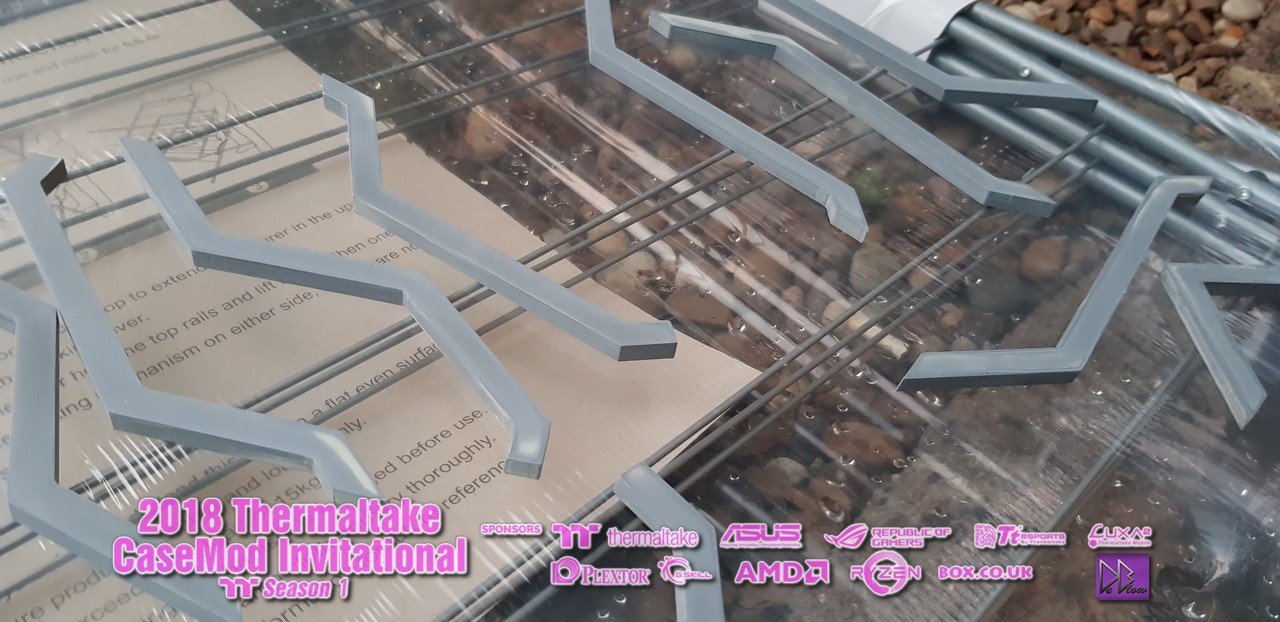
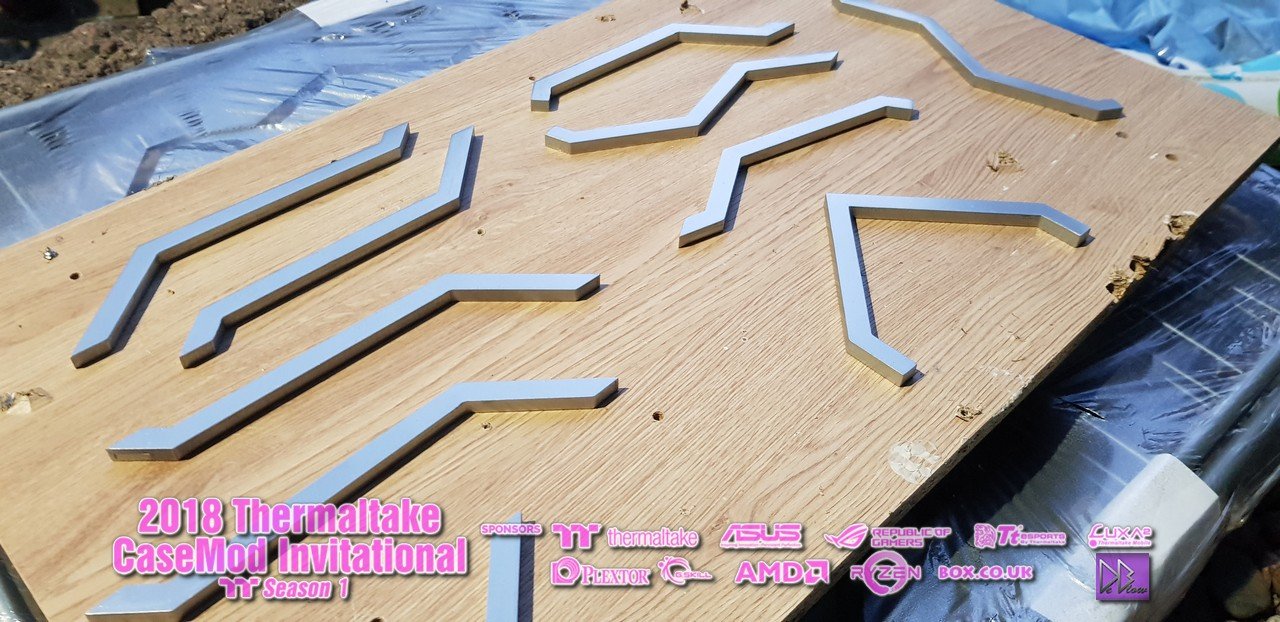
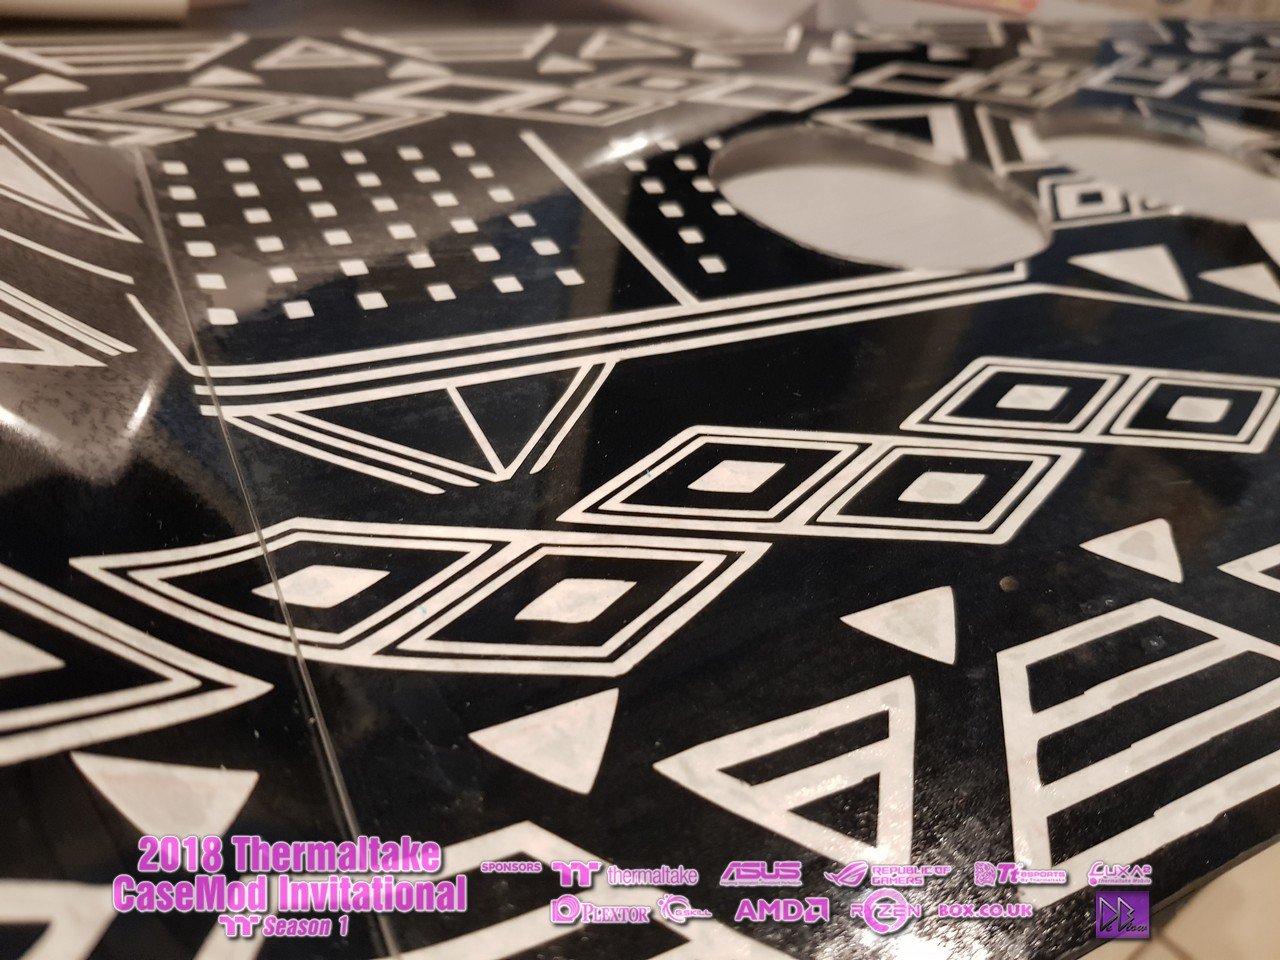
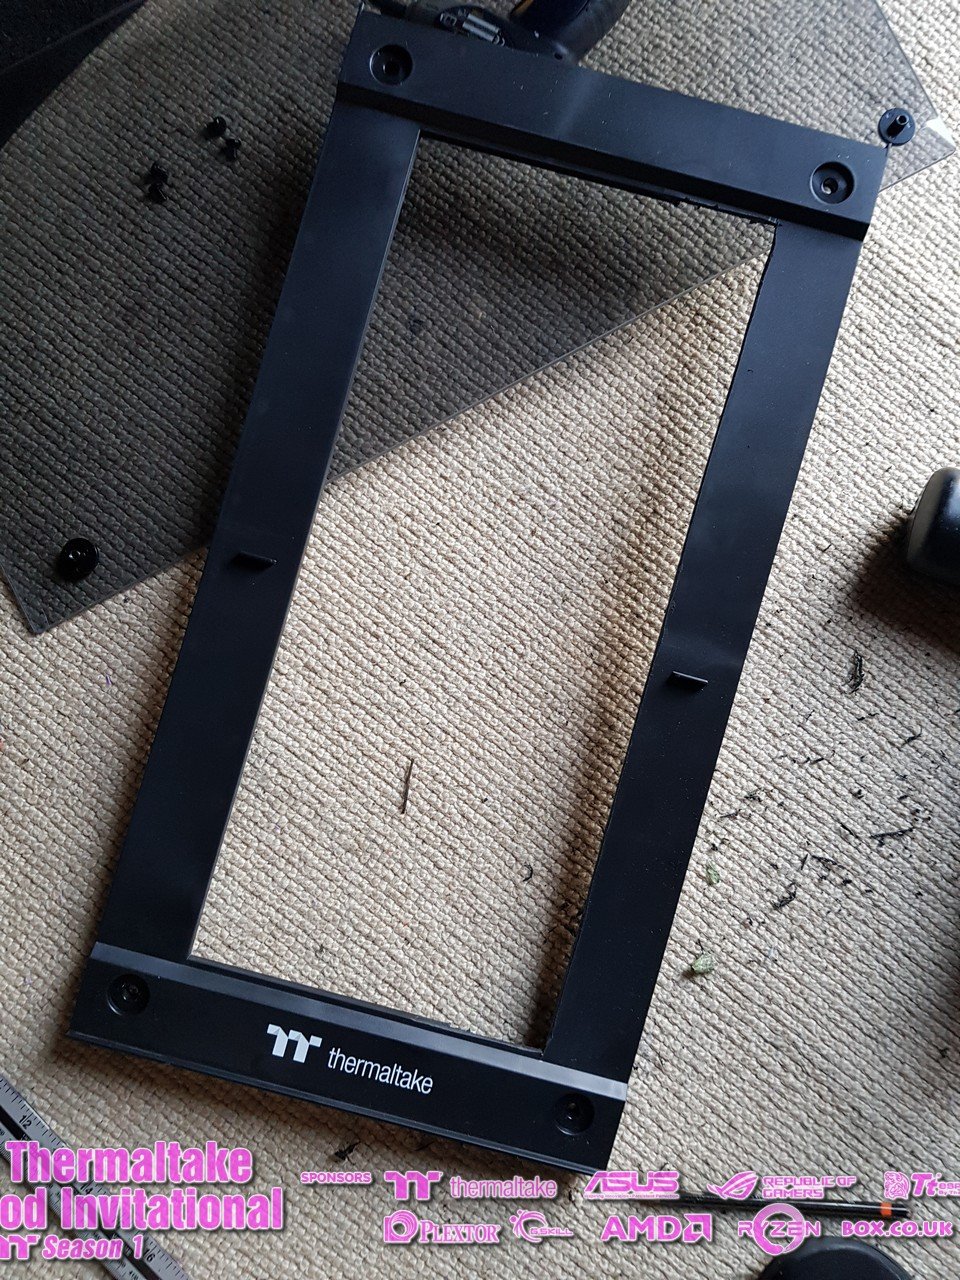
For one of the sides I'm making some covers, starting with the base, some clear Plexiglas that will be wrapped.
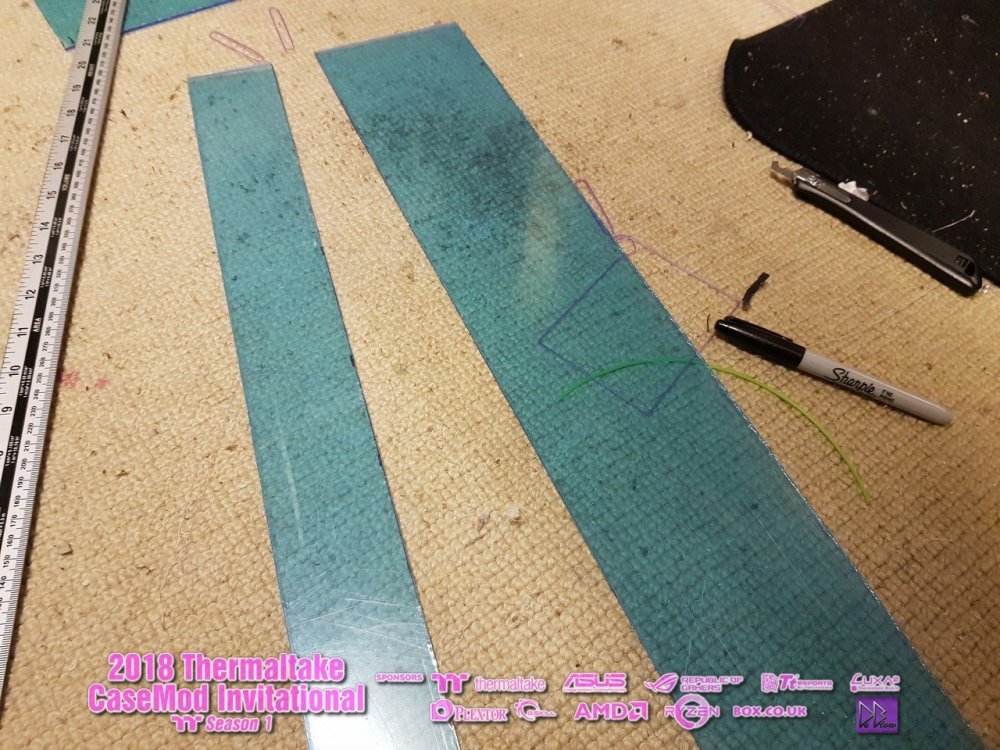
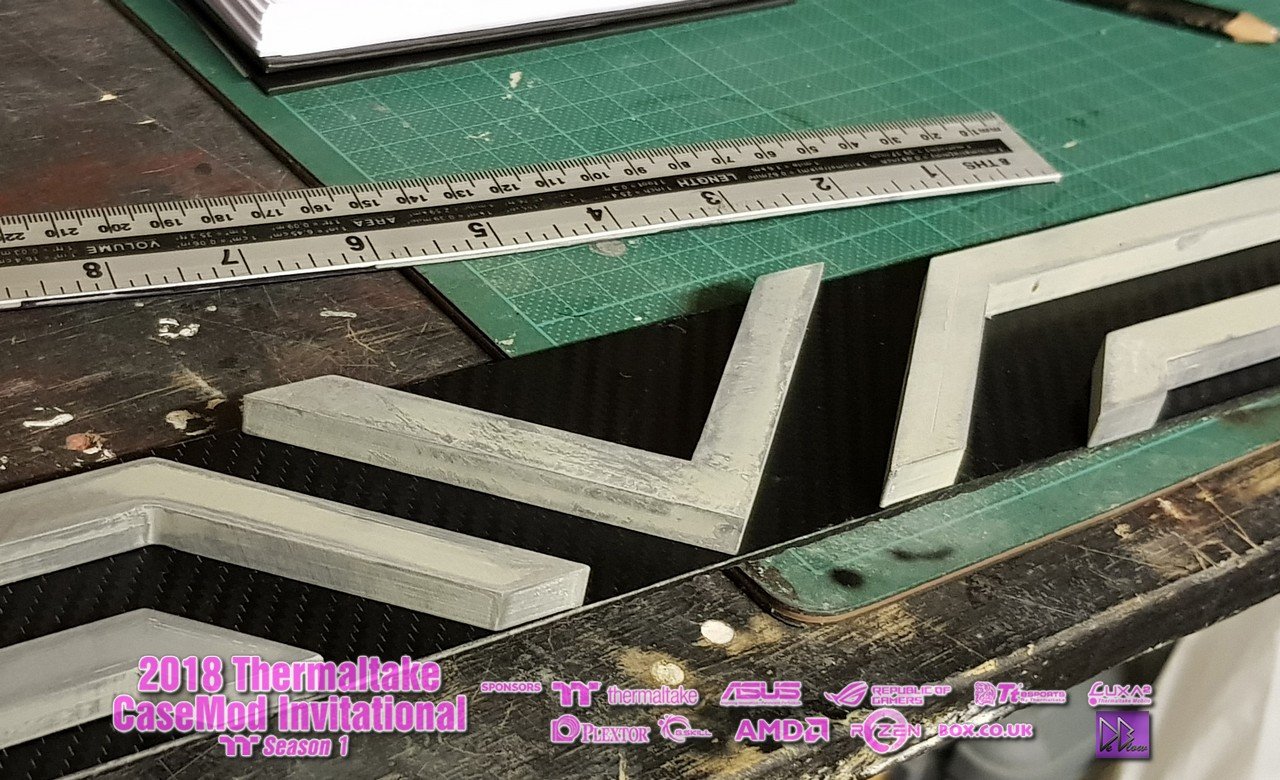
Using my newest tool the 3D printers, I have made some 3D designs that will be sanded and painted then added to the Plexiglas to make the panels pop.
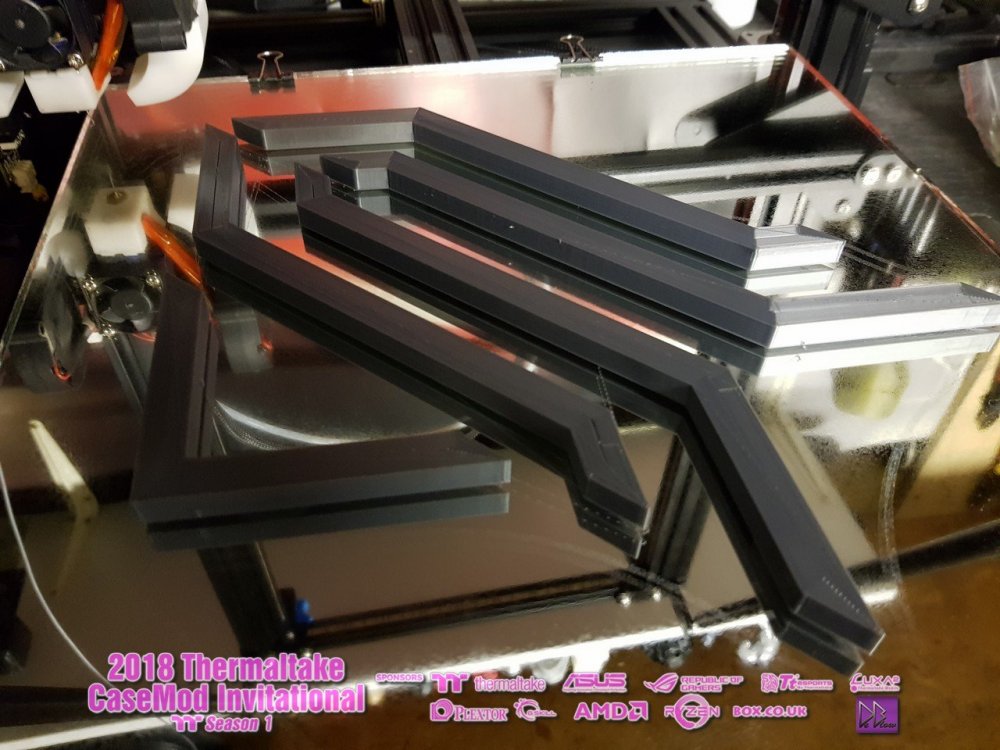
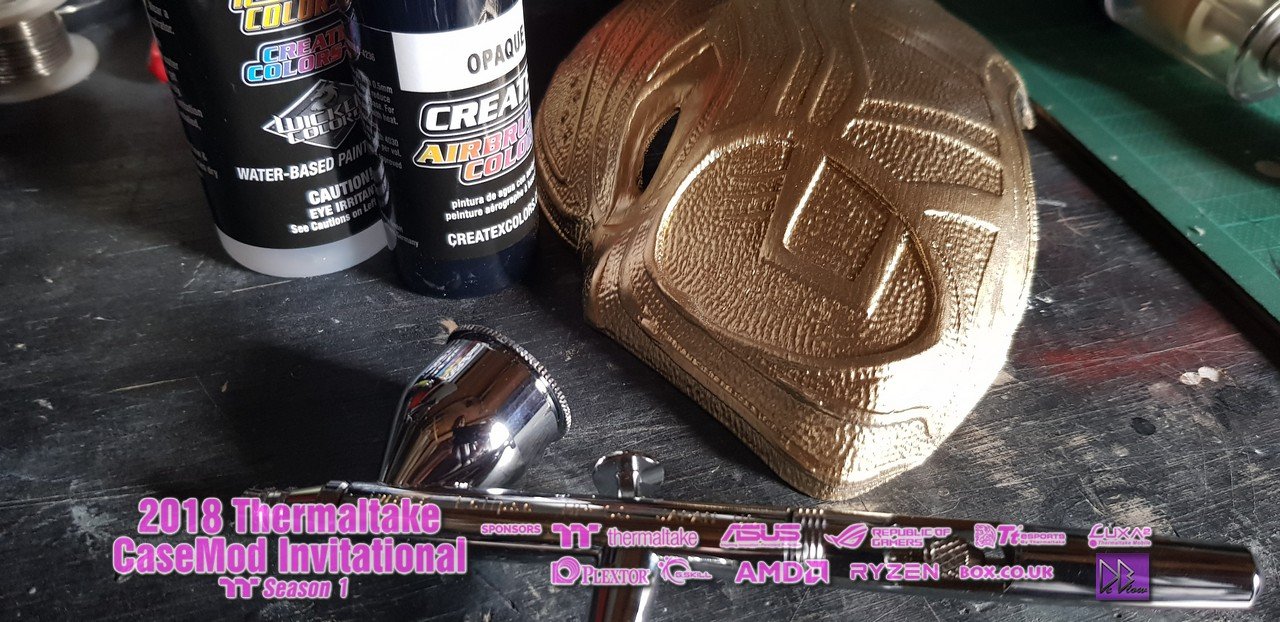
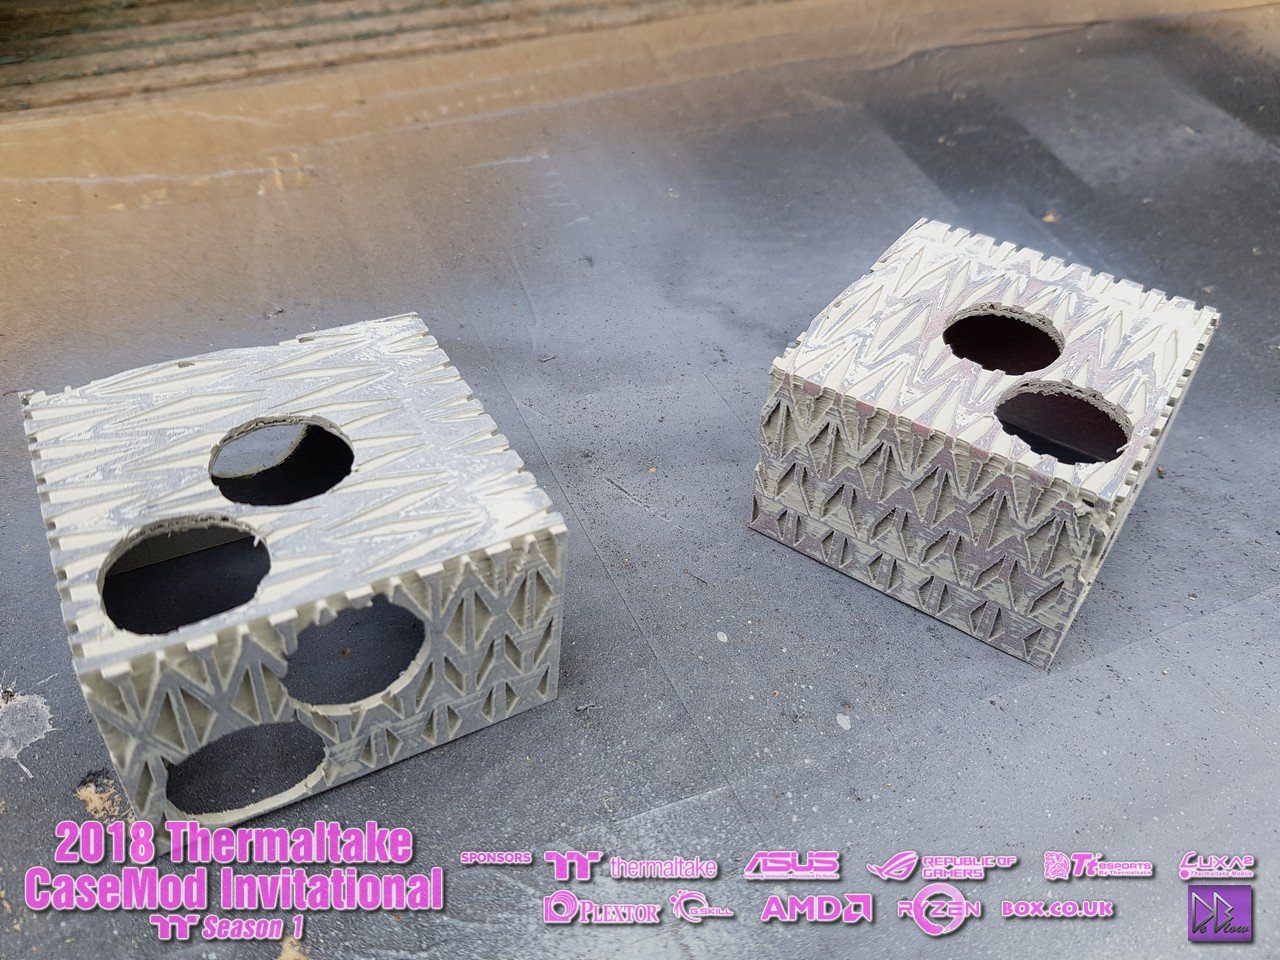
Although the Steadytech silver looked nice, I decided to prime and paint them chrome


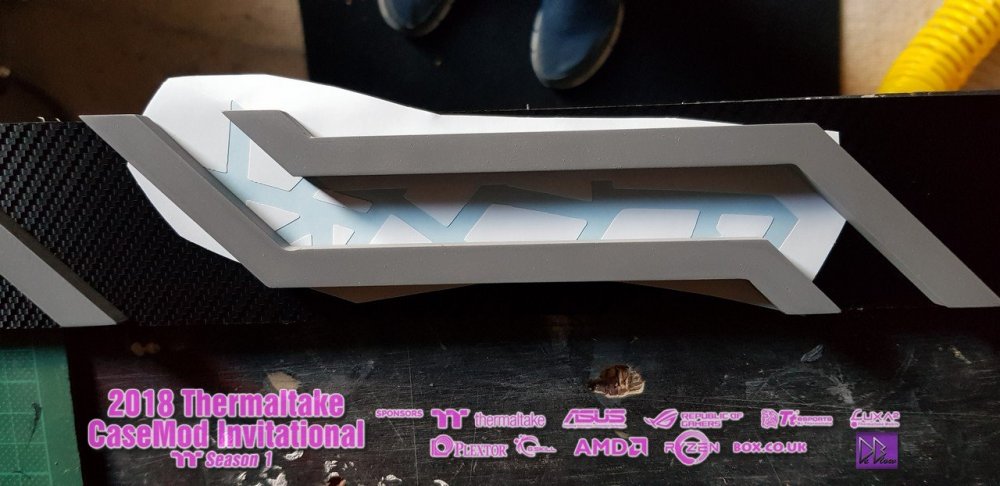
I did airbrush the design below at first but then went with changing the design to 3D to add even more depth.
To help it stand out from the chrome, this will be painted in a darker shade.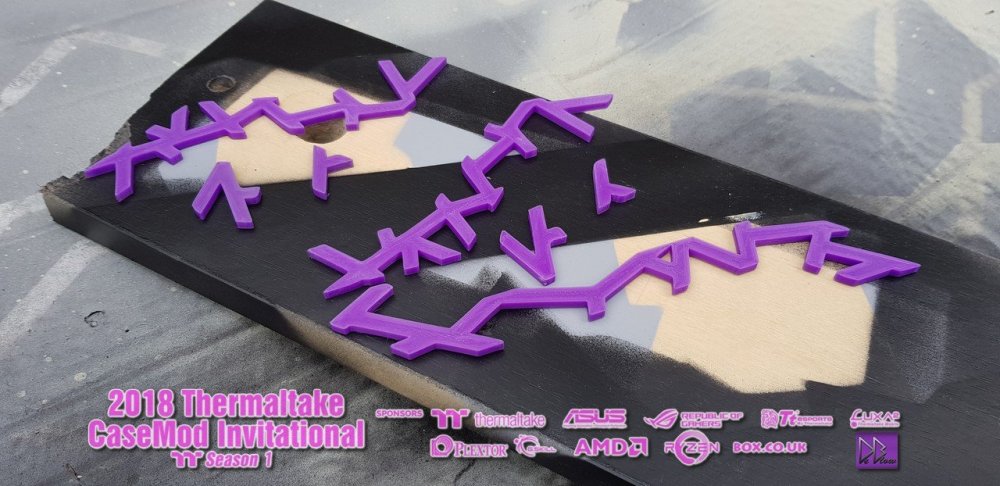
-
Now all the components have arrived I have added the full specs to the first post.
Looking forward to using my first Ryzen CPU.
ryzen 2700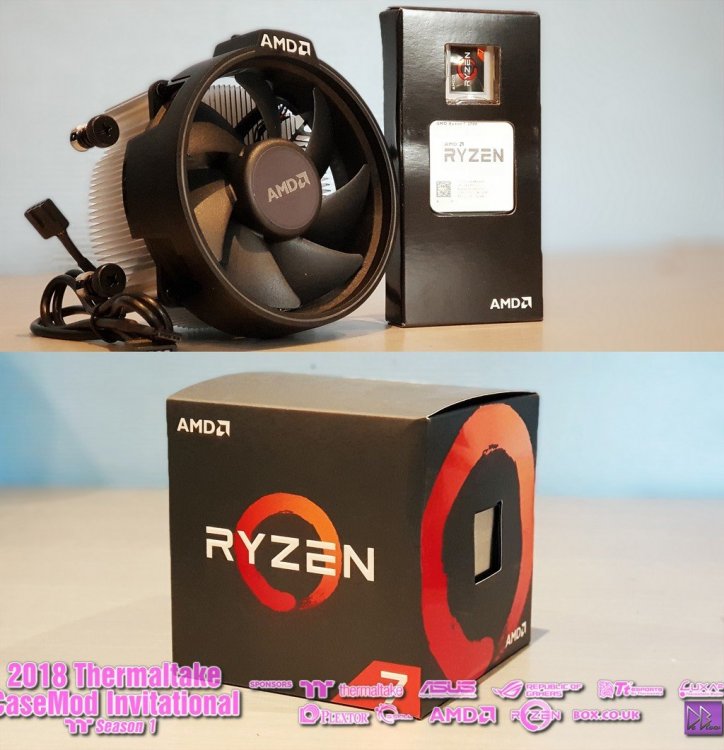
The cooler for the CPU, although the fan that comes with the CPU is very nice.
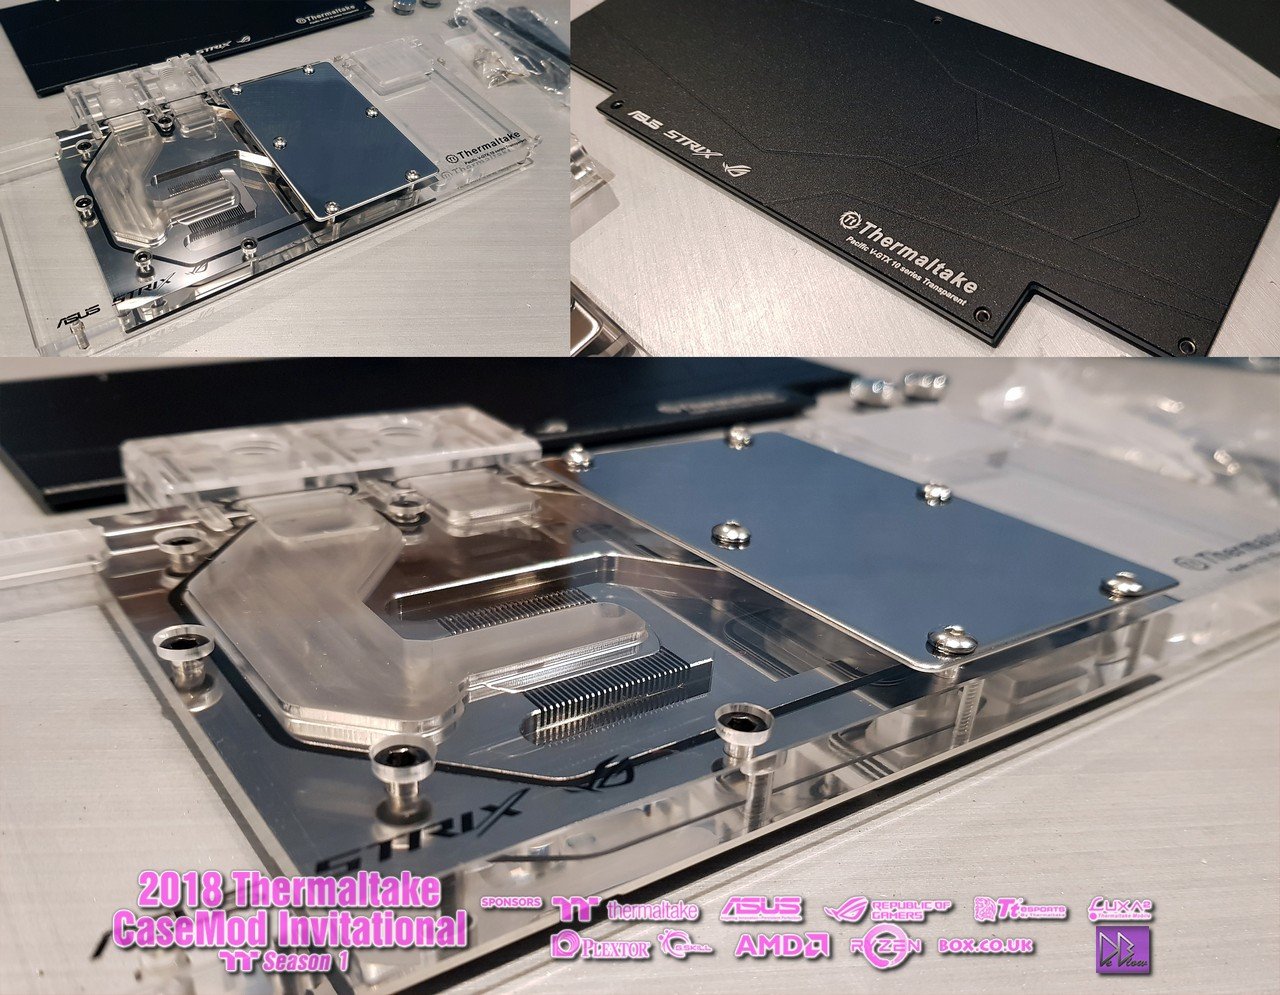
ASUS Republic of Gamers GTX1070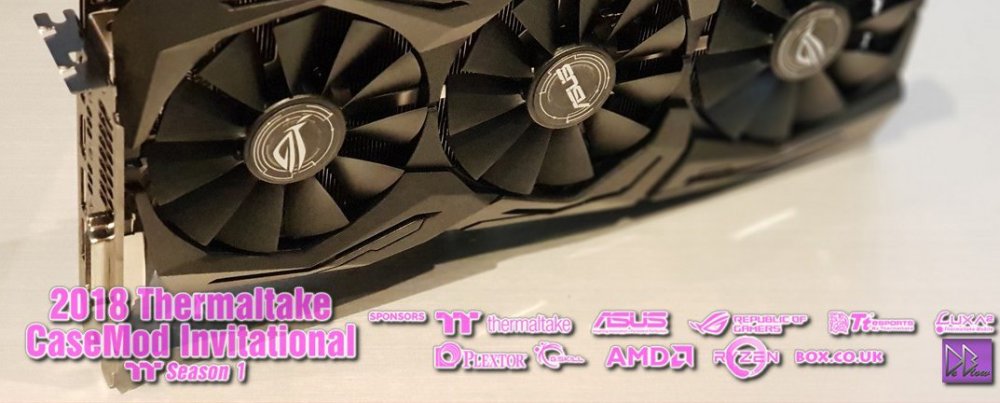
Pacific V-GTX 10 Series Transparent (ASUS ROG) Block
And the 1070 ROG with the block fittedBlock.thumb.jpg.3b63b8b8aead66298b7092ba23ee76f7.jpg)
ASUS ROG CROSSHAIR VII HERO (WI-FI).thumb.jpg.0ce4600efd2dfbd907c84cde16c0510d.jpg)
G.Skill Trident Z RGB 16GB DDR4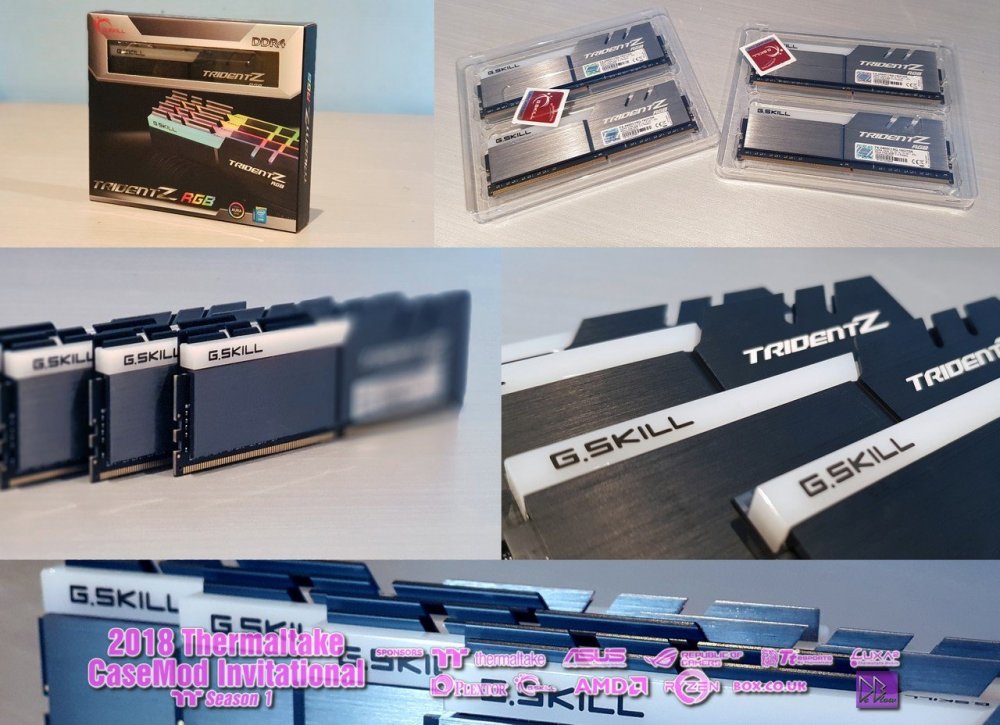
Plextor M9Pe NVMe SSD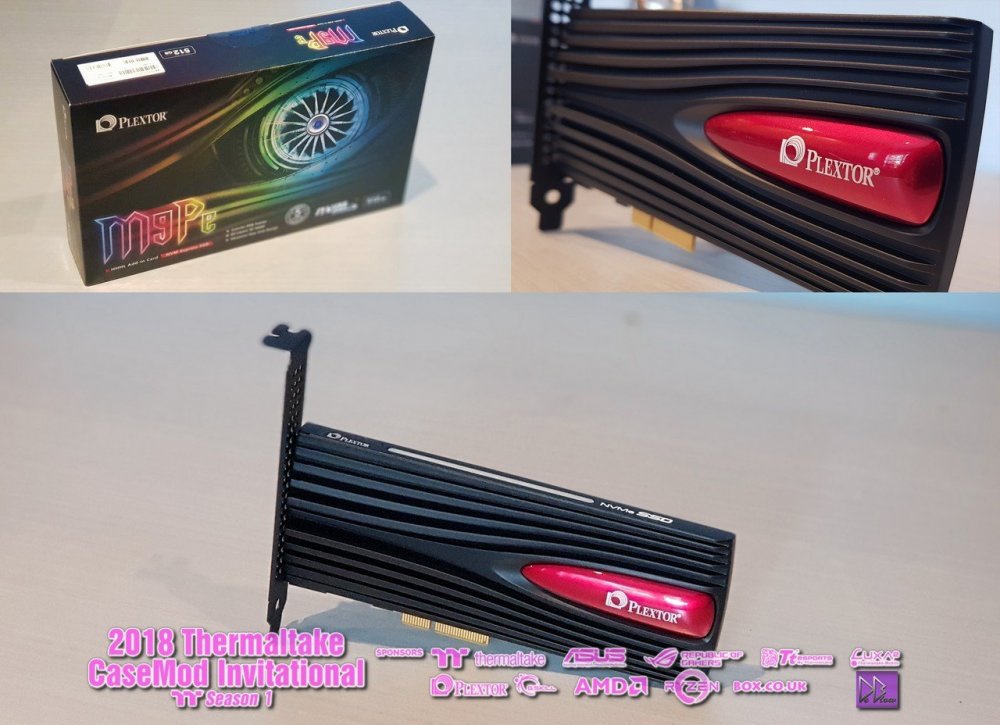

-
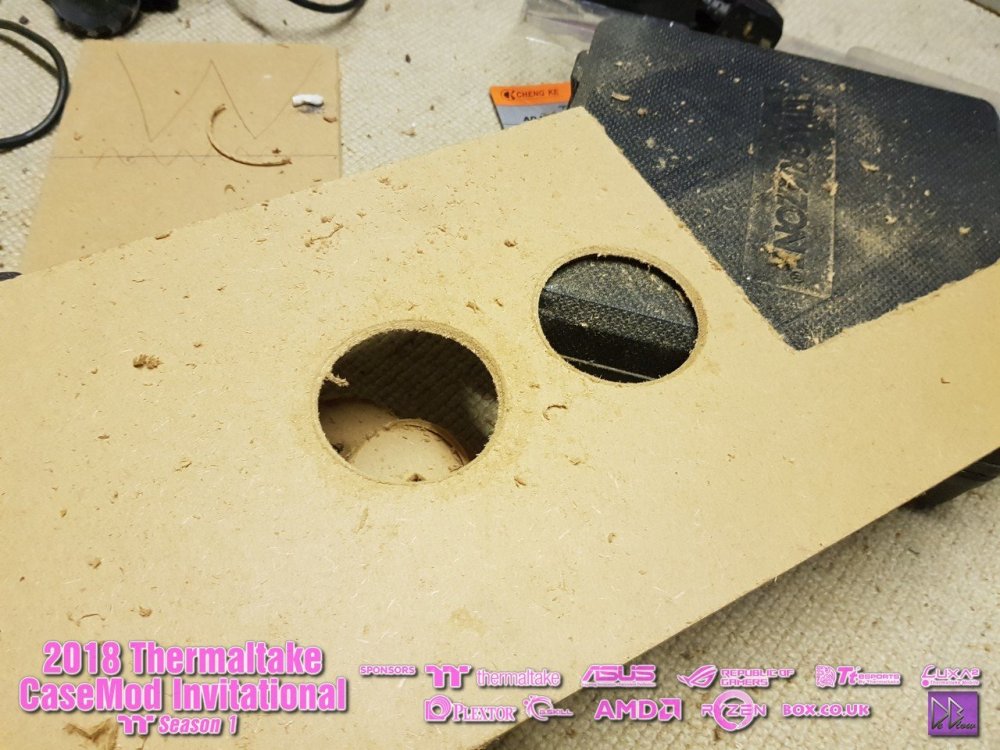
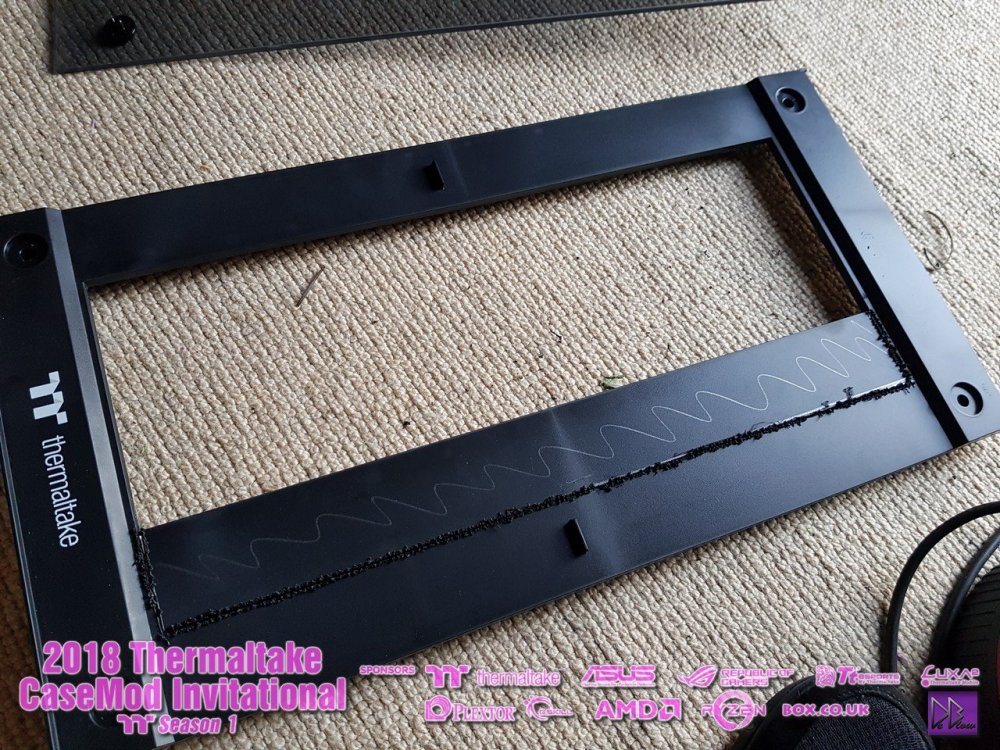
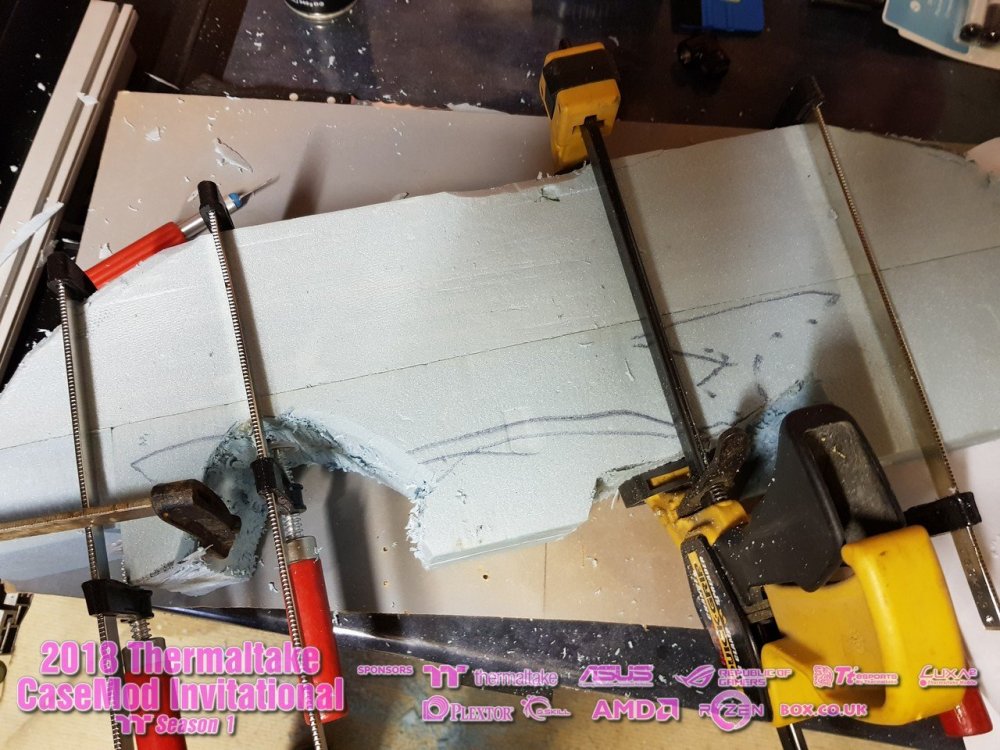
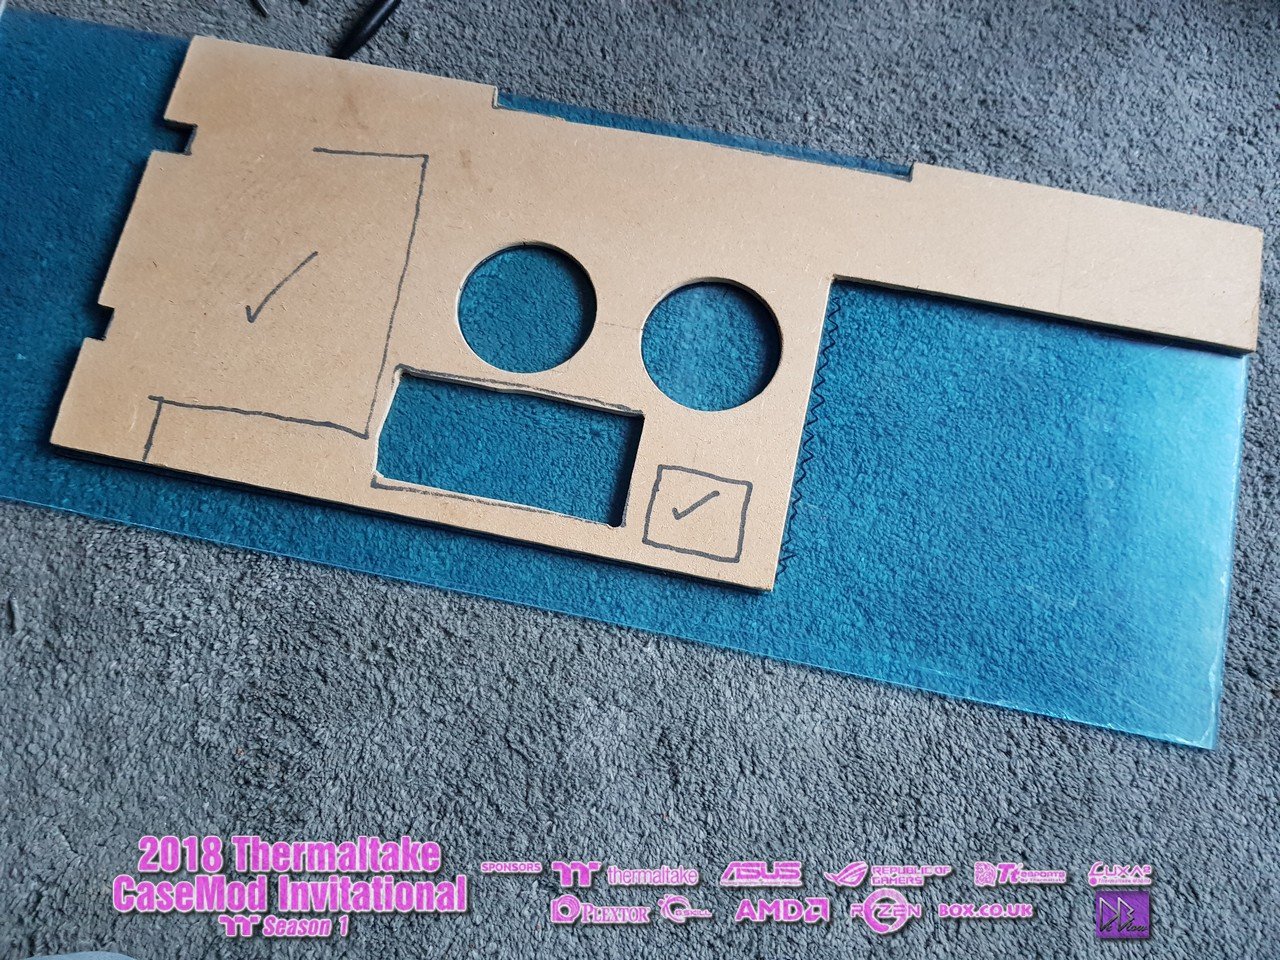
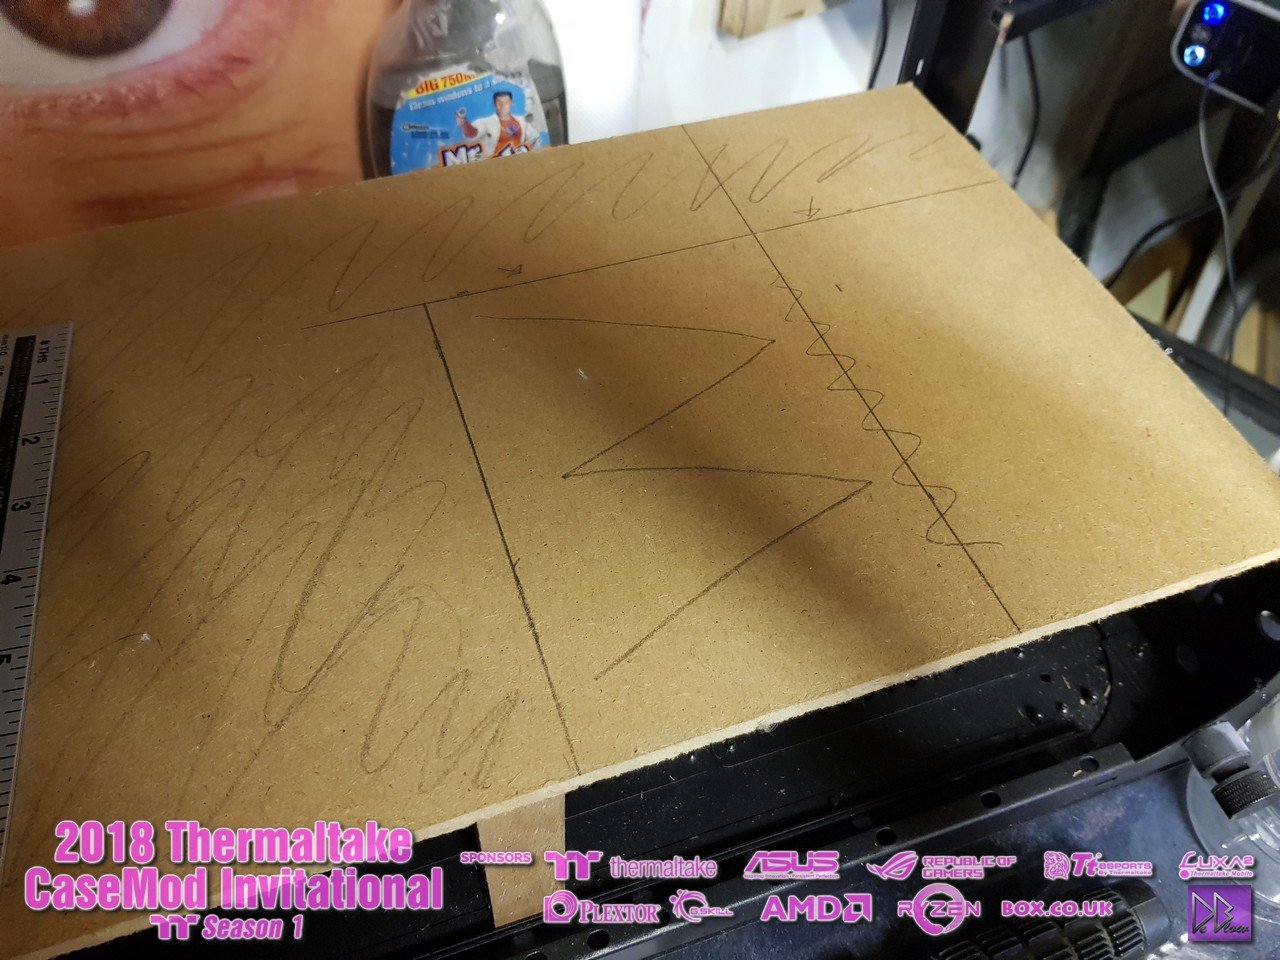
Using the template I made originally to check everything would fit I then went to work cutting some clear Plexiglas that will cover most the wires and house the pumps.

Although I do have a hole cutter, I like to free hand somtimes lol.thumb.jpg.a26afcb884928527b451625d926ed6ad.jpg)
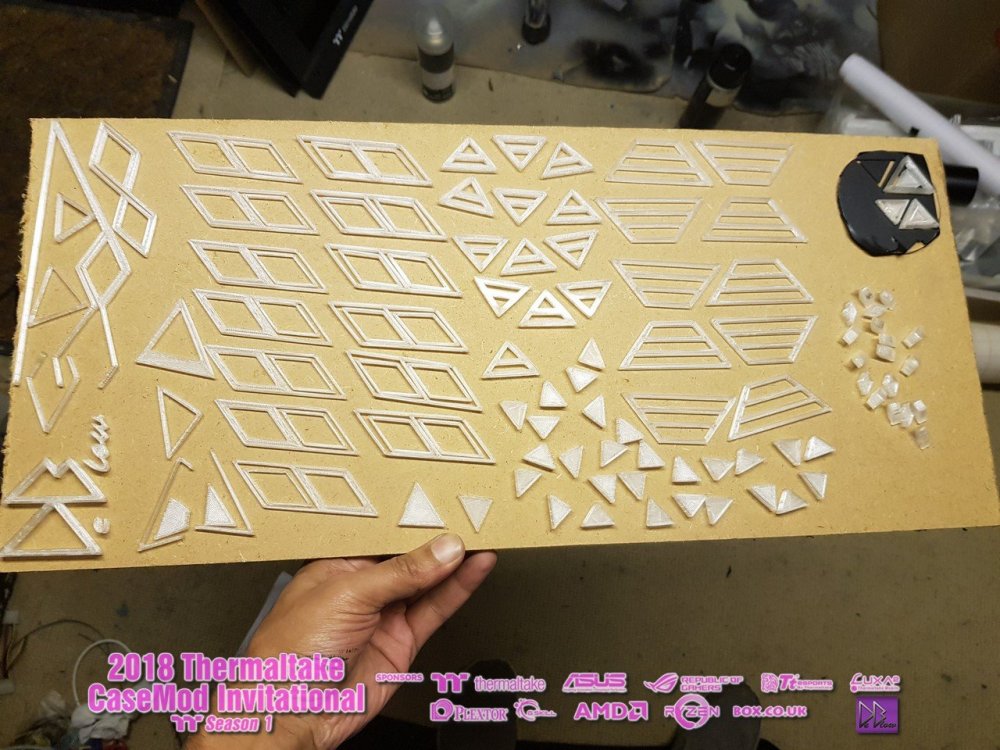
This is just a hand full of the designs I have made from scratch for several parts of the case, inside and out.
Some are going to be used for to covers, stencils for paintwork and after some 3D editing I will be using some for 3D prints.
The 3D printing is something I just started to learn for this build, as a bit of a noob its probably taken most of my time but it's a great tool to have
once masted.


-
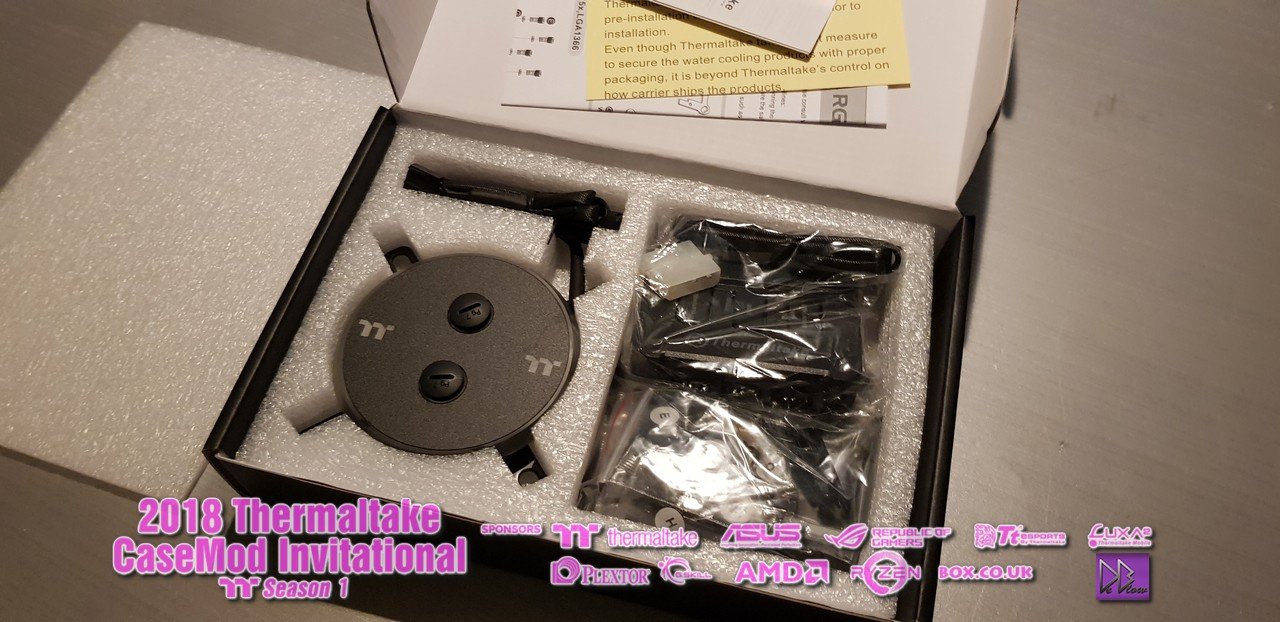
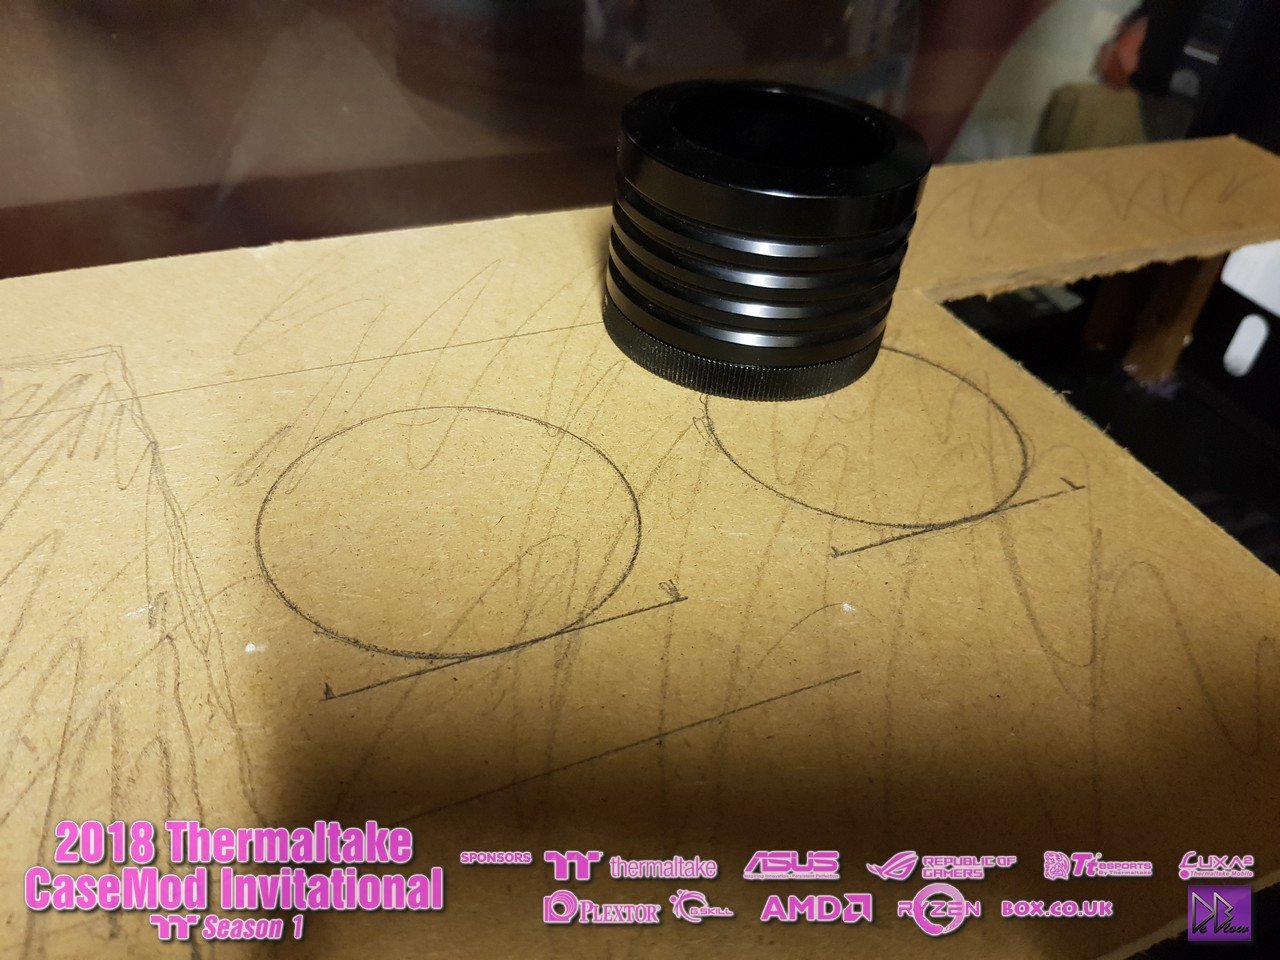
Used this pump in a couple of builds now and trust it, so picked the Pacific P1 again.
As above, wont be painting this time, instead covering half with the 3D covers and the other half will be out of sight to help keep wires to a minimum.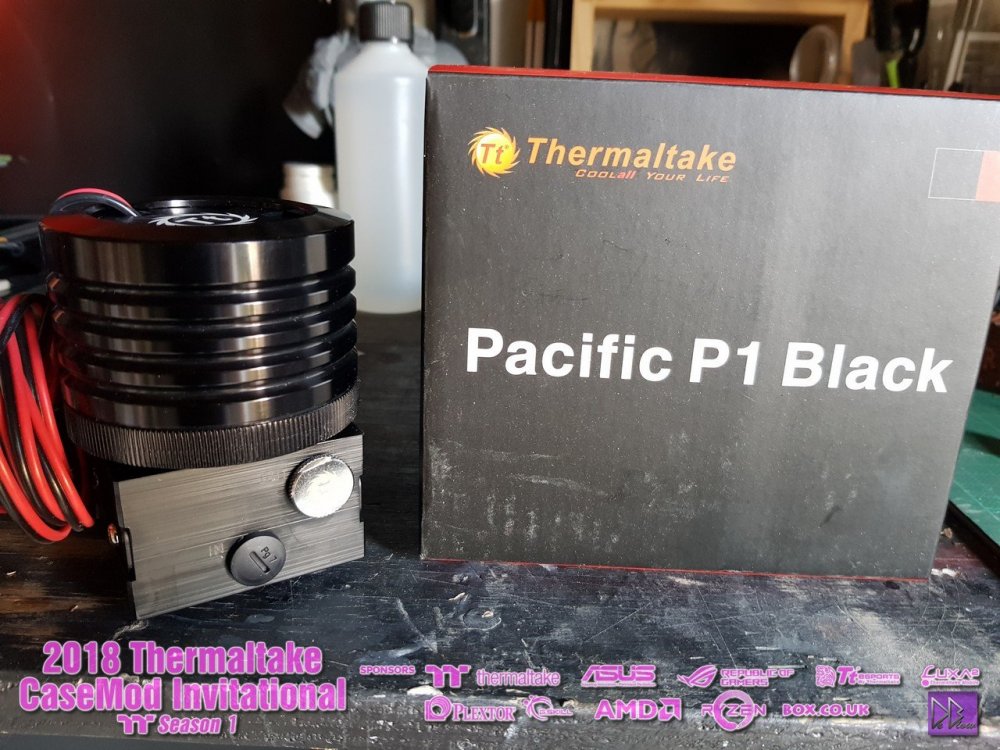

This is just a template for the main part that will be used.
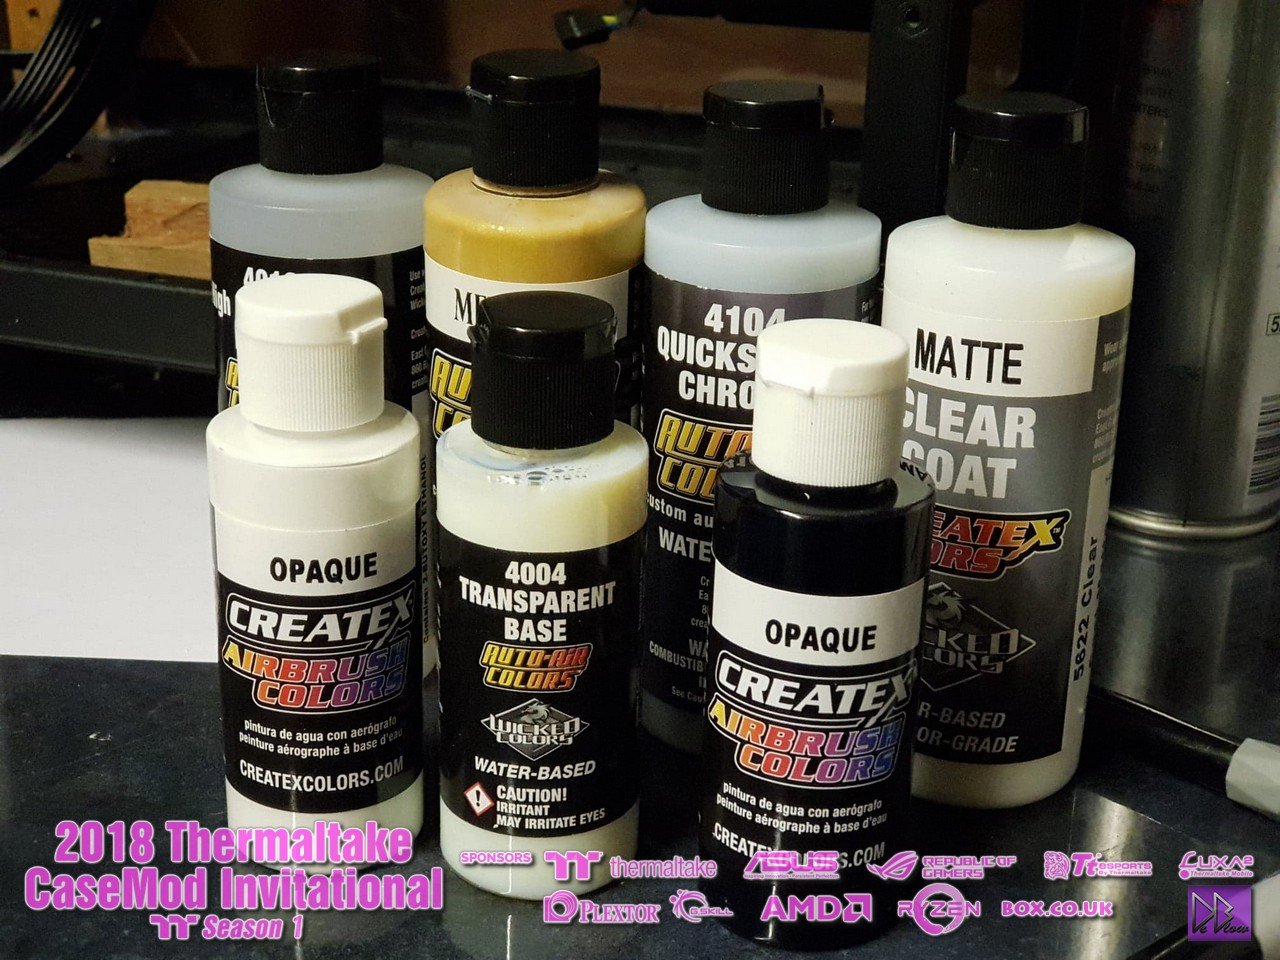
Got myself some new airbrush paints via smdesign ,great help and advice given.
the black and chrome will be used on the pumps and a couple more things.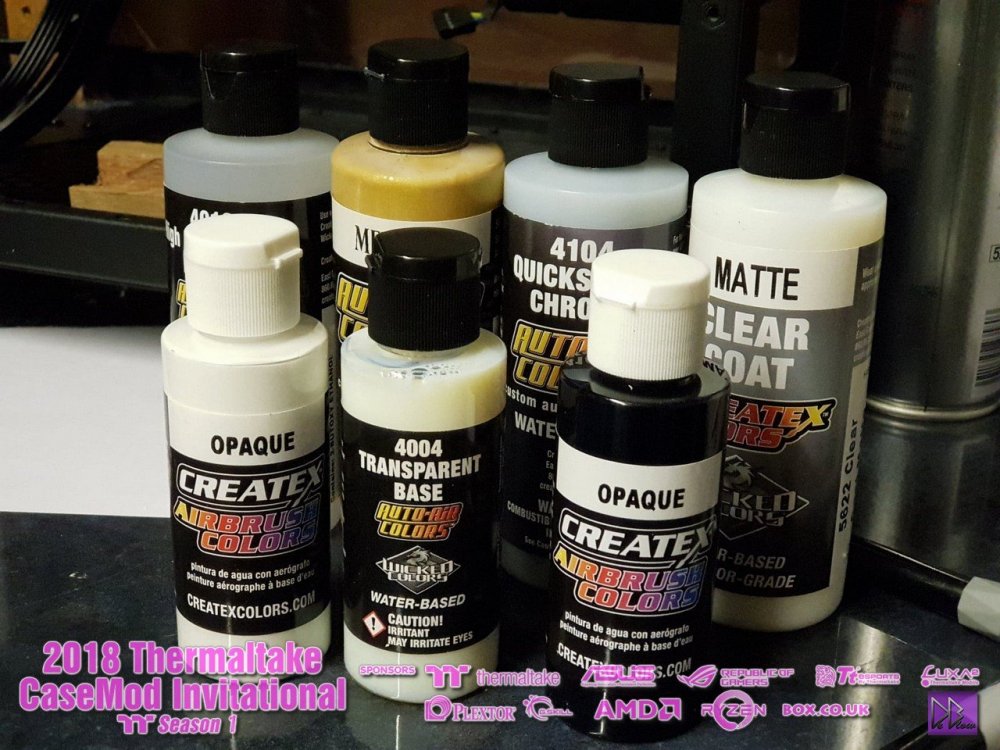

-
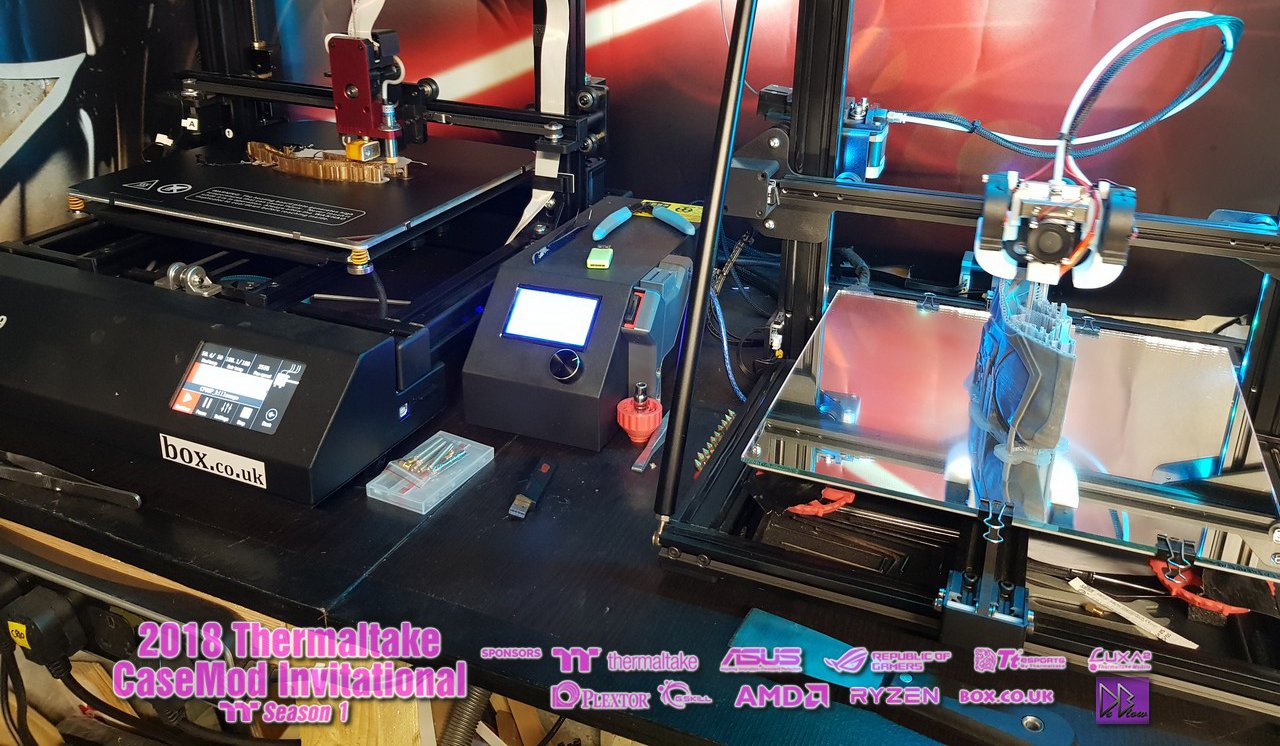
I always try to do something new with every build and this one will be no different, for the first time I'm not only using clay but as I
don't have room for CNC or laser cutters I went with 3D printing, the 3D printing has taken the majority of my time over the past couple
of months as I try to learn about setting them up, modding and also learning how to use CAD/3D design software.
I'm no 3D pro but its been one of the best things in years I have found a interest in learning.Big thank you to https://www.box.co.uk/ who I bought my first printer from who then kindly sent me another to try out along with the Steadytech filament I'm using to
print most of the parts for this build.
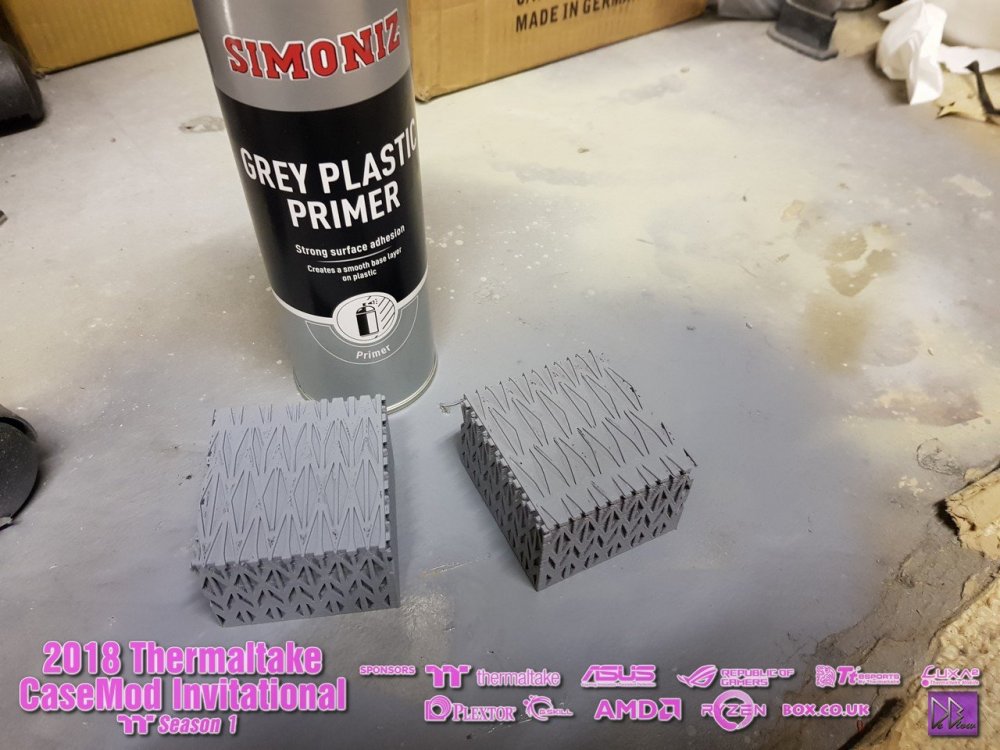
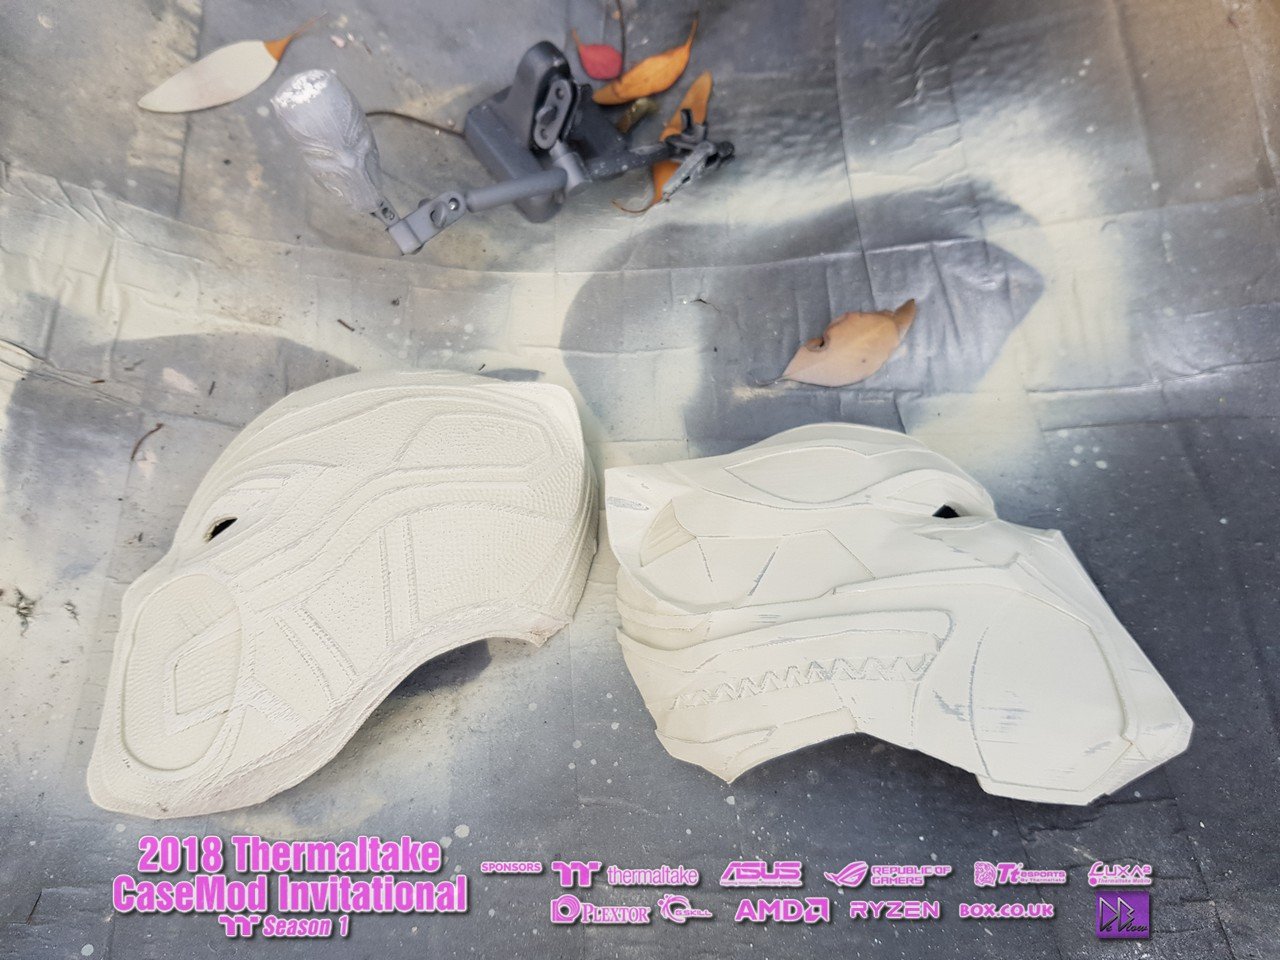
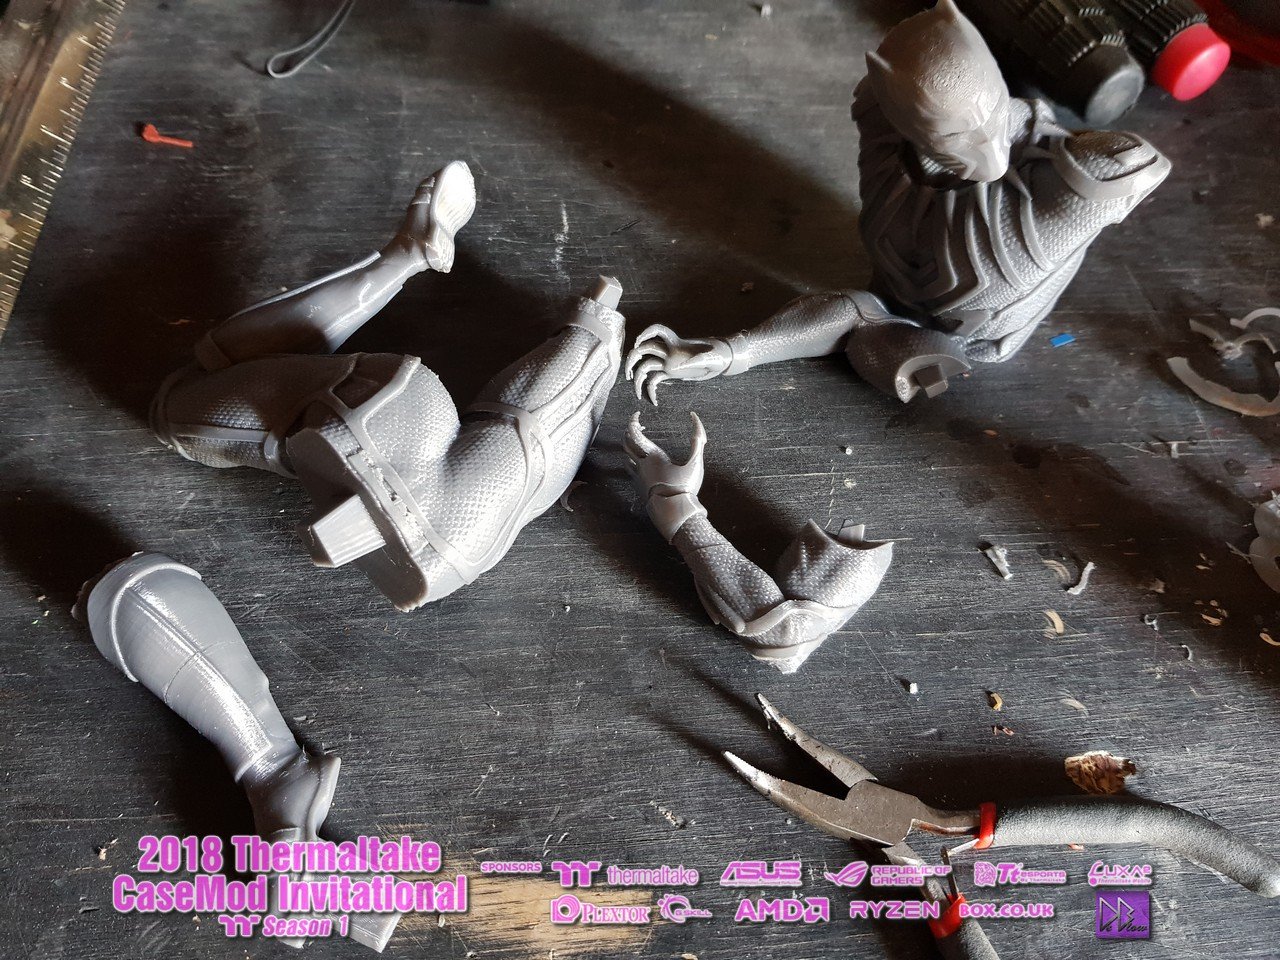
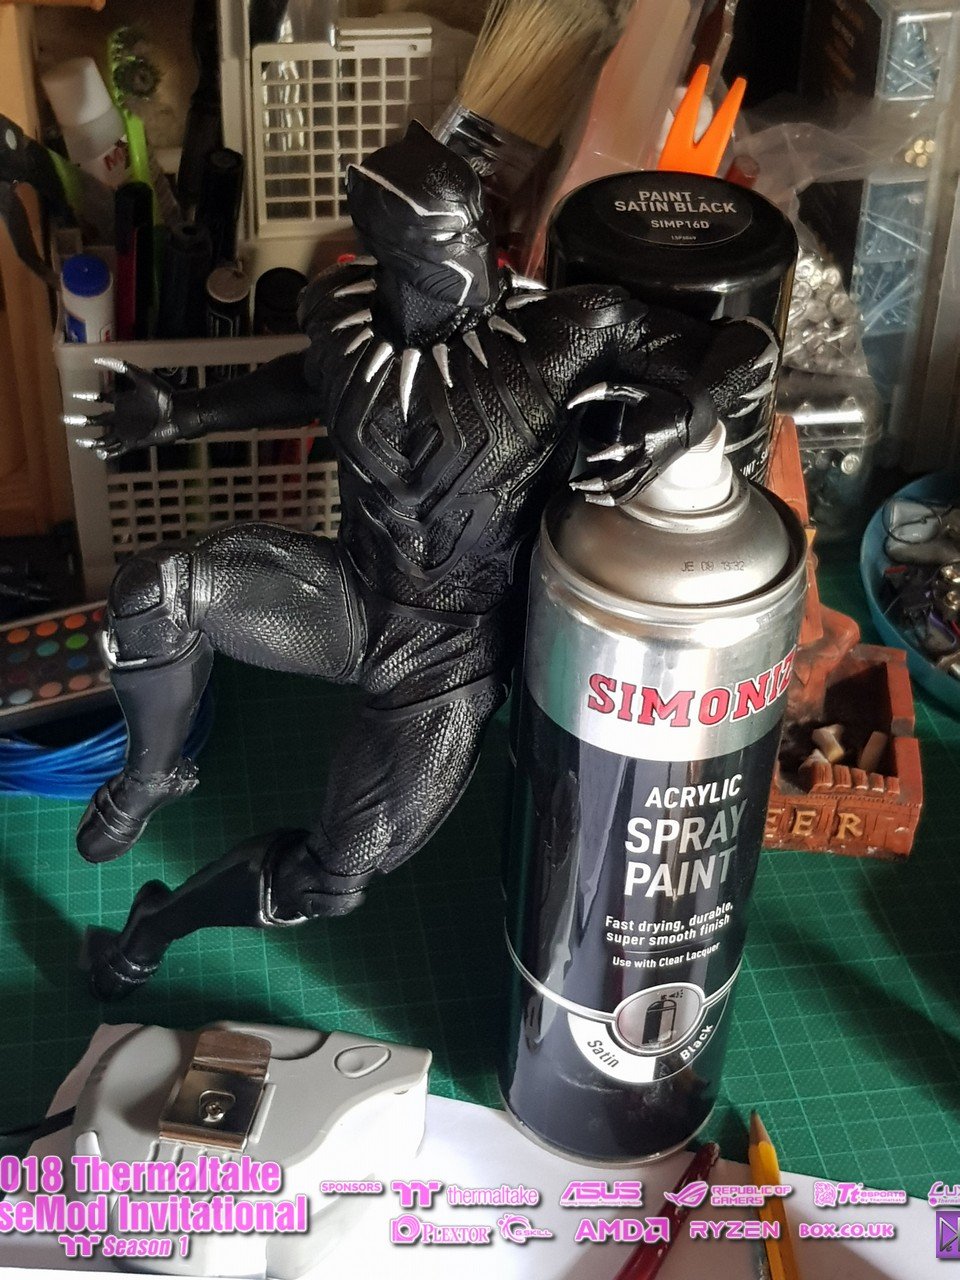
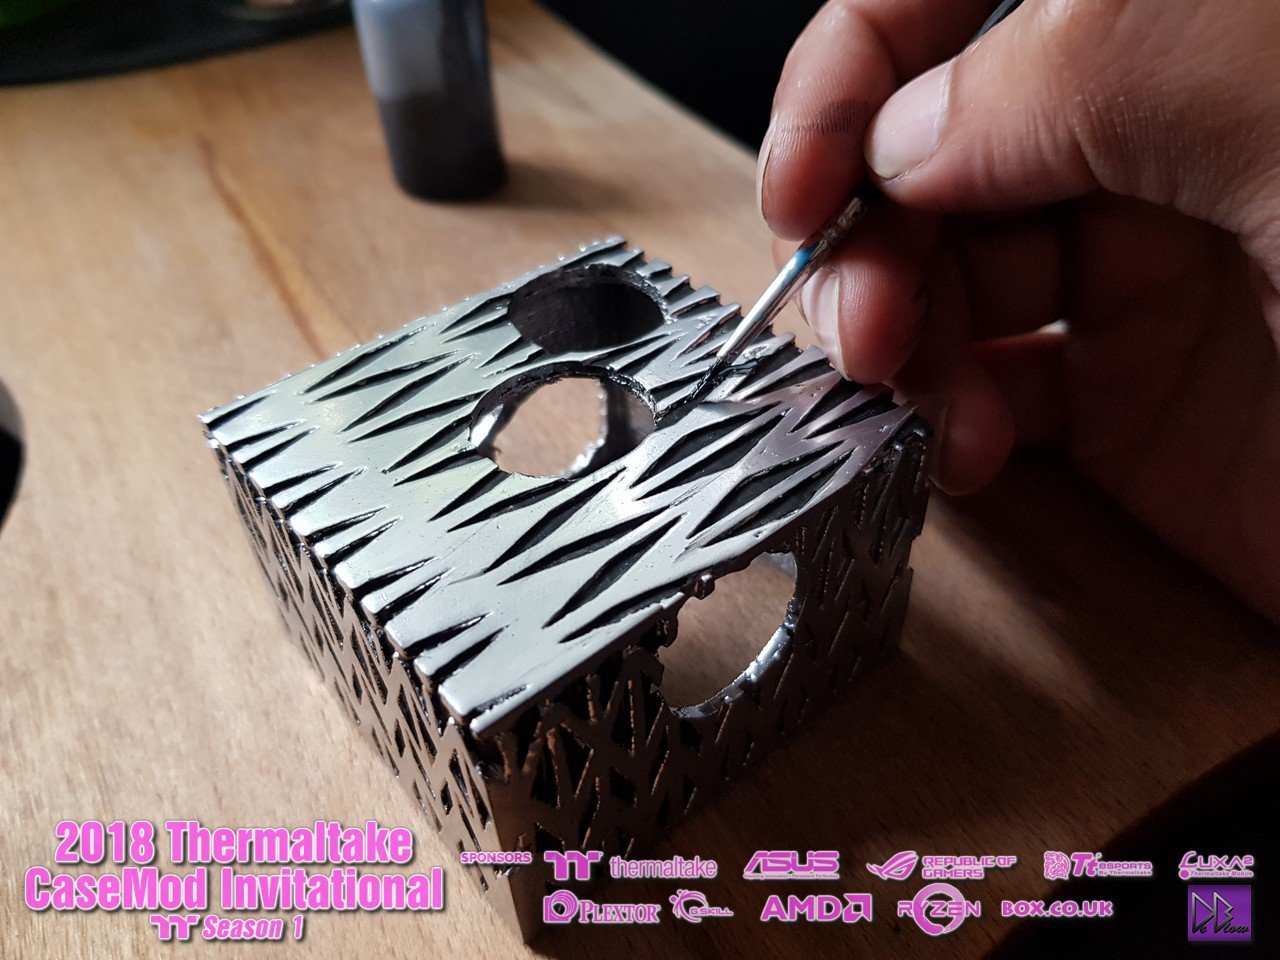
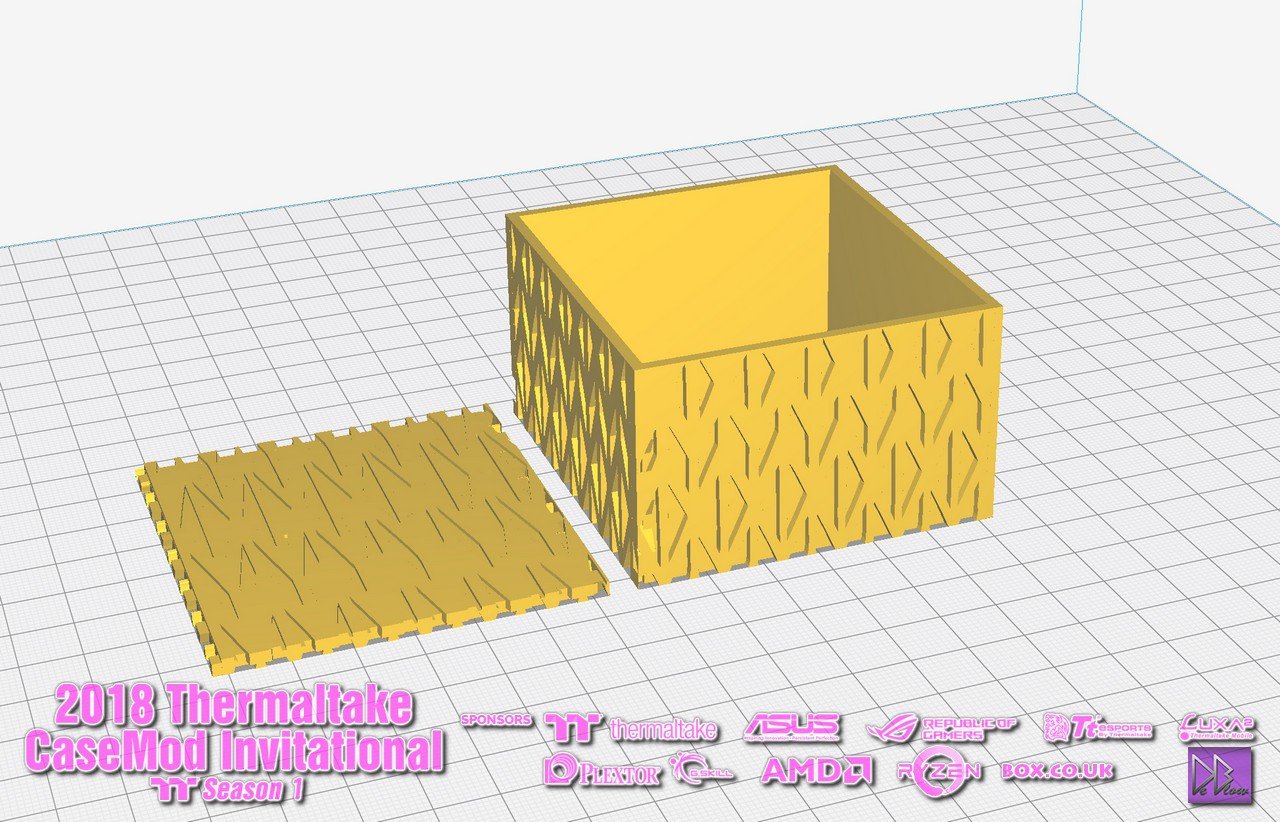
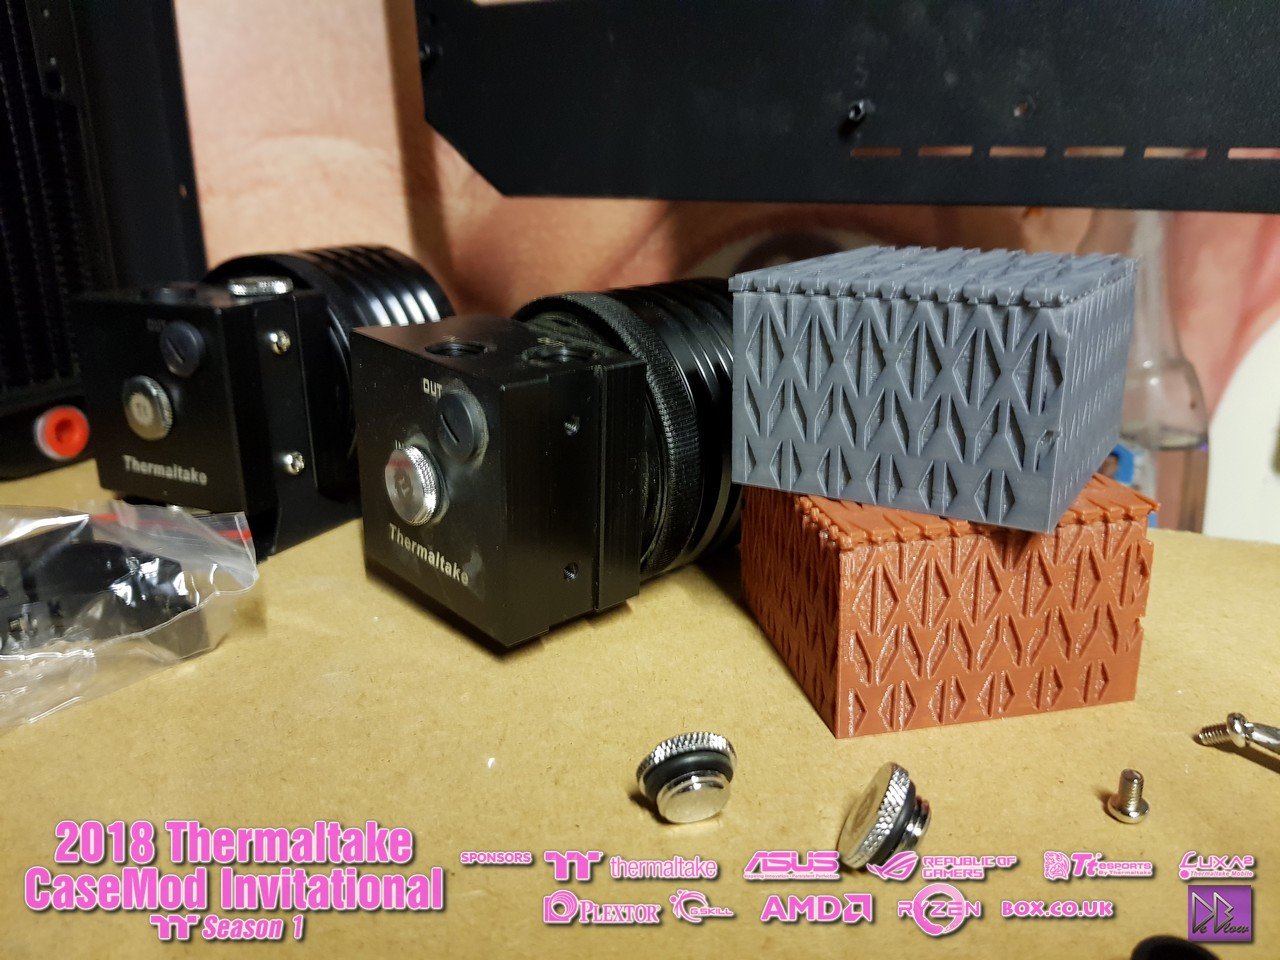
The first thing I wanted to do with the printer is make some 3d covers for the pumps, they've been made and designed from scratch
following African/black panther styles for reference.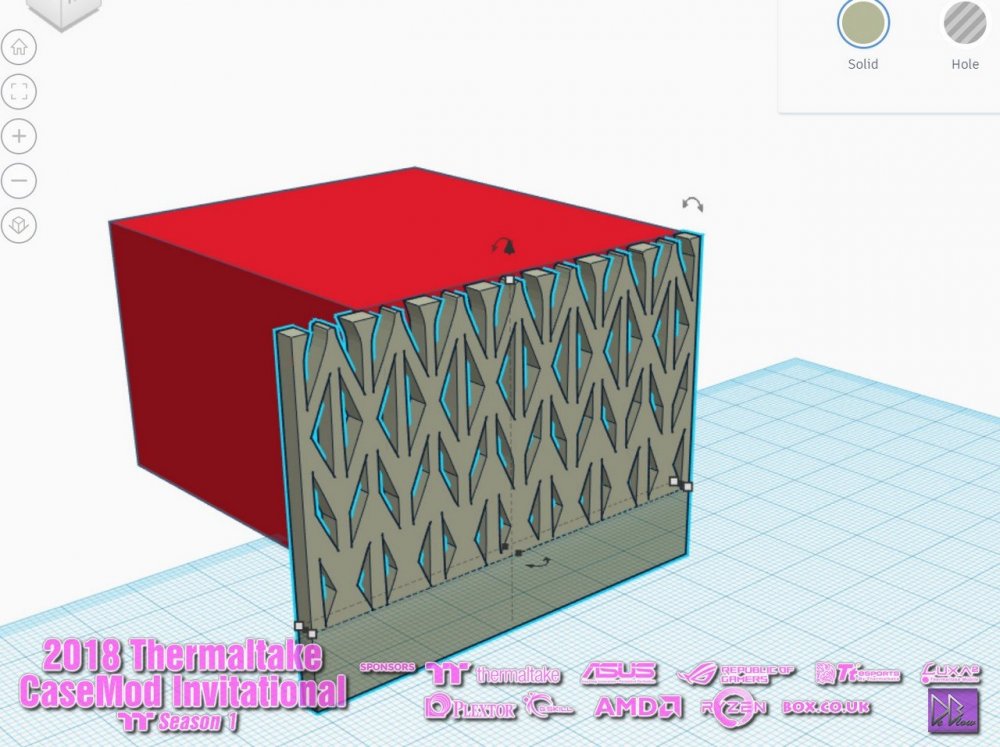

Using Photoshop and some other programs I first designed the pattern then went on to make my very first 3D render for printing.
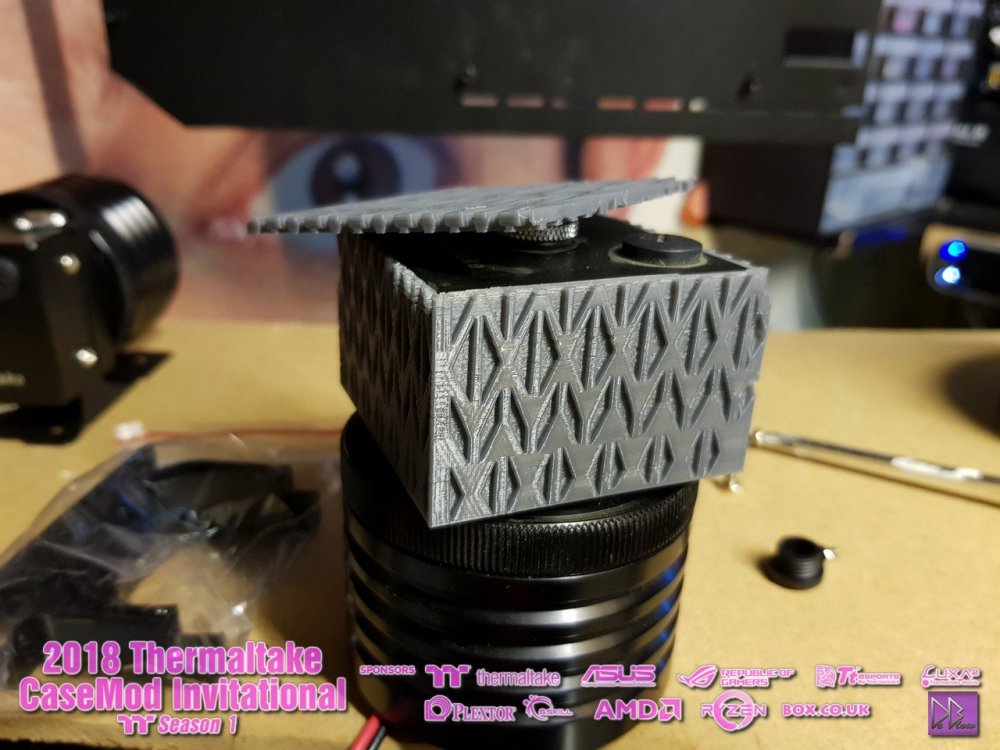
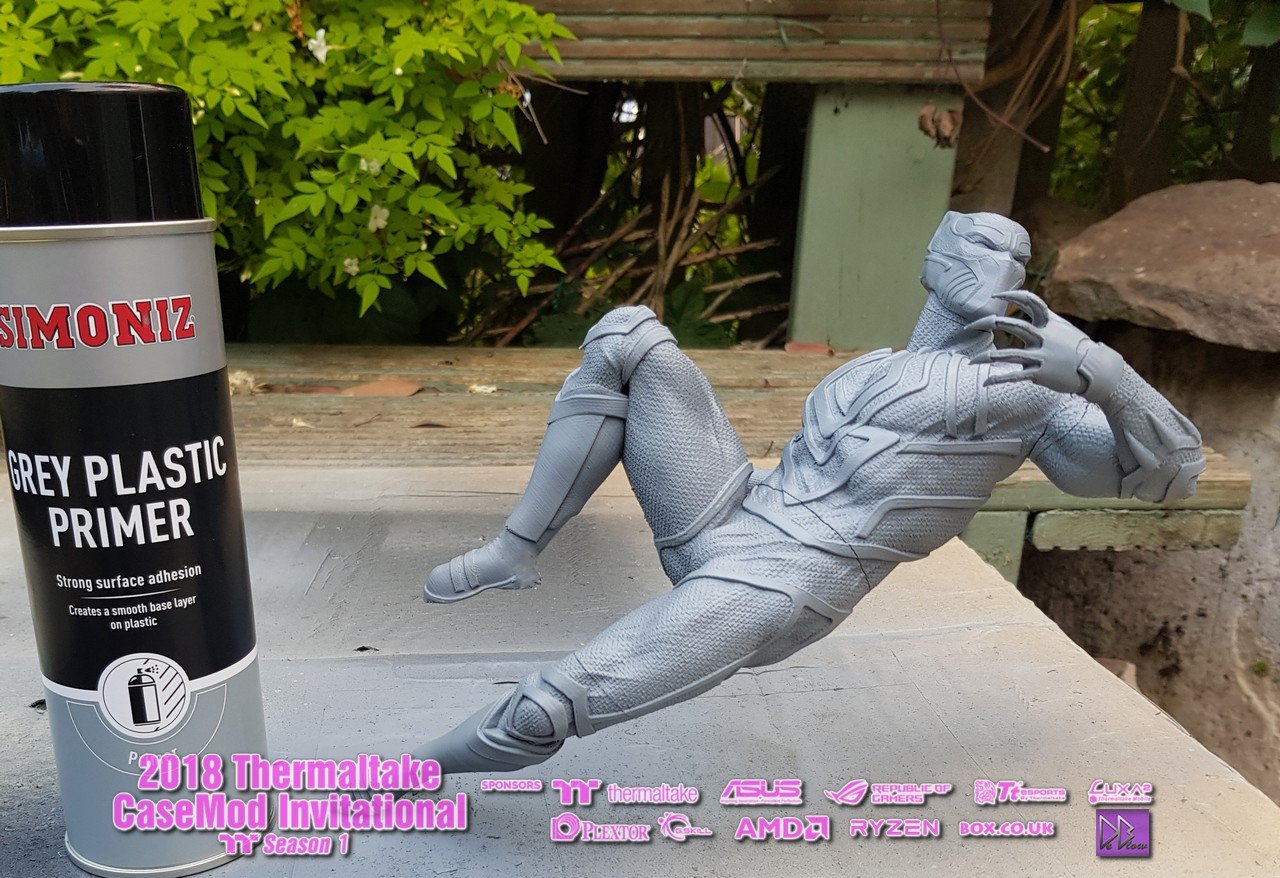
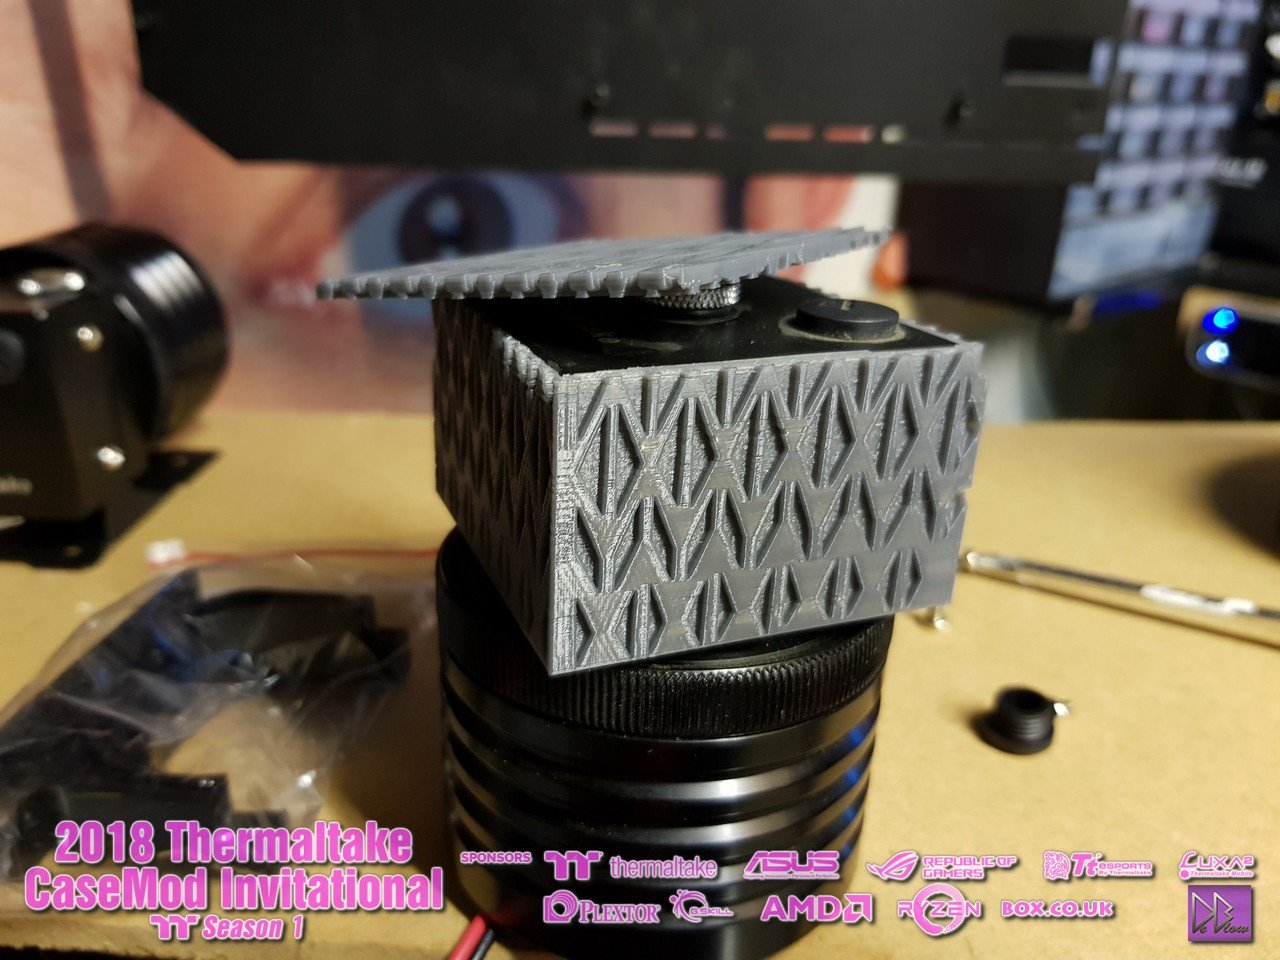
After the printing is done I move on to sanding, filling gaps and priming the covers.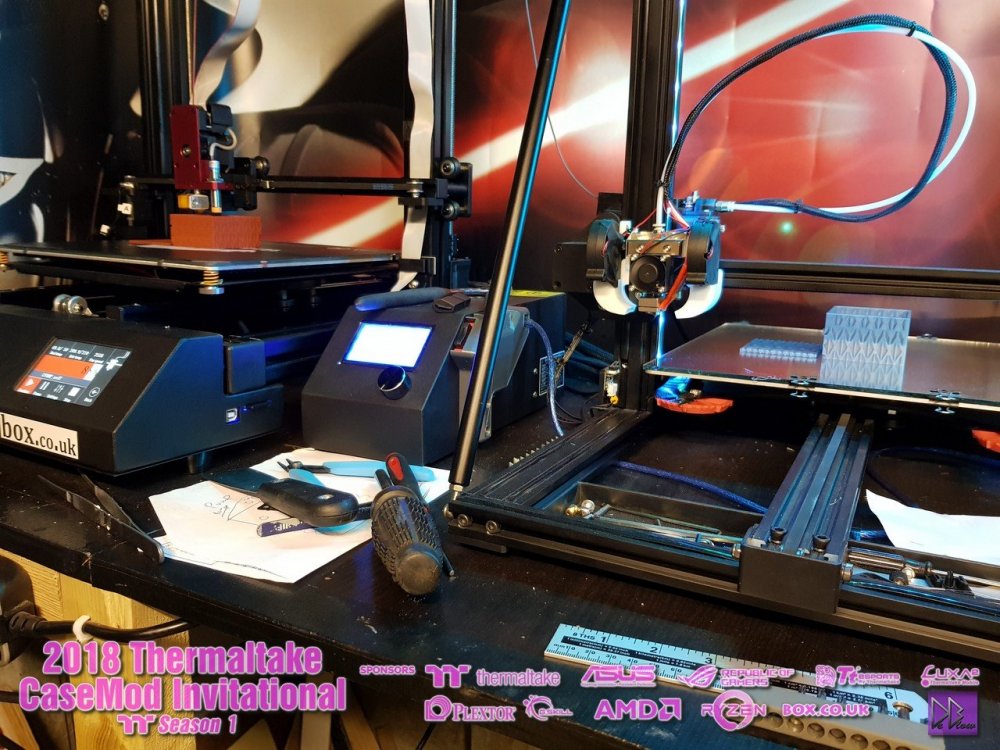

A perfect fit
")
Forgot to thank Simoniz, (https://www.holtsauto.com/simoniz/) they sent me some paints I've been using for years, mainly to be used on my 3D print model work but always useful to have around for the odd PC mod.

-
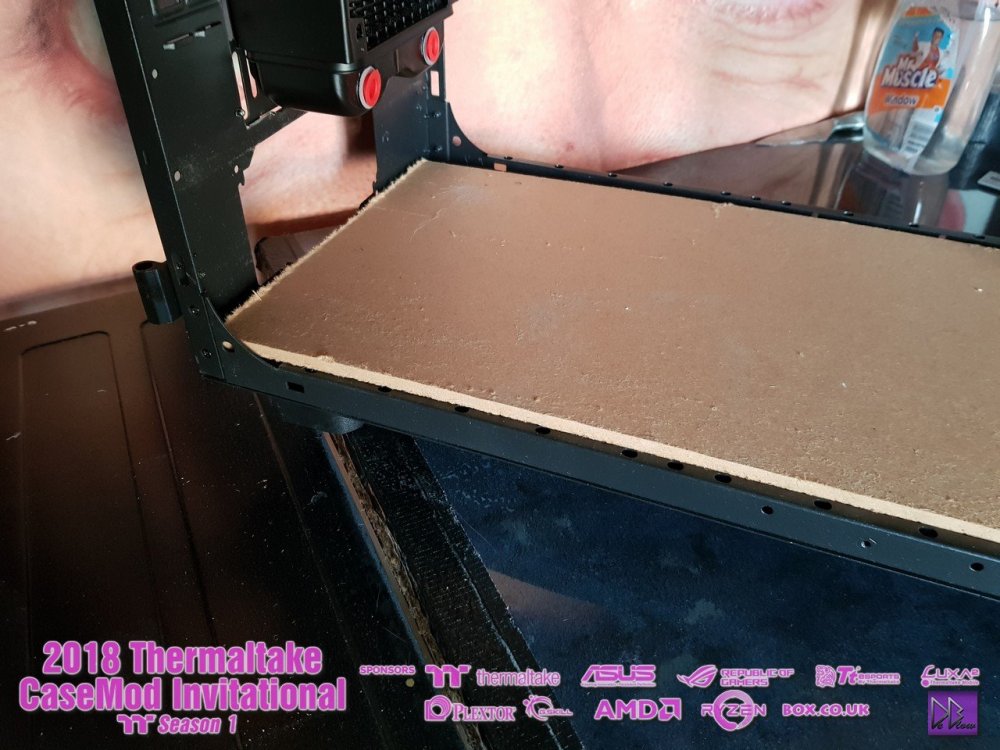
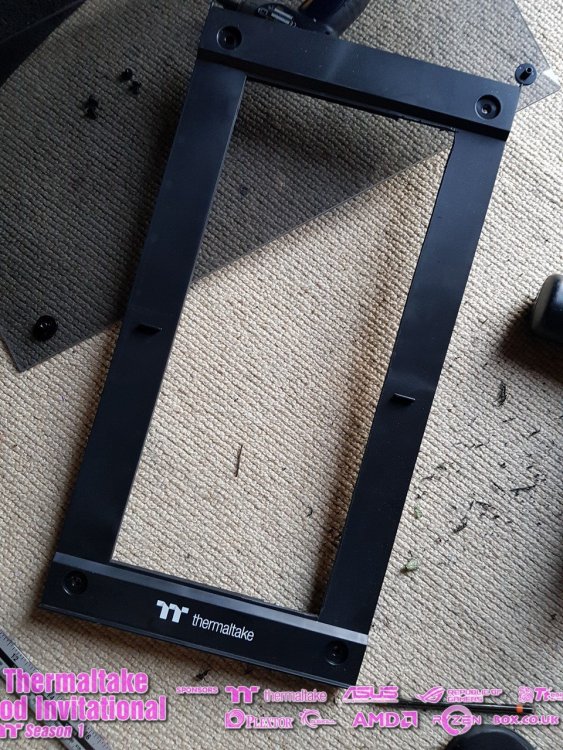
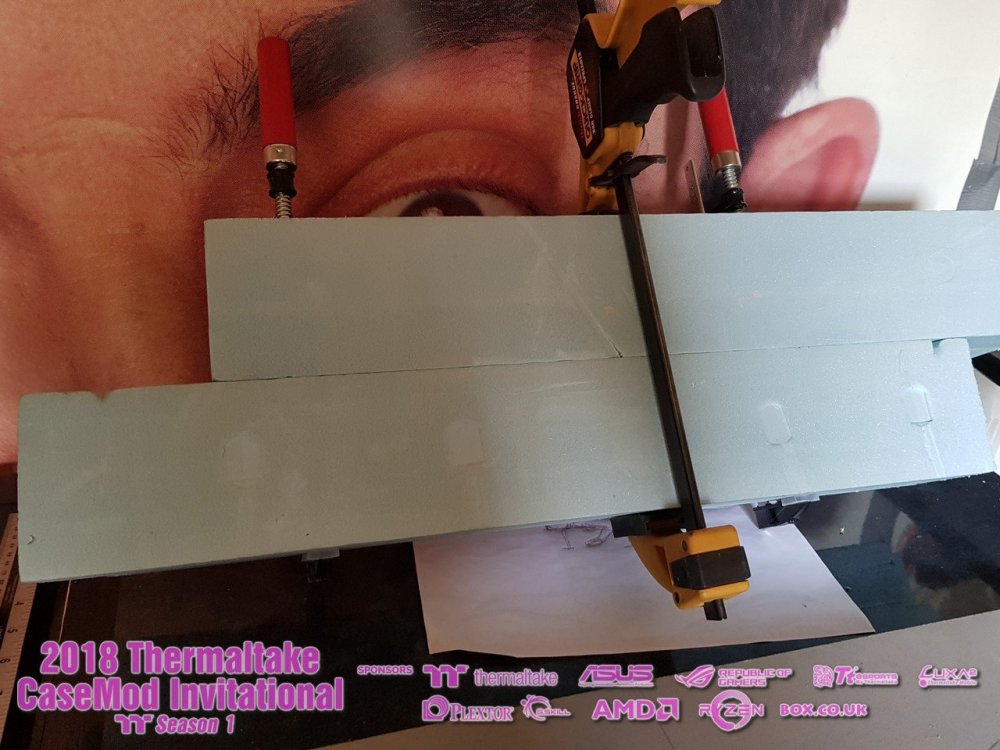
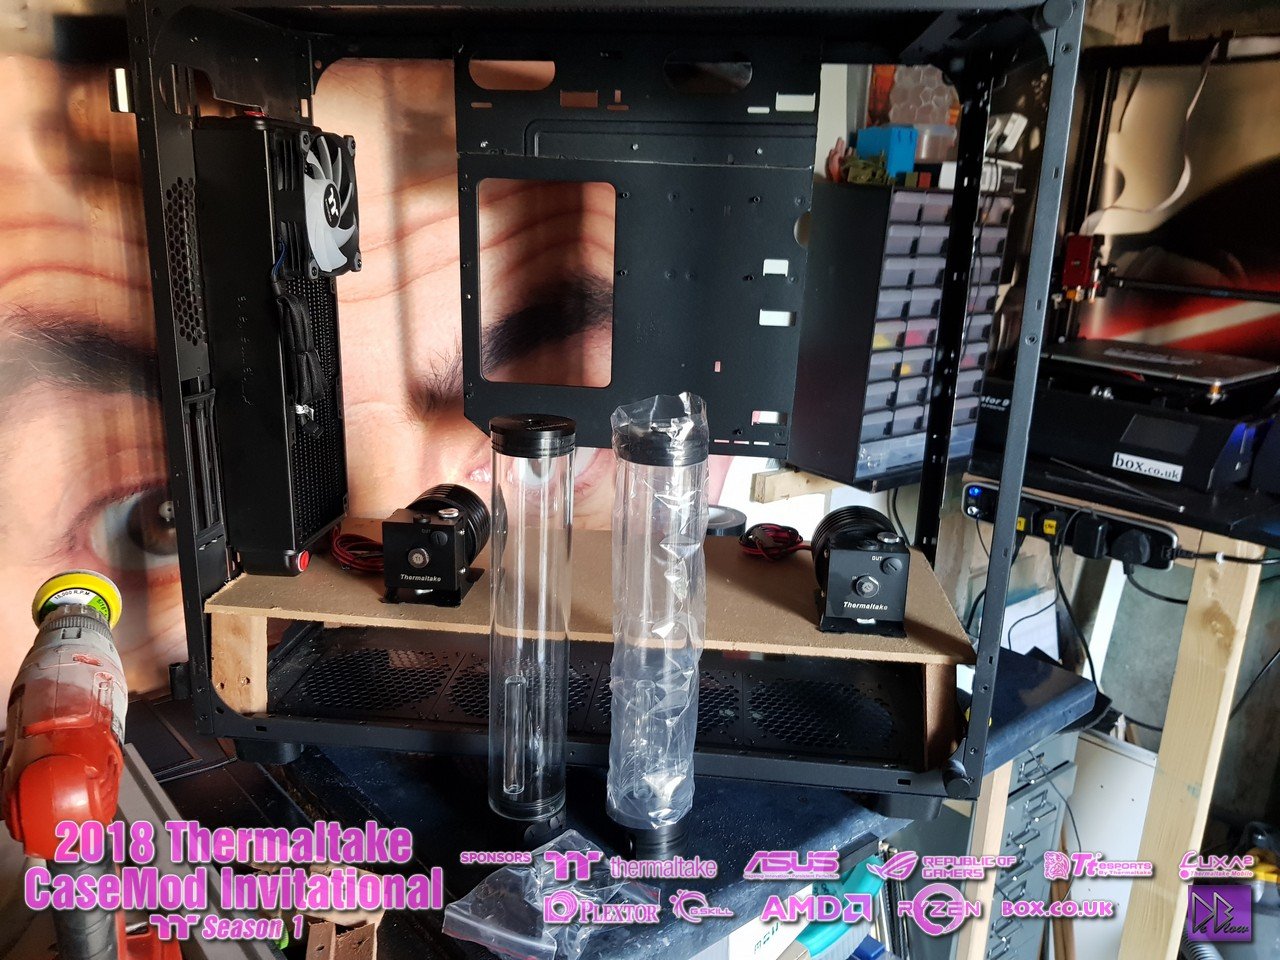
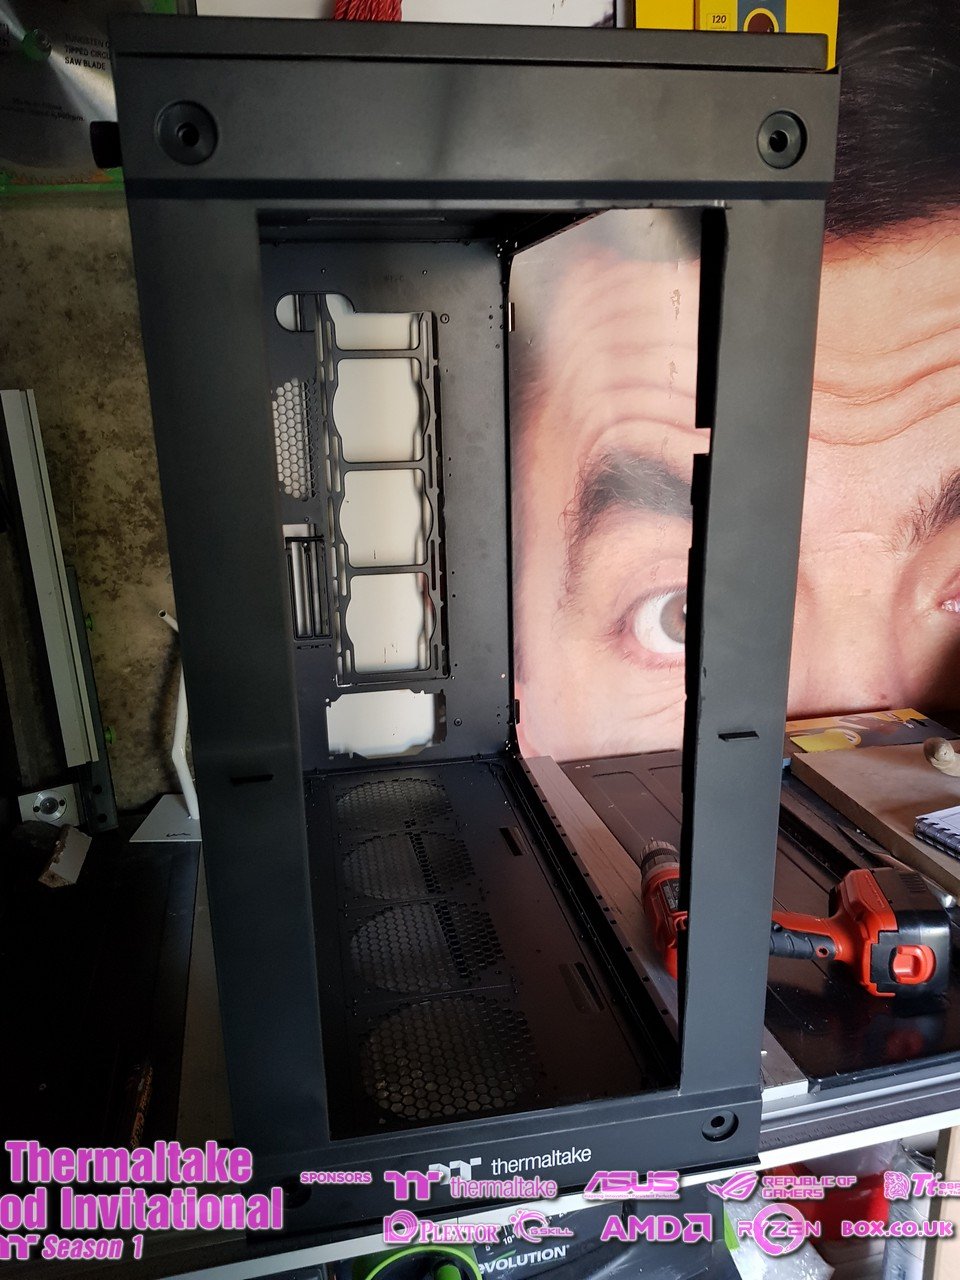
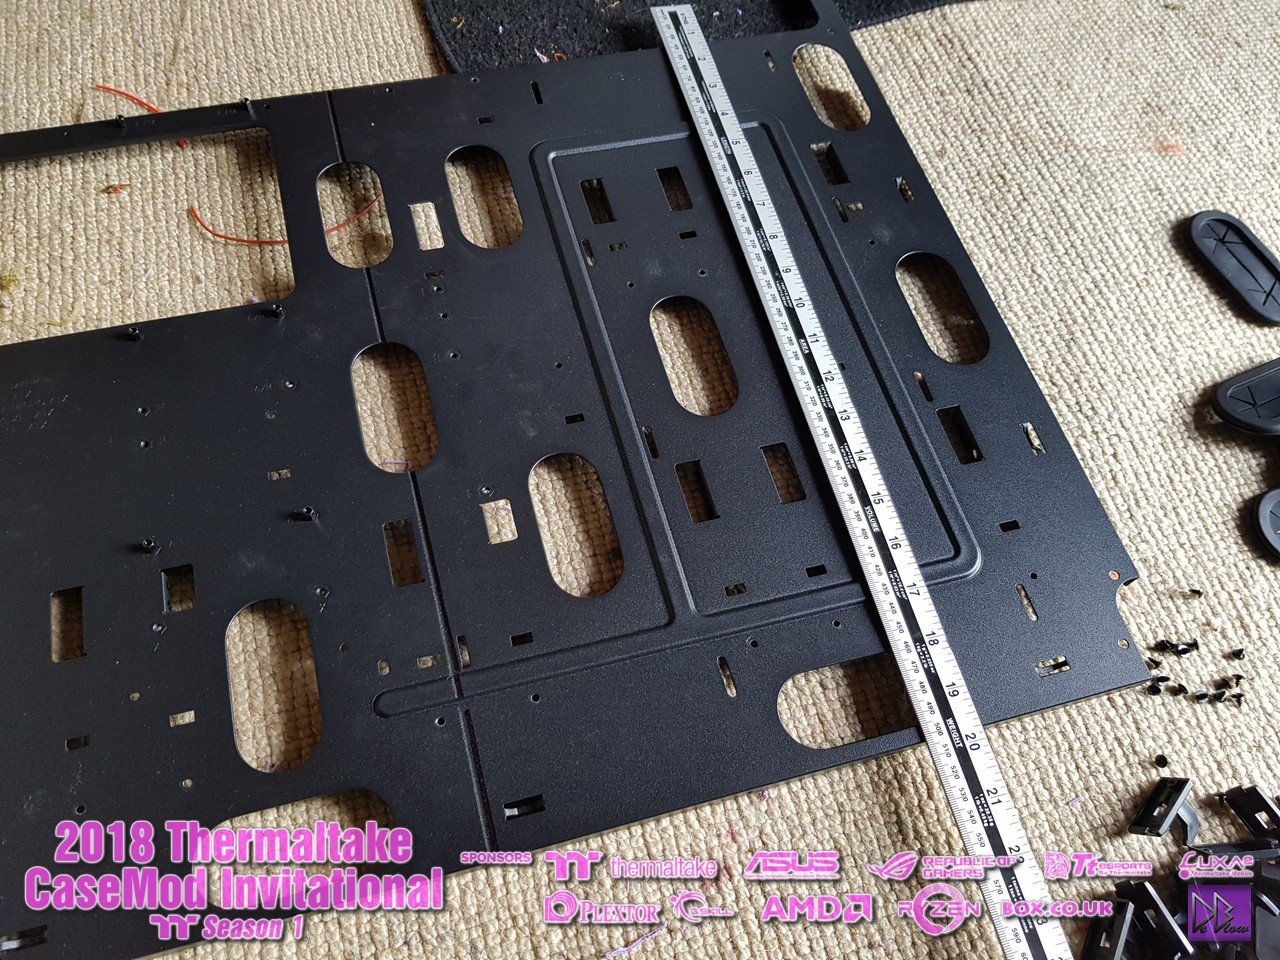
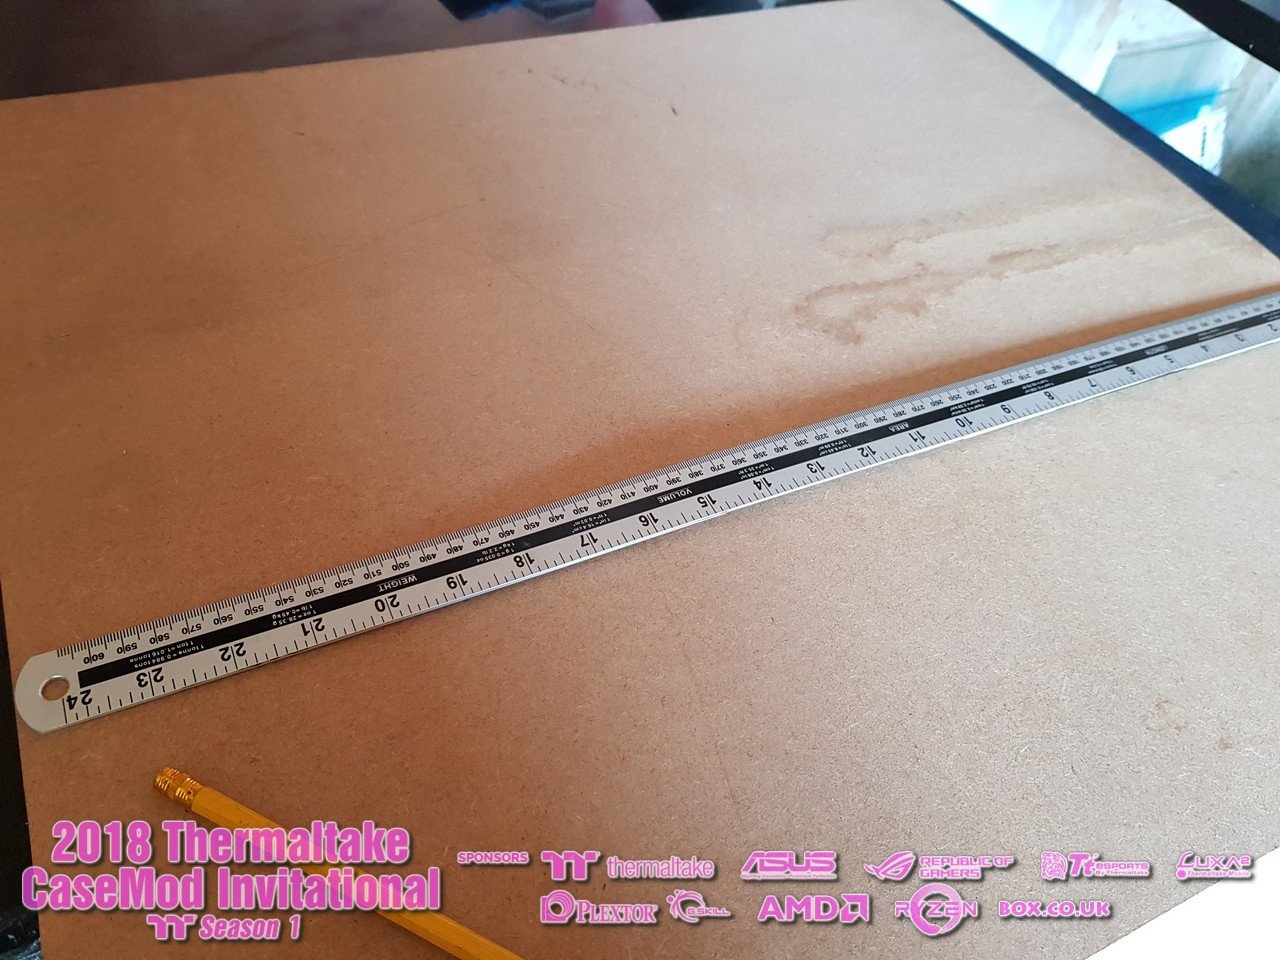
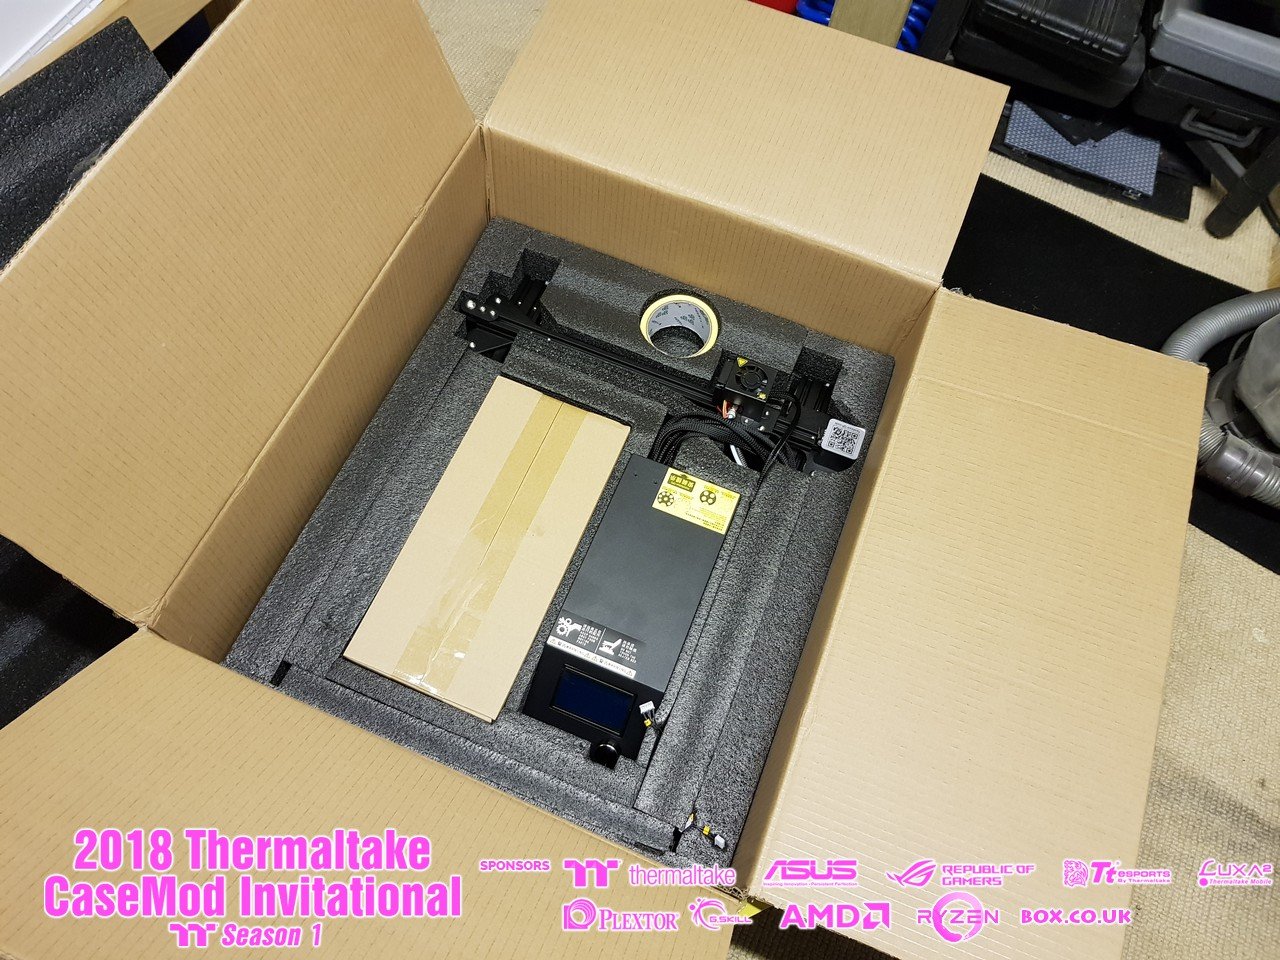
With the arrival of the PSU and 480 RAD I could start working on the layout, using MDF as a template I have cut it to size and started
with the main parts inside the case.
The motherboard tray placement might move at some point, wont know for sure until all the components arrive hopefully later this month.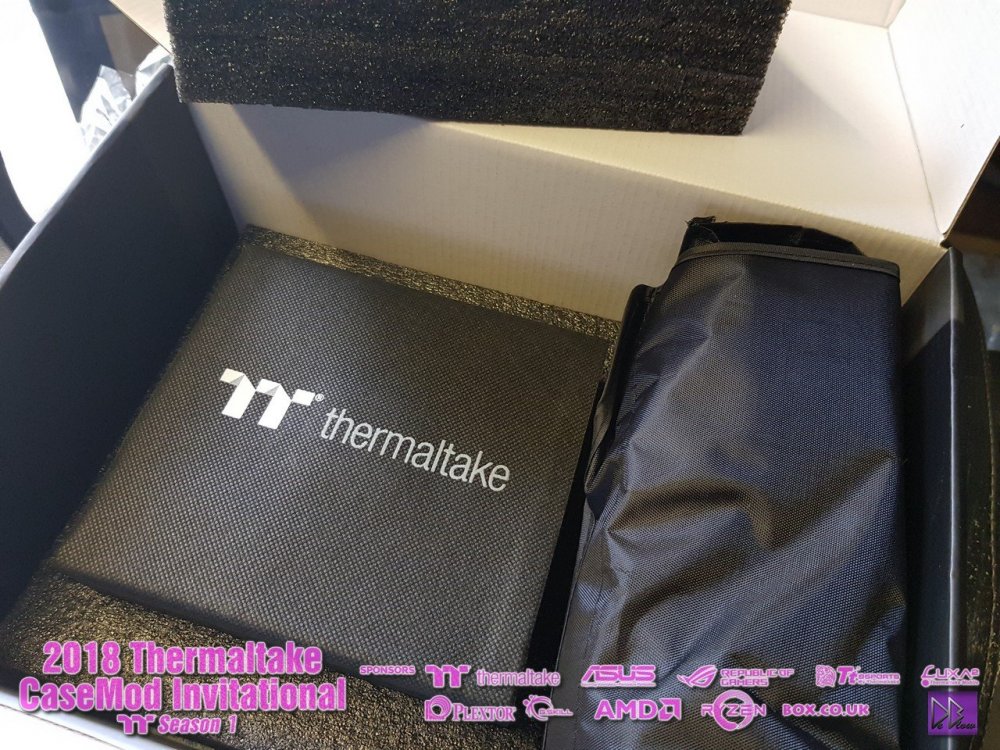

-
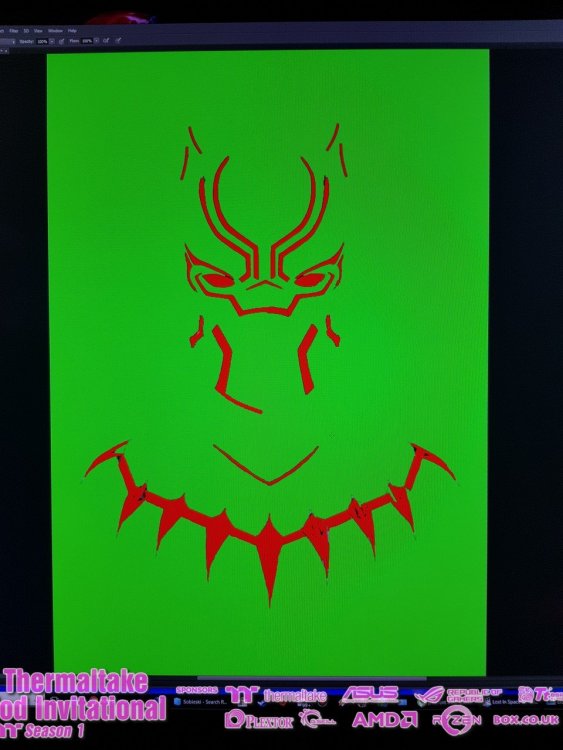
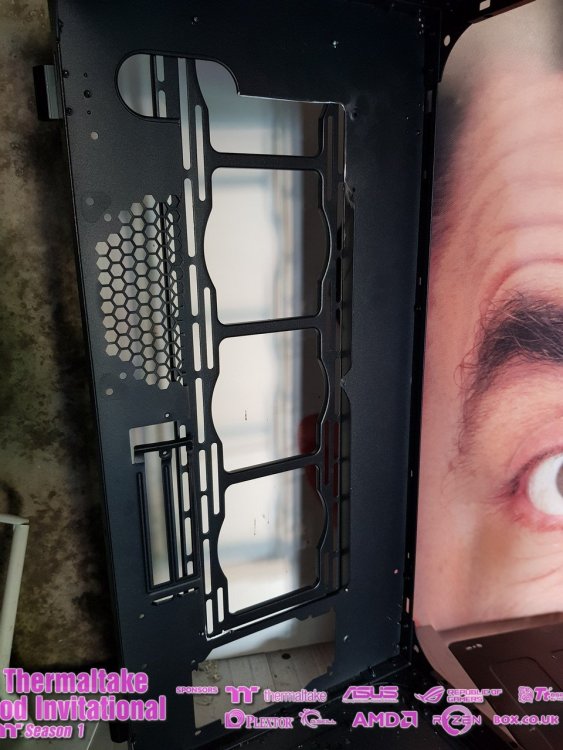
For the front of the case I will be painting the outline of black panther, created a stencil on the PC that I can use to mask the parts I want to leave clear.
The front of the case has been cut on the internal panel so I can fit the RAD central and the external panel holding the glass has also been d to allow space for the panther paintwork.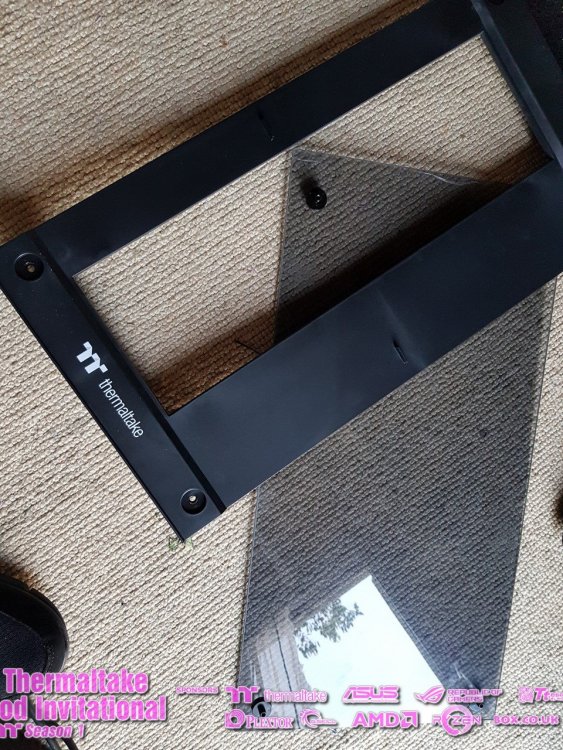


-
On 7/17/2018 at 4:13 PM, Kaleeva said:
I know the problem with the clay.
Wanted to make a dragon with it for another project. Absolute disaster. That's why I'm using paper mache again. Easy to apply and does not crack during drying. Also a lot cheaper and won't become so extremely heavy at the end =)
But it looks good so far. I wonder what he looks like at the end.Thanks, yeah its a pain and the 2nd thing I've now used this clay for, did a batman head that also cracked badly but not as bad as this one, I think because the clay was put on thinner.
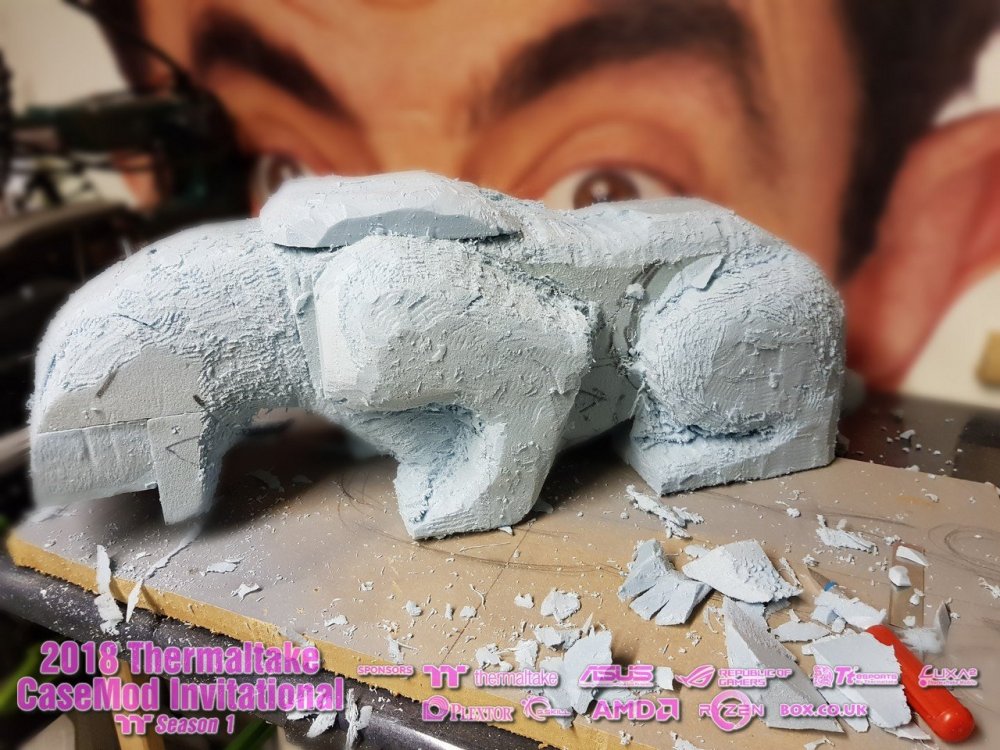
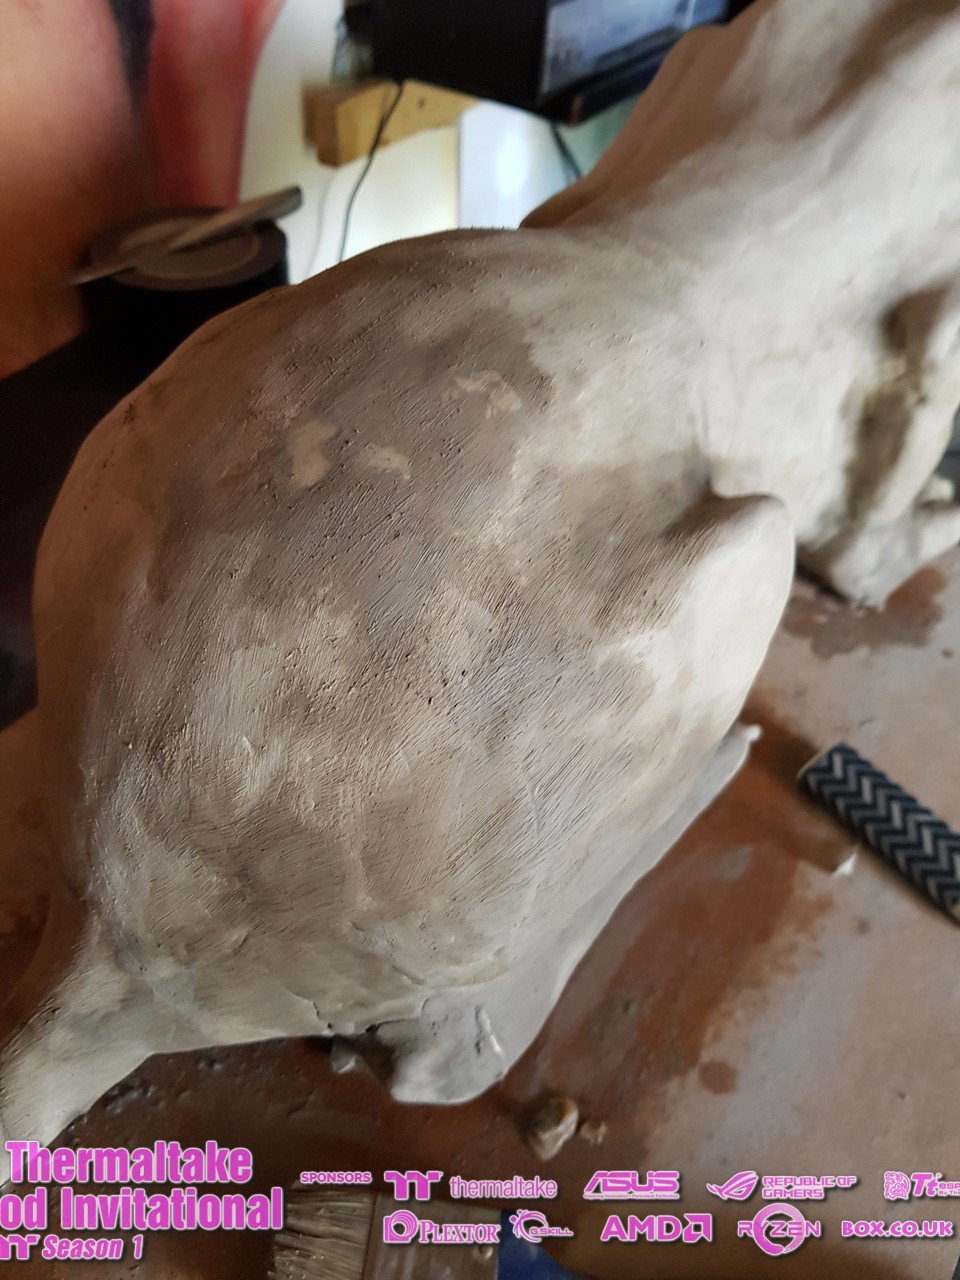
It's not too heavy because of all the foam I used lol, I would make it thinker if I was to use it again, crazy amount of filling and sanding been done, today I primed it and it will then need another sand, maybe some more filling then I can do the main paint and put him to one side
-
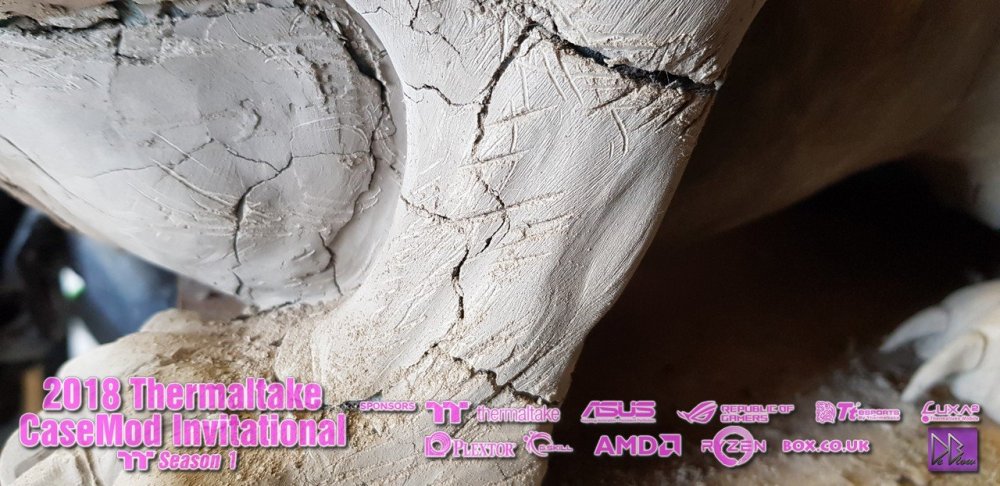
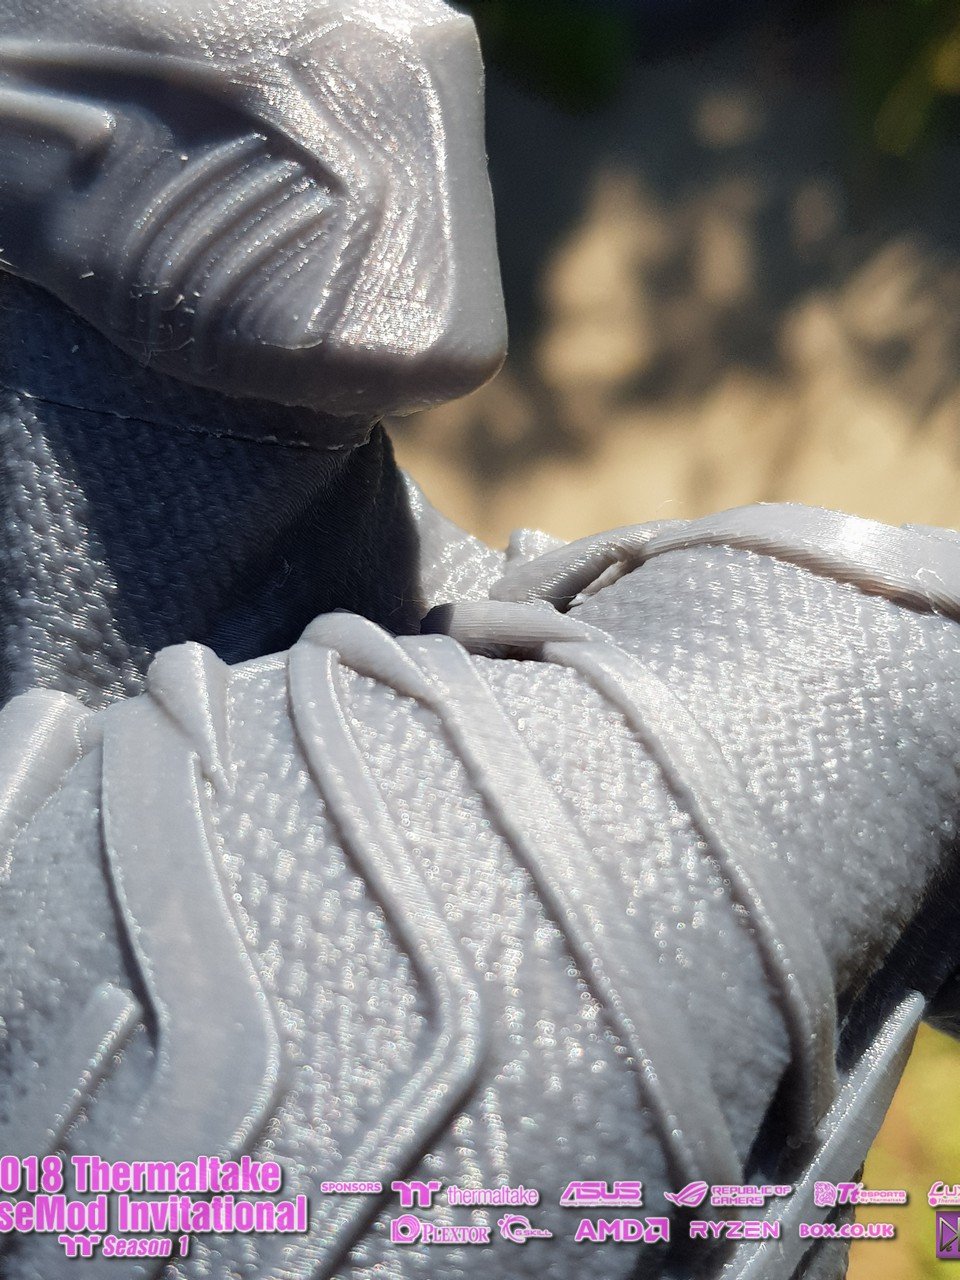
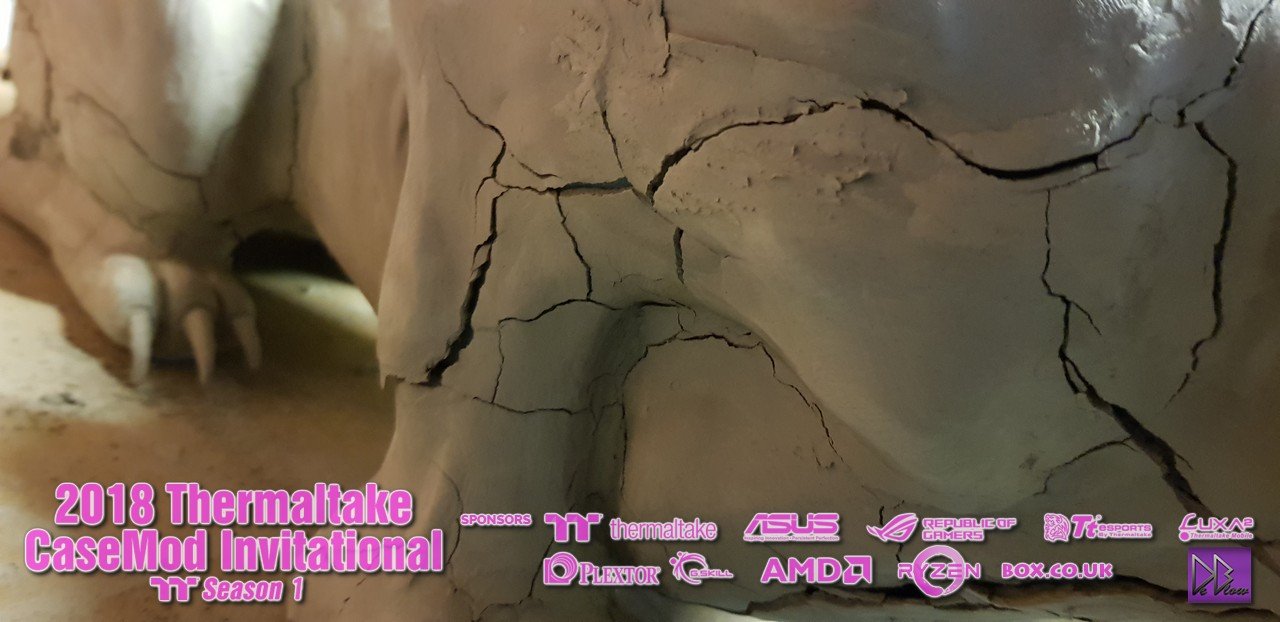
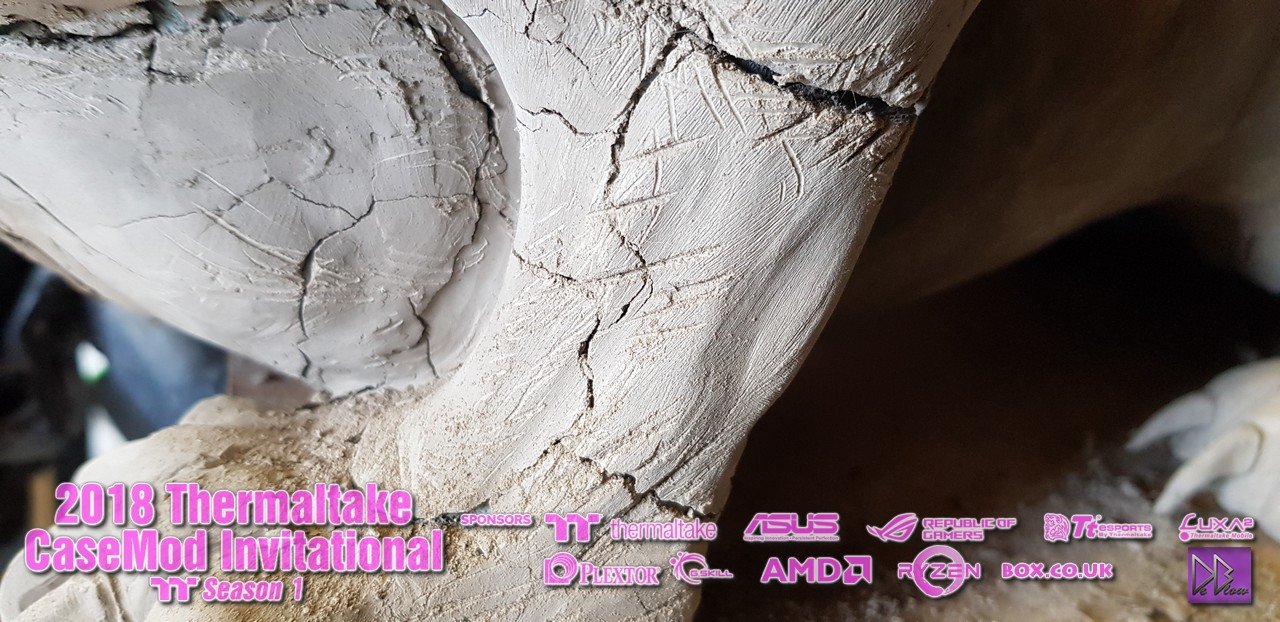
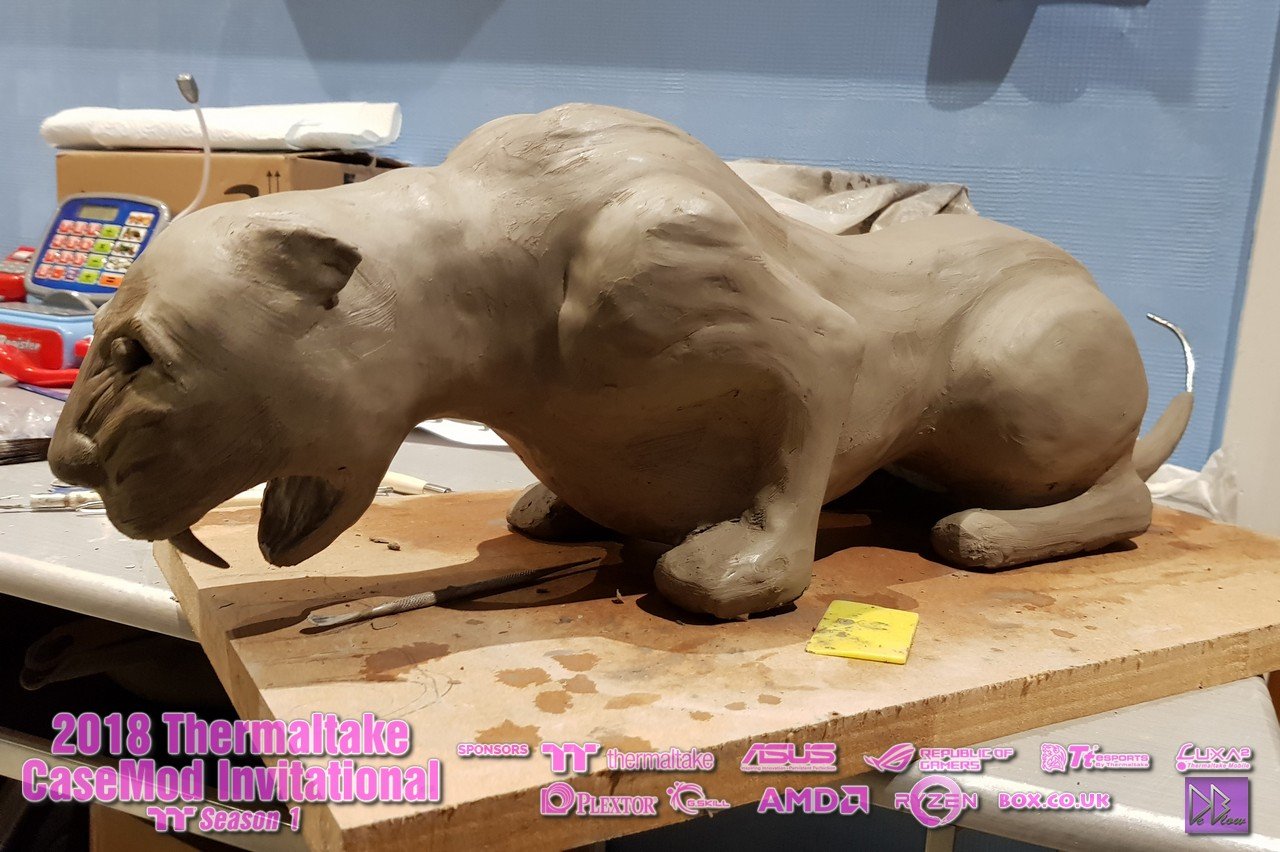
It's cracking me up!
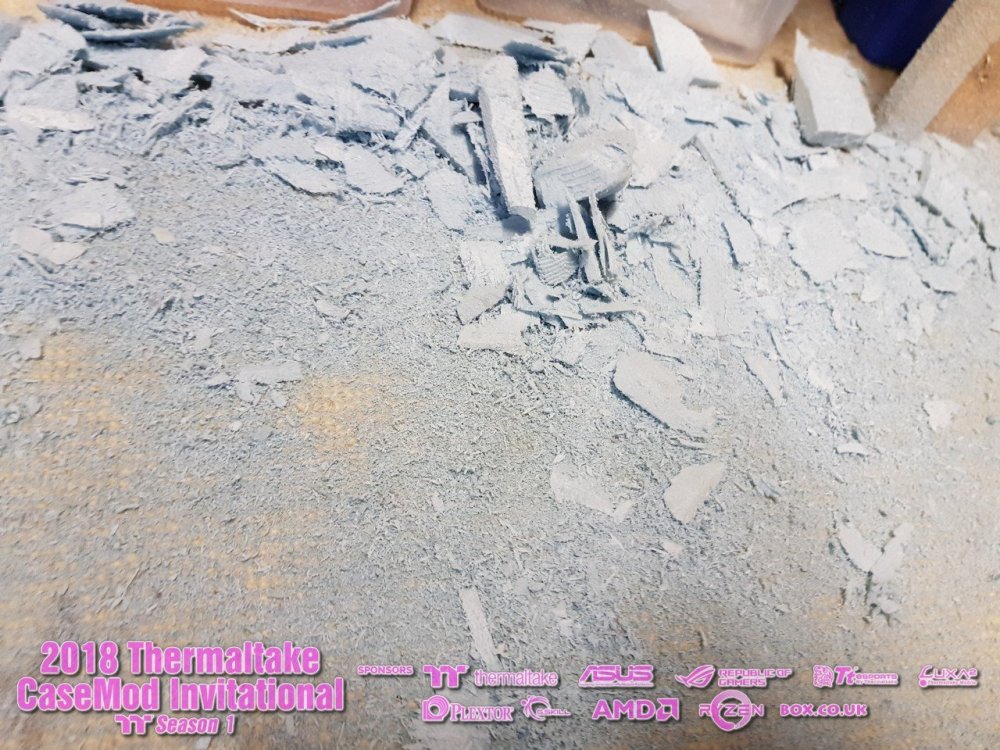
It's been very hard keeping the panther from cracking, the weather hasn't helped here in the UK.
I'm almost done filling cracks and replacing damaged parts due to the fast cracking caused by the heat and thin air-dry clay.
I wasn't going to show all the bad parts but its important for people who might want to attempt something with clay to see what can and most likely
will happen.
air-dry clay shrinks a lot, the speed of the shrink will also effect the amount of cracking, hence the hot weather problem.
Its almost back to how it looked when I first started to let it dry and iv'e now completed the claws, even harder than the teeth and I've broken them plenty of times
the first coat after its %100 dry will be to protect the teeth and claws.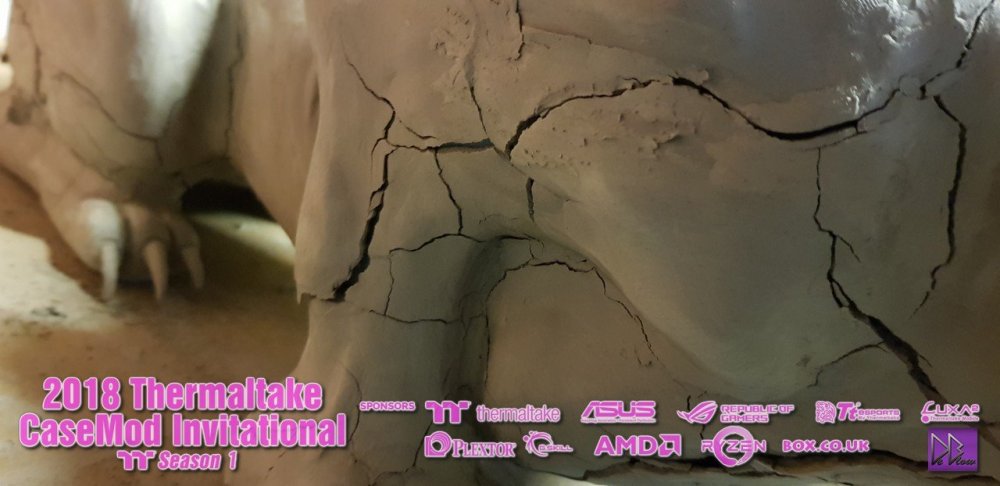


-
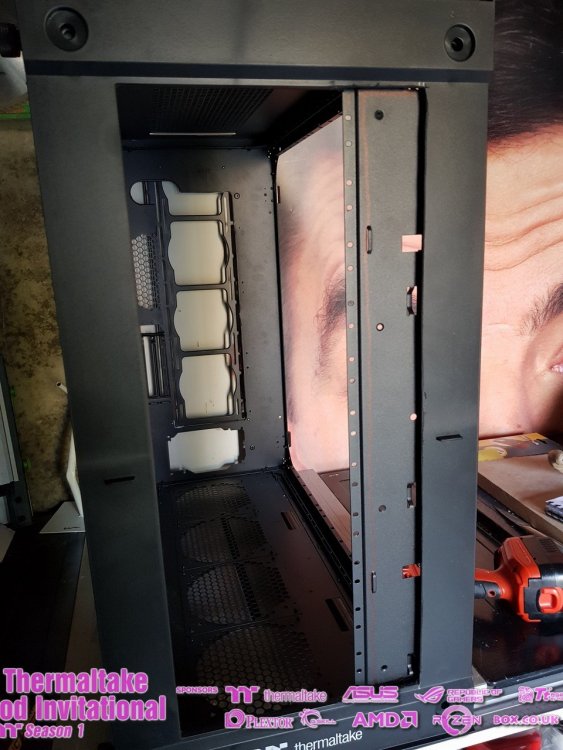
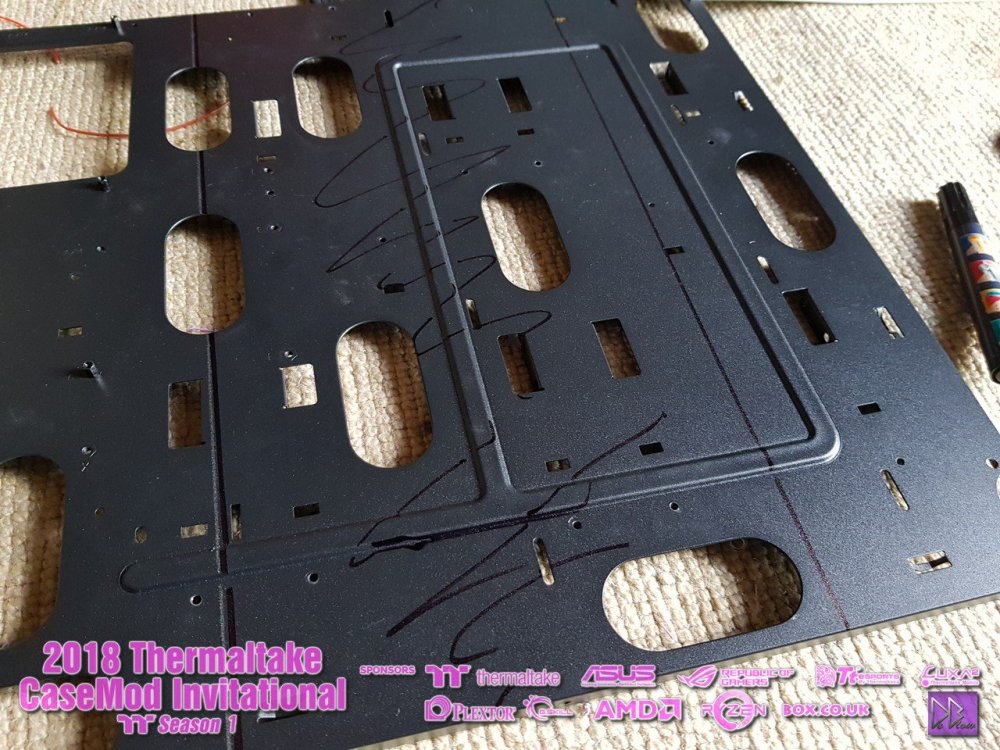
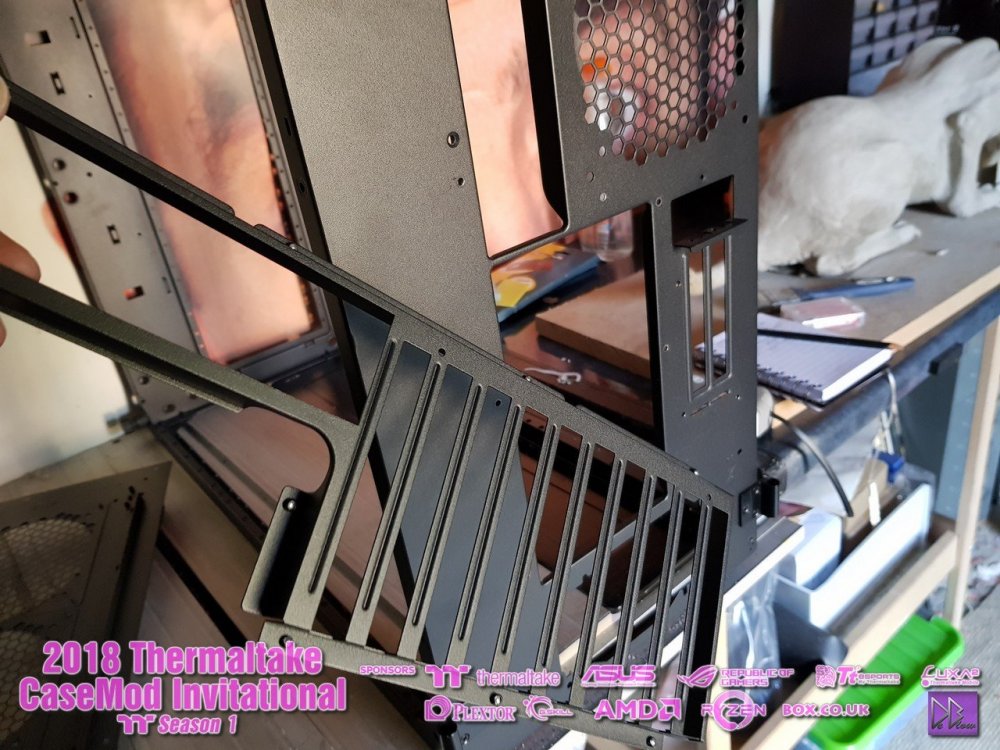
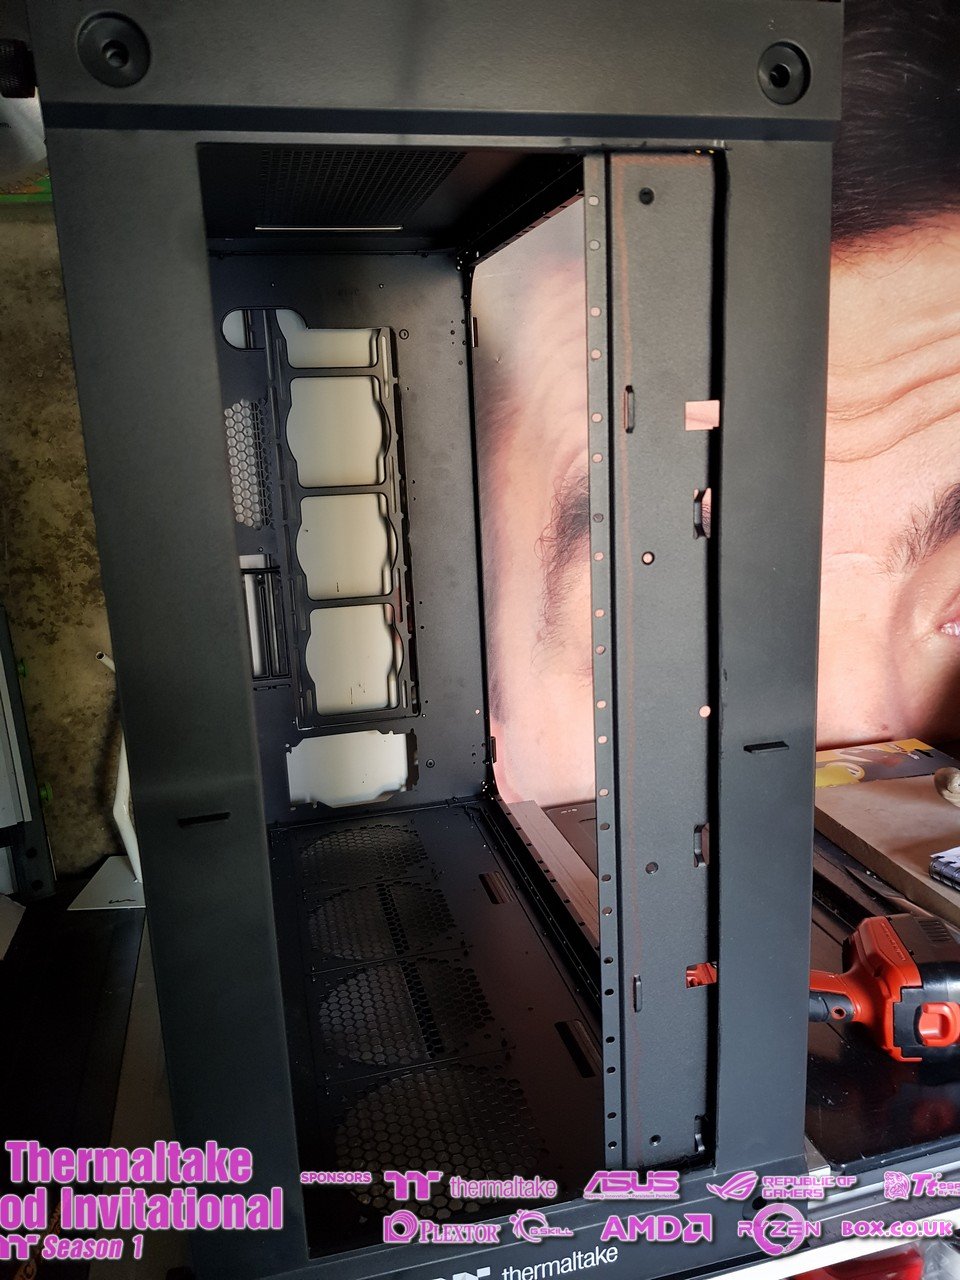
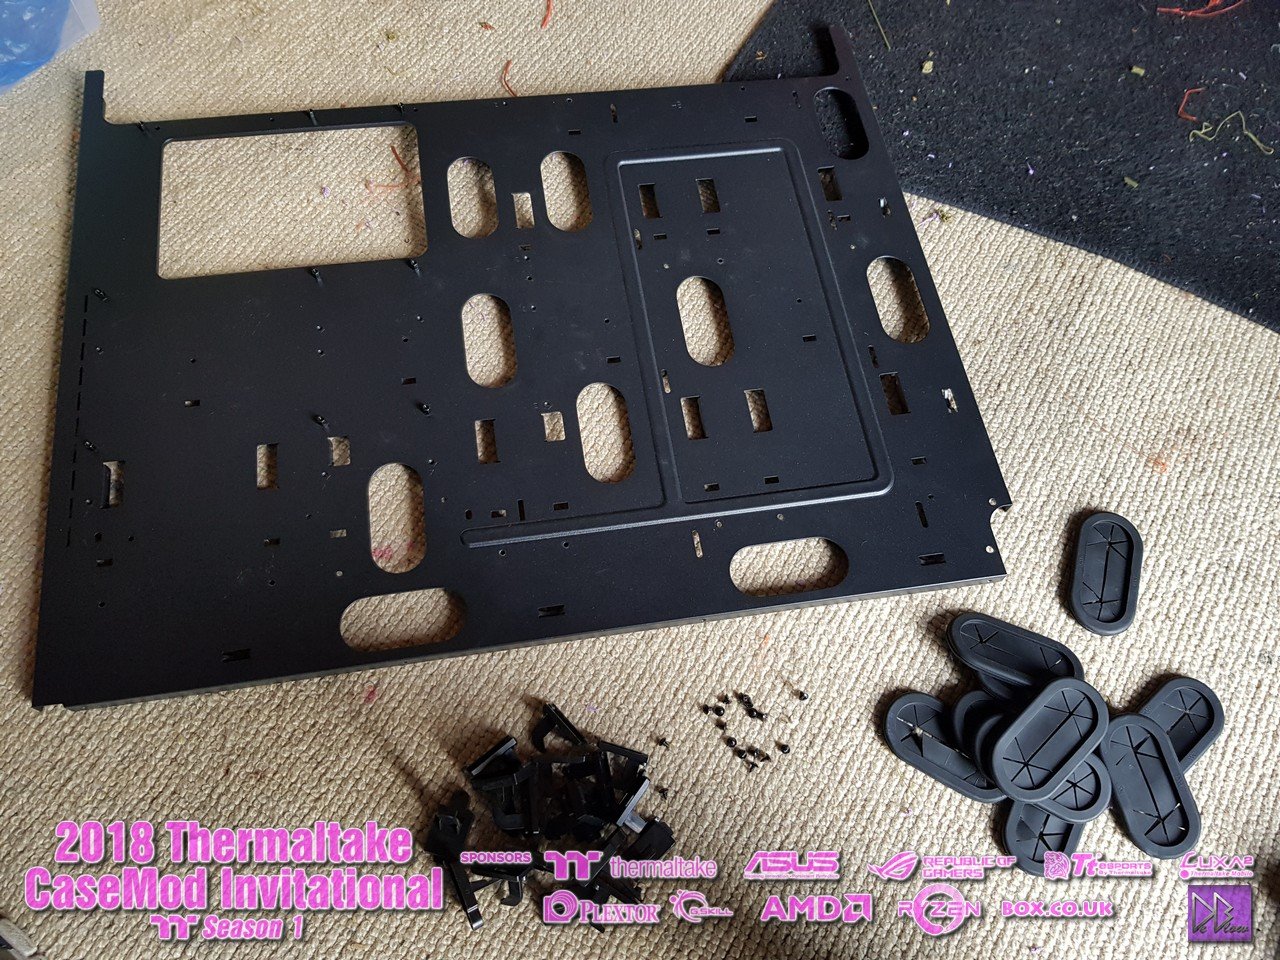
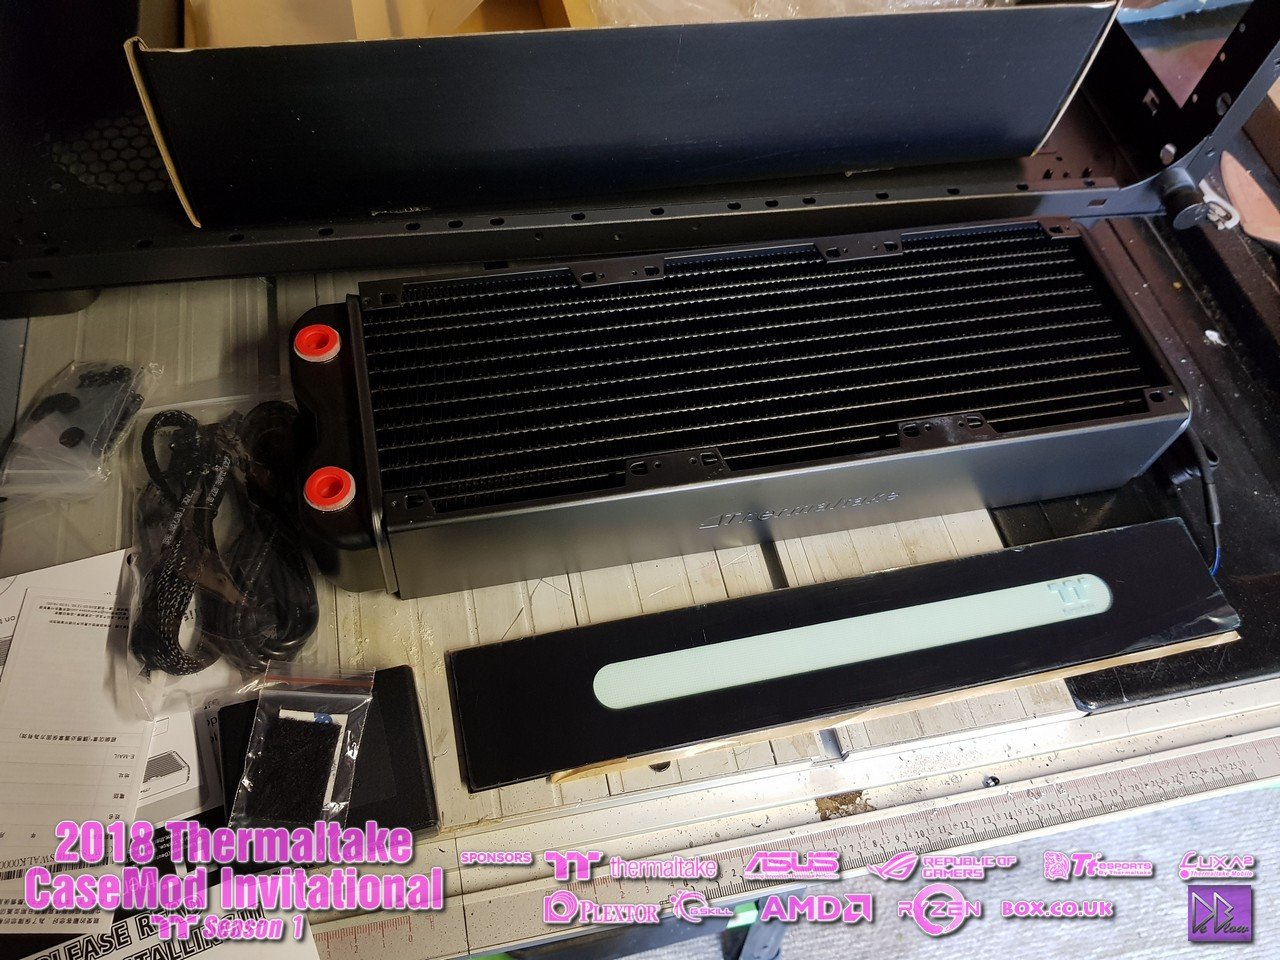
Again like with the RADs, going to be reusing as much of the original case and parts as possible.
I moved the RAD to the back of the case because I want to use the top and bottom for other parts.
The MB will be central, most likely angled but I might change my mind once the components arrive and I get to see them in place,
This is the main reason I wanted to move one of the RADs to the back of the case in place of the original slots used for the PCIE and other ports on the MB.Wont be needing the full tray so I removed around %30, all guess work atm until the MB arrives.


-
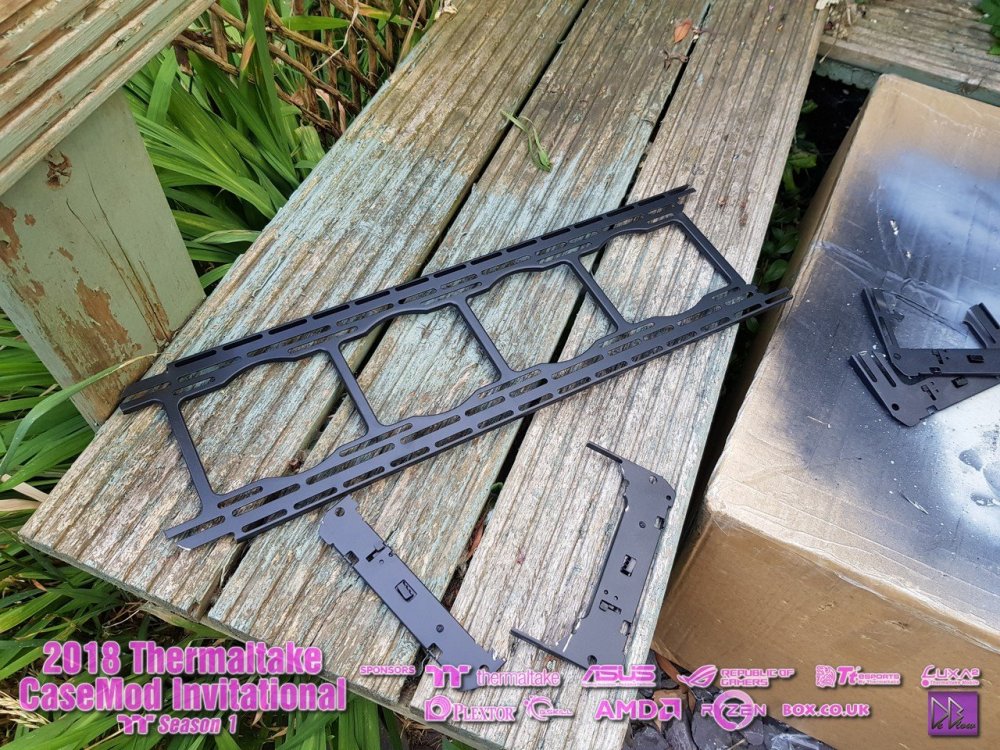
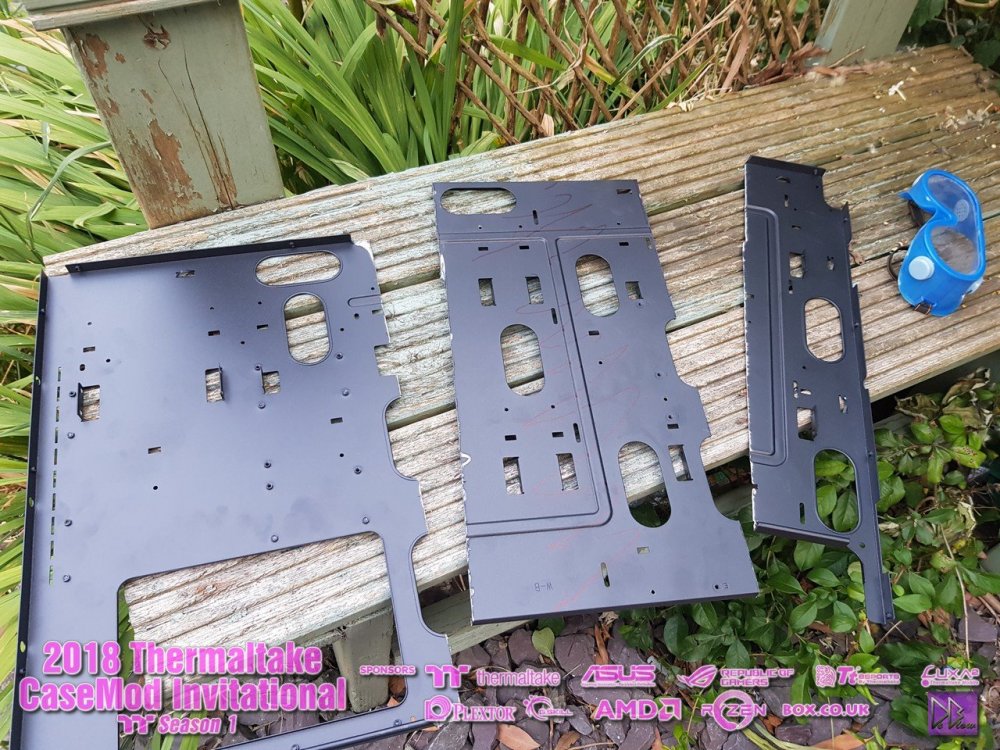
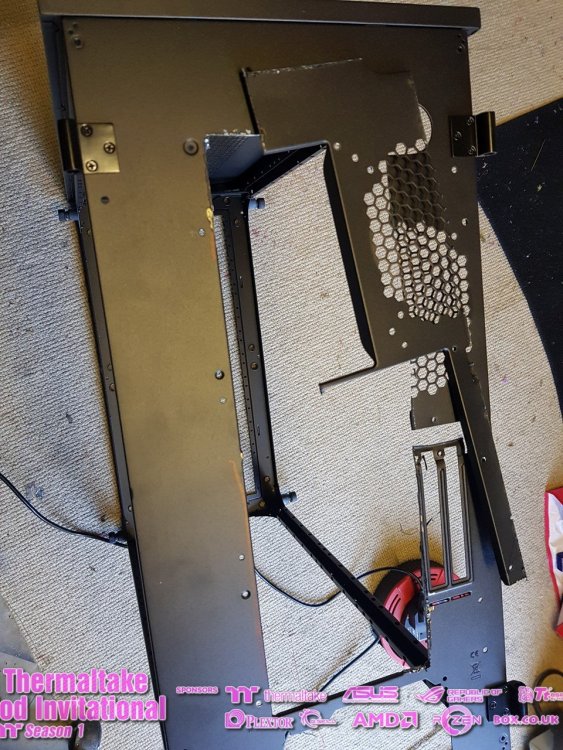
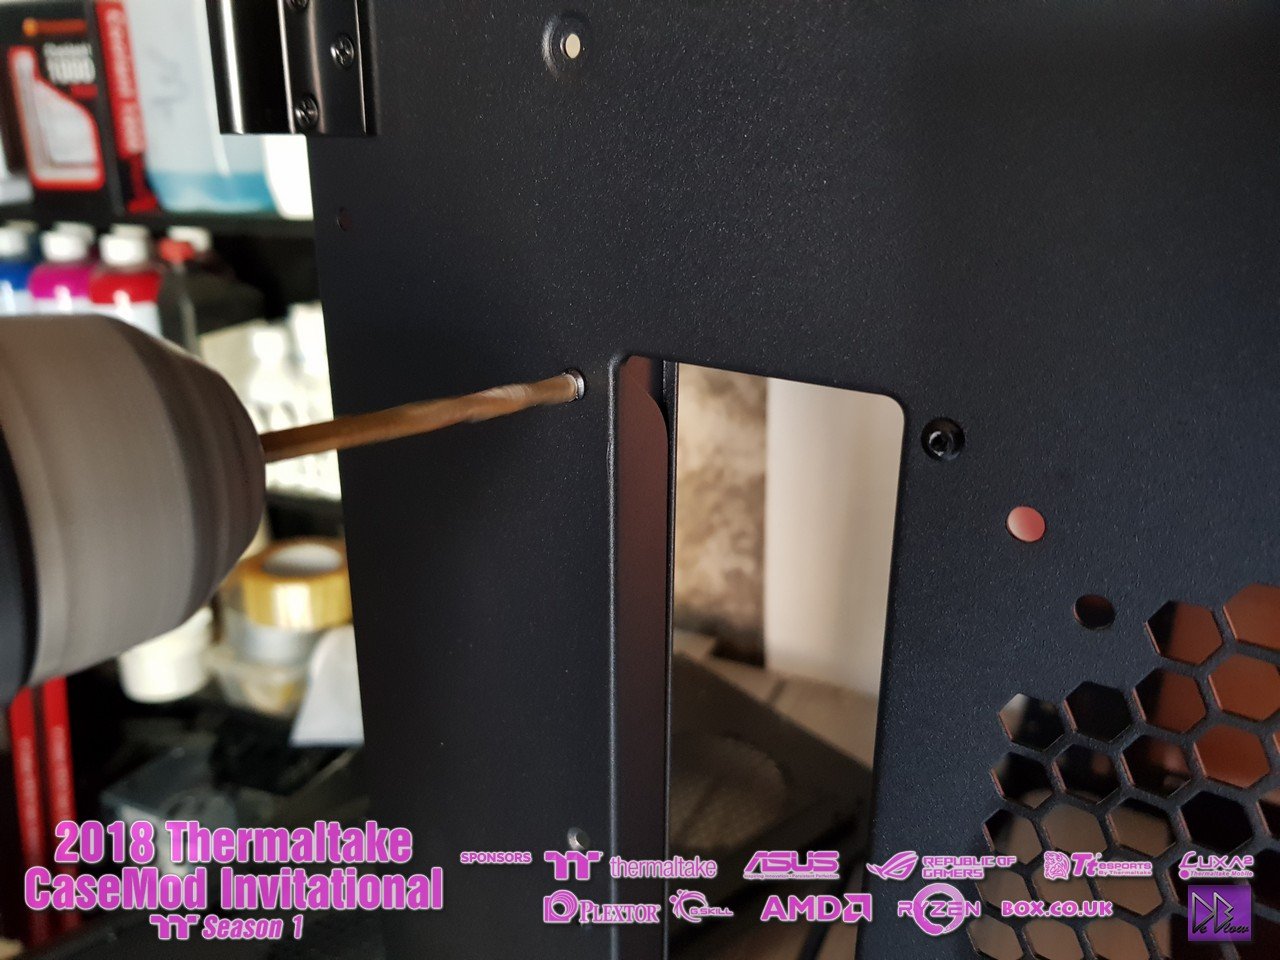
decided to place one RAD at the back and when the other RAD arrives it will be going at the front.
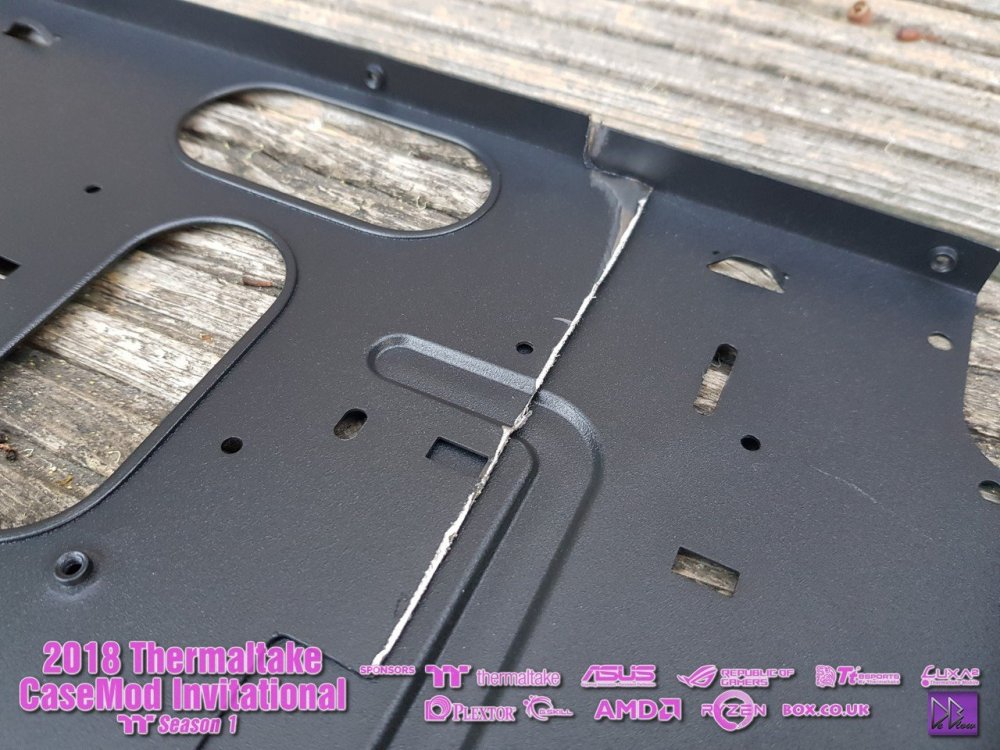
Removed everything that was just screws in place and cut the other parts as needed, then reused the RAD holders that was originally on the side of the case.
This is going at the back, have a 480 coming for the front of the case.


-
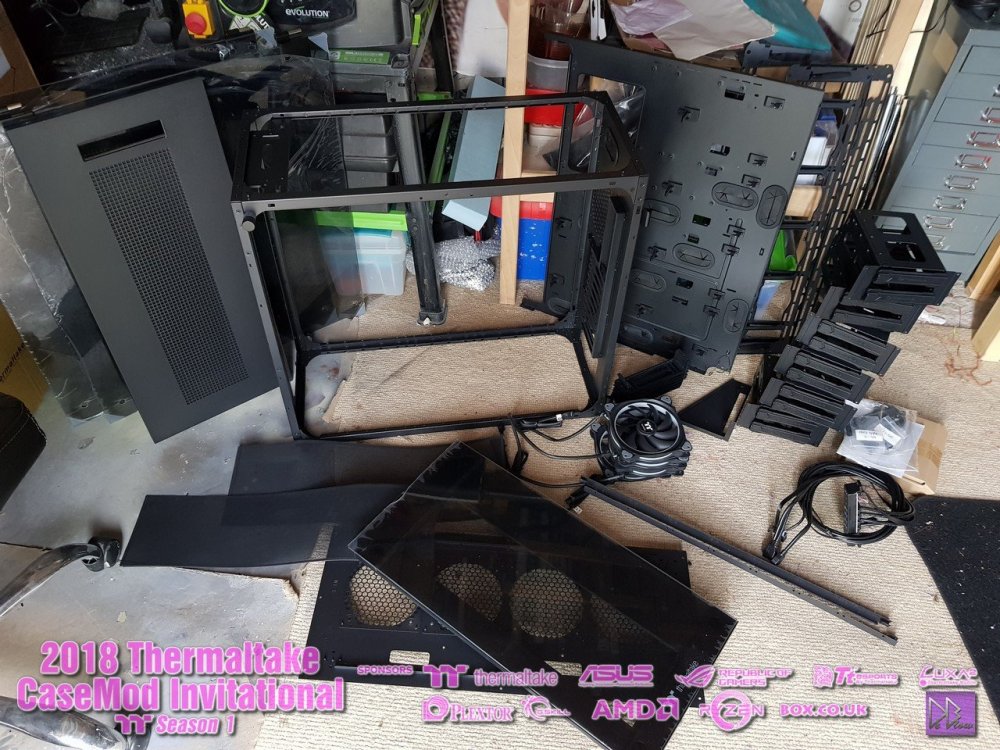
Bunched a couple of photos together for this post, saved on the bandwidth and should help your scroll wheel last a bit longer
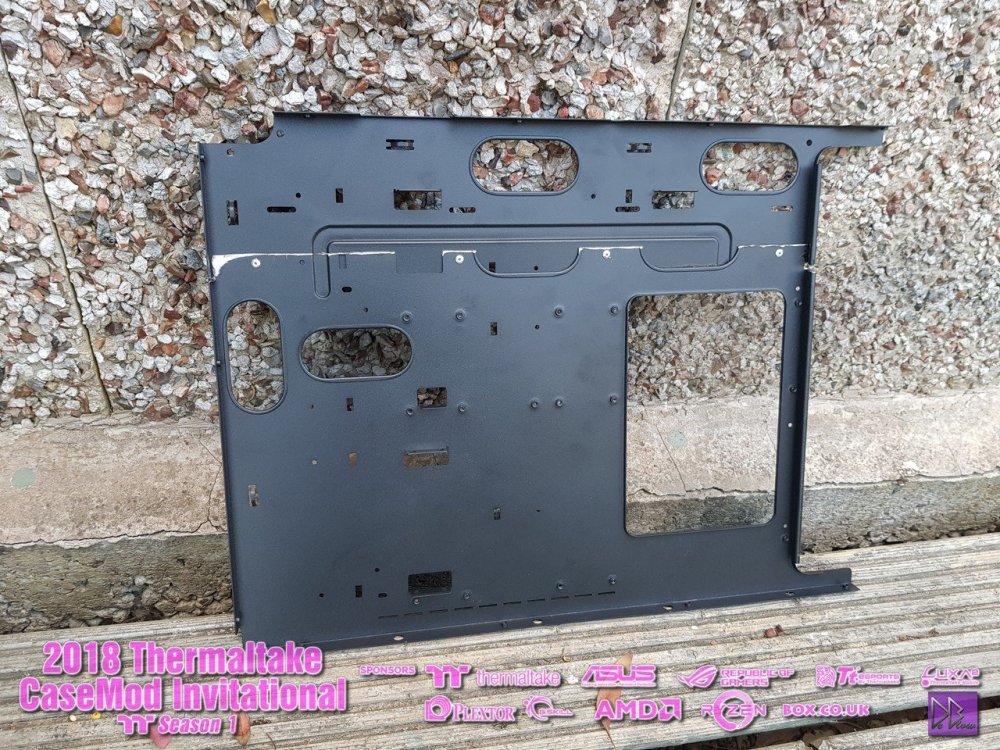
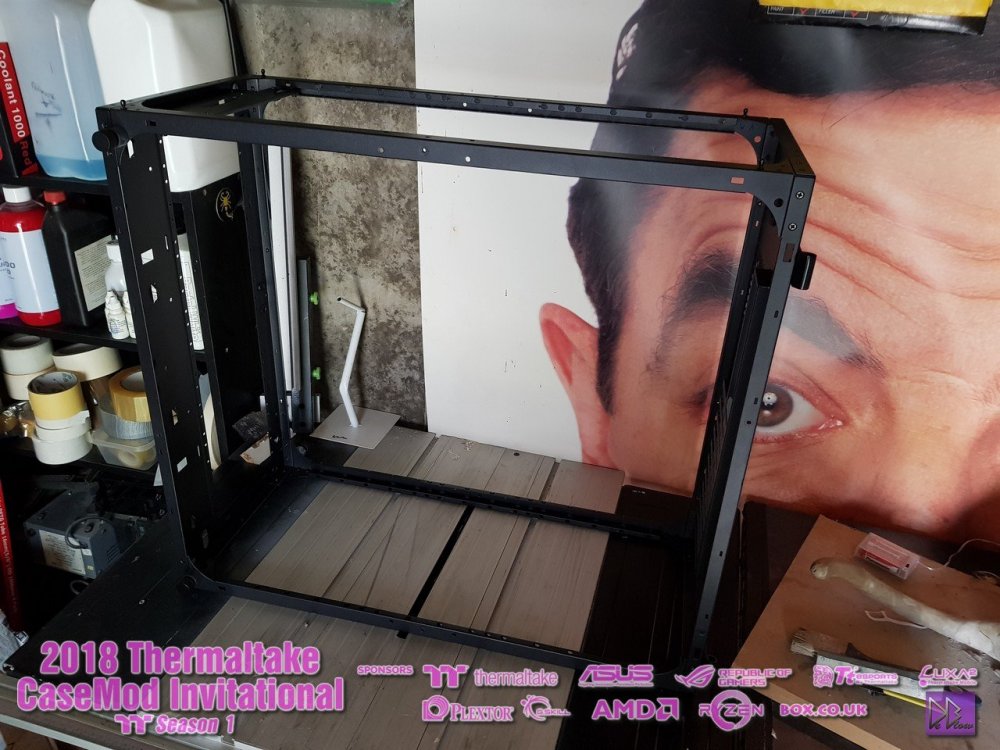
Took the case apart, not too hard and I have to say, it's a very very strong frame.
Its massive! easily the biggest case iv'e ever used personally.
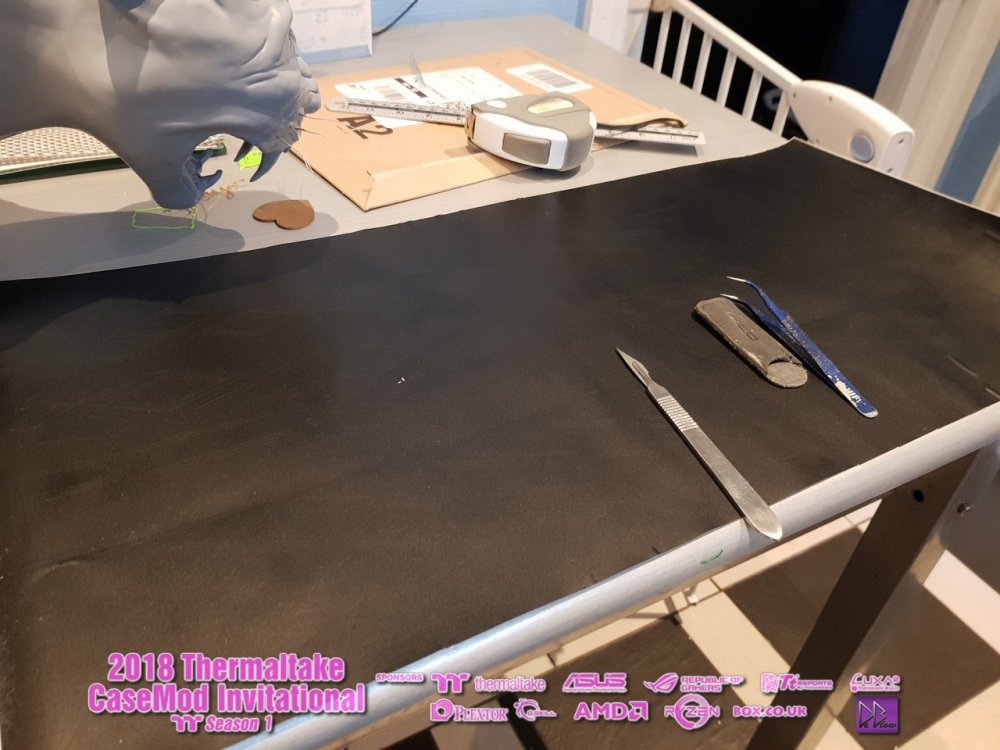
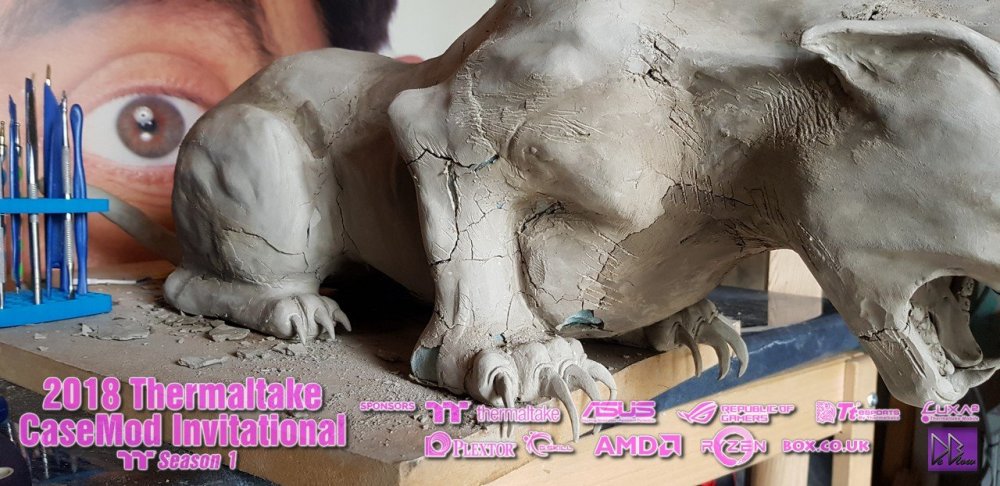
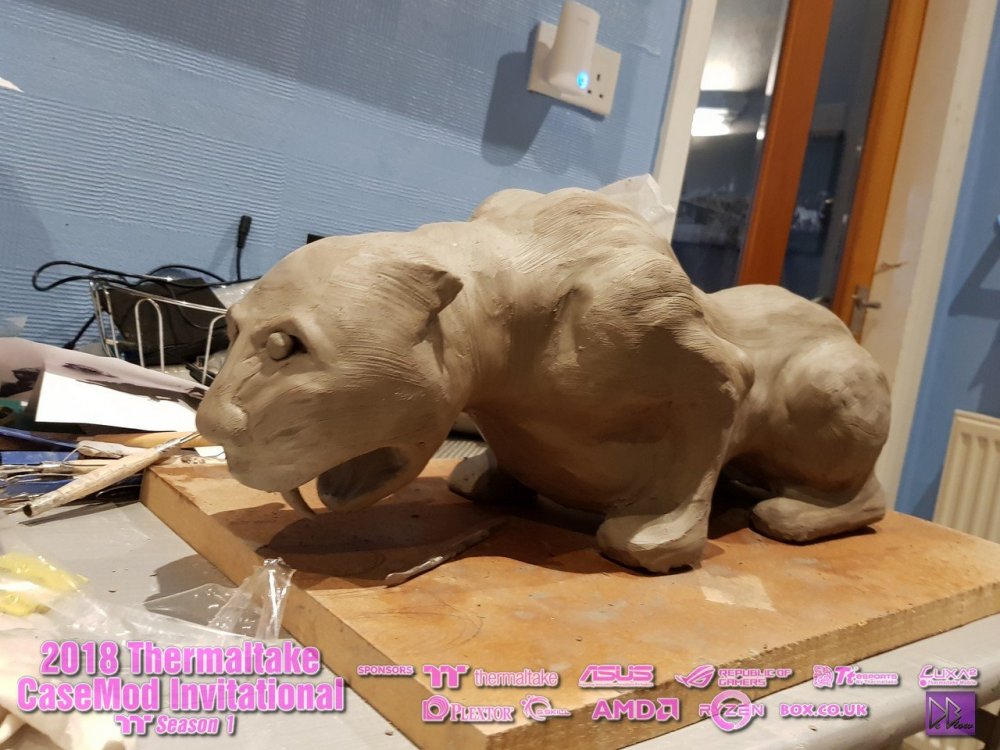
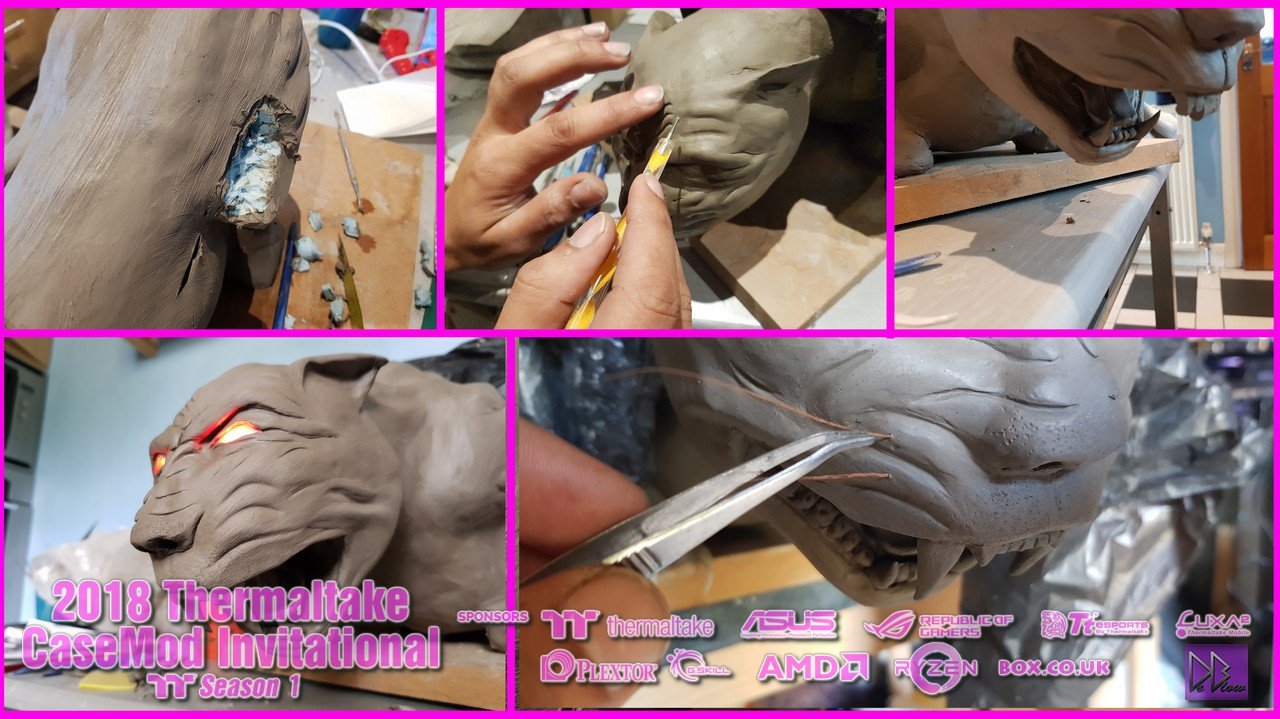
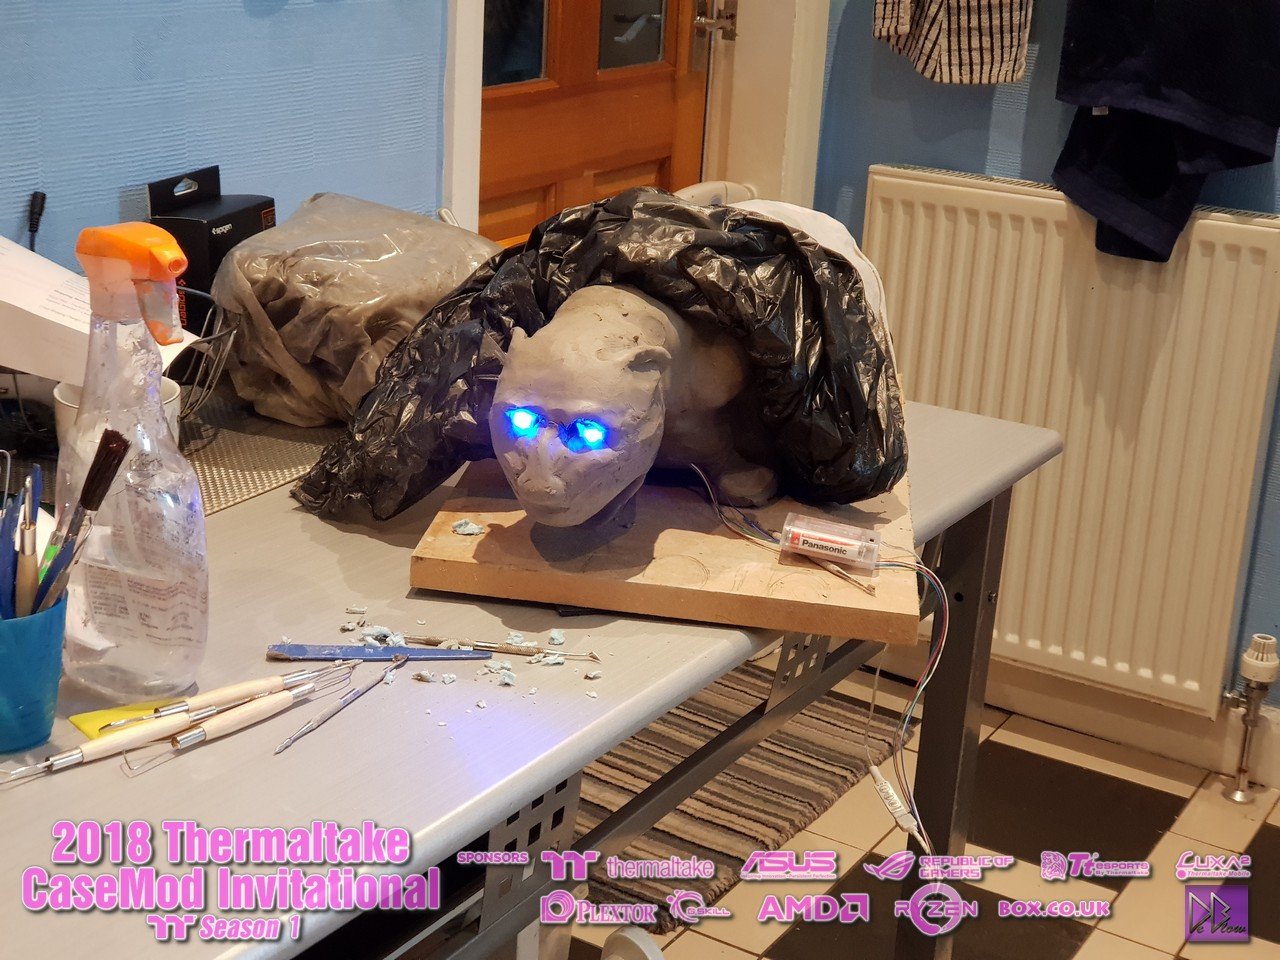
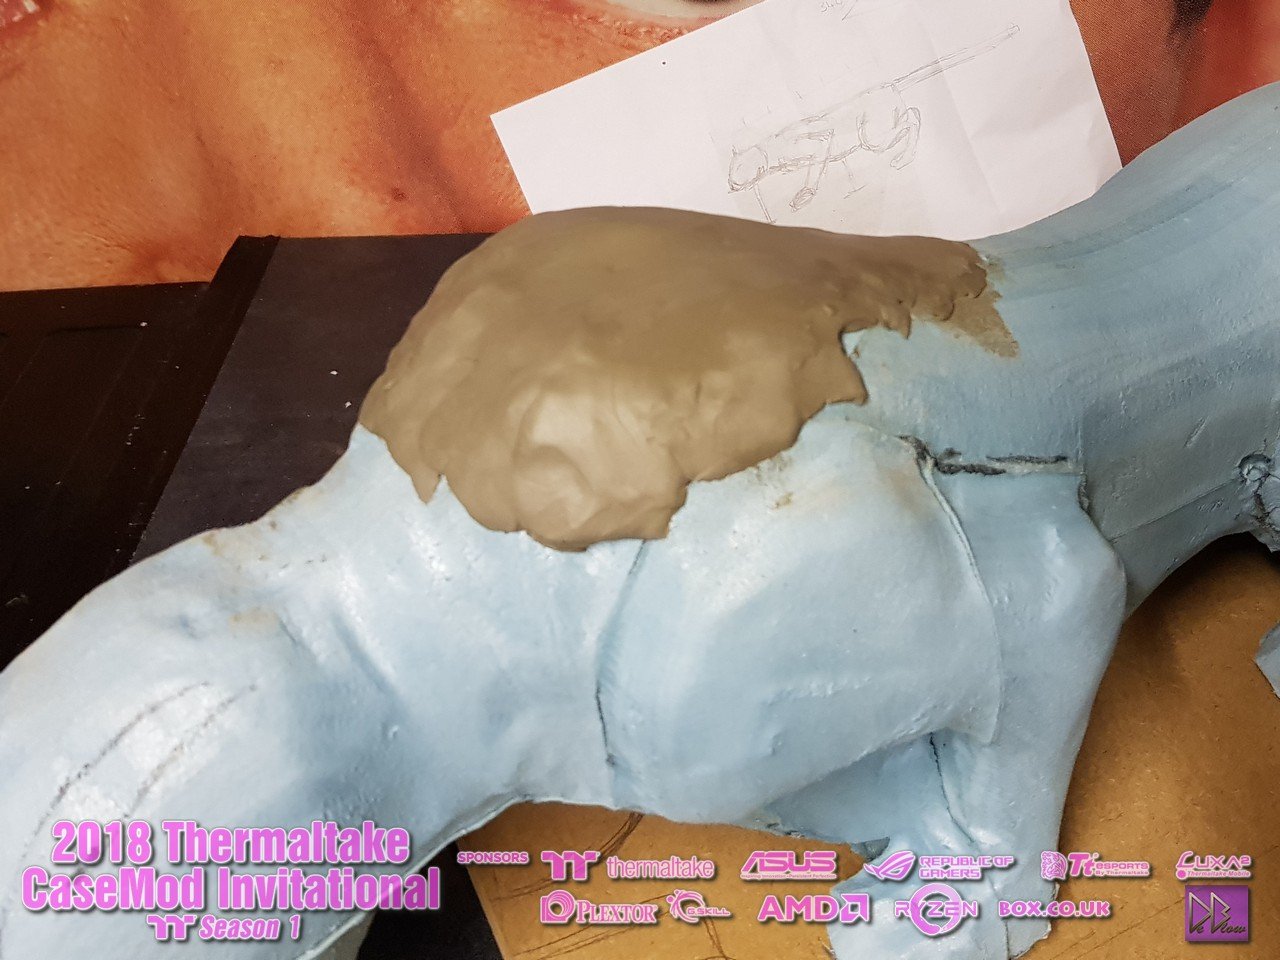
Now for the panther, several places needed the polystyrene removing as it was poking though the clay, so i did some surgery on mainly the legs and shoulders.
moved on to the face next, adding some detail, the detail will be over the top as when I come to sand and paint the thing some of the detail will be lost im guessing.
some of you will know I love to re-use old things, so I had a old brush, well not that old but it didn't last long before the handle broke.
so i cut some of the bristles of to use as whiskers, wife on hand to capture the moment on film.
The teeth was tricky, proper felt like a dentist. the fangs was the hardest to make then stick and hold in place due to the work space around the mouth.
-
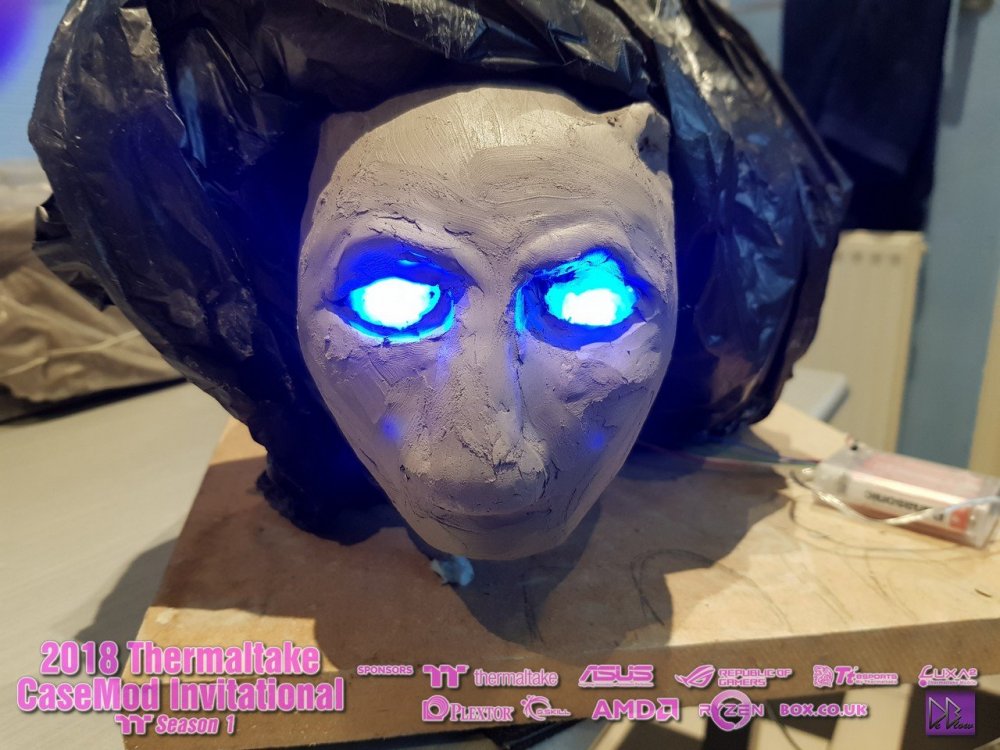
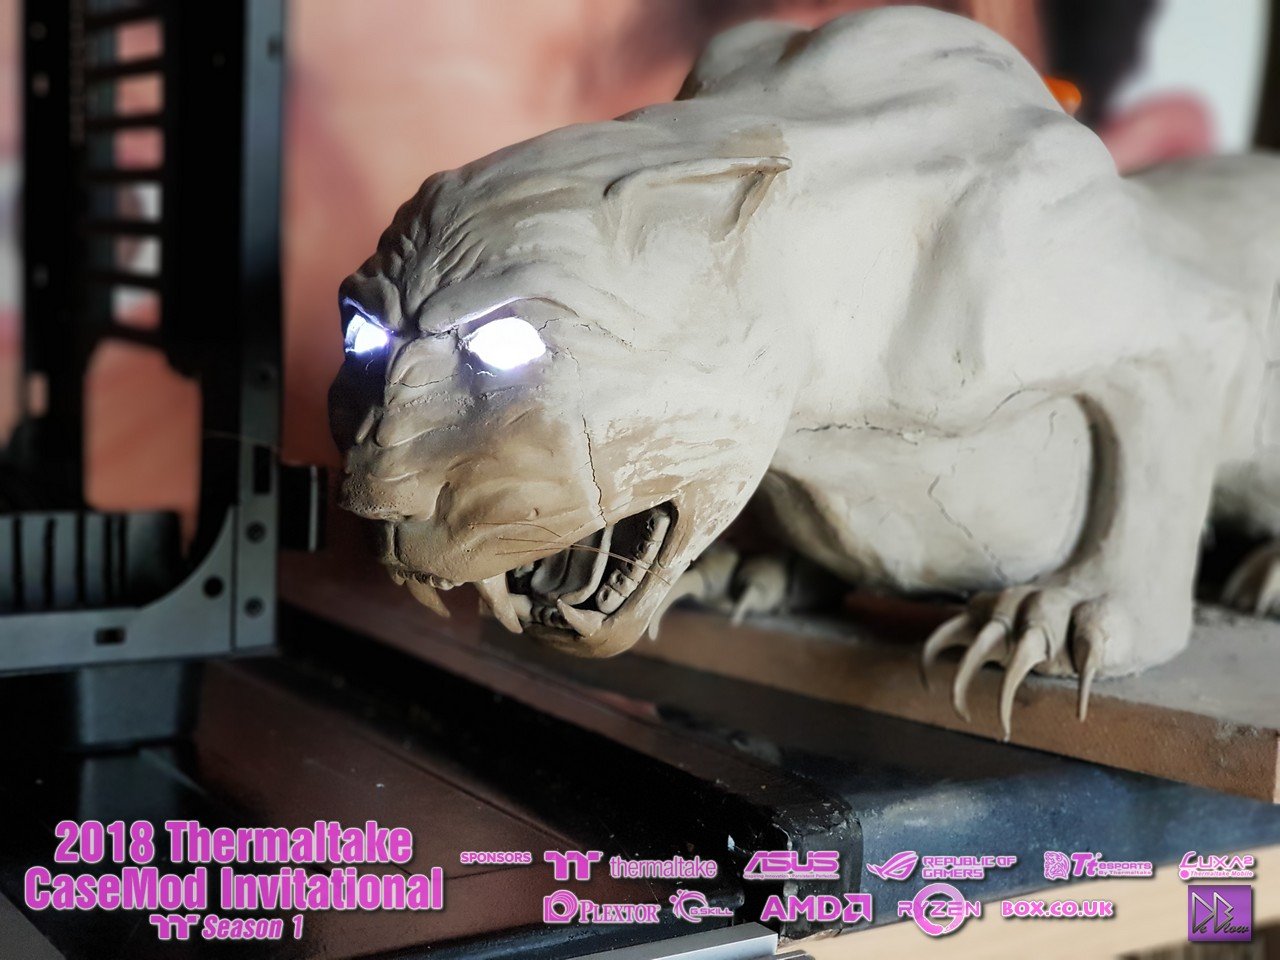
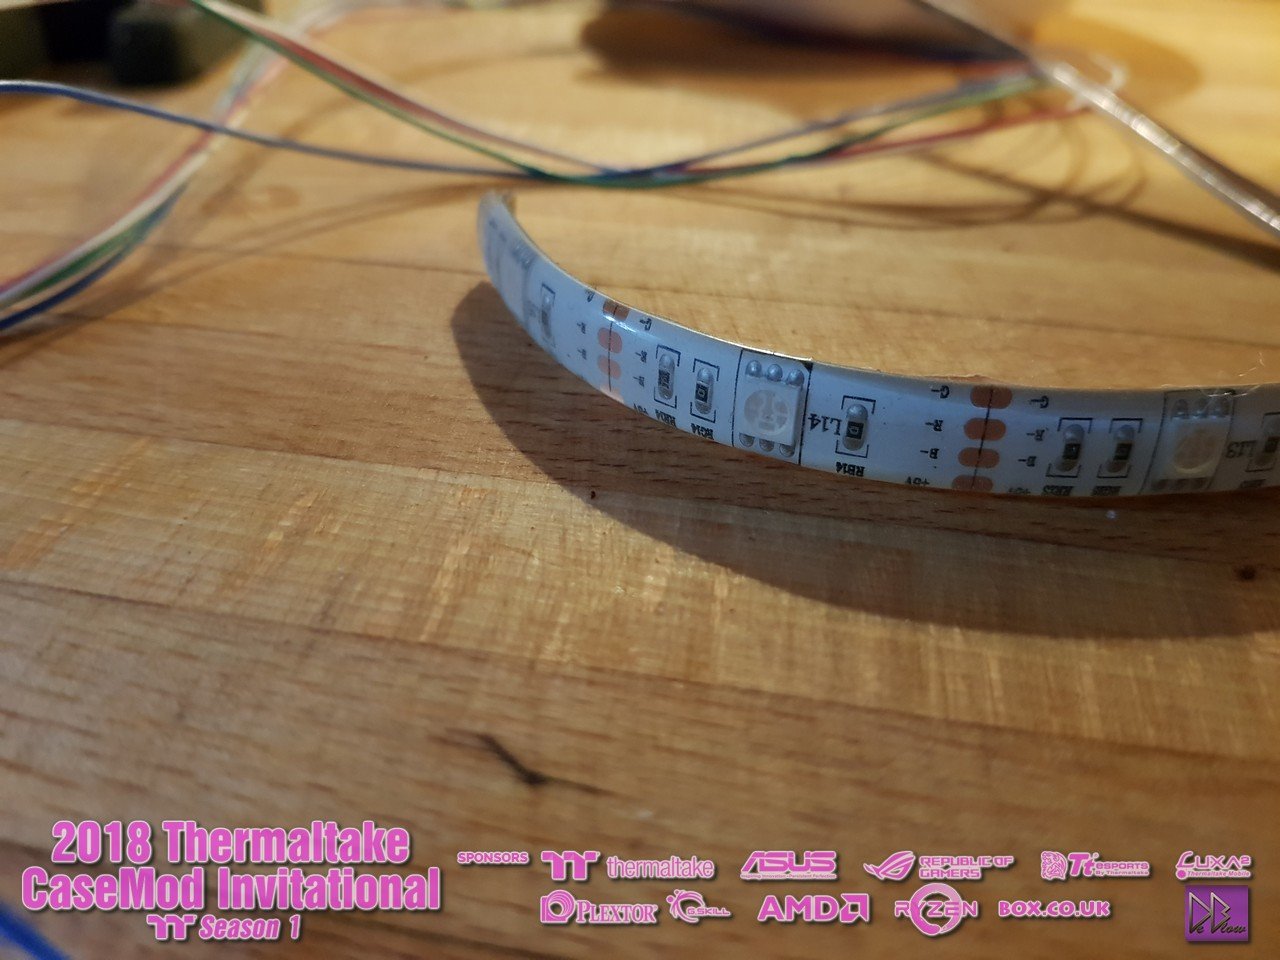
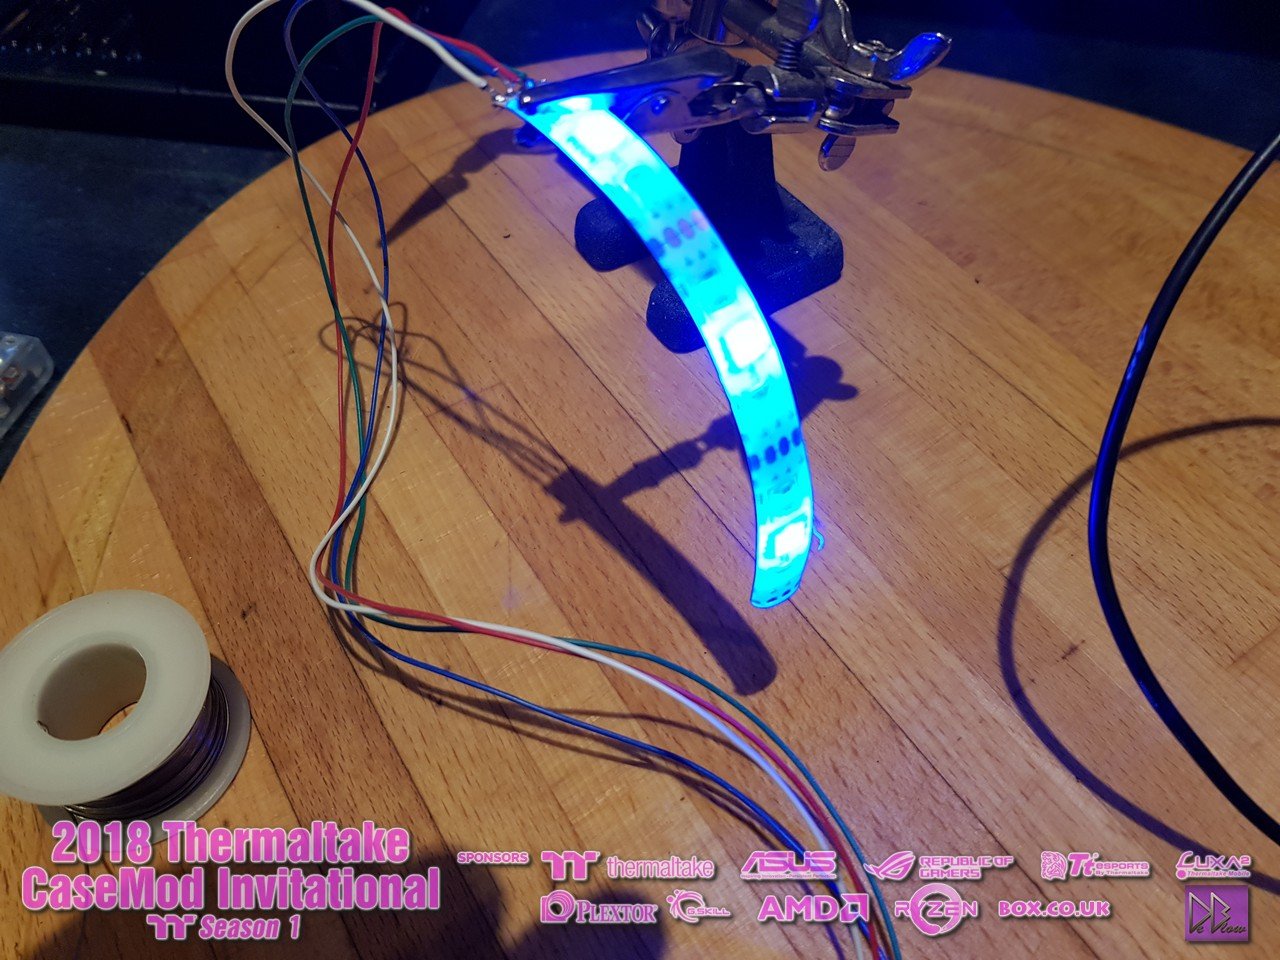
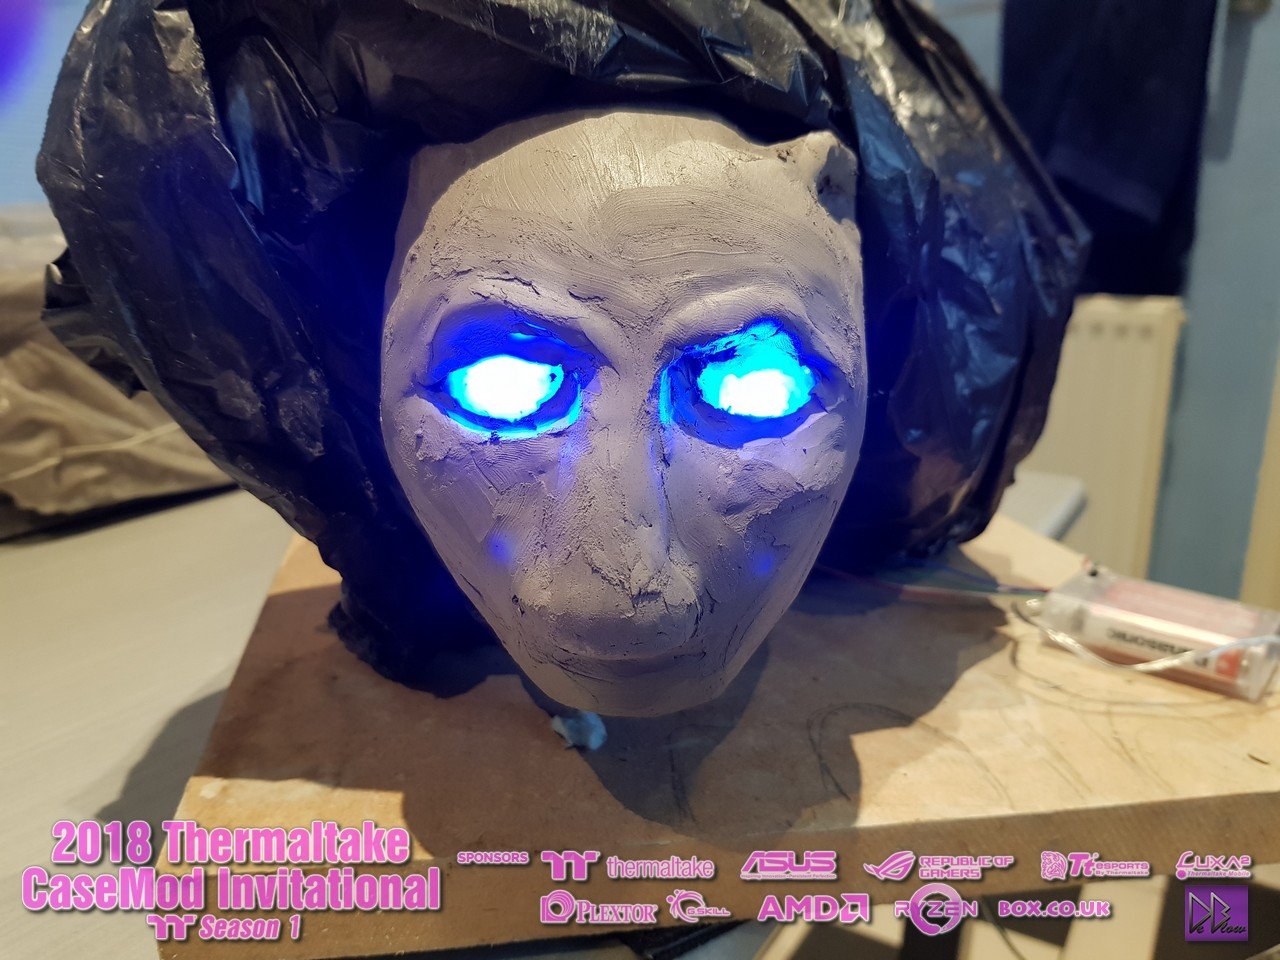
For the eyes im going with RGB, why not

although I will have the full range if colours to pick from when completed, I will be using white or purple most likely.


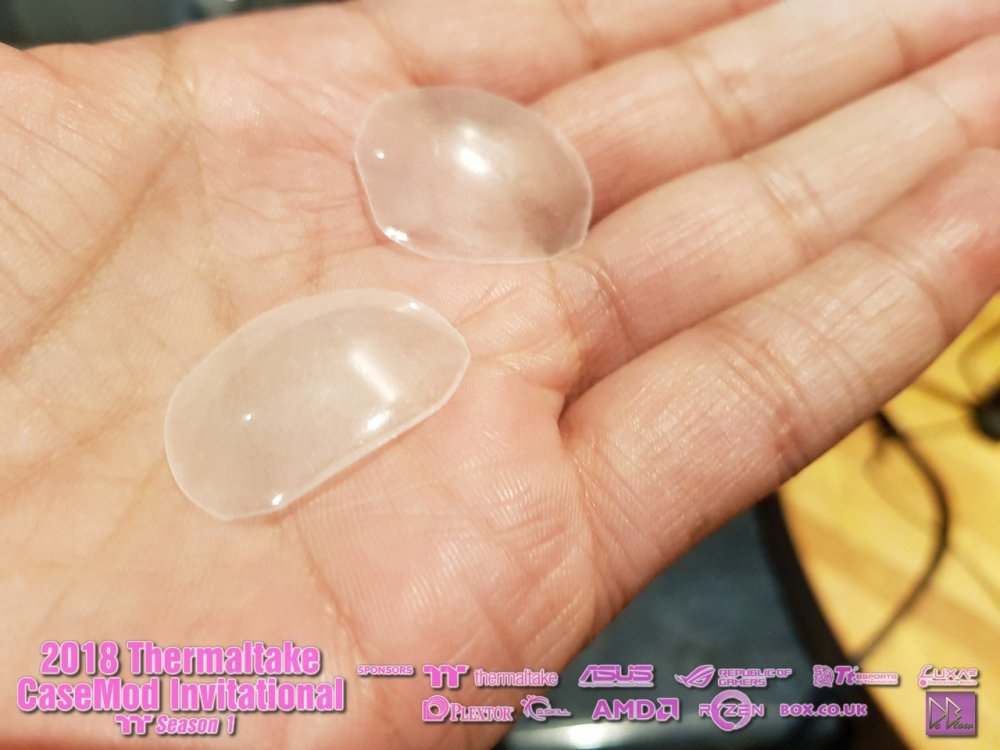
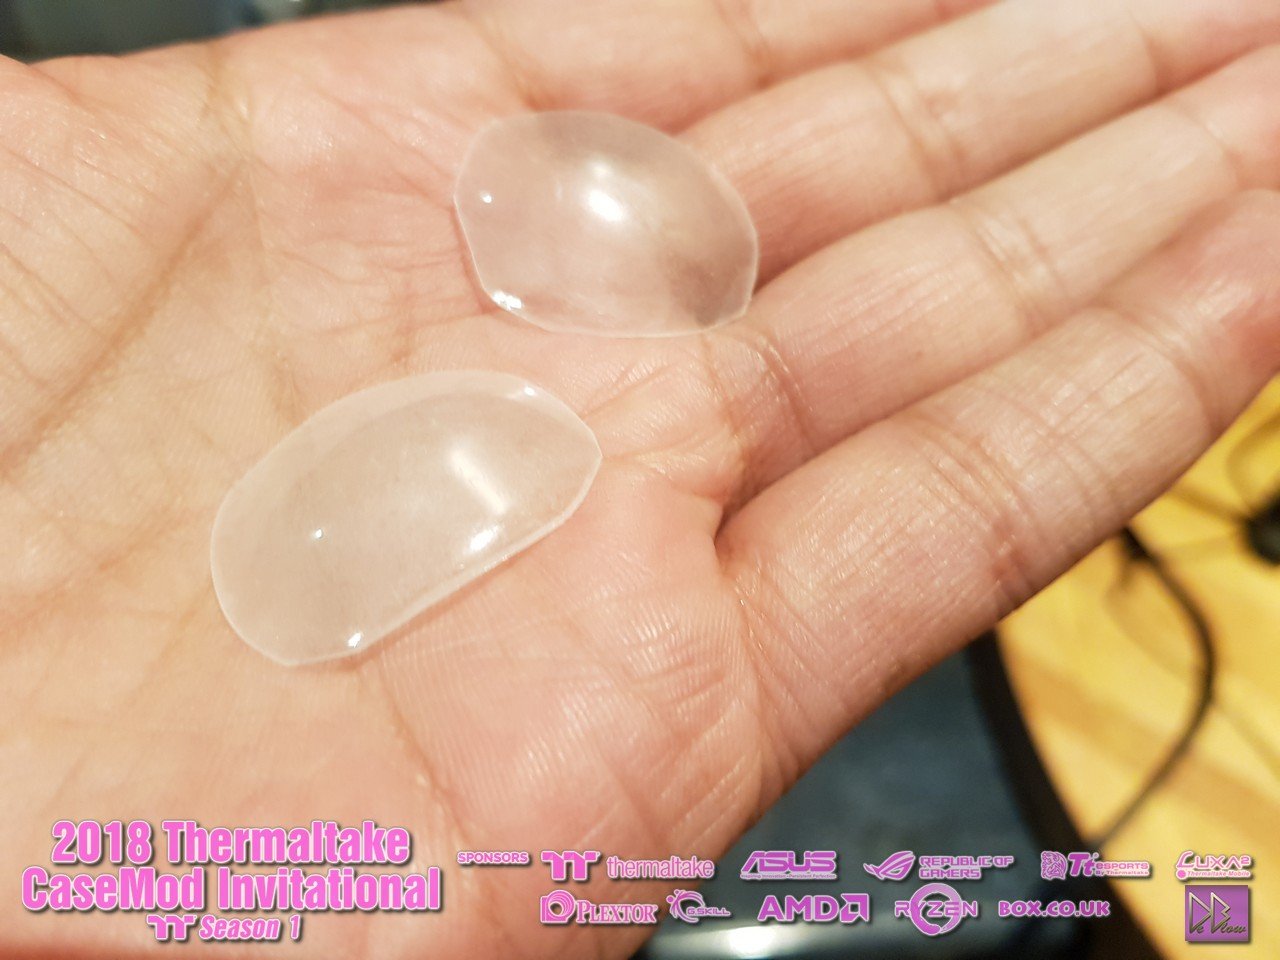
had to redo the face after adding the lighting, but one thing was still missing, needed to cover the leds with something that would hide the led its self but allow some light.
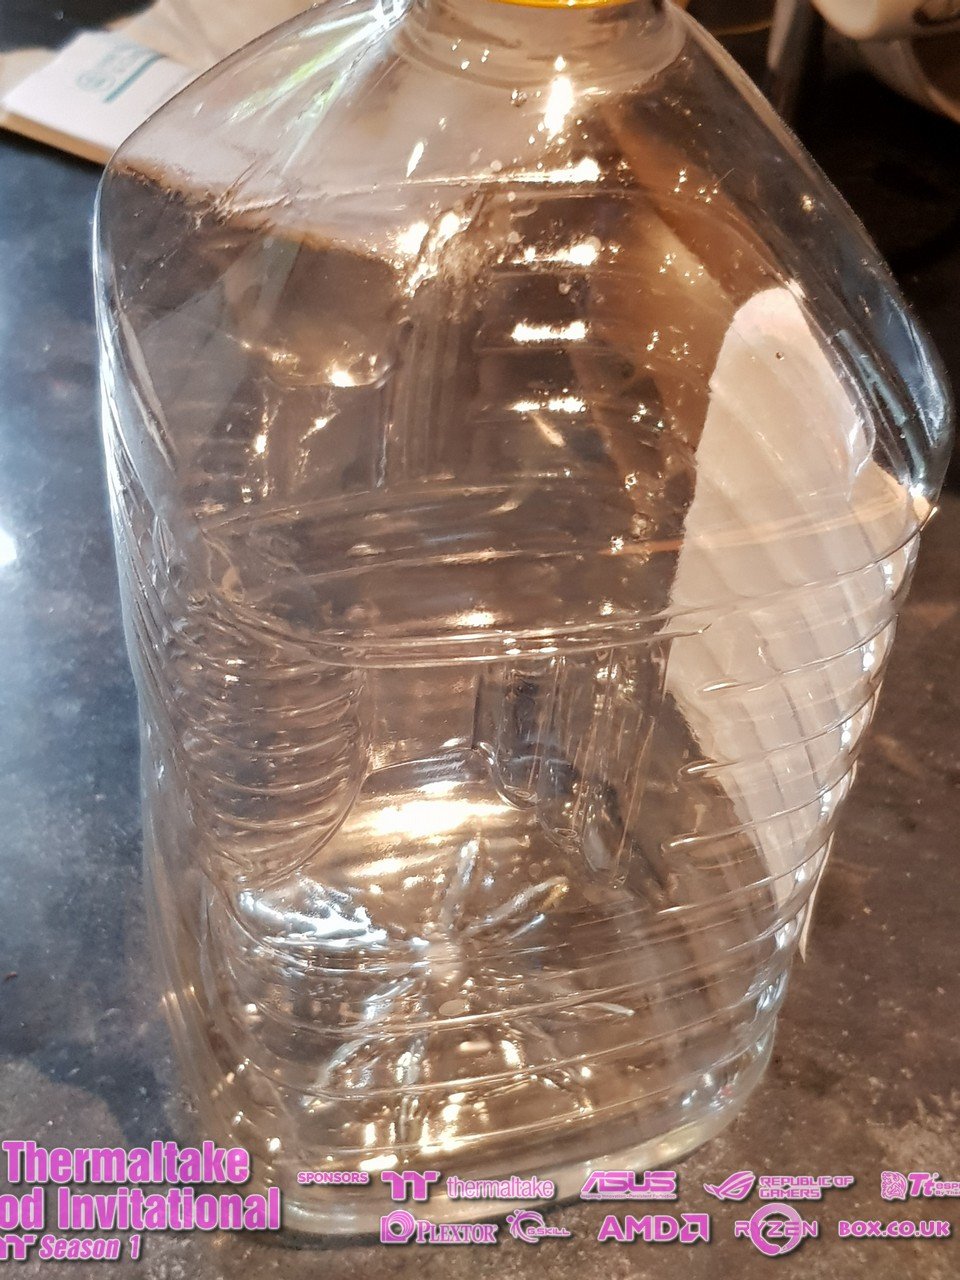
so after a look around the kitchen, i decided to cut up my wife's cooking oil container
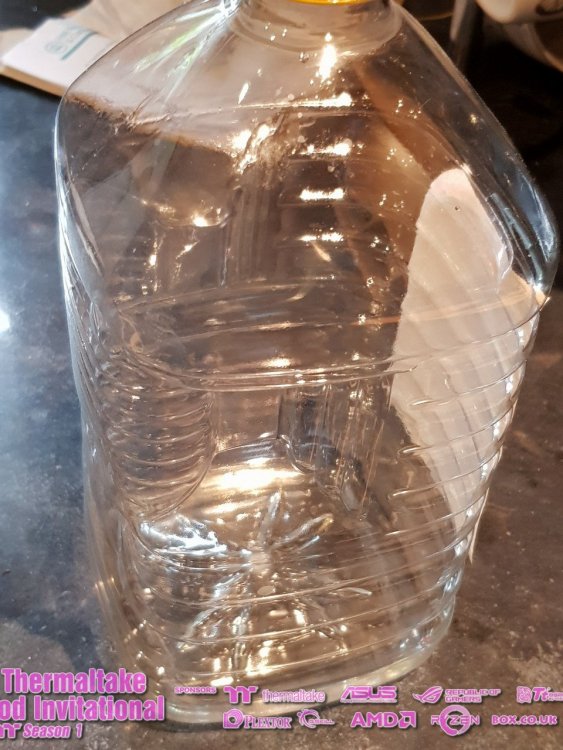
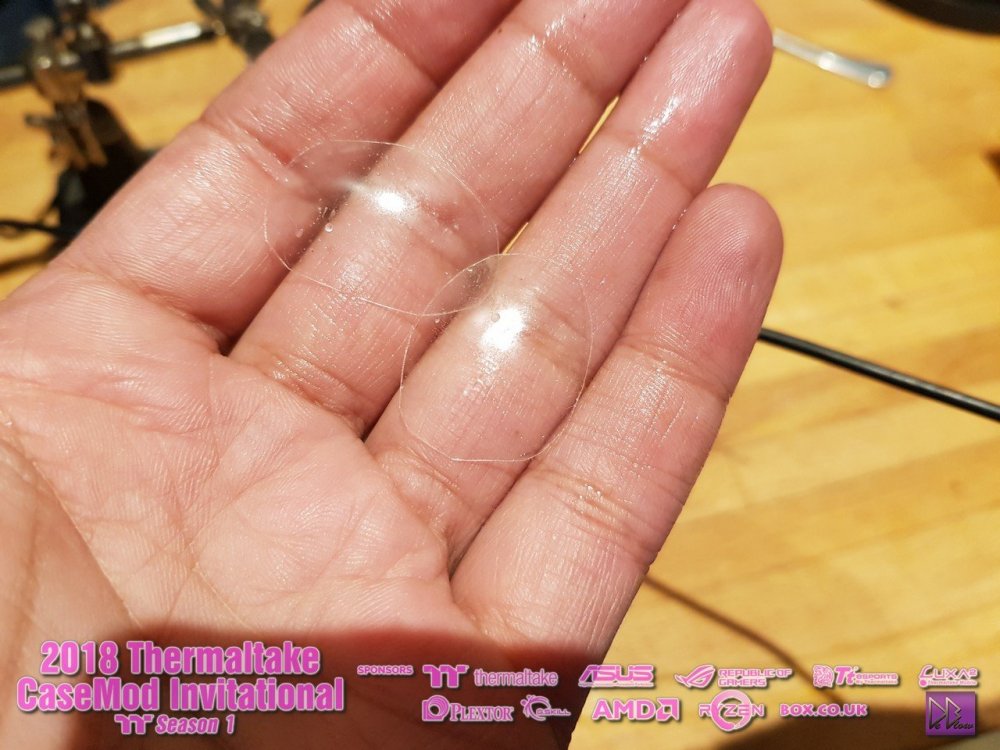
had to give them a sanding to reduce the clarity a bit.
That's it for this update, I will add some more soon, I have started to rip the case apart and plan a layout (in my head)
still waiting on some parts that I need before I can fully get to work on the inside, so for now i will be sticking with the clay and other parts that can be done
while I wait.
-
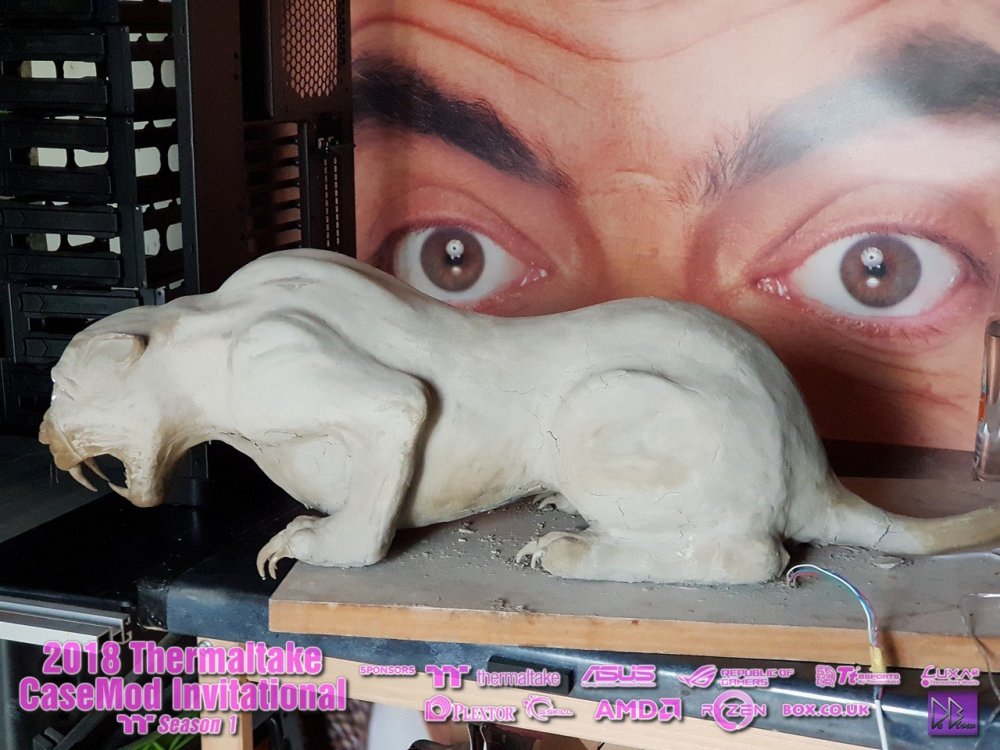
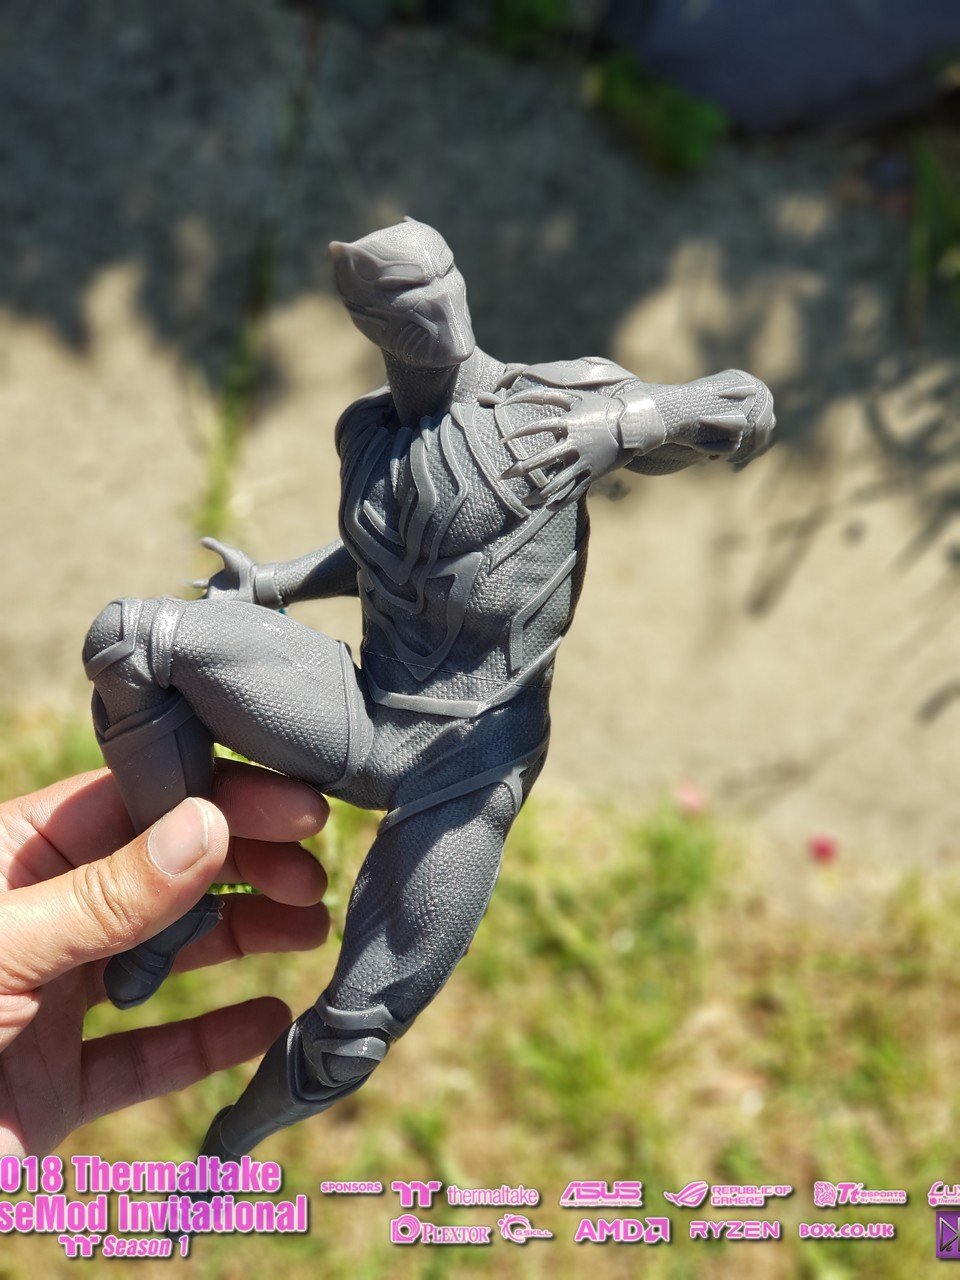
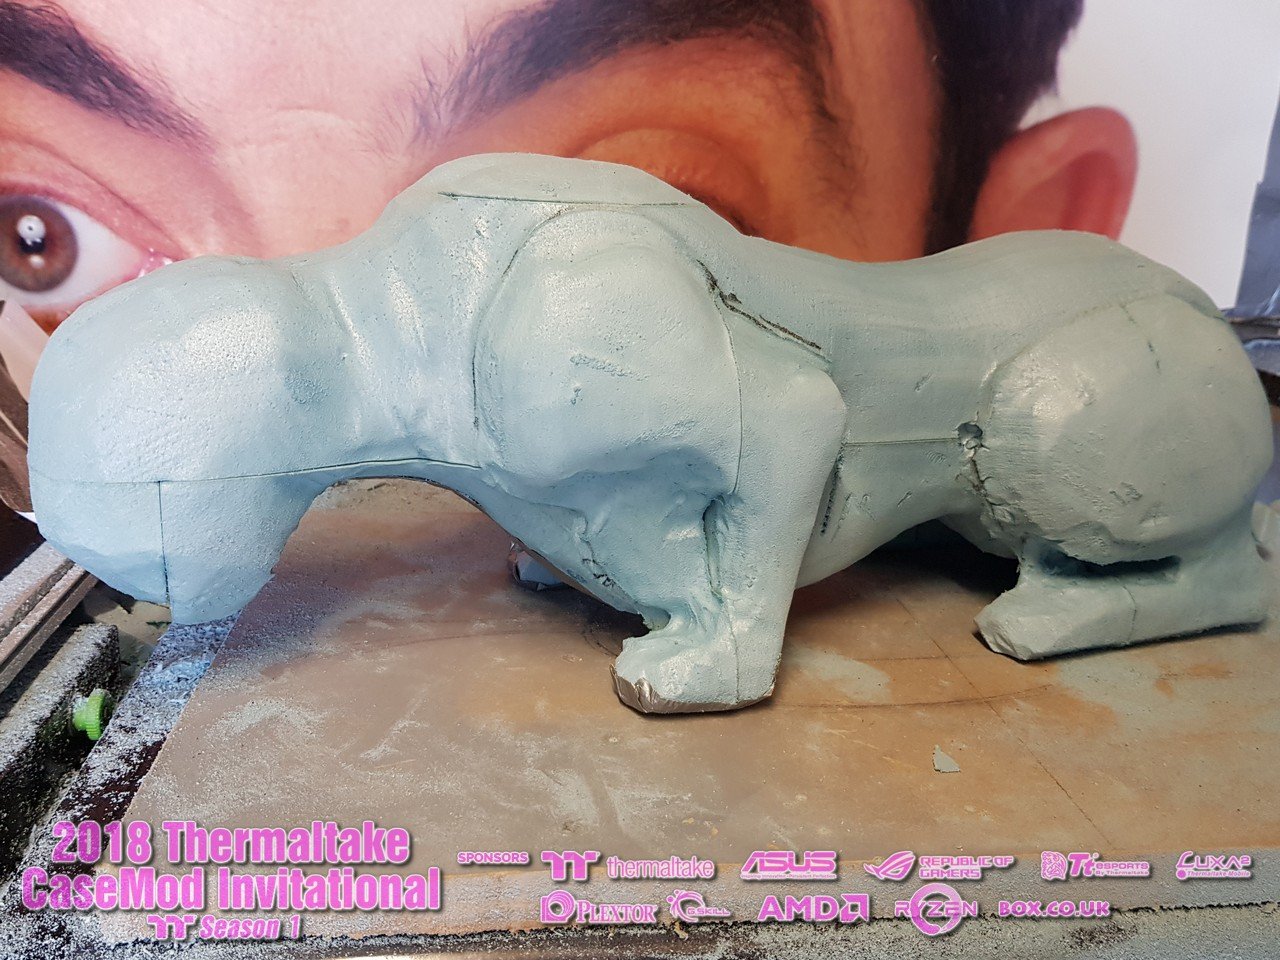
Now the fun part, working the clay around the base slowly building up the muscle, skin and features.

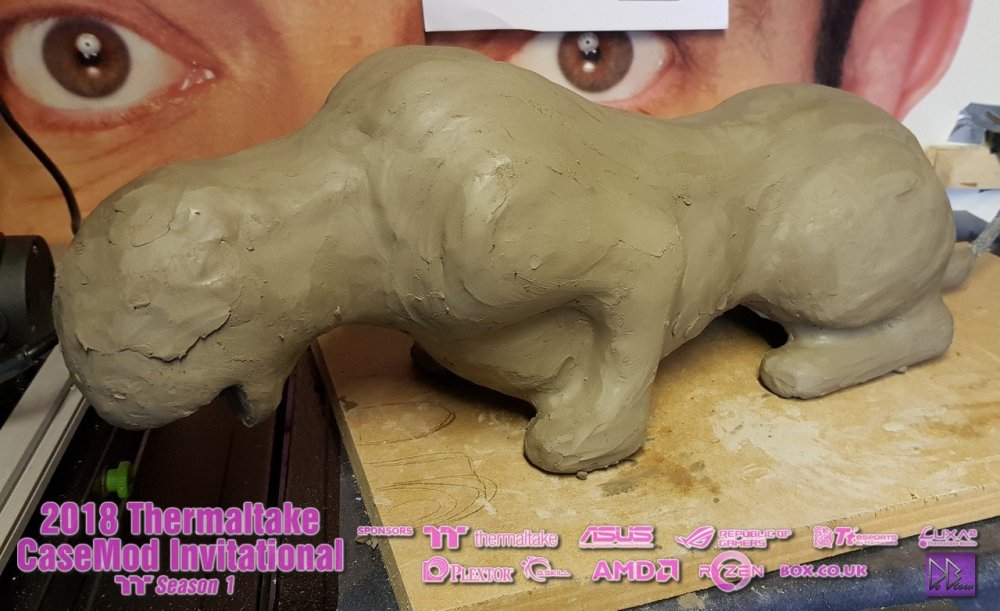
Not going for the movie version if the panthers or a real one, something in-between.
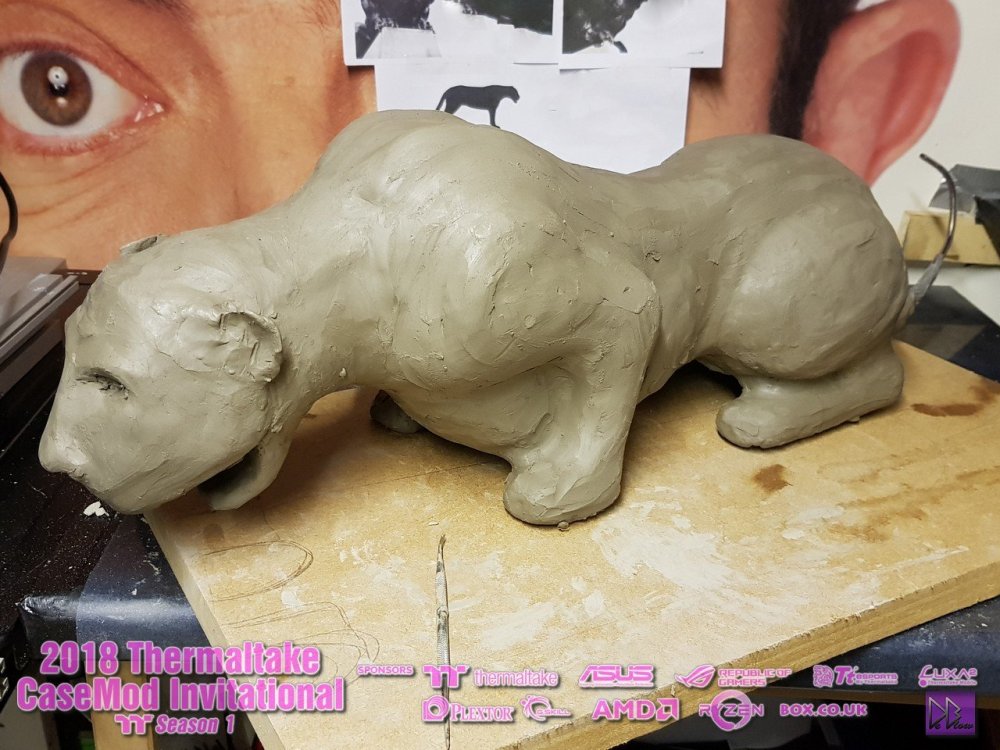
The teeth was a challenge with air dry clay, hard to shape and stick in place, also dried very quick.

-
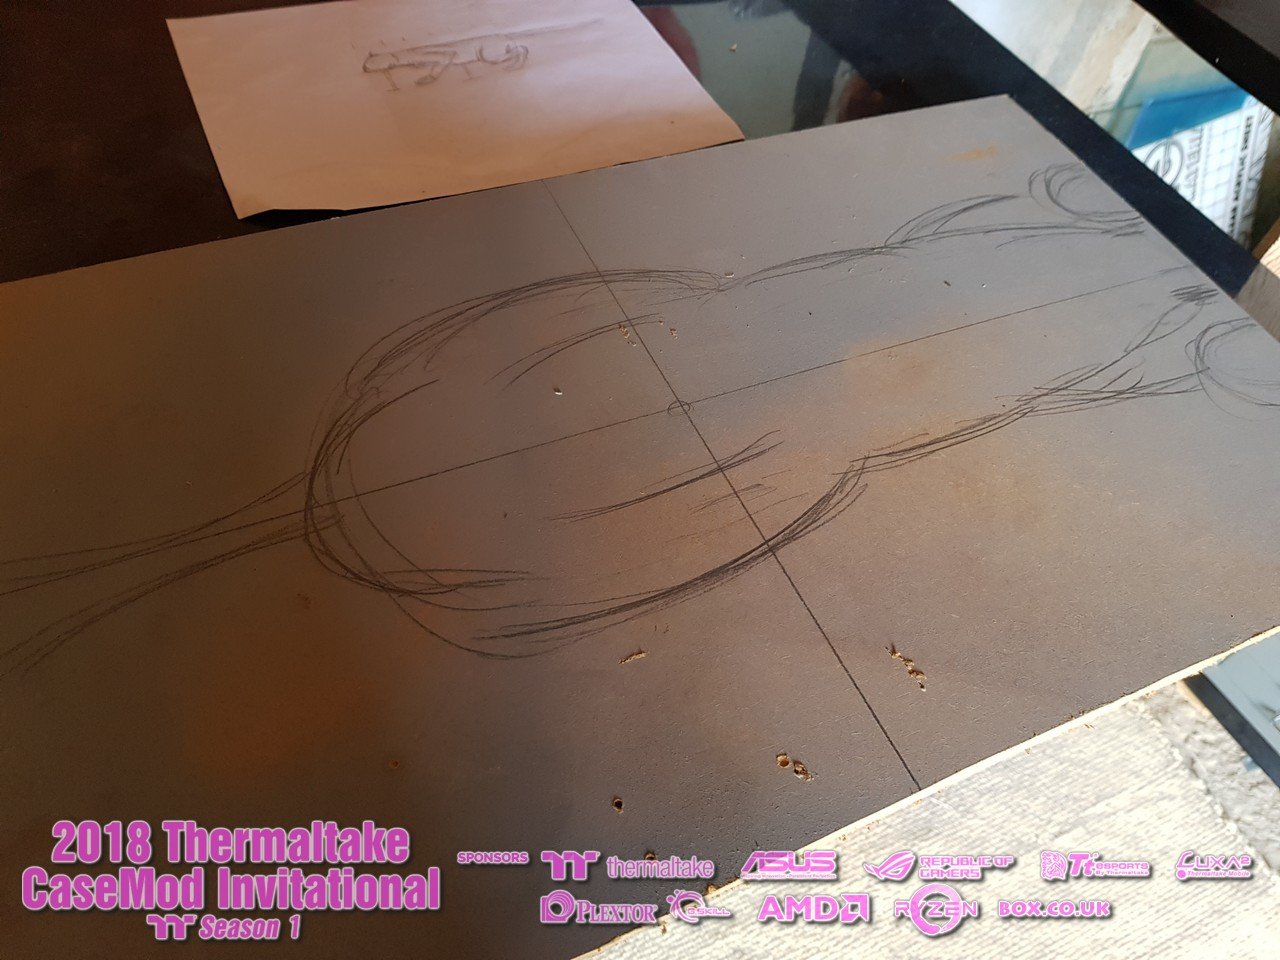
The first part I started was the panther, because the case had yet to arrive I simply made a platform out of MDF to mimic the top of the case.


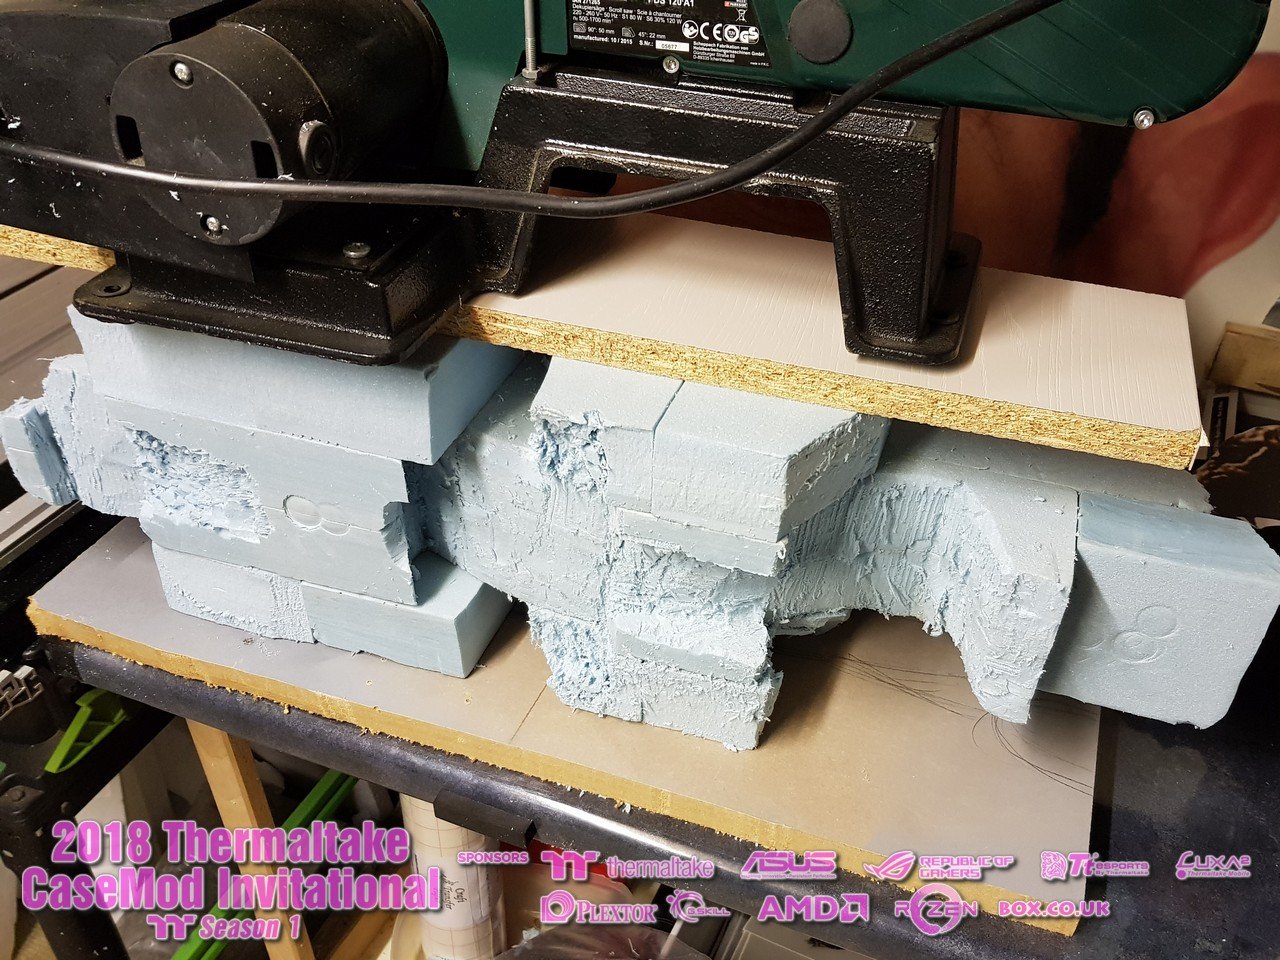
Thanks to a friend I use to work with I managed to get some of this nice packing to be a base to build upon with my clay, this is to help make it stronger and also cut
down on the weight of the panther when completed.

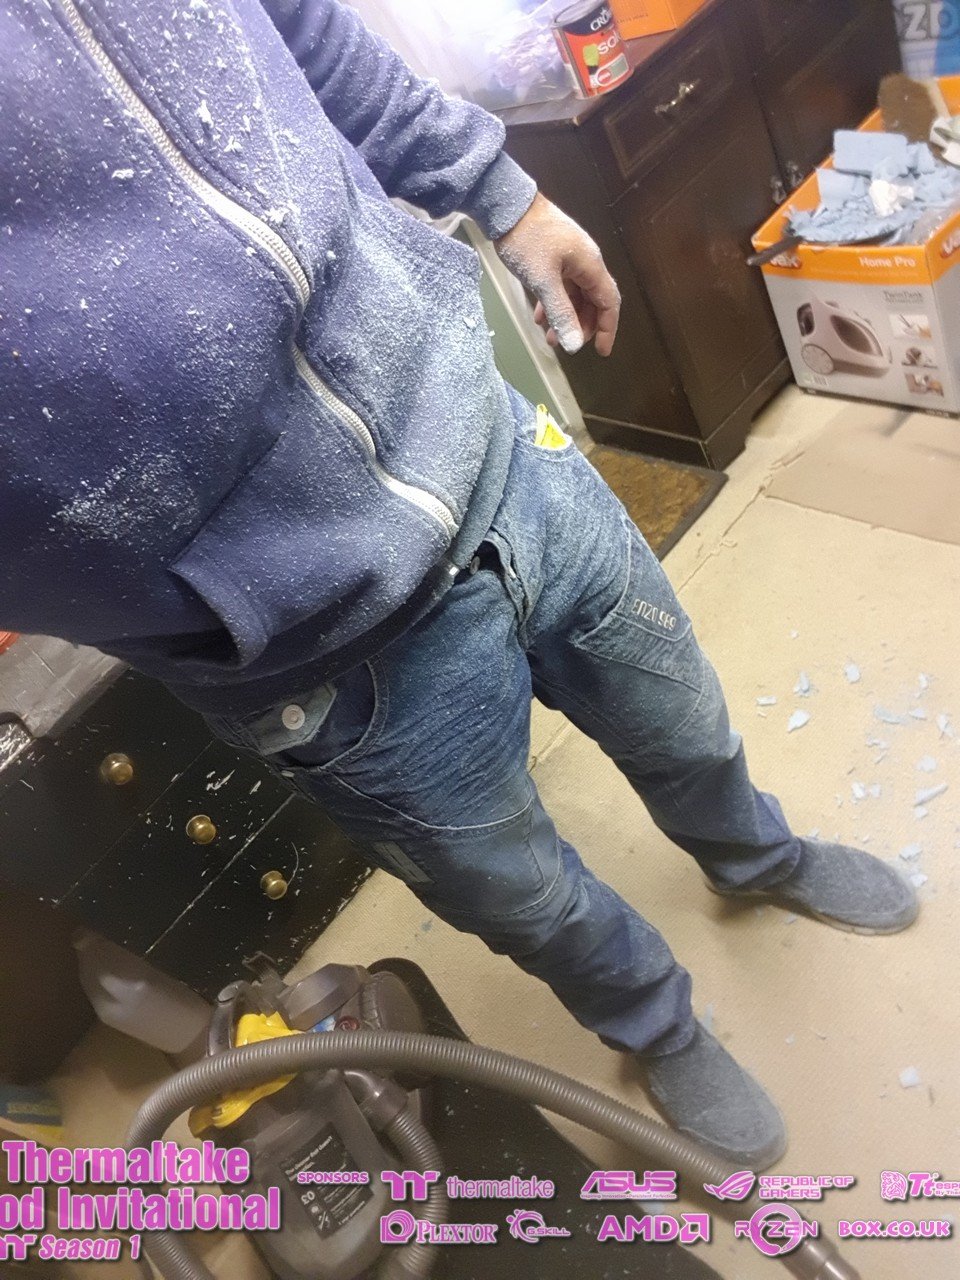
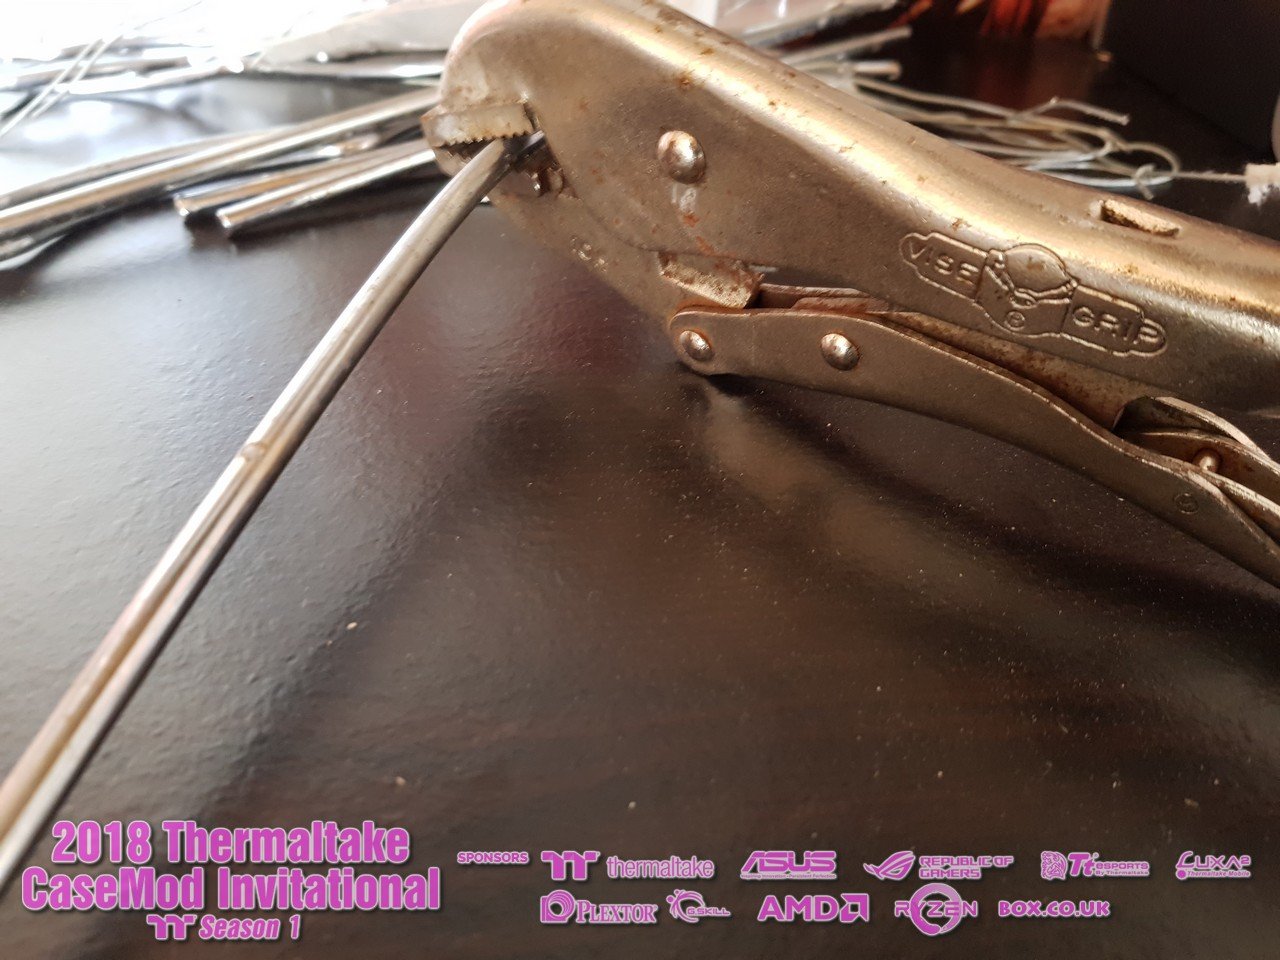
Never used this saw, apart from as a weight lol

This stuff is messy!

to clean of the edges a bit, i decided to set my heat gun to stun.

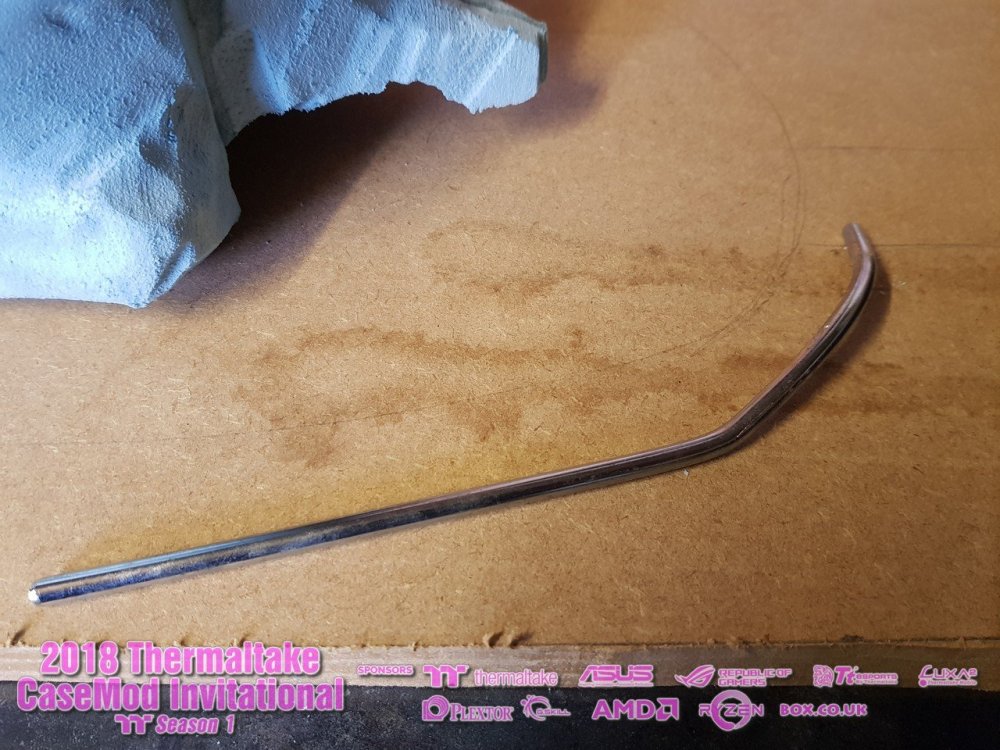
For the tail im using some old metal from what was a drink holder.
my wife says i keep too much random junk around the house, but this is the reason why, never know when it could come in handy

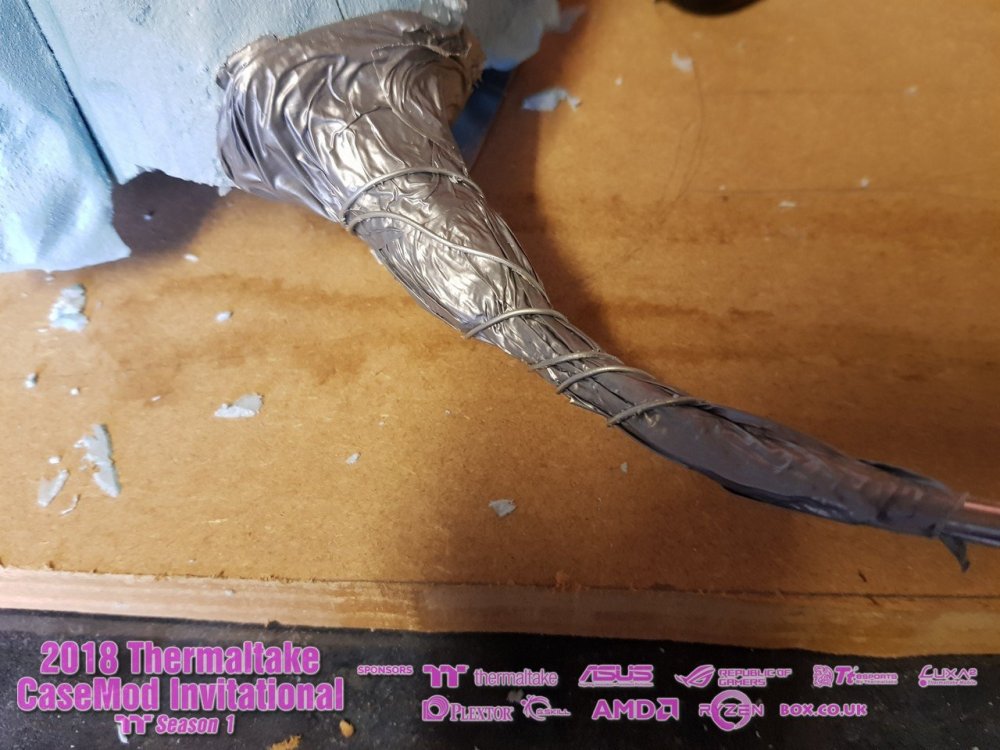
Taking shape, now it looks more like the alien from Alien 3 lol

-

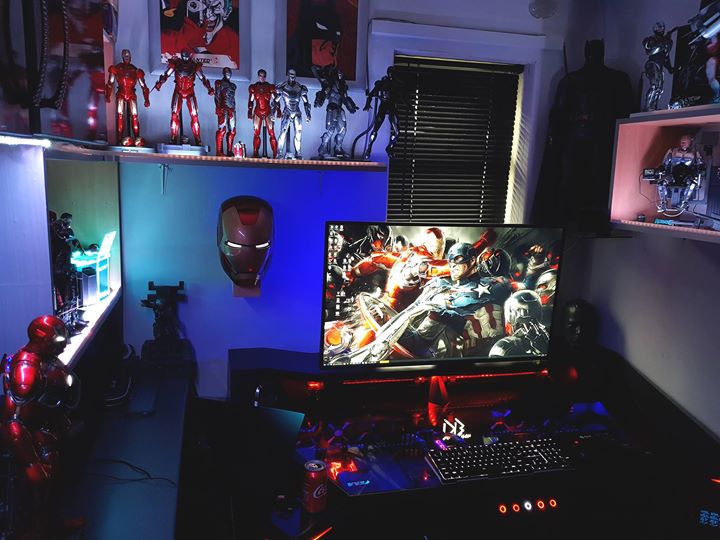
Hi everyone.
I'm Rob deluce AKA Megadeblow,
Very happy to be representing the UK in the TT CaseMod season 1.
For my mod I will be doing a clean as possible black panther build using methods I have used in the past and something a bit new.
I have a vision in my head as with most the past builds I've done, but i really need to see the case and play with it a bit before I can really see what I want
to try accomplish with the mod.So today I have started to plan out what I want to do within the case and around it, for the front and top I had already decided what I wanted and started working on
getting the tools I would need to make it happen.
I'm going to be using clay, vinyl, paints, lighting, Plexiglas, 3D prints and reusing most of the case parts and keeping the main selling point of the case for me, the glass.
Some of my parts arrive the other day so I will be starting to strip the case first and try put a plan in action for the stages that will need starting first, like the clay work
I've already started working on as it will need to be 100% dry before I can paint.
Good luck to all the other modders, hope we all have fun during the next month or so
You can follow me on the pages below for other updates and news.https://www.instagram.com/megadeblow/
https://www.facebook.com/megadeblow/
https://www.youtube.com/megadeblowHere's some of the parts I will be using, full specs to be added once confirmed.
Specs Update 08/16
CPU - AMD ryzen 2700
HD - Plextor M9Pe NVMe SSD
RAM - G.Skill Trident Z RGB 16GB DDR4
MB - ASUS ROG CROSSHAIR VII HERO (WI-FI)
GPU - ASUS Republic of Gamers GTX1070
CPU Block - Pacific W4 RGB
GPU Block - Thermaltake Pacific V-GTX 10 Series Transparent (ASUS ROG)
Case - Thermaltake View 91TG RGB
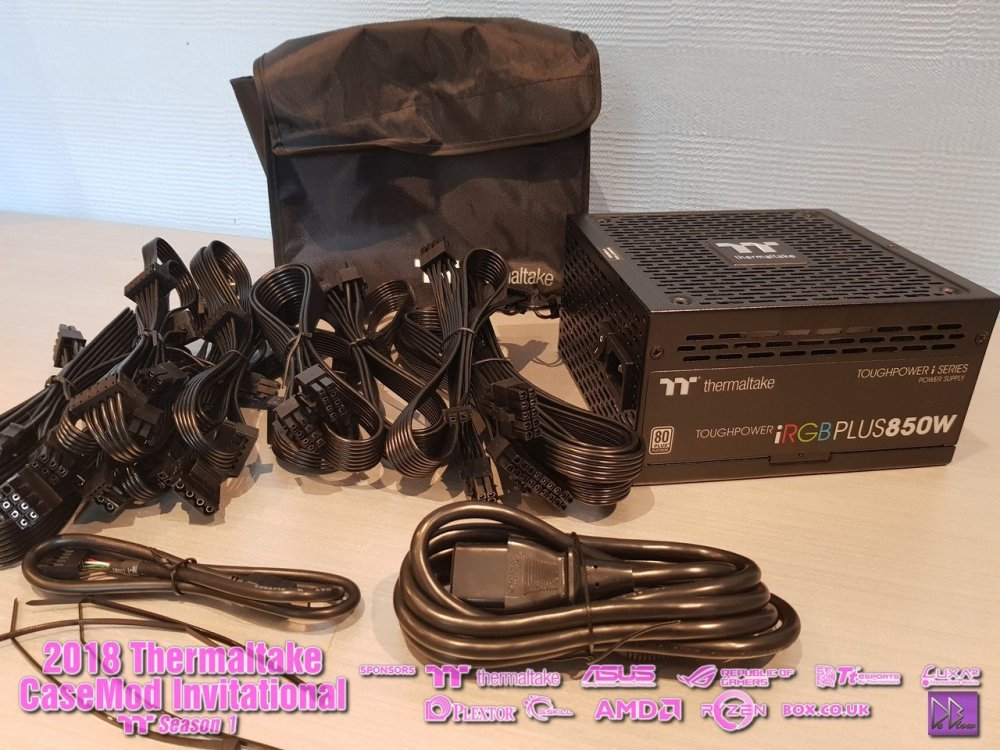
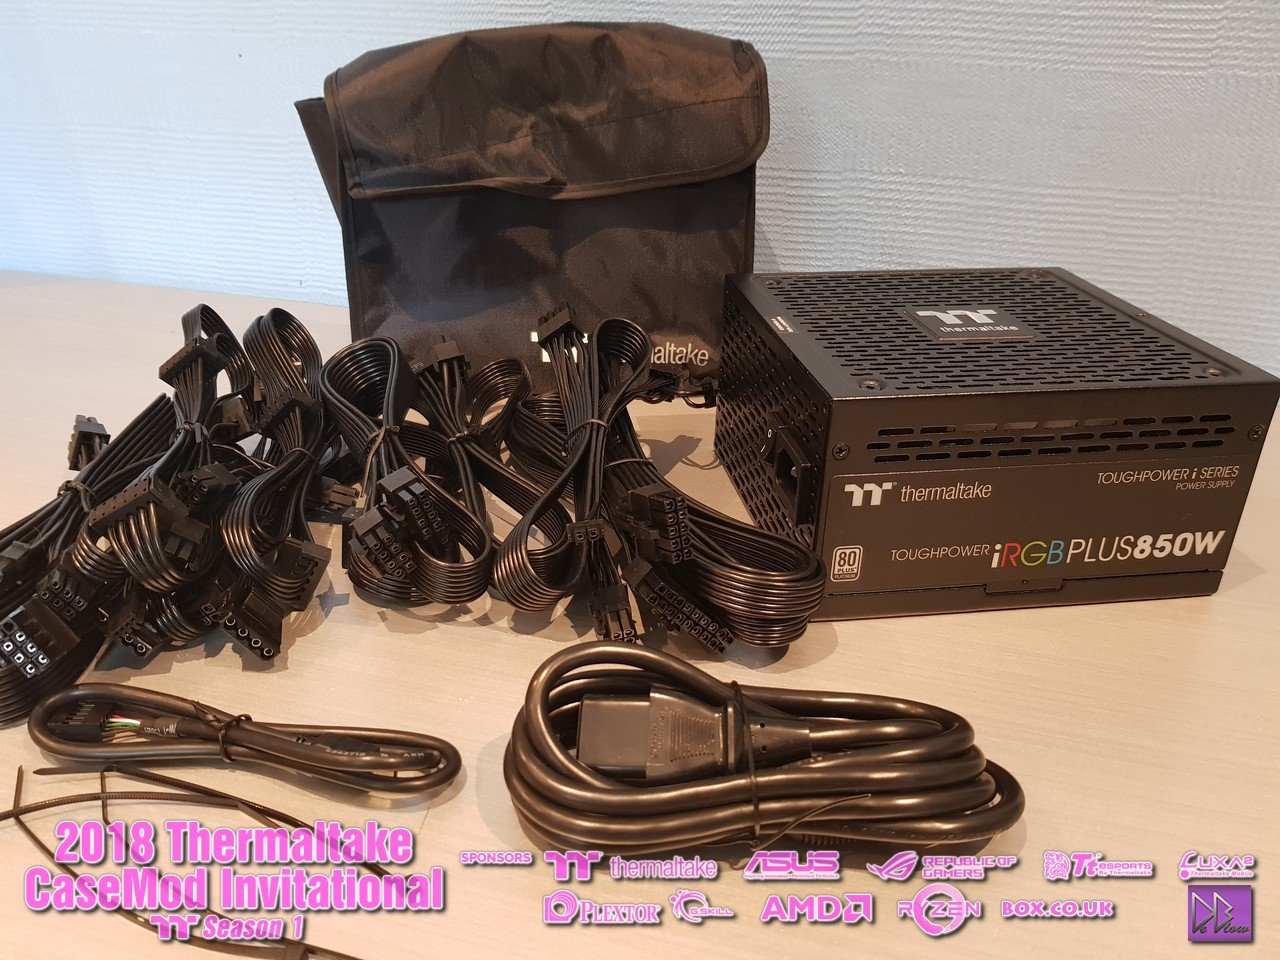
PSU - Thermaltake Toughpower iRGB PLUS 850W Platinum
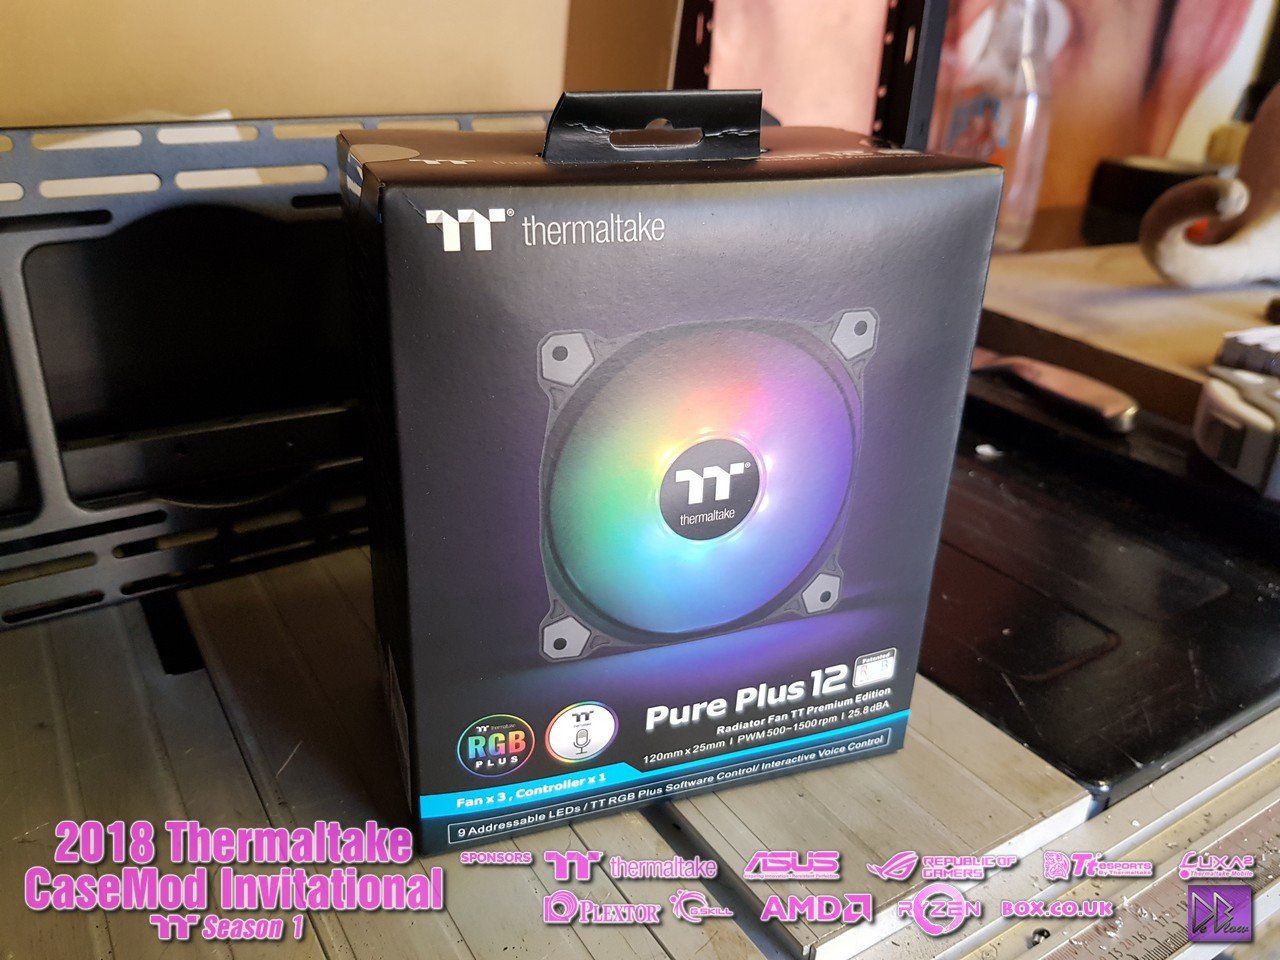
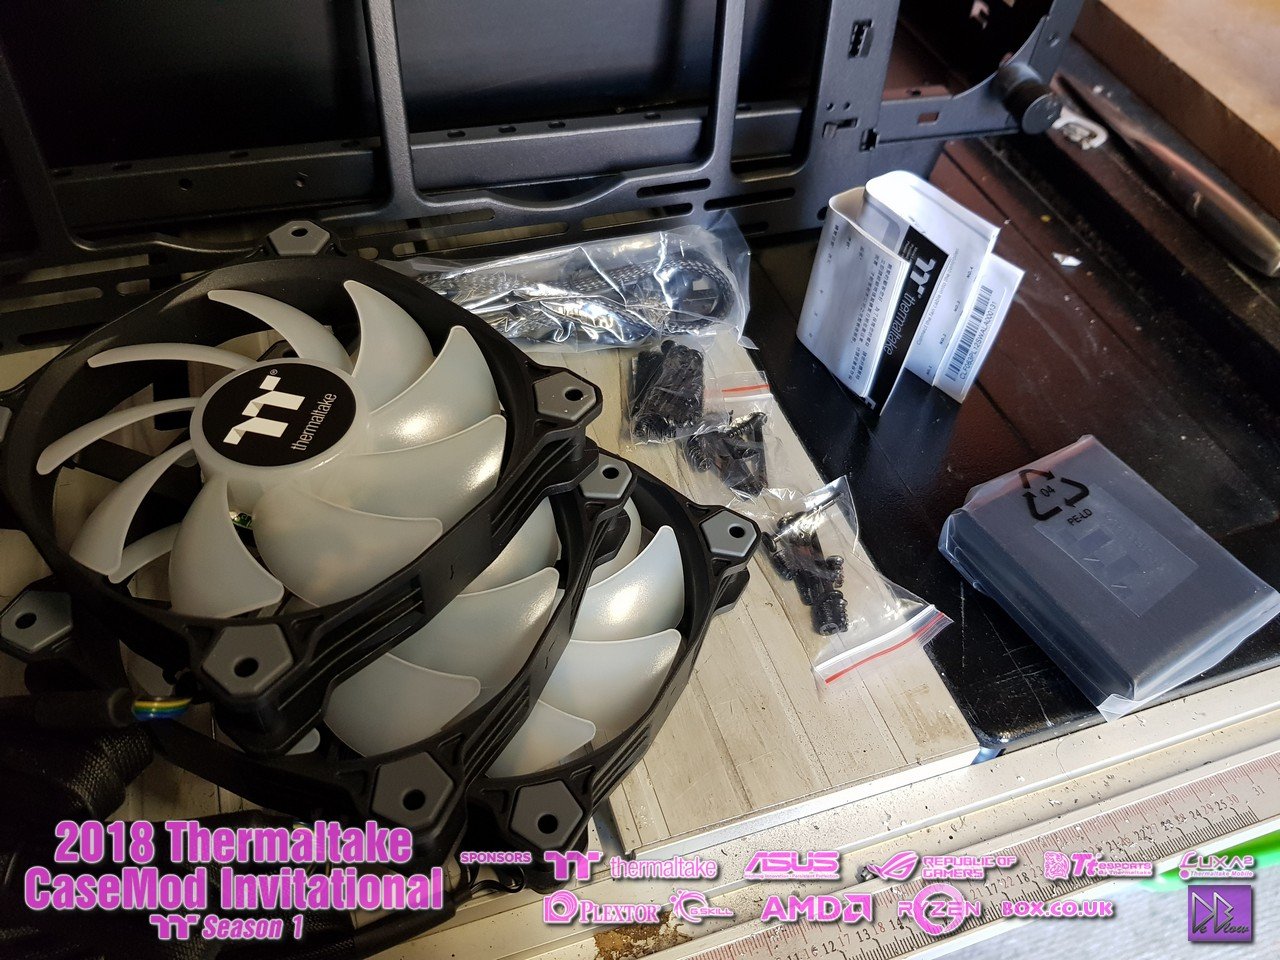
Fans - Thermaltake Riing plus
- - Thermaltake Riing Trio
RADs - Thermaltake RL360/
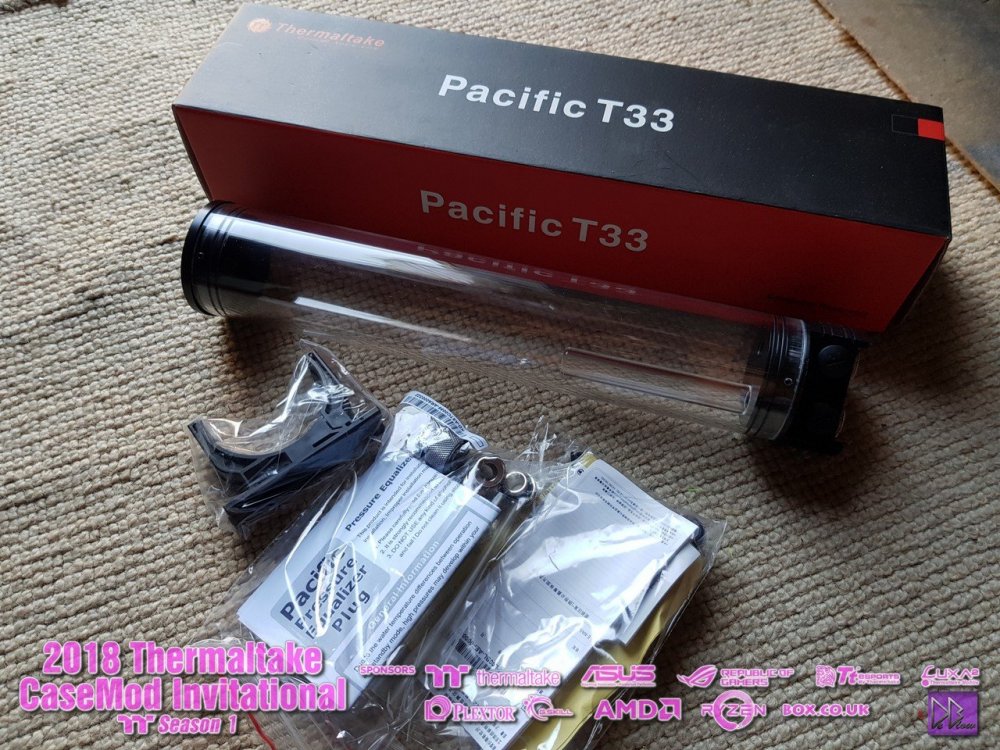
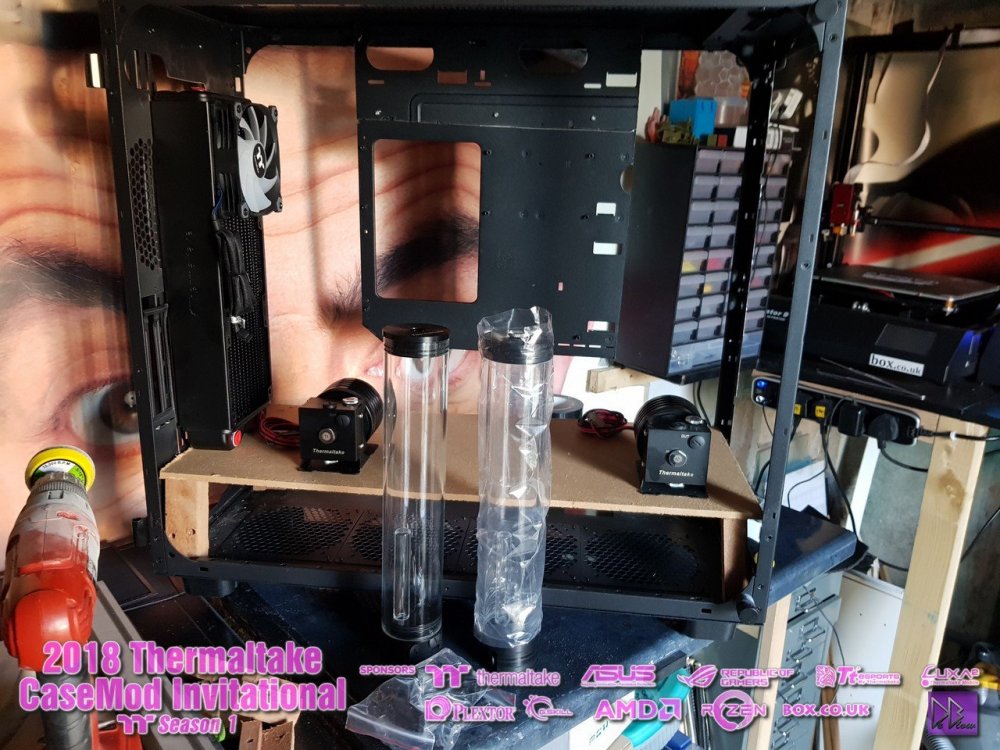
RES - Thermaltake Pacific T33
Pumps - Thermaltake Pasific P1
Lighting - Pacific Rad Plus
- - Pacific Lumi Plus
Printers - Box.co D9/CR10s
Filaments - Steadytech PLA 175
Thanks to box.co.uk for supporting me with a 3D printer and some materials for the mod and other projects.

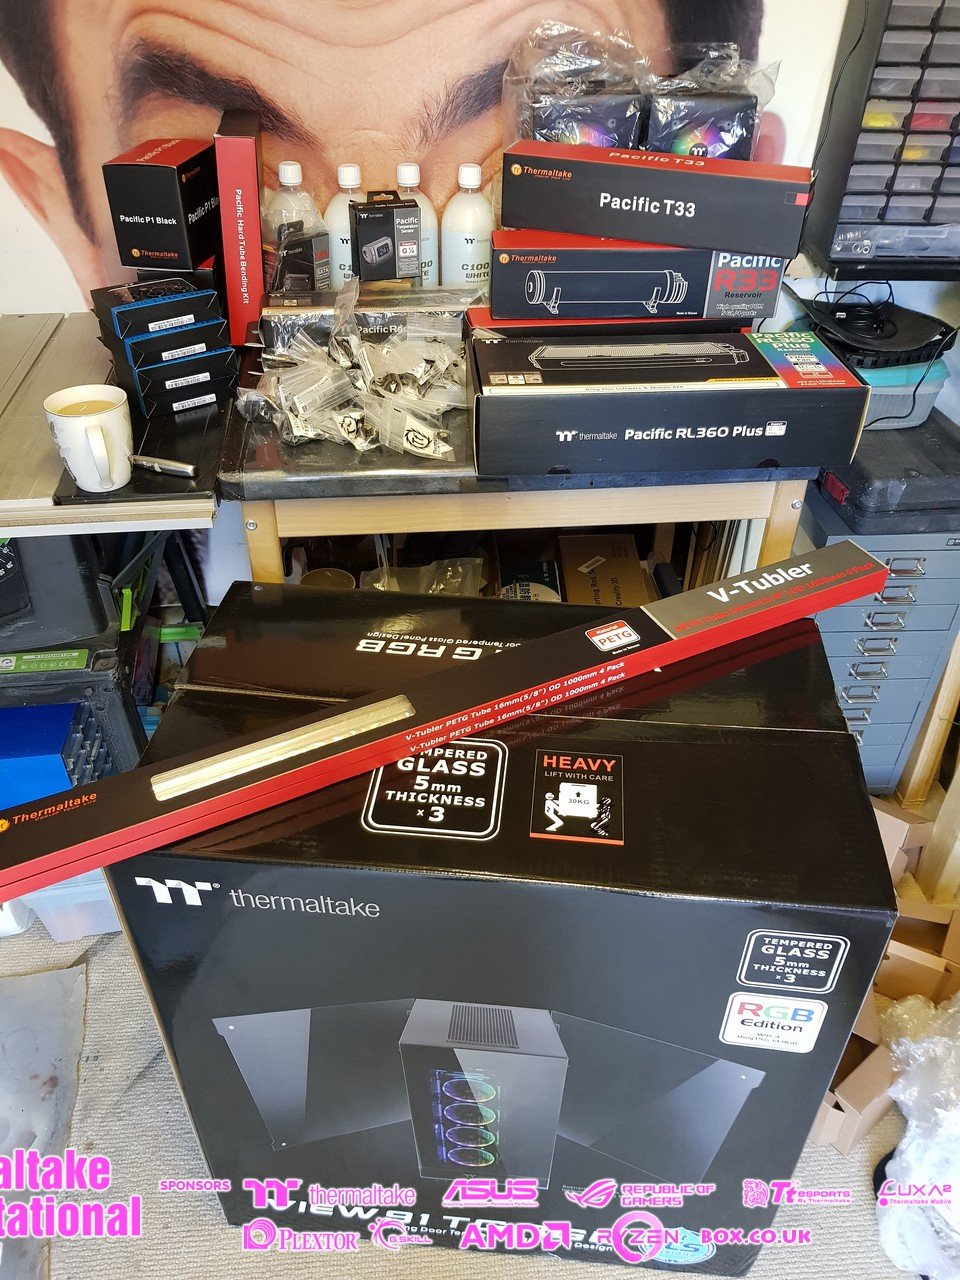
UPDATE 11/8
All my Thermaltake parts have now arrived so here's the group.
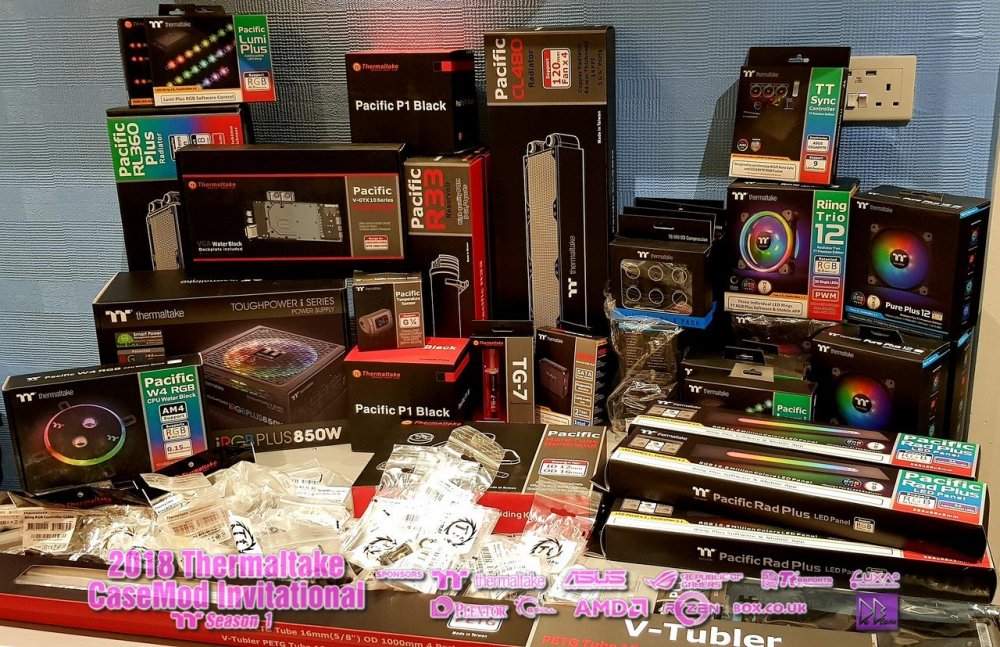
P.S, just seen the pre vote page, thank you everyone that put my name down, I feel 10 times more pressure now lol
I'm late to the party so sorry I cant reply direct. -


Block.jpg.309699b442691ec038522d9b8c483417.jpg)
.jpg.b02df46f9966811eb2d1d4ce1315e04e.jpg)


.jpg.eea23c7cef6f9e7e8e7b51d9f0bd124d.jpg)


[UK] Rob De Luce
in 2018 CaseMOD Invitational Season 1
Posted
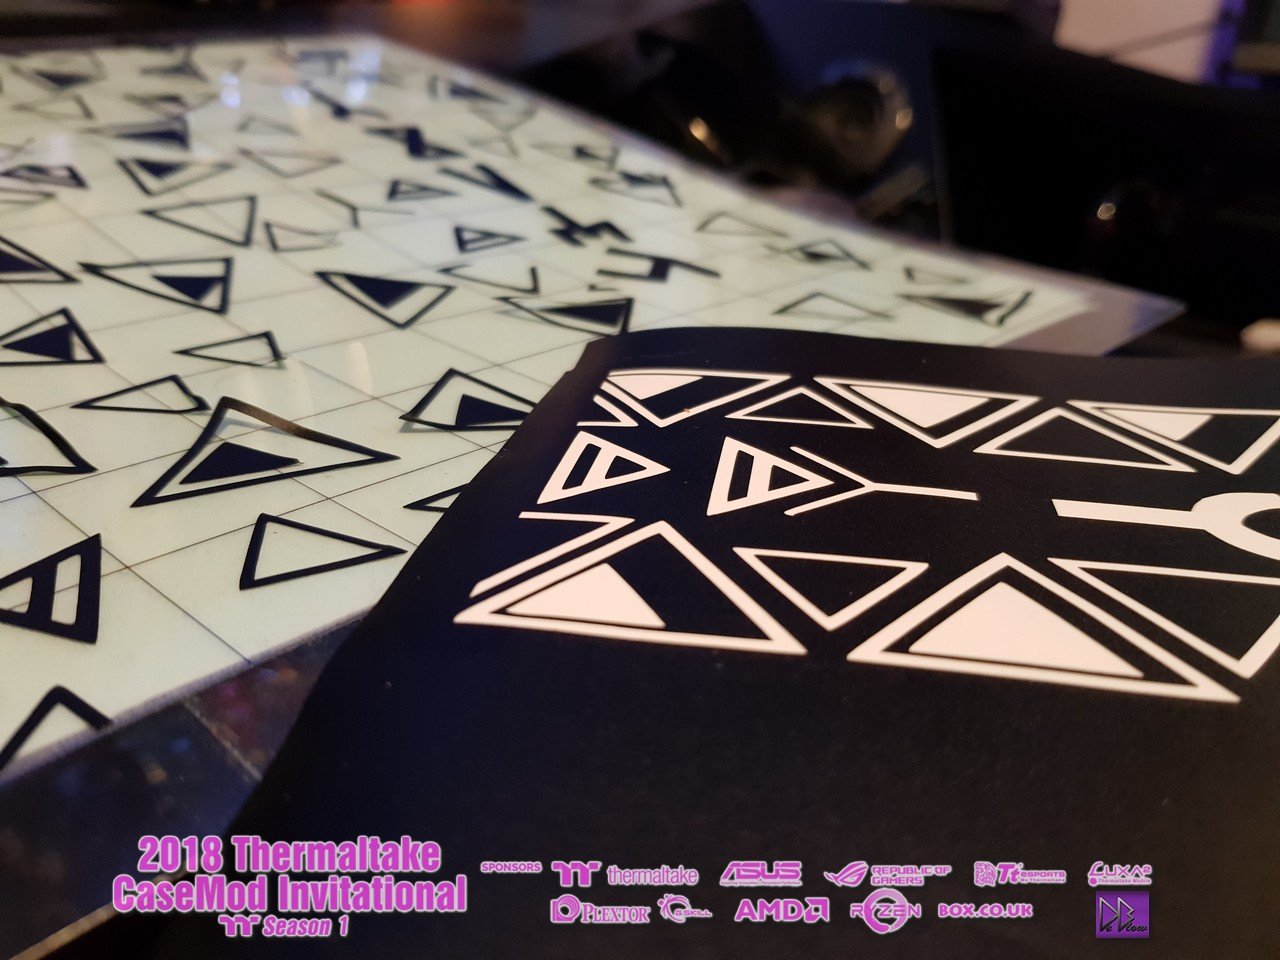
Carrying-on with the designs for the front of the case, here we have MK1 set of covers, im now on to MK3 as I always see room for improvement and its hard to resist.
As with almost all the parts for this build, lots of sanding, filling, painting and more sanding.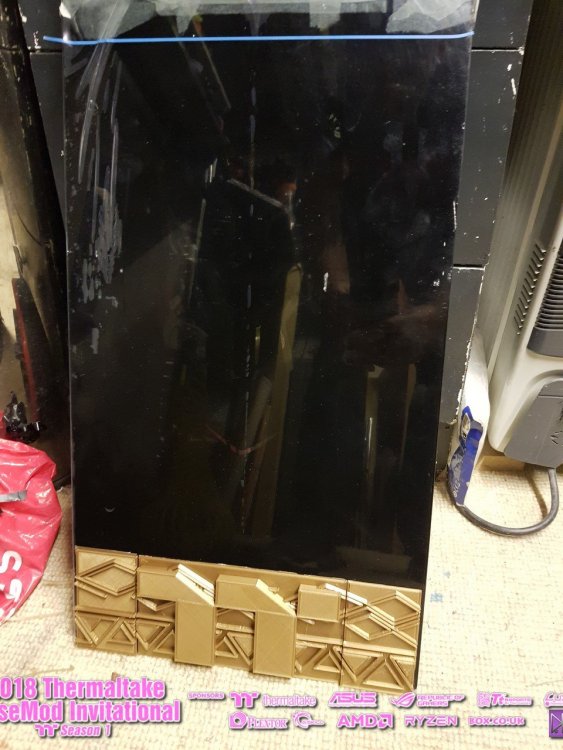
i used the black panther helmet for inspiration when making all the patterns you will see throughout the build.