Search the Community
Showing results for tags 'RL240'.
-
Value score loan app customer care helpline number ®️ 9621011914~✓~8658808958===callValue score loan app customer care helpline number ®️ 9621011914~✓~8658808958===callValue score loan app customer care helpline number ®️ 9621011914~✓~8658808958===callValue score loan app customer care helpline number ®️ 9621011914~✓~8658808958===callValue score loan app customer care helpline number ®️ 9621011914~✓~8658808958===callValue score loan app customer care helpline number ®️ 9621011914~✓~8658808958===callValue score loan app customer care helpline number ®️ 9621011914~✓~8658808958===callValue score loan app customer care helpline number ®️ 9621011914~✓~8658808958===callValue score loan app customer care helpline number ®️ 9621011914~✓~8658808958===callValue score loan app customer care helpline number ®️ 9621011914~✓~8658808958===callValue score loan app customer care helpline number ®️ 9621011914~✓~8658808958===callValue score loan app customer care helpline number ®️ 9621011914~✓~8658808958===callValue score loan app customer care helpline number ®️ 9621011914~✓~8658808958===callValue score loan app customer care helpline number ®️ 9621011914~✓~8658808958===callValue score loan app customer care helpline number ®️ 9621011914~✓~8658808958===callsnjw
-
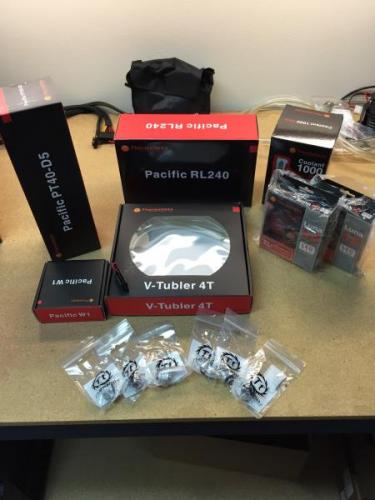
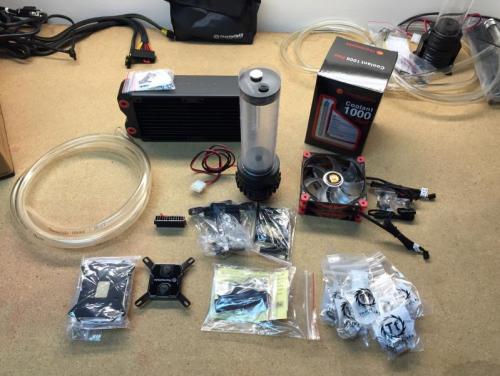
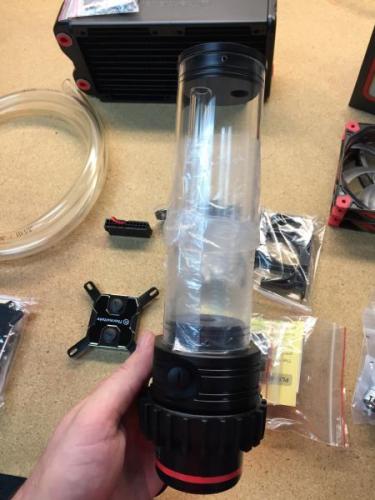
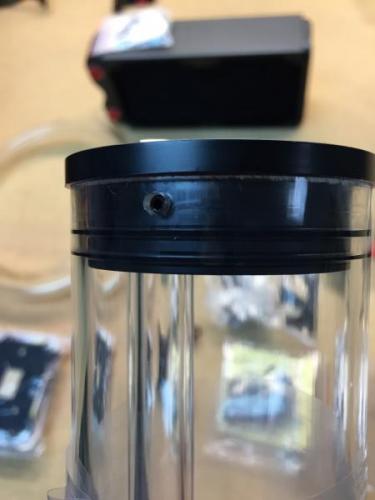
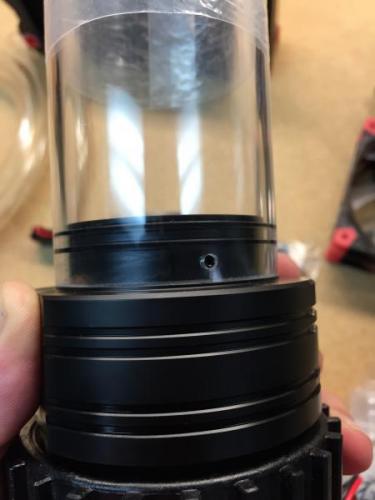
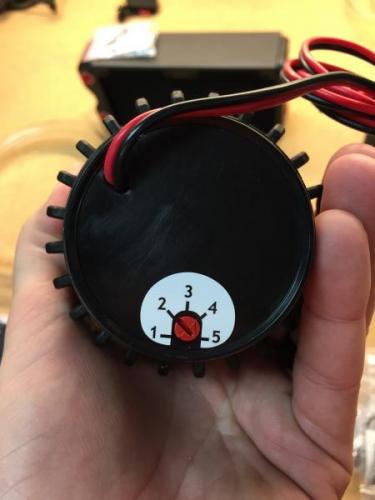
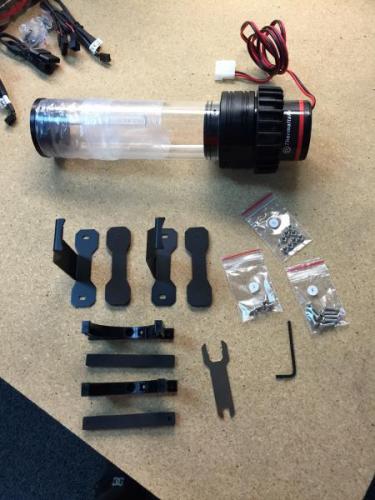
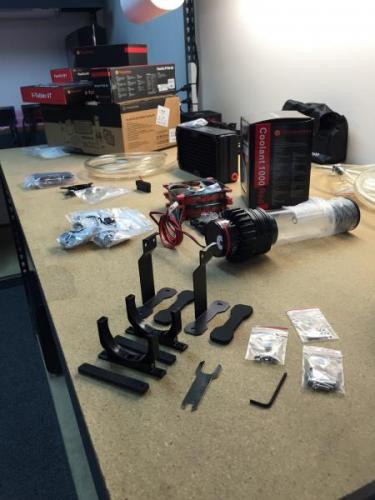
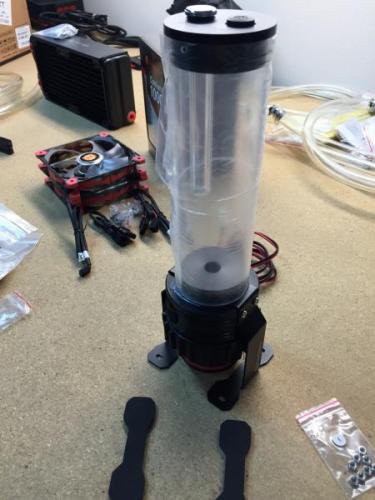
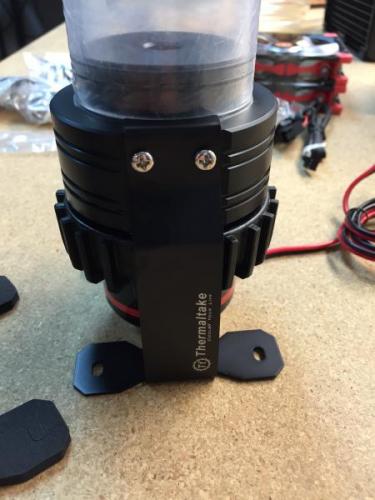
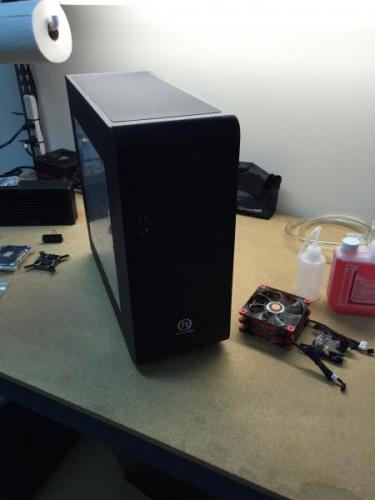
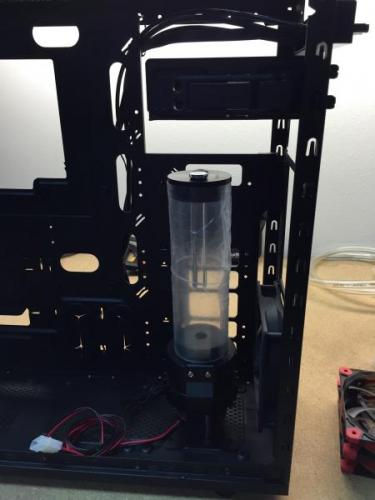
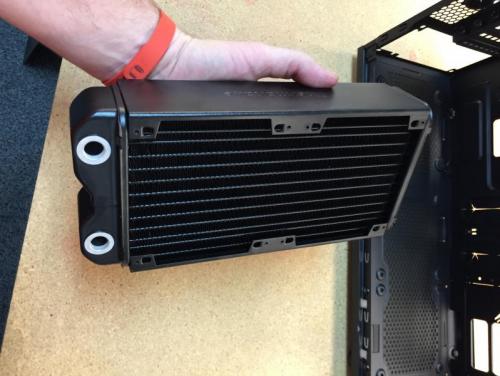
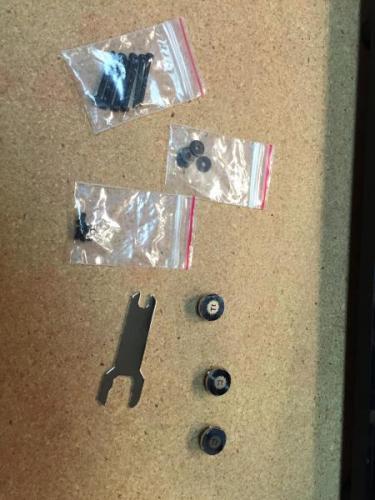
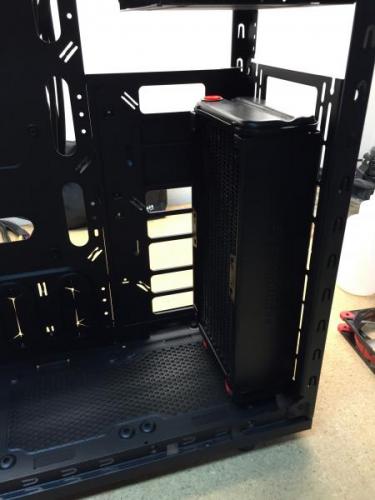
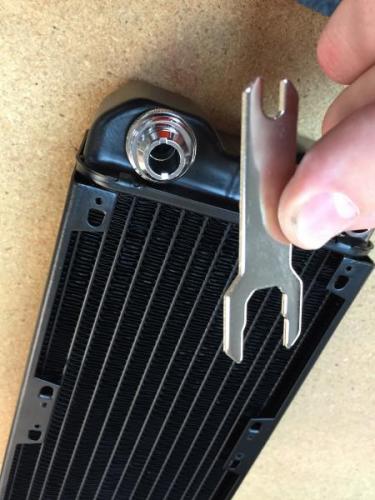
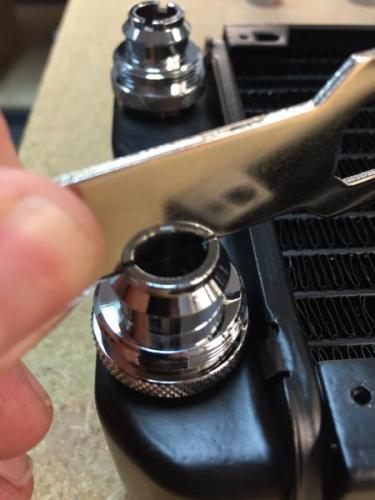
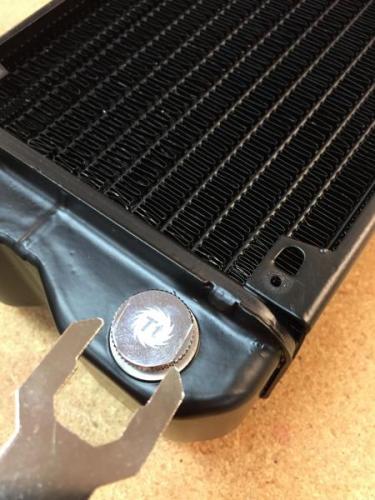
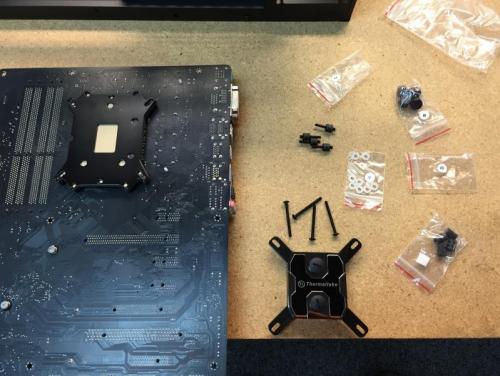
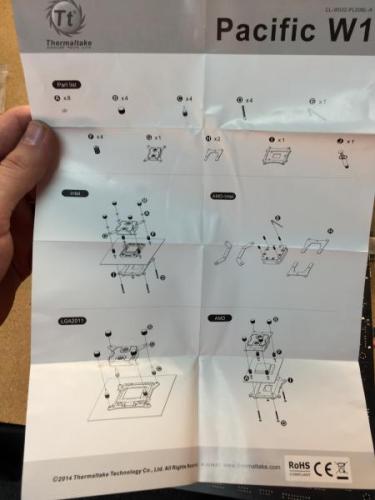
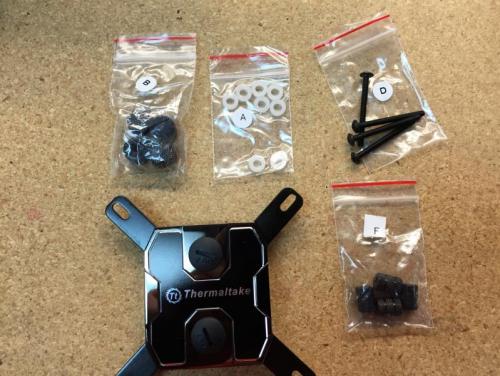
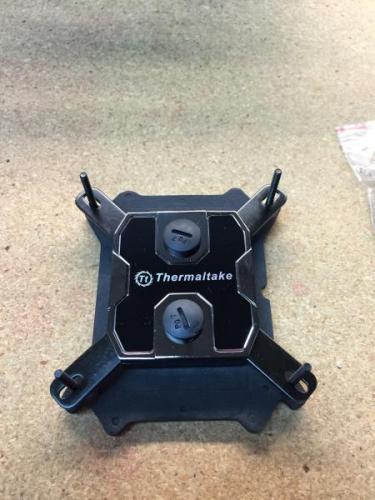
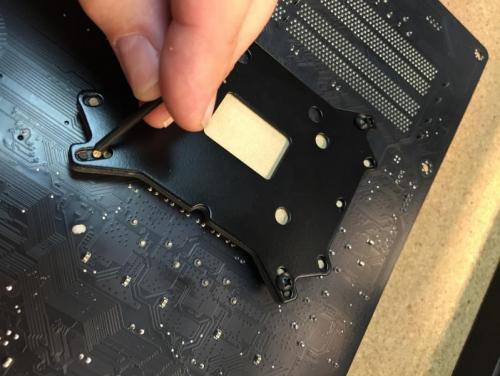
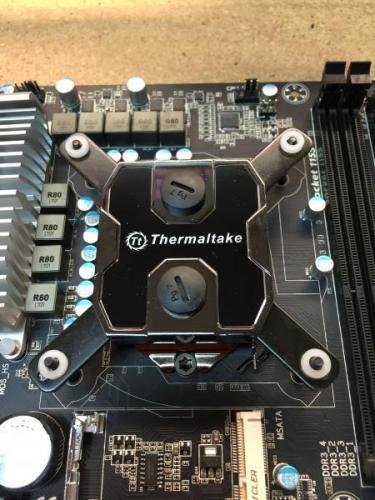
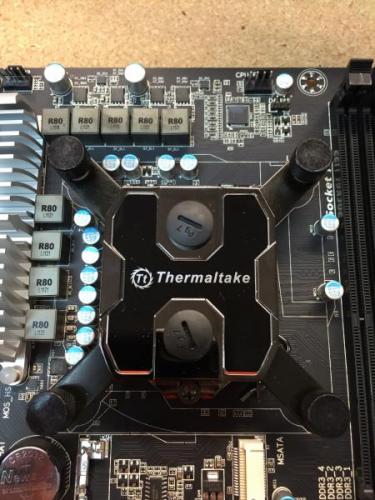
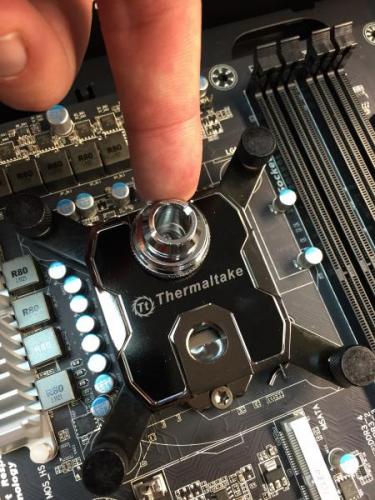
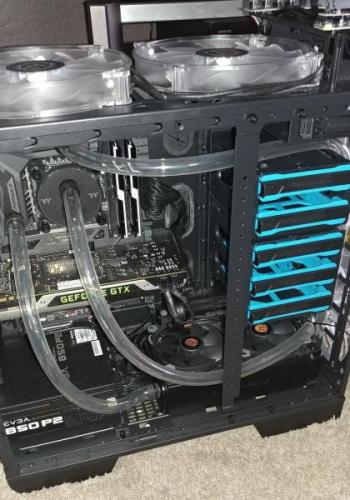
Hi everyone, With the release of our Pacific DIY components and Kits, I wanted to provide a guide focused on the RL240 kit and take you through the installation process to give users an idea of what you will get: RL240 Kit: What you get: - (1) RL240 Radiator 240x120x64mm - (1) PT40-D5 Reservoir + Pump Combo (Includes Hardware) - (1) W1 CPU Water block (Includes Hardware + Thermal Paste) - (1) 4T 1/2" Tubing (6.5ft) - (1) Coolant 1000ml (Red) + Filler Bottle - (6) 1/2" ID 3/4" OD Compression Fittings - (2) Luna 12 Red LED Fans - (1) 24-pin PSU Jumper Here is everything out of the box: Here is the PT40-D5 Reservoir + Pump: When you open the PT40-D5 packaging you will have all the accessories in bags including the mounting hardware. The brackets included allow you to mount the PT40 vertically or horizontally depending on the configuration you want to do. **VERY IMPORTANT** There are set screws on both ends of the reservoir that are to secure the Tube to both ends, these screw do not need to be tightened. Also take note, if you plan to clean your reservoir later, make sure to remove the set screws (Both sides Top/Bottom) prior to removing to avoid causing any stress to the tube when separating. Also take care of the O-rings on both sides to make sure they are in the correct place when putting back together. On the bottom you have the pump speed adjustment that should be set in the "2" position by default. I recommend leaving the speed adjustment alone until you have the system up and running to make any adjustments later. Turing the speed up is only needed when necessary, with the setting of "2" should be enough to support the default kit configuration. Here is all the included brackets and hardware for the PT40-D5 Since I am installing this in our Core V31, I plan to mount this vertically so I have installed the mounting brackets to the pump housing to secure into the chassis floor. Here is a quick look at the Core V31 that we will be installing the RL240 kit Getting ideas on how to place the PT40-D5. (Removed the HDD trays and the bottom ODD for clearance) Now for the (240mm) radiator placement and overview. First you need to remove the orange plastic plugs that came pre-installed. Give the radiator a quick look and make sure everything is ok. Here is the accessories that come included, you get mounting screws for the radiator and for the fans as well as (3) G1/4 port plugs and a wrench tool for easy installation. Before you go through installing everything on the radiator, check the location where you plan to place it and make sure it will work out with the entire system including the water loop to make sure all your fittings and tubing will have proper clearance and your tubing will have proper flow to avoid the tube from pinching around a tight space. It is also a good idea before installation of your radiator to fill the radiator with distilled water and give it a good shake to remove anything left over from the manufacturing process. Fee free to repeat this step as many times as you want until you are satisfied. You can setup the porting anyway you like, for this example I will use the (2) bottom ports on one side for my IN & Out and plug the other (2) bottom ports on the other side with the last plug for the top. Note: Do not tighten the top plug port just yet, you may need to use it for a breather port when filling The wrench is a great tool to use for tightening the ports on your components as the fittings have "slots" on the top so you can use the wrench to tighten and avoid scratching the component or fitting using a standard pair of pliers. The wrench also is designed to help secure the plug ports nicely. Remember, DO NOT over tighten, you will just damage the O-Rings if you gorilla grip the fittings into place. A snug fit is fine. Now we take a look at the W1 CPU block to prepare it for installation to the motherboard. You will get a simple installation guide showing how to install for Intel or AMD type CPU's. Take note of the accessories labeled for each Intel/AMD. Now install the back plate to your motherboard and punch out the foam holes for your CPU Socket type to install the mounting screws to. Once the back plate is installed and the mounting screws are through the motherboard, secure the CPU in place and apply thermal paste. Then seat the W1 CPU block onto your CPU first and make sure everything lines up correctly. When ready set the (4) plastic washers after placing the CPU block. Then install the (4) screw caps and tighten them in the "X" pattern to apply appropriate pressure evenly as you secure the block. These only need to be hand tight and you should be able to tell when each one is secure very easily. Now you can install the fittings on both ports, don't forget to use your wrench!
- 22 replies
-
- Watercooling
- RL240
-
(and 4 more)
Tagged with:
-
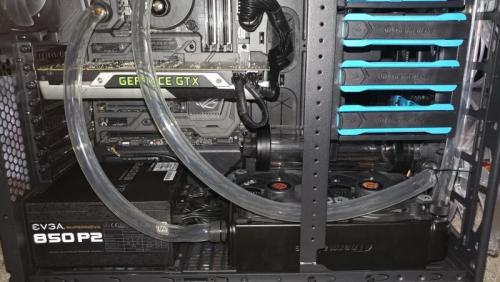
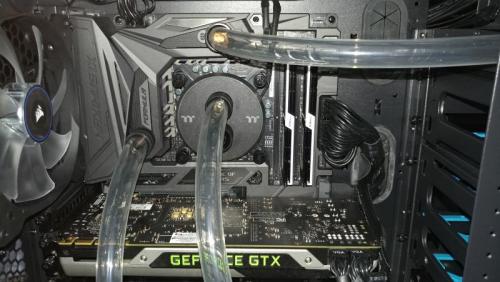
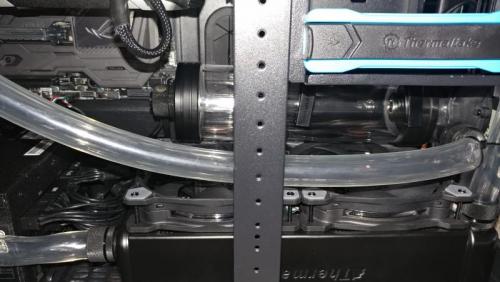
Hello TTers.. This is my first experience with water cooling. You can tell I'm such a newb because I have my radiator and motherboard in its own loop. Geez Leweez. I have the W4 RGB water block, PR22 cylinder with water pump, (2) Riing12 fans, and an RL240 radiator for my Formula IX motherboard. I will be overclocking this rig with the i7 7700k and 4133 memory. Because of my case, I have positioned the pump on its side because thats the only way it will fit with my mandingo graphix card. I assume it can still pump water on its side, if not.. I'll tackle that bridge when i get there. I will have the computer on its side when i fill the pump and for testing purposes, so that the pump is up right to begin with. The first question I have is about preventing leaks. I assume the little hole on top that goes down a narrow tube in the cylinder is for filling the pump. After filling the pump, I want to prevent leaks. I purchaged Permatex to help with that. I'm wondering if I apply the sealant just under the horizontal surface of the cap where it meets the cylinder head or do i apply it to the threads as well to prevent leakage. That same question goes for the g1/4 inch fittings as well. Do I want to get that sealant in on the threads to prevent leaks on my video card or mother board? Also is it safe if some of it touches the o-ring? It designed to seal, so I'm hoping I made the right choice in product. Snd question.. My motherboard. It has 4 RGB headers. 2 are for the armor lighting, and I've put the W4 RGB water block in the 3rd because I didnt want to use the control box it came with, I was wondering if i could put 2 daisy chained strings of led lights y-adaptered with the water block and put the 2 riing 12 fans on a Y adapter into the 4th? The fans are 1500 rpm max and size 120x120. Even though I'm new to RGB and water cooling.. I'm good at figuring things out. Some suggestions and advisement would be appreciated. Am looking forward to being a contributing member to this community. Thanks in advance. Daddy


