Search the Community
Showing results for tags 'works for a living'.
Found 1 result
-
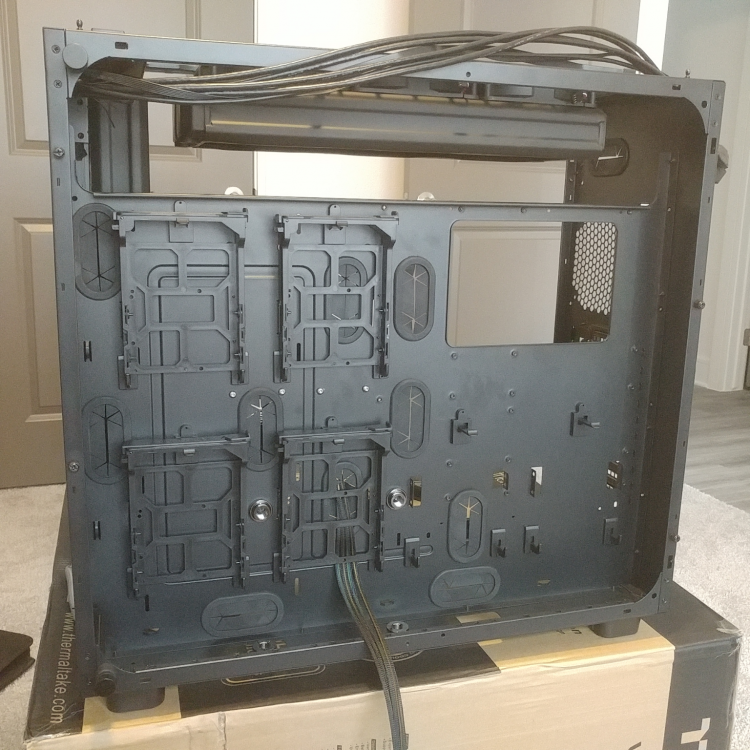
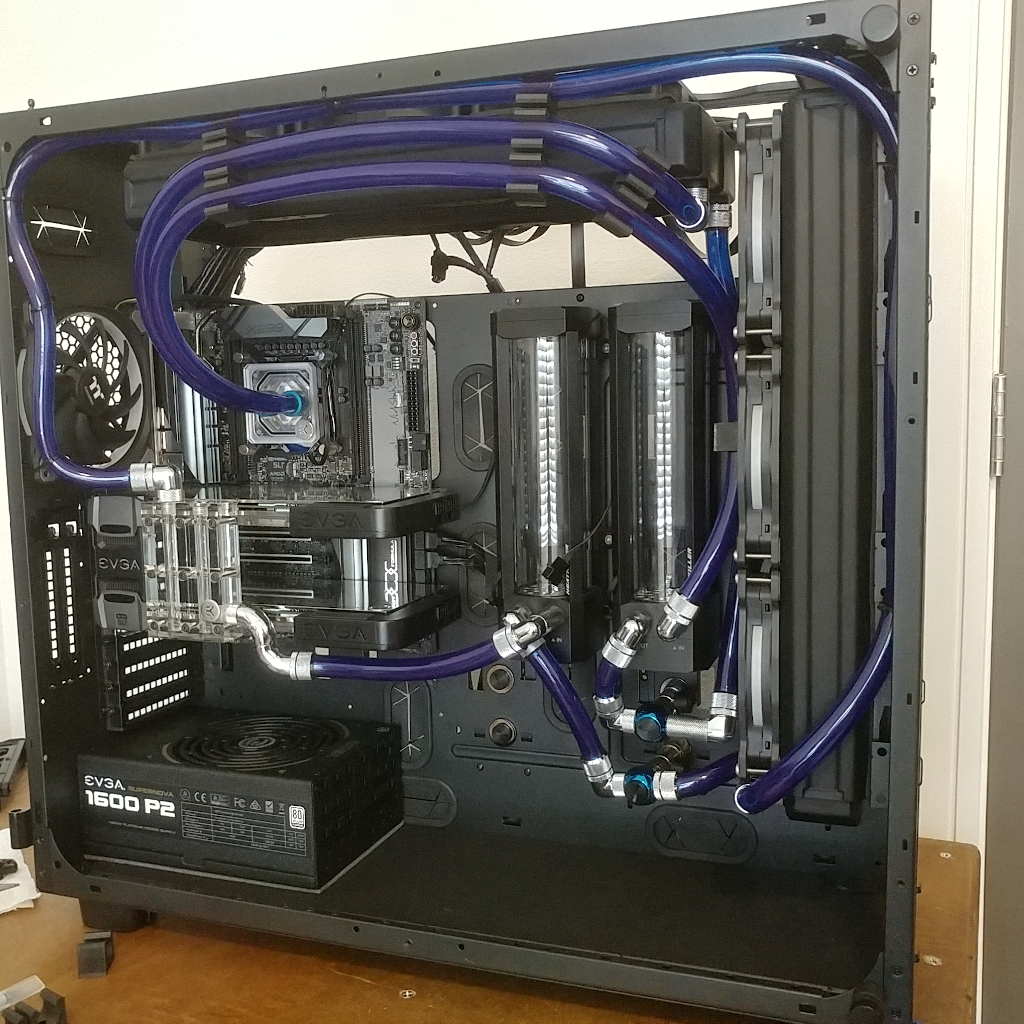
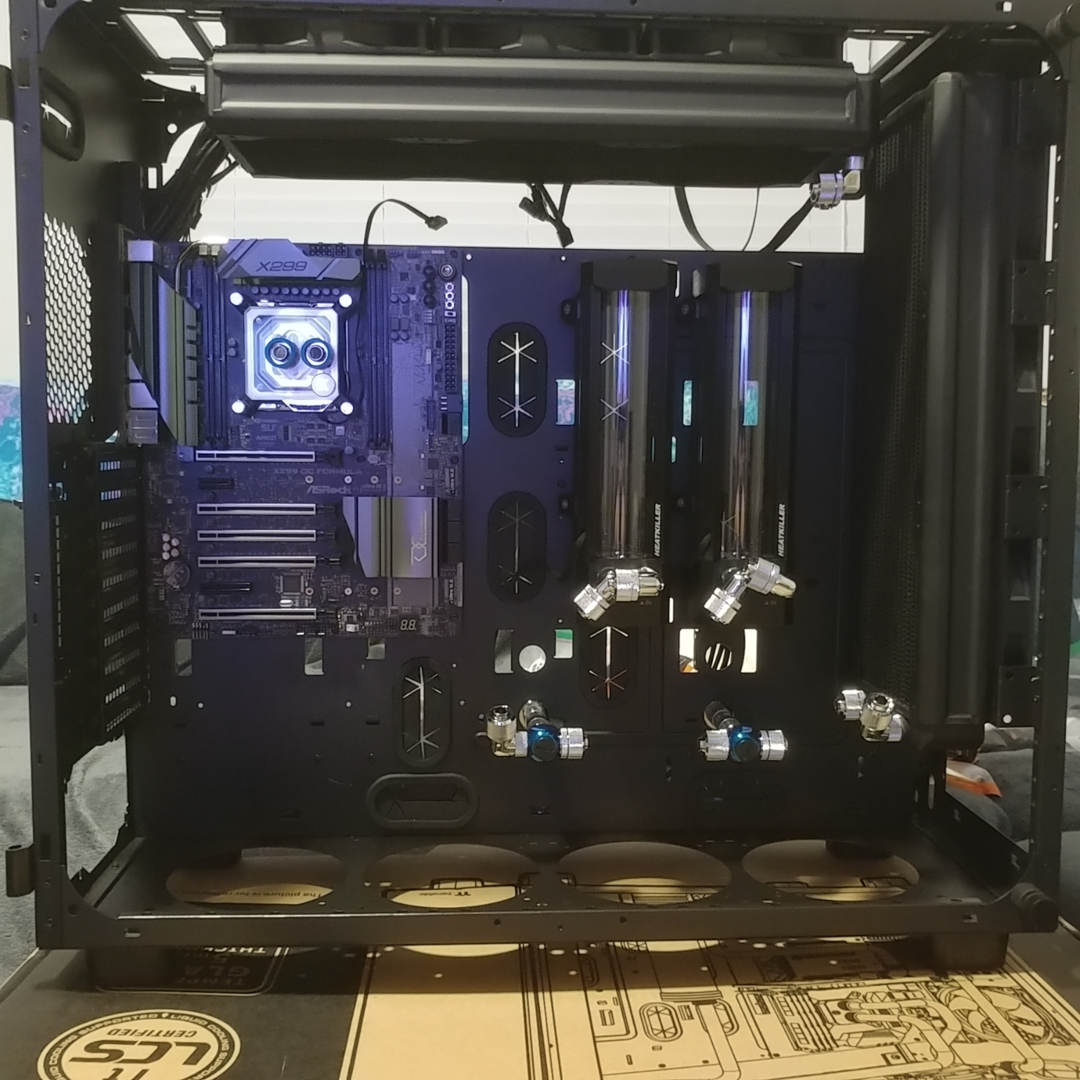
Hi, Since I used a View 91 building this rig and I did some customization on the case to get what I want out of it, I thought I'd share a few pics. I'm not looking for any followers, awards or "corporate sponsorsheeip" here -- this isn't a 100% TT rig and no apologies will be made for that -- I'm just sharing a few pics and ideas for "other" things that can be done with this very large case. There are fancier and nicer looking ways to do some things I've done here. For example, I agree that custom bent hard tubing can be better looking than soft tubing. The tubing brackets up top may be a little tacky but it works. I just don't have much spare time or money anymore and can't spend all of it obsessing over the appearance of my rig. So a lot of the thinking building my stuff anymore is about reliability and what is practical, keeping stuff out of my way for ease of maintenance, etc. -- rather than bling and showing off the latest-greatest junk to convince you to buy it. Anyway, here goes. Basic Specs Thermaltake View 91 RGB Plus case ASRock X299 OC Formula board, BIOS v1.60 (2) Hardware Labs Black Ice Nemesis 420GTX Dual-Core Extreme Profile rads (2) Watercool Heatkiller Tube 200 DDC reservoir/pump combos Intel 9980XE CPU, EK Velocity RGB block (Loop 1) 4x8GB Corsair Dominator DDR4-3000 RAM (2) EVGA GTX 1080 FTW's with EK full cover blocks (Loop 2) and Watercool GTX 1070/1080 RGB lighting strips dual boot Windows 7 SP1 / Fedora Linux The TT Riing Plus 14 fans are used only for internal case ventilation and exhaust. I use other fans as my main rad fans that I can fully control under Windows and Linux without special software. A few mods I've done or am looking into: 1. Removed all the grilles from the bottom of the case and cut out a piece of black foam-filled project/posterboard to fully cover the inside of the bottom of the case and close off the four 140mm fan holes cheaply and decently. This also completely works around the poor implementation of the air filter on the bottom of the case, ie, that it will not sit flush/flat against the case because it is under-dimensioned and all those 140mm grille screws get in the way. There is an extra piece of the black foam posterboard cut to size for the PSU. The thickness of the two pieces fills out the space between bottom of the case and where the PSU sits when screwed in nicely. 2. All non-essential brackets, posts, etc. removed from inside of case to make room to mount two res/pump combos to the mobo tray/main panel. Again, not trying to win any corporate sponsorship here -- I like these reservoirs because they are VERY well made -- the tubes are made out of real (and THICK) glass with good o-rings, and the housings and struts are *machined* out of aluminum and POM/acetal. They also sell replacement parts, o-rings, etc. and various parts and lighting options for them so they're versatile and more of a durable, reusable long-term investment that can be maintained than something you will throw out and replace the next time you build or update. BTW I really don't understand mounting a radiator completely inside of a case. Call me old school but once upon a time the point of watercooling with a radiator and fans was to put that radiator in contact with the cooler ambient air temps OUTSIDE the case, not show off the radiator. But hey, whatever... 3. Planned/measured locations and drilled the mobo tray/main panel out with a 13/16" / 21mm carbide hole saw to pass the loop drainage lines through to the back side. The bulkhead fittings are located between the drive mounting brackets so the drives can still be mounted in the rear using the stock sleds and brackets. You'll see a couple extra bulkhead fittings with plugs on the mobo tray/panel just to the right of the PSU. This will provide more rad options later. Drives are mounted on the back side with fans mounted over them to keep them cool, using the stock "univeral multifan brackets" the chassis comes with. 560 rad in the bottom? I haven't started the OC process on the 9980XE yet so I don't know that I would even need more than a dedicated 420. If I do, an idea I have in my back pocket (if I can come up with a good plan to relocate the PSU) would be to put a 560 rad into the bottom of the case. I am pretty sure it would just "drop in" and why else would there be four 140mm cutouts across the bottom of the case like that? Always nice to have options and it would nice to be able to put a 560 in the case without having to get the Dremel tool out to make it fit. I haven't completely finished implementing loop drainage on the back side yet so I'll hold off on any more pics of the back for now -- still have to figure out what fittings etc. to string together to drain loops nicely through the bottom. But if I need to drain either loop for some reason before then I can attach a drain hose to the back side of the bulkhead fitting(s). Will follow up with a few more pics of the rig running with lighting. Cheers, RetroRambler Back side (before I cut the extra pair of passthrough holes seen above): And, closer to being finished and ready to fill and leak test: