Leaderboard
Popular Content
Showing content with the highest reputation on 04/20/2020 in all areas
-

Project: I.S.A.C. by Andy Makin
Colin McNally reacted to Andrew Makin for a topic
Ahoy hoy modderinos! After my woeful attempt to cause any damage with rather unorthodox methods, it's time to get back to good old fashioned power tools. I didn't really have a defined plan for what i wanted or how I was going to do it, just more of an idea of how I wanted it to look. I decided to tackle the back panel first, as that would be taking the brunt of the damage and I could try a few things out. First up I had to get rid of those nice neat grills. The jigsaw cut through them so much easier than I thought it would, so glad I've got it in the toolkit as it would have taken an absolute age with a dremel. The Dremel is good for getting the smaller bits and grindin stuff out though. But in those small places it can get caught up and break discs, which is why safety gear is an absolute must. You may look a bit funny, but losing an eye is not. I didn't want to make it too perfect, so i left some of the protruding bits and gave it all a quick file to take any sharp rough edges off. Then things took a bit more of a drastic turn. Armed with a couple of hammers, a screwdriver and a chisel, I dented up and scored out this line and put a little gouge in with the Dremel, as though someone had tried to smash there way in. It will be developed further as I go along, build it up a bit at a time. Next up I started putting some wear marks in places that would get a lot of action and likely to get bashed a bit. These bits were done with a grinding stone bit on the Dremel. The edges took a beating from a sanding wheel, as well as some other areas of the panel, wearing off some of the paint to varying degrees. To try and blend those in I thought I'd try a wire wheel, and while it did work to an extent, it mostly just left a mark on the panel, the metal rubbing off on this extremely sturdy paint. Now as luck would have it, it was exactly the kind of grubby look I'd wanted to put in places, give it a dirty man-handled effect. Here you can see someone's dirty fingerprints and wear where the panel would be pinched on along the front edge. I don't entirely know what I was going for on this bit, I was kind of experimenting with different bits and seeing what happened. I did get some nice deep score/scratch mark across the panel bit these 2 bits though. Now the panel is largely finished in terms of damage and relieving it of it's paint. I might give some sections a very light sanding to blend some of it in and there's a little painting and other touches, but overall I like the brutality of it. It should contrast nicely with the clean clinical look I'll be going for in the front chamber. Perhaps most importantly, it still fits and functions as a side panel! Against the clean rear side of the case you can really get an idea of difference and what a hard life that right hand side has had. As have these little troopers, #### rest their shanks. That's all for now folks until the next update of more damage and destruction and I attempt to blend in that panel to the rest of the case. So stay tuned Crapfans! Same Crap time, same Crap Channel.1 point -

[ENTER HERE] 2020 Thermaltake Rig & Battlestation Showdown! Round 1
XneaLx ModPc Gaming reacted to tantric for a topic
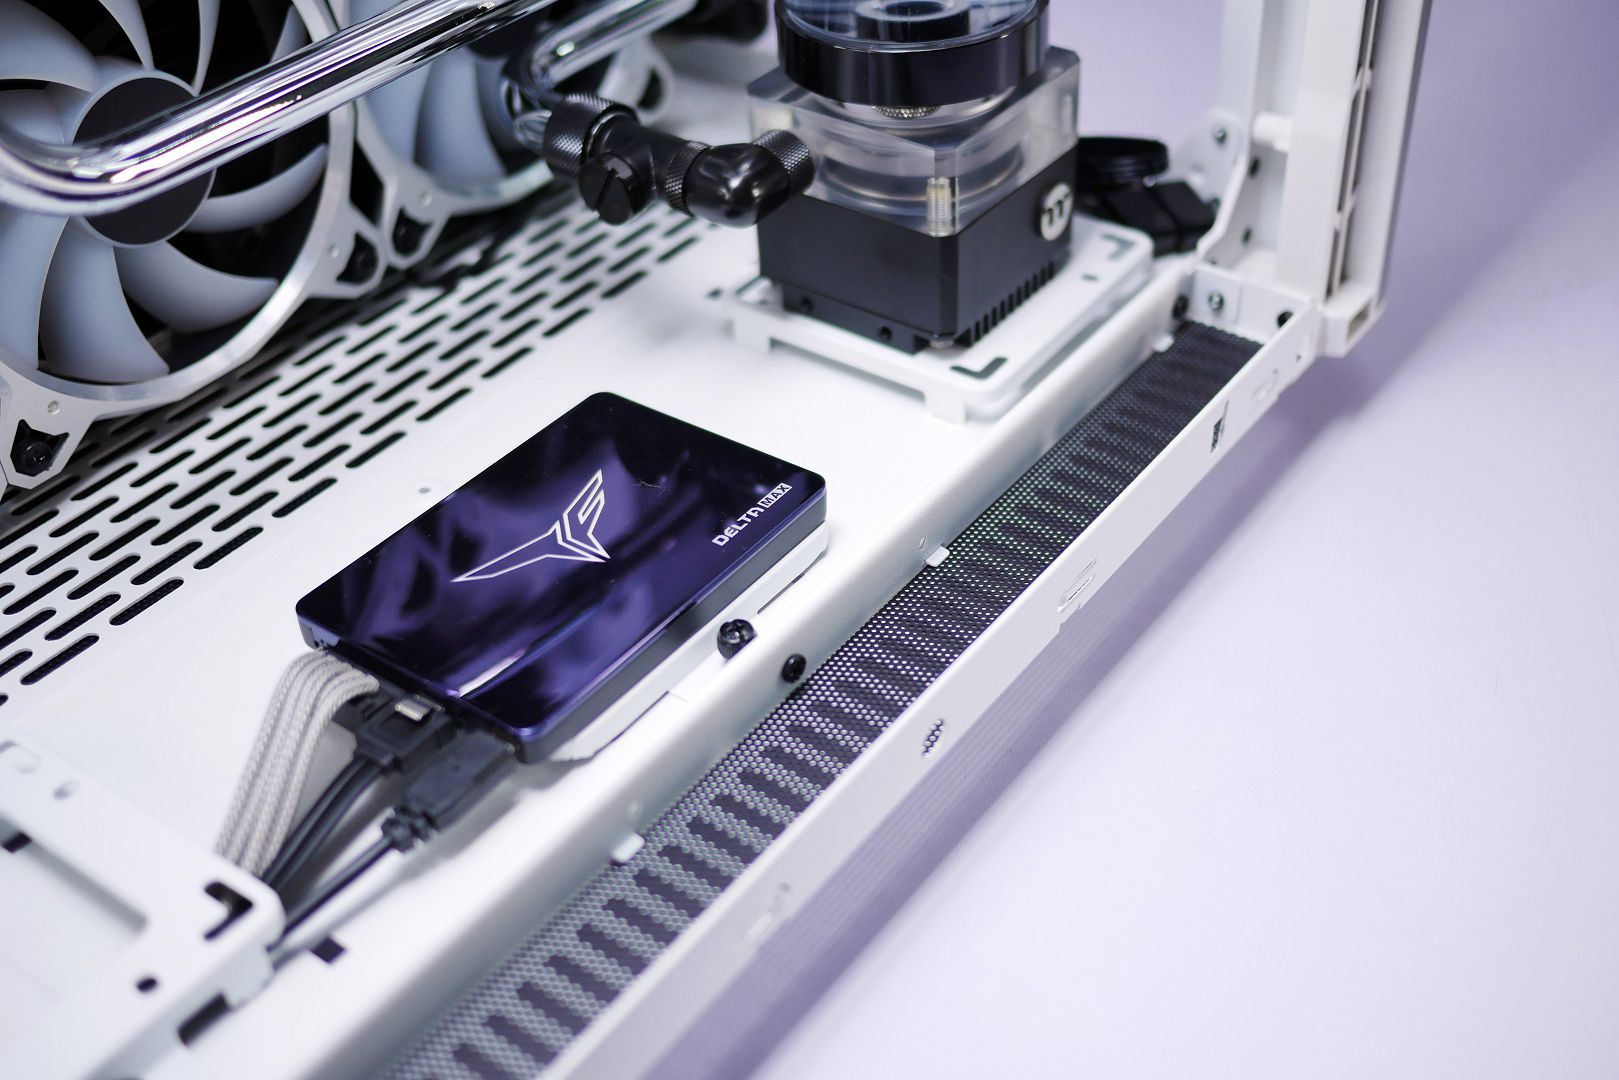
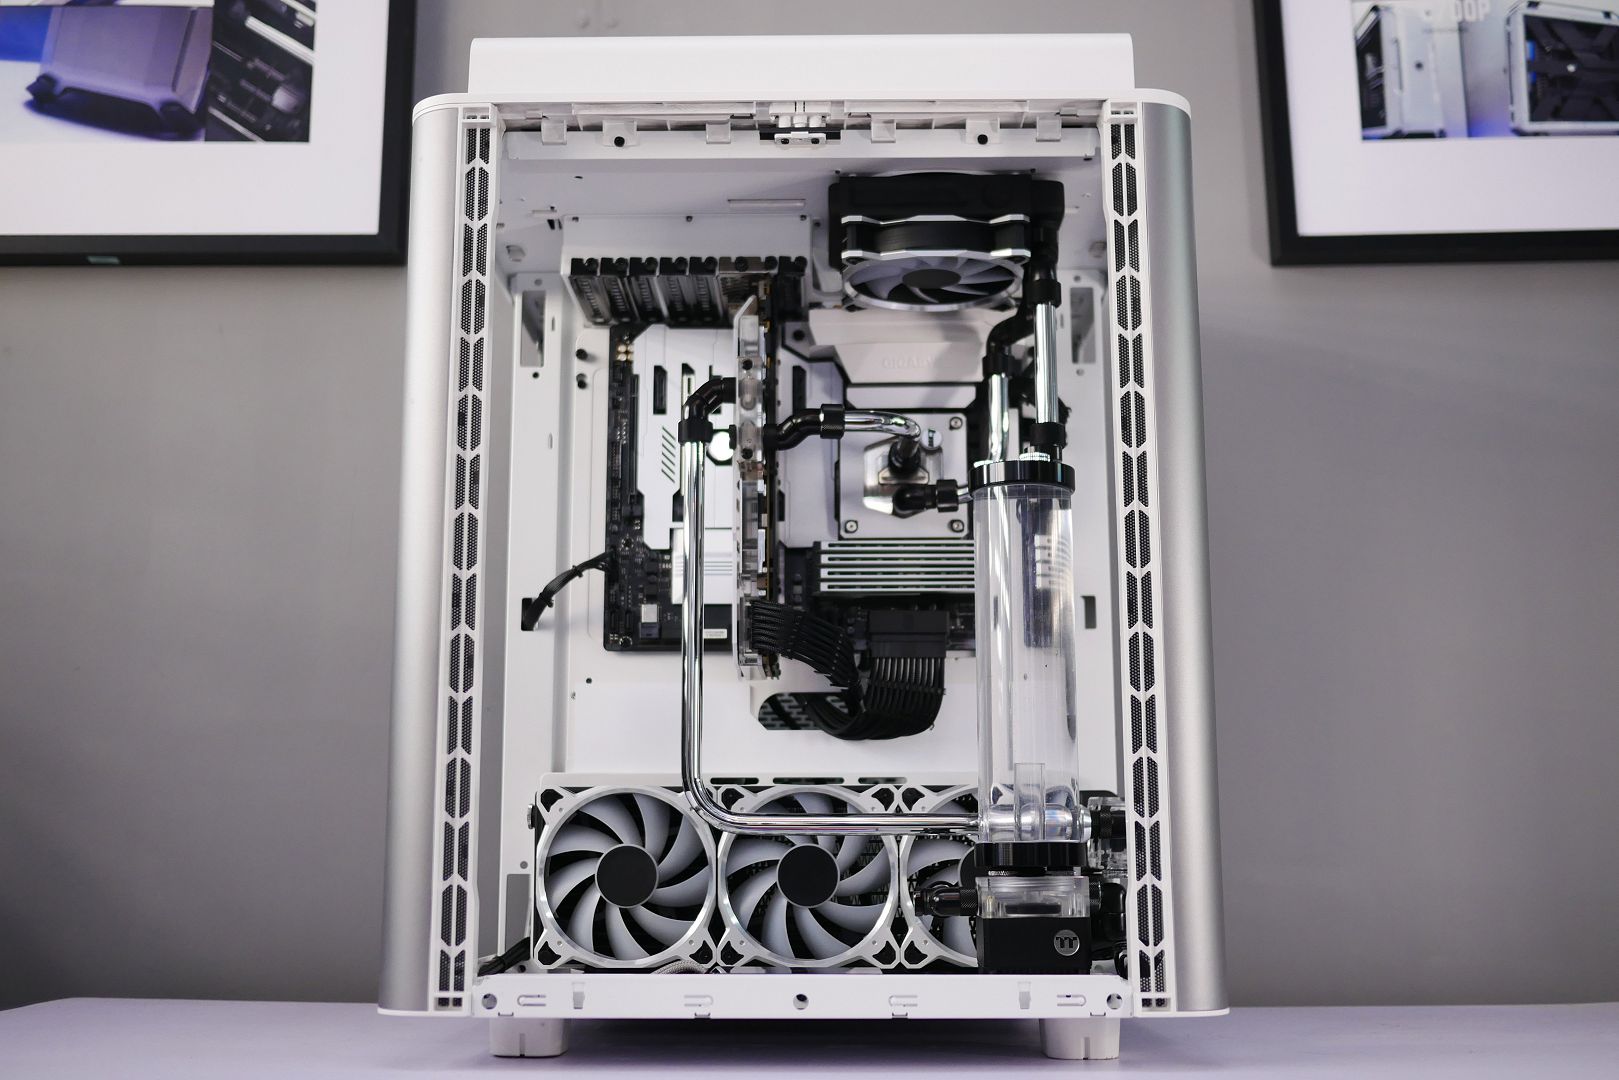
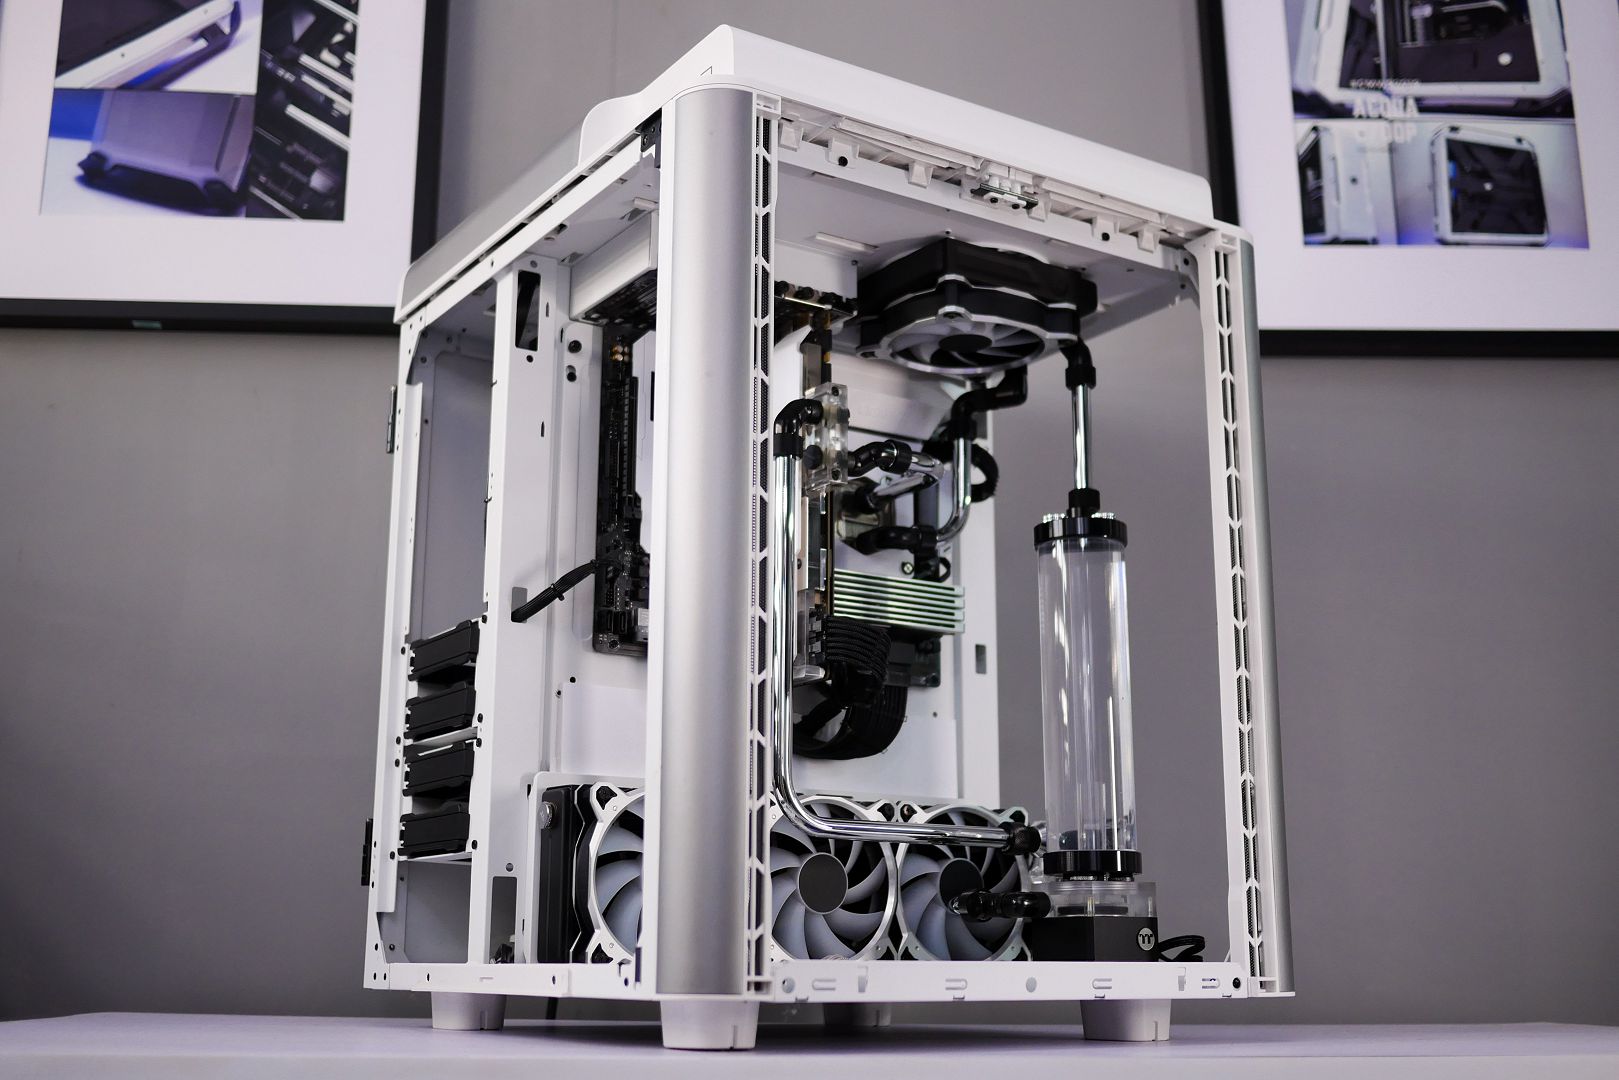
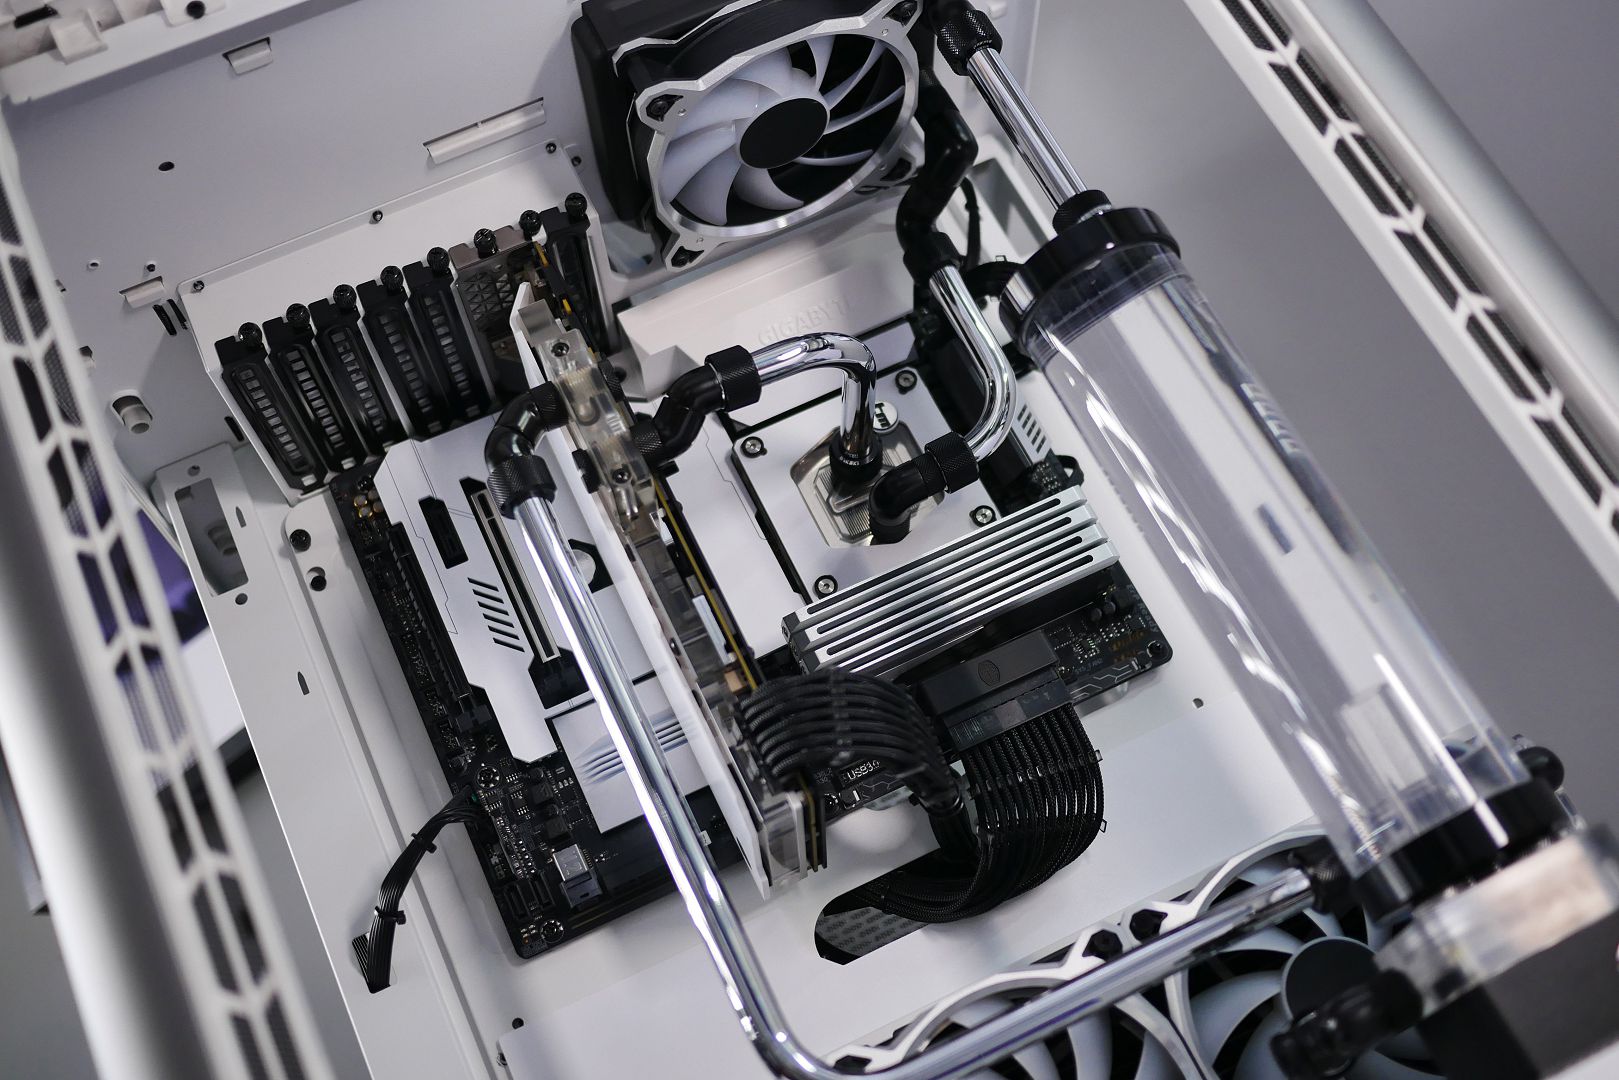
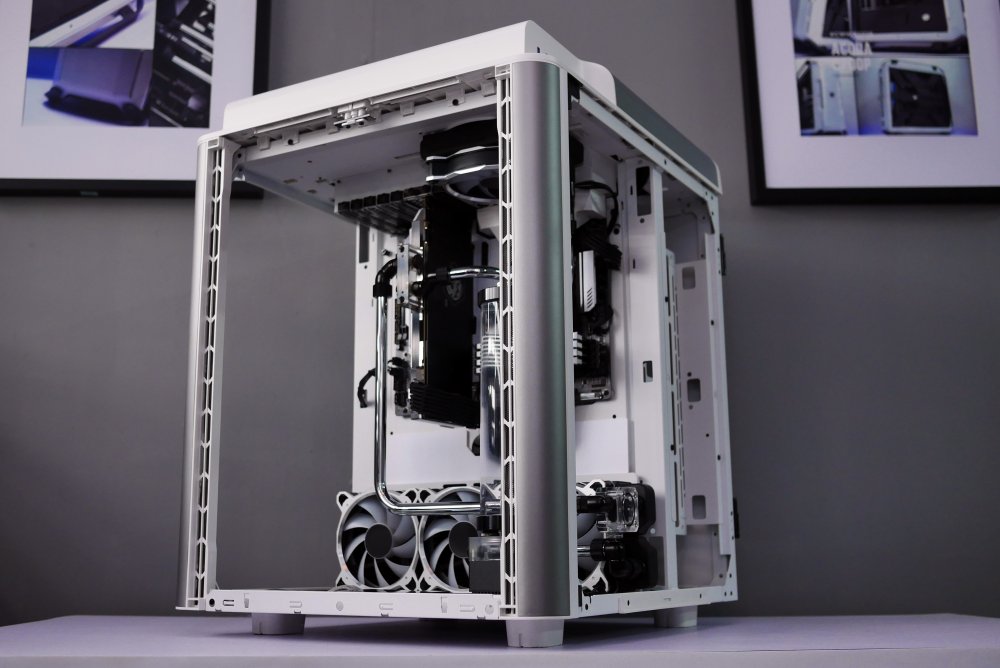
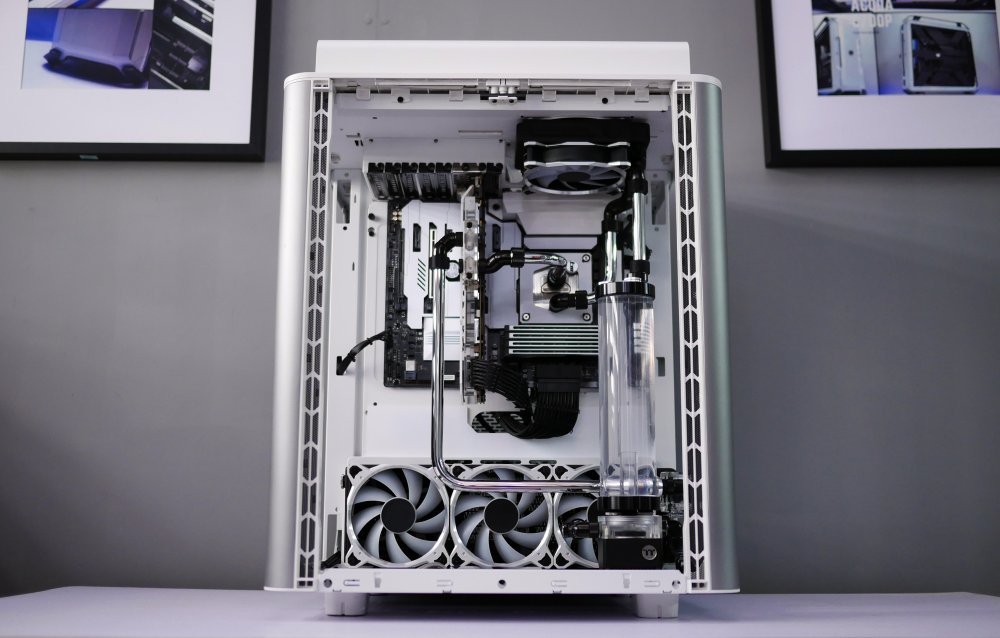
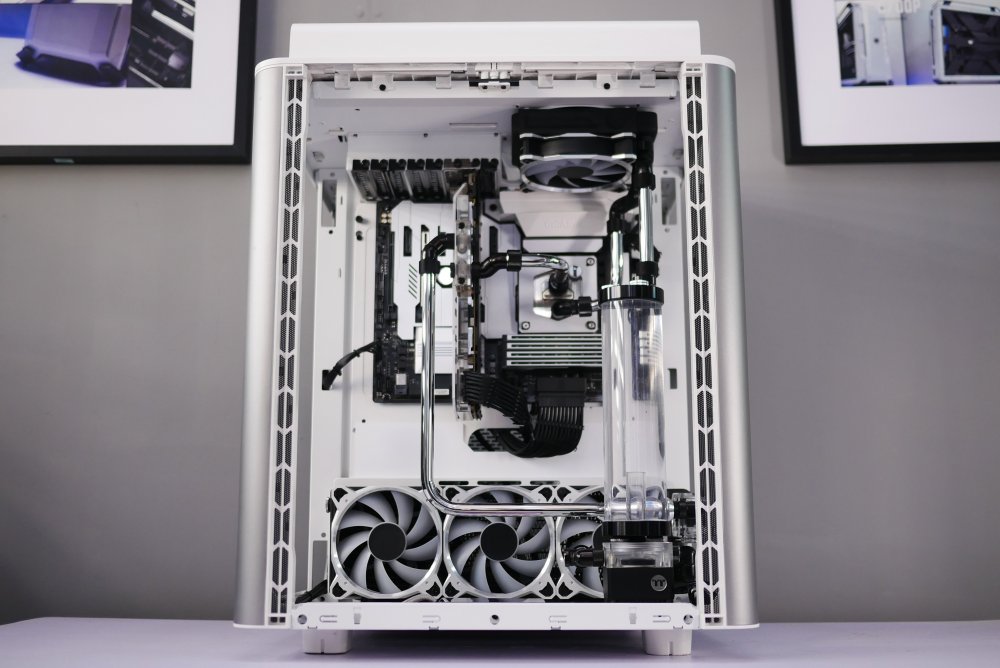
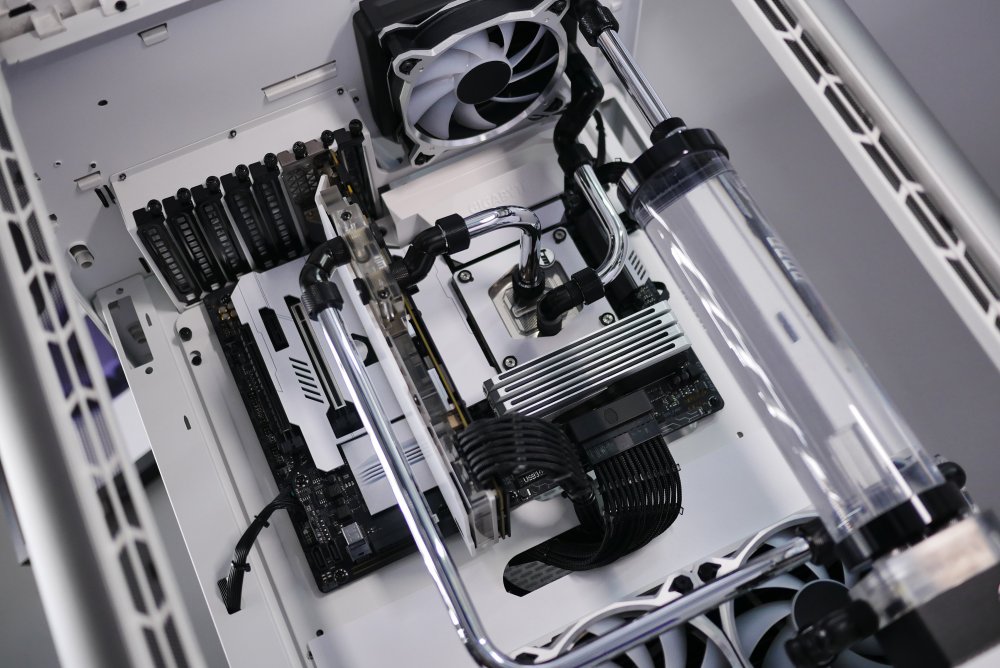
Thermaltake LEVEL 20 HT Mhike Samsin Parts used: -Thermaltake LEVEL 20 HT -Thermaltake Toughpower iRGB 1000W PSU


 1 point