Jump to content

Leaderboard

Popular Content

Showing content with the highest reputation on 05/16/2020 in all areas

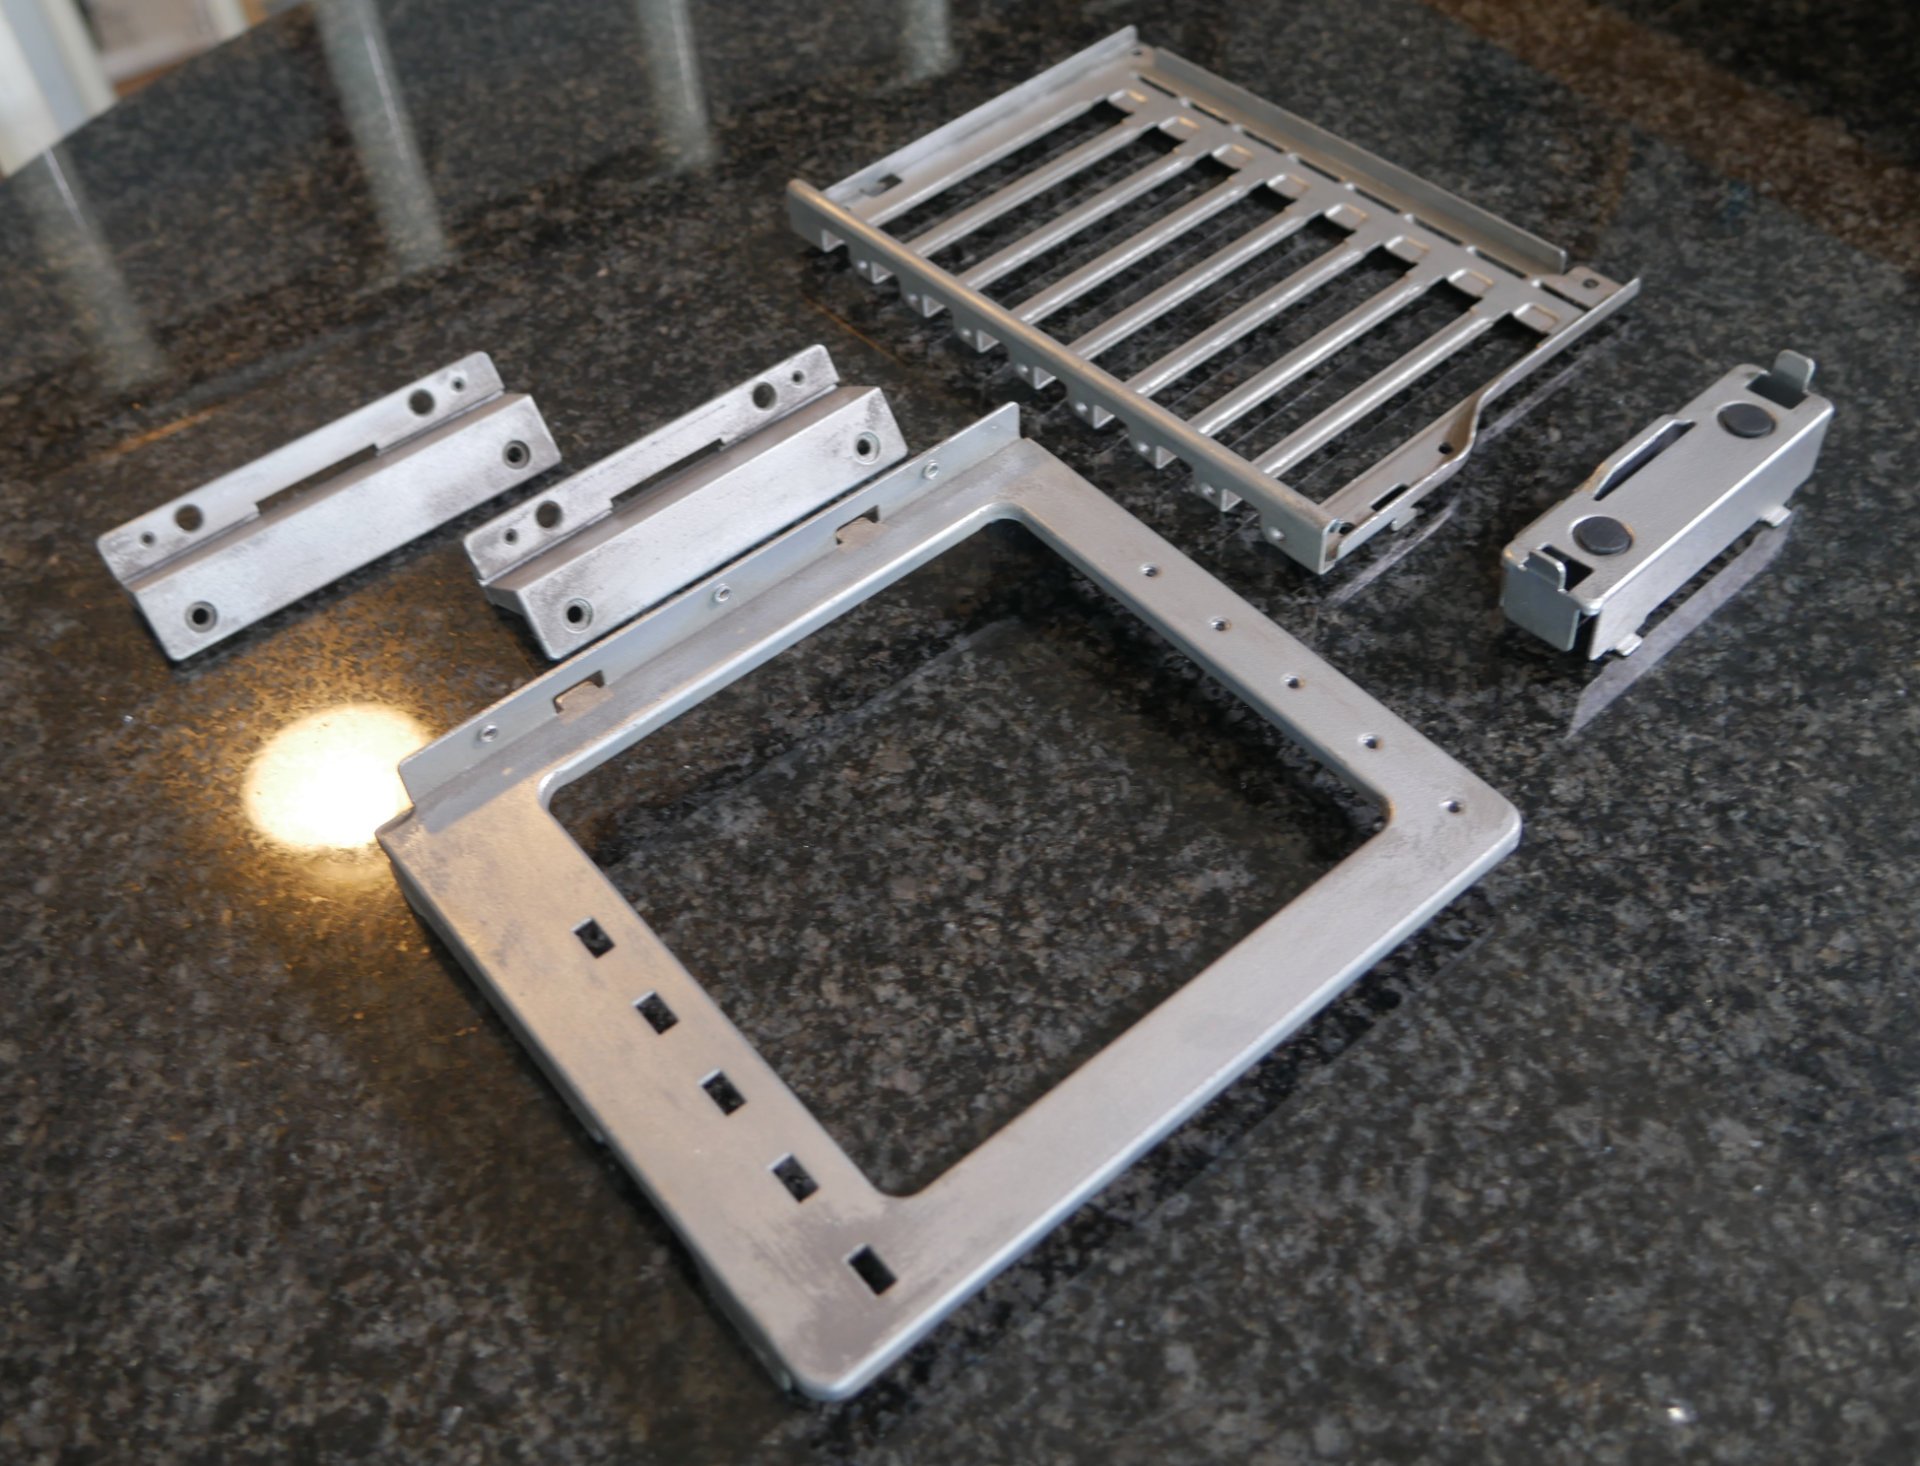
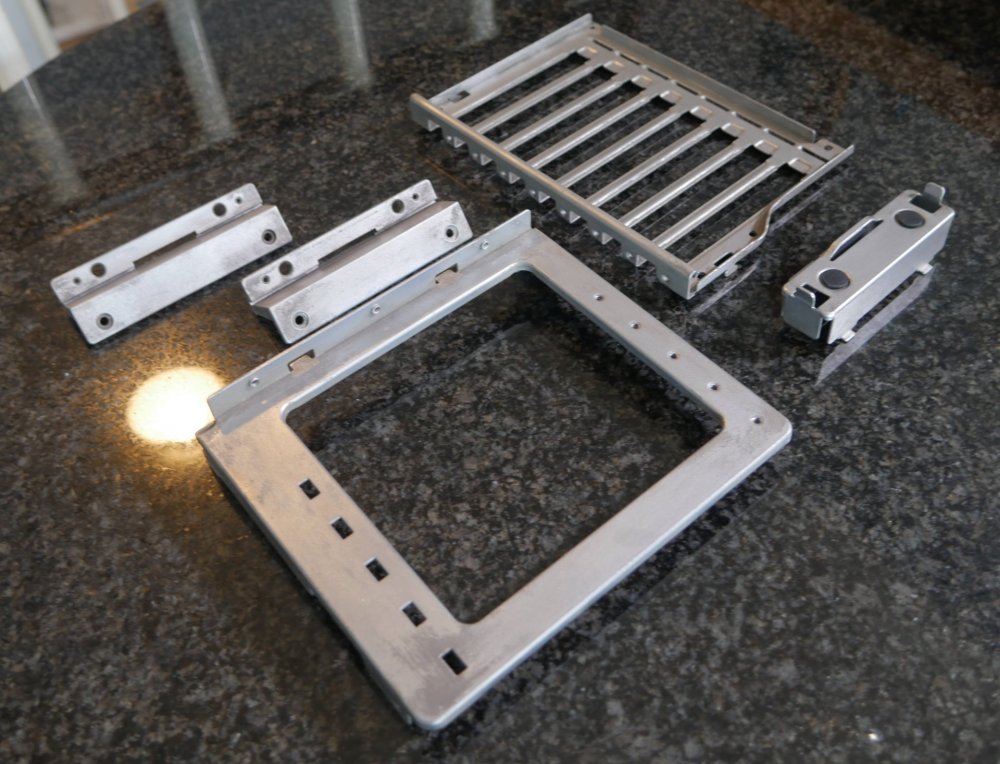
  1. Just got my second delivery from scan with more parts. Now I can make some progress 😁
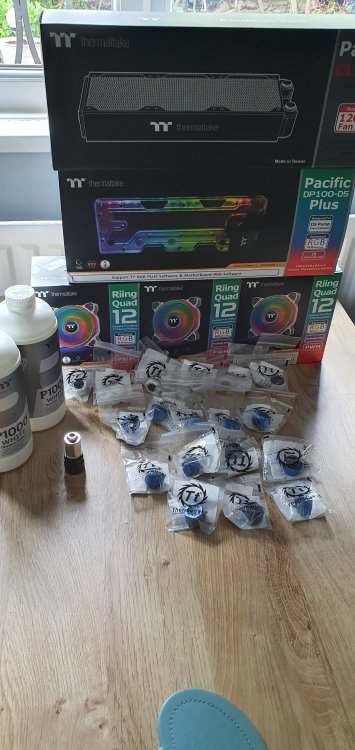
    1 point
  2. Not much to report this week I'm afraid, still awaiting delivery of the remaining components from Thermaltake. It has worked out well however, as I was able to finish up all of my academic work without any distraction; just sitting my last exam yesterday. So now I am done with everything and just waiting for my results! As soon as the rest of the parts arrive, I will finally be able to really get stuck in; so this past weekend I decided to do a few preliminary things to get the ball rolling. Since the weather was nice I decided to take a stab at cutting my first piece of acrylic: This particular sheet is actually gloss white, but comes with a protective blue film on both sides. The film is quite handy for plotting your guidelines, as well as providing some surface tension to prevent cracks or splintering. I just used a cheap jigsaw (nothing fancy) but with a high-quality metal-cutting blade. As long as you keep the speed slow and with no articulation, cutting acrylic this way is fairly straightforward. Just remember not to go too fast, otherwise it will melt back together. The radiator/fan brackets also needed a little bit of cutting with a dremel: Just little slots to allow the acrylic sheet to be flush with the frame. An alternative option would have been to put notches in the acrylic, but doing it that way would require pinpoint precision; whereas this way I could basially 'eyeball' it. Not bad for a first test-fit. I will need to trim the top bracket a little bit more, as the acrylic isn't perfectly perpindicular at that top-left corner. Plenty of other little bits of cutting to do as well, for cable and tubing access; as well as more acrylic pieces to measure and cut for the rest of the inside. Unfortunately I can't do that until the rest of the cooling parts come, as I need the exact measurements. It is nice and bare back here for now, but once all of the power/argb/fan cables are in, it is going to be a nightmare to tidy up. Well that's it for now, weather permitting I will do a little more acrylic work over the weekend. Now that all my academic work is out of the way I plan on making steady progress relatively quickly. The sooner I get everything assembled and mocked up, it will be much easier for my step-daughter to plan out the 'artsy' stuff. She has plenty of ideas, but it can be difficult to visualise without having the blank canvas set up to see how everything will look/fit. In the meantime, take care folks.
    1 point
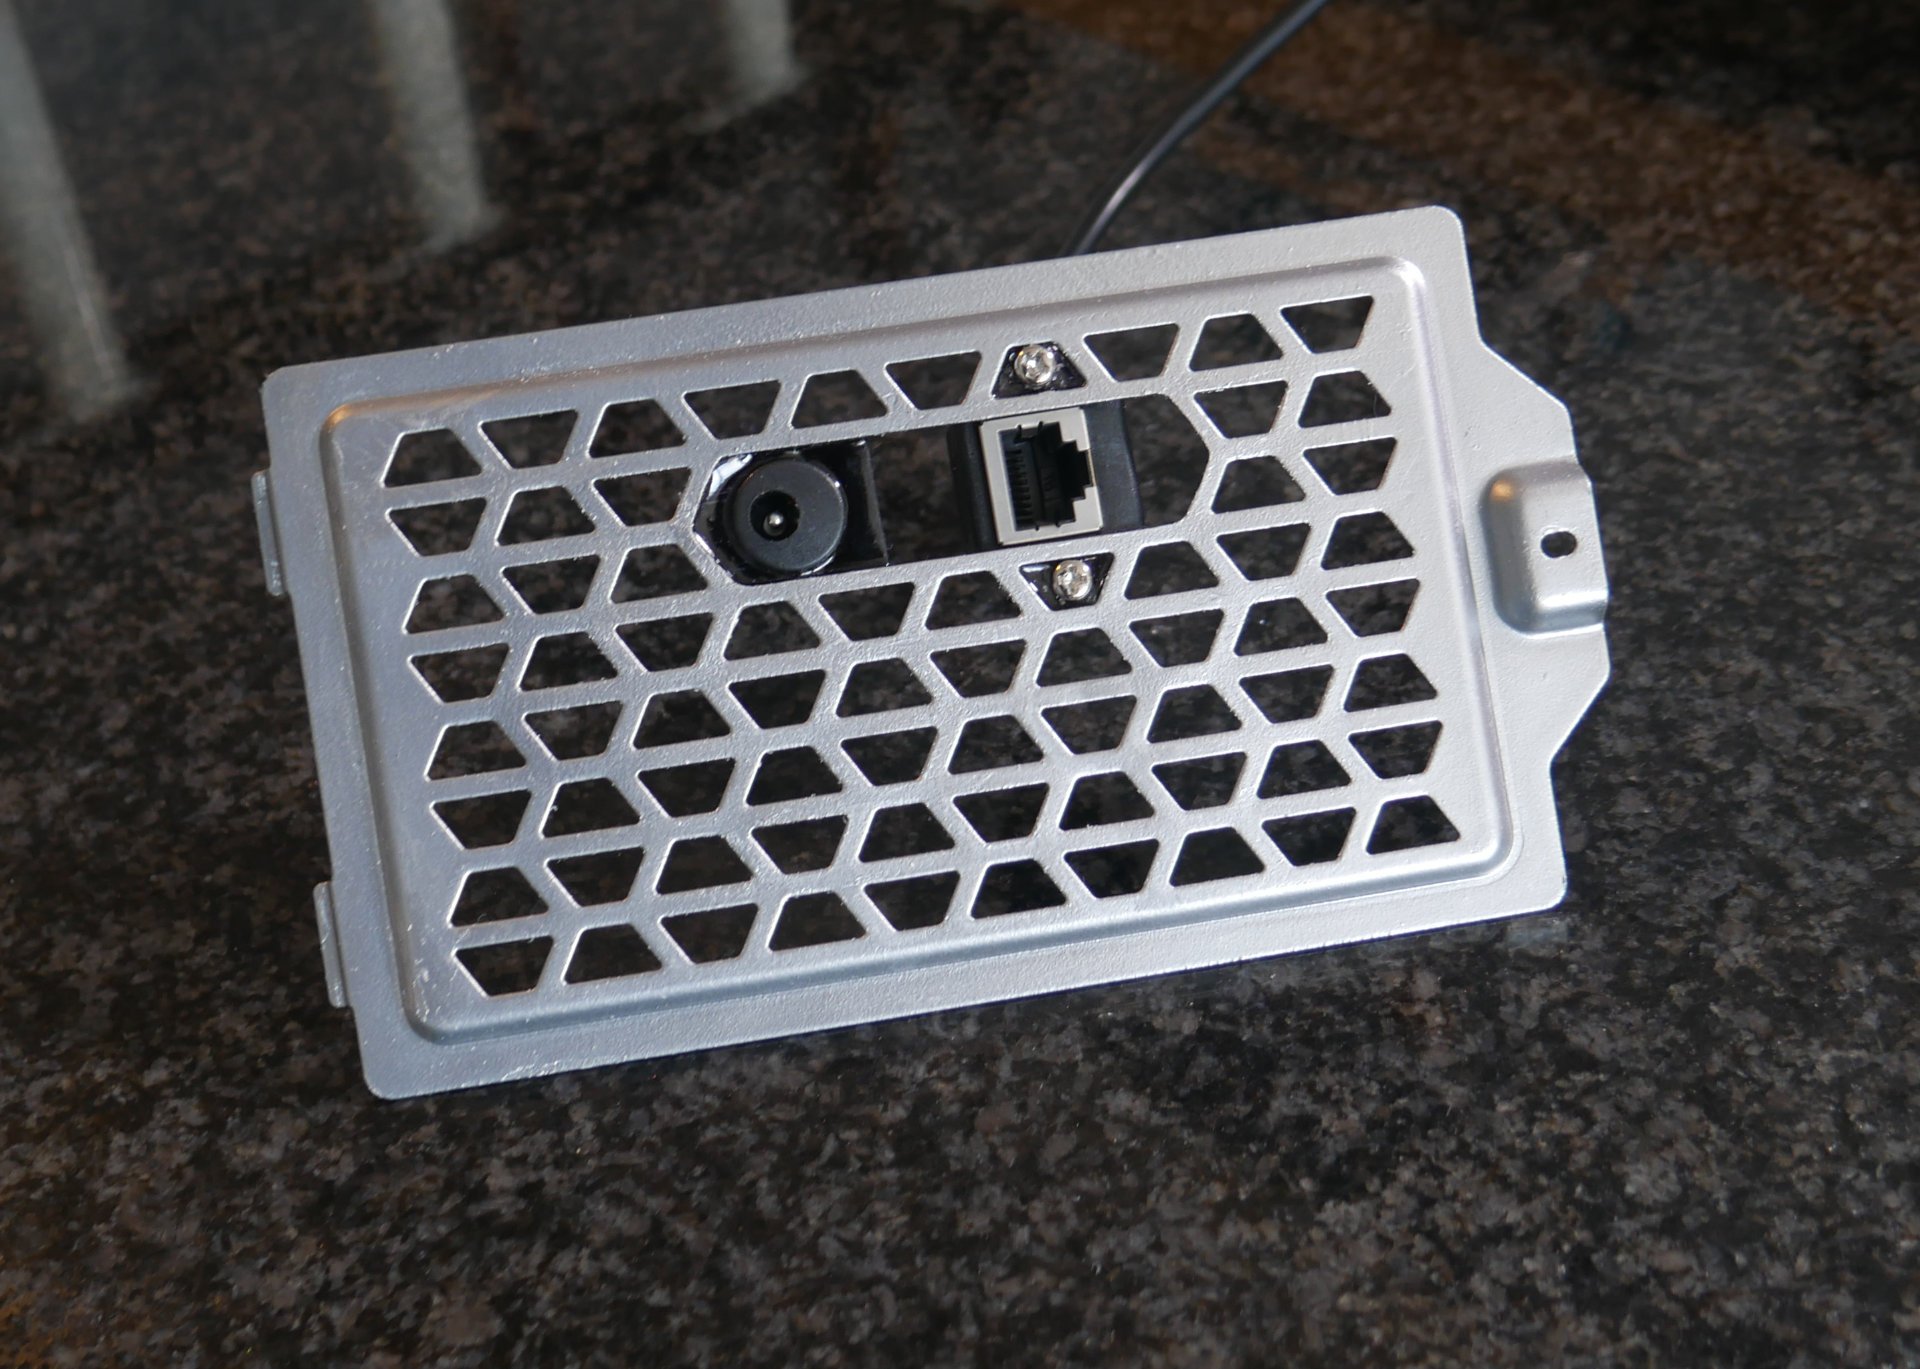
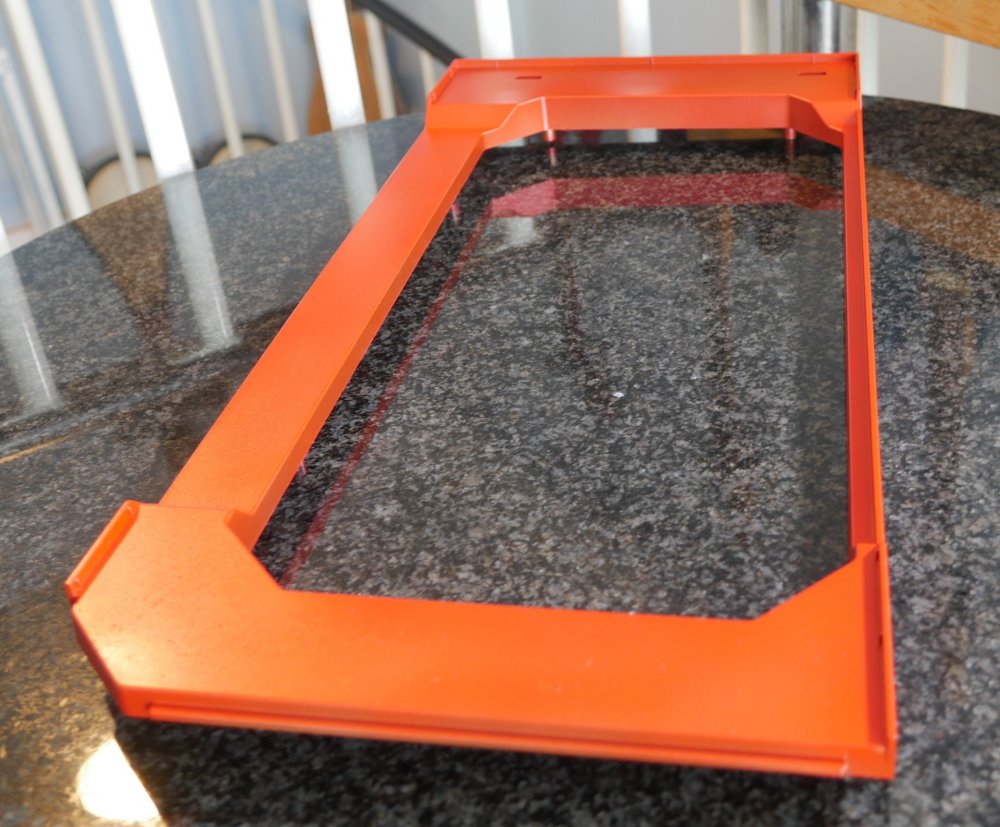
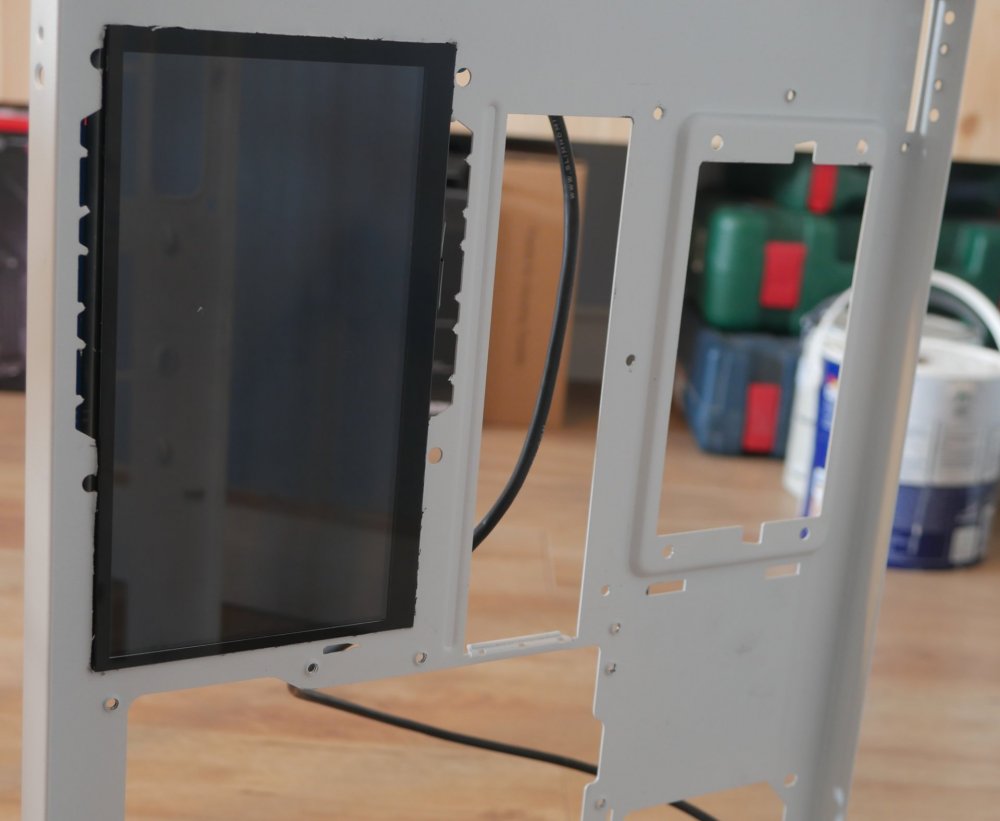
  3. Just another quick update, started painting the outer panels, the copper colour is a base coat before adding a coat of gold and then red on top, could still do with a couple more coats of red: Added a bit of grime to the smaller parts of the case which have all been painted (they looked a bit too pristine on reflection): Added DC and Ethernet ports to the HDD access door: Cut the hole for the screen at the back (still needs tidying up and the frame painting): Will get some time at the weekend when I'm hoping to: Finish up on adding grime / wear to the smaller parts of the case Tidy up the LCD screen's mounting Get some primer on the frame Finish all airbrushing on panels / smooth down surfaces for gloss lacquer on top
    1 point
  4. Finally, I can upgrade software to version 1.10.0 but have to switch the usb port to make it work. Right now, it works without any problems. :-)
    1 point
×
×
  • Create New...