Leaderboard

Popular Content
Showing content with the highest reputation on 05/18/2020 in all areas
-
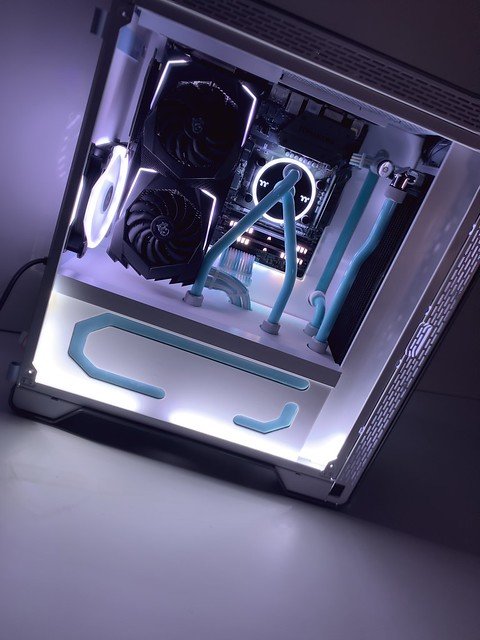
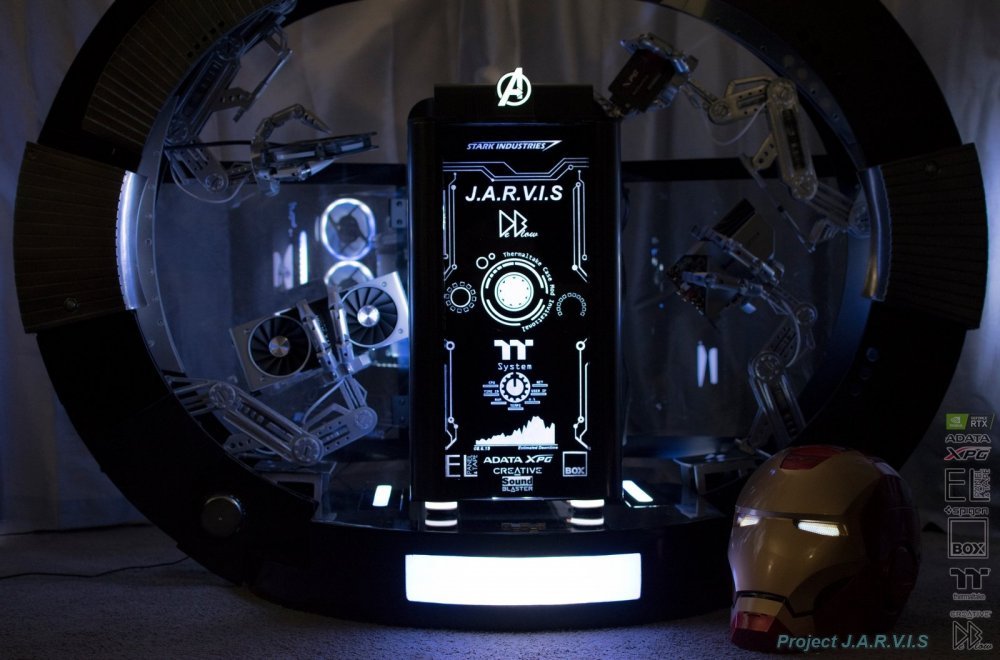
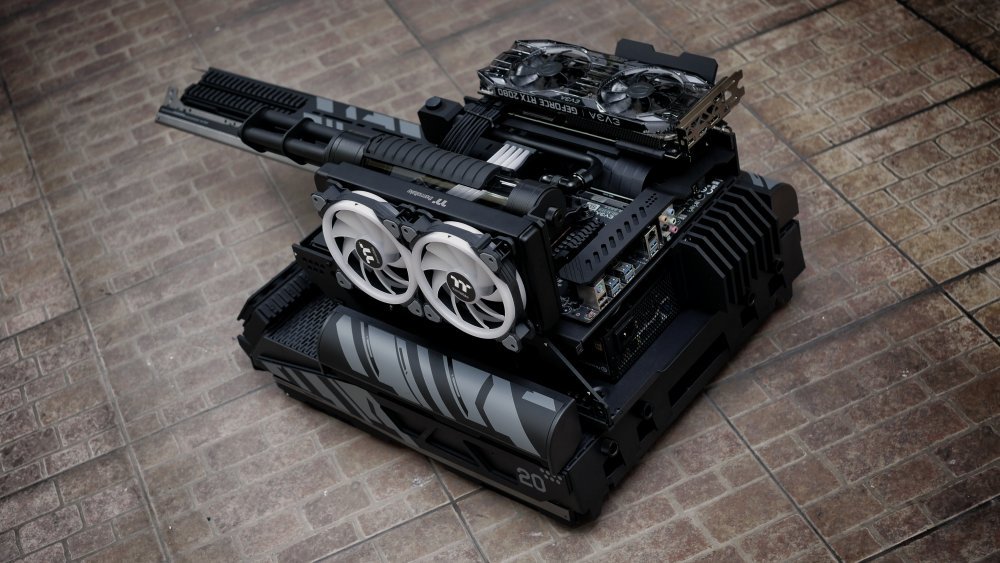
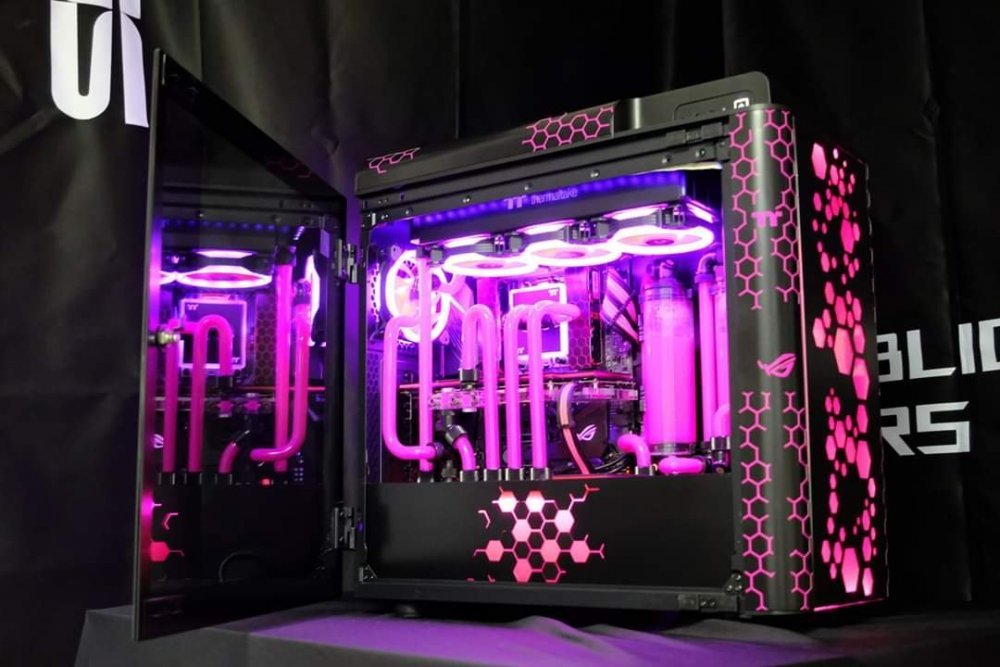
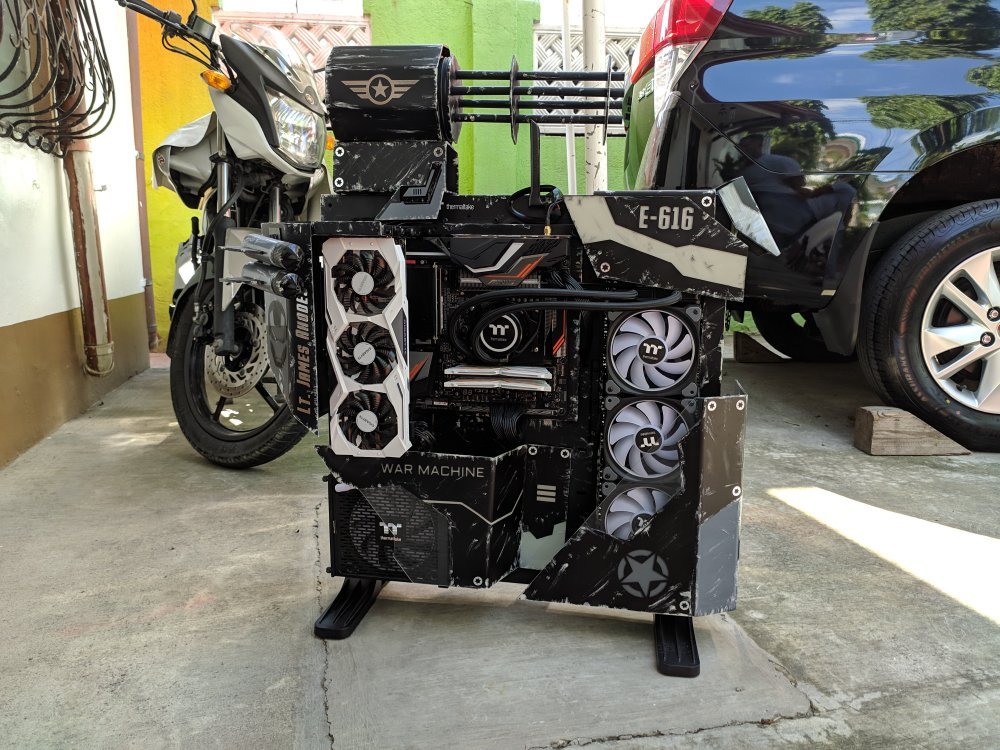
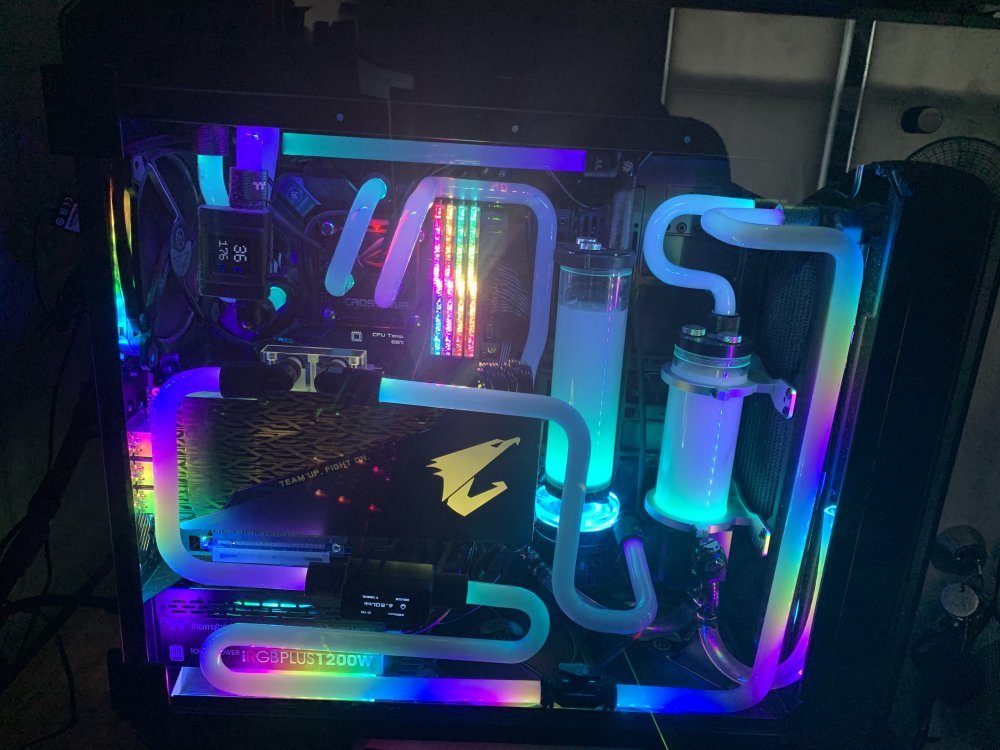
VOTE FOR YOUR FAVORITE RIG! Round 2 has started! vote for your favorite rigs on the poll! Voting Ends: 5/20/2020 Timmy Parker - View 51 Marc Chibani - Core P5 Franco Warboy Martinelli - Core P5 George Antonopoulos - Core P5 AML Custom PC - A500 Rob "Deblow" Deluce - Level 20 GT tantric - Level 20 VT Douglas Alves Modding - Core V71 Turritopsis - Level 20 MT RYUTECH MODZ - Core P5 Илья Байда - Core P5 cristianomod - Level 20 GT primerajuly - Level 20 GT Explore Modding - Core P5 orkusmodding - Level 20 GT TantrumL - Core P5 TheTechAllen - Level 20 GT XneaLx ModPc Gaming - Level 20 VT Patrick Kahiga - View 71 Rich Stanton - Core P3


 2 points
 -

Project: I.S.A.C. by Andy Makin
AcuteJungle66 and one other reacted to Andrew Makin for a topic
Ahoy hoy mod fans! While I was waiting for the rest of the parts to turn up before I could do anything further on the case, I set my sights on some of the internals that could do with some tweaking. I needed to brighten the motherboard up as the main chamber of the case will have a bare metal finish and it would look like a black hole in amongst all the bright shiny metal. I've also never been much of a fan of modern motherboard heatsinks. I loved the fin-stacked heat-piped up solutions of yore and I'd even kept the one's off the Striker II NSE/Extreme boards for the ages after I'd binned the boards, but lost them in a move. 😔 What I did have was some Thermalright MOFSET heatsinks and a beefy Supermicro 1U copper cpu heatsink that I could use instead of or in combination with the existing ones Time to get this board stripped down. The CPU heatsink's mounting holes lined up perfectly with the mounting holes for the cover, almost like it was made to live there. Not sure it's supposed to come out like that 😳 Was very lucky not to strip any pins out of the CPU. Can just imagine how well that conversation would have gone down with Thermaltake 😅 After that heart exploding moment I gave the CPU, block and board a bit of a cleansing. This was the kind of setup I was looking at doing. I plan on milling a flat channel into the boards original heatsinks and using thermal glue to attach the Thermalright MOFSET heatsinks to them, rather than on there own. MOFSET sizes have grown a bit since these were made! There may be a bit of a fitting issue for the one on the left side MOFSET bank as it clashes a little with the IO shield. I'd rather keep that intact if possible. Those original heatsinks would still be too dark as is though, so we'll have to do something about that gun metal grey anodising. First off taking the fan off the chipset cooler, stripping the thermal pads (after measuring the sizes for their replacement) and giving them a good clean with TIM cleaner to remove the grease from the thermal pads, before they go for a little dip..... ... in some of this horrid stuff. Also know as Sodium Hydroxide. I'd picked up these old sweet containers to bathe the parts in and then rinse. Sadly I didn't get to eat the contents first, but given my ever increasing waistline that's probably for the best. I'd given them a good clean several times over and then a thorough rinse as I didn't want any contaminants in there that may react with the Sodium Hydroxide. You'll have to forgive me for the lack of pictures of the process, I was dolled up to the 9's in PPE (including a waterproof coat with a bin bag over it, was quite a sight) and didn't fancy getting my phone out whilst in the middle of it all. I placed the 3 tubs in the bath, seemed like a good place to do it as there's good ventilation in the bathroom and if things go south it can turn the taps on and ditch it down the drain quick. With the drain on my left, I used the left most container to have the solution in. I filled the other 2 with water as a 2 stage rinsing set up. I put 1 litre of water into the other and added 50g of sodium hydroxide crystals in gradually, in about 5 or 6 stages, mixing thoroughly with a toothbrush I had to scrub the pieces as the anodising came off. I used cold water to control/slow the reaction a bit so I could leave the pieces in long enough to get all the anodising off, without it just eating the aluminium away I put the large MOFSET cooler in first as I figured it could probably do with going in when it was fresh. It took a little while to get going and do anything, but sure enough bubbles started to come. I turned it over a few times, giving a little whirl in the fluid and you could see the colour fall off it. I then started giving it a helping hand with the toothbrush, especially in the little gaps. When the anodising had all come off I pulled it out and gave it a gentle shake, dropped it into the next tub with the clean water in, gave it a good whirl in there and and gentle clean with a second tooth brush, then into the third container for more fresh water, before finally putting it on some kitchen towels I'd set to the side to dry off. I then repeated the process with the rest of the pieces. The end result was better than I ever could have imagined 😍 The Aluminium on the newly stripped heatsinks is so bright, almost white. Look how it contrasts here to a piece of Aluminium sheet that I've had for a few years. And they look so good on the motherboard too! Super chuffed with the result. At least 3 chufty badges! Sadly the copper cpu block isn't going to fit, although given it's gargantuan size it shouldn't be all that surprising. I could have had a go at cutting off a corner here and there to get it to fit, but I don't think I've got the tools for the job and I'd probably end up ruining it. In all honesty with the amount of silver that's going to be around, the copper would probably look out of place anyway. Best to keep that for another day. I had a little test fit with the MOFSET heatsinks, either just sat on or with the help of an old thermal pad. Still not convinced that one on the left if going to fit without interfering with the IO shield. Thought I could maybe switch that one to the lower M.2 slot cooler. 🤔 In all honesty I'm not entirely convinced. Now I've got the stock heatsinks stripped, they look pretty dam cool. I have to be 100% sure as if I commit to it and it doesn't look good with the heatsinks on, I'll have wrecked the originals, so there's no going back. That can go on the back burner for now. There's a lot to be done still and I can always come beck to it later. It does look pretty dam sweet as is though. We got some new parts! 👏 Huge thanks to the guys at Scan (and DPD) for getting these over to us.🙌 Lots of fittings and adapters, a couple of litres of coolant, some 1m tubes for longer runs and backup for the inevitable mistakes, a nice thick rad and 9 of Thermaltake's new Riing Quad fans which I'm looking forward to getting snazzy with the NeonMaker software. I am NOT looking forward to the cable/sleeving job of 9 RGB fans 😭 Now putting heatsinks to one side, I'm still not done with the motherboard and whilst I have done some more stuff, it's not finished and I don't want to put it out half baked. I had hoped to finish it today but after 3 days of working on it on and off, this morning my body said no. 🤕 This seemed like a good place as any for a little update though, I hope you all enjoyed the show. For now I'll leave you with one last shot of those heatsinks in all their glittery glory. Hopefully I'll have another update for you later this week, so stay tuned crap fans! Same Crap Time, same Crap channel.2 points -

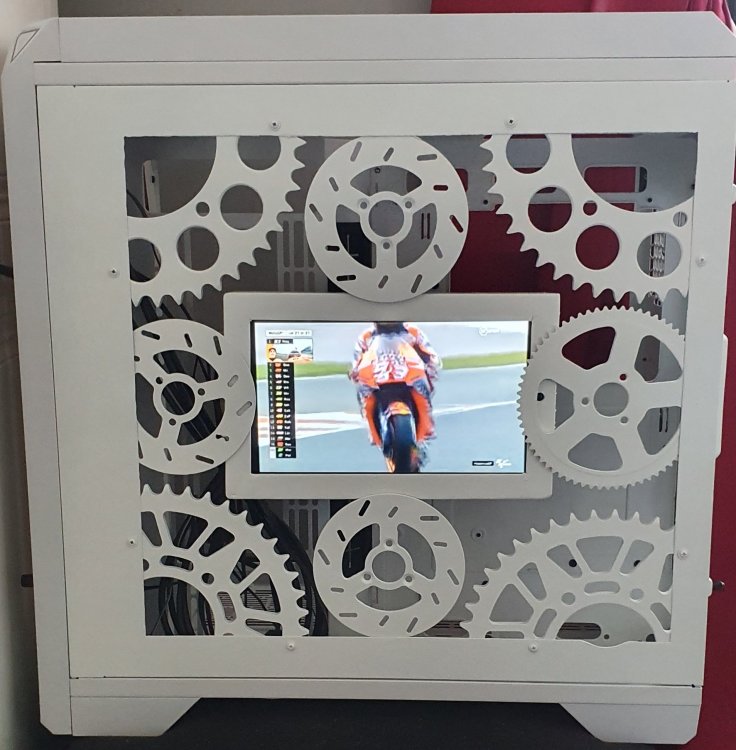
Colin McNally - project motogp
ah_ah and one other reacted to Colin McNally for a topic
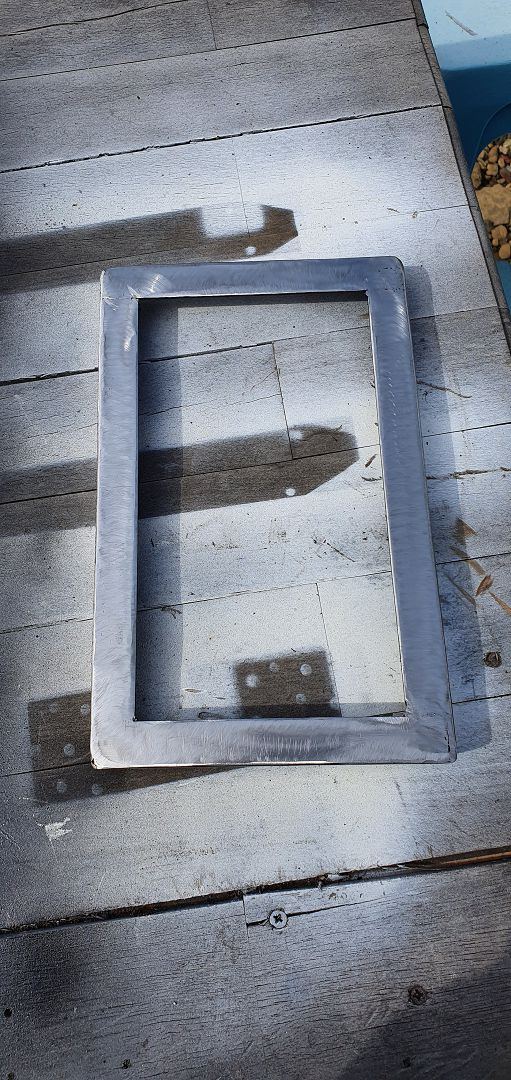
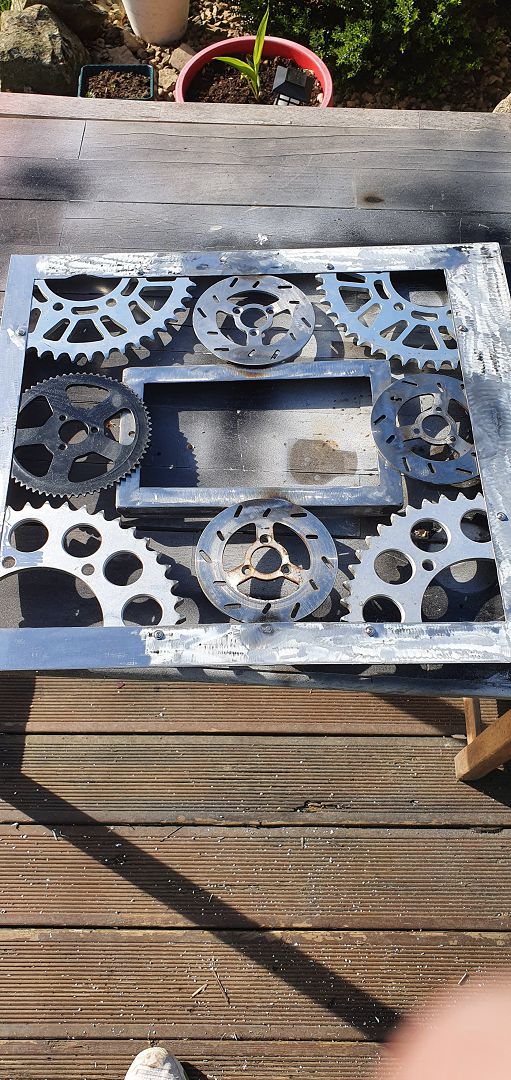
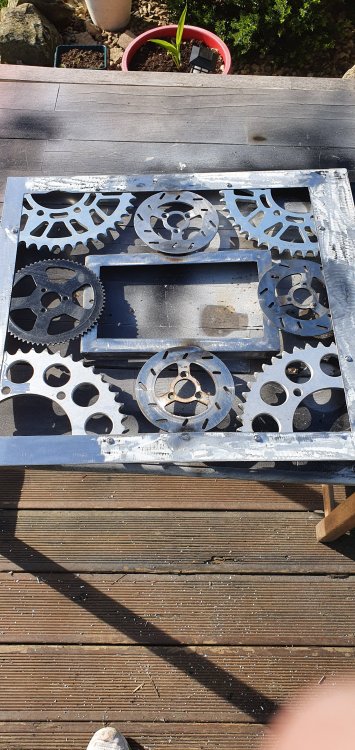
I cut the middle out of the back panel welded a frame then added some more sprockets and brake discs and painted it all white then added the screen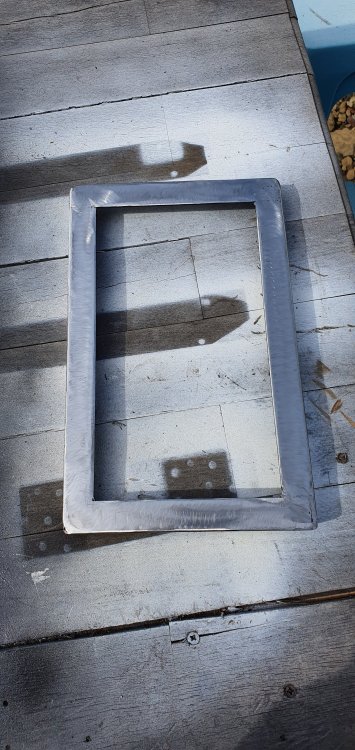
 2 points
 -
Colin McNally - project motogp
AcuteJungle66 reacted to Colin McNally for a topic
Checkout my update video Colin_vid_2.wmv1 point