-
Forum Statistics
93.5k
Total Topics114.2k
Total Posts -
Member Statistics
172,965
Total Members16,800
Most Online

tagmods
-
Posts
29 -
Joined
-
Last visited
tagmods's Achievements
Just Getting Started (2/10)
3
Reputation
-

[Australia] Ethan Cooper
tagmods replied to TT Lily's topic in 2022 Thermaltake RAM MOD Invitational Season 1
AND WE ARE DONE! Here are the Photos: https://drive.google.com/drive/folders/1S0Y4A_nSU4tdlXBaLNdgxpe9Cg9BKxYJ?usp=sharing And a Quick Video on how it all works! https://drive.google.com/file/d/1g-5DbobDxv4wwQSGuxtgtVBNrE27r_mw/view?usp=sharing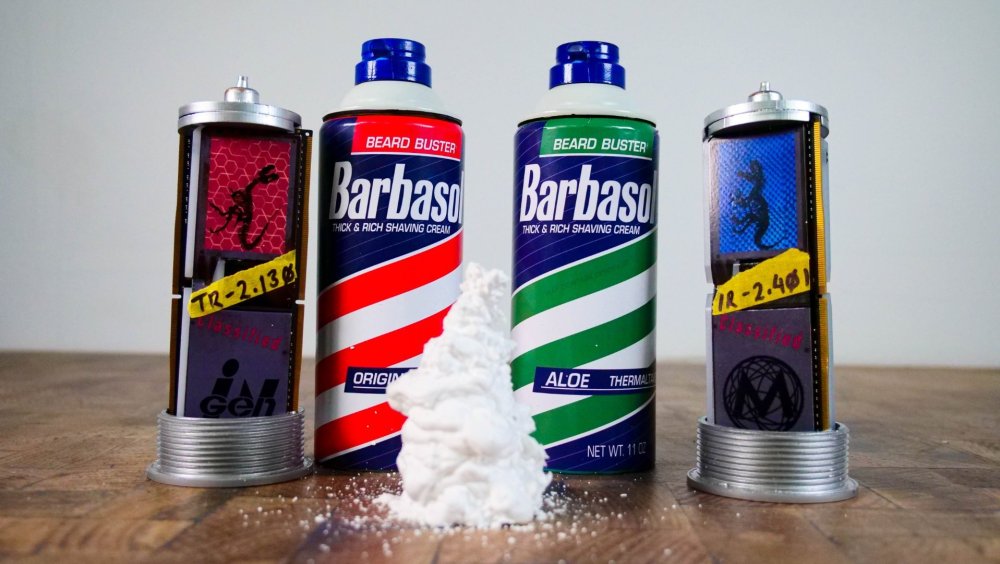
-
[Australia] Ethan Cooper
tagmods replied to TT Lily's topic in 2022 Thermaltake RAM MOD Invitational Season 1
Now to wrap the cans. Turn the RAM into samples and get some final shots done!
-
[Australia] Ethan Cooper
tagmods replied to TT Lily's topic in 2022 Thermaltake RAM MOD Invitational Season 1
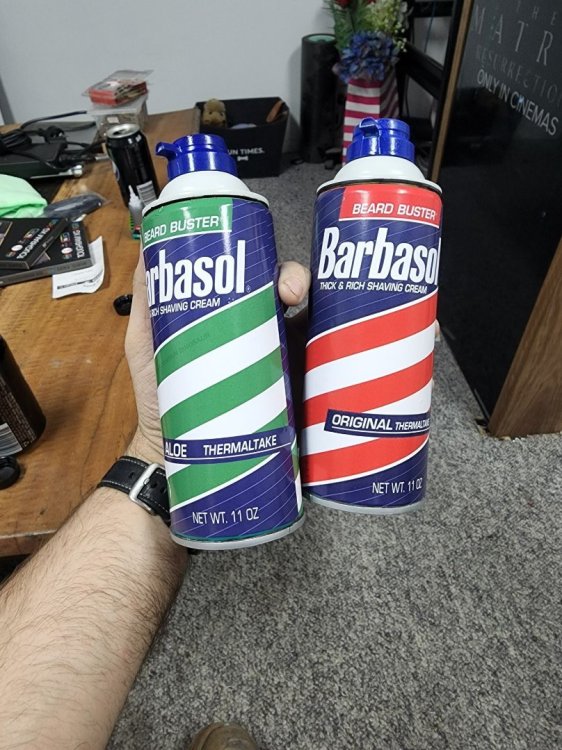
Decided since we have 2 cans that we should also do the Aloe variant!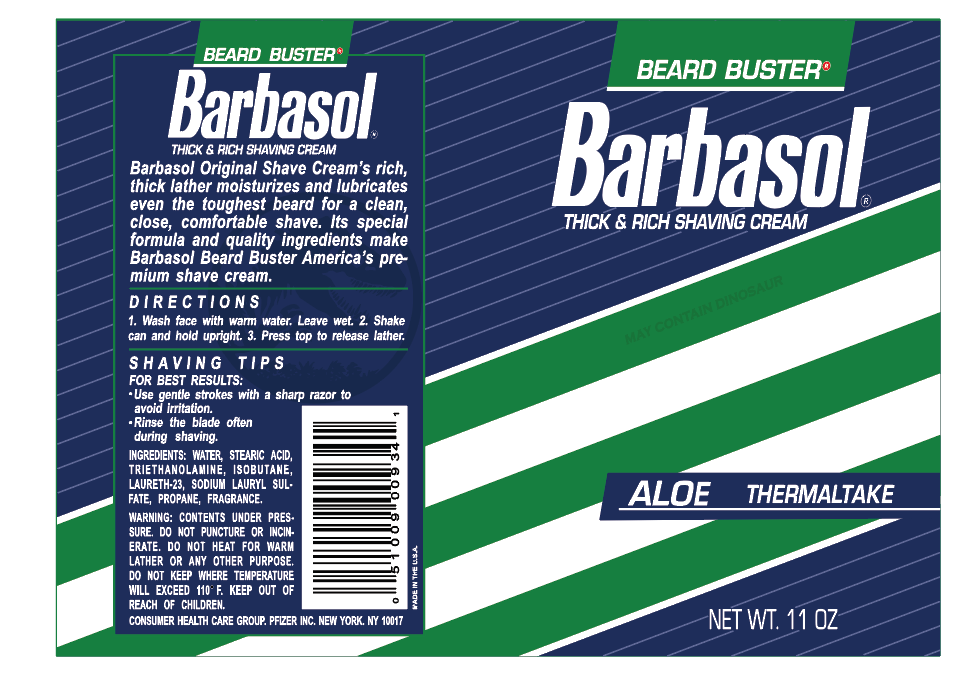
-
[Australia] Ethan Cooper
tagmods replied to TT Lily's topic in 2022 Thermaltake RAM MOD Invitational Season 1
Step 5: The Lablel! I needed to recreate the old school Barbasol can label in Illustrator so it could be printed and wrapped on the can. I started by recreating the label exactly as seen on screen. I then added some extra flourishes that hint at both Thermaltake and dinosaurs.
-
[Australia] Ethan Cooper
tagmods replied to TT Lily's topic in 2022 Thermaltake RAM MOD Invitational Season 1
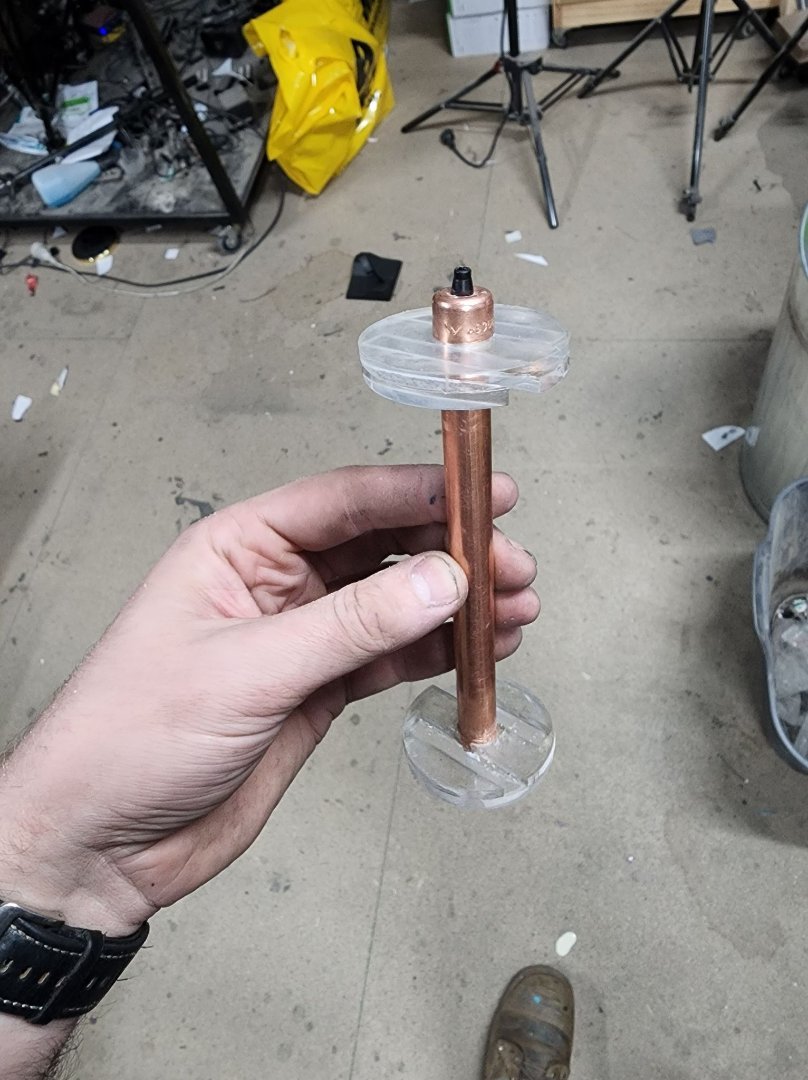
With a Solid based can that is easily removable it was time to work on the cartridge that would hold the RAM! Step 4: Build Cartridge The idea here was to hold the RAM steady so it could be easily removed and the samples (RAM sticks) could slide out to be examined

-
[Australia] Ethan Cooper
tagmods replied to TT Lily's topic in 2022 Thermaltake RAM MOD Invitational Season 1
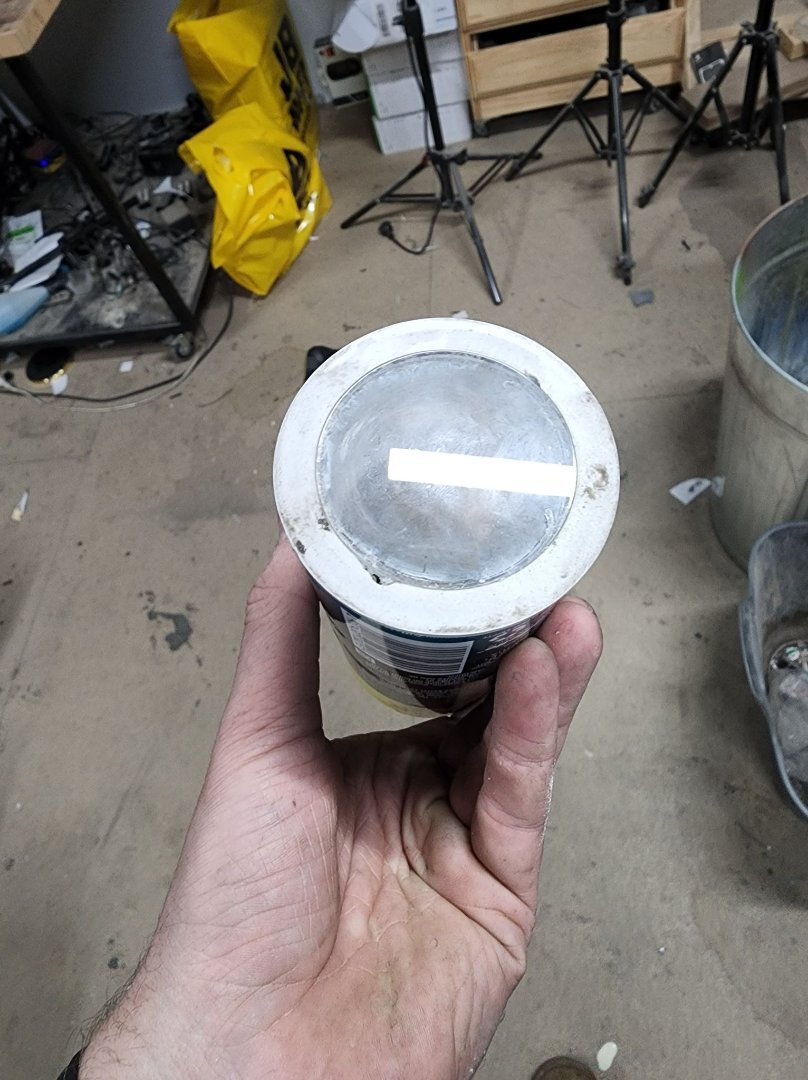
Step 3: Cut and weld in an Acrylic Buck so the solid base returns!
-
[Australia] Ethan Cooper
tagmods replied to TT Lily's topic in 2022 Thermaltake RAM MOD Invitational Season 1
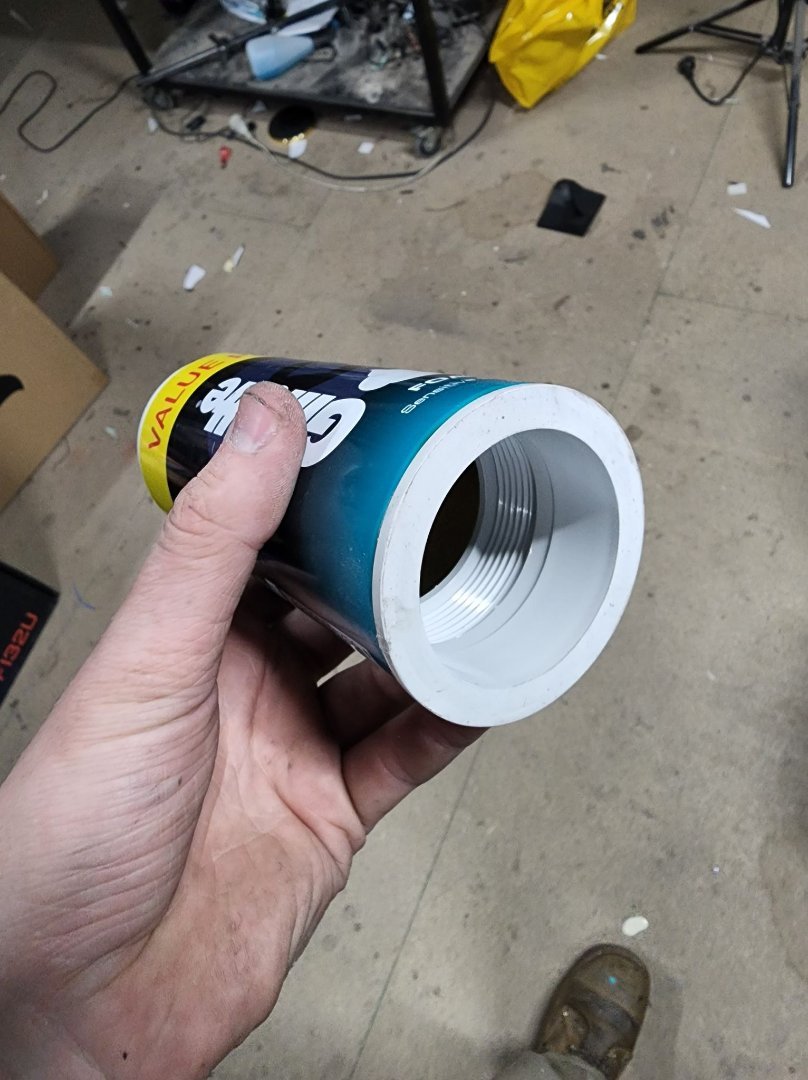
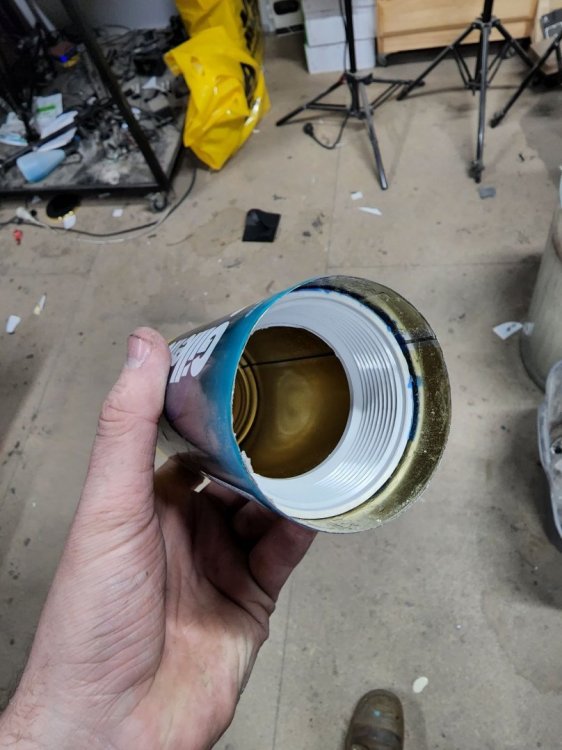
Step 2: Luck out and find PVC fittings that fit perfectly after being shortened!
-
[Australia] Ethan Cooper
tagmods replied to TT Lily's topic in 2022 Thermaltake RAM MOD Invitational Season 1
Hey All! Sorry im late to the party the whole team got buried with F1 We are building a Thermaltake Variant of the Barbasol can with Jurassic Park Dominion around the corner it made sense! Step one: Drain a can of shaving cream and cut off the bottom!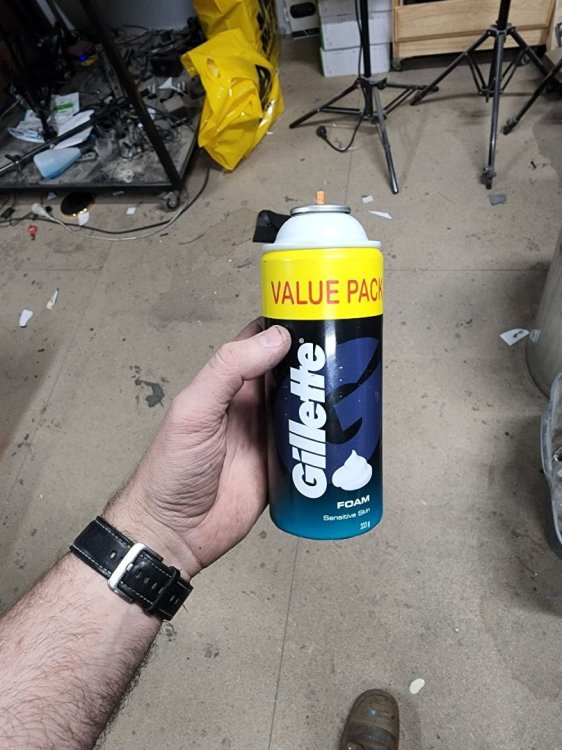
-
 RVFER reacted to a post in a topic:
[Australia] Ethan Cooper
RVFER reacted to a post in a topic:
[Australia] Ethan Cooper
-
RVFER reacted to a post in a topic:
[Australia] Ethan Cooper
-
[Australia] Ethan Cooper
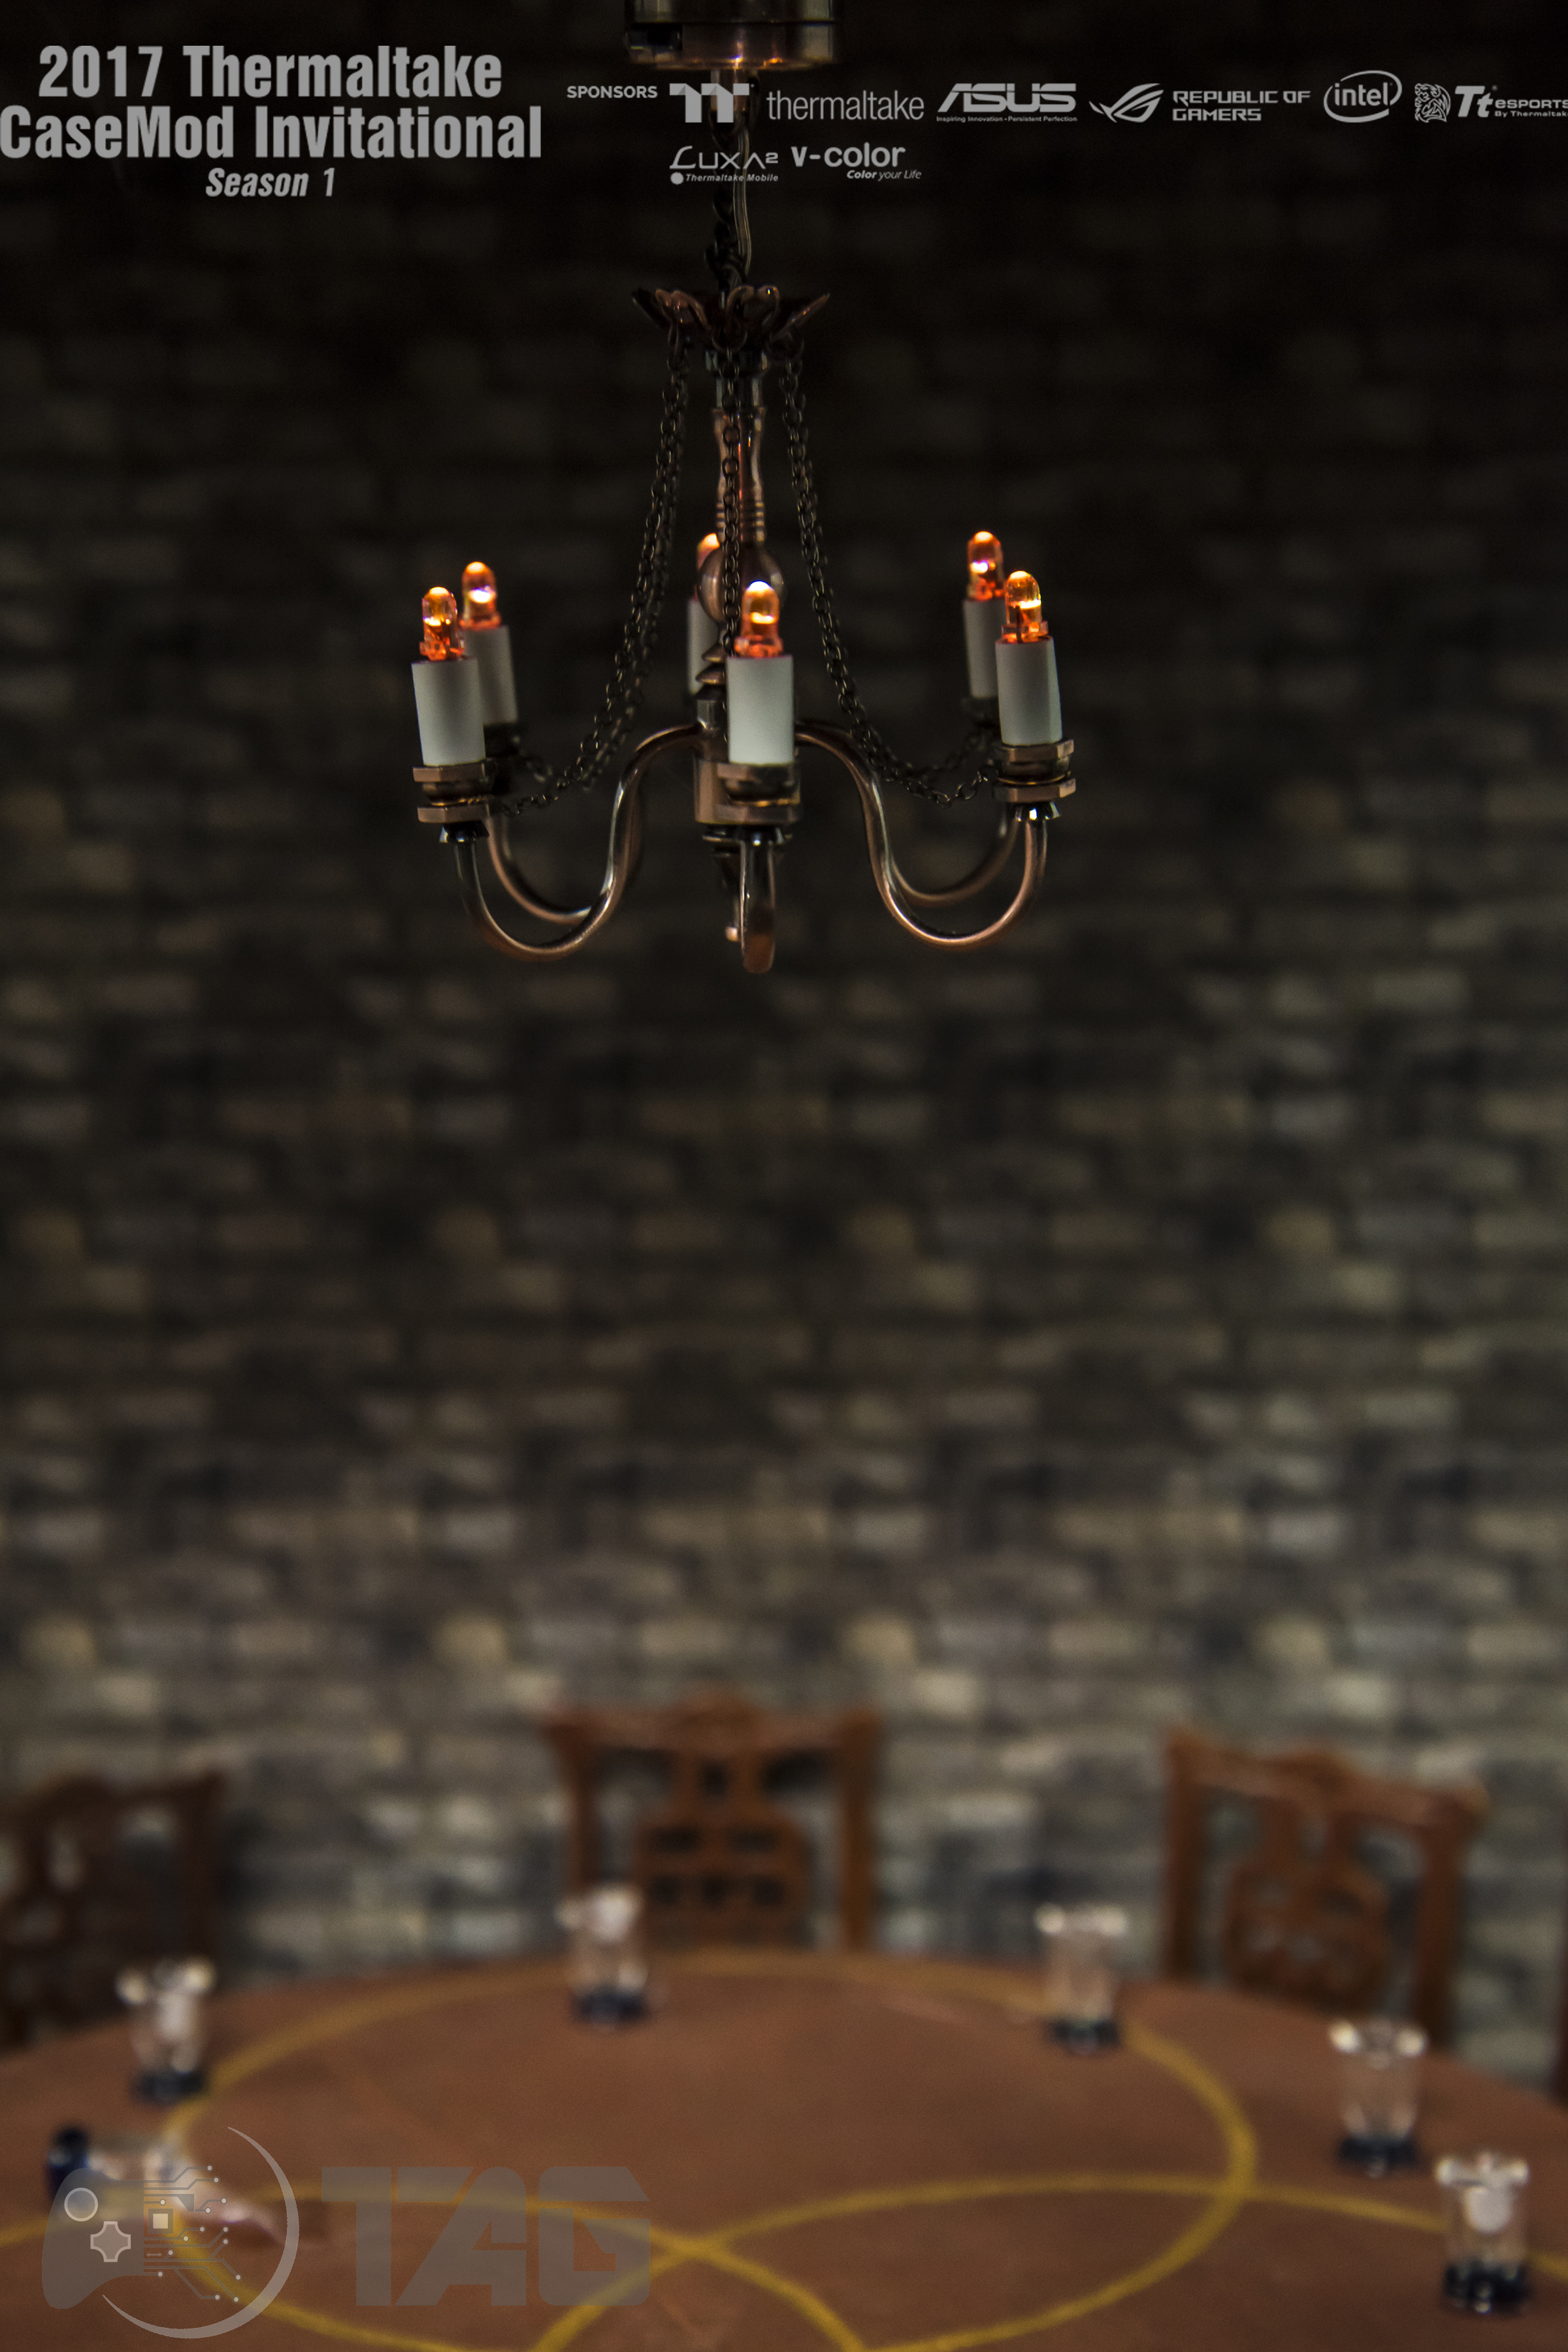
tagmods replied to Tt CCH's topic in 2020 Thermaltake Neonmaker Lighting Mix Invitational Season 2
Here is my final submission! https://www.youtube.com/embed/iBa9AA026ac NeonMaker_2020_TAGMODS.mp4 -
[Australia] Ethan Cooper
tagmods replied to Tt CCH's topic in 2020 Thermaltake Neonmaker Lighting Mix Invitational Season 2
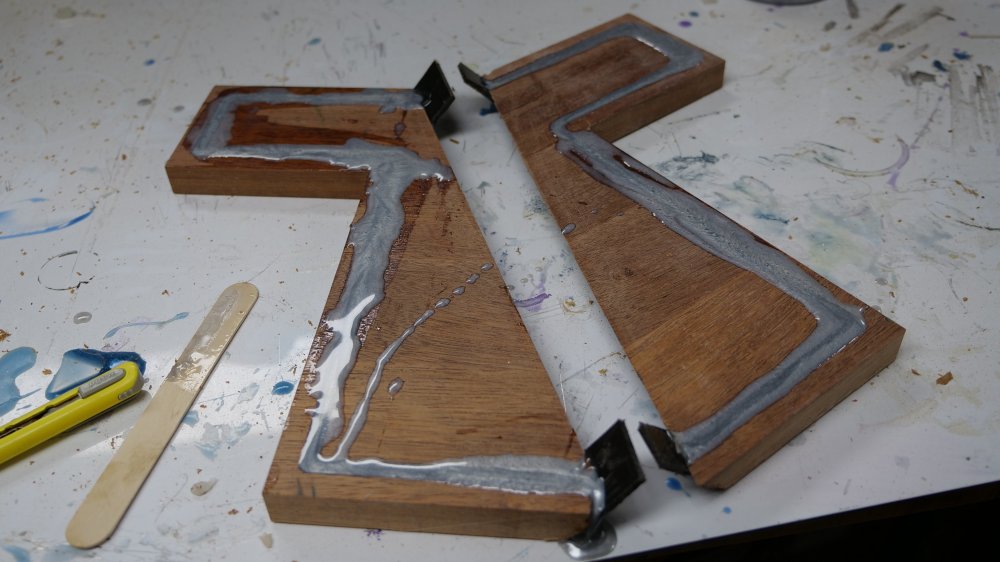
I took some scrap butcher blocked Merbu i had from a different project and threw it on the CNC to out part of the thermaltake logo. I also cut a recess to inlay some silver resin because why not!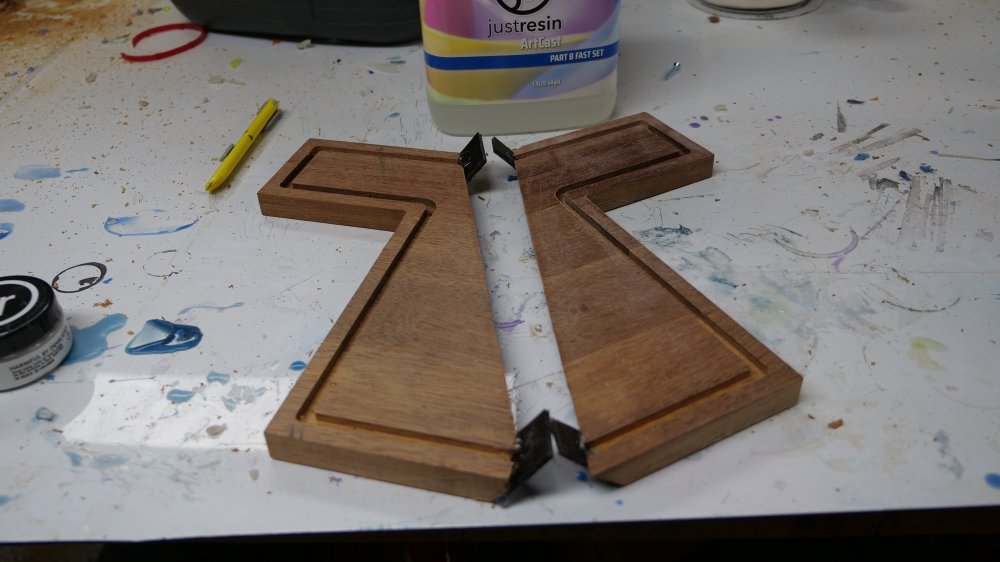
-
tagmods reacted to a post in a topic:
VOTE NOW! - Voting Closed
-
tagmods reacted to a post in a topic:
[Australia] Ethan Cooper
-
tagmods reacted to a post in a topic:
[Australia] Ethan Cooper
-
tagmods reacted to a post in a topic:
[Australia] Ethan Cooper
-
tagmods reacted to a post in a topic:
[Australia] Ethan Cooper
-
tagmods reacted to a post in a topic:
[Australia] Ethan Cooper
-
tagmods reacted to a post in a topic:
[Australia] Ethan Cooper
-
tagmods reacted to a post in a topic:
[Australia] Ethan Cooper
-
[Australia] Ethan Cooper
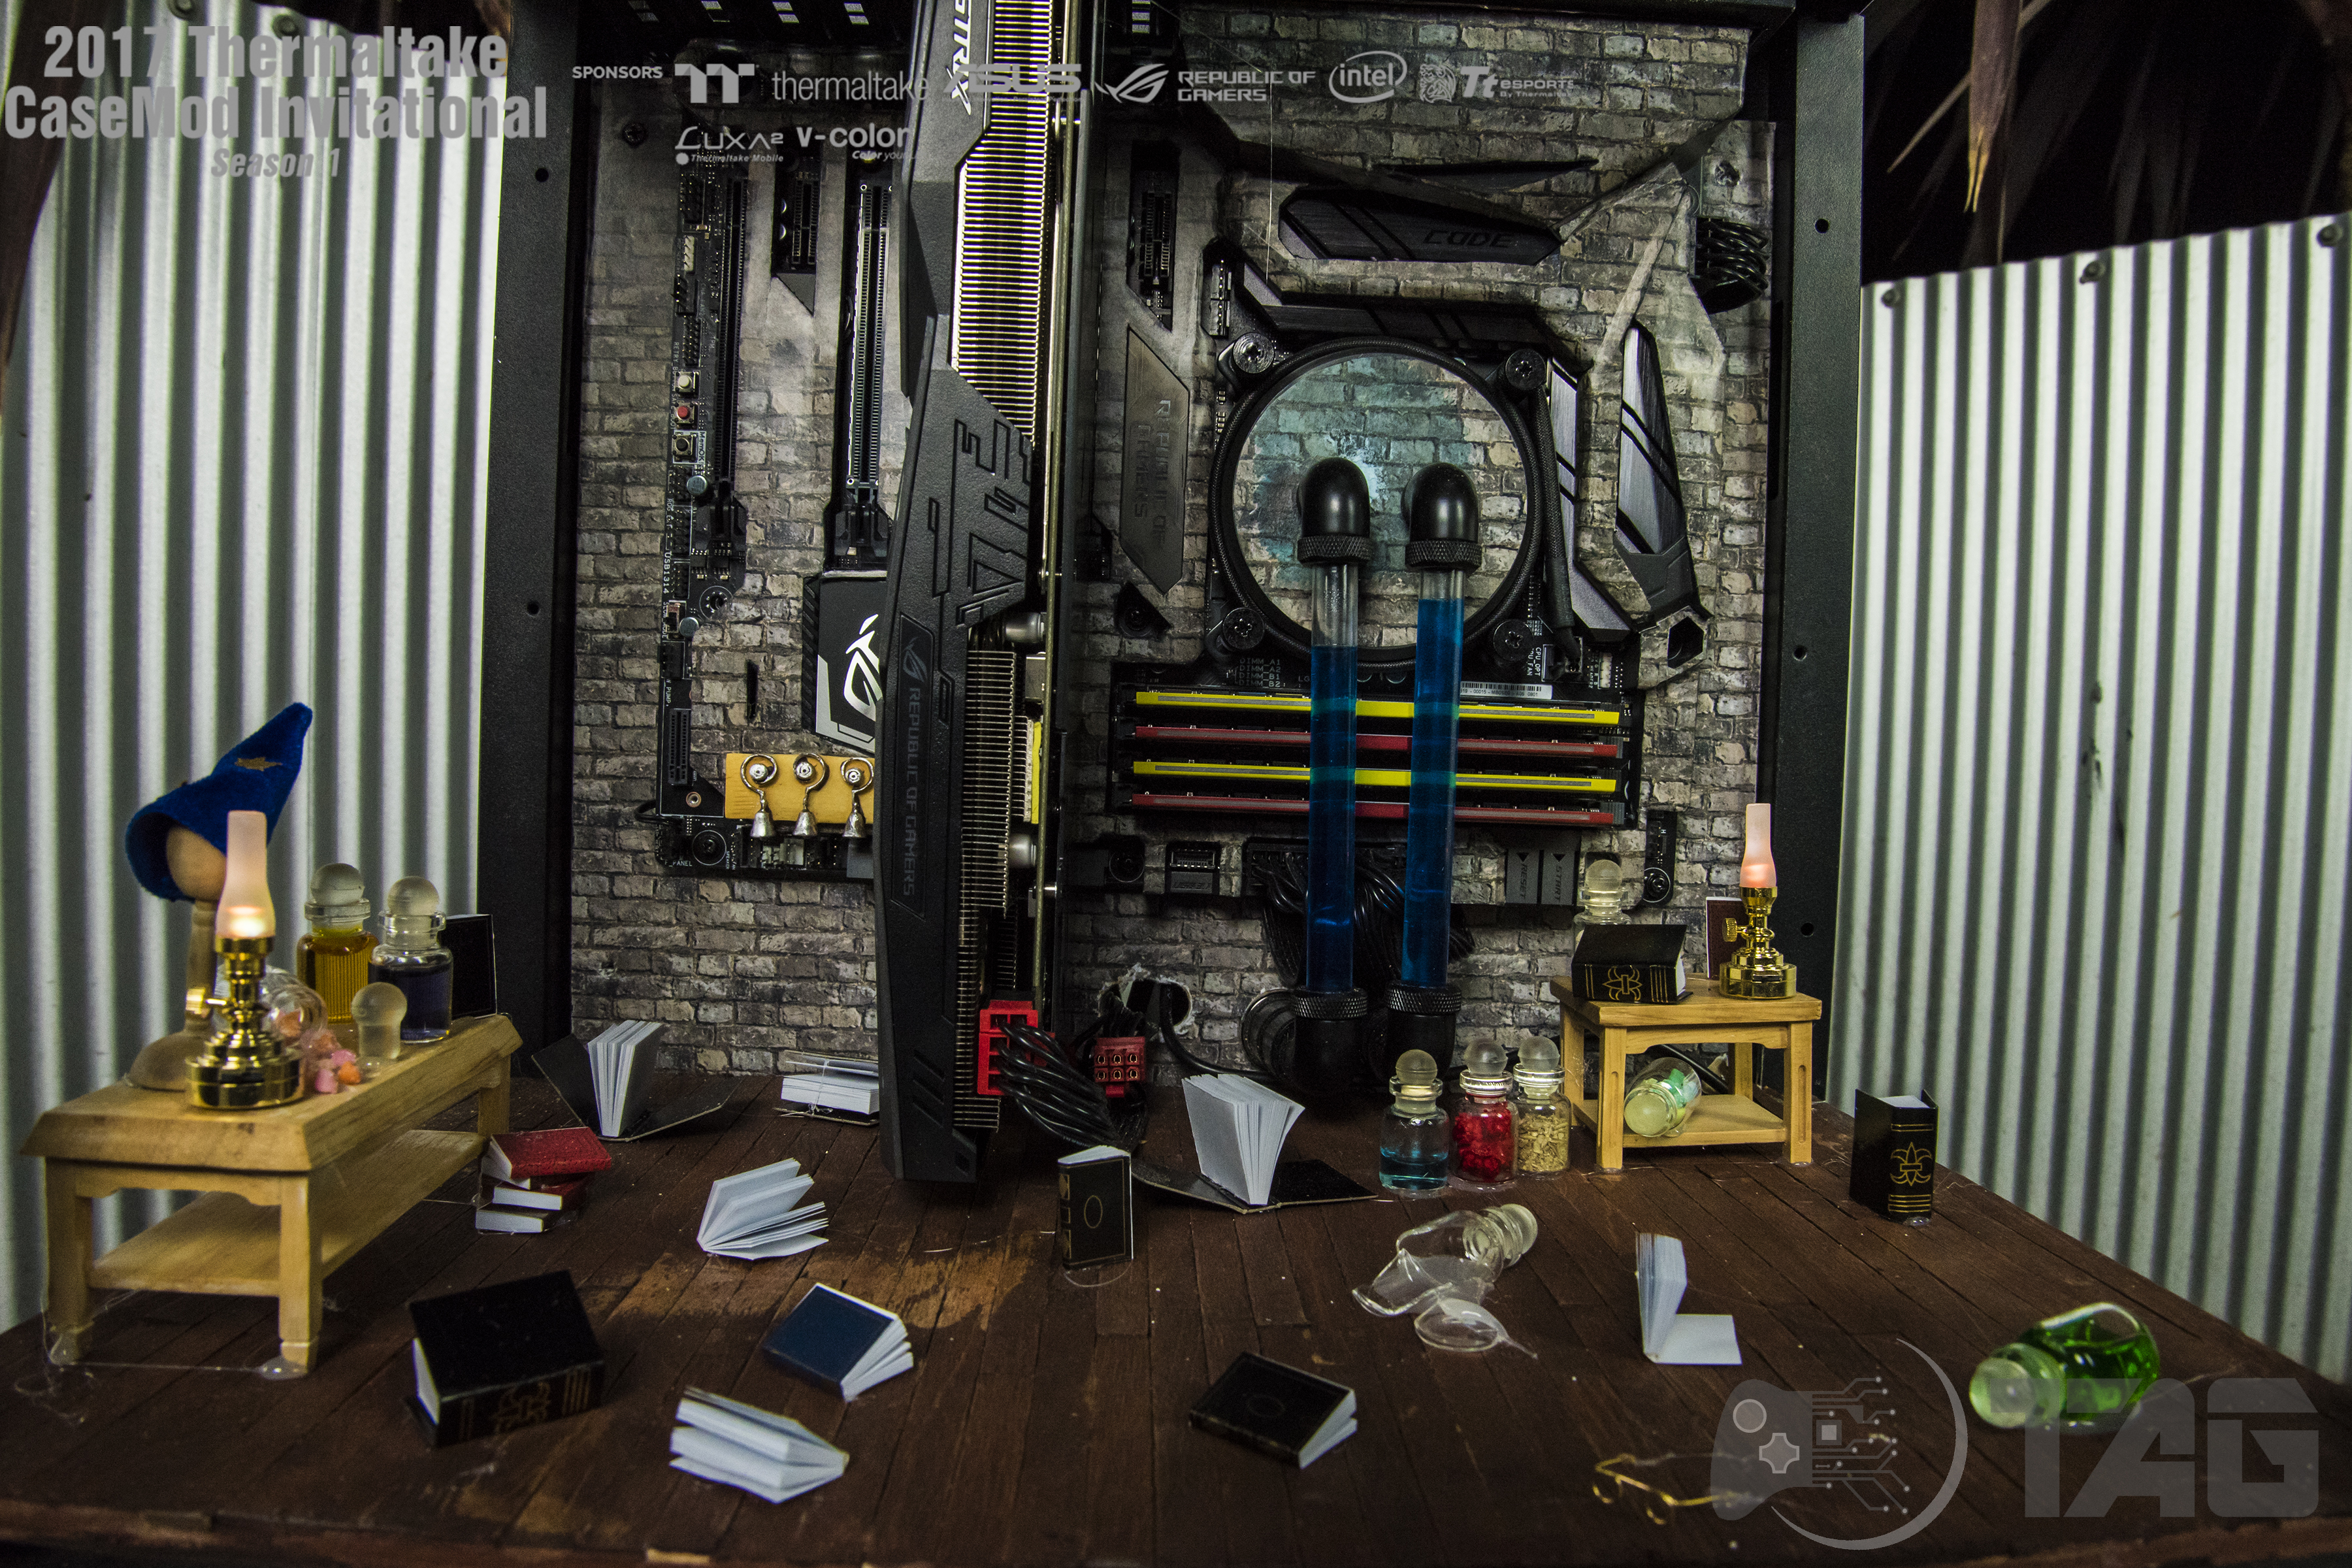
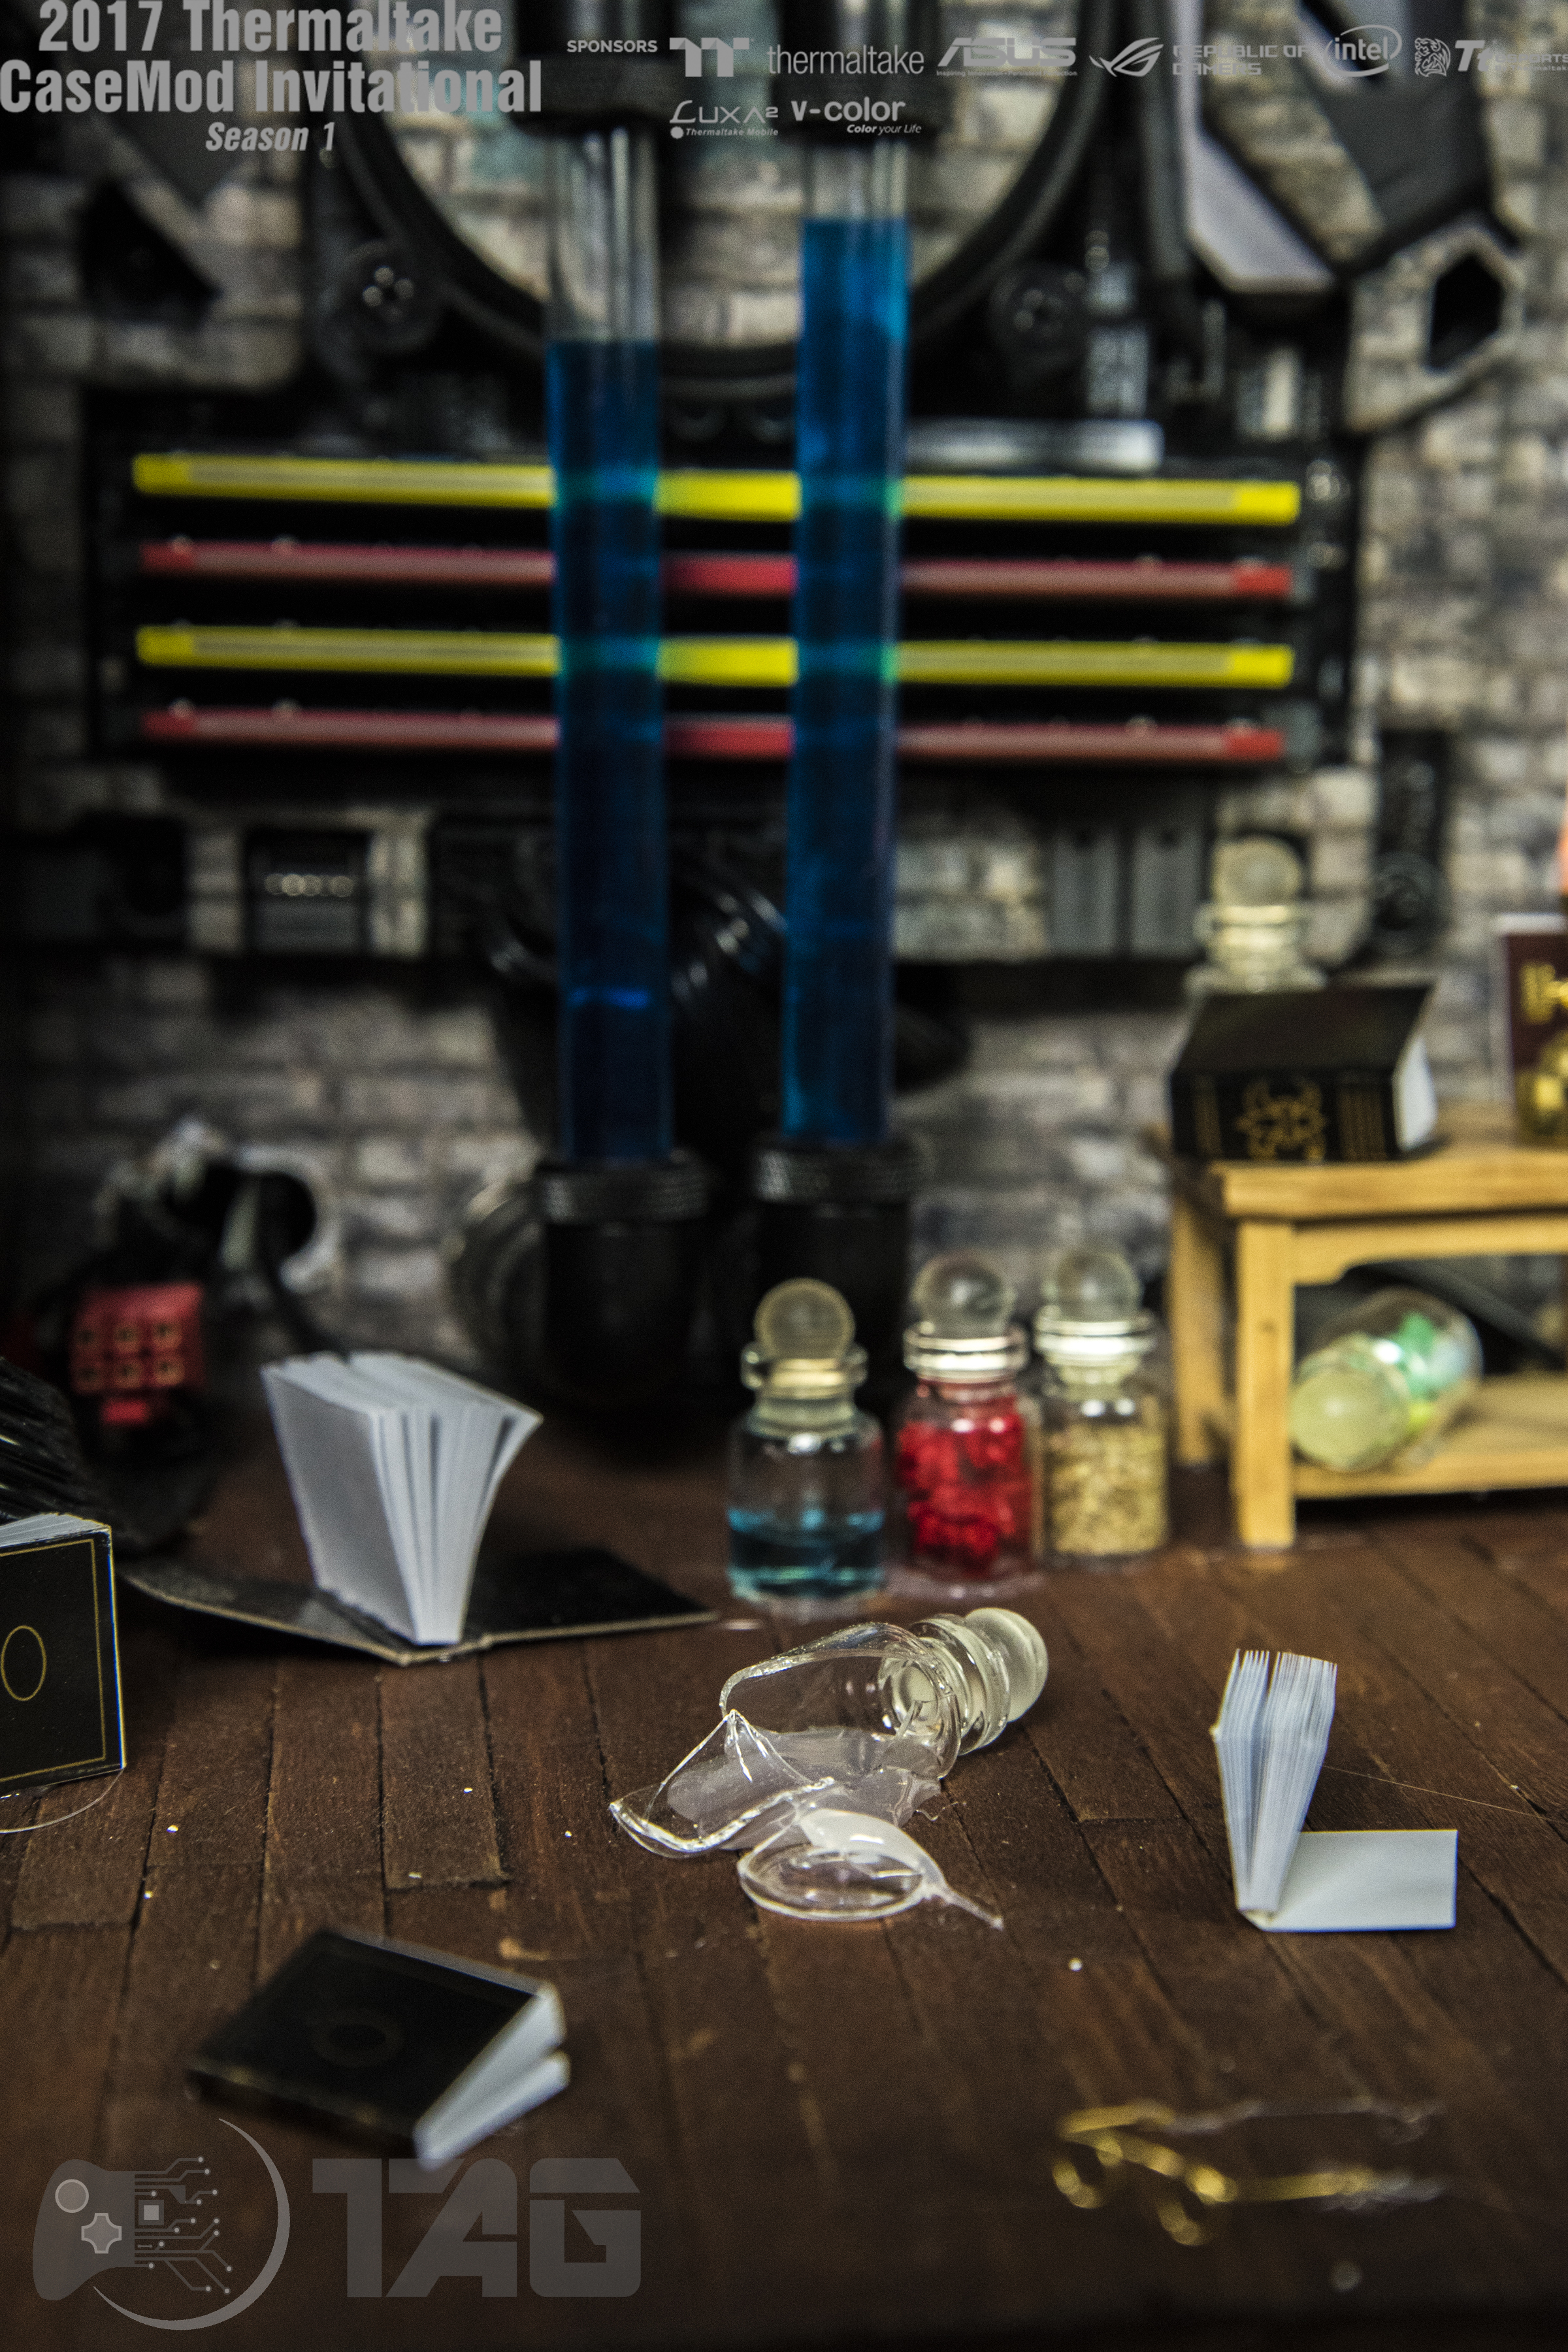
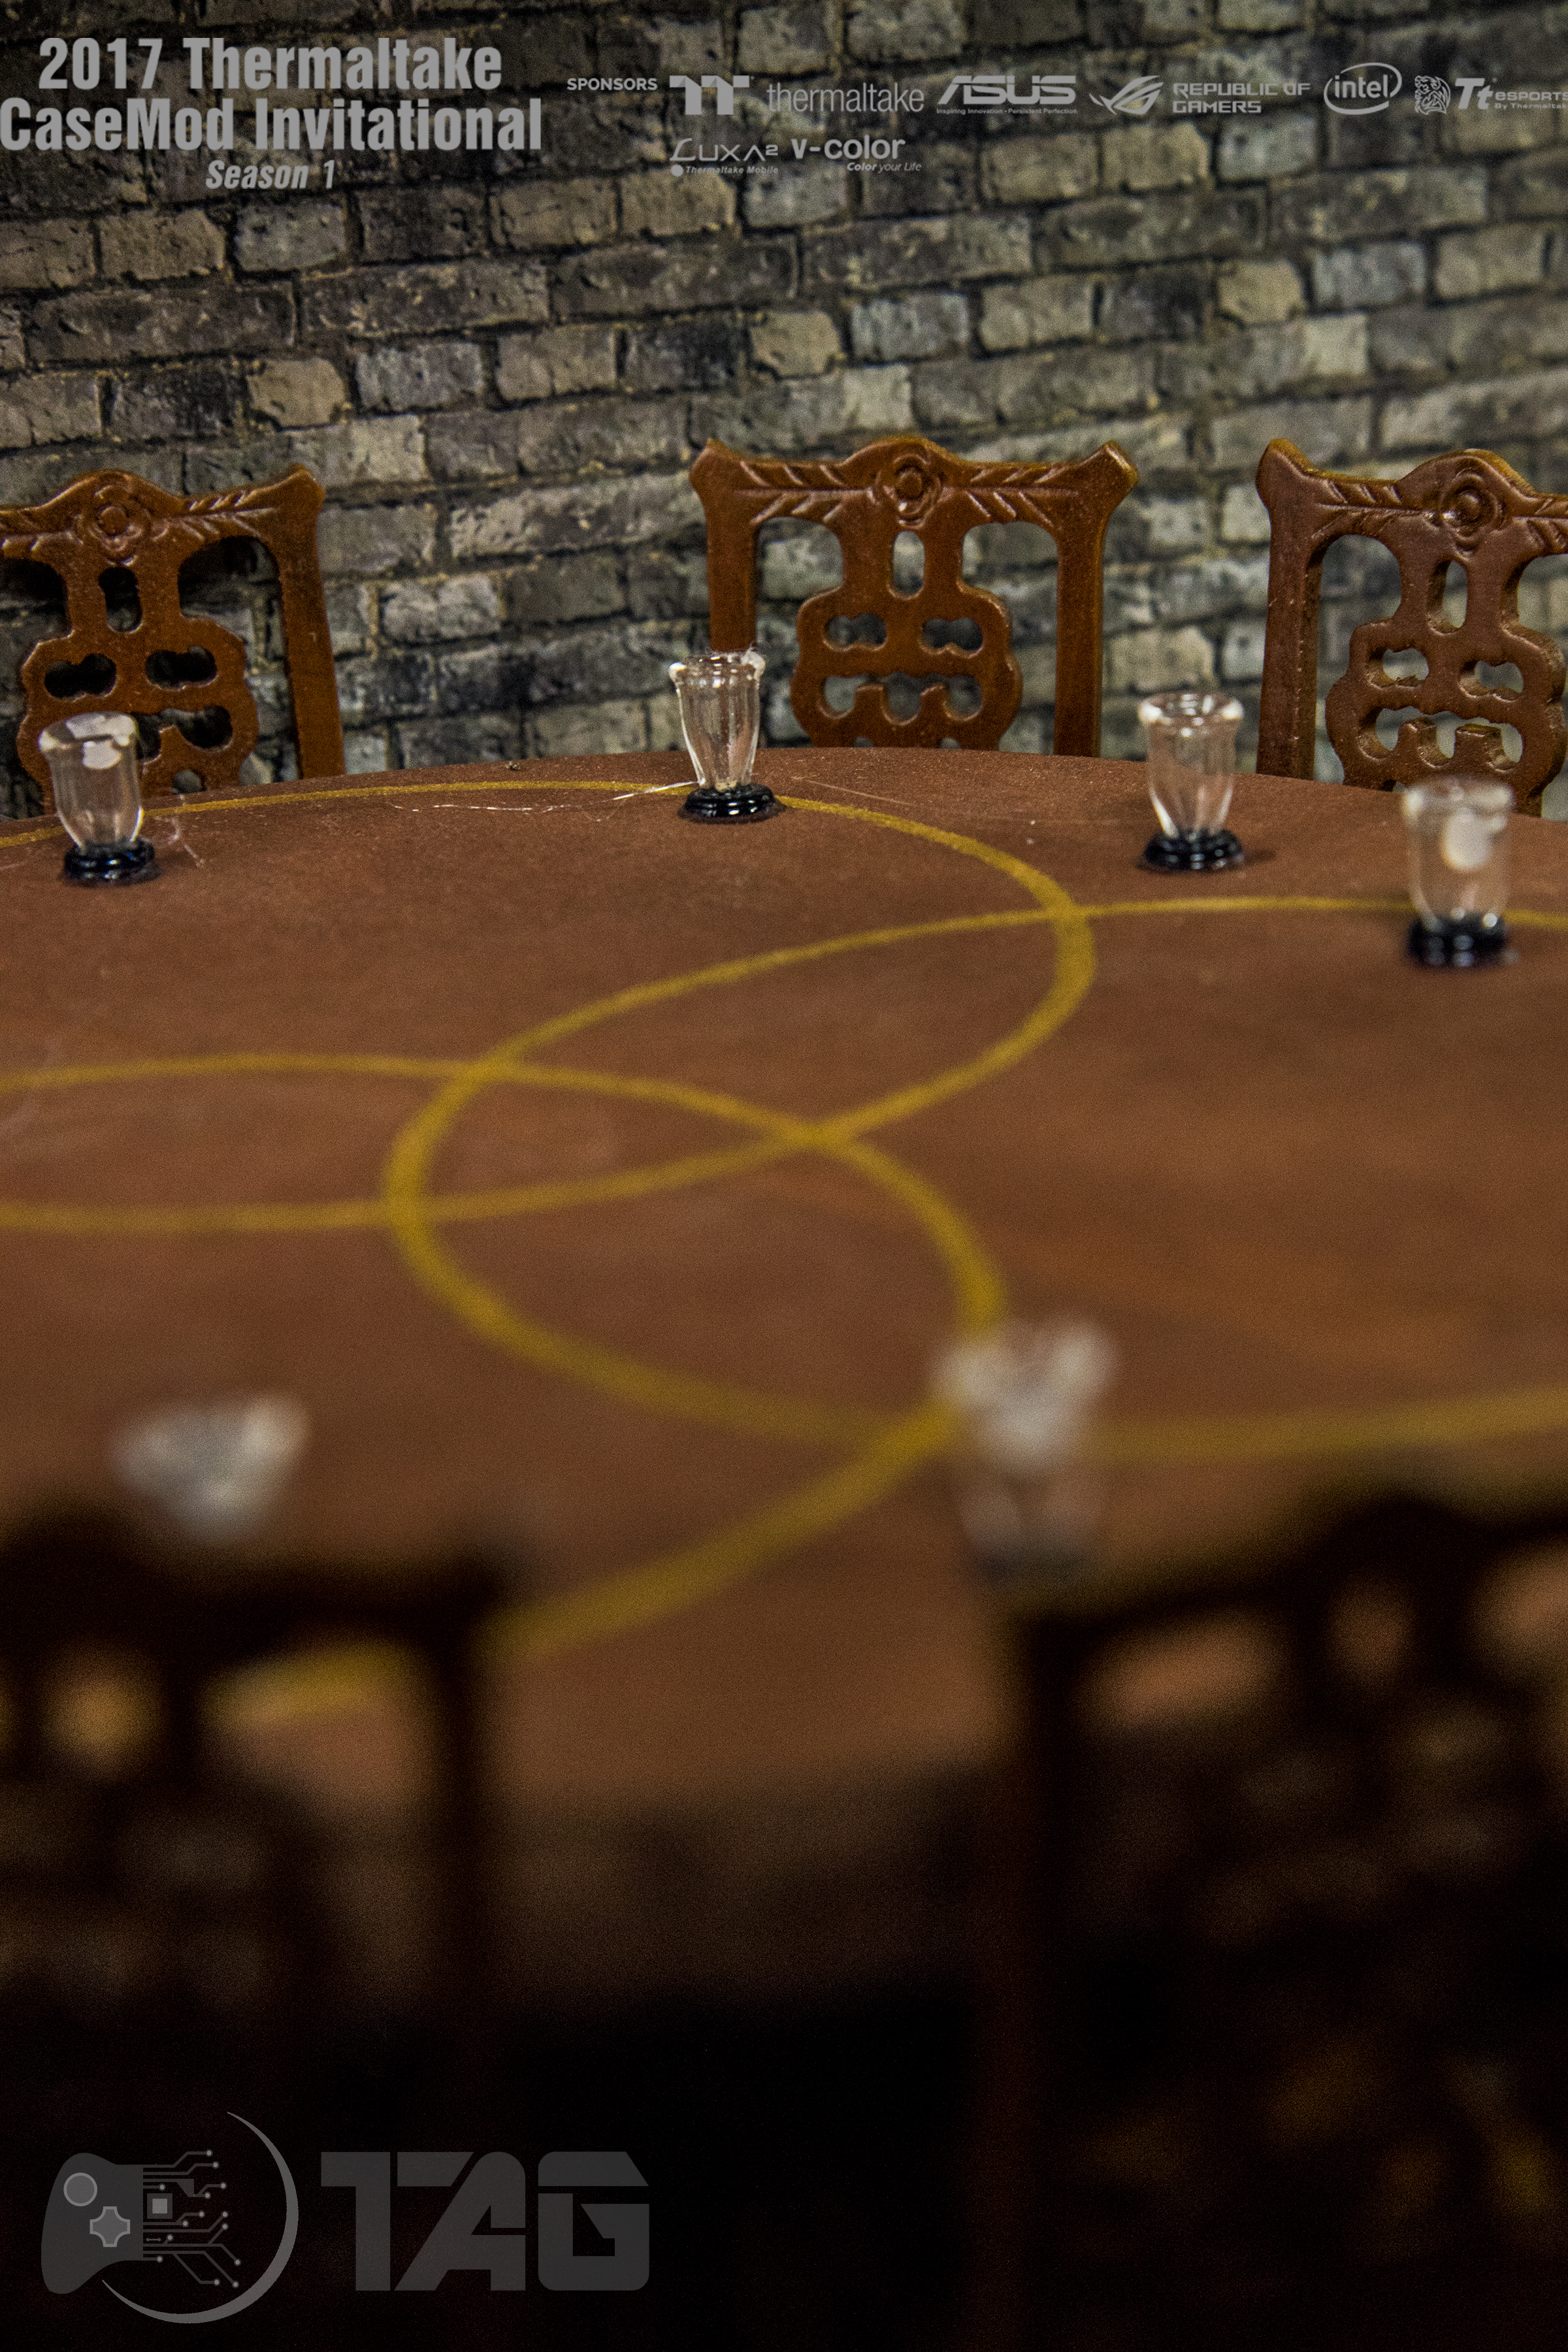
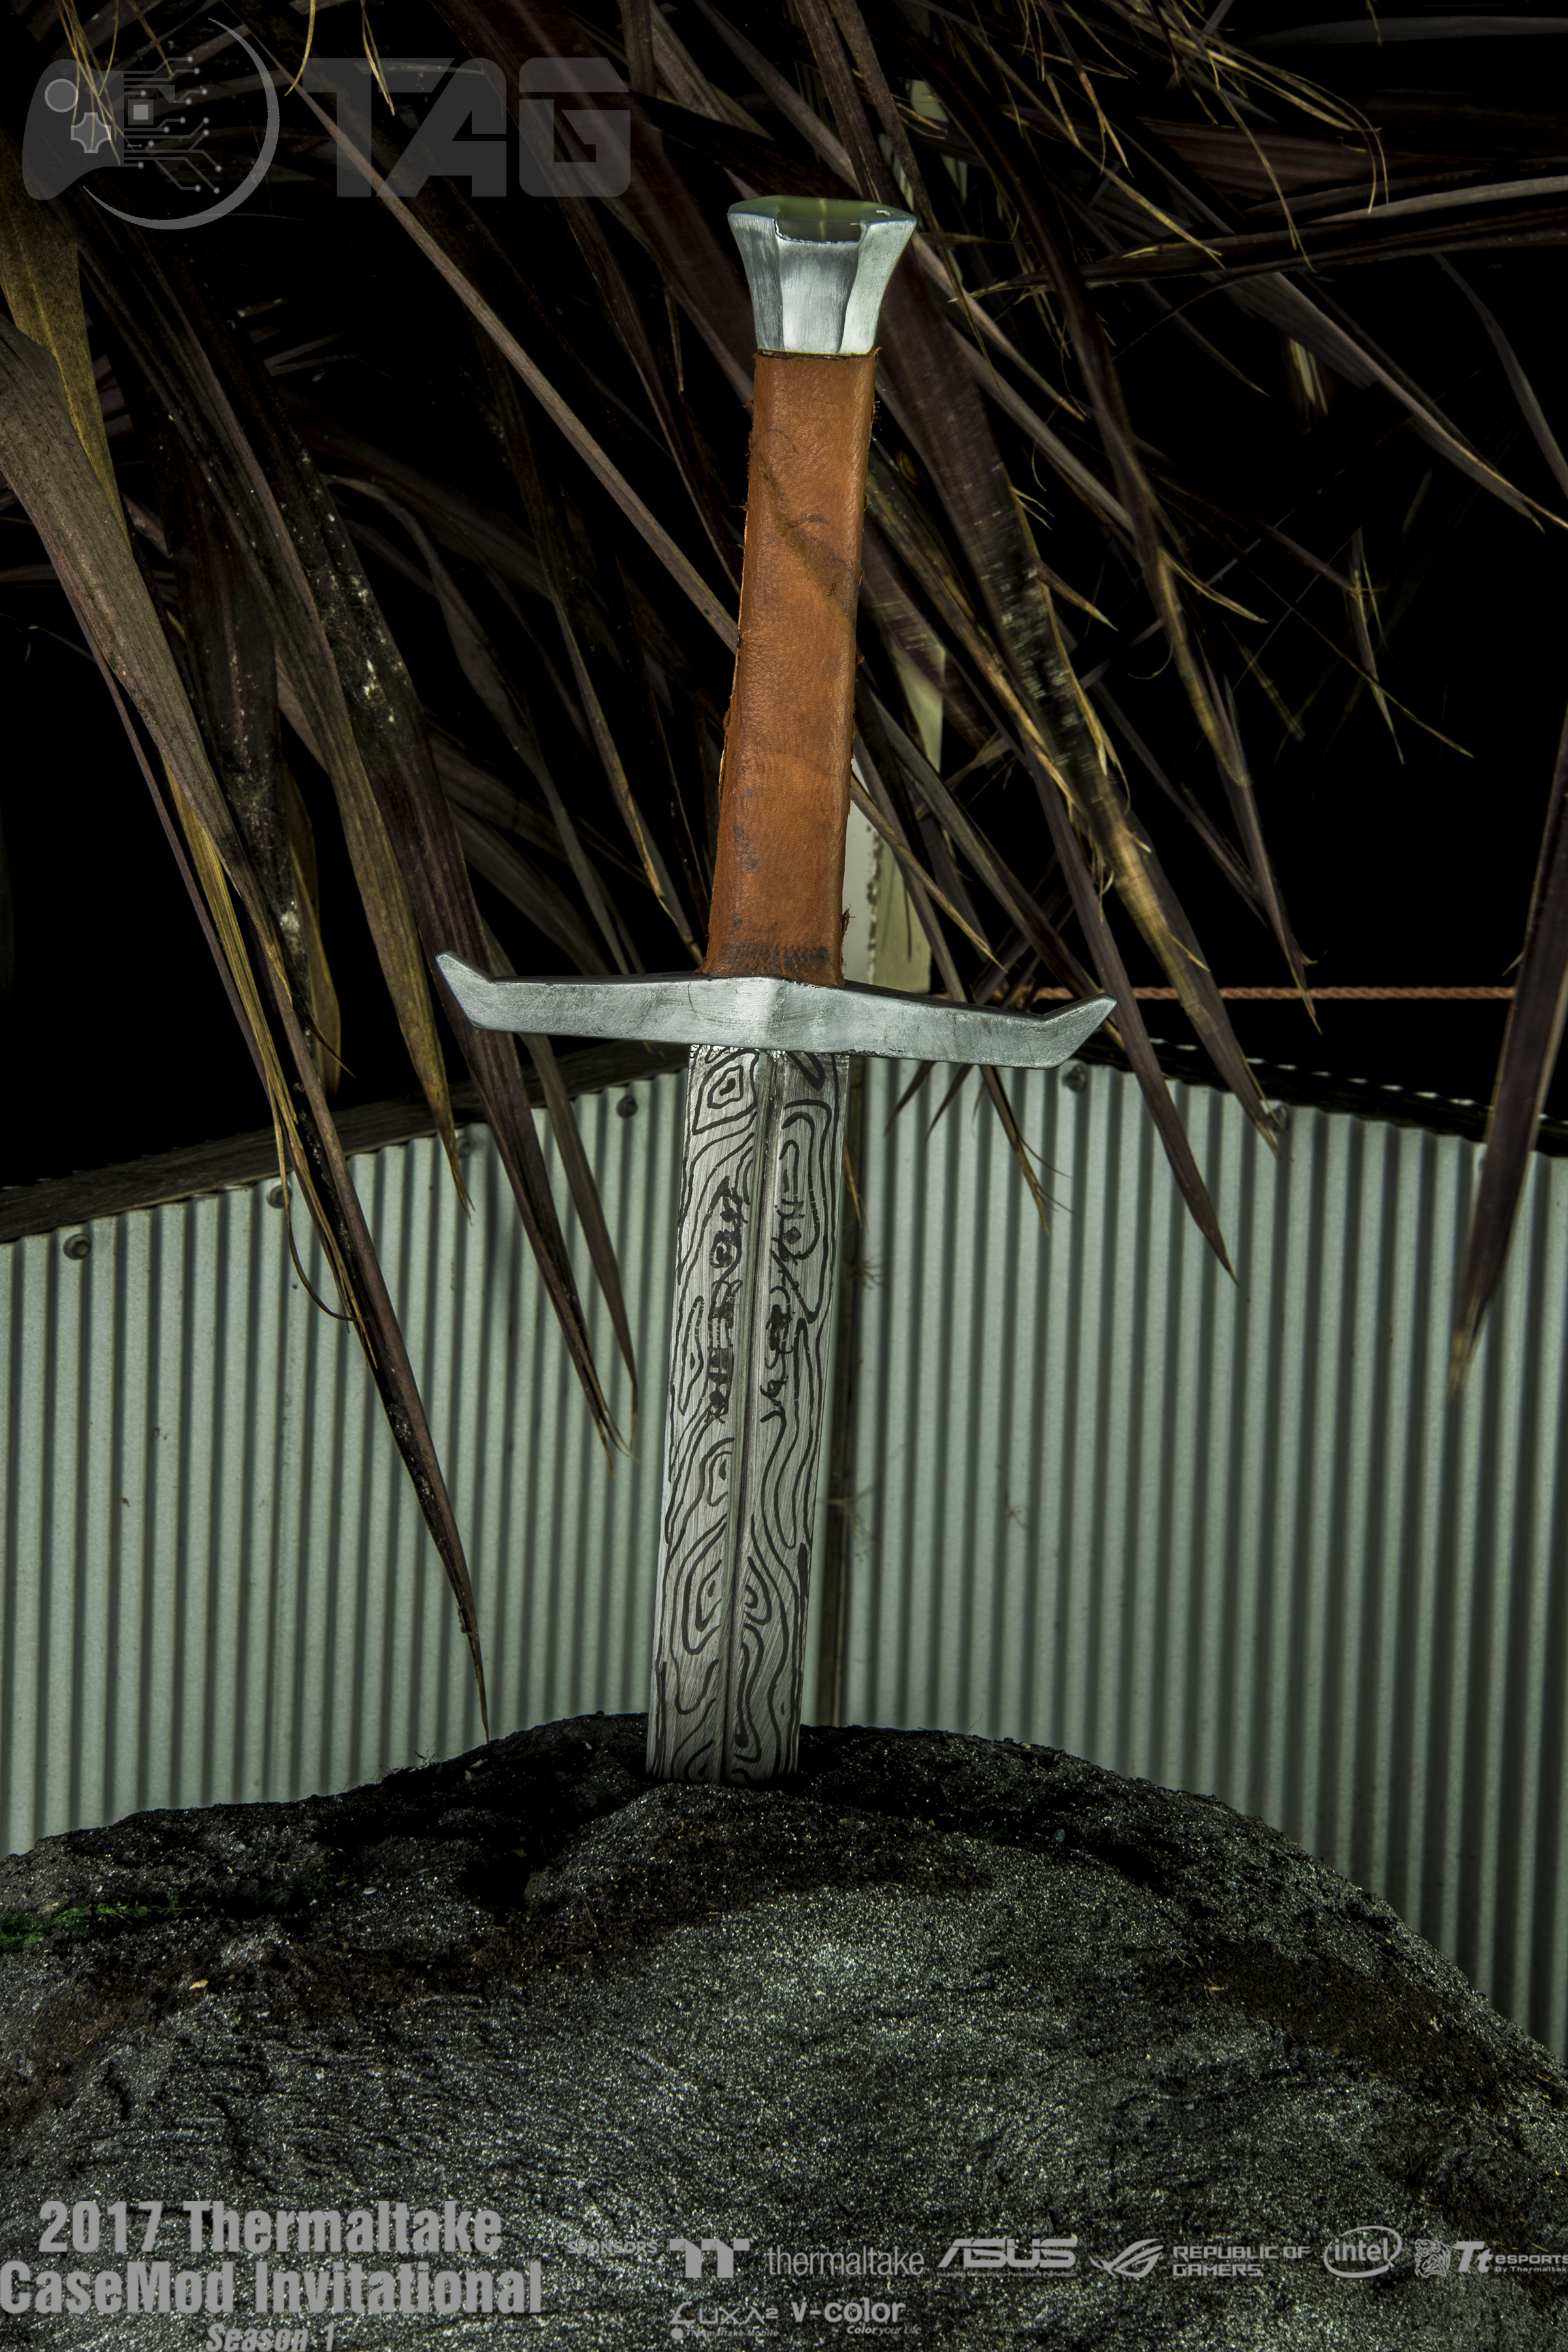
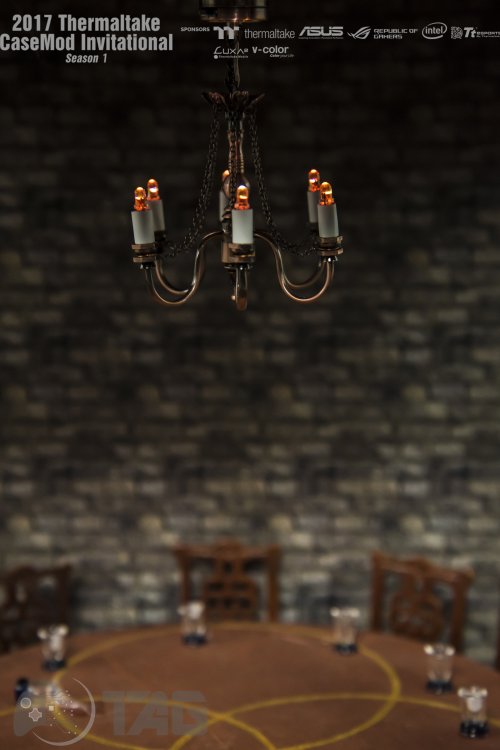
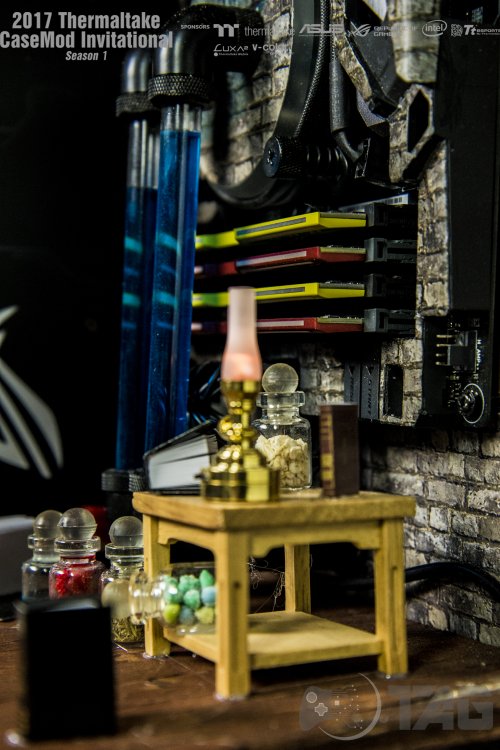
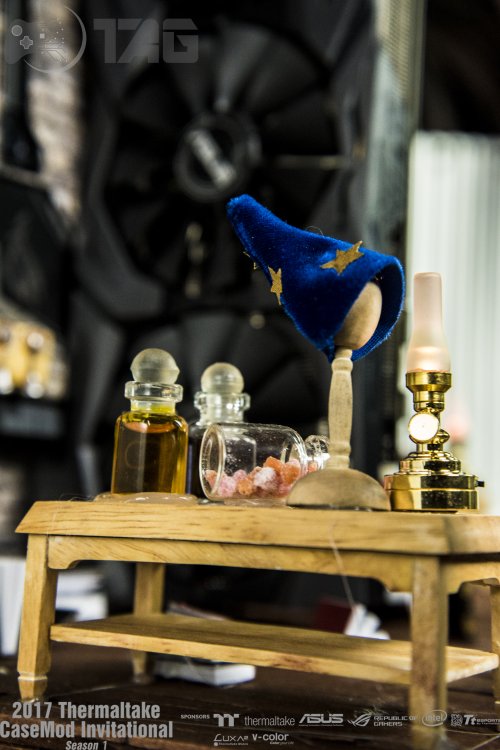
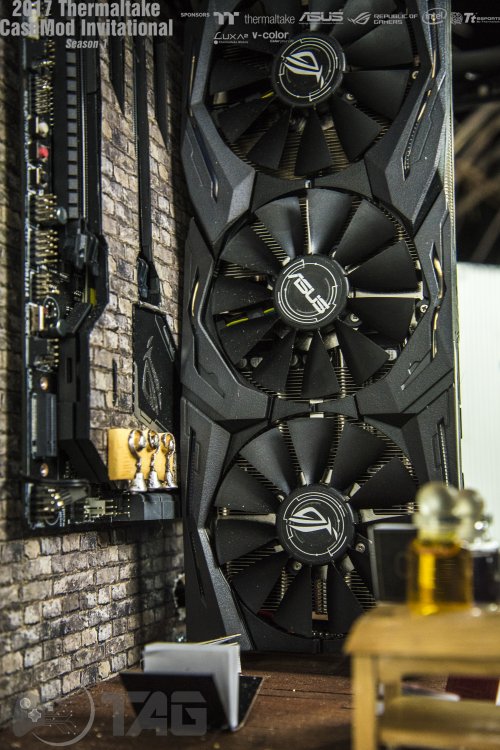
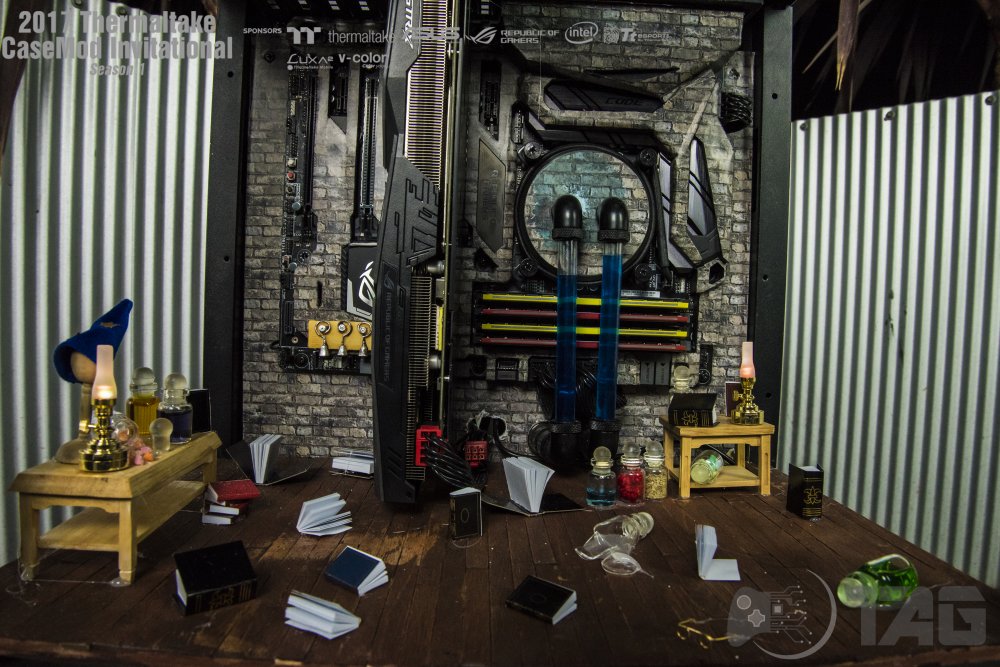
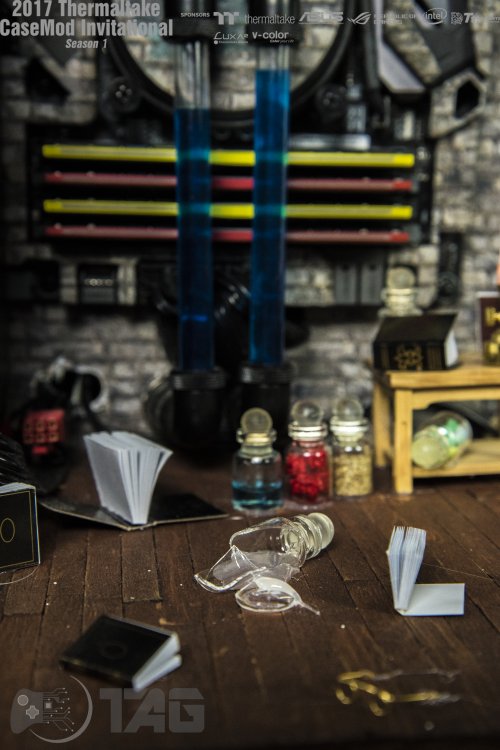
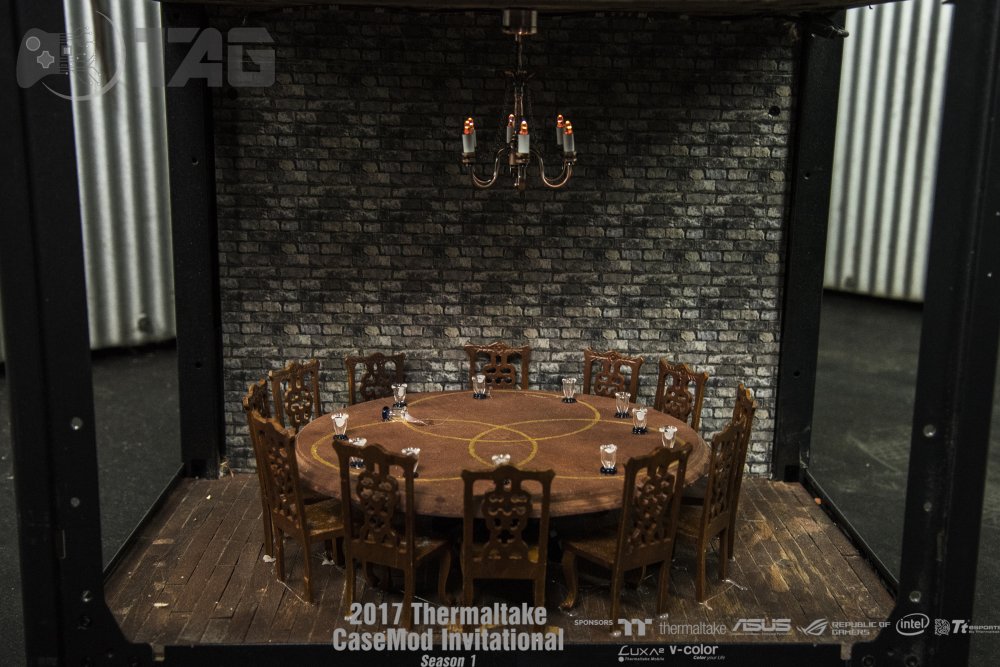
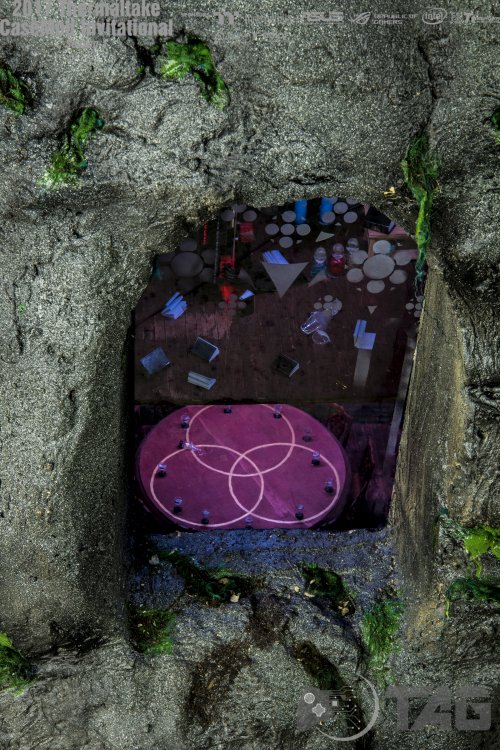
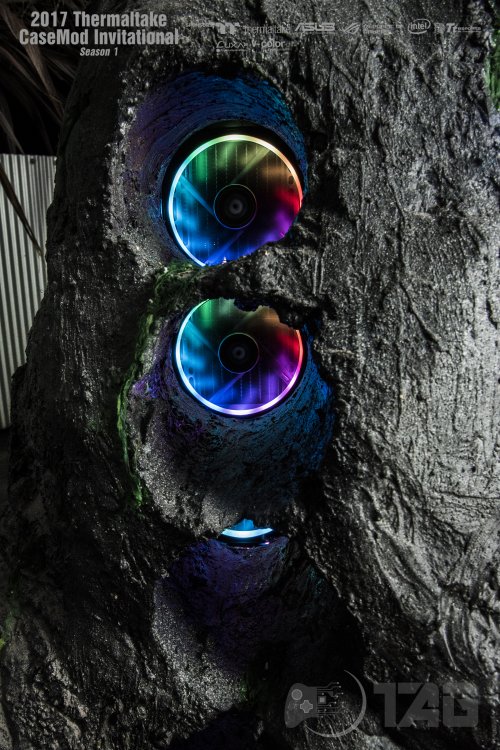
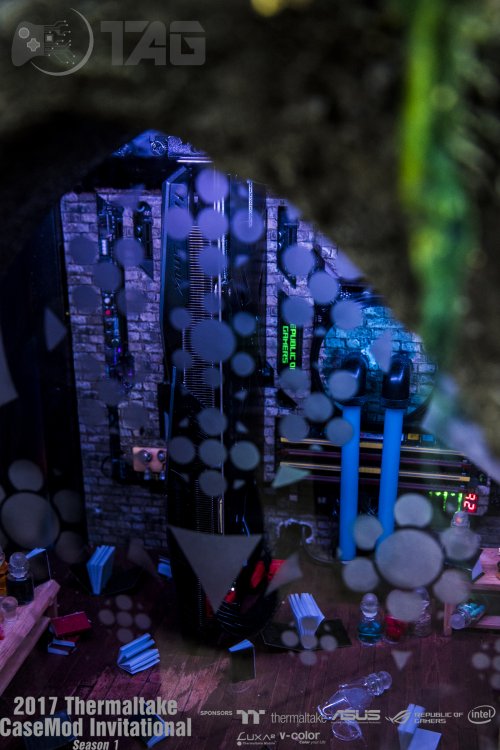
tagmods replied to Tt Andy's topic in 2017 Thermaltake CaseMOD Invitational Season 1
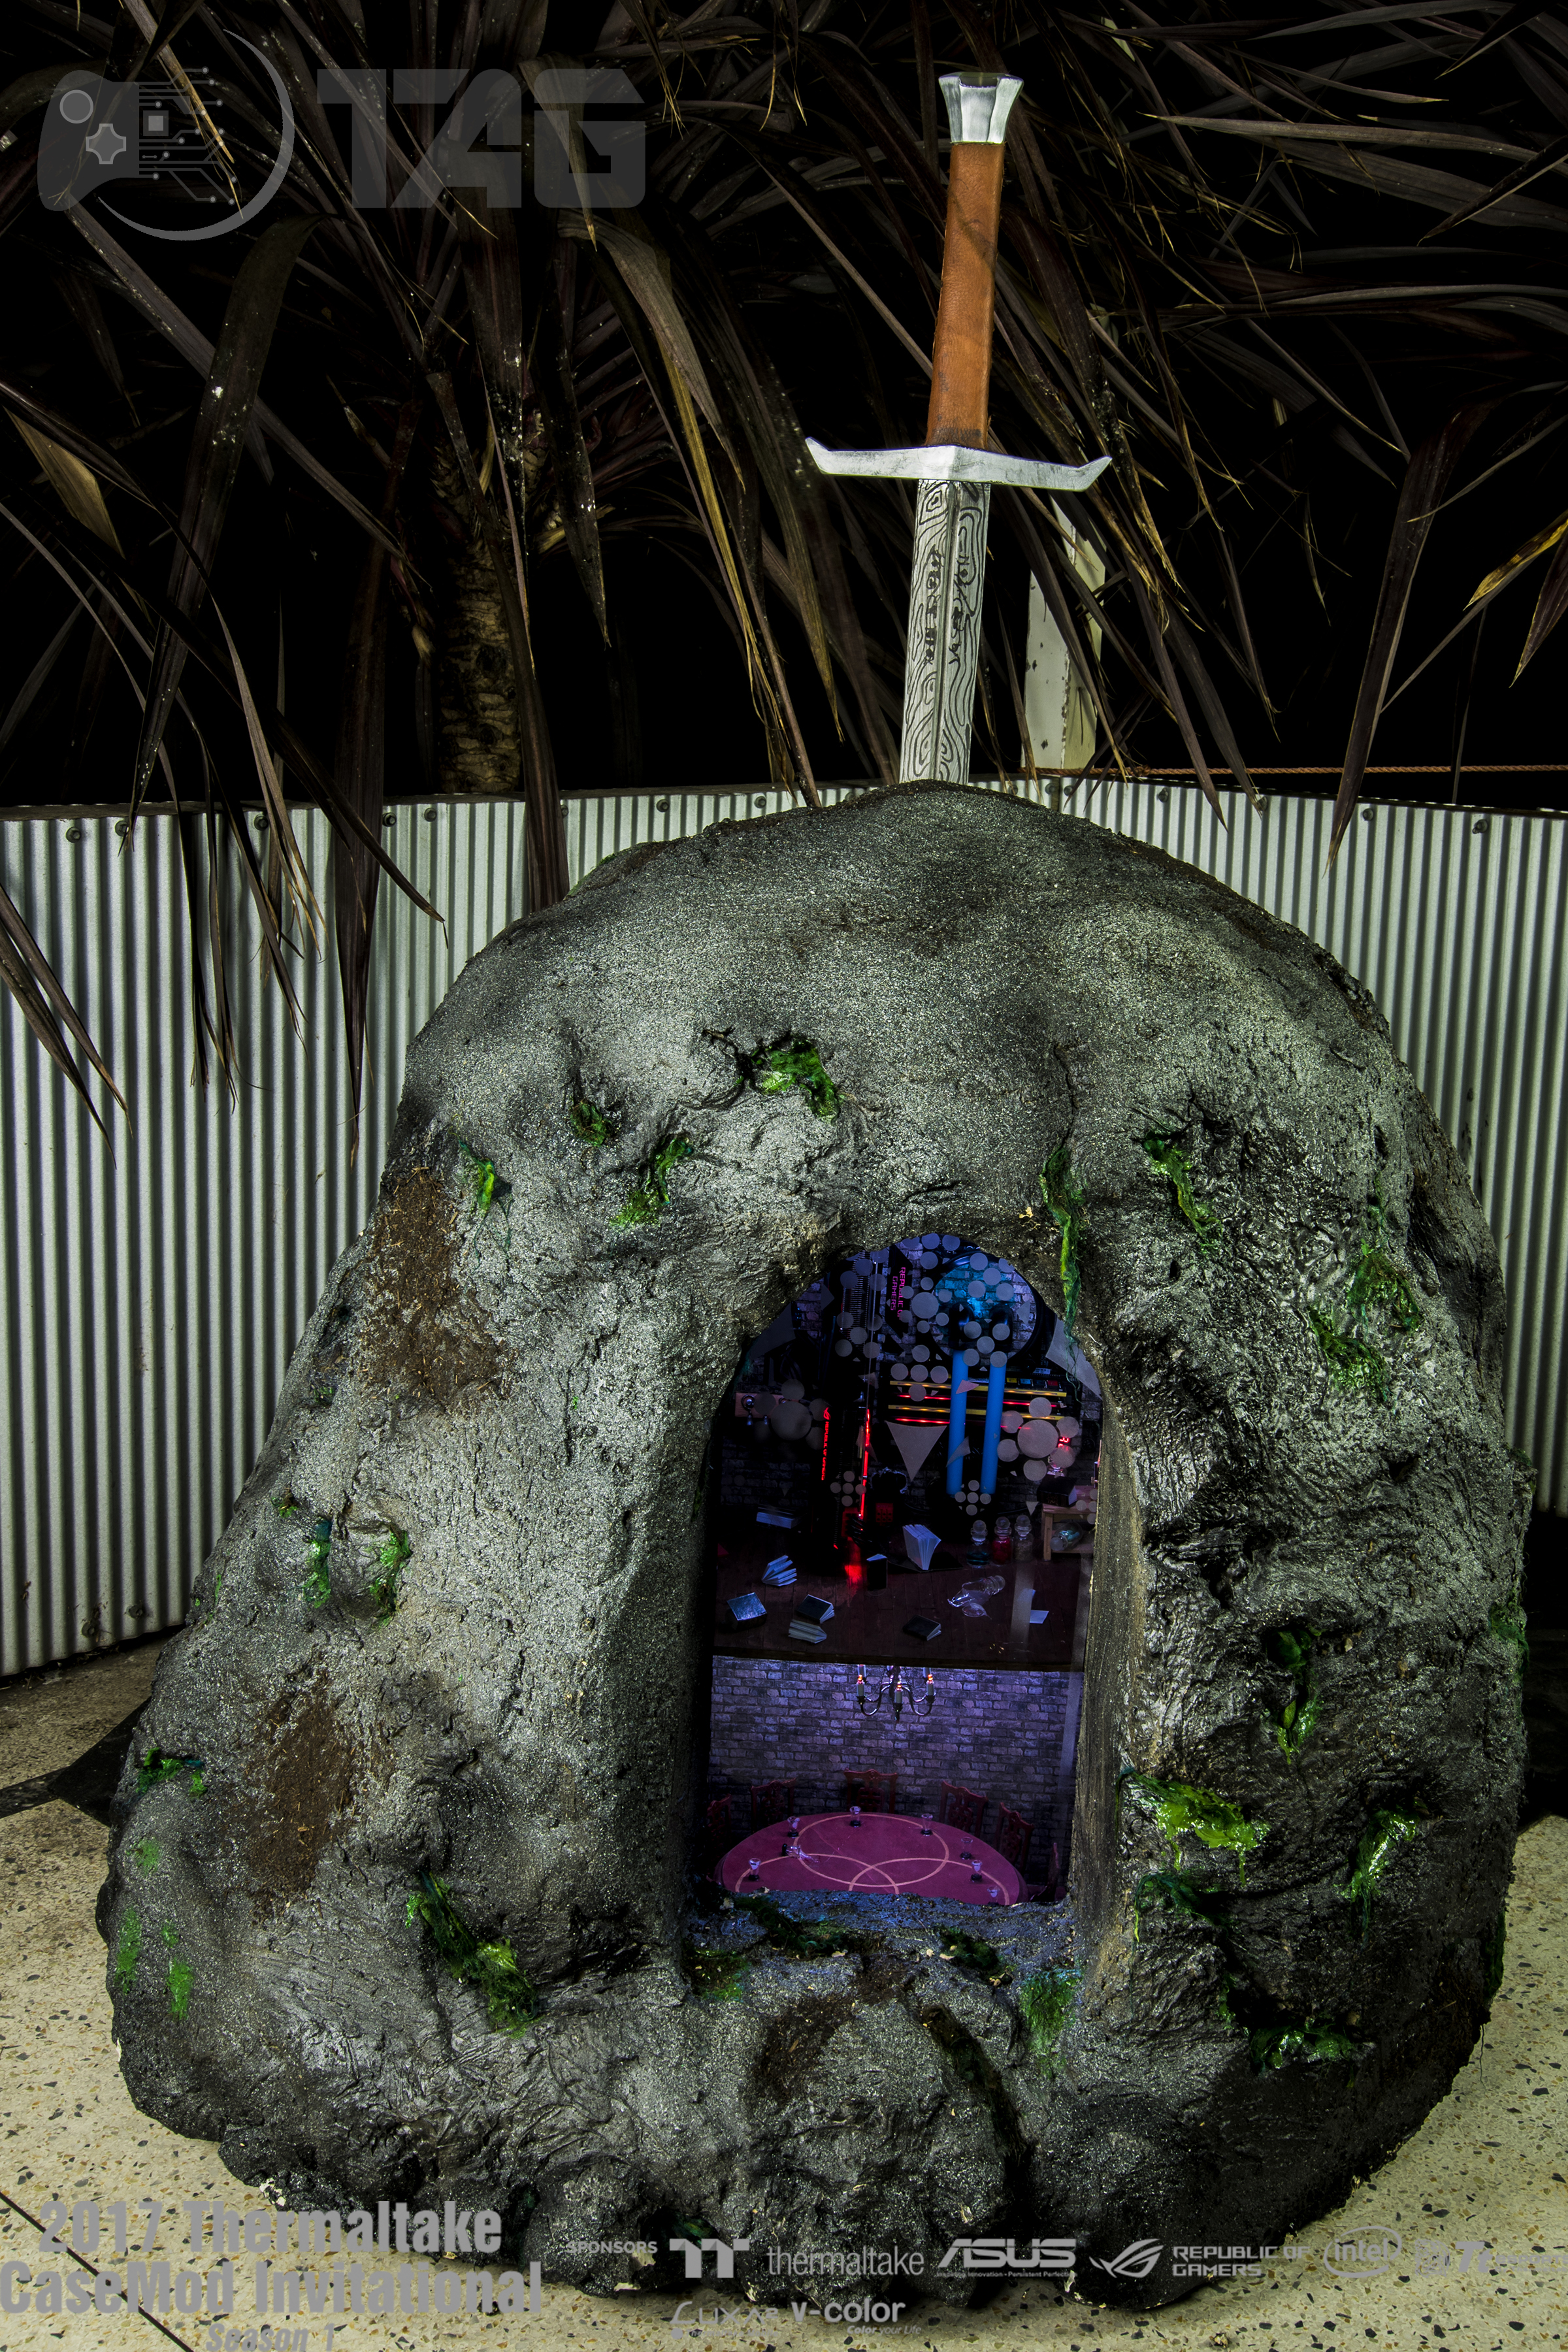
And it is finished!!!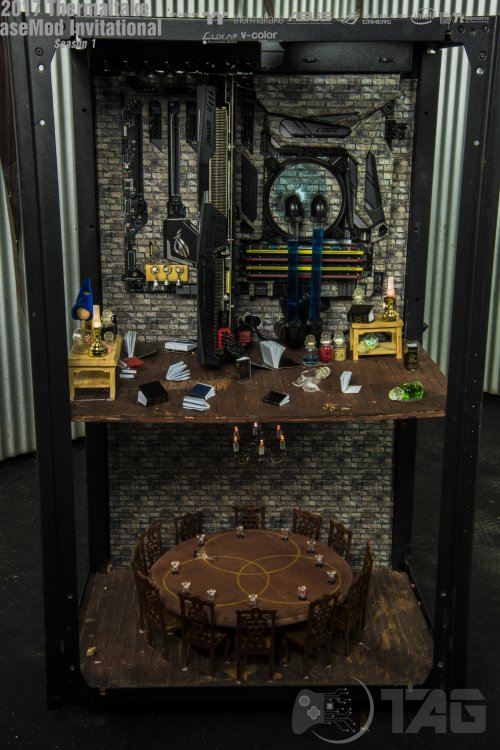

-
[Australia] Ethan Cooper
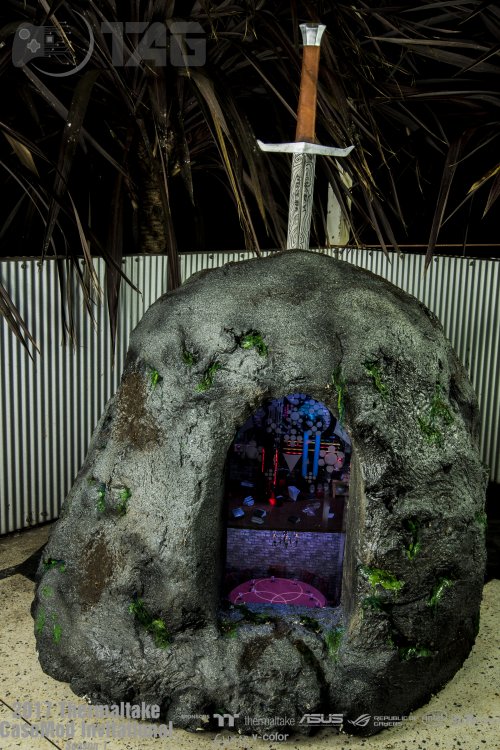
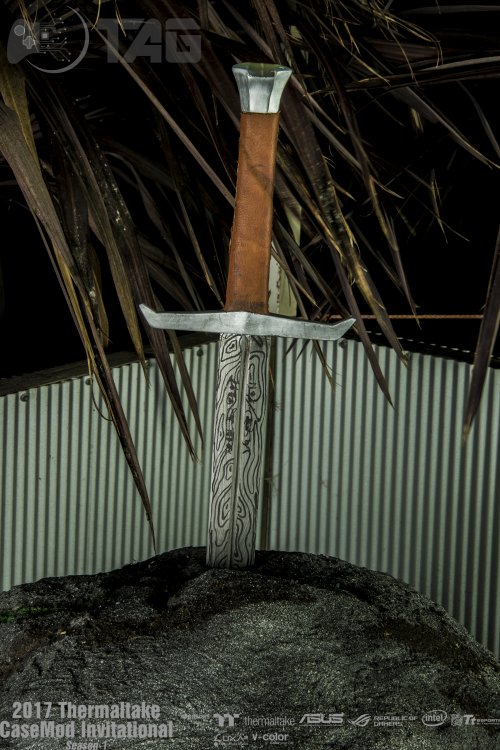
tagmods replied to Tt Andy's topic in 2017 Thermaltake CaseMOD Invitational Season 1
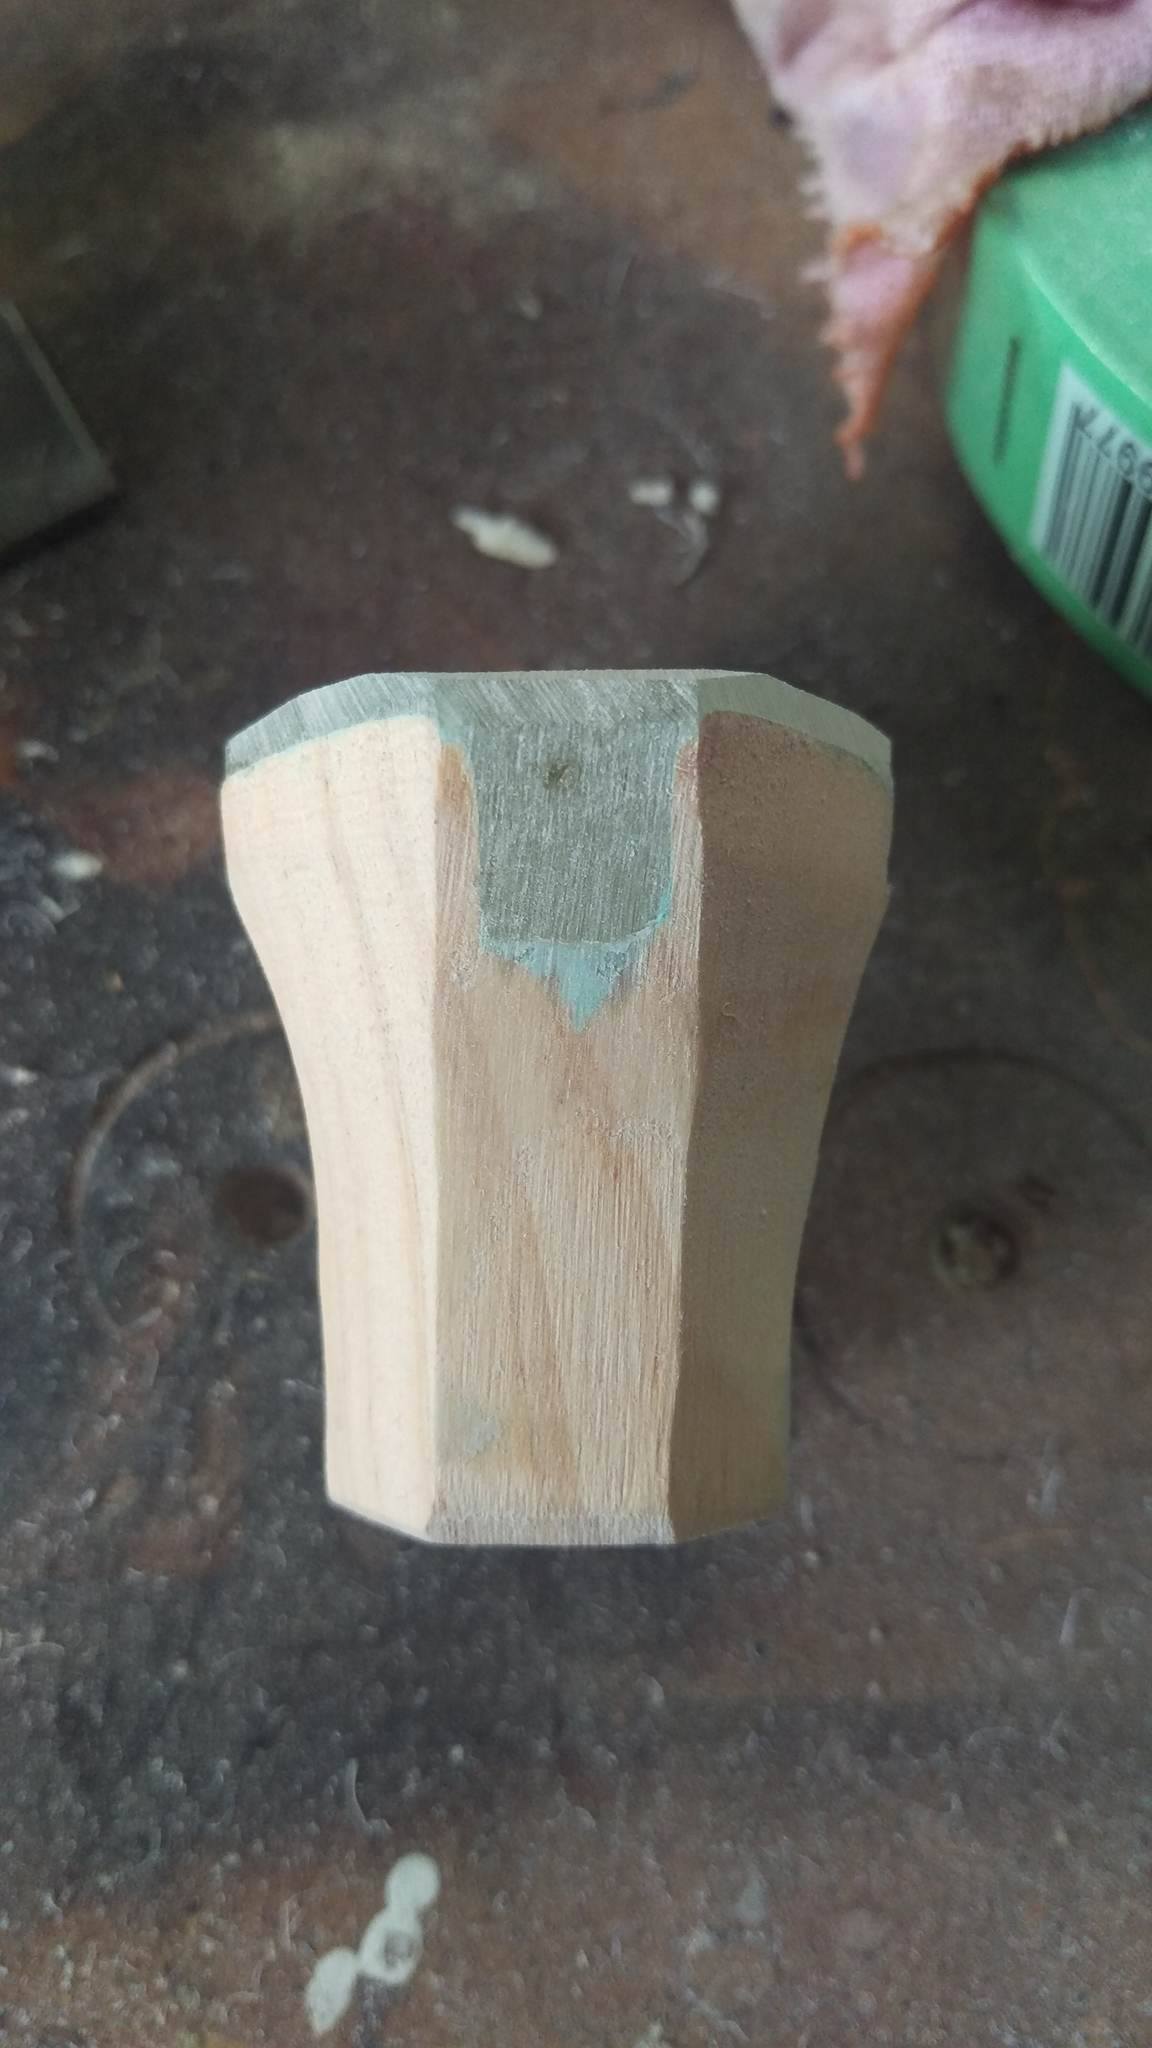
And the pommel is attached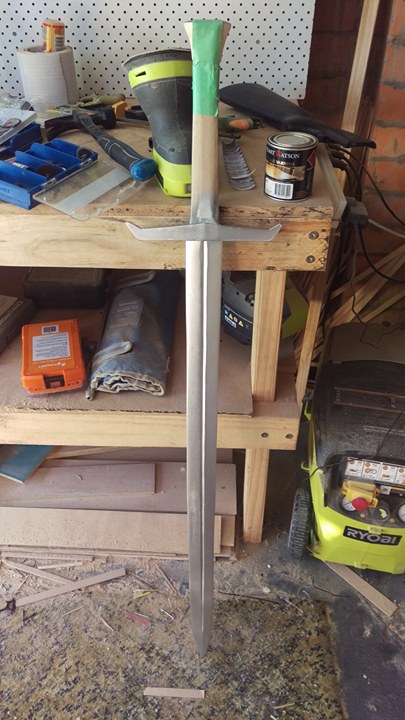
-
[Australia] Ethan Cooper
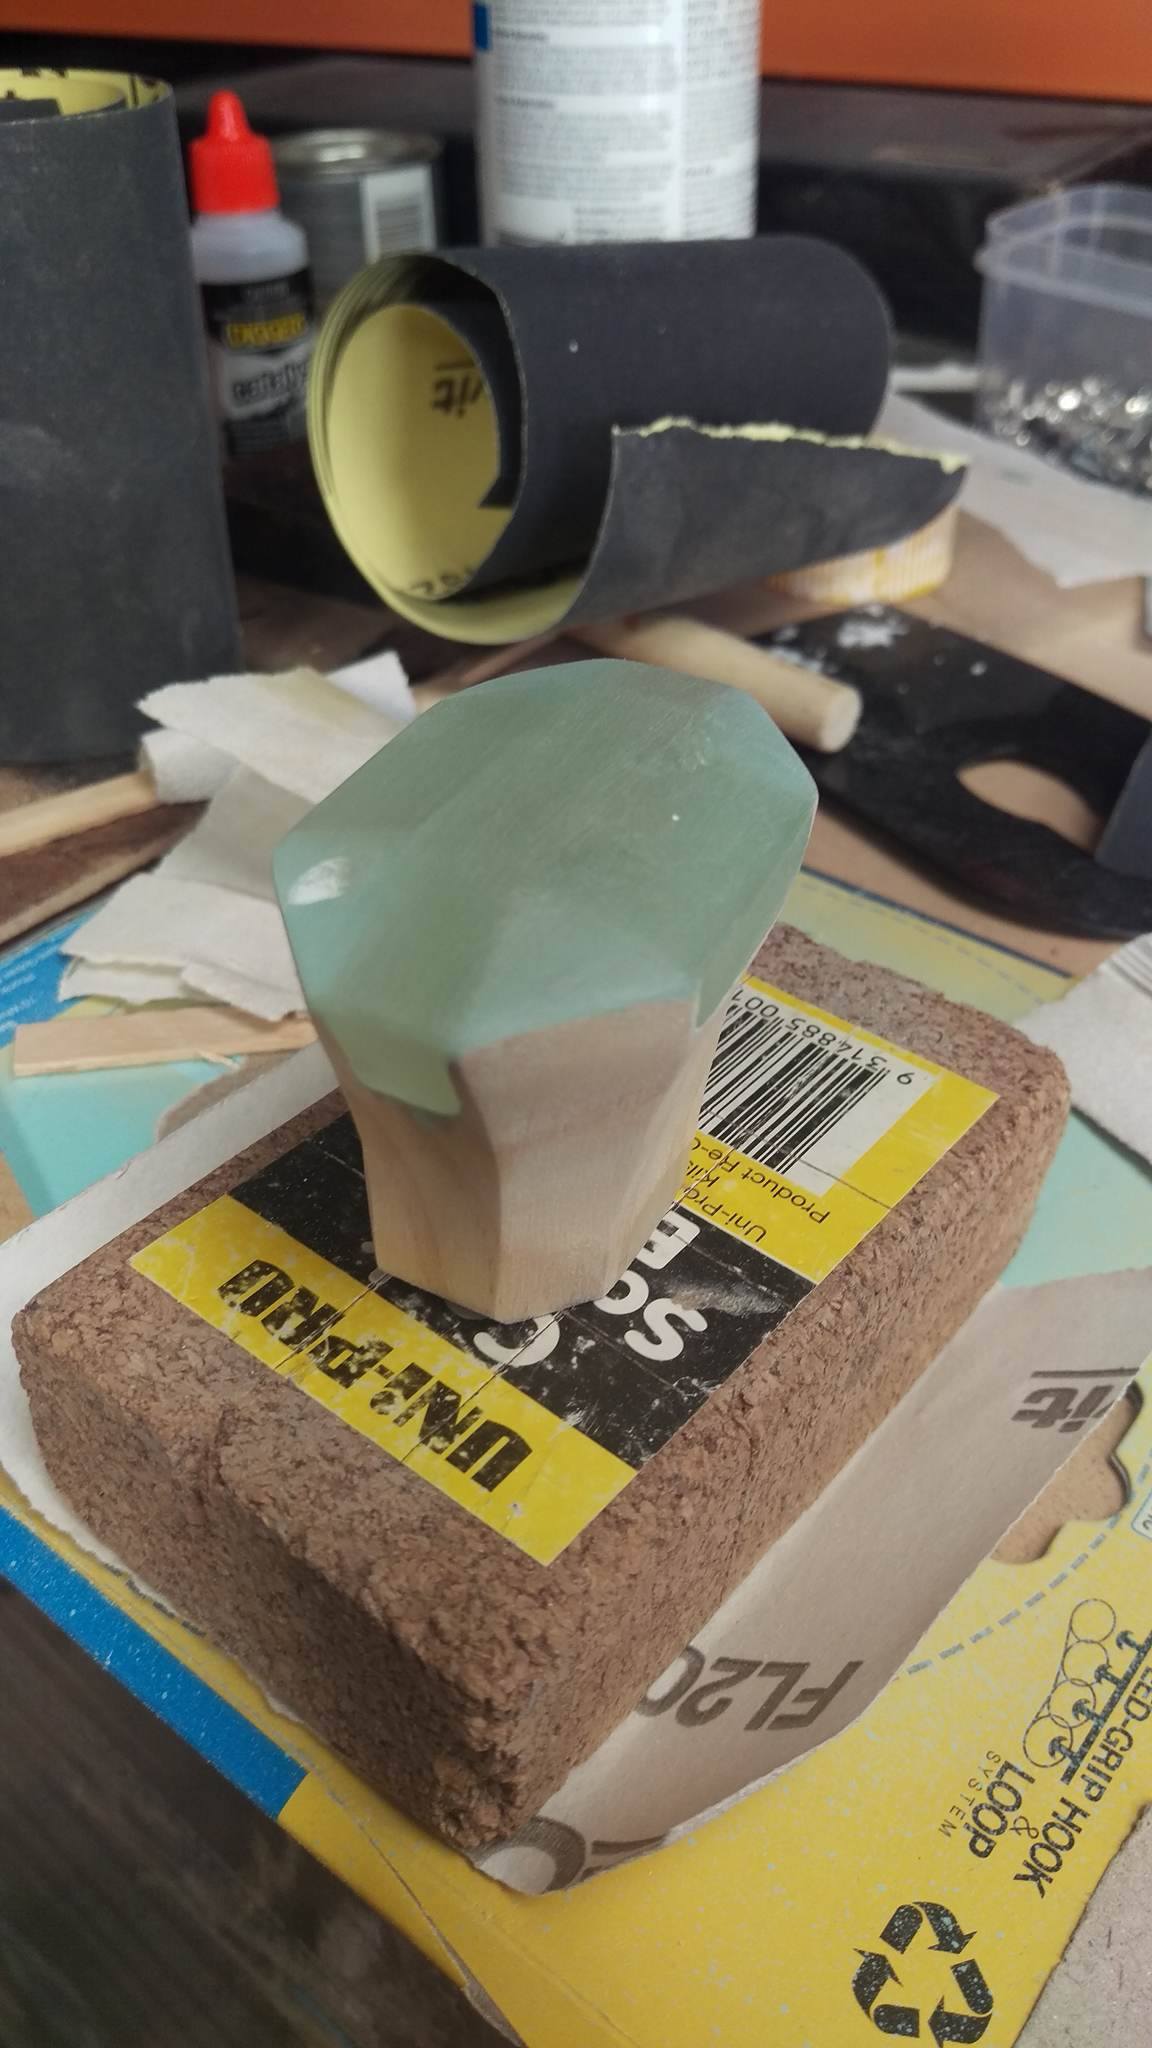
tagmods replied to Tt Andy's topic in 2017 Thermaltake CaseMOD Invitational Season 1
Time for paint!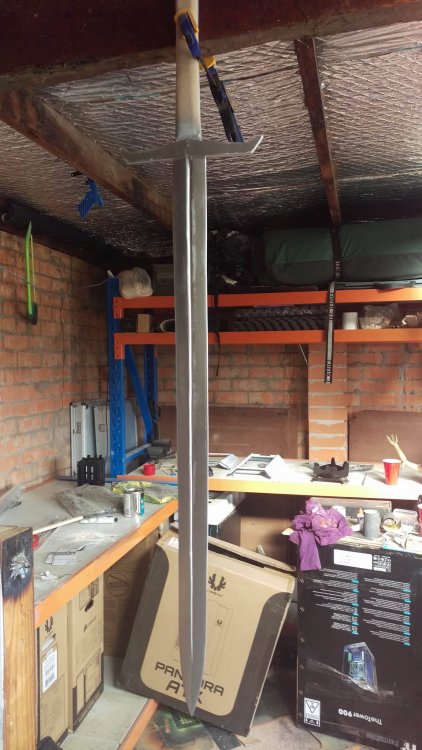
-
[Australia] Ethan Cooper
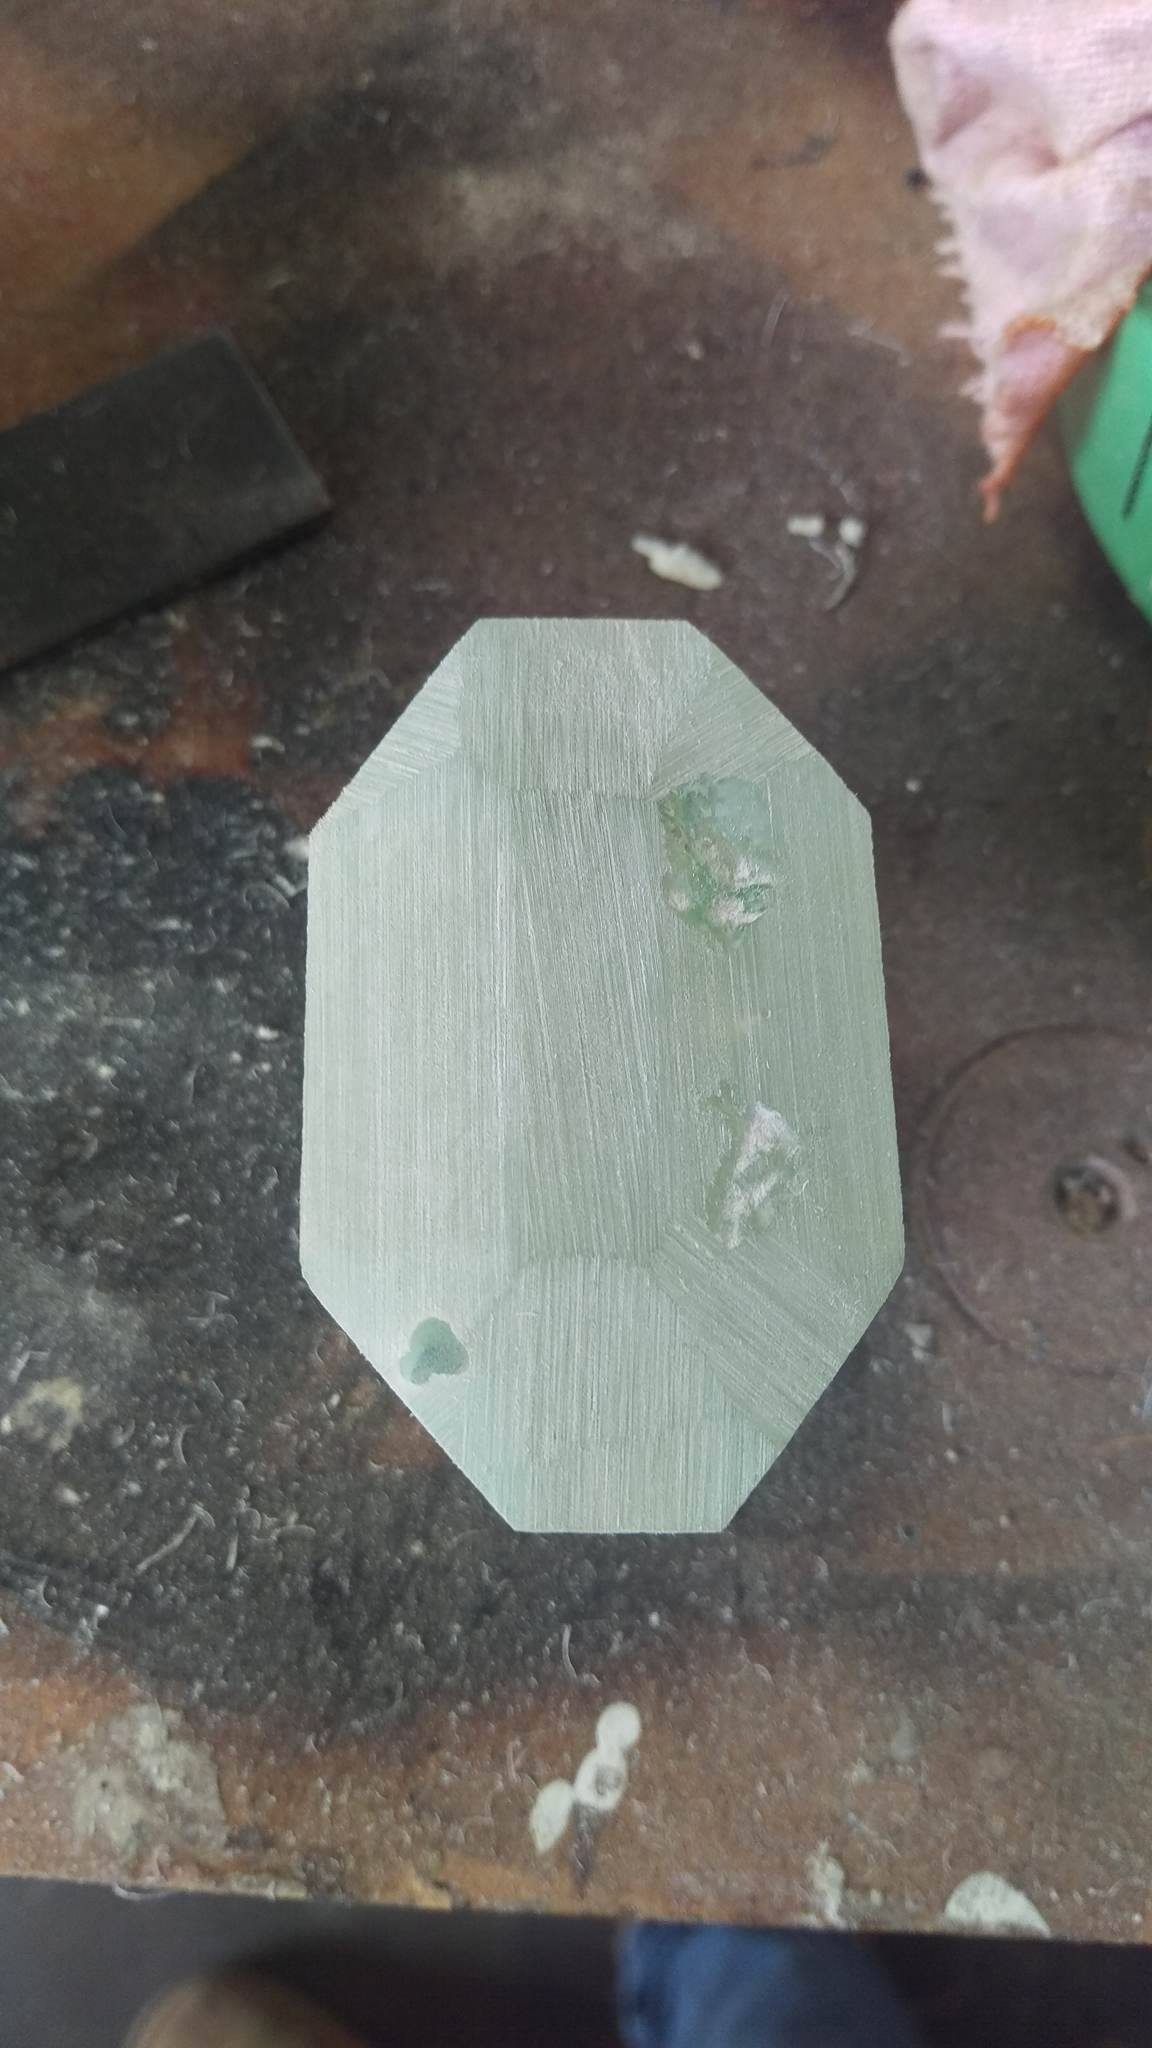
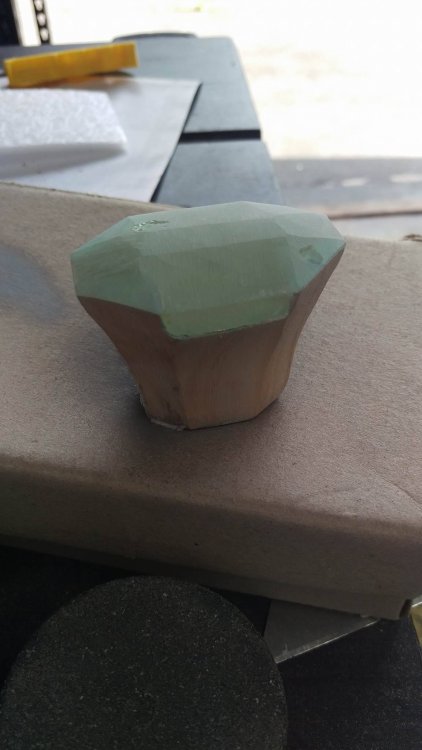
tagmods replied to Tt Andy's topic in 2017 Thermaltake CaseMOD Invitational Season 1
Attacked it with the belt sander to tear it down and then worked up the grits to get a nice smooth top Nice and polished


-
[Australia] Ethan Cooper
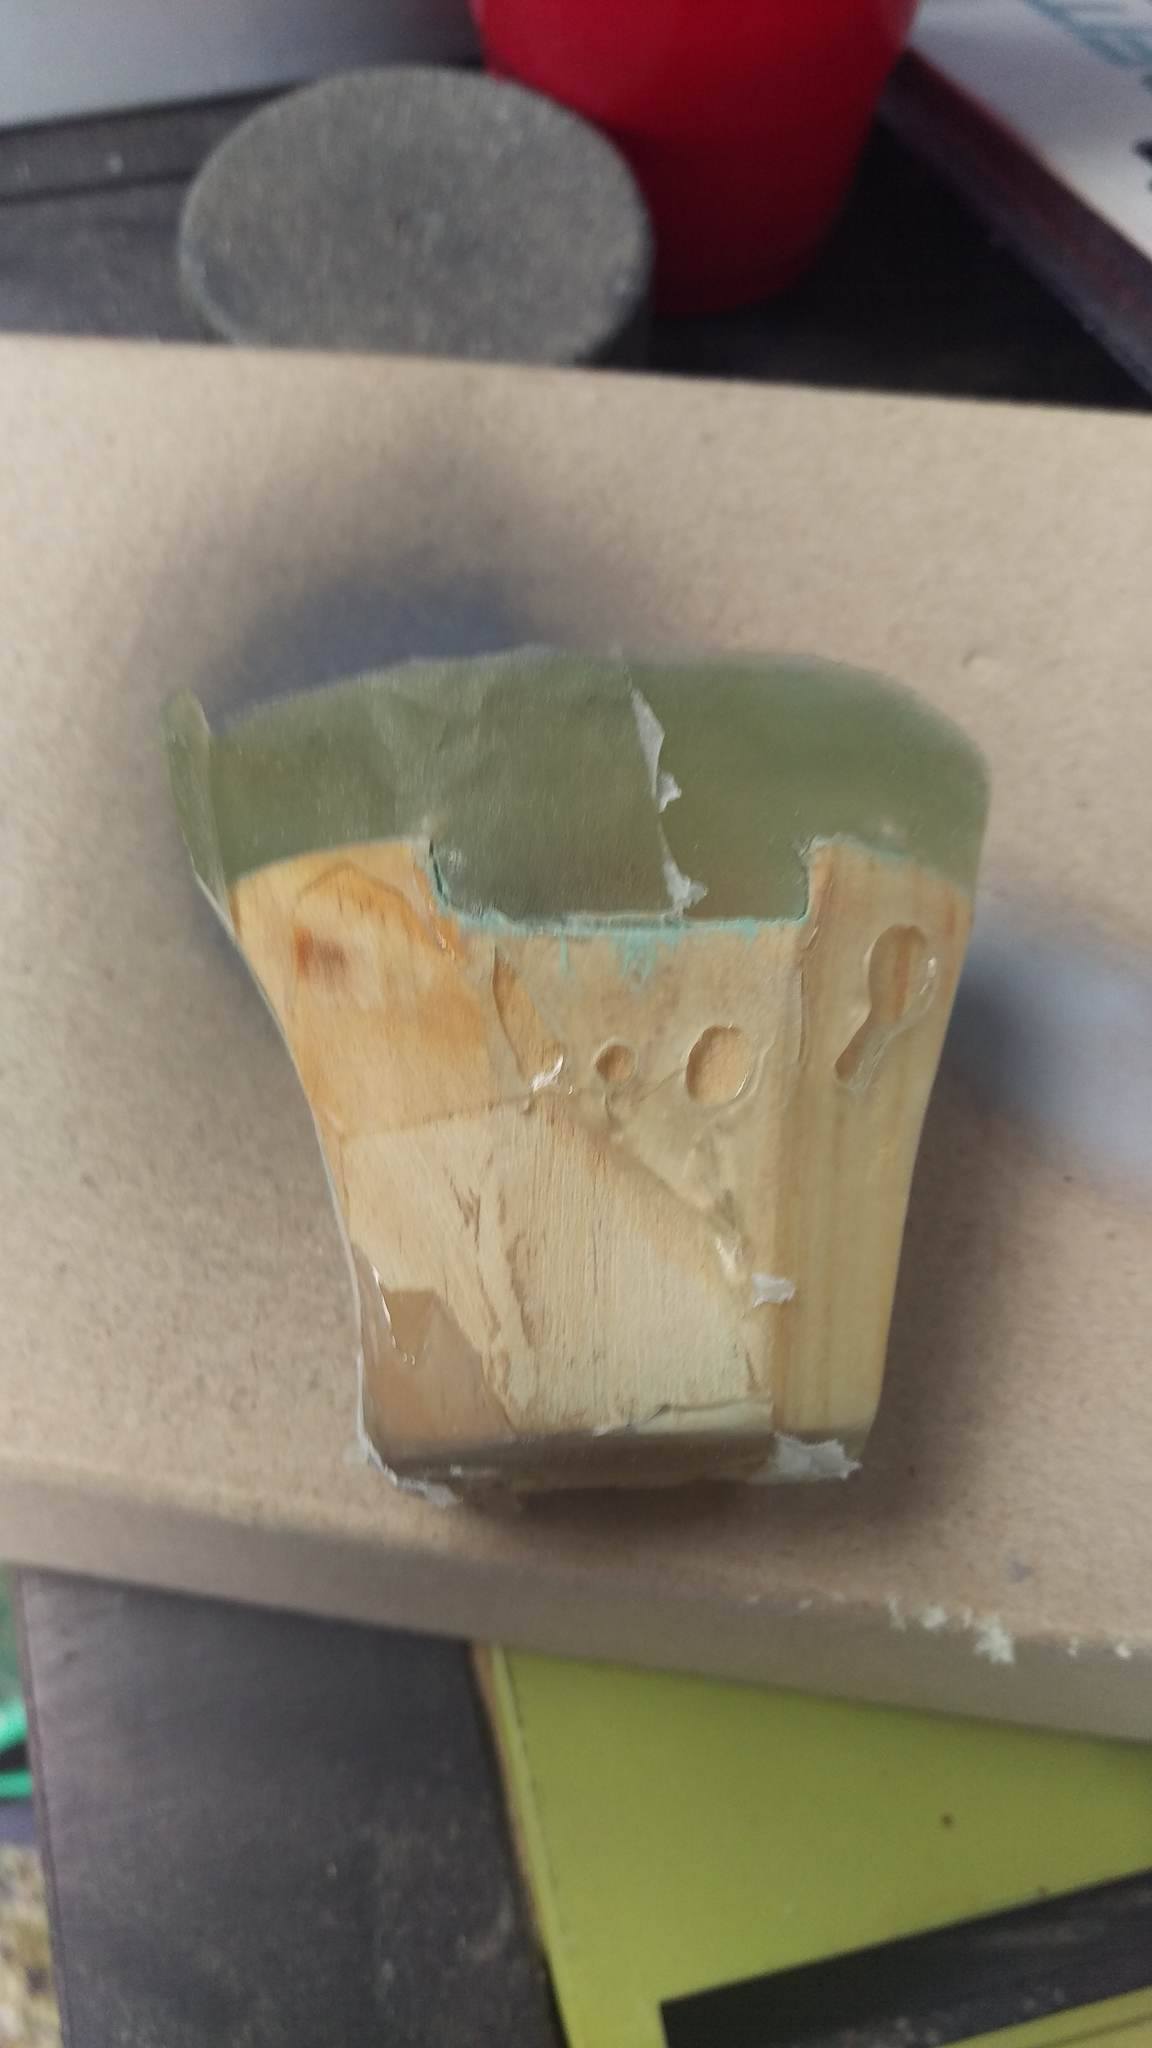
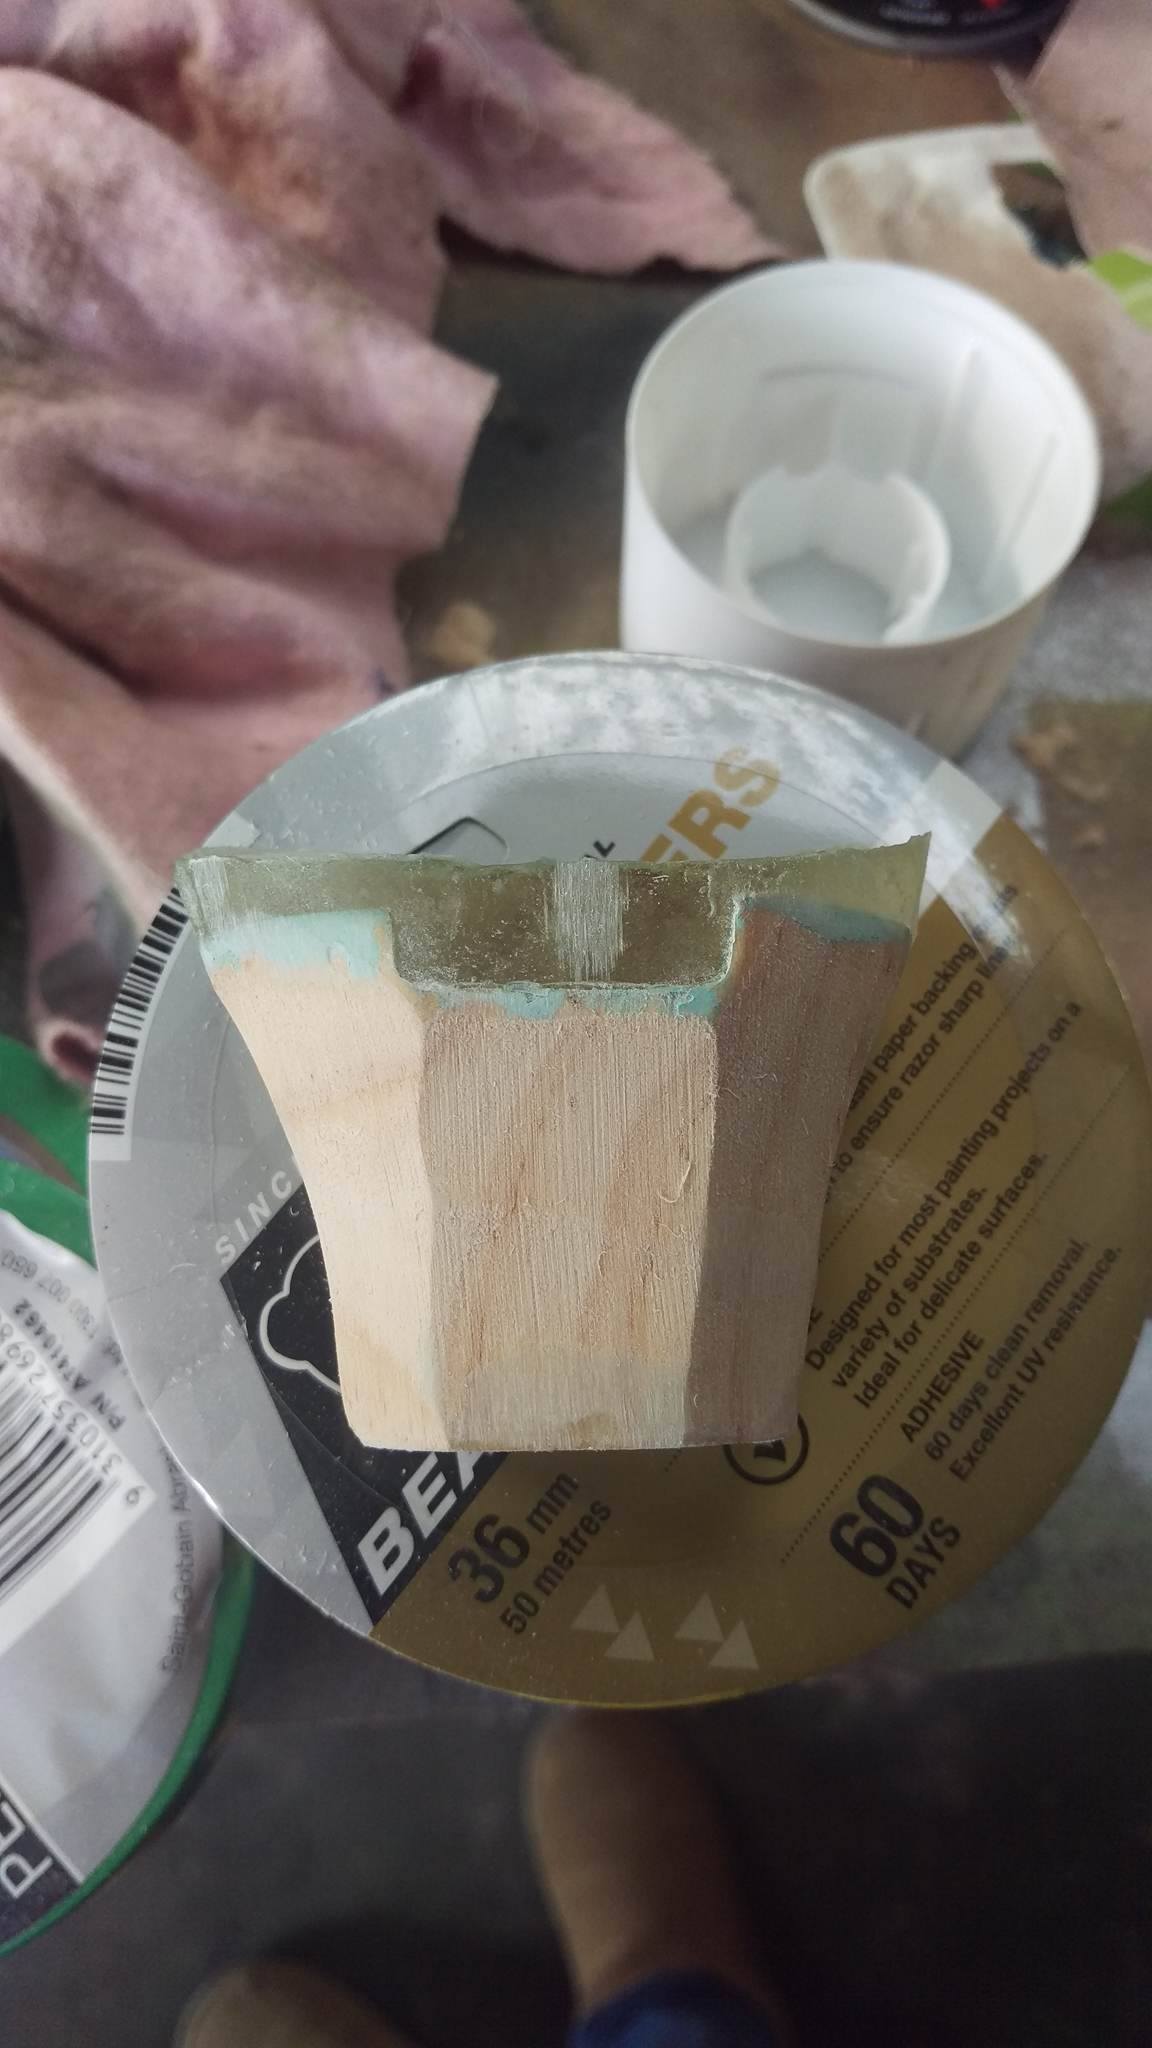
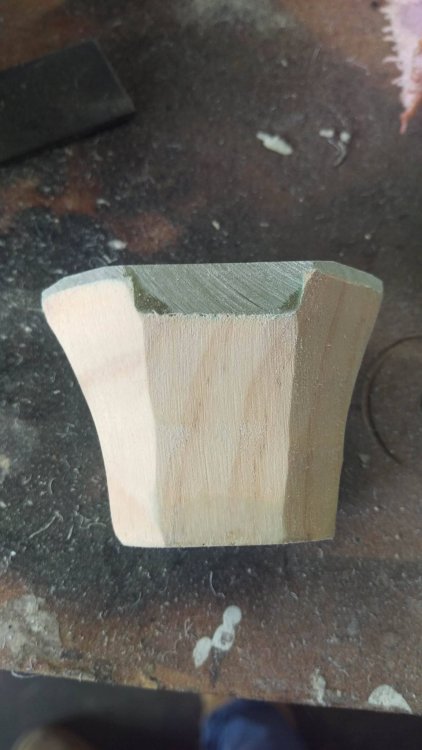
tagmods replied to Tt Andy's topic in 2017 Thermaltake CaseMOD Invitational Season 1
Further shaping of the pommel and filled the top with resin. Its a bit messy so better clean it up!