-
Forum Statistics
93.2k
Total Topics114.2k
Total Posts -
Member Statistics
173,048
Total Members16,800
Most Online


MooZ
-
Posts
40 -
Joined
-
Last visited
-
Days Won
1
Content Type
Profiles
Forums
Downloads
Events
Gallery
Blogs
Posts posted by MooZ
-
-
Definitely love your projects and the way to take these awesome photos! Looks awesome!
-
-
Awesome design! Good luck bro!
-
That is the way i liked most! Looking good bro! Good luck!
-
Go go loki! (argentina)
-
-
Now is done


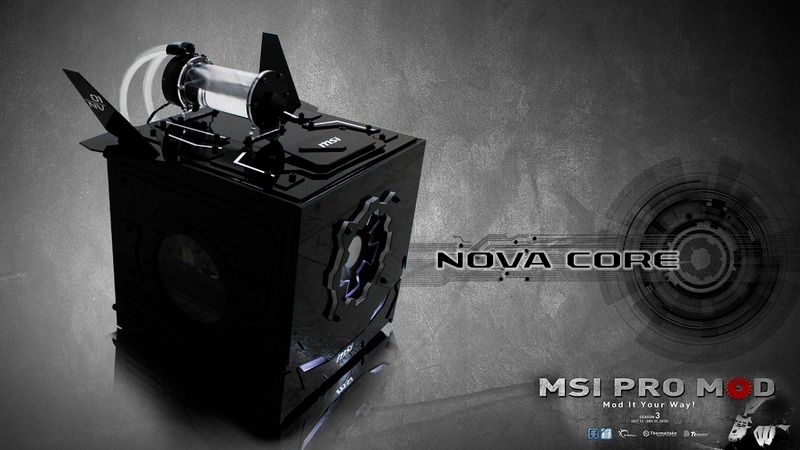
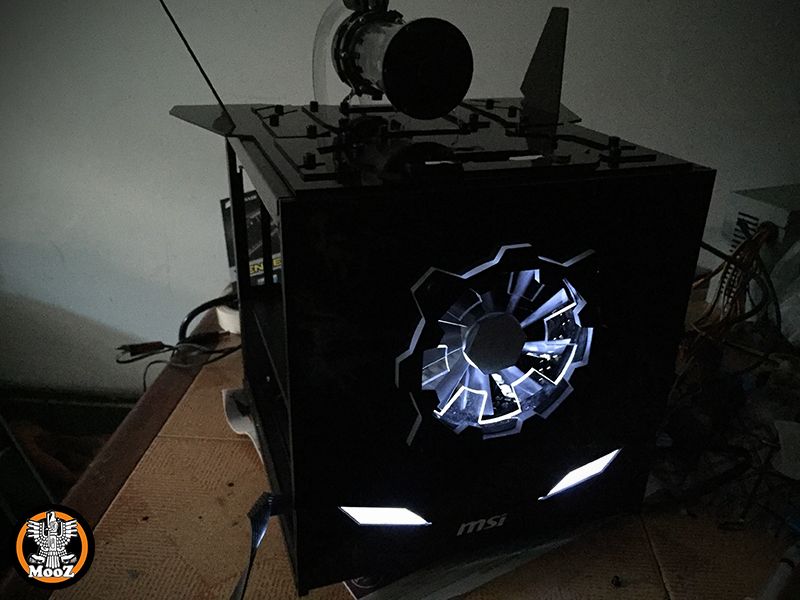
 Guess lucky found his personal spaceship!
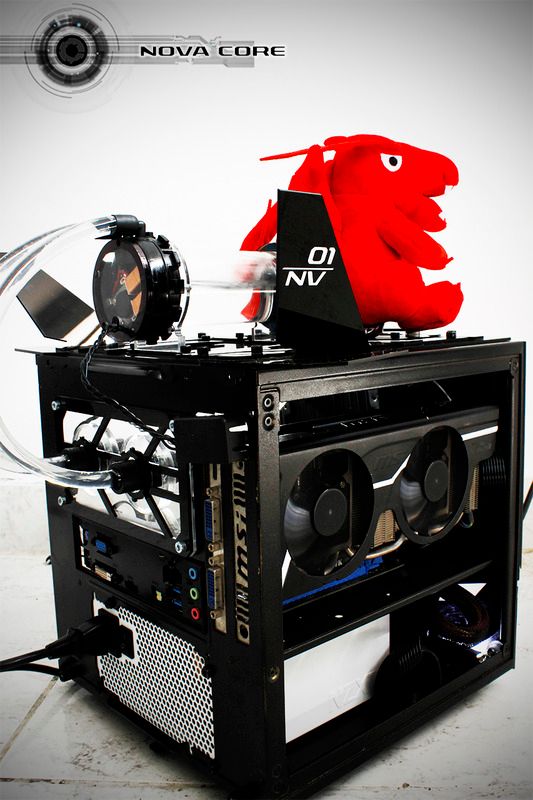
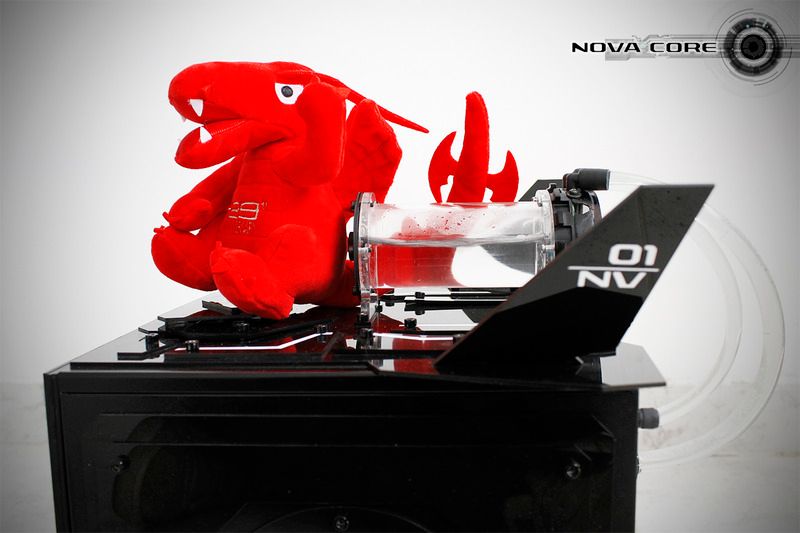
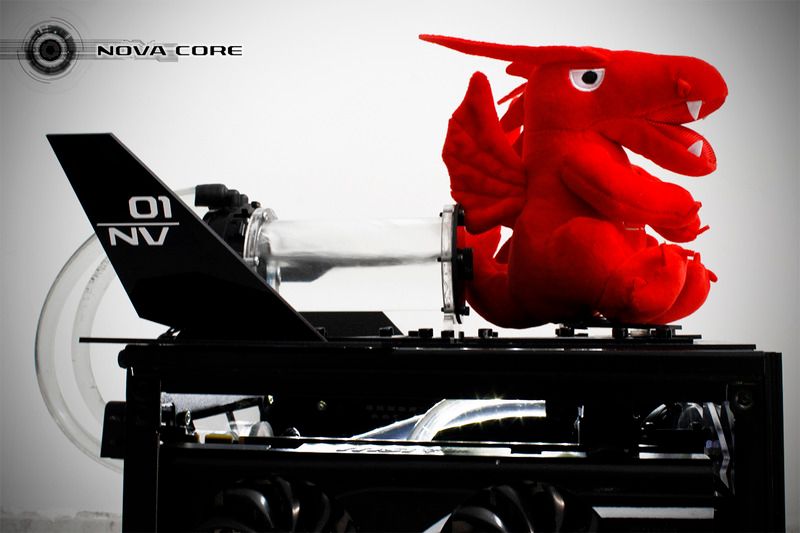 Take off!
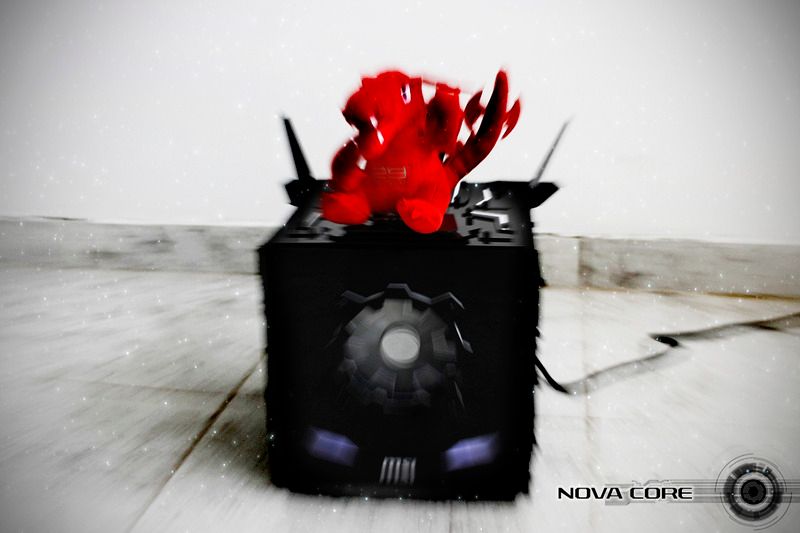
-
Installing the front lights...
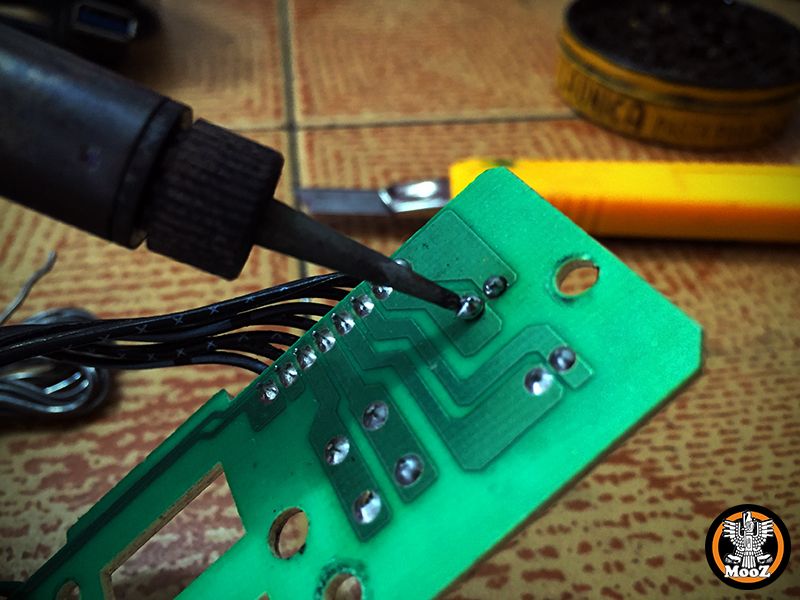
 Vcard installed and hdd led replacement
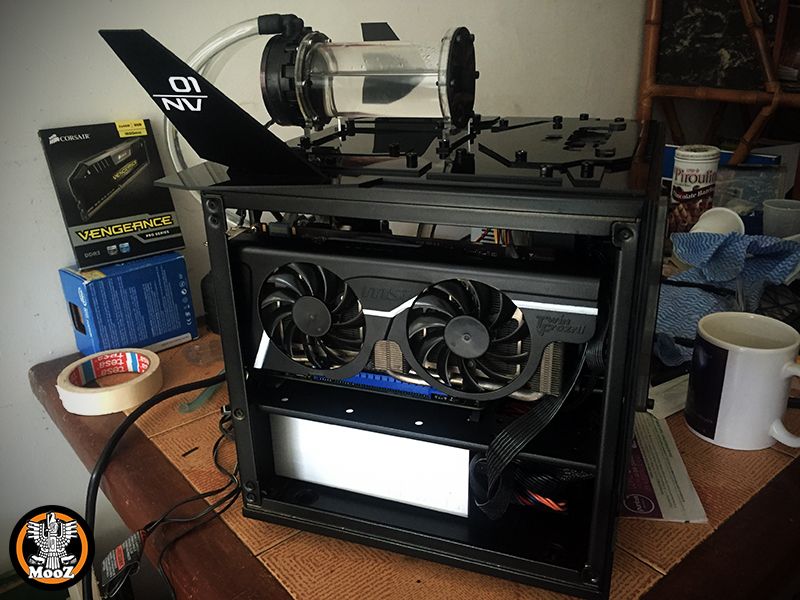
-
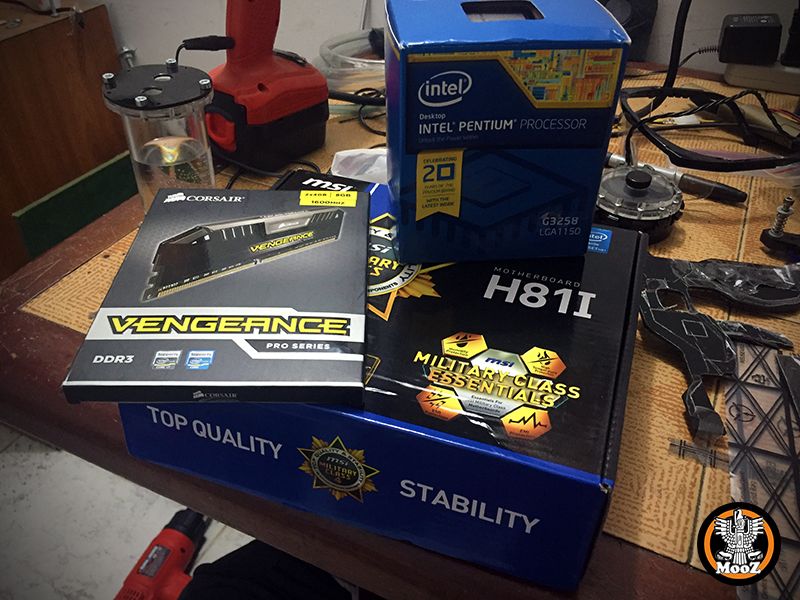
The project parts:
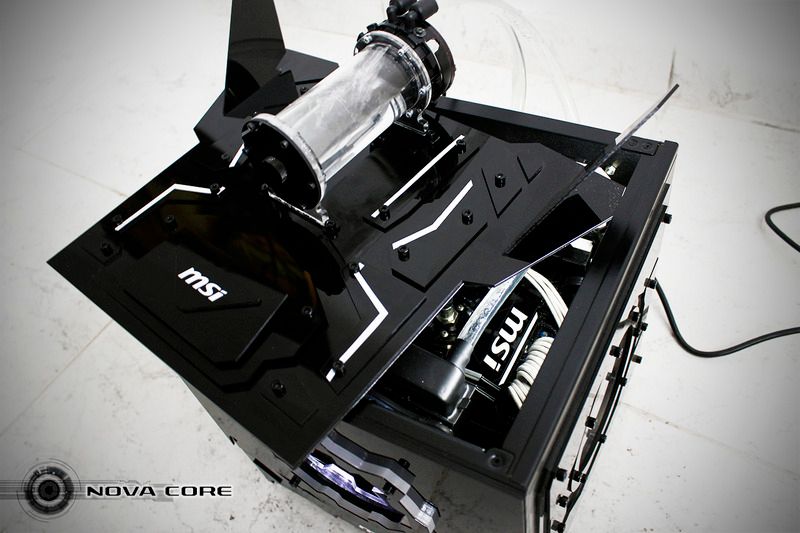
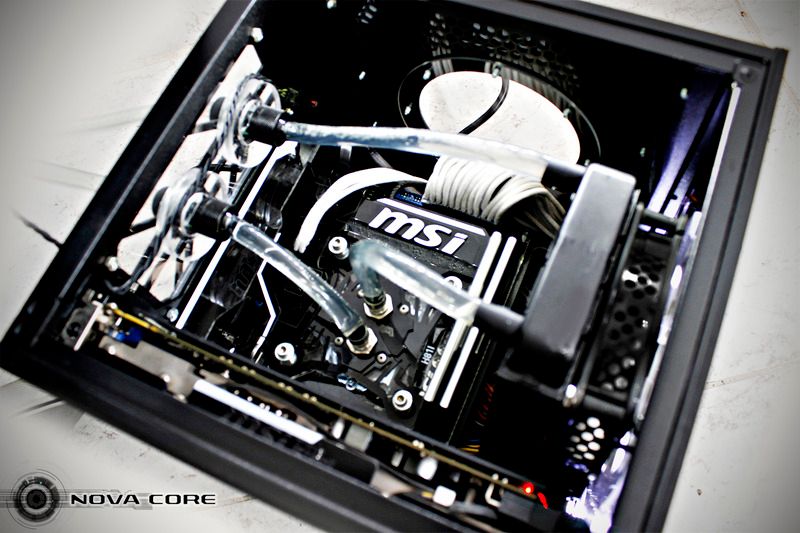
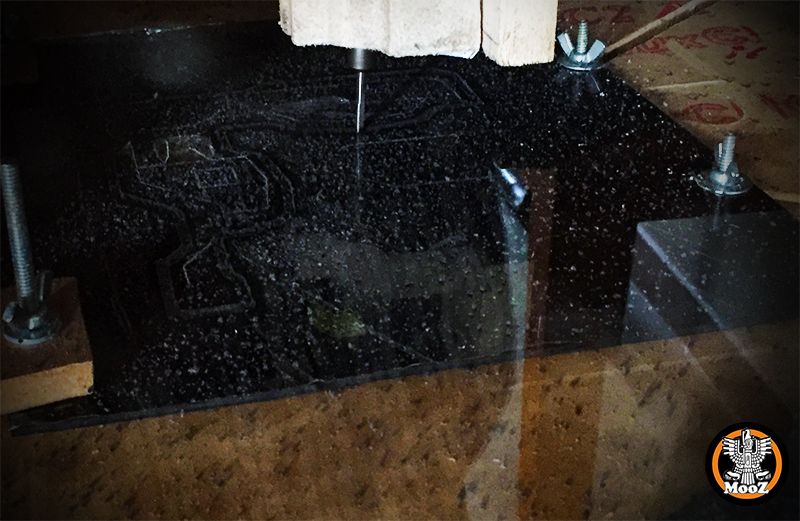
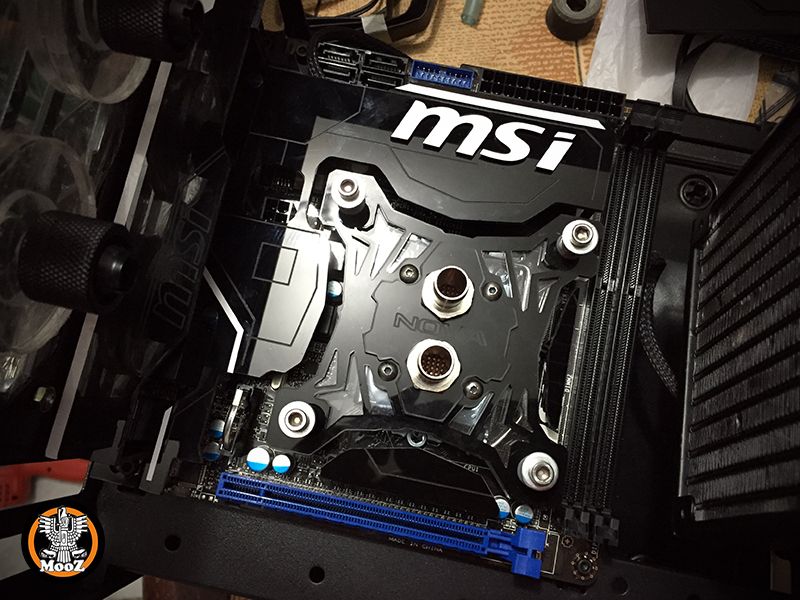
 Making the thermal armor:
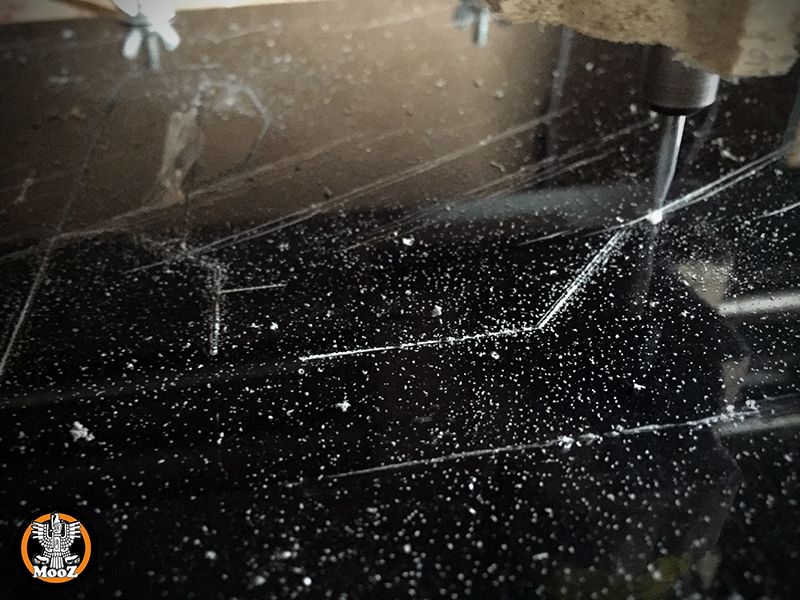
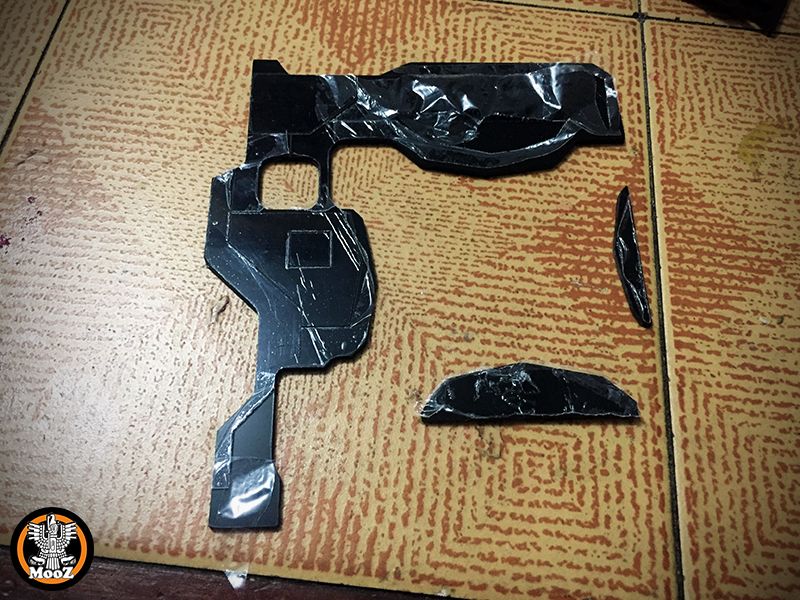 Adding some details...
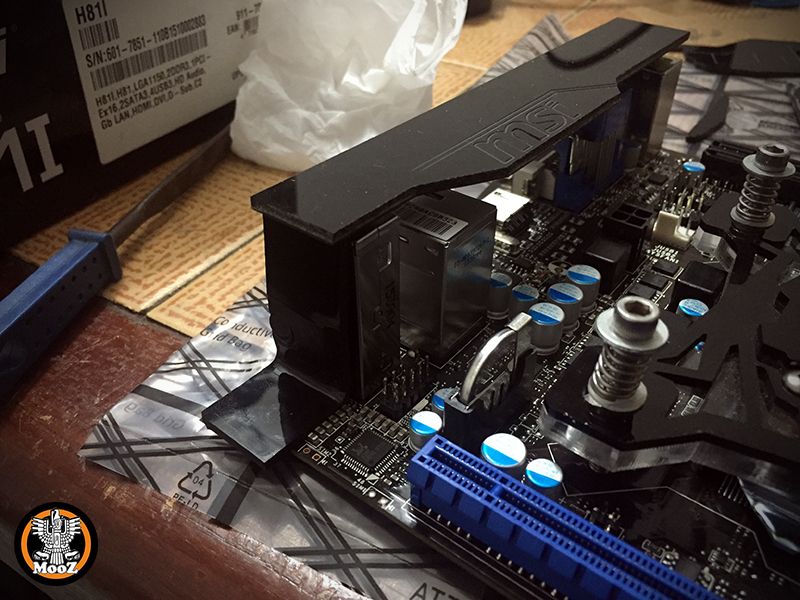
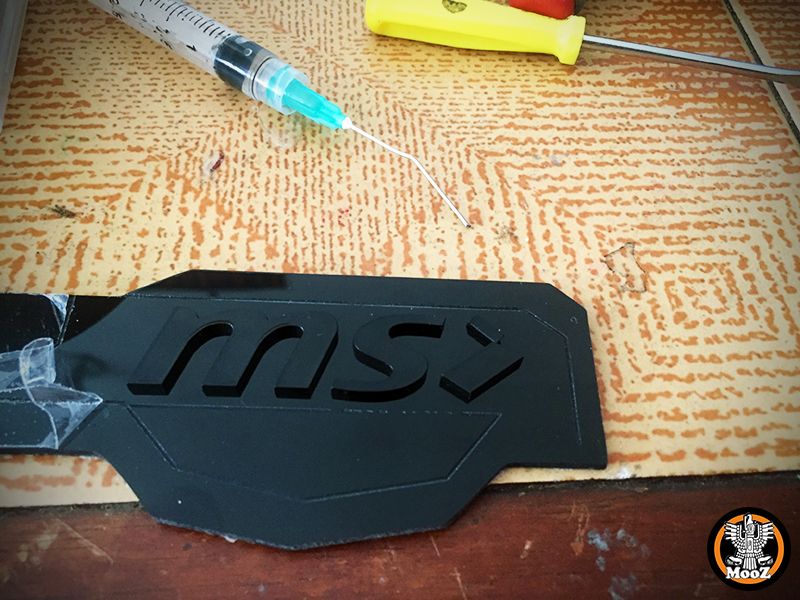 Testing the location of each part, the thermal armor has three parts which frame around the waterblock. Mounting the waterblock allow to check each one.
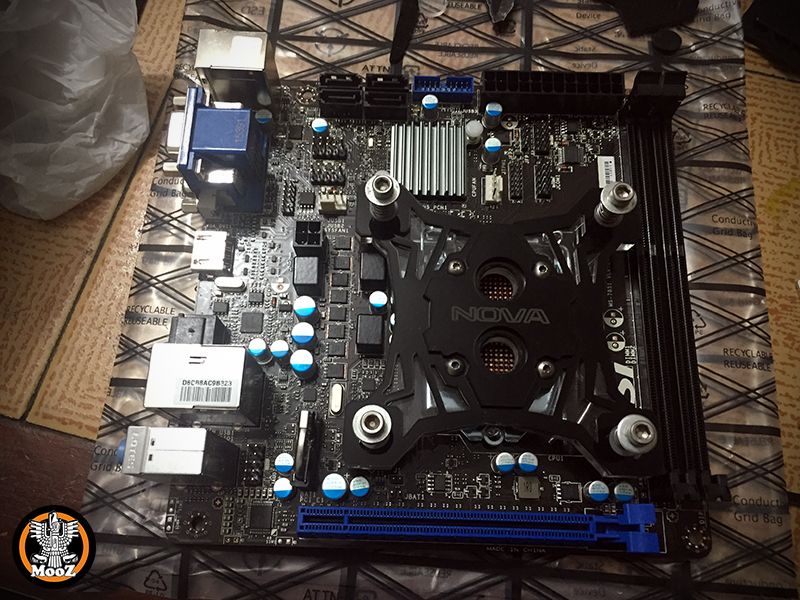
 Also, the i/o ports will be cover. to fix to the motherboard i bend two pieces of acrylic that ends in the mounting hole.
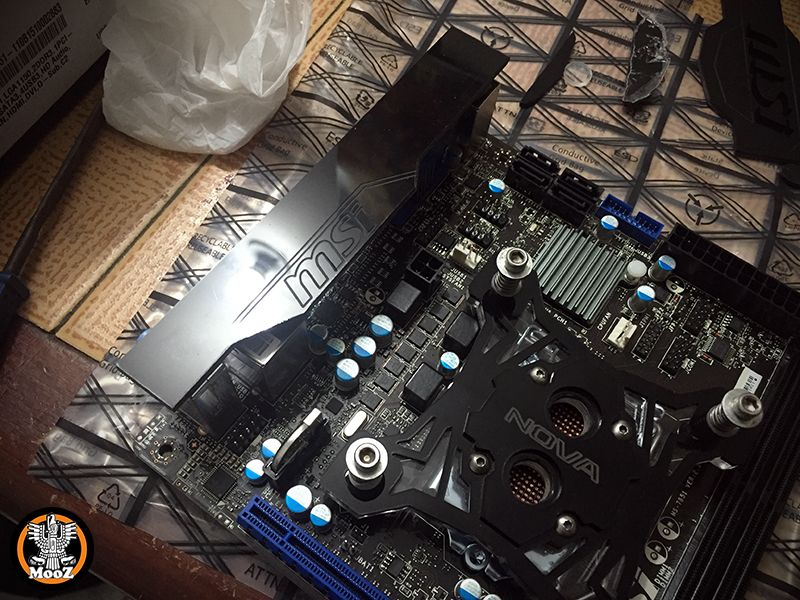
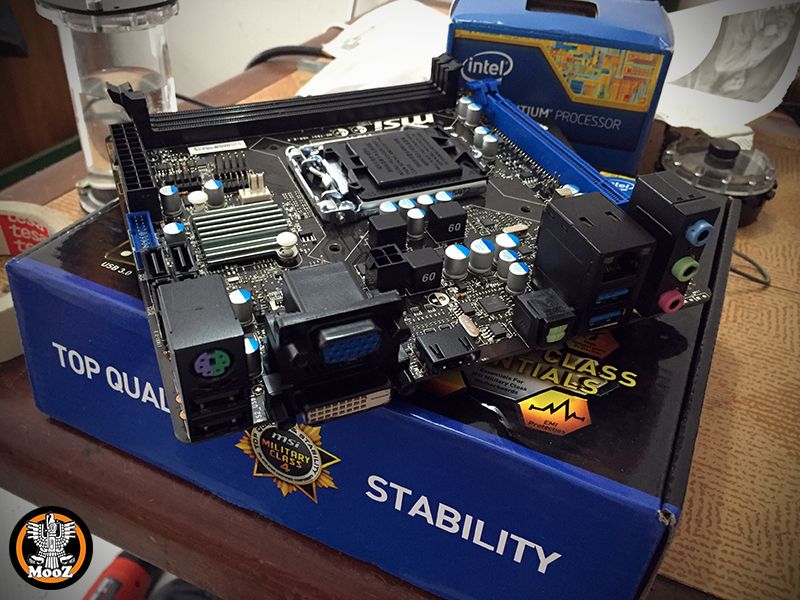
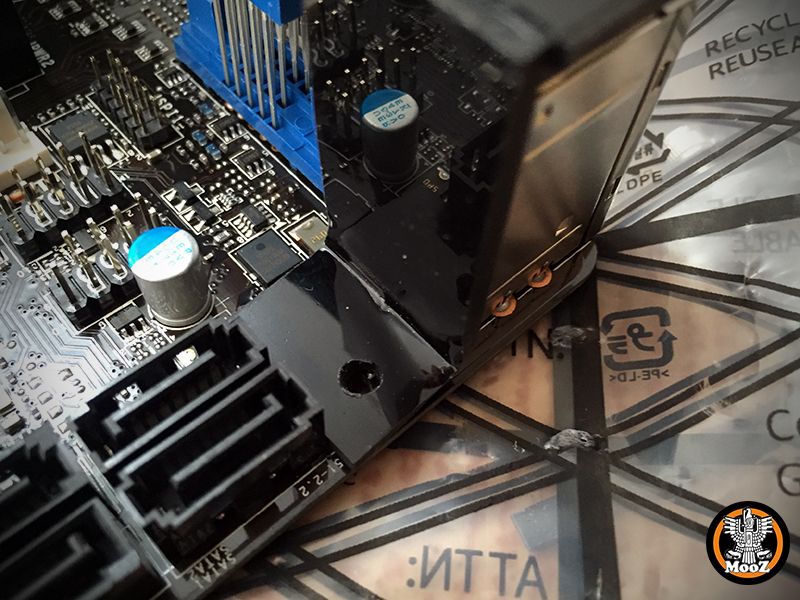 I/o was painted too. Masking was more difficult than i thought, but the result worth it
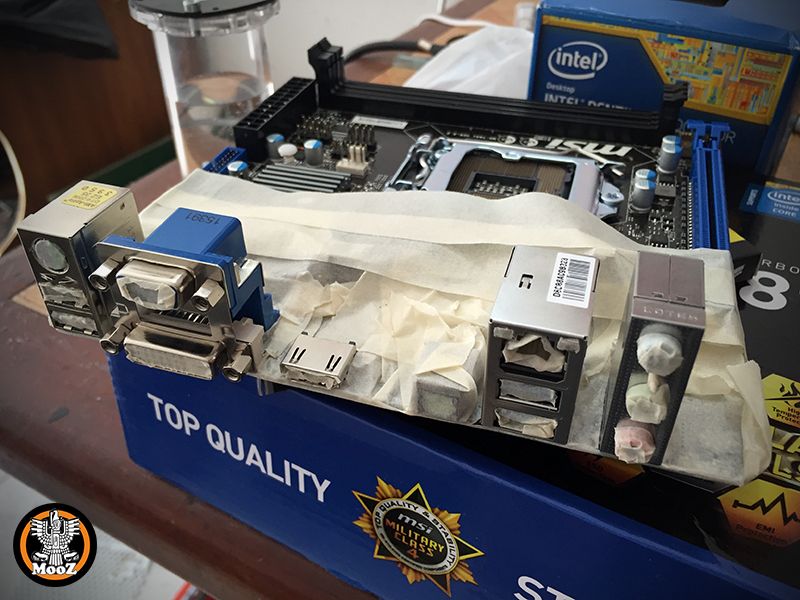
 More details...
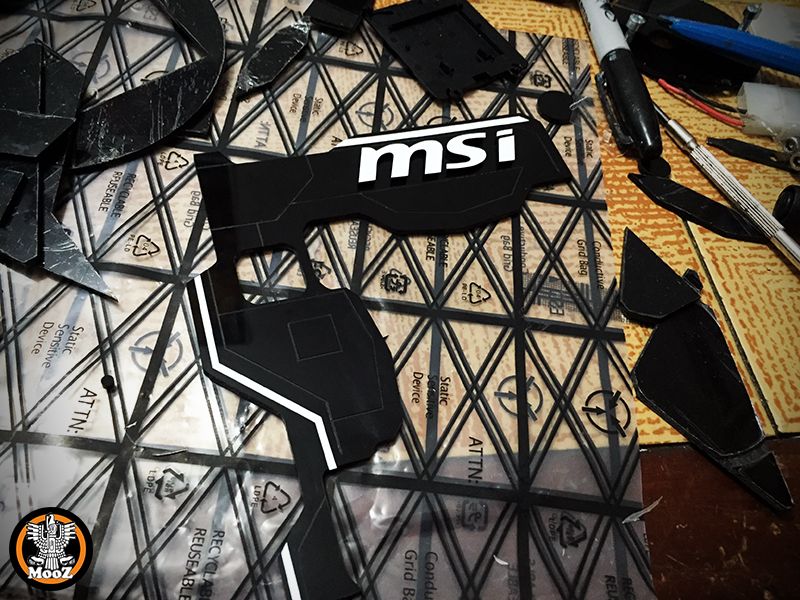
 Time for start the final assembly:
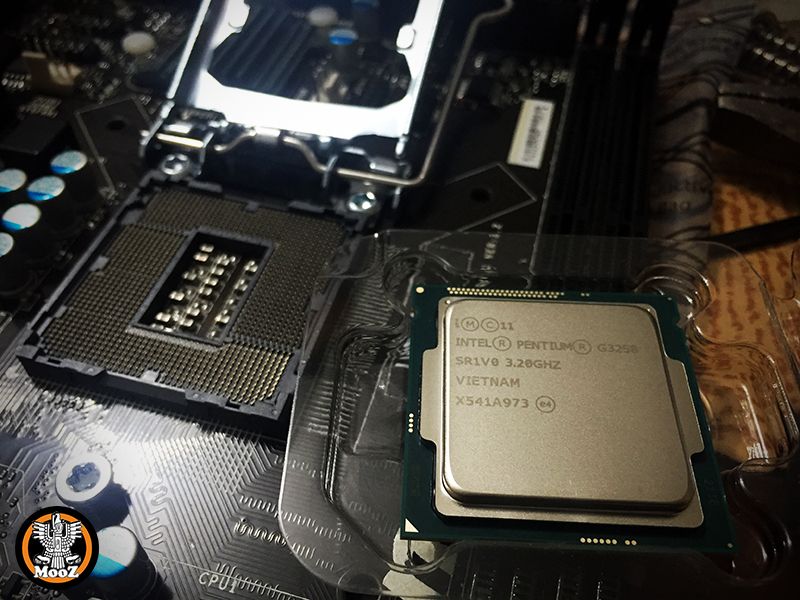
-
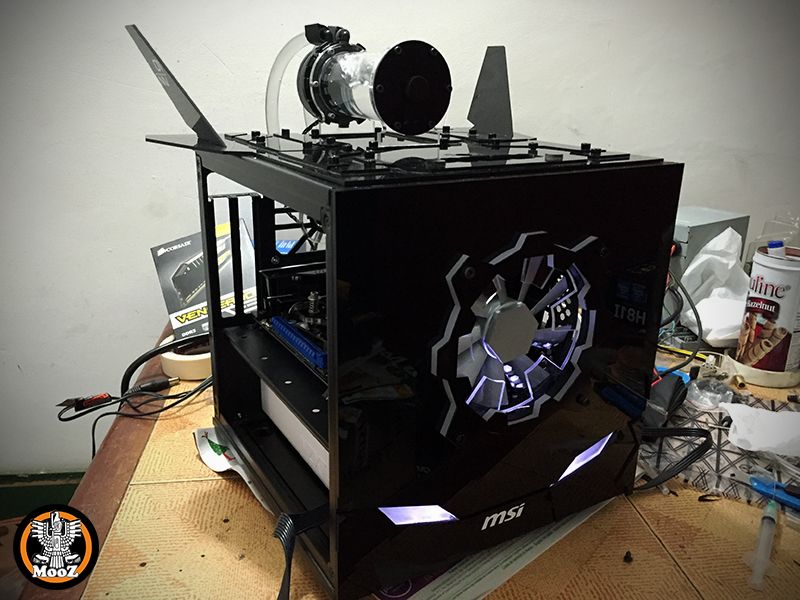
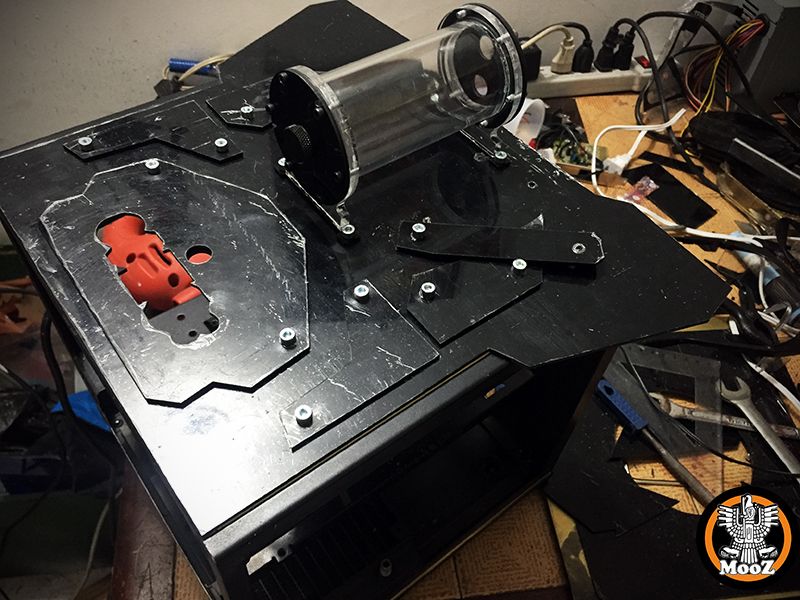
Modding the pump...
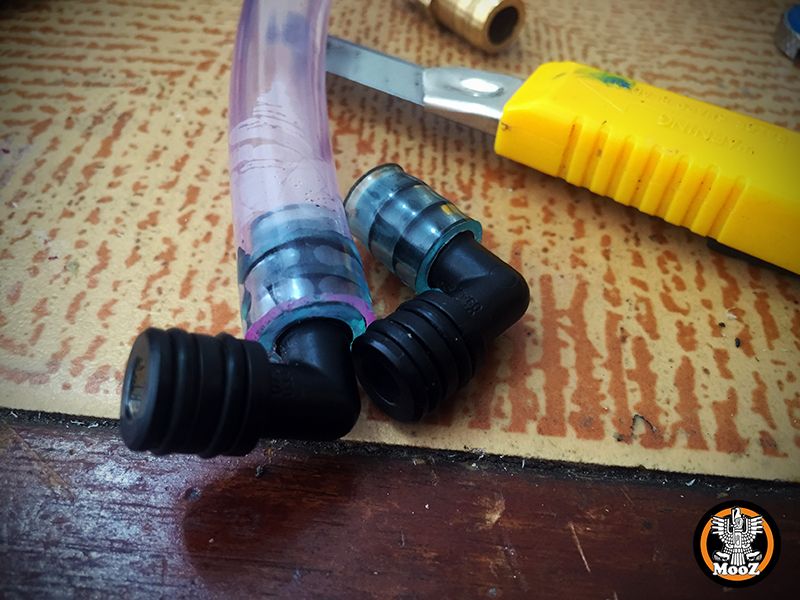 I tried to install as separate pump, but the truth is, there's not enough space inside to put it
 So, my solution integrates pump and reservoir on top.
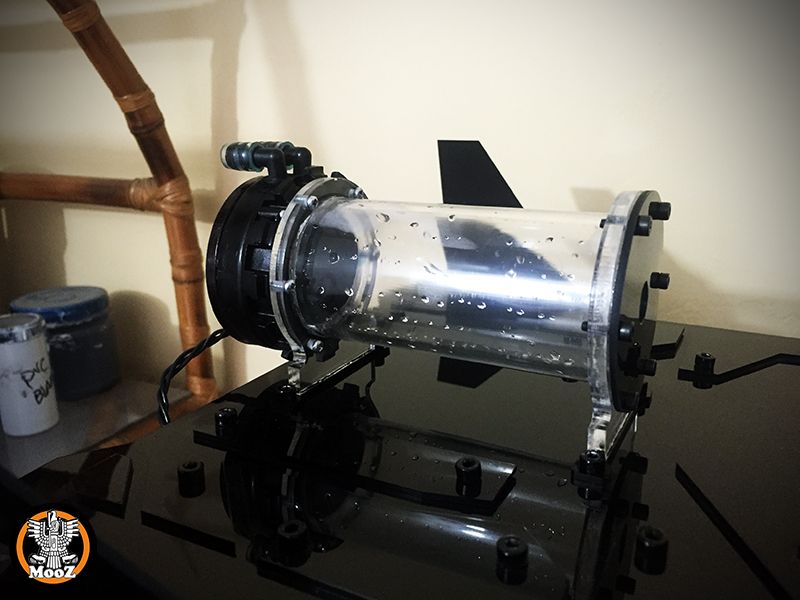
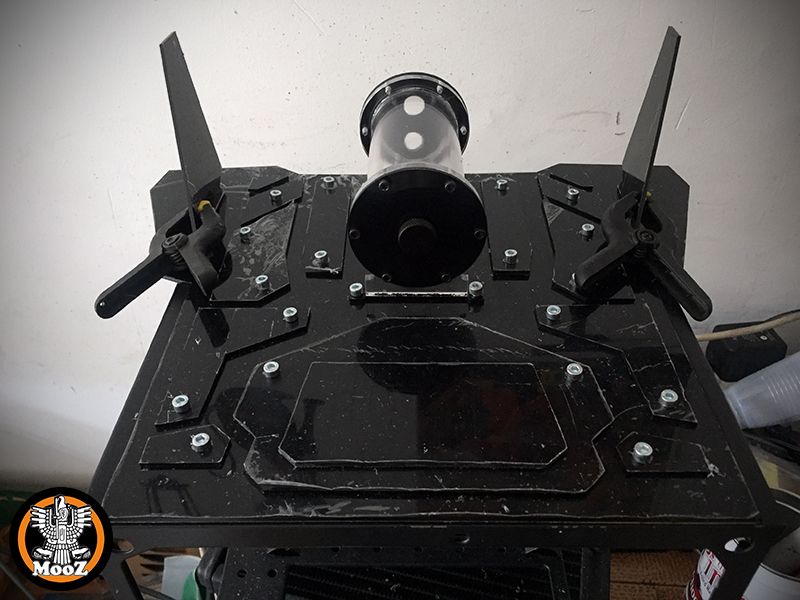
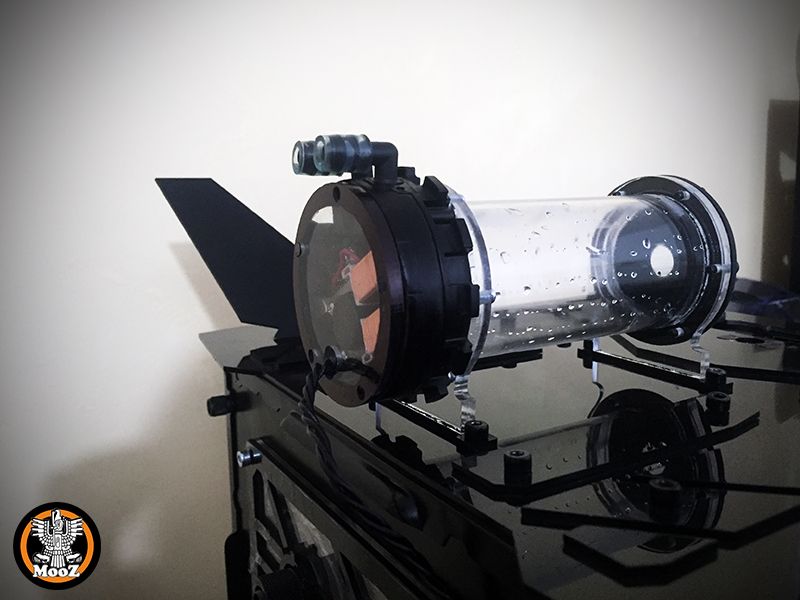 Side test.
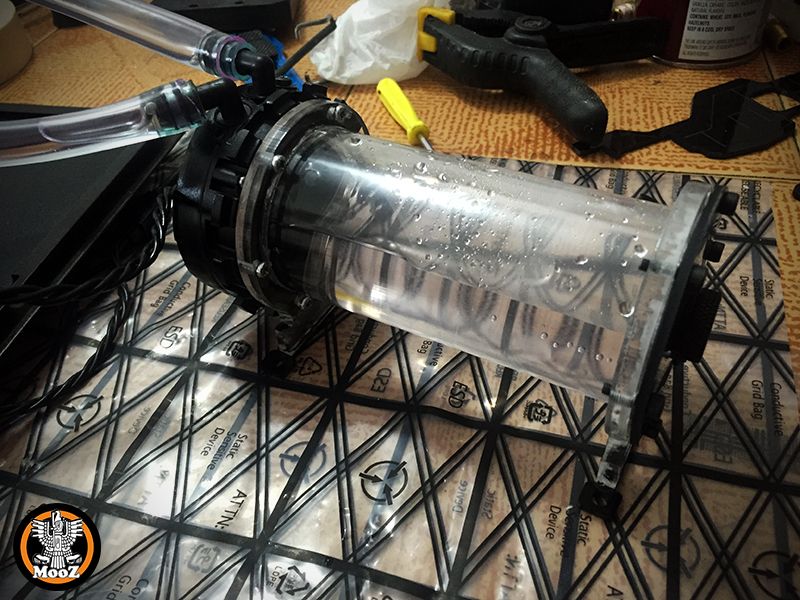
-
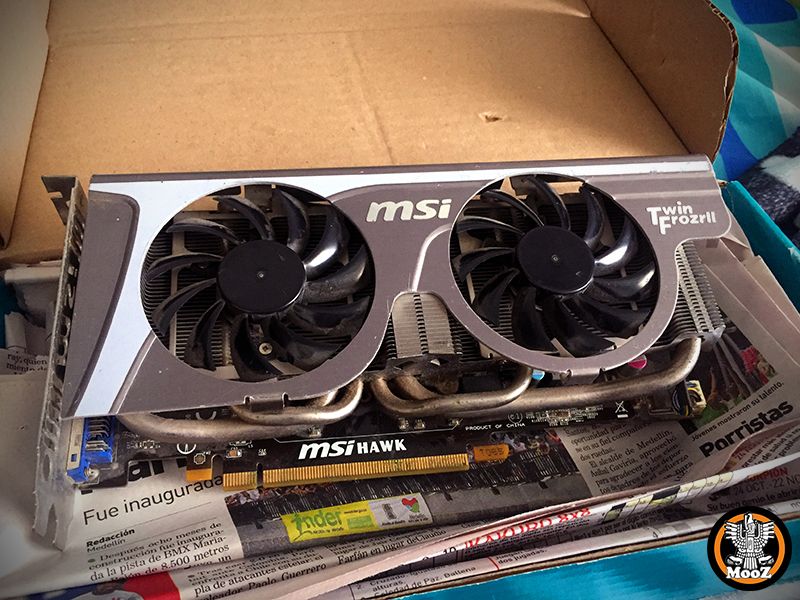
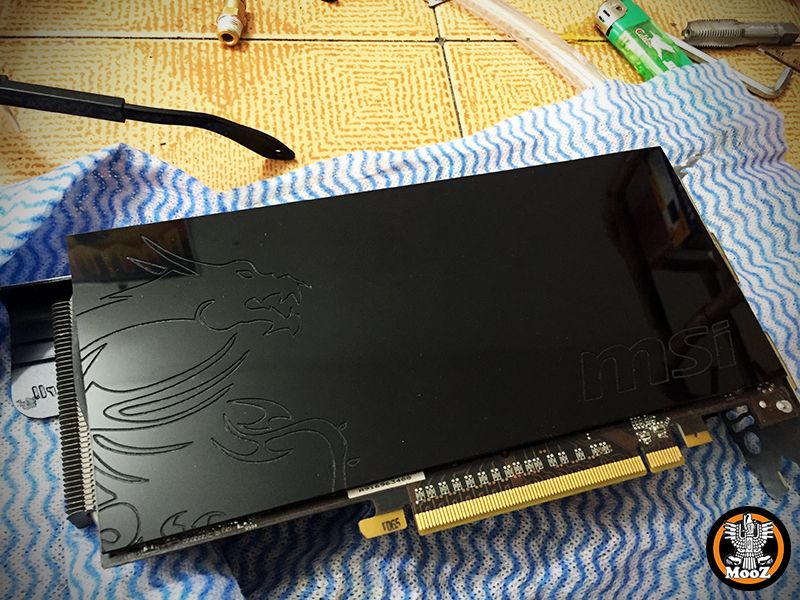
I manage to get a vcard with twin frozn II, for use the heatsink, with a new black and white colors, and replace it into my N460 cyclone.
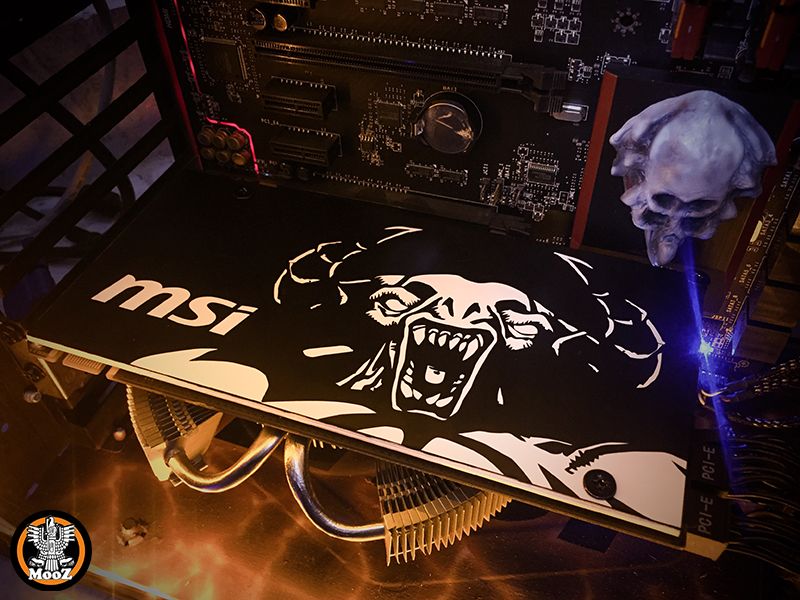
 Then the backplate... engraved logo and dragon
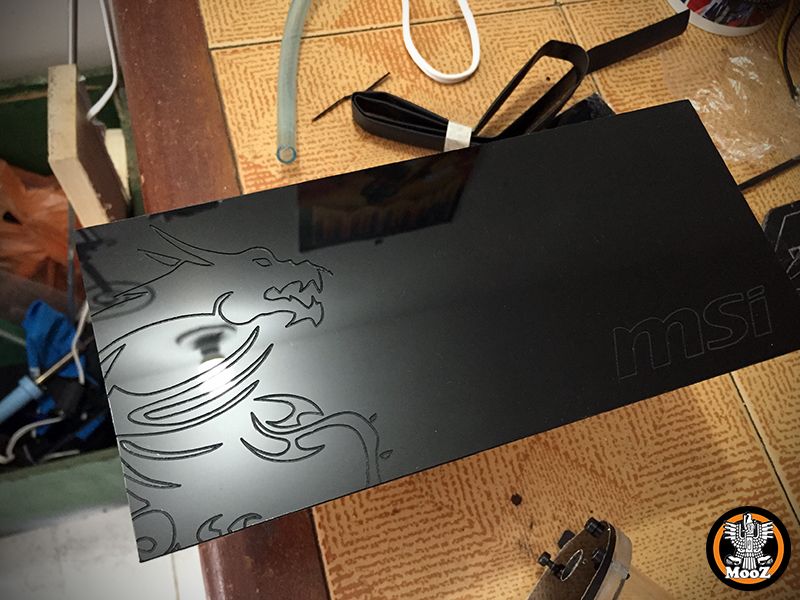
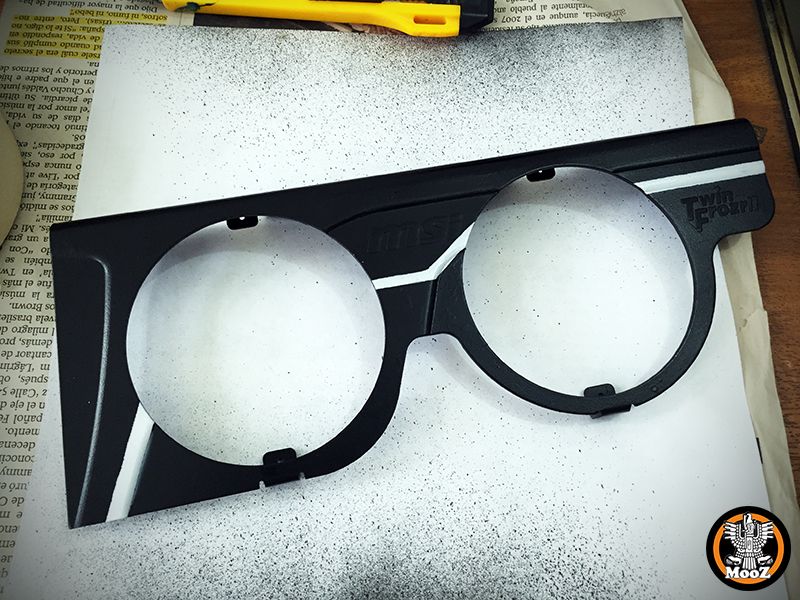
 Meanwhile the front:
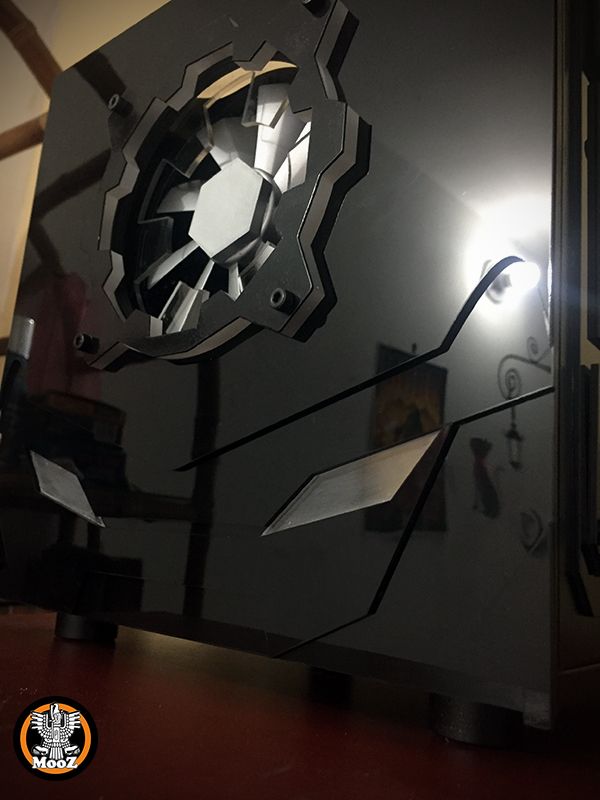
-
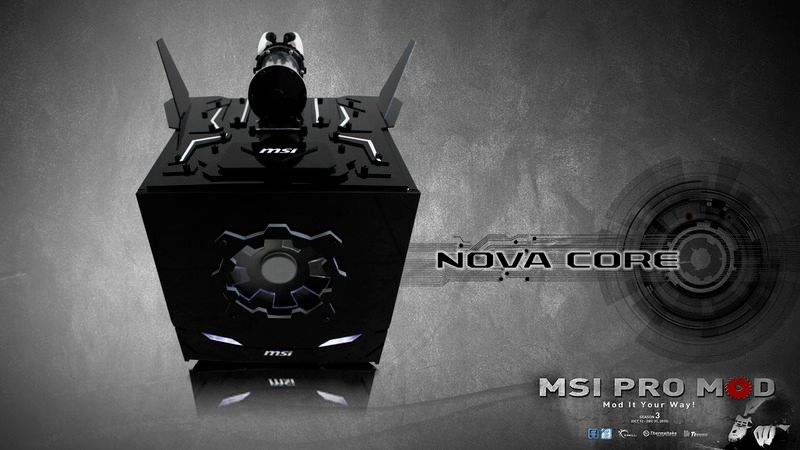
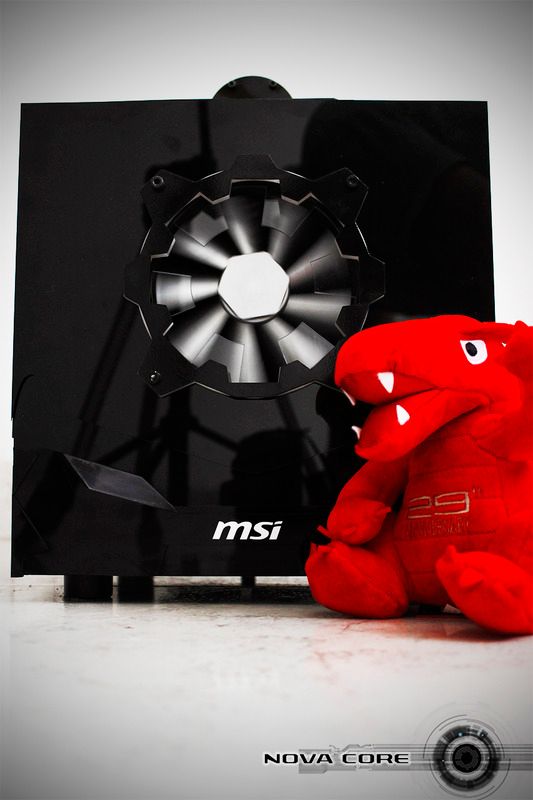
NMC fan&grill design
 in the middle an acrilic grill again... this time is transparent.
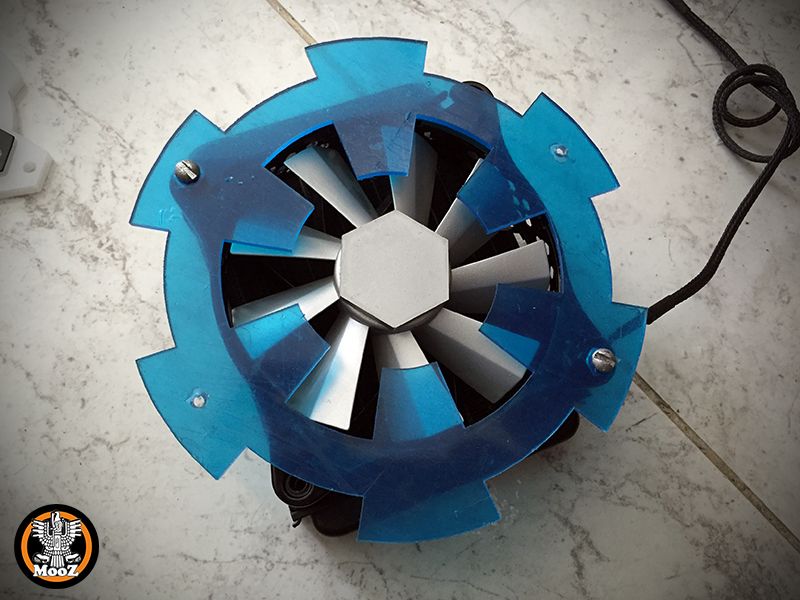 placing on front panel...
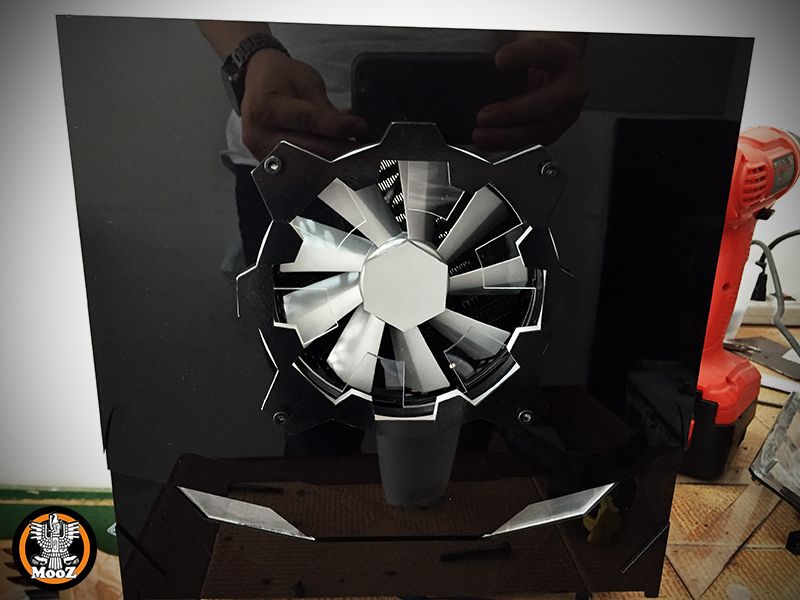
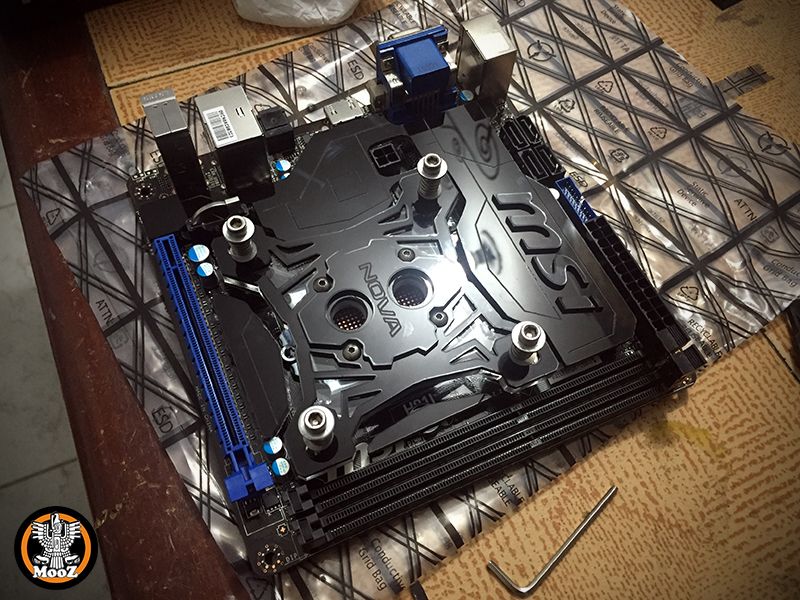
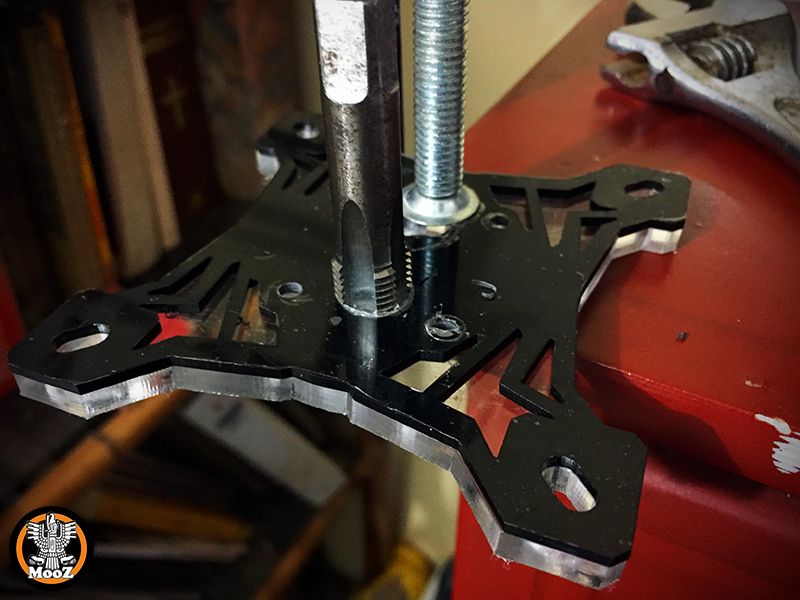
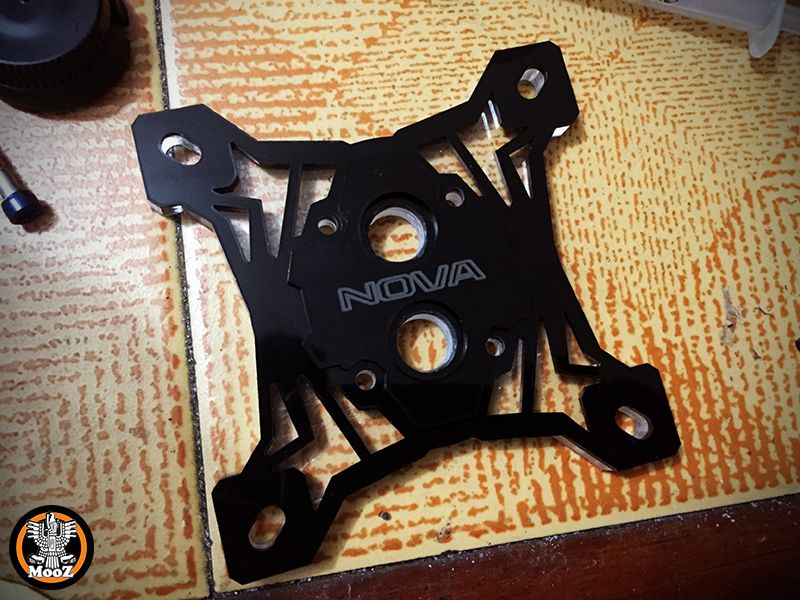
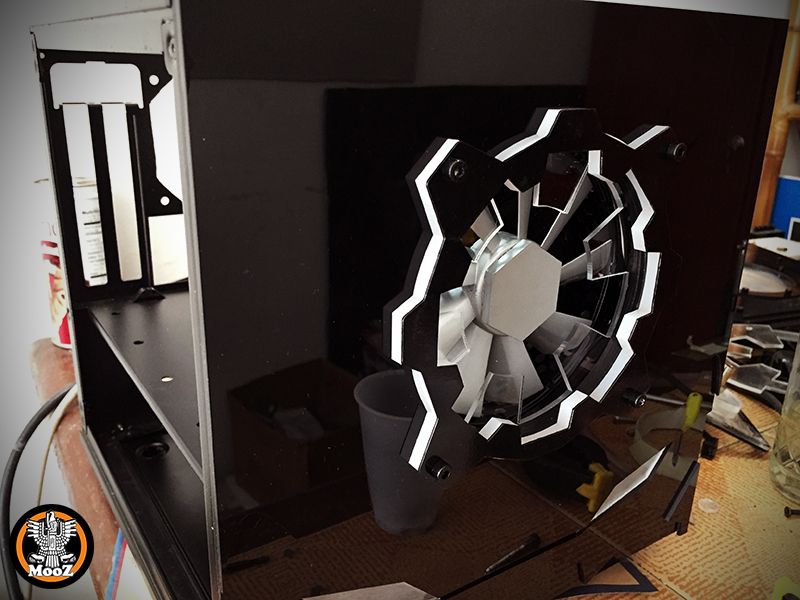 The new design for nova waterblock... putting the pieces together
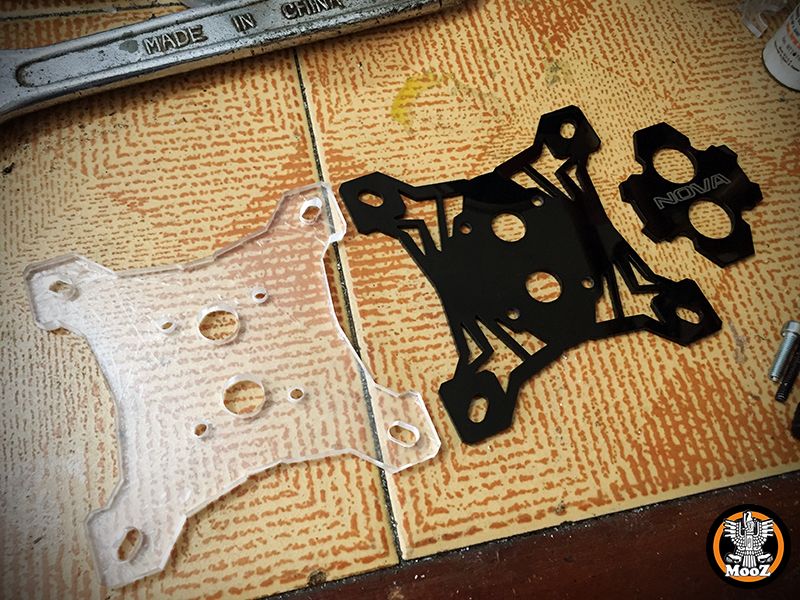
-
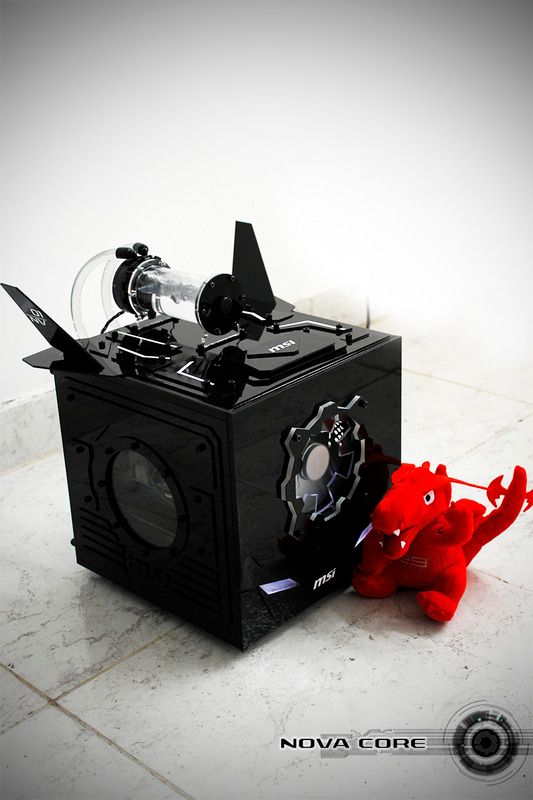
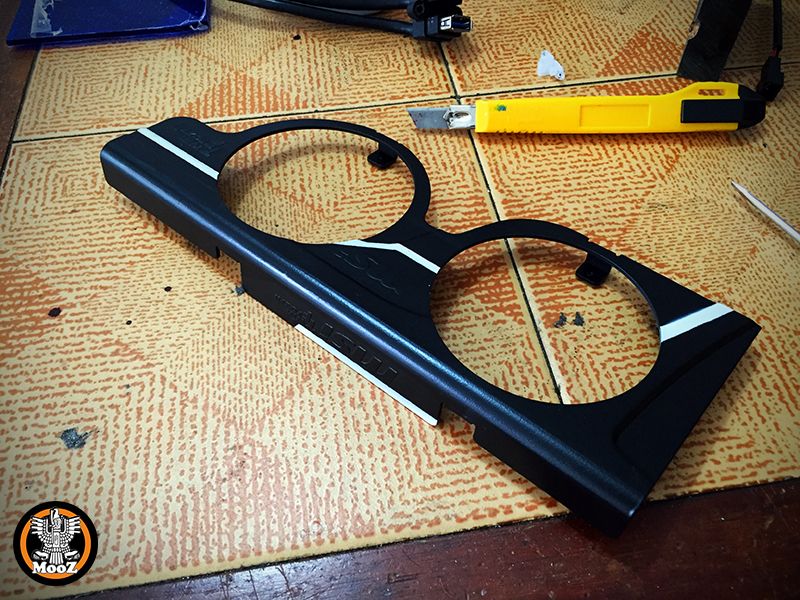
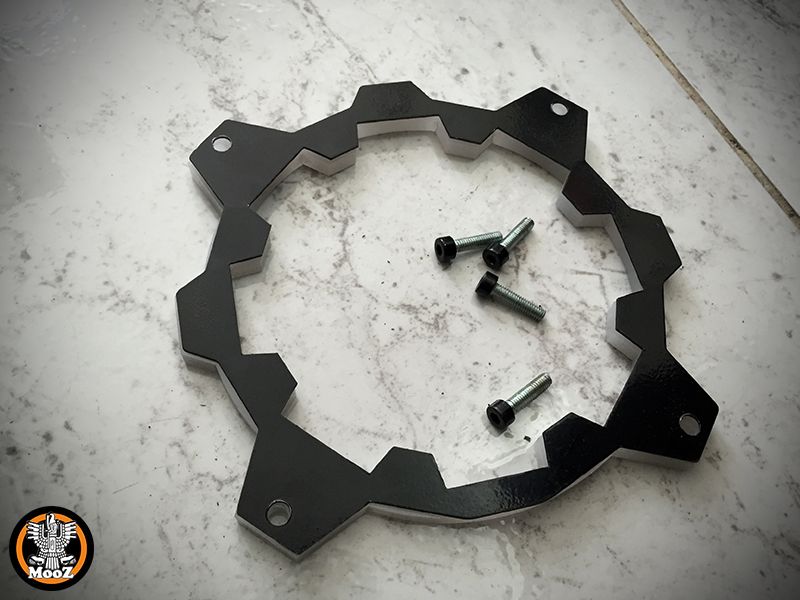
Time to paint... finally the shiny black.
 the screws didn't fit in the scheme with that tone, so, need to be painted too.
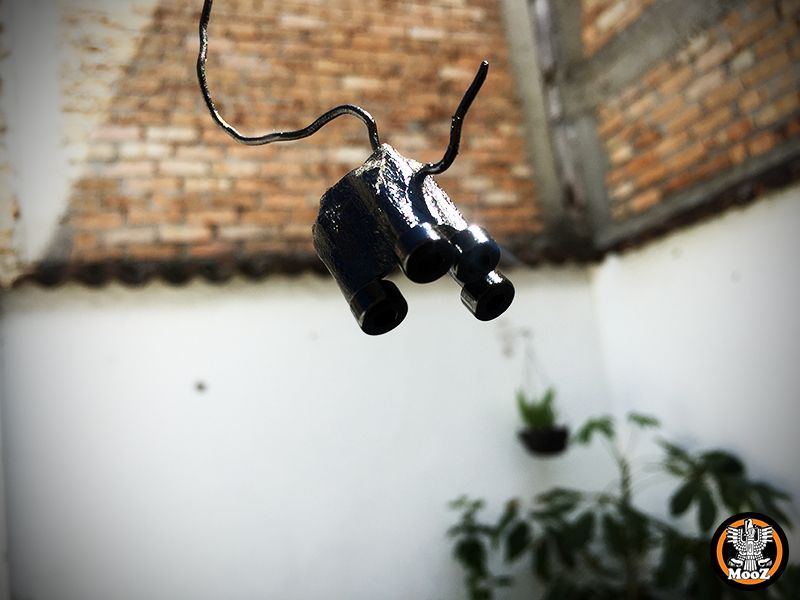 Top ailerons are cut in angle (45 degree) to keep the inclination
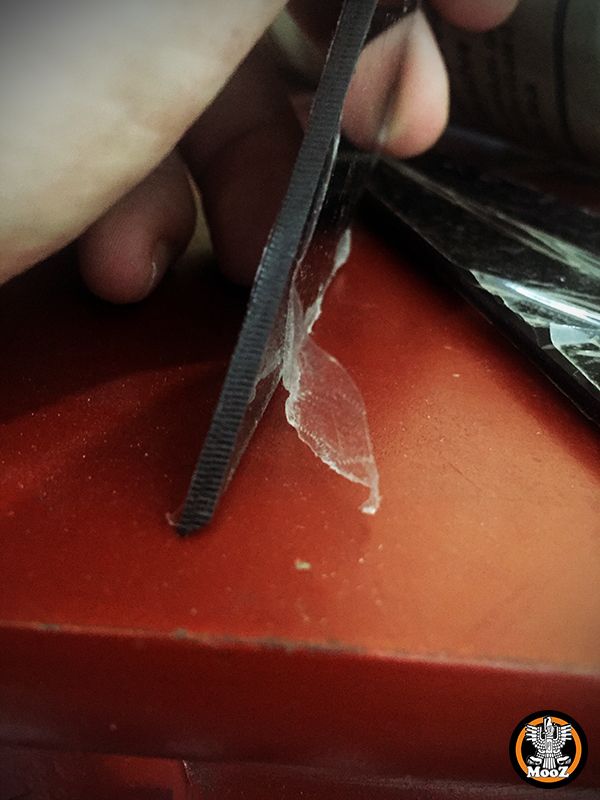
 Now assembly...
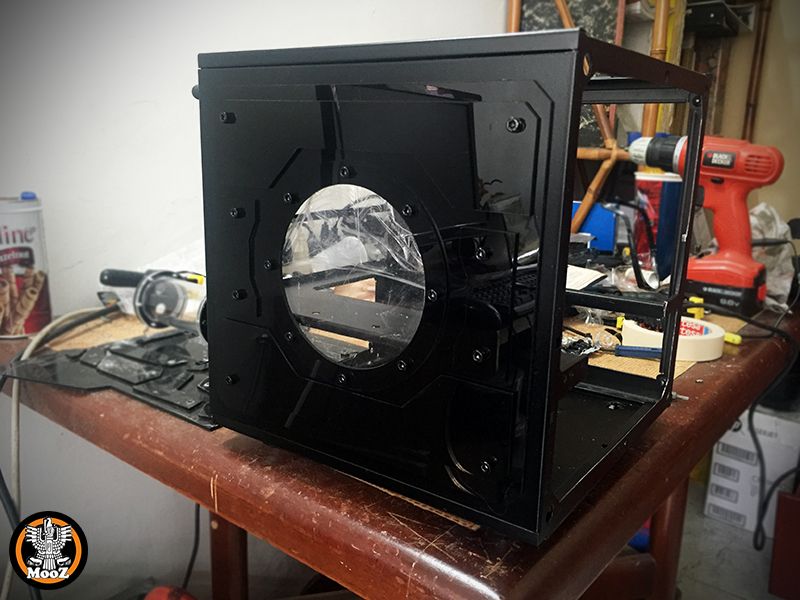
-
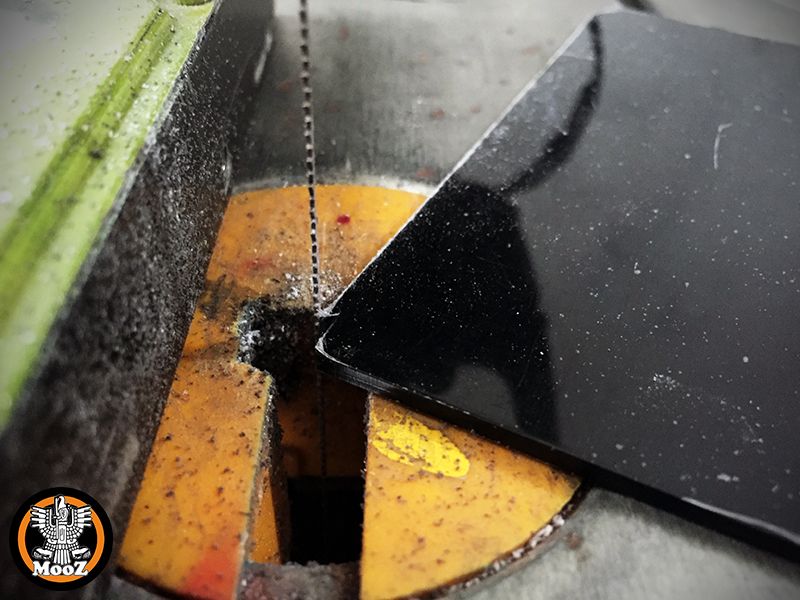
Cutting the cover of the front panel...
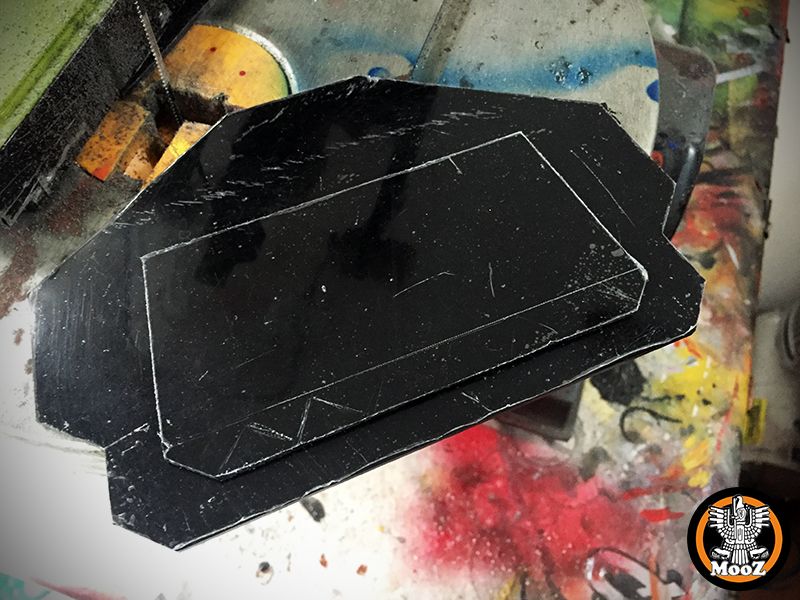
 More parts of the armor (top)
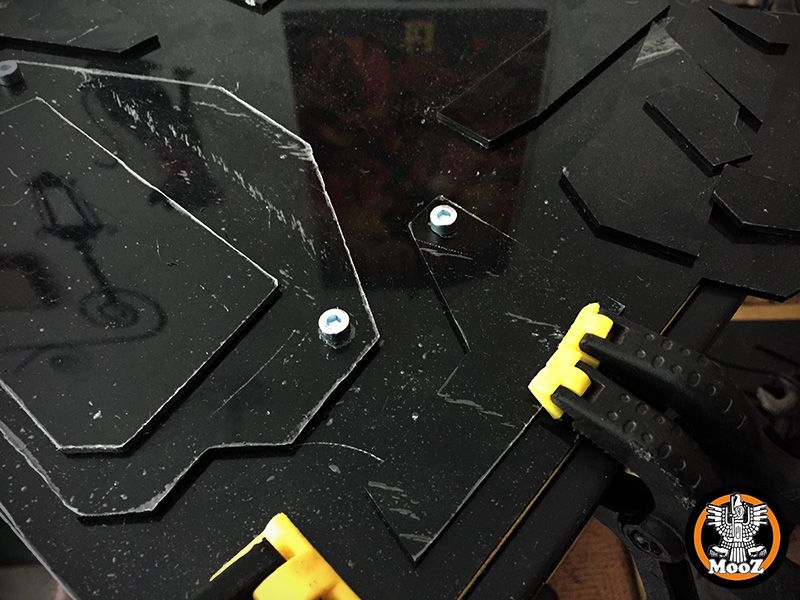
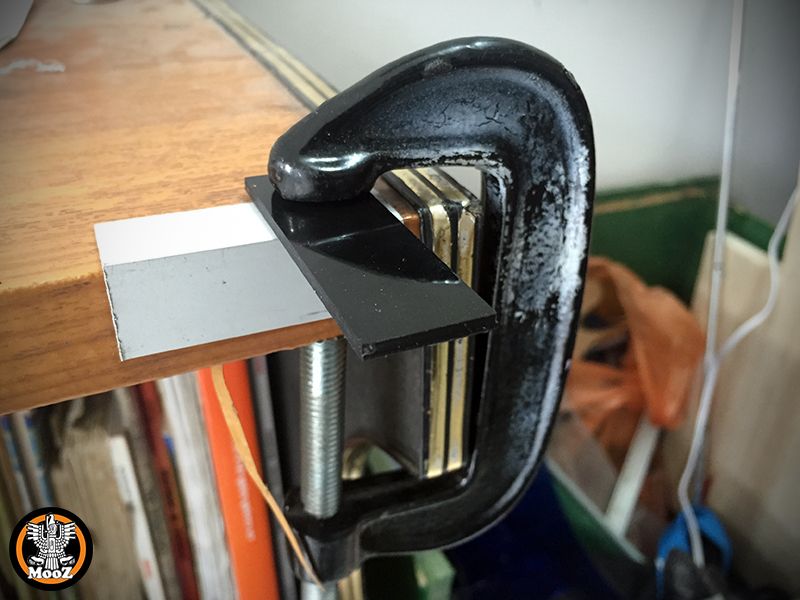
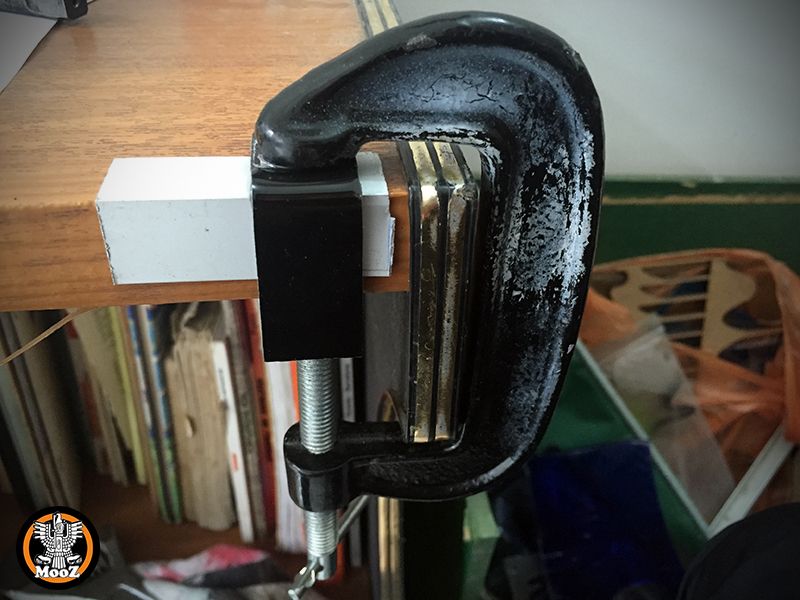
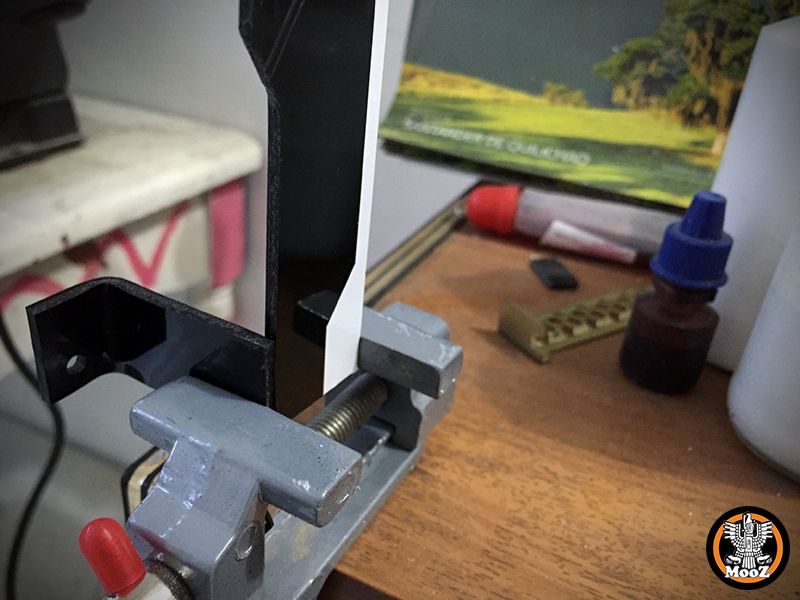
 The ailerons needs to be cutted in angle... by now are hold using presses
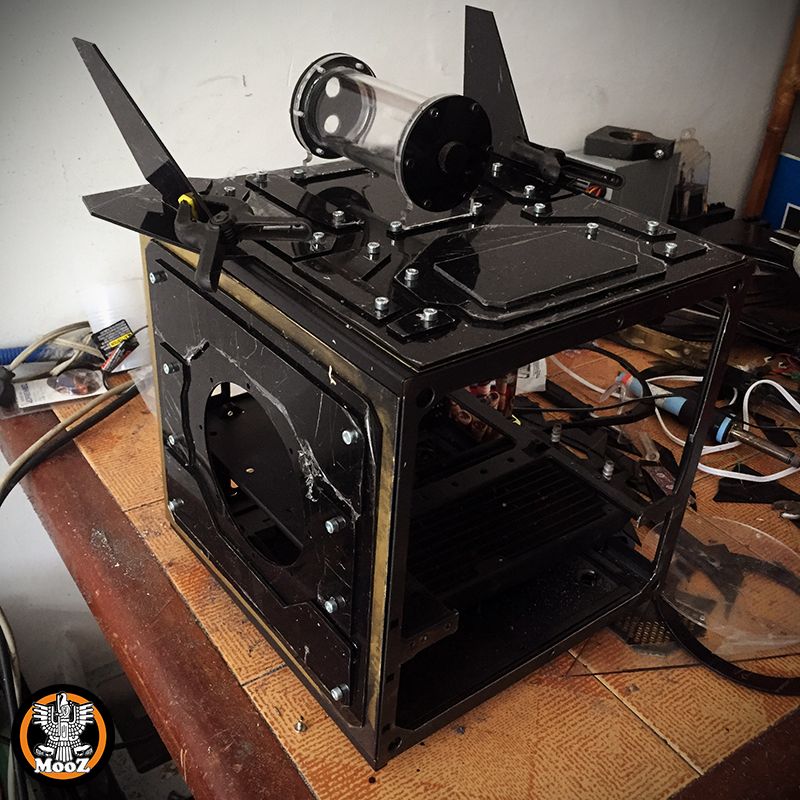
-
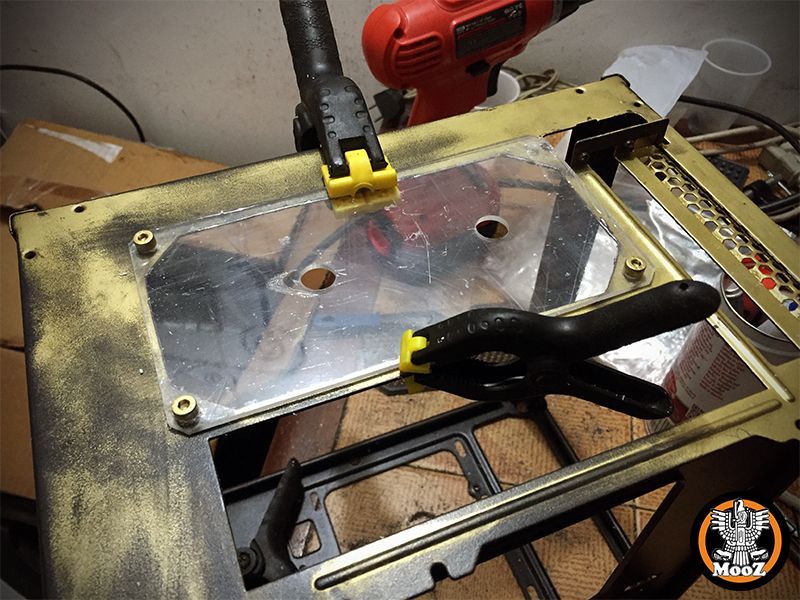
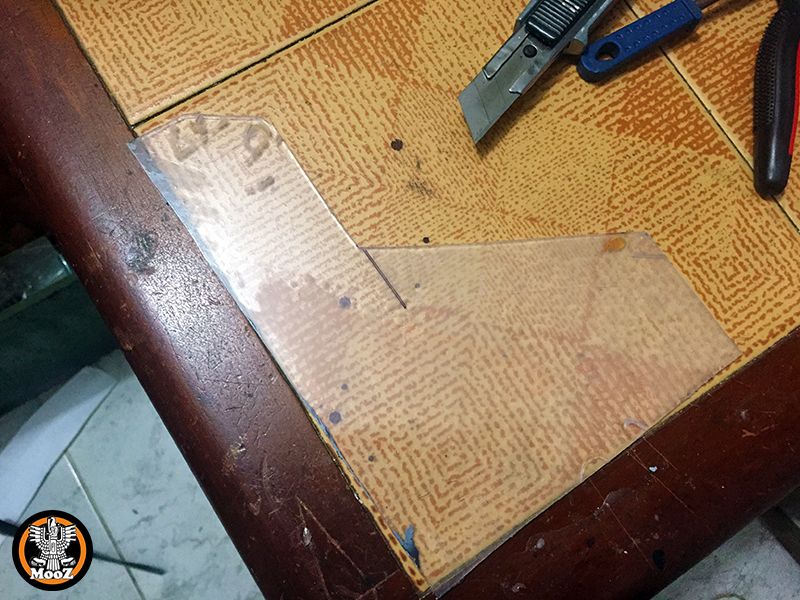
Working on the front... first step, cut around the border.
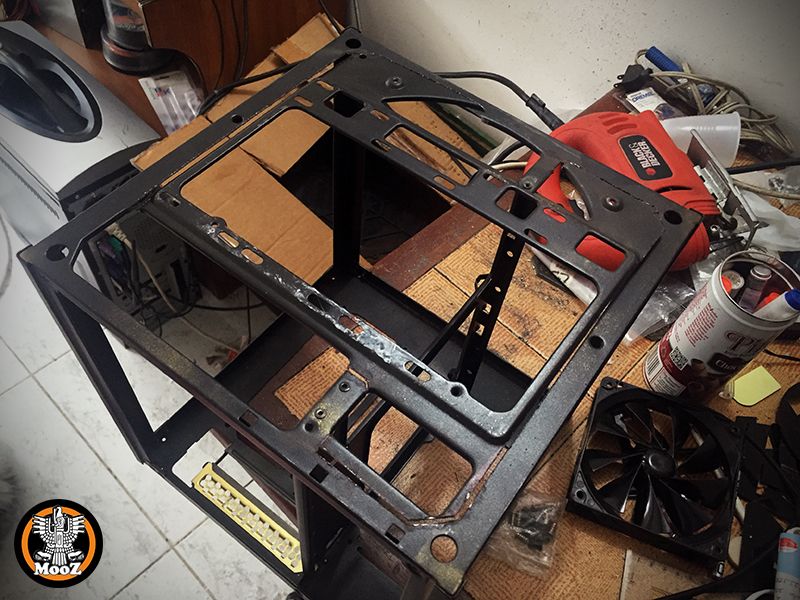
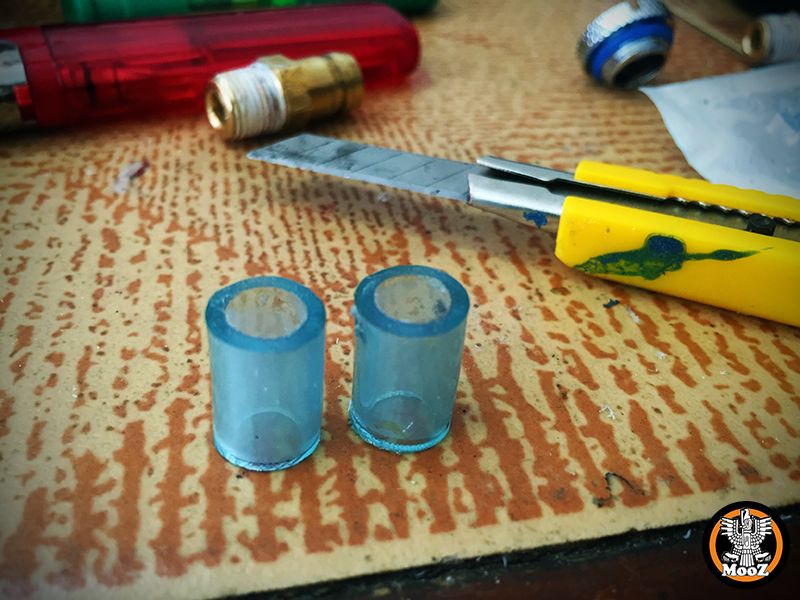
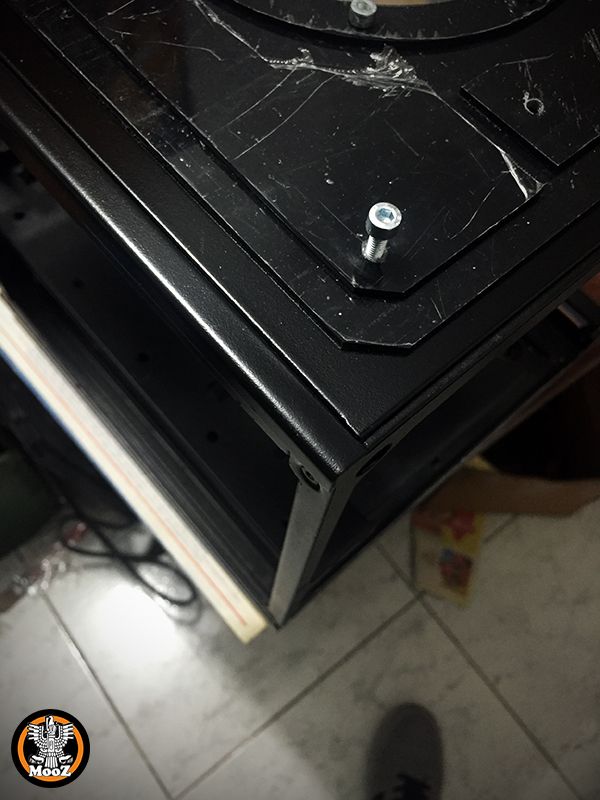
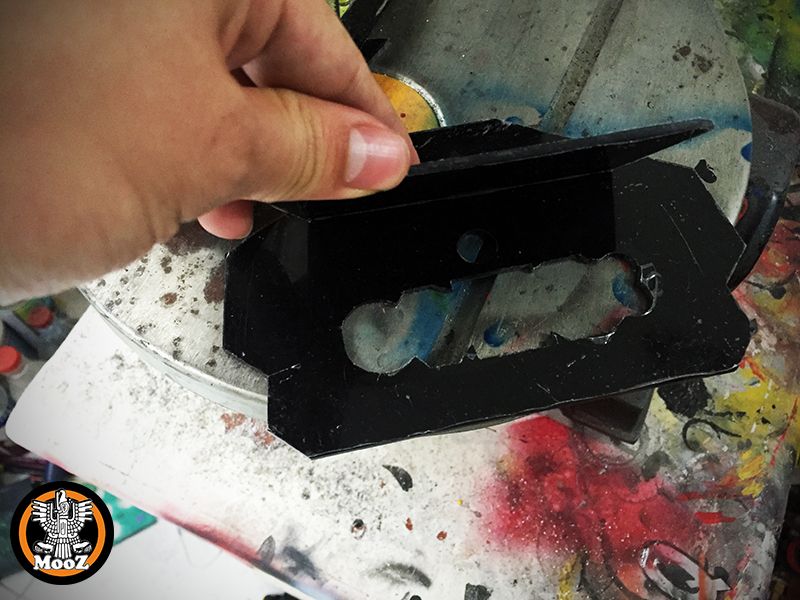
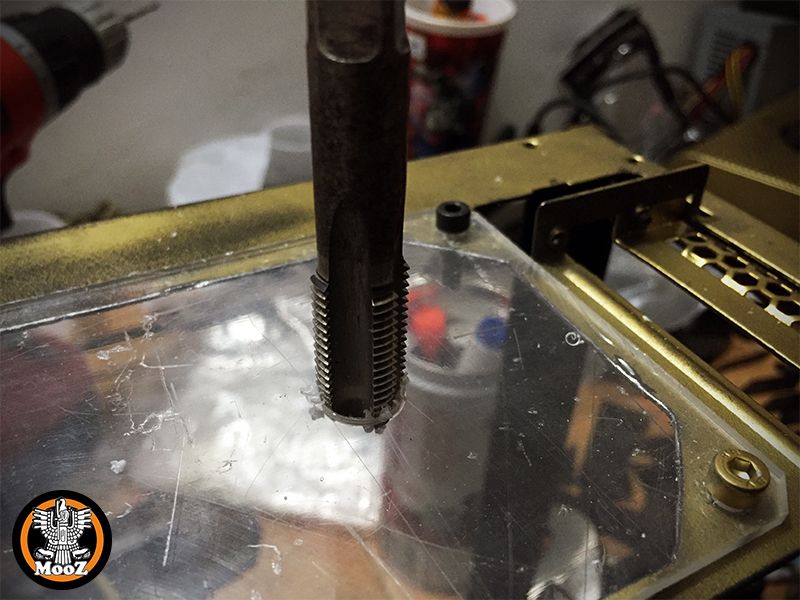
 Now the path is clear to fix the new front. This part won't have any screws, so the fix point must be inside. To do that, i cut an acrylic tube, measuring the screw length to fix from inside and then cover the hole.
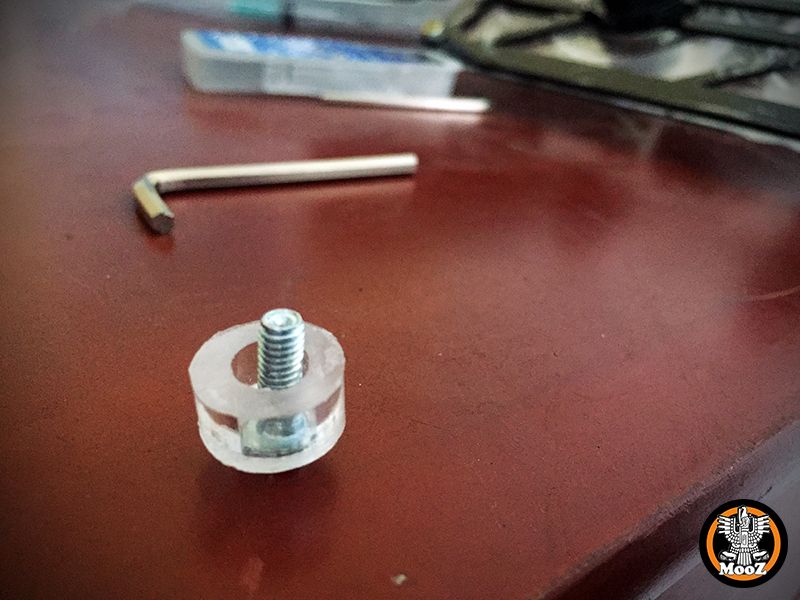
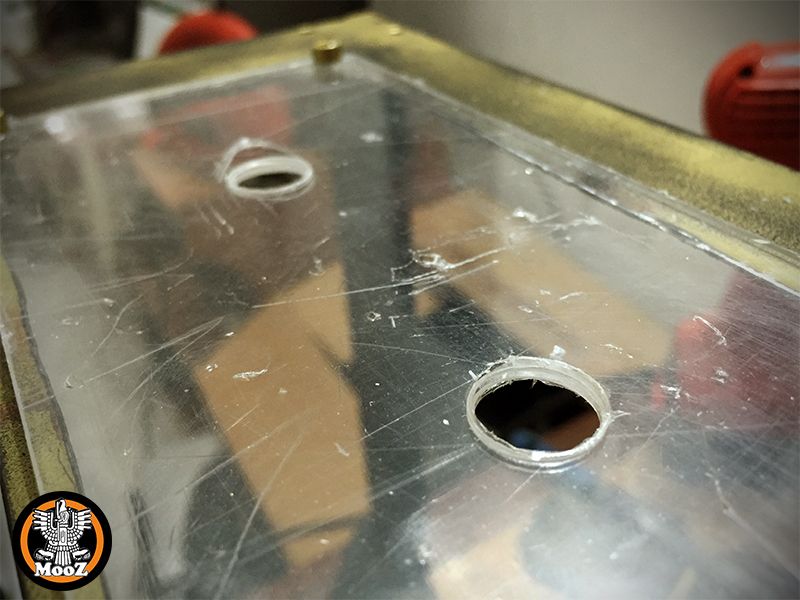
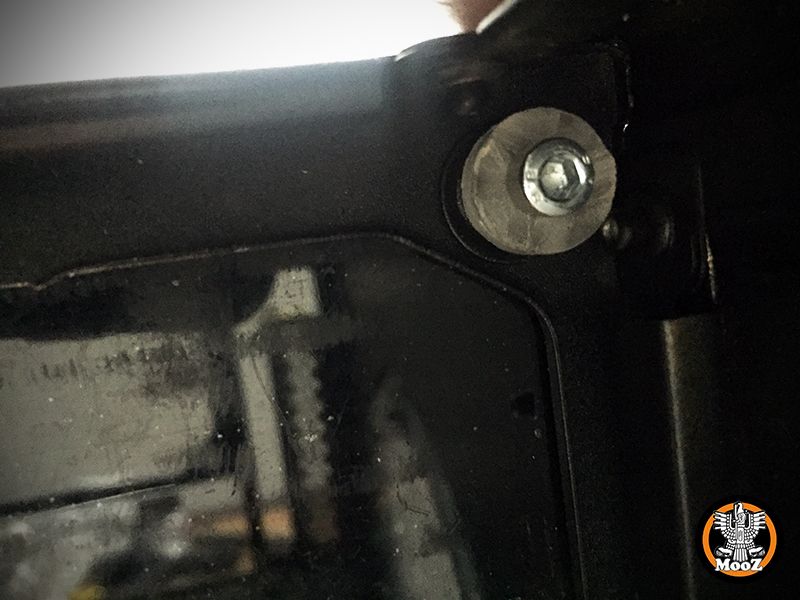 Here you can see where the holes are located
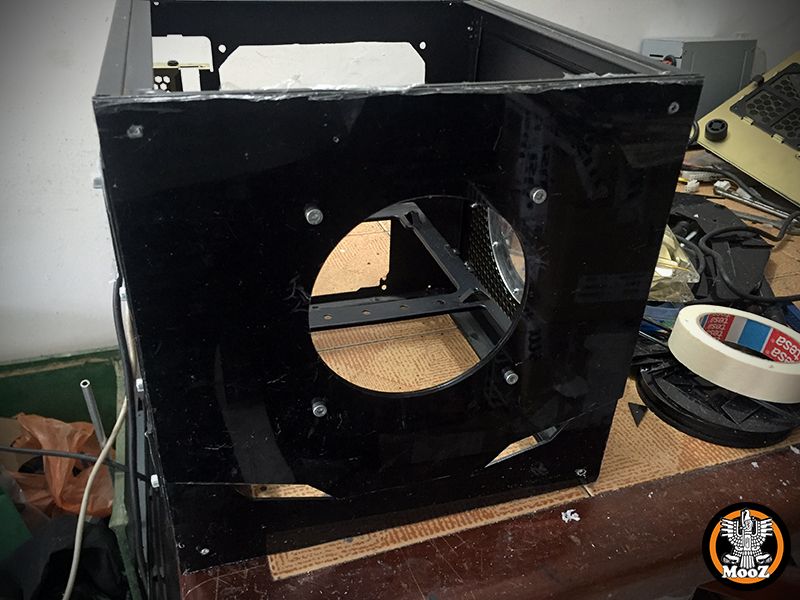 And hide...
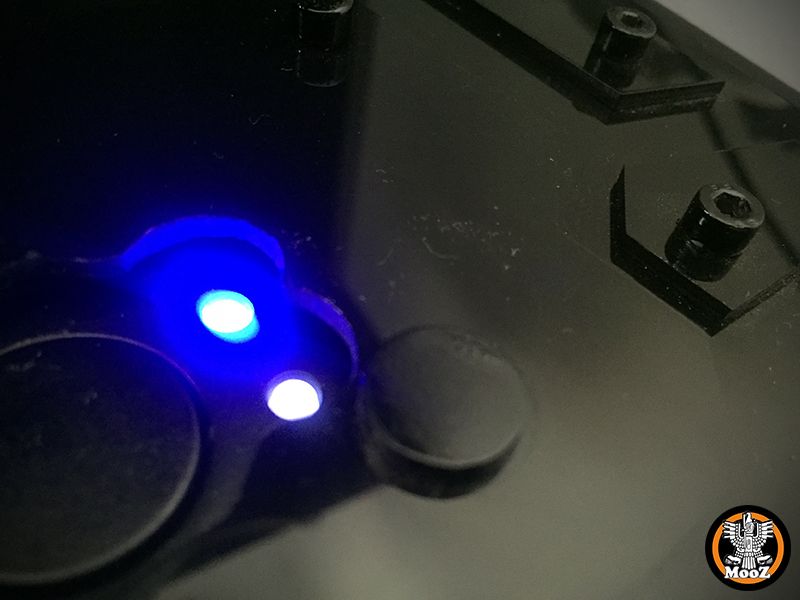
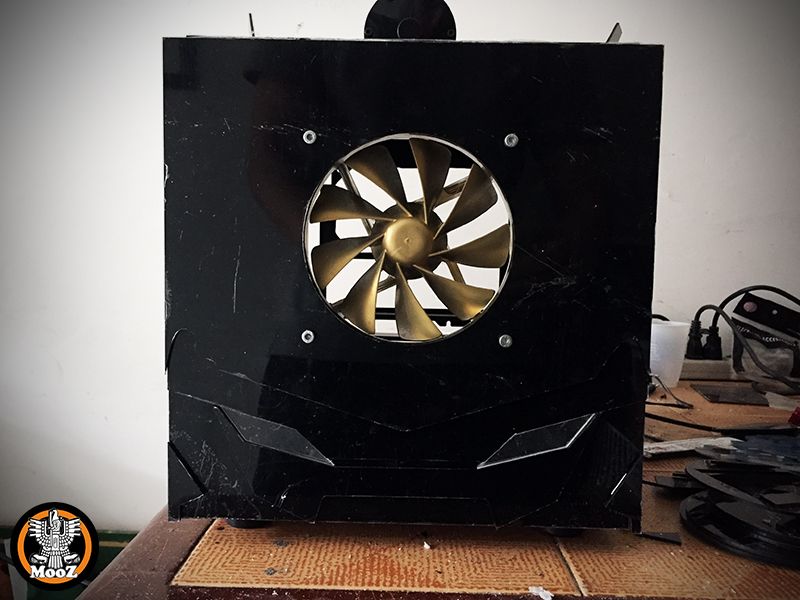 The fan is gold too (again, don't ask why). but i'll paint it white or black... let's see what fits better. On the botton there are two lights...
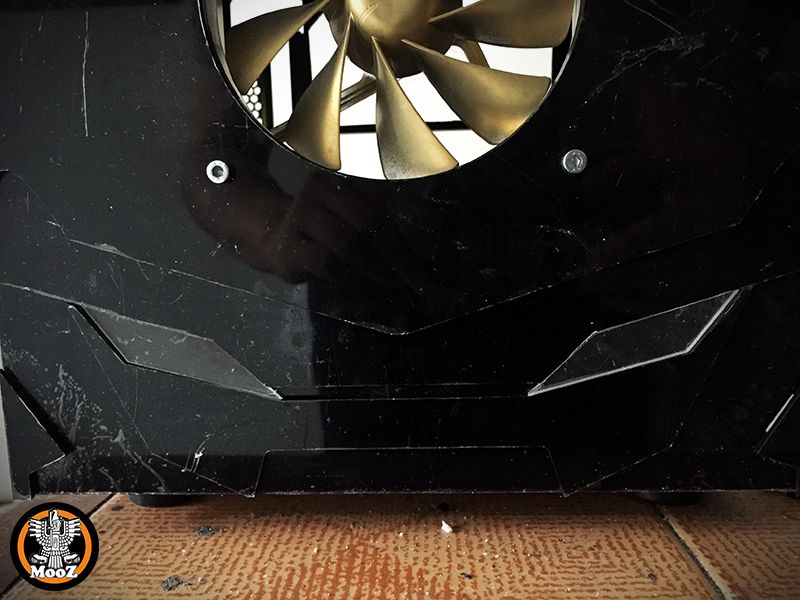
-
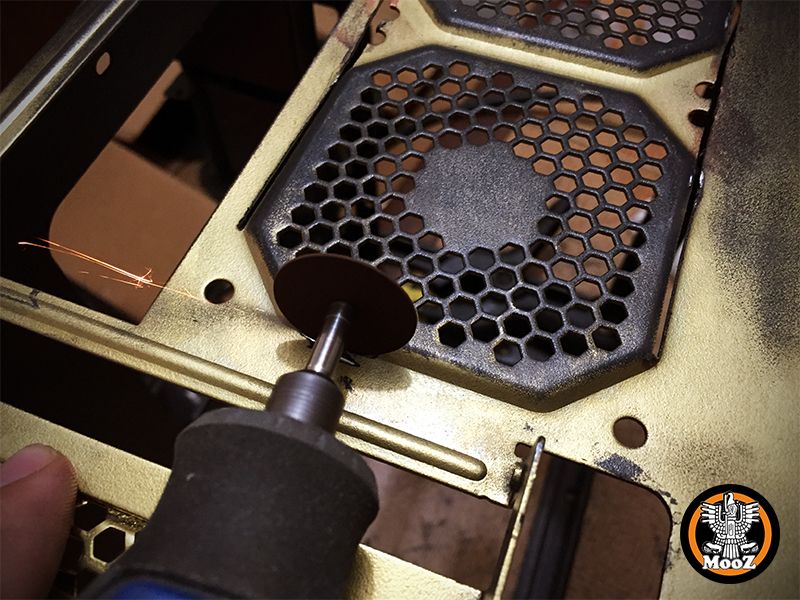
The fan grill on the back is removed, allowing to use a new grill as bridge for the watercooling tubes.

-
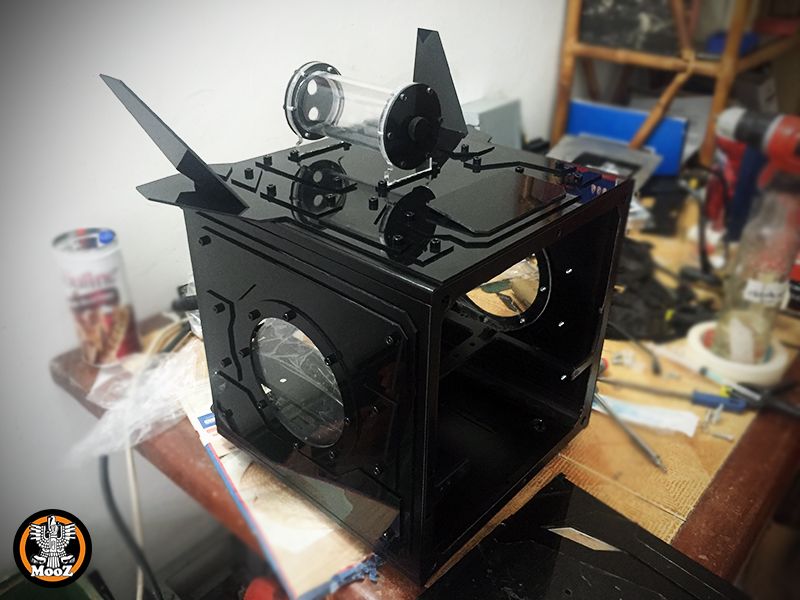
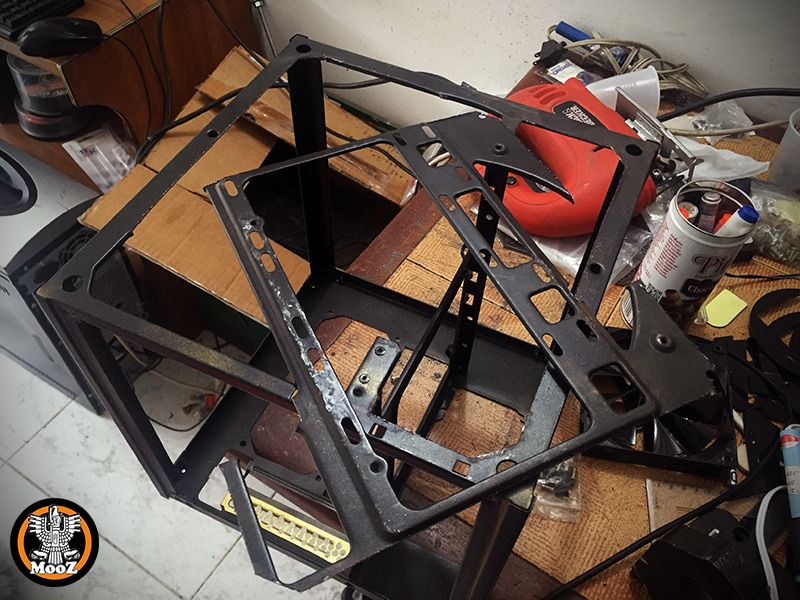
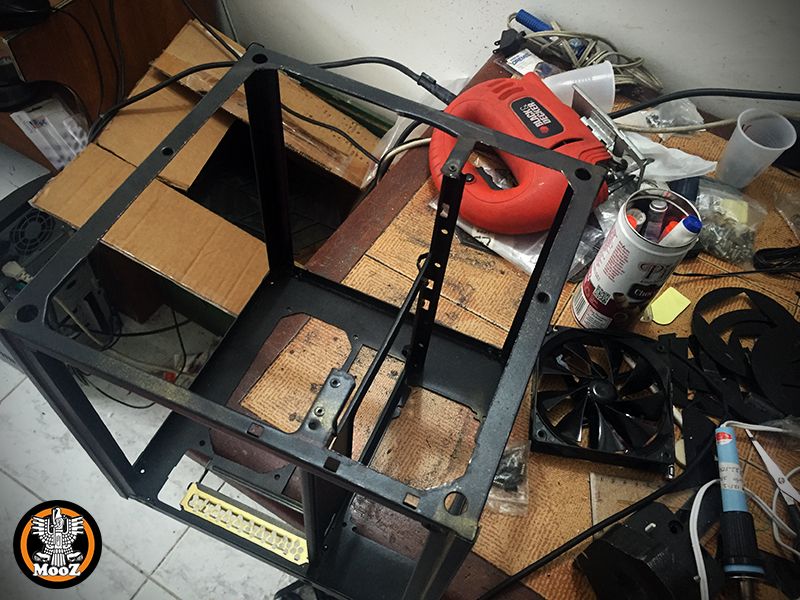
After spend some time designing and cutting, the puzzle is ready. Now the main appareance is clear and the ideas will come up in the process.
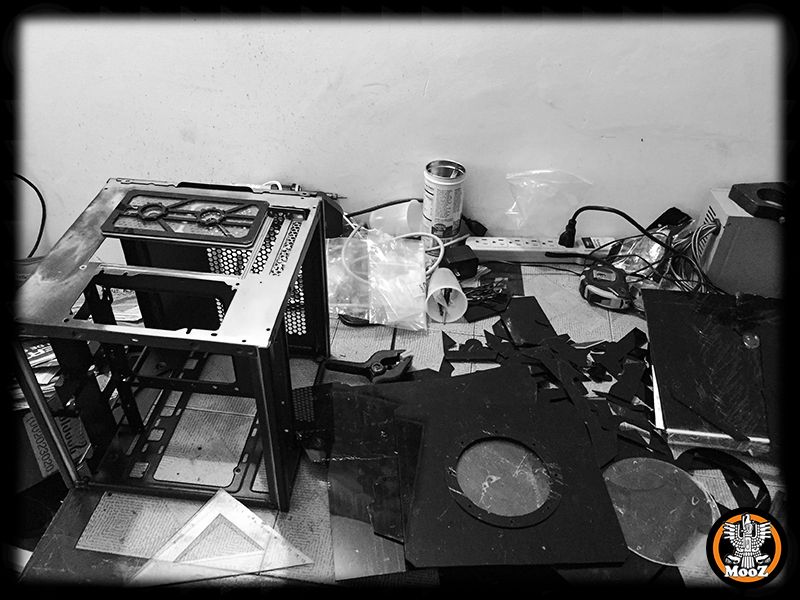
The panel is relocated from the front to the top. Don't ask why is gold... is a long story
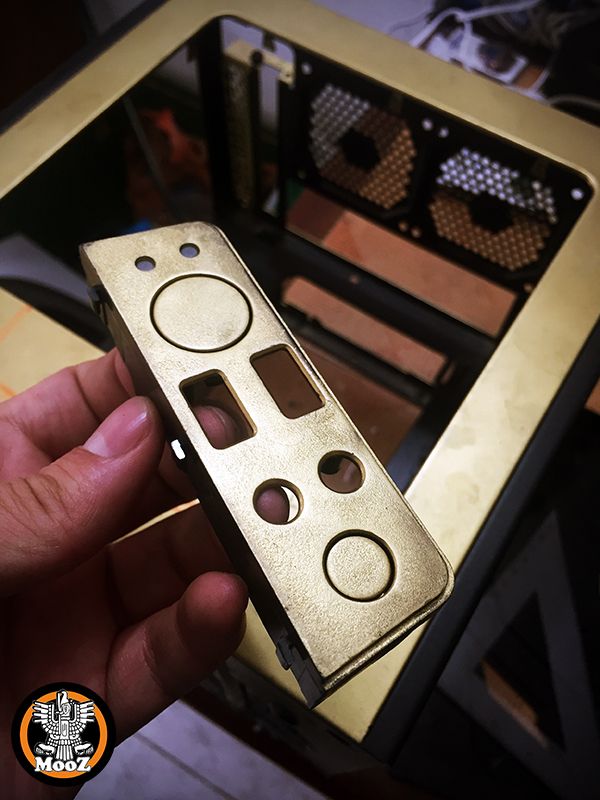
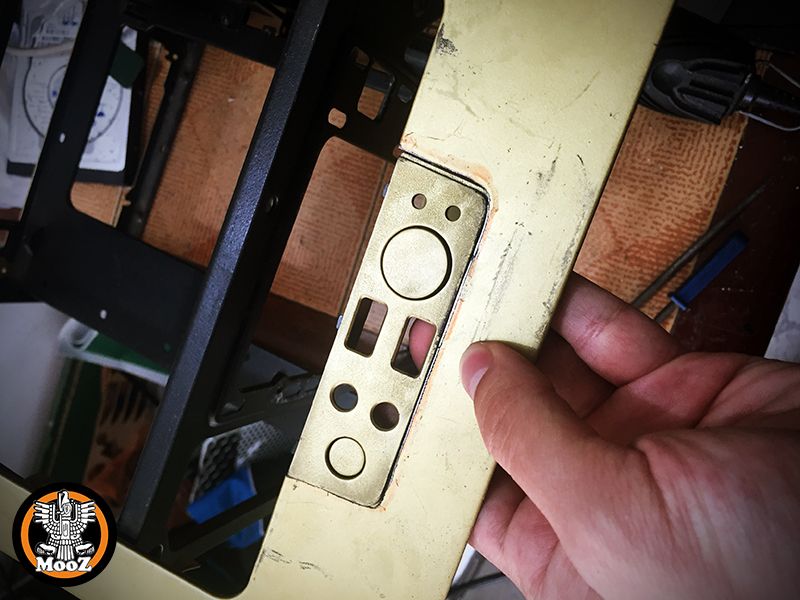
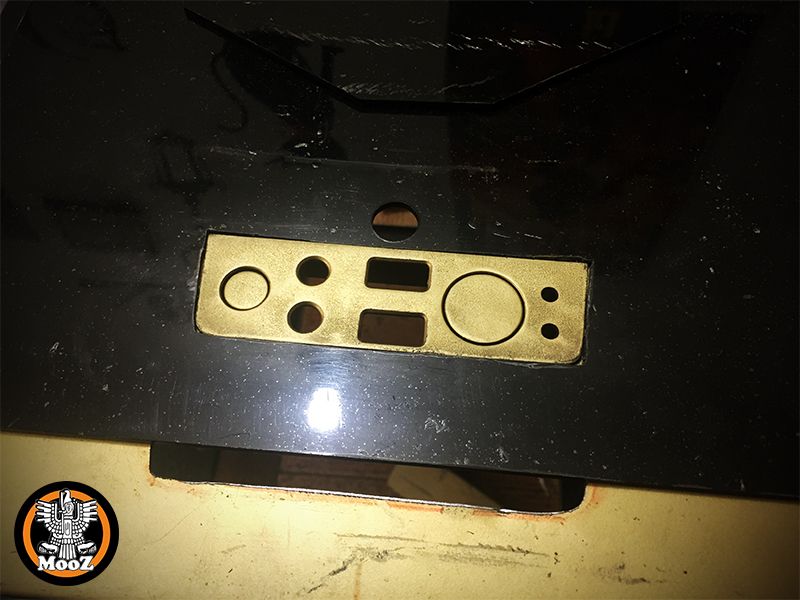
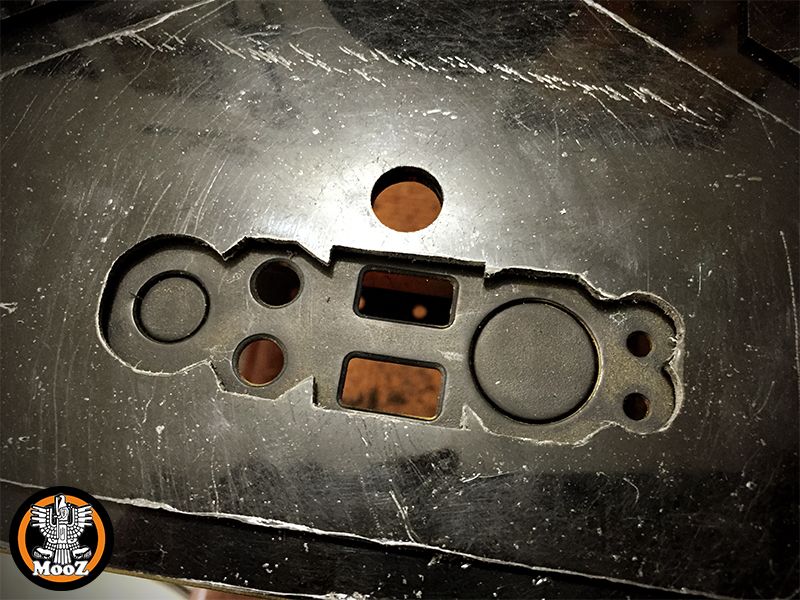

A cover will hide this panel, only access when need, main feature of stealth systems.
-
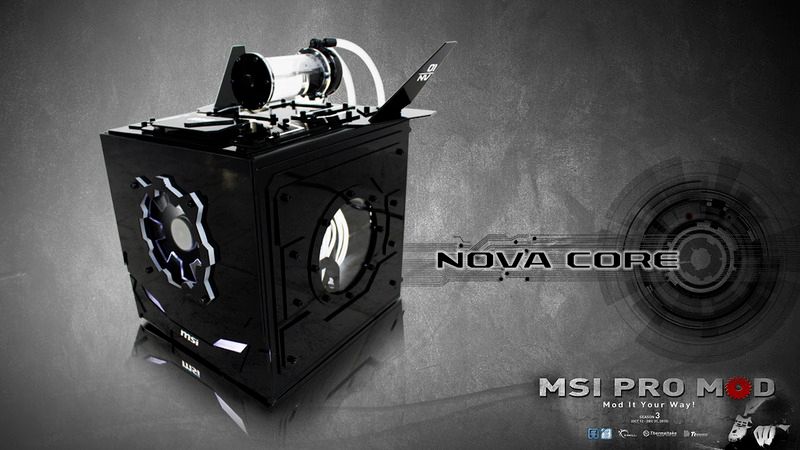
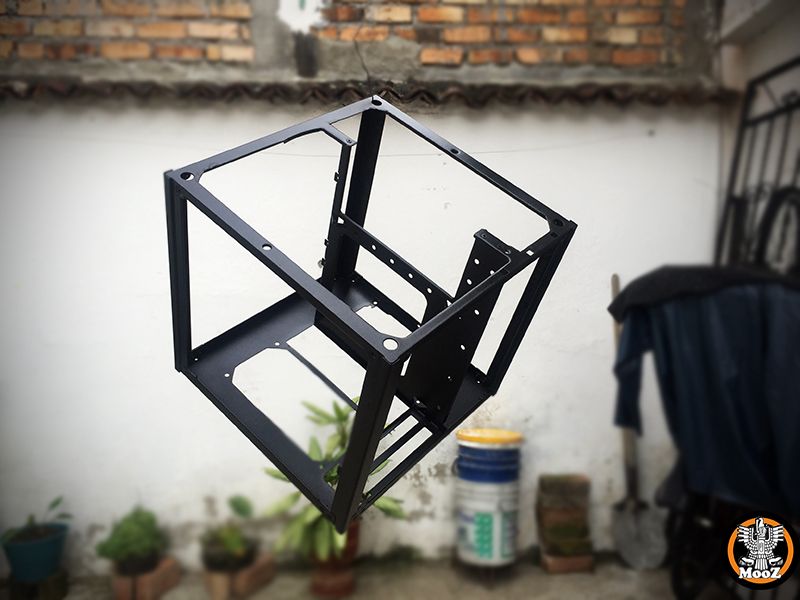
 Inspired in futuristic spaceships, this project will be a casemod for the Thermaltake Core V1. Hope you like!
 -
i like the Maxim project (russia), but i know Ron Lee will come with something great.
Still my vote is for Australia (simplemodz), i feel curious.
-
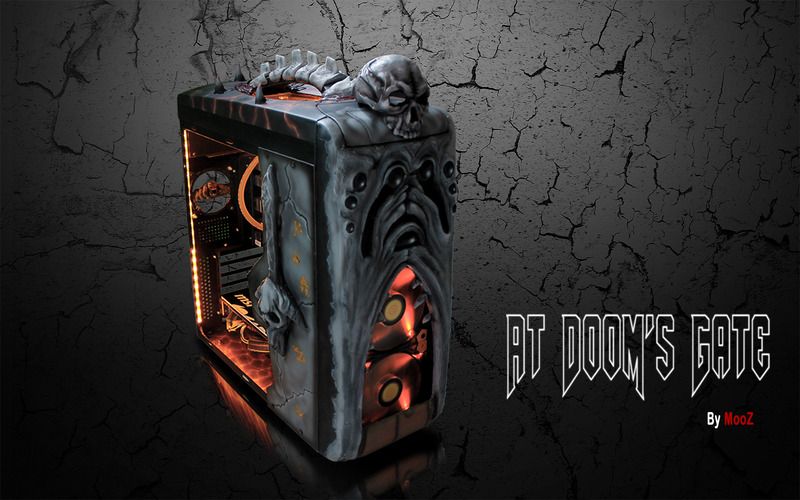
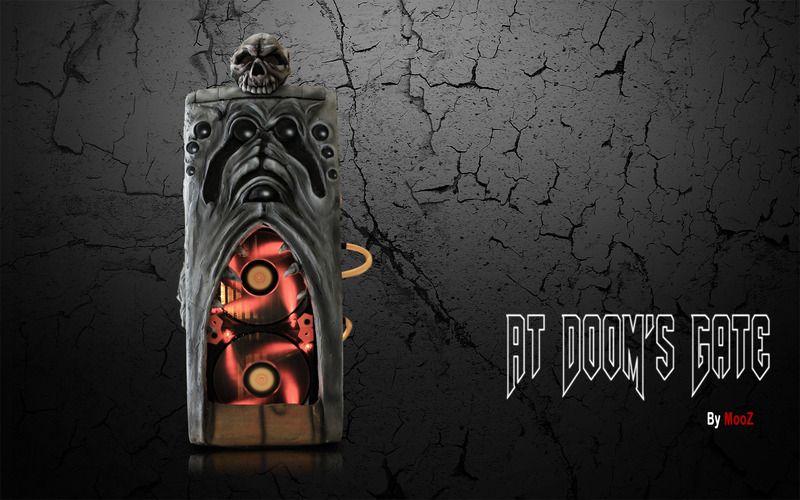
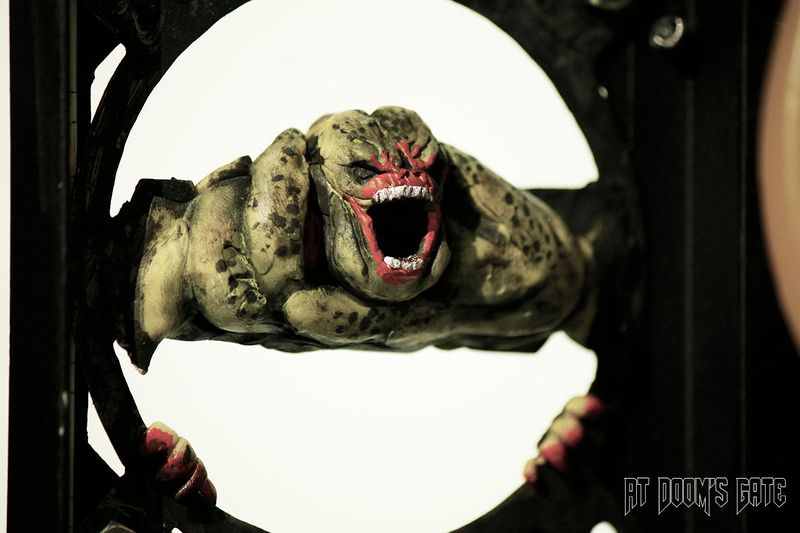
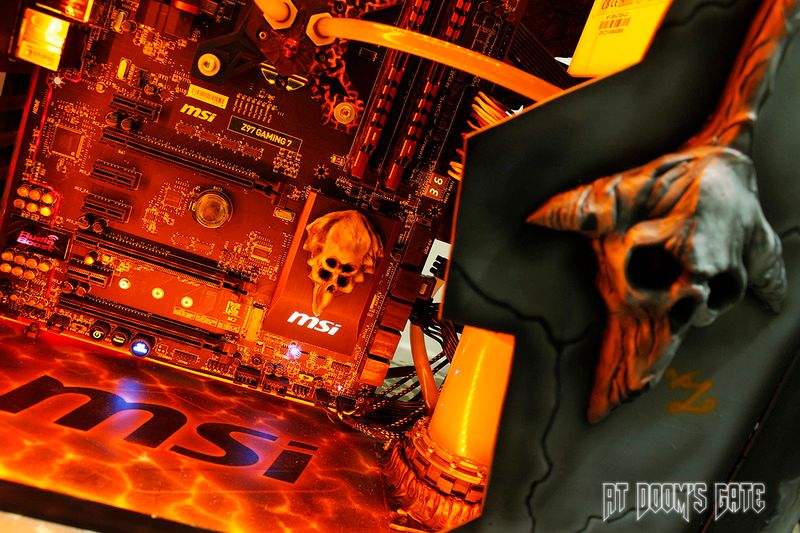
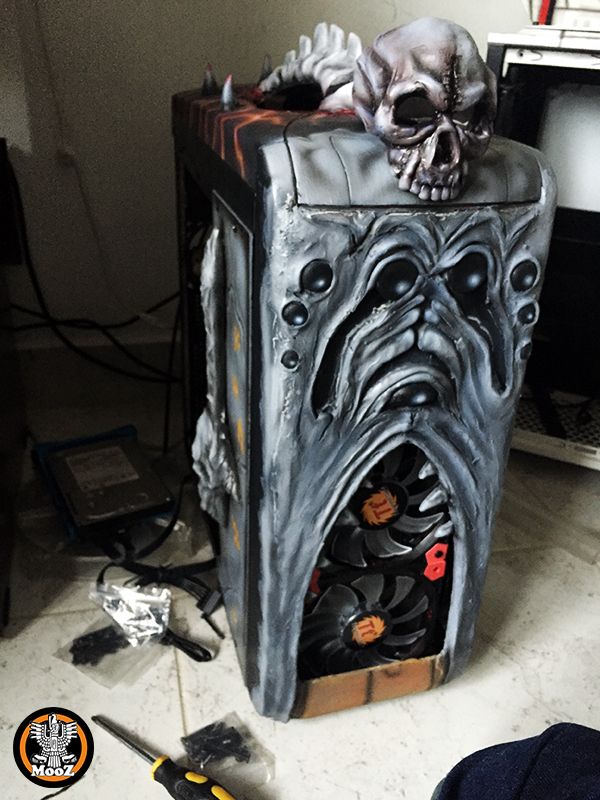
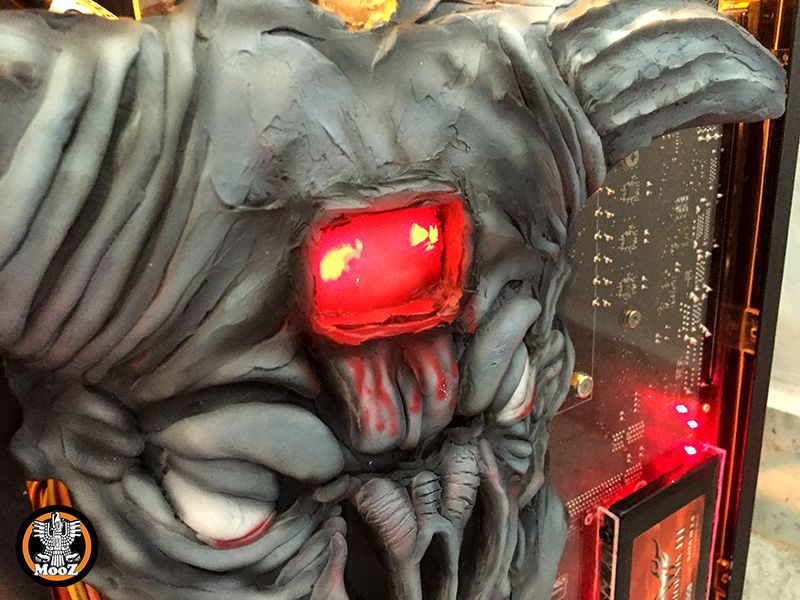
LOVE the skulls! DOOM fTw!
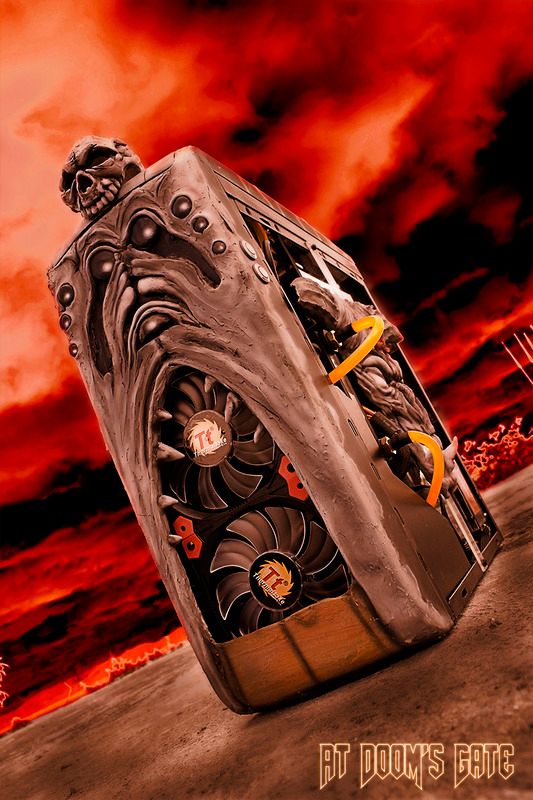
Nice use of the slim fans

Yup, silent, thin and good looking fans
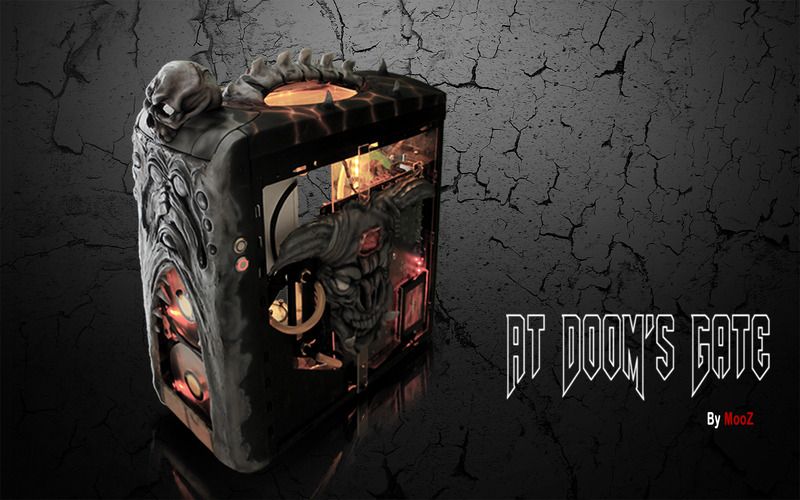
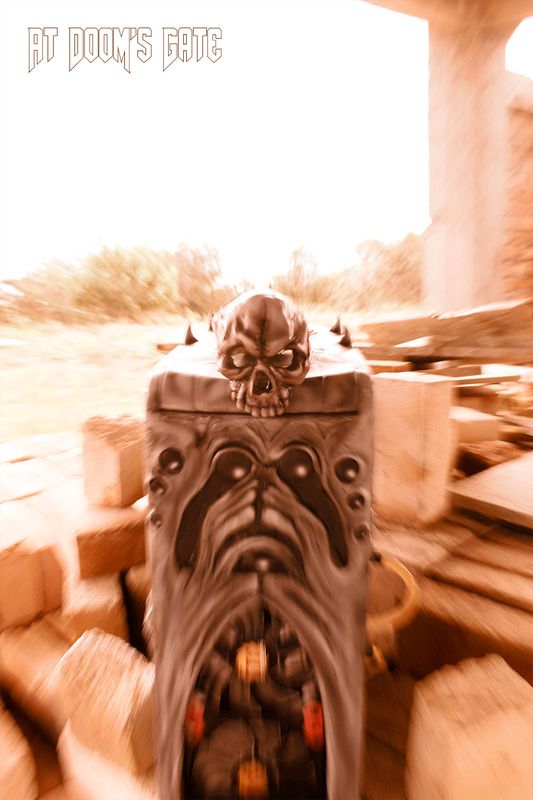
Finally, is ready... Many skulls, bones and satanic glyphs to make this casemod look coming from the ####.
Casemod video:
All details explained:
-
Last update, a simply cover to hide the cables. Also the slim fans installed.
-
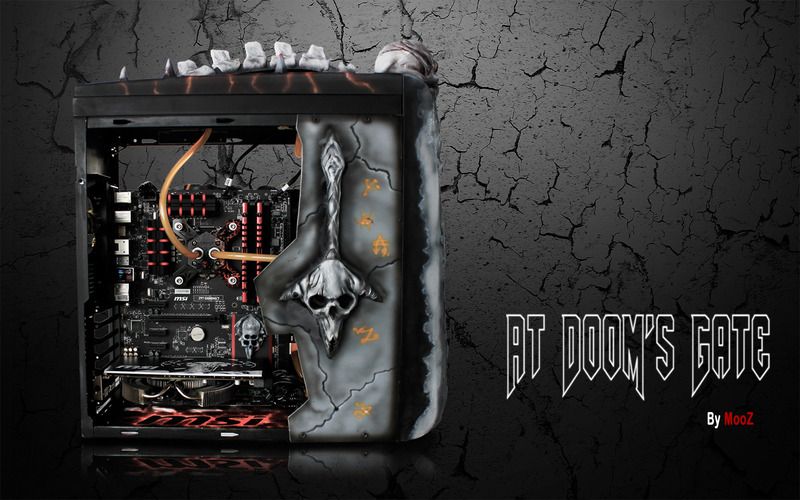
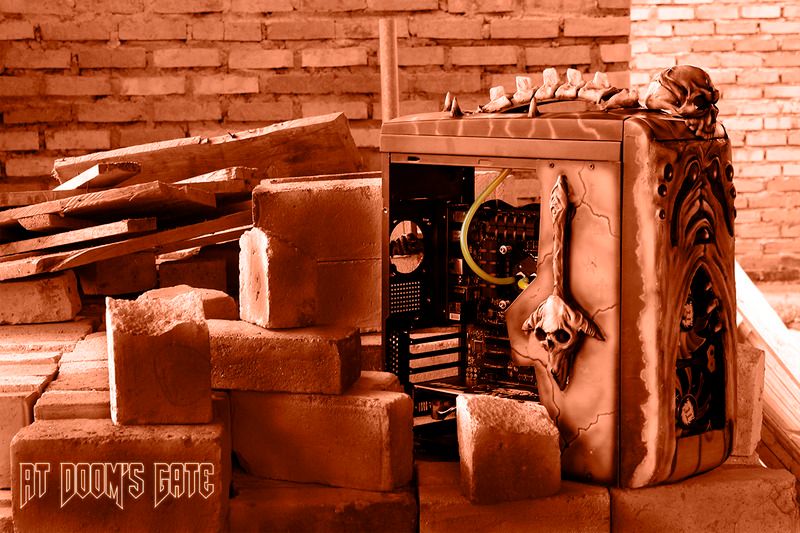
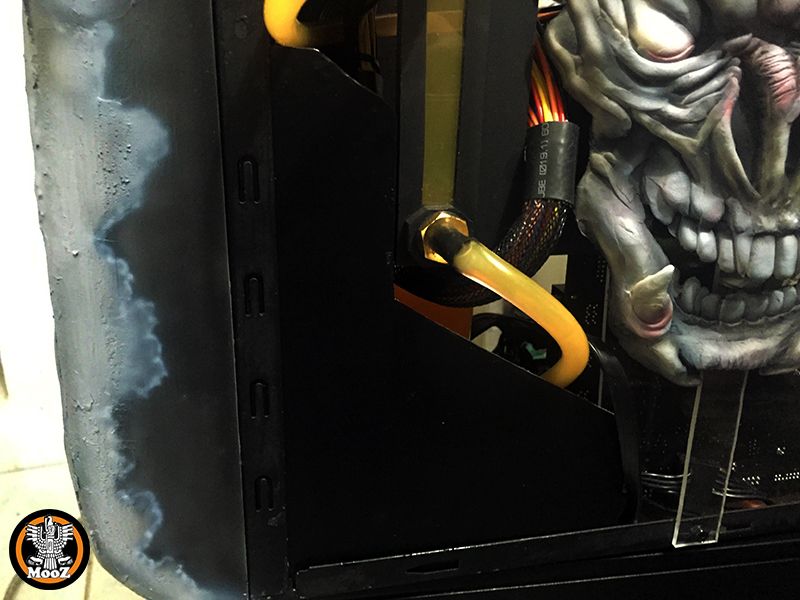
Working on the left cover, first the big skull, and then cutting and painting the cover. Few details inside, like the stone texture and invocation glyphs
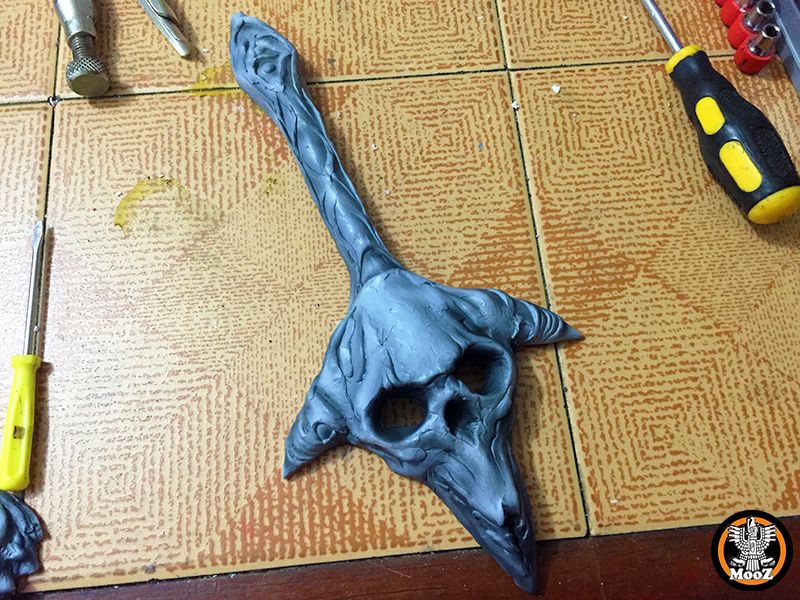
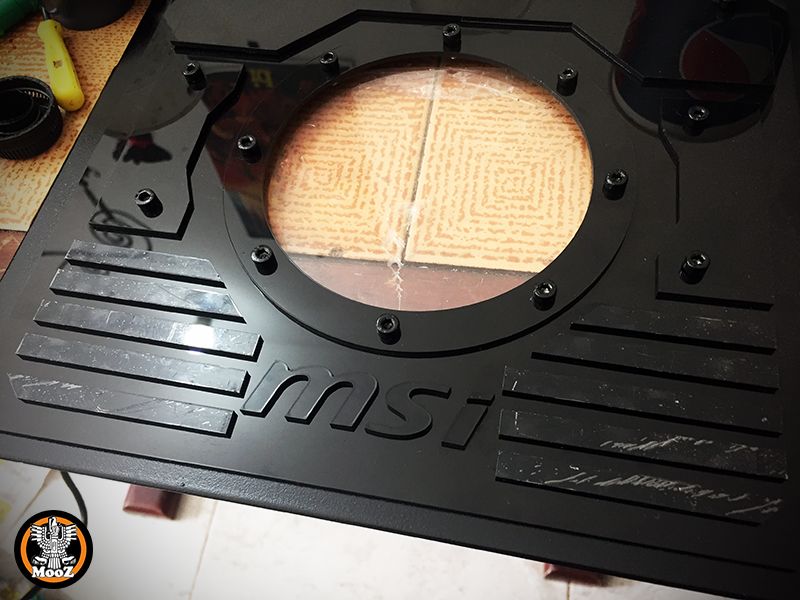
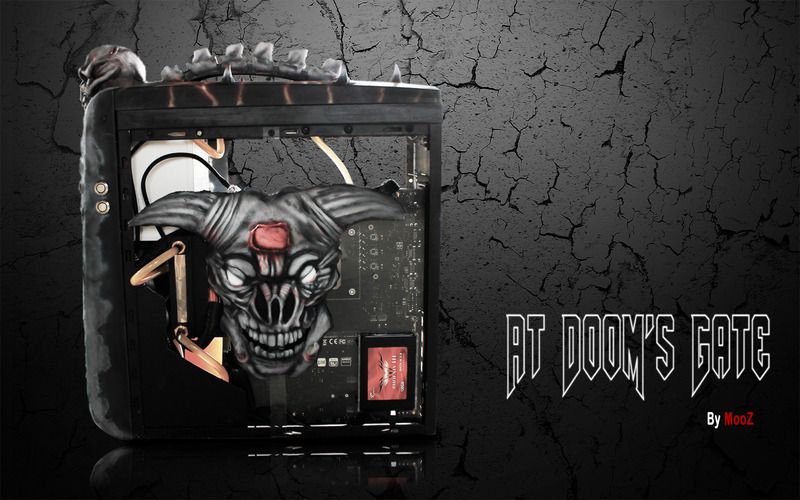
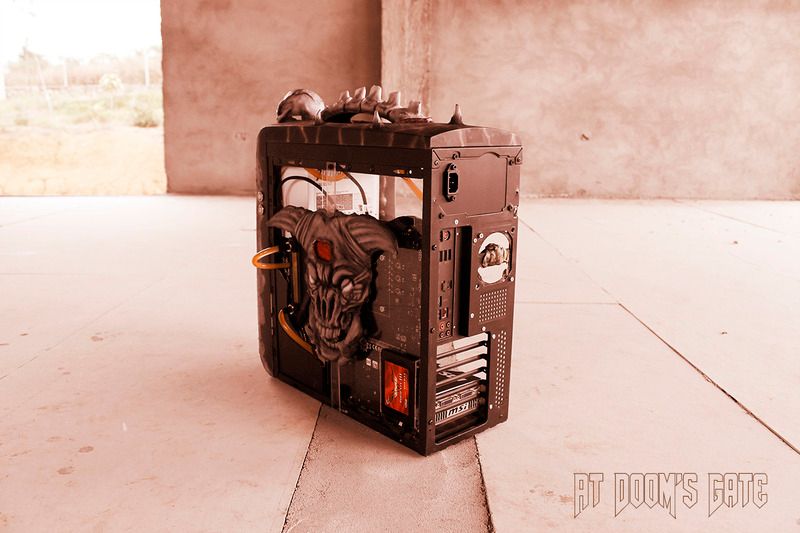
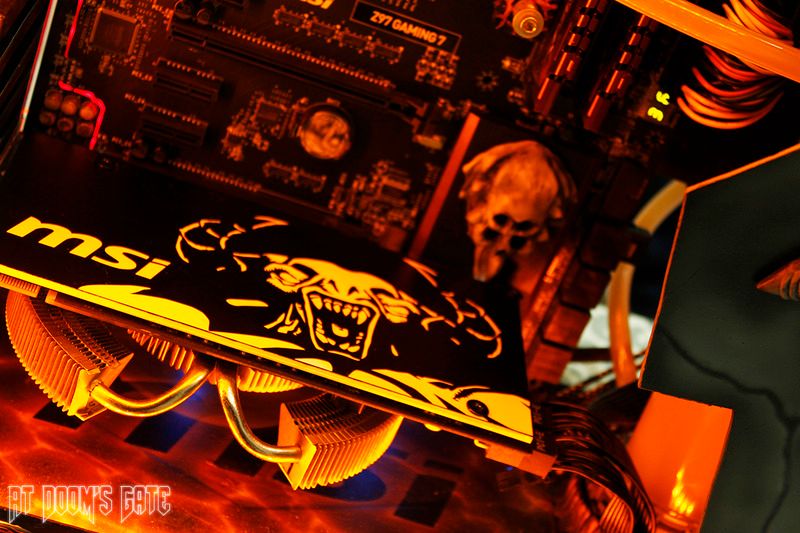
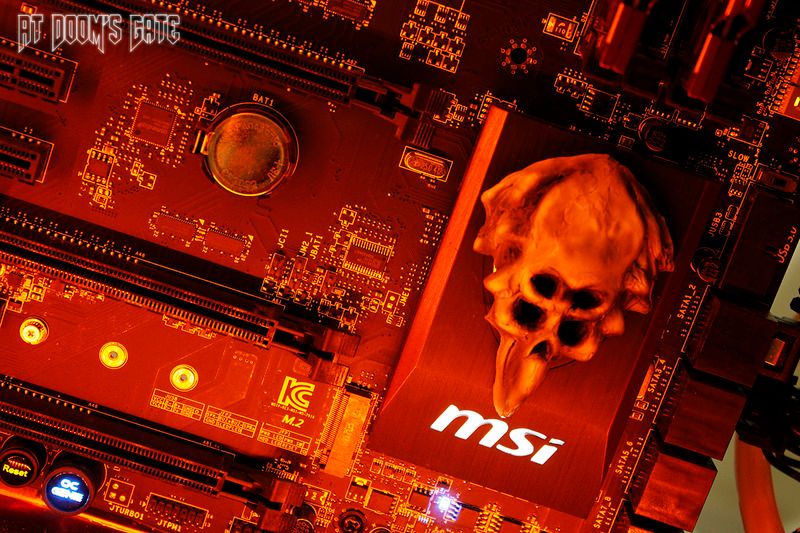
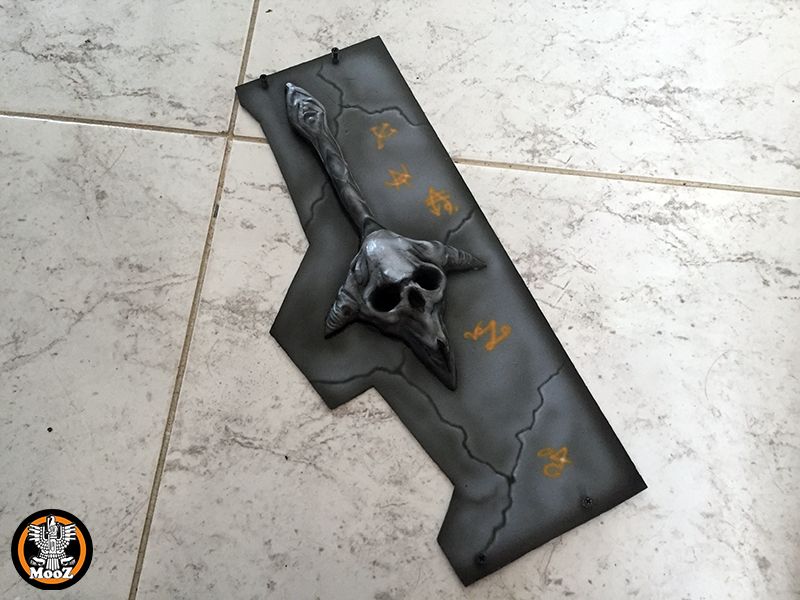 Custom backplate for MSI gtx 460Cyclone. Cyberdemon!
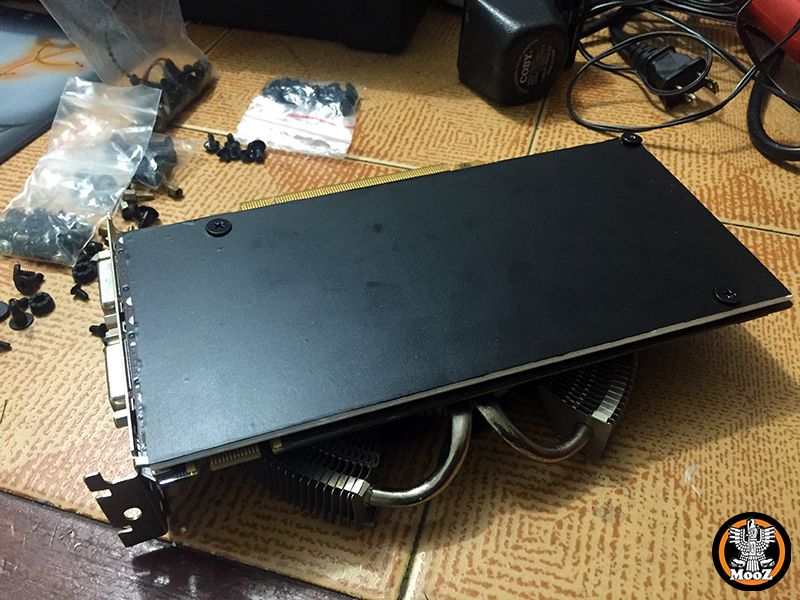
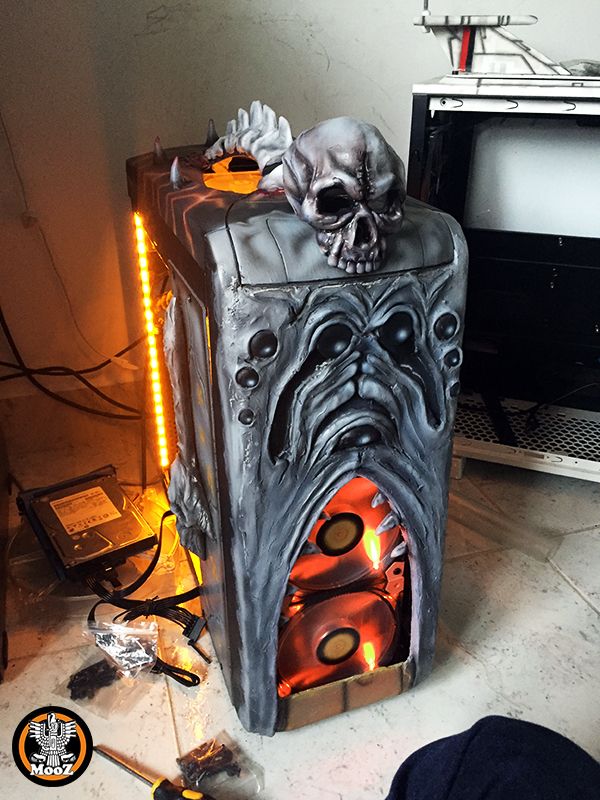
 There is no enough room for and standart size fan in front, between the radiator and front cover, so slim version is the right choice. Thermaltake Luna 12 Slim red.
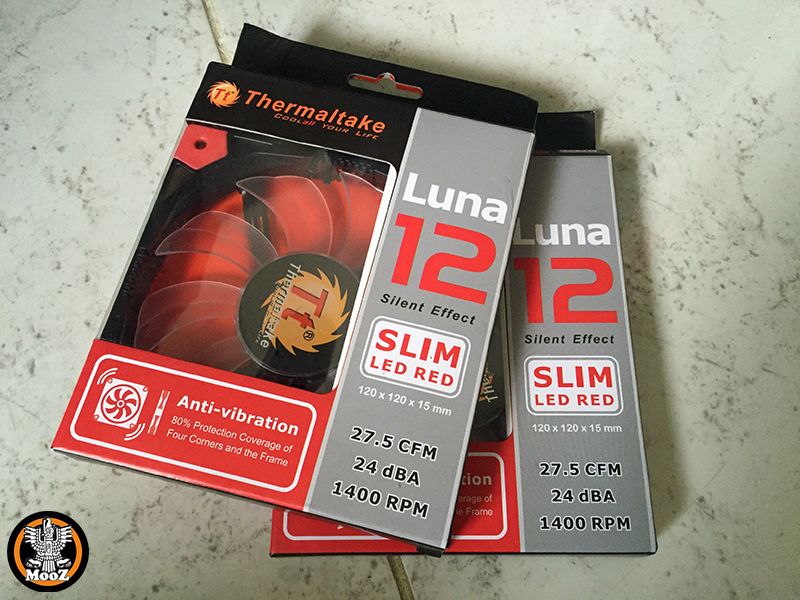
-
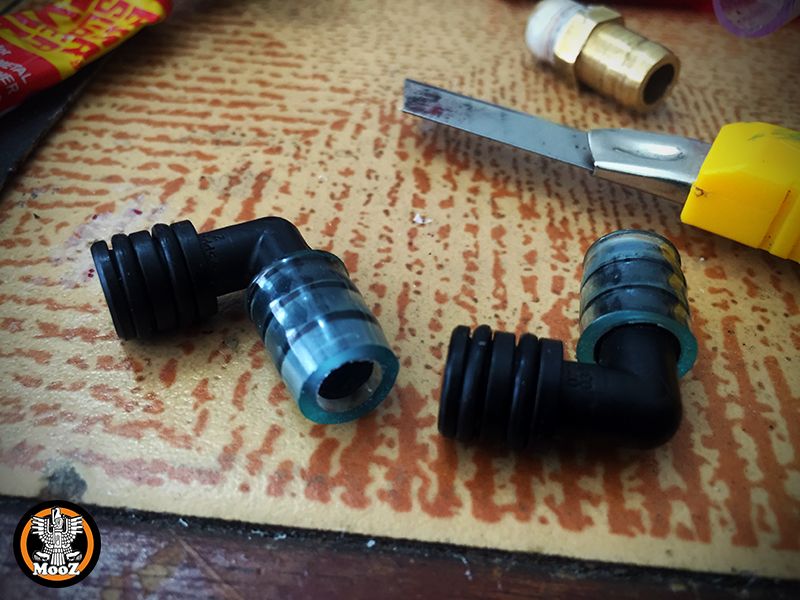
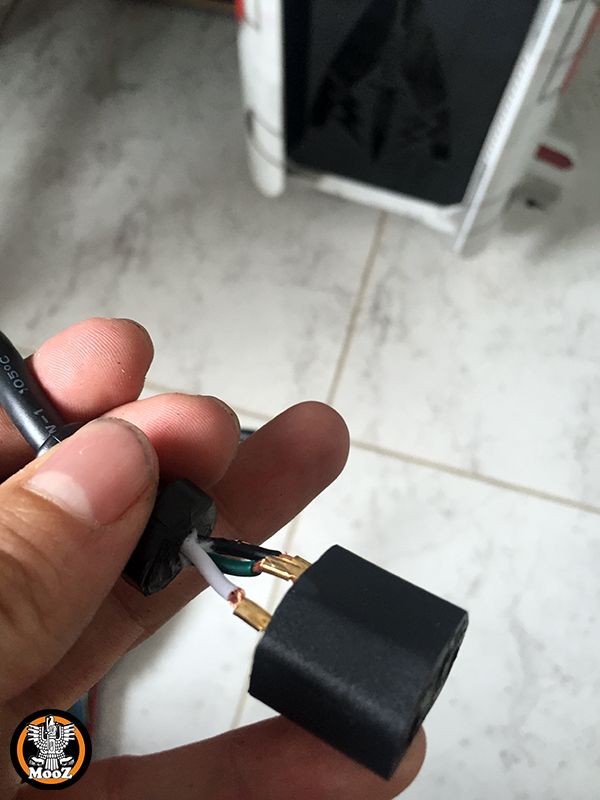
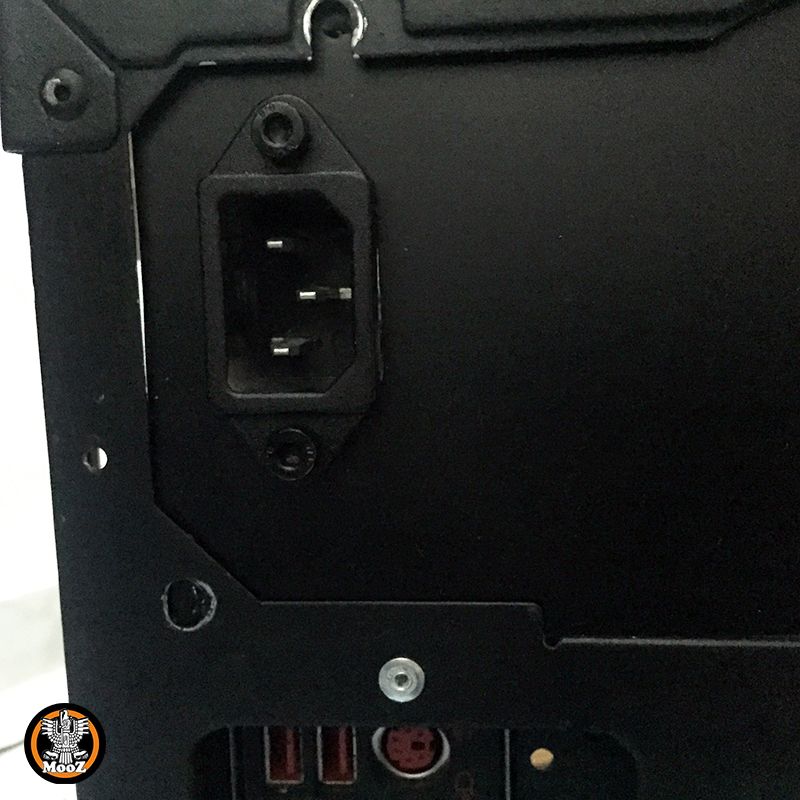
Because the PSU is placed on front, a cable and backplate is required. Cutting a normal power cable, then givin a 90° degree and connected to the psu backplate.
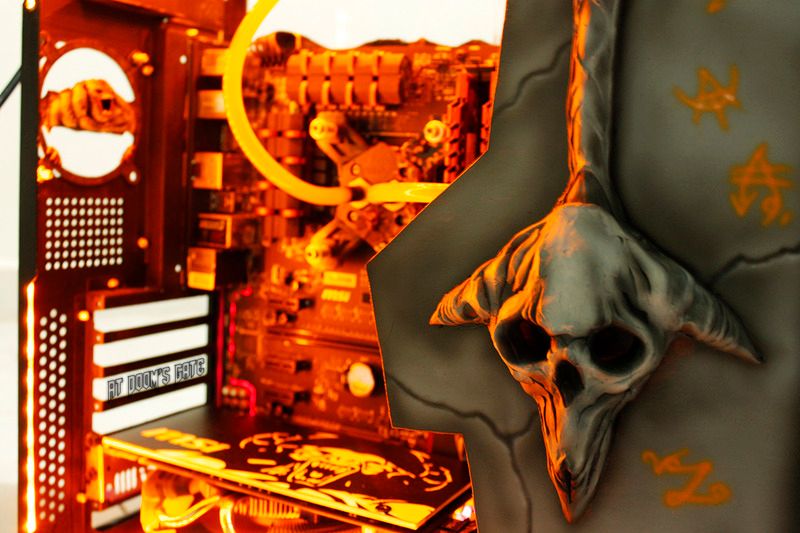
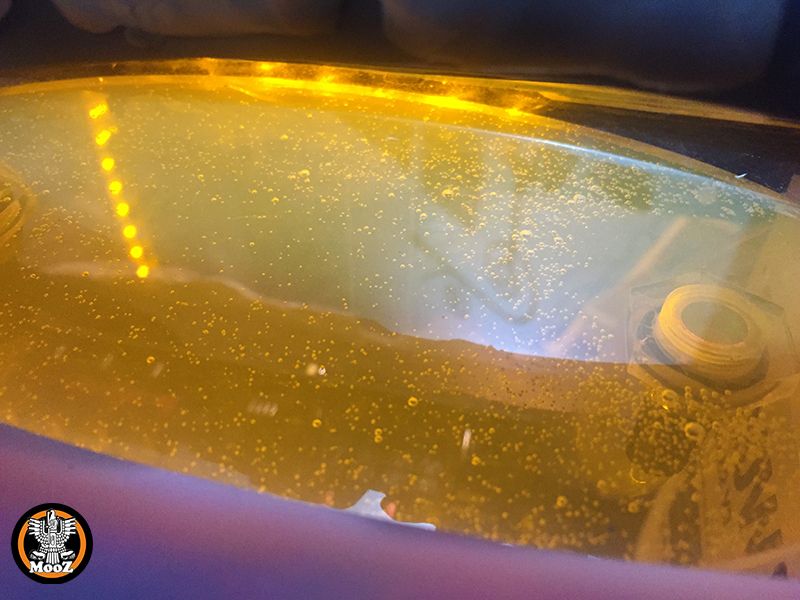
 Lights...
 Watercooling installed, when the top is full, looks like a new "#### hole".
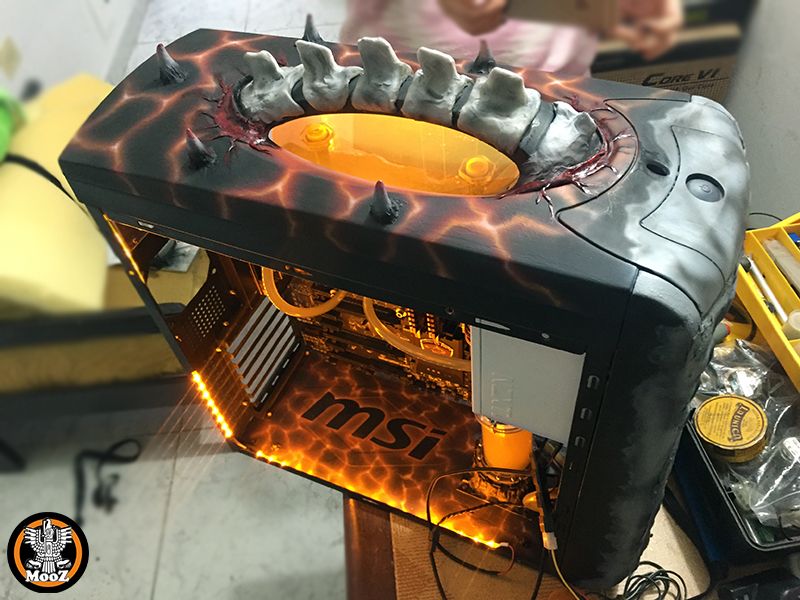
-
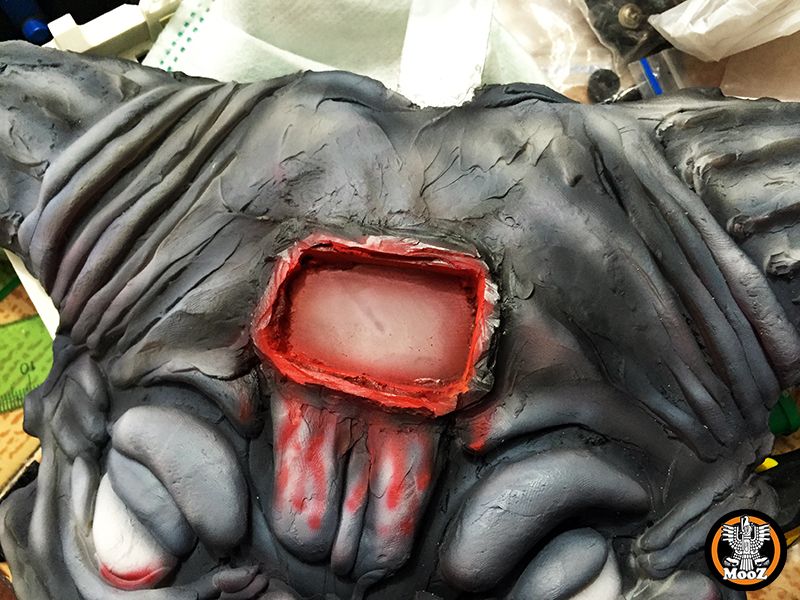
Mini update. Adding red light in the icon of sin's exposed area

VOTE NOW! - Voting Closed
in 2017 Thermaltake CaseMOD Invitational Season 1
Posted
Hard choice this time. I would vote for all!
This time go for Mhike!