-
Forum Statistics
94.1k
Total Topics115.7k
Total Posts -
Member Statistics
172,929
Total Members16,800
Most Online


RocknR00ster
-
Posts
19 -
Joined
-
Last visited
-
Days Won
2
Content Type
Profiles
Forums
Downloads
Events
Gallery
Blogs
Posts posted by RocknR00ster
-
-
The first thing you would want to do is put in the IO plate/cover. That's the thin metal plate that covers the ports on the back of the motherboard. Next you'll then want to make sure the stand off's are in the correct spot, if you have one that doesn't match up to the motherboard it could potentially cause a short circuit and we wouldn't want that. You should have 8 standoffs, three on top, three on bottom, and two right in line with the PCIE slot to the left and right side.
The next part would be connecting up your f_panel (Front Panel) with the switches and more than likely USB connections. Your f_panel connections are usually located at the bottom right of the motherboard and look like this:

Most motherboard now come printed with the information about the pin setup and the cables should be marked accordingly.
Hope this was helpful, good luck!
-
UPDATE 9/5/2015
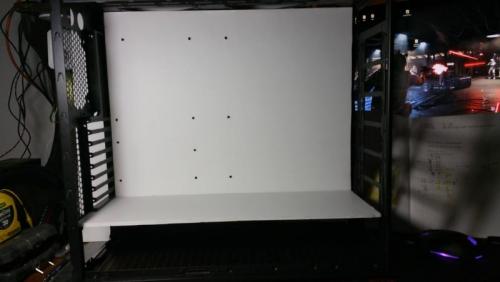
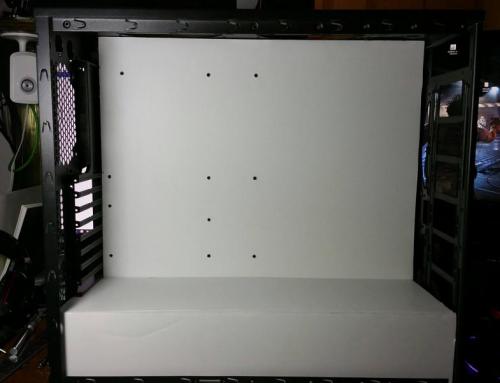
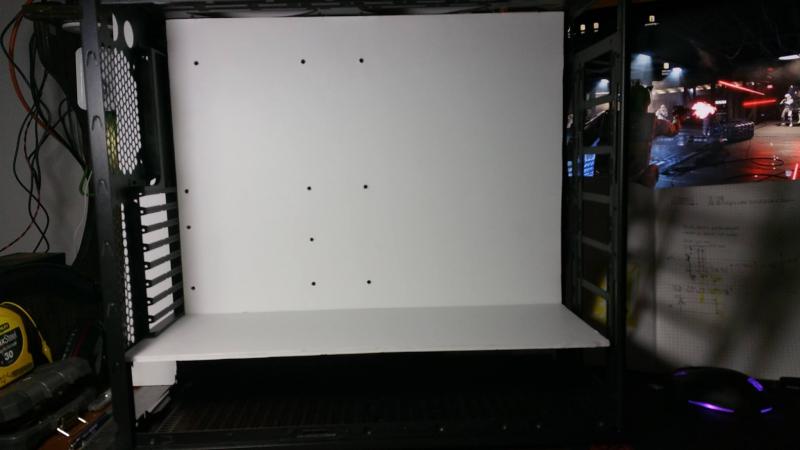
Acrylic templates coming along. I’m going to be using an opaque white acrylic. Enough to allow NeoPixels to shine through. Here I removed the drive tray support. Previously I was going to use that as part of a display support, but it stuck out too far and would have made it a pain to work with. Plus one solid flat piece looks a lot cleaner. ‪#‎projectserendipity‬
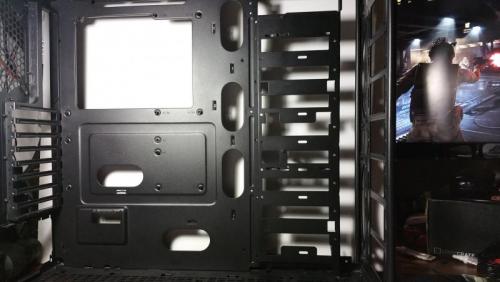
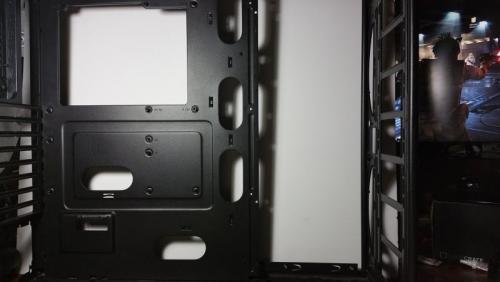
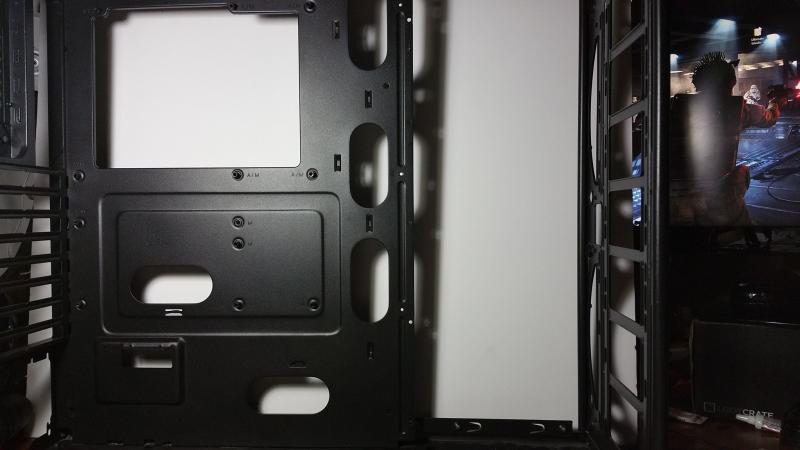
That back panel is the next step. I'm going to be pulling that out, removing a section and replacing it with something else.
The next part for the NeoPixel lights is figuring out the locations and mapping them in the code.
-
It would appear this was posted under the FAQ section, so I moved it under the correct topic for you. Best of luck!
-
Have you tried a different USB port? I had a pair of usb headsets that had an issue with the mic not working, just random, and I had to disconnect the device and plug it in to another port. It's definitely worth a shot. That's about as much support as I can give you on that product, I'll let the pros handle it from here. Good luck!
-
Have you tried to uninstall the software, reboot, and then reinstall?
-
That's unfortunate that you are having trouble with the installation of the RL280. The HAF915R (F?) supports up to 360mm radiators. Would you be able to take a picture and post that with the issue you are having? It would help in understanding the issue you're having.
-
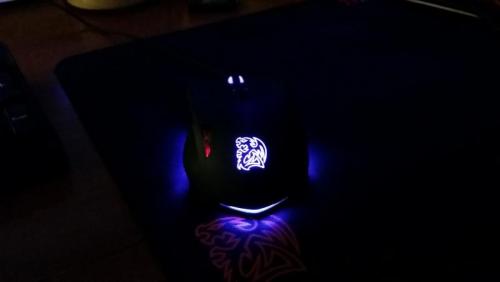
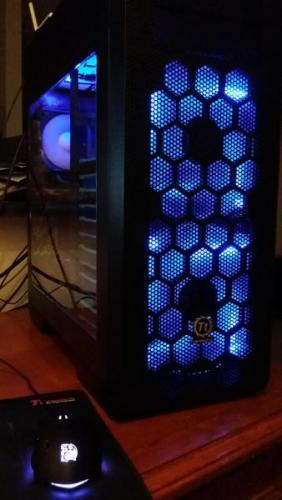
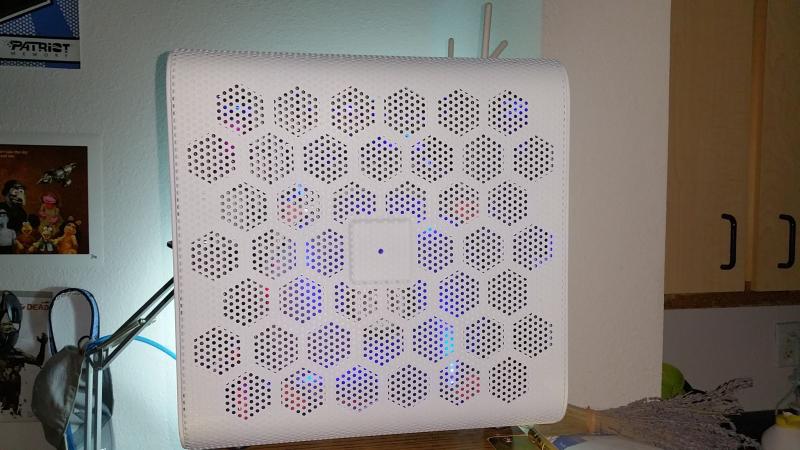
A little update, this is not the system setup for Serendipity. I am using my every day PC as a test bed to see how the lights look inside a case. So far so good with the Arduino and NeoPixels. I'm using a software program called Jinx! which is much more stable than Glediator and offers a lot more features, but still uses the Arduino sketch from Glediator. Eventually, once I have it all done, I will have instructions on creating your own amazing light how inside your PC. I'm also now working with a friend on building a custom desktop application that has a mobile application that can contrl the lighting remotely without having to make the Arduino code overly complicated. There is a chance that this route may change the controller to a Raspberry Pi, which uses Python and an Linux based operating code. This route could definitely make it easier for future lighting projects and would be an open source platform eventually available on Github.
https://youtu.be/ZcOg_fiS0N4
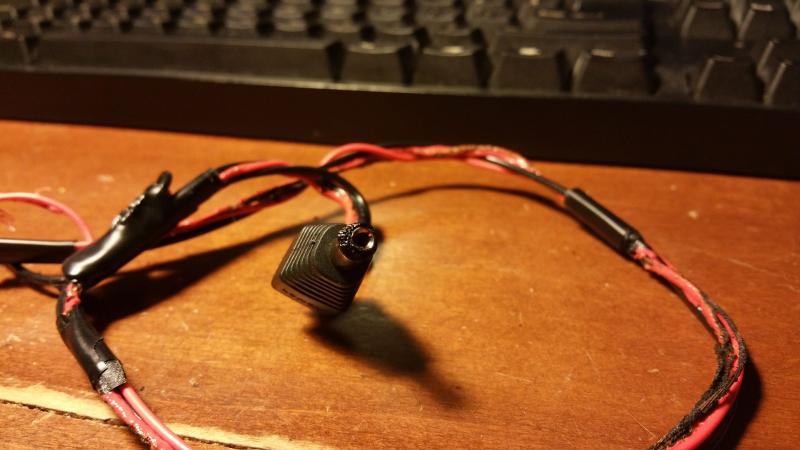
I had an accident the other night when I turned on the PSU to power the lights. The power adapter for the Arduino (which wasn't plugged in at the time) had shorted out on the PC case (not paying attention). Luckily it didn't kill anything like the Thermaltake PSU that I am using to power the lights, It definitely looks much worse than it could have been.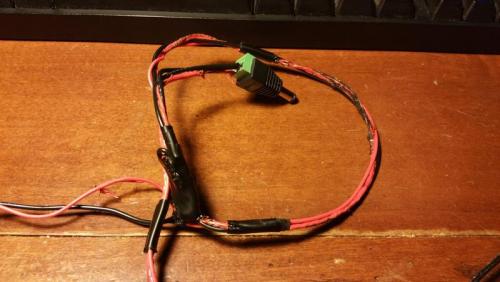

-
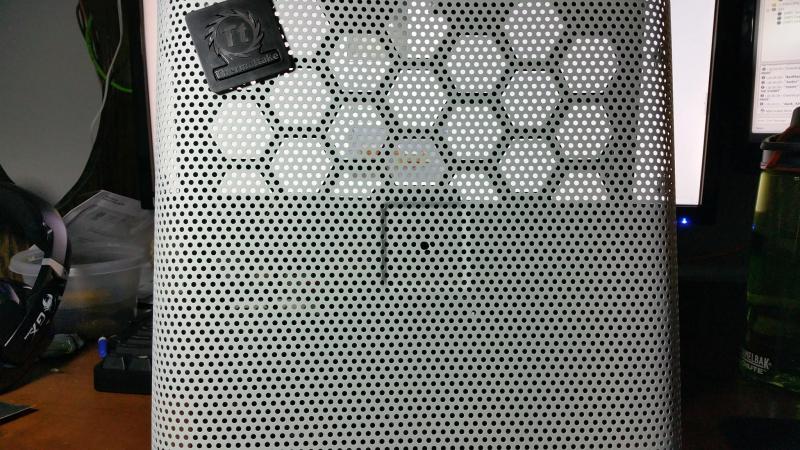
Project Serendipity came about by an ah ha moment. How it got its name was more inspired by the color scheme and design which is going to be black and white, but the predominate color will be swapped between the inside and outside. So for instance the outside of the case will be predominately black with white hand painted features and the inside of the case will be predominately white with black features. I would show off a design with a sketch or something, but I am having trouble getting my idea out on paper, so I will do my best to paint a picture with words and video and images.Something new to me and very fun is the lighting features I am working on. Of course I could go out and by RGB lighting that already comes with controls, but they are limited on their capability and I want to have a serious light show. So I opted to use Adafruit's NeoPixel light strips and an Adruino to control them. At that time I knew it could be done, but I hadn't the slightest idea how I was going to achieve what I wanted to do. Then I stumbled upon this guys unbelievably amazing build doing exactly what I wanted.
Got an idea of what I want to do yet? Yeah this is so freaking cool and technical!What I did to copy what Will from Fuzzletek did took a bit to figure out, especially for this Arduino n00b. Apparently they are working on releasing a version of the software that doesn't require licensing. When that is to be released is still an unknown.Don't worry, you can achieve this level of awesome and it's a lot simpler than the process Will took, to an extent. You can make it difficult if you really want to custom a color scheme to match a song directly. That usually requires something like AfterEffects to produce a video with matched audio/visual queues that you have to manually build for the entire song. This is a bit more difficult, but gives you complete control over all your LED's. This method also allows for a really cool ambient color effect as seen in the videos below.
Ultimately I found a piece of software called Glediator by pure accident. This is called an led matrix control software and is open source. Follow the directions on their page and you too can ultimately run your lighting effects the way you want, including ambient lighting. There are alternative software sets that are more complicated and less attractive and not as useful or easy as this one and I grantee this is the better option currently available that I am aware of. If you find one other than this that is open source, works with Arduino and Adafruit Neopixel light strips I would love to know about it!Next I will go over the parts list, show a picture of the progress. This will be one of the more intricate PC builds I have ever done. The acrylic and wiring alone is expected to take a pretty long time. Mainly because of how I want the wiring displayed.Thermaltake Core V71 (Currently working on the case, thank you Thermaltake!)Thermaltake cooling (*)Samsung 850 EVO 500GB SSD's x2 (*)ASUS Z170-DELUXE (*)Intel Core i7-6700K (*)Crucial Ballistix Elite 16GB Kit (*)NVIDIA GTX 980ti (Just got this part last week, thank you NVIDIA!)ArduinoAdaFruit NeoPixels* = parts not in my possession yetFirst picture of the template layout for the acrylic covers.
 More to come, main blog page is located at http://www.techpron.com/portfolio/project-serendipity-pc-mod/
- TristanSob and GeorgeOt
-
 2
2
-
With all the projects I have watched Brian Carter build, my money is on him. No pressure Brian!

-
-
Nice Pic Uber_Tiny - what do you play, when you play :-) You can't just spend your time modding.

Pretty much whatever is fun. Lately it's been a lot of Minecrack, I can't seem to get enough of it. I love me some redstone and making some pretty cool gadgets! I was a pretty hardcore BF4 player, but I needed a break after playing it nightly forever. I don't mod as much as I would love to being that I live in an apartment without all the necessary tools/space to get the job done right. However, I have a really nice build idea in mind for the Core V1, it's perfect for a lan build. The build will be super simple, but elegant. Really looking forward to it and I am putting things on paper right now so by the time the July PDXLAN comes by again I will have something to really show off. I'll definitely make sure to make a system build log here for it as well.
-
When i look for a new case, i would say the first thing that comes into my mind would be exterior look. I like my cases to be simple but stylish!
Second would be how protected it is from dust. Where i'm from the dust is quite crazy, and without any kind of dust protection the radiators and fans can get clogged up within a week or so.
I'm with you on this one. The look of the PC is first, expand-ability and user friendliness second, but a strong third for me is filtration. Gotta keep the dust out and like dO_ob said, "fans can get clogged up within a week or so."
-
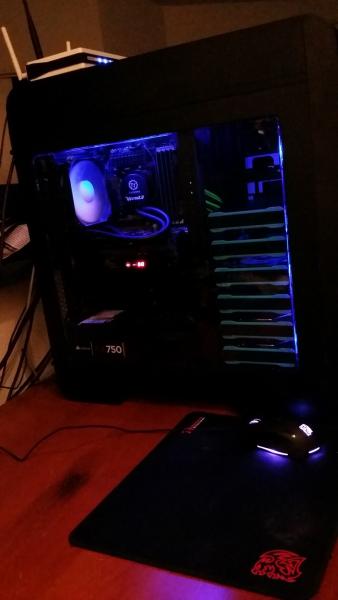
Nice build Uber_Tiny!
I love how all the lighting goes together perfectly
Didn't see you put down your graphics card spec, will you be planning to add one soon?
ooops my bad, updated.
Yeah, for being stock lighting, I really dig it. I'm thinking about setting up lighting throughout the case using the same colors. It goes well with the mouse color I use!
-
Theron for the WIN!
- Tt Kenny and ThermalMike
-
2
-
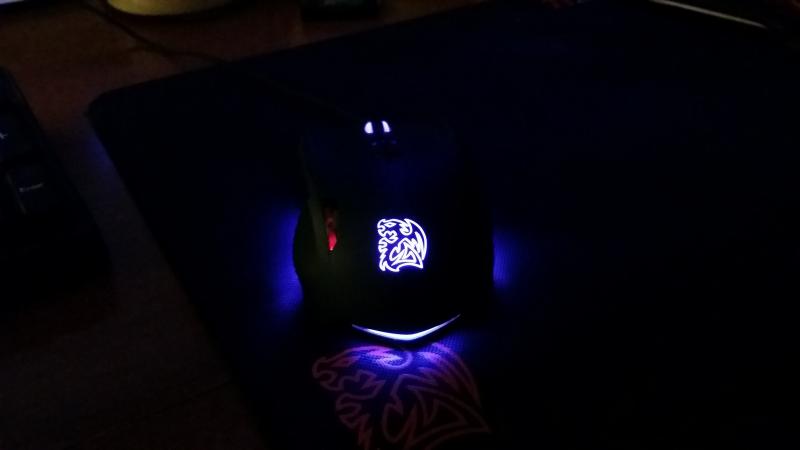
Here is my TT build.
Using the Core V71 case
Water 3.0 pro
Theron Mouse and mouse pad to go with that
ASUS Maximus III GENE LGA 1156
EVGA GeForce GTX 770 w/ EVGA ACX Cooler p/n: 02G-P4-2773-KR
Intel I5-2500
16GB Crucial Ballistix
6TB worth WD drives - storage drives
156GB Corsair SSD - boot drive

-
I have the 3.0 pro and it's one of the better closed loop CPU coolers I have used, It really gets the job done.
Word of advice: Before you turn on your PC after first time installation, make sure you have the pump plugged in. I almost fried a very good chip overlooking this on accident, good thing my motherboard was like, big-bag-of-nope...turn off. With the Core V71 case it has a big open area behind the motherboard and I was able to very easily feel the heat radiating off the back of the motherboard. That was after just a few seconds. Plugged the pump back in, turned the PC on and the temps dropped super fast from 87C (yeah I know...ouch) to room temp. That Just shows you how efficient the cooler really is. I'm actually looking to get the 3.0 ultimate, because I can and I have the room for it now.
-
I haven't been a fan of the full tower cases for some time as it tends to be a bit of a hassle lugging such a large beast to and from PDXLAN all the time. However, This is one case I wouldn't mind lugging around to show off it's full badassery. No really, this case is beautiful in all of it's ways with extensible expansion and customization capabilities. On top of all that, you get three humungous fans to get the air flowing with little noise. I can't wait to start the water cooling build for this bad boy.
- JimJG, Tte Martin, Tt Leo and 2 others
-
5


Project Serendipity Core V71 PC Mod
in Modding
Posted
Update 9/23/2015
And on my middle of the week day off, I get a few more steps further in my PC modd #projectsarindipity. Motherboard tray and back IO panel removed. This is going to be the most complicated build I have ever done.