-
Forum Statistics
9.6k
Total Topics56.4k
Total Posts -
Member Statistics
136,991
Total Members16,800
Most Online


ZenModz
-
Posts
88 -
Joined
-
Last visited
-
Days Won
5
Content Type
Profiles
Forums
Downloads
Events
Gallery
Blogs
Posts posted by ZenModz
-
-
Hello again.
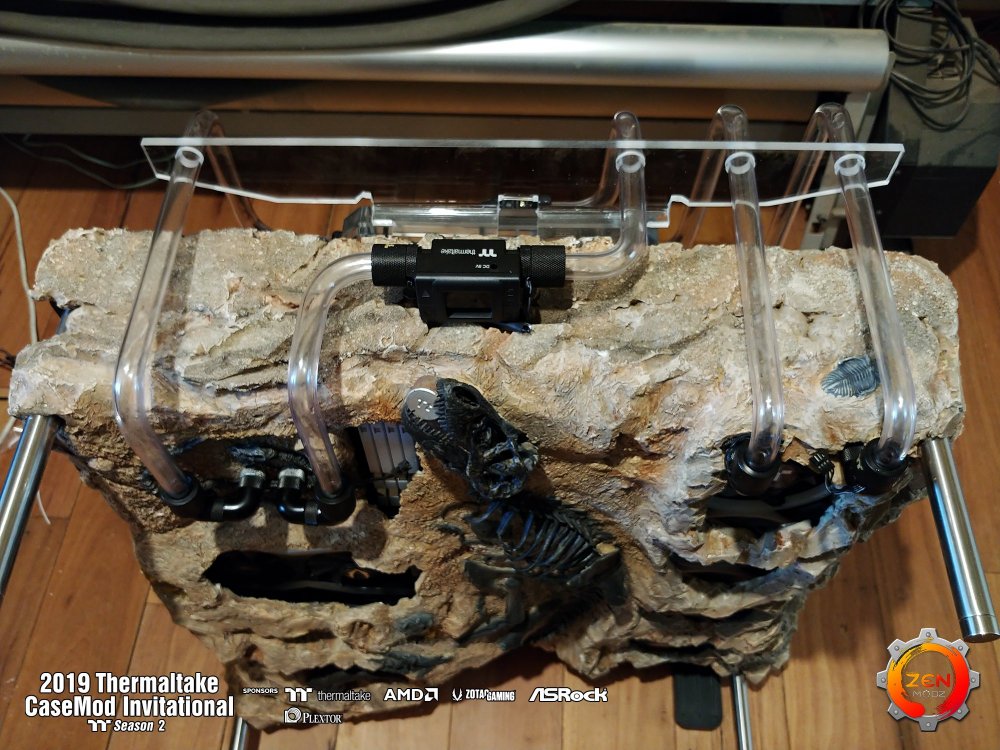
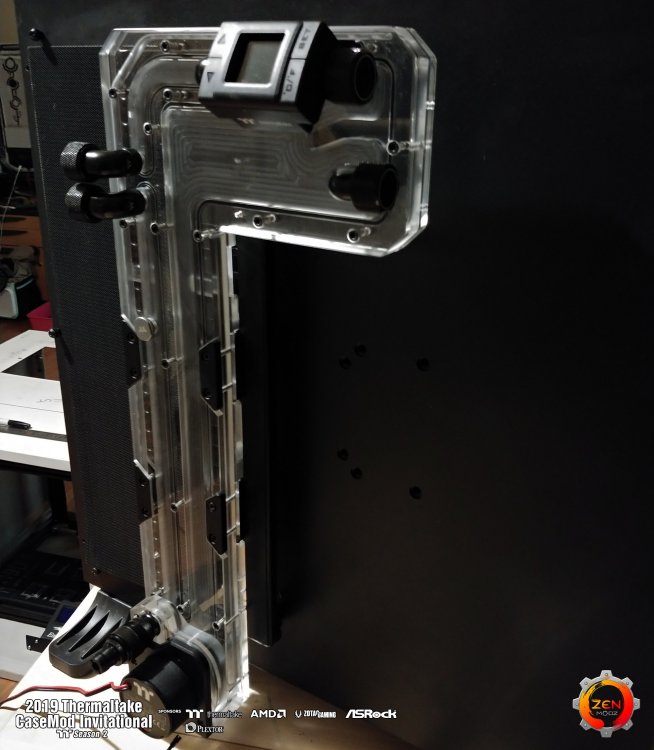
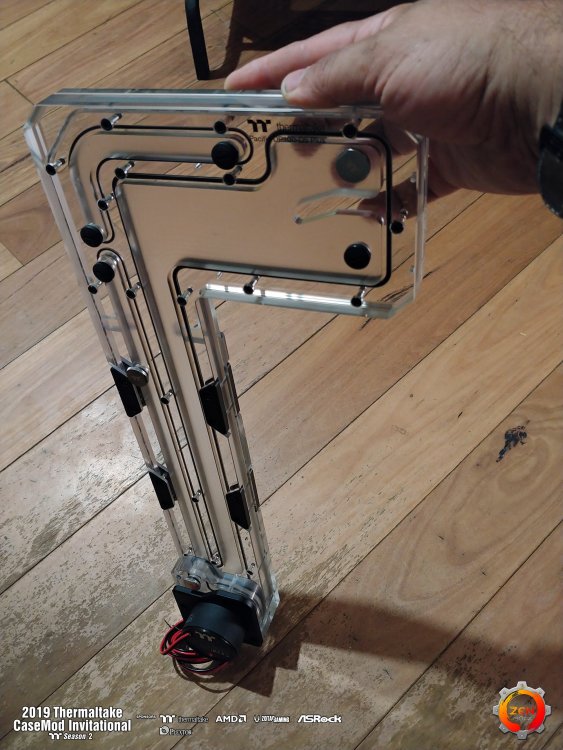
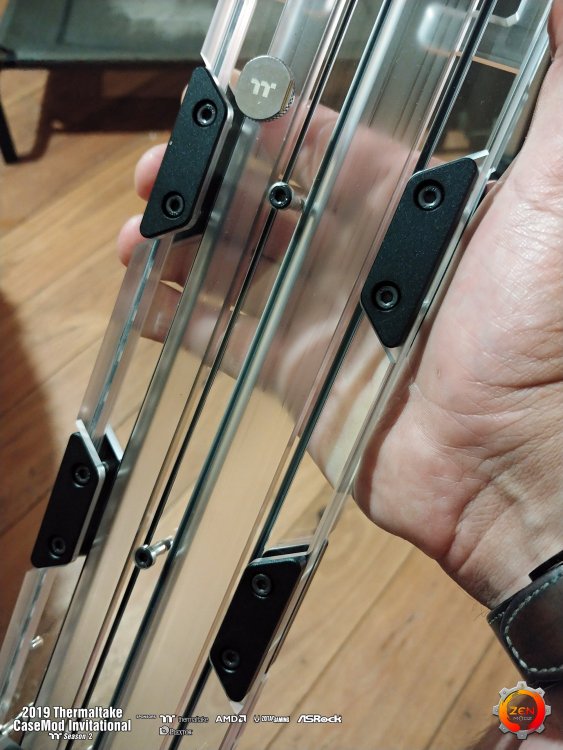
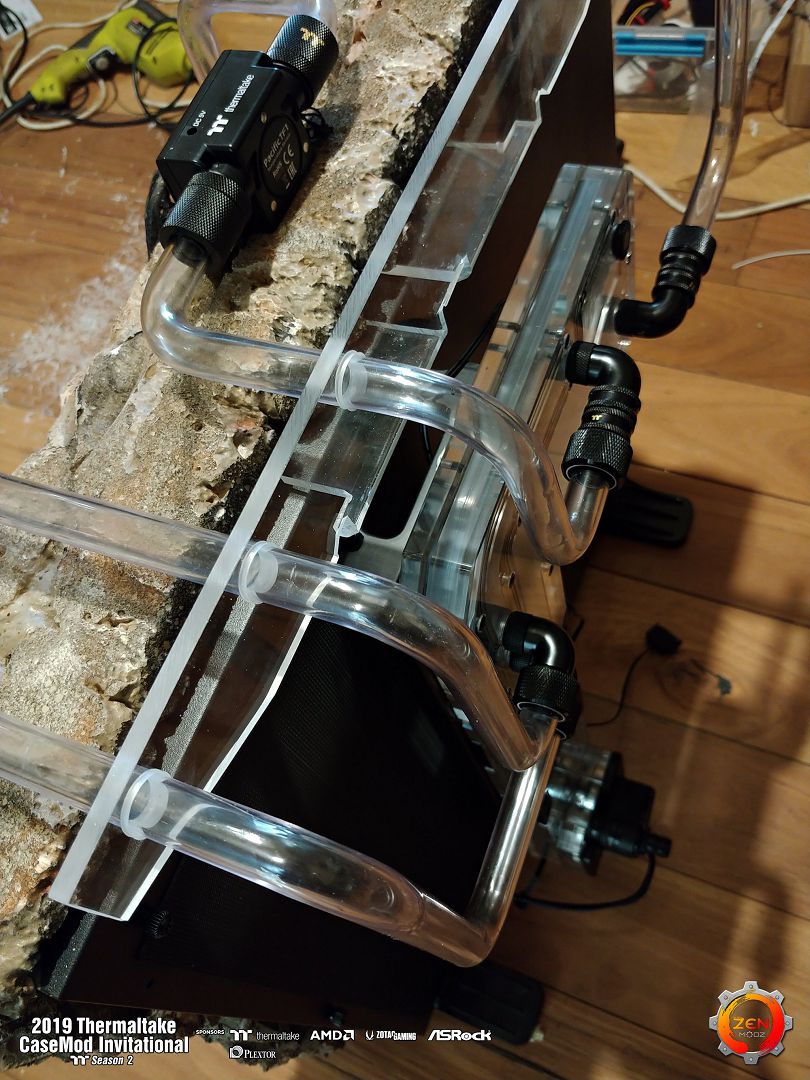
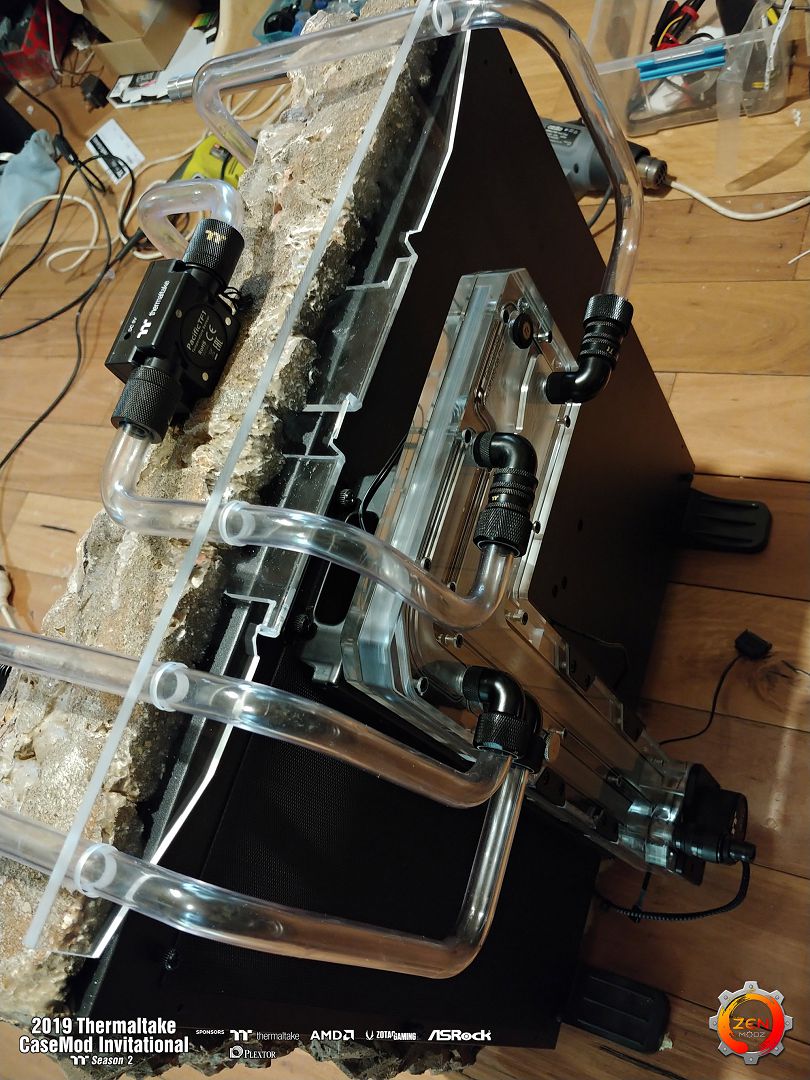
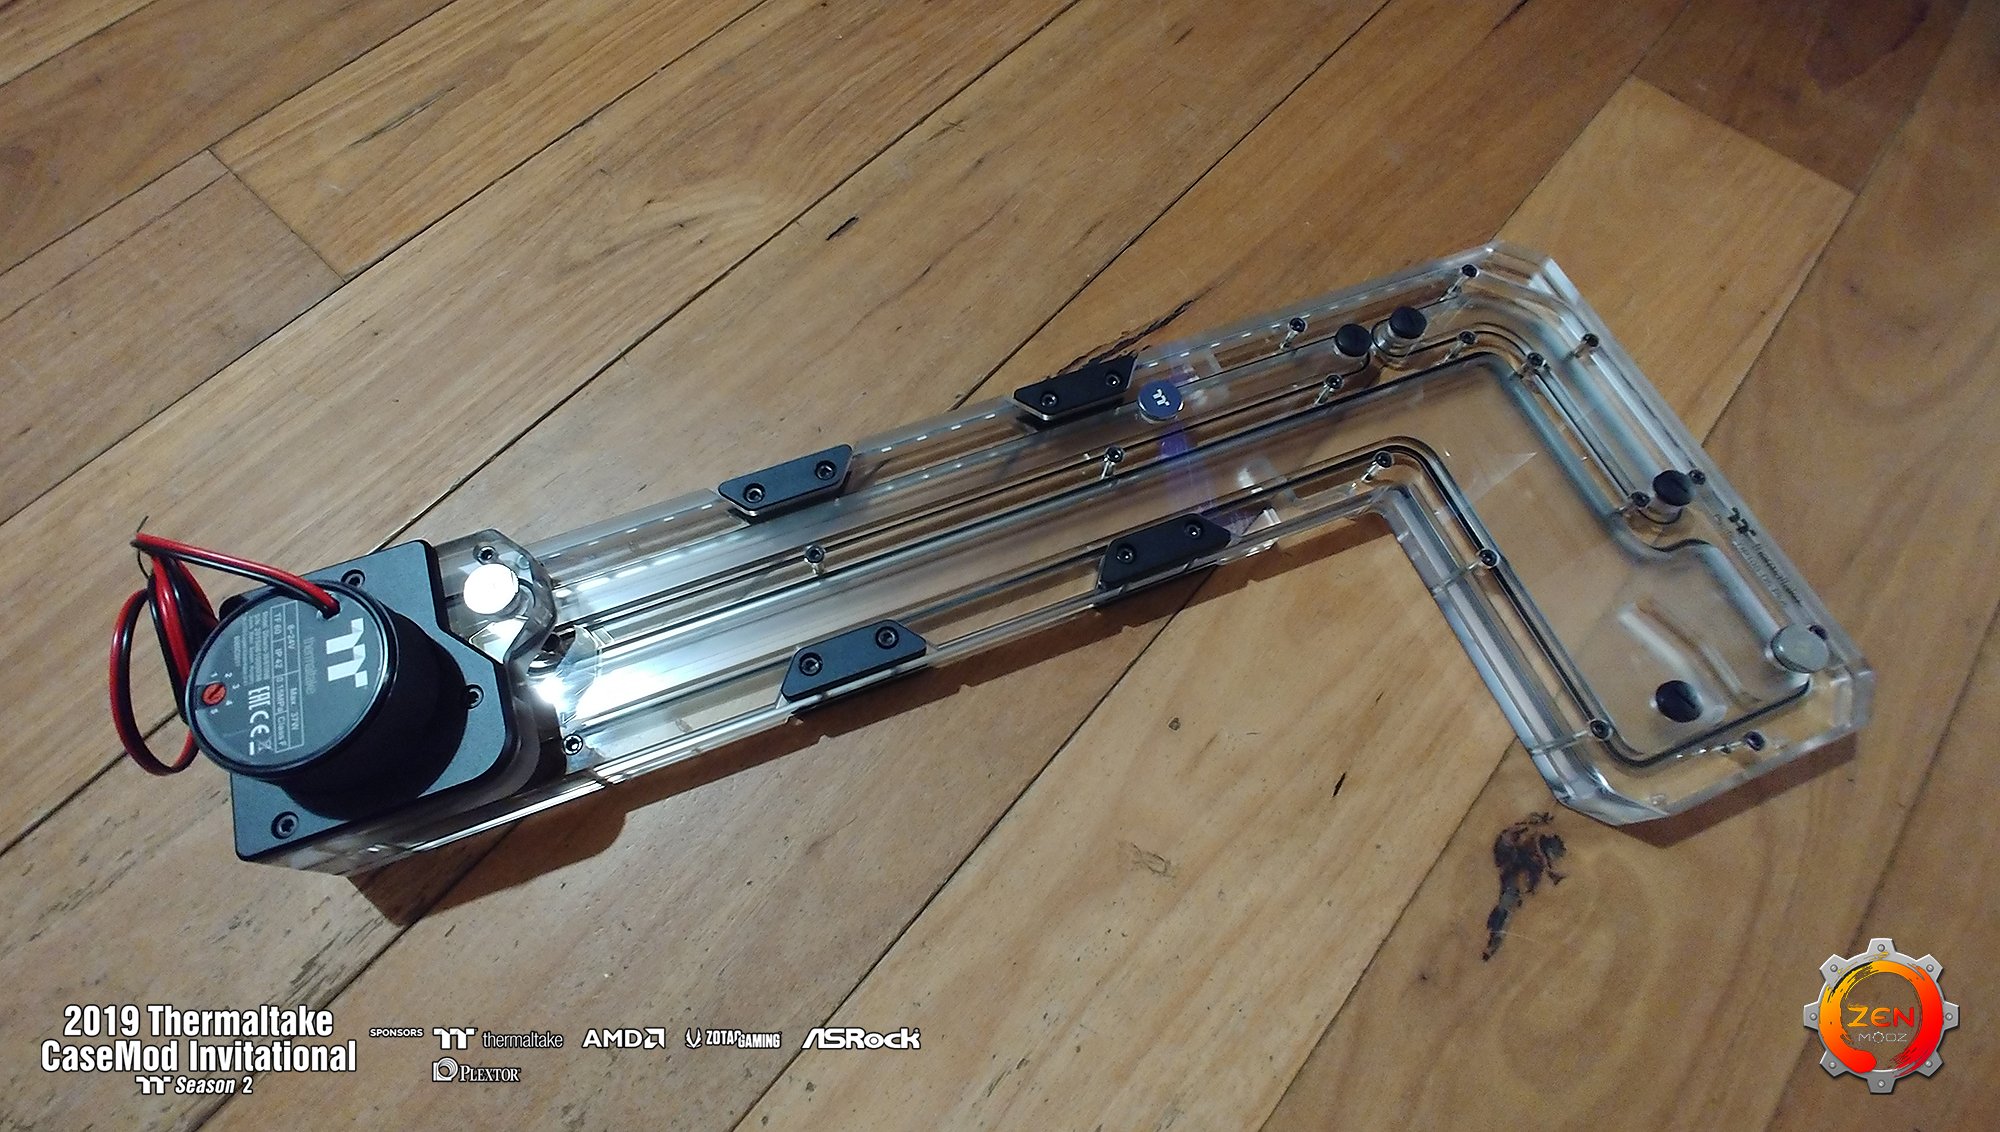
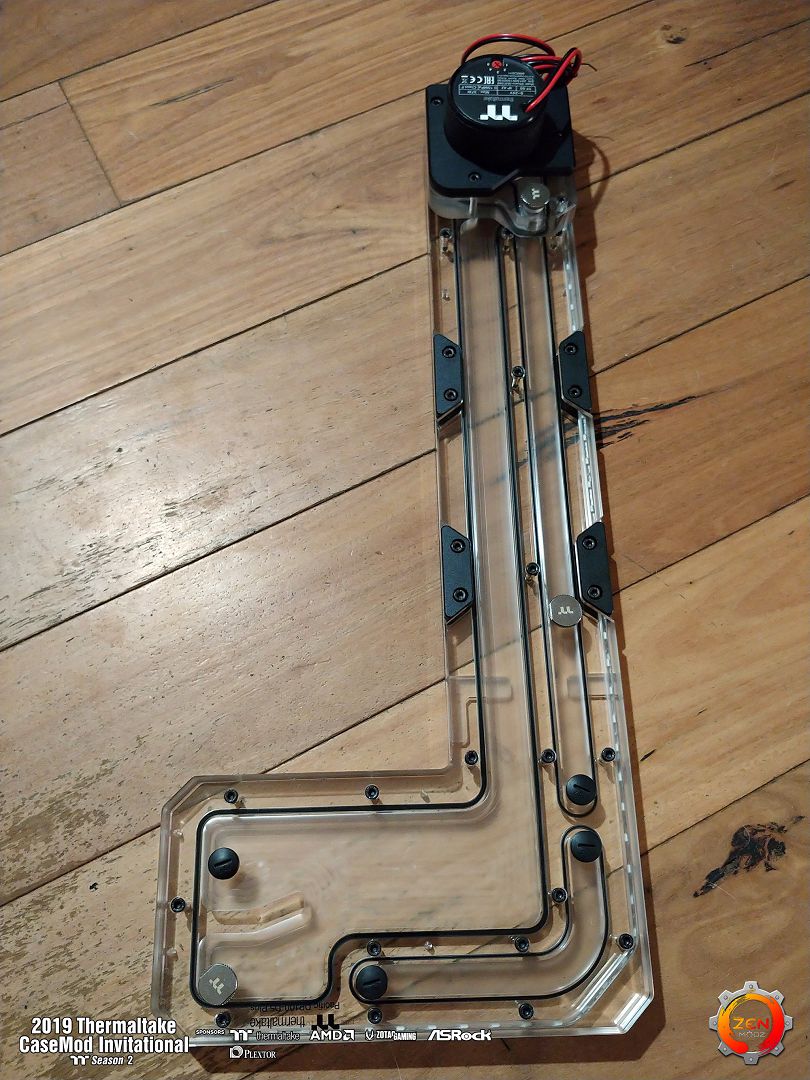
So for the water cooling I have mounted the res on the back of the case, and running the tubing over the top.
I made up a 6mm bracket to hold it all in place. The bracket is just cut out with hand tools and hand acrylic bender.
Dose the job nicely I think.
")


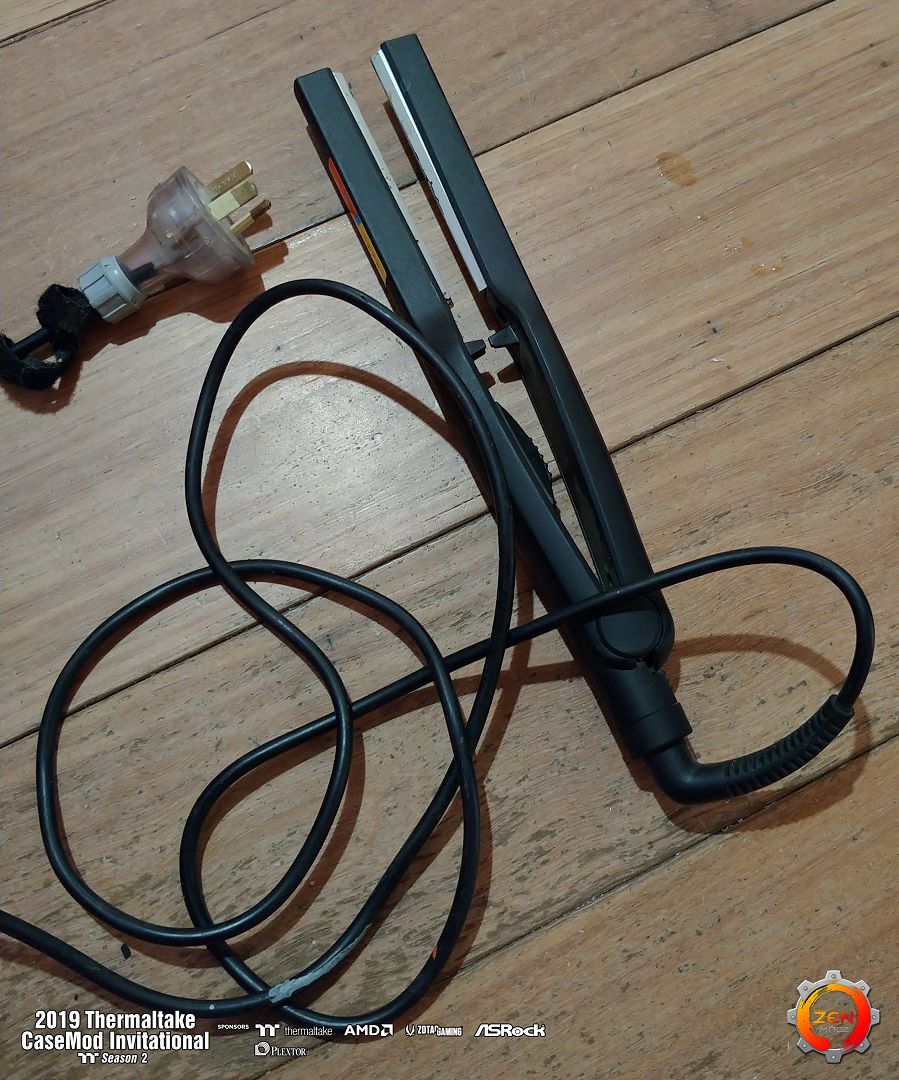
No this is not a hair straightener. it's used for bending plastic's

Thanks for stopping by.
More again soon.
-
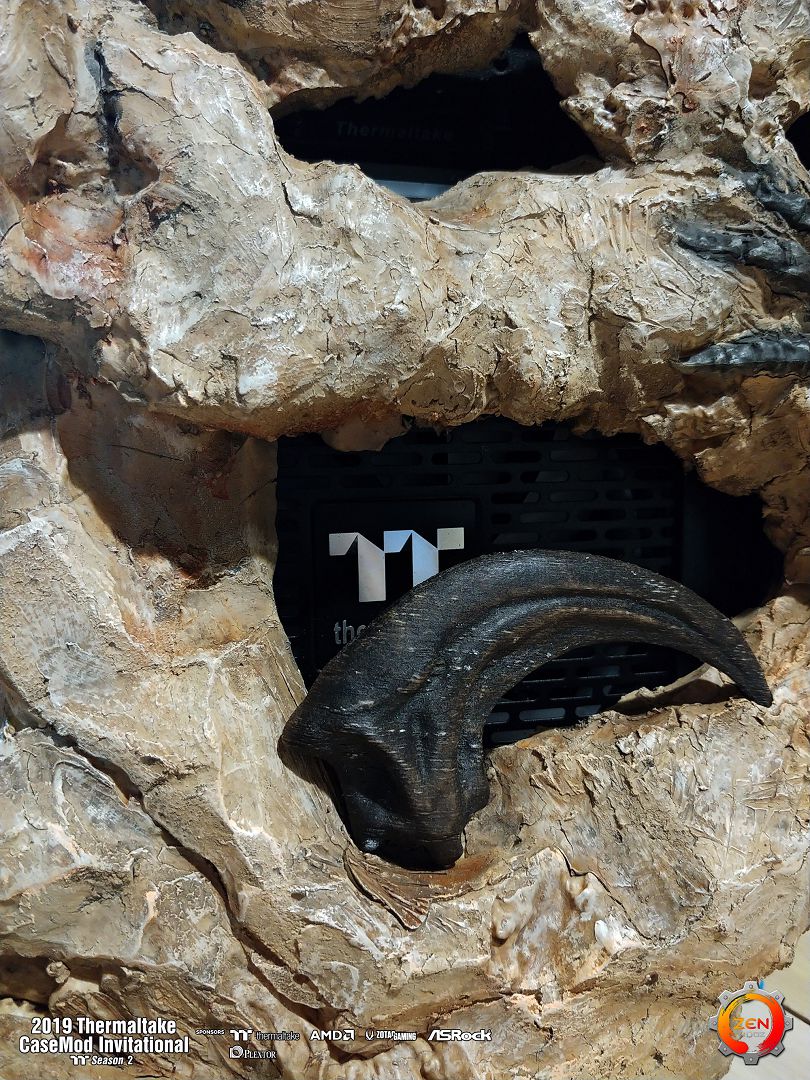
34 minutes ago, Erik Bmods said:
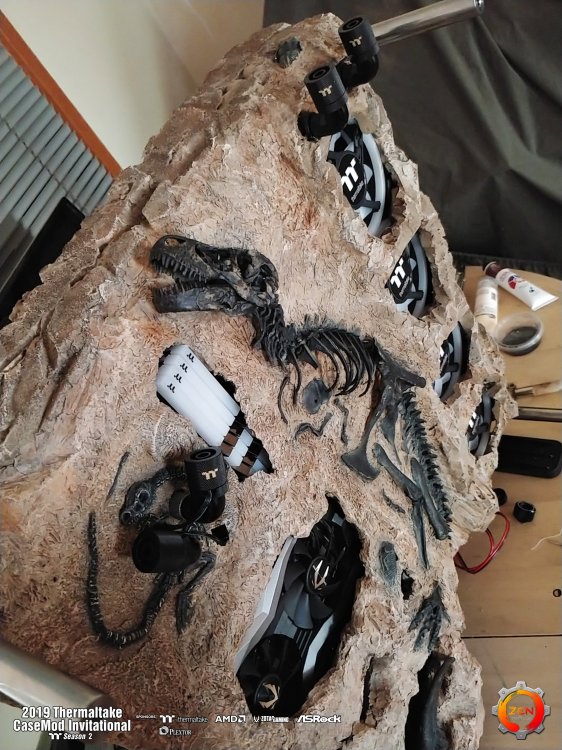
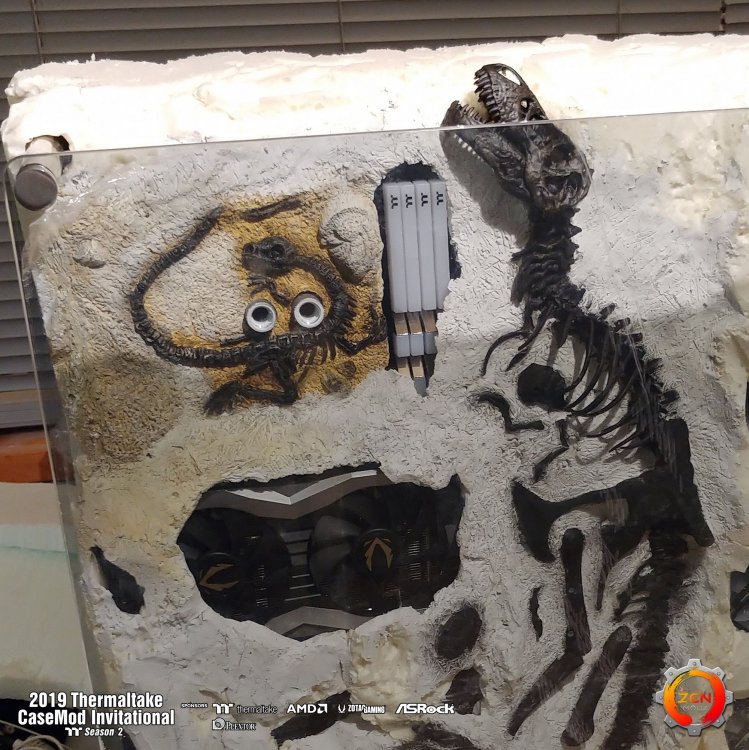
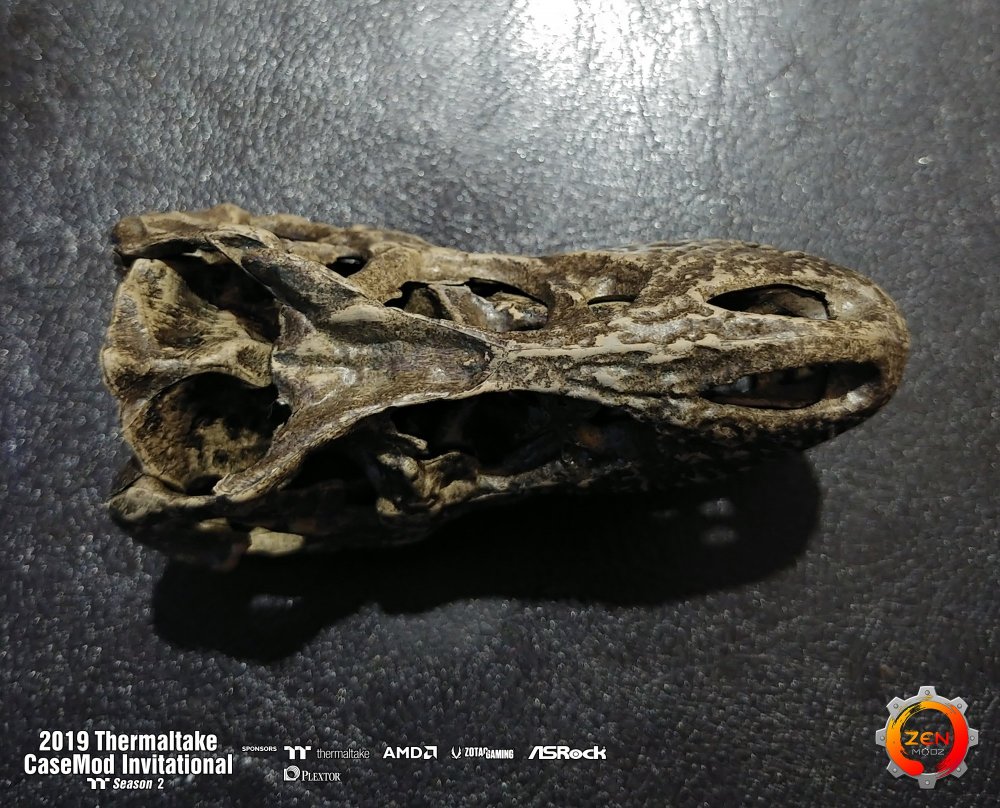
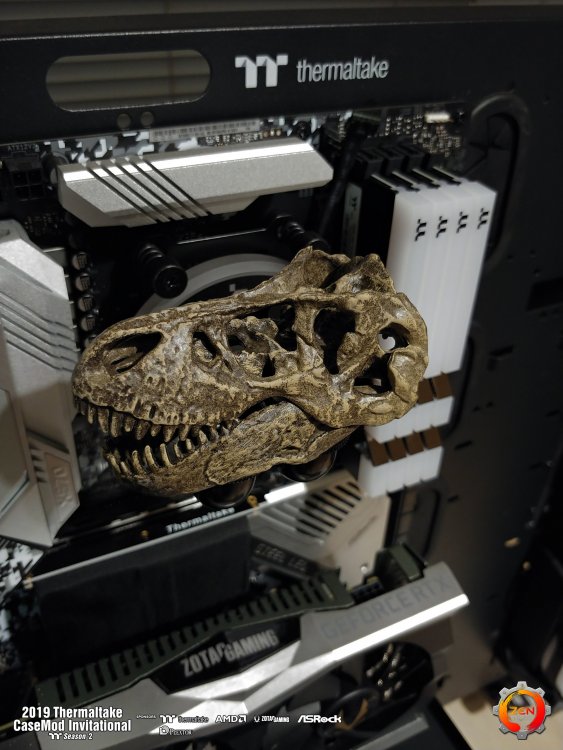
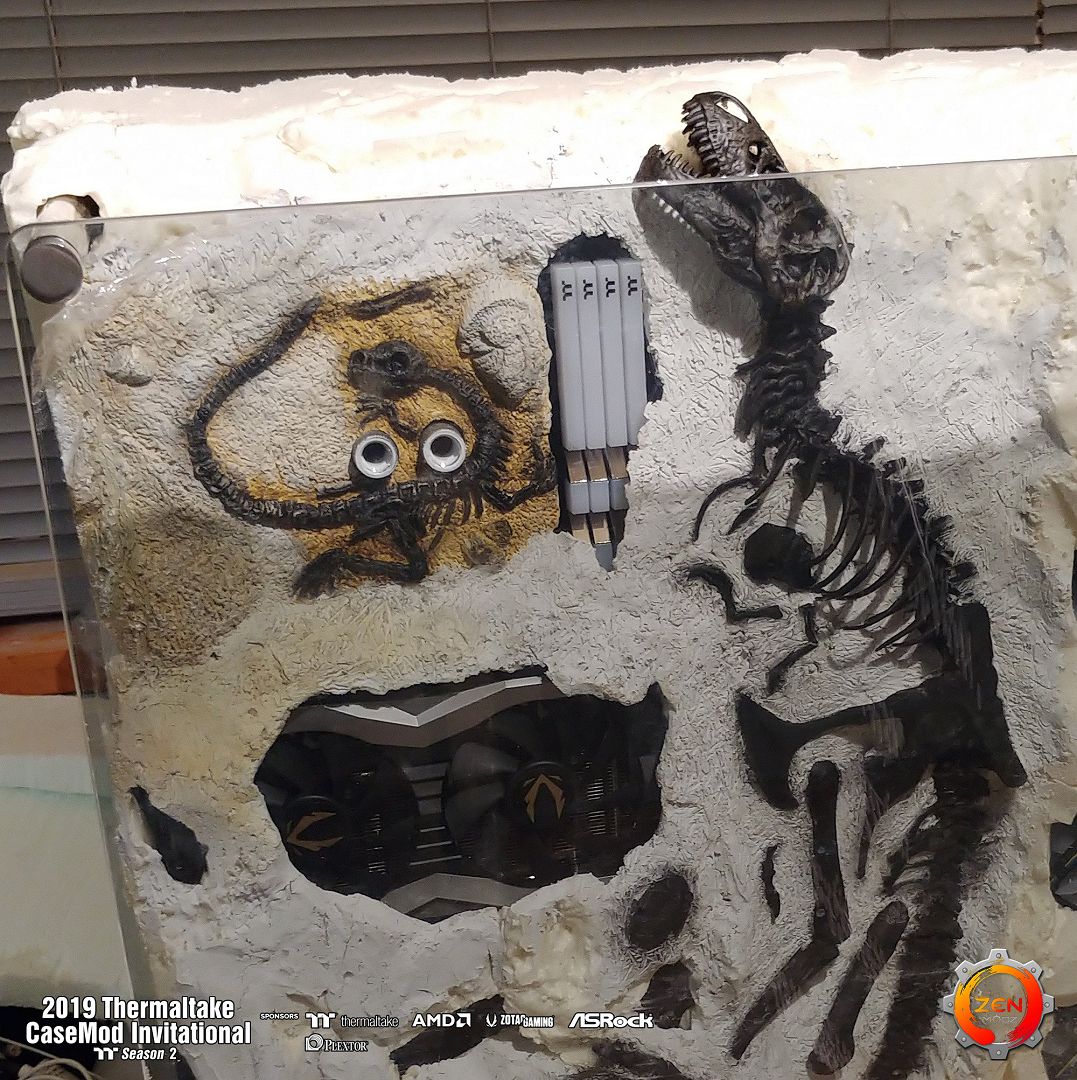
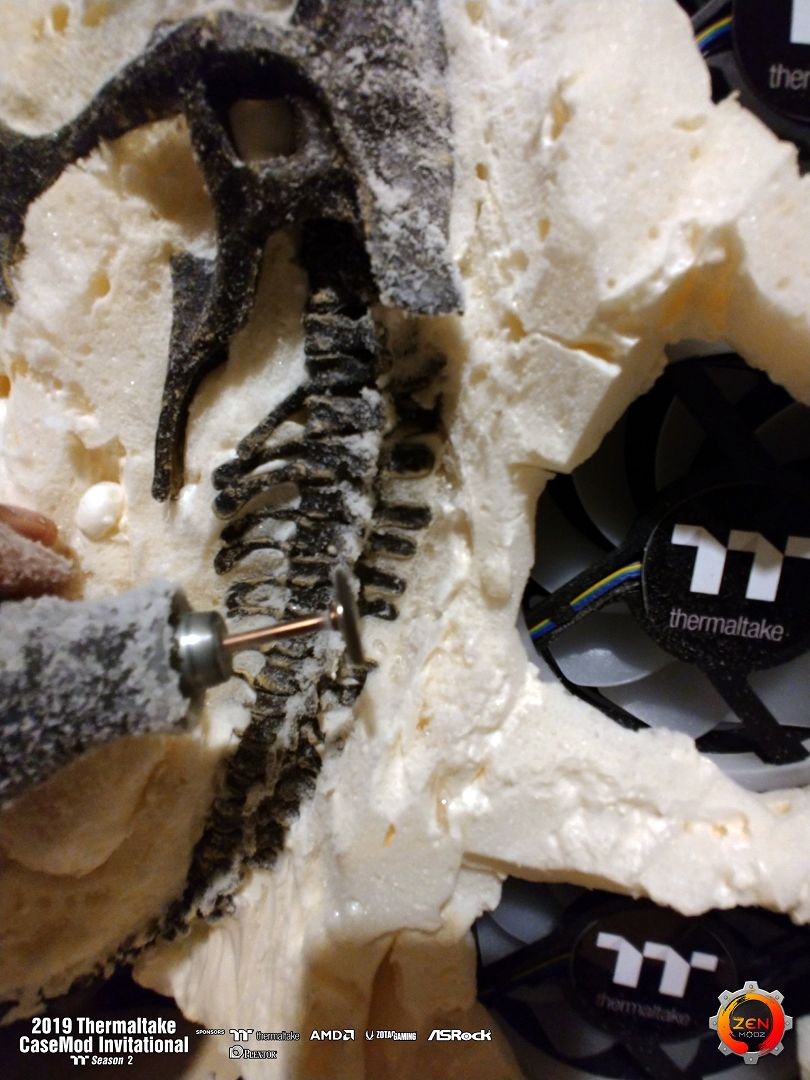
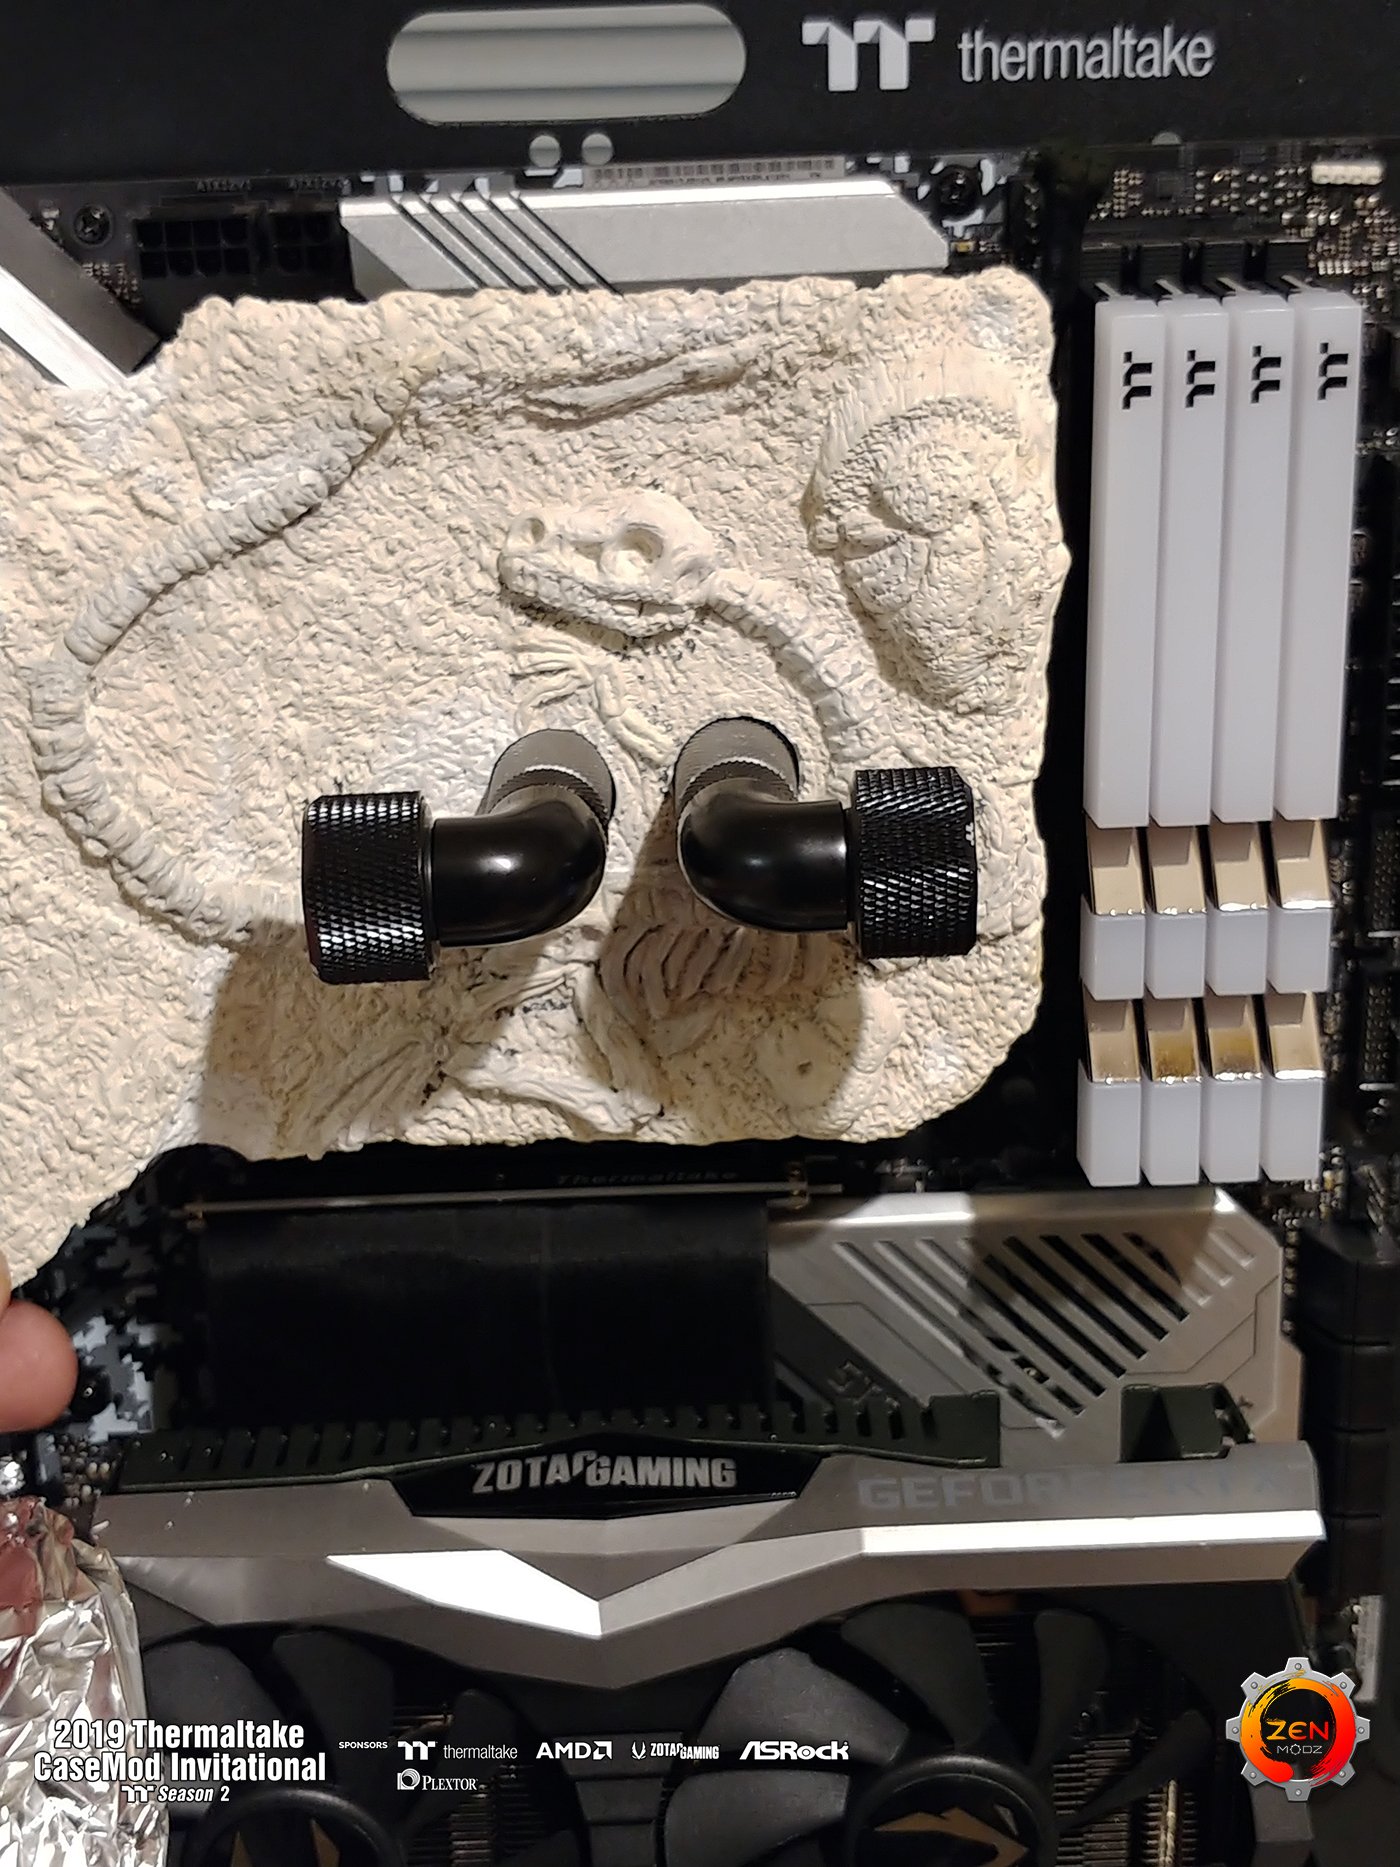
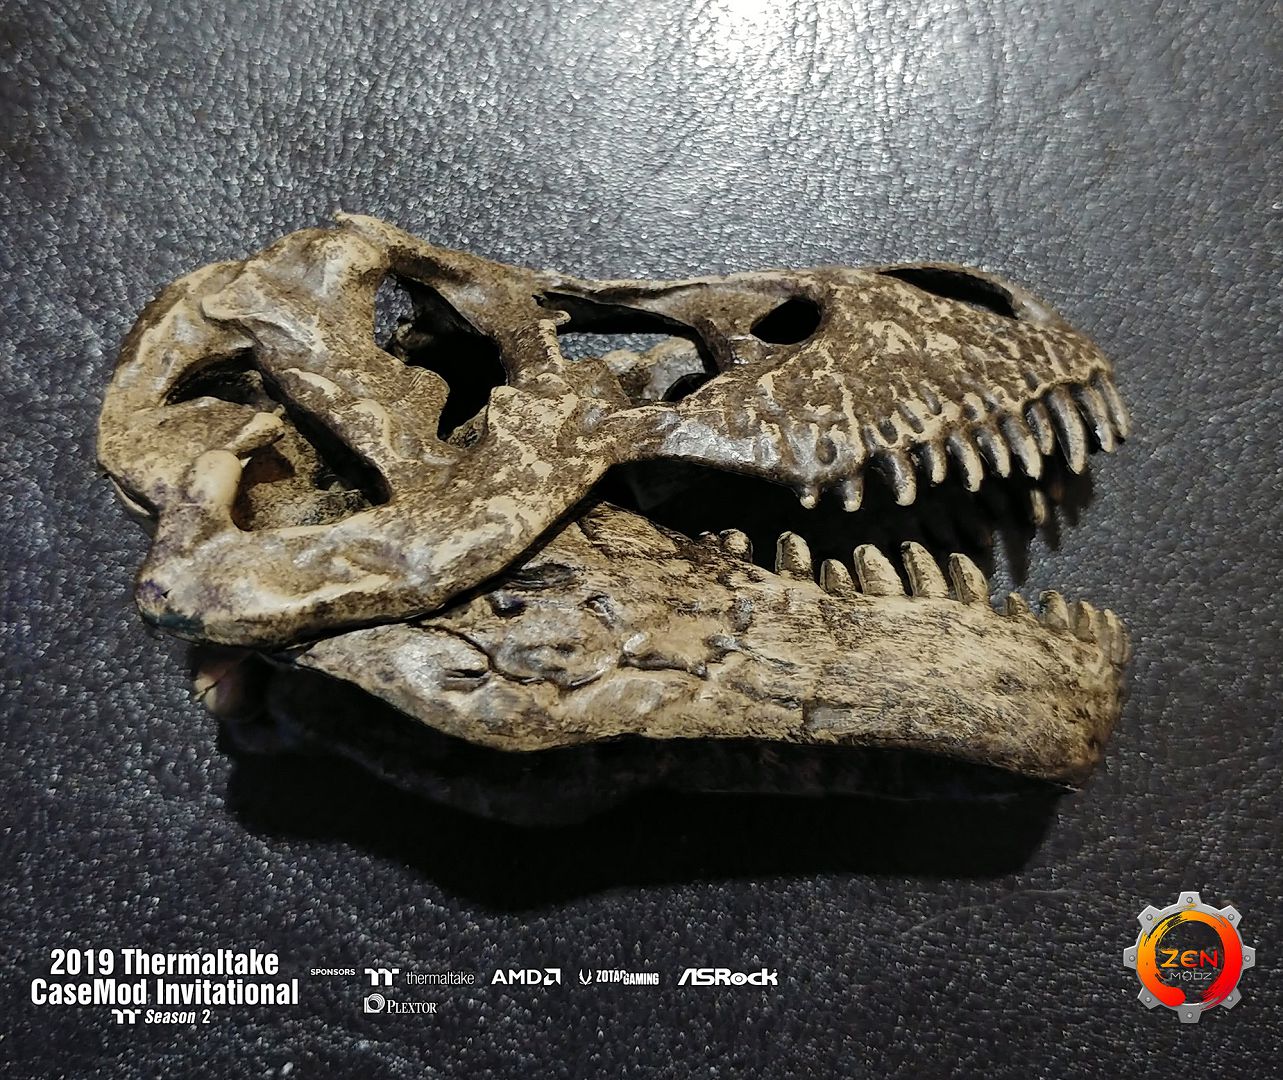
The TT k.n.o.b. in the T rex jaws is a nice touch. This project is coming along great!
Cheers Erik.
Watching your build as well it's looking awesome,
I'm sure we are all fowling each others progress.
And all the best to all who are entered. We may not know each other. And we may all have different lives But we all love what we do and love doing it.
-
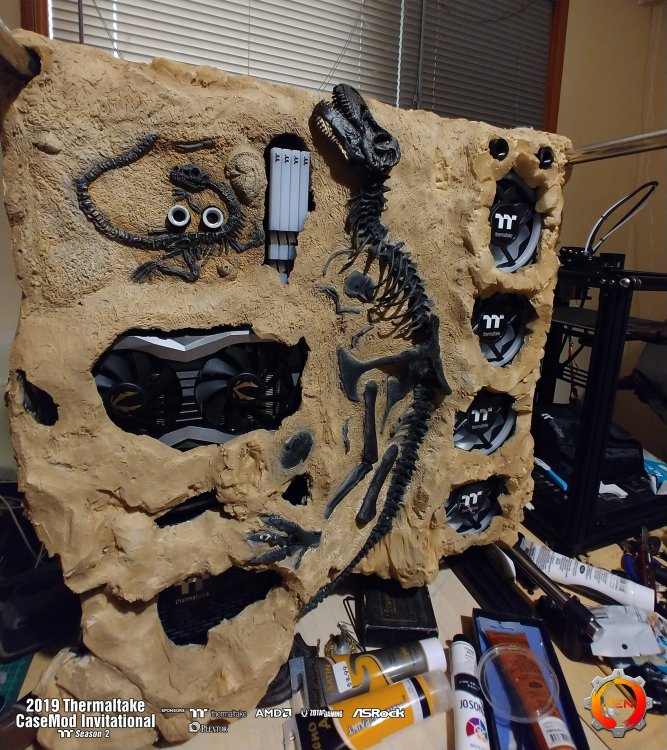
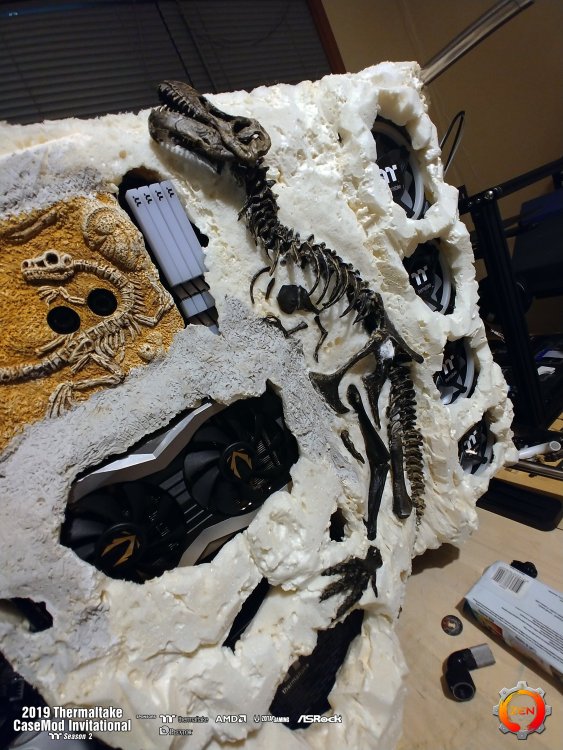
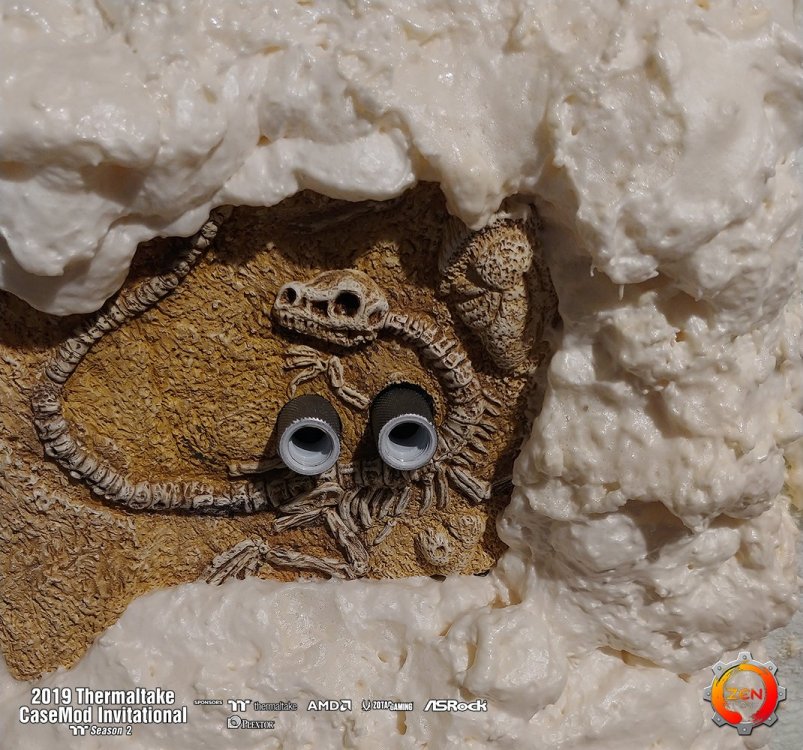
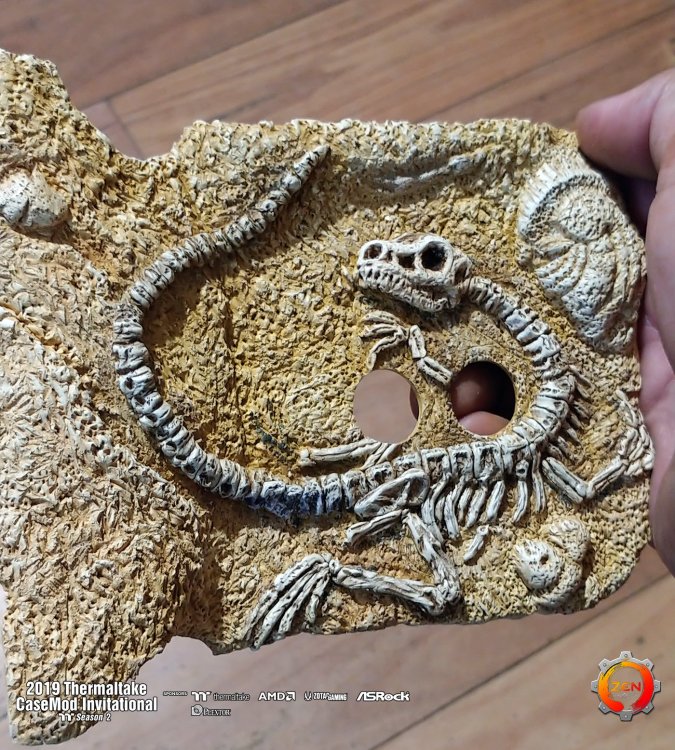
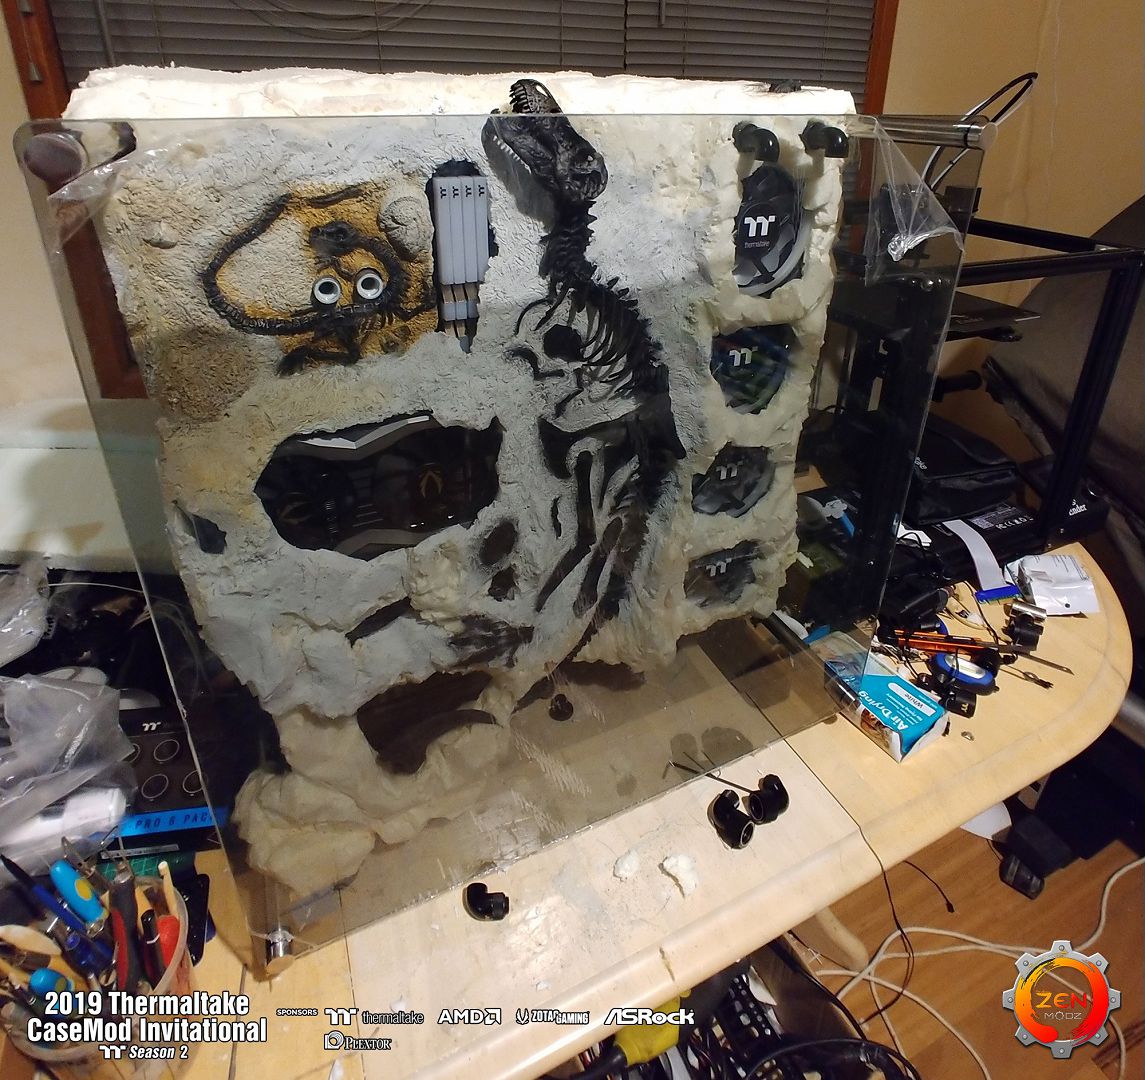
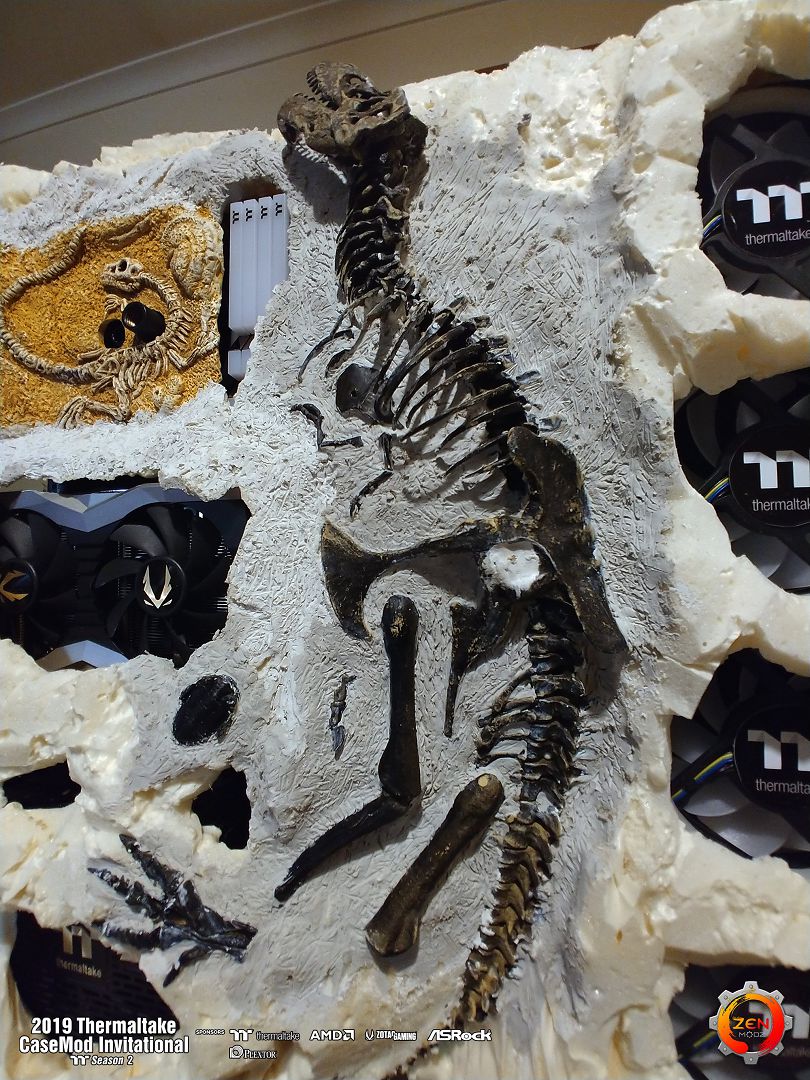
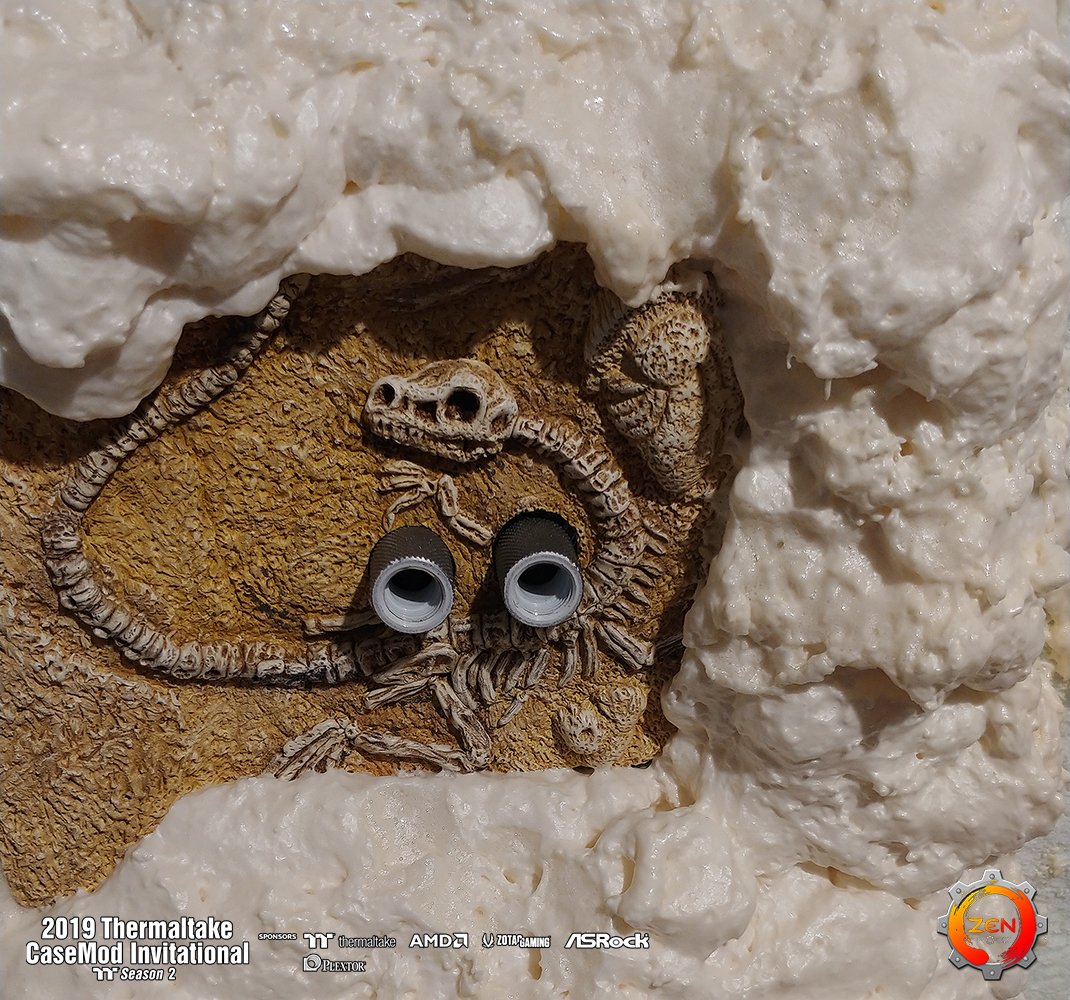
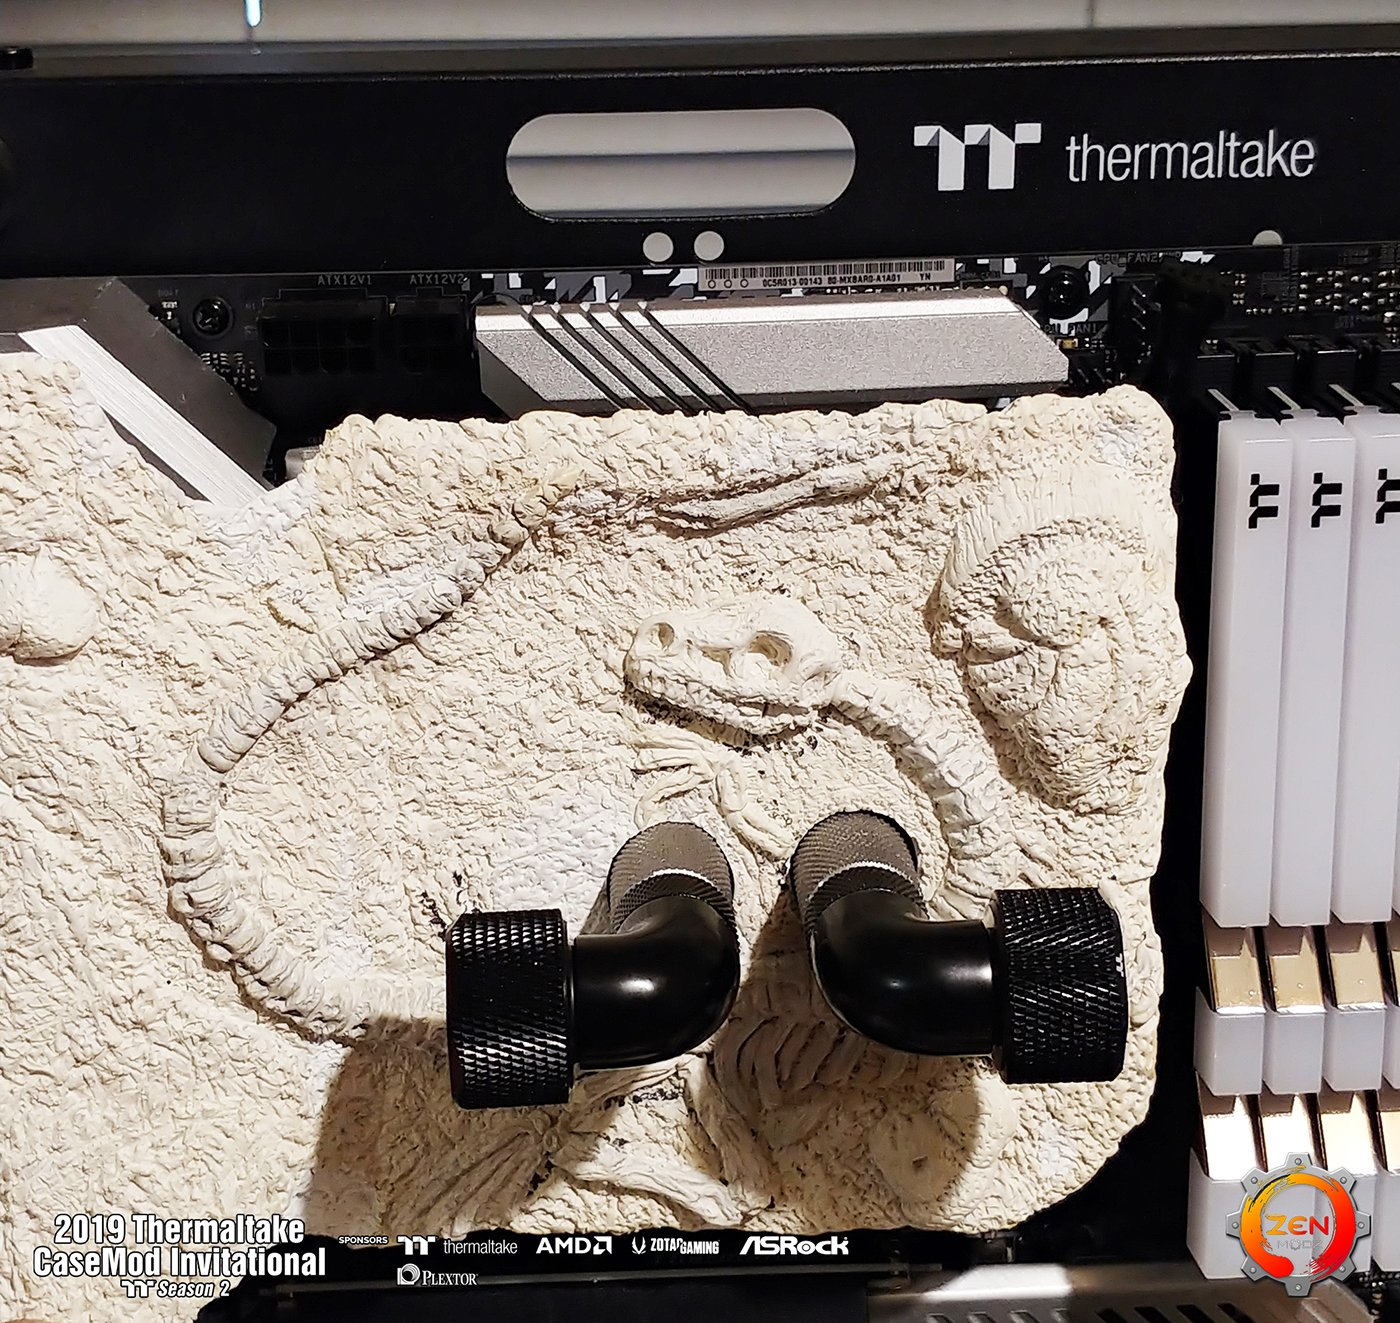
Finishing off the control panel rock cover.


paint and sealer.
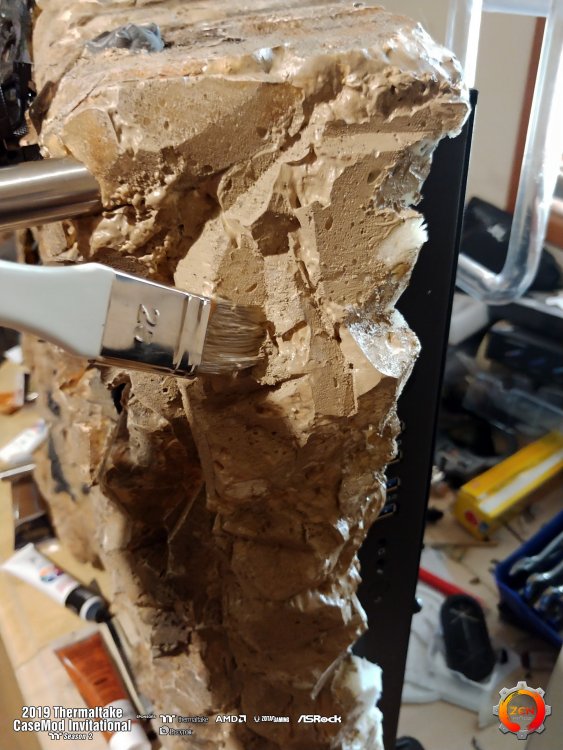
Adding the shading.

And then the highlights.
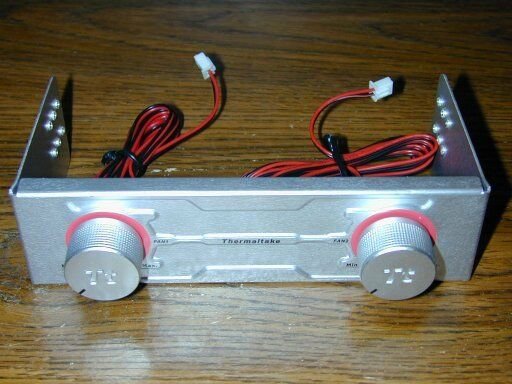
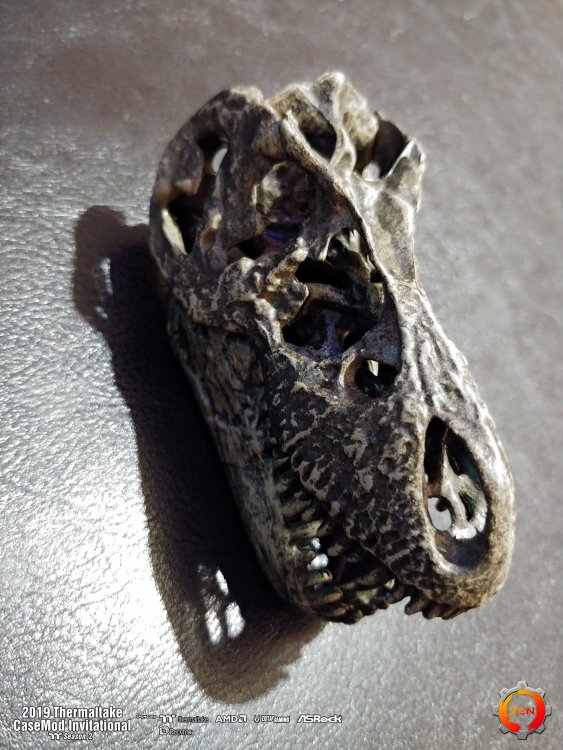
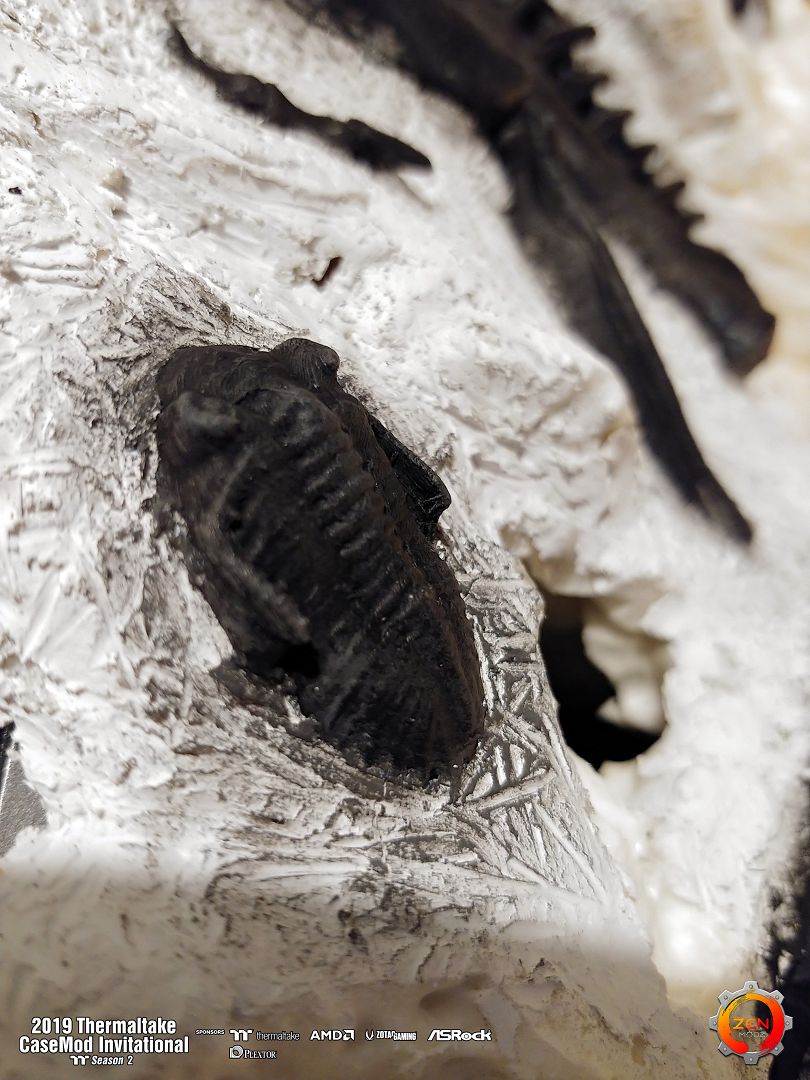
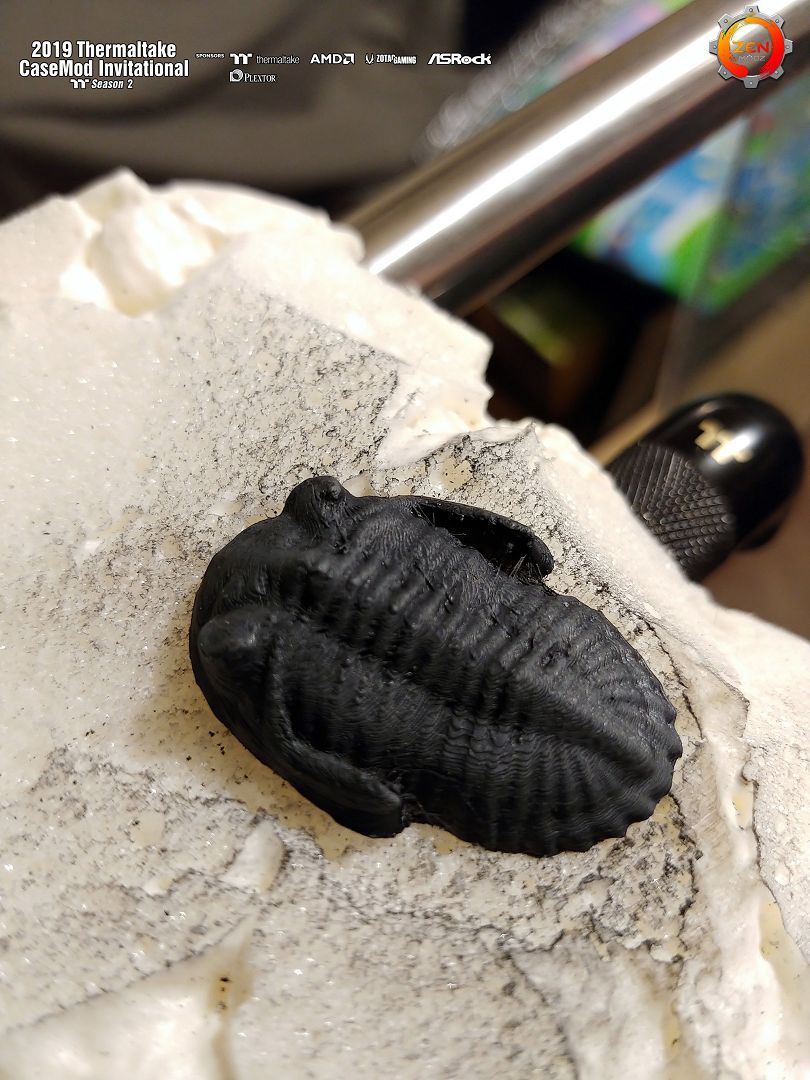
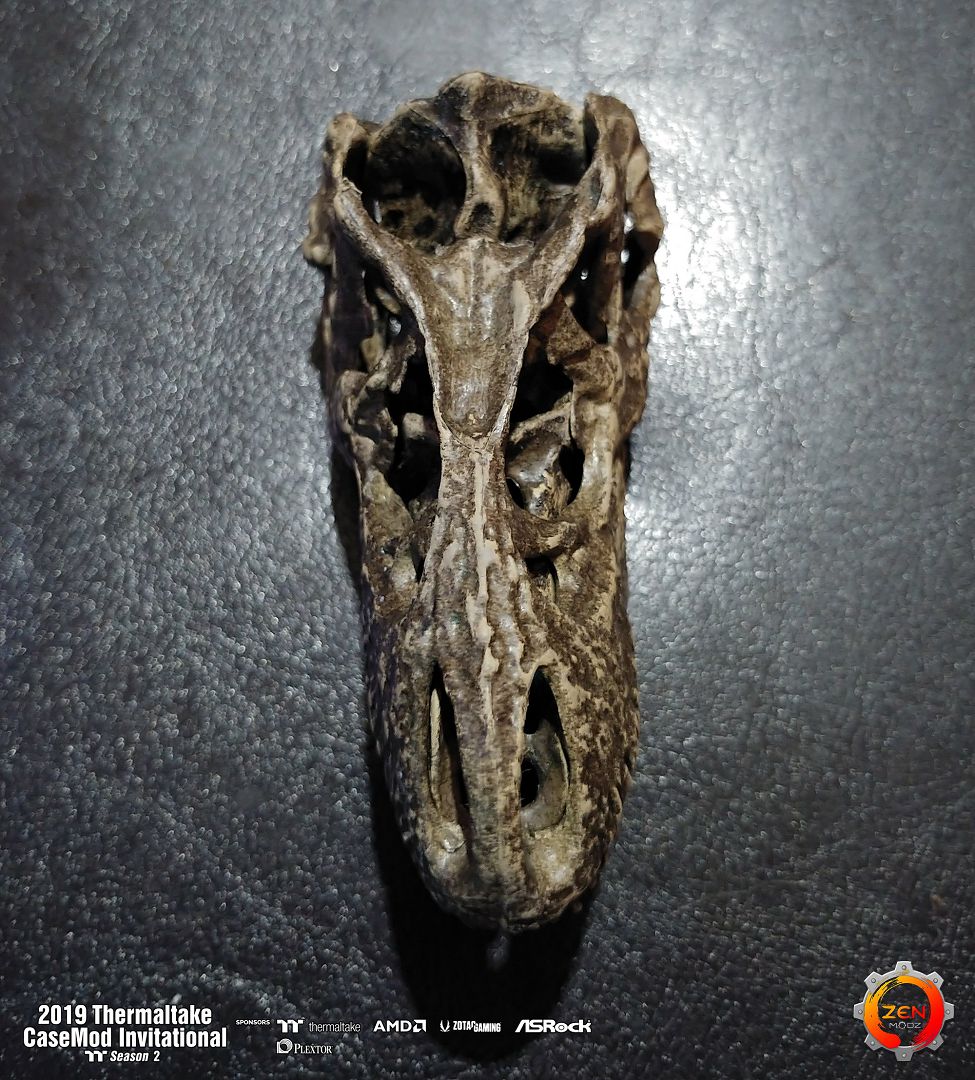
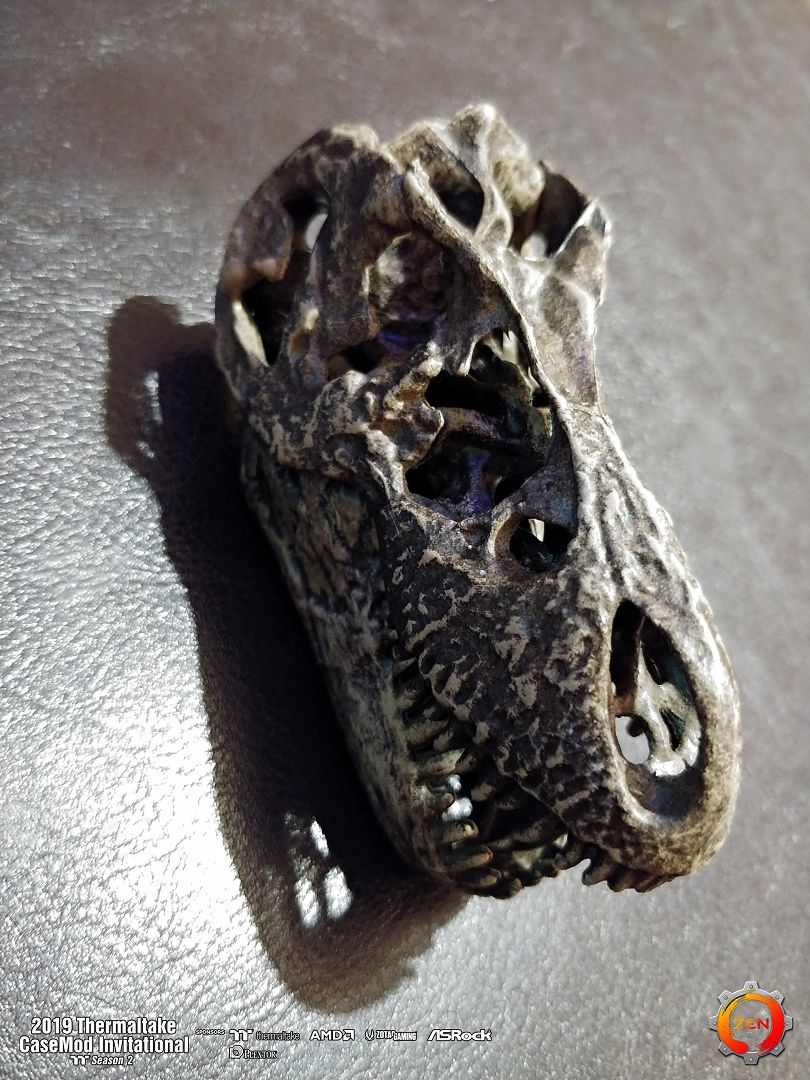
Old Thermaltake Fan Speed Controller K.n.o.b. Uncovered ! in the Dig.....

More again very soon.............
-
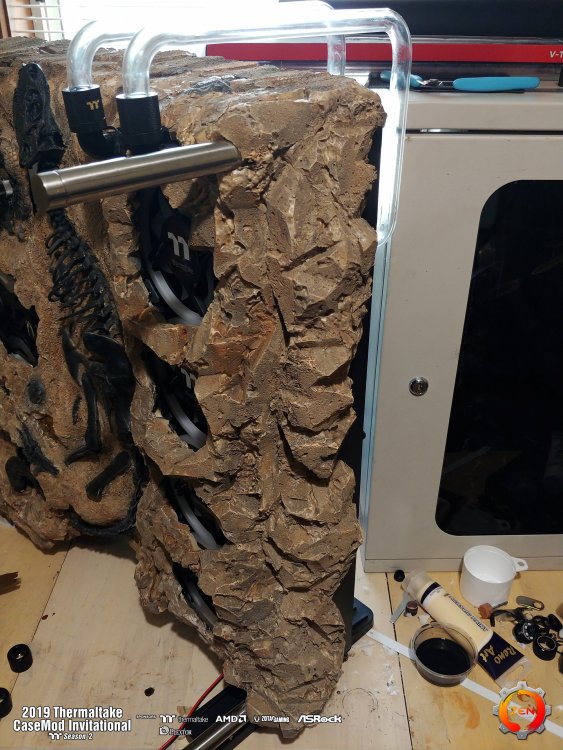
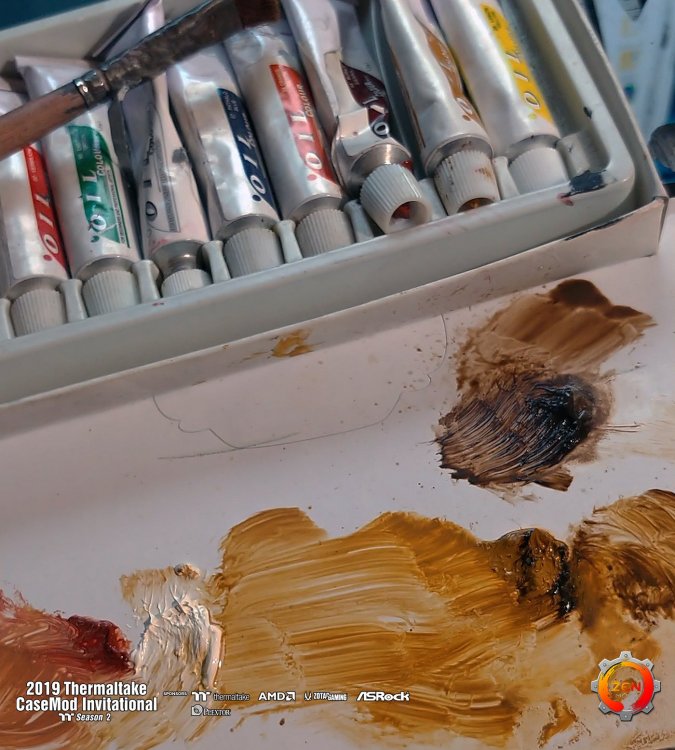
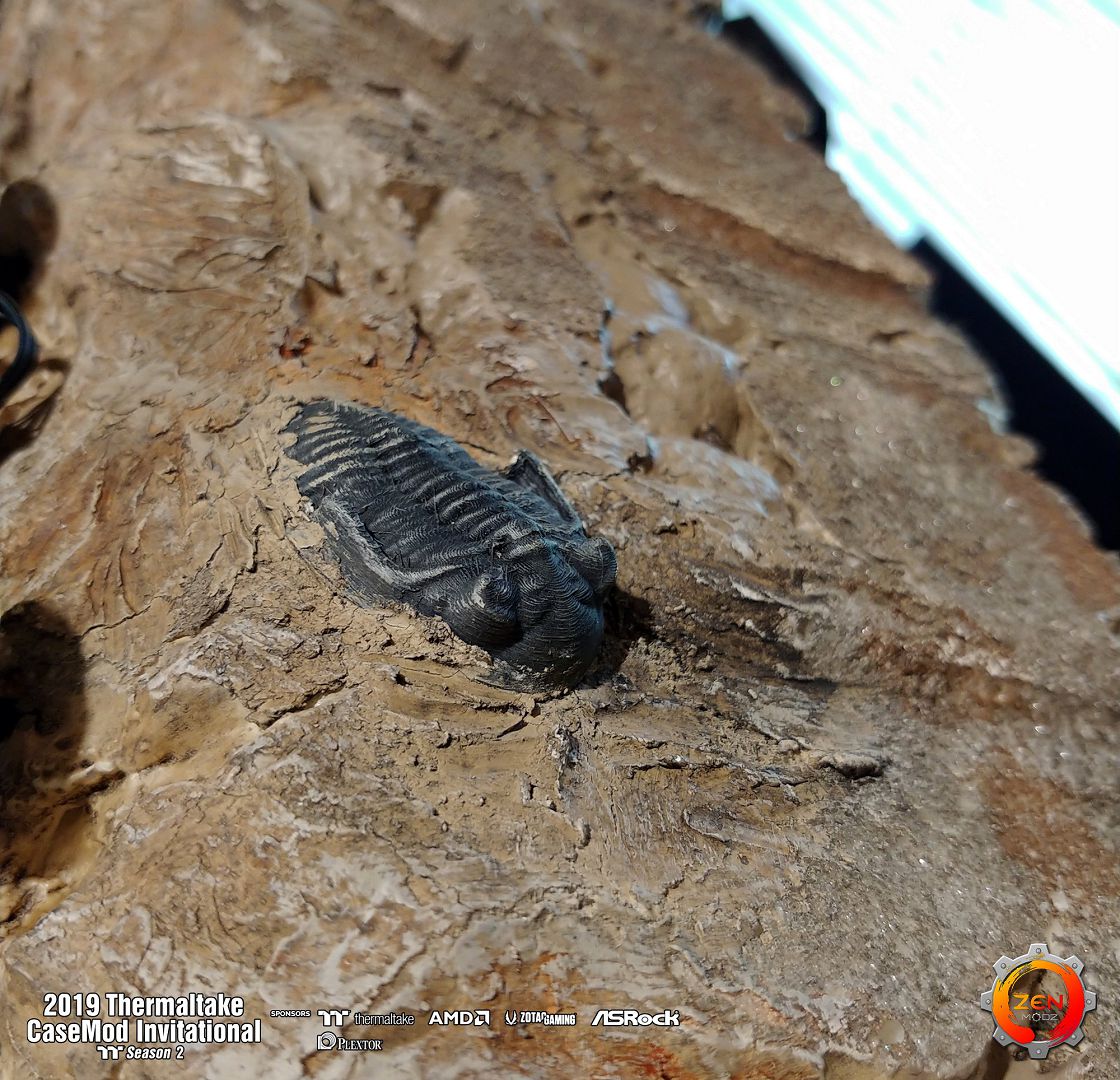
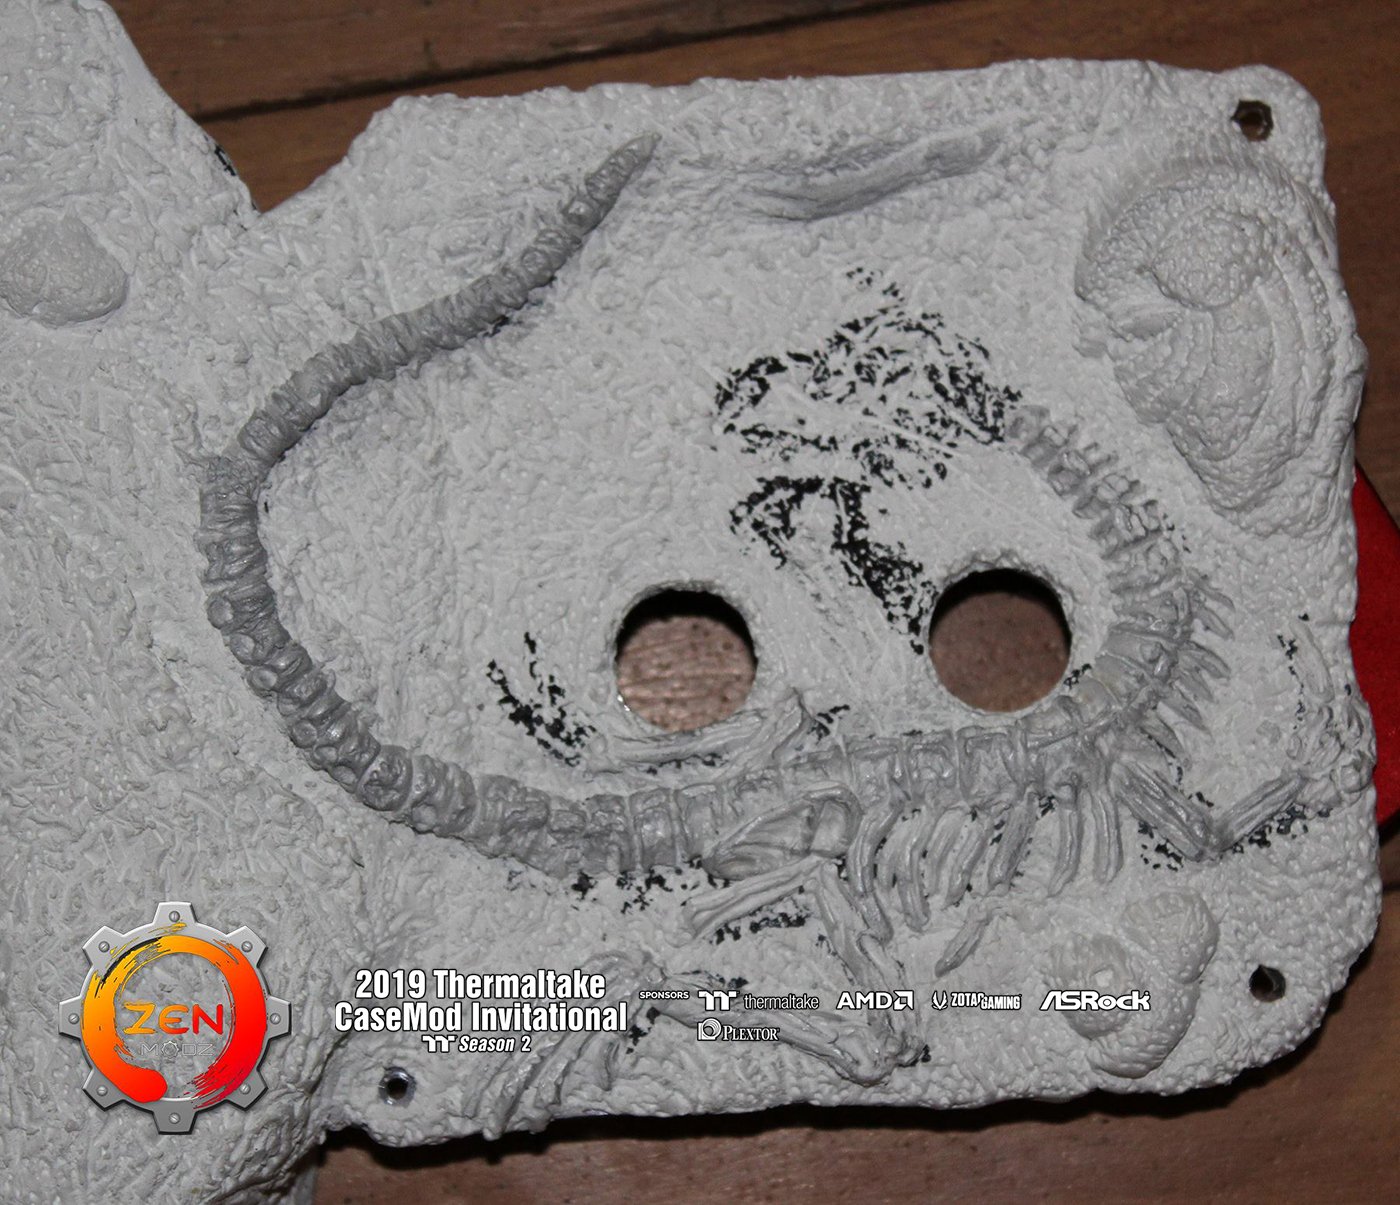
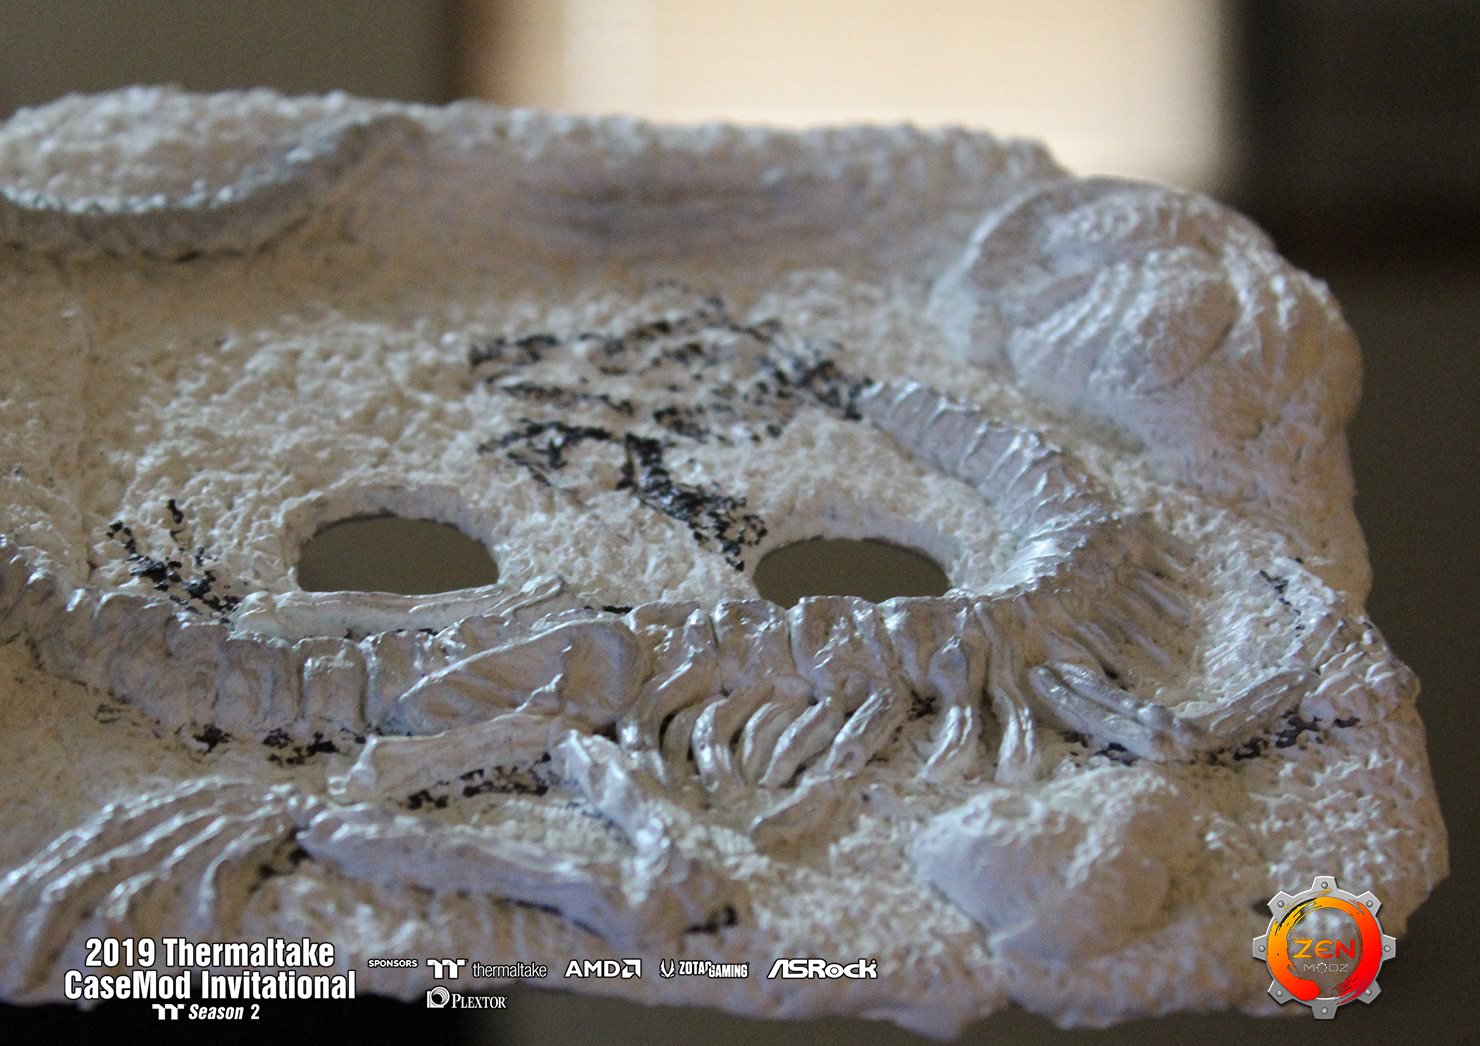
Ground Paint work is now done.
OH how I love to paint.


Muddy and rocky.


Thanks for stopping by.
-
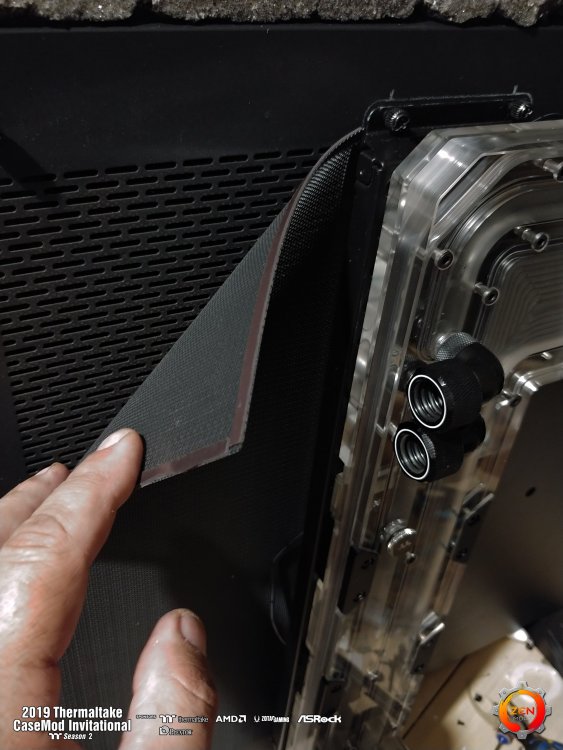
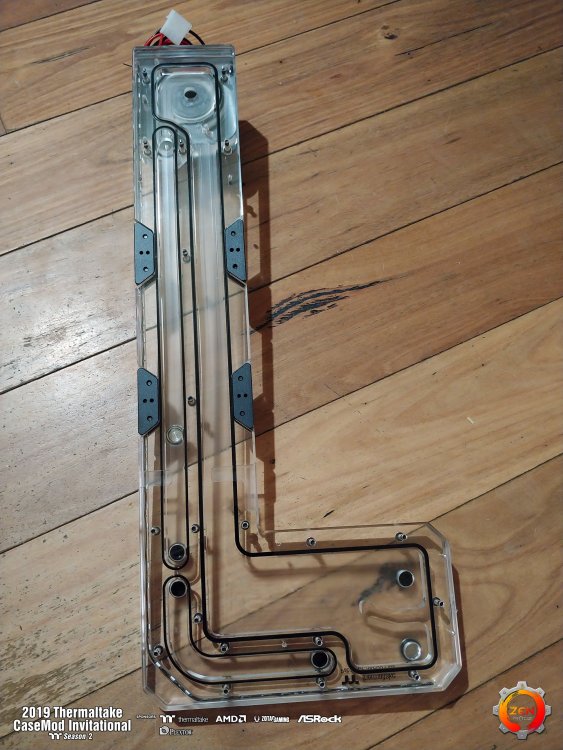
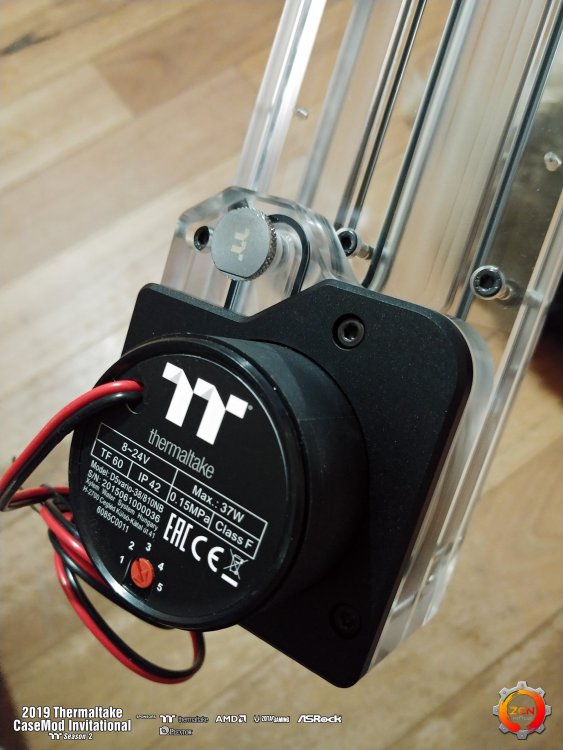
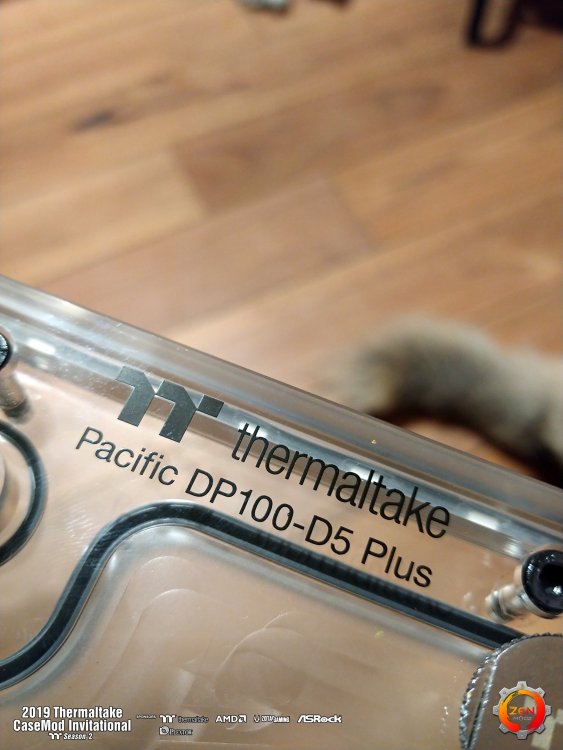
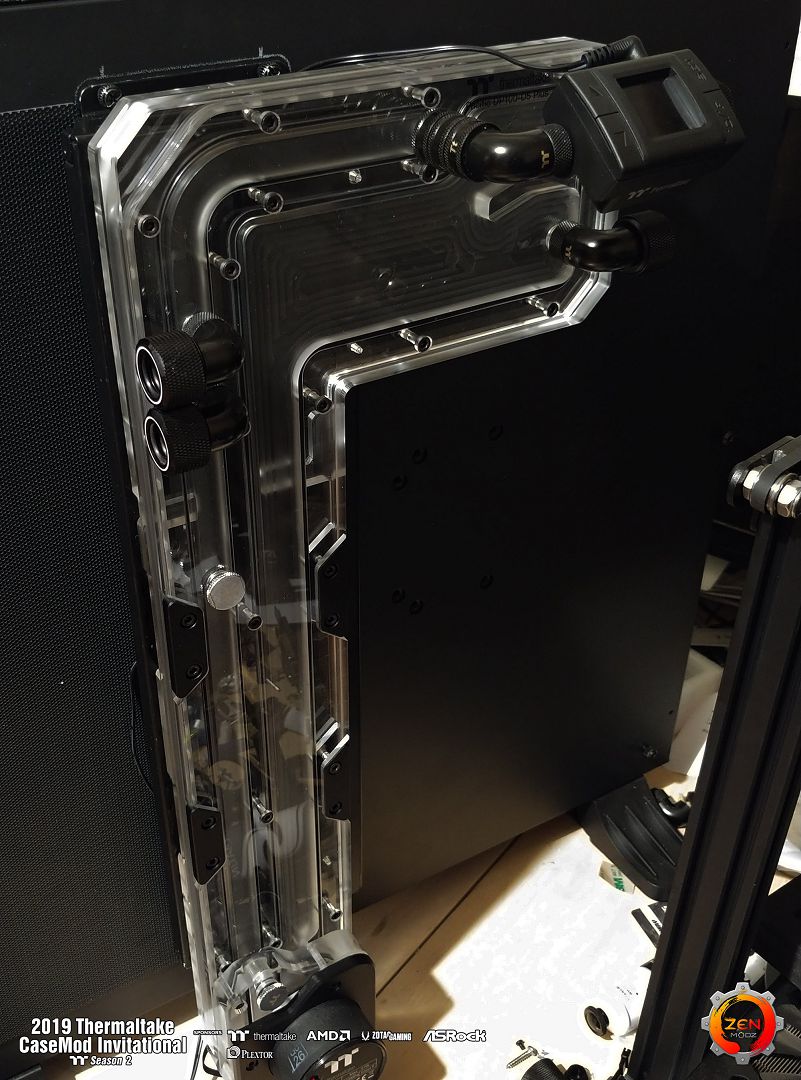
As a late surprise from TT with a Pacific DP-100 I'm going to still do what I can to mount it on the back of the case. And I think it will still do a top job keeping things looking clean and tidy.


Also mounting it to the middle of the case still allows the use of the dust filter with the air being pulled in from the back.
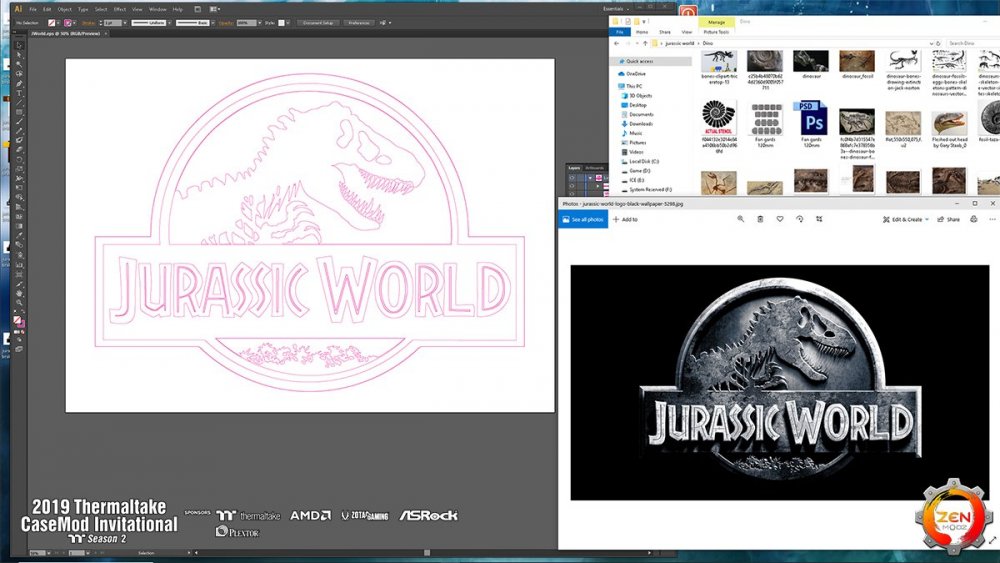
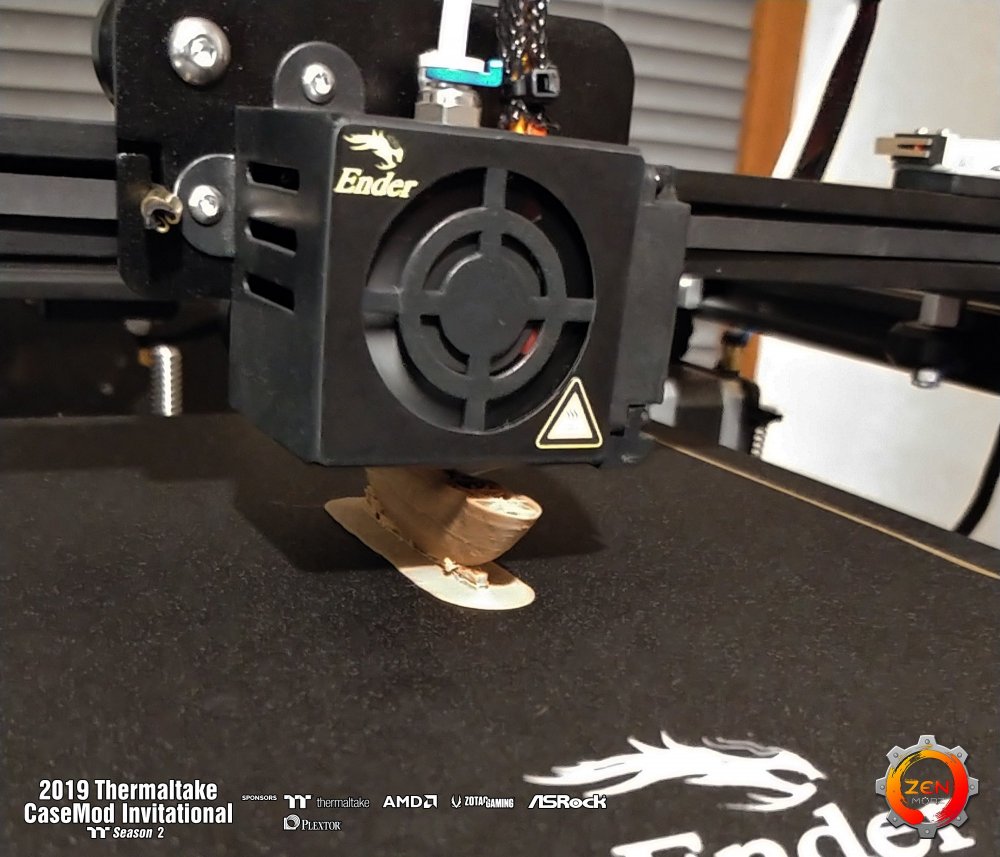
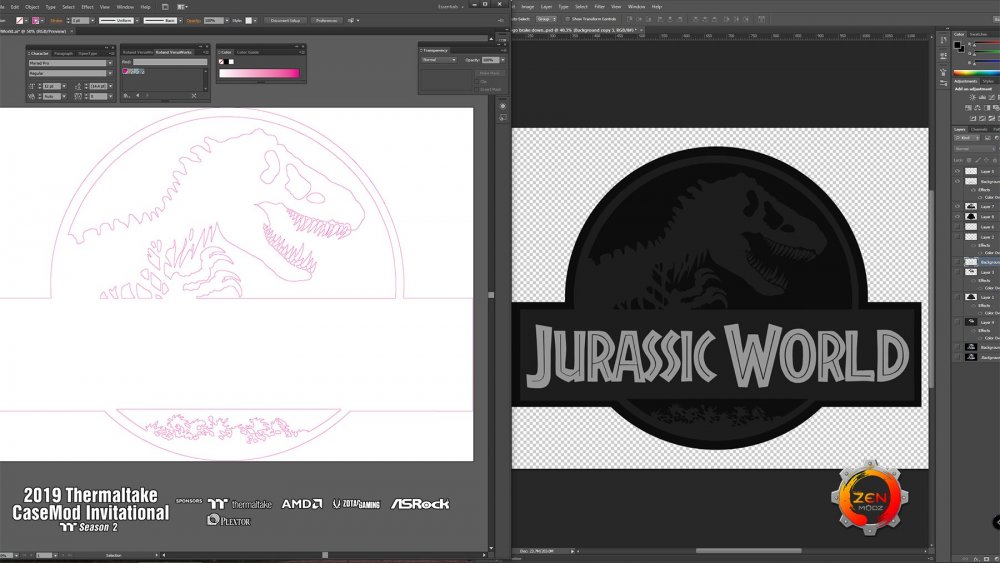
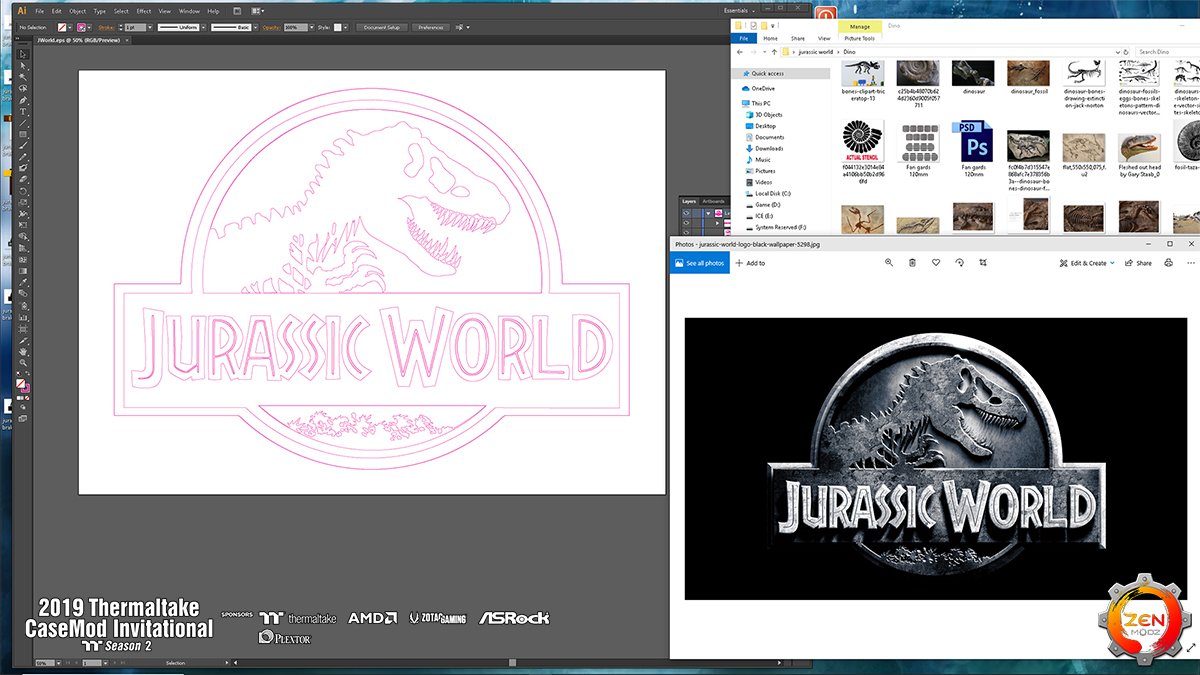
A test run of the logo.
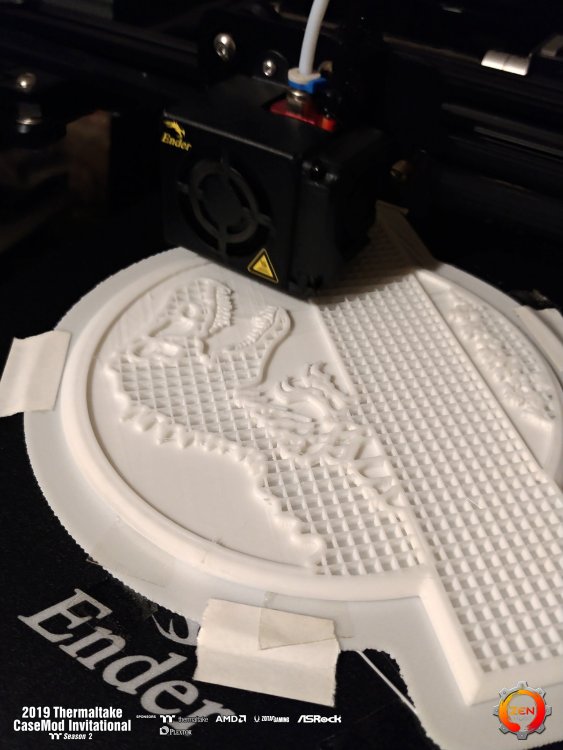
Sadly the cold air got to it when printing and this one was no good. Building a old sever case up for the printer to go in at this moment to keep things warm.
More on that soon.
-
On 11/12/2019 at 1:21 AM, balibi said:
Looks nice
Keep going on
Thank you balibi.
-
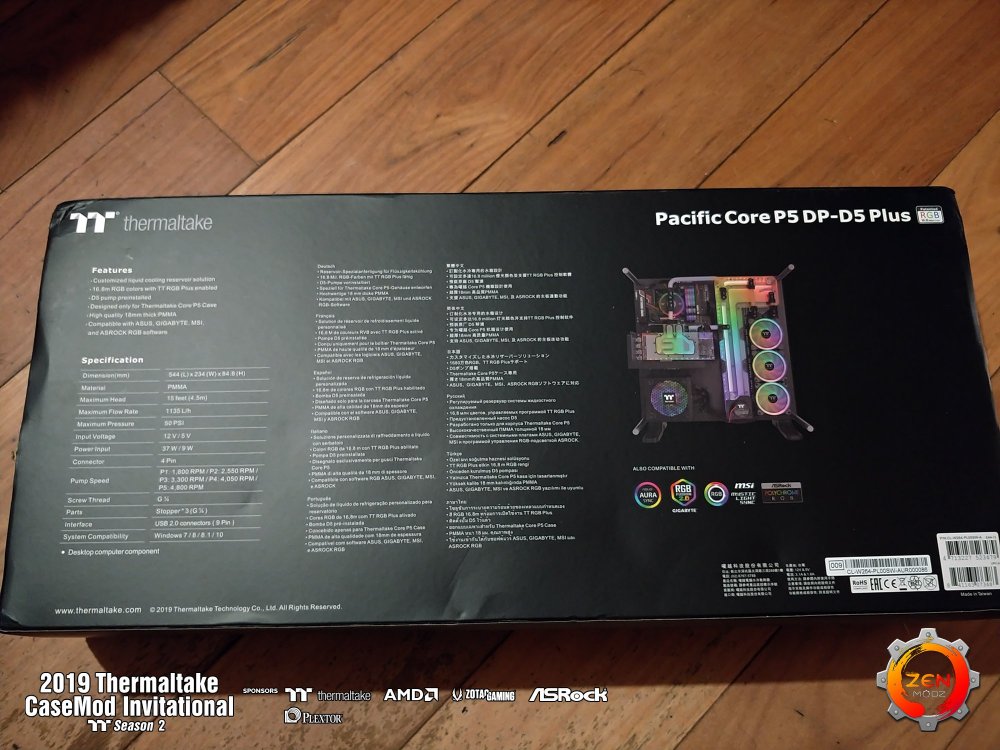
Arrived Ttoday. Thanks TT I will do my best to add it some how.


-
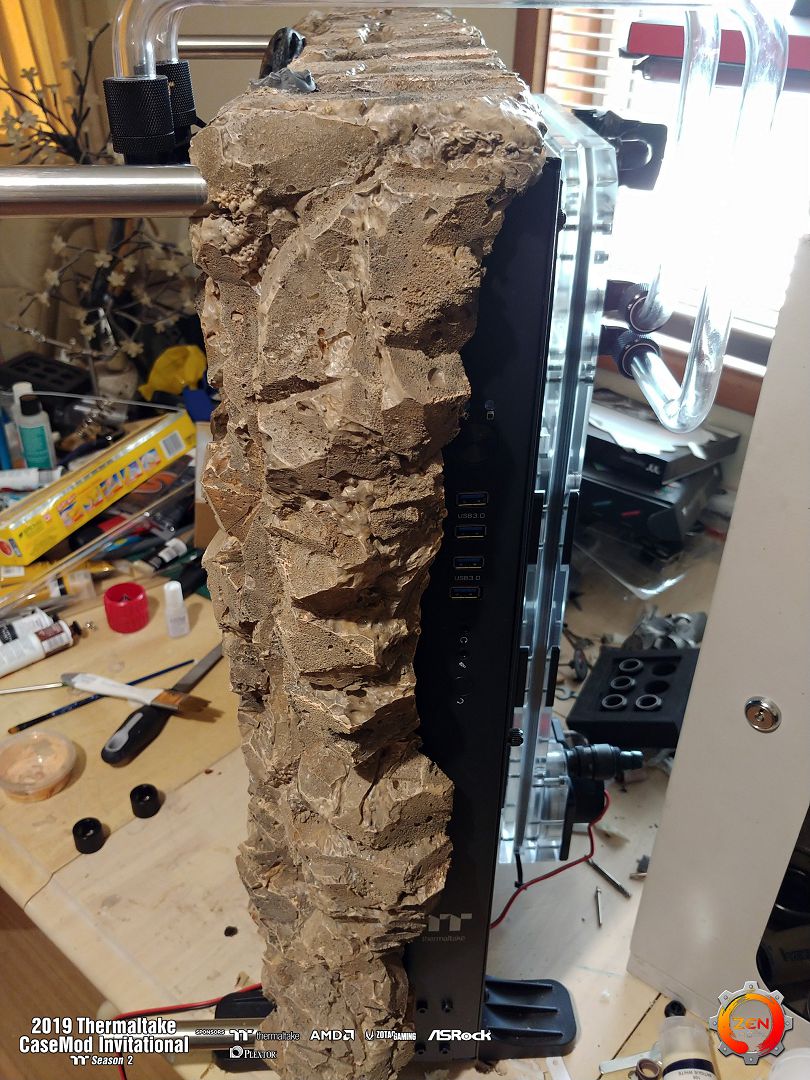
Hello, Starting to get the ground colour down now, still much more to do on this part. and more clay work.
Thanks for stopping by.
-
Not many words, Just more painting.


-
-
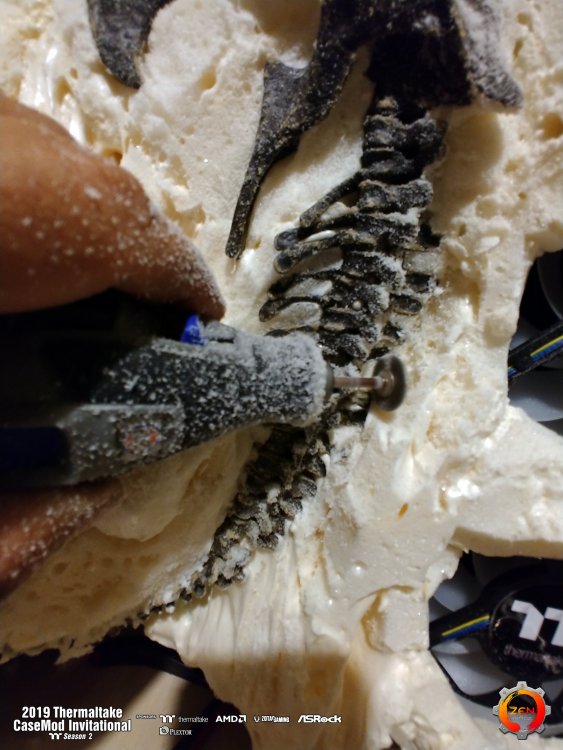
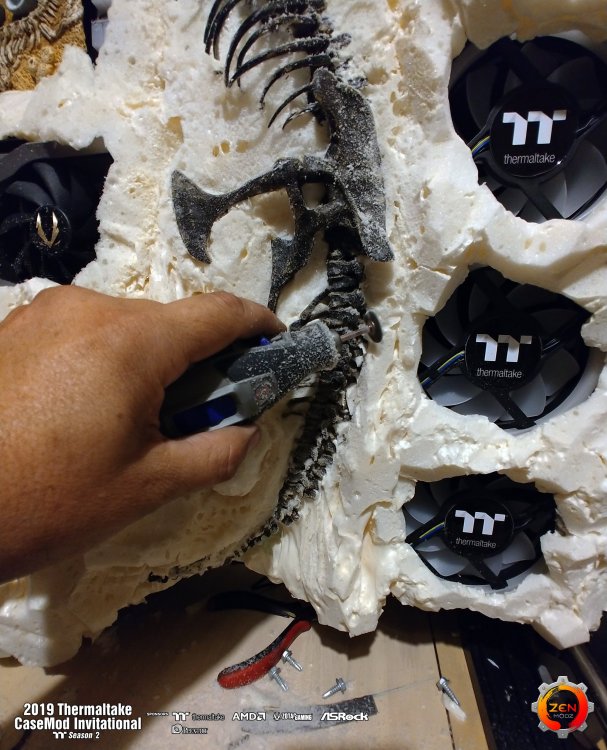
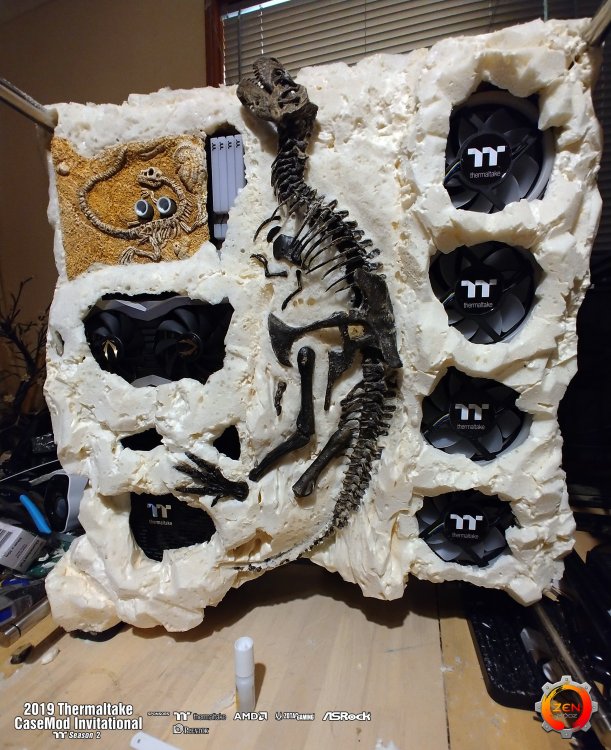
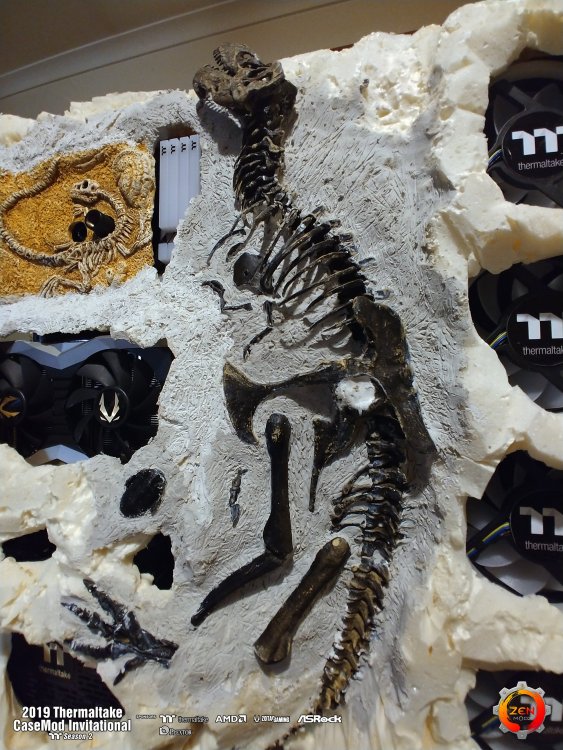
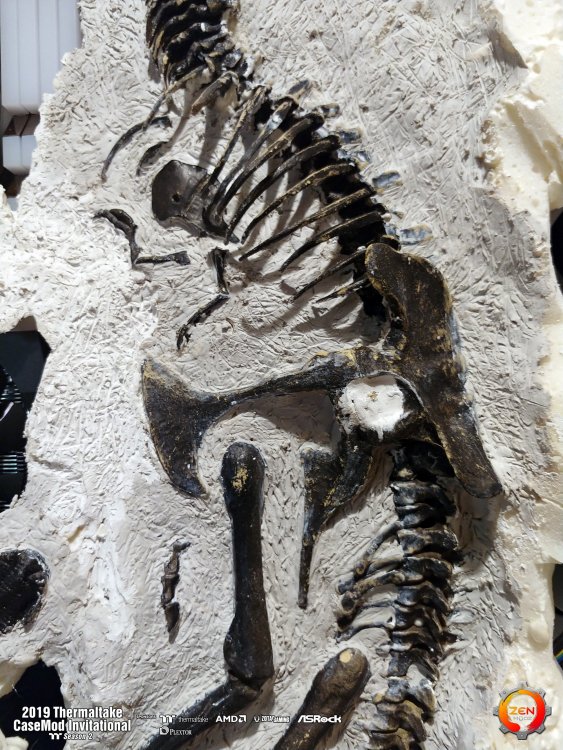
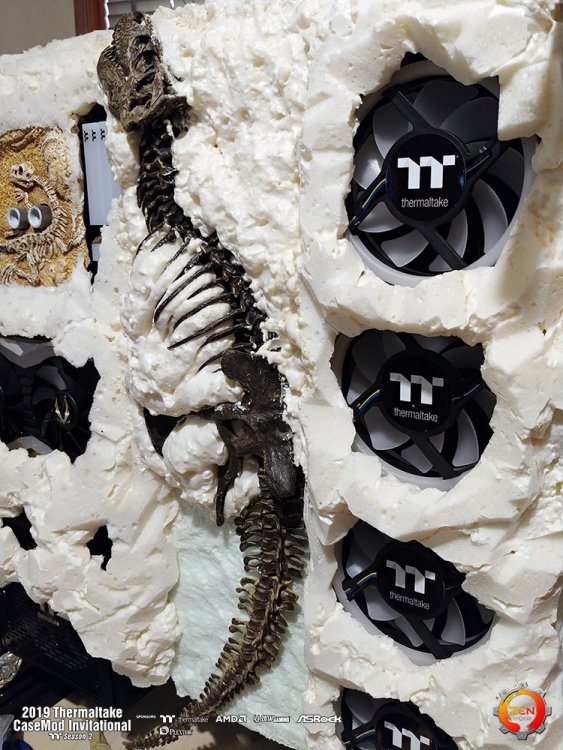
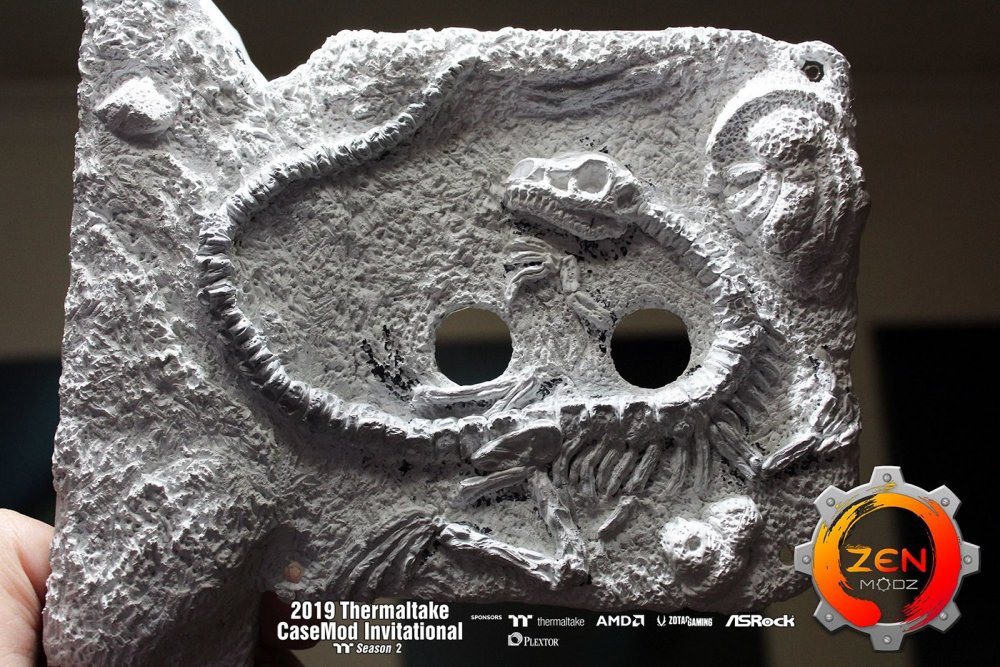
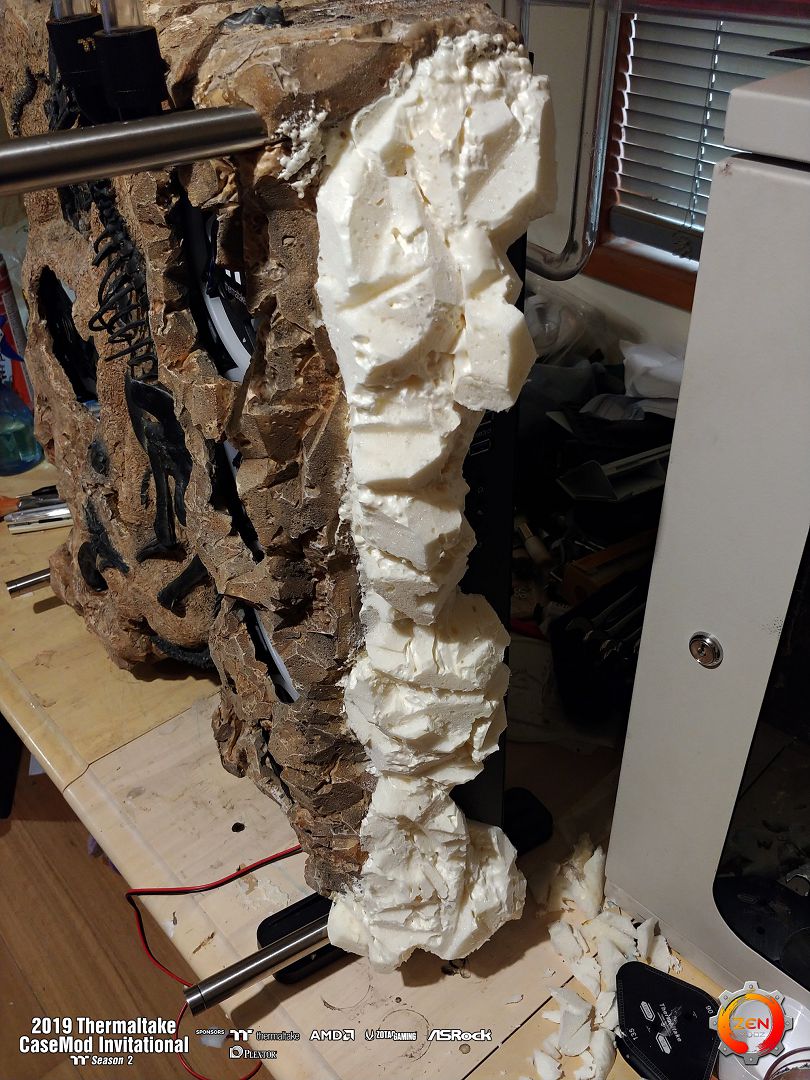
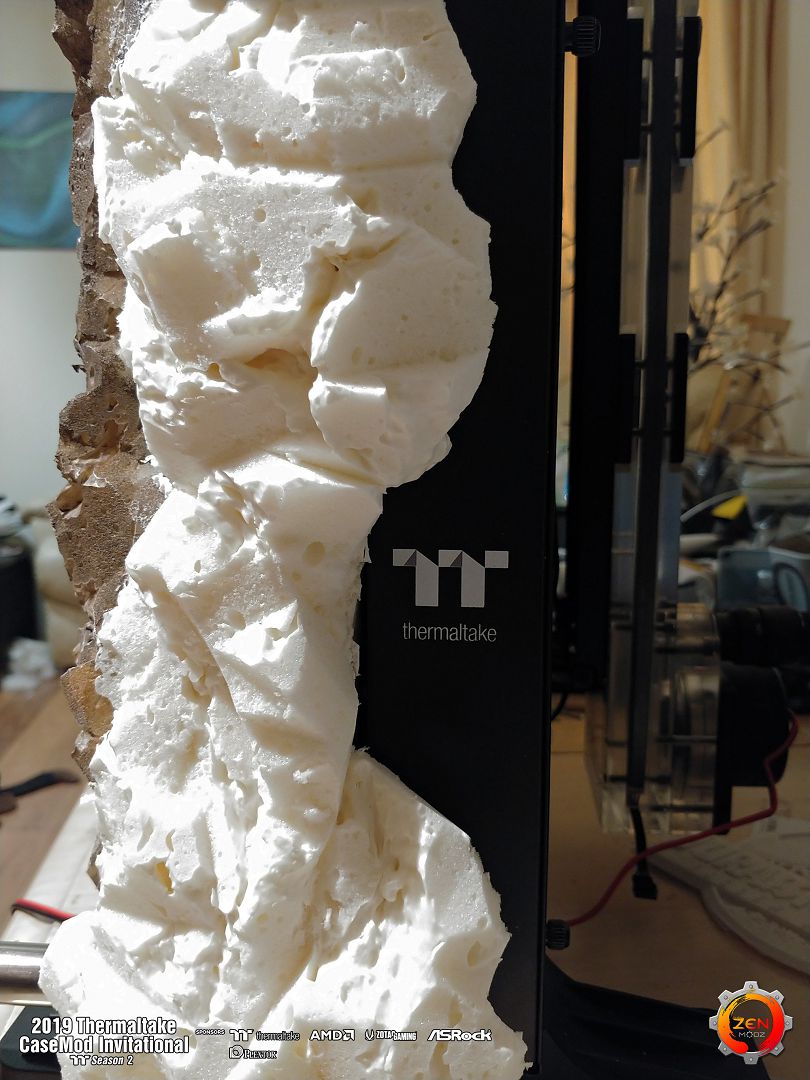
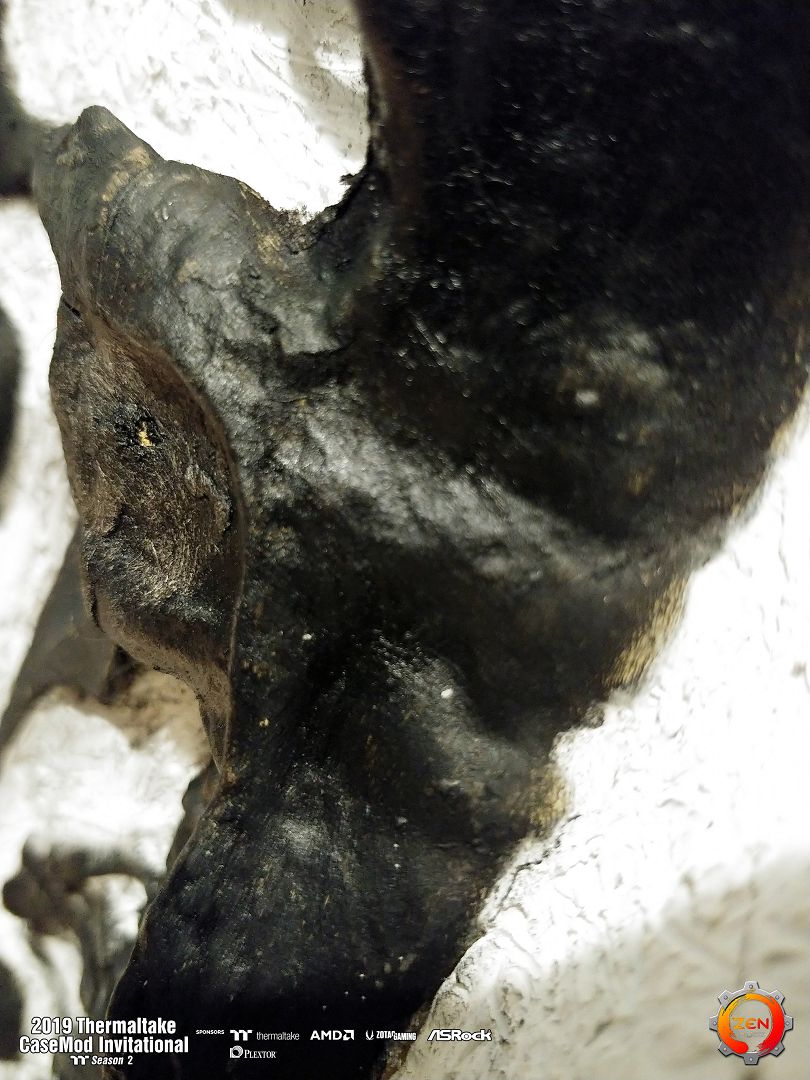
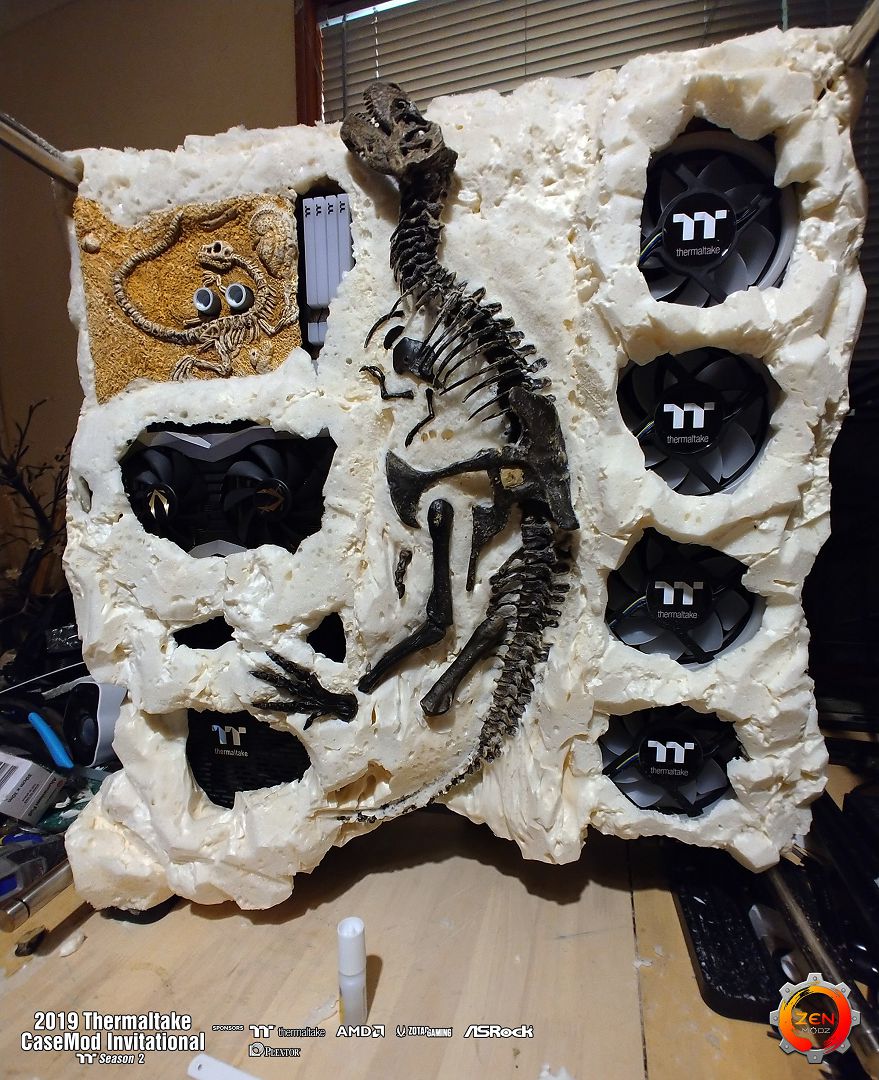
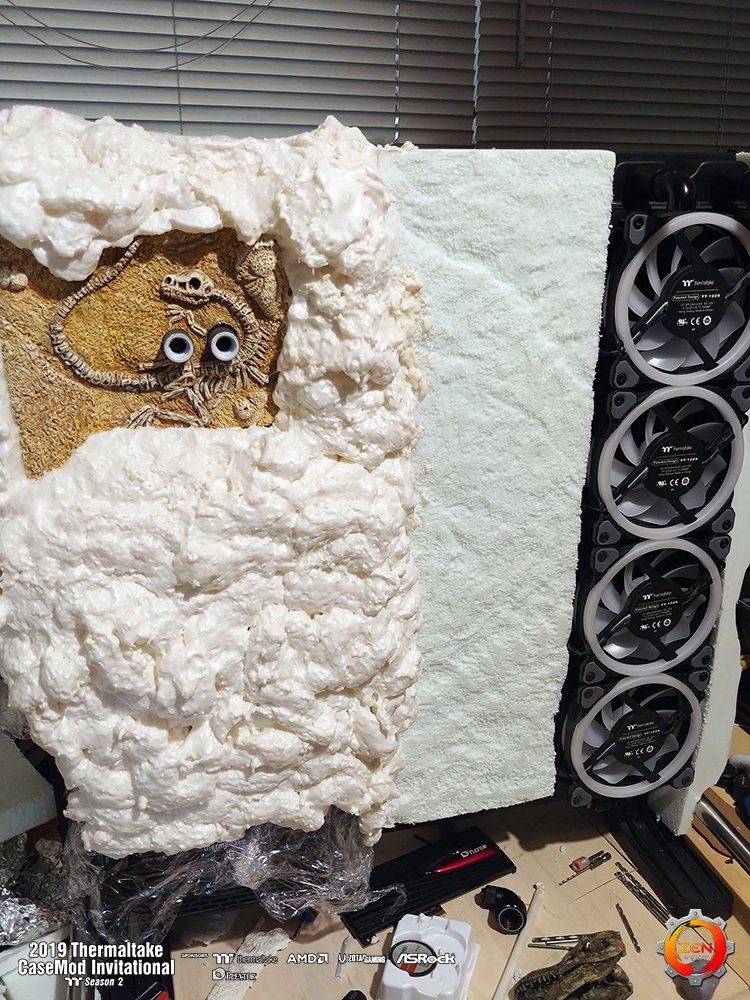
Hello again, So now I have most of the background blocked out. it is now time too add some details to match in with the first part.
Using a soft wire brush will the Dremel to remove excess foam and not damage the plastic & paint parts.
The rest is of it is a bit more time consuming.

This took a long time to do. and at the same time I had to shape the rocks as well.
So far it's all blocked out ready for some more details to be added.
Using white air dry clay.

Here you can see the two parts come together as one.

And yes this part took a very very long time to do.

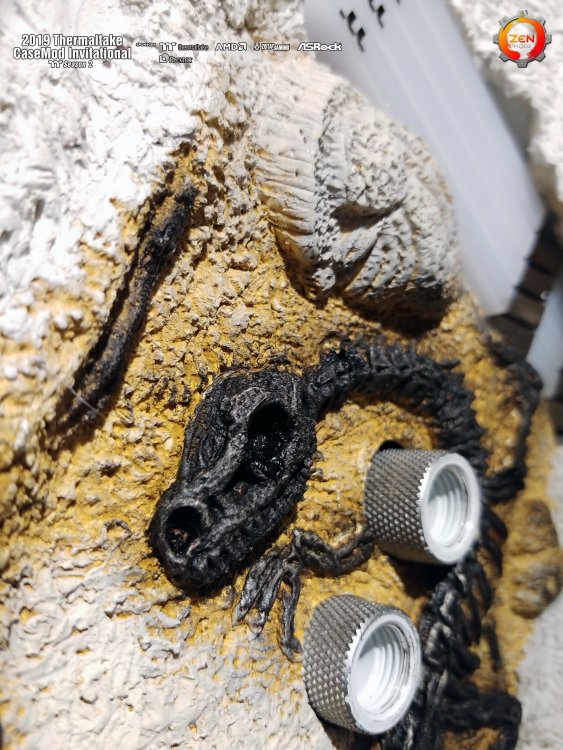
while the clay is drying I added the tool marks. from when it was uncovered.

-
I never though I would ever have a need for spray expanding form but this should work.
-
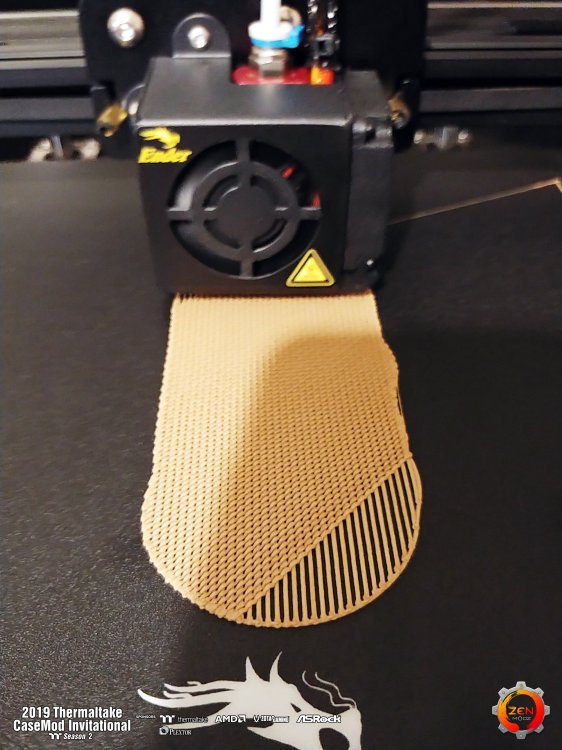
Laser cutting profile ready to go.
I can not wait to get started on this part.
I had planed to laser cut this part. But it ended up being 3d printed.
Thanks for stopping by, More again soon.
-
Hello again. Still progressing :)


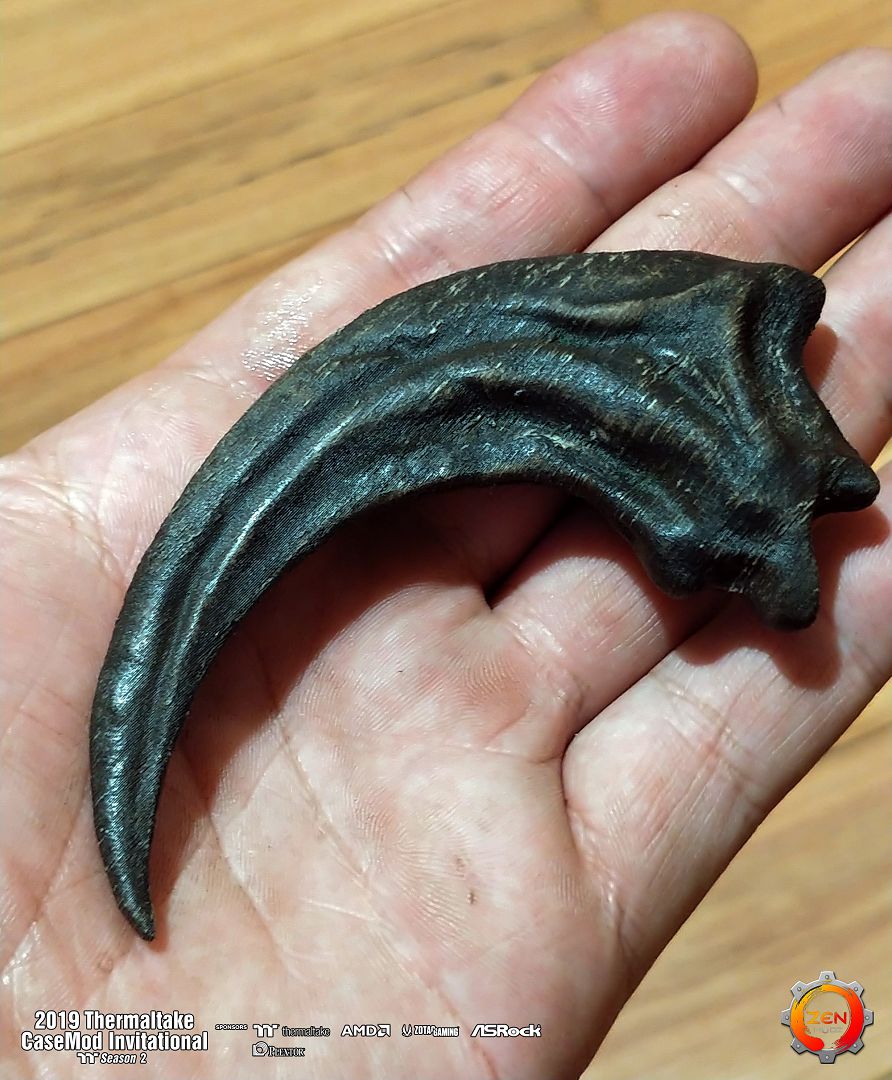
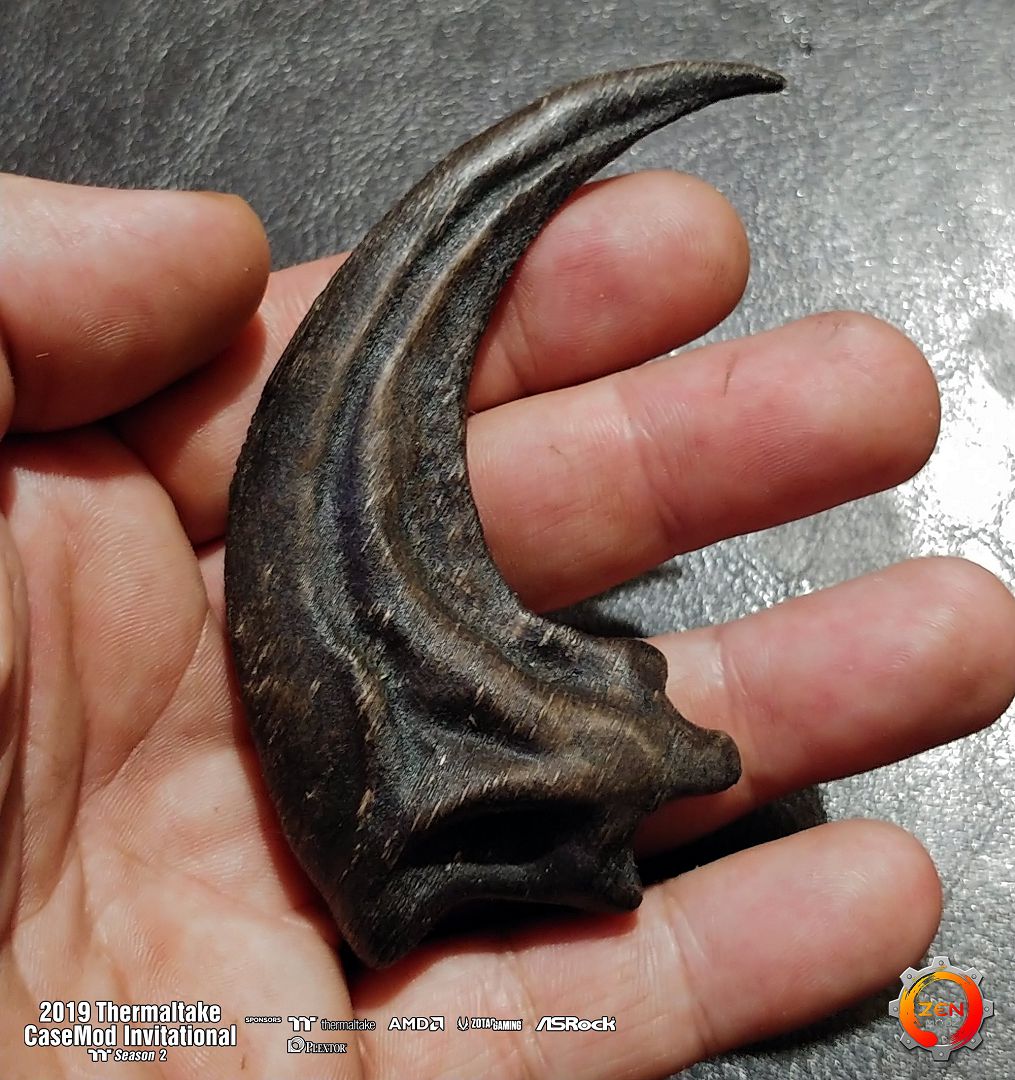
Building the base is a messy but fun. A lot a carving to be done. And dino's to make and fit to the base.

Above I used Cling_wrap to cover the parts. to keep them clean.
-
Some hand crafting for this part. I'm not big in talking , so I hope the new photos say it all.
I have not really ever done much clay work before this. But you would not think so looking at the what the end result.
Even I'm not sure how I can do this.


I love this part. I love to Paint. And over the last 35 years I have pick-up a lot of paint skills. its great to see something come alive with colour.
-
-
Hello again everyone.
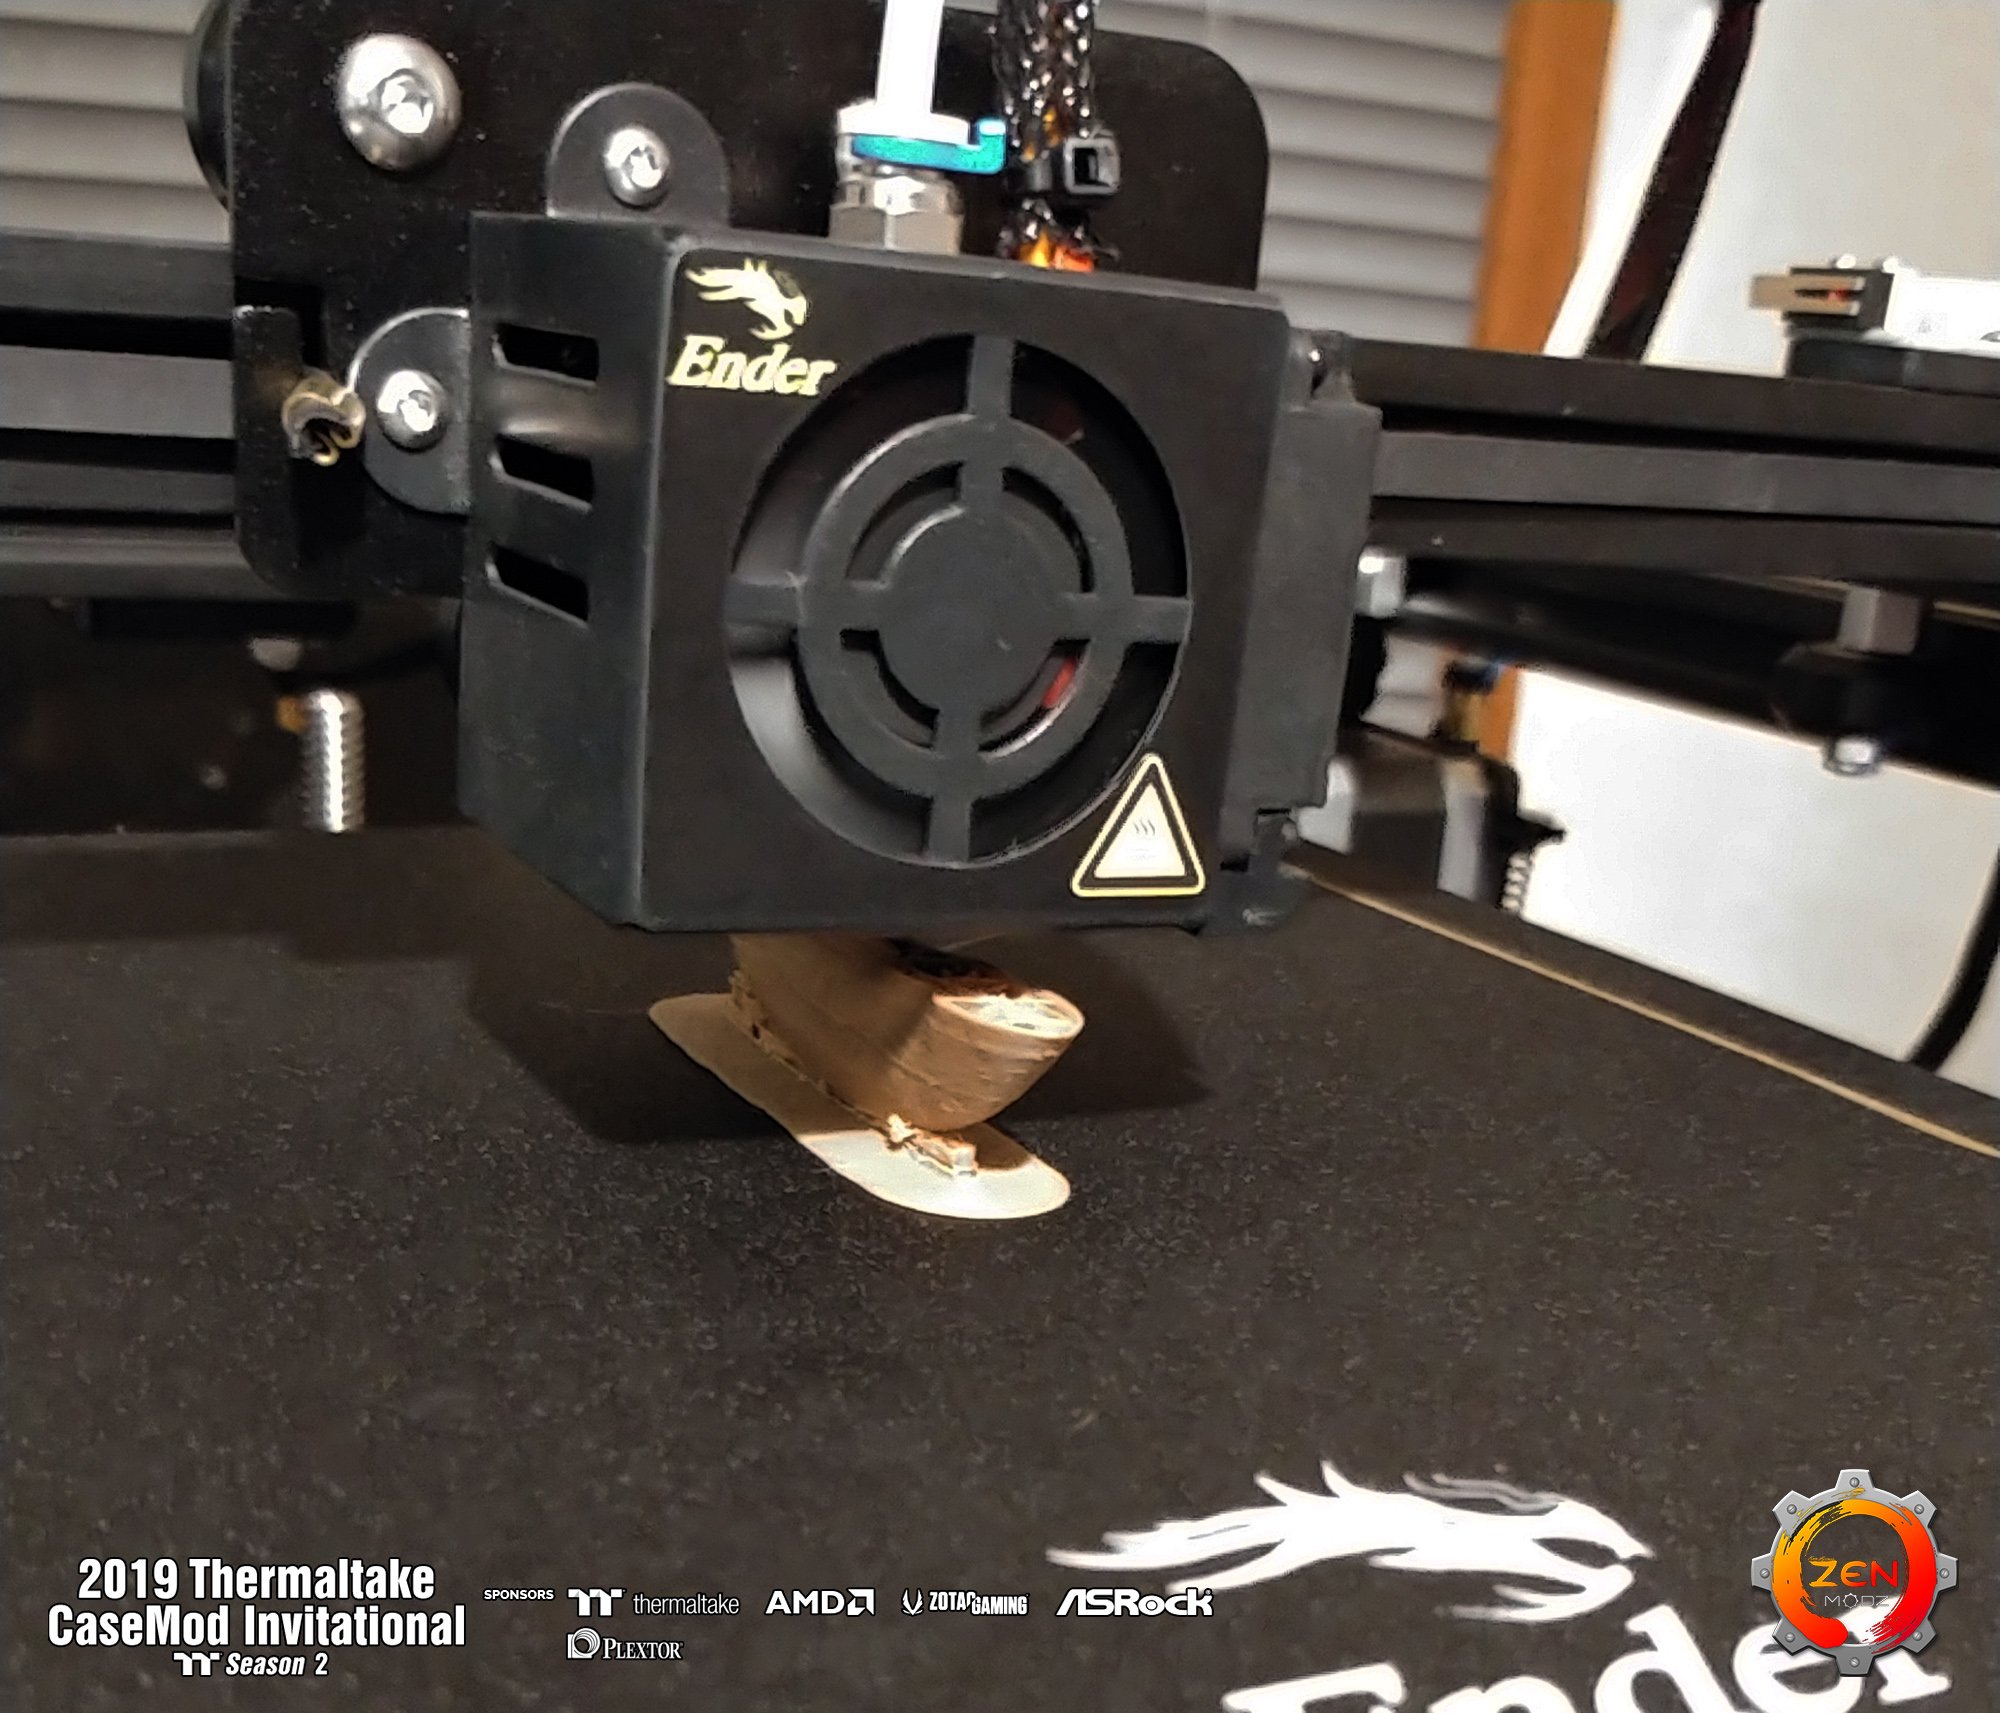
3D printing take some work and to when you stuff it up you learn to rebuild.
Not a very good try.
Need a bigger raft to hold it.
Much bigger

-
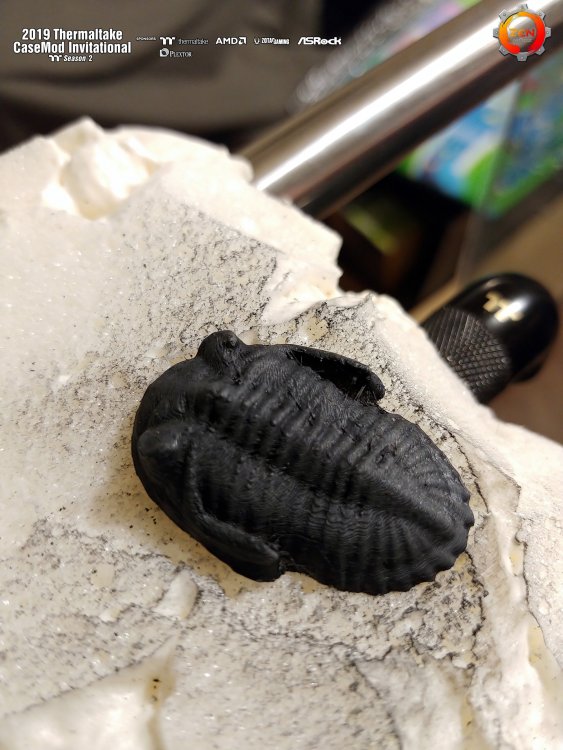
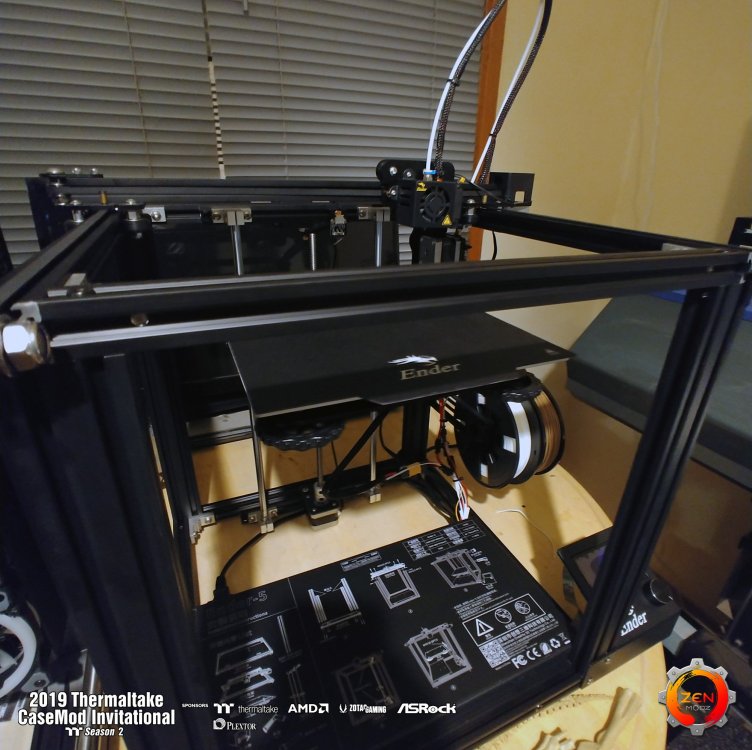
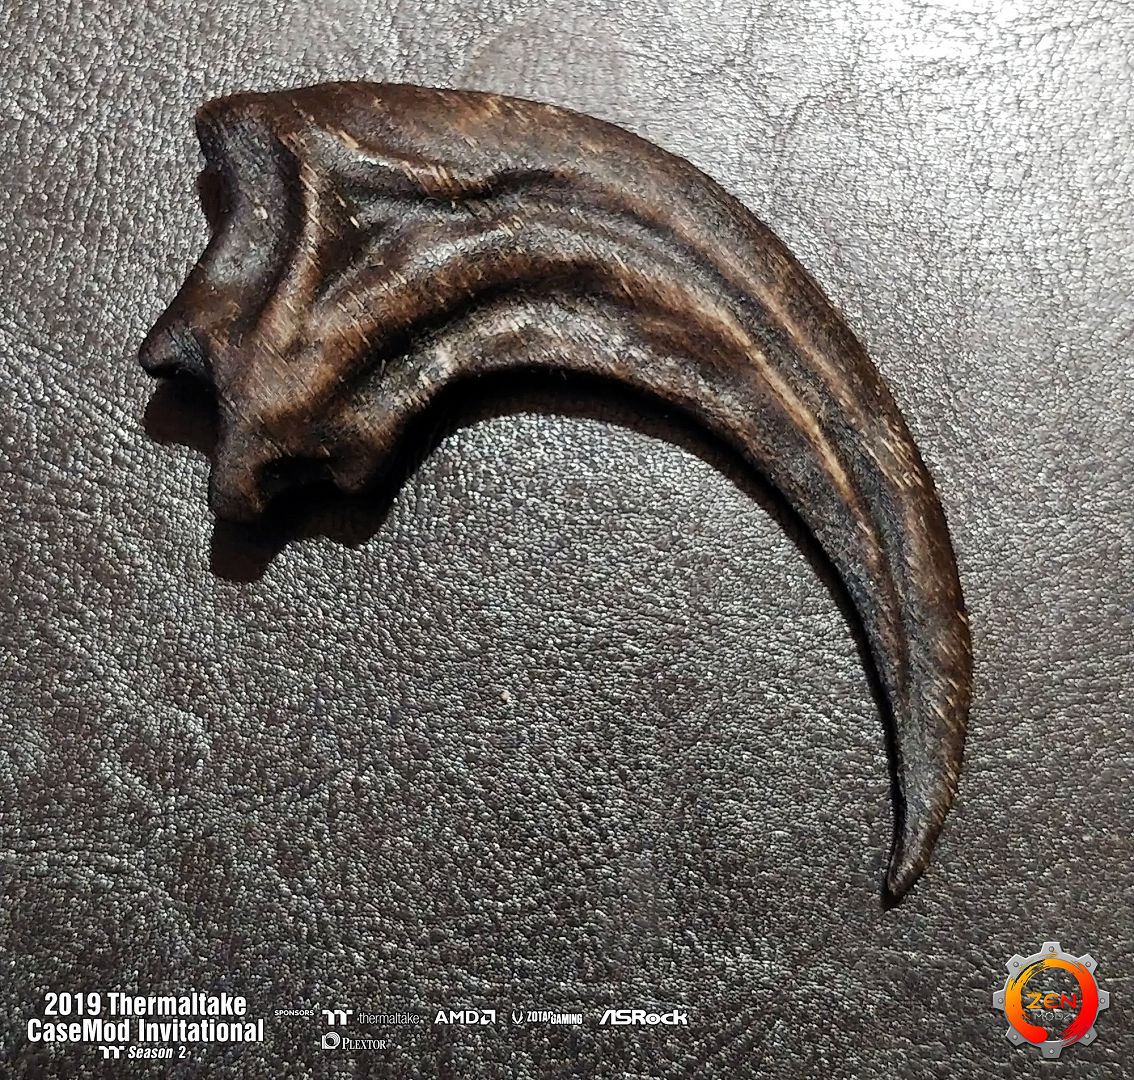
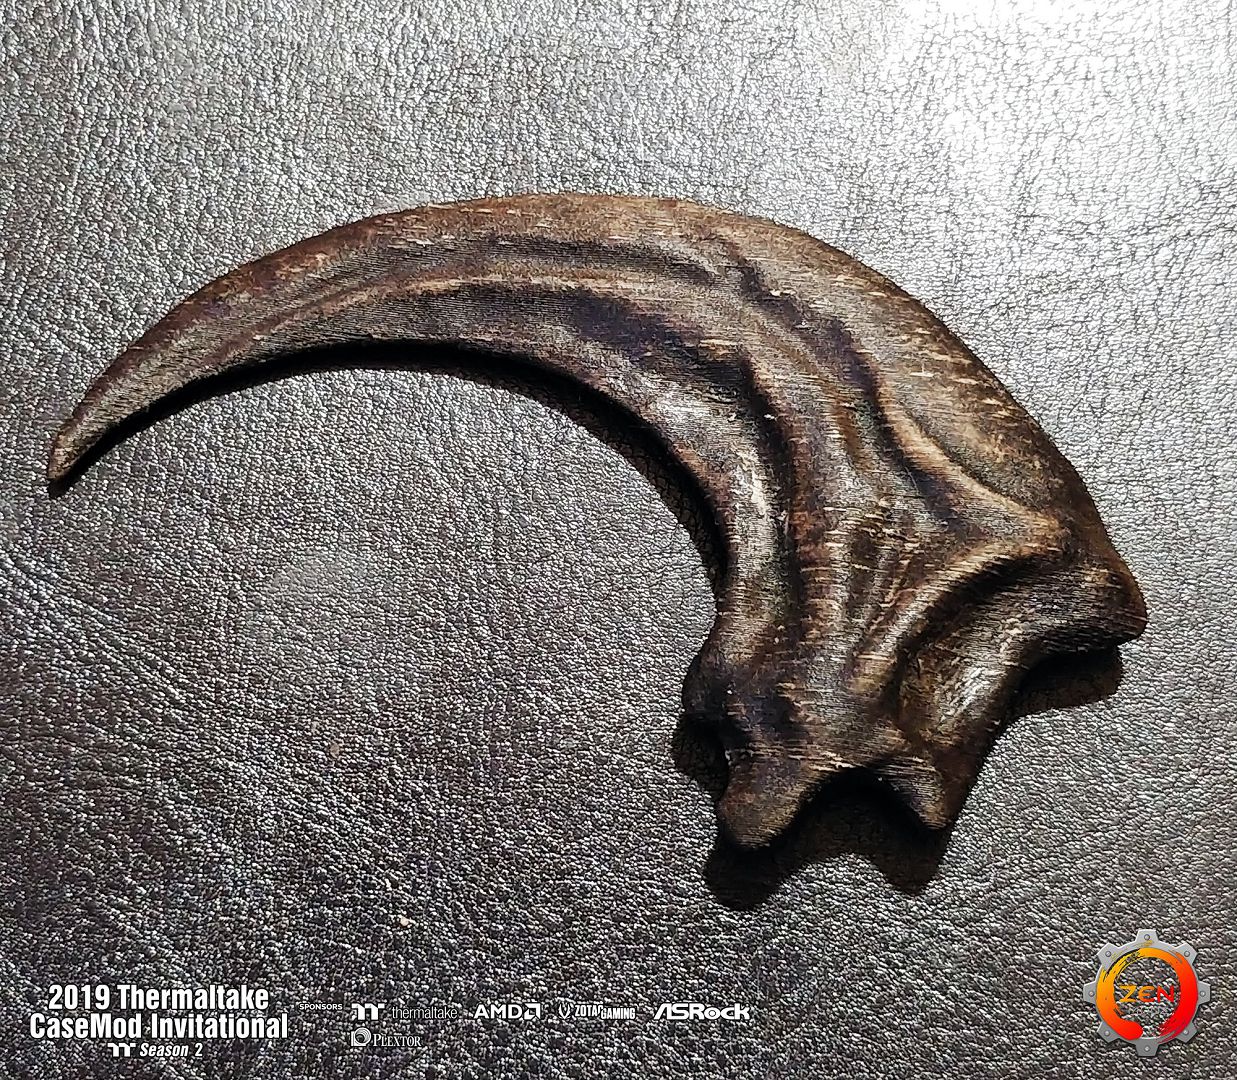
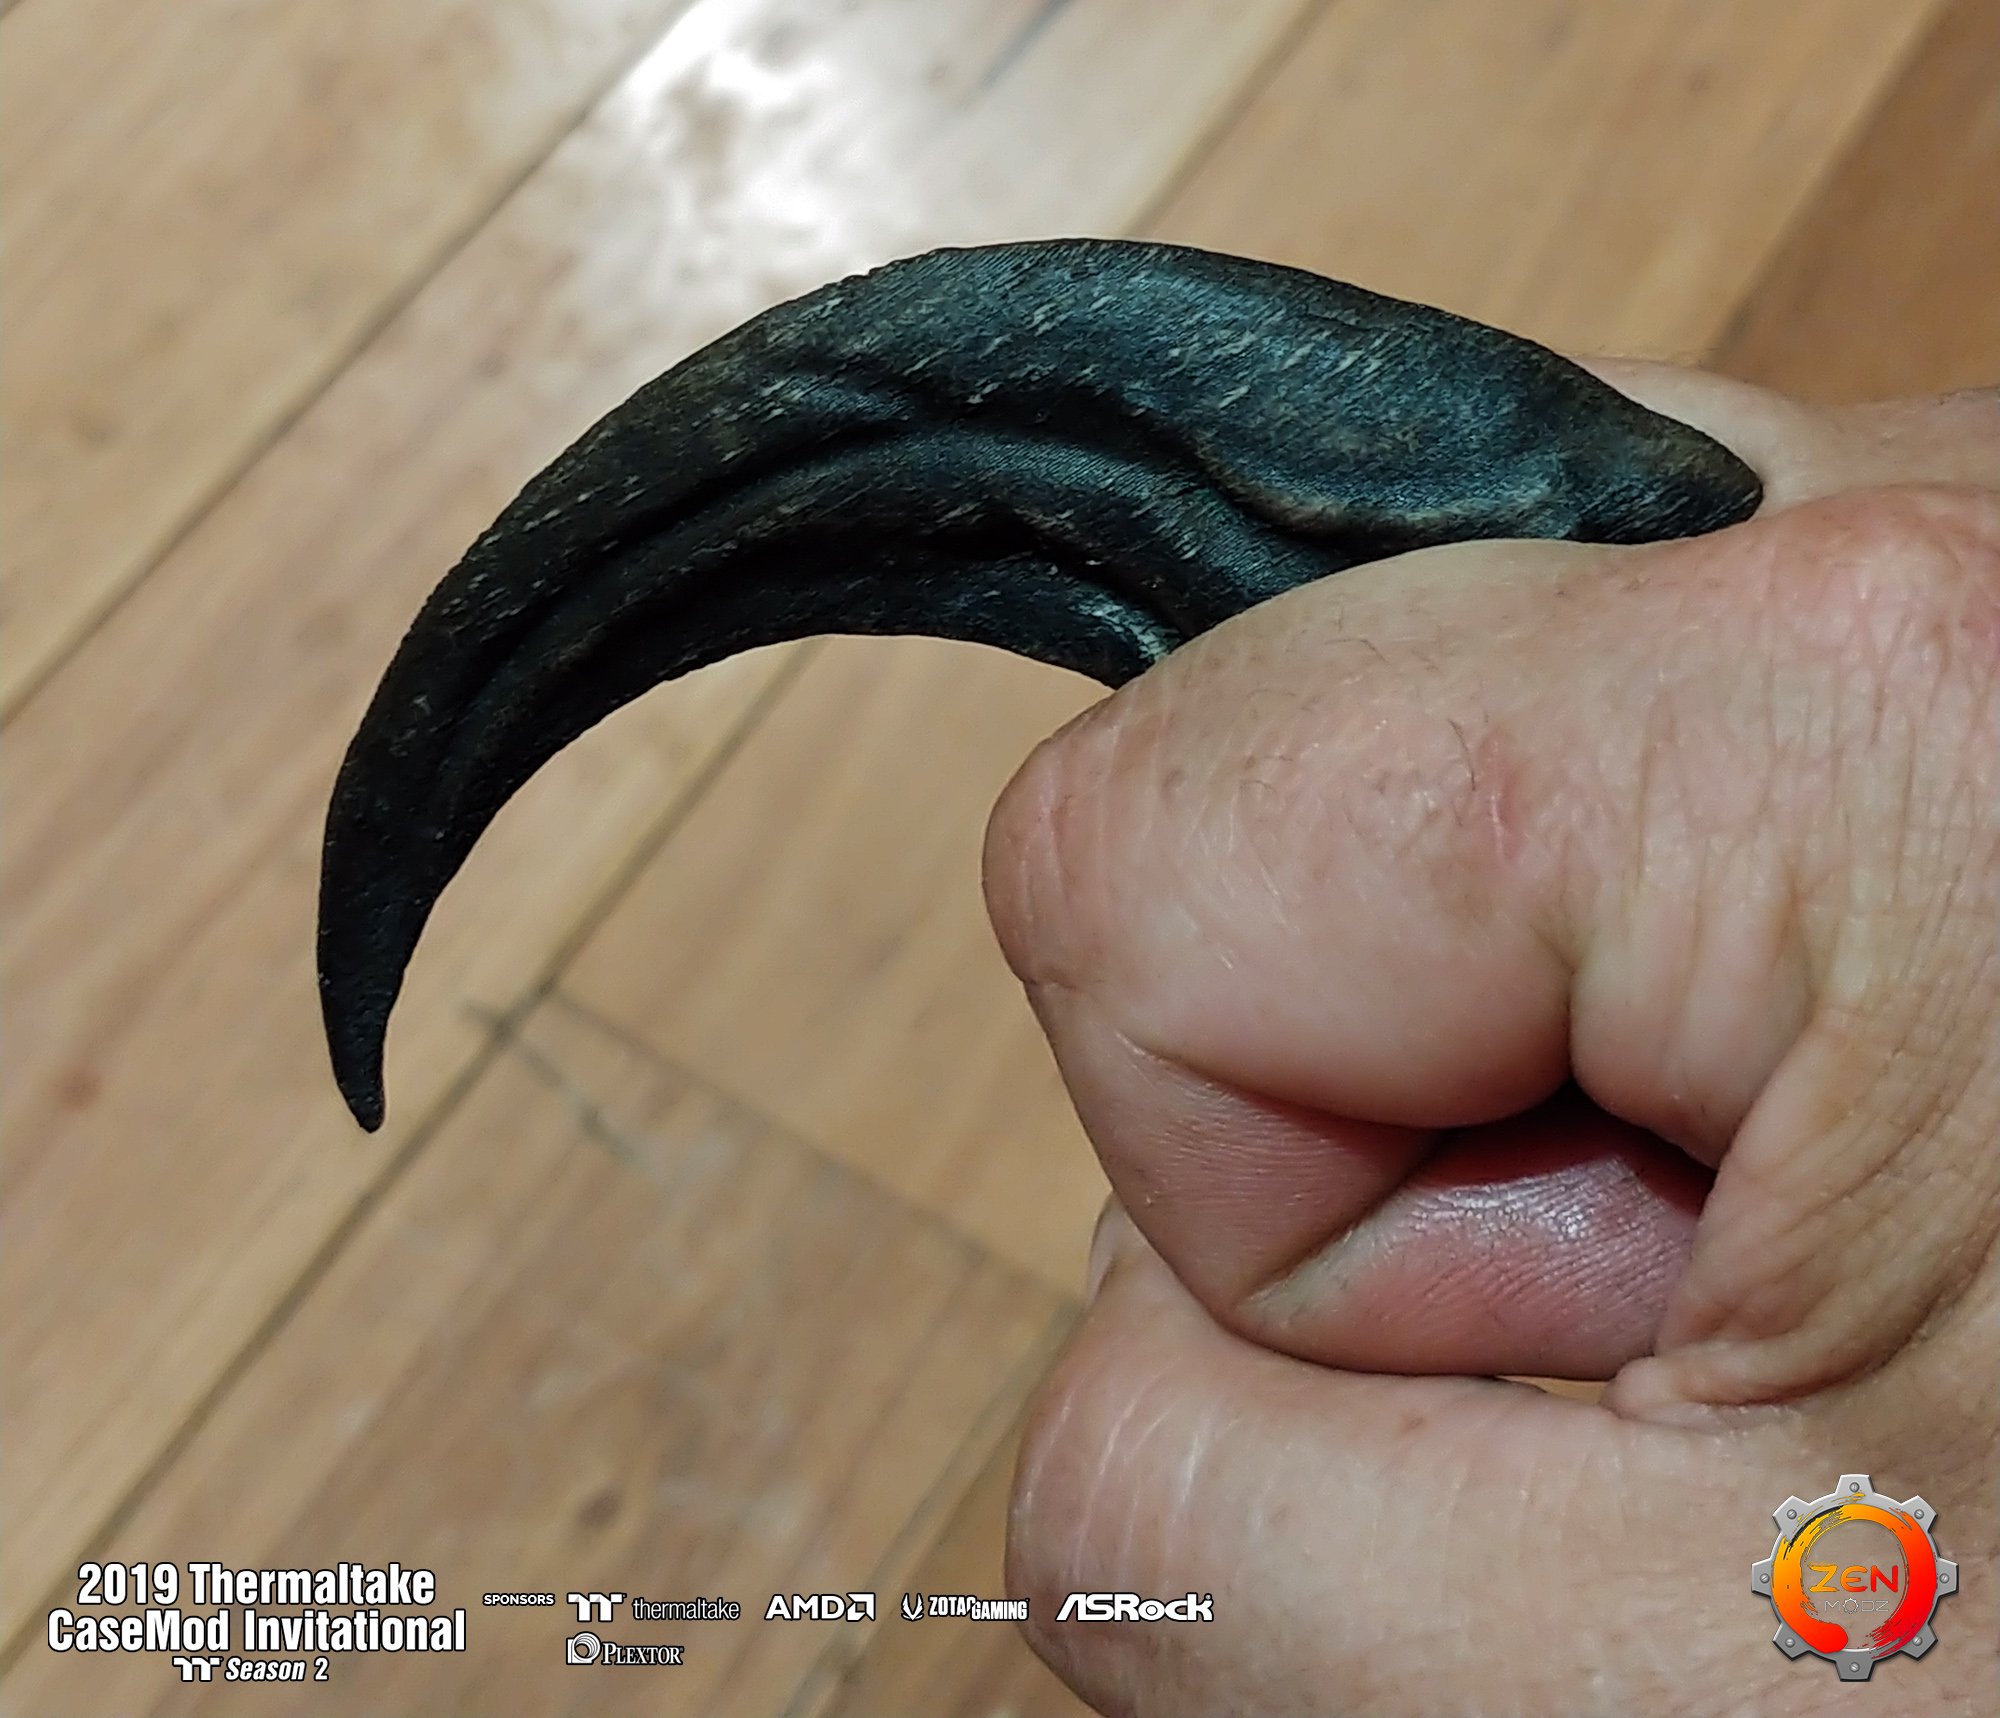
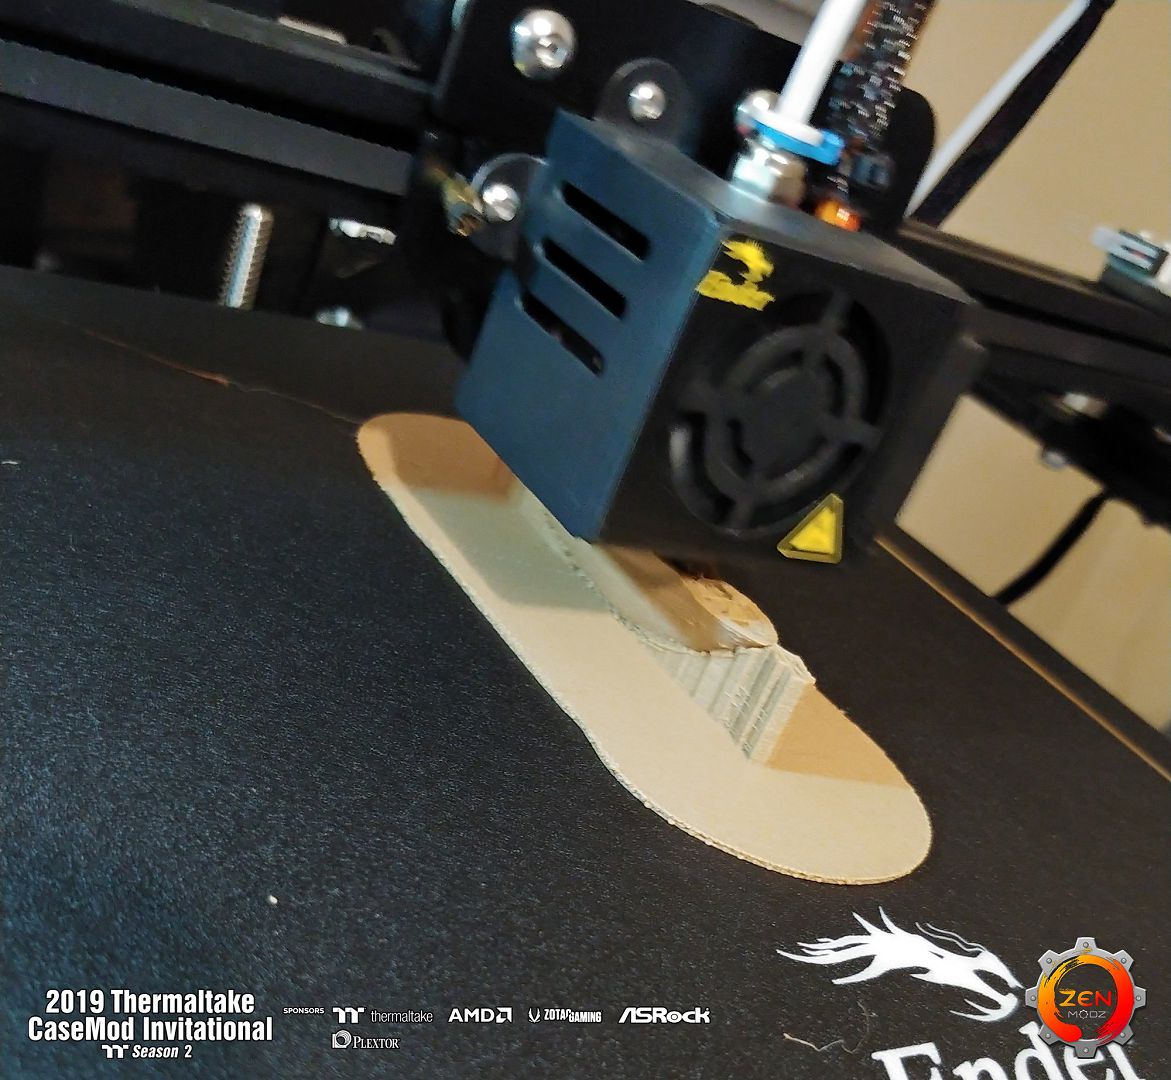
Hello again, Some interesting work photos this time. And I got my first ever 3d printer. Ender 5. with lots to learn in a short time frame.
Meet the start of Mr T-Rex. and many more Dino's to come.


-
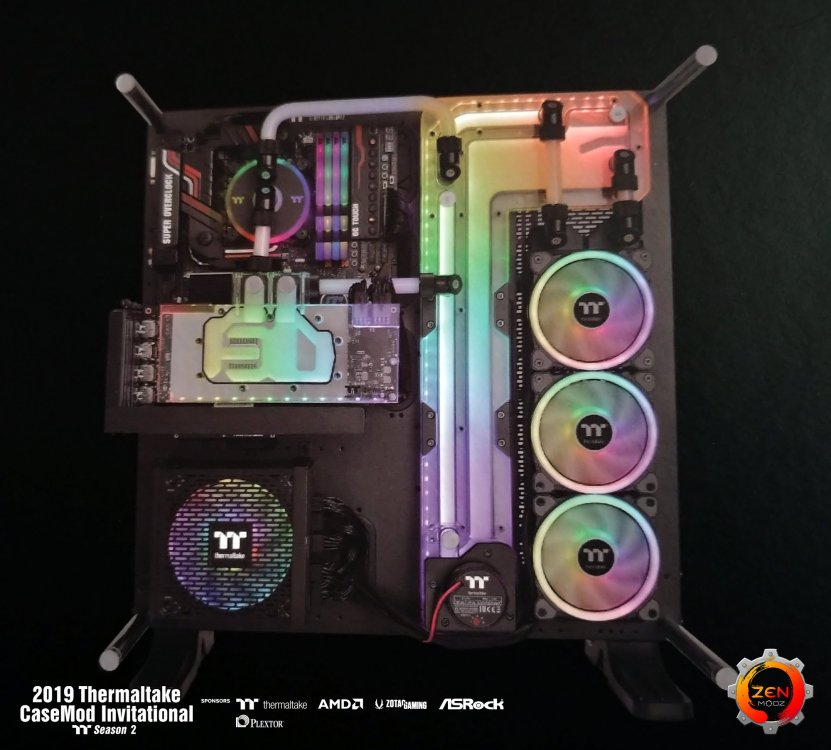
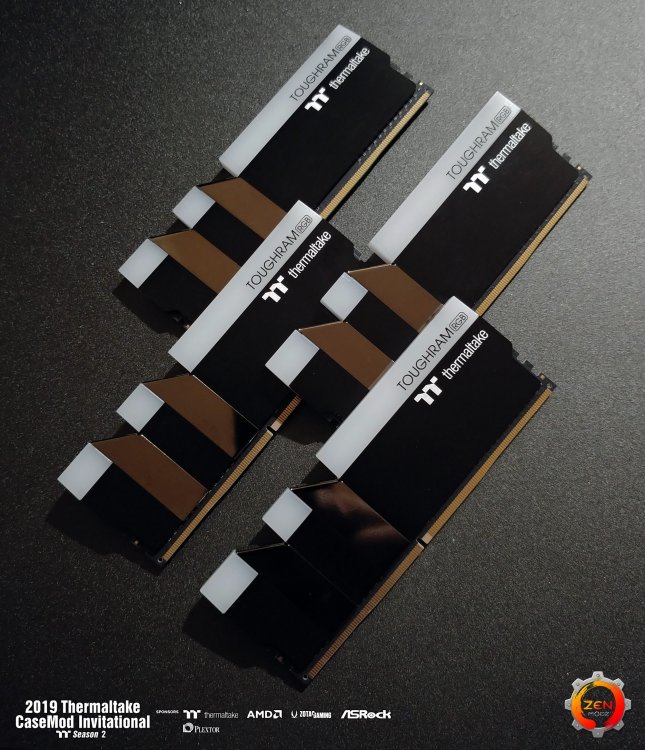
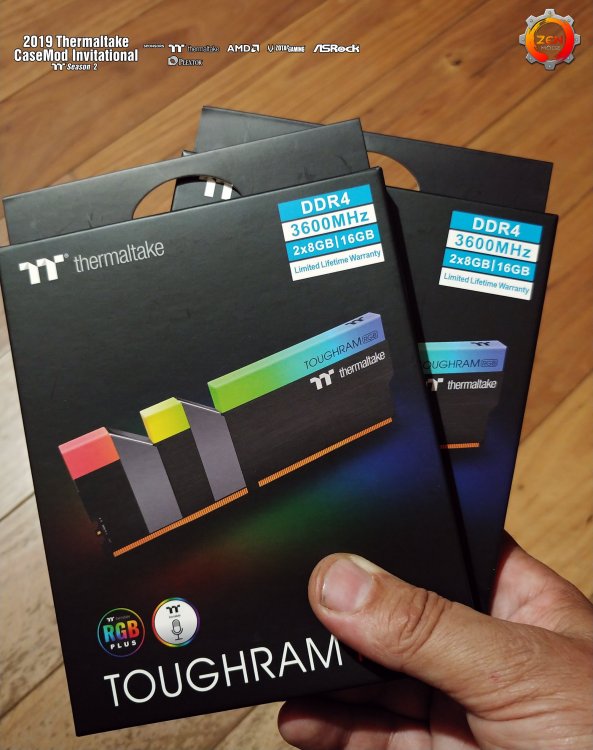
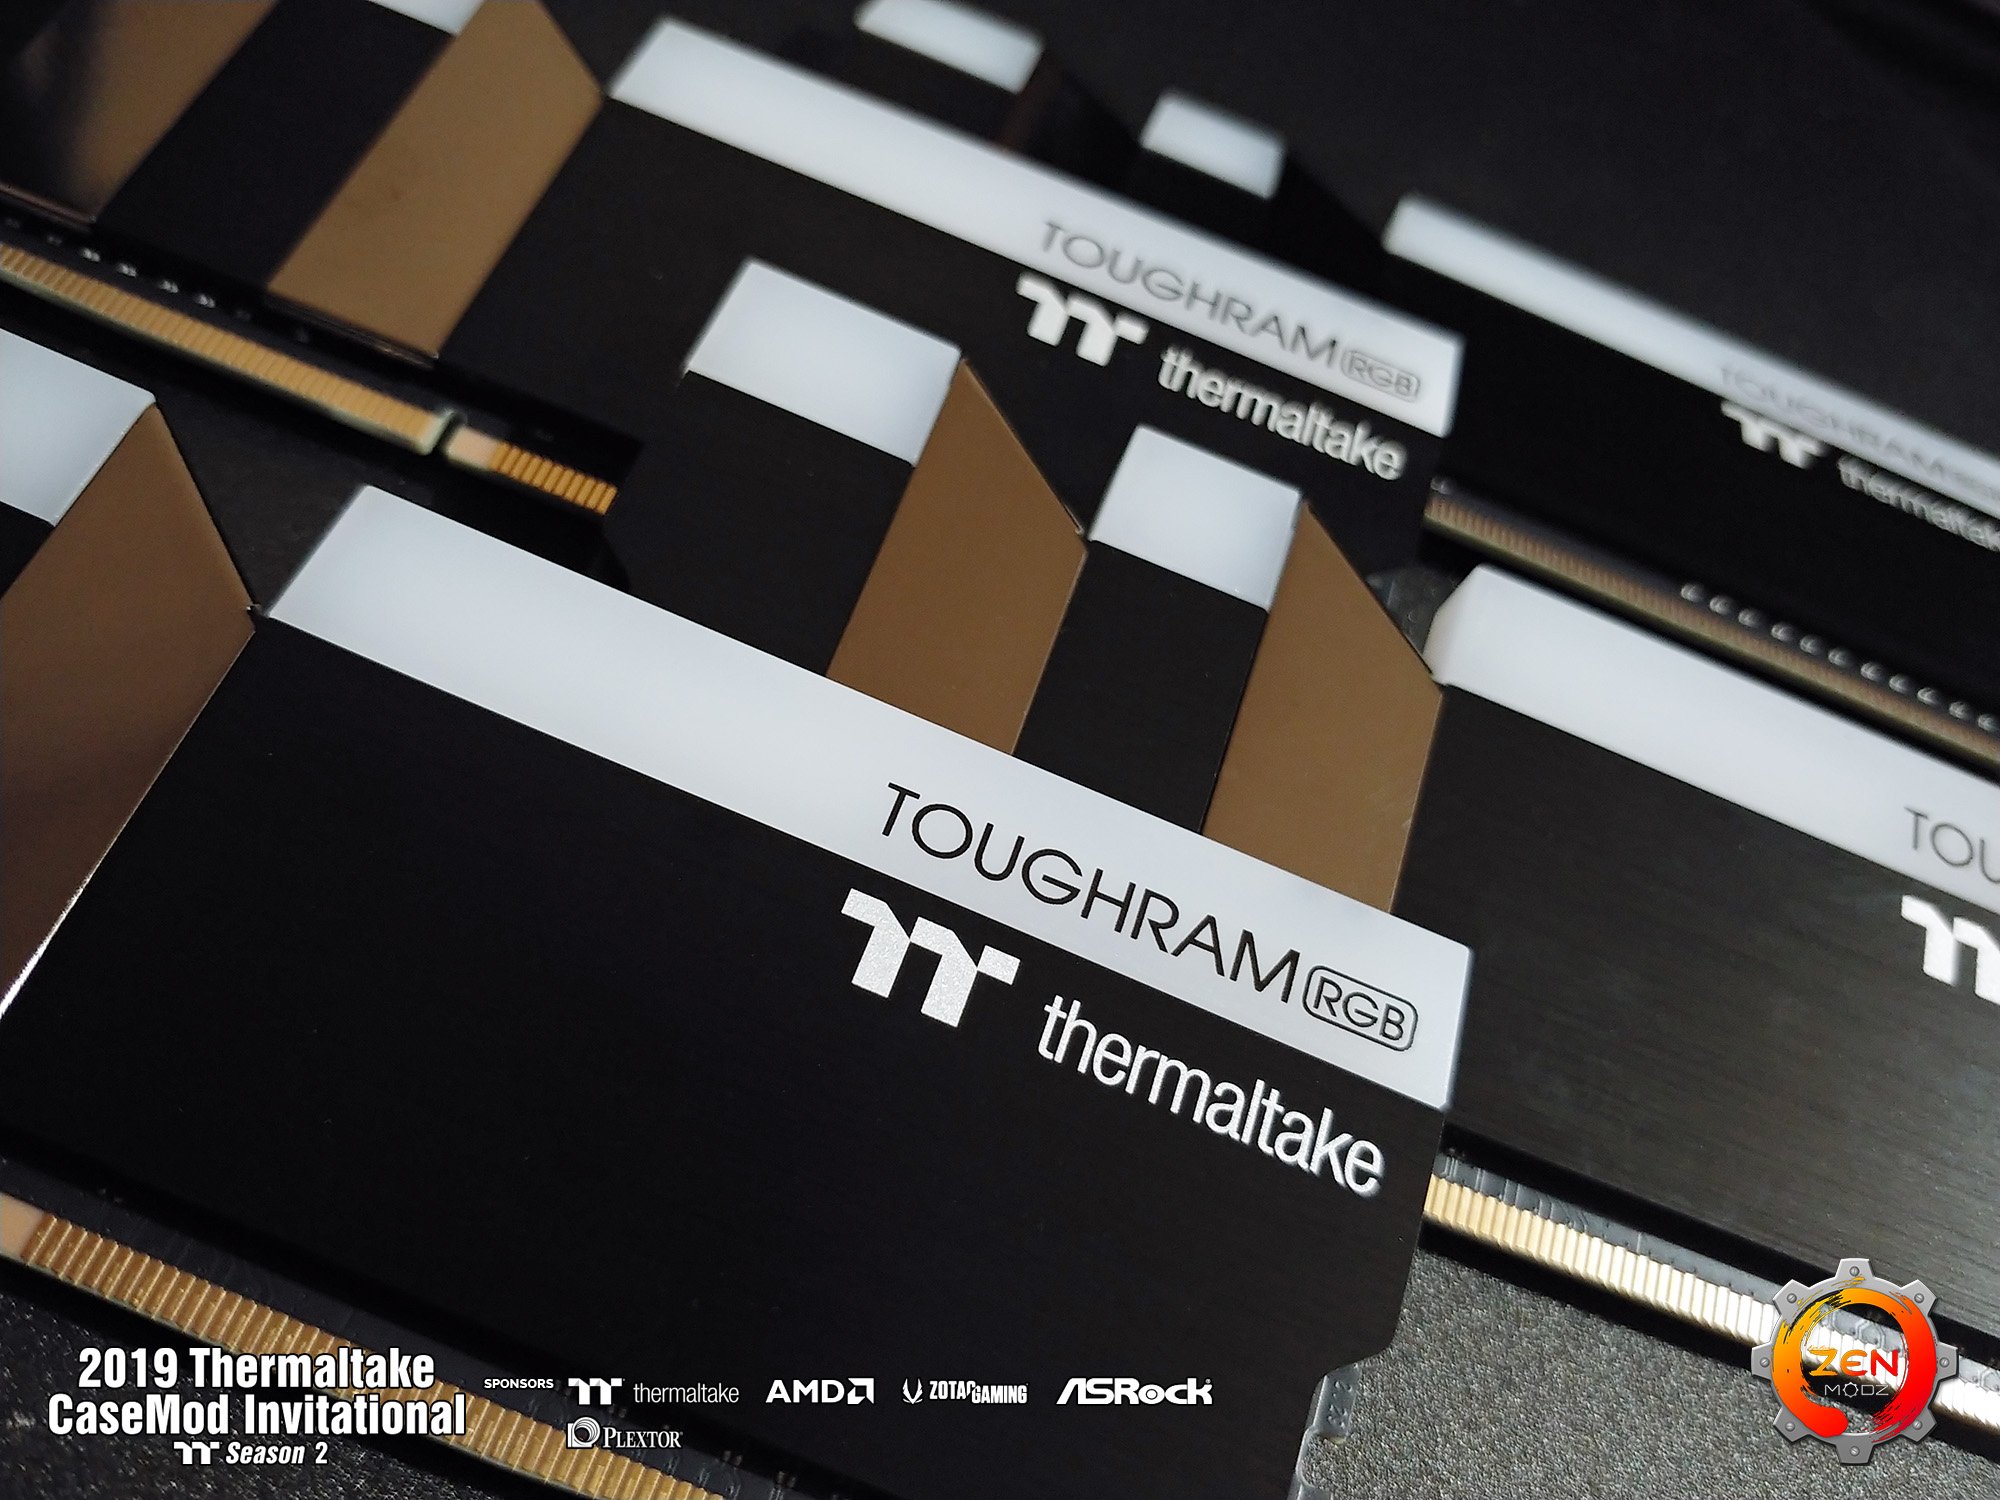
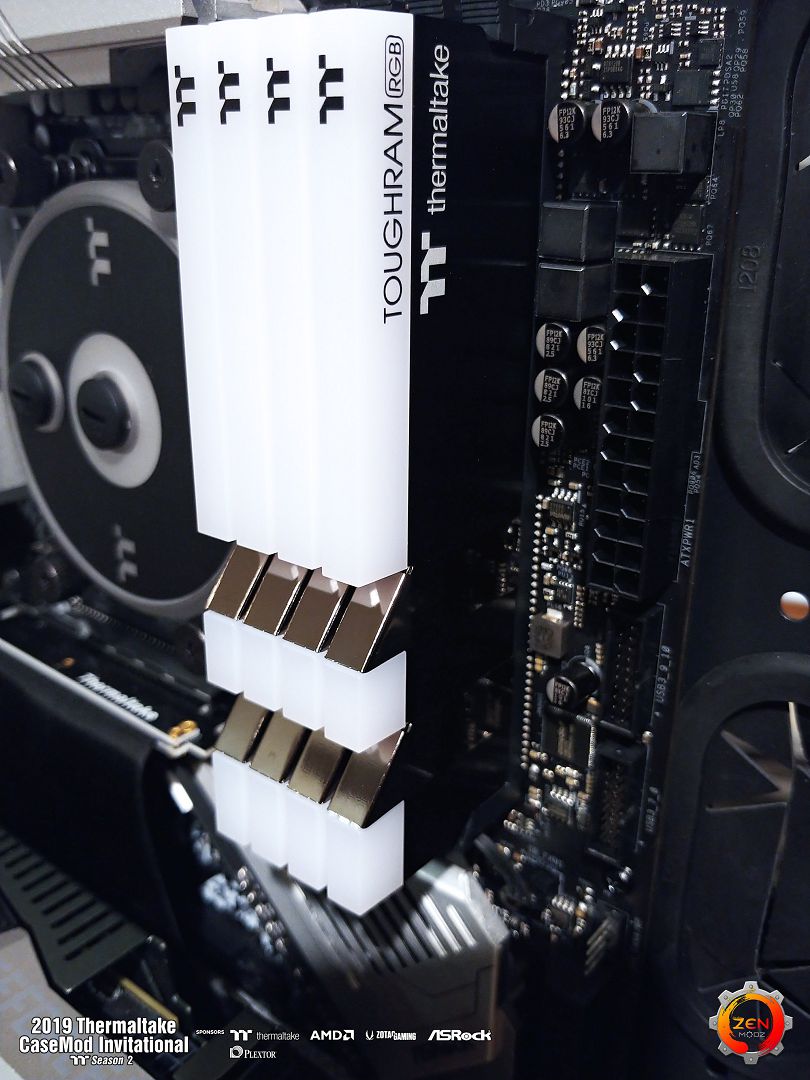
3600MHz 4x8 of RGB Bliss


-
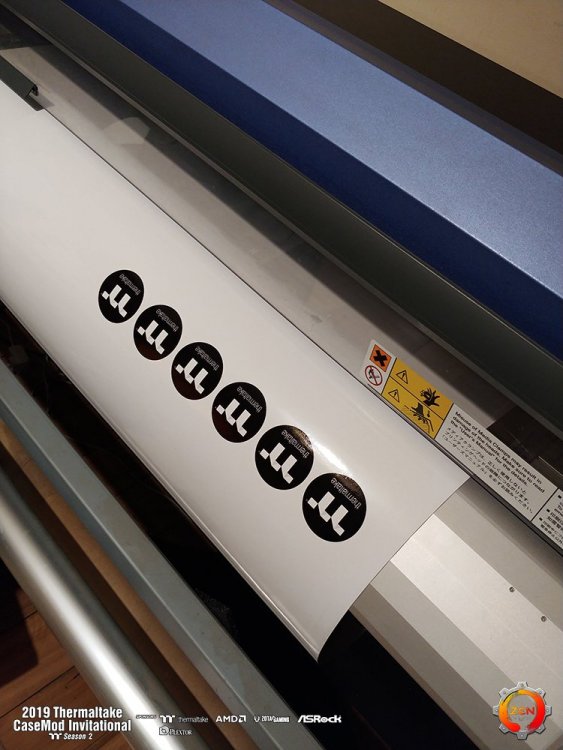
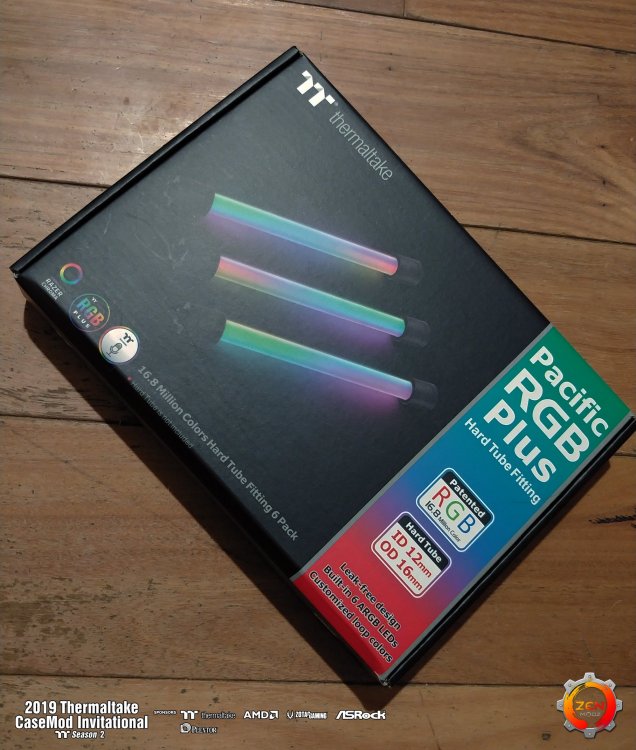
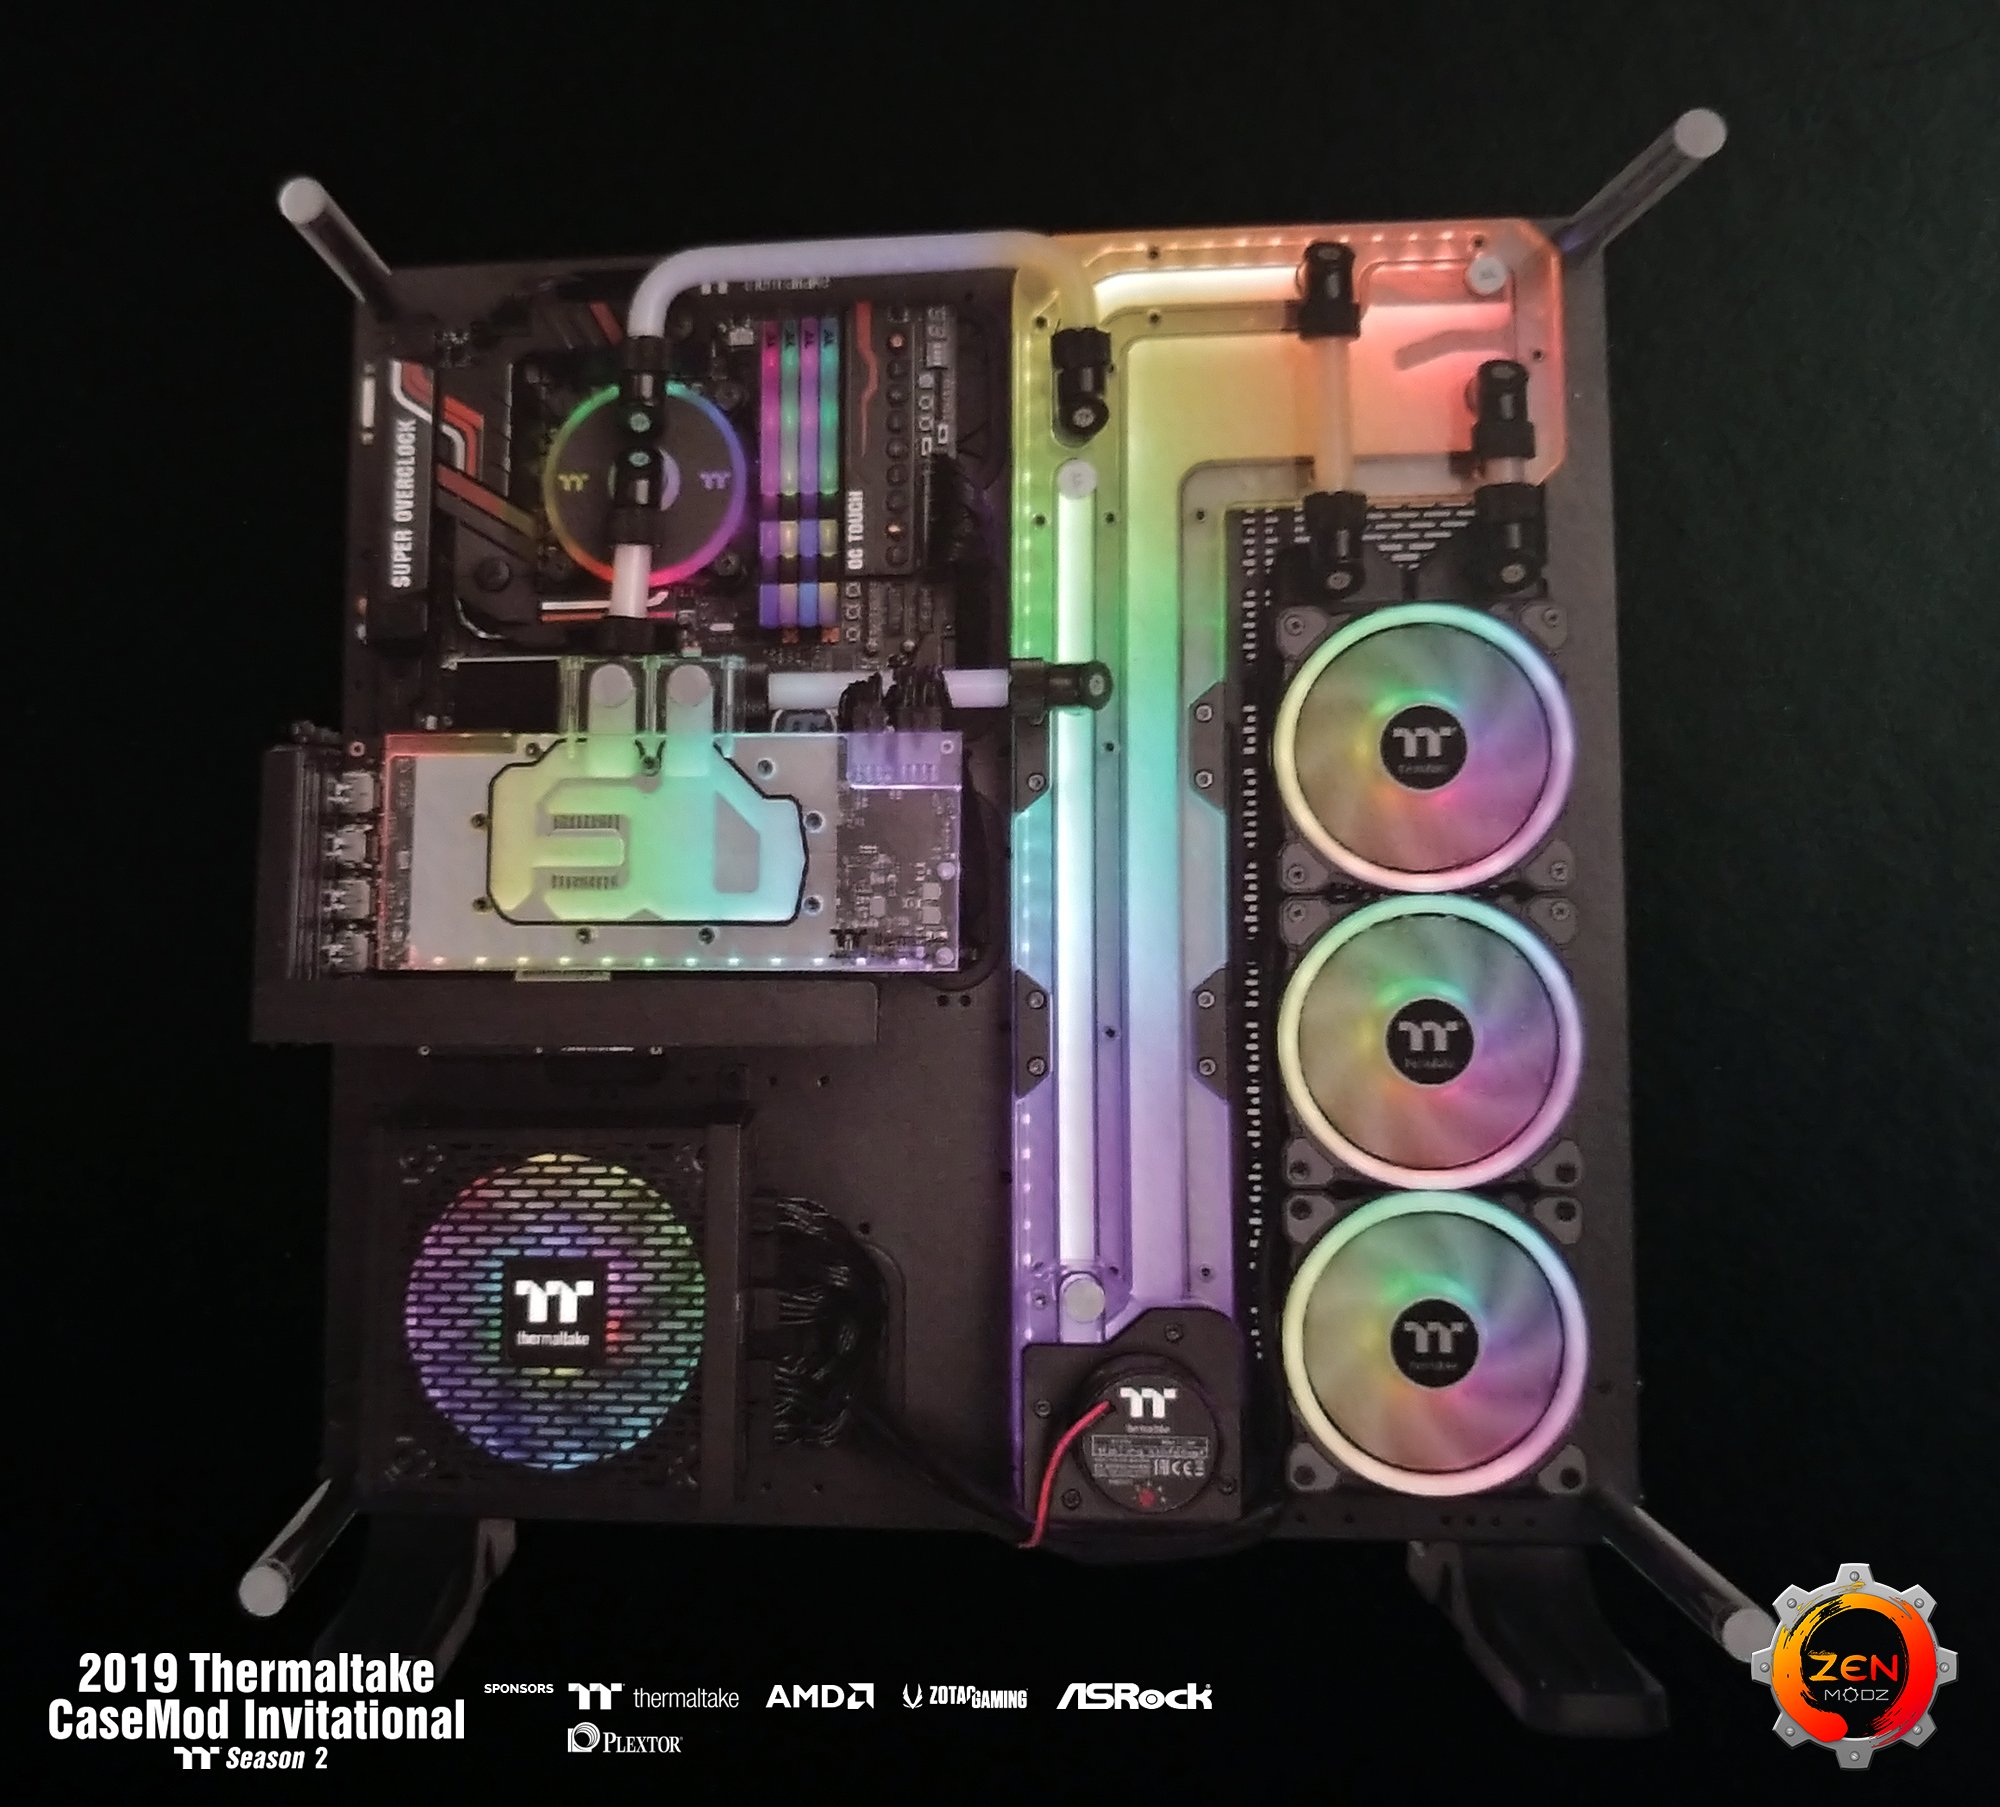
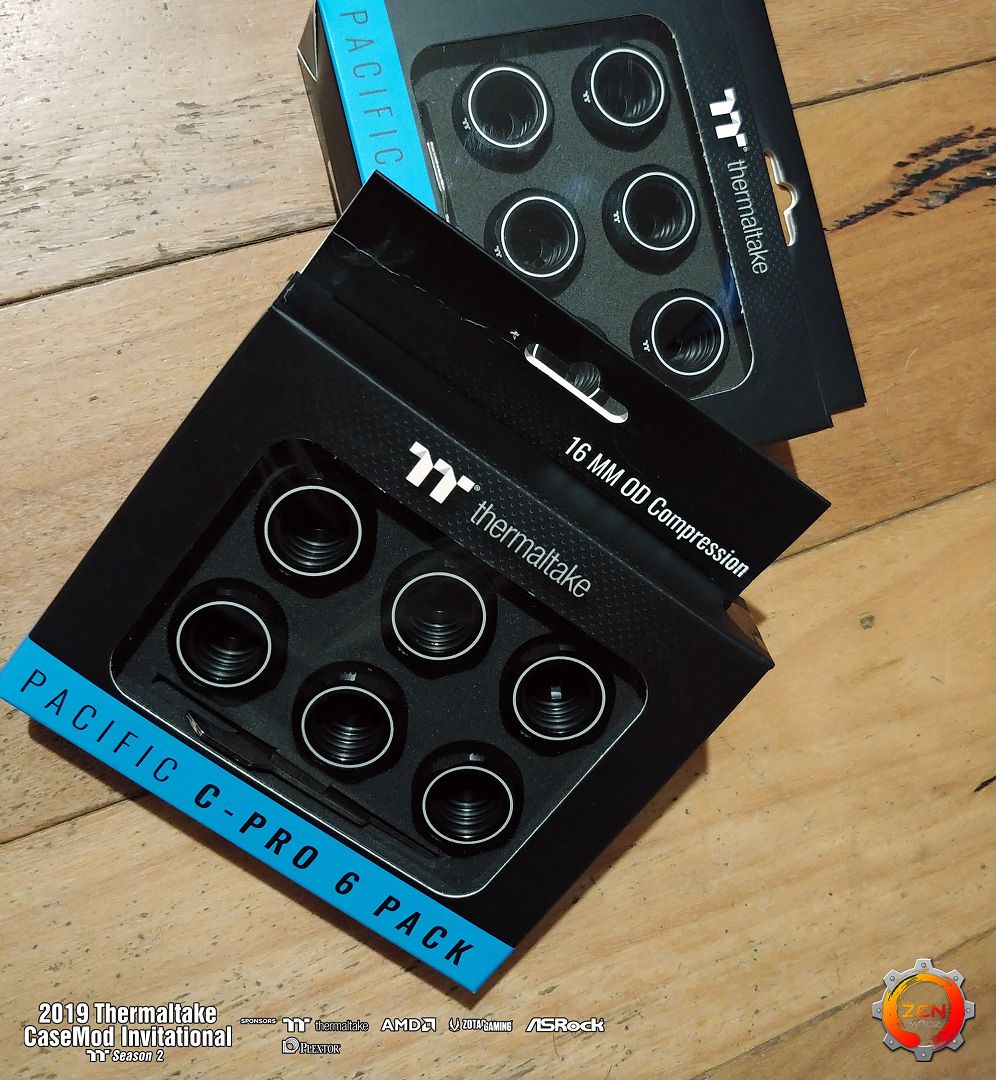
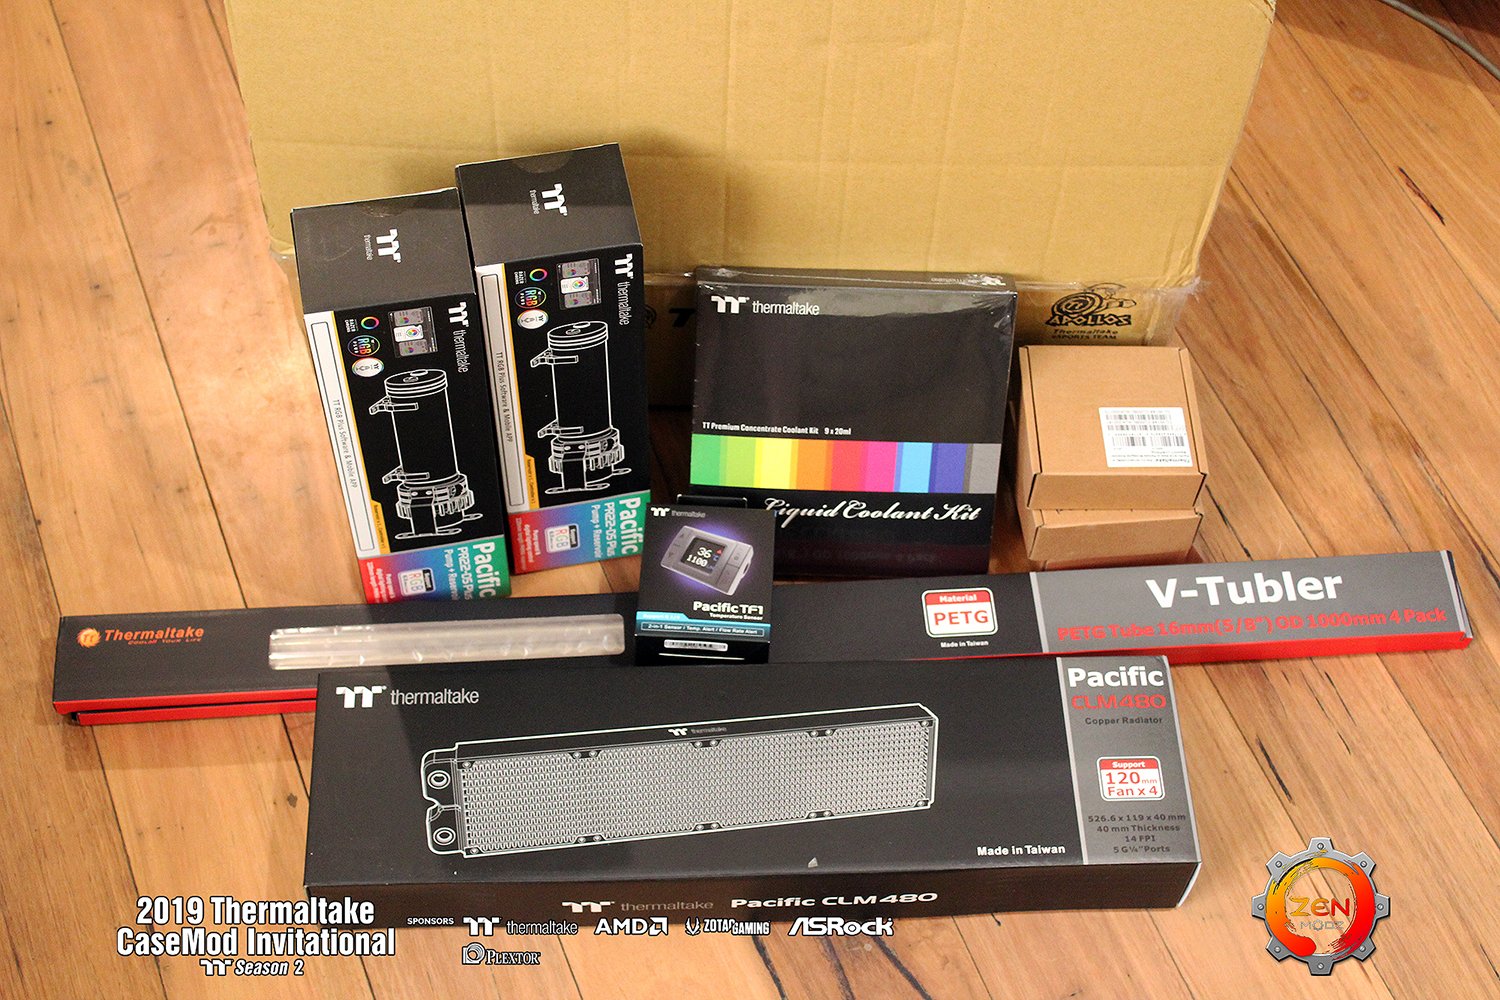
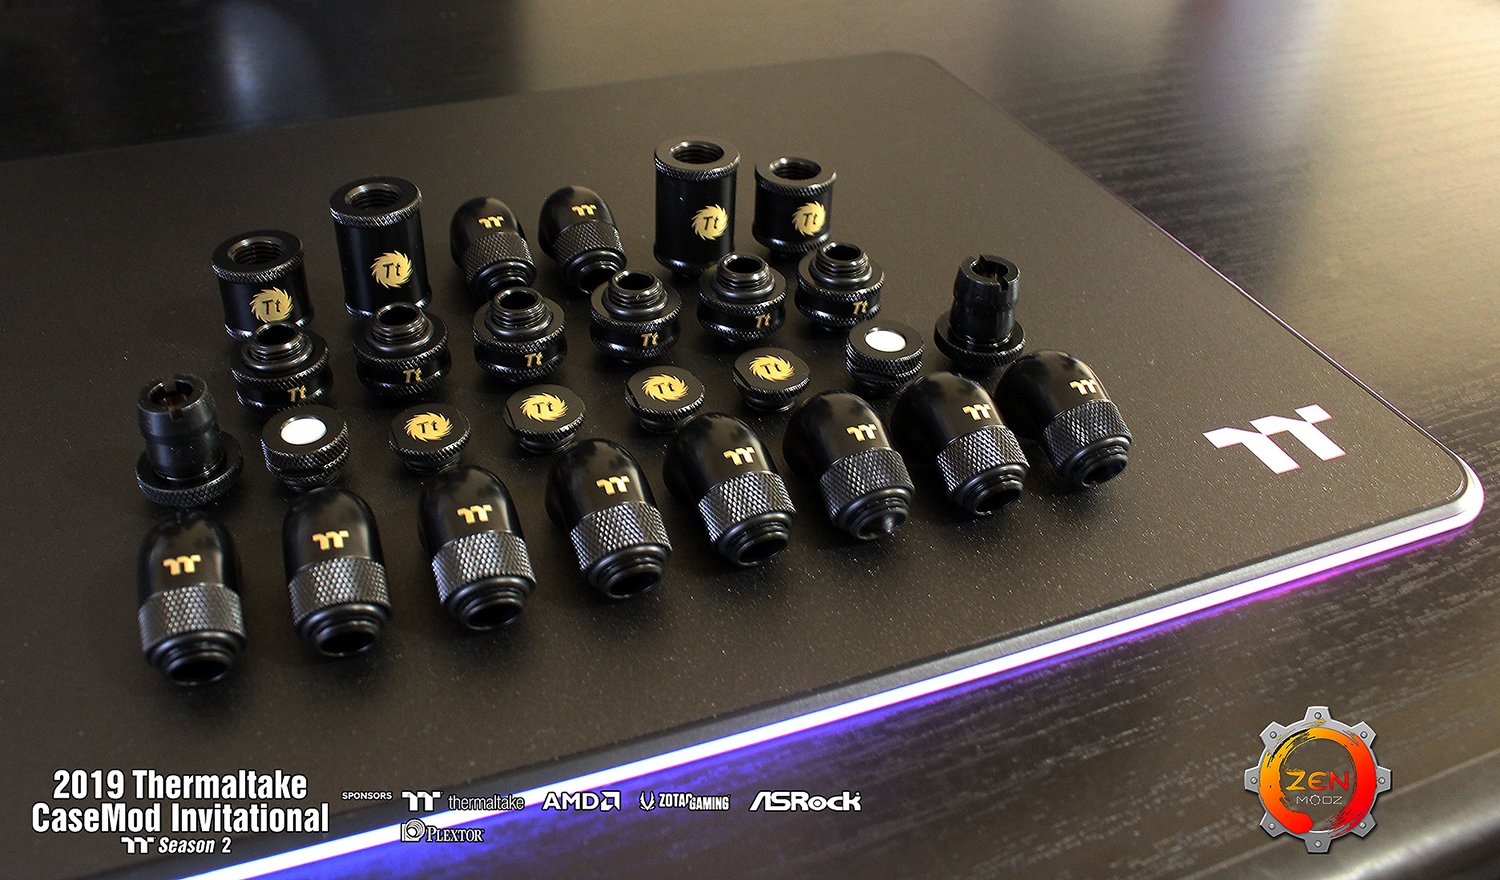
All the cooling fittings have arrived. The 6 Packs are a very nice look.


-
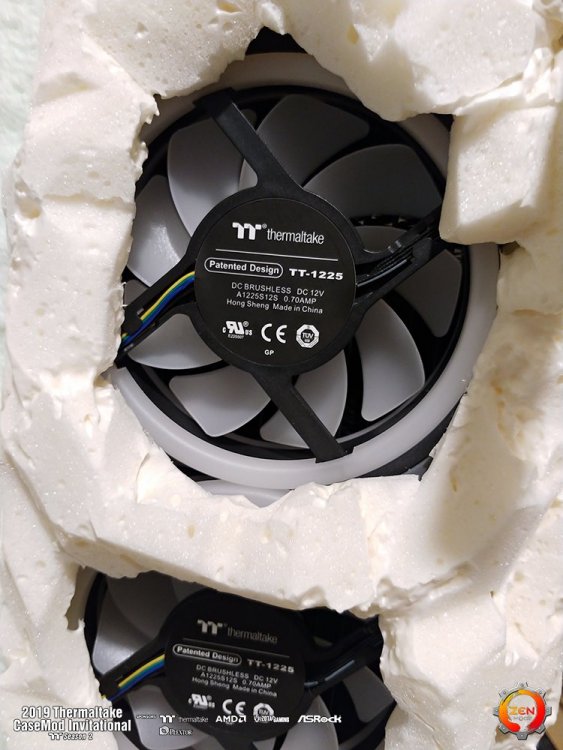
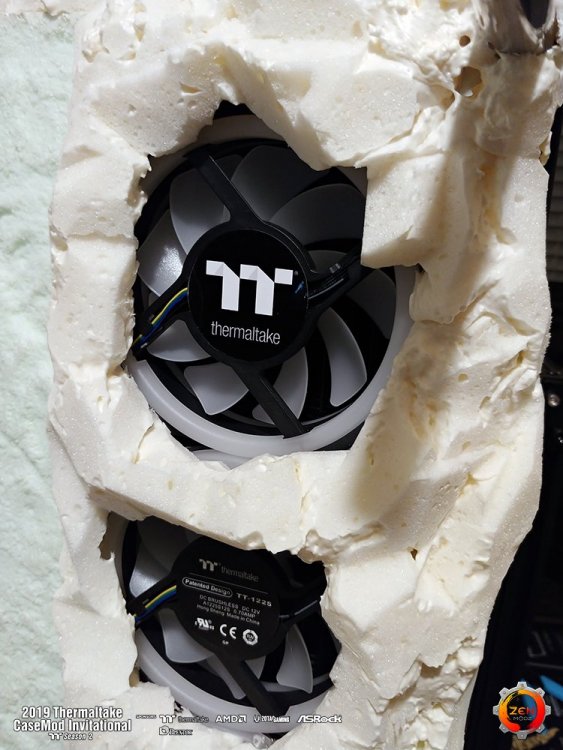
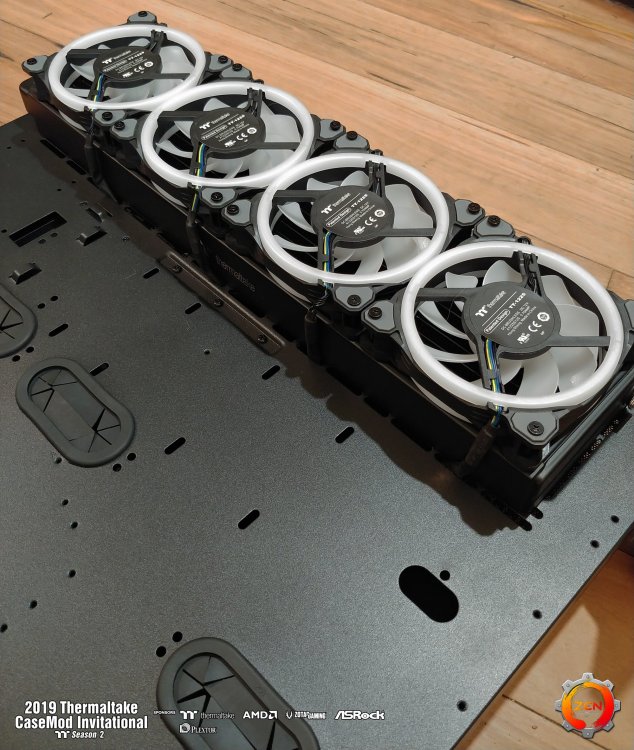
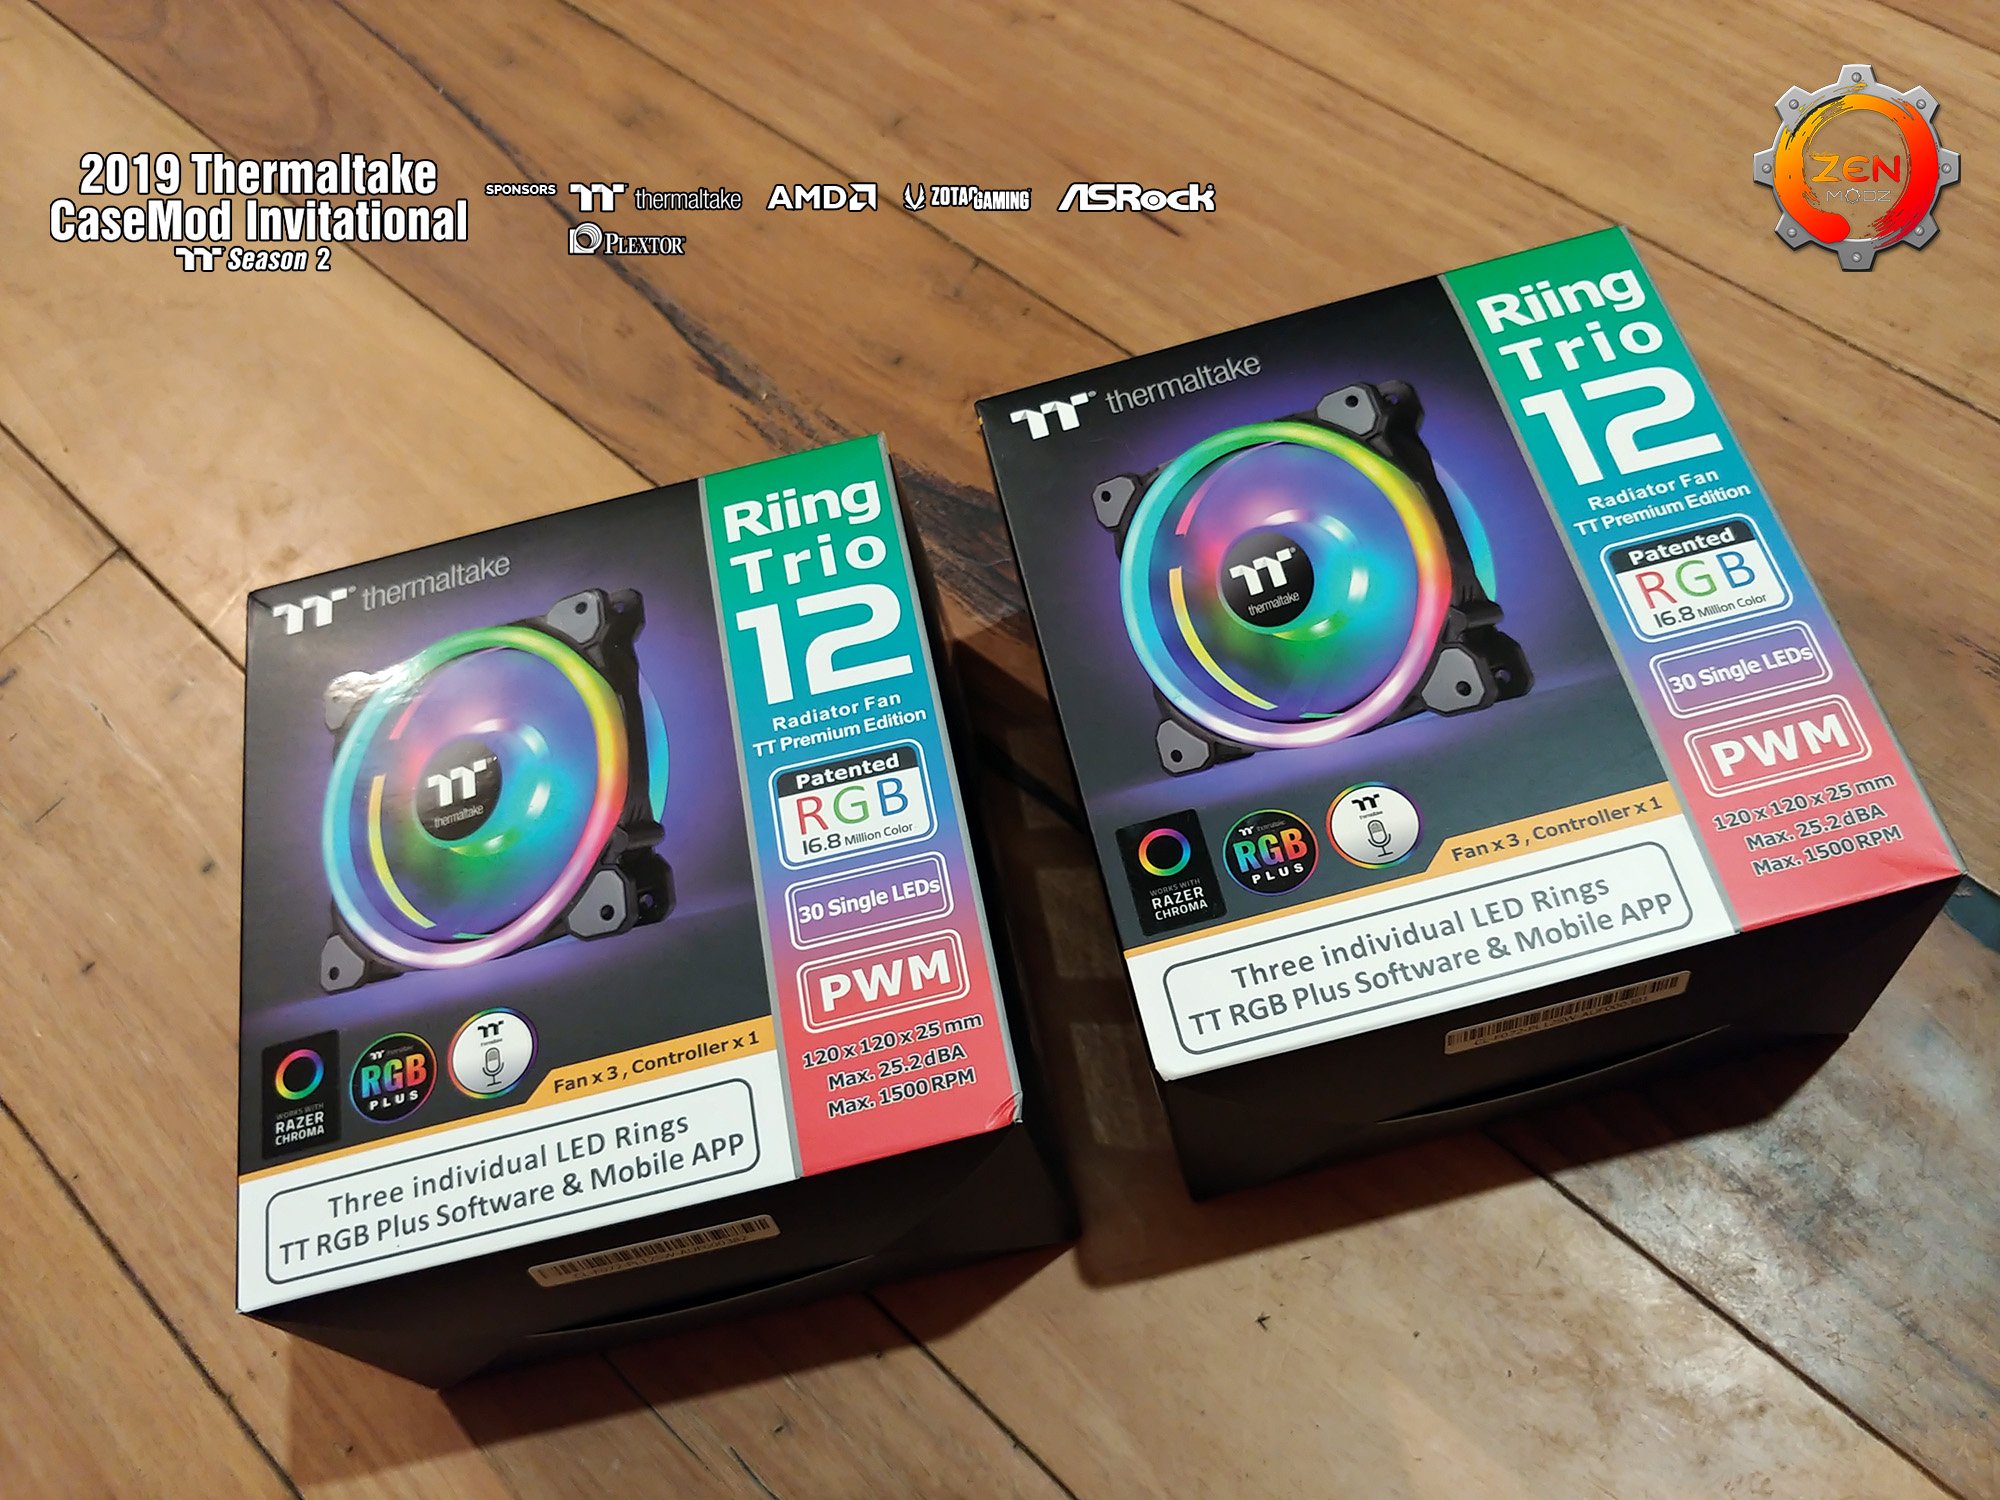
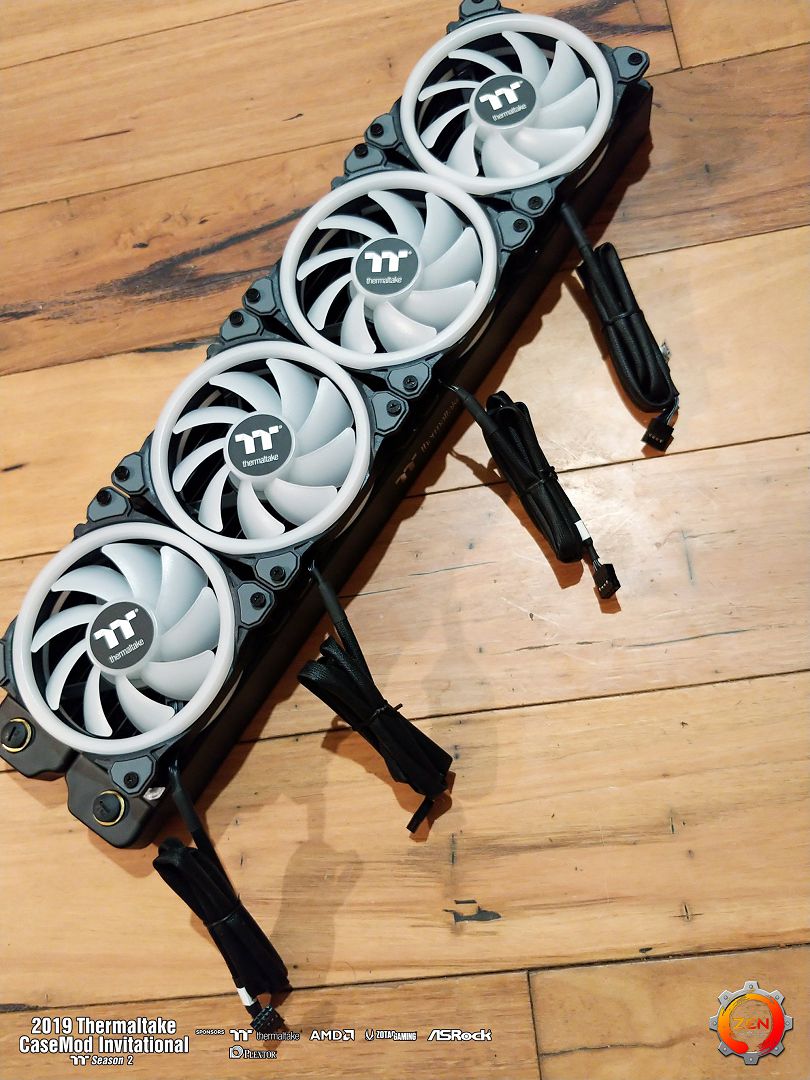
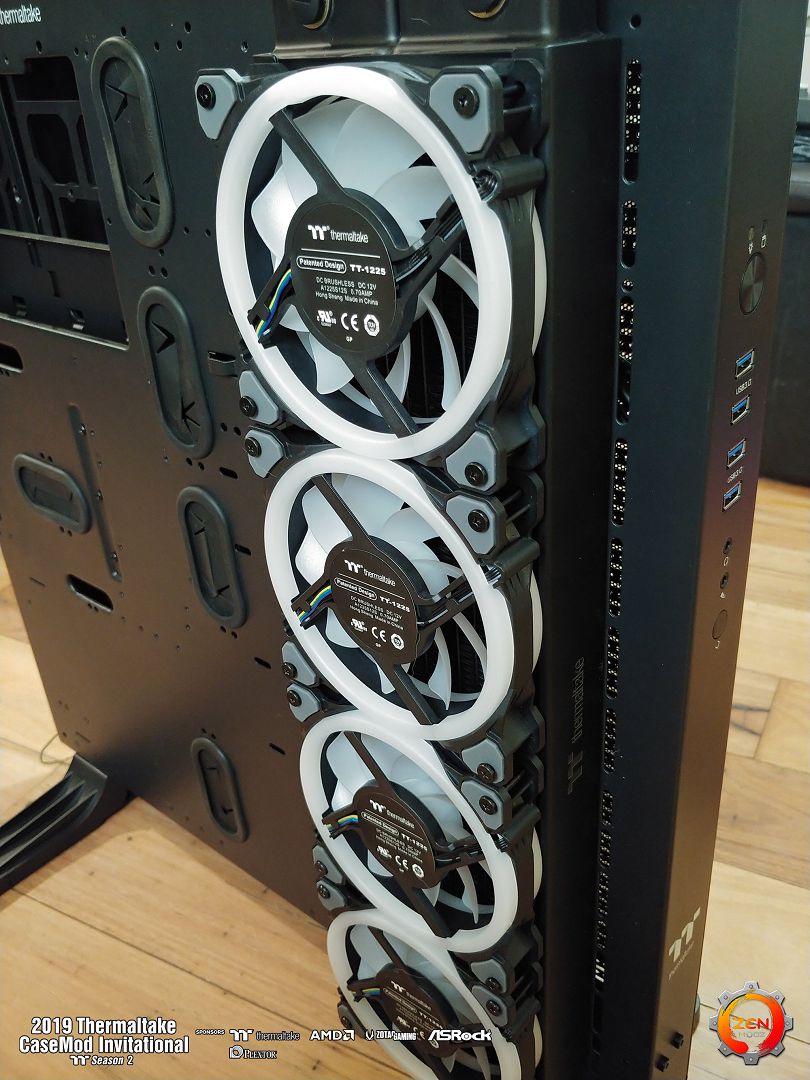
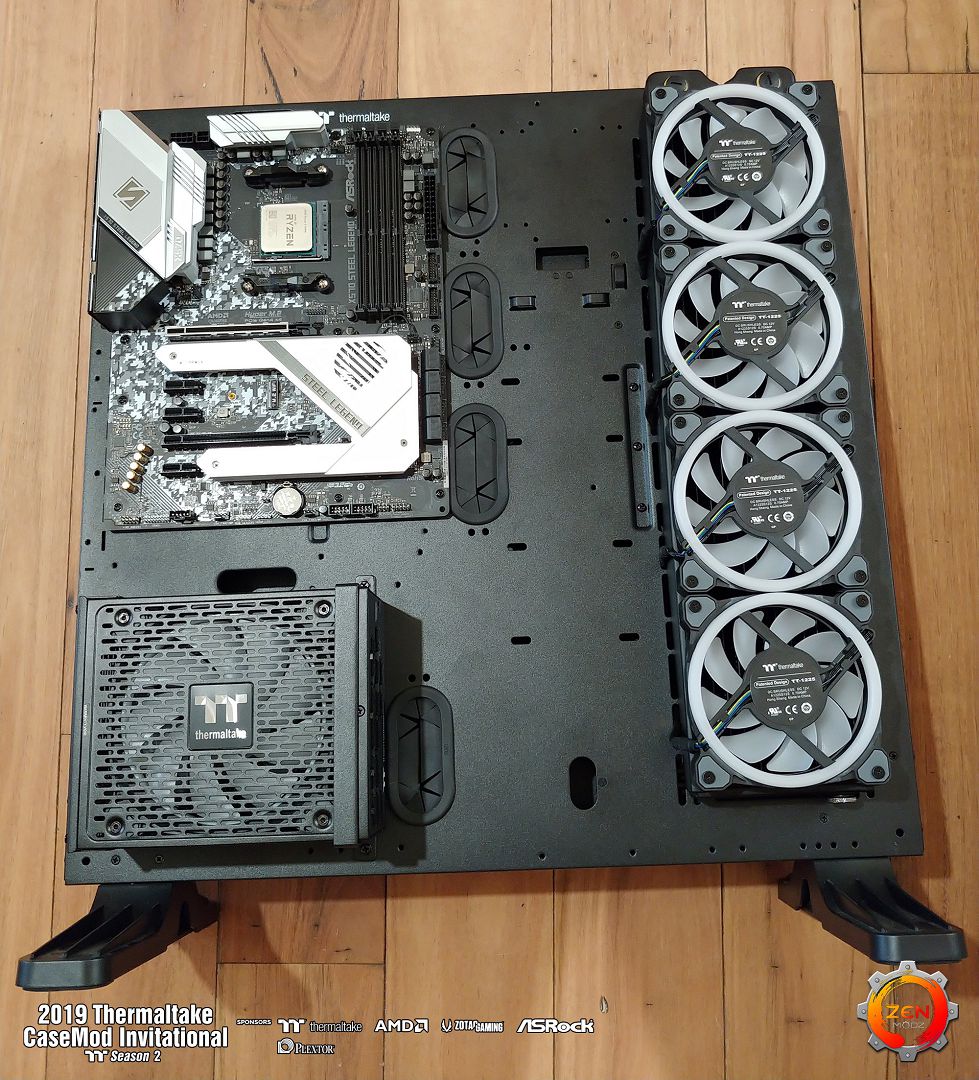
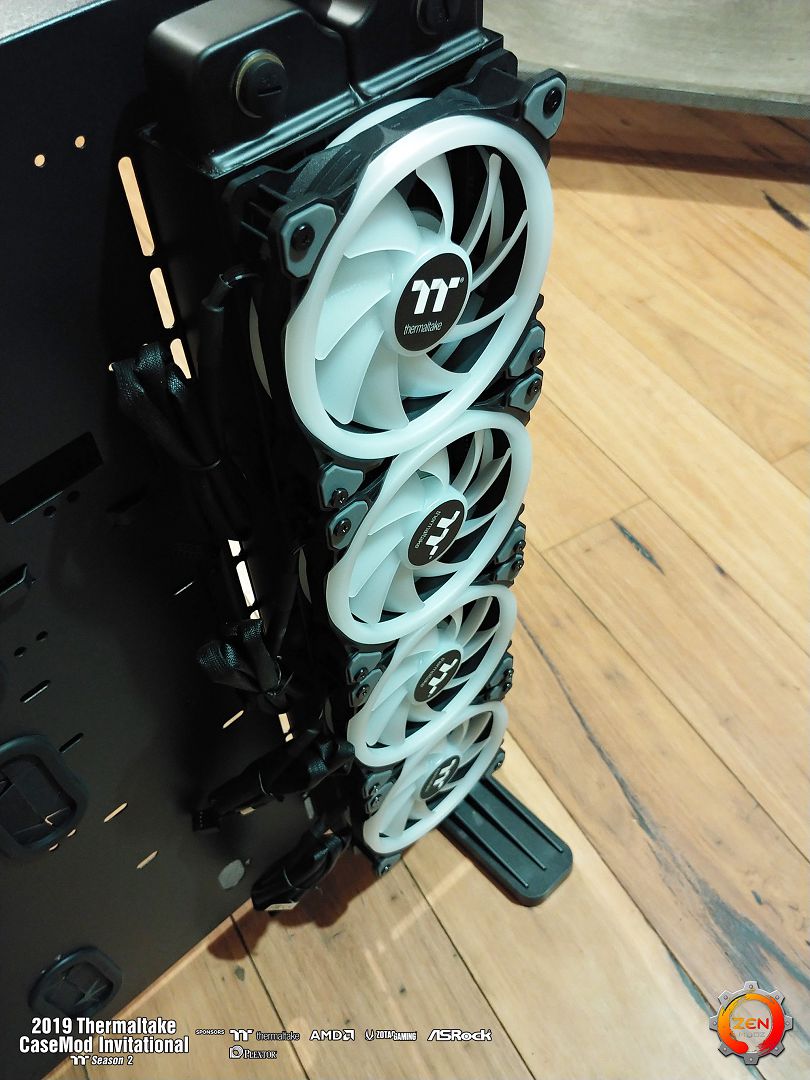
TT Riing Trio have arrived.

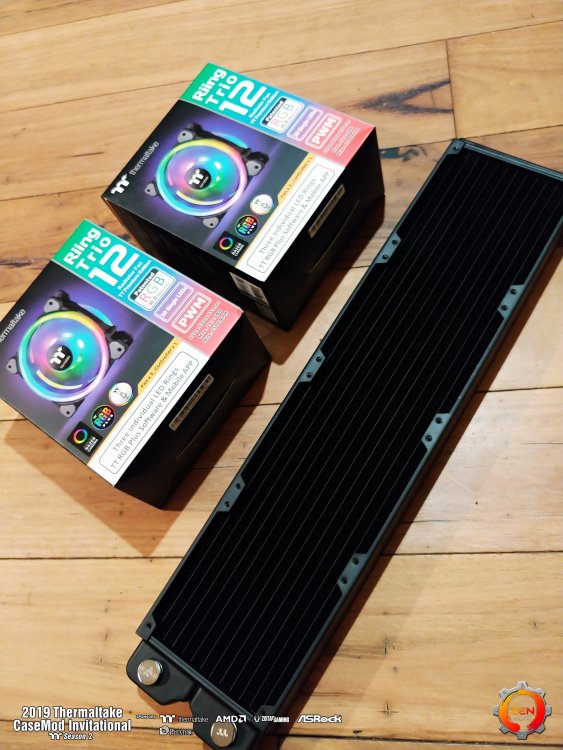

They look better facing out but don't take advantage of the dust filter on the back of the case so the other way around it is.

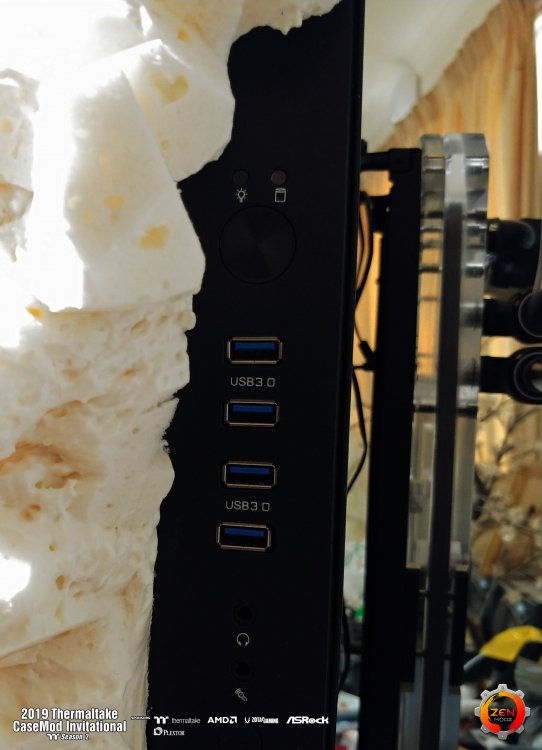
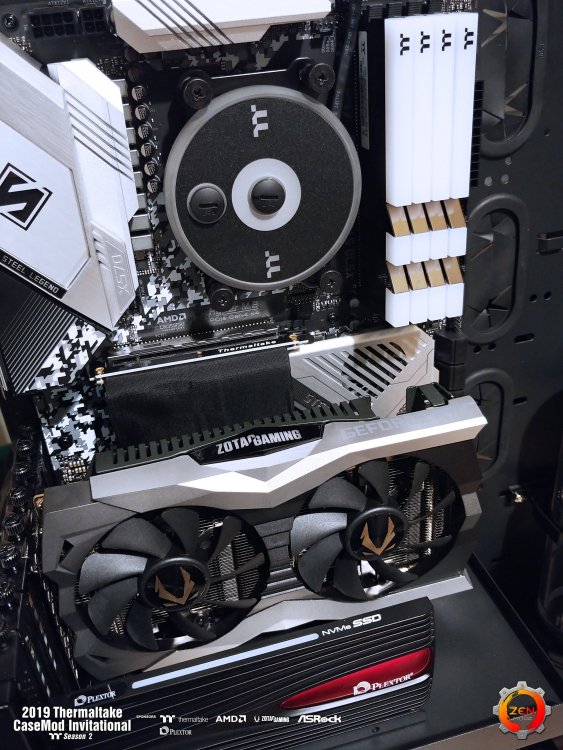
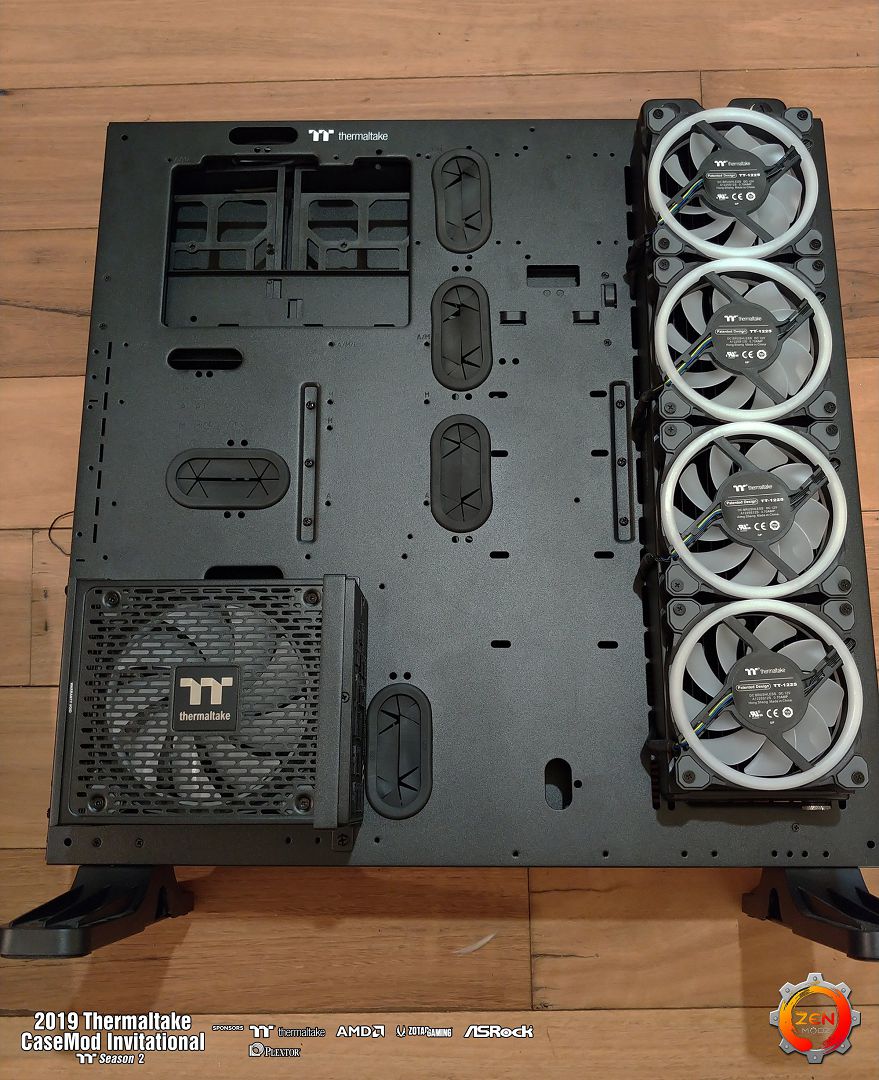
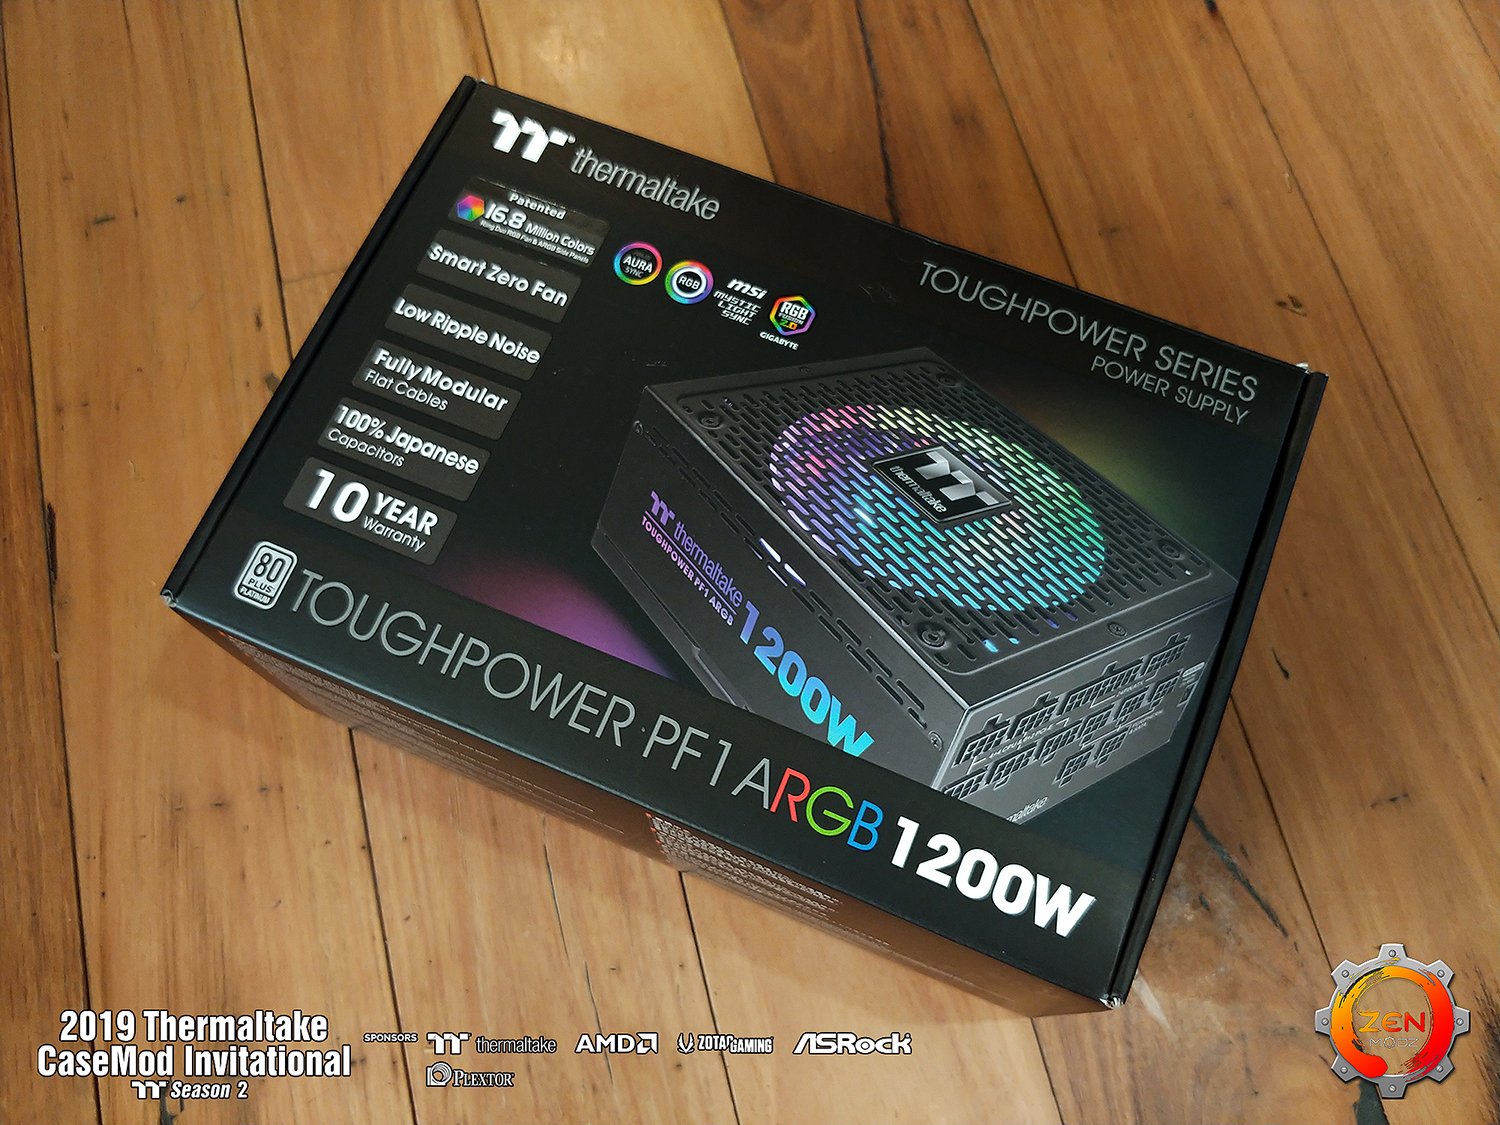
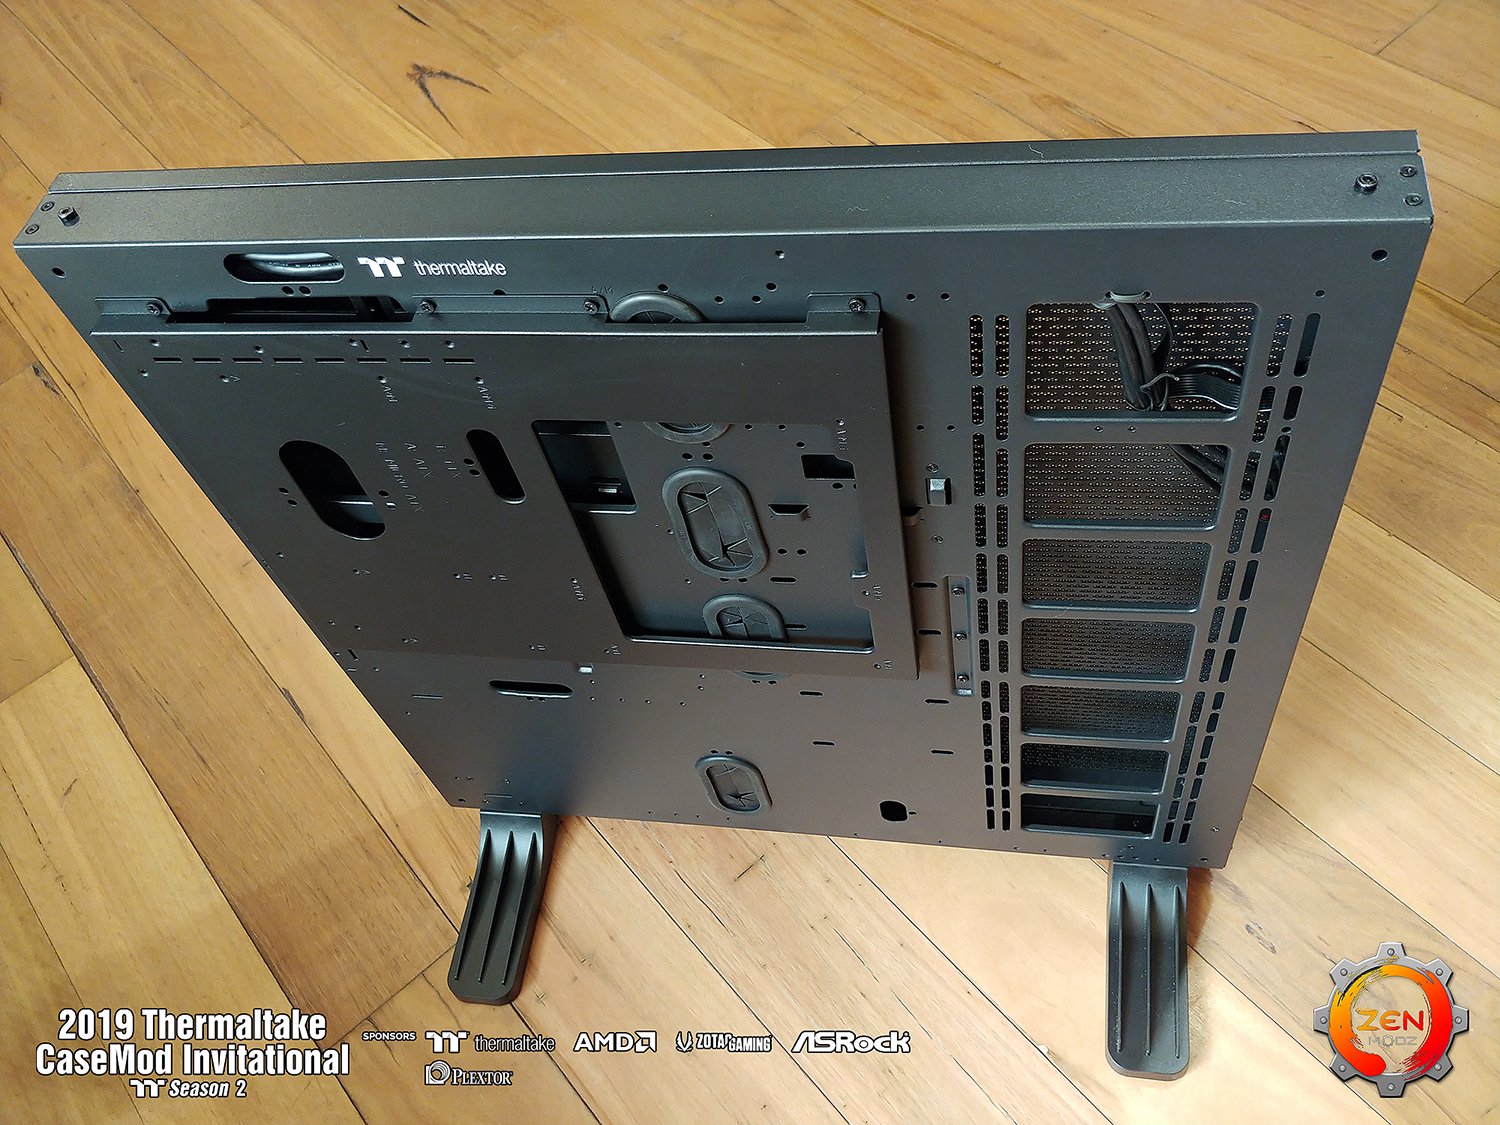
PSU fitted.

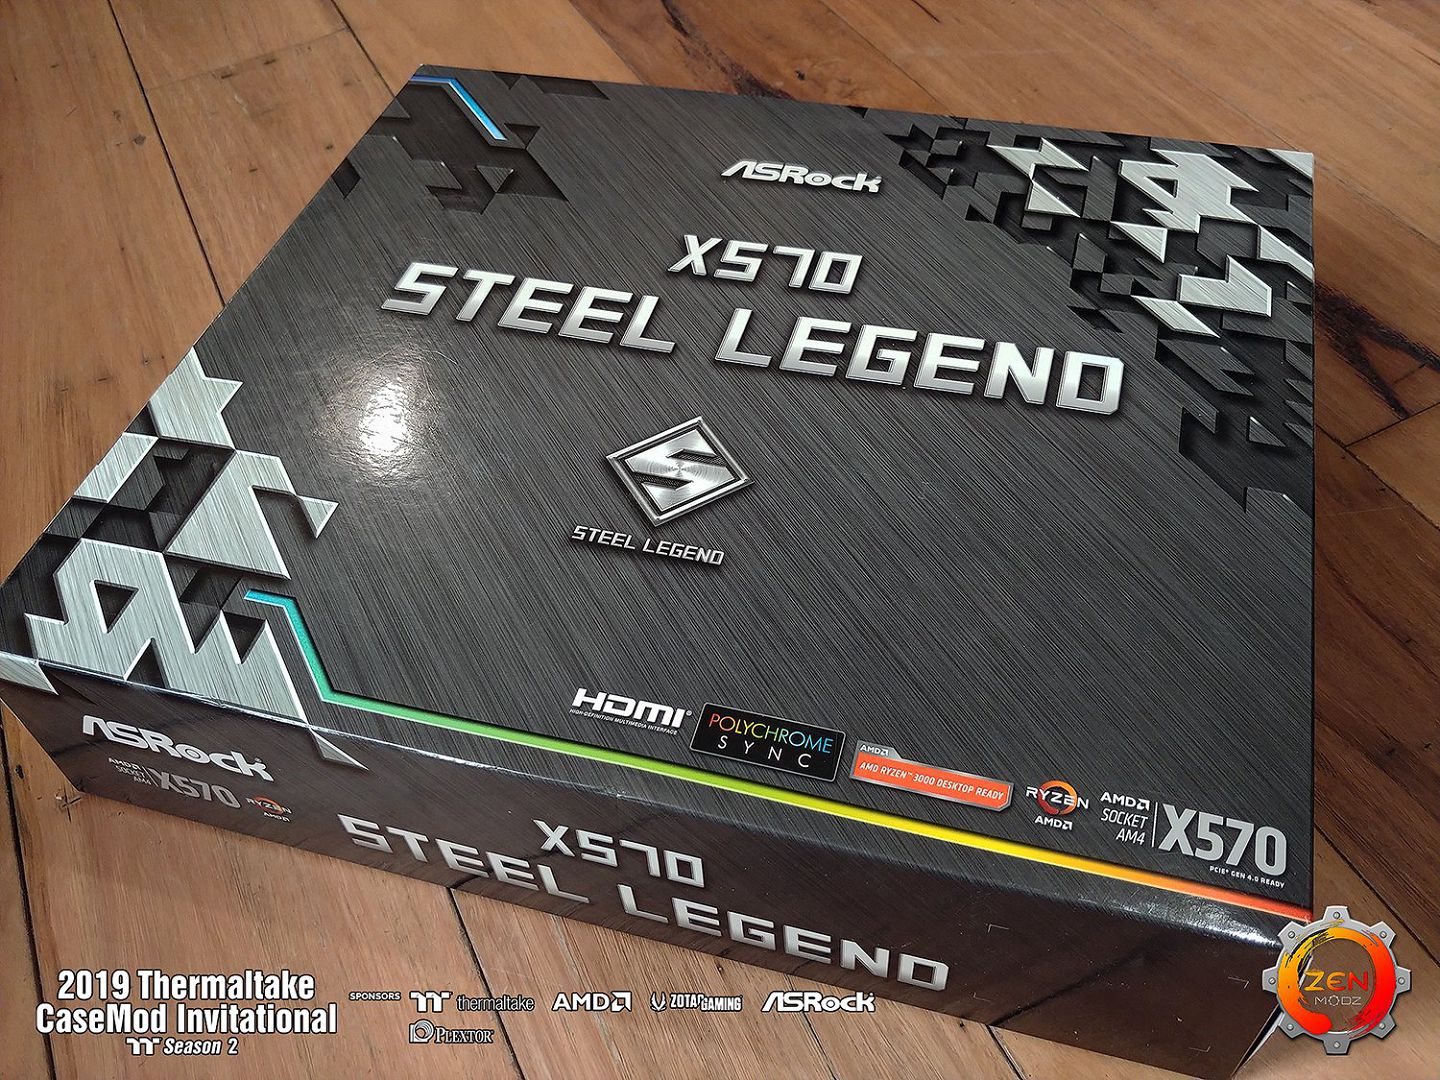
MOBO fitted.
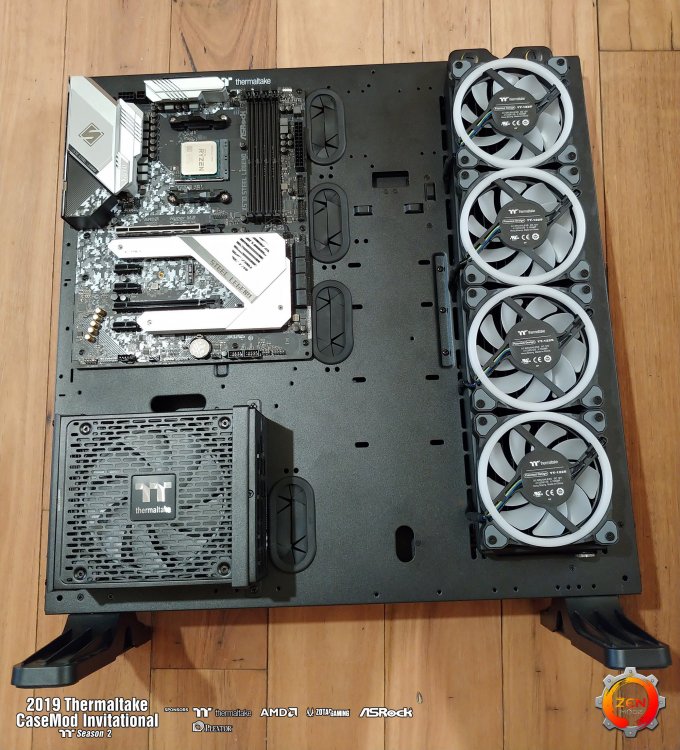
More soon.
I would love to have had the fan facing out like this below, But this method wont work with the dust filter on the back of the case.

-
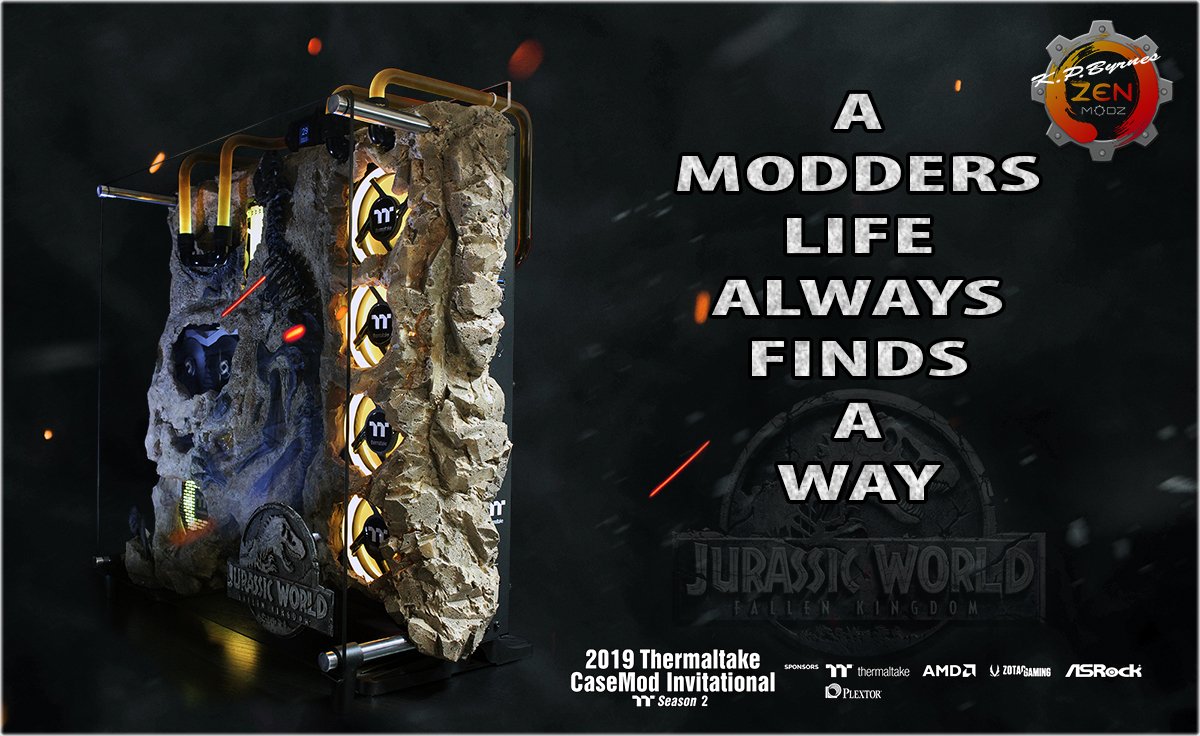
Hello, This will be the Theme I am going to be going with. I will be using lots of different techniques in this build. Tools used will be, AI, PS, Laser, Cnc,, Hand Sculpting. 3d printer. Airbrushing. and the good old paint brushes. Pulling out all the stops on this one. Should be fun.
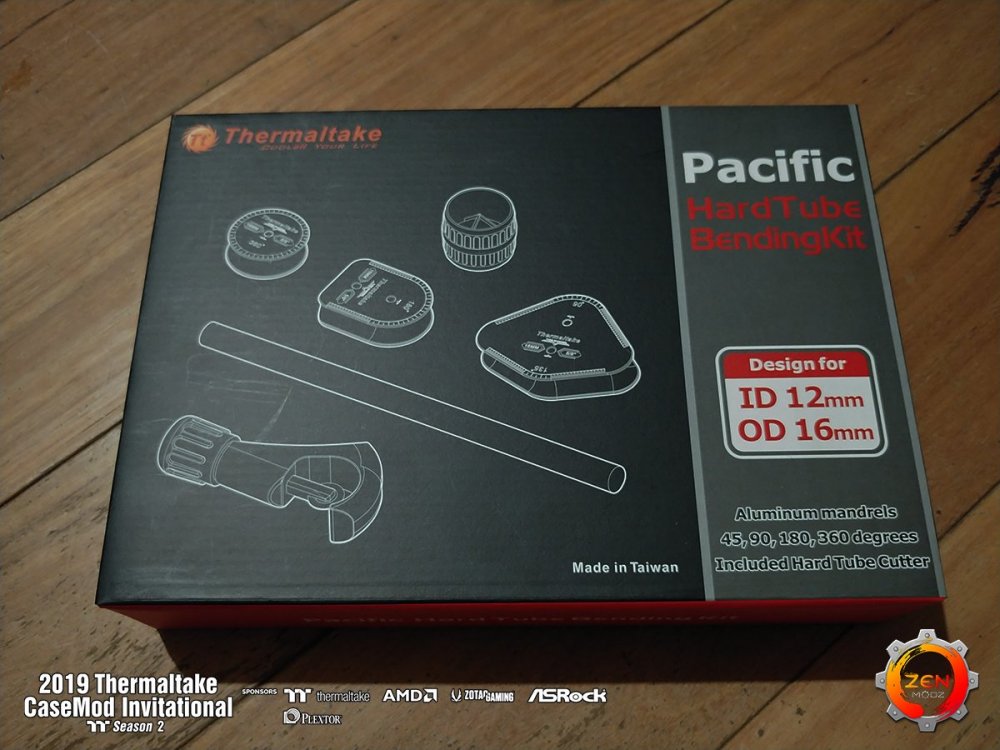
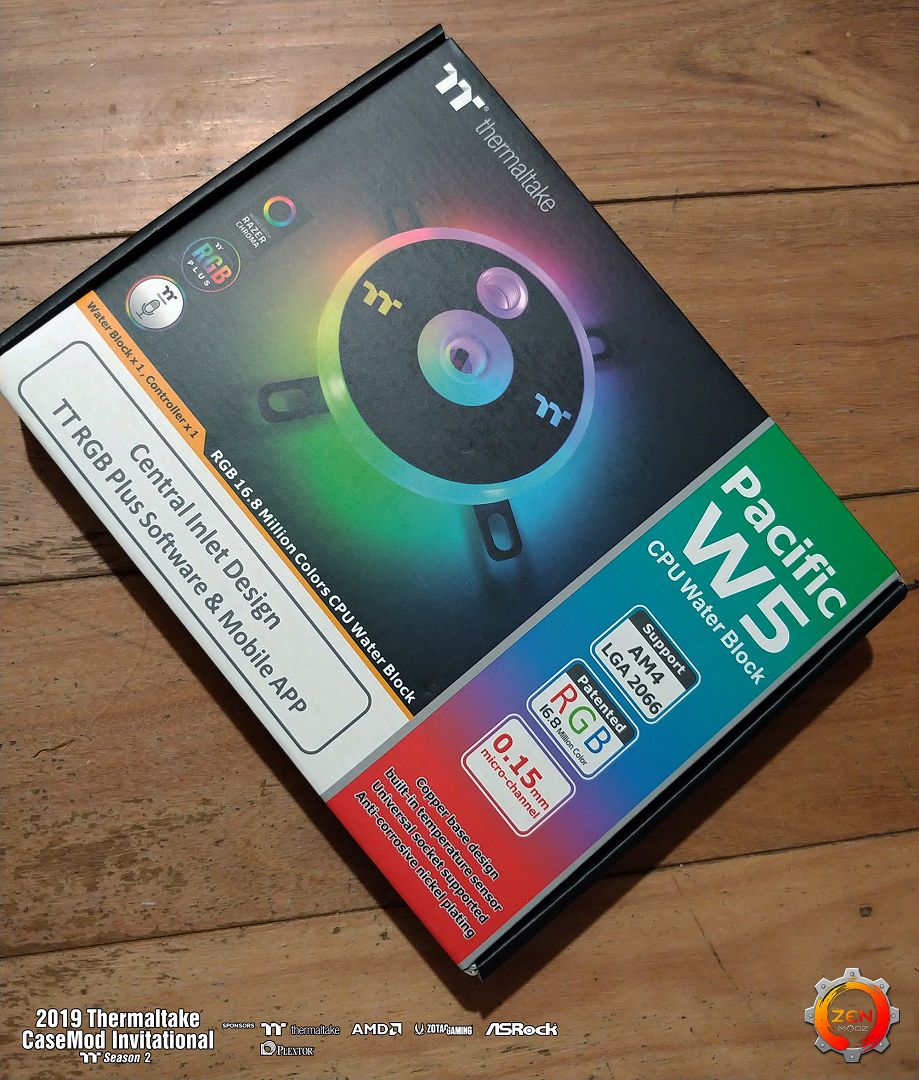
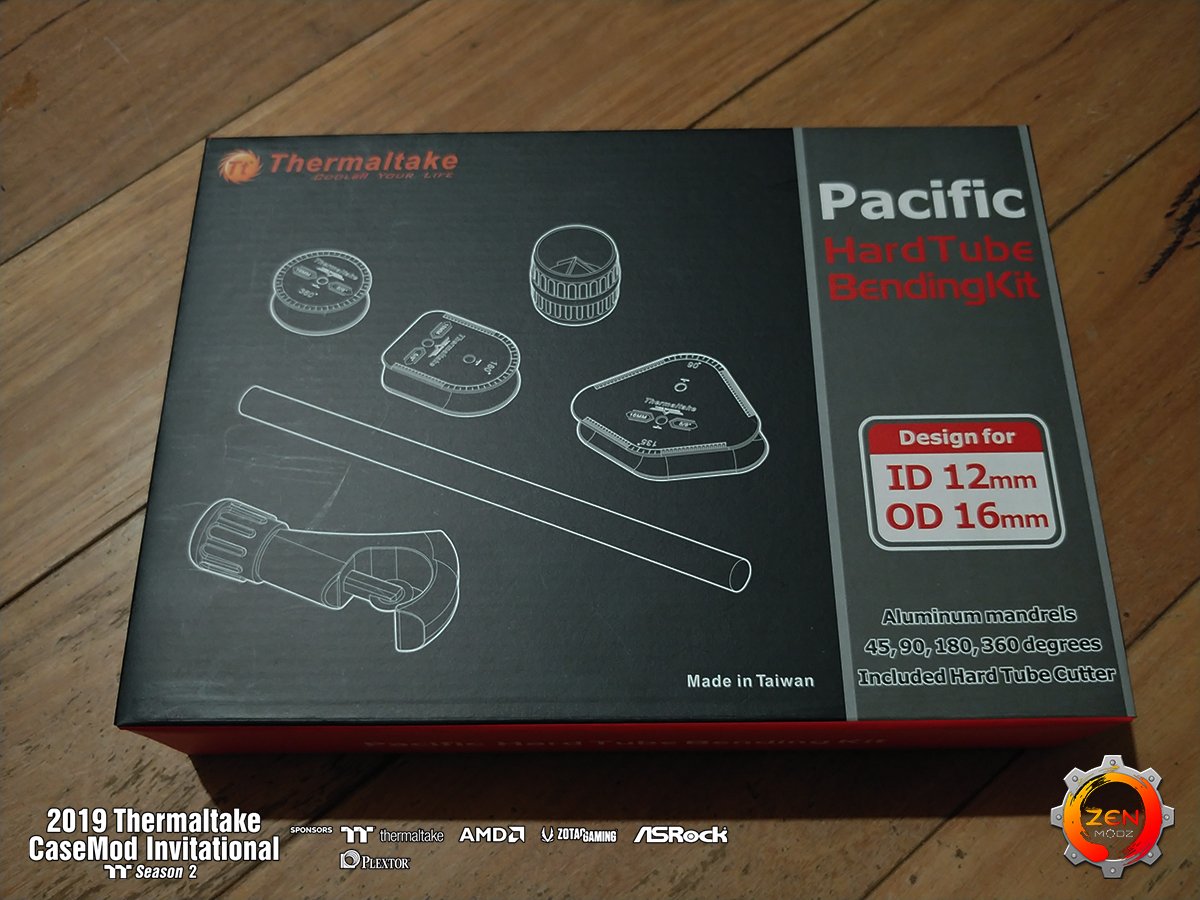
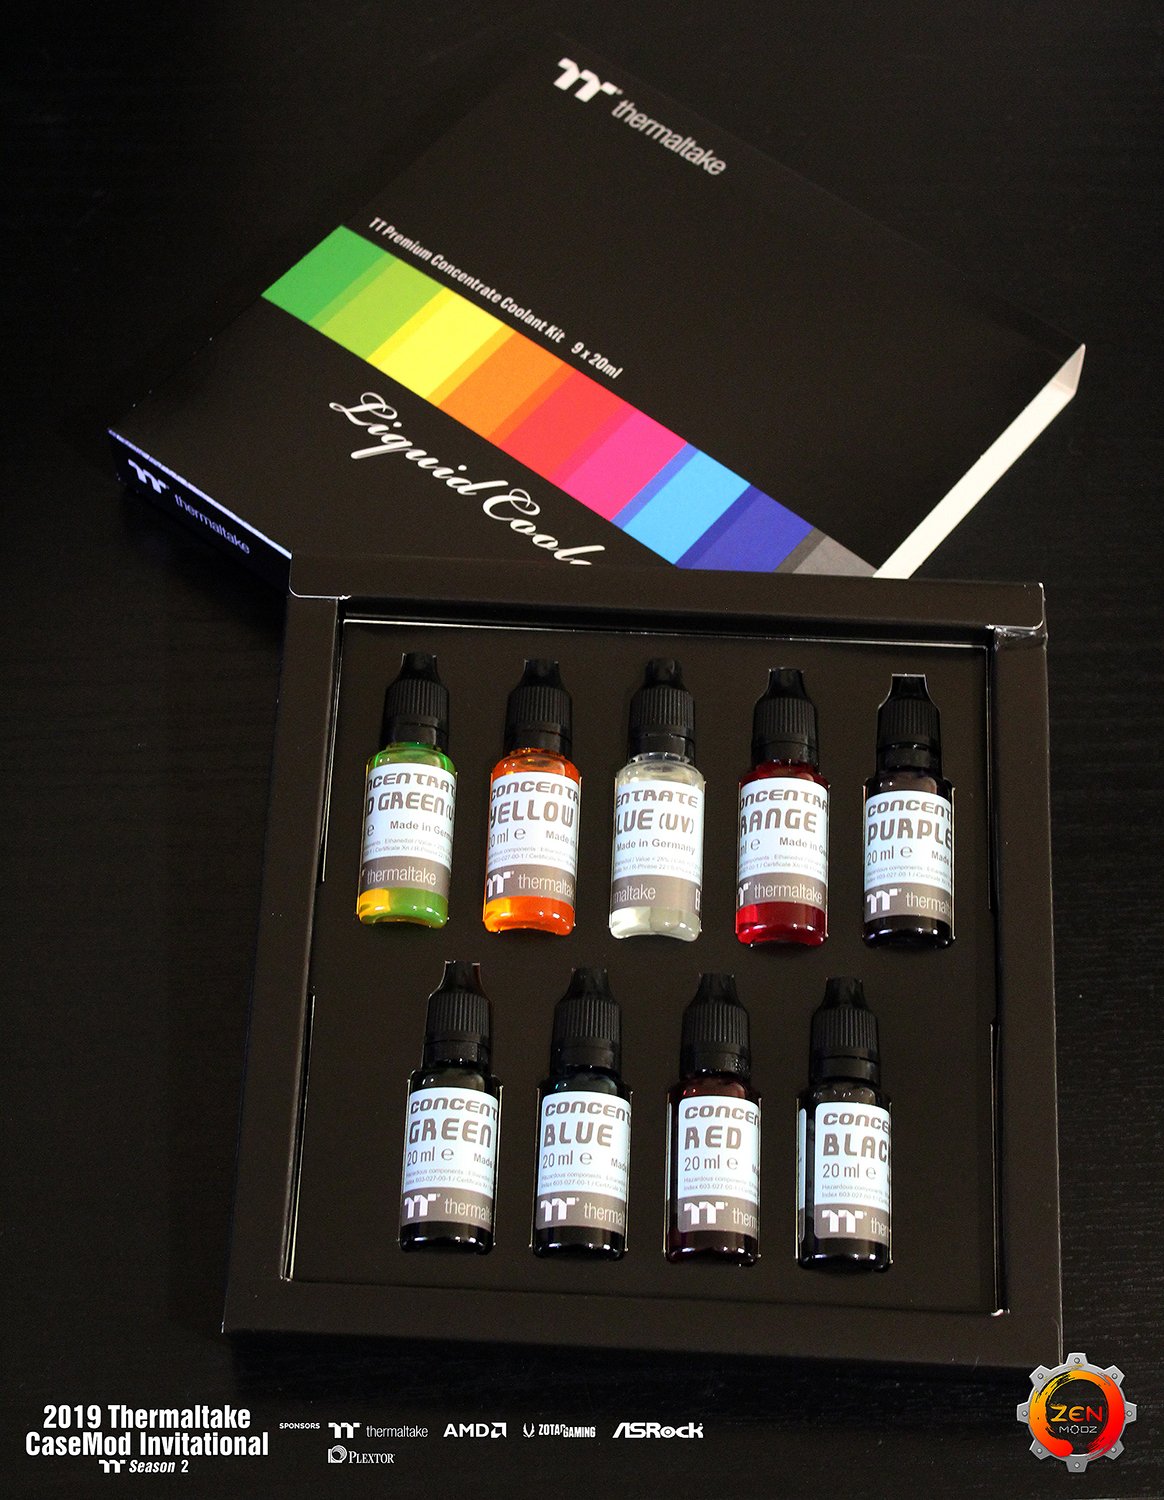
No hacksaw-ing the tubing this time.
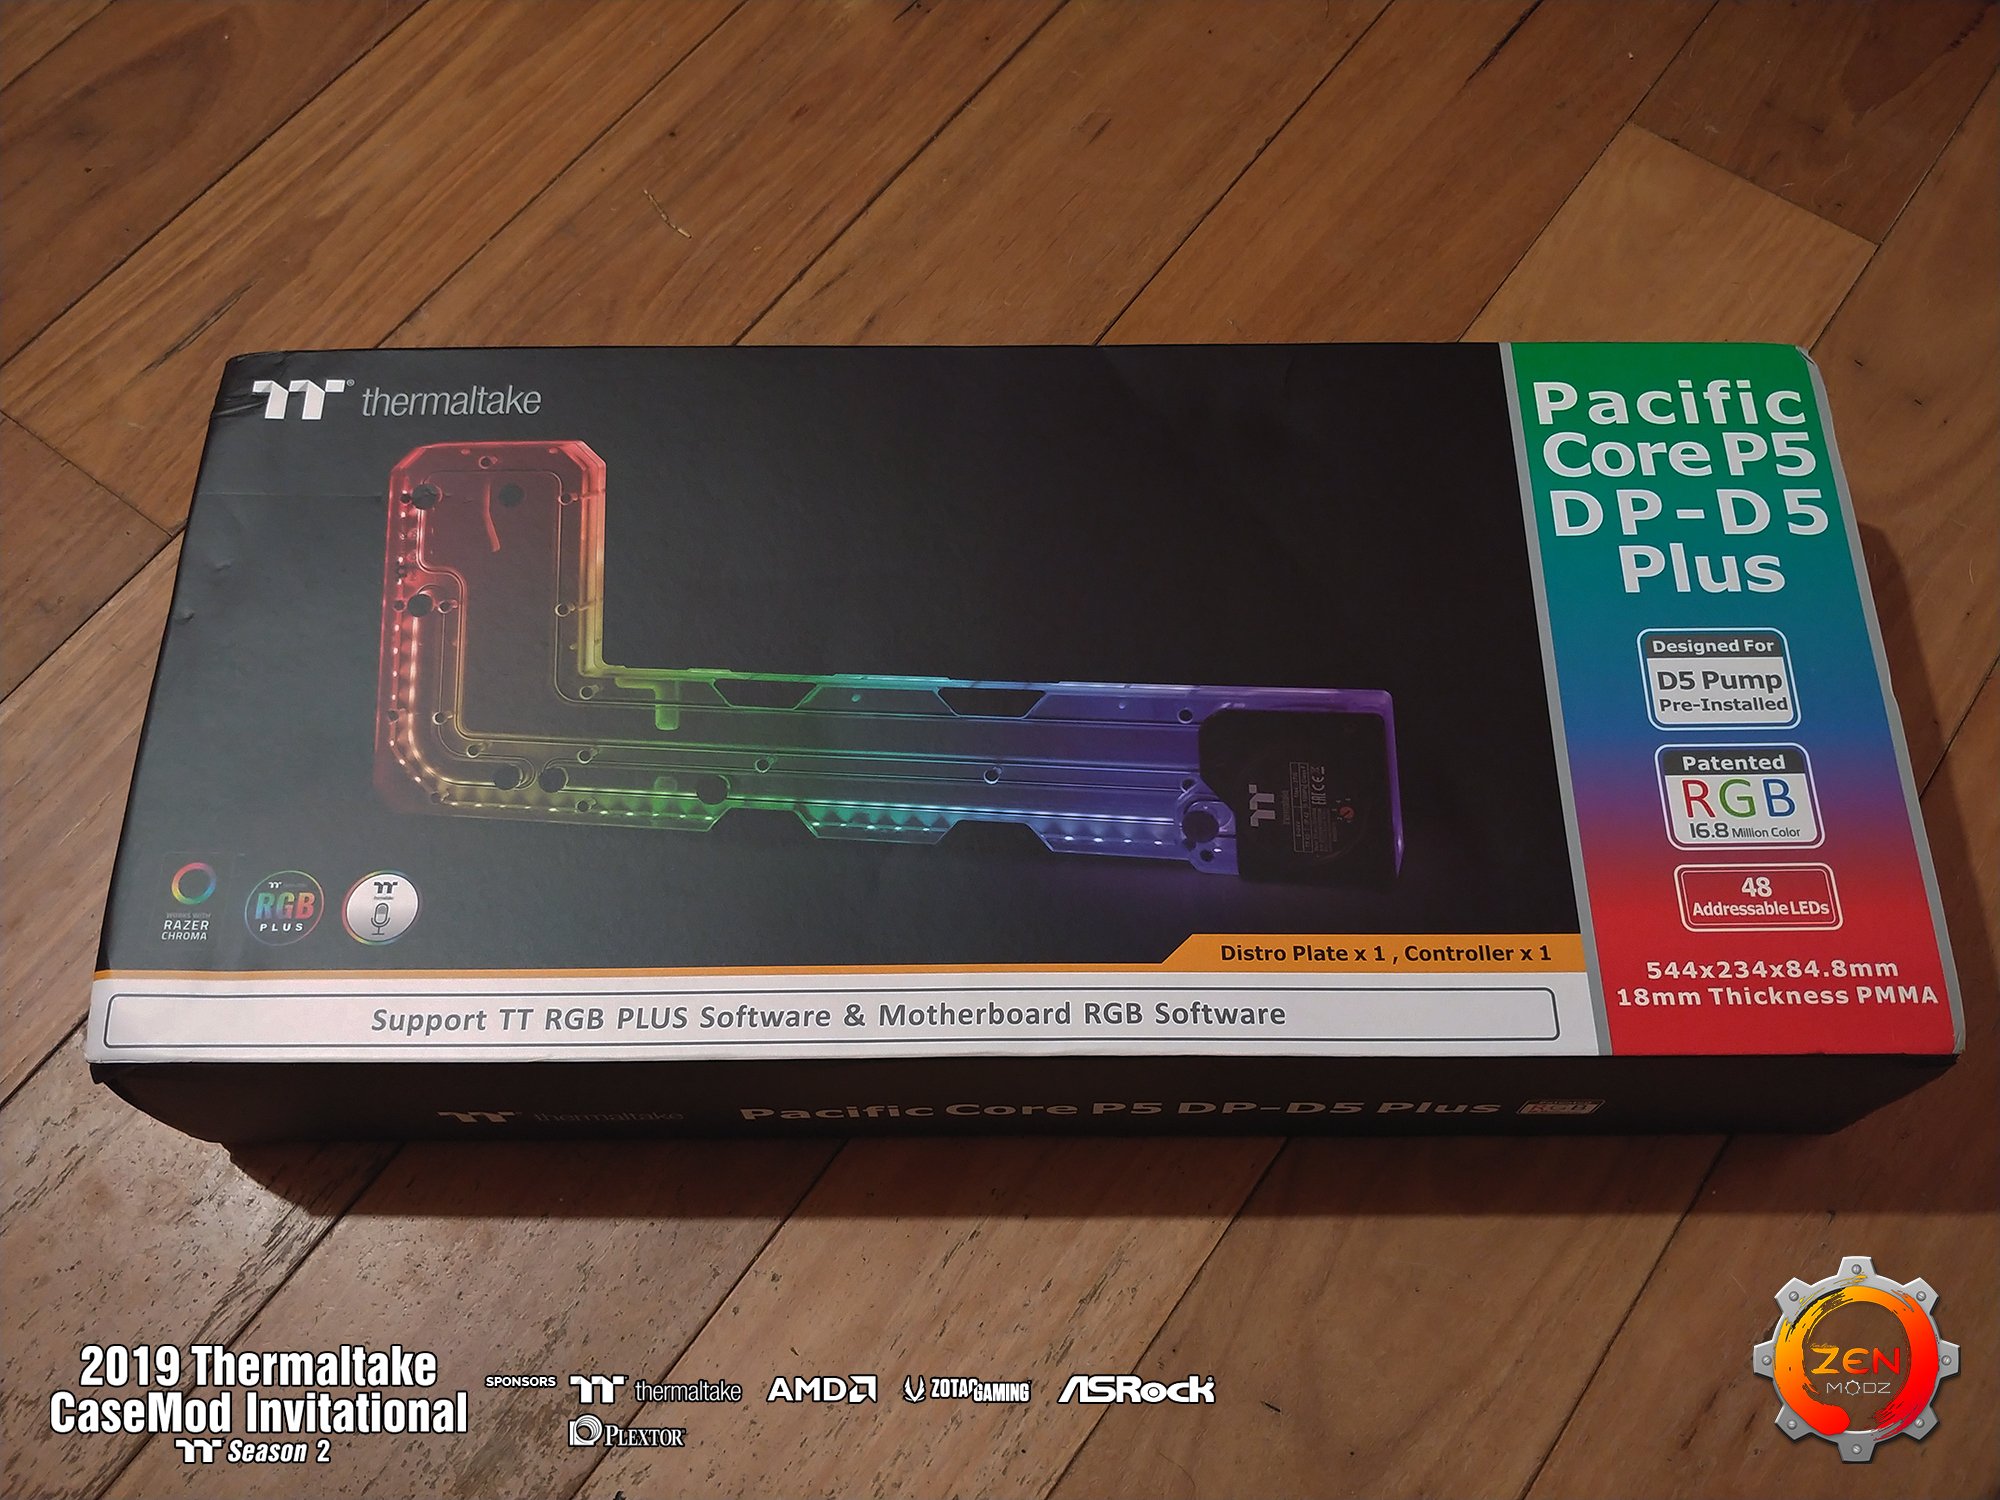
This kit should make this much easier to work with. Thank you TT.
-
-
Thank you very much traveleon.


[Australia] Ken Byrnes
in 2019 Thermaltake CaseMOD Invitational Season 2
Posted