-
Forum Statistics
8.6k
Total Topics55.5k
Total Posts -
Member Statistics
137,319
Total Members16,800
Most Online


Hukkel
-
Posts
50 -
Joined
-
Last visited
-
Days Won
1
Content Type
Profiles
Forums
Downloads
Events
Gallery
Blogs
Posts posted by Hukkel
-
-
As your "handler", may I just say that this turned out far better than I could ever hoped? It looks amazing when turned on (especially the front) and was a real eyecatcher. Lots of people at Insomnia 55 asked "Where can I buy this?"

I am super happy to hear it man

Happy you like it on a personal level and happy it did the job perfectly at the event.
It is all I could have hoped for and aimed for

-
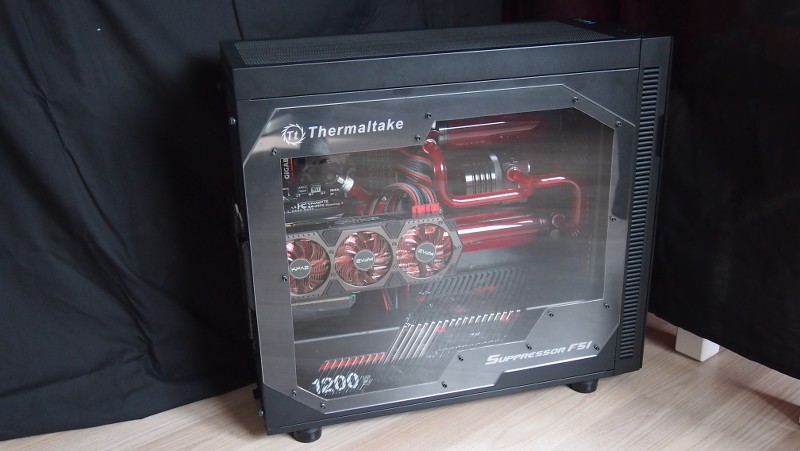
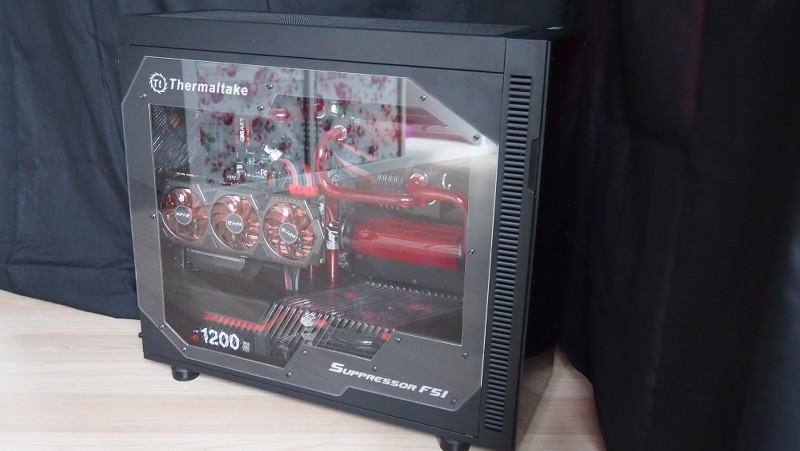
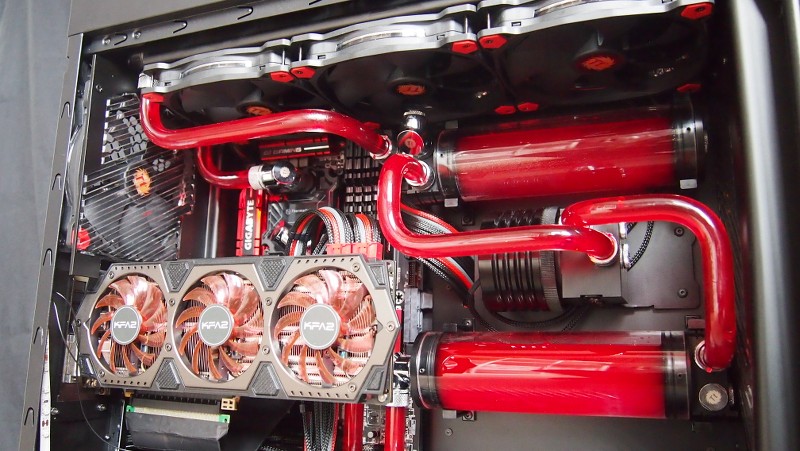
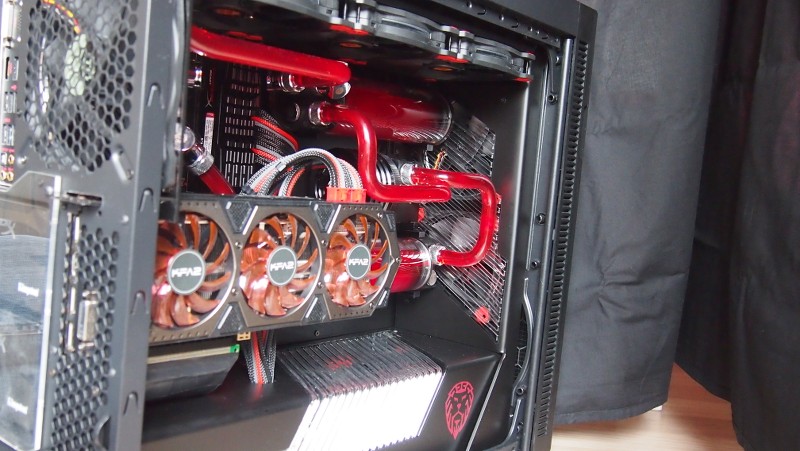
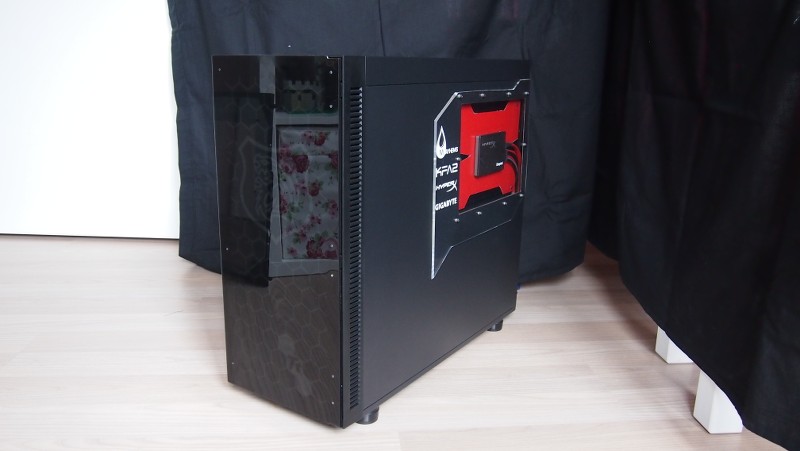
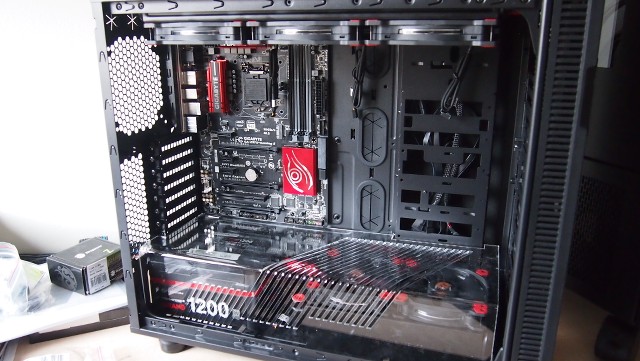
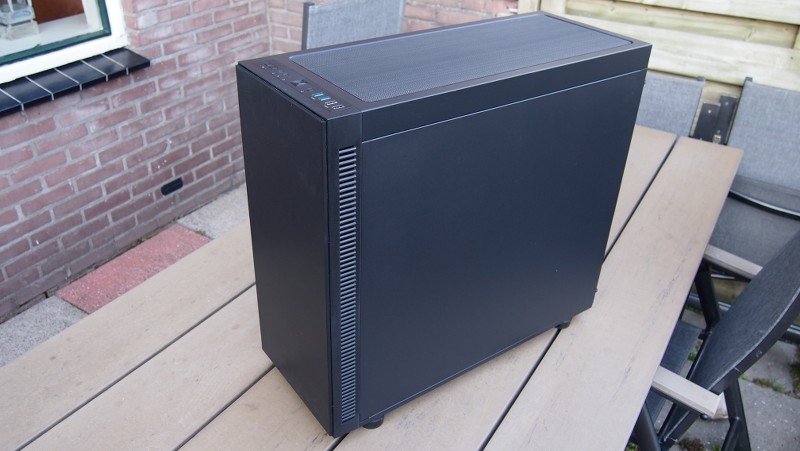
Here are some finished photos during daylight.


-
Something I always do at the very end, make the windows in doorpanels xD
It is like something I 'forget' to do because I work in it with the sidepanel off (duh).
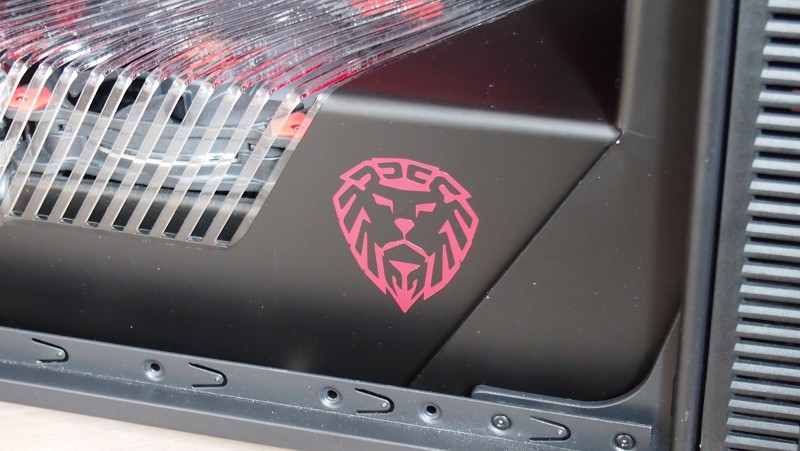
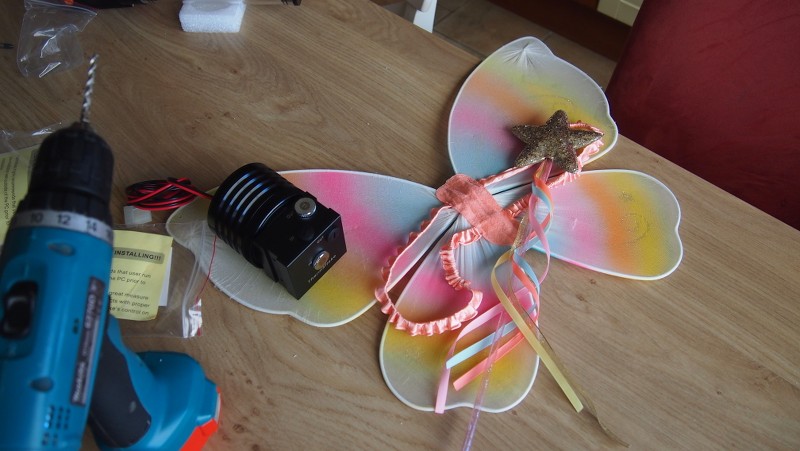
I bought something I wanted for a while now; a Silhouette Cameo vinyl cutter. And so far I am very happy with it. Easy to use software and nice working machine. I used it this time for dcals of the sponsors, the name of the case and my very own DLC lionhead that Ianovski designed for me so long ago. I love it!

-
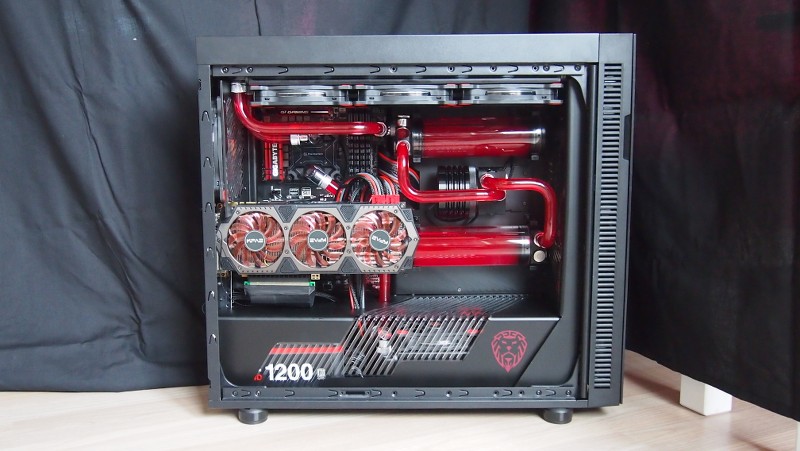
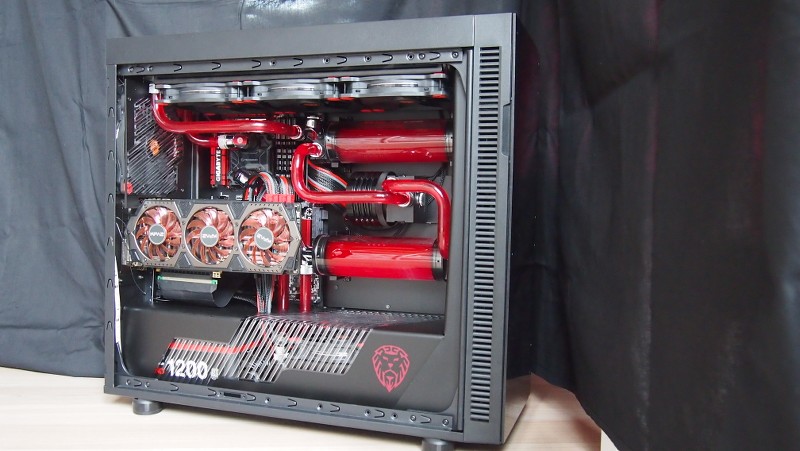
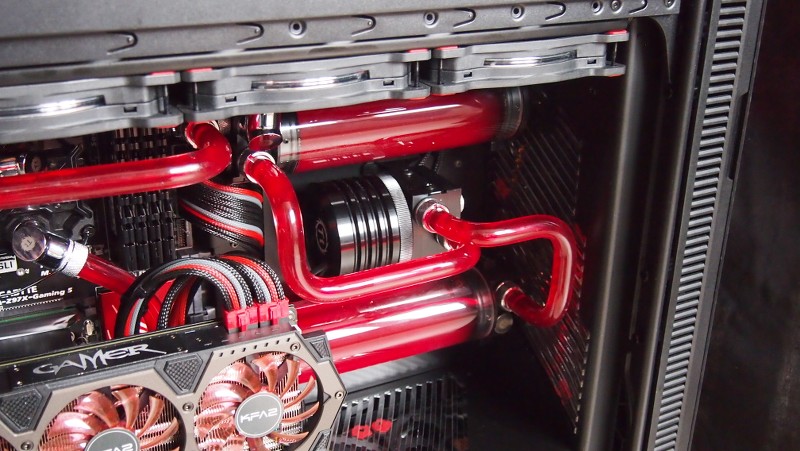
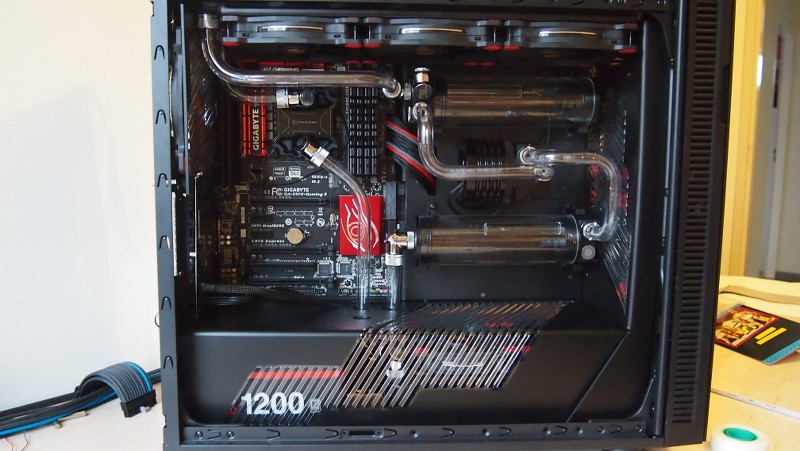
really like the layout and how you used the P1 standalone pump with the 2 res's.
Came out great man!
Thank you very much Mike. Appreciate it.
-
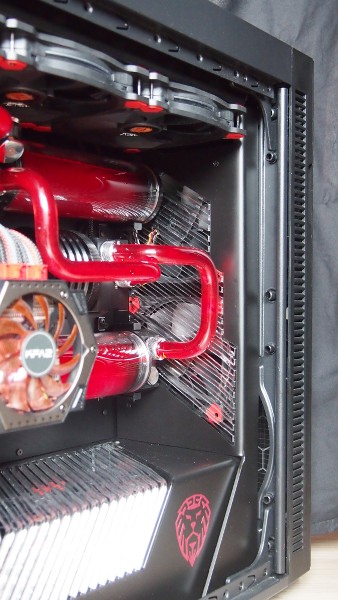
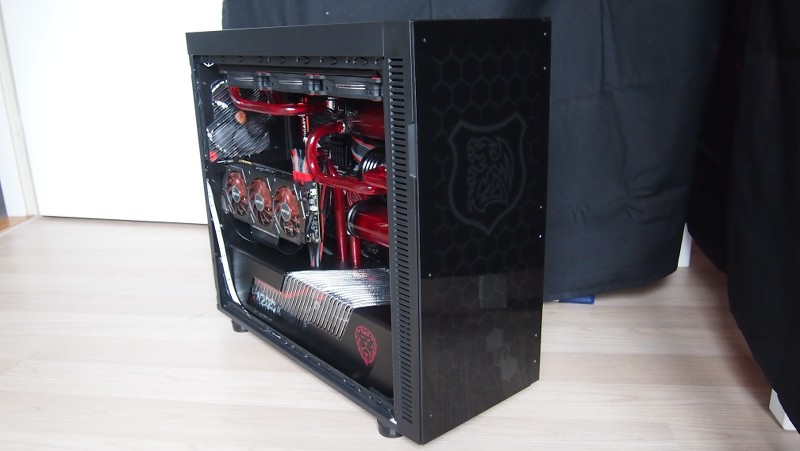
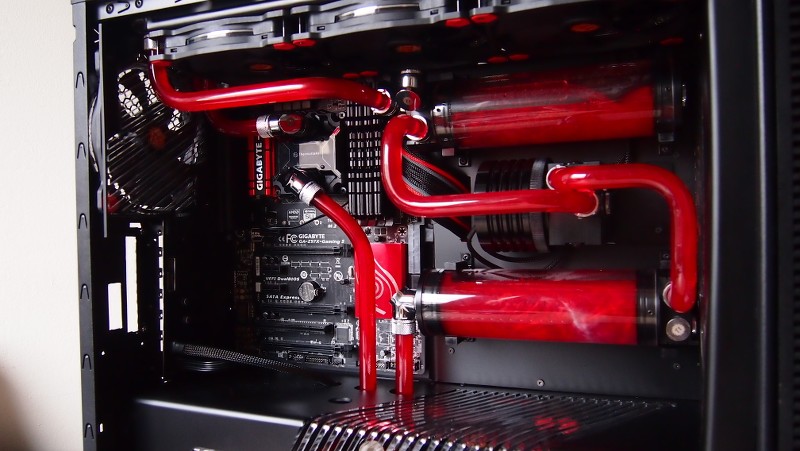
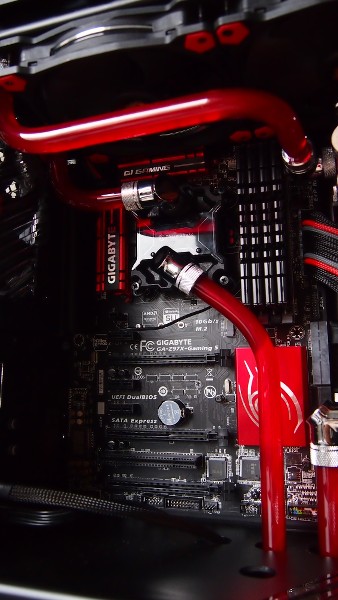
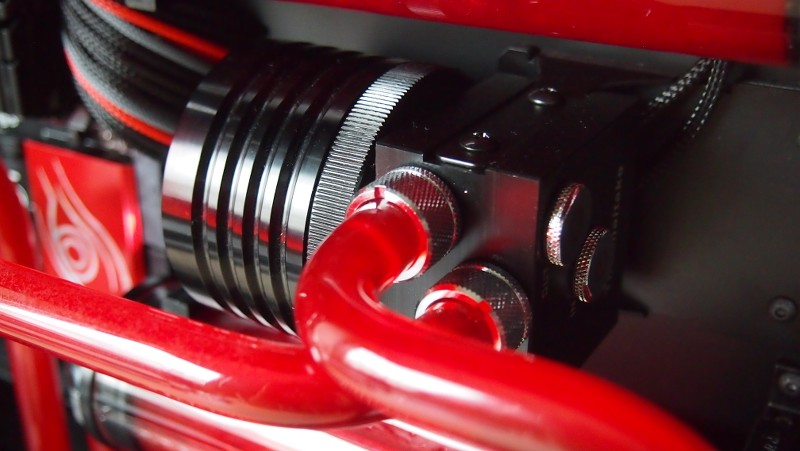
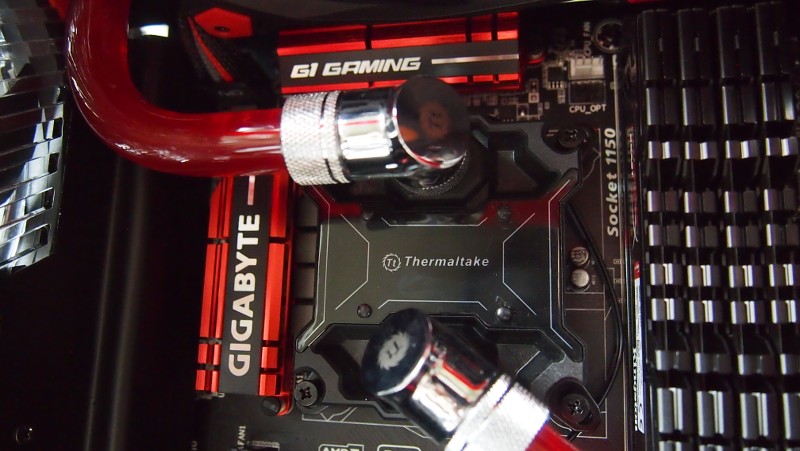
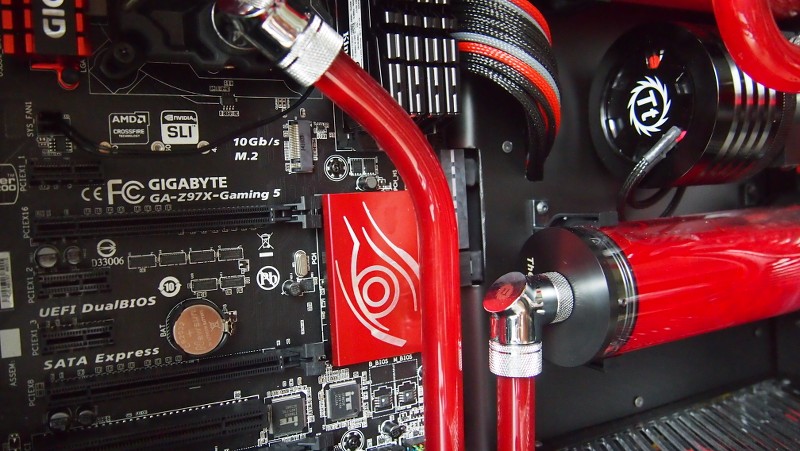
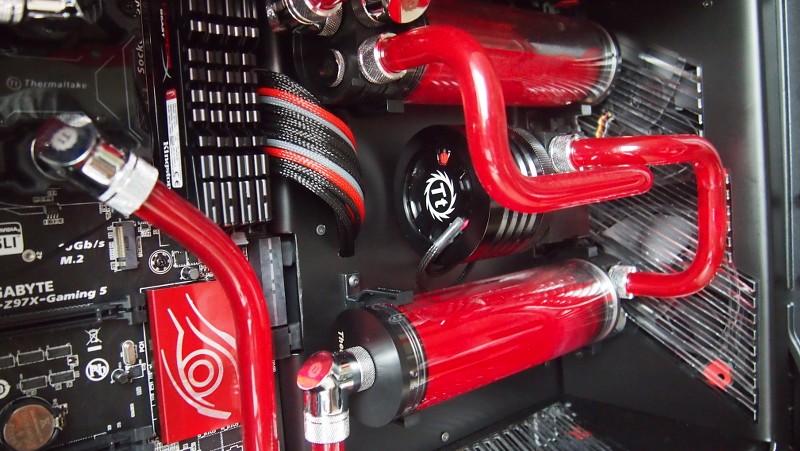
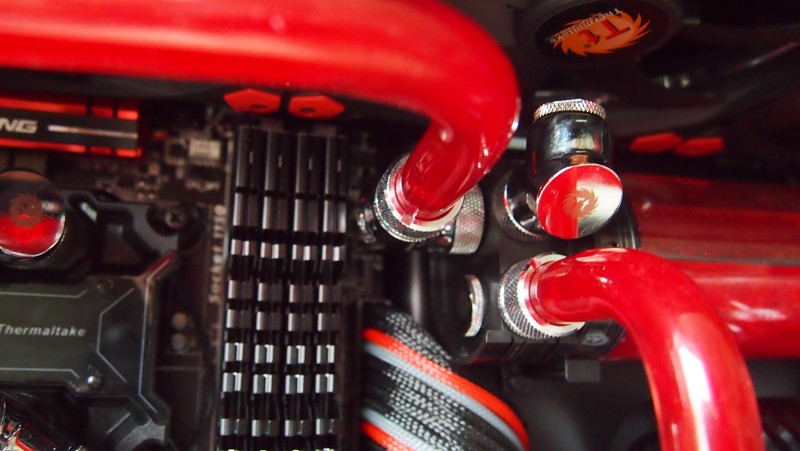
Then it was time to fill the loop and leaktest it


-
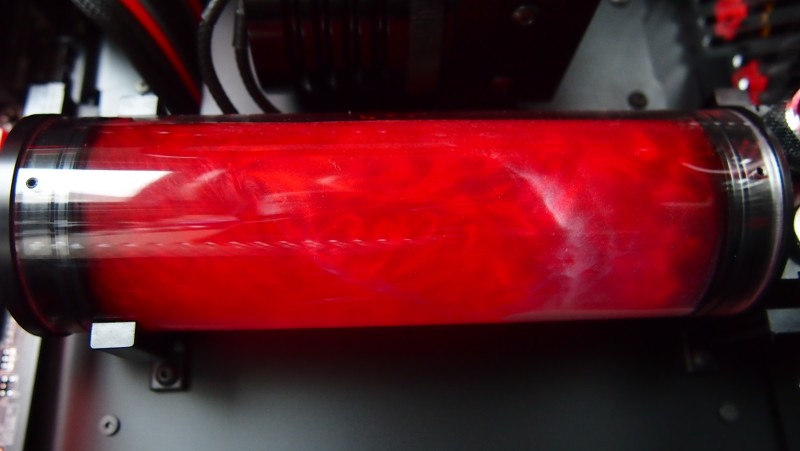
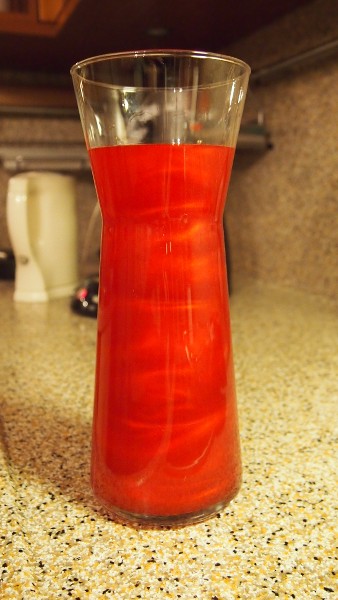
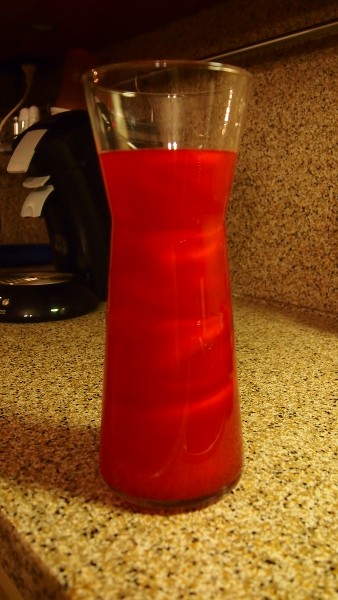
As always Mayhems was kind enough to provide this project with their coolant. This time I wanted to try Aurora for the first time. I went with Aurora red (duh). The colour was pretty much spot on from the bottle.
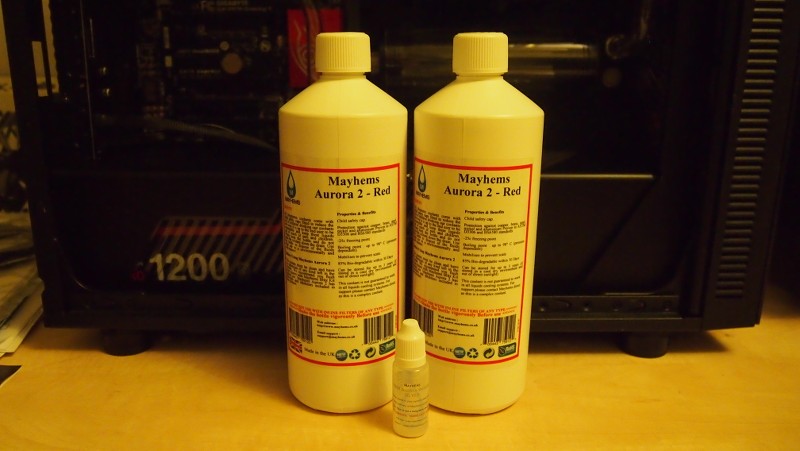
Thank you so much Mayhems and especially Michael for helping me out with projects.

I spent 2 evenings creating the loop by cutting and bending the Thermaltake PETG. I made no photos of that
But here is the finished loop.
-
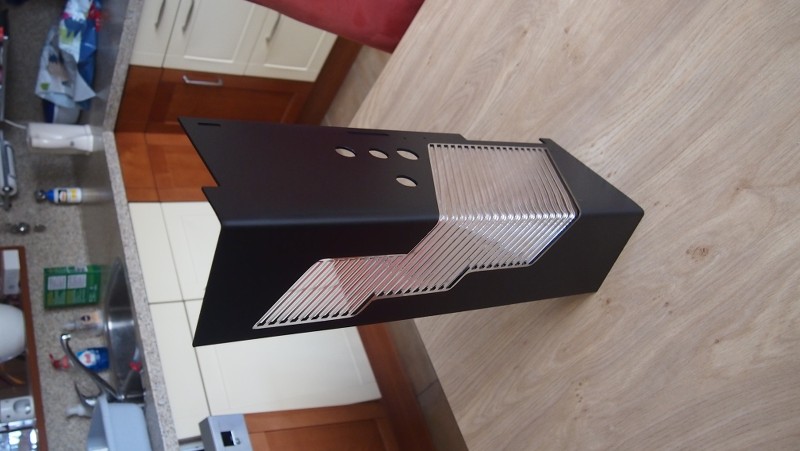
Next update. I had made all desired holes for tubing in the PSU shroud so I could paint it. I am very happy with the end result.
-
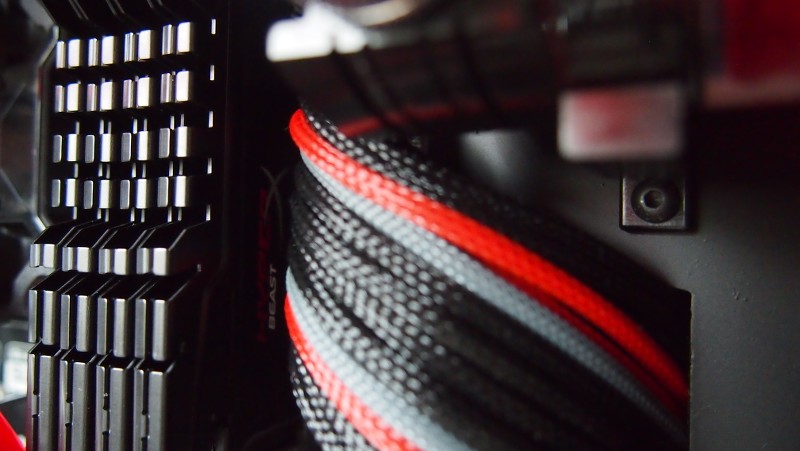
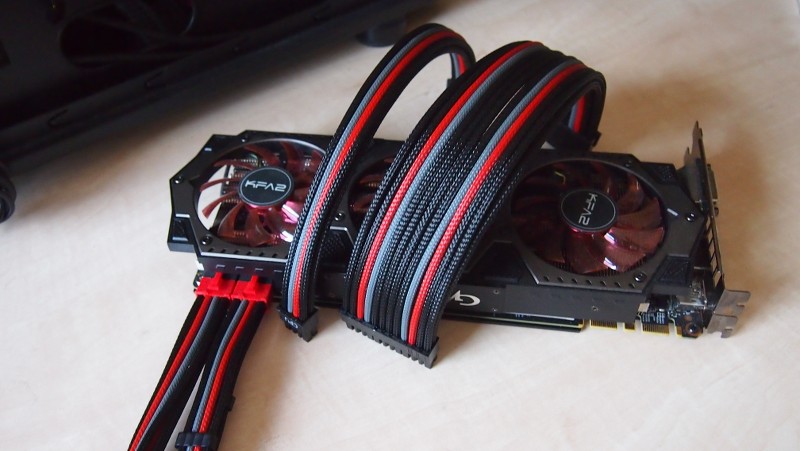
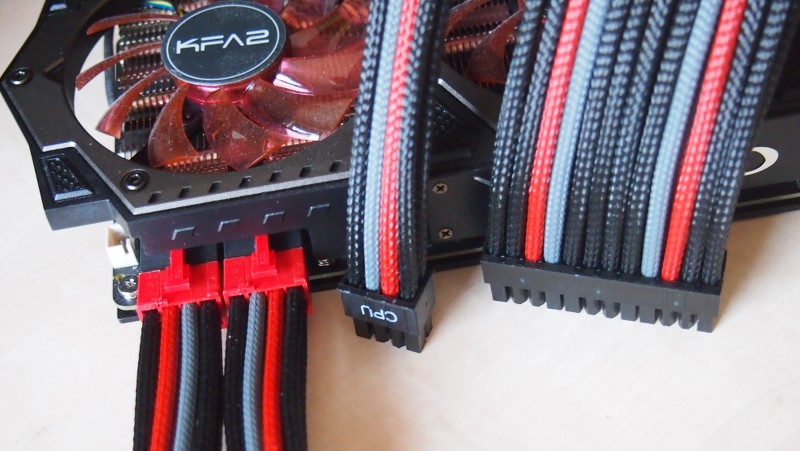
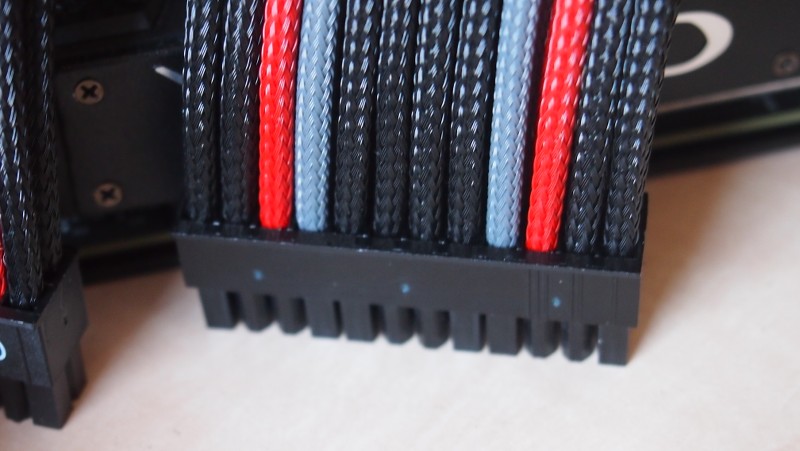
I made some sleeves for this system. 24 and 8 pin EPS rainbow extensions. For the GPU I redid the stock cables. Had to shorten them considerably. They will run stright up from the PSU to the GPU through the PSU shroud.
-
This is a short video of the new front of the case.
The stock front is black plastic and has a sound dampening layer behind it.
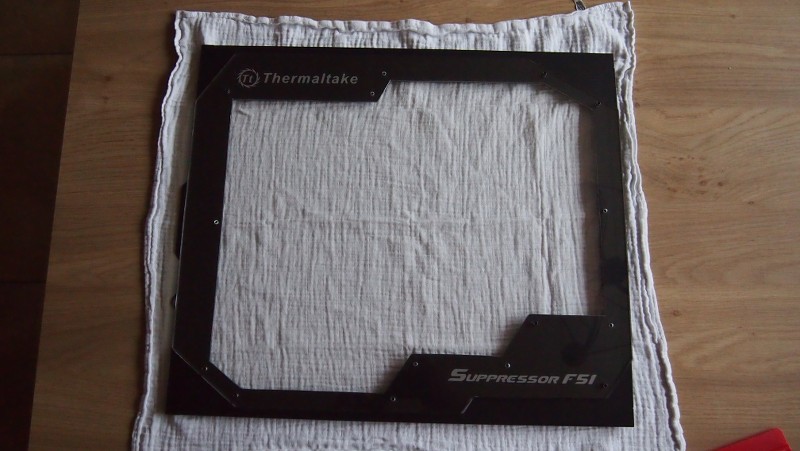
Like I showed in my first update in this log I took the front off and sawed out the sound dampening layer. I replaced the front big panel with a special LED black plexiglass one that changed colour based on the light behind it. I then painted the rear of it black and lasered out the gfx Django drew for me (big thanks like always Django). Then put a clear plexi panel behind it with a pattern lasered into it and a red LED strip around it.
This makes it so that when the PC is turned off the front is just about black. And the gfx only show up when the PC has been turned on.
For those that might see it directly. Yes I have been influenced by the new In INWIN case with the red hex front. The technique behind it is different, but I liked it a lot and I thought it would suit this system a lot. Especially with the TT esports logo and the TT in the bottom end. The front stays clean like this, no opening for fans or grill. But still it looks different
Aceq49SsBlU
-
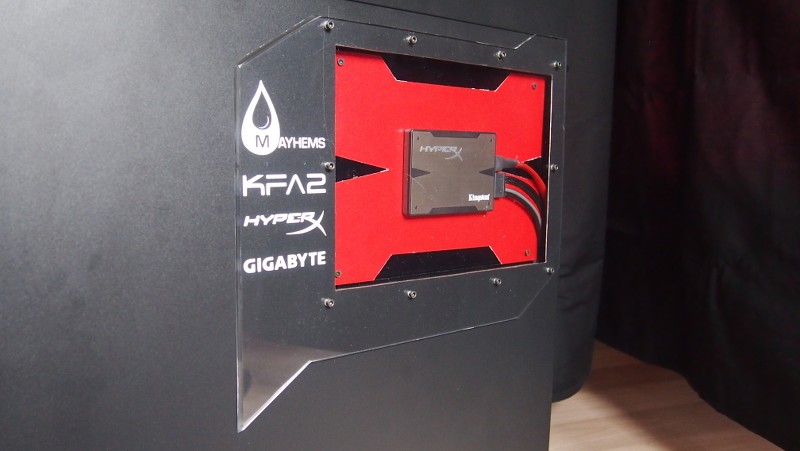
Onwards with some more plexi work
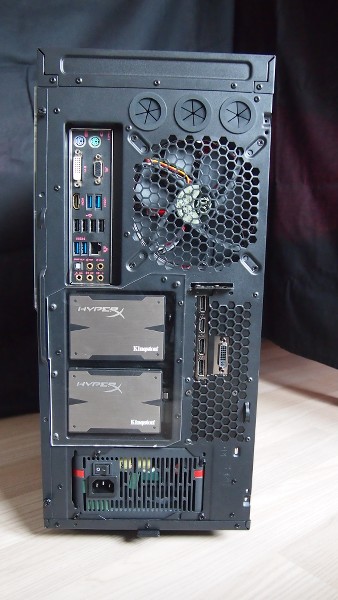
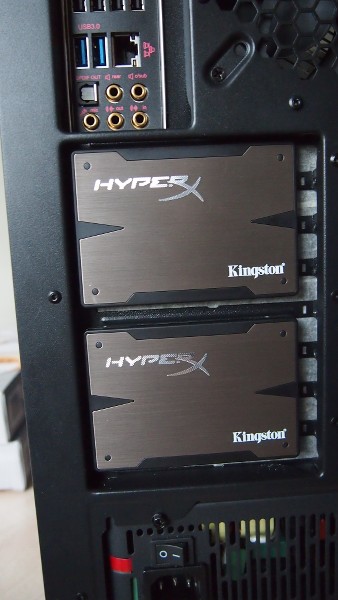
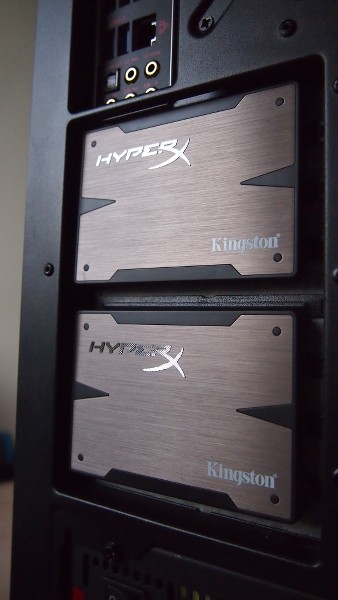
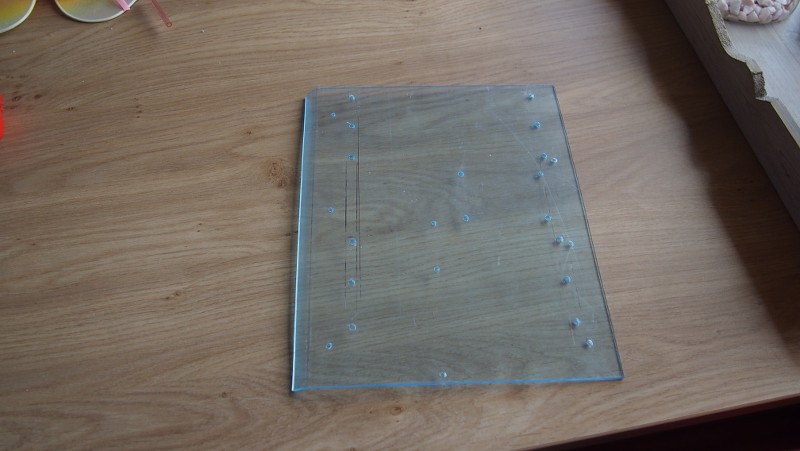
First off the small window for over the rear SSDs. This is there to protect the SSDs from people that like the ones too much that are fitted to the rear of this project. I tried to somehow keep some lines from the inside involved in this.
I polished up all edges of the window.
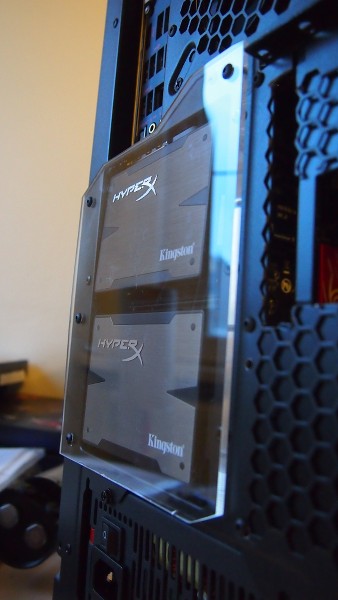
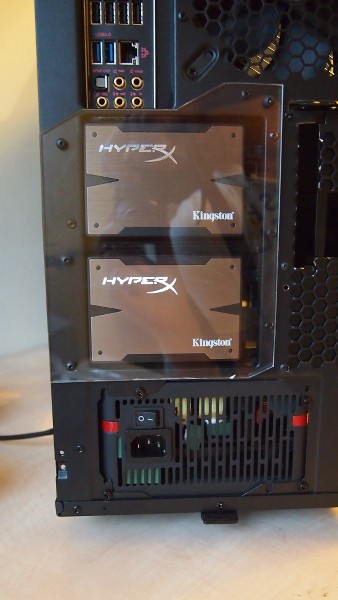

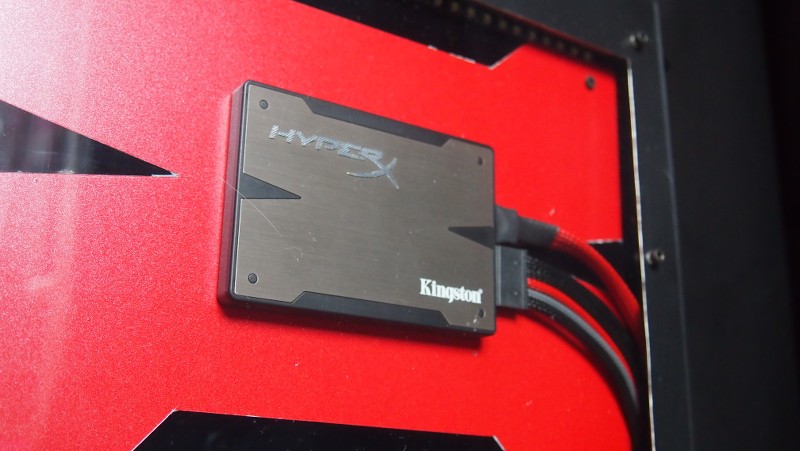
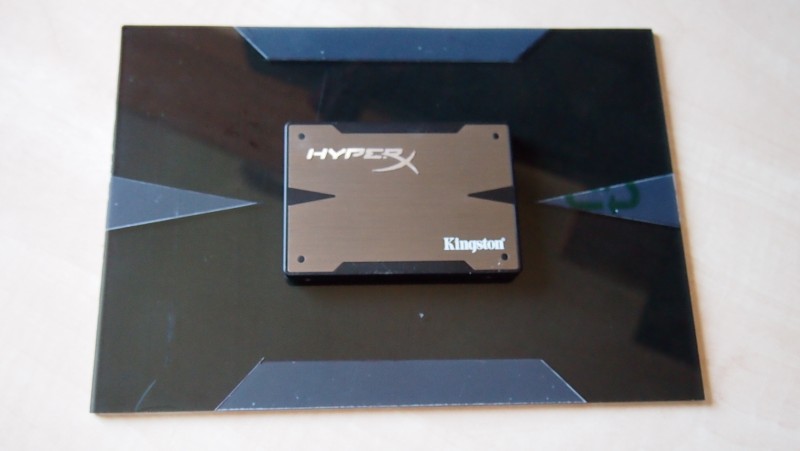
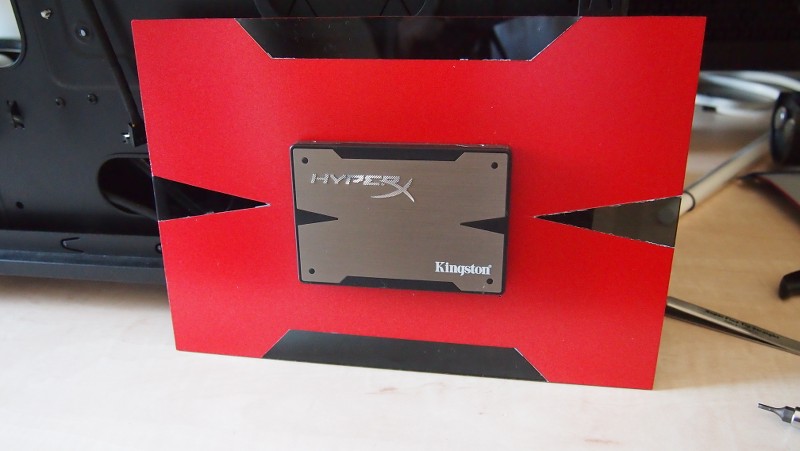
Next up another piece of acrylic. This time for the mounting of a single HyperX SSD. I tried to make the shape of the paintjob resemble the X on the SSDs. This will be mounted behind the motherboard tray with a doorwindow so it is always visible.
-
Fitted some of the goodies
-
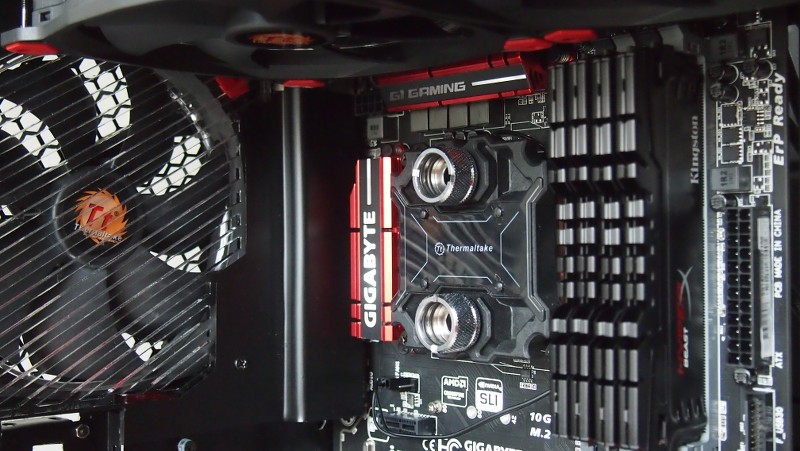
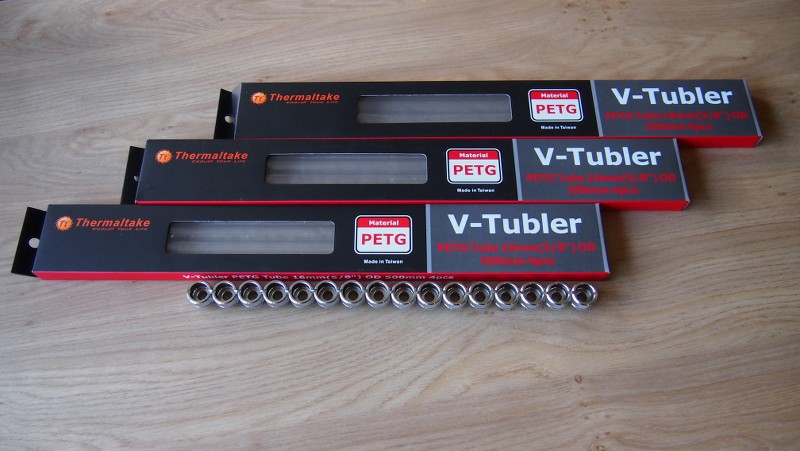
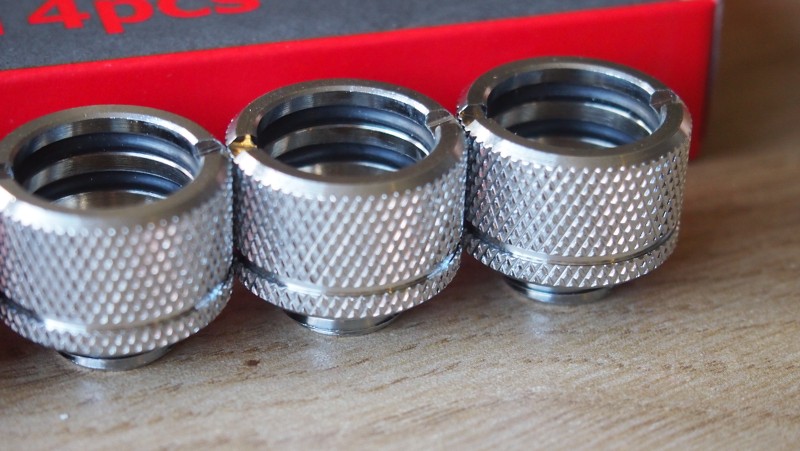
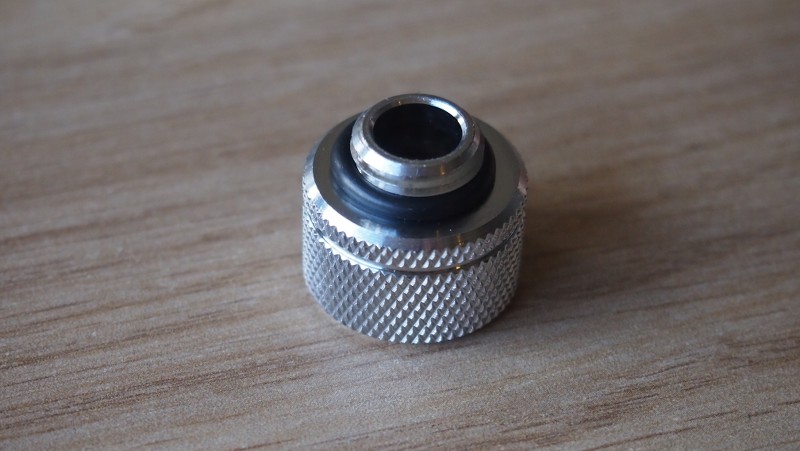
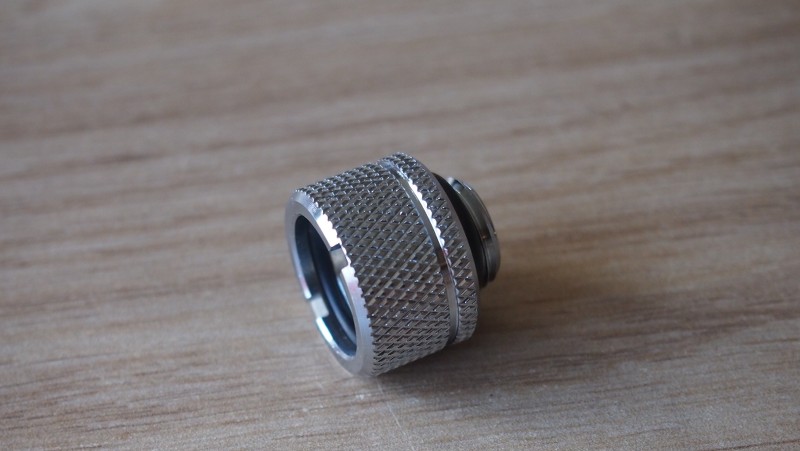
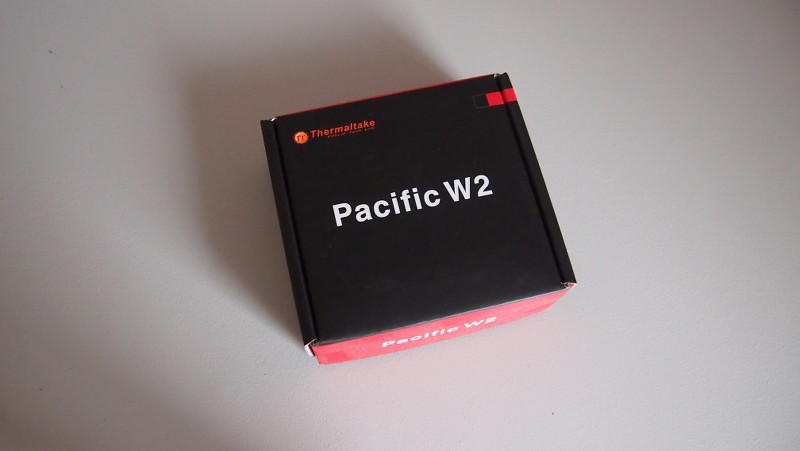
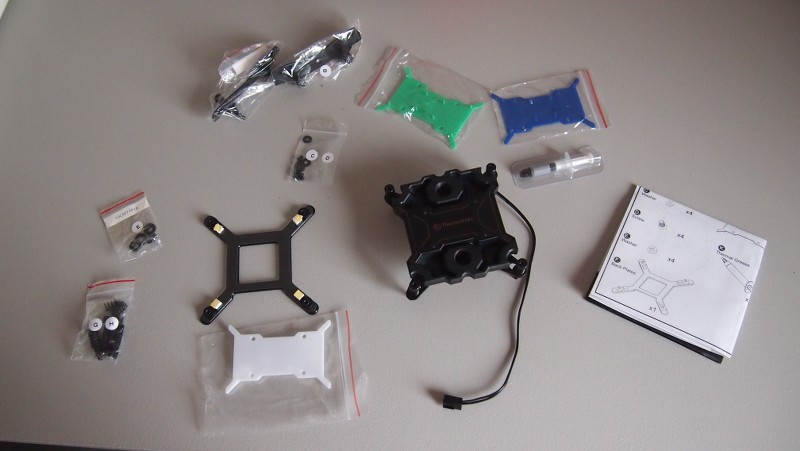
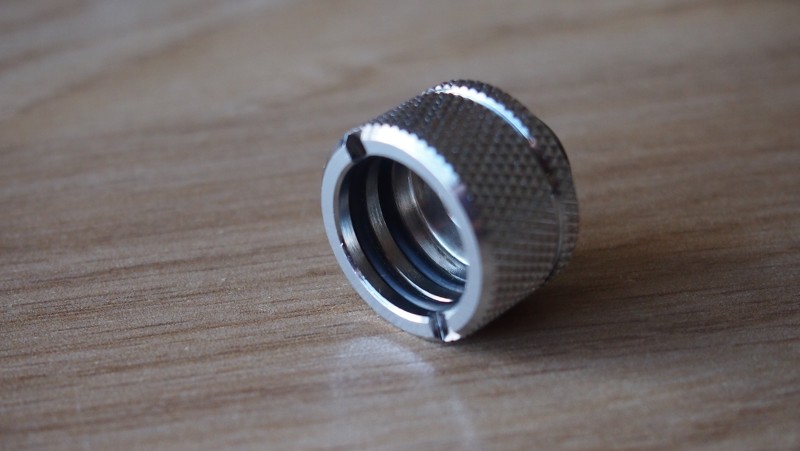
This delivery I received later. The waterblock to use and fittings for 16mm hardline tubing and about 6 meters of Thermaltakes own 16/12 mm PETG tubing.
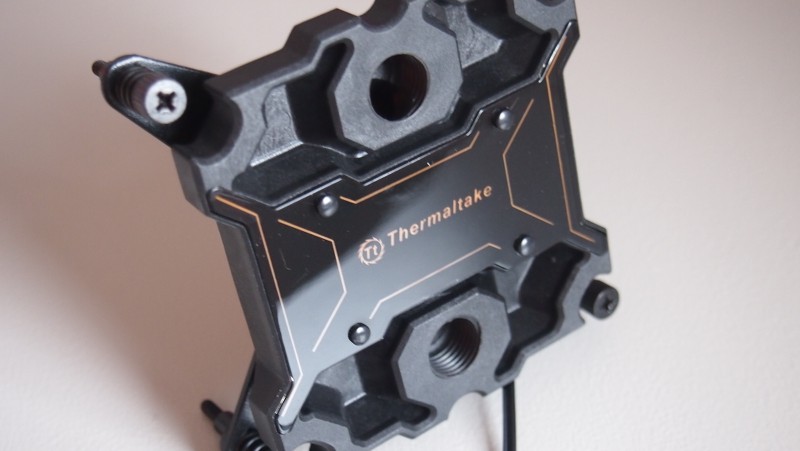
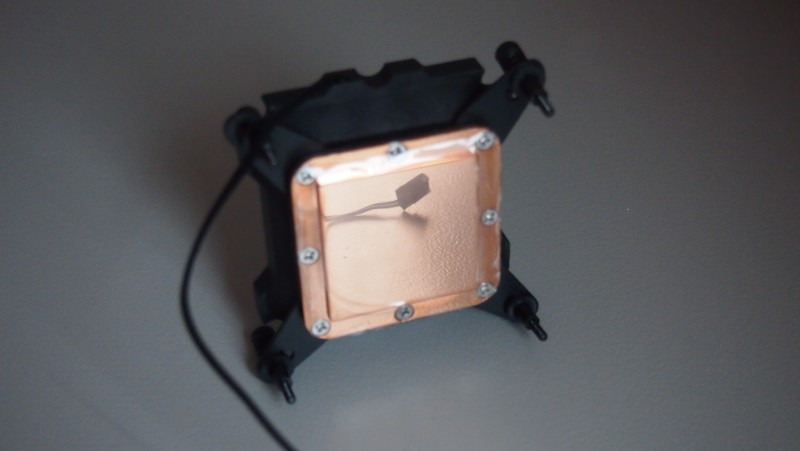
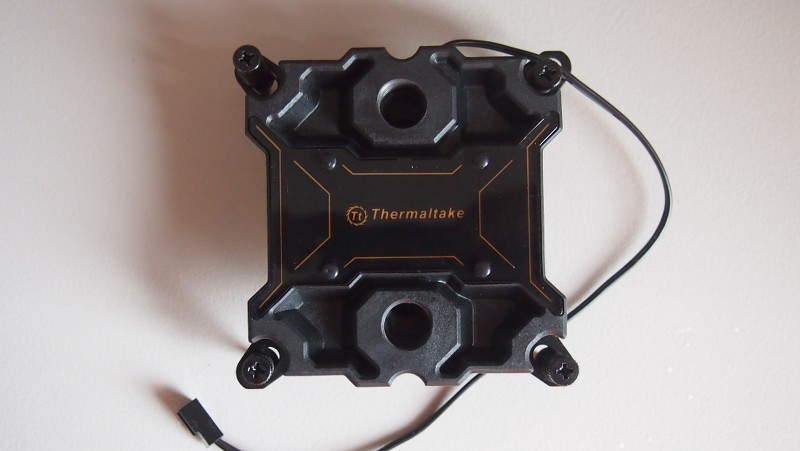
I am arriving at the point where I can finally start fitting some hardware.
Thanks Martin for the emergency package.
- ThermalMike and Tte Martin
-
 2
2
-
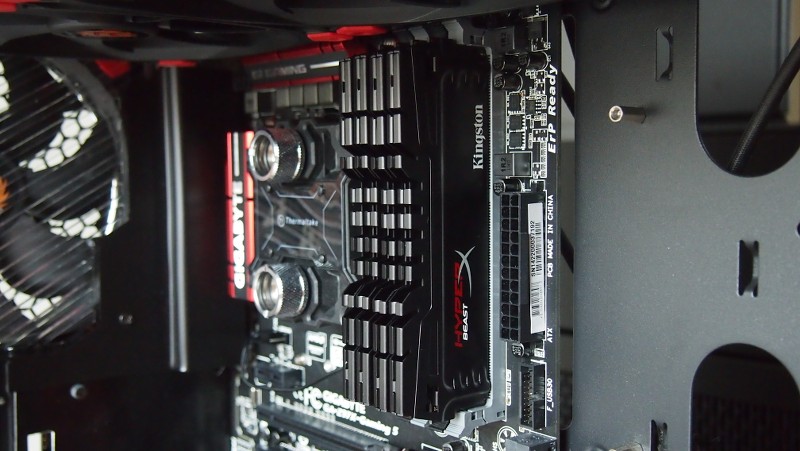
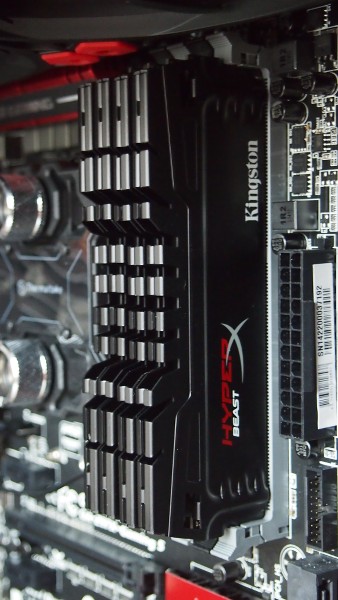
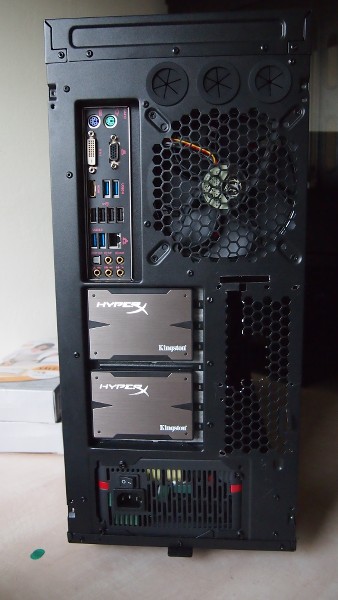
For this project HyperX again showed their support by putting in a set of 4*8GB 1600Mhz DDR3 HyperX BEAST modules. With the nice black PCB they are rocking nowadays. :thumb:
And 3 of their 3K 120GB SSDs. Both fitting the colours of this theme perfectly.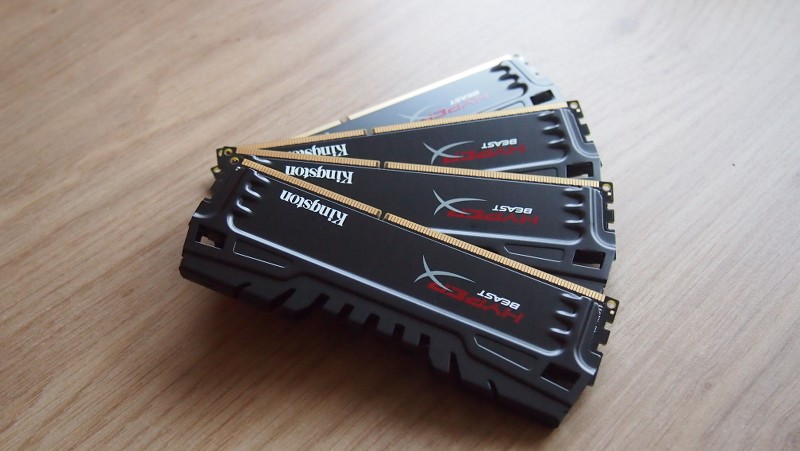
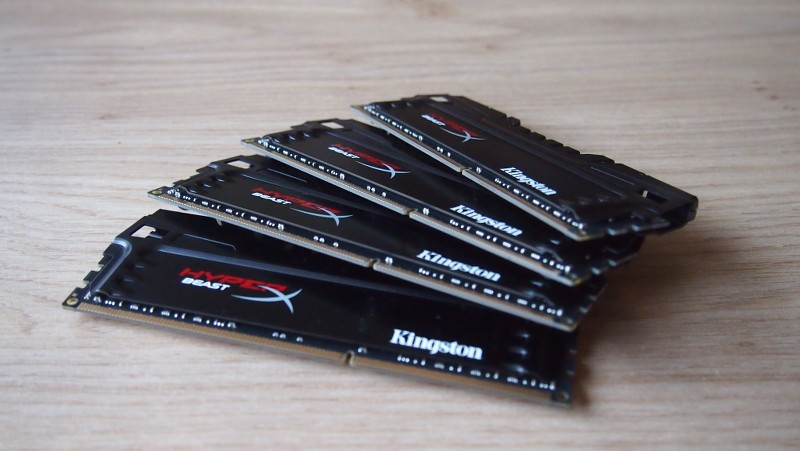
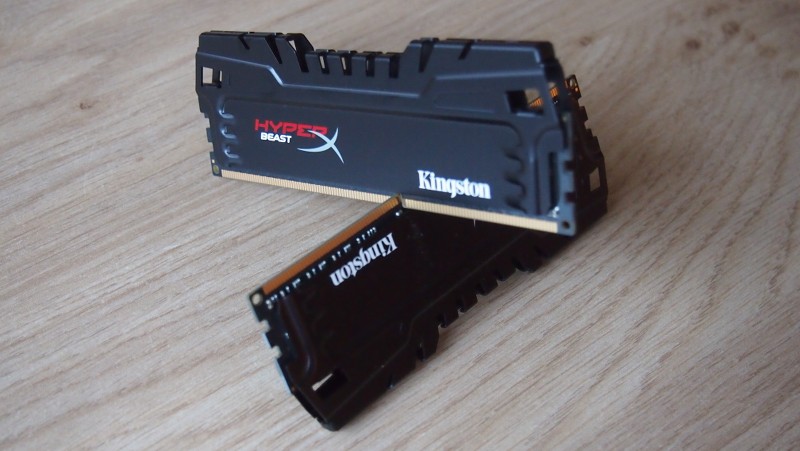
Thank you very much HyperX! :clap: And especially K.J. and E.B. for this amazing set of hardware.

-
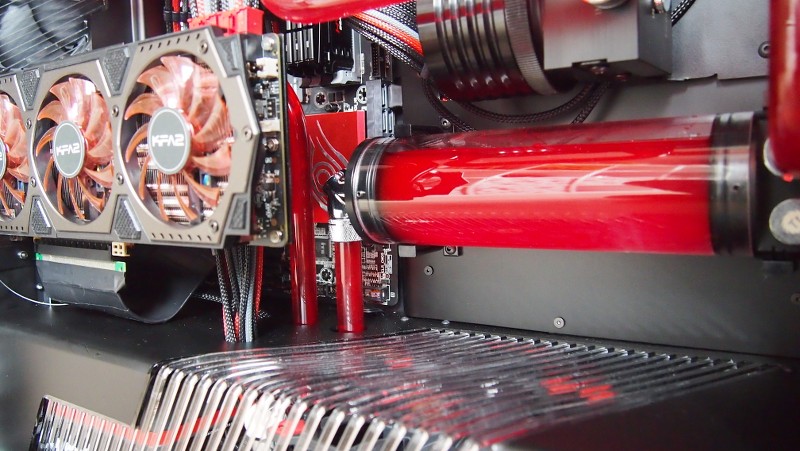
I want to show off this card now.
I have been lucky enough to be able to work with KFA2 during "Game hard, Fold Harder". They were kind enough to also support this project with the KFA2 GTX 980 SuperOverClockVery nice backplate as well. And the colours on the cooler match perfectly with the theme of the project with dark red, black and grey.

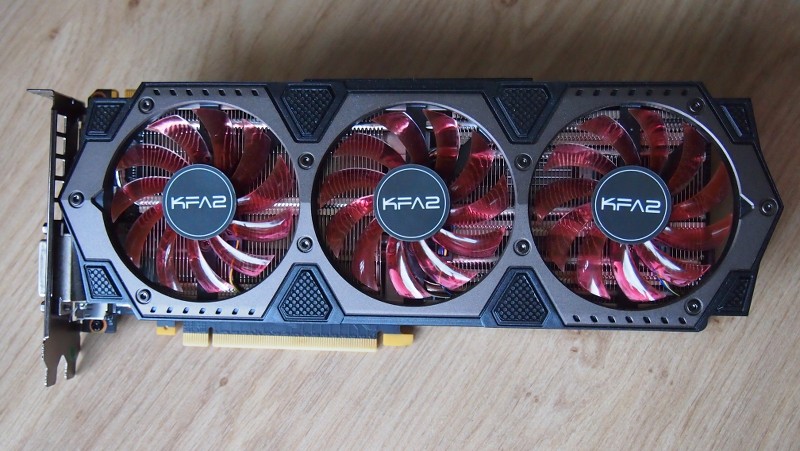
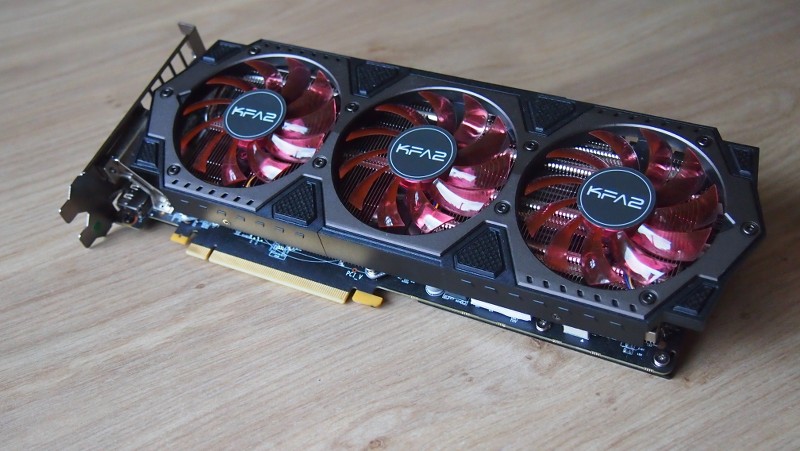
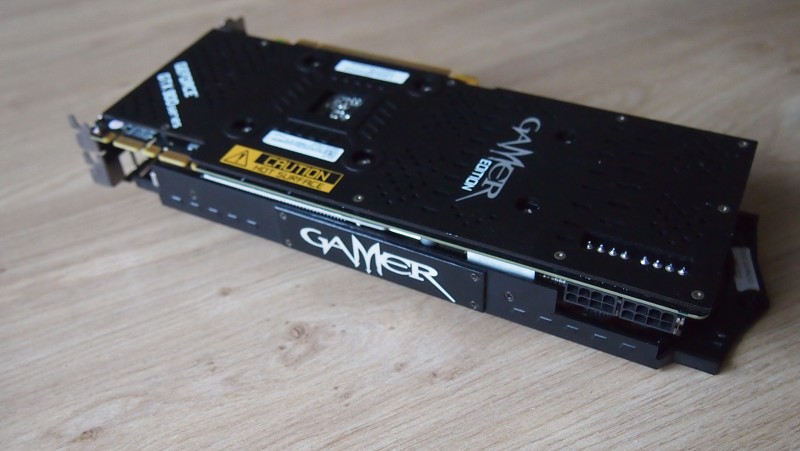
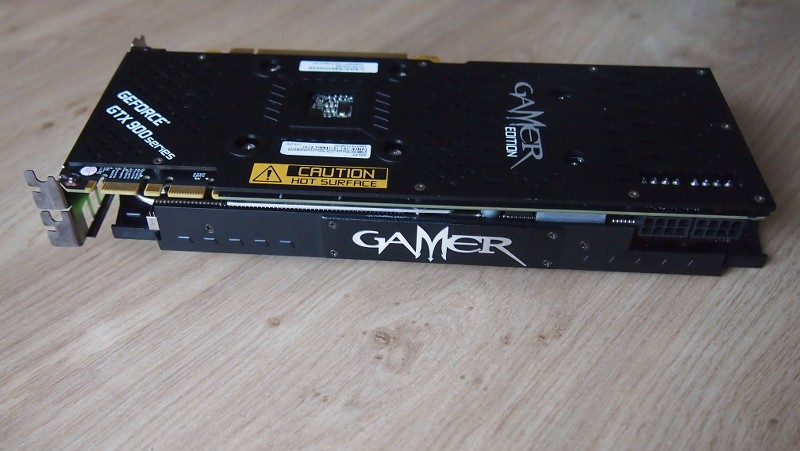
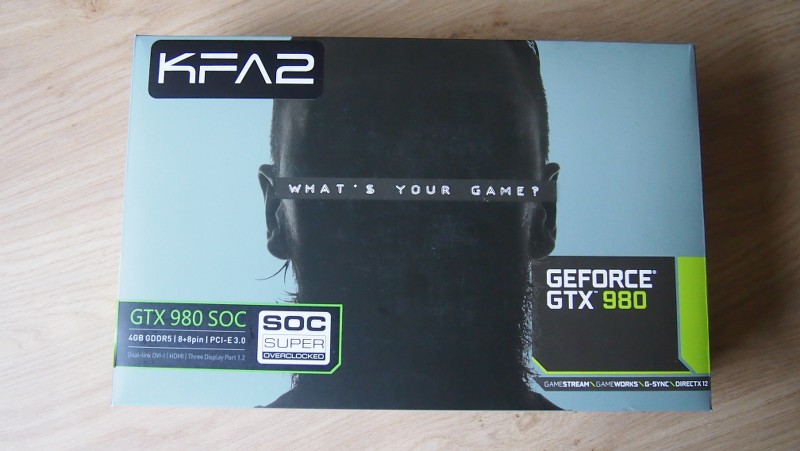
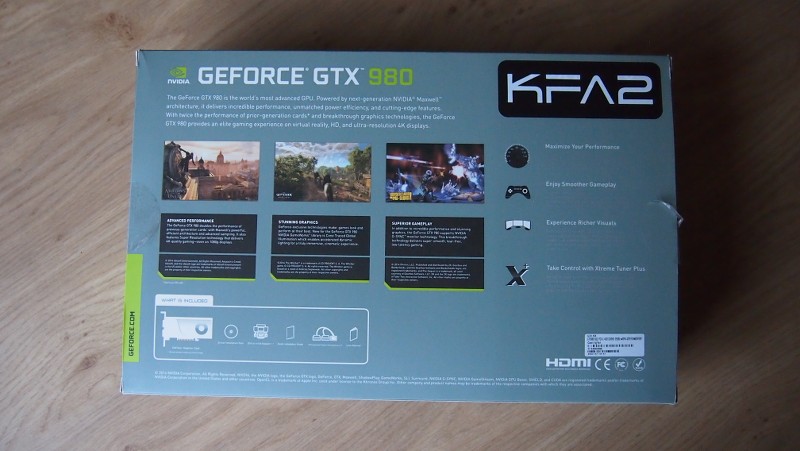
Thank you very much KFA2 and especially my good friend G.B.

-
Since I was putting the GPU vertical anyway I had some spare room. And I needed some spare room as well as I had no place to fit the SSDs. And it is like SSDs were made to fit exactly there
I will be putting 2 SSDs here and a 3rd one elsewhere in the build.
Since it will be at a show there will be a plexiglass window in front of these to keep them from getting "unvoluntarily taken".
-
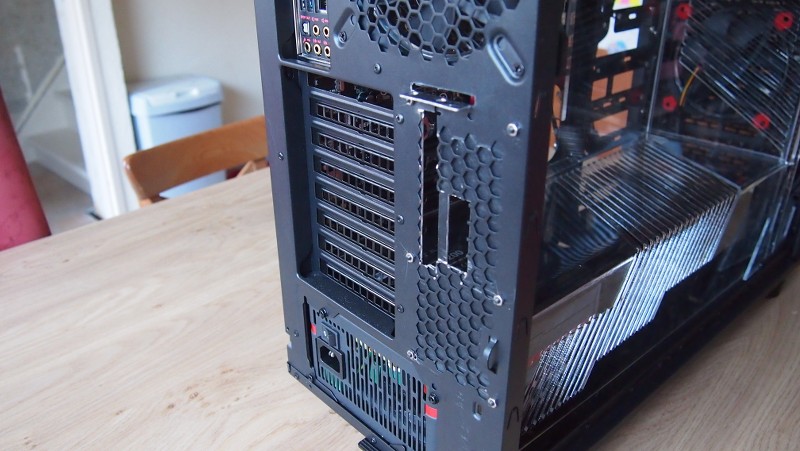
I made a bracket to fit the GPU vertically so it will be right in front of the window.
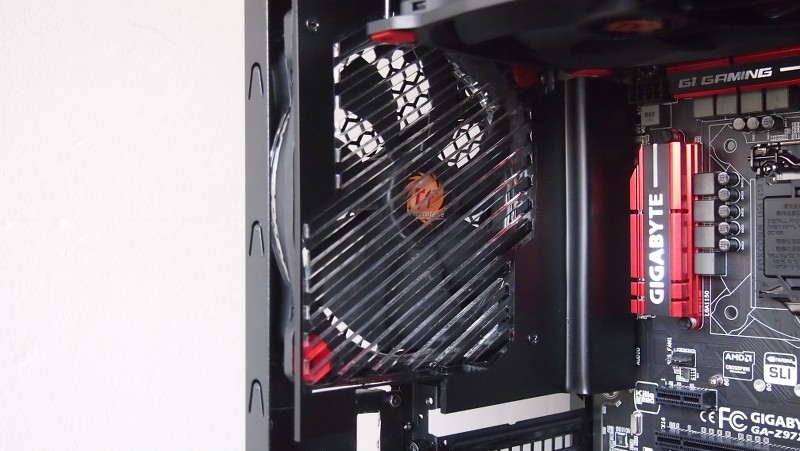
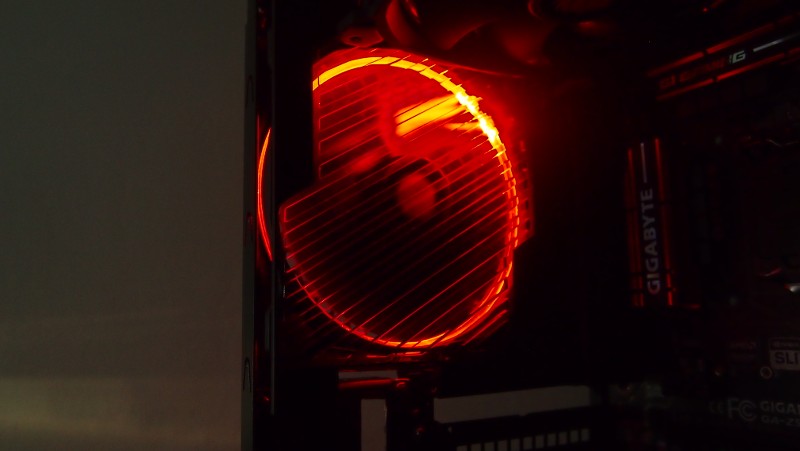
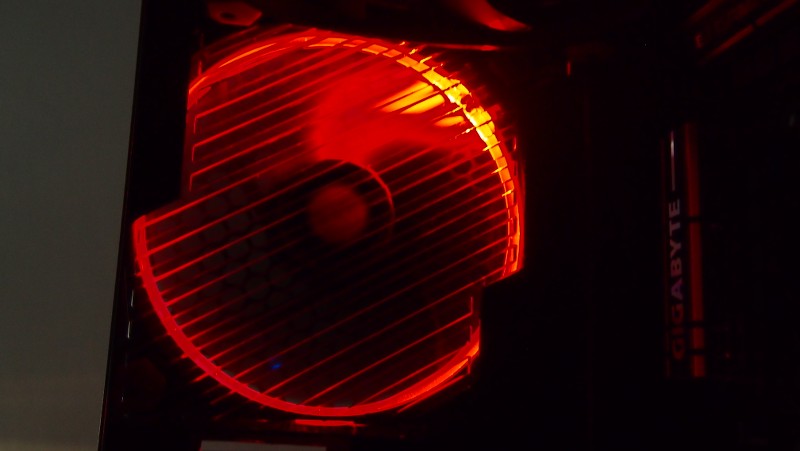
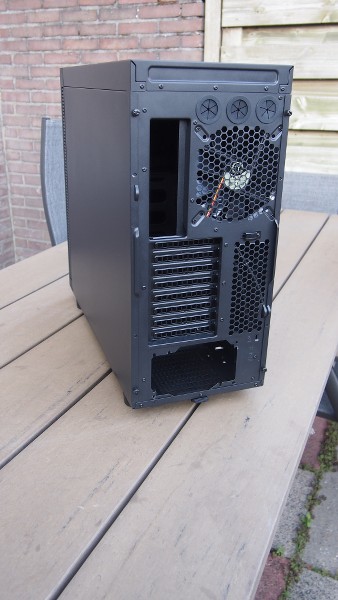
Here I have painted the font and rear grill. I cannot paint the PSU shroud yet because it still needs holes for cables and tubing. I couldn't wait to see how it would look with the fans turned on so I tried the rear fan. The biggest conclusion is that the photo does not show what the real deal looks like for sure.
-
I am happy to announce I will be at i55 on Saturday so hopefully I'll be able to get a few photos of this
Looks amazing! Thank you
-
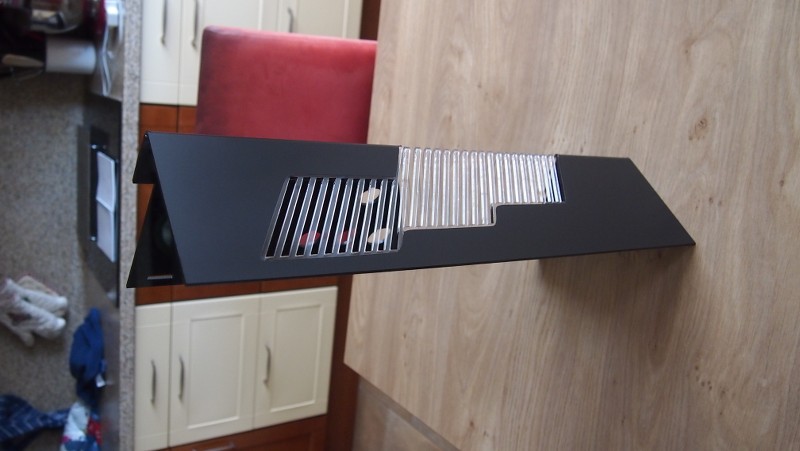
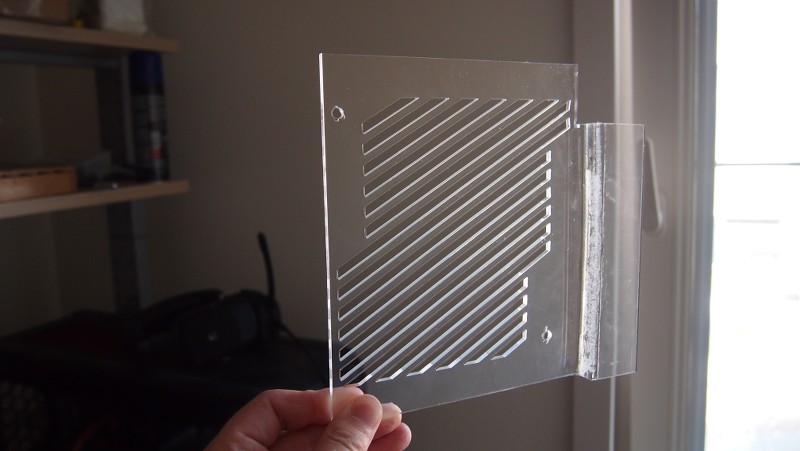
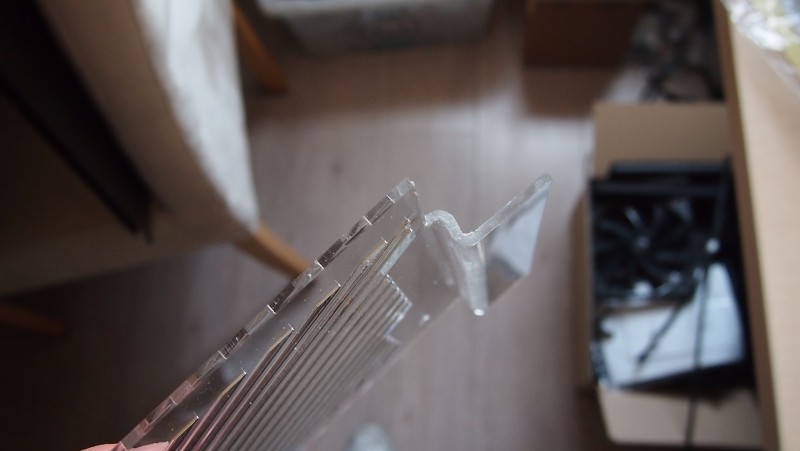
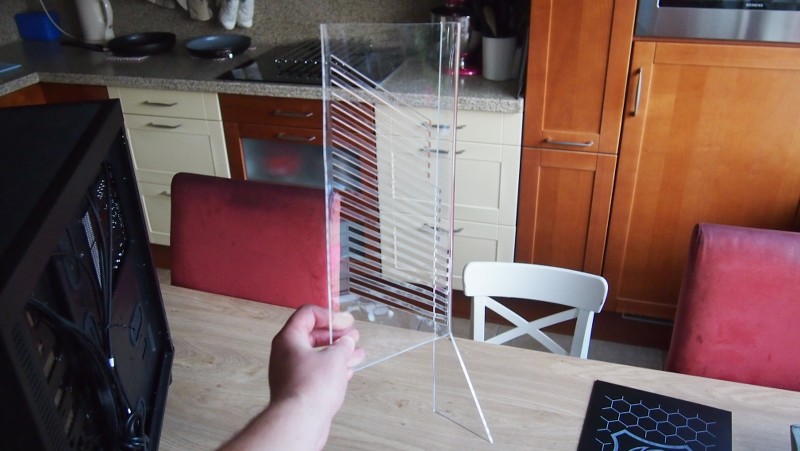
I was getting such a positive response on Facebook and I was liking the outcome of the PSU shroud so much I decided to take the theme further and also make a front and rear fan grill using the same grill design. Again drawn with Djangosoe and lasercut and then bent using hot air from a heatgun.

-
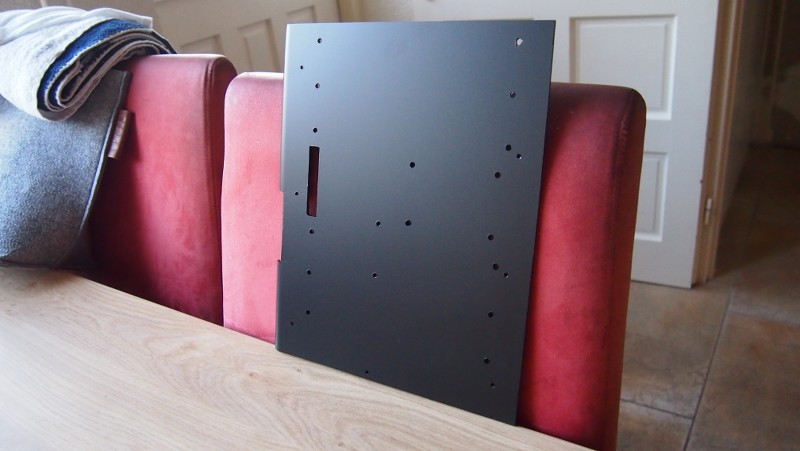
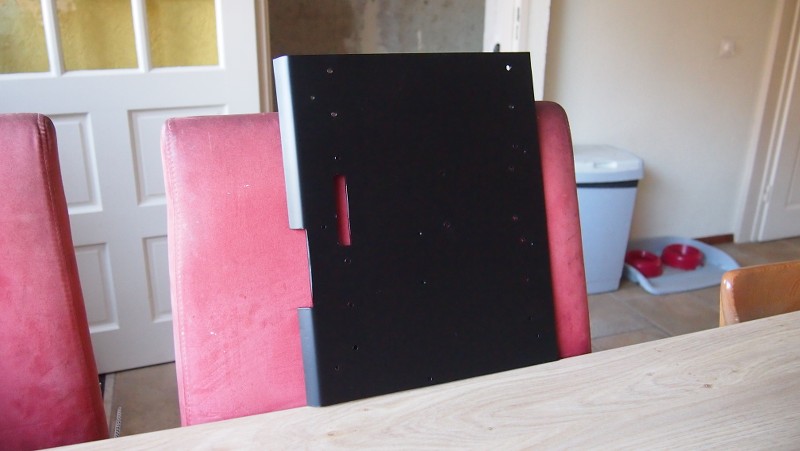
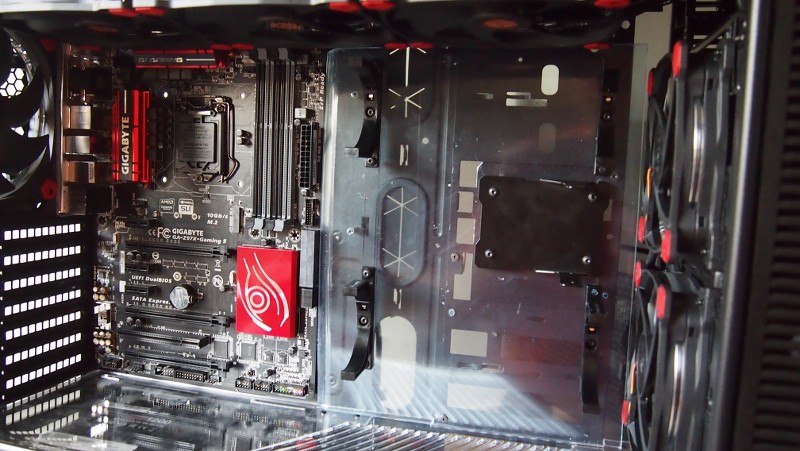
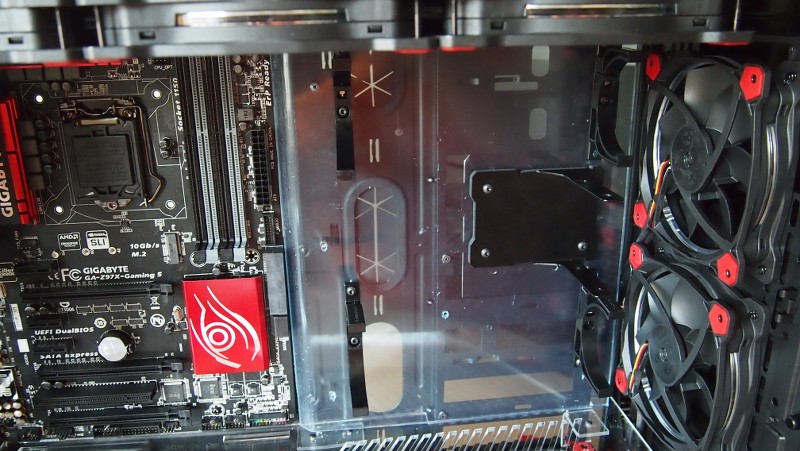
I need to mount the pump and its top and the reservoirs to the backpanel. But it is full of cable holes and such and I have almost no need for them. So I made a backpanel cover out of plexiglass. It will be painted black eventually.
I made it so that the panel is fitted to the backpanel, but for heavy things such as the pump and one side of the reservoirs the mounting screws for that will go through the plate and the backplate so it is the case itself that is holding them up. Sounded a bit more safe to me.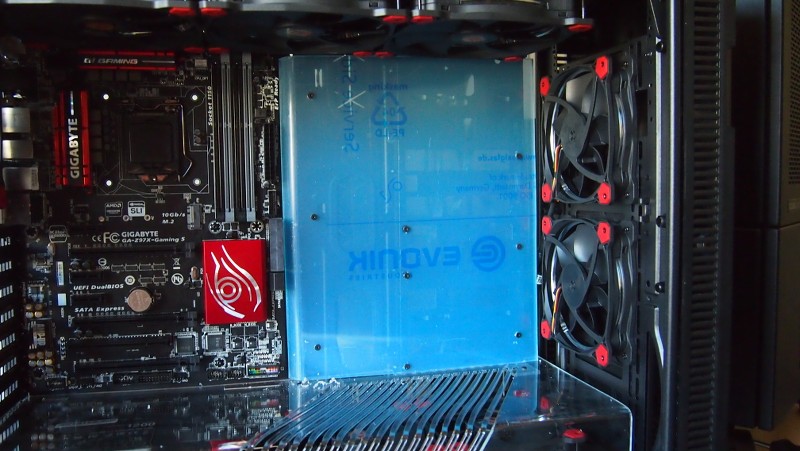
I bent the left side of the panel so it ends up under the motherboard.
There will be cuts in it to accomodate for cables and wiring (24 pin and sata cables).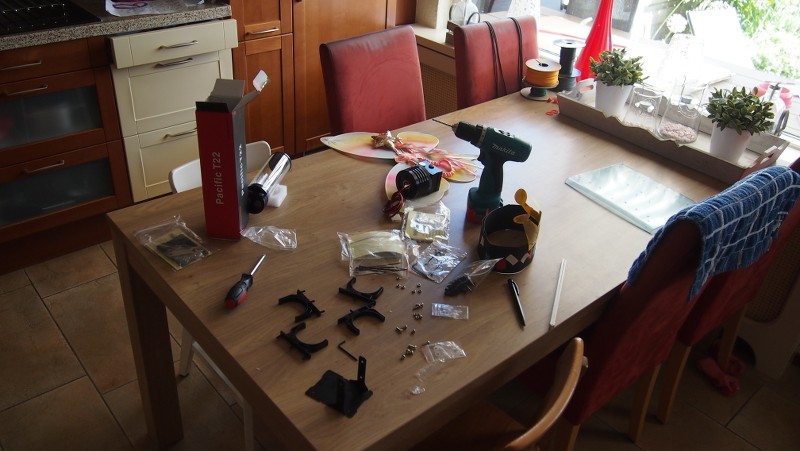
Modding is magical
-
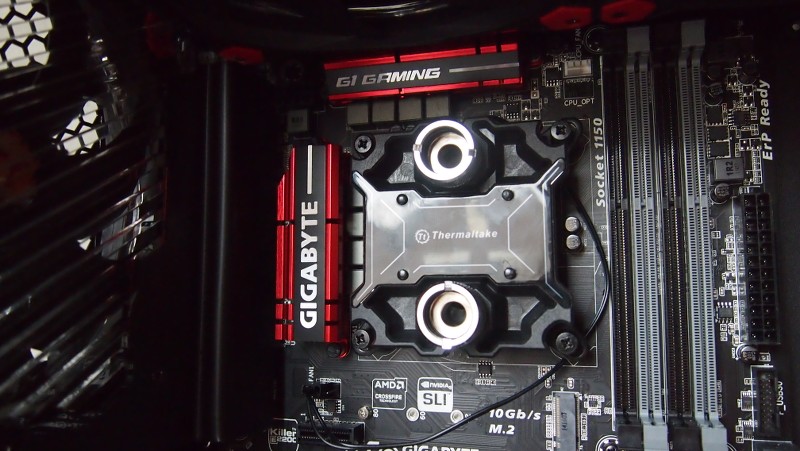
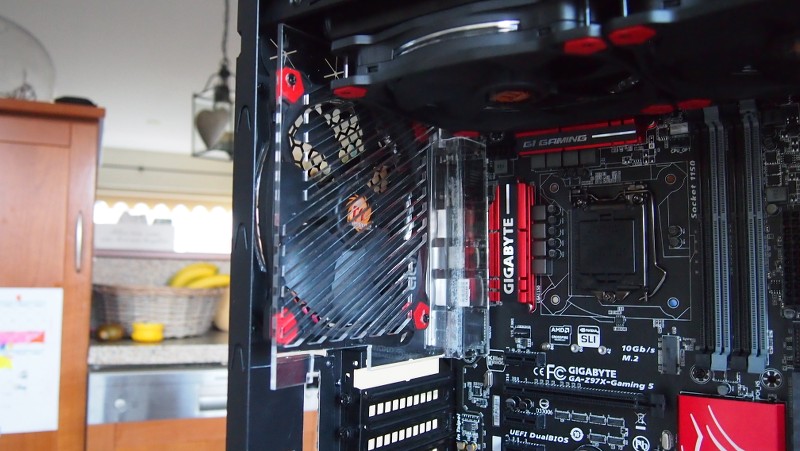
The first help I received was from Gigabyte BeNeLux. My awesome girlfriend B. helped me out a lot with this amazing motherboard. The Gigabyte Z97X-gaming 5. It has all the features and it has the looks to match.
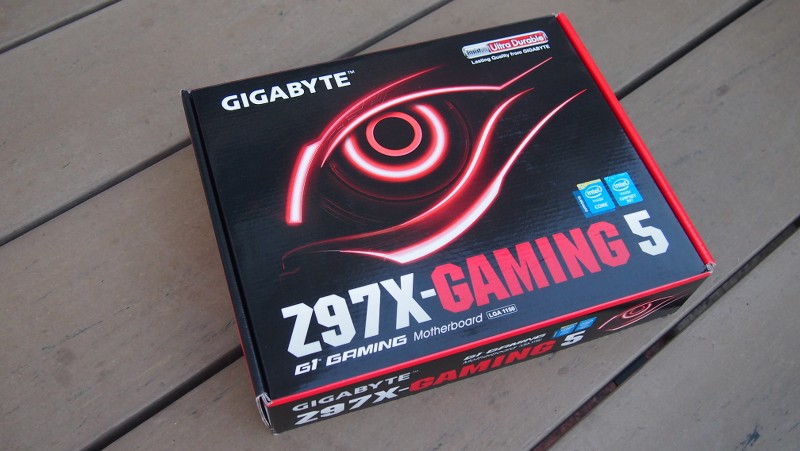
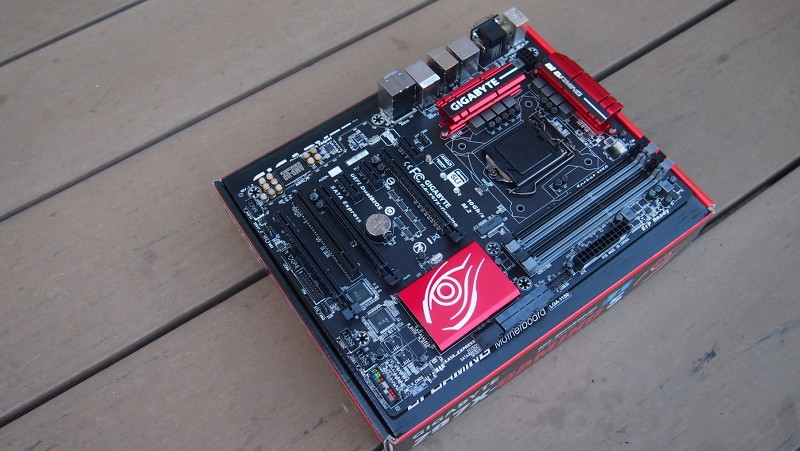
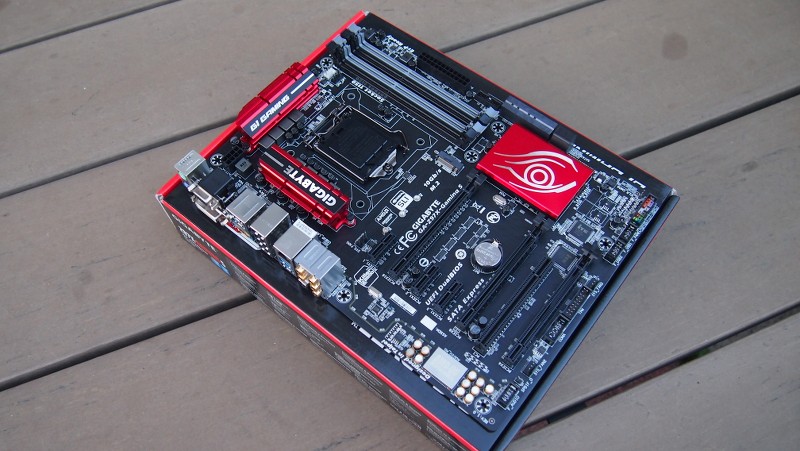

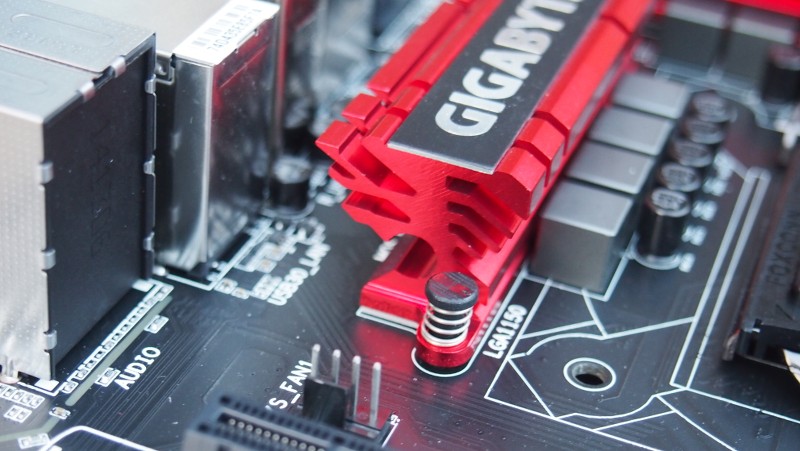
Thank you very much Gigabyte BeNeLux! :rock: :thumb: :clap:
And of course thank you B.!
-
A quick peek at the hardware going into this baby. I will show it off better at a later stage.

-
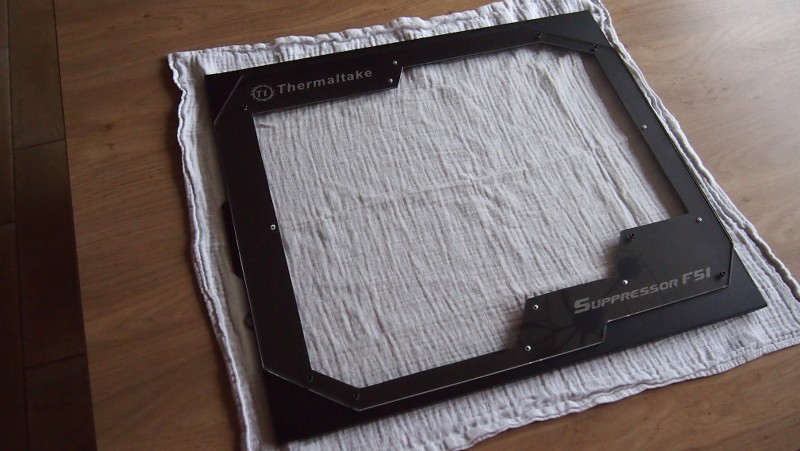
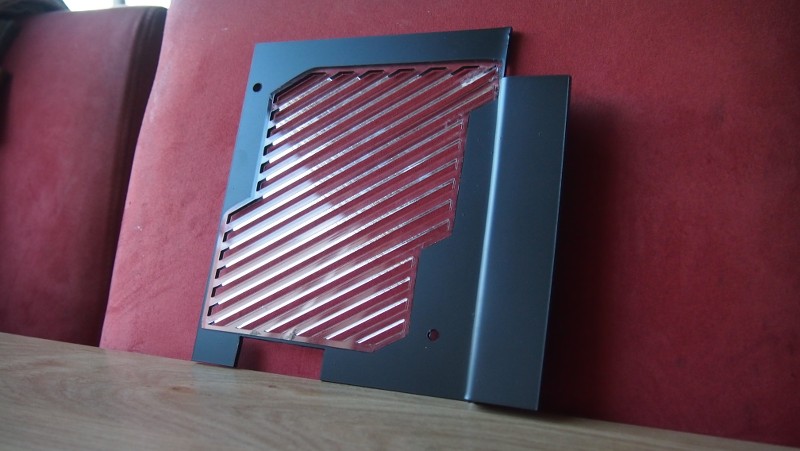
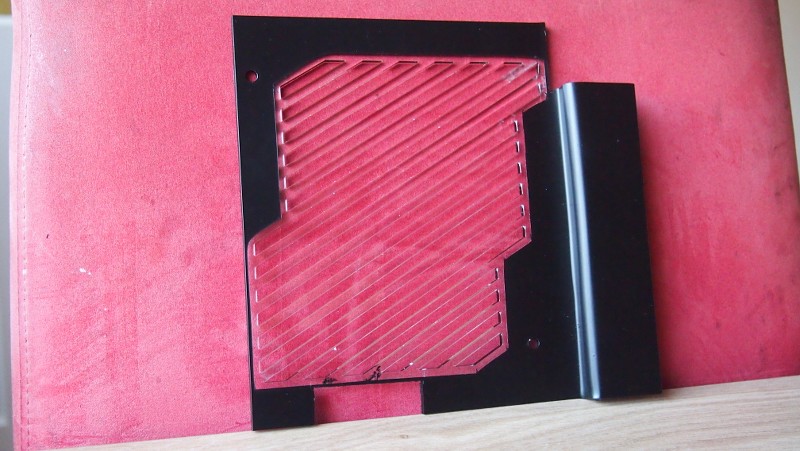
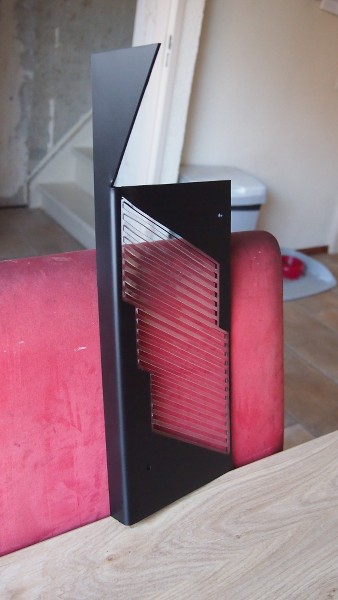
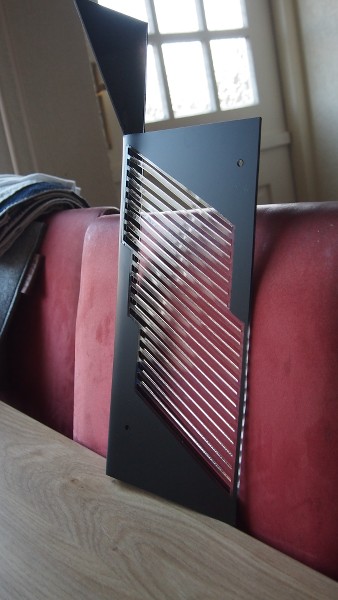
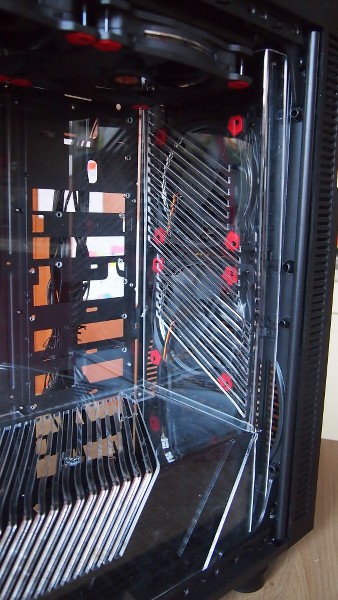
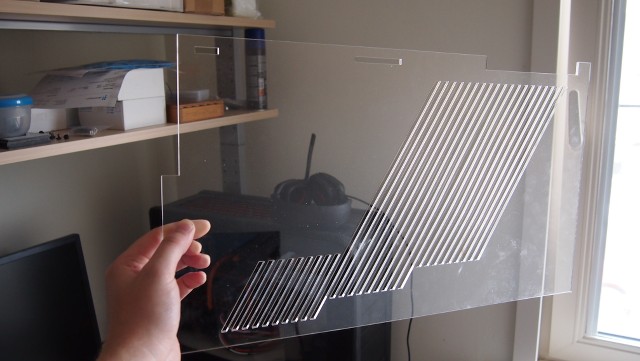
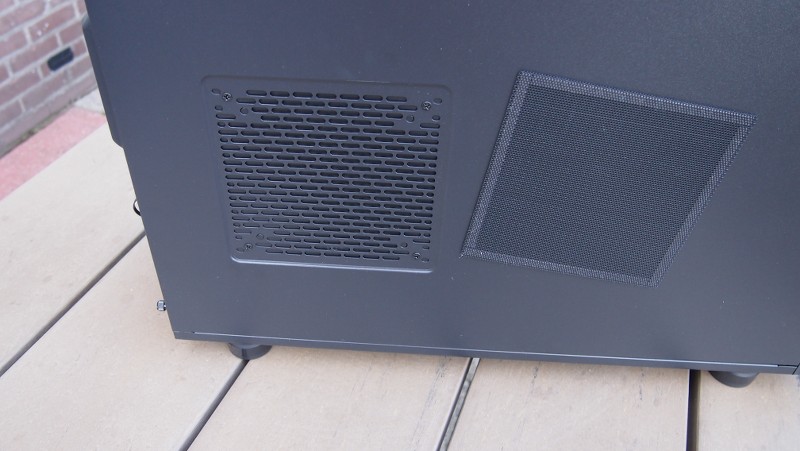
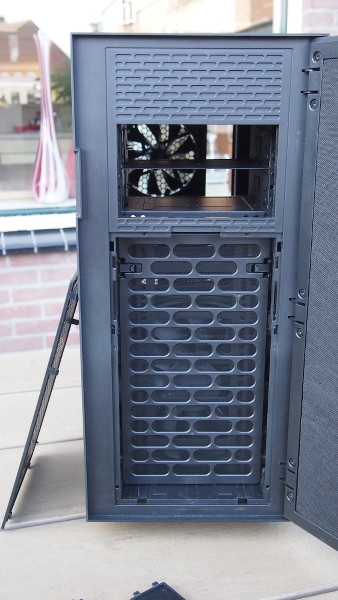
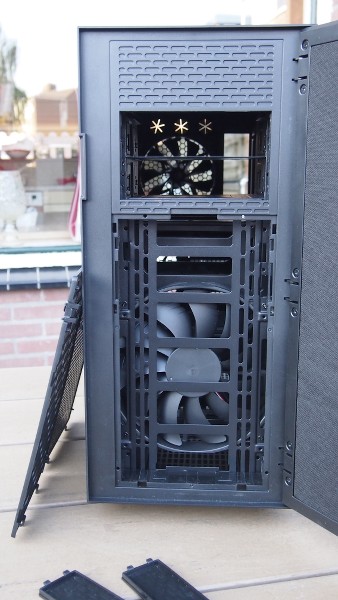
I had been thinking about what to do as a mod with this case. It will be on display to promote the case so I don't like to cut it up or melt it and make it unrecognisable. So the inside of the case is imprtant to me. I somehow came up with the idea to use covers that work as cover-grill-windows
The grills will be over the fans for air, the grill will be transparent so you can also see through them like a window and the parts that don't need seeing I will paint black.
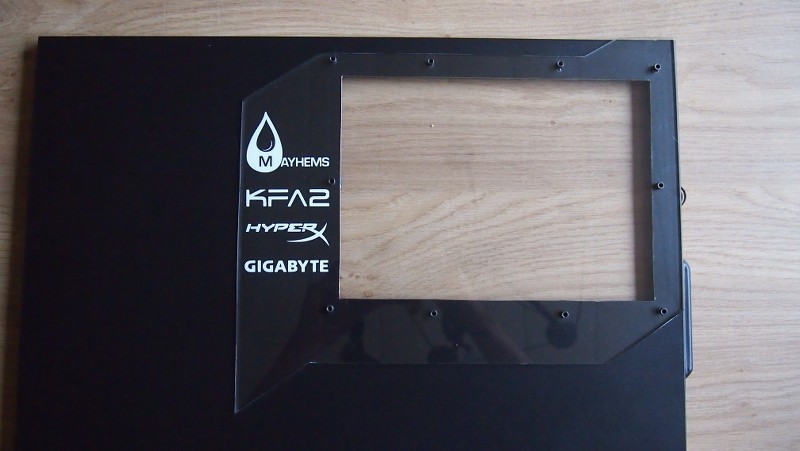
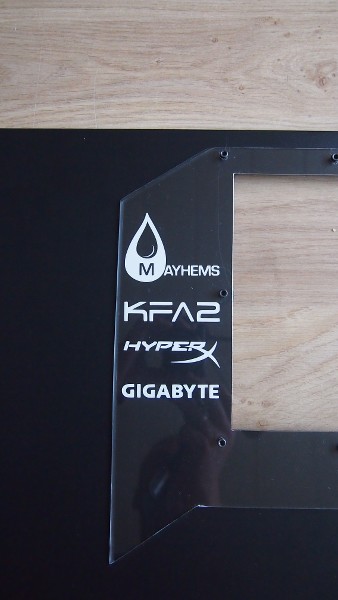
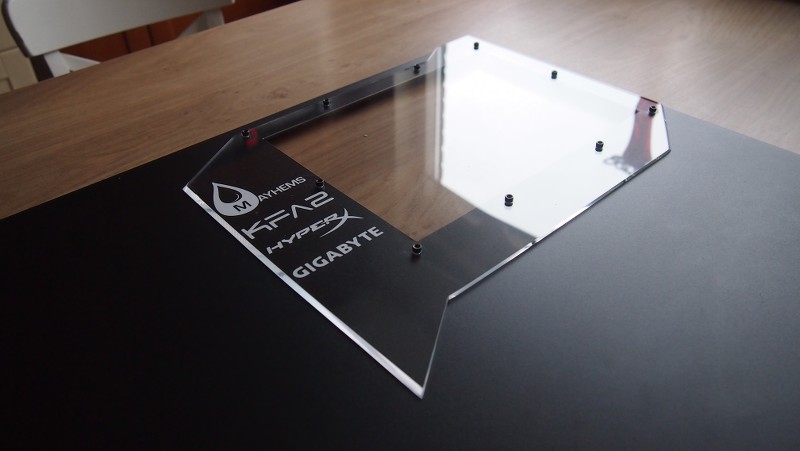
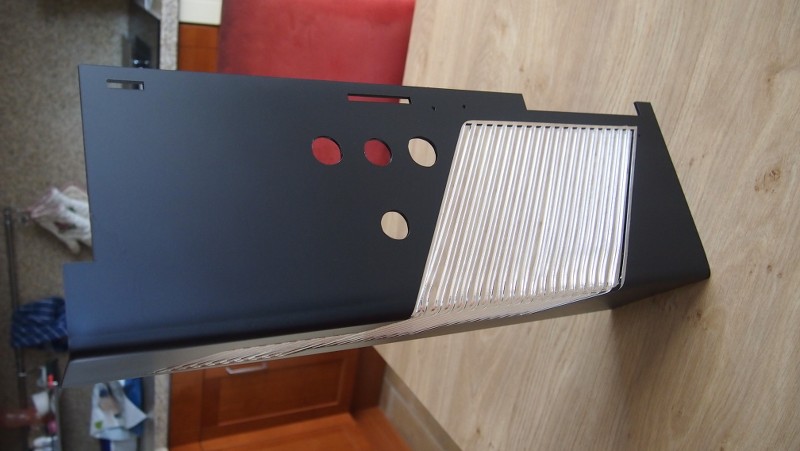
Here is my first one. The biggest of them all for over the PSU that runs from left to right in the case. I made a design with my good friend Django, had it lasercut and then bent it using hot air.


-
You've already allowed me to take peeks at the progress so I am excited for the next session of photos

Can't wait to see how you modded the front!
Thanks Martin! I will put updates on here regularly untill it is Insomia.
If I can make it up on the Saturday I will make sure to come have a look at this! If not, will see the rest of the pics here LOL
I hope you like it when you are there
-
Herroooooo everyone. It is almost time for Insomnia I55 in august 2015 and before Computex 2015 I have been asked by Thermaltake Europe if I was interested in doing a project for them to put on display. :thumb:
Of course my ego was all over the place and I was hovering 50cm above the ground as I love doing these projects and I love being asked by brands so I said F**K YEAH!The project was quite straight forward: we use the new Suppressor case, add all parts Thermaltake does like fans, PSU and all of their watercooling equipment and make something that is worth looking at.
Perfect assignment for men. Keep it simple. I can understand this.
I still had some hardware at home and for other stuff I contacted a few people I worked with before. And before I knew it this thing was on a roll.
I need to finish this project like 2 weeks from now. So I figured I should start a log about what I have been doing for the last couple of weeks since I have everything.
This will be a short log I think with rather large photo updates. I hope you will enjoy.

First of all I want to thank Thermaltake and Martin in particular for the opportunity.
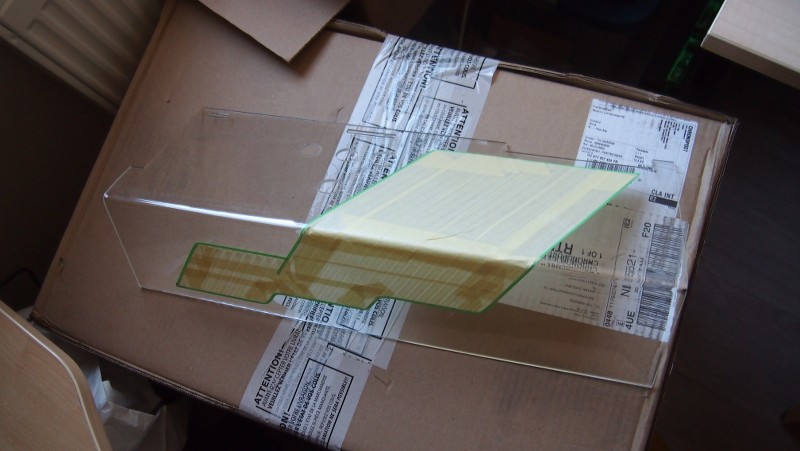
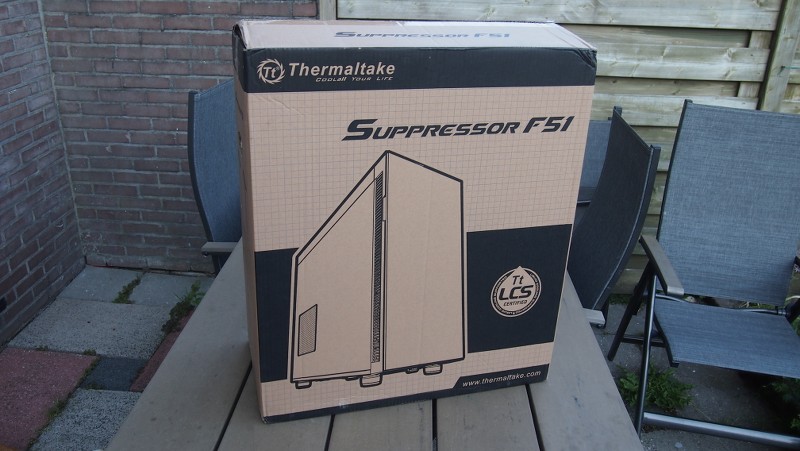
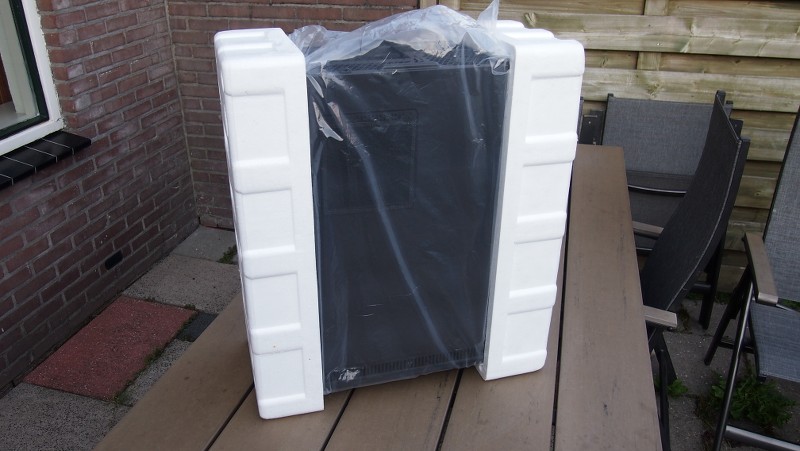
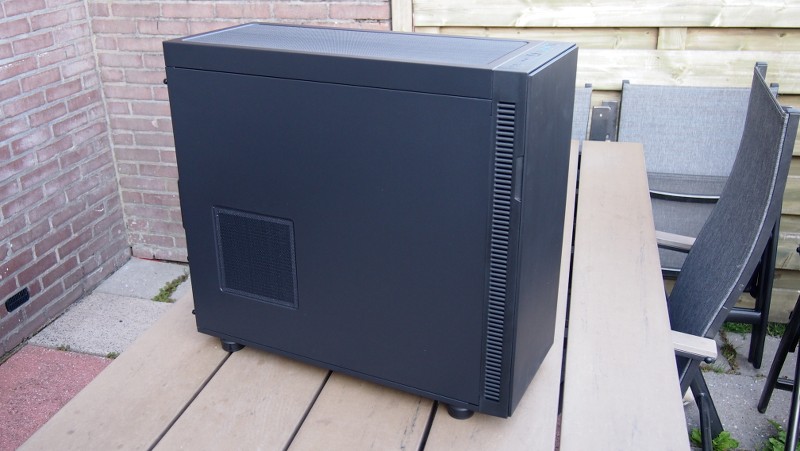
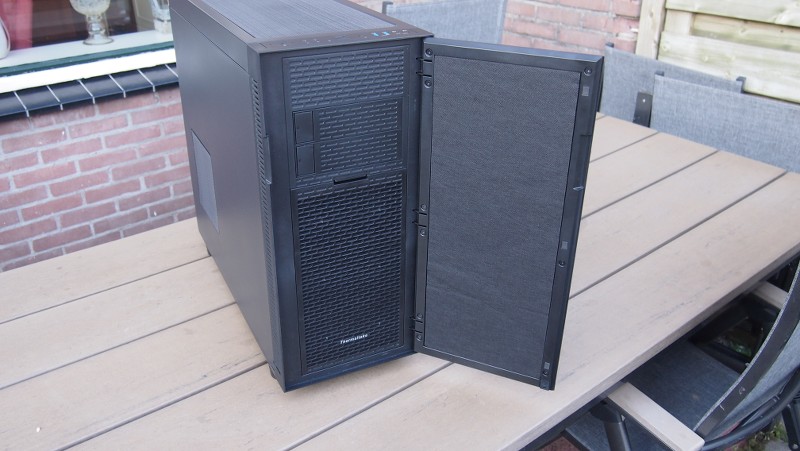
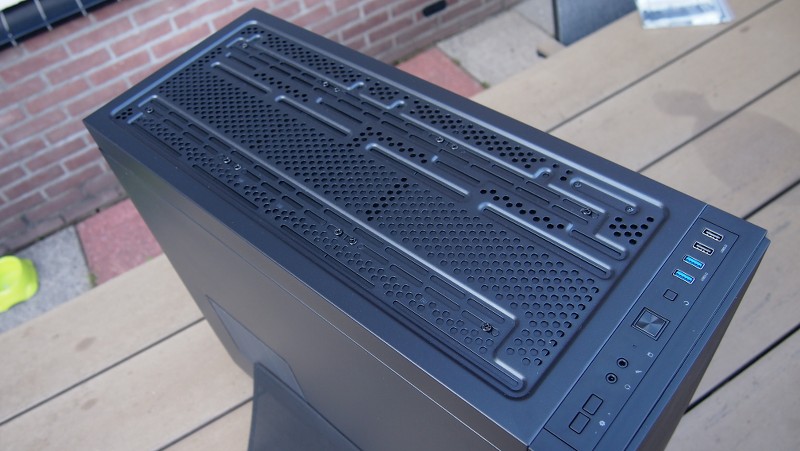
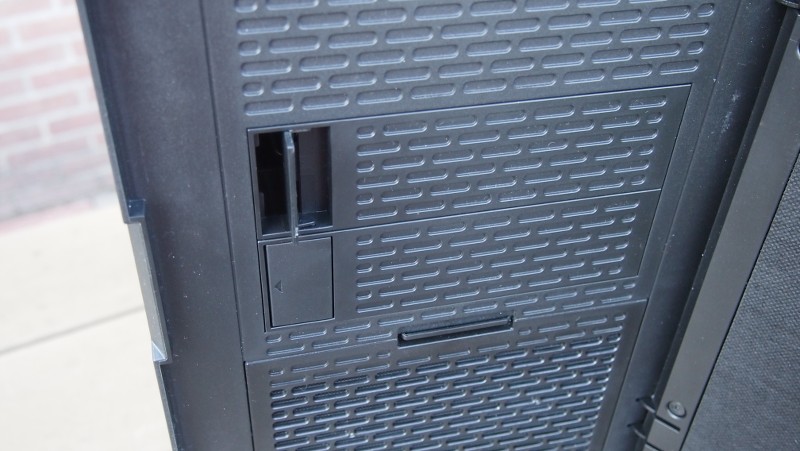
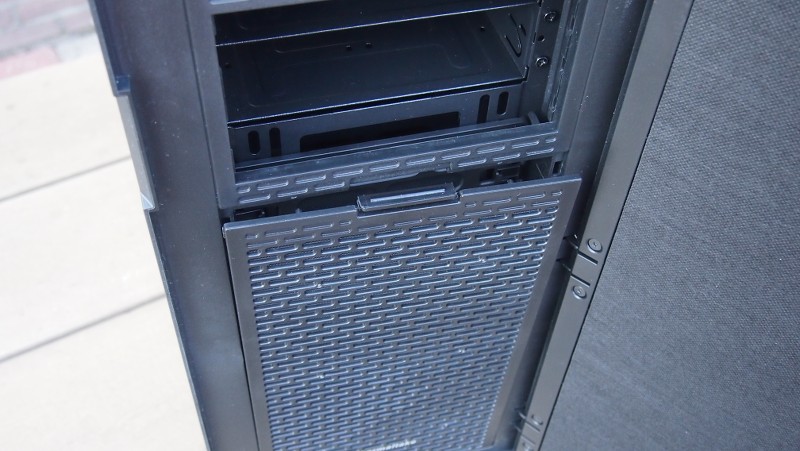
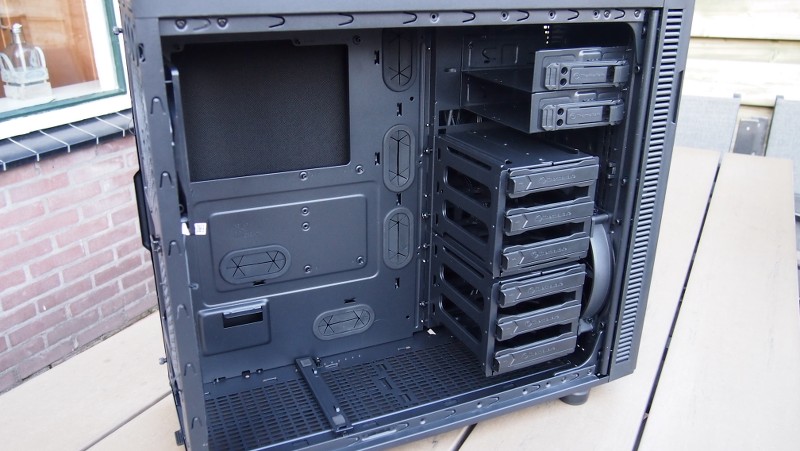
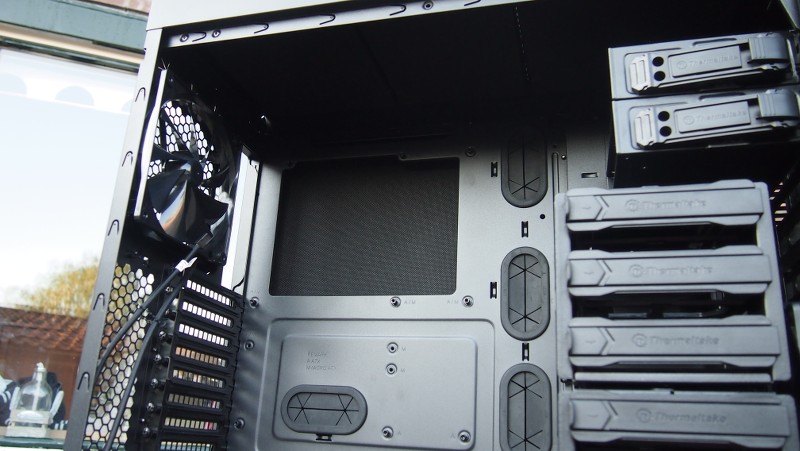
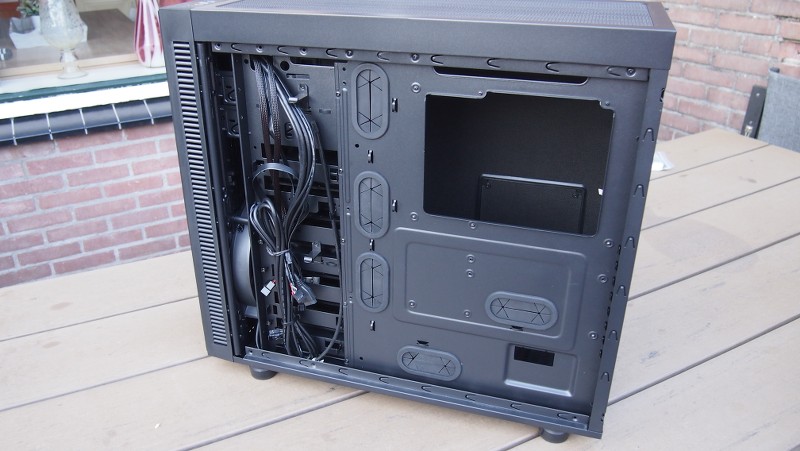
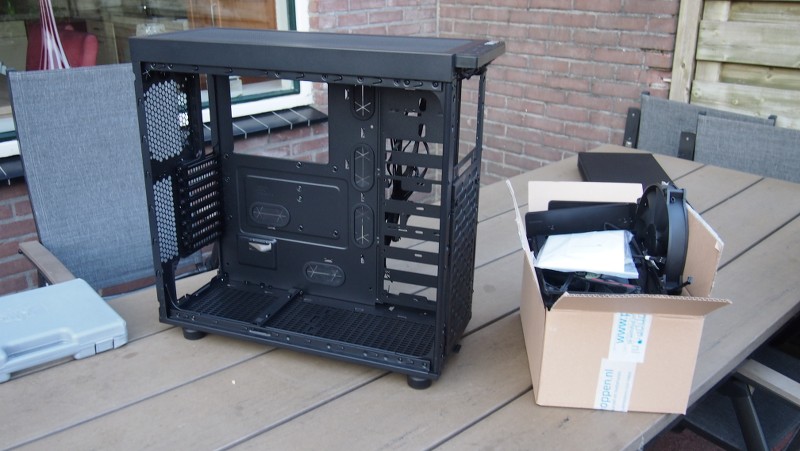
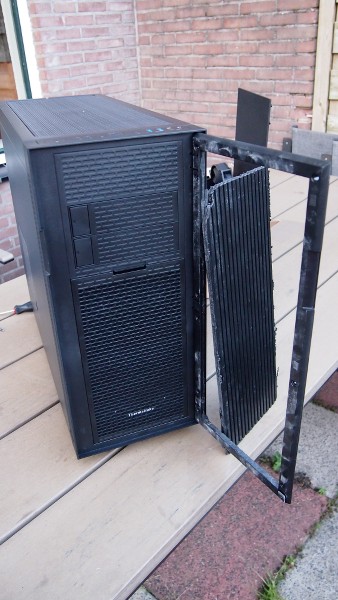
I have a bunch of photos of the unboxing of the new case ending in a photo of the front panel being taken apart both with the screwdriver and a saw to create something I will show you later on
Don't worry there will be a LOT of modding involved in updates coming later on.
OUT!!! All of you!!!
I have a rather cool (I hope) idea for the front end. I want to keep the lining and shape of the original case intact but still make its appearance different.
- nataGomb, LetsGetIt1220, Tte Martin and 4 others
-
7
Insomnia I55 Thermaltake project - finished photos daylight
in Modding
Posted
Thank you for sharing.