-
Forum Statistics
8.5k
Total Topics55.2k
Total Posts -
Member Statistics
137,226
Total Members16,800
Most Online
Designs By IFR
-
Posts
110 -
Joined
-
Last visited
-
Days Won
12
Content Type
Profiles
Forums
Downloads
Events
Gallery
Blogs
Everything posted by Designs By IFR
-
[Australia] Corey Gregory
Designs By IFR replied to Tt Andy's topic in 2020 Thermaltake RAM MOD Invitational Season 1
Final Video! -
[Australia] Corey Gregory
Designs By IFR replied to Tt Andy's topic in 2020 Thermaltake RAM MOD Invitational Season 1
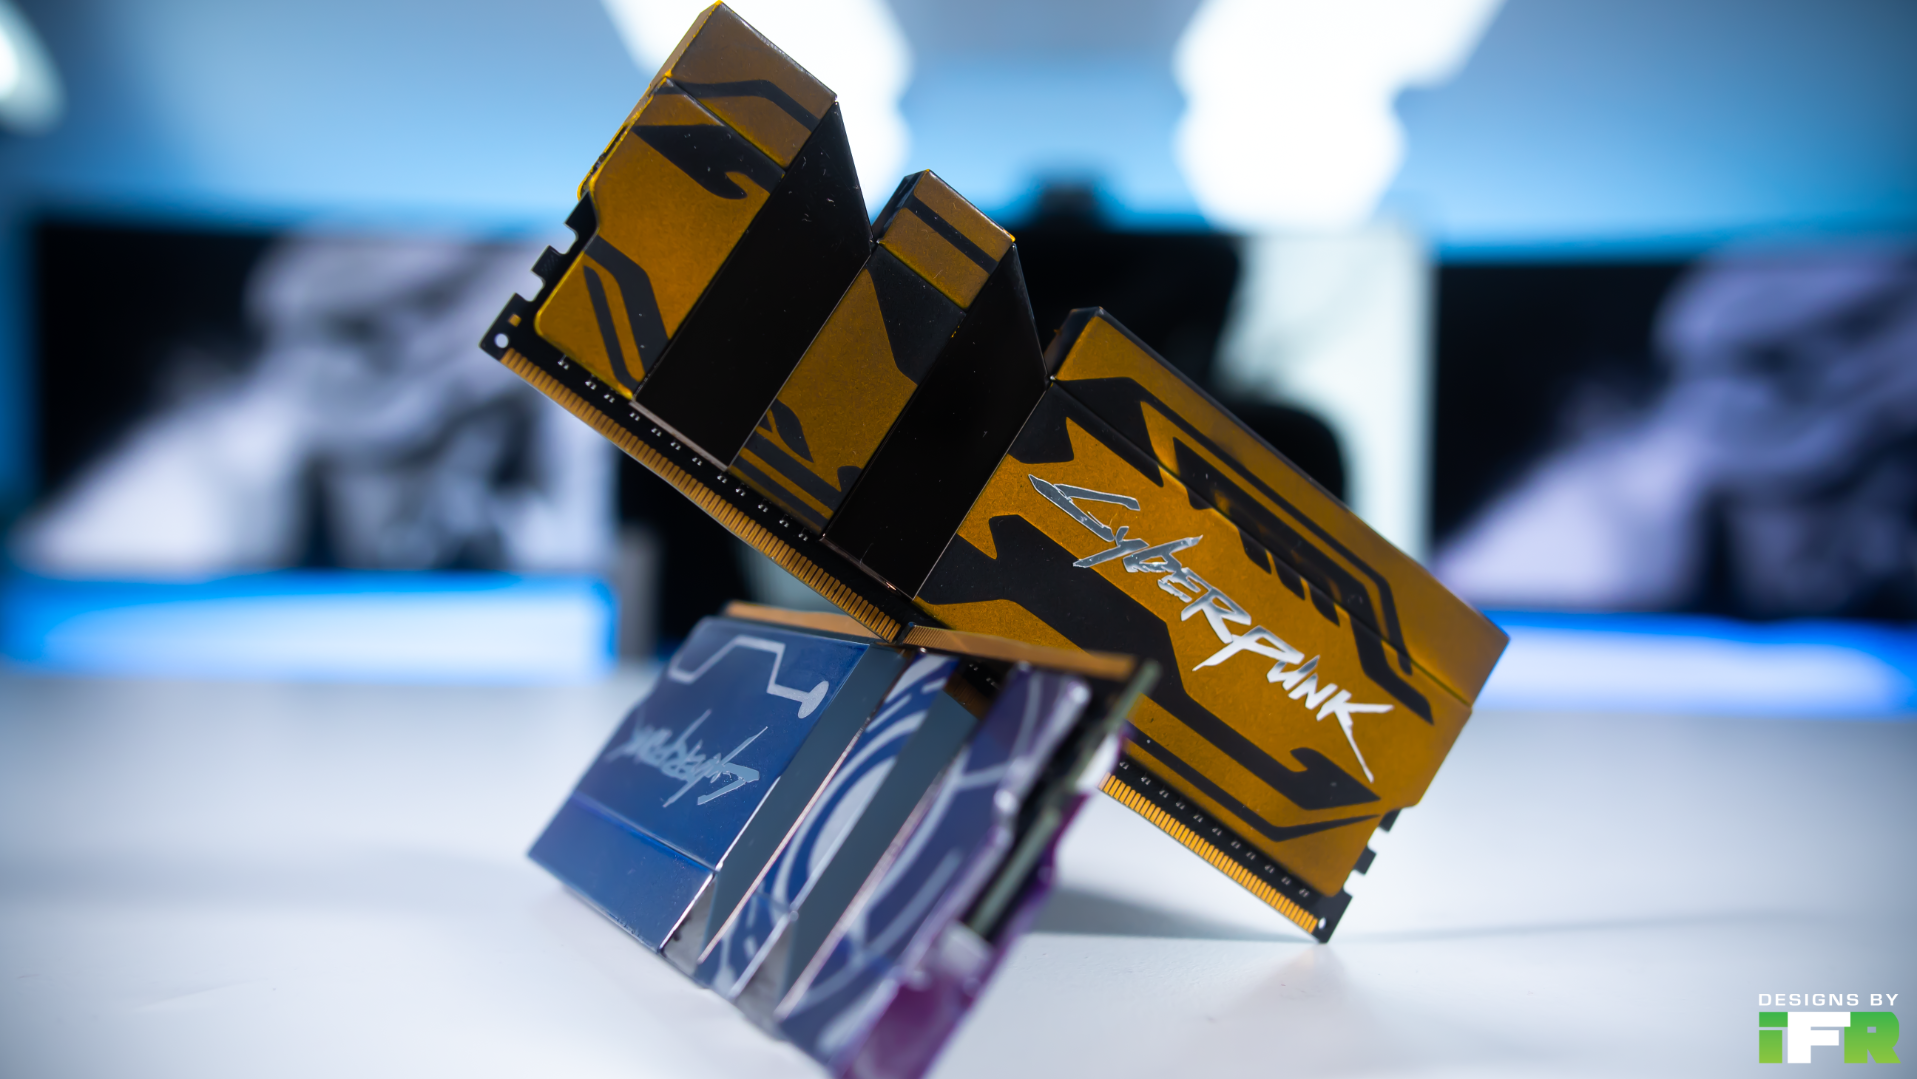
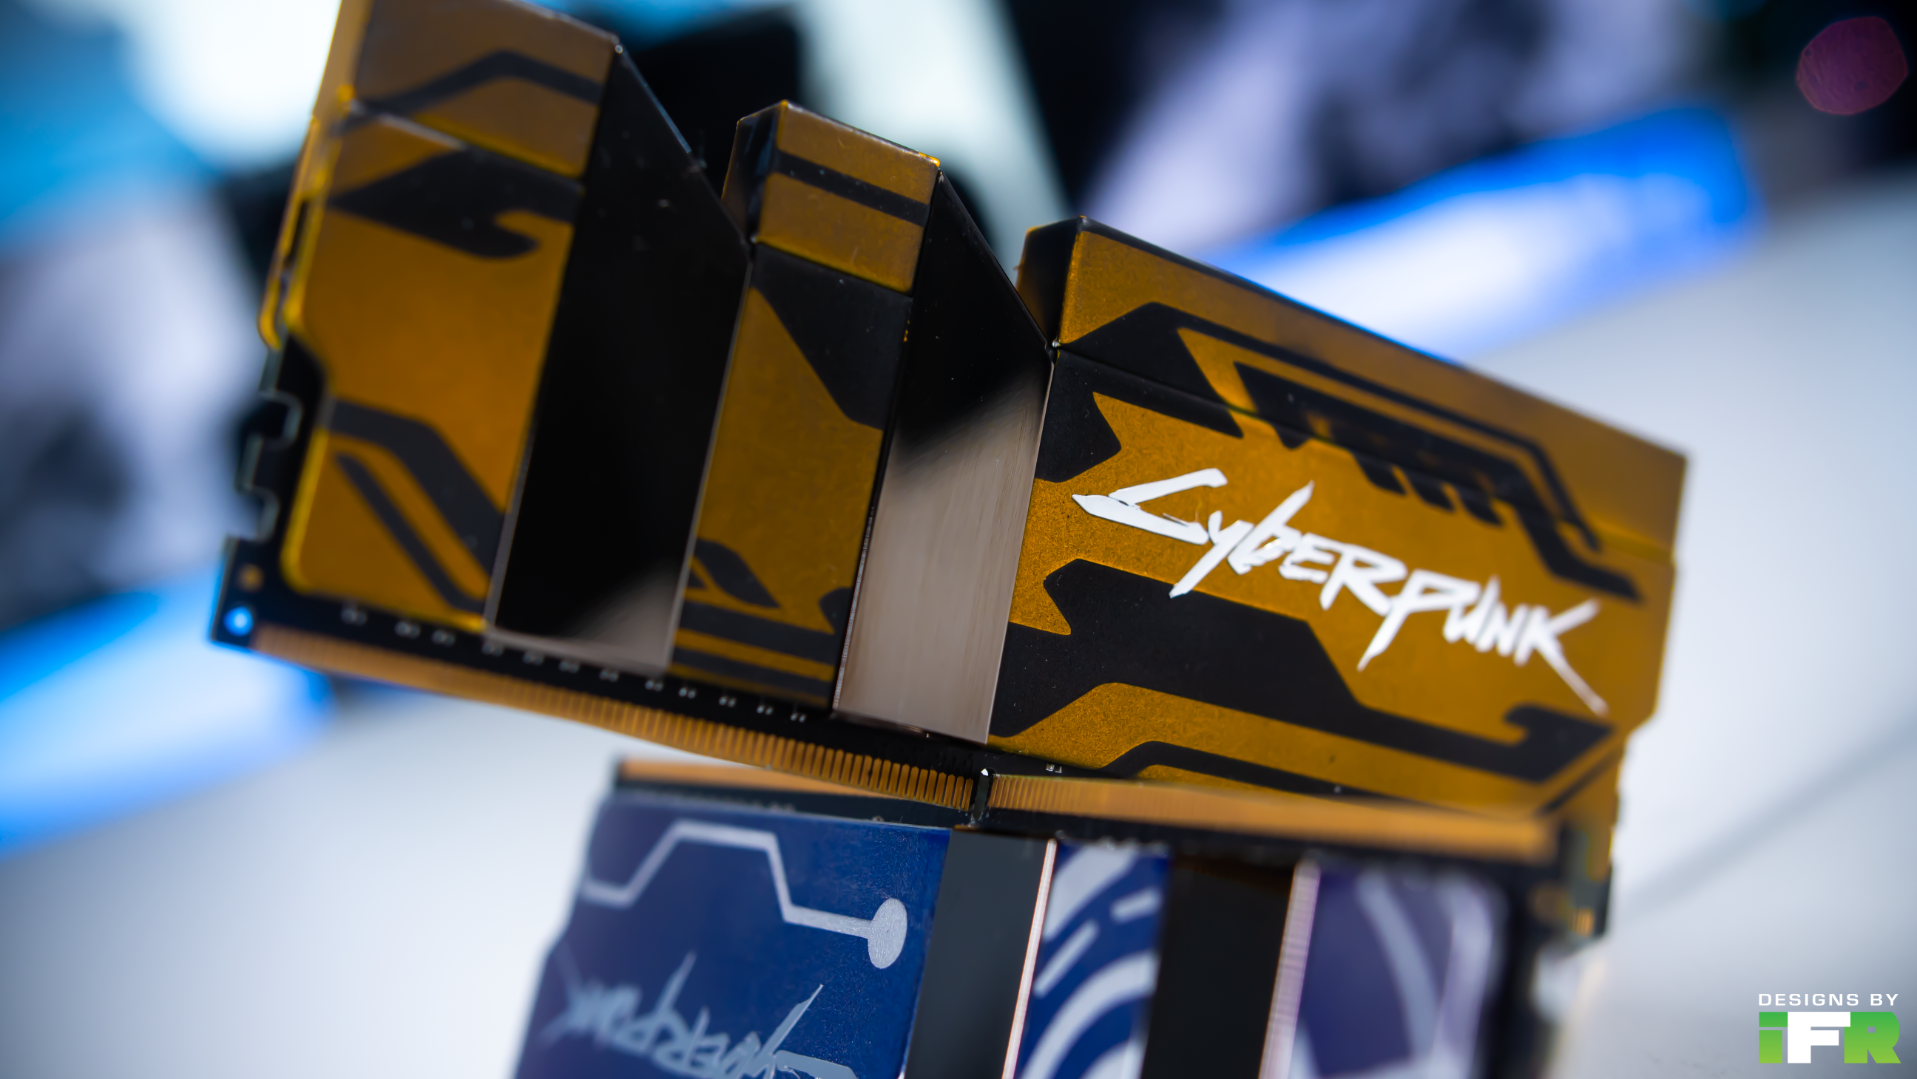
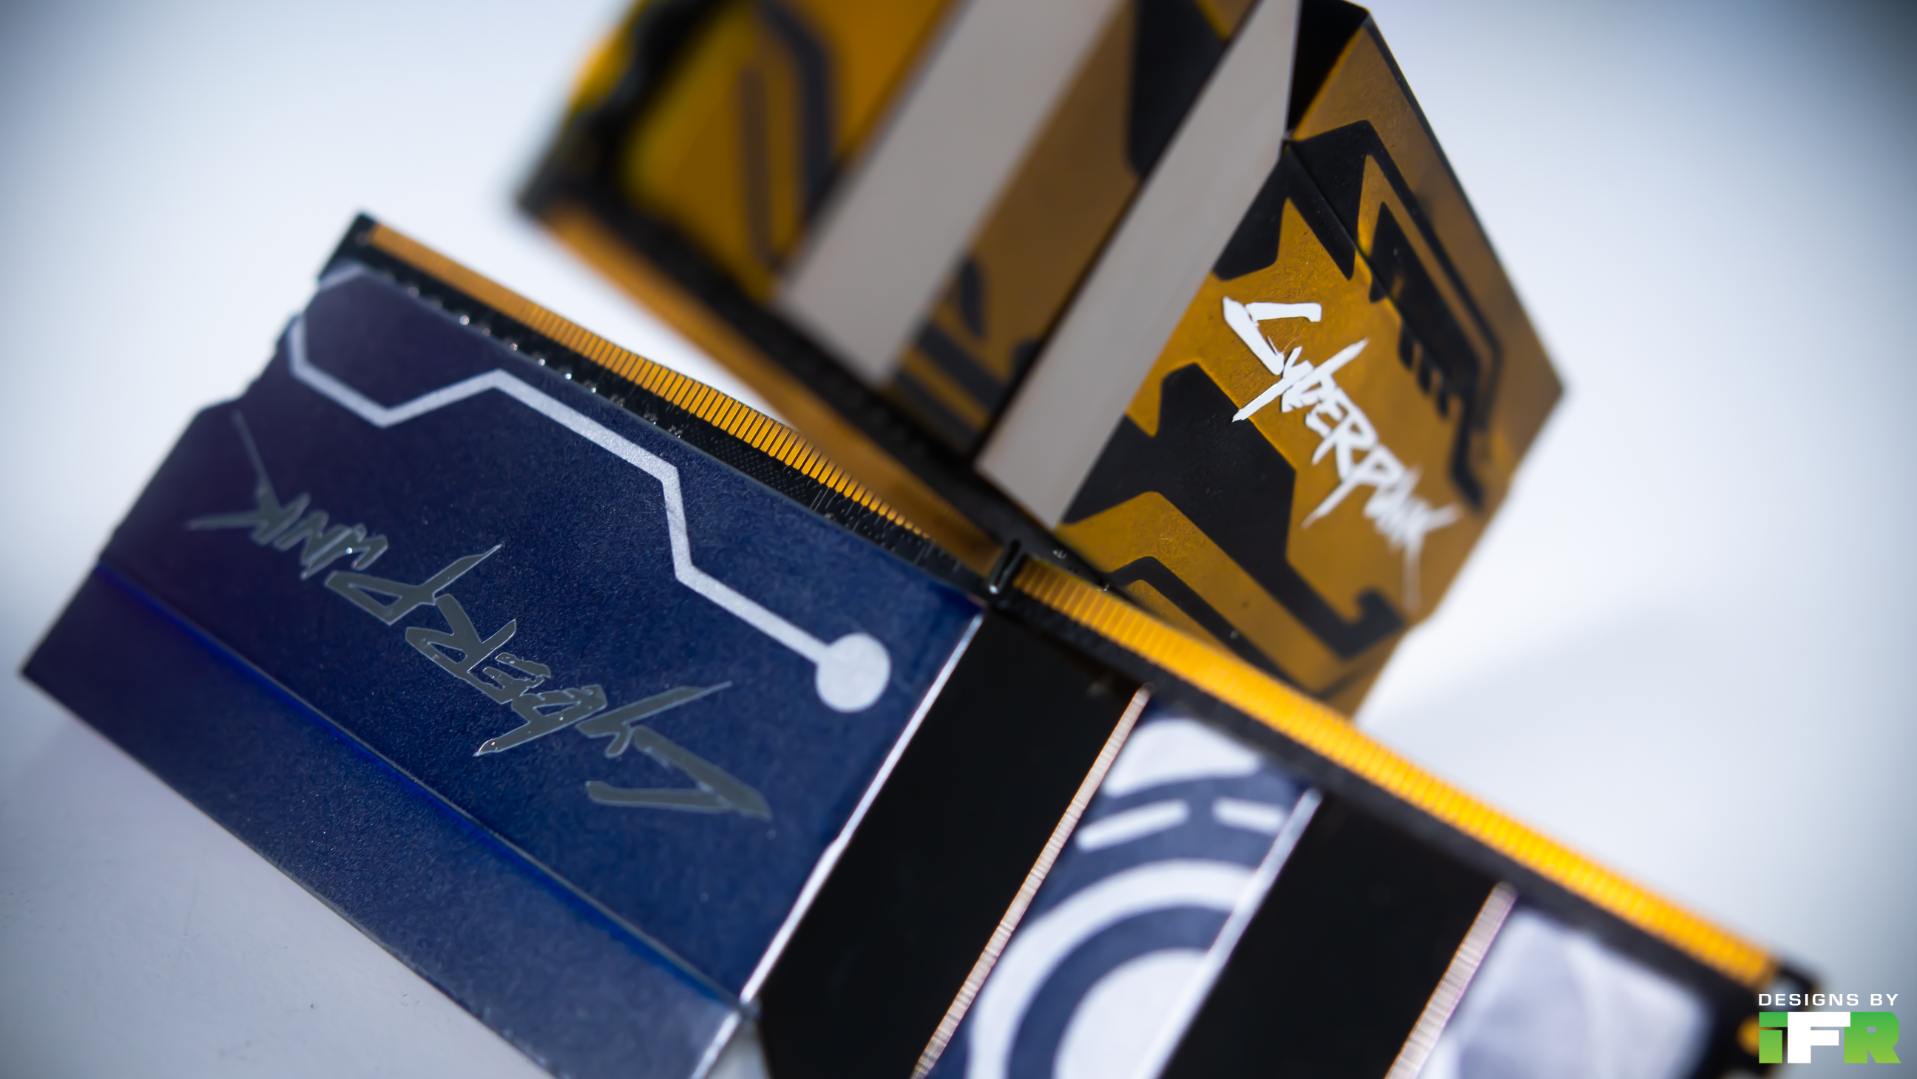
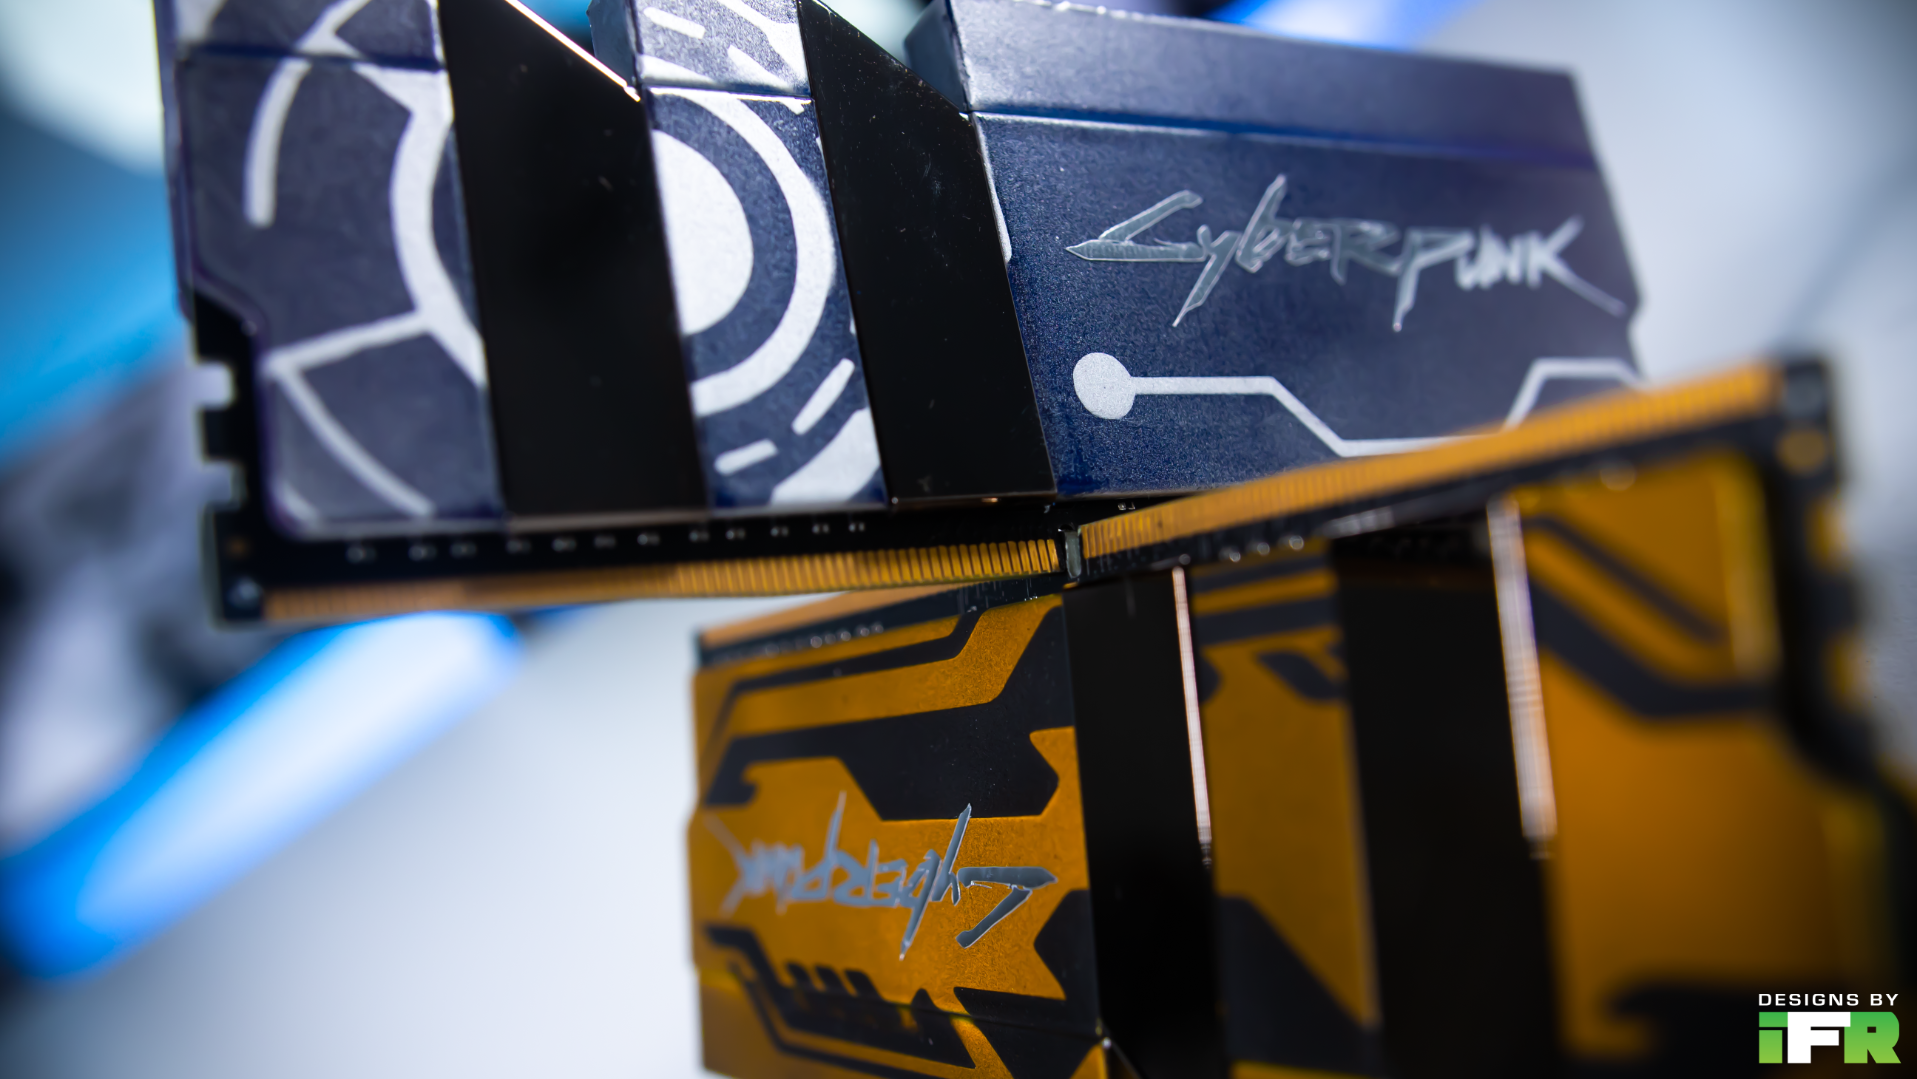
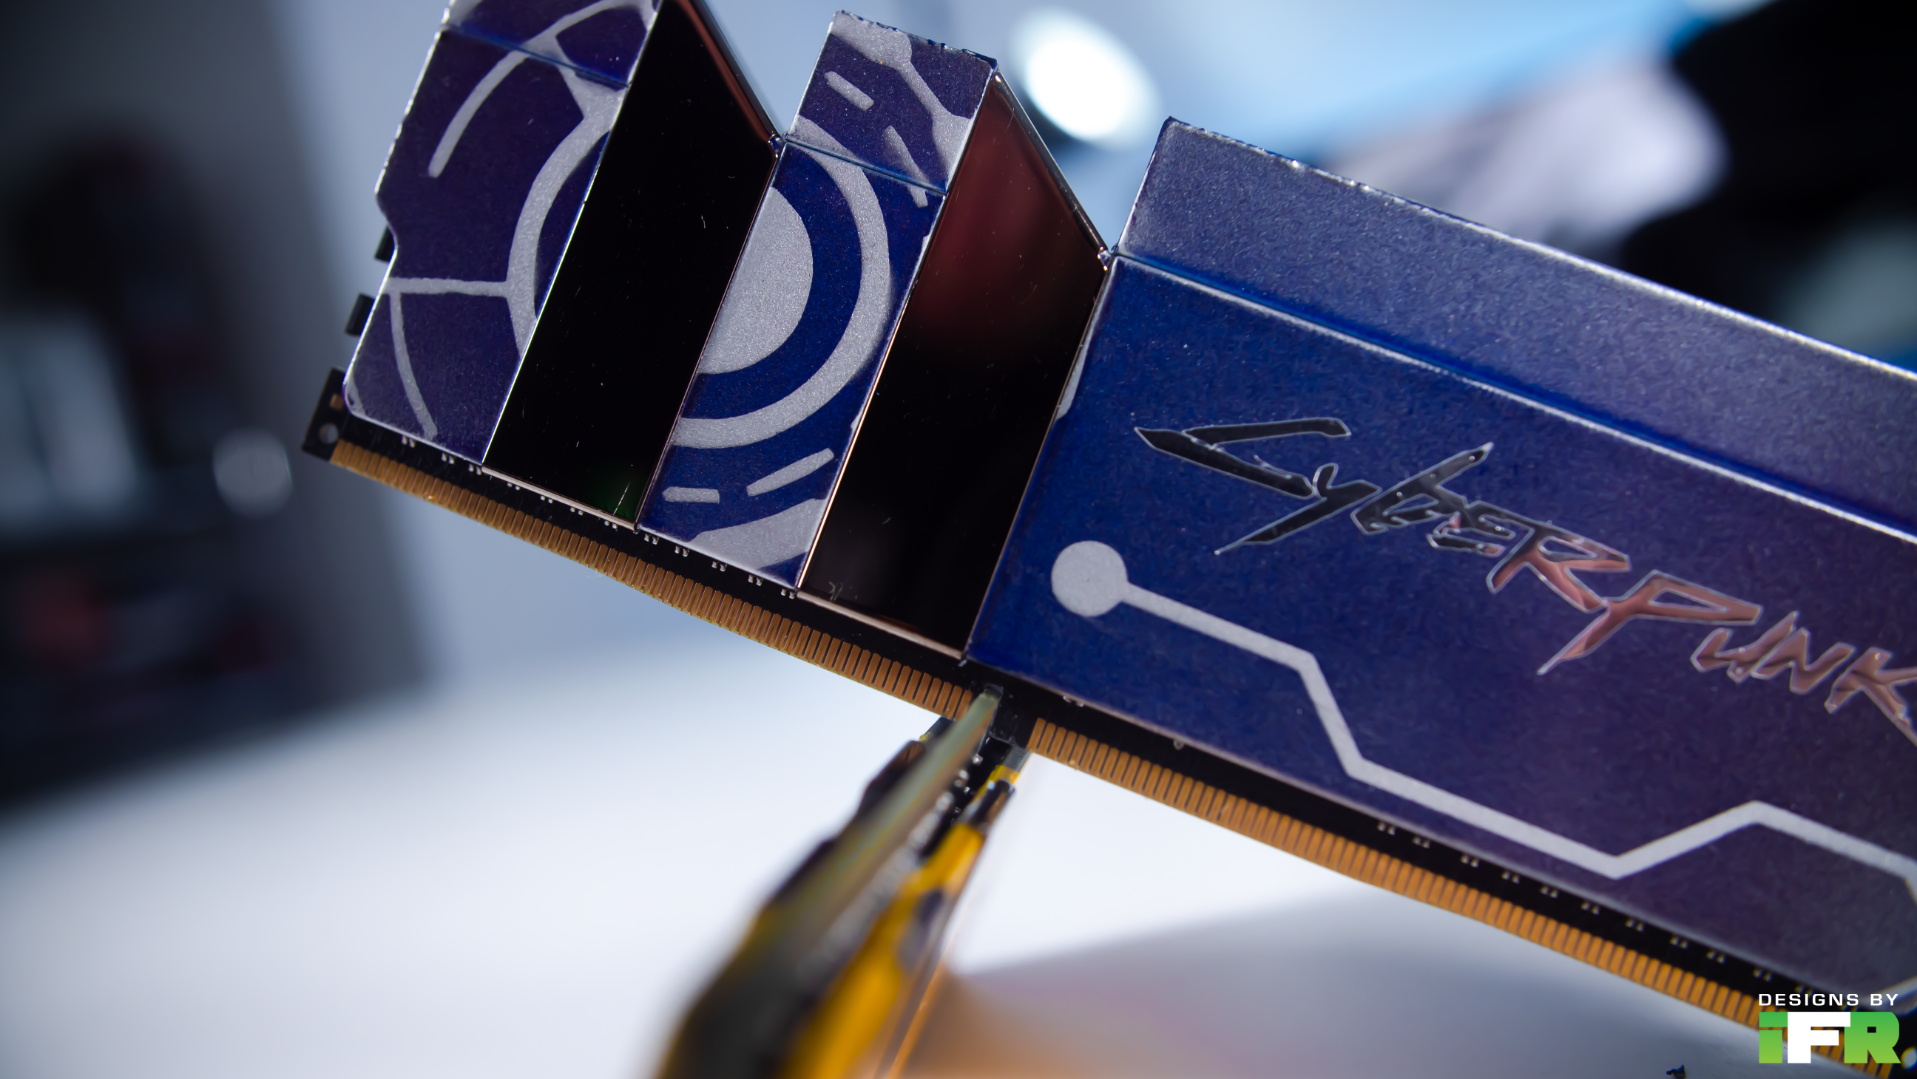
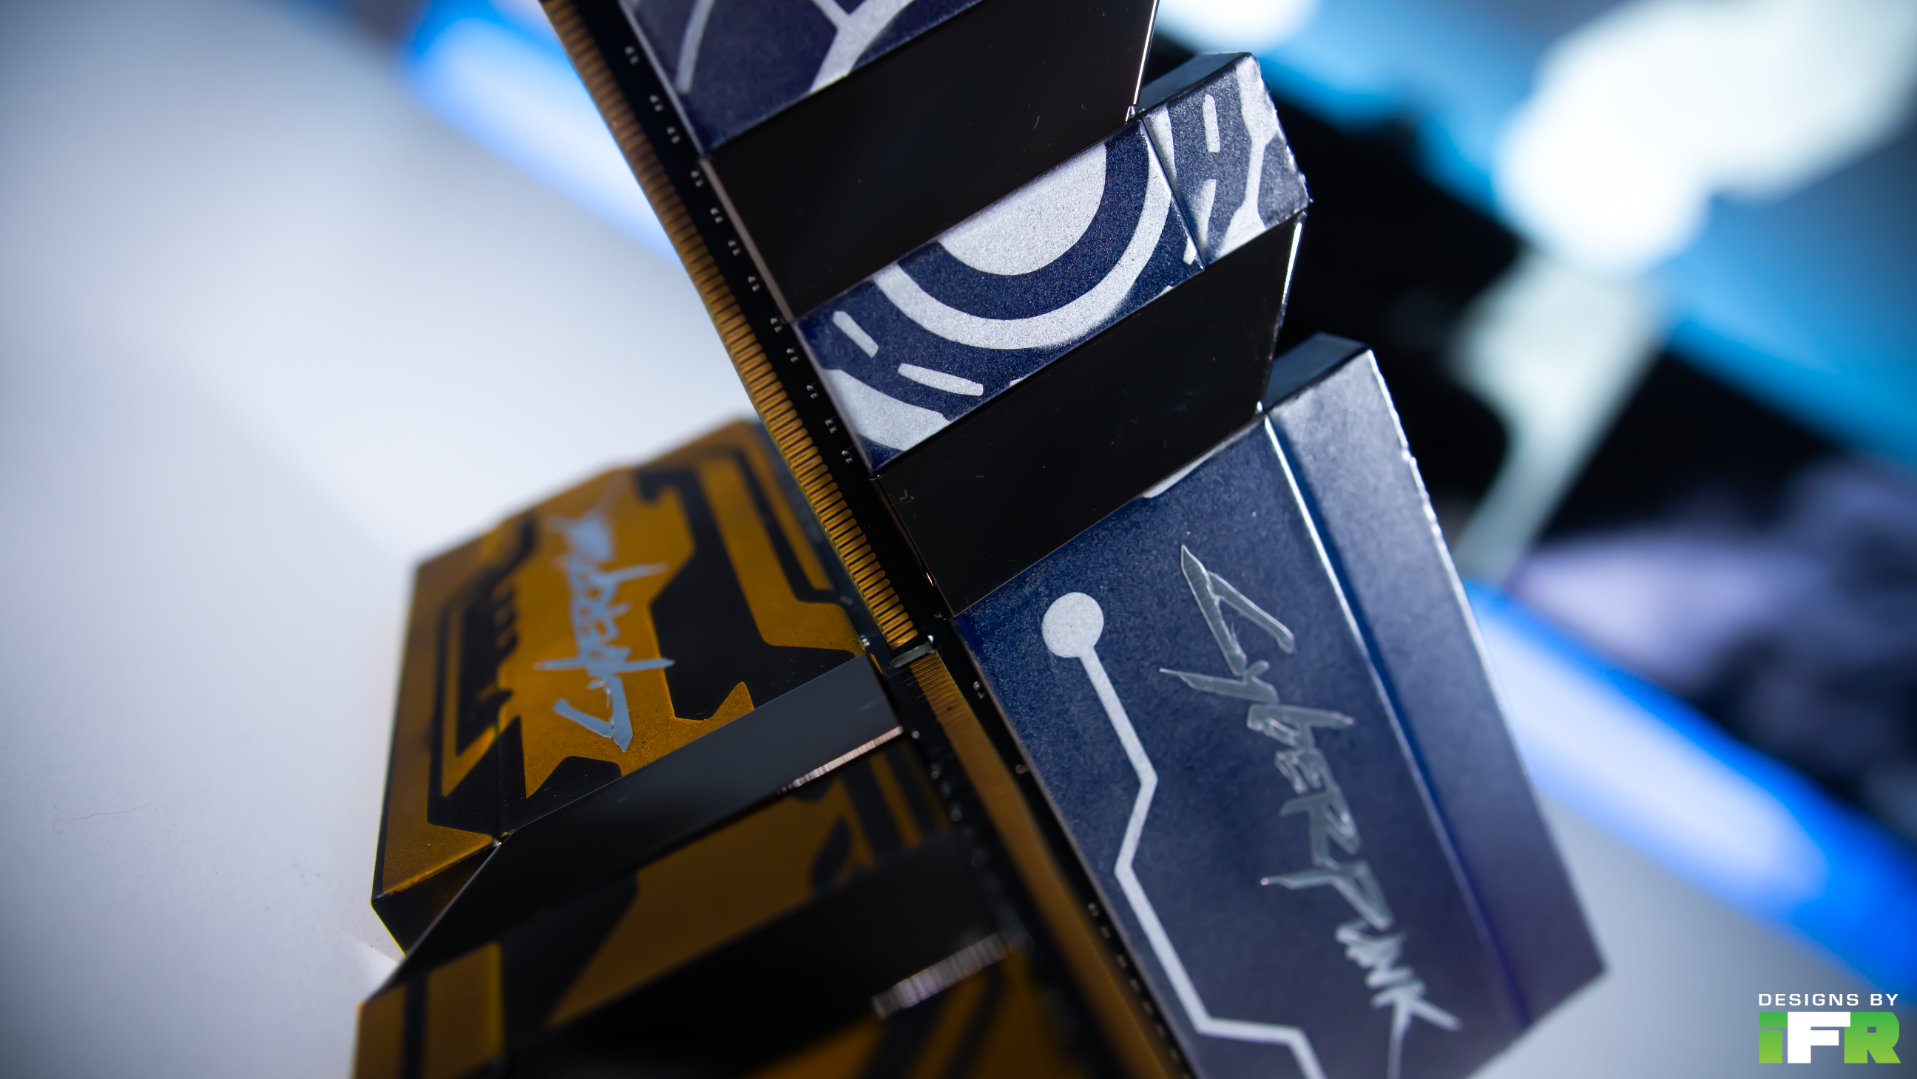
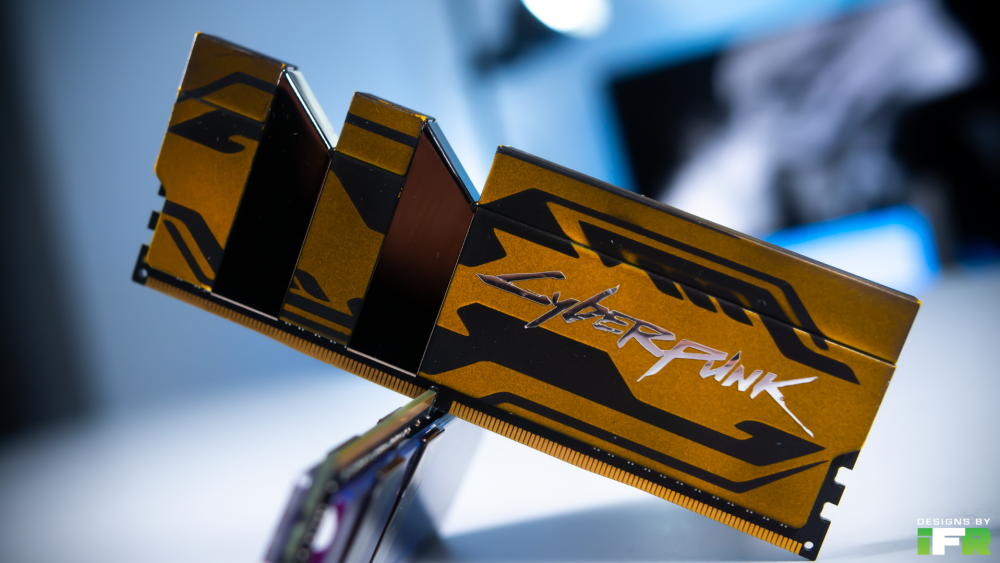
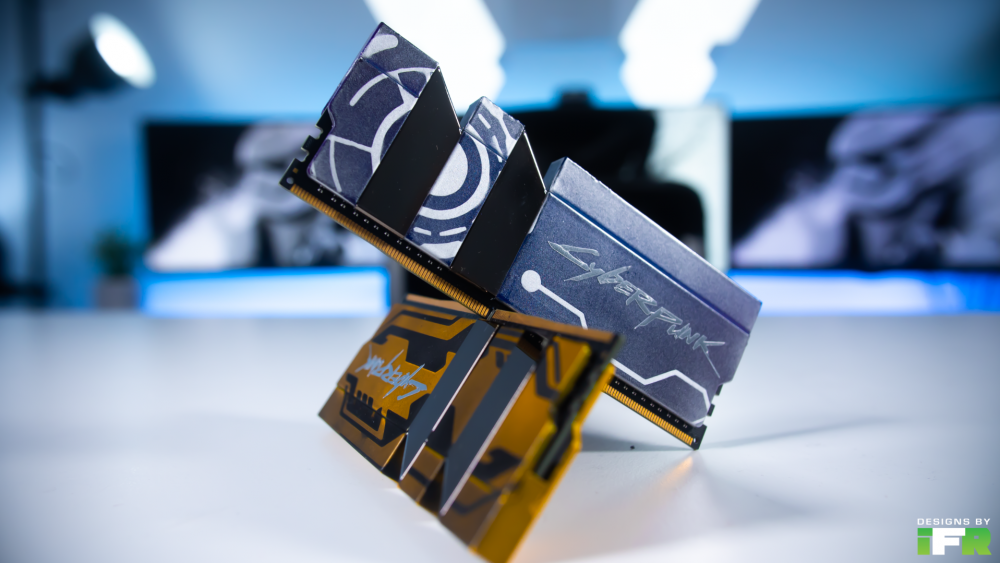
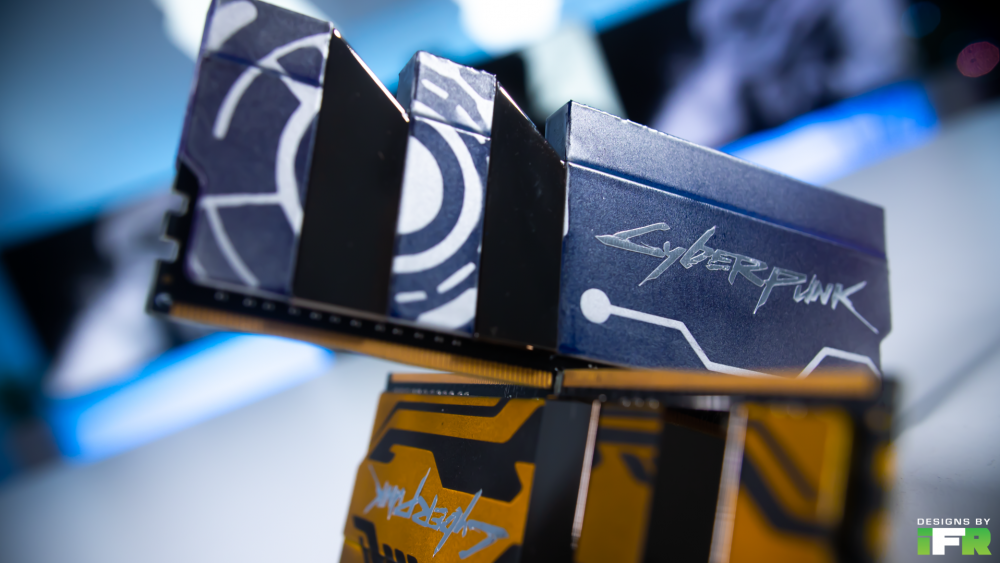
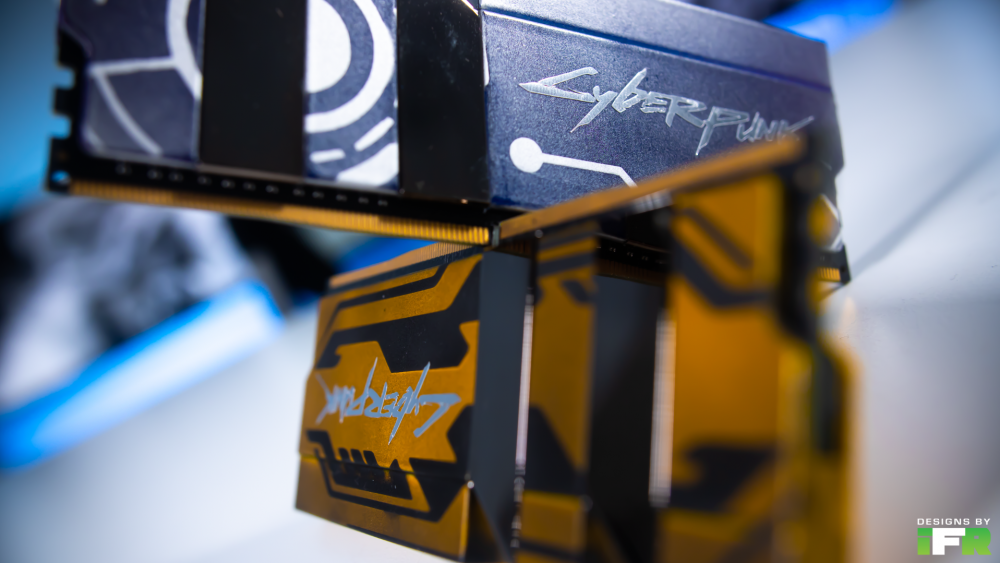
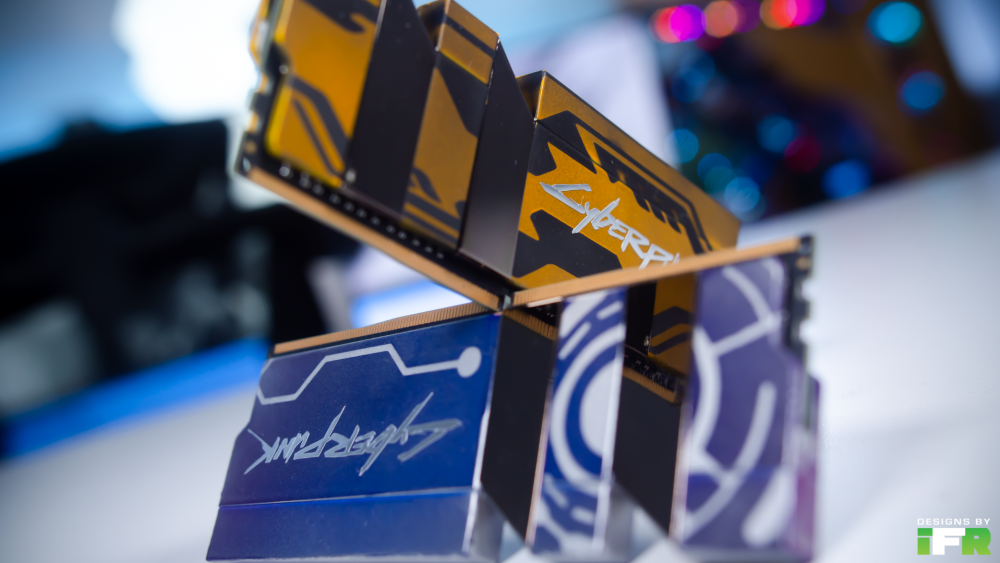
Final Pics 😃


-
[Australia] Corey Gregory
Designs By IFR replied to Tt Andy's topic in 2020 Thermaltake RAM MOD Invitational Season 1
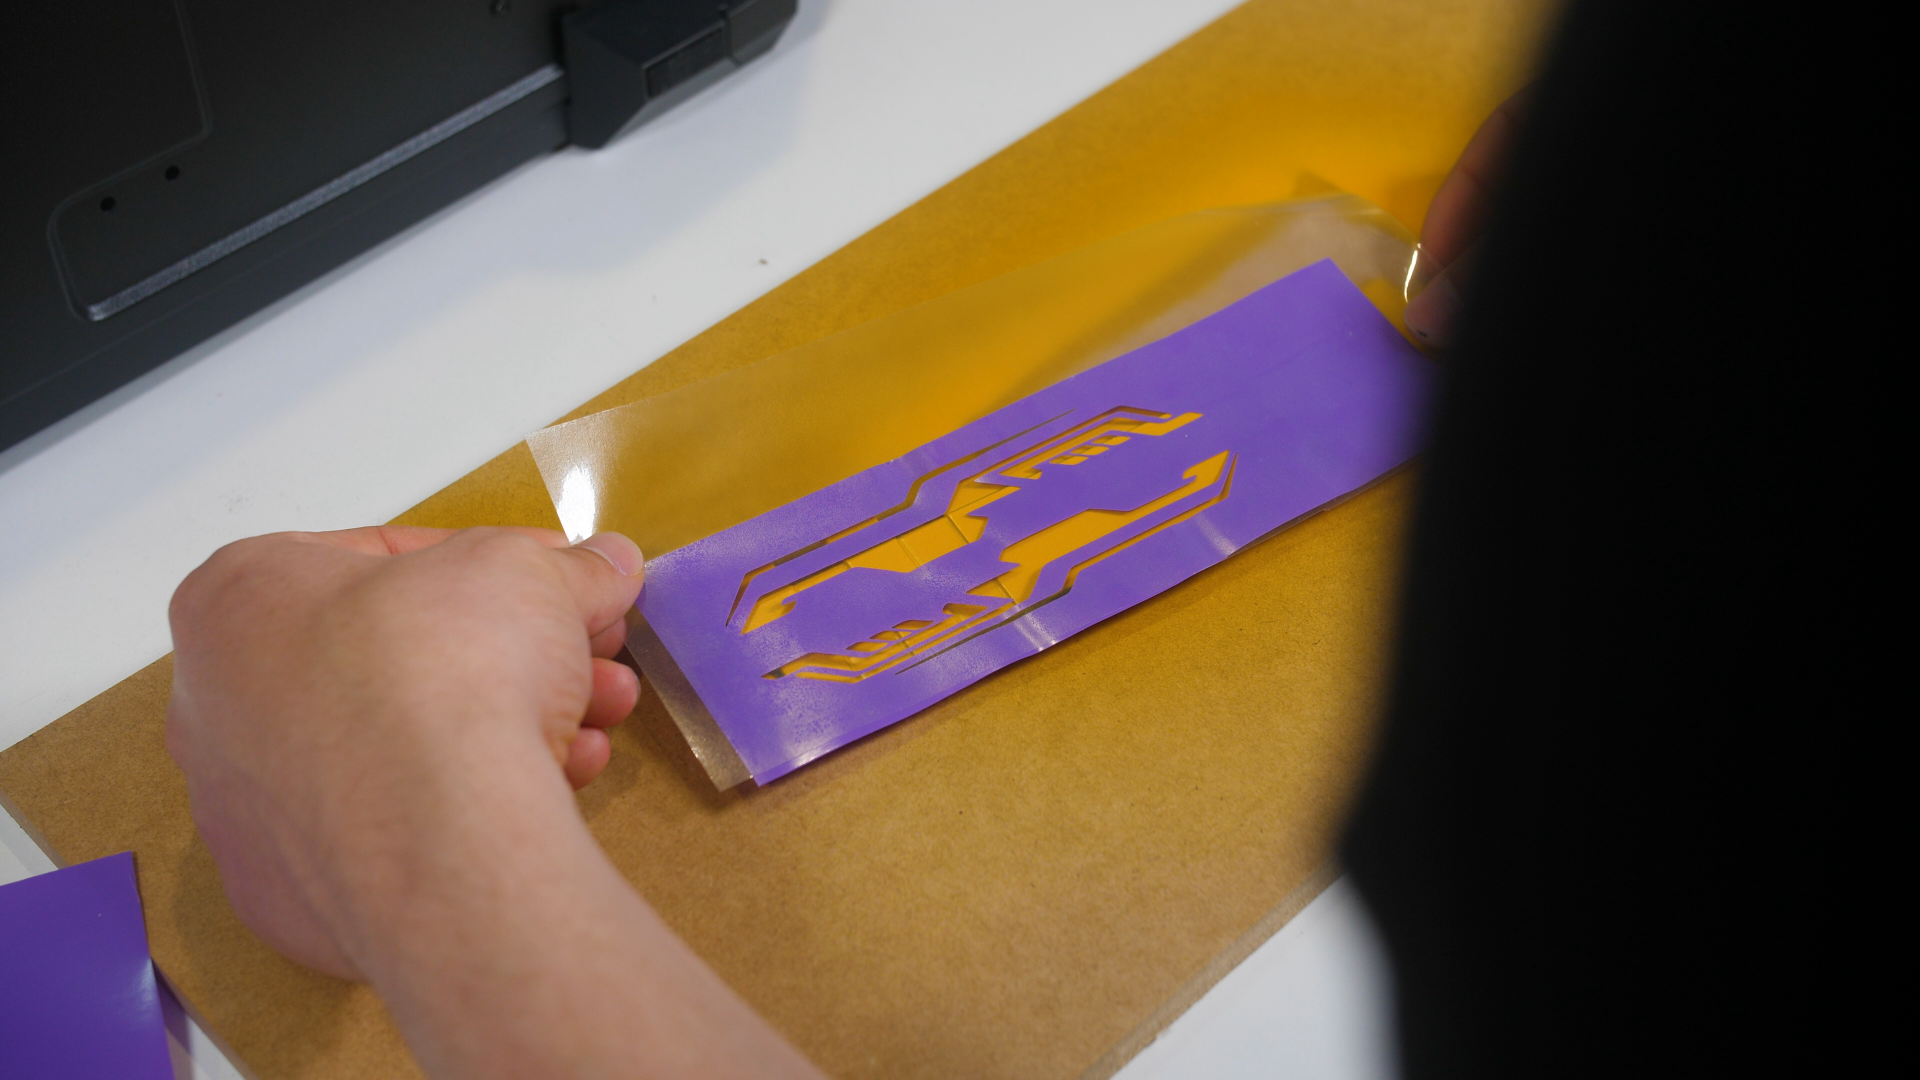
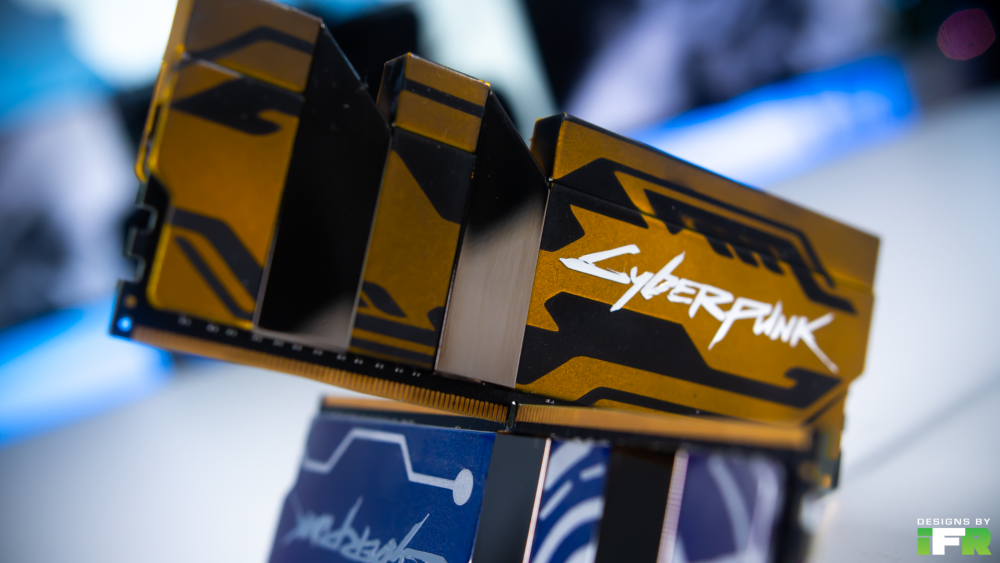
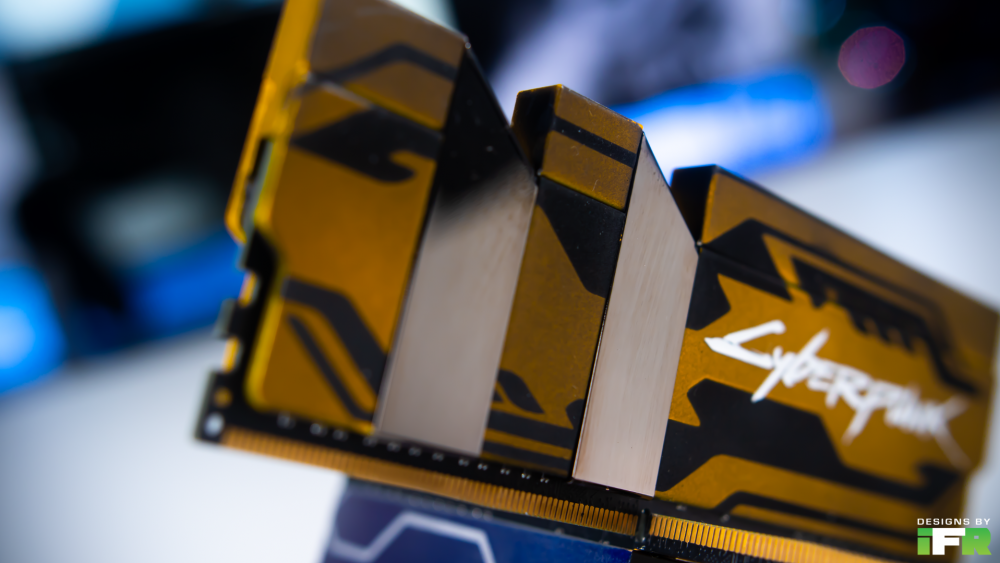
Cyberpunk LOGO!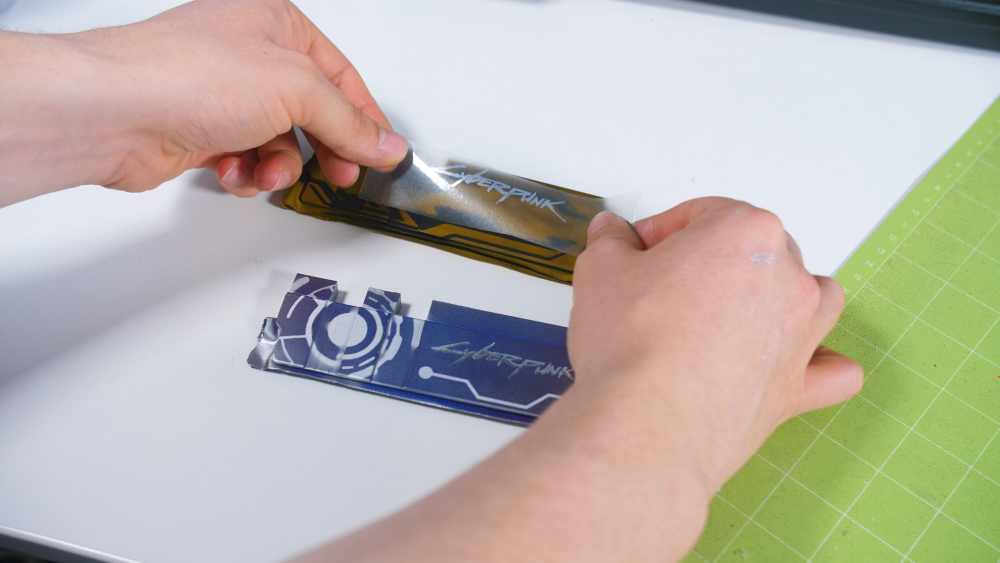
-
[Australia] Corey Gregory
Designs By IFR replied to Tt Andy's topic in 2020 Thermaltake RAM MOD Invitational Season 1
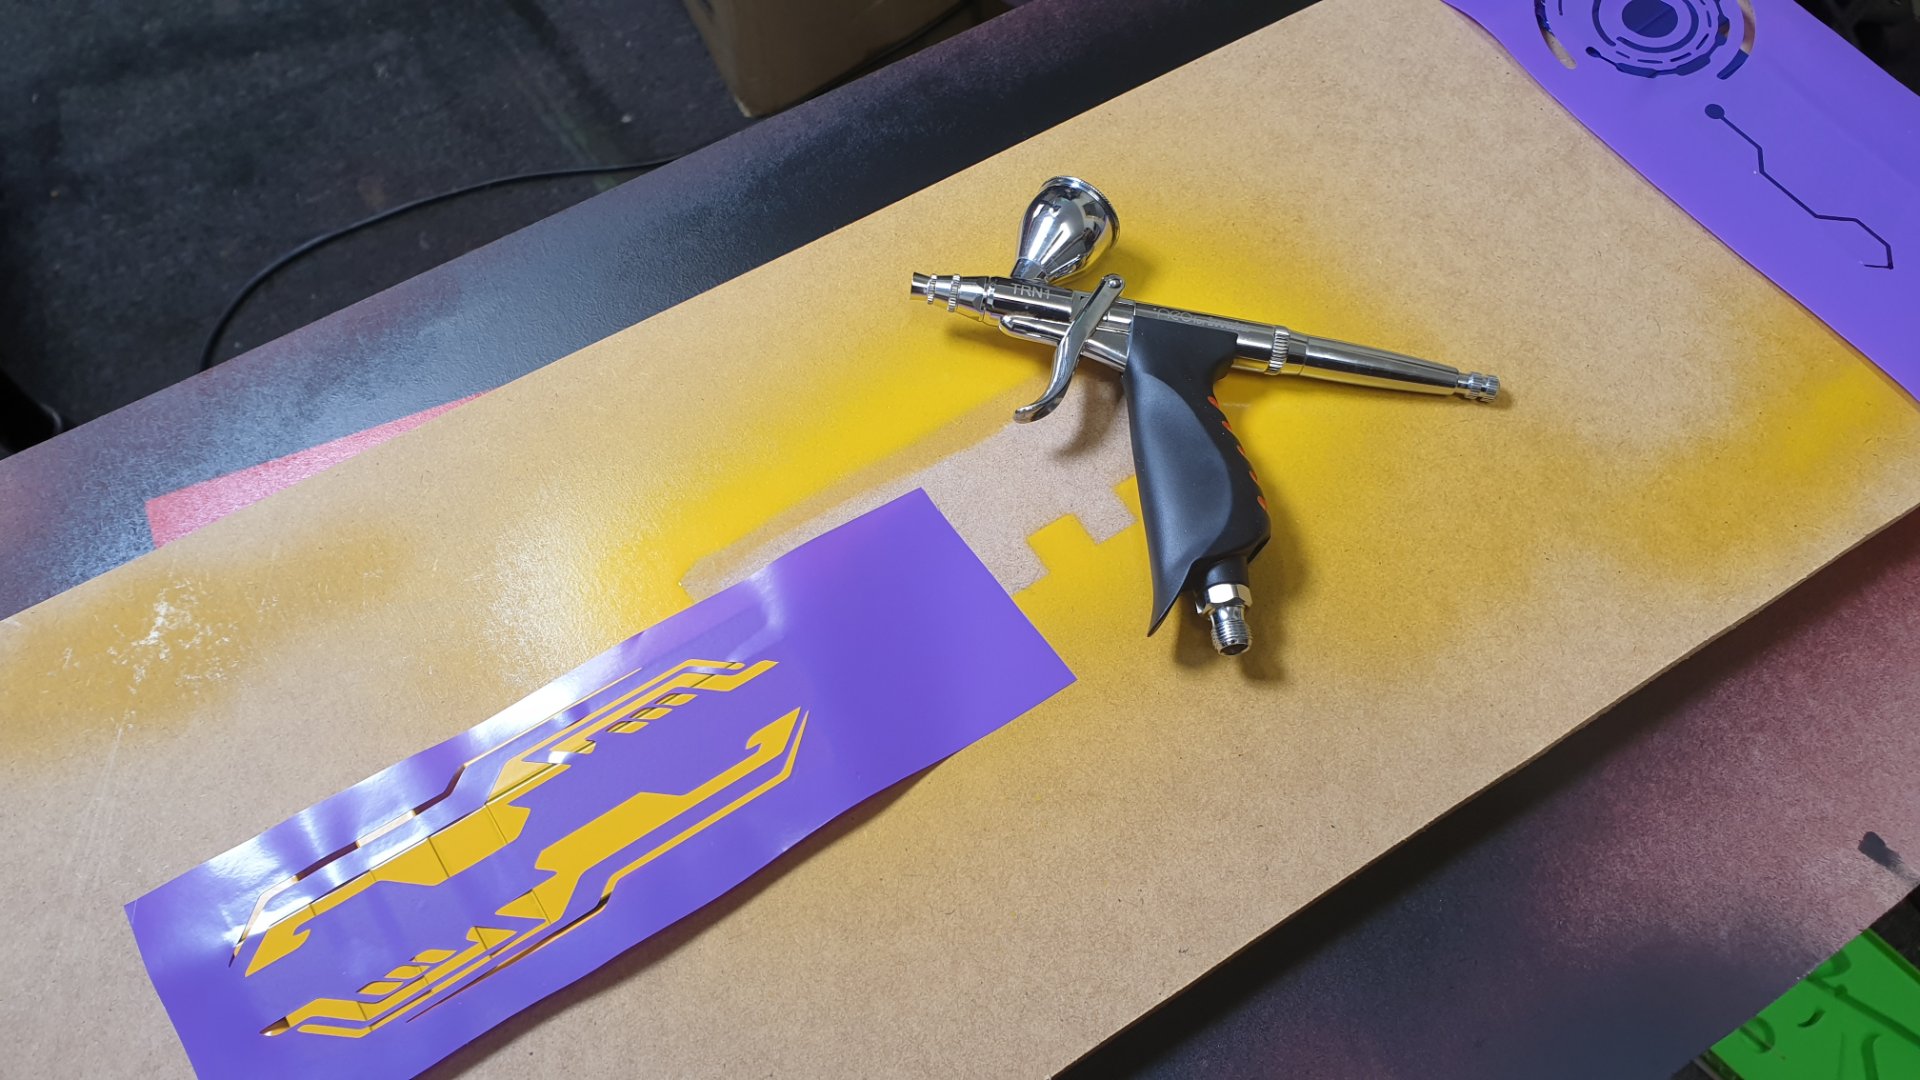
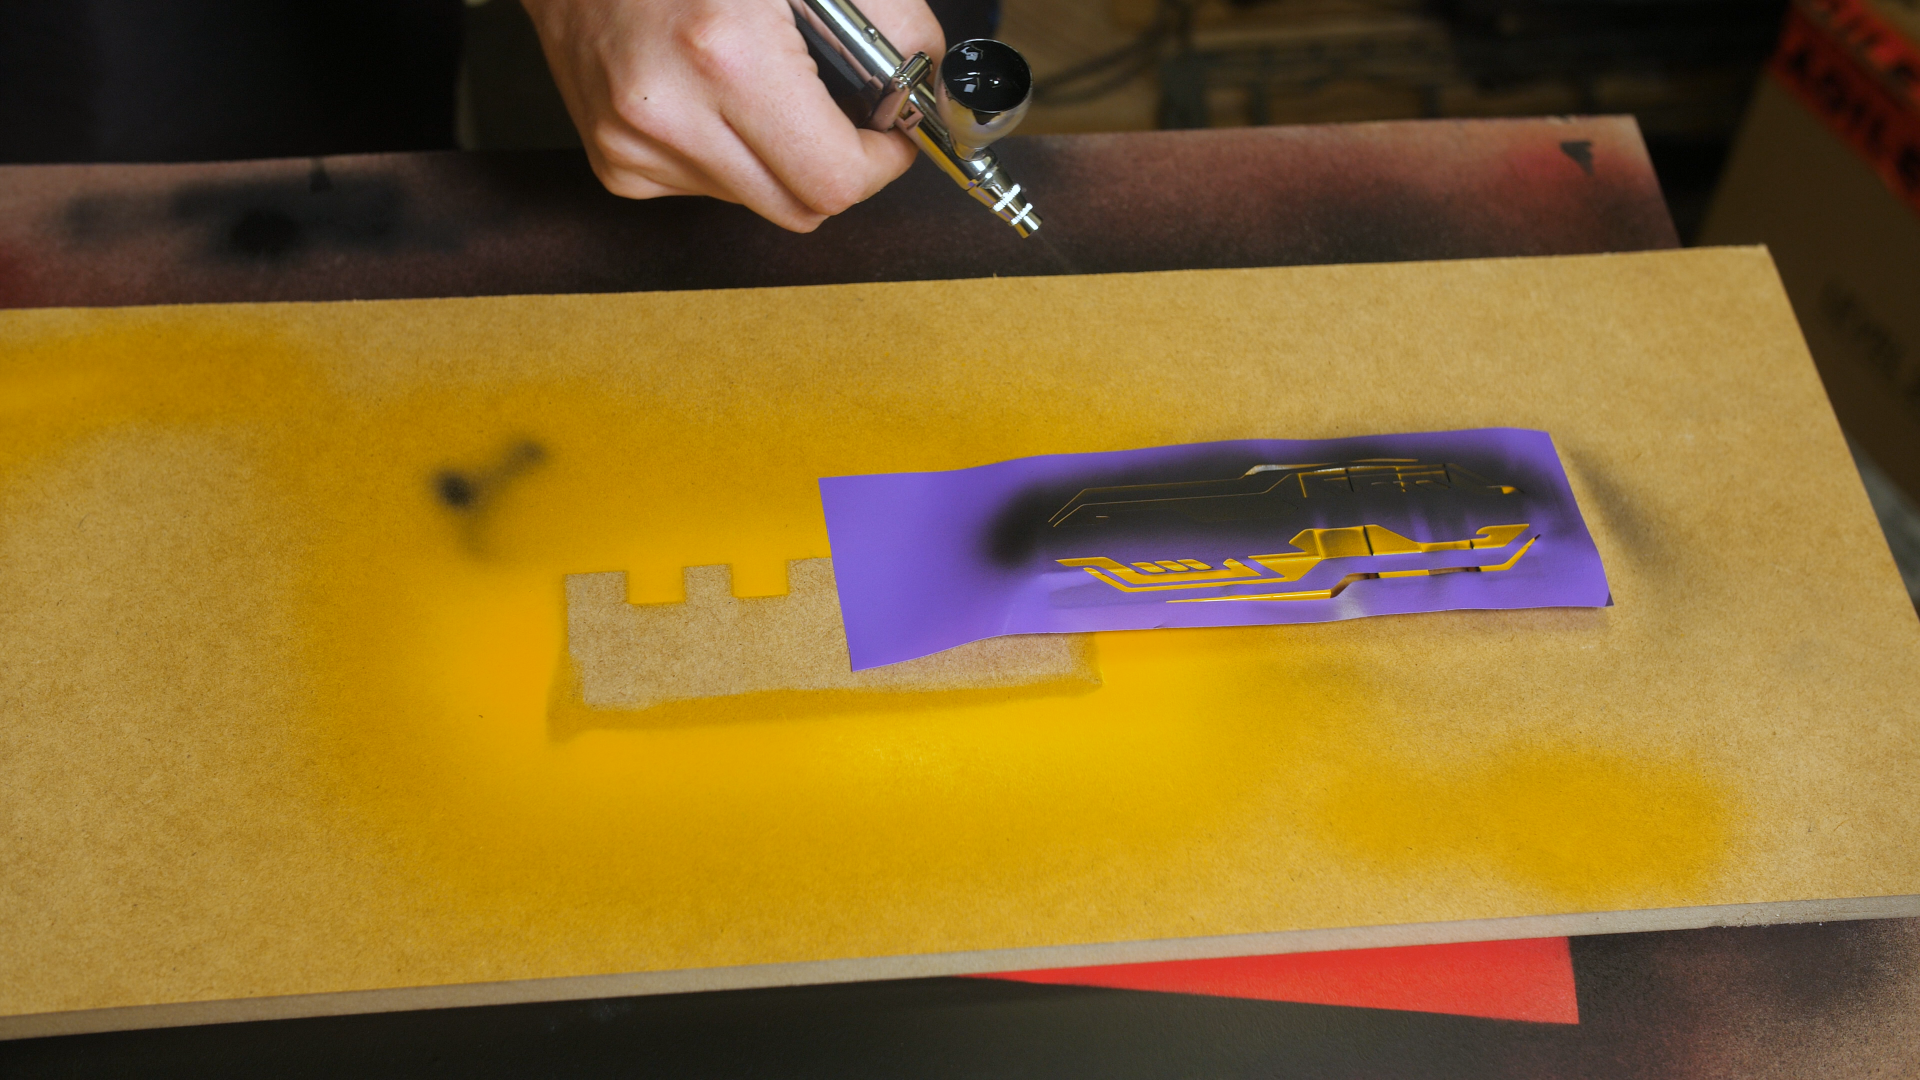
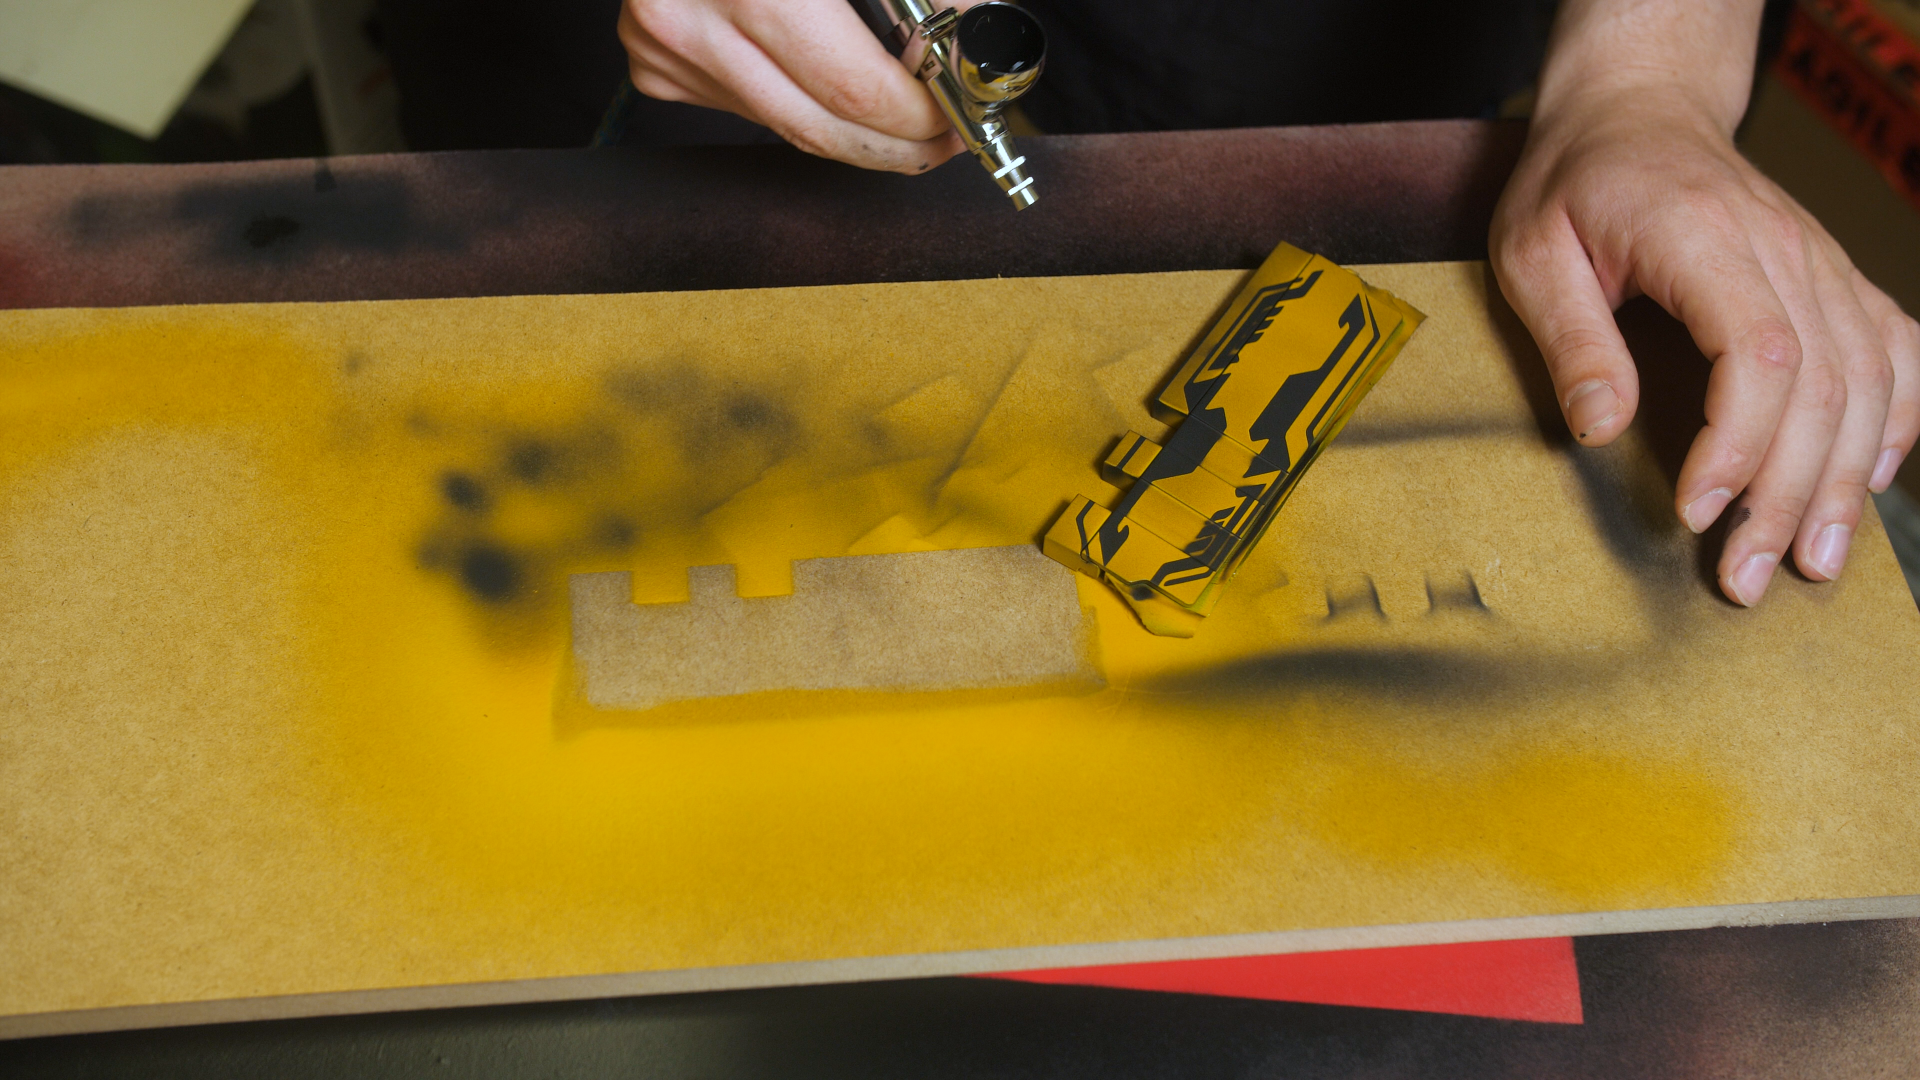
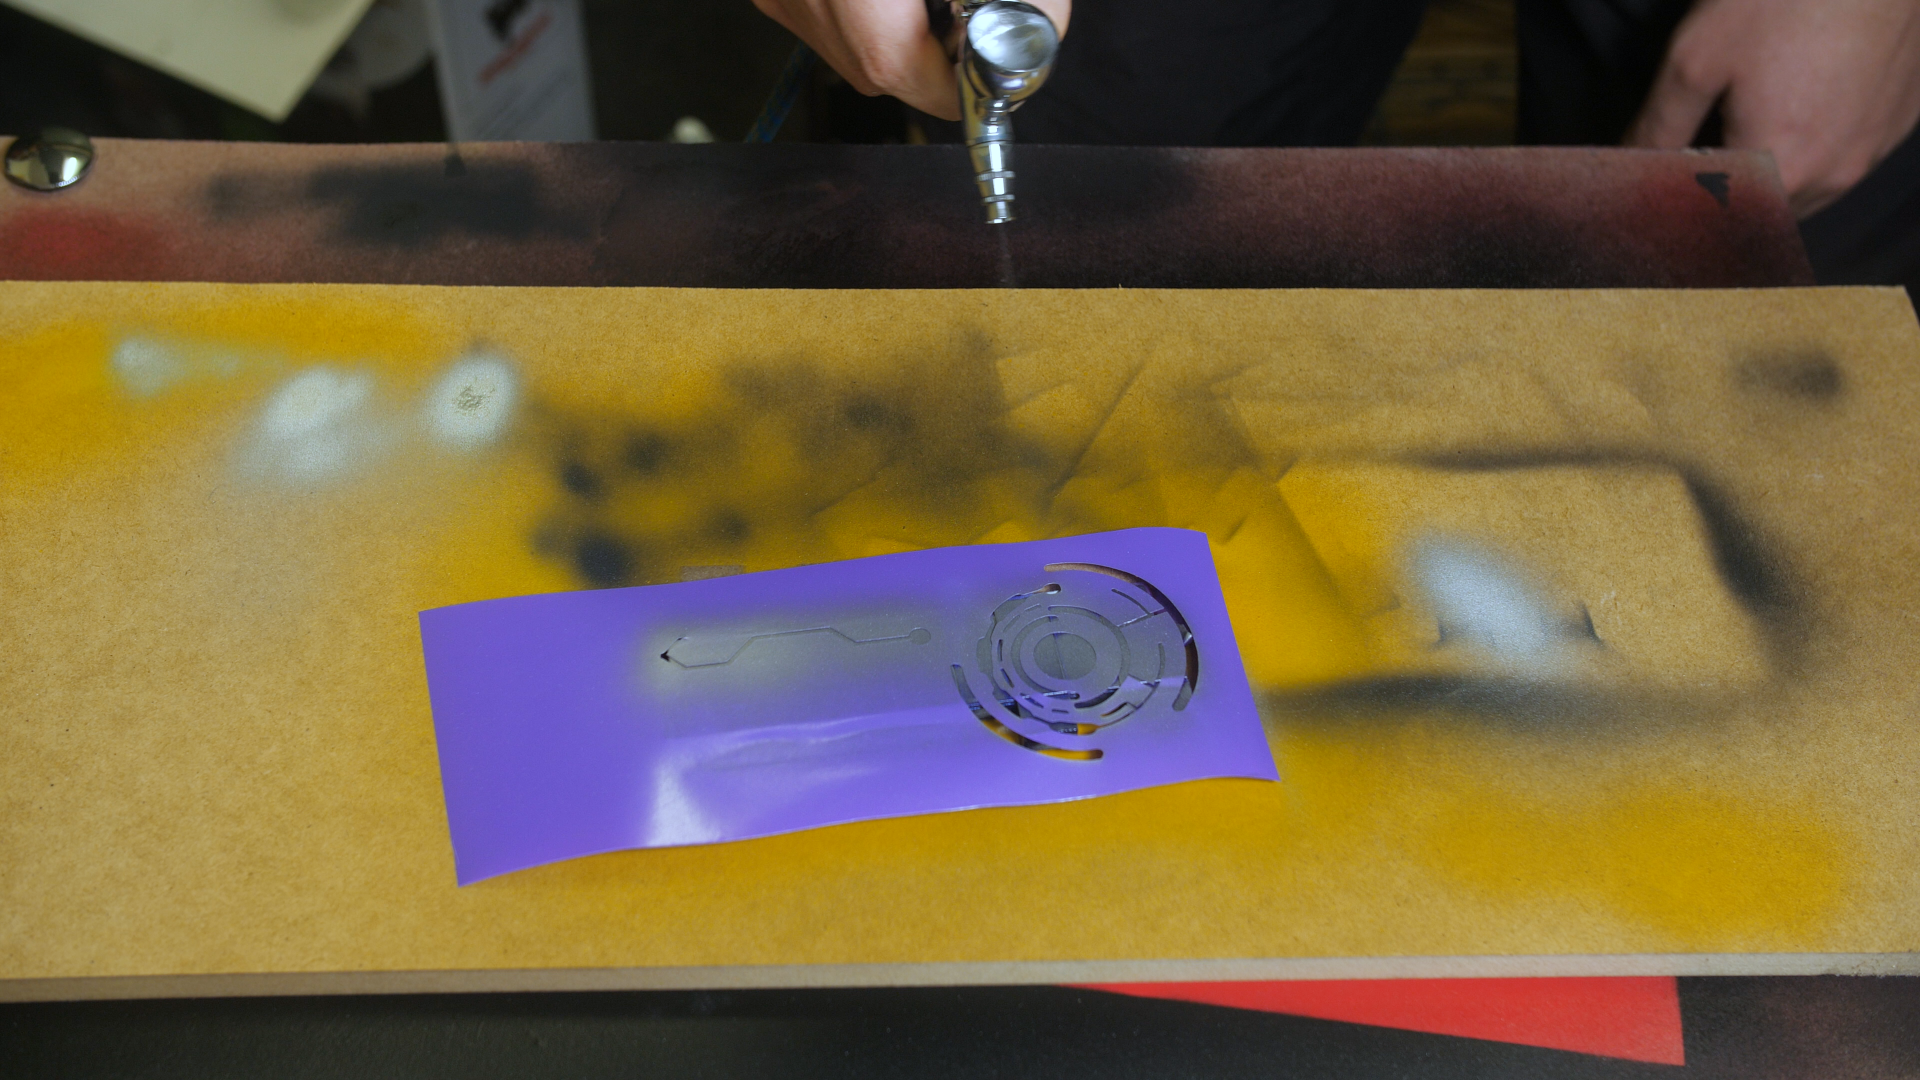
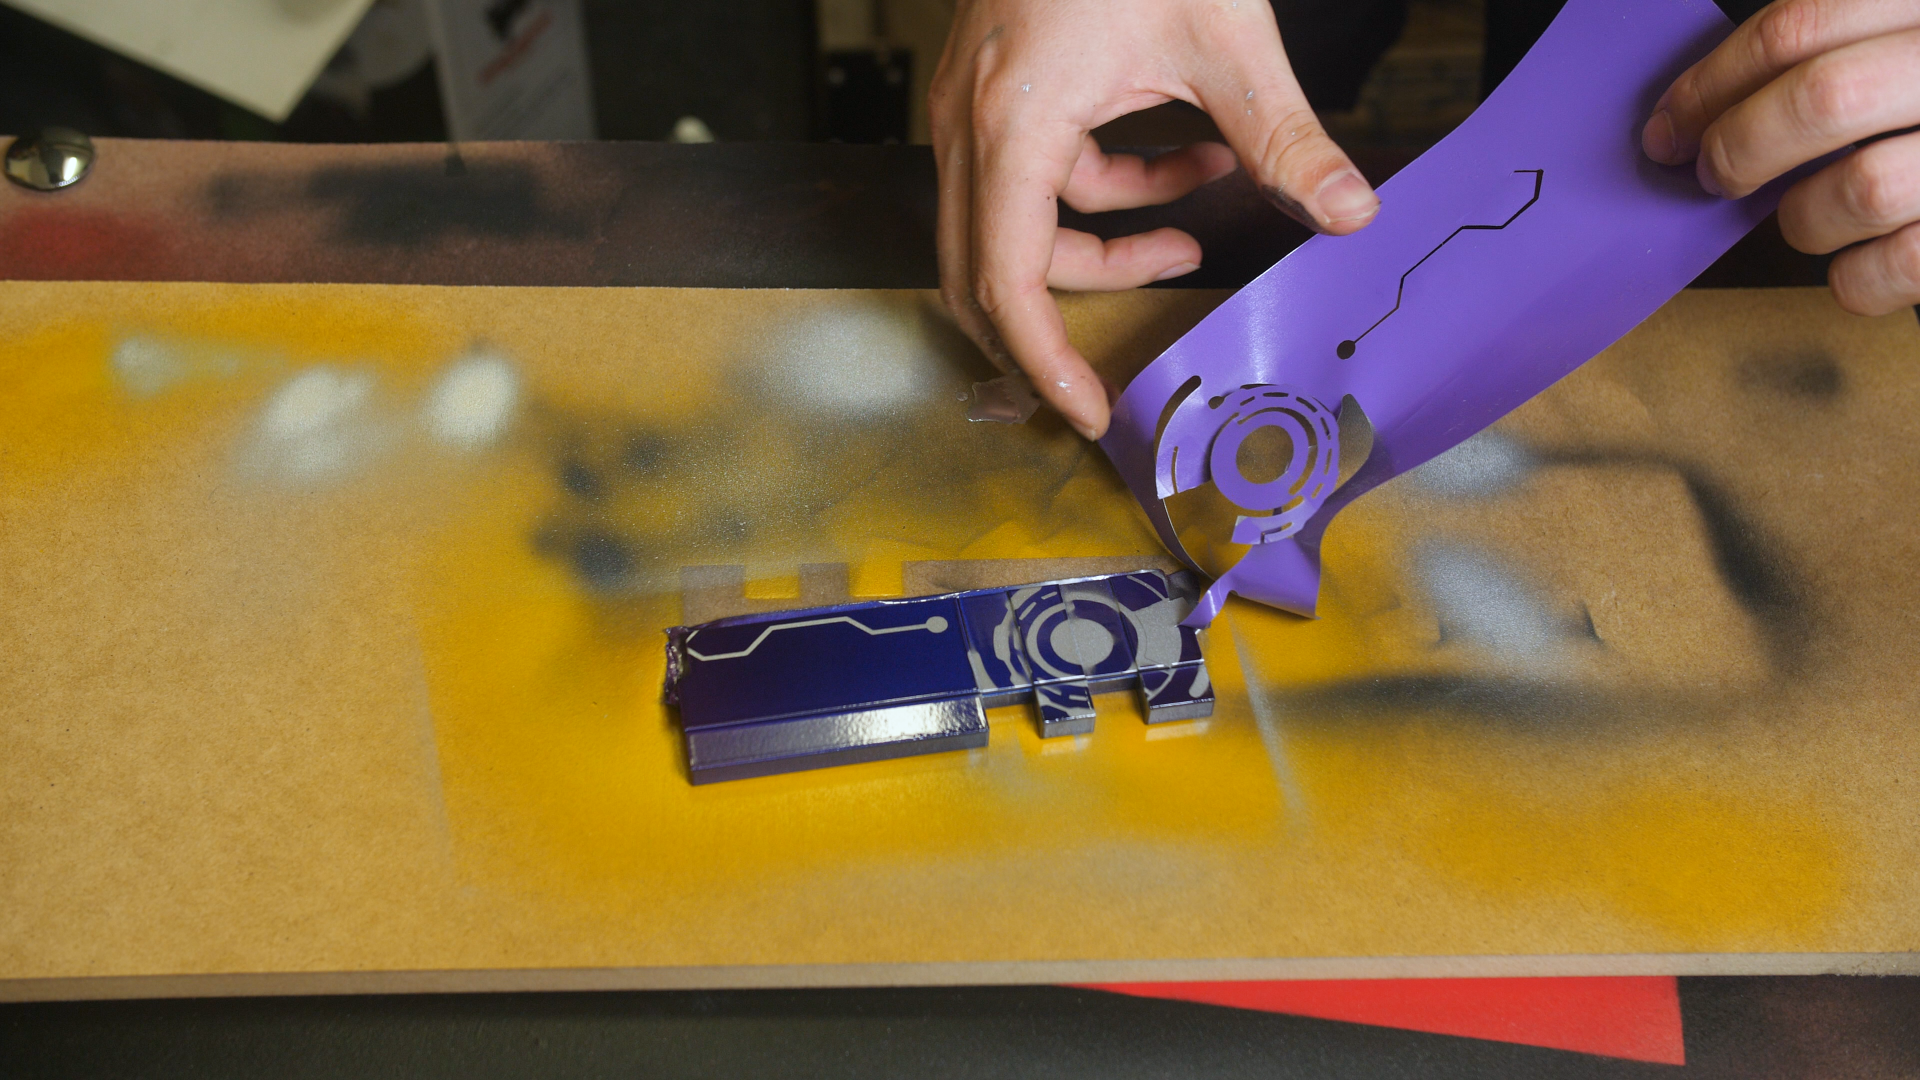
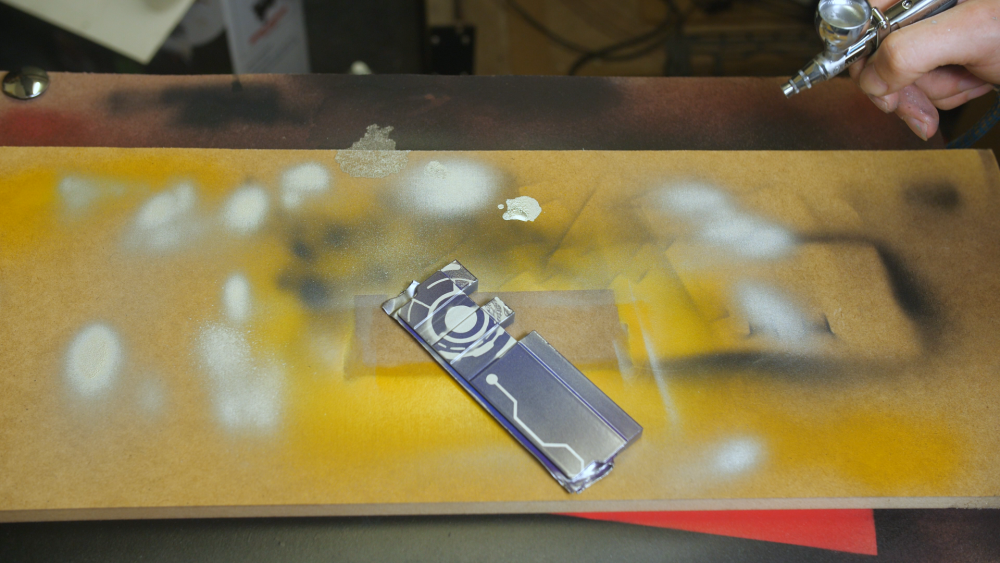
Air brushing time! I am not the best air brusher out there but I love giving new things a try!


-
[Australia] Corey Gregory
Designs By IFR replied to Tt Andy's topic in 2020 Thermaltake RAM MOD Invitational Season 1
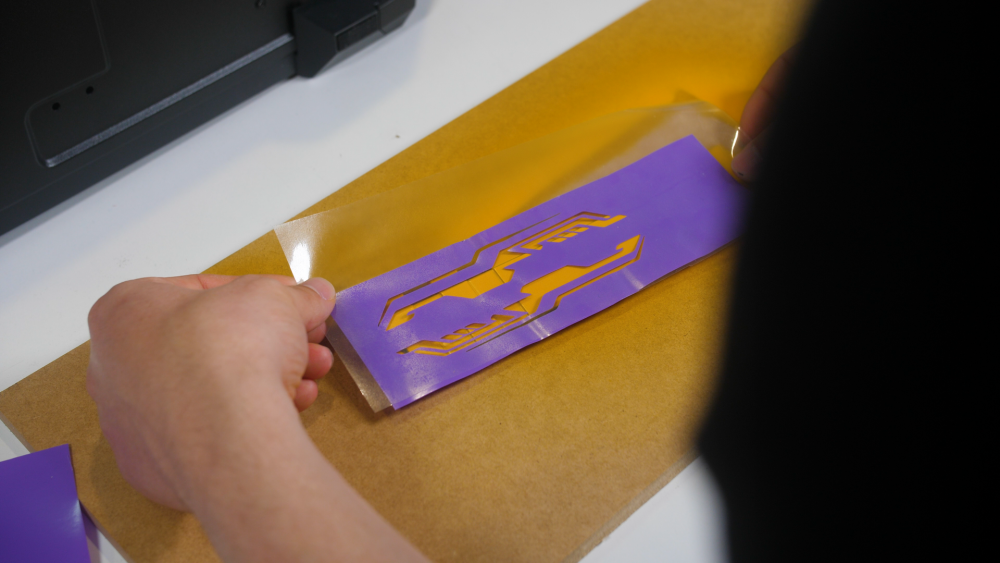
I designed a cyberpunk art piece in adobe illustrator to cut out some vinyl to act as a stencil when I air brush.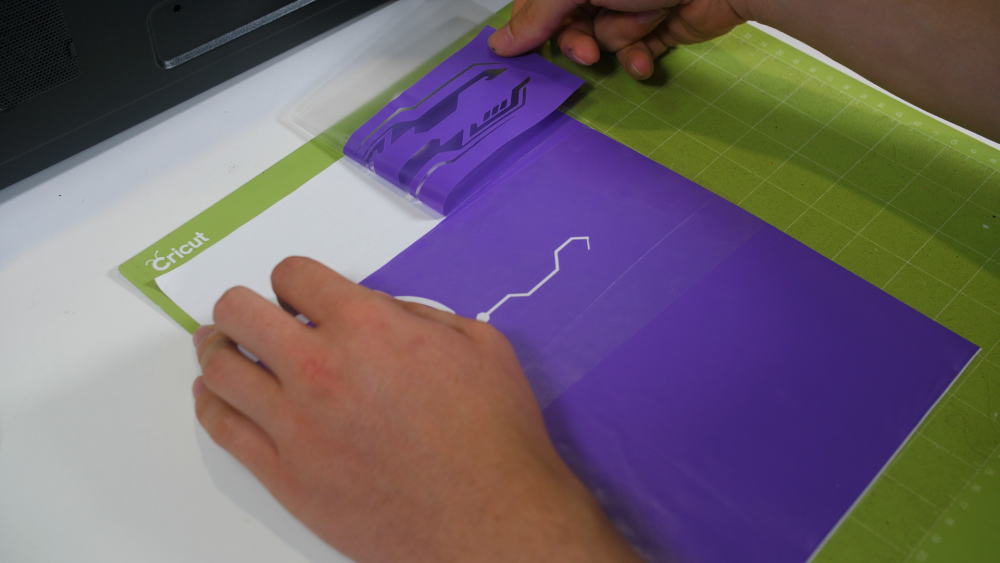
-
[Australia] Corey Gregory
Designs By IFR replied to Tt Andy's topic in 2020 Thermaltake RAM MOD Invitational Season 1
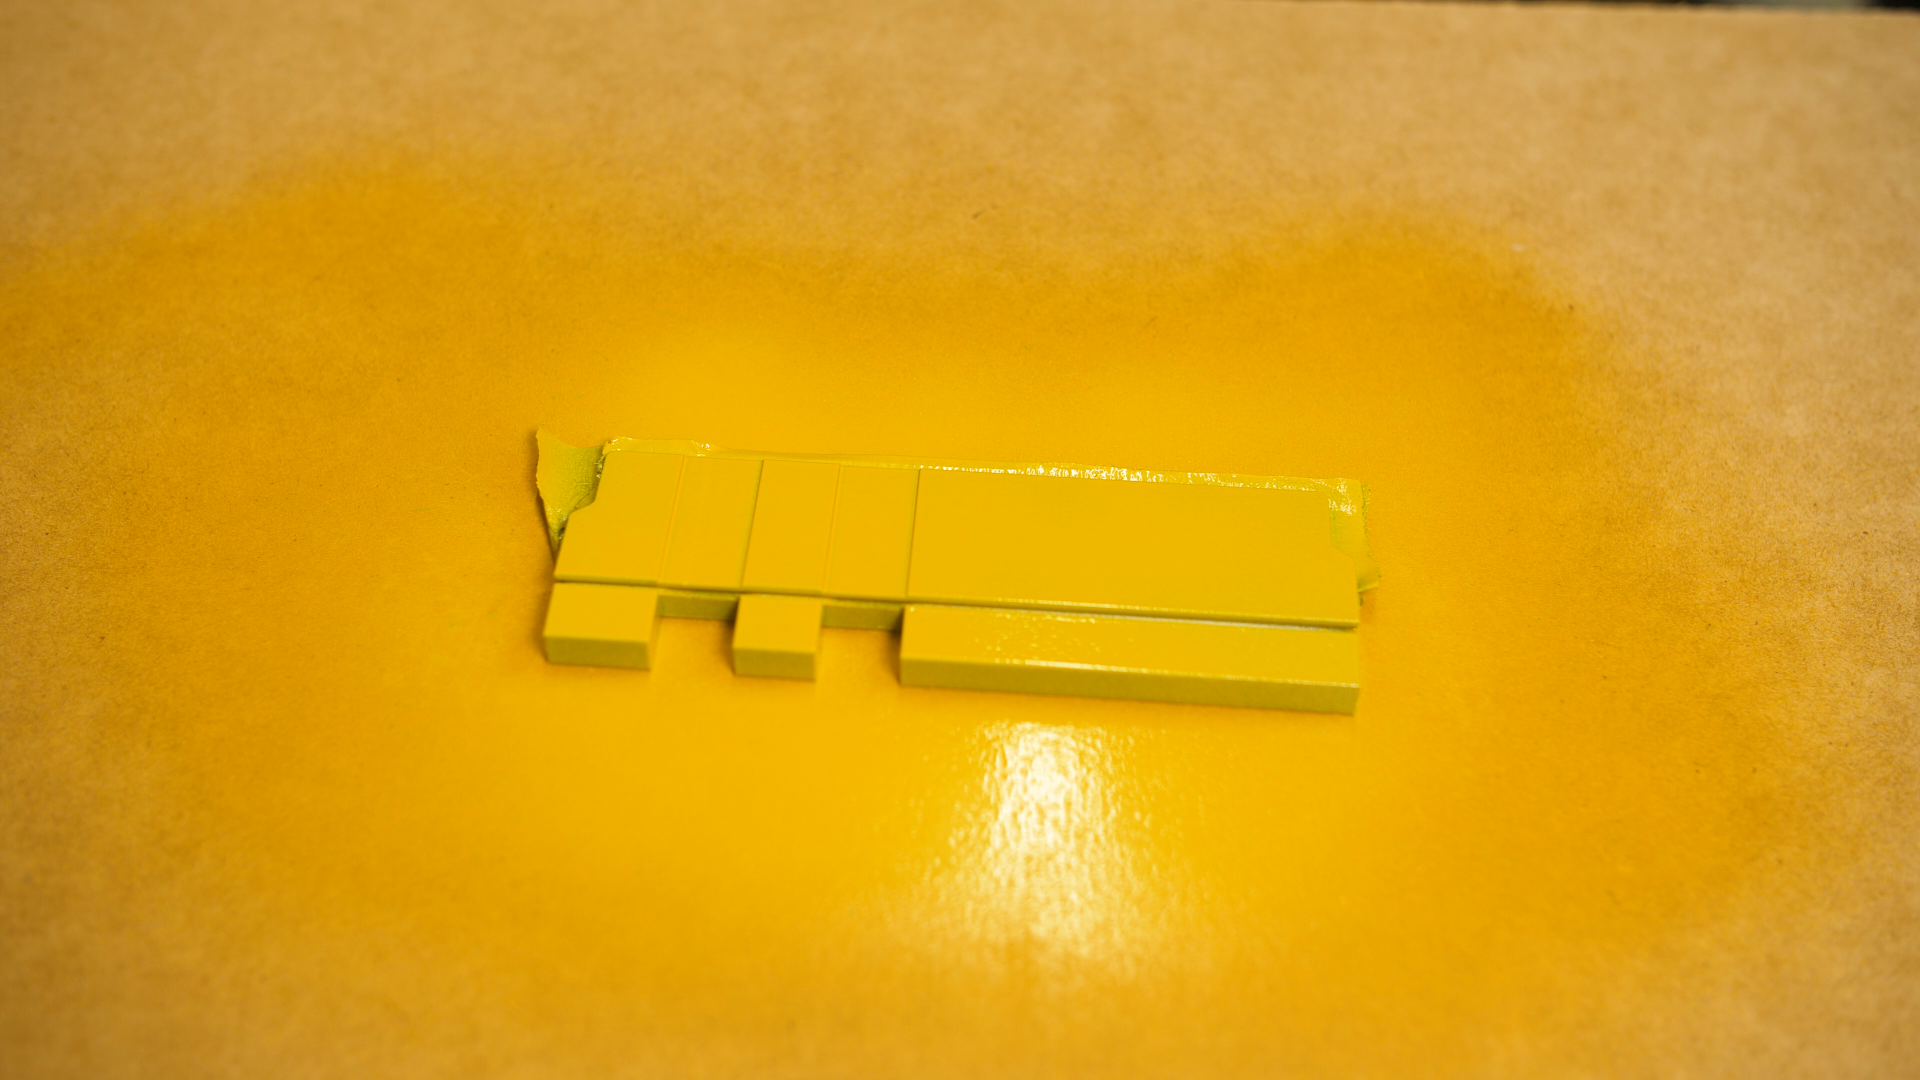
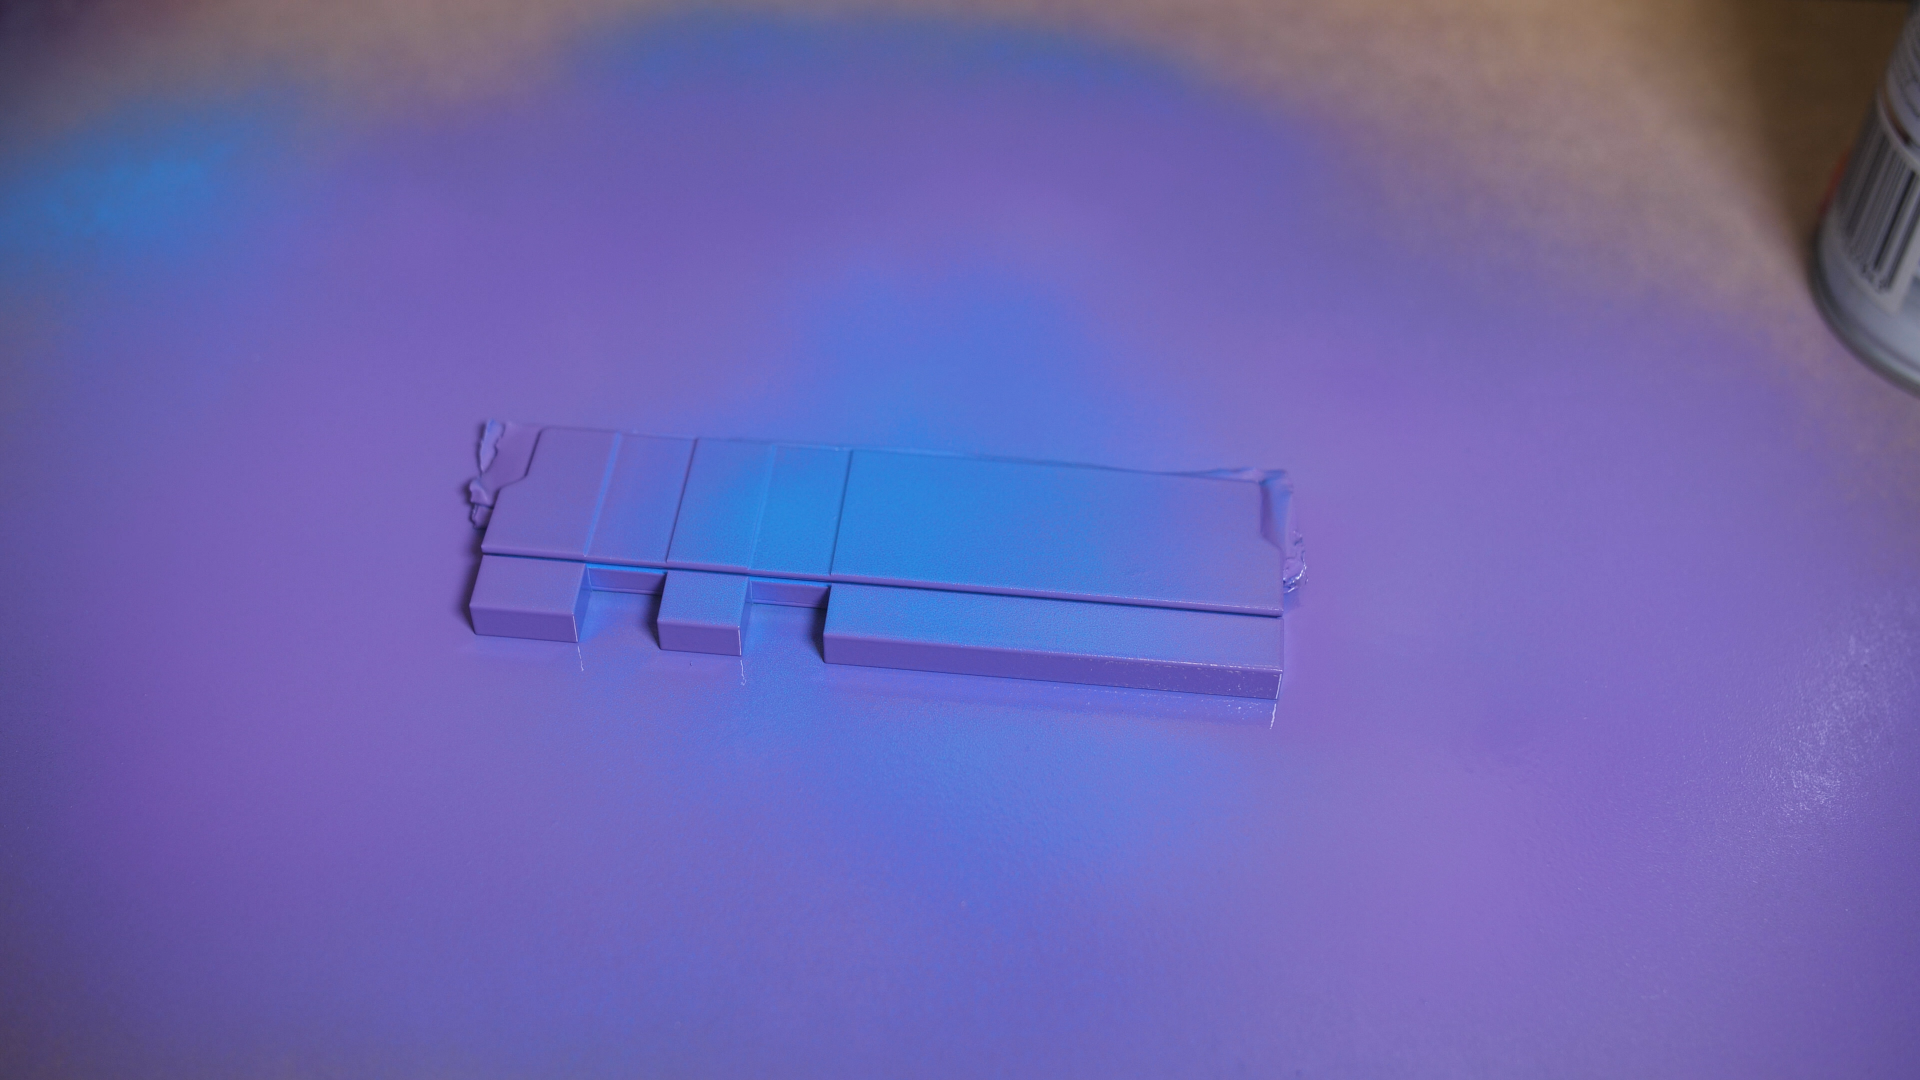
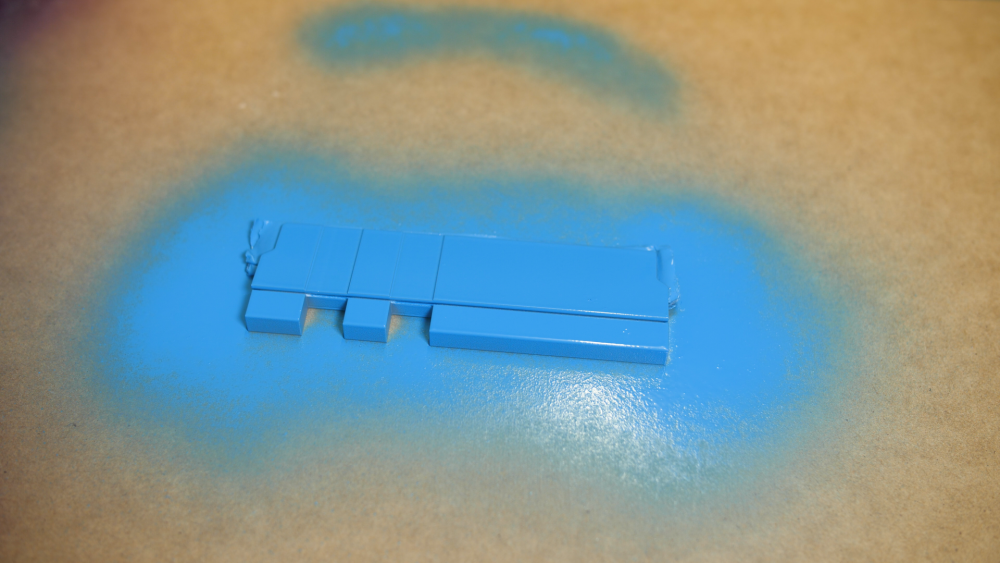
After wet sanding the primer it was time to paint! The first Cyberpunk stick will be yellow and the second will be purple and blue. We plan on doing some air brushing and vinyl work after the paint cures.


-
[Australia] Corey Gregory
Designs By IFR replied to Tt Andy's topic in 2020 Thermaltake RAM MOD Invitational Season 1
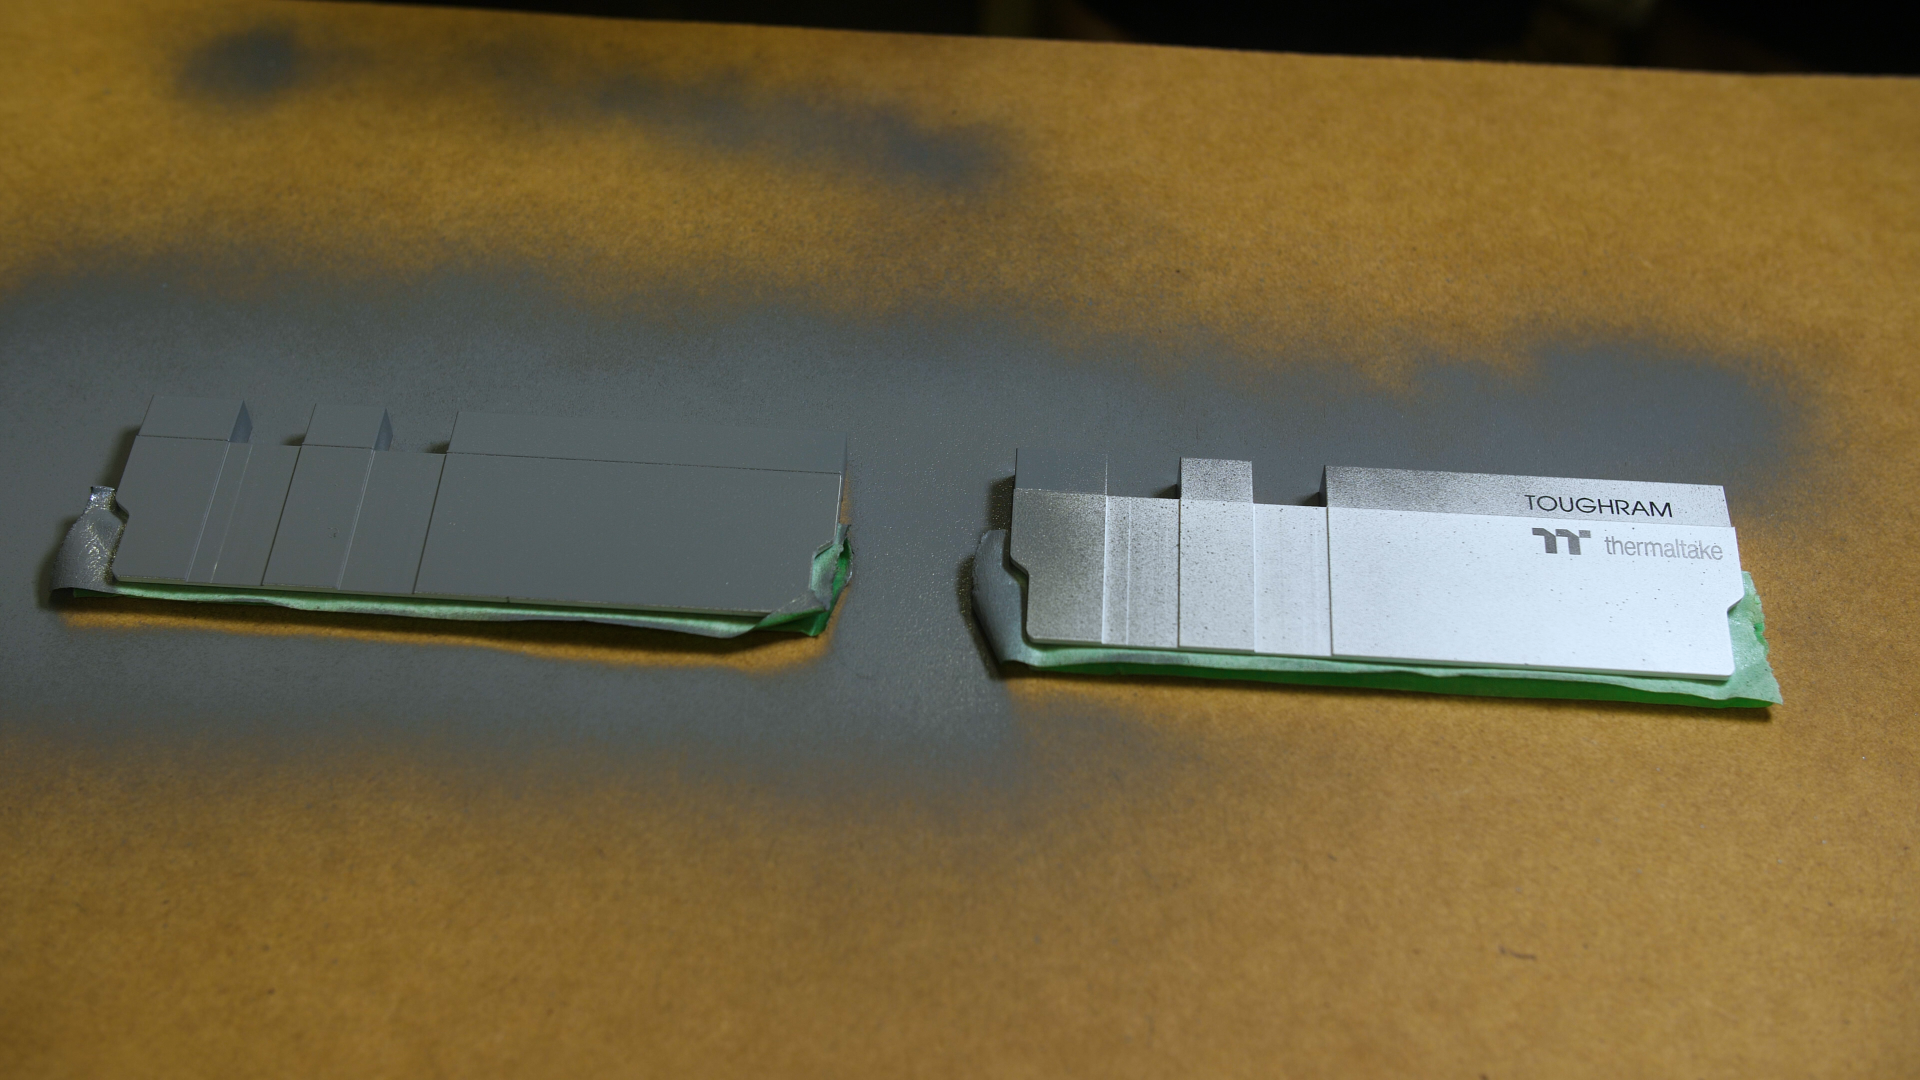
Time to PRIME! We will be doing two different styles of Cyberpunk Ram sticks, one will be the usual yellow and the other will be the purples and blues you see throughout cyberpunk art and the game. First things first we cleaned the surfaces and primed the RAM Heat spreaders.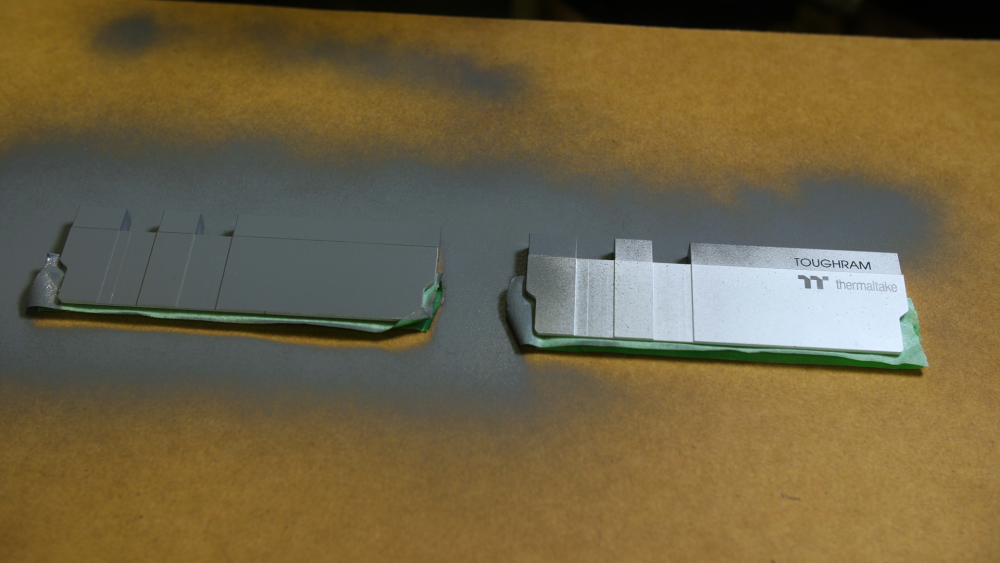
-
[Australia] Corey Gregory
Designs By IFR replied to Tt Andy's topic in 2020 Thermaltake RAM MOD Invitational Season 1
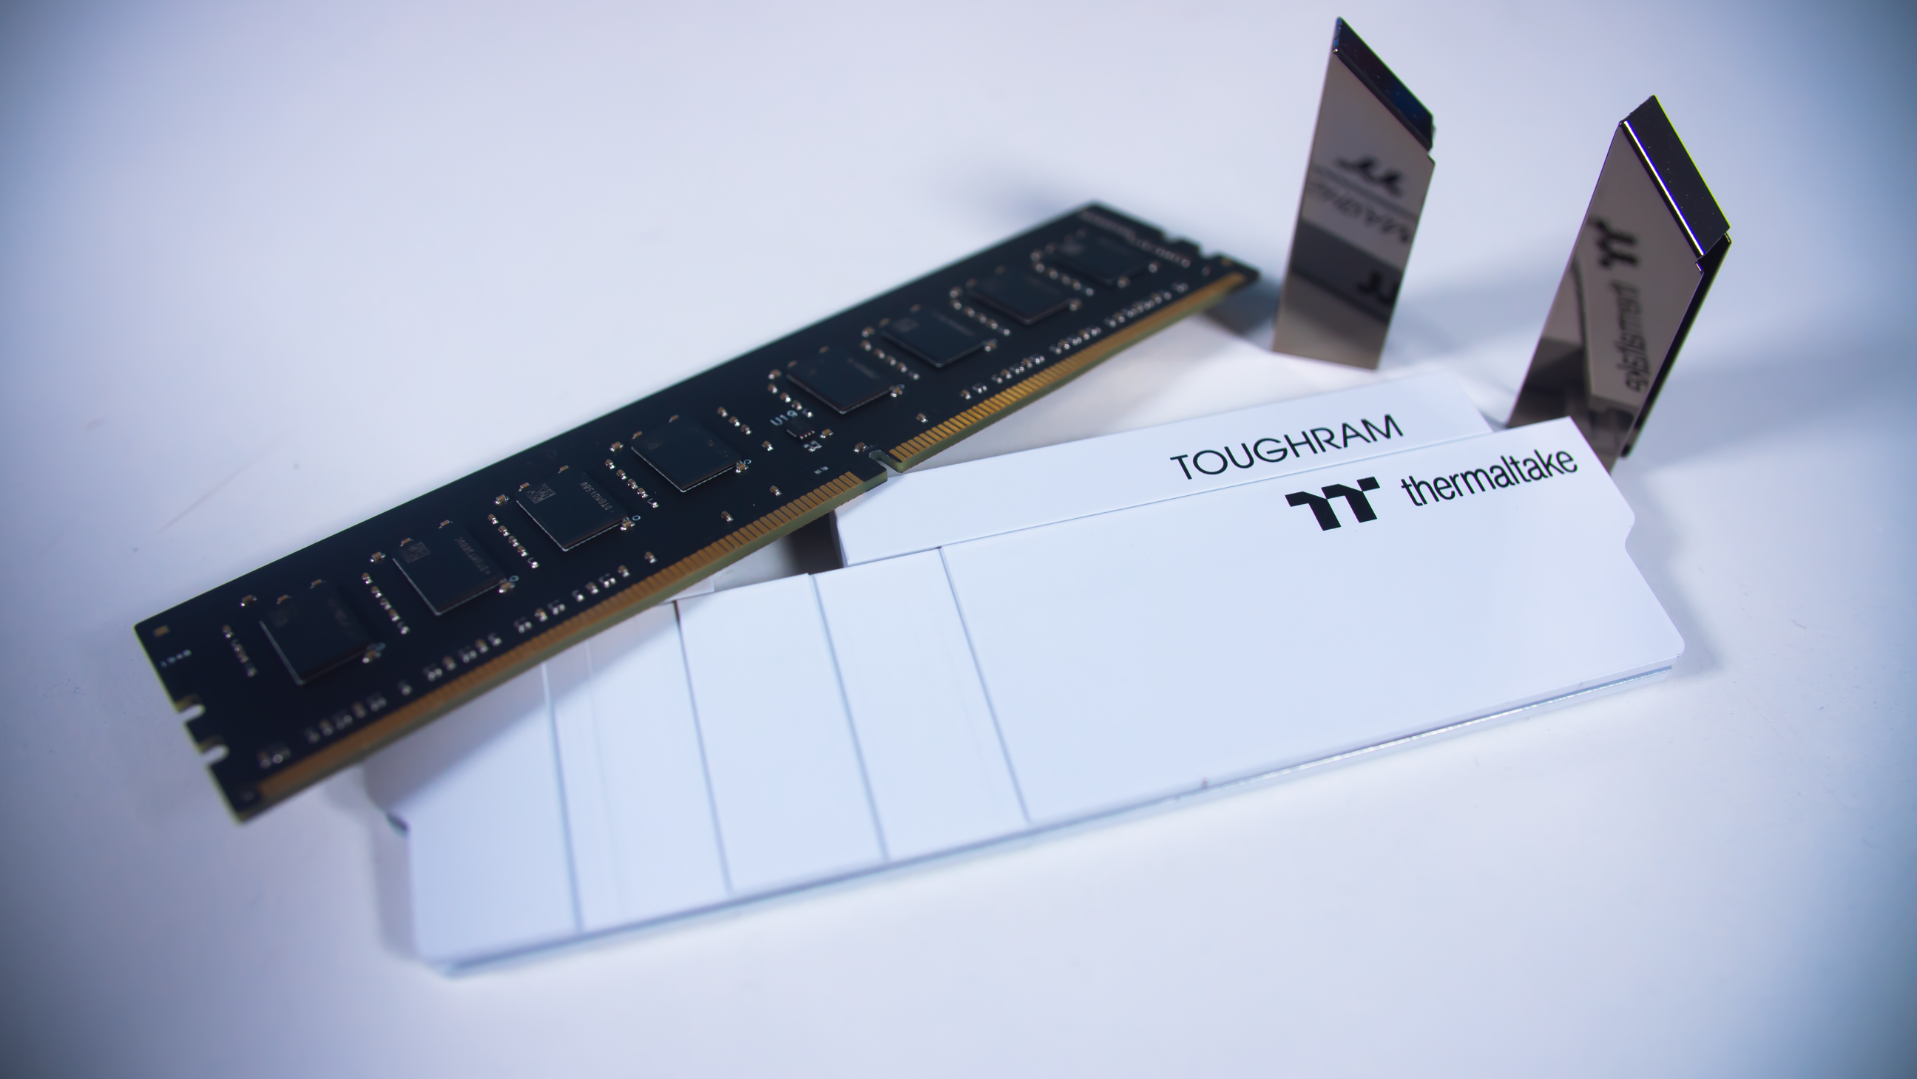
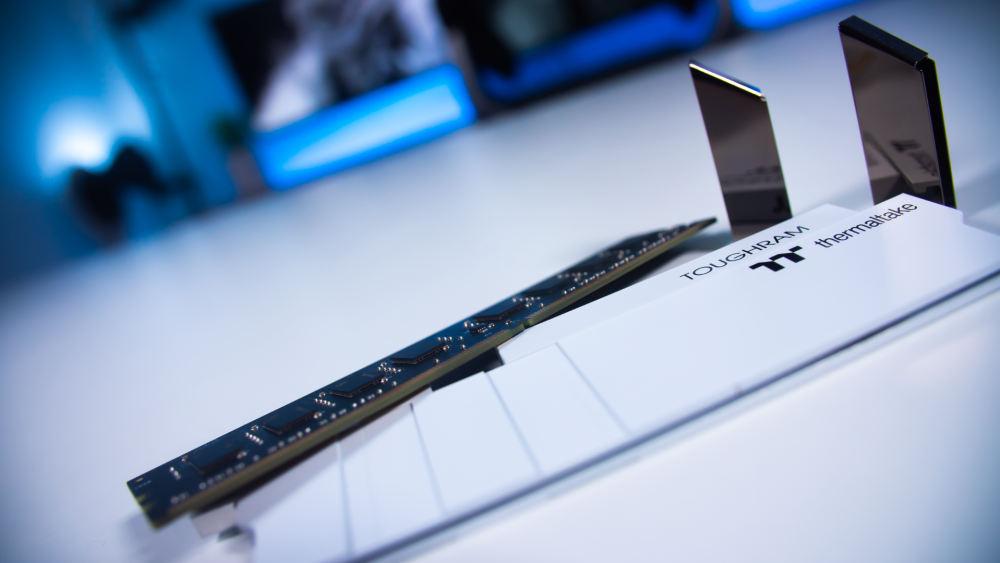
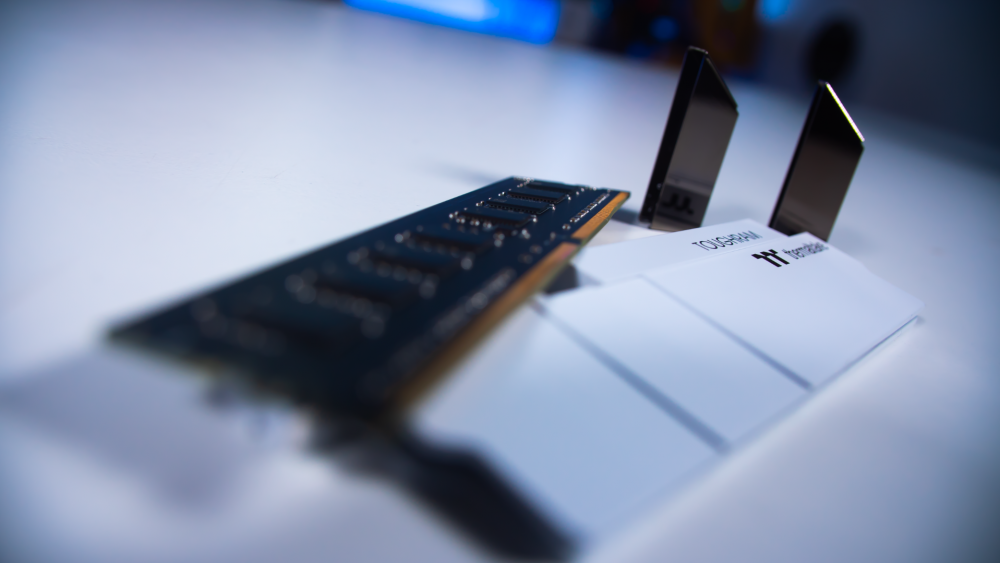
We have decided on a Cyberpunk themed design and wanted to do two separate designs on the two Ram Sticks. In order to paint these I grabbed the heat gun to heat up the heat spreaders so that it was easier to remove them.
-
[Australia] Corey Gregory
Designs By IFR replied to Tt Andy's topic in 2020 Thermaltake RAM MOD Invitational Season 1
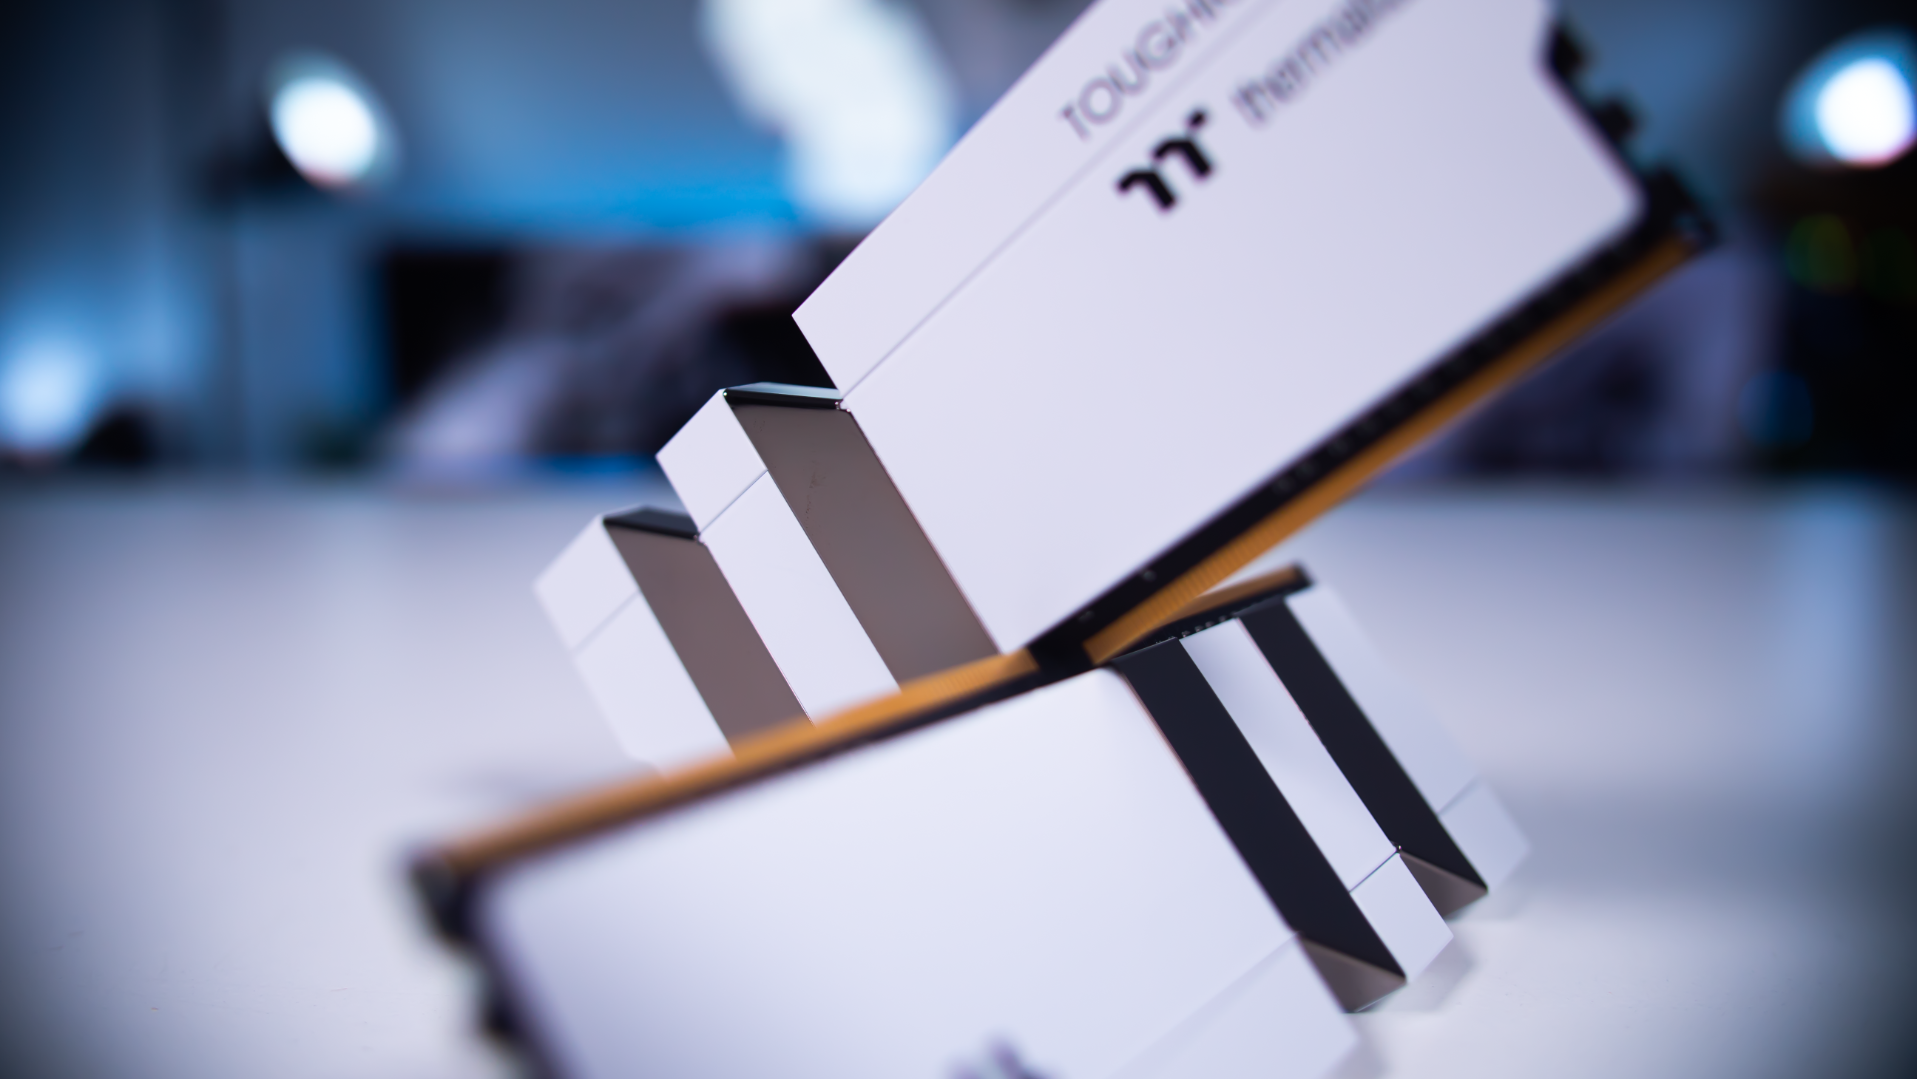
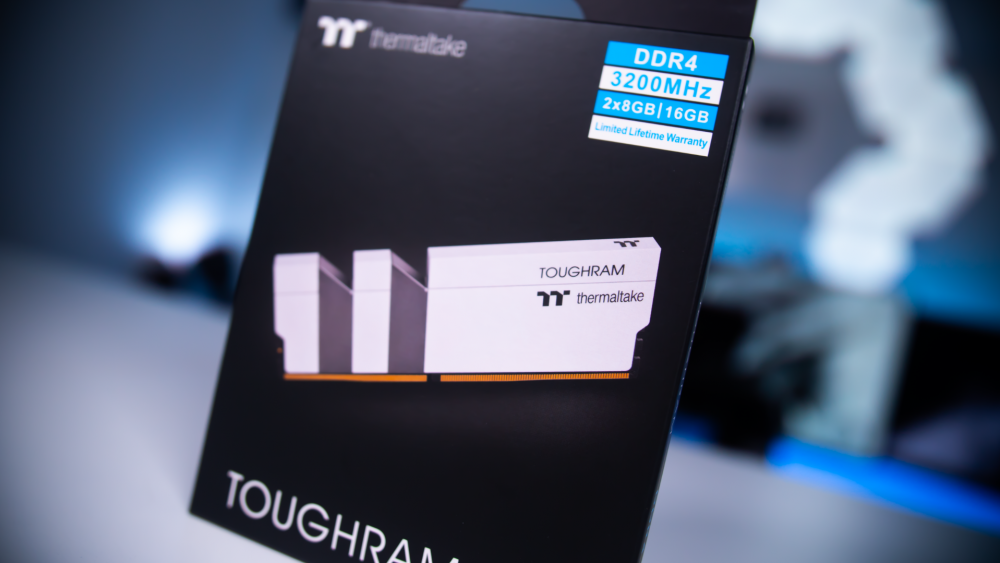
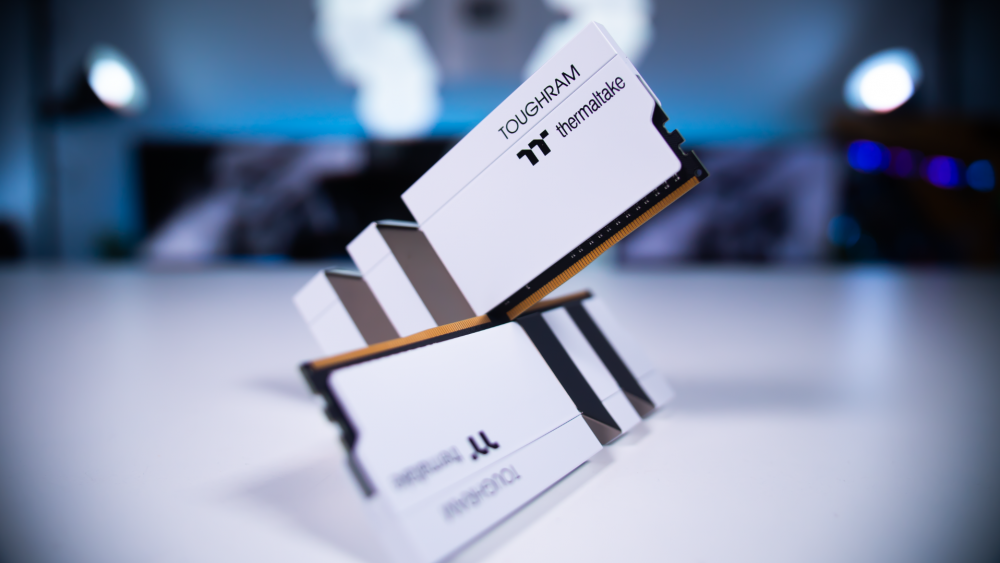
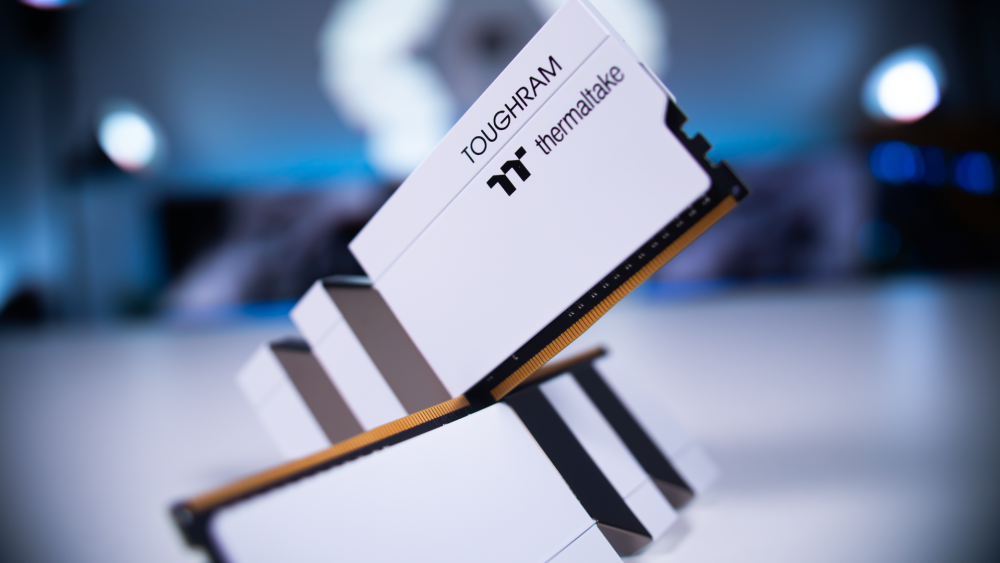
Hey There good people of the internet! Firstly I just want to thank Thermaltake for having me onboard for another awesome event and I appreciate being here along side amazing friends and talent! I believe this particular event is going to be a hard one for my particular style of modding, I by no means consider myself to be a great air brush artist but I will do my best and enjoy seeing how others work to try and improve myself! Firstly I just wanted to share a few photos I took of the RAM before I start doing any modding to them. I hope you all enjoy the progress and I encourage everyone to check out the other modders work, they all have exceptional skills!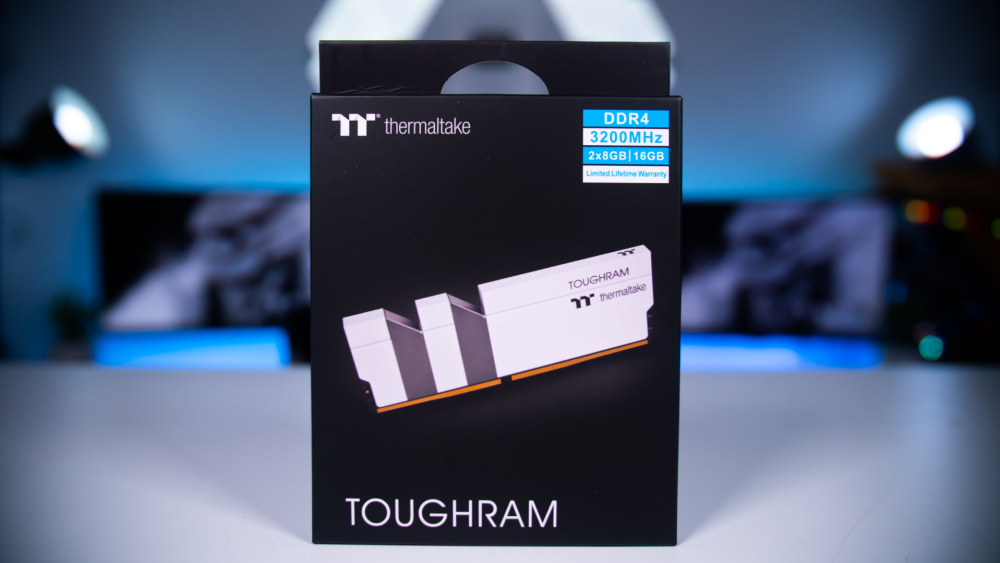


-
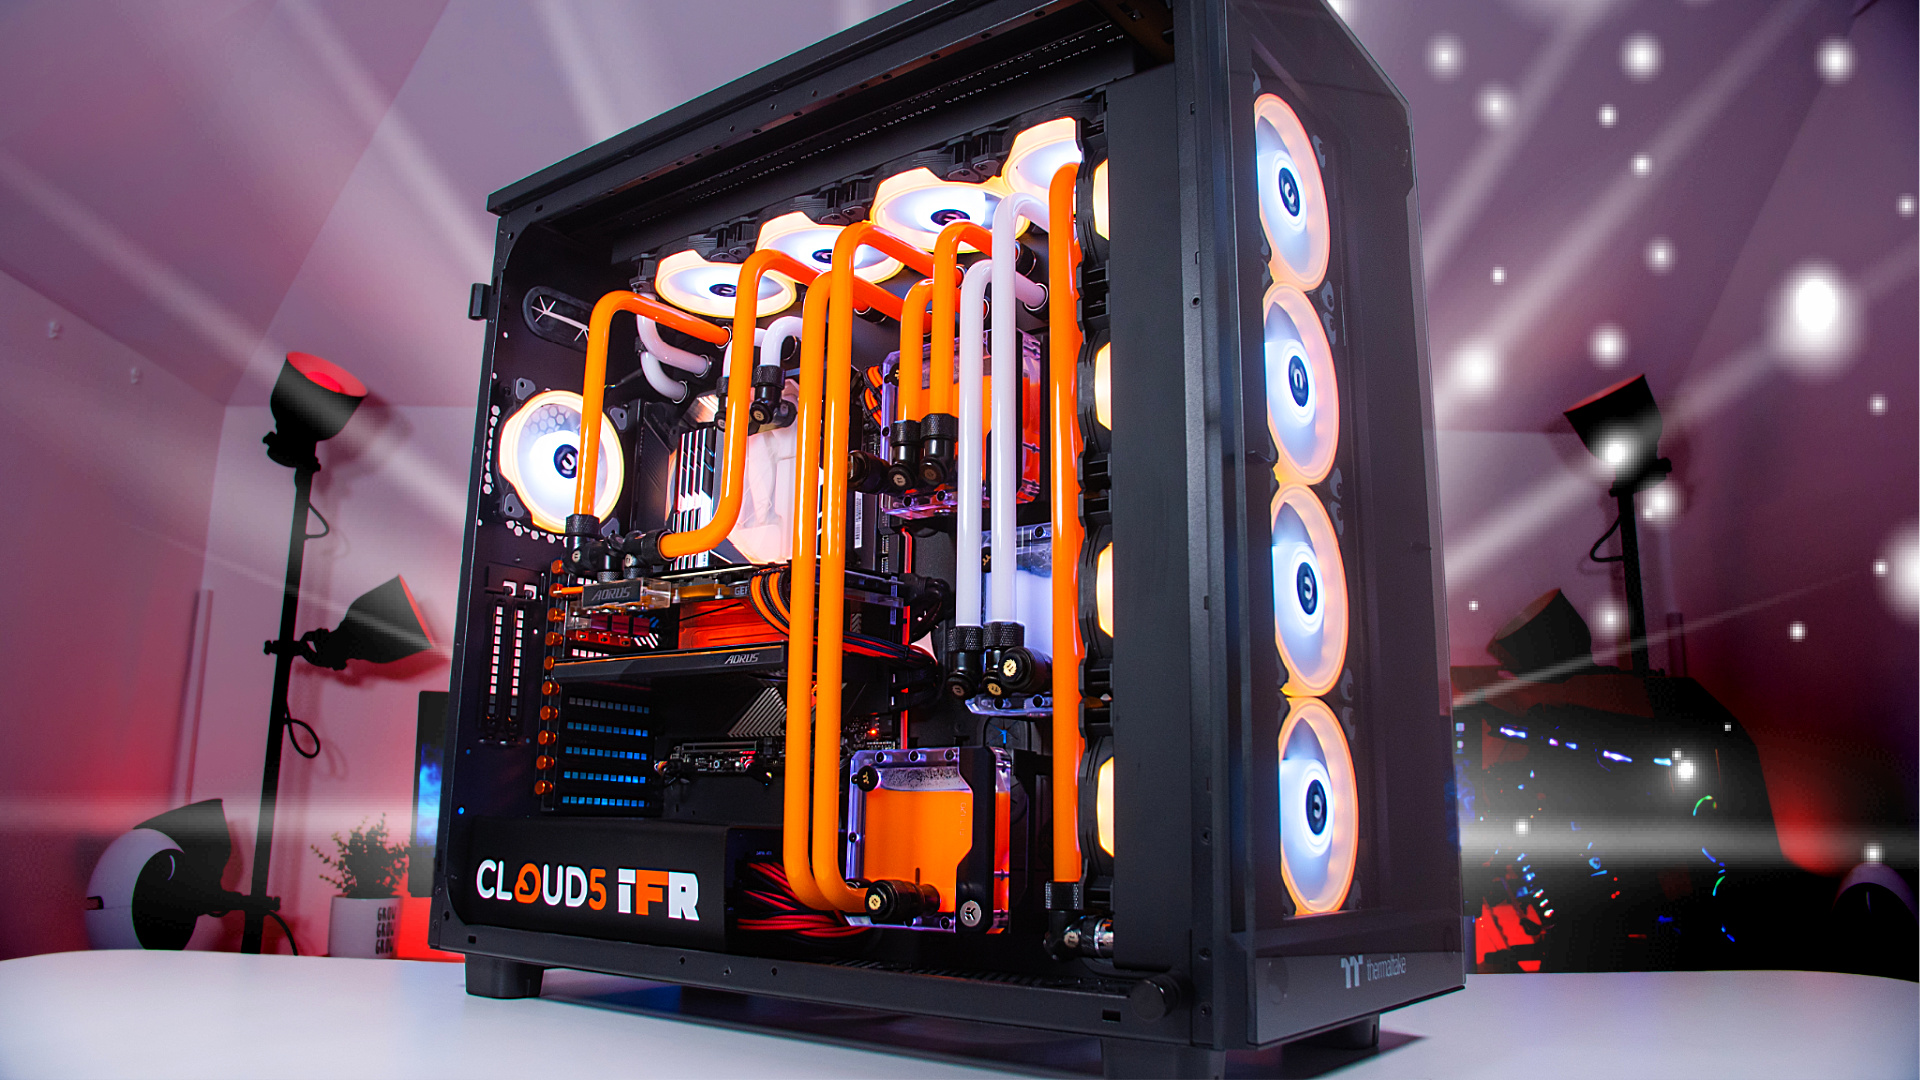
Here is my submission! Really wanted to call it RGB Chunder from Down Under but without knowing everyones humor we called it RGB Wonder From Down Under! Hope you all enjoy!
-
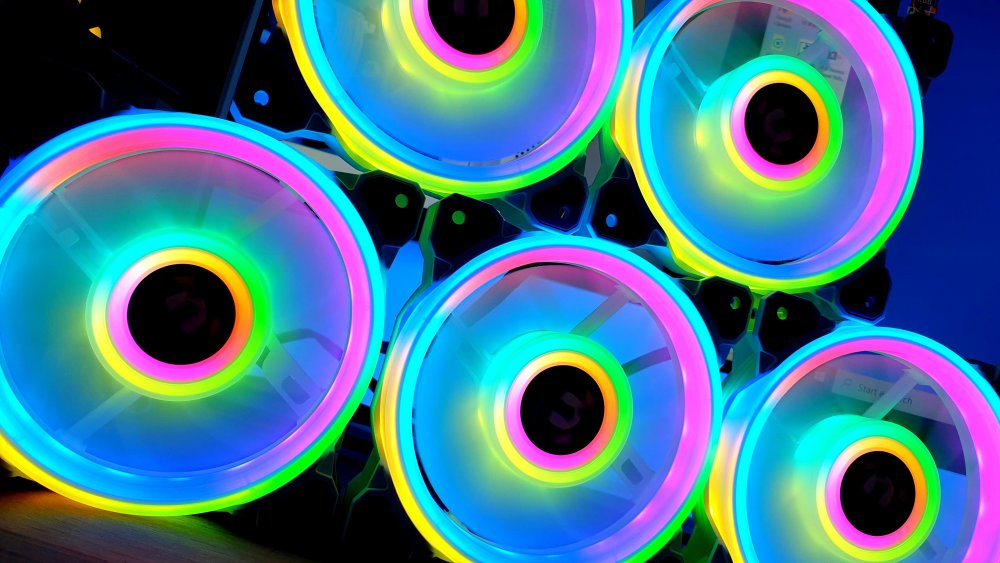
Been working hard on some lighting effects, geese i love these fans!
-
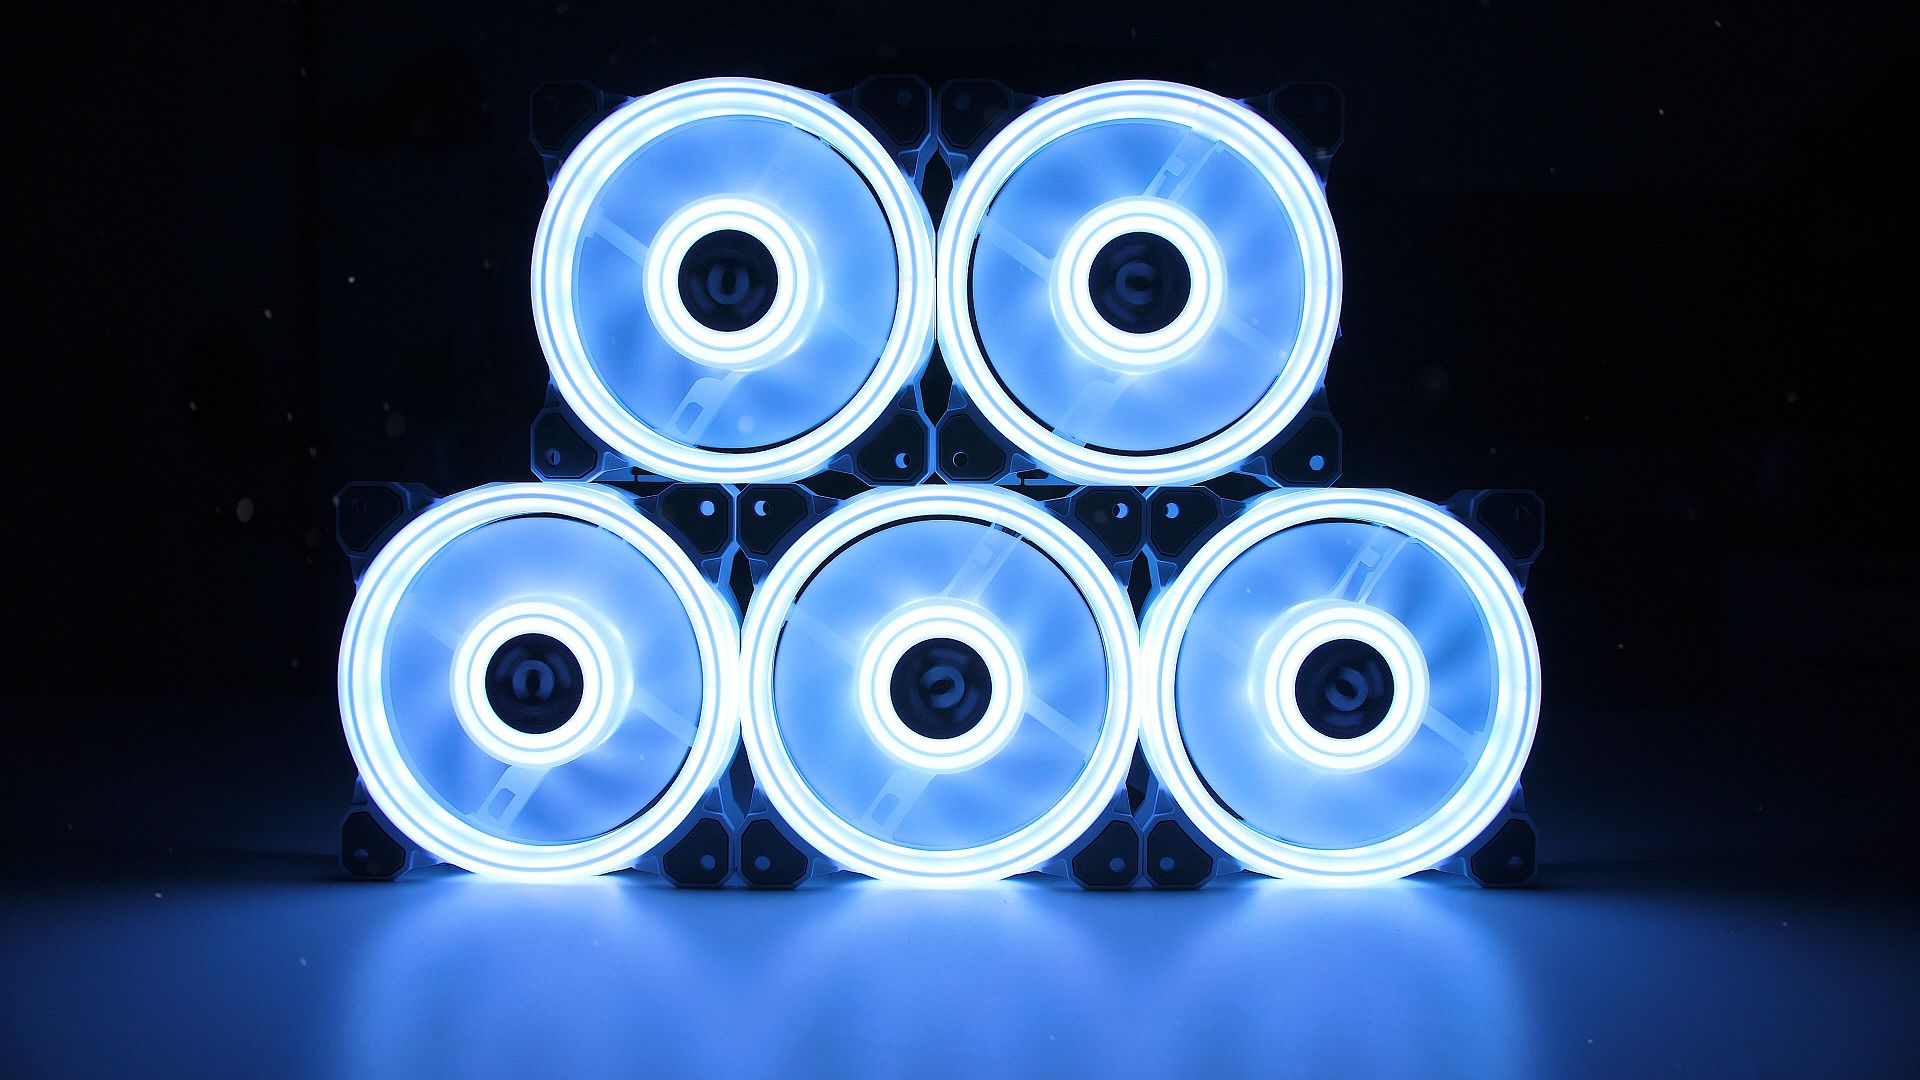
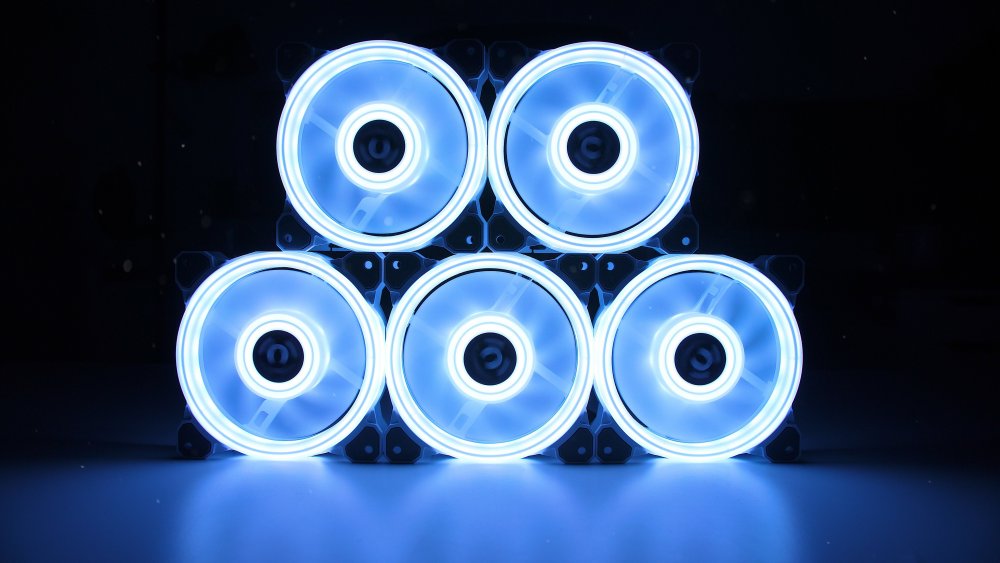
G'day everyone, got around to playing with the Neonmaker Software and there is so much customization options! Here is a picture of the stock RGB mode, looks so nice with 4 LED Rings!
-
thank you my friend! There is a few minor bugs being fixed but so far it is working for me
-
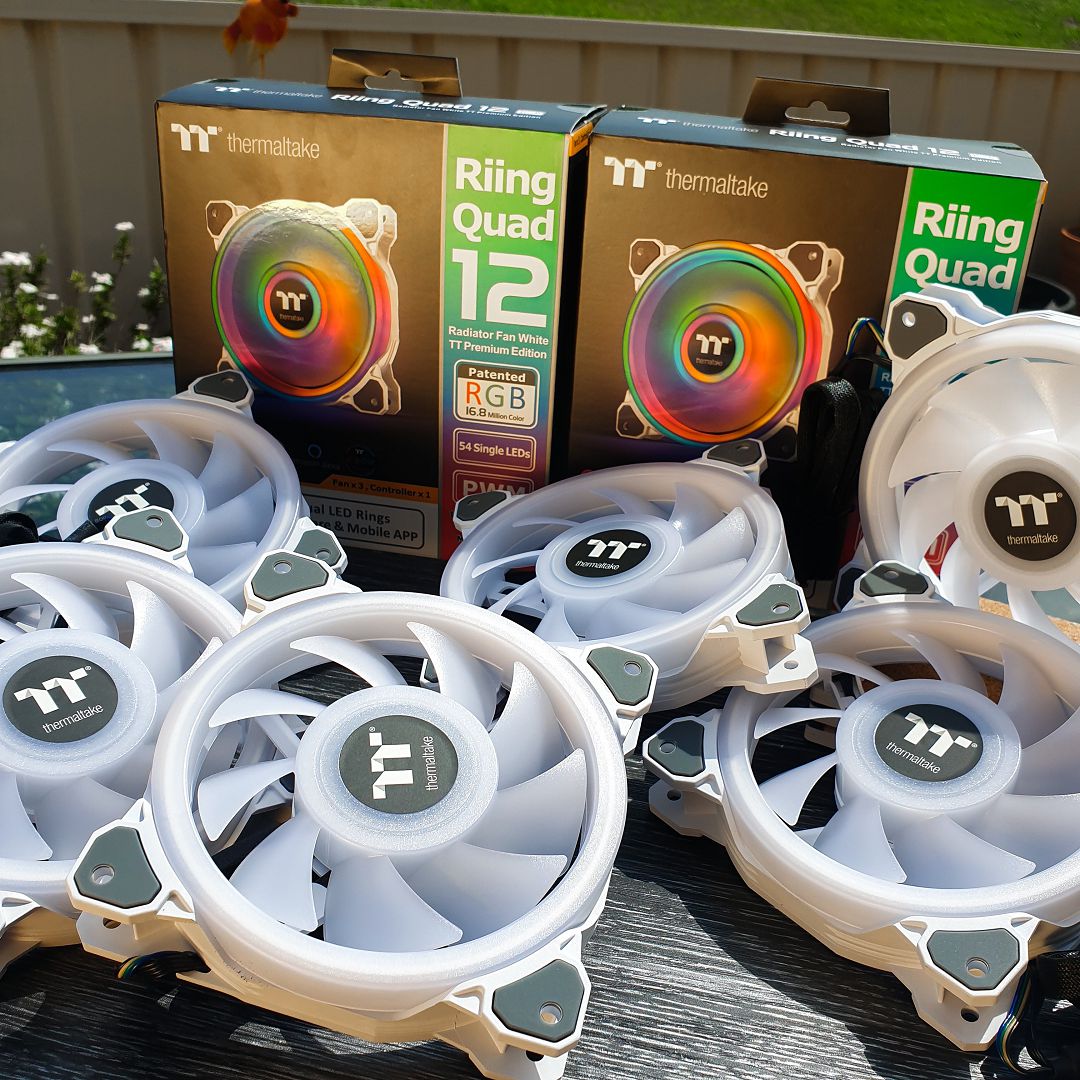
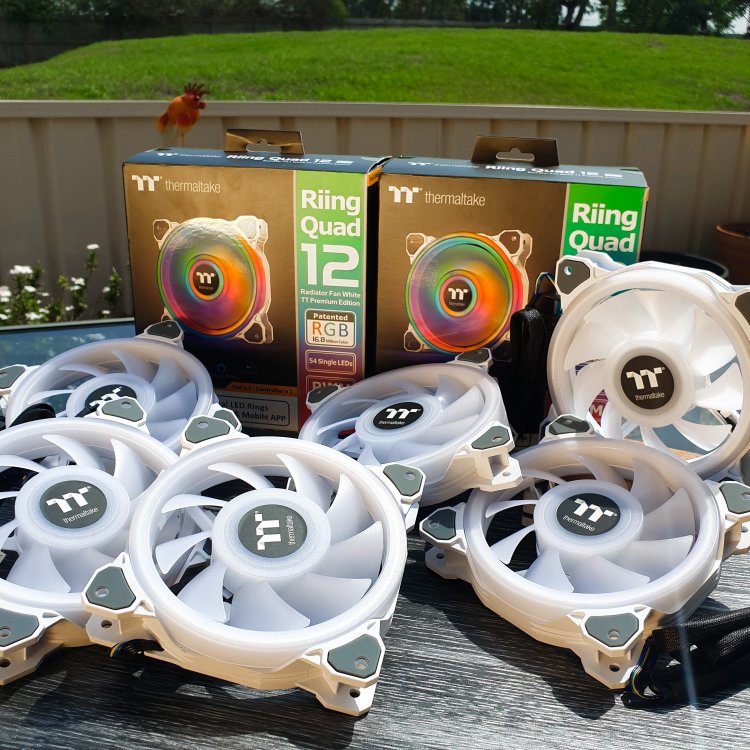
G'day everyone, My name is Corey, PC Builder/Modder/Youtuber from Australia and i go by the name Designs By IFR. Sorry i have not posted sooner but we are here now! Firstly id like to thank Thermaltake for giving us all the opportunity to be in the Neon Lightmaker lighting mix show. The fans arrived and look impressive! i cannot wait to try them. I encourage the community to get involved as well by downloading the Neon Maker software from thermaltakes website (would love to see what everyone comes up with!) Any way, goodluck to all participants, cannot wait to see some awesome Lighting effects! and lets put on a show!


-
MWAVE MOD WARS Core P3 Tank/Train Hybrid
Designs By IFR replied to Designs By IFR's topic in Modding
Sorry i didn't get to show loads of progress, i was under the pump trying to get this finished, i used items laying around to create this with some acrylic, the shell is all one removable piece to make easy access to the components. Here is the final results! Please feel free to check out our video progress here: www.youtube.com/imfacerollpcgaming or more photos here: www.facebook.com/imfacerollgaming Everything was air brushed and i tried to go for a rusted weathered type of feel for the end result, I also painted the riing fans to make them look aged. The guns were highlighted with white on the tops of the barrels and black on the bottom to create share effects as if it were real life. This same method was applied throughout the build. The shell is all one piece and can be taken on and off with easy to reach the inside components. I used a bit of body filler down the bottom to represent a bit of mud A big thank you to Mwave, Thermaltake, Intel, Asus and Kingston for hosting this competition and letting me be apart of it! -
MWAVE MOD WARS Core P3 Tank/Train Hybrid
Designs By IFR replied to Designs By IFR's topic in Modding
Progress 2 on this baby, we got into sanding down the body filler in the joins of our acrylic to start with. Still lots more work to be done and plenty more updates to come! I added some of the left over filler onto the bottom of the front guard of the build to represent some mud. I will also splatter small bits over it later on to give it a dirty effect but 3D. A mate of mine had some of these truck exhaust guards lying around doing nothing so i thought of a brilliant way to implement them into the build. I also used an empty can i had which will be the front head of the tank/train hybrid. And of course i need some guns for this bad boy, so using some spare tubing i created these. I still need to sand the circles back so they are perfect circles. Thanks for following the build, more progress in a few days =)- 4 replies
-
- 1
-

-
- watercooling
- liquidcooling
- (and 3 more)
-
MWAVE MOD WARS Core P3 Tank/Train Hybrid
Designs By IFR replied to Designs By IFR's topic in Modding
A few extra small pieces completed this week, Made some chain guards for the Core P3 Train/Tank Hybrid and i have added some body filler to the joins which i will sand back to create one solid shape! -
MWAVE MOD WARS Core P3 Tank/Train Hybrid
Designs By IFR replied to Designs By IFR's topic in Modding
Today i got a chance to start on the Tank/Train Hybrid build. Our case of choice (Thermaltake Core P3) will make a nice base to get our build started. To begin with i started by sanding back the Core P3, adding some layers of etch primer and coating the whole case with an ages copper base coat. Next I created these radiator stands and attached them to the sides of the case for dual radiator placement. Lots of acrylic work will be done to this build and our first bit of acrylic work is of the front section of our machine. We cannot really call it a tank/train without it having some tracks so we grabbed some cheap bike chains and welded them together to create a nice wide track -
Hey guys, welcome back to another Project of mine, this time in another competition! I hope you all enjoy the progress of this one, i have around three weeks left to complete this build so lets get started! I would firstly like to thank our sponsors for this build: MWAVE, Intel, HyperX, Asus & Thermaltake SPECS: Thermaltake Core P3 Thermaltake Toughpower DPS G 650w RGB power supply Asus ROG Maximus VIII Hero Alpha Motherboard Thermaltake Custom Watercooling Asus GTX 1070 8gb Founders Edition GPU Intel I7 6700K CPU Kingston HyperX Fury 16GB DDR4 Memory 2x Kingston HyperX Savage 120gb SSD
-
I would love to see either Zen Modz or OZ Modz for (AU)
-
[Australia] Corey Gregory
Designs By IFR replied to Tt Andy's topic in 2016 Thermaltake CaseMOD Invitational Season 1
thank you =) -
[Australia] Corey Gregory
Designs By IFR replied to Tt Andy's topic in 2016 Thermaltake CaseMOD Invitational Season 1
Remember to vote if you like the work gone into this, voters also have a chance at winning some awesome prizes! (Corey Gregory) =) http://community.thermaltake.com/index.php?/topic/49112-vote/page-14 Decided to take some images out side! Enjoy =) Remember to vote if you like the work gone into this, voters also have a chance at winning some awesome prizes! (Corey Gregory) =) http://community.thermaltake.com/index.php?/topic/49112-vote/page-14 -
[Australia] Corey Gregory
Designs By IFR replied to Tt Andy's topic in 2016 Thermaltake CaseMOD Invitational Season 1
Here is a video i put together myself of the TIE Fighter Advanced PC! Remember if you like the amount of work i put into this please show your support by leaving me (Corey Gregory) a vote =) http://community.thermaltake.com/index.php?/topic/49112-vote/ -
[Australia] Corey Gregory
Designs By IFR replied to Tt Andy's topic in 2016 Thermaltake CaseMOD Invitational Season 1
thank you so much man =)