-
Forum Statistics
93.2k
Total Topics114.2k
Total Posts -
Member Statistics
173,064
Total Members16,800
Most Online


Mickee Boy
-
Posts
60 -
Joined
-
Last visited
-
Days Won
5
Content Type
Profiles
Forums
Downloads
Events
Gallery
Blogs
Posts posted by Mickee Boy
-
-
Hello! Thanks Thermaltake for the opportunity!
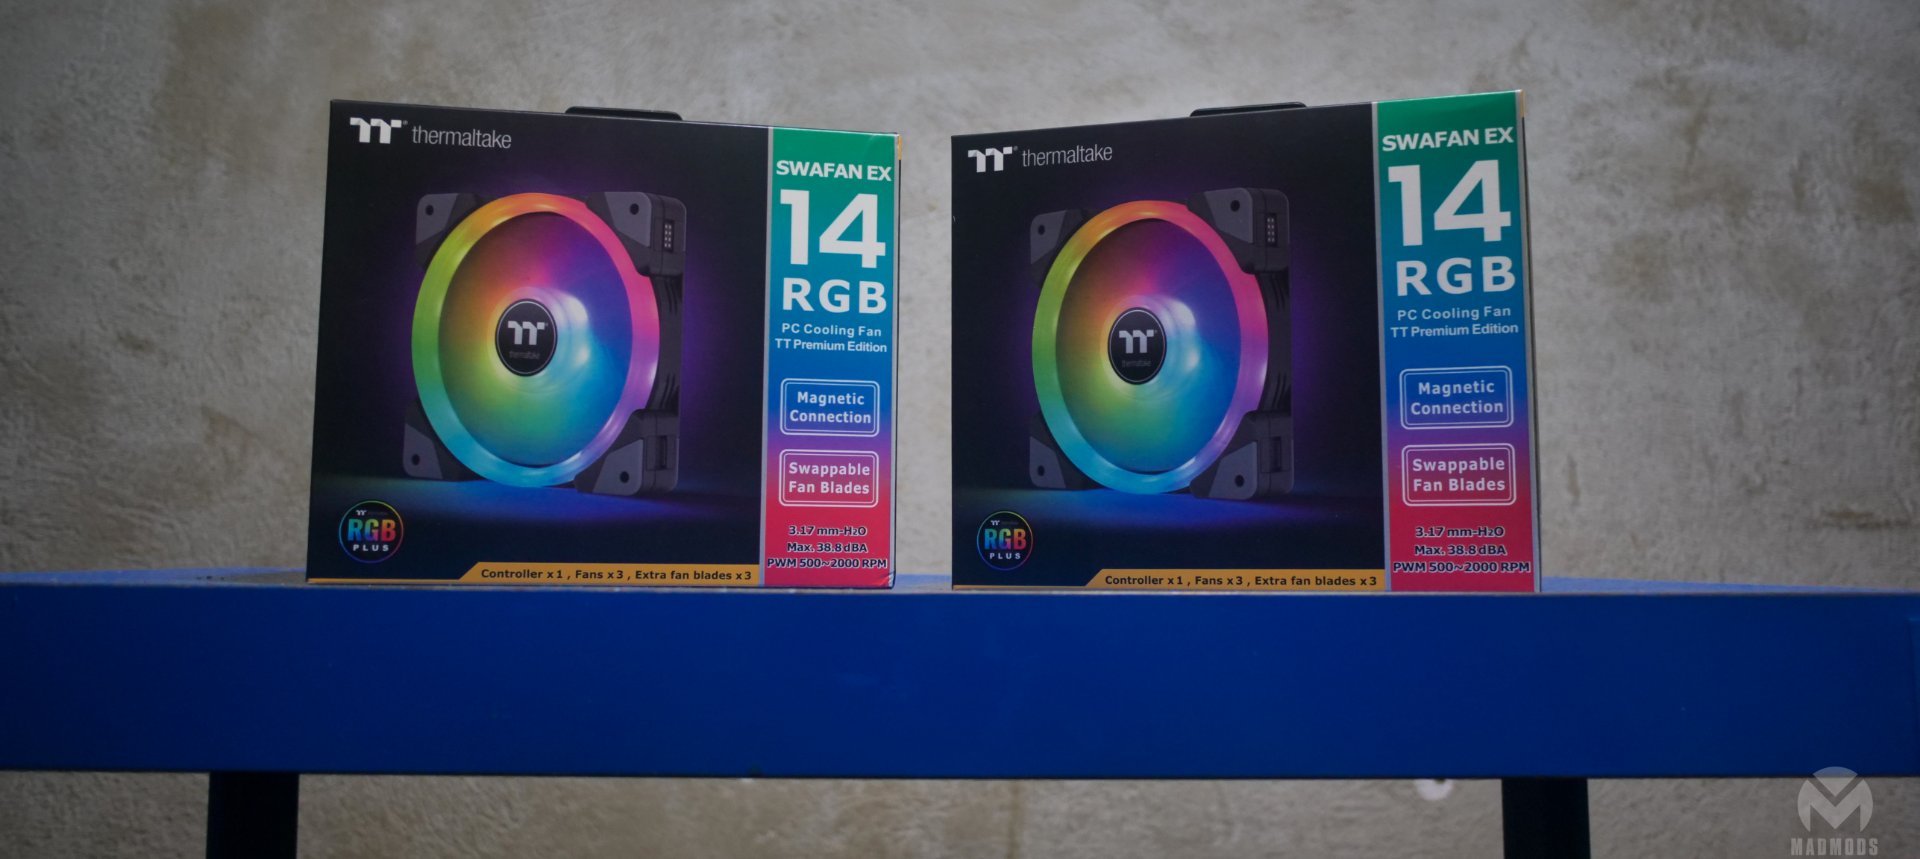
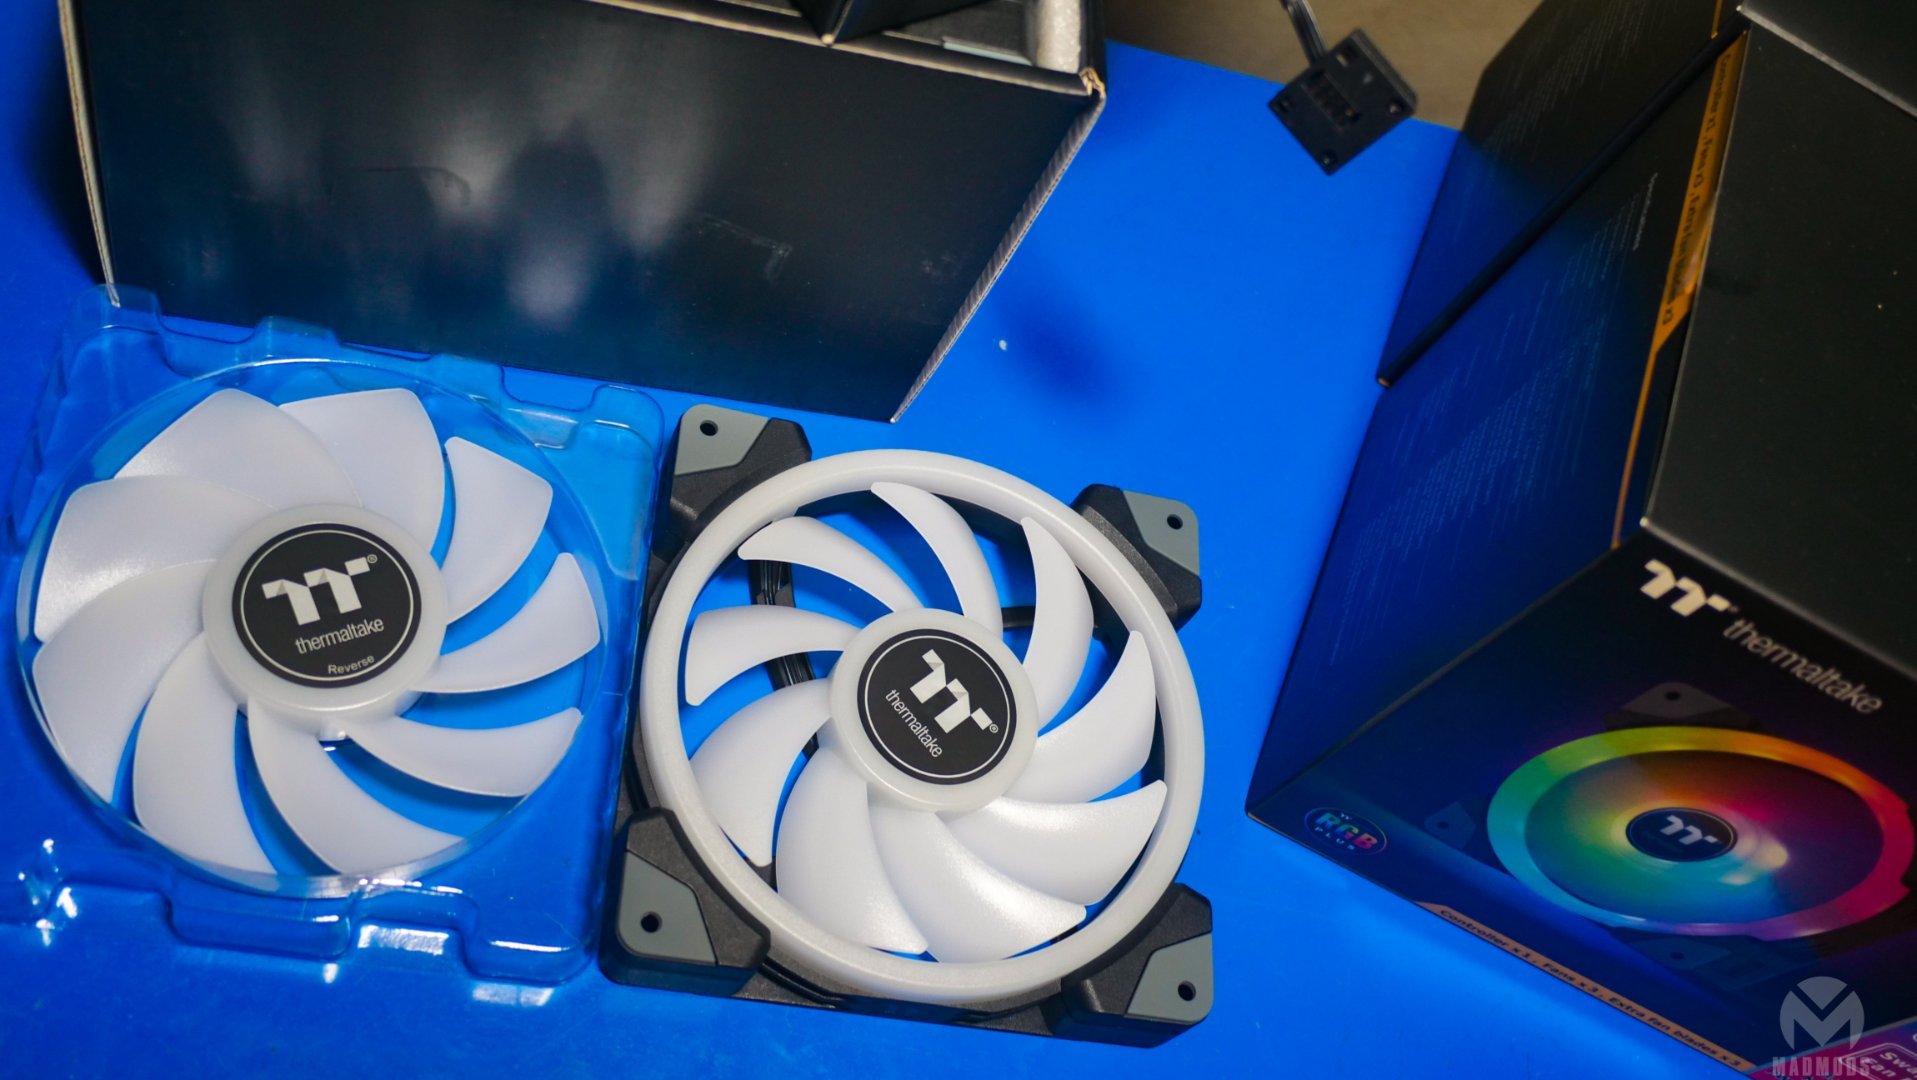
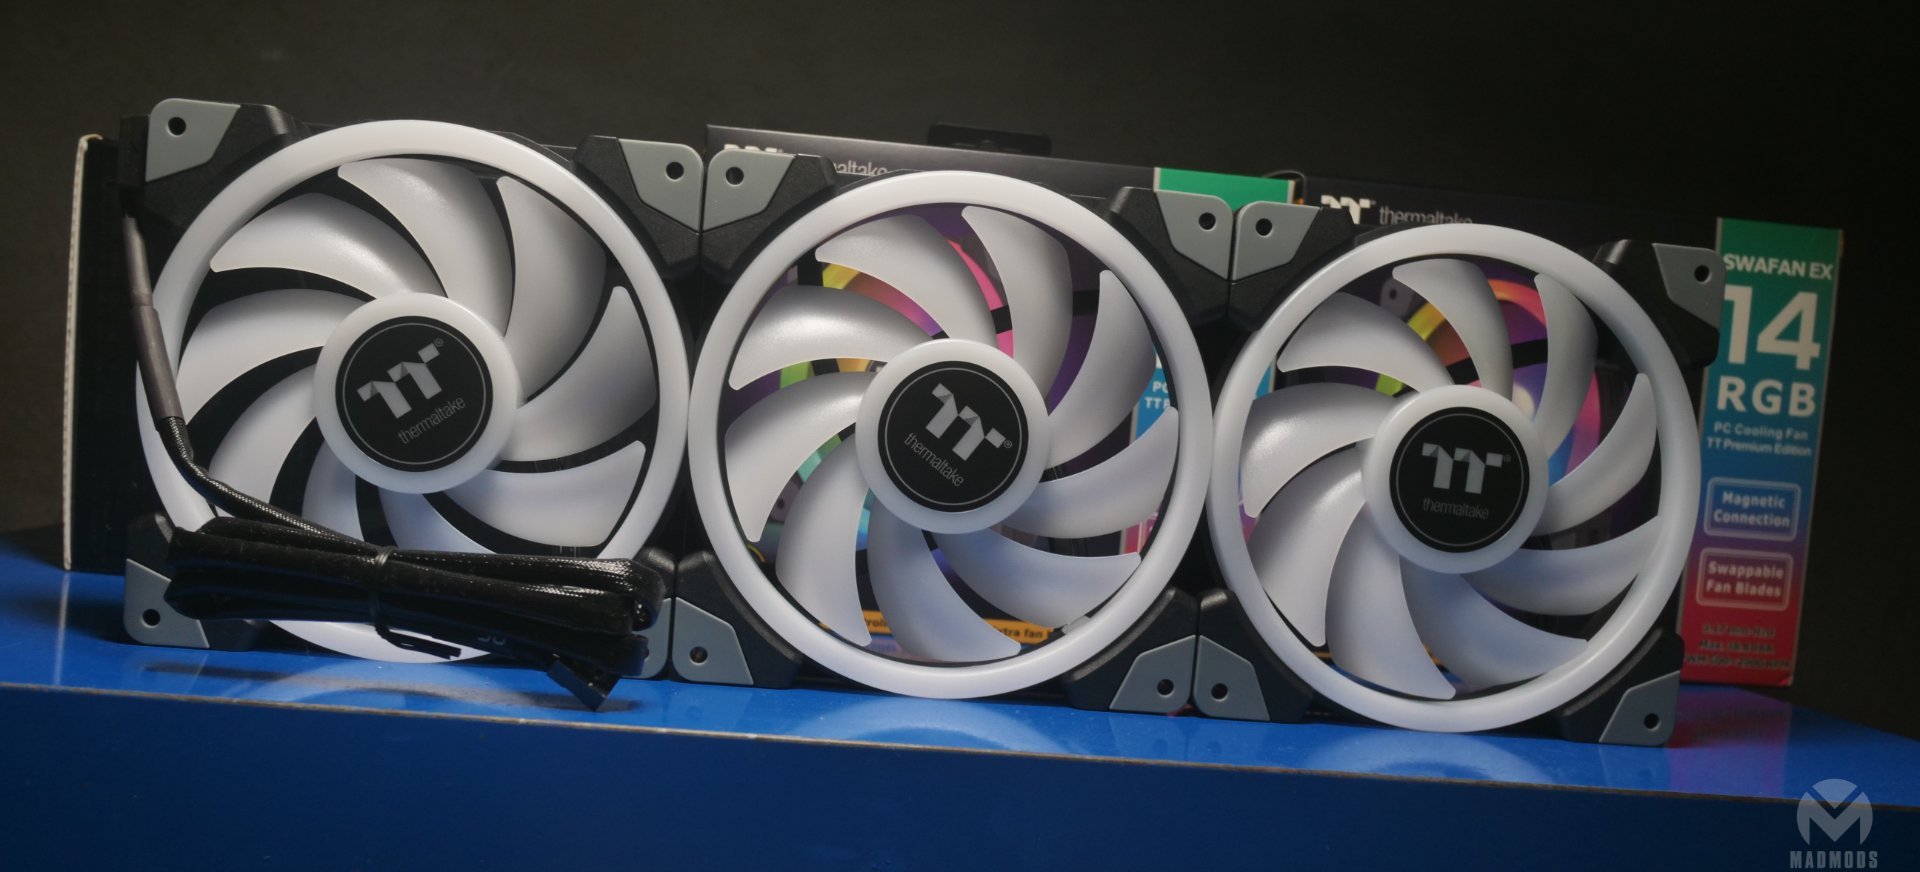
Fans have arrived so I took some pictures, to anyone who hasn't caught wind of the Swafan EX line up of fans here are some quick snaps. And feel free to check out more details about them as I have used them in various builds and they are great!

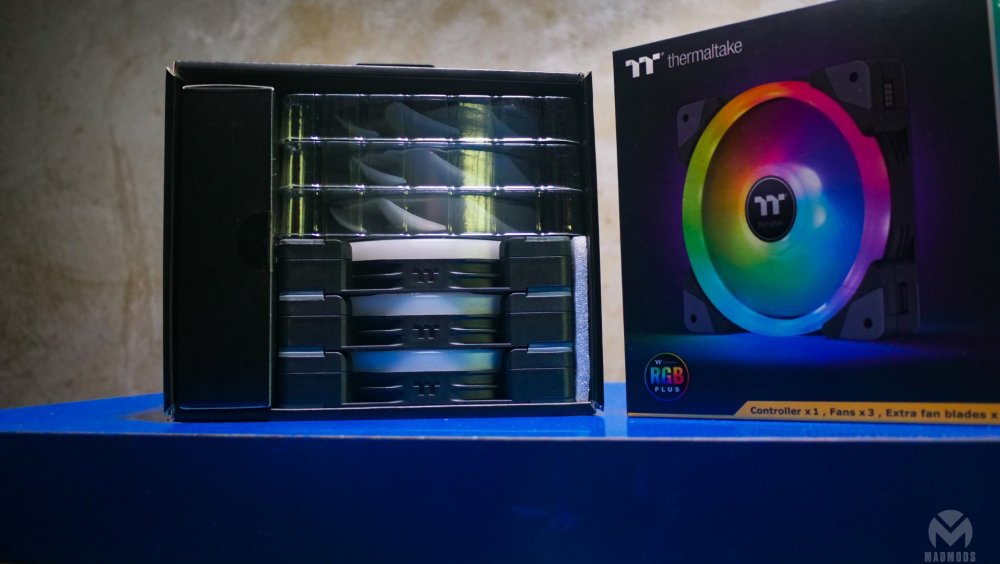
Each fan has an extra fan blade for your use case.

Wire magnetic connection the other end goes to the controller.
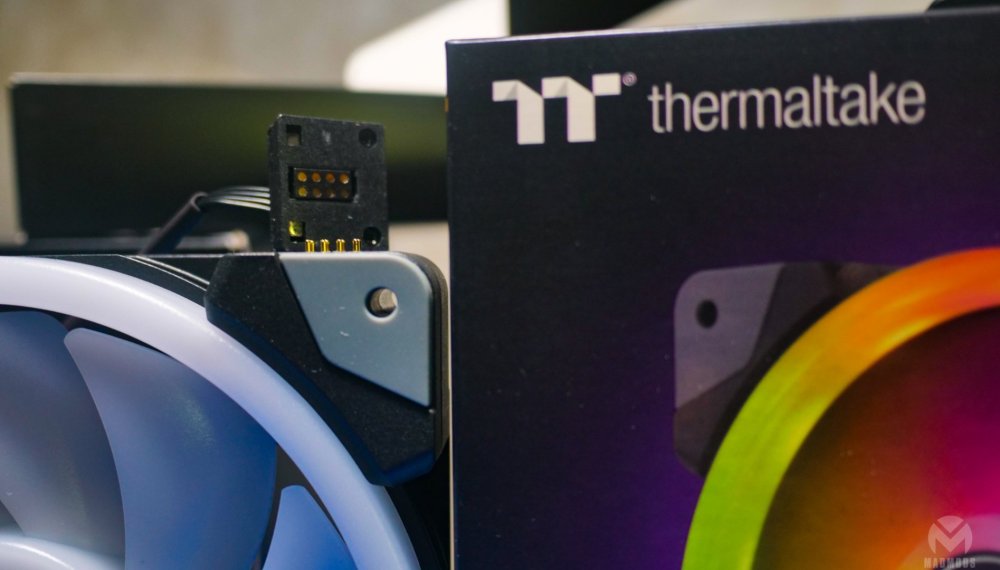
Magnetic connection for each fan.

They are beatiful!

-
-
-
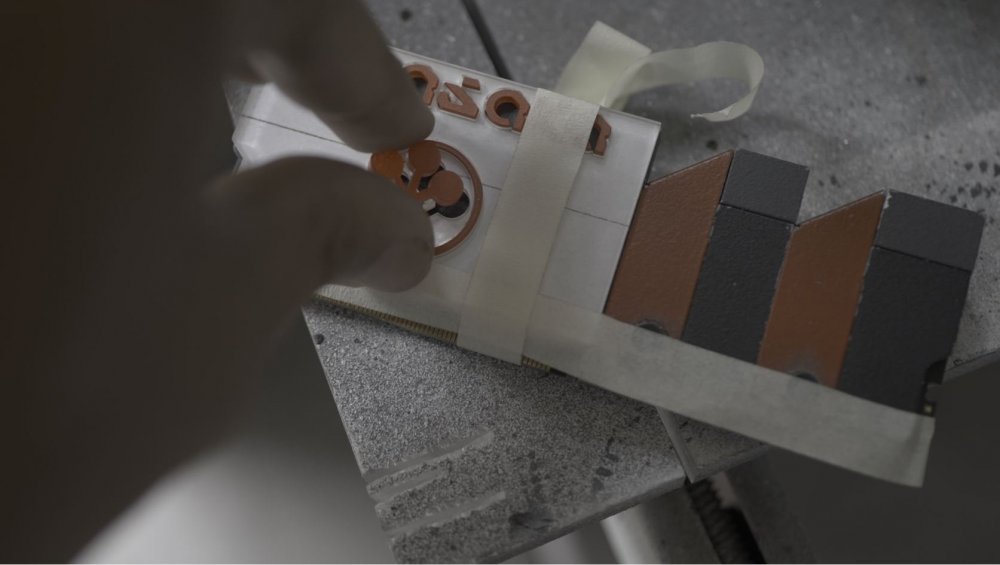
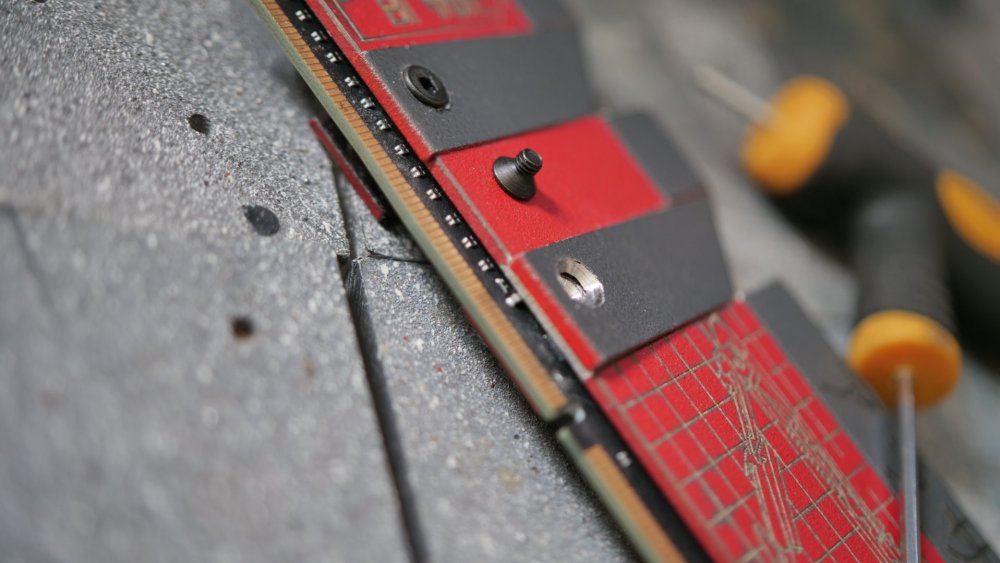
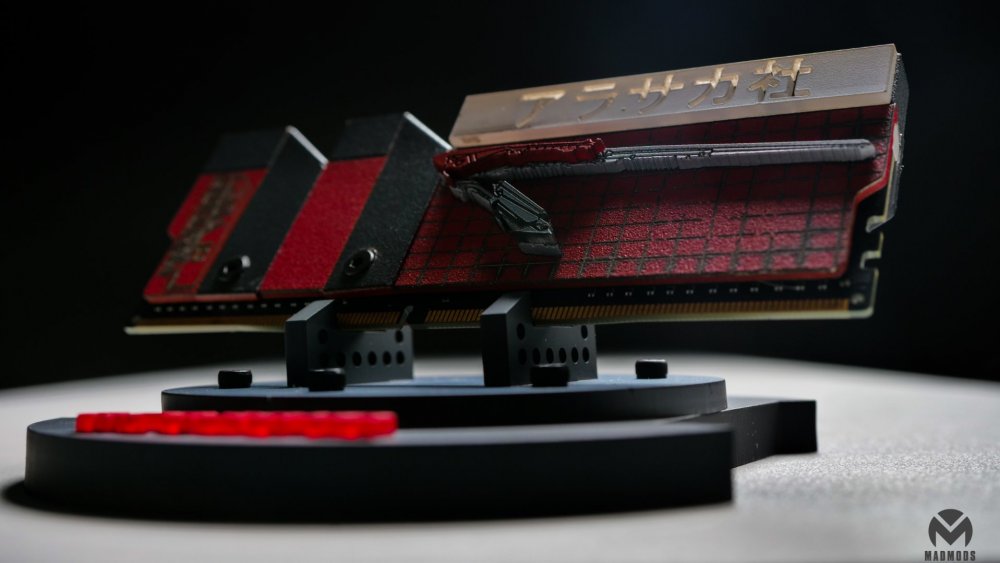
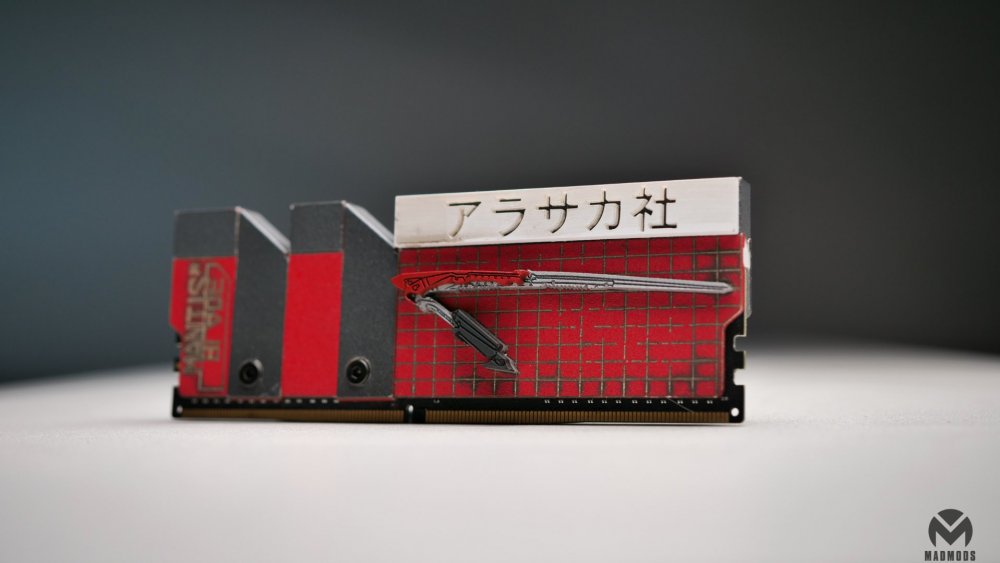
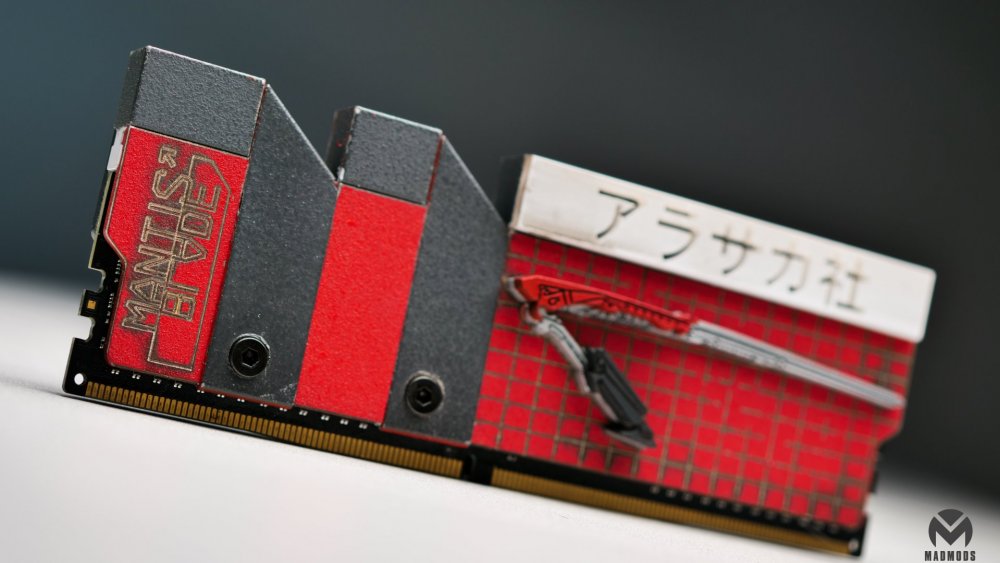
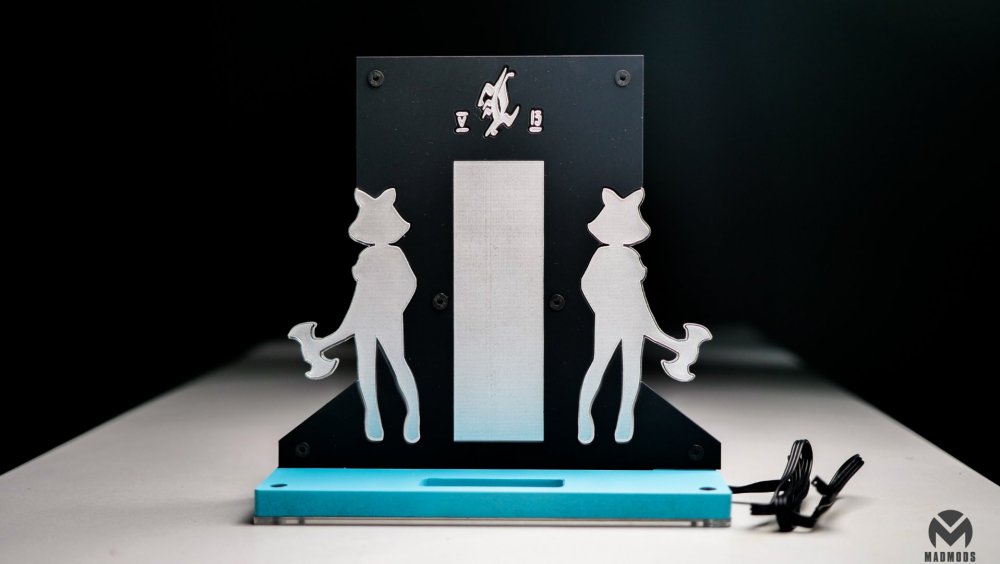
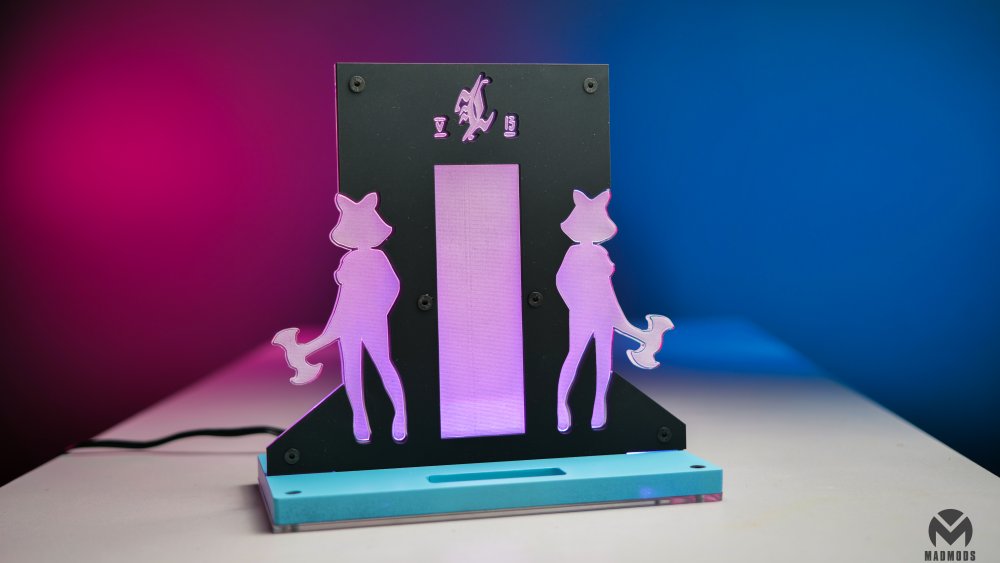
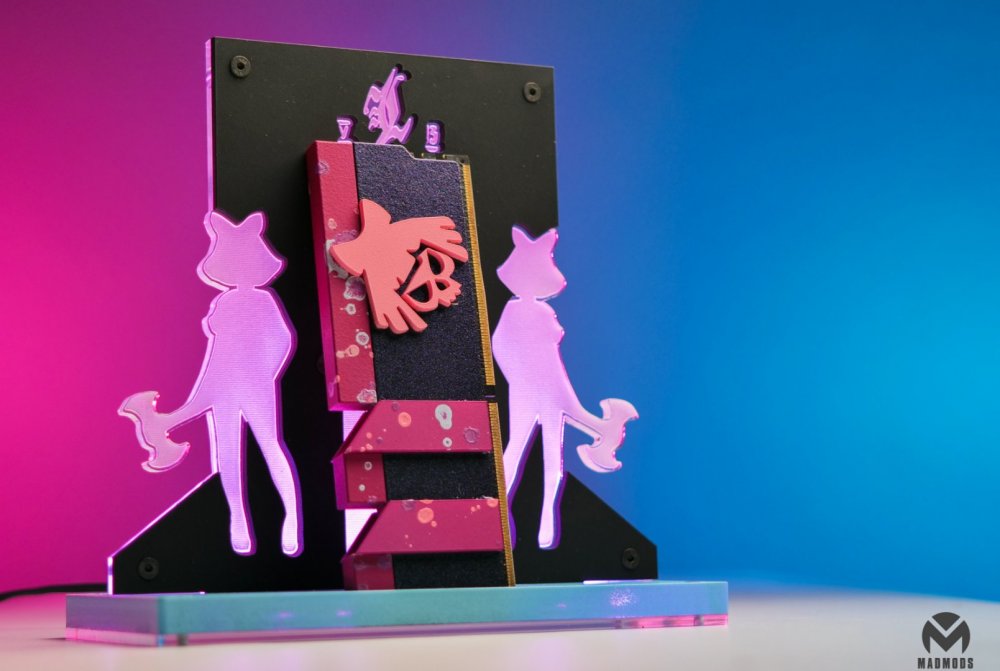
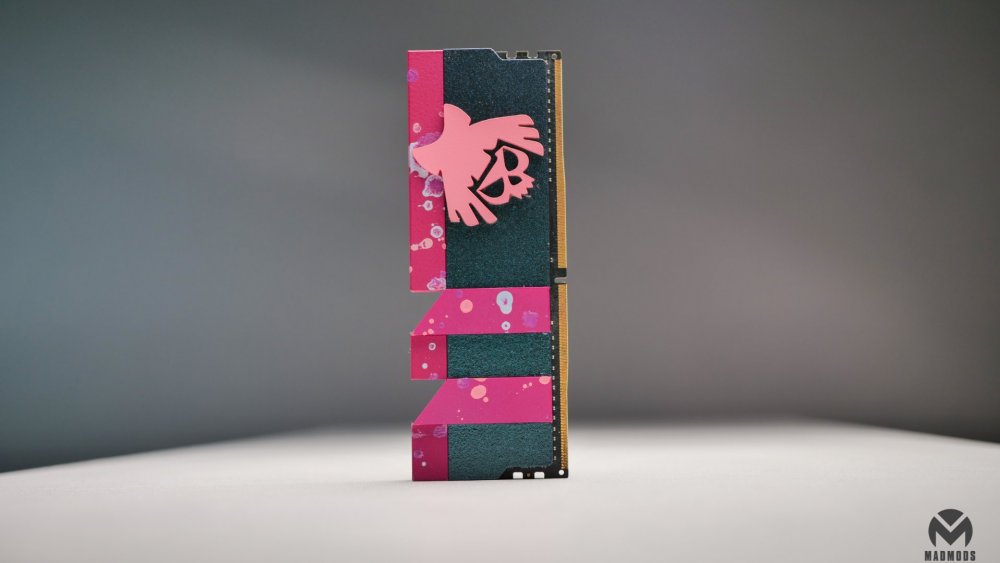
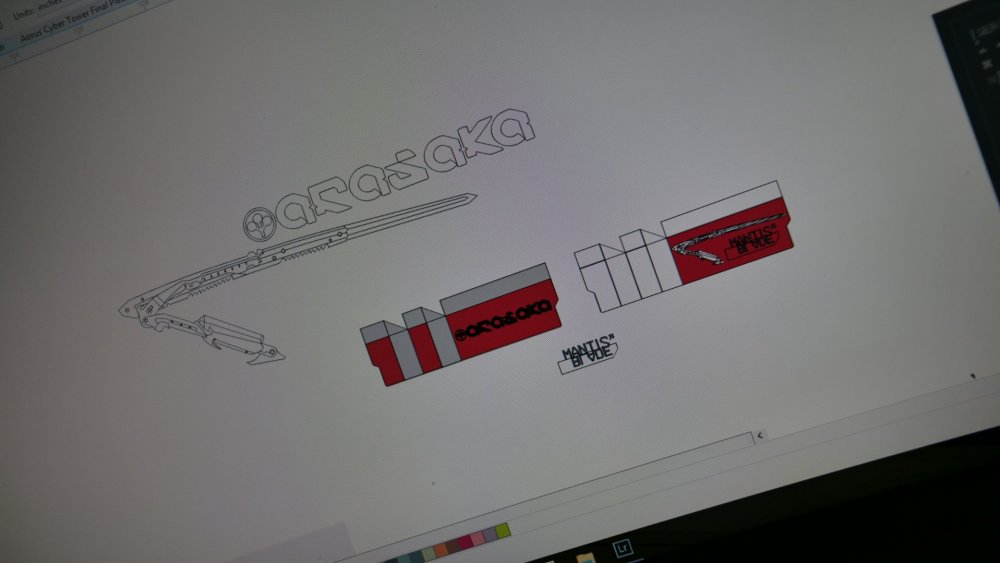
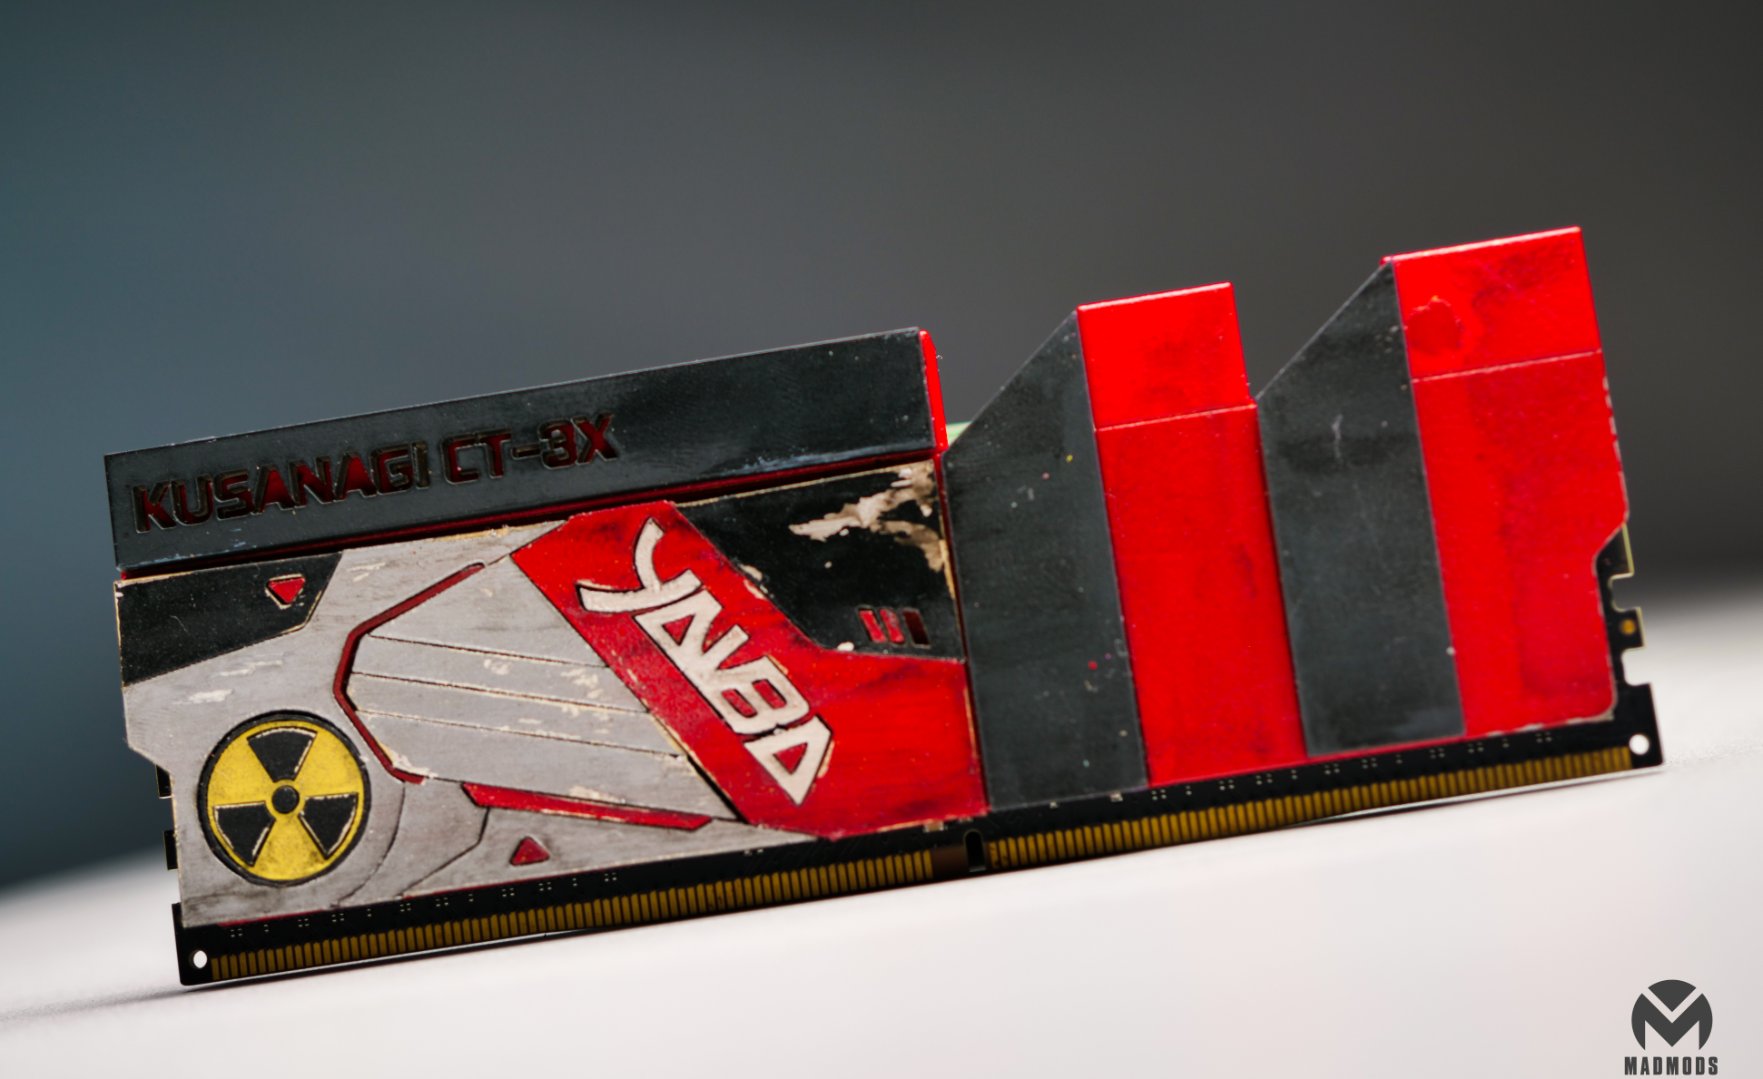
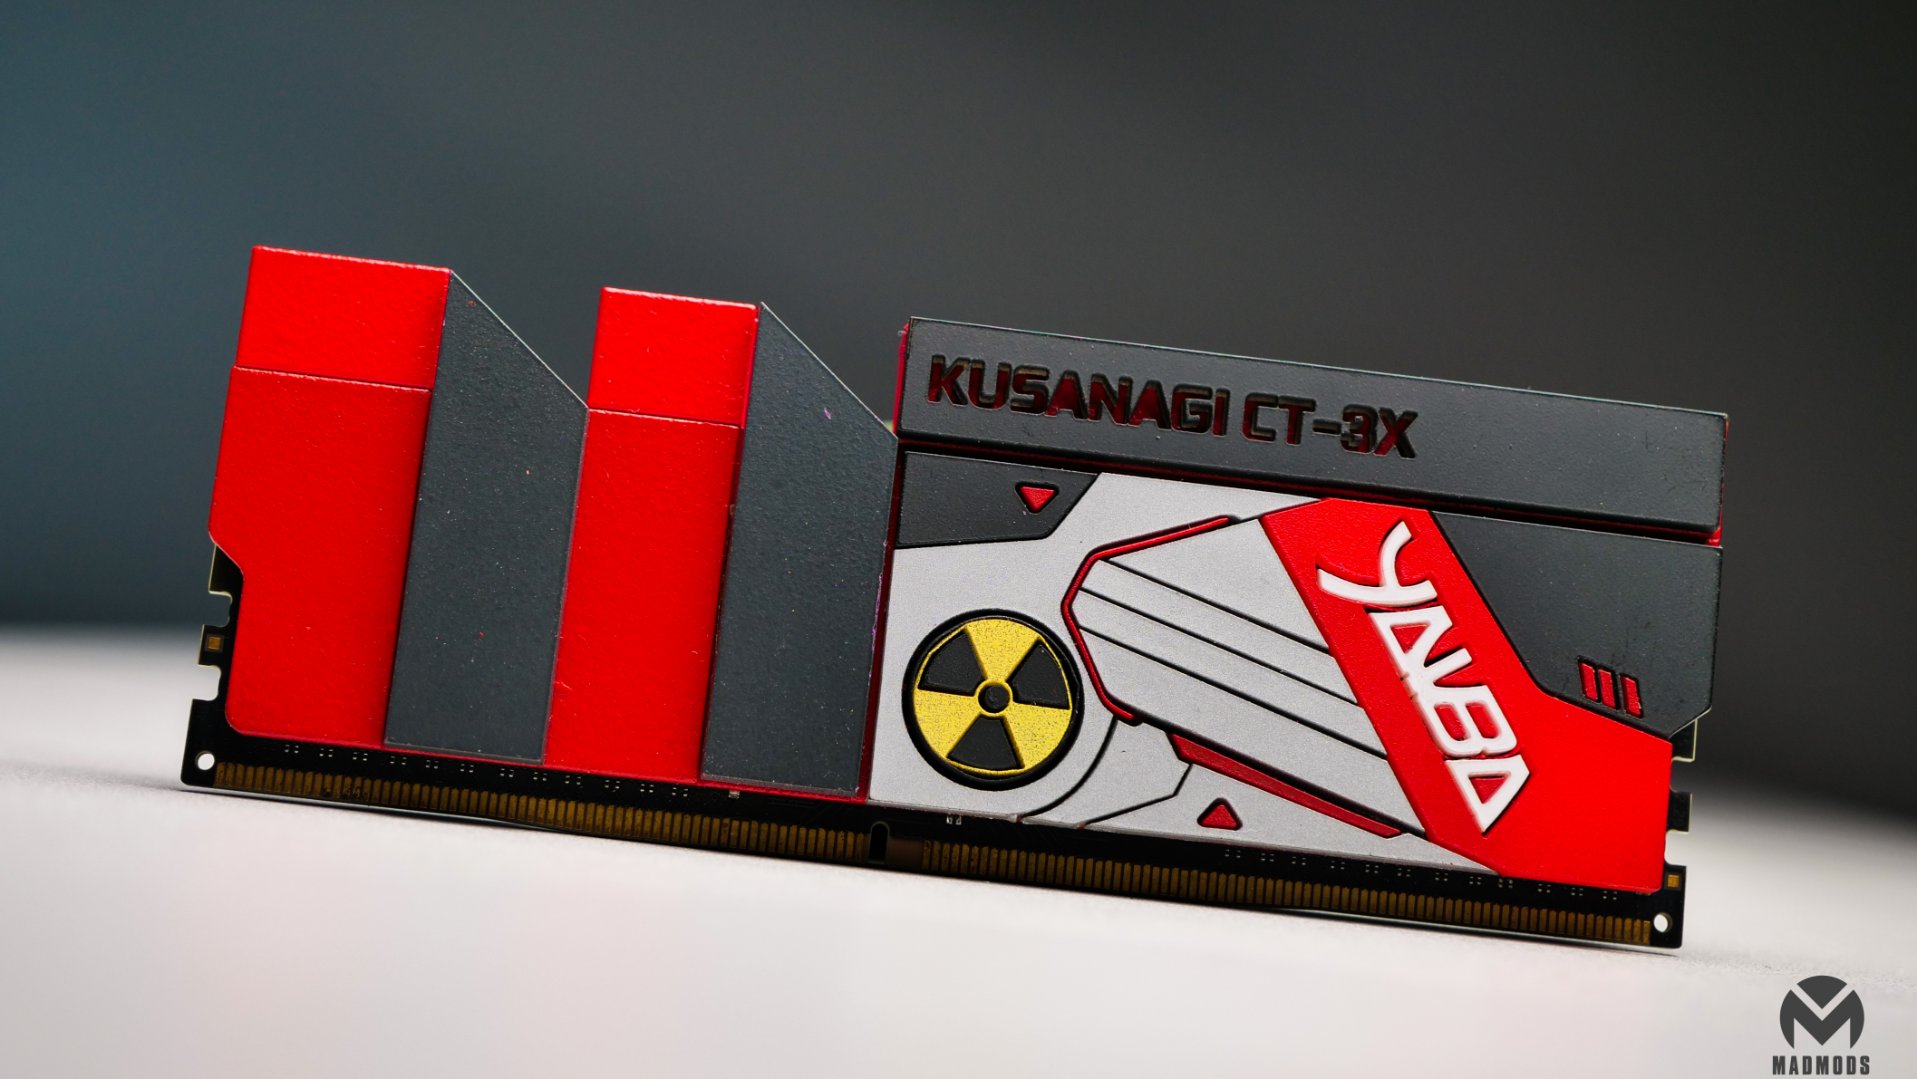
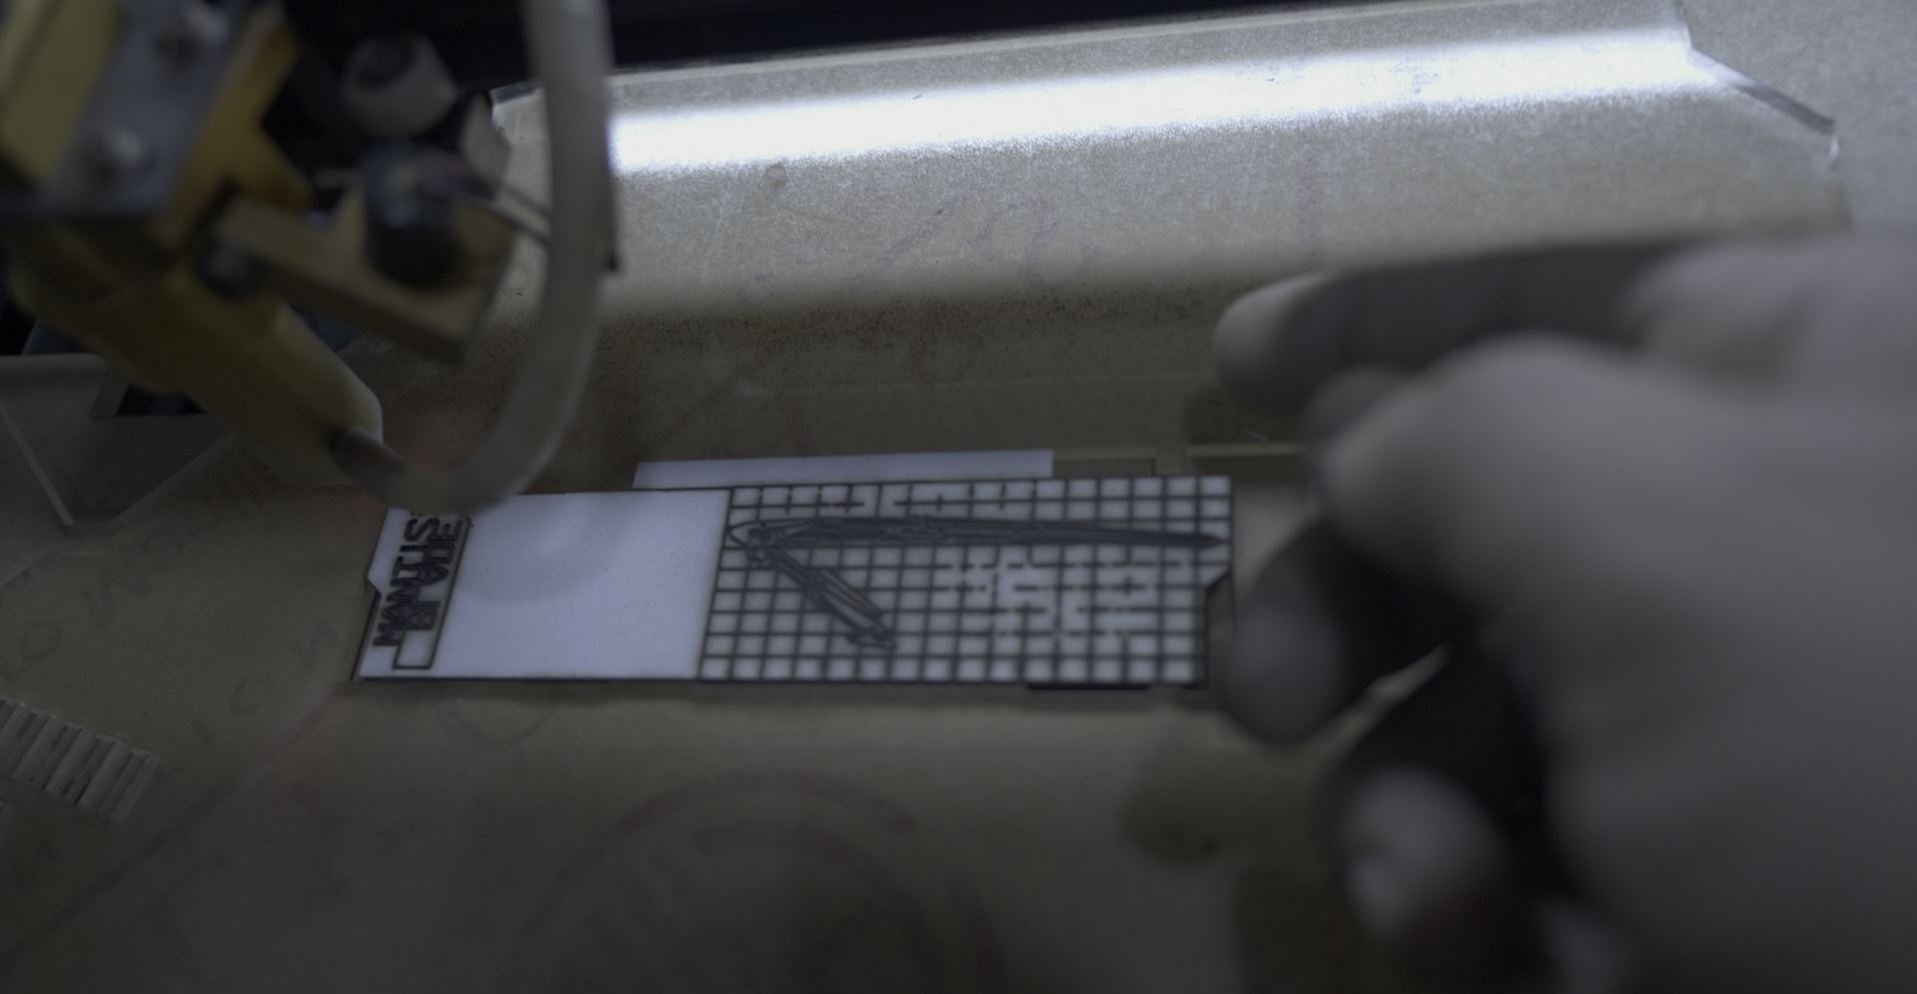
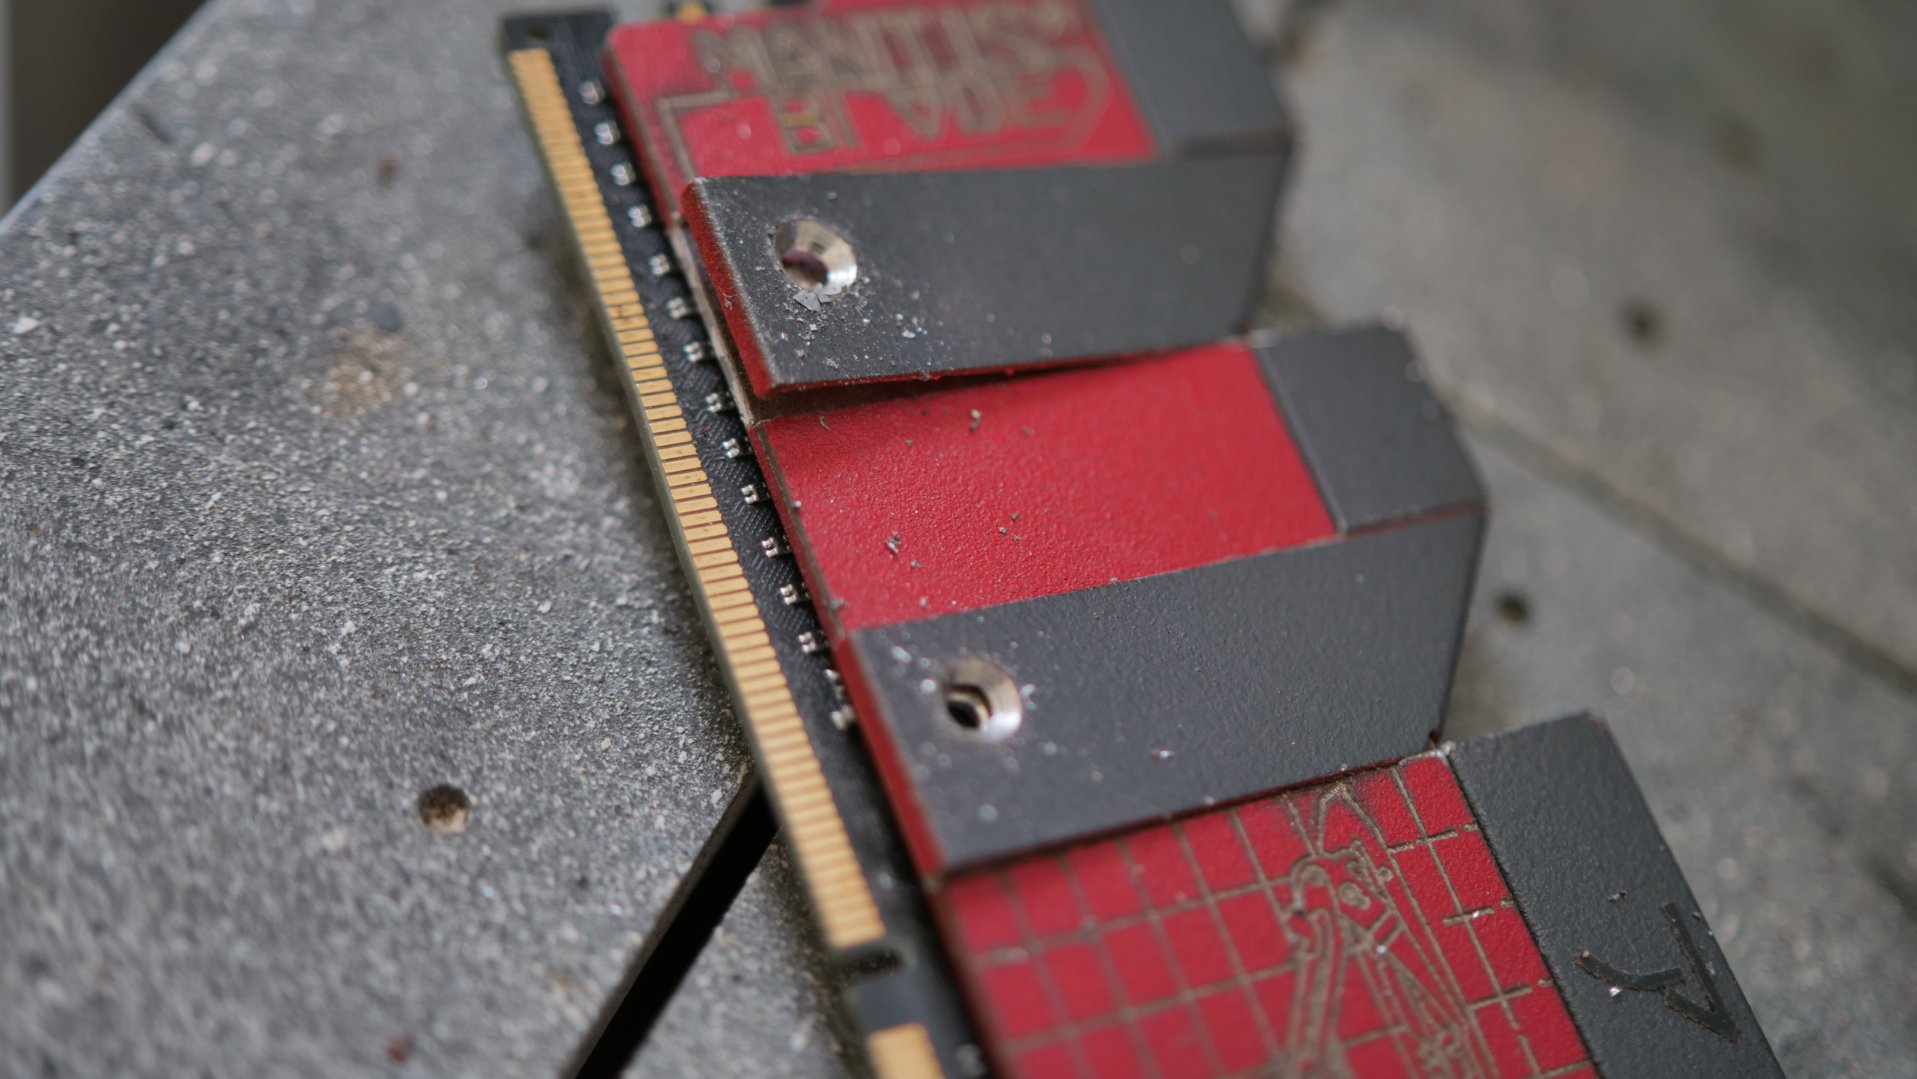
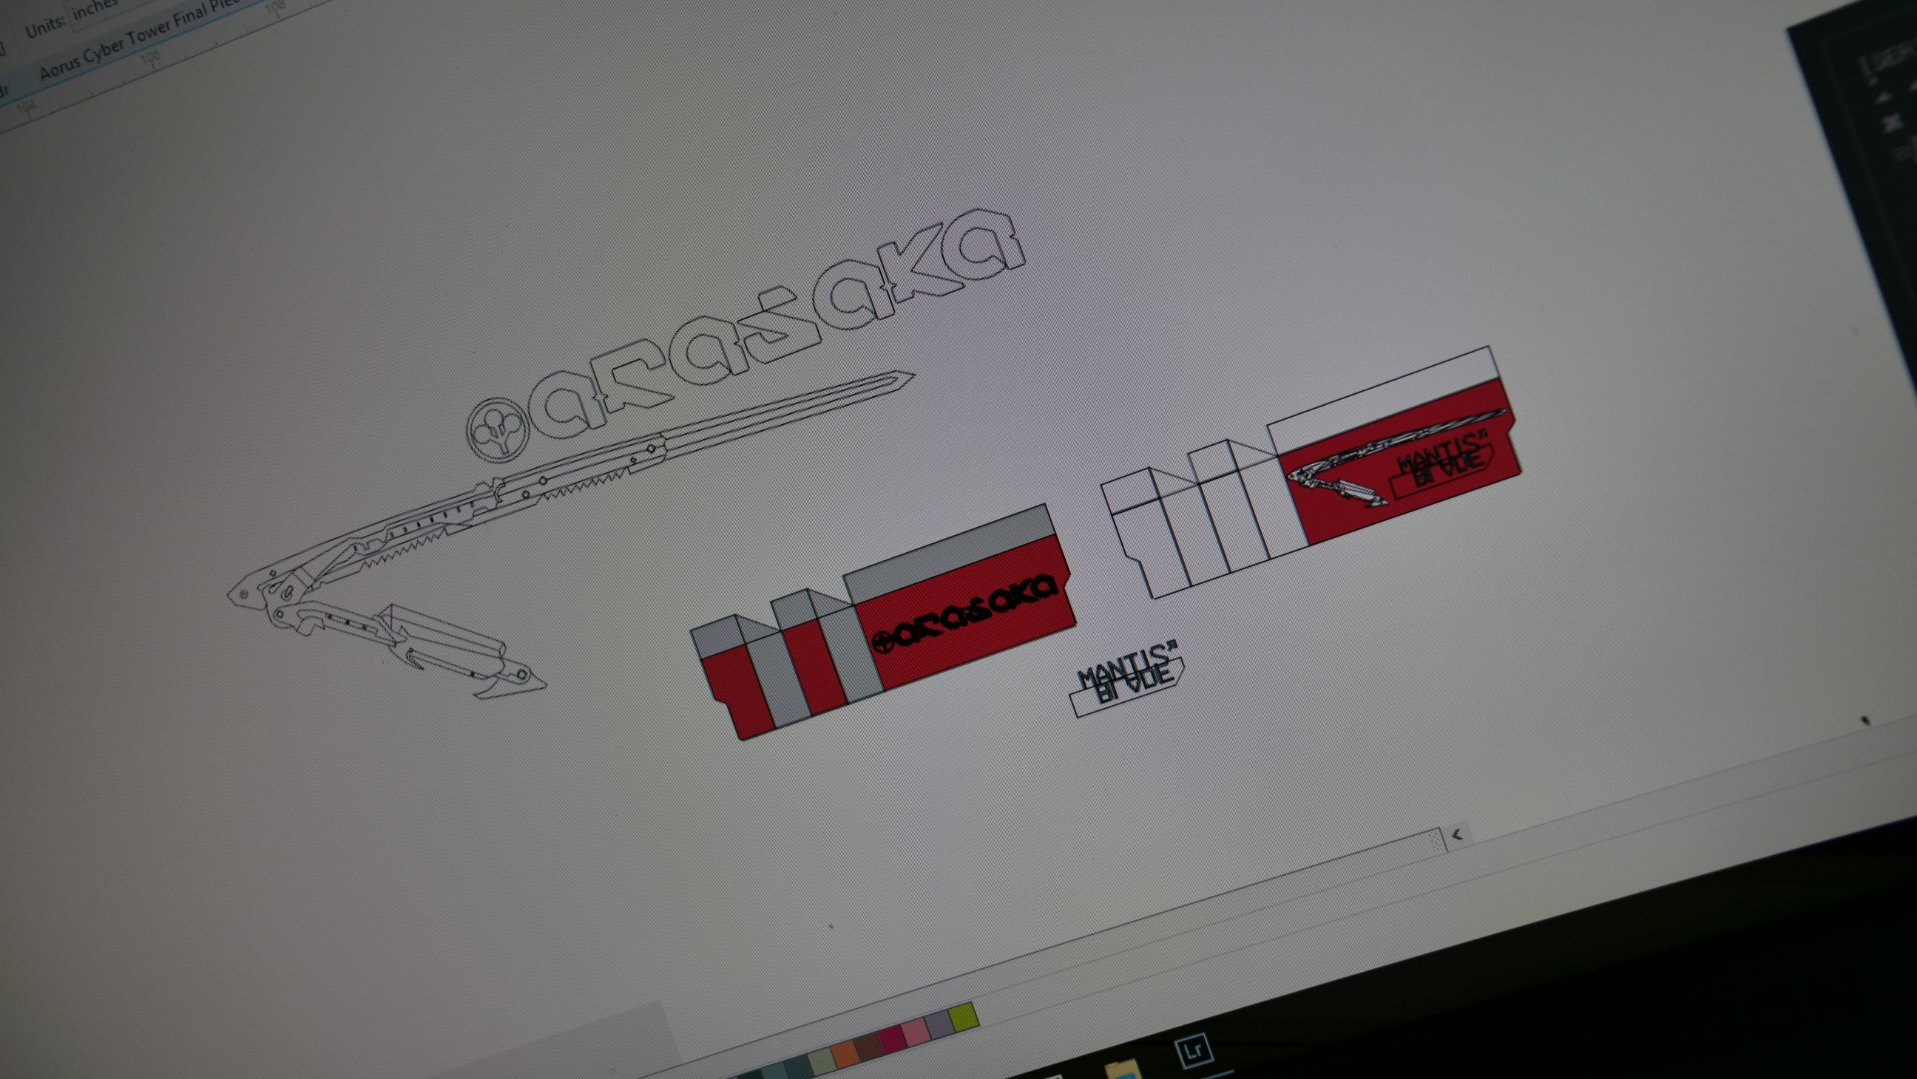
Update time! after the primer I did paint each ram with the colors that matches each theme. For this I have the first two sticks that I have finished which are the Arasaka Mantis Blade and Mox themed heat sinks. There are two more that I am still working on which are the Militech and Yaiba Kusanagi. Decided to go with four different references instead of just one then applying it on all four. I think made the modding more fun
") well here goes a barrage of pictures from the stands and the actual modified TOUGHRAM without the custom stands.
well here goes a barrage of pictures from the stands and the actual modified TOUGHRAM without the custom stands.


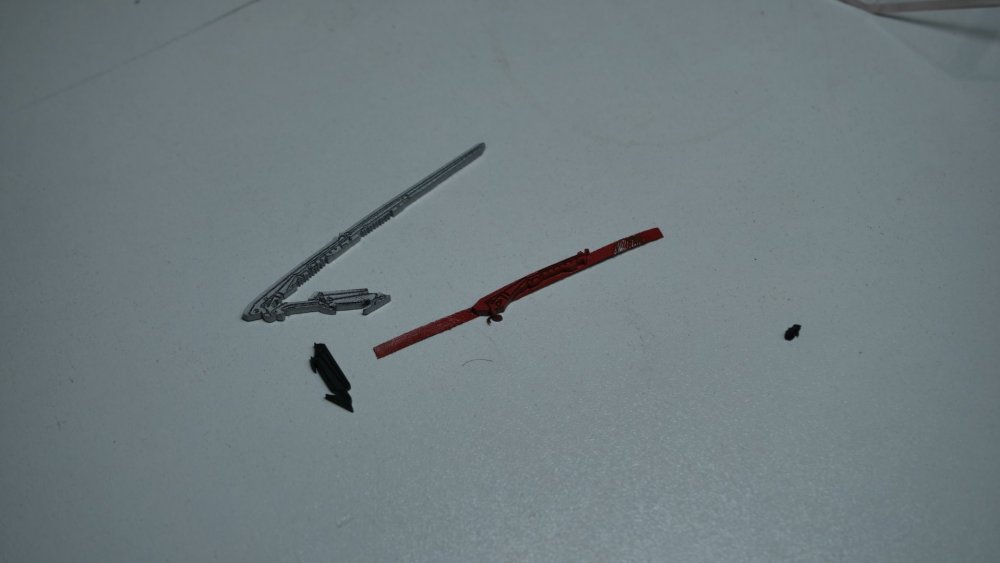


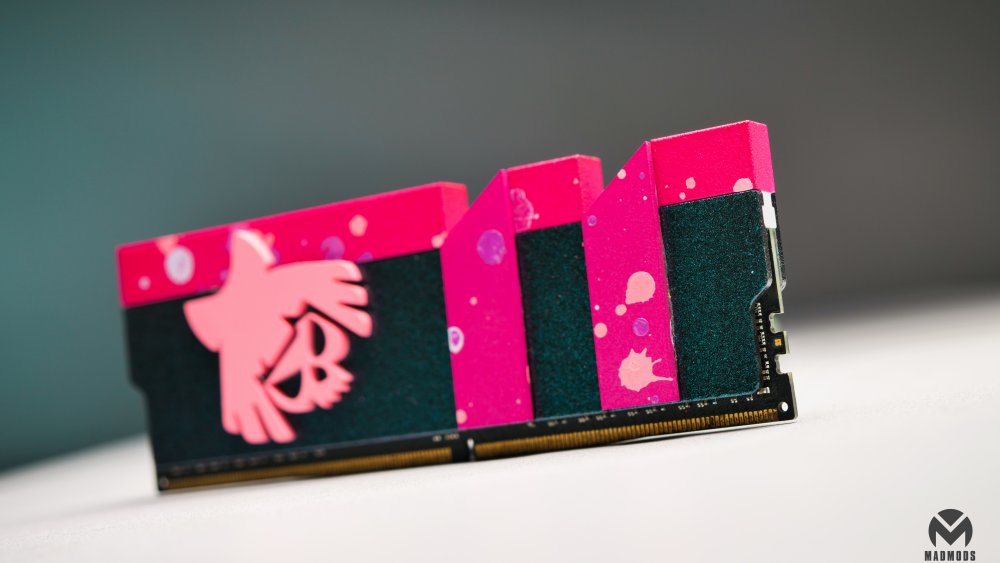
Here is the Arasaka Mantis Blade
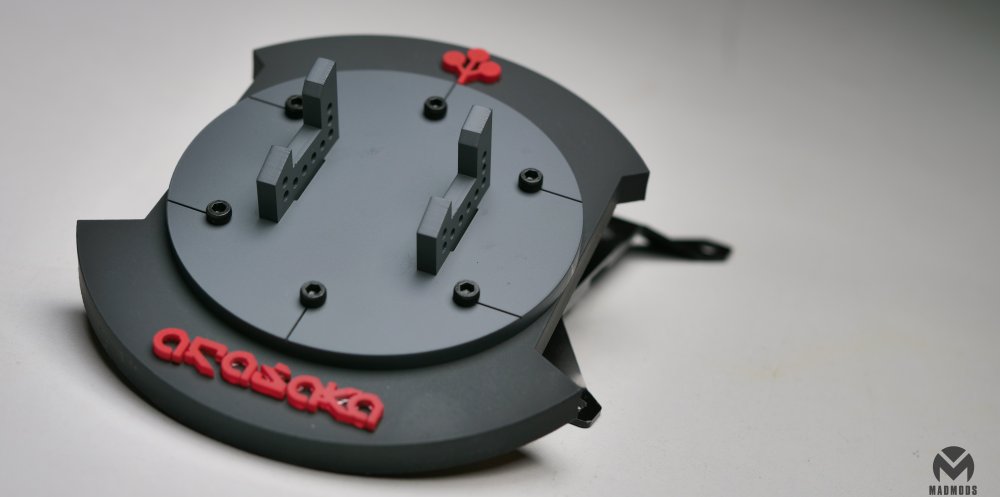

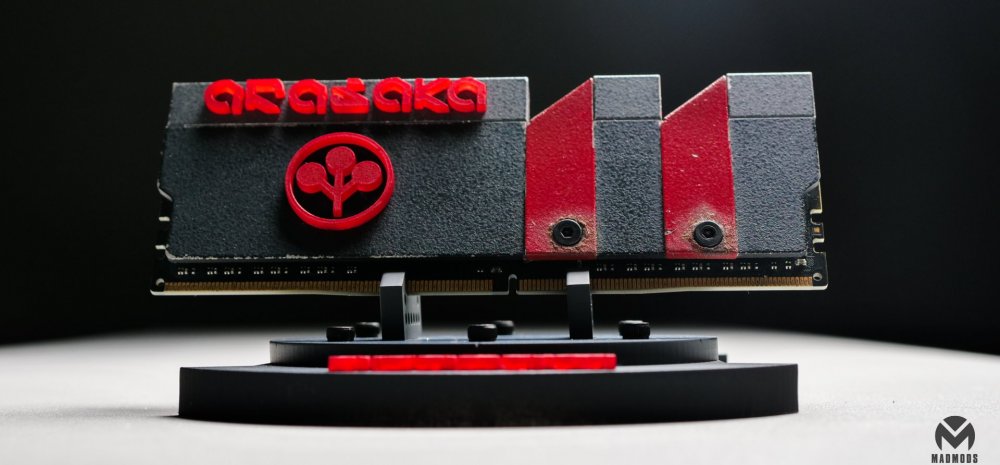
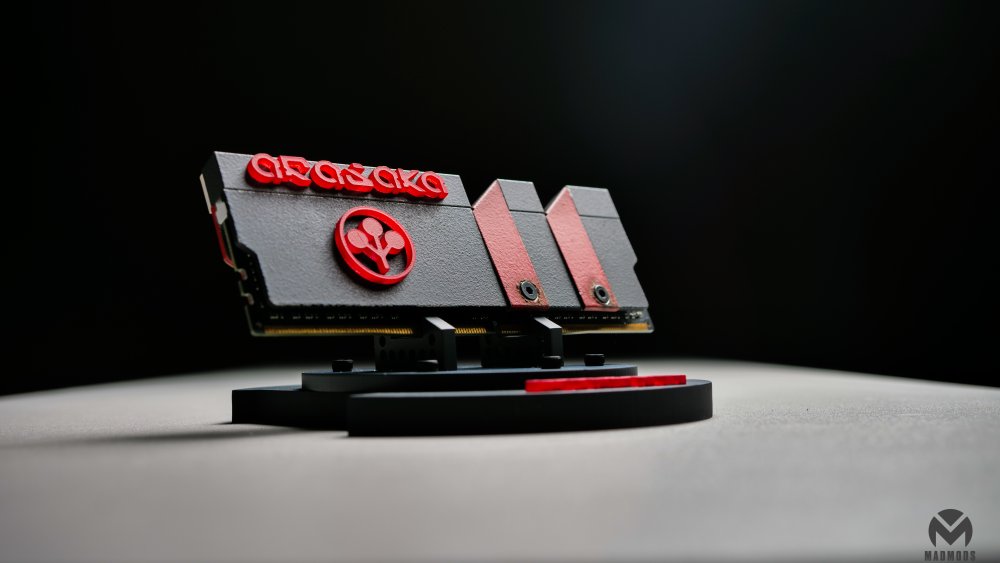
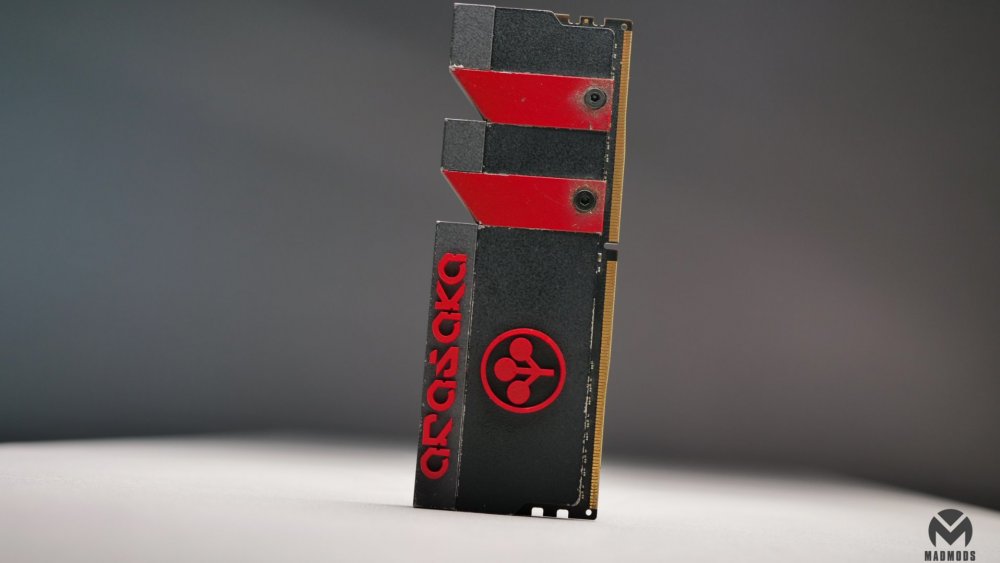

MOX


Those are all for now, I will be back with a couple more
have mod on!
-
Few updates today, the branding needs to go for now to i'm going to spray them primer.
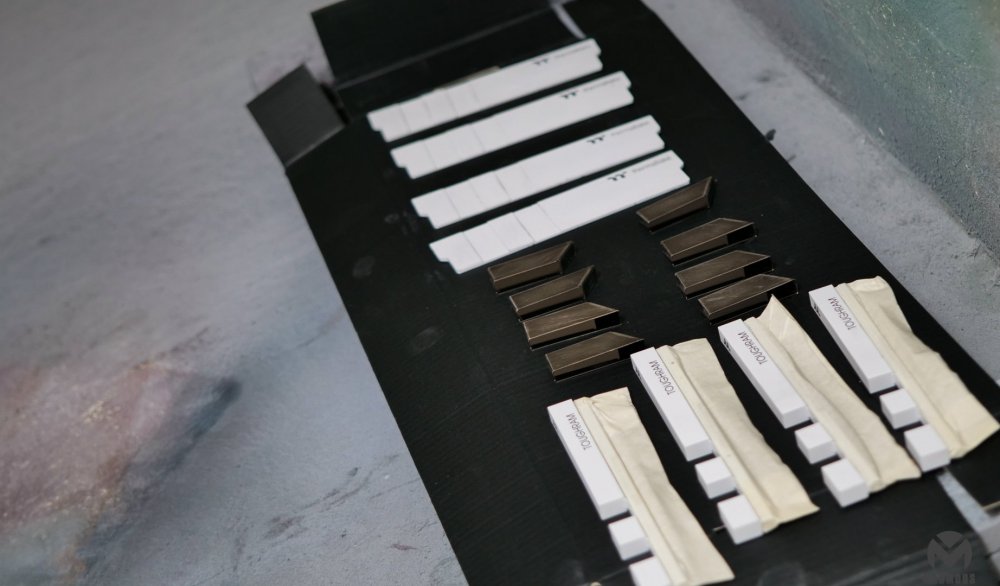
Here is a peek at the theme that I'm working on
I am still waiting for the epoxy primer to dry and as soon as they are I will execute all the plans that I have in mind and be back with more updates. Deadline is near so I hope everything works out fine.
- agentbadboy028 and rabinskie
-
 2
2
-
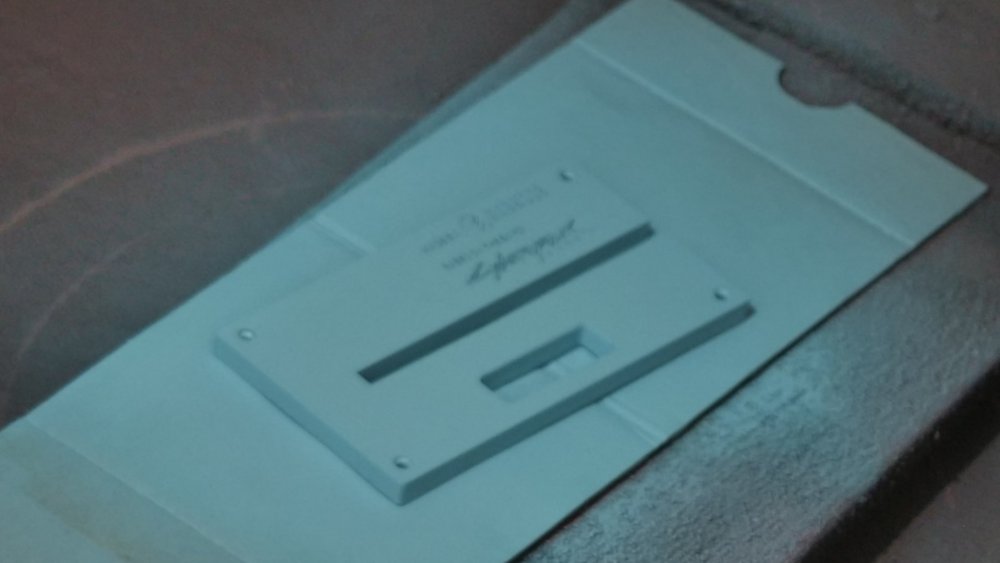
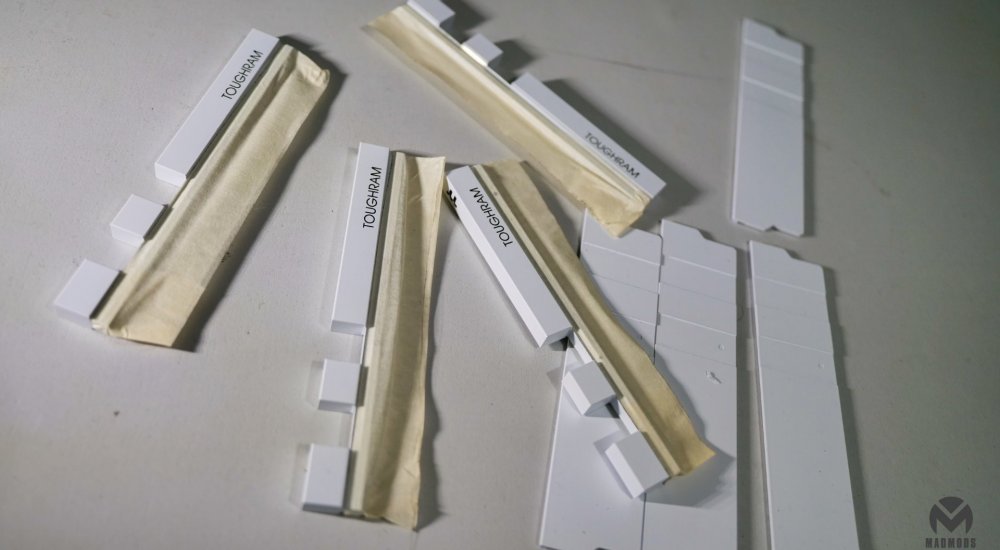
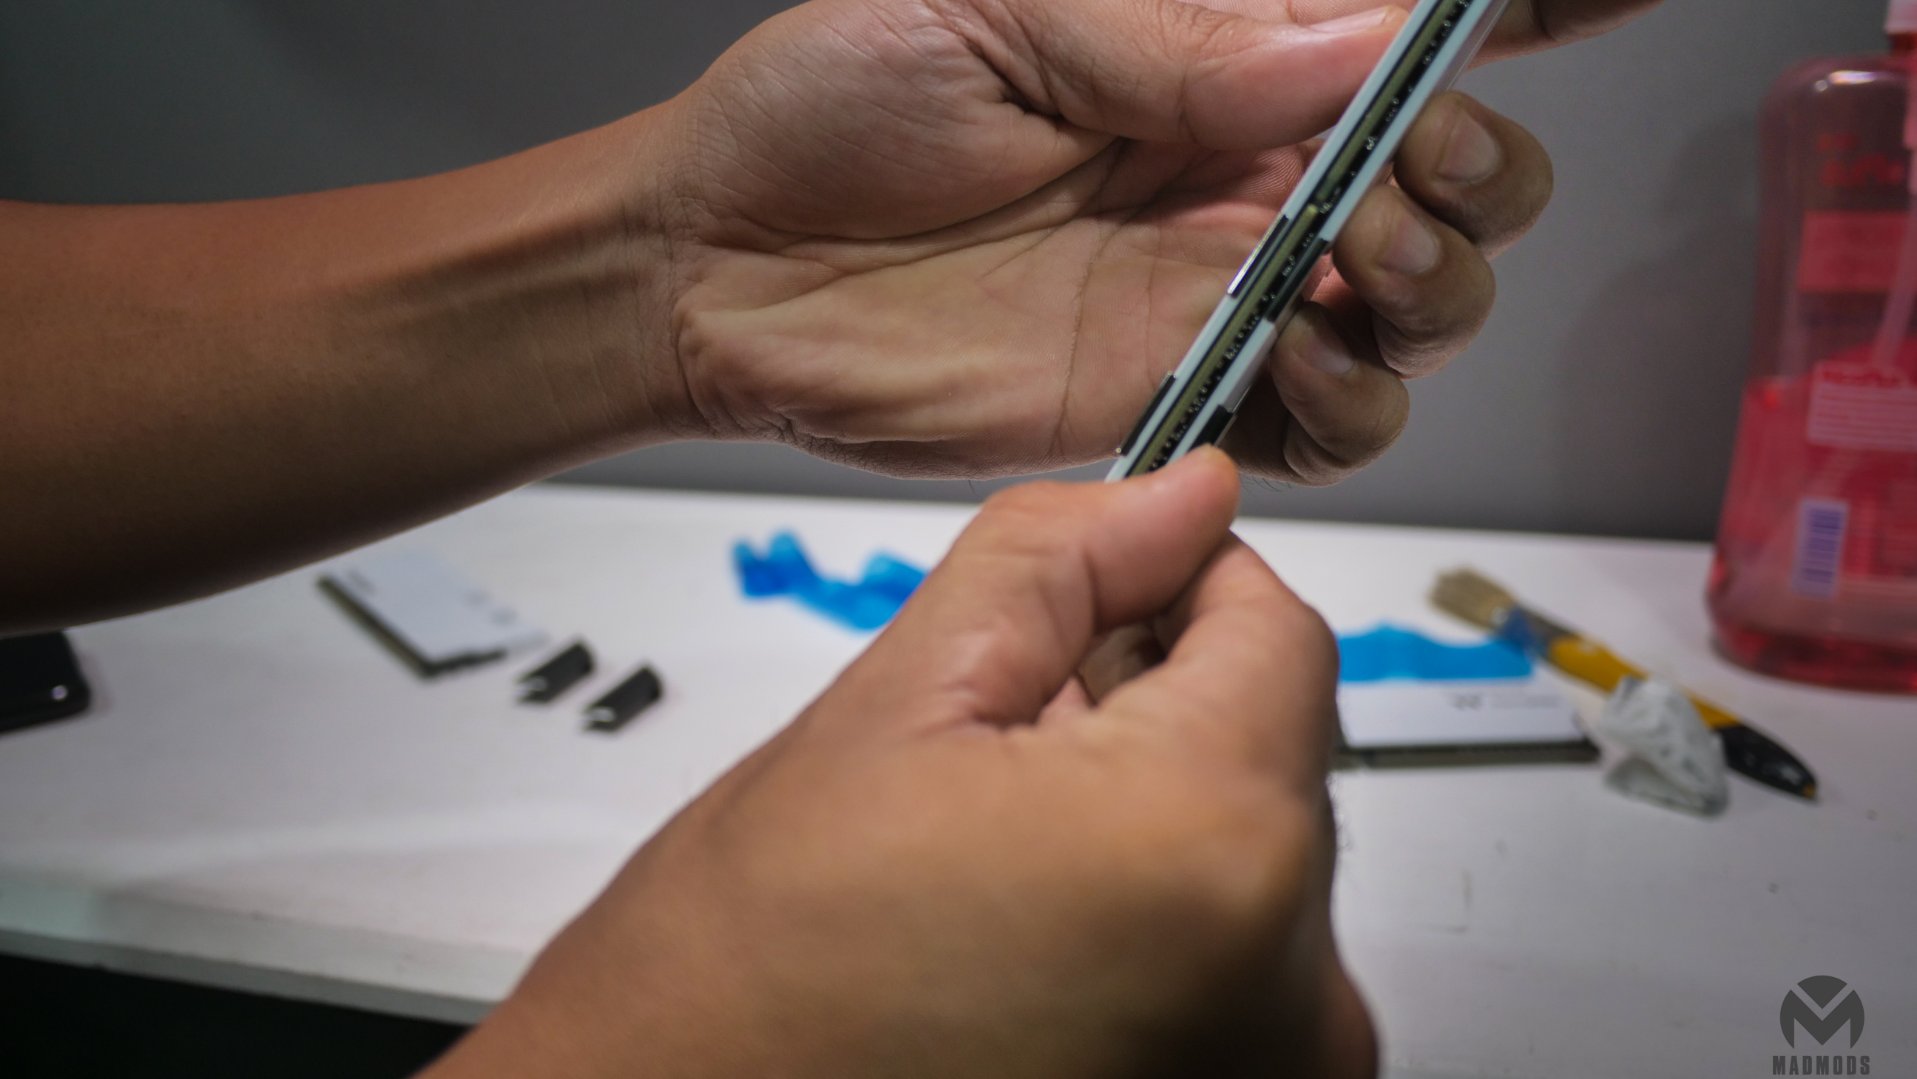
Update time! To remove the heat spreaders I need to get the chrome plated parts first, finger nails are great for this part.

When they get un latched just simply pull them off.
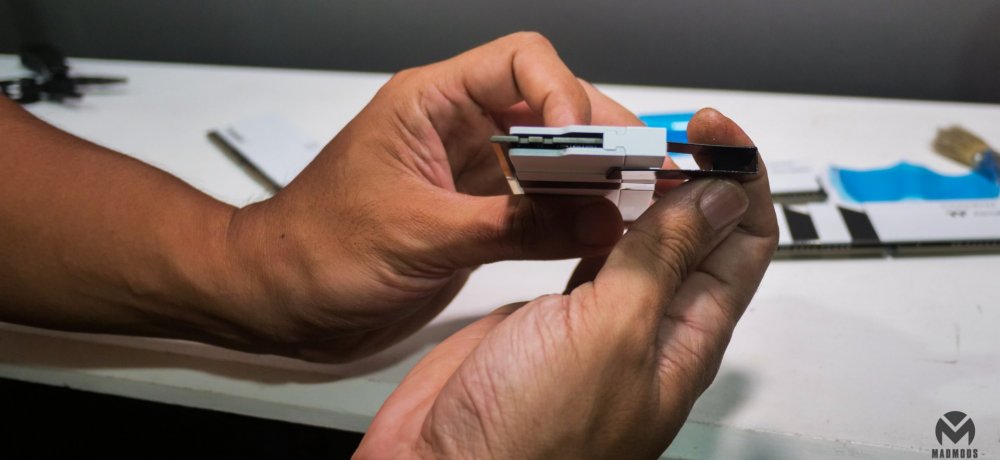
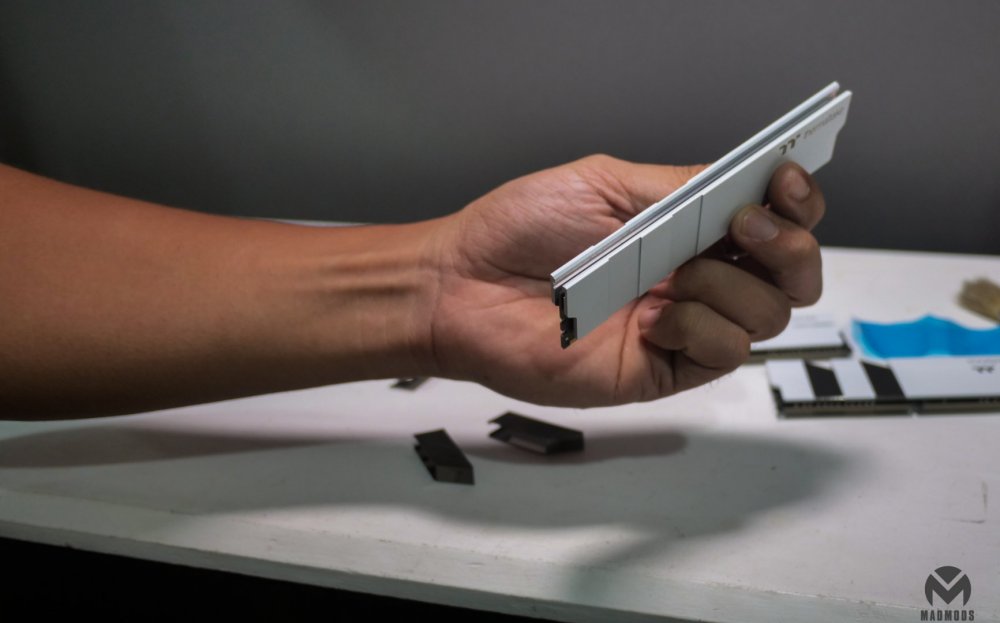
Without the chrome plated design.
Then just slide off the upper portion.
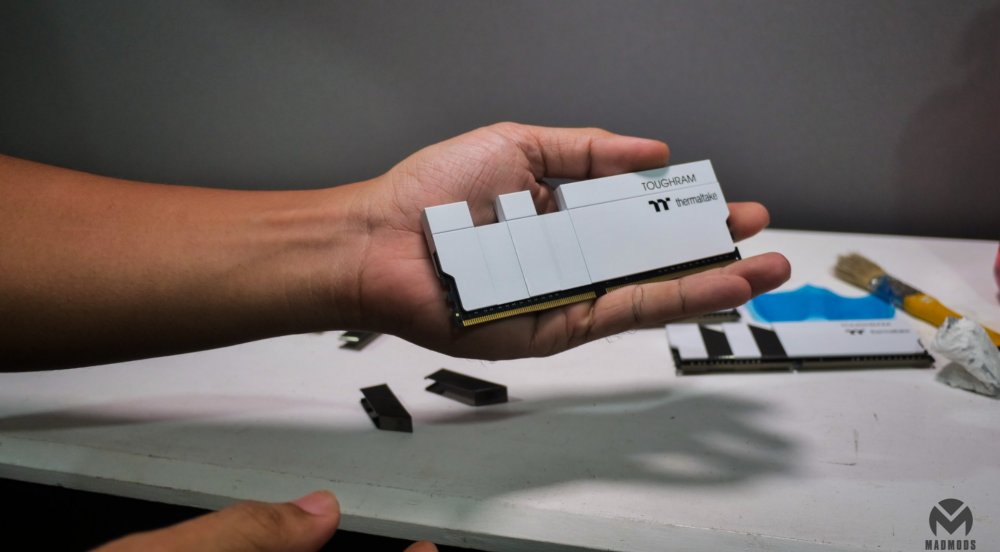
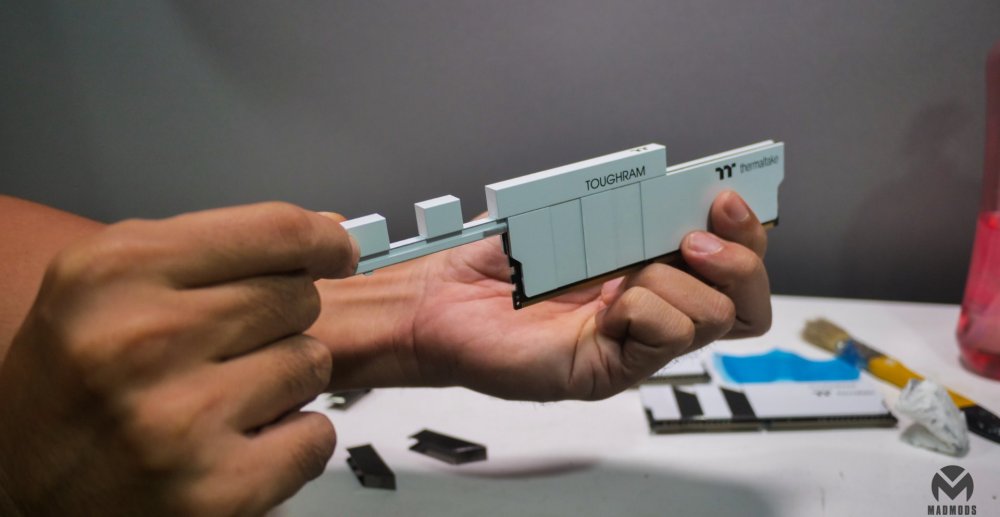
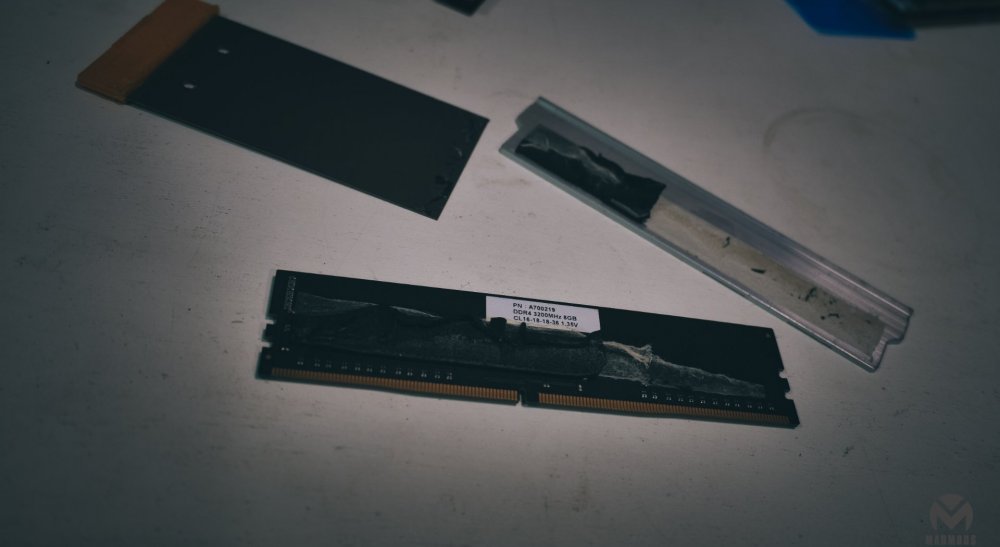
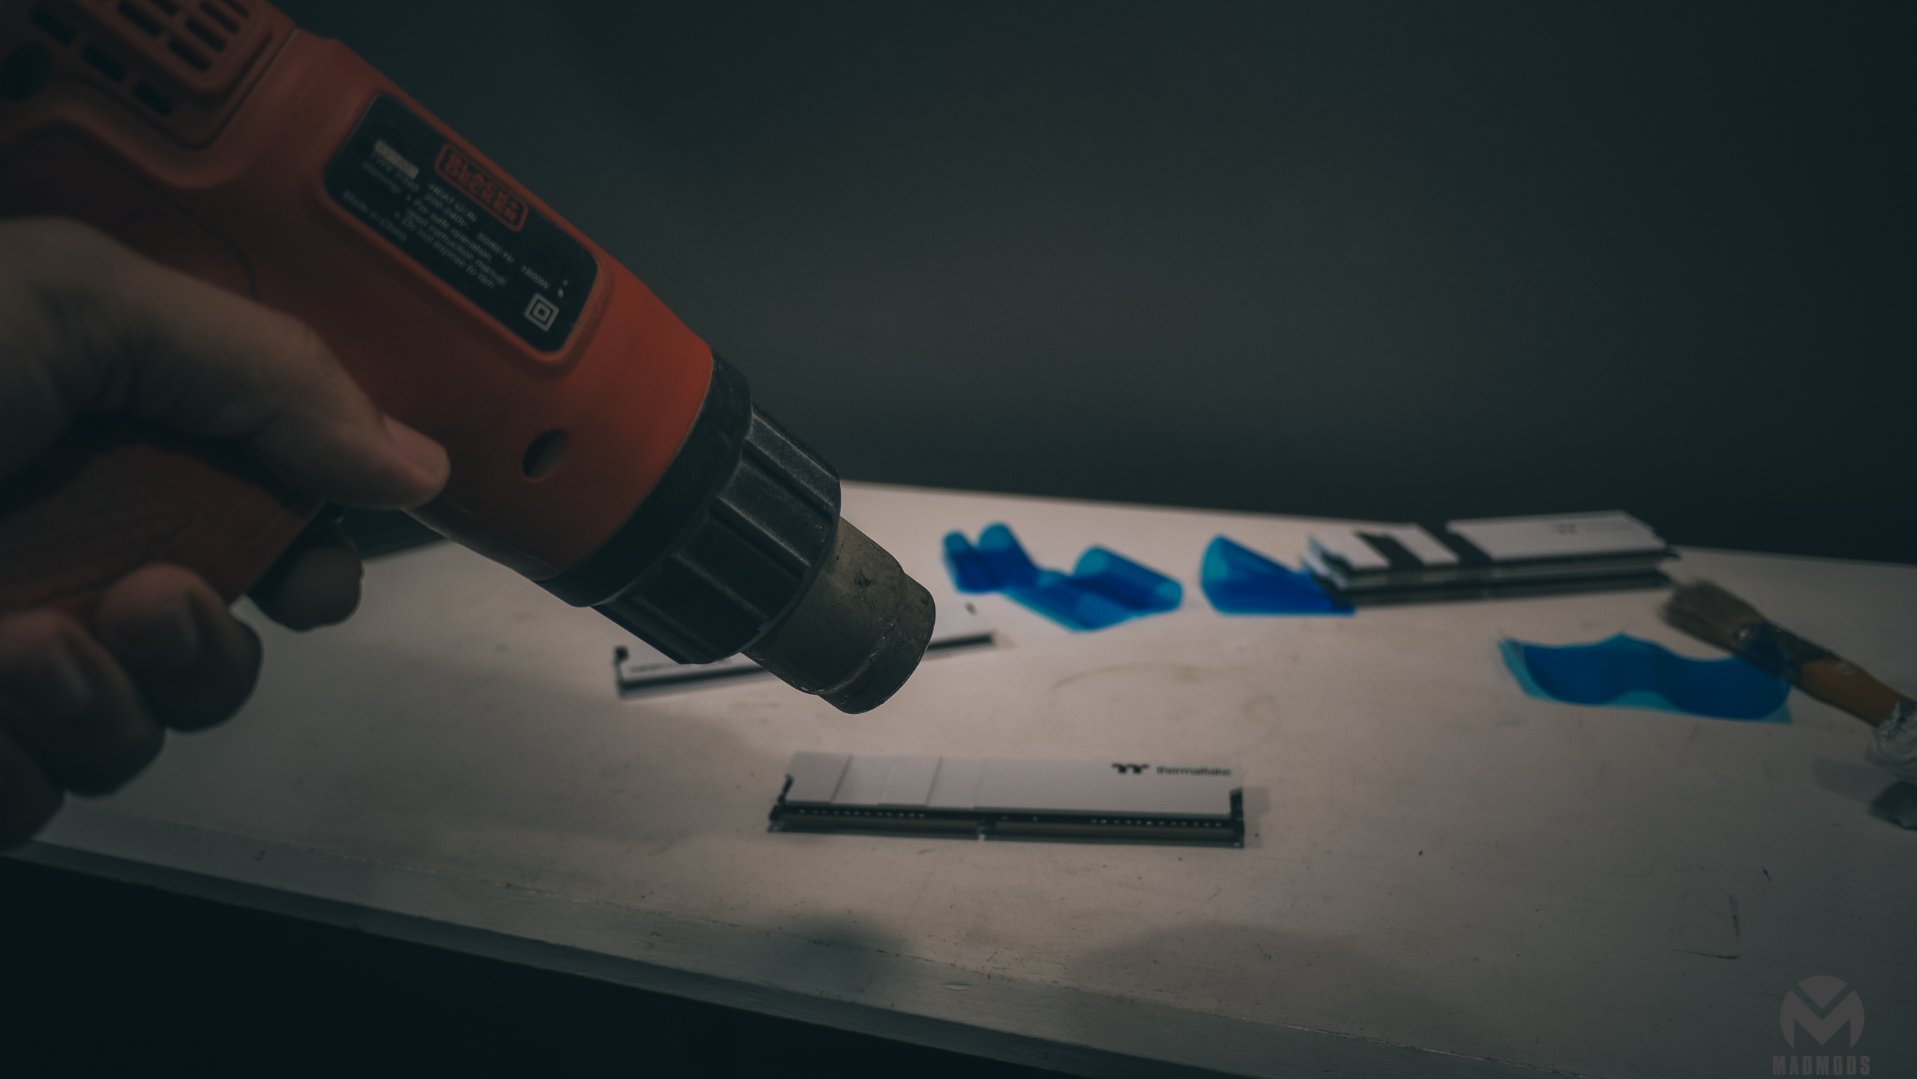
Then you should have this at this point, now I'm ready for some heat gun action. Heat will help us remove the heat spreaders from sticking on the RAM Sticks.
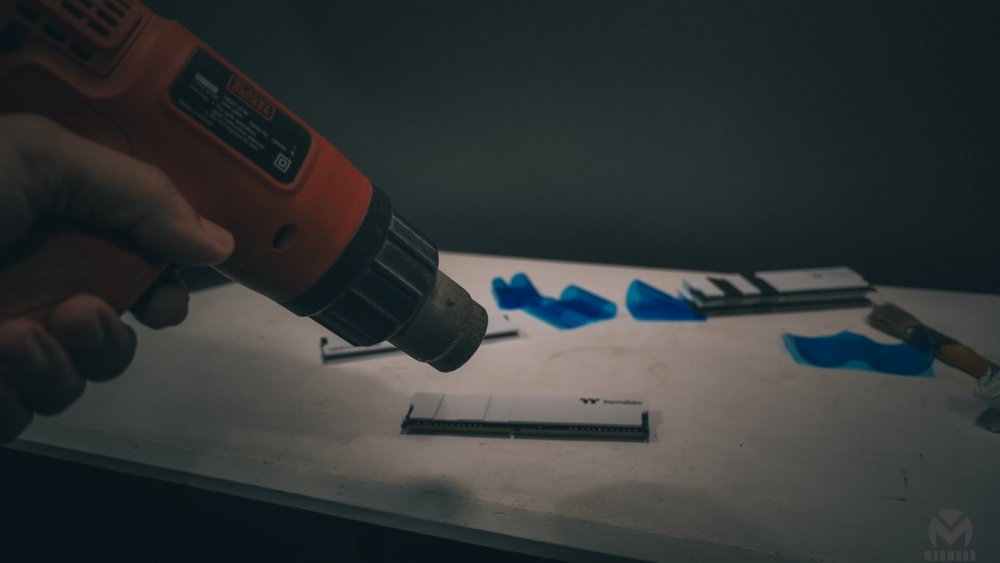
It was a hard battle but we got one! hahaha just need to do this 3 more times clean them up and I should be ready for re painting the heat spreaders.
If you are going to try something like this please be careful not to ruin your ram sticks.
- rabinskie and agentbadboy028
-
2
-
-
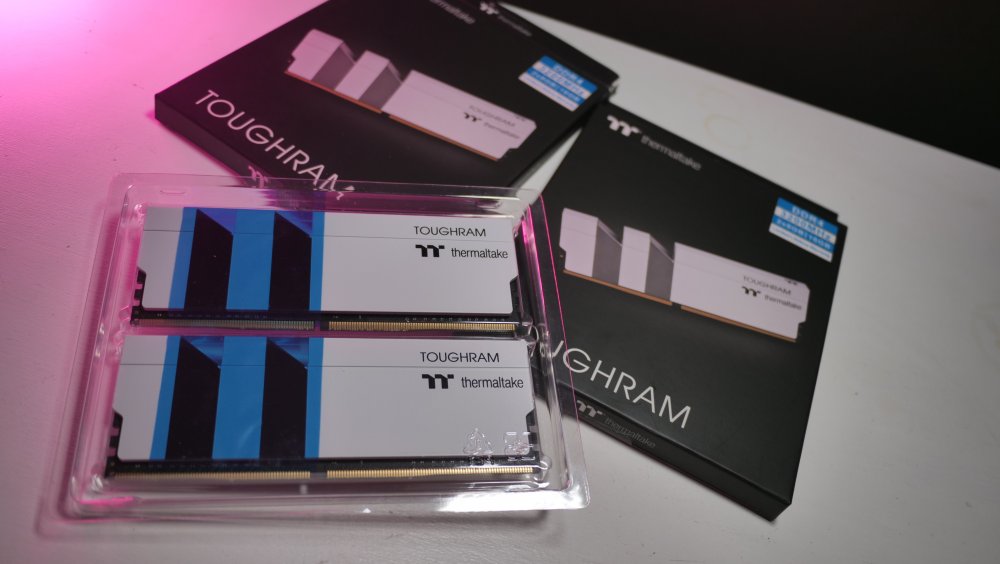
Bumping my worklog with the Toughram White out of the box
Next update will be dis assembly of the heat spreaders.
-
-
Final update a barrage of photos!


Thank you very much Thermaltake, Asus ROG, GSkill, Plextor and all the people who made this event possible as well for having me is this extravagant modding showdown. I am very happy with how the build turned out. I'm getting that SciFi Fortress feel from it
 I will comeback a little later for the quick video of the build.
-
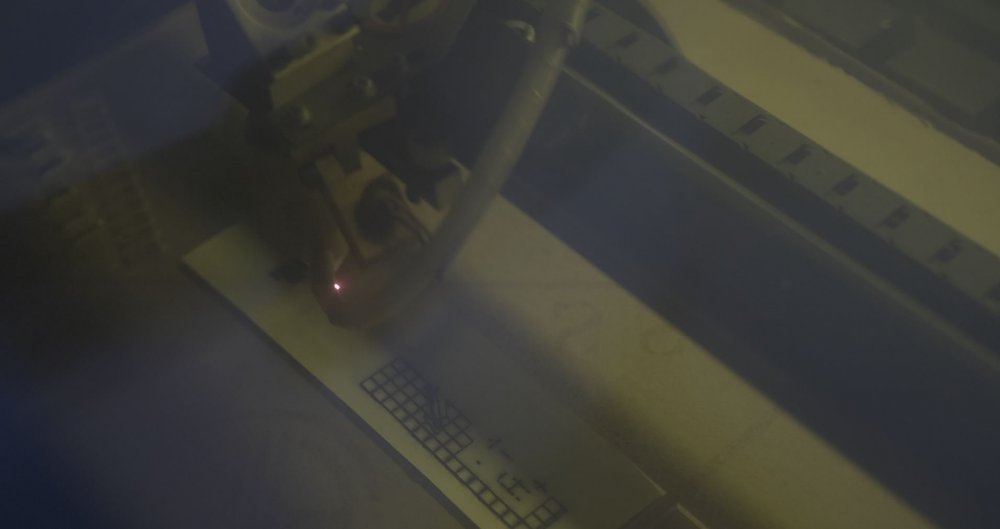
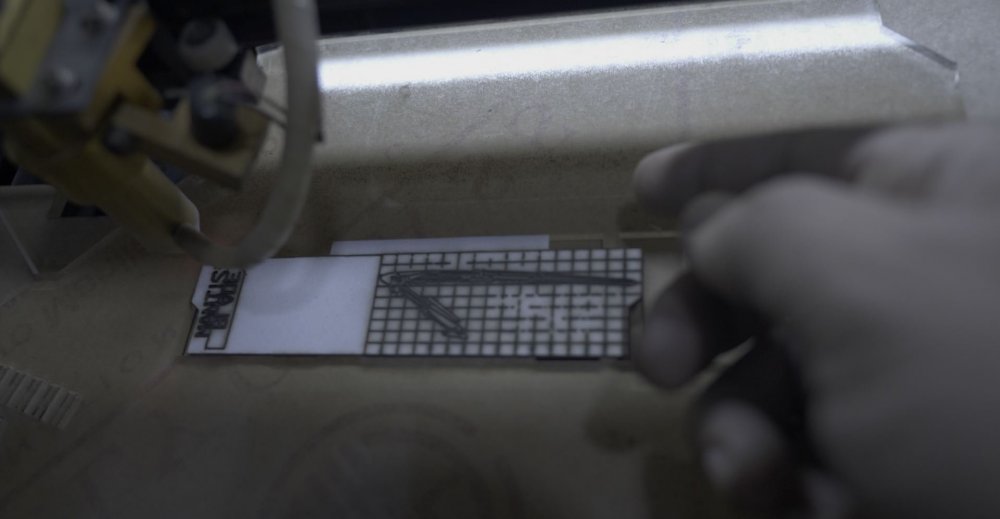
Detailing some more

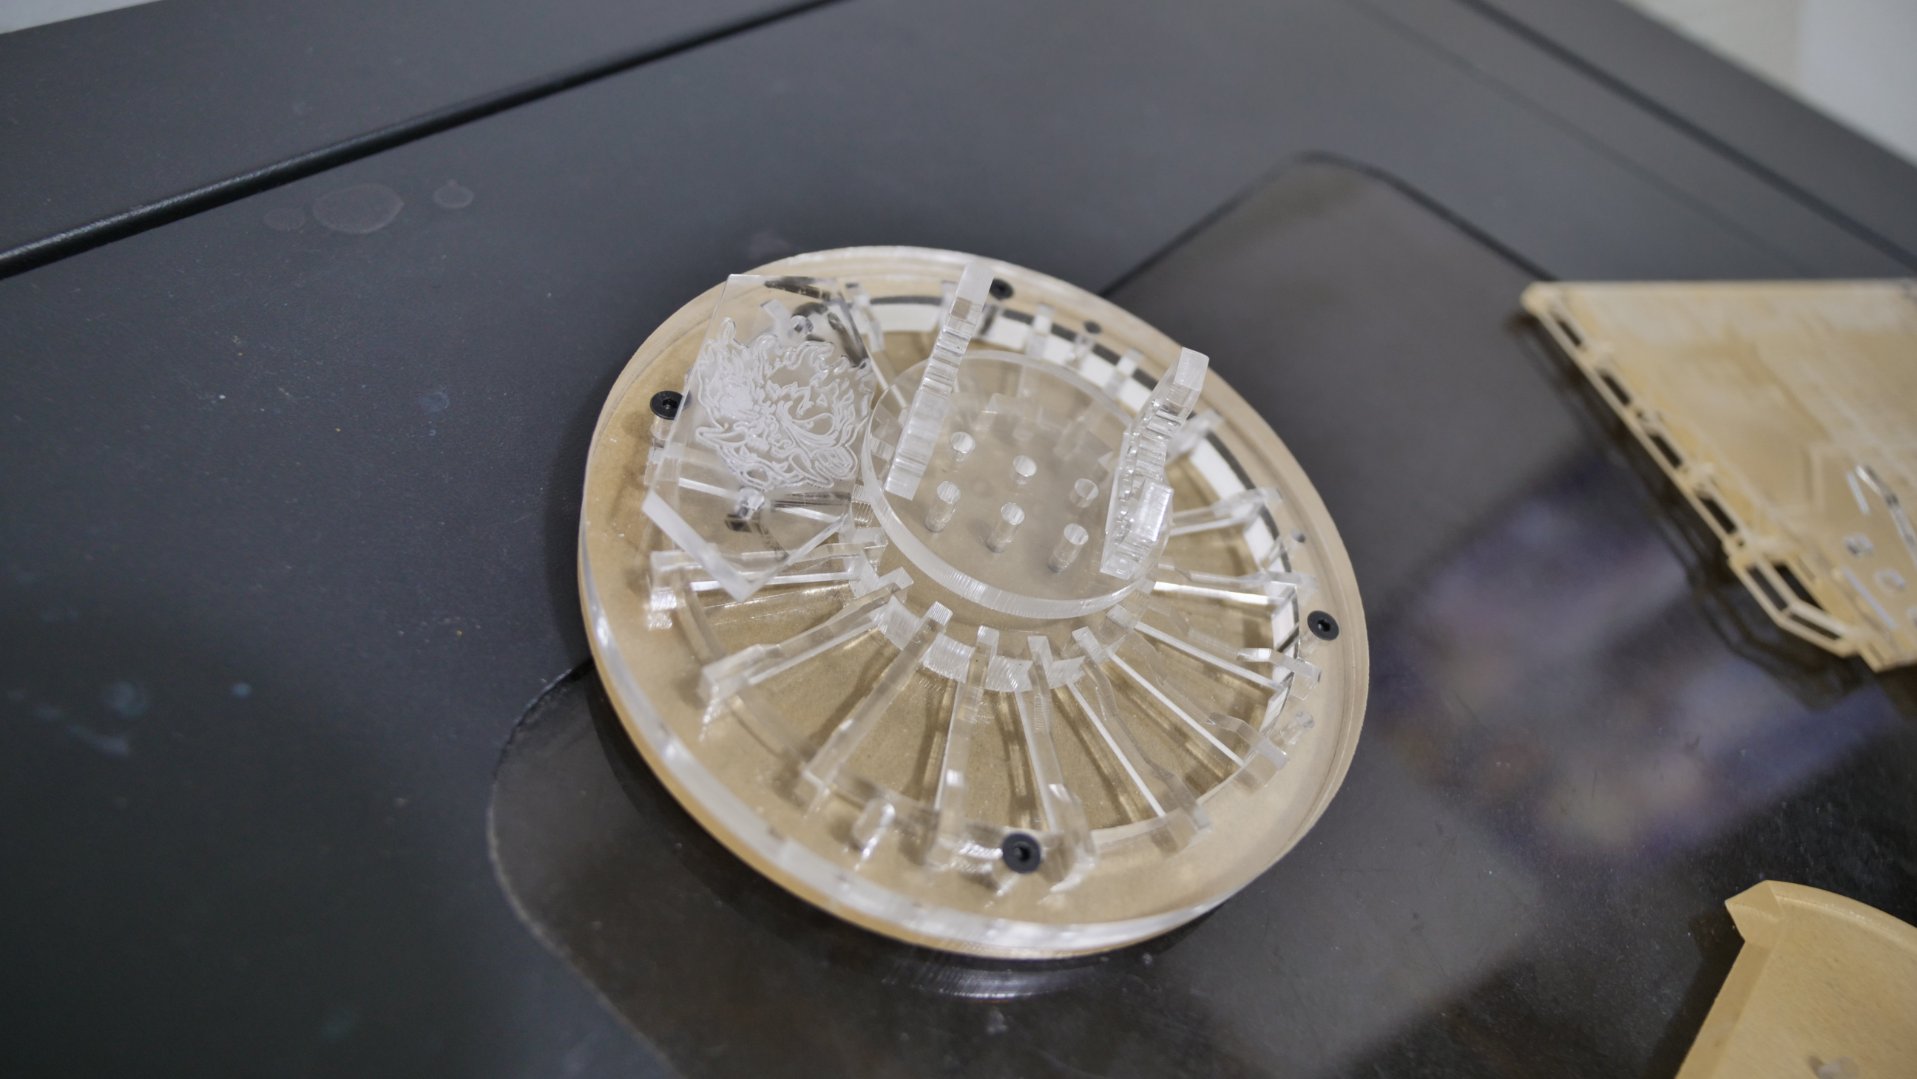
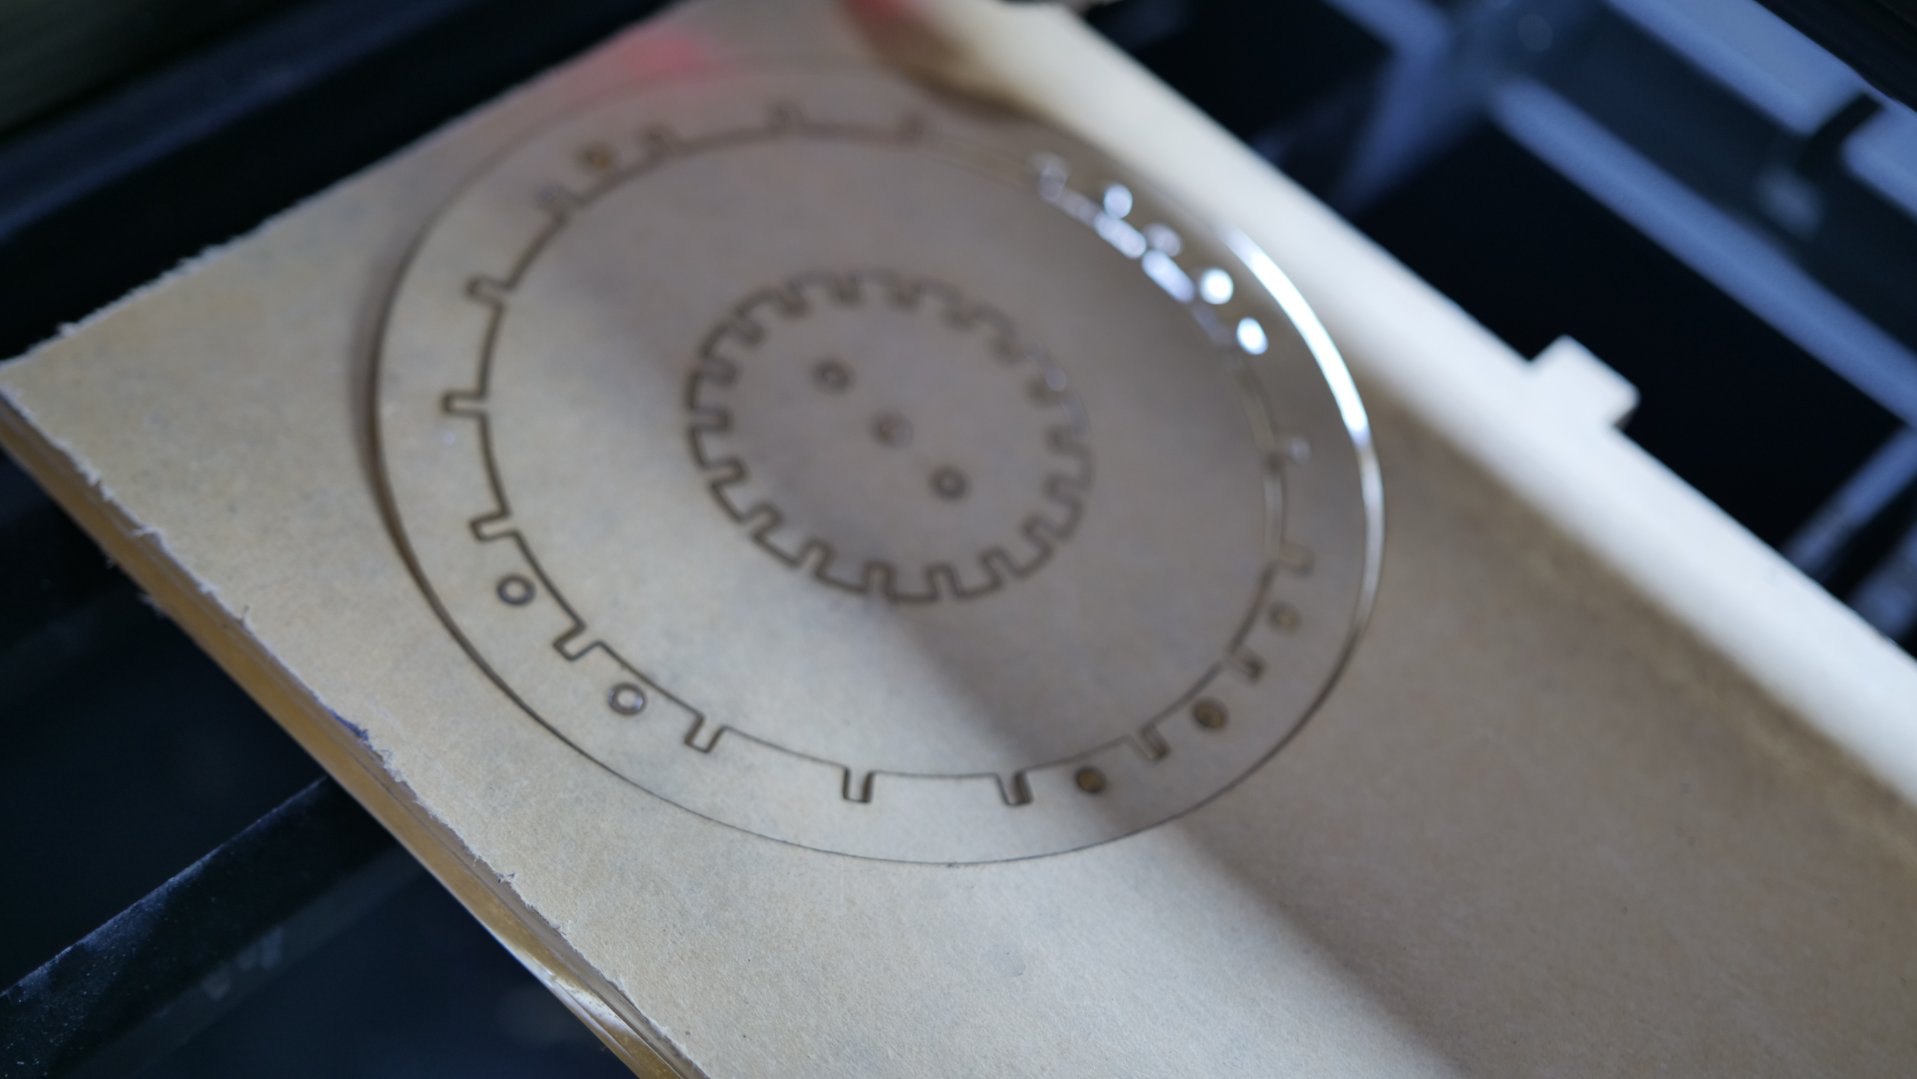
Fire the laser!
")

More to come this week! thanks
-
Update time!
Watercooling


Detailing


-
A few updates here with chopping up the case
When I’m done, half of this case will still exist. Perfectly balanced, as all things should be. I hope they remember you View 91


And this by far is the remains of the case.

I will also chop up the other panels to make it fit this new Tower, be right back!
-
Hi as promised here are the glamour shots of the Parts that I am going to use for this build.


Those are all for now, I will be back with some actual changes on the View 91. Thanks!
-
I have finally received the actual hardware for this PC build and man they are awesome! I made a video for it too :)
https://youtu.be/i3eWMmC0IQ8I will upload pictures too but that might come a little later so please check out my worklog again, thanks! :)
-
I was finally able to get the View 91 out of its box!
This case is a joy to watercool!

I had to take out the tempered glass panels so I can move it around.

Up front we have 3 Riing Premium Plus Fans, the controller is in the accessory box.


There is so much room at the back of the case you can mount a couple of 420 radiators


Spacer for your hard drives

Bracket for Vertical GPU mounting though you have to pick up a PCIE riser separately.


Annnnd!! I dismantled the case :p


Here's the frame of the View 91

See you again on the next update!!
-
Hello Casemodding world! This marks the start of my worklog in this awesome
competition, by the way I go by the name Mickee and I am a one man show on the
road for MadMods PC Modding and I am representing the Philippines this time, Well
let's start!W E L C O M E!!

Here is a quick snap of the parts that I already have:
Massive boxes!!

I was able to unbox a few of the stuff

I am trying to clean up my workspace before I take the case out of the box because I really need all the space that i can for this mod.

I will be back really soon to post pictures of the case out of the box as well as
the initial preparations for this project. -
Salamat mga Ser!! <3
-
Hi Everyone I guess this will be the last batch of Pictures for this project
 I really enjoyed working on this but then again there is no such thing as finished hehehe there will always be a few bits and bobs to be tweaked every now and then


 And that is a wrap for Core X71 Bulgar! Once again than you very much for the support!I will see you guys on the next one
-
More please

-
Update timeBack to cutting some panelsThis one is for the Front panel
 For the lower side panelsScoring the Acrylic sheet helps a lot with the accuracy of manual cuts
 Test fit
 Some more pieces for detailing.
 Sanding with an angle grinder.
 Stick em' up.
 Started to paint the sliding panels.
 This one is for the top of the case.
 Labelled the handles for the sliding panel.
 and here we are

 End of the quick update thanks!
-
After a long time I am back with some updates, Modding has stated to pick up since the construction of my little workshop is finished
Here we go, Watercooling should be an option with this simple test bench so i found a solution where I can mount a Radiator and a Pump+Res and yes a 3d printed fan grill


The plan is for it to be mounted on this position.

Back to the bender for a custom bracket.

Now we have this and I know this is not the best looking solution but I strongly believe that it will work for me

Screws on! Pump+Res+Rad mounted, it still needs additional support on the lower portion but I'll get back to that later because I want to try and watercool this now

CPU block Pacific W3 and behind it is an Intel Core i5 6600K that i forgot to take a photo of since I am too excited but I guess we've all seen that before

Pacific 90 degree fittings installed

Tubes done annnd the here are the random shots


I've tested it for leaks and luckily there was none, Some of the parts for this mod are being detailed already and those will be up on the next updates
later!!
-
This gonna be a sick build man cant wait for more!!
Hey man! thanks for checking the build log, you got a handful of awesome builds and you work super fast
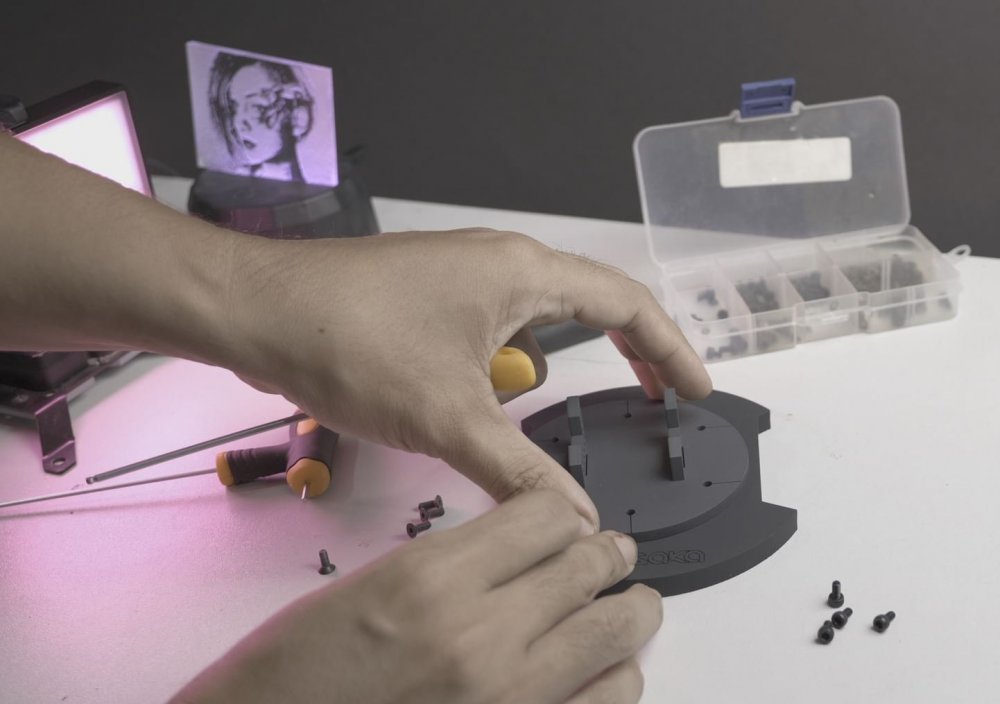
Hi, I am very sorry for the lack of updates it was due to the renovation that is still ongoing and my modding area is part of it but now I am back as I've found asmall spot where I can continue my work I have also brought in some help with the help of a vinly cutter and a 3d printer which I got a very deal on yay! So I have some updatesFirst off I have manually cut a couple of EVGA logos with a scroll saw, these will be put on each side of the sliding panels. I spent most of the holidays with the family and the 3d printer lol, It was frustrating at first because I have zero Ideas on how it works but after plenty ofplaying and tinkering around as well as reading I guess I got some decent prints or usable at the very least I do not know how to make my own designs just yet as I am still focused on understanding its dynamics as a whole so I just print stuff that I find online which suits the mood for the projectSomething has to hold the PSU on the test bench so..


 Mobo Stand off
 For the GPU
 One of the things that I've learned a few days ago was converting JPEG files to ohh I forgot the file format haha then to STL as a 3d printable file, so I tried iton the Gear up logo and wow it worked then I just made a few adjustments to better suit my taste.
 Short update but there will be more to come soon!see ya' around!
 -
Hi everyone I am back with a fewWorked on the mobo tray
 My handwriting is super bad lol
 Removing those 2 thumb screws will make the mobo tray pop off the it's base.
 Yes in every project I have to mess one two or three things up lol have toretouch one of the stand offs as it was not on point,
 The Z170 Classified K fits right on top of the custom tray
 EVGA 1000G sitting in there nice and tight.
 And some angled shots


 Thanks be back in a jiffy!


[Philippines] John Lacerna
in 2023 Thermaltake NeonMaker Lighting Mix Invitational Season 1
Posted
Hi everyone,
I made the video about two things that keeps me busy most of the time. Lightmix style and the two wheel love that makes me go out of the house/mod shop which makes me sweat buckets. I hope you guys find this entertaining")
https://drive.google.com/file/d/18BSqcj7QGL1x4pGfp2DfU2tyYDmYDpPU/view?usp=sharing
Thanks for the support! ❤️