Search the Community
Showing results for tags 'Pacific'.
Found 9 results
-
Hey hey guys and girls. We have another awesome themed mod coming your way. This one is based off of one of my favorite comic strips growing up as a kid. Spy vs Spy The Following was obtained from the History section of the Spy vs Spy Headquarters. http://www.spyvsspyhq.com/history.html Simple yet meaningful is one way to describe the wordless black and white comic strip that makes up Spy vs. Spy. The cartoon created in 1960 by Antonio ProhÃas, depicts the antics of two distinctly different yet similar spies who try to get the best of each other with clever yet strange schemes of espionage and deception. Published in Mad magazine since 1961, ProhÃas began working on Spy vs. Spy in Cuban, but fled to the United States in 1960 just days before Fidel Castro took over the last Cuban free press. When ProhÃas came to the United States he knew almost no English, but Mad magazine readers and editors quick accepted him and loved his work. Before he got the job at Mad, he worked in Queens at a clothing factory by day and drew by night in his cramped apartment. His earlier works “Erizo,†“Oveja Negra,†“El Hombre Siniestro,†and “Tovarich†would not work in his new country where the idea of communism was not as prevalent or well taken by pleasure readers. In Cuba if you were not a supporter of Castro you were considered a spy, and this is where he got the idea. ProhÃas considered himself a spy and thus the idea was born. ProhÃas submitted his rough pencil concept and design sketches to MAD’s editors on normal 8.5 x 11 paper and would latter redraw the entire carton twice the size for reproduction in the magazine. He would go through the comic strip with pain staking detail and make sure all edges and lines were detailed in his dark bold pen and would almost never ink over his pencil drawings. Spy vs. Spy is now a national icon, symbolic of the Cold War representing good and evil and the struggle for equilibrium. ProhÃas would stealthily sign each of his Spy vs. Spy cartoons under the title panel, in Morse code, which spelled out the words "by prohias." This is one of the most overlooked details in his work. -••• -•-- •--• •-• --- •••• •• •- ••• Antonio ProhÃas passed away February 24, 1998. His masterpiece concept of the two spies battling it out lives on in the continuing work done by his successor Peter Kuper. This project is sponsored by the good folks at. http://www.thermaltake.com/home.aspx and http://www.evga.com/ Also brought to you by http://www.v1tech.com/ Specs: Case - Thermaltake Core X9 x 2 Motherboard - EVGA Z97 Classified (Gaming System), MSi Z87 Mpower (Server) CPU - Intel i5 4670K (Gaming), Intel G3258 (Server) Ram - 4 x 4Gb G.Skill Ripjaws (8Gb per system) PSU - 1 x 550w DPS G Modular PSU, 1 x 750w DPS G Modular PSU GPU - 2 x ASUS Strix GTX 970 SSD - 2 x 240 Gb Crucial M500 240Gb HDD - 4 x 500 Gb in Raid 0 CPU Block - Pacific W1 x 2 GPU Block - Pacific Strix Water block x 2 Radiator - Pacific RL 480 x 4 Pump - Pacific P1 D5 Pump /w Silent Kit x 3 Reservoir - Pacific T33 x 4 Cables - 2 sets of Red Tt Sleeved Cables LEDs - BSMods 5050 RGB LED 16.5ft Strip /w wireless remote. The whole idea is to put two complete systems in here all cooled with one large liquid cooling system. The first shipment of parts has arrived. 2 x Core X9 Cases, 2 x Commander FX 10 port fan hub, 1 x 550w DPS G Modular PSU and 1 x 750w DPS G Modular PSU. To give you an idea of the size of the double stacked X9. On the left of this pic is the chassis from a Thermaltake A-71 Full Tower. Each Core X9 is 1 inch taller and twice as wide. Here we have One intact X9 and one completely disassembled. The Core X9 has this built in plate that can be removed from the bottom panel so you can install a massive radiator in push/pull. However this is not going to work for what I have planned. For what I want to do the entire floor has to be cut out.
-
I picked up a Thermaltake Pacific R1 Plus Lighting Kit (no memory) and have no idea what to do with the DIP switches on the back of the included controller. The instructions simply state" Set the DIP switch on the backside of the controller to assign the number of the controller." Any assistance would be appreciated. Thank you.

-
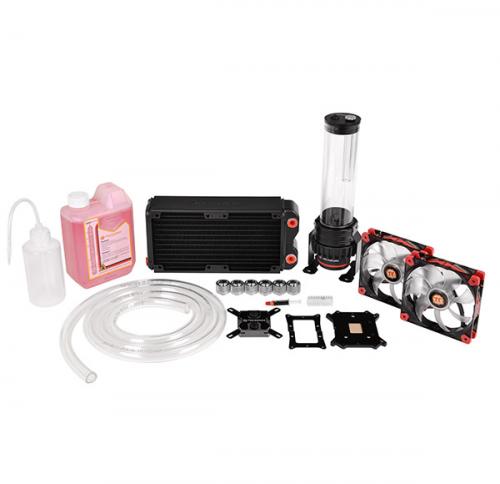
This week for #CES2015 we have announced the Pacific Series DIY LCS (Liquid Cooling System) Components. We have a TON of new stuff coming, this is just the start! Pacific RL240 DIY LCS Kit: (CES Exclusive Launch) Buy Now: http://www.newegg.com/Product/Product.aspx?Item=N82E16835106254 We will continue to update on the full line of Pacific Series DIY LCS Components as they become available! For more information on our Pacific Series Components including, CPU Block, Pump, Radiator and accessories visit our website: http://www.thermaltakeusa.com/cooler.aspx
- 13 replies
-
- 3
-

-
- DIY
- Watercooling
- (and 3 more)
-
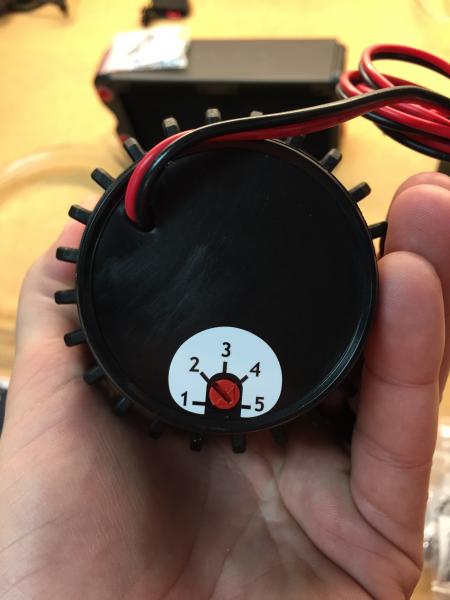
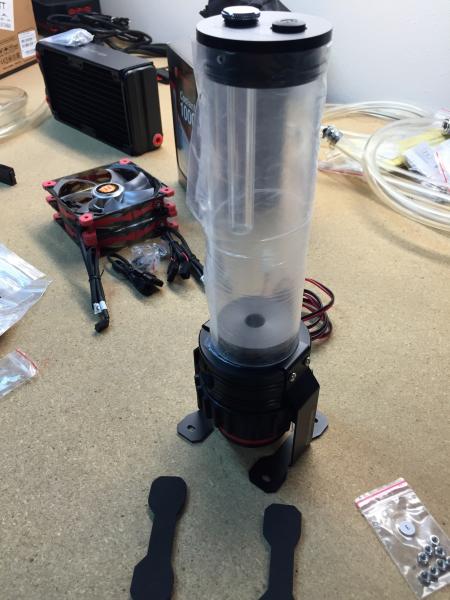
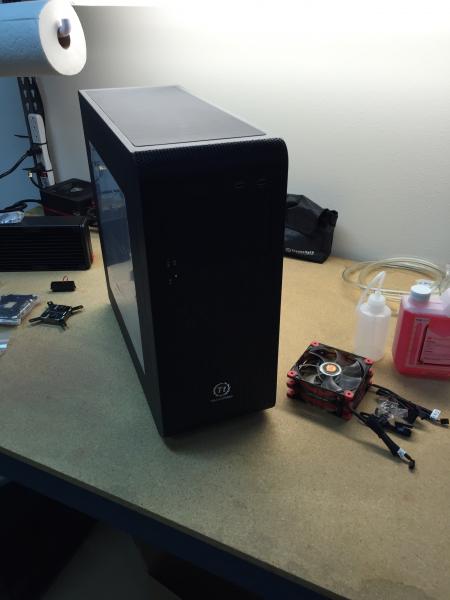
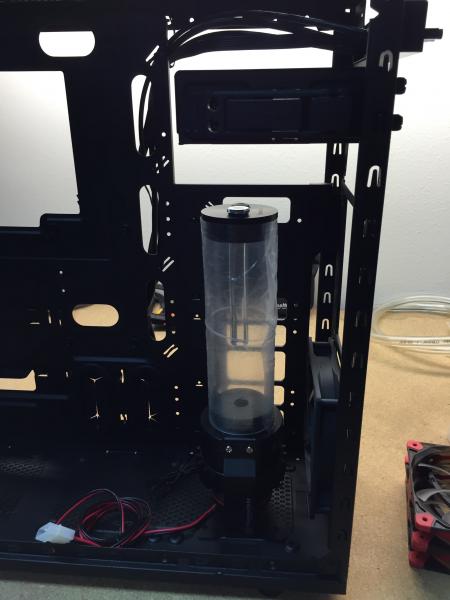
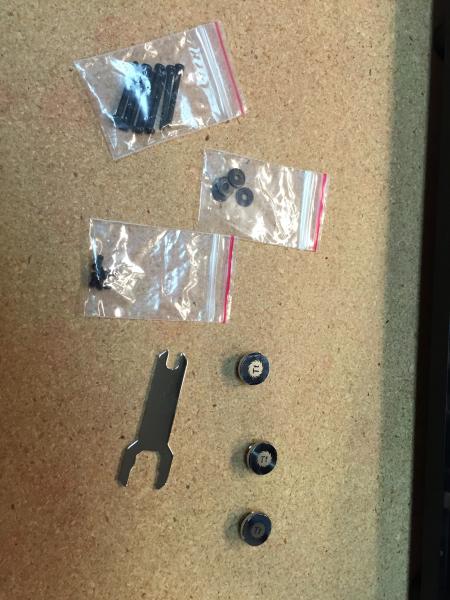
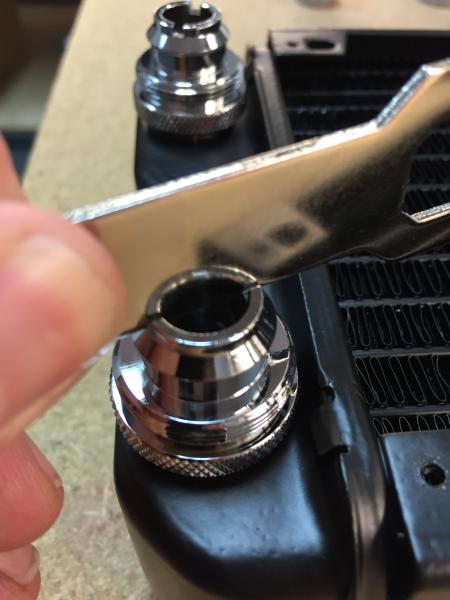
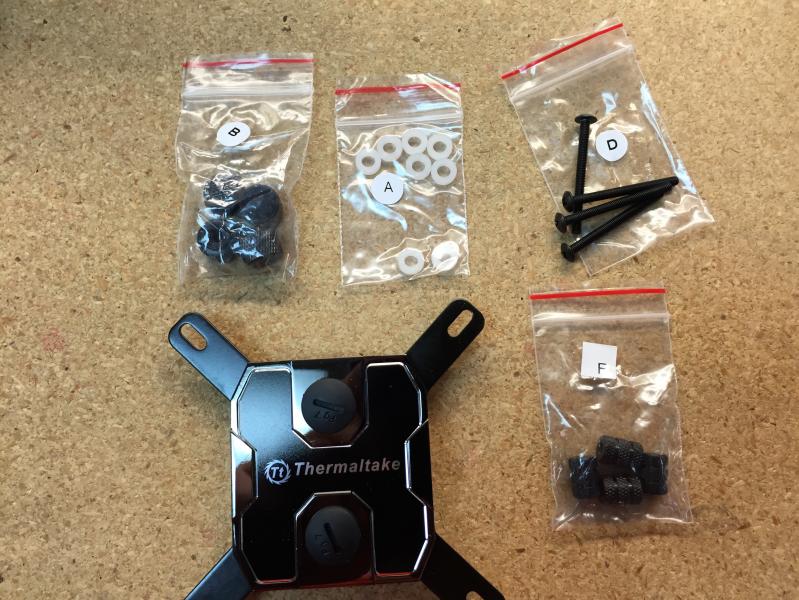
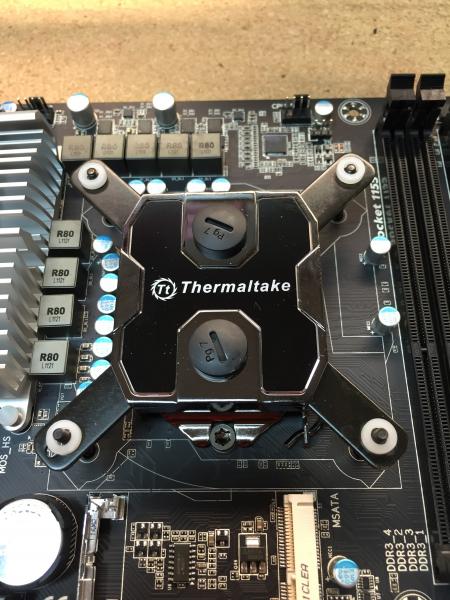
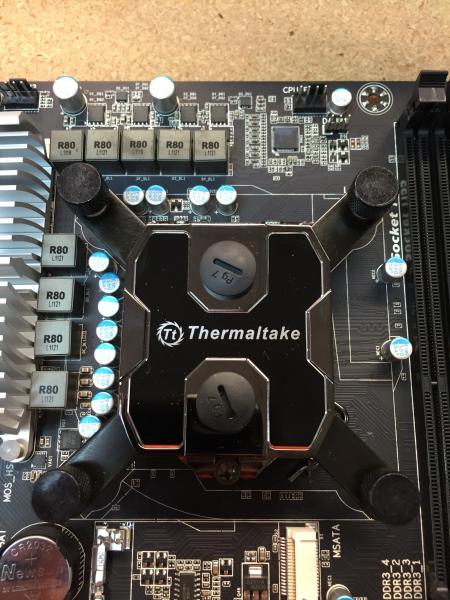
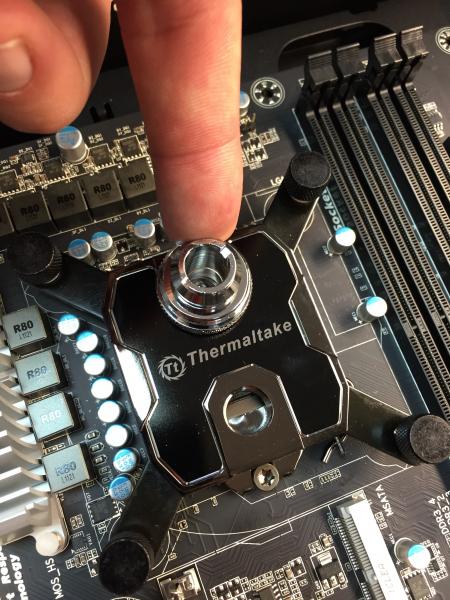
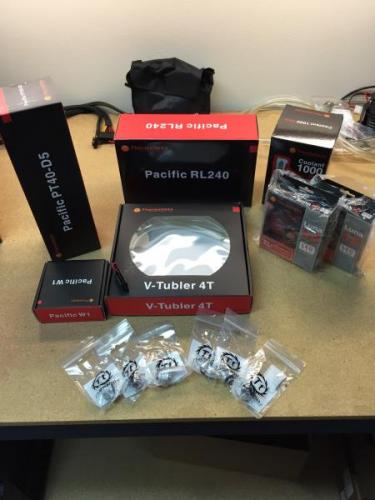
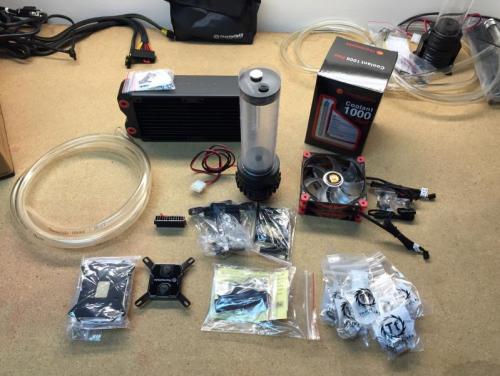
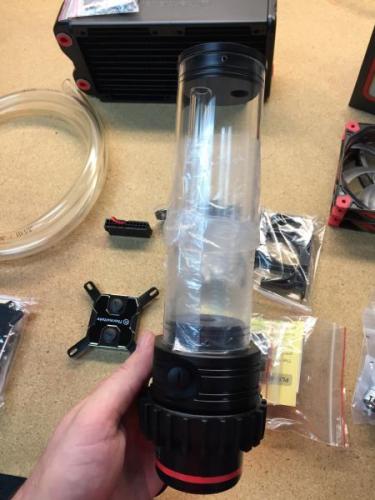
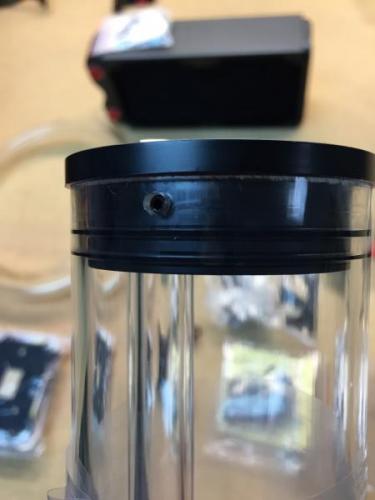
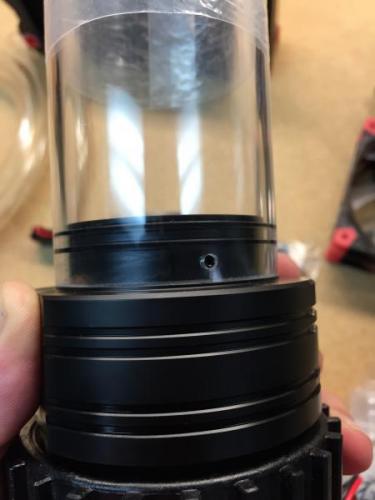
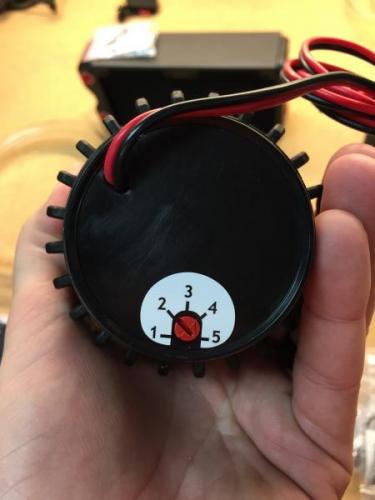
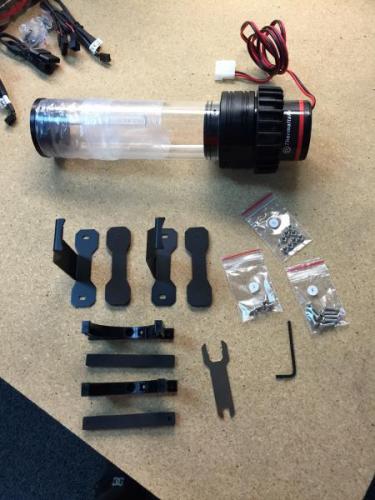
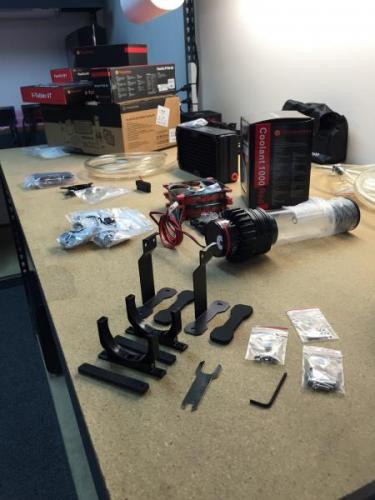
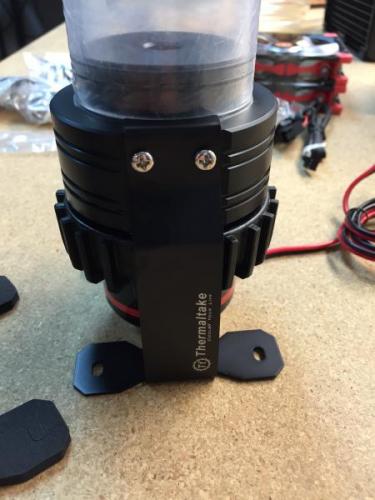
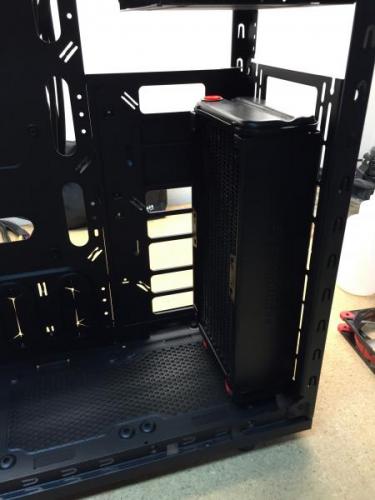
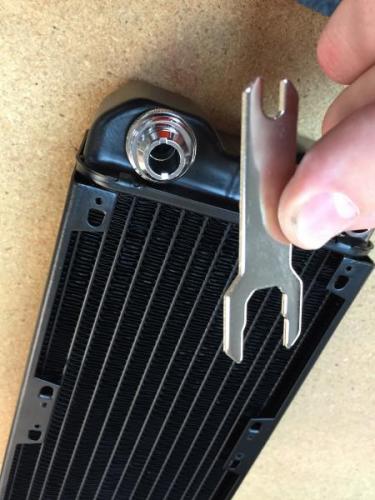
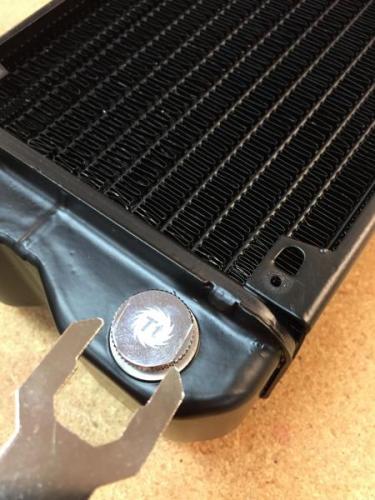
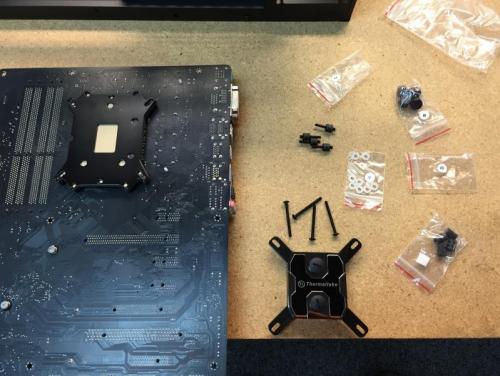
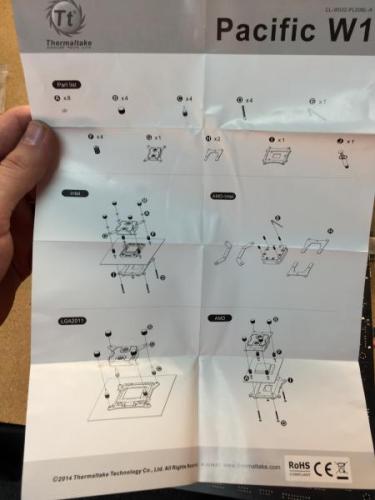
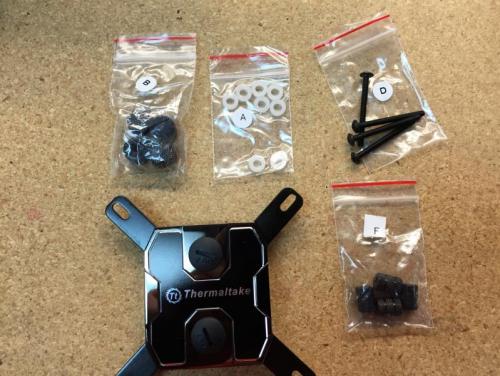
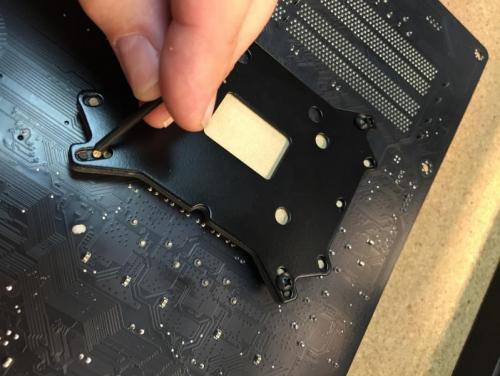
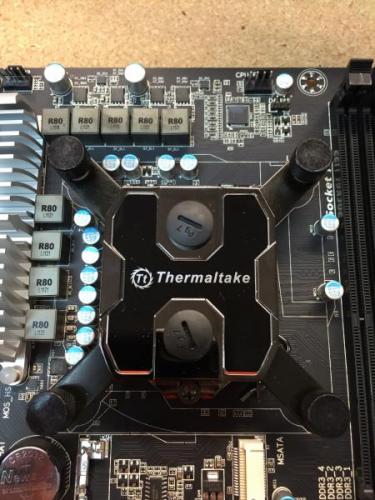
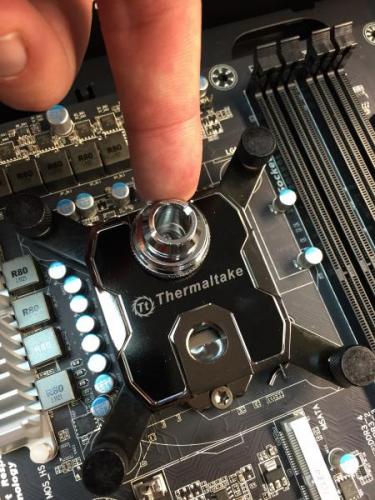
Hi everyone, With the release of our Pacific DIY components and Kits, I wanted to provide a guide focused on the RL240 kit and take you through the installation process to give users an idea of what you will get: RL240 Kit: What you get: - (1) RL240 Radiator 240x120x64mm - (1) PT40-D5 Reservoir + Pump Combo (Includes Hardware) - (1) W1 CPU Water block (Includes Hardware + Thermal Paste) - (1) 4T 1/2" Tubing (6.5ft) - (1) Coolant 1000ml (Red) + Filler Bottle - (6) 1/2" ID 3/4" OD Compression Fittings - (2) Luna 12 Red LED Fans - (1) 24-pin PSU Jumper Here is everything out of the box: Here is the PT40-D5 Reservoir + Pump: When you open the PT40-D5 packaging you will have all the accessories in bags including the mounting hardware. The brackets included allow you to mount the PT40 vertically or horizontally depending on the configuration you want to do. **VERY IMPORTANT** There are set screws on both ends of the reservoir that are to secure the Tube to both ends, these screw do not need to be tightened. Also take note, if you plan to clean your reservoir later, make sure to remove the set screws (Both sides Top/Bottom) prior to removing to avoid causing any stress to the tube when separating. Also take care of the O-rings on both sides to make sure they are in the correct place when putting back together. On the bottom you have the pump speed adjustment that should be set in the "2" position by default. I recommend leaving the speed adjustment alone until you have the system up and running to make any adjustments later. Turing the speed up is only needed when necessary, with the setting of "2" should be enough to support the default kit configuration. Here is all the included brackets and hardware for the PT40-D5 Since I am installing this in our Core V31, I plan to mount this vertically so I have installed the mounting brackets to the pump housing to secure into the chassis floor. Here is a quick look at the Core V31 that we will be installing the RL240 kit Getting ideas on how to place the PT40-D5. (Removed the HDD trays and the bottom ODD for clearance) Now for the (240mm) radiator placement and overview. First you need to remove the orange plastic plugs that came pre-installed. Give the radiator a quick look and make sure everything is ok. Here is the accessories that come included, you get mounting screws for the radiator and for the fans as well as (3) G1/4 port plugs and a wrench tool for easy installation. Before you go through installing everything on the radiator, check the location where you plan to place it and make sure it will work out with the entire system including the water loop to make sure all your fittings and tubing will have proper clearance and your tubing will have proper flow to avoid the tube from pinching around a tight space. It is also a good idea before installation of your radiator to fill the radiator with distilled water and give it a good shake to remove anything left over from the manufacturing process. Fee free to repeat this step as many times as you want until you are satisfied. You can setup the porting anyway you like, for this example I will use the (2) bottom ports on one side for my IN & Out and plug the other (2) bottom ports on the other side with the last plug for the top. Note: Do not tighten the top plug port just yet, you may need to use it for a breather port when filling The wrench is a great tool to use for tightening the ports on your components as the fittings have "slots" on the top so you can use the wrench to tighten and avoid scratching the component or fitting using a standard pair of pliers. The wrench also is designed to help secure the plug ports nicely. Remember, DO NOT over tighten, you will just damage the O-Rings if you gorilla grip the fittings into place. A snug fit is fine. Now we take a look at the W1 CPU block to prepare it for installation to the motherboard. You will get a simple installation guide showing how to install for Intel or AMD type CPU's. Take note of the accessories labeled for each Intel/AMD. Now install the back plate to your motherboard and punch out the foam holes for your CPU Socket type to install the mounting screws to. Once the back plate is installed and the mounting screws are through the motherboard, secure the CPU in place and apply thermal paste. Then seat the W1 CPU block onto your CPU first and make sure everything lines up correctly. When ready set the (4) plastic washers after placing the CPU block. Then install the (4) screw caps and tighten them in the "X" pattern to apply appropriate pressure evenly as you secure the block. These only need to be hand tight and you should be able to tell when each one is secure very easily. Now you can install the fittings on both ports, don't forget to use your wrench!


- 22 replies
-
- 2
-
-
- Watercooling
- RL240
- (and 4 more)
-
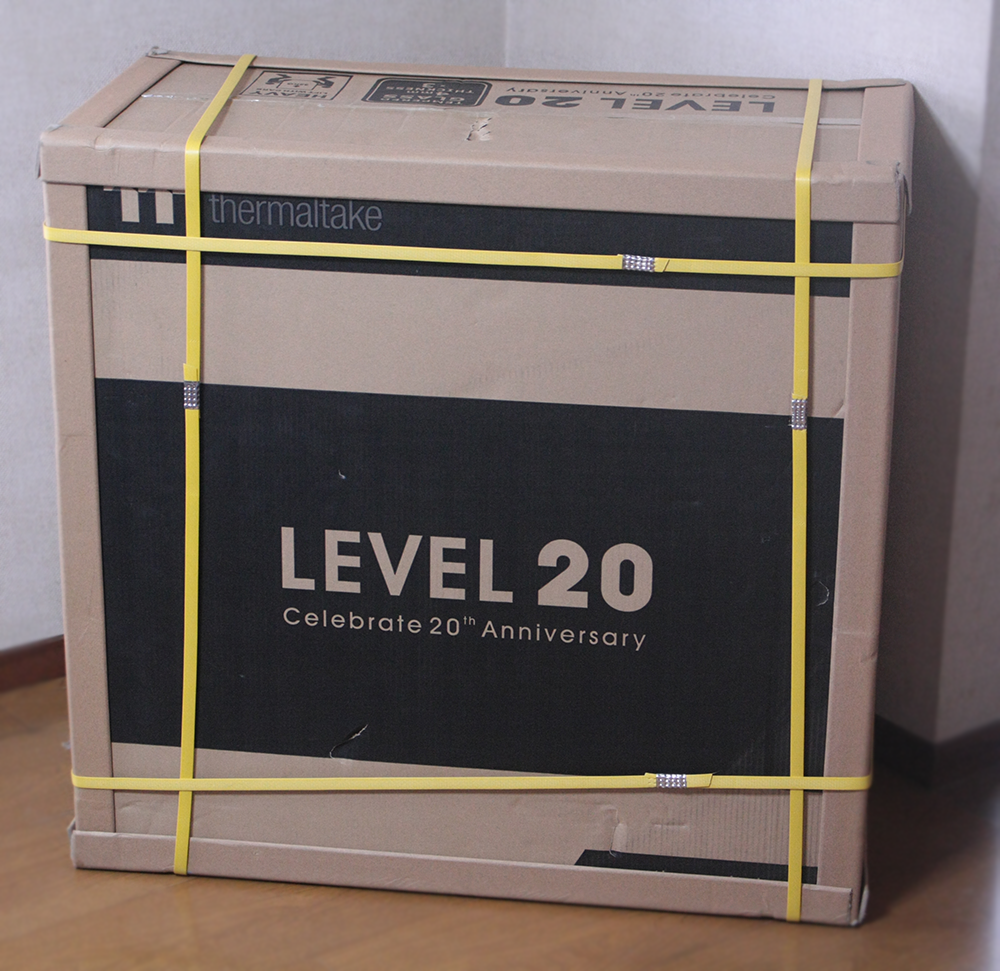
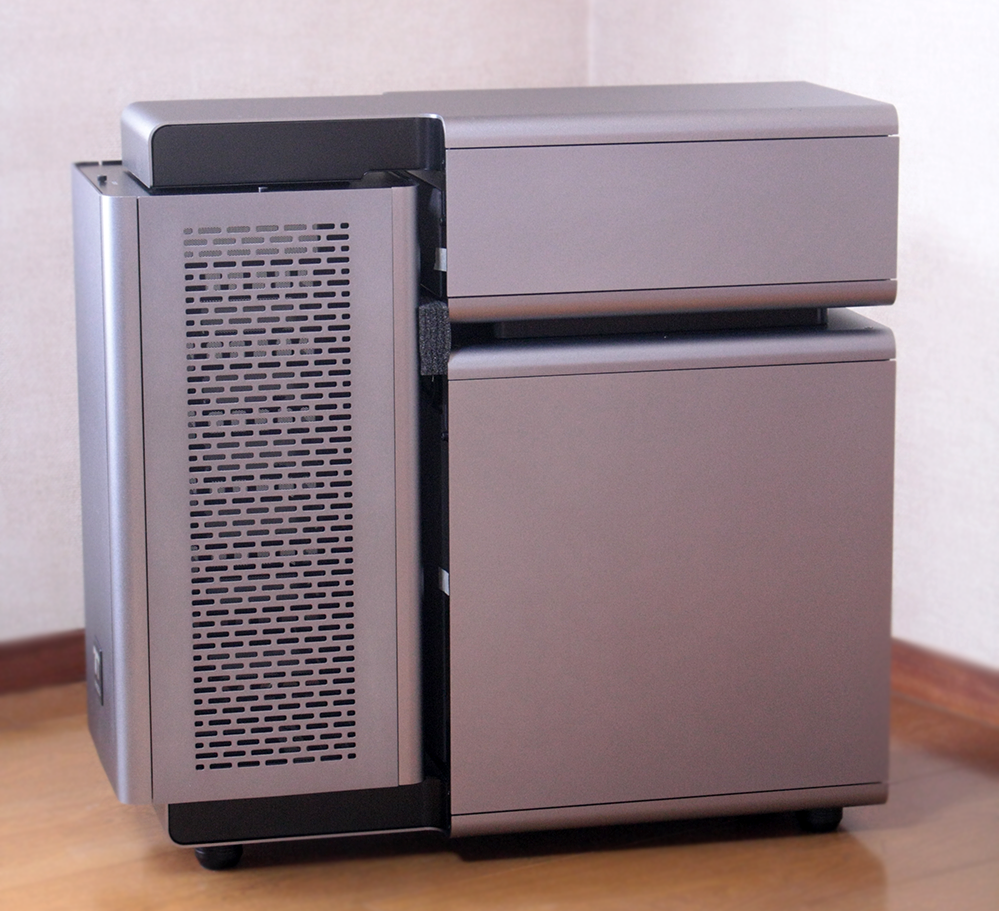
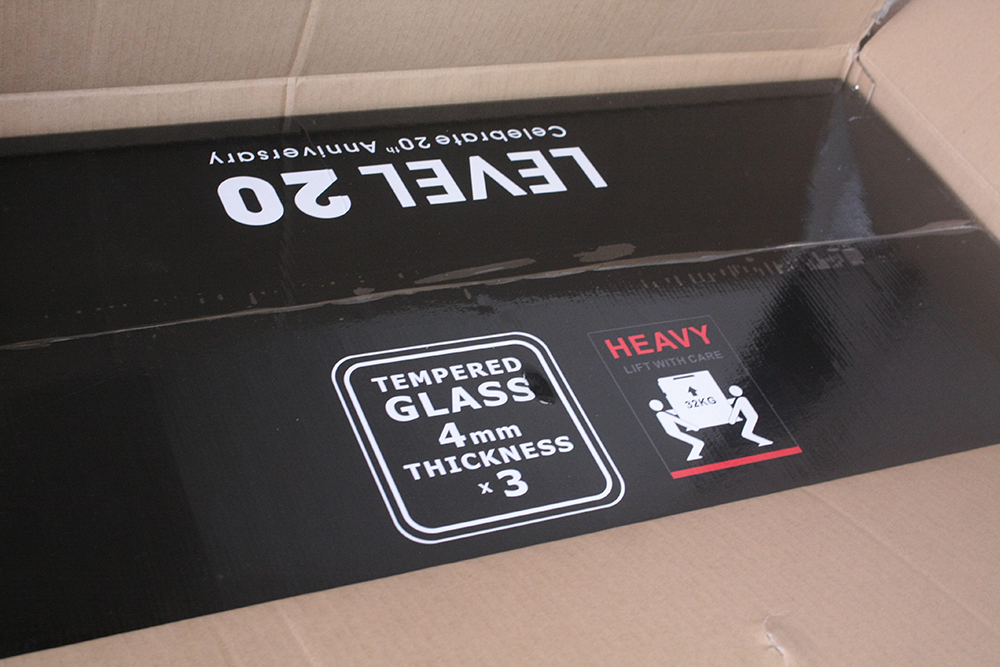
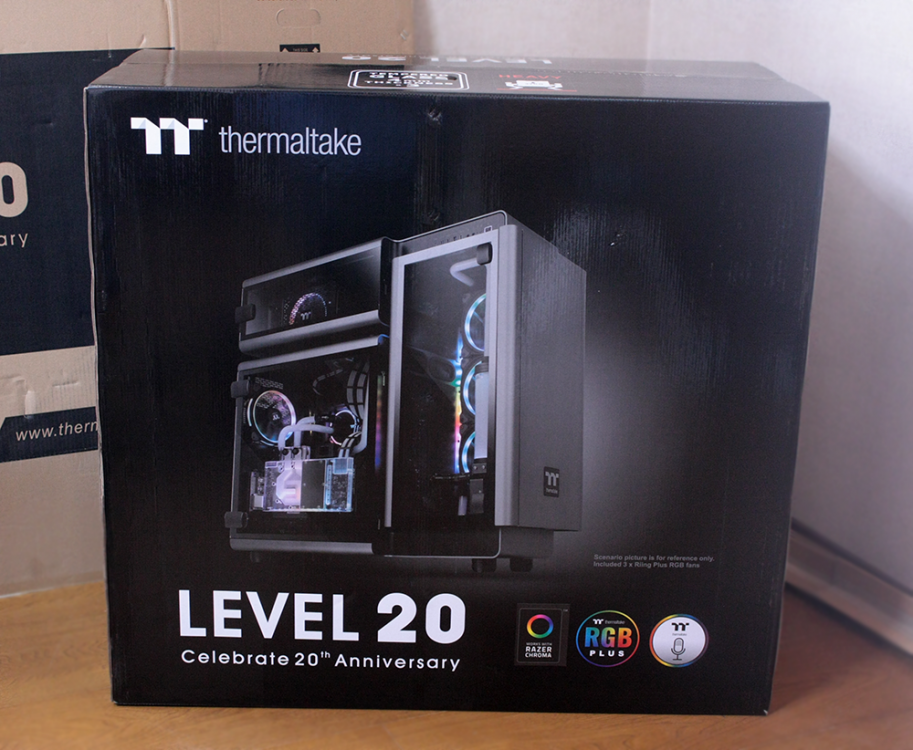
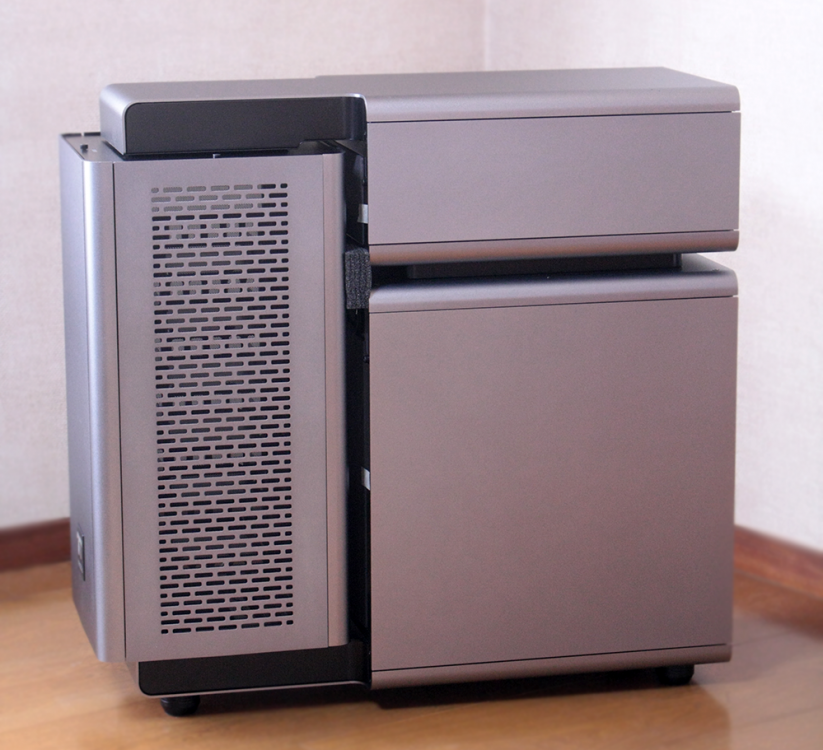
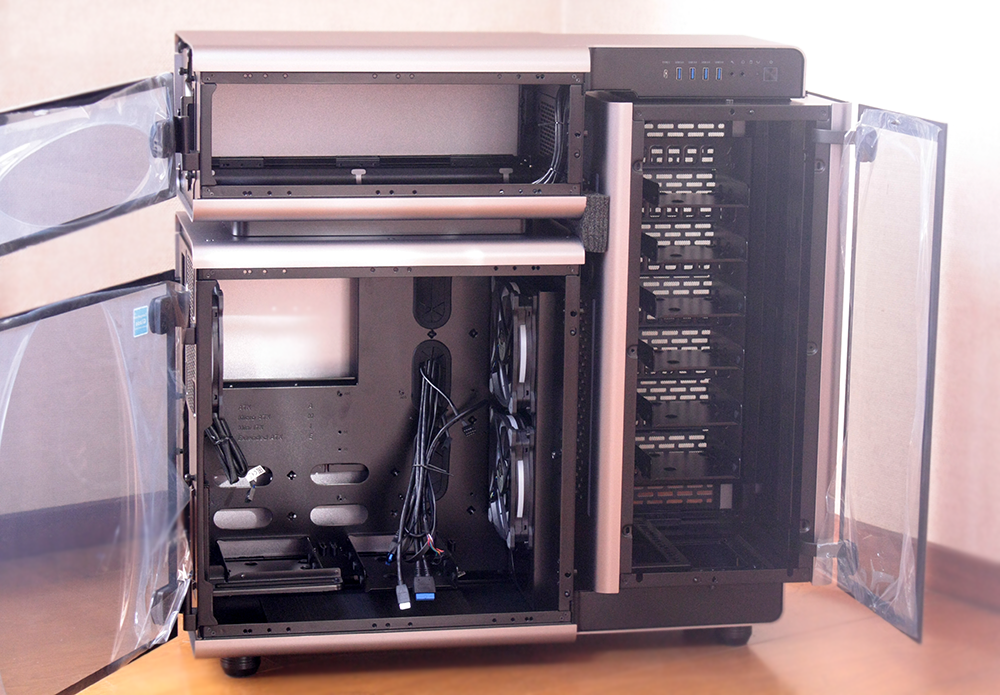
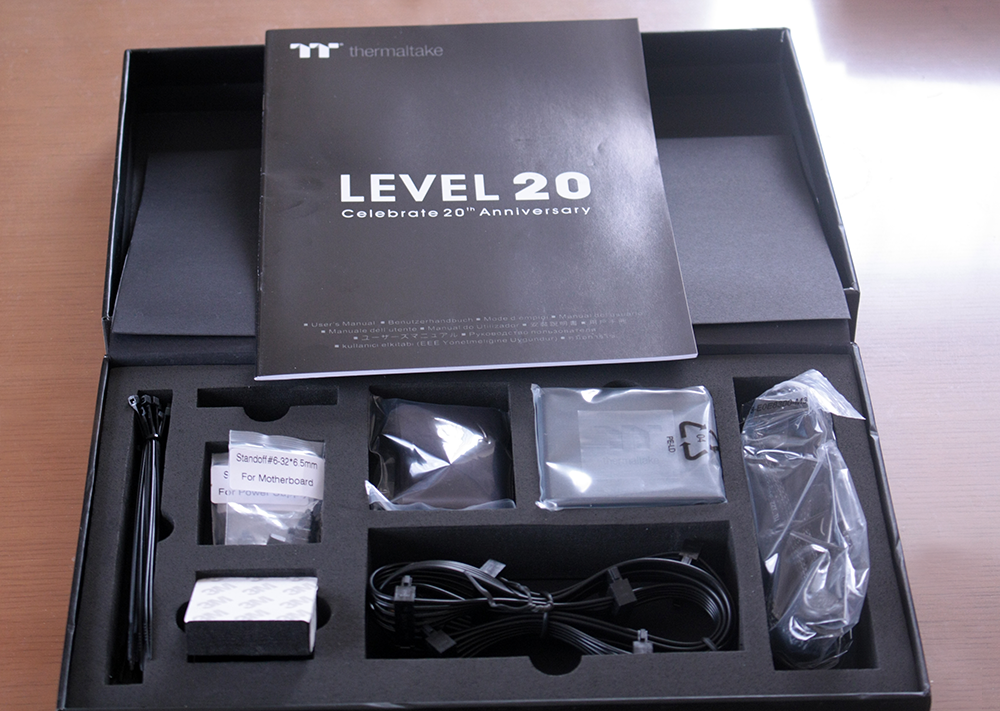
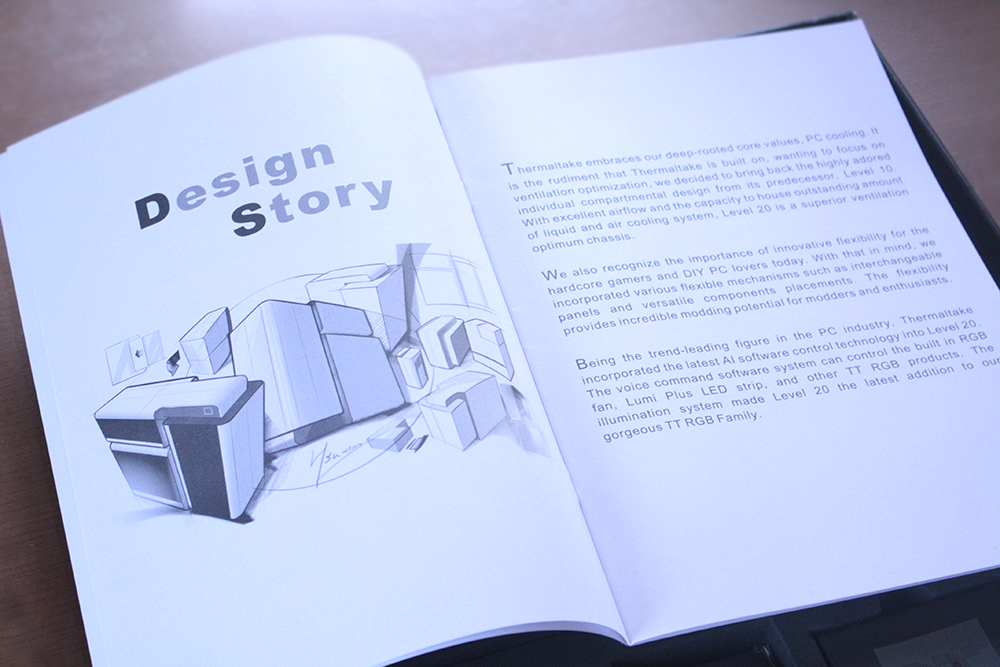
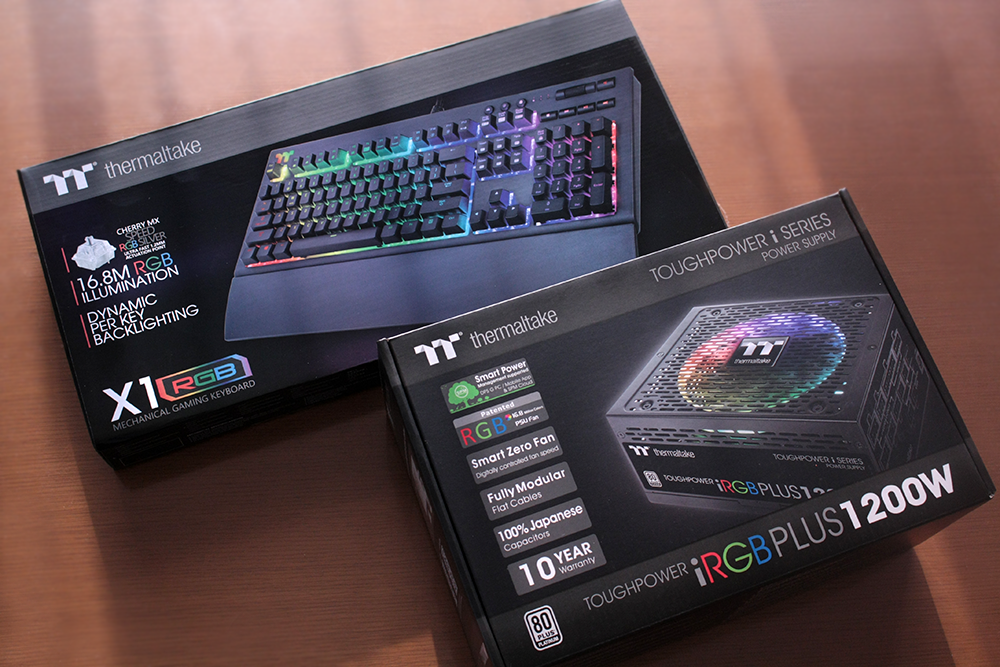
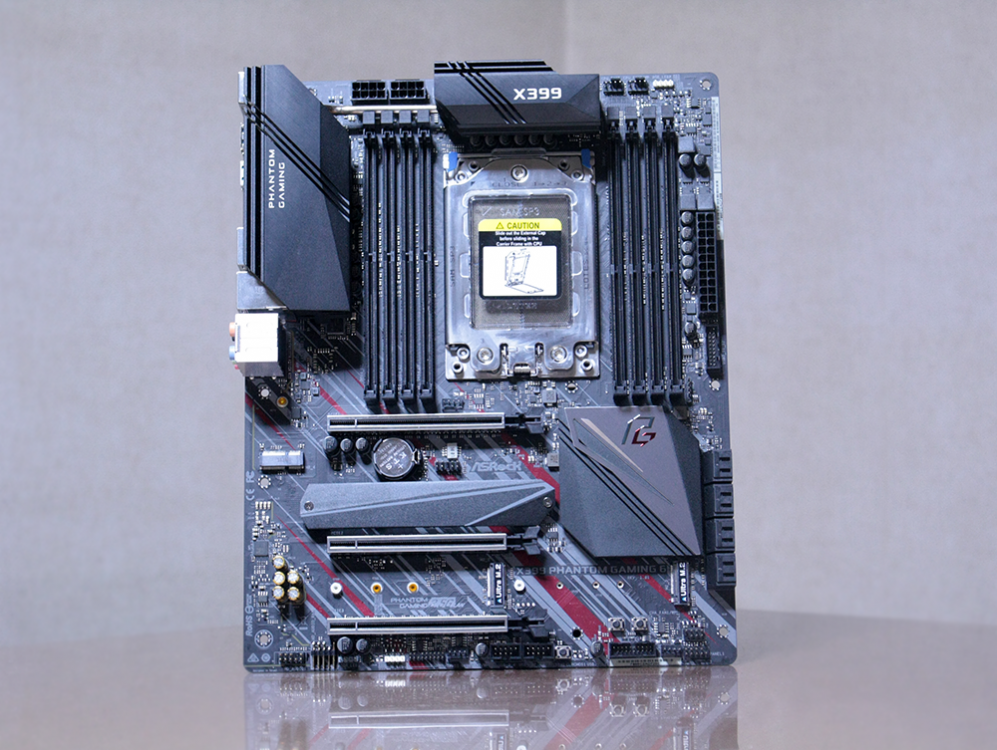
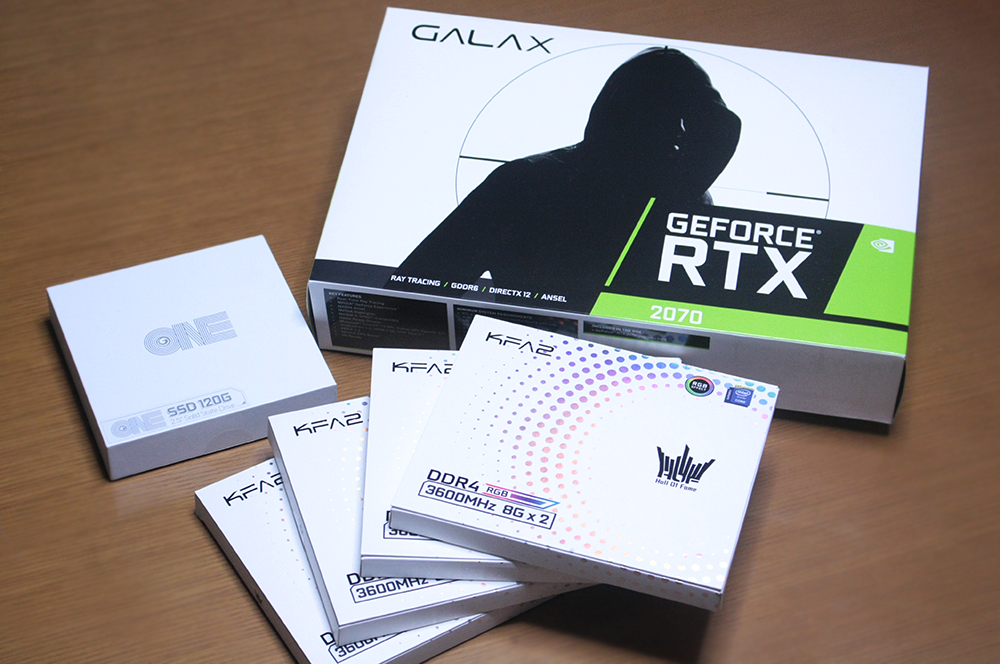
Hello all, This is my first post here. I'm still new here and inexperienced but I will do my best. and Huge thanks to Thermaltake! This mod theme is "Metro Exodus". also the system is as follows: // Spec Thermaltake LEVEL 20 Thermaltake Toughpower iRGB PLUS 1200W Platinum AMD Ryzen Threadripper 2950X ASRock X399 Phantom Gaming 6 GALAX RTX 2070 EXOC White GALAX DDR4-3600 16G(8G*2)HOF II *4 64G GALAX ONE SSD 120G //WaterCooling all Thermaltake Thanks to amazing Sponsors


-
Hey all, I'm wanting to build my first custom WC loop and this seems like a great time to buy since the sale is going on. I have a few questions questions however as I look at what I want to get..... I'm thinking of going soft tubes since it seems a little easier and cheaper for beginners. I really want the new RGB waterblock thermaltake sells but its not included in any of the kits so if I were to buy all the pieces separately I'm looking at: P22-D5 Reservoir/Pump RGB Waterblock Pacific RL240 radiator (I felt like I don't "really" need a 360) Riing Fan 3 pack (I like the newest ones but they're not available right "now" in the store) Coolant V-tubler 4T Fittings This comes out to about $470 in Thermaltake's store, where as their Pacific RL360 kit (which is all the same things except an RL360 and a non rgb waterblock) is $409. I'd obviously save a good bit of money by going with the kit, but lose the ability to customize a few parts. Am I missing something or is there a discount built in for buying the kit? Another question I had is the pumps/reservoirs. What does the "-D5" pump do that the others do not? There is about a $60 premium on those. Also how big of a reservoir do I really need? Really appreciate any advice here, thank you so much!
-
Starting a P5 reference area. Join the club! Load pics! Suggest Ideas! I'm ordering all my components at once and waiting to hear about the http://www.thermaltake.com/Liquid_Cooler/Liquid_Cooler_/Water_Blocks/C_00002766/Pacific_V_GTX_980_Ti_Reference_Design_Transparent/design.htm Availability. Im going with an and a Intel® Core™ i7-5960X Processor Extreme Edition (20M Cache, up to 3.50 GHz) AND A
-
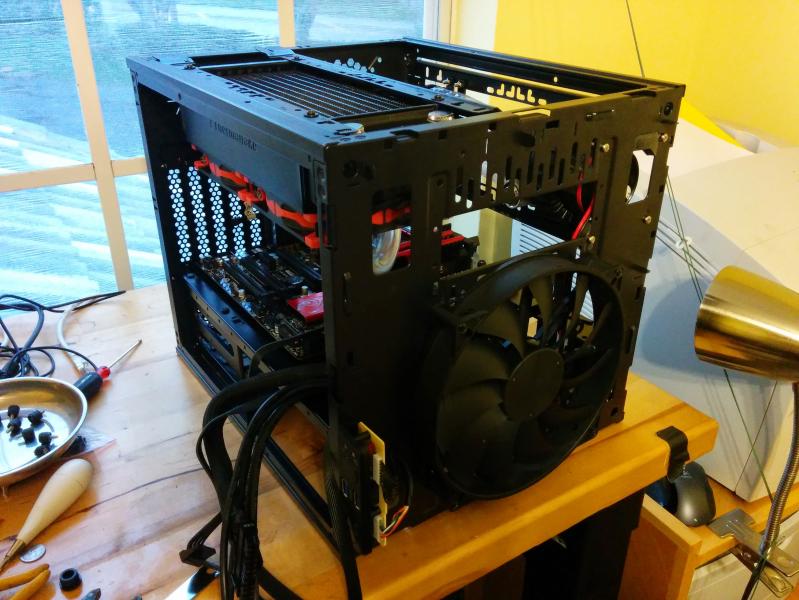
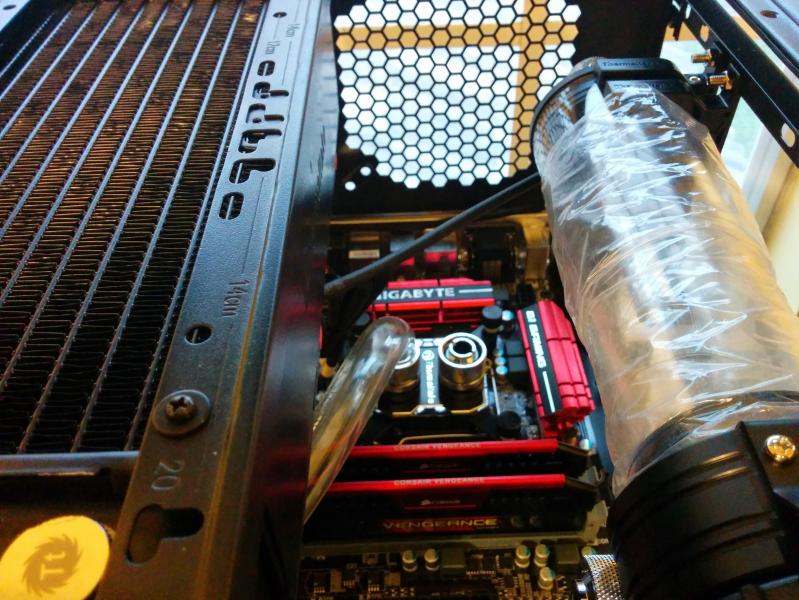
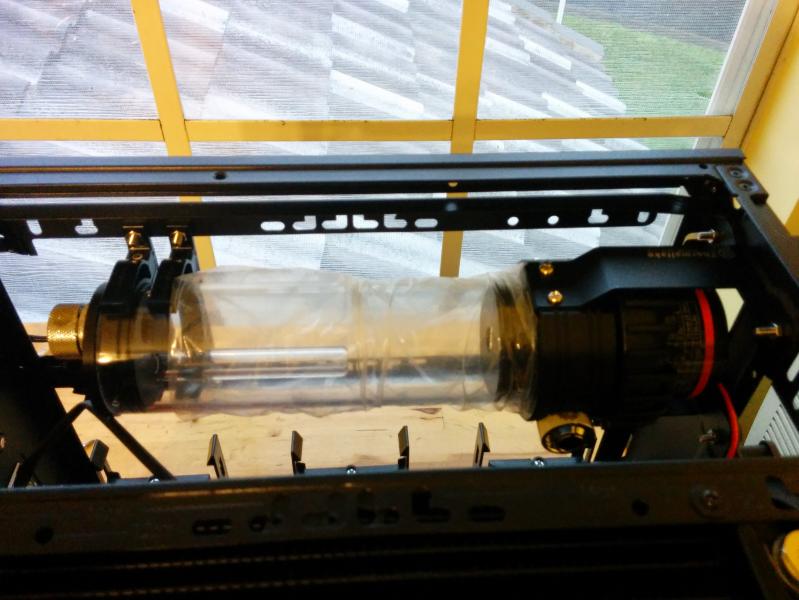
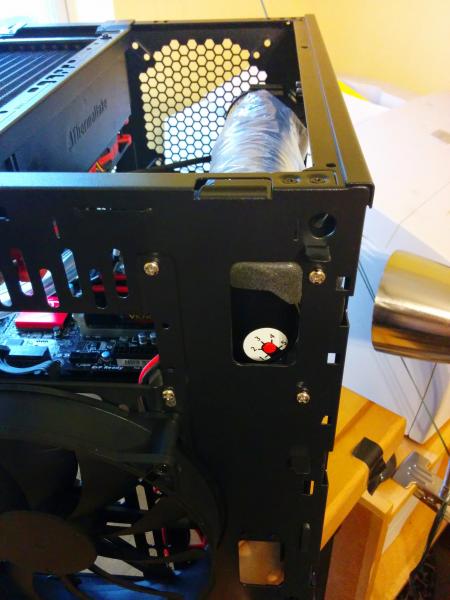
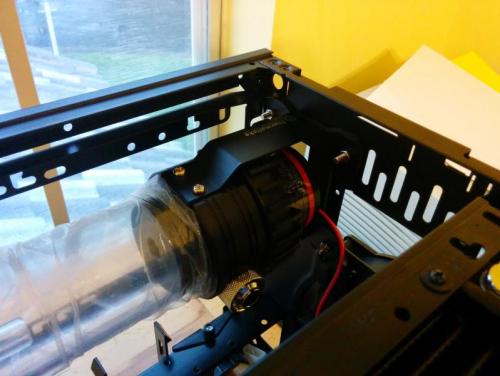
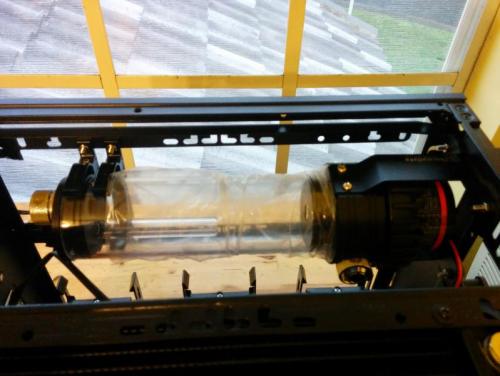
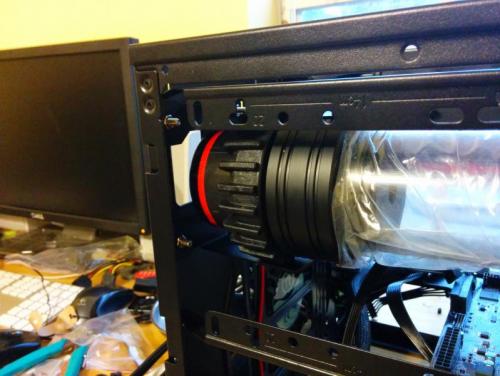
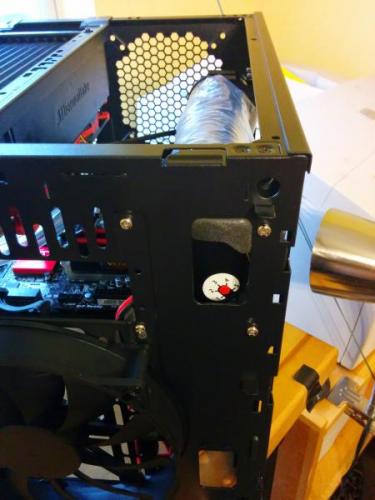
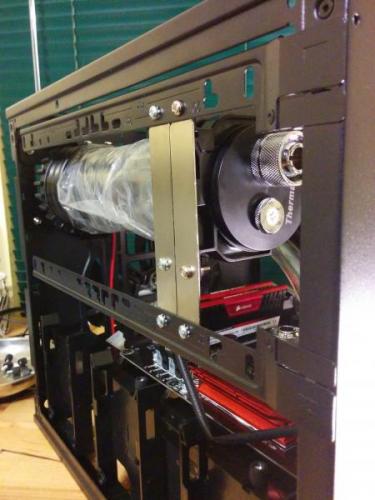
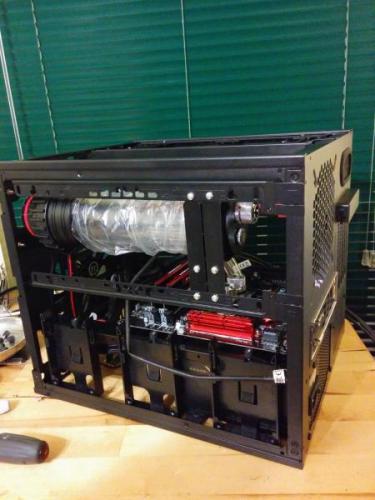
I started to build a system featuring the RL-240 Water Cooling Kit and the amazing Core V21 case. For a while I had a problem figuring out just where and how to mount the large pump/reservoir. I did a bit of custom mounting... easy... just a few holes... so I've decided to share the build up to this point. I have a few 90 Degree fittings on order to make my life a bit easier... Note: You can even adjust the pump speed easily as the adjustment dial is exposed thru a cutout in the front (already available). The mount for the far end of the reservoir is made from 2 old expansion slot covers. Edit: Now Painted Black.


- 8 replies
-
- 2
-
-
- pacific
- thermaltake
- (and 5 more)
-
Thermaltake Pacific Series DIY LCS Now available @Newegg
ThermalMike posted a topic in Liquid Cooler
Hey Everyone! The Pacific Series DIY LCS Components are now available @Newegg! Newegg - http://goo.gl/RYG0cJ You can also search Newegg's NEW Category "DIY Cooling" to easily find Thermaltake as the Primary NEW DIY supplier! Built-to-Order your very own DIY Liquid Cooling System Today! Pacific P1 (D5) Pump - http://goo.gl/Deif3y Pacific Radiators - http://goo.gl/LnkDZz Pacific PT40 Pump + Reservoirs- http://goo.gl/uOQRvR Pacific W1 Waterblock Intel/AMD - http://goo.gl/vLfYk5 Coolant - http://goo.gl/m2dPth Tube - http://goo.gl/lh2jgS Fittings (Compression, Bard, Fill, Plugs, Extensions) Colors: Chrome or Black http://goo.gl/HhoMDQ We want your feedback and your questions! Feel free to contact anyone from Thermaltake for assistance.- 5 replies
-
- 1
-
-
- Pacific
- Thermaltake
- (and 5 more)