Search the Community
Showing results for tags 'gaming pc'.
Found 2 results
-
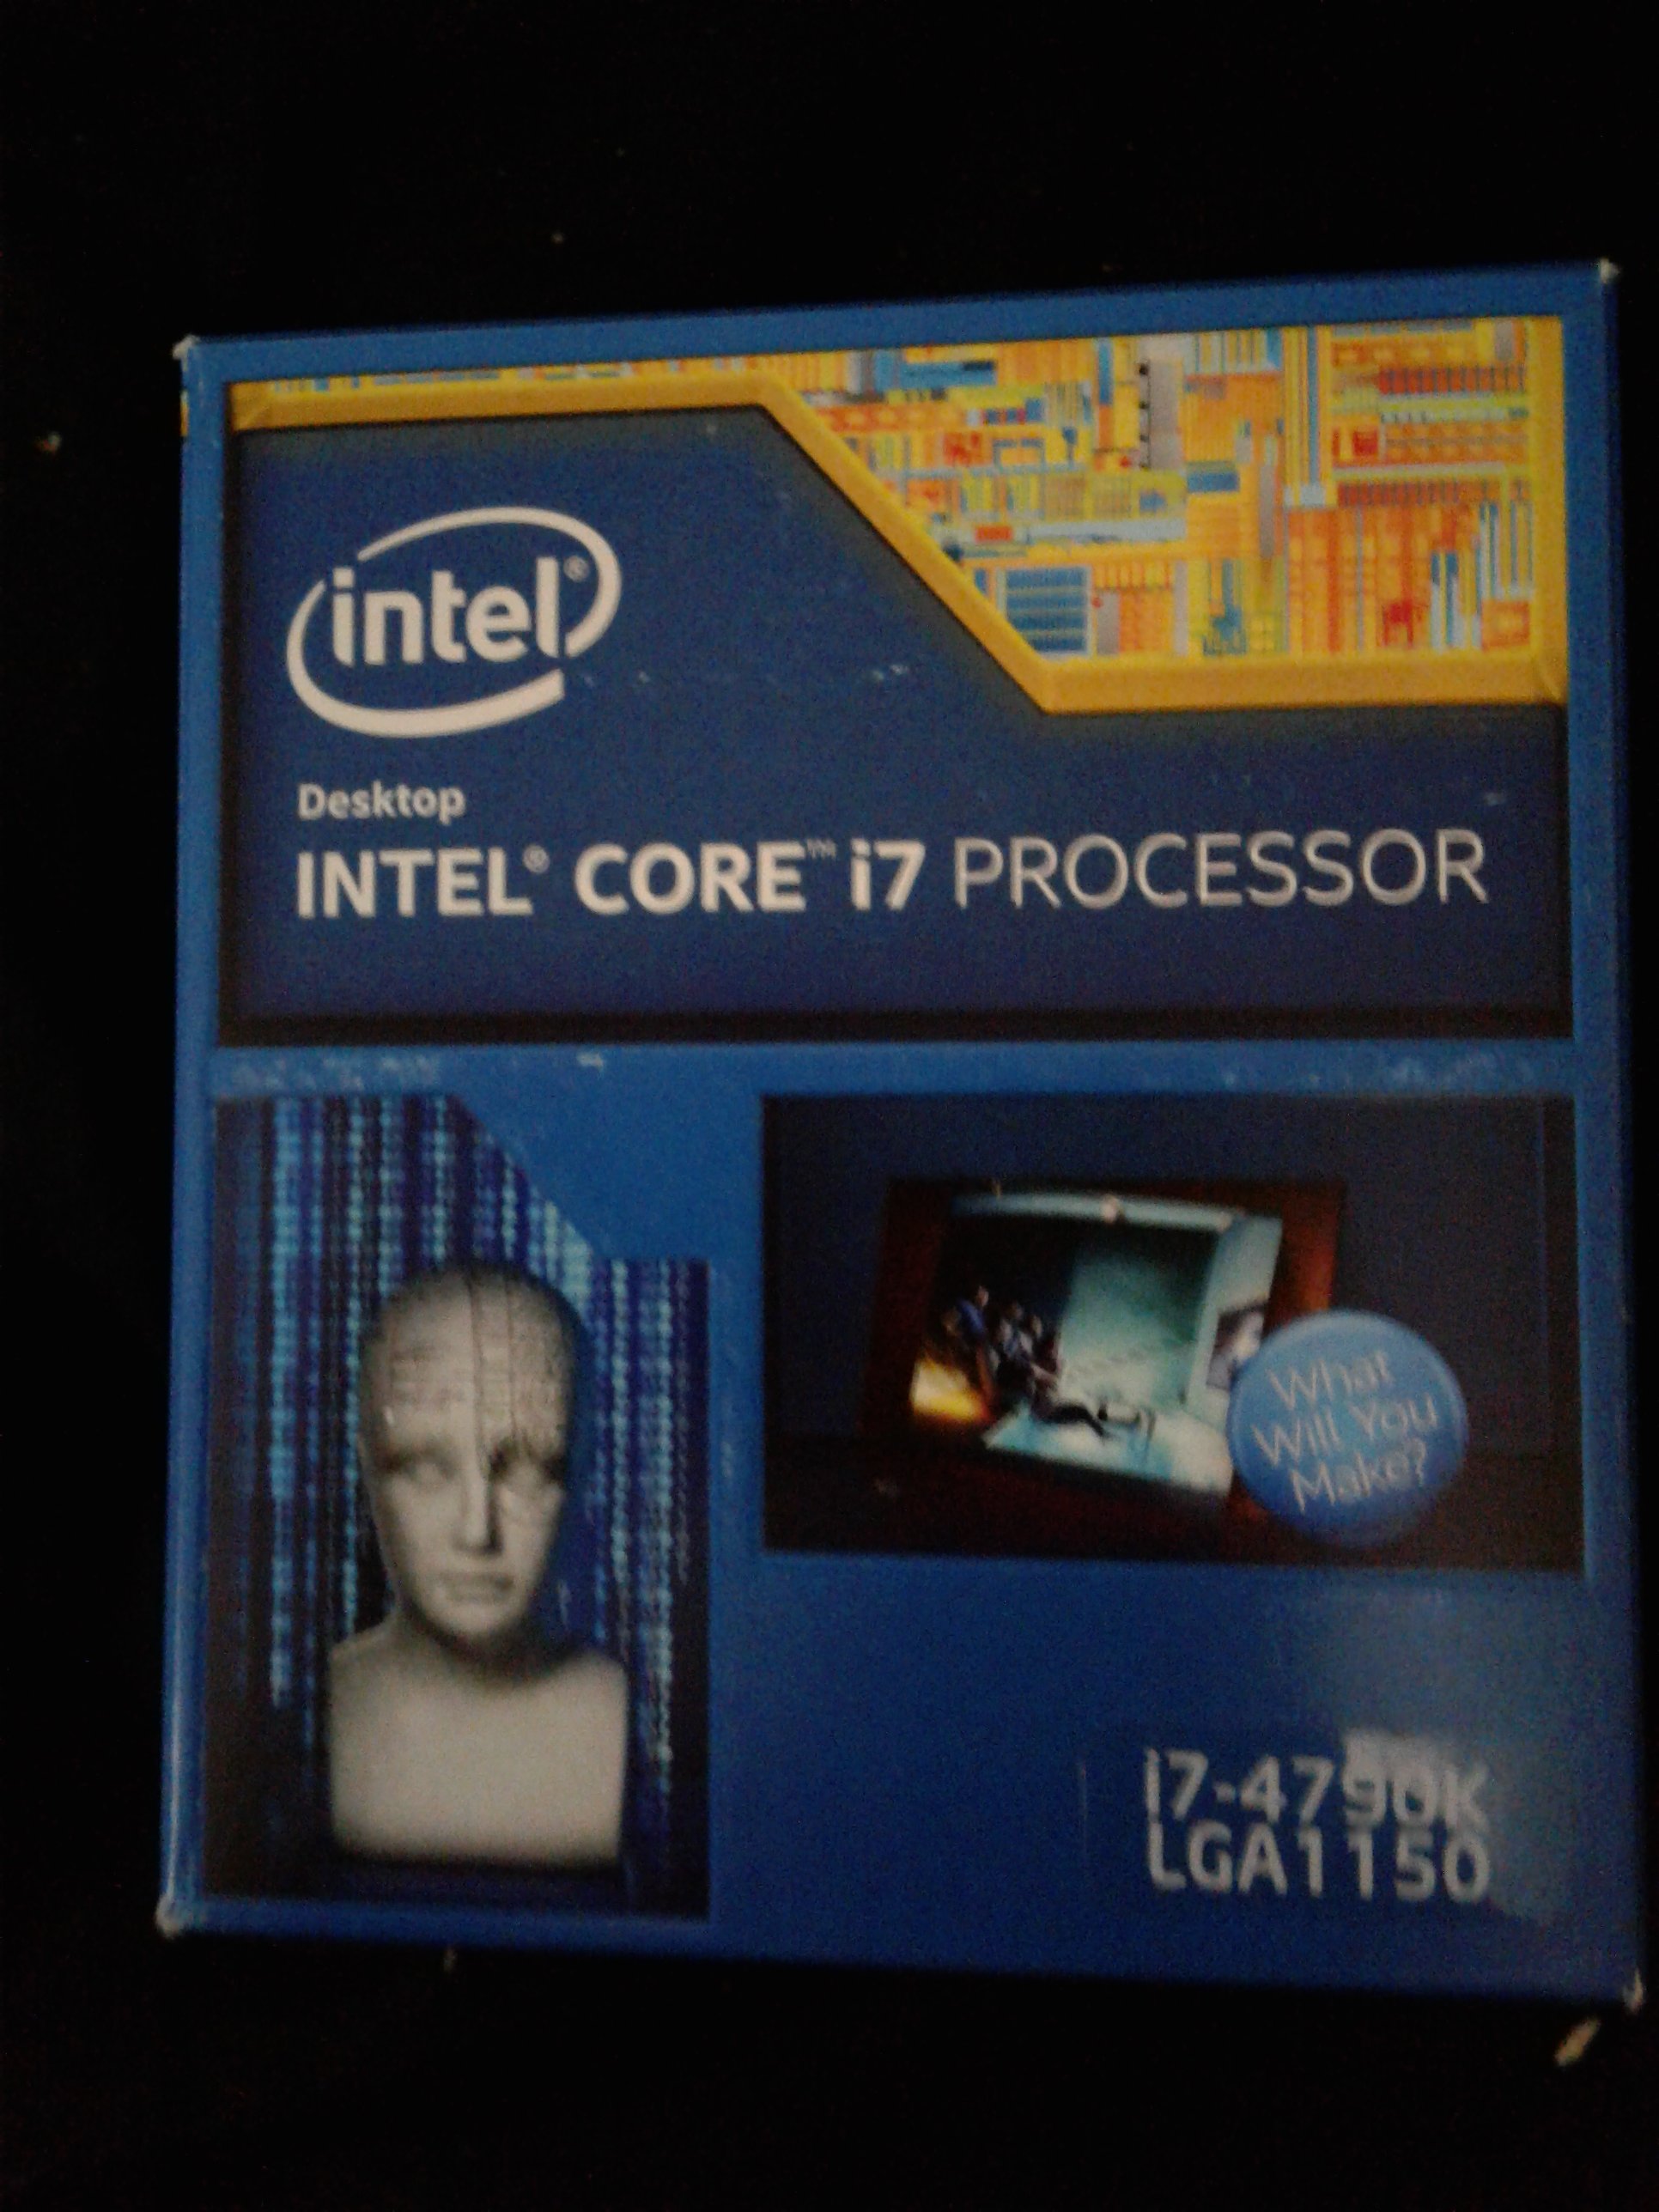
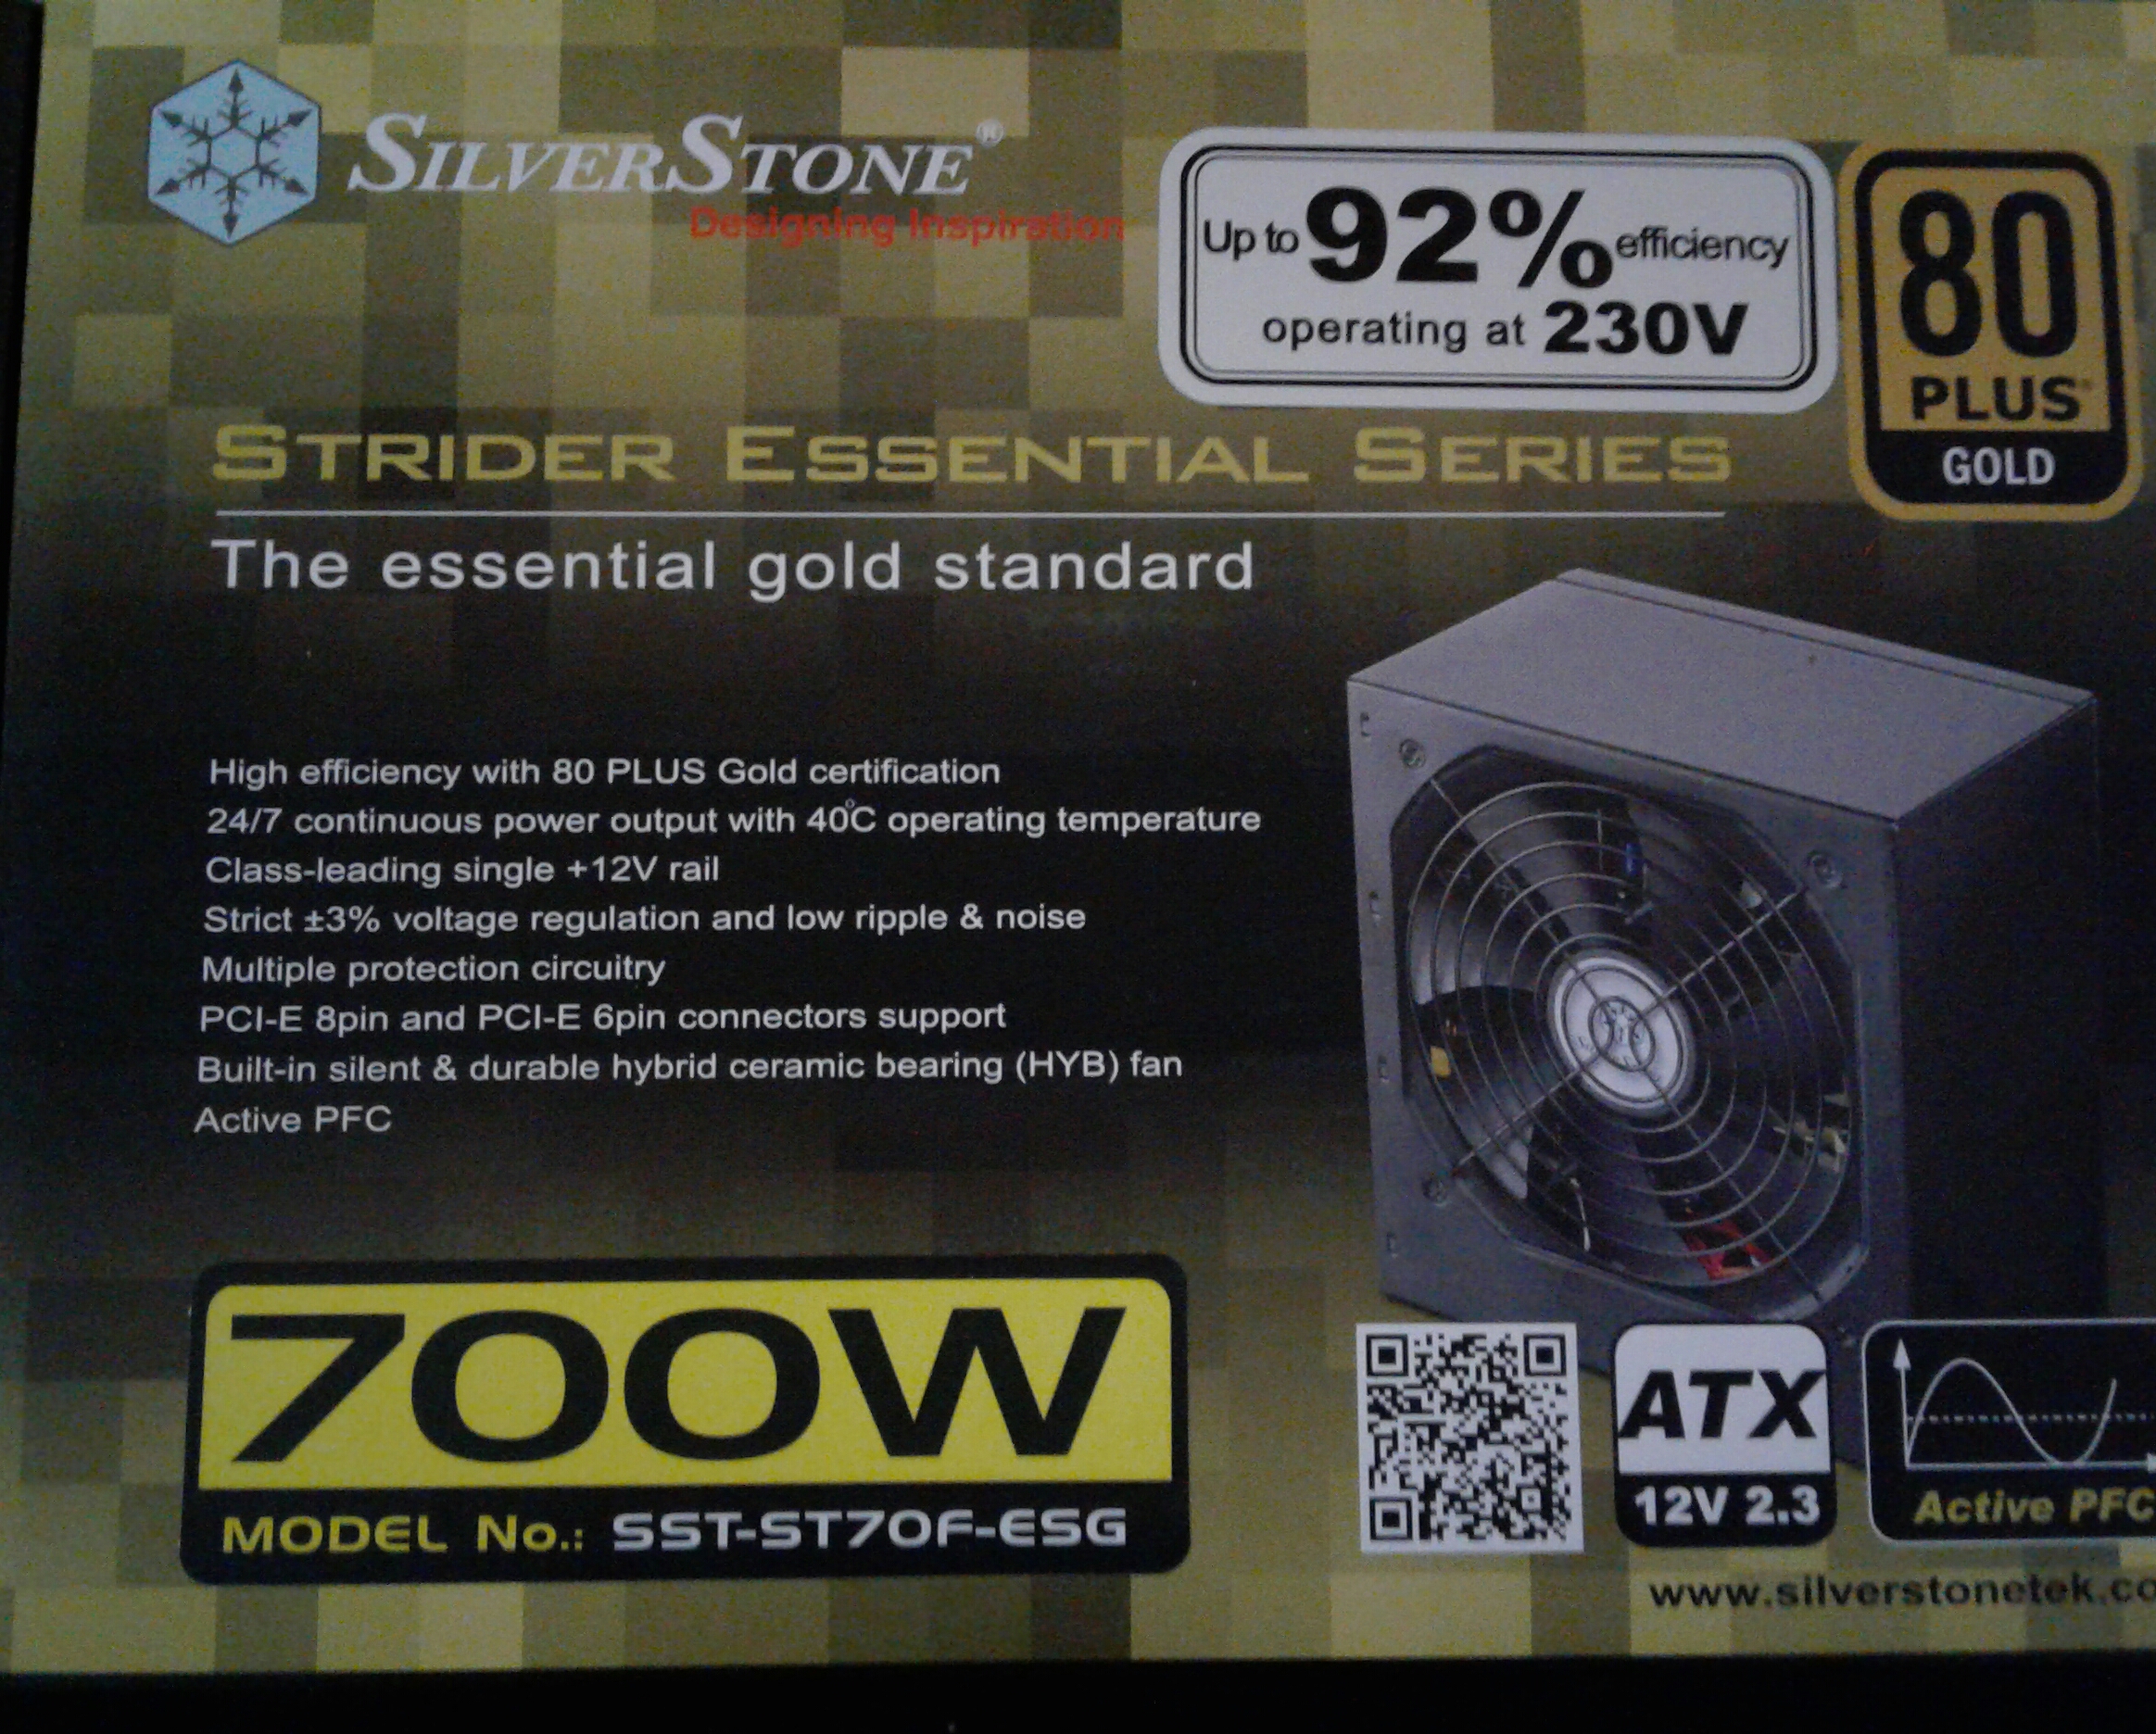
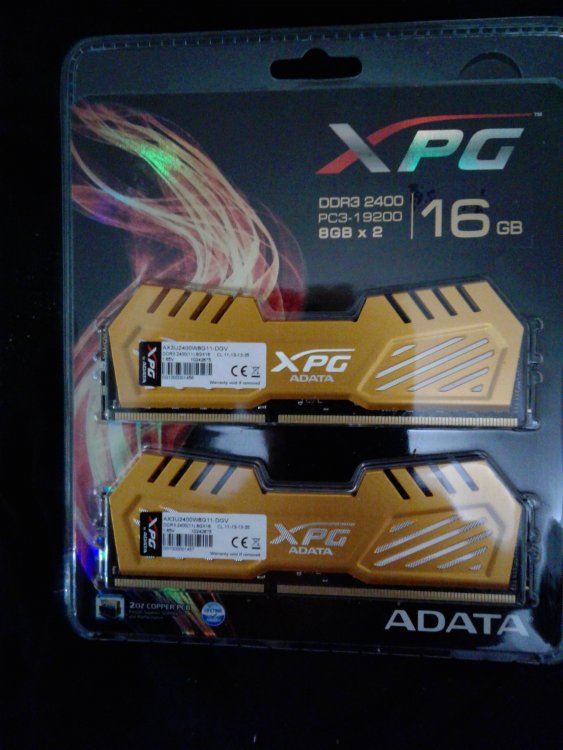
First of all, my name is Edwin. I have only purchased 1 computer in my life and the rest after that were home builds, my home builds. Only I knew exactly what I needed and how to get it, and that was to build my own. Never realized there was a market for this sort of thing until recently, so, here I am with my present build using a Core V71 case. The list of individual parts I plan to use is as follows; Thermaltake Core V71 case MSI Z97 Gamer 5 motherboard Intel i7 4790k Devils Canyon quad core 8 thread CPU ADATA 16Gbs (2 x 8Gbs) DDR3 2400 RAM Geforce GTX 970 video card (x2) Custom cooling loop utilizing cooling blocks, fittings, tubing and coolant from EK and other manufacturers(to be completely listed as used) Silverstone SST-ST70F-ESG 700W PSU RGB lighting (haven't made a decision yet, but will list later when used). I have nothing better to do with my time but to make my life easier and the pursuit of entertainment, in this case, gaming. I am a disabled-vet and I can't explain the enjoyment and happiness I experience when I complete a build for someone seeking my assistance and knowledge to get them exactly what they need. This build, however, is mine, all mine! The parts have started to arrive....


-
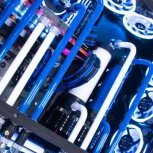 WATERCOOLED PC DESK MOD WITH CAR SOUND SYSTEM Hey guys, Below are links to all of my Pages. Most YouTube footage will not be up until the desk mod is complete so please stay tuned. Visit my Facebook page for more pictures at higher quality. Facebook: https://www.facebook.com/Imfacerollgaming Email: ImfacerollGaming@gmail.com YouTube: https://www.youtube.com/user/ImfacerollPCGaming I would first like to start off by saying this build cost me a total of $22000 AUD and took around 6 months to build. I have chosen to include an inbuilt car audio system to do something different and save some space. This is my very first build and two weeks prior to building this i had no idea how to put a computer together or even what parts to buy, it took me a solid week of studying up on computers so that i was confident enough to attempt this build, so please enjoy. Please forgive me for image quality. I was researching the internet one night for a new computer because my laptop just wasn't up to scratch anymore and it couldn't even run battlefield. I knew nothing about computers however i was interested in trying to put together a build. Luckily my mate knew about computers and he helped me put together a neat build. Components include: Windows 8.1, 4770k i7 processor, Asrock extreme 4 motherboard, 850watt cool master PSU, 16gb Rip jaws RAM, Nvidia GTX 780 GPU, 2tb Western Digital HDD and a 120gb Samsung SSD. Putting this build together got me more interested in computers so i decided to look up other builds on the net and came across some awesome computer mods, one that caught my eye was a computer within a desk, I WANTED TO MAKE MY OWN. Starting in January 2014, i did two full days of research on computers, components, how to videos and reviews because i knew absolutly nothing about them. Two days passed and i decided to drawn up some plans for the desk. With the desk drawn up i made a list of components that i would need to purchase, the main computer specs included: Windows 8.1, i7 4770k processor, Asus maximus VI formula motherboard, two 1000watt corsair gold RM series PSU's, 32gb of corsair dominator platinum RAM, two nvidia GTX 780Ti GPU's in SLI, 4Tb western digital HDD + three 1Tb western digital HDD, two 250gb samsung SSD's + two 120gb samsung SSD's, Asus xonar essence stx soundcard and Asus xonar phoebus soundcard. I will also be watercooling everything, running tripple 27inch monitors and setting up a full car sound system within the desk. Since this build was going to be a long and expensive project i went all out on components to make a beast. Just a few photos of some parts used in the build: Moving on to the desk, the wood used to make the desk is 18mm thick and the legs were made thicker for extra support. Iv also included a back board for extra support and stability. The top of the desk is routed out to fit a sheet of 6mm thick hardened glass. A few pictures of the desk being built: I also made some fake elevated bottom platforms to hide wires and make wire management as clean as i can. I wrapped the platforms in a carbon fibre vinyl which turned out amazing. Elevated Platforms: Once i had all of my cutouts done to size i decided to test fit some components and also see how much space would be available for cable routing, lighting and running tubing to watercool all of the components. Test Fitting: Components fit well and i am happy with how the desk is shaping up. I decided it would be a good idea to test out the computer with its stock coolers before i install the waterblocks to make sure everything worked correctly. I also ran some performance comparisons with my 780Ti superclocked GPU's. The results i obtained are with no overclock, everything will be overclocked when the build is complete. One 780Ti GPU on ultra settings. Two 780Ti GPU's in SLI configuration. The desk is now ready to be painted. I decided to go with a nice gloss black on the outside and the raised platform in the desk. The inside walls of the desk are being wrapped in carbon fibre vinyl. Desk Painted: Now that i have built the desk and painted it, i started installing some components such as fans, speakers, amplifier and i also installed my water blocks onto the computer components. Since installing a lot of my components i have made some real progress with the desk. I have installed 2/3 of my tubing and now im just waiting for some extension cables to come in the mail before the desk can be finished. Progress pictures: Now that the desk is around 2/3 built i decided to add some LED light strips to illuminate all of the components. I wired all of the LED strips up to switches and i put some perspex under my amplifier, HDD's and SSD's to create a green illuminated boarder around them. There are LED strips under the perspex to illuminate it even further. This is an image for anyone who would like to know how to wire your LED lights to a switch/dimmer. After wiring up all of my LED lights to switches and dimmers i wanted to test the lights to make sure everything is working as planned. http://i.imgur.com/bjDDJQJ.jpg http://i.imgur.com/Z46XRPw.jpg http://i.imgur.com/BpfD8FP.jpg http://i.imgur.com/dtwiTLw.jpg http://i.imgur.com/F2jvoyu.jpg http://i.imgur.com/UzJKqS2.jpg http://i.imgur.com/aYUNGNi.jpg http://i.imgur.com/77K5axX.jpg http://i.imgur.com/Z8gbUVf.jpg http://i.imgur.com/Pf8HKHF.jpg http://i.imgur.com/tnNKTQI.jpg http://i.imgur.com/tUo4tw2.jpg http://i.imgur.com/8JtV1T6.jpg http://i.imgur.com/kR5MvlD.jpg http://i.imgur.com/x7XhshY.jpg http://i.imgur.com/fRRZFYN.jpg http://i.imgur.com/vRN8eD2.jpg This is my build as of the 12/06/2014. I am currently waiting for some extension cables in the mail so i am able to put the motherboard side in the desk and work on some nice cable management. Hopefully i should receive the goods next week. Please stay tuned and ill upload more progress photos as i continue with the build.
- 11 replies
-
- 1
-

-
- acrylic tubing build
- extreme pc build
- (and 8 more)