Leaderboard
Popular Content
Showing content with the highest reputation on 11/19/2019 in all areas
-
Hello Guys, Sorry for the delay but here are the first few giveaway winners! congrats! Please send TT Andy a inbox message before December 1st to claim your prize! [Pre Event Predictions] (August 23rd ~ September 20th) Winners: Floe 240 AIO cooler : แตงกิ้ว ฮิฮิ้วฮิฮิ้ว Core P5 V2: killermob001 Prediction Voting Event (September 20th ~ October 18th) Winners: Level 20 VT: xakasepe TOUGHRAM RGB Memory DDR4 3000MHz 16GB (8GB x 2): TomikoV1 Download TT MOD Giveaways Toughpower PF1 ARGB 850W PSU: Zaenal M Floe DX RGB 240 TT Premium Edition: Nurfalah Ai
 1 point
 -

[Sweden] Tim Malmborg
hotcoolman reacted to Timpelay for a topic
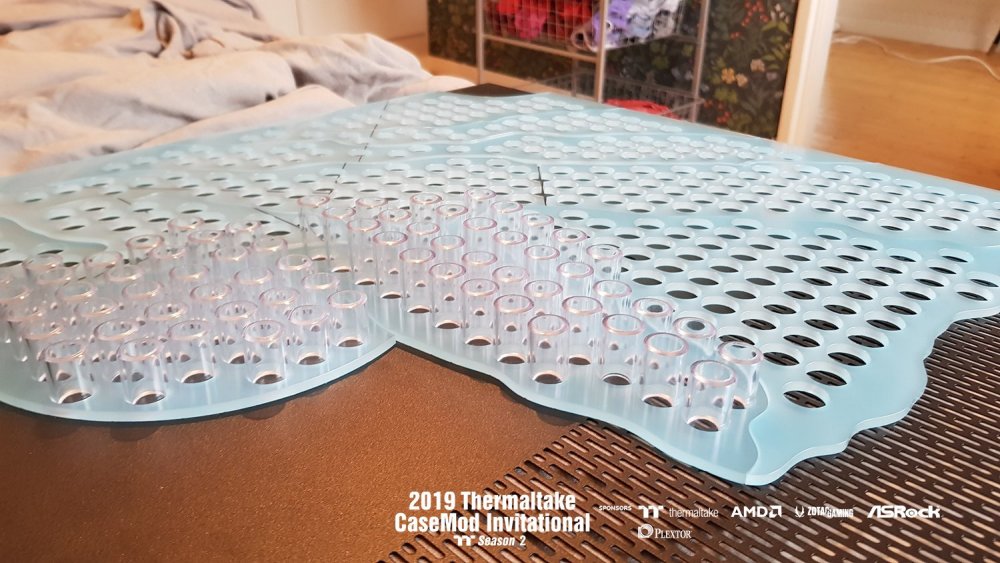
Okey game on! I need to cut 400 pieces of pipe hehe.. I may be mad, but this will look epic when finished!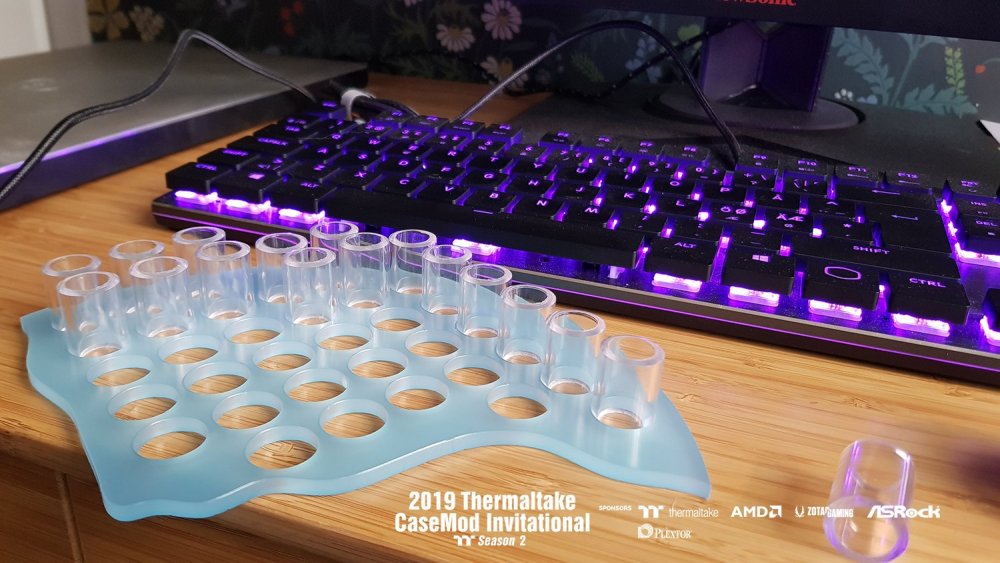
 1 point
 -

[Canada] Erik Bergwest
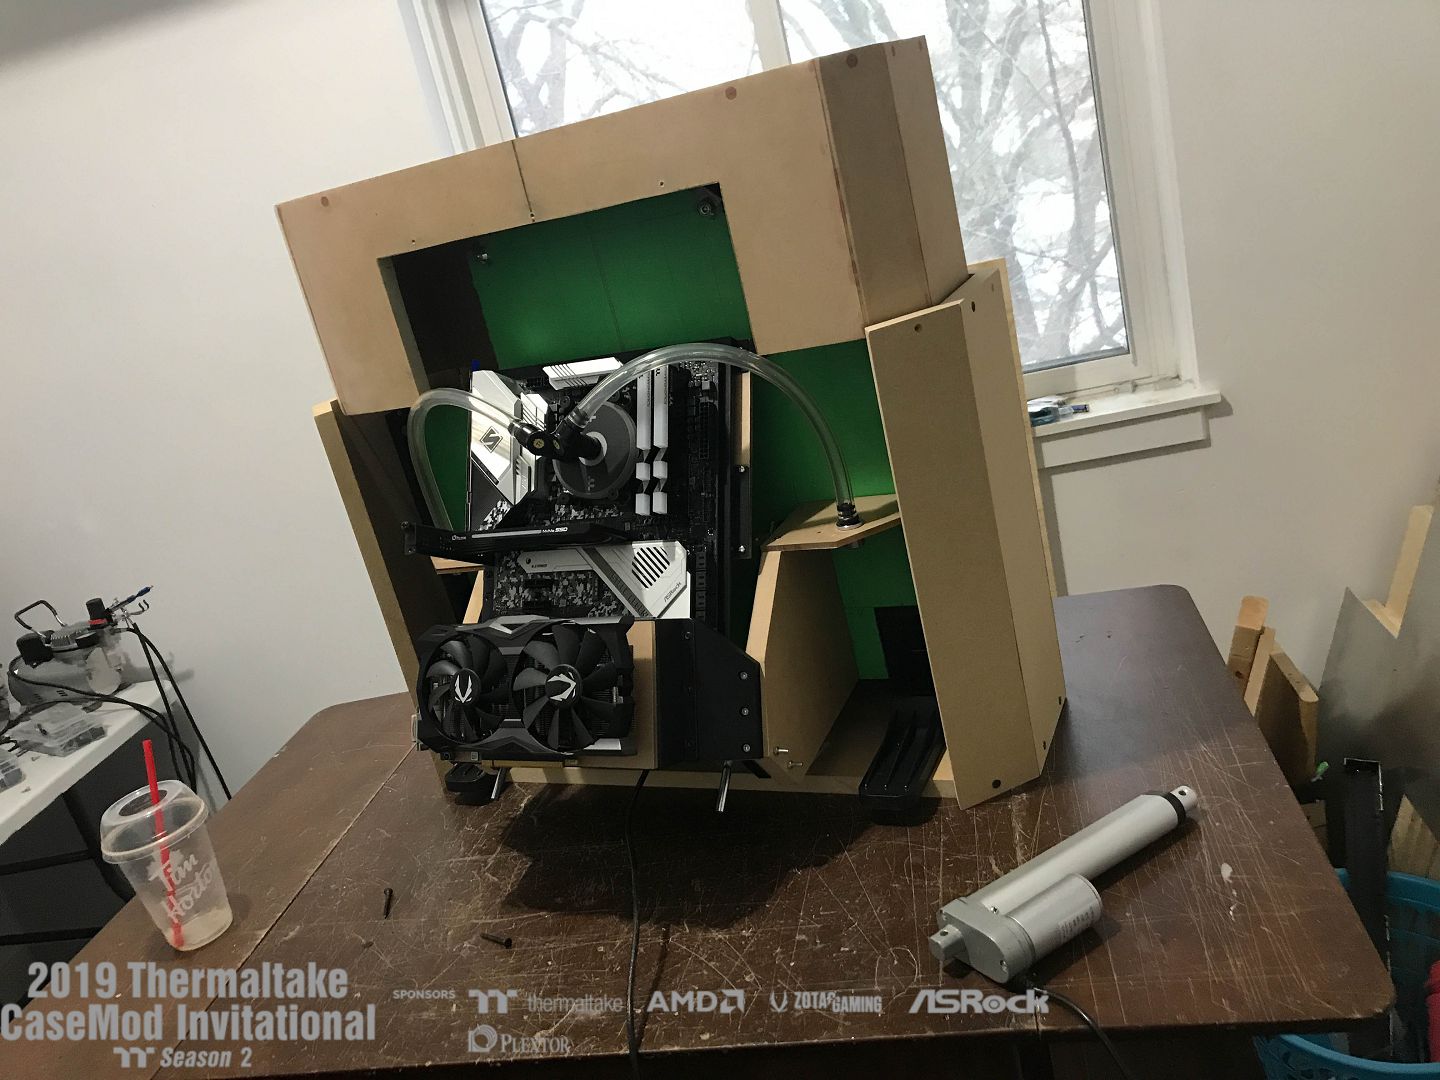
OregonSlacker reacted to Erik Bmods for a topic
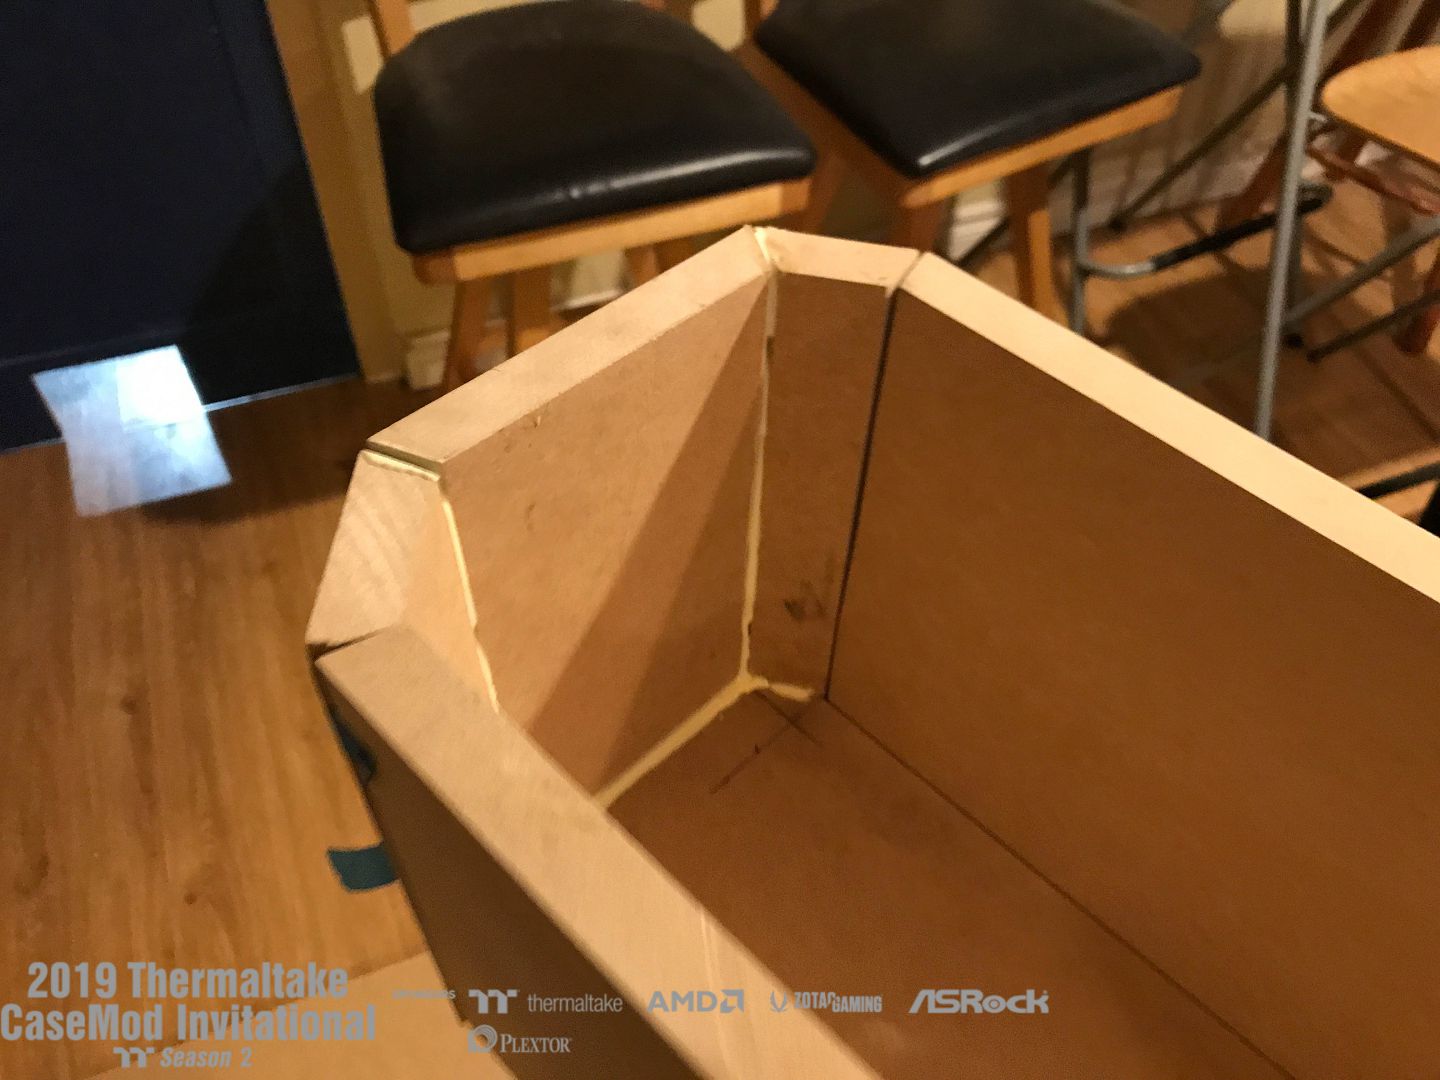
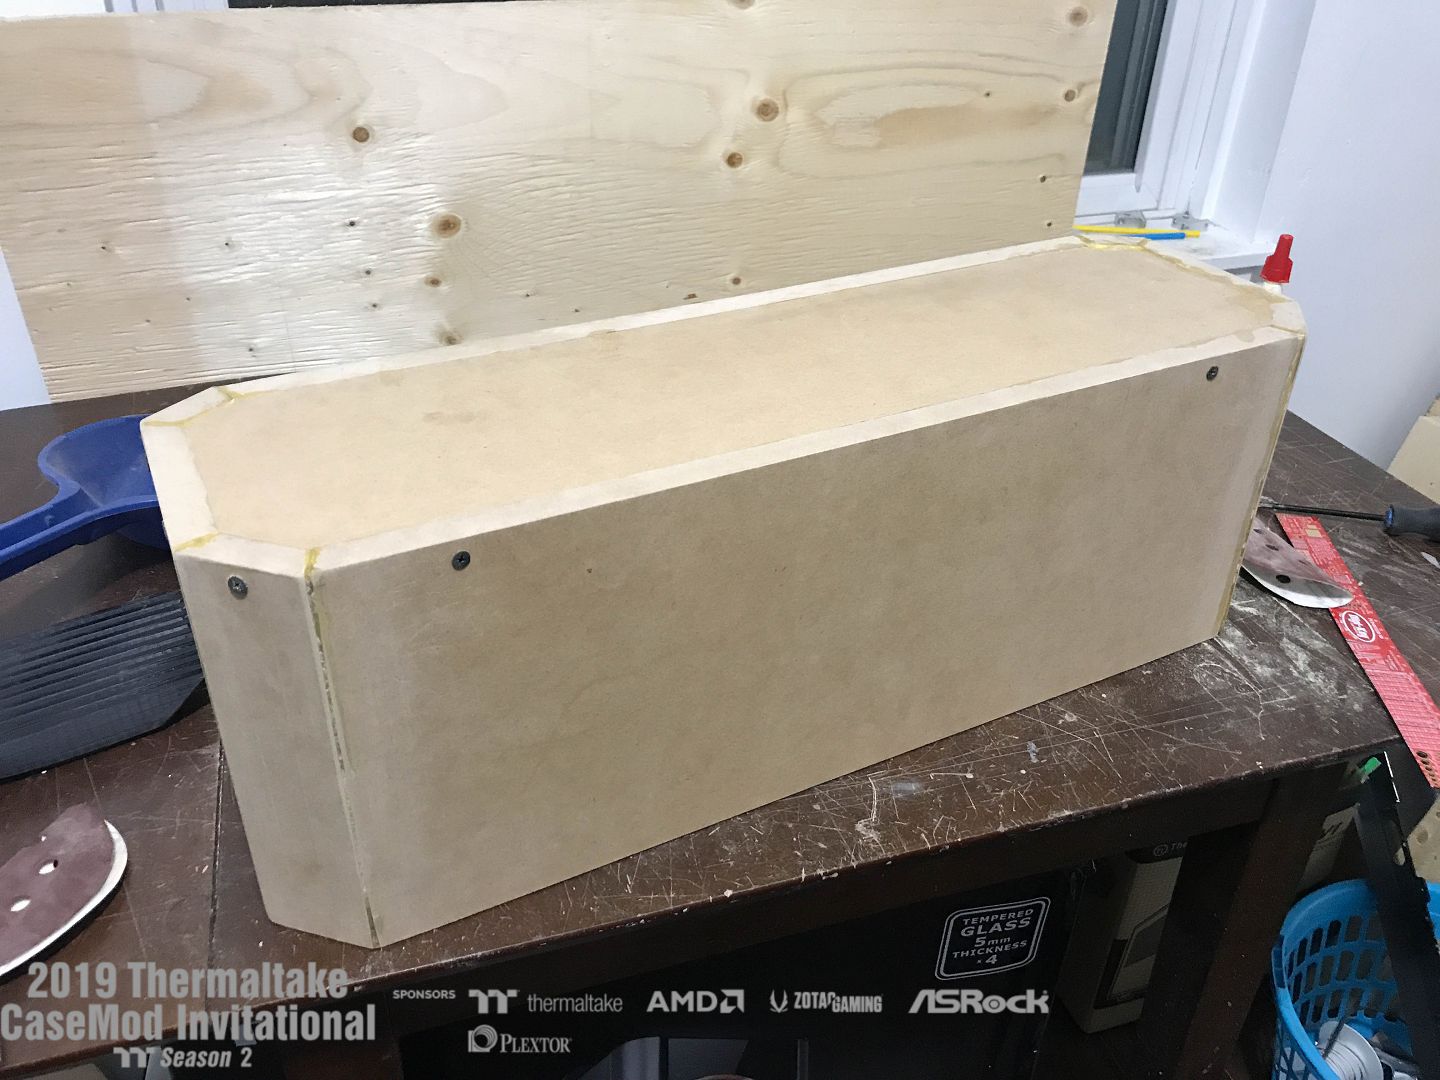
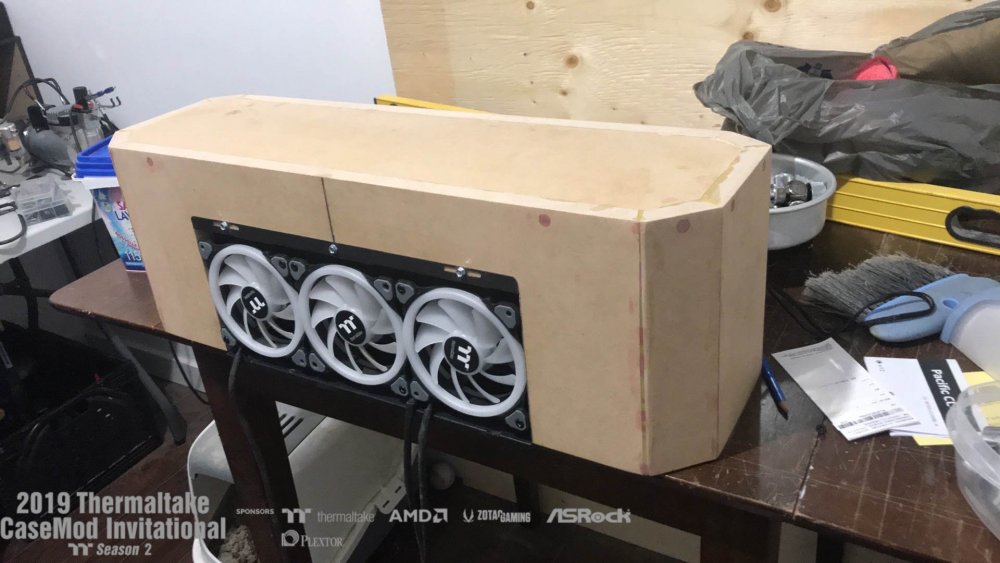
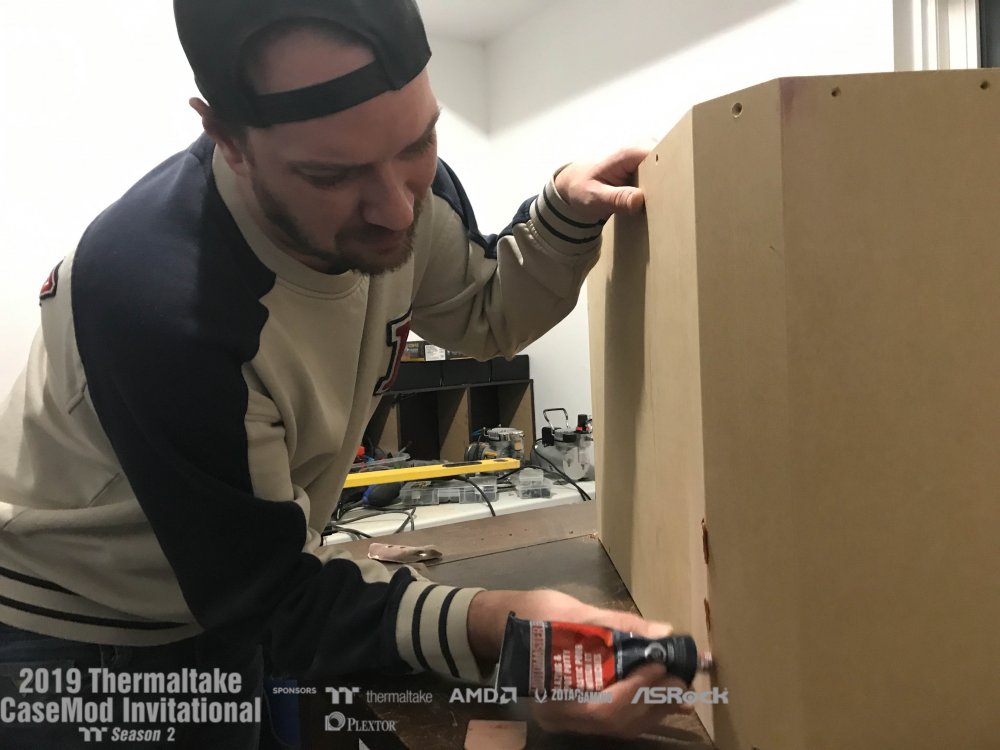
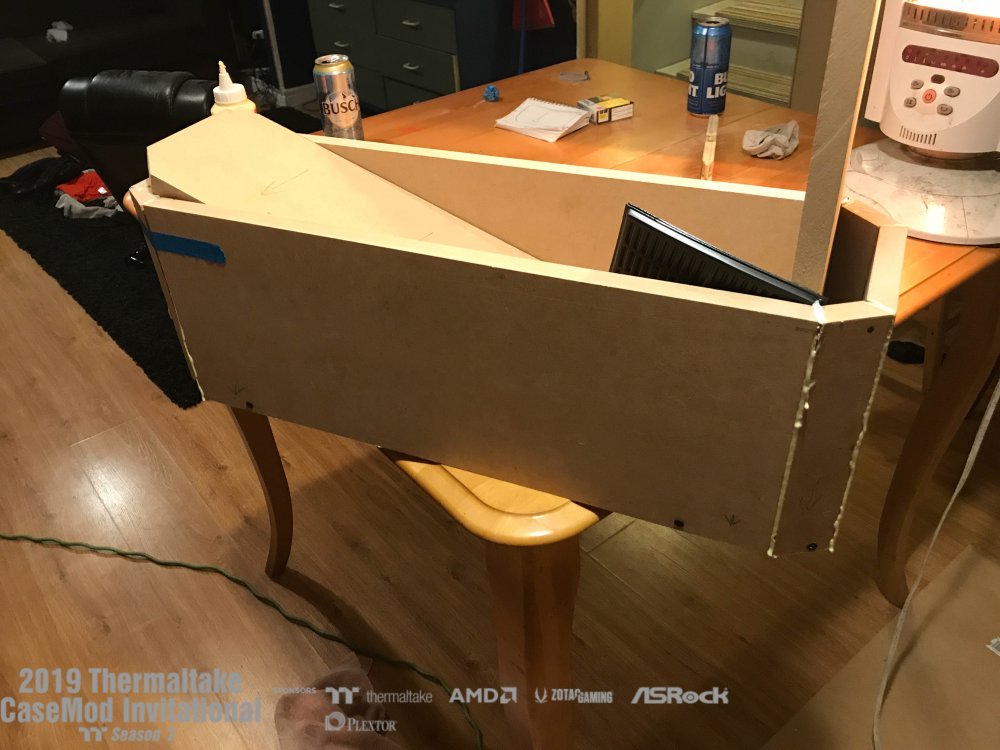
Update Time!!! Building of the bottom part of the outer body has started. This part went much smoother as I learned much from building the top portion of the body. Hope to have the actuators hooked up so all the moving parts of the mod will be finished and I can start focusing on details and cosmetics. I also managed to finish up sanding and filling the top part of the body. I mounted the 3, 120mm TT Riing trio fans with a rad mount from an old TT x71 case I had worked great. now to design a facade to cover the cables and rad mount.

 1 point
 -
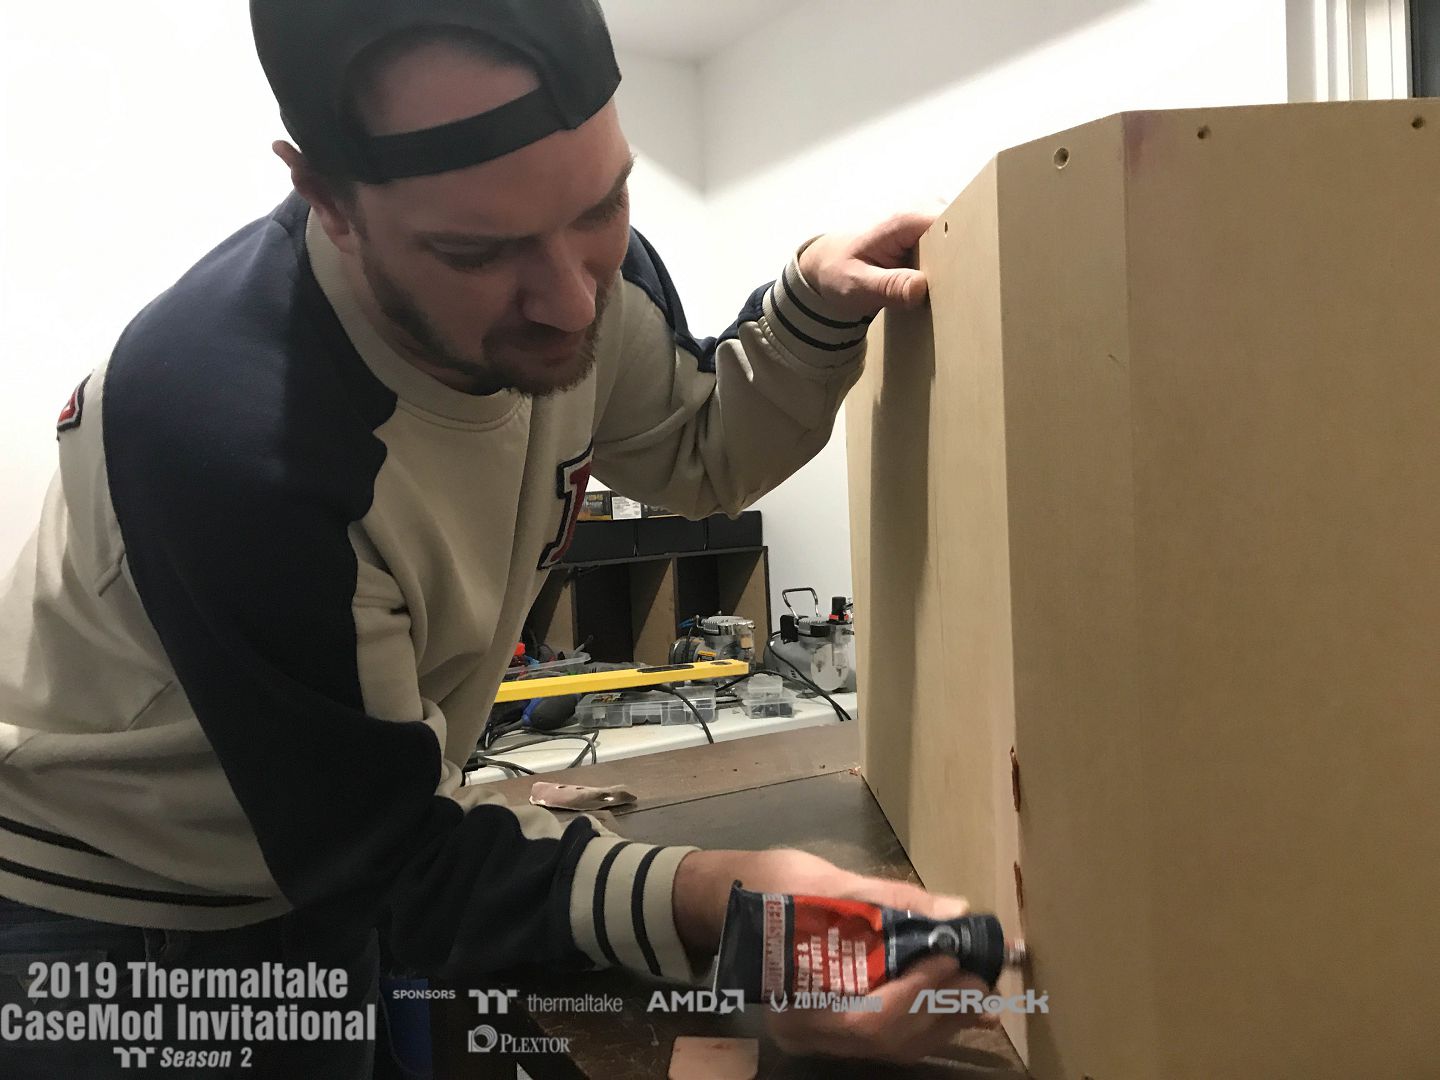
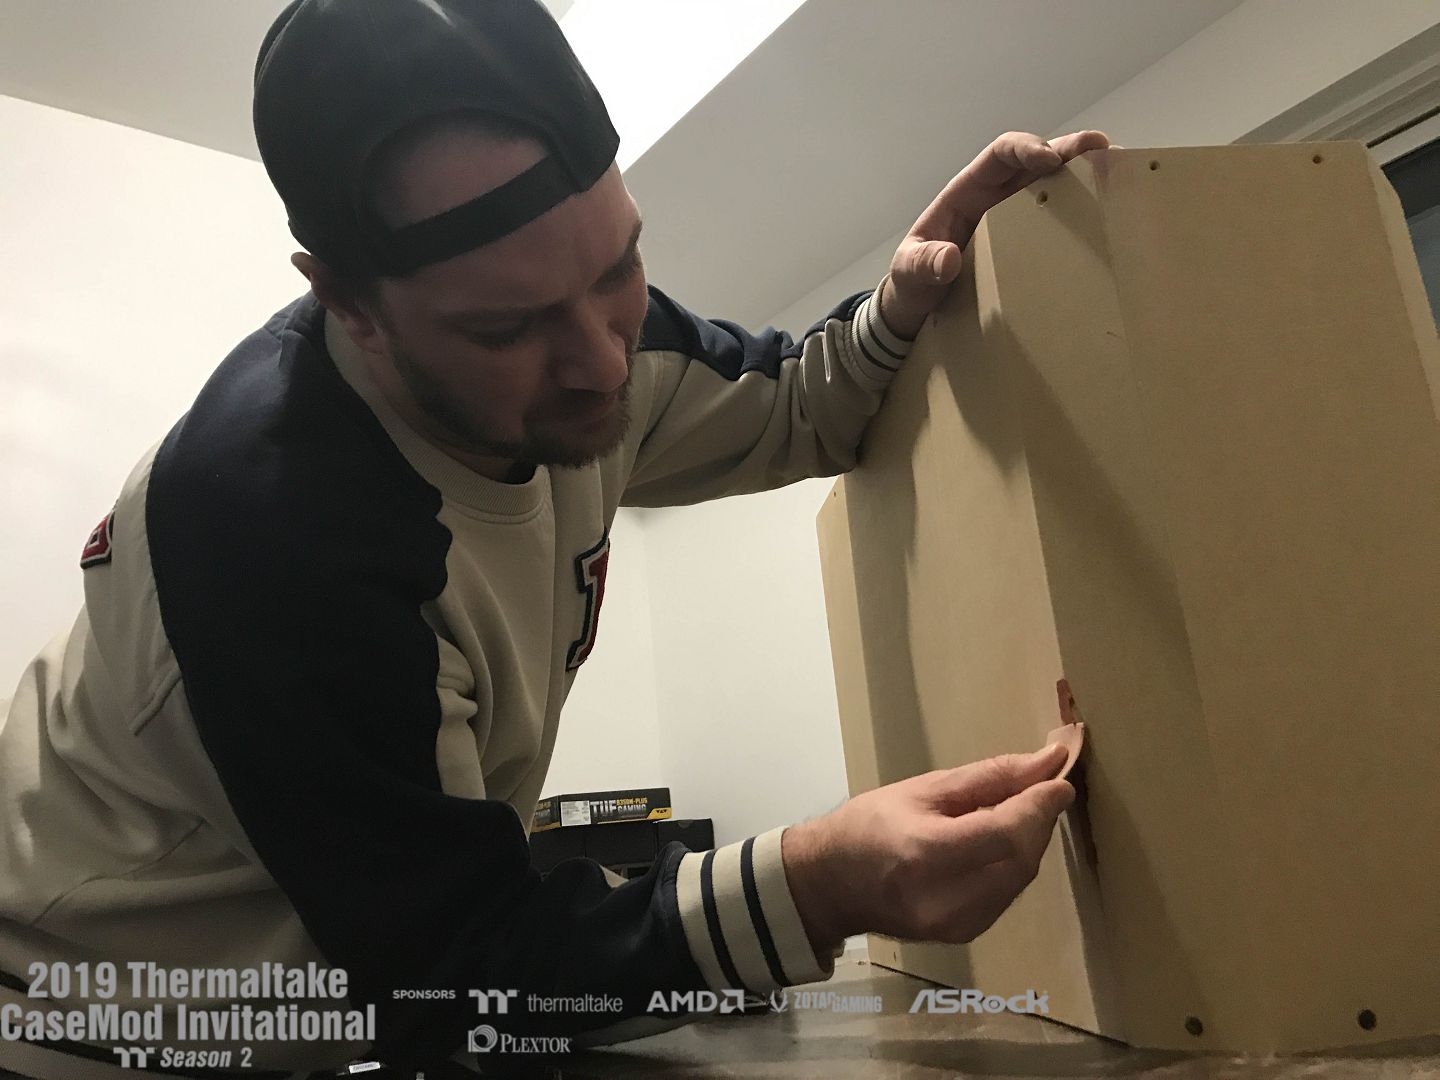
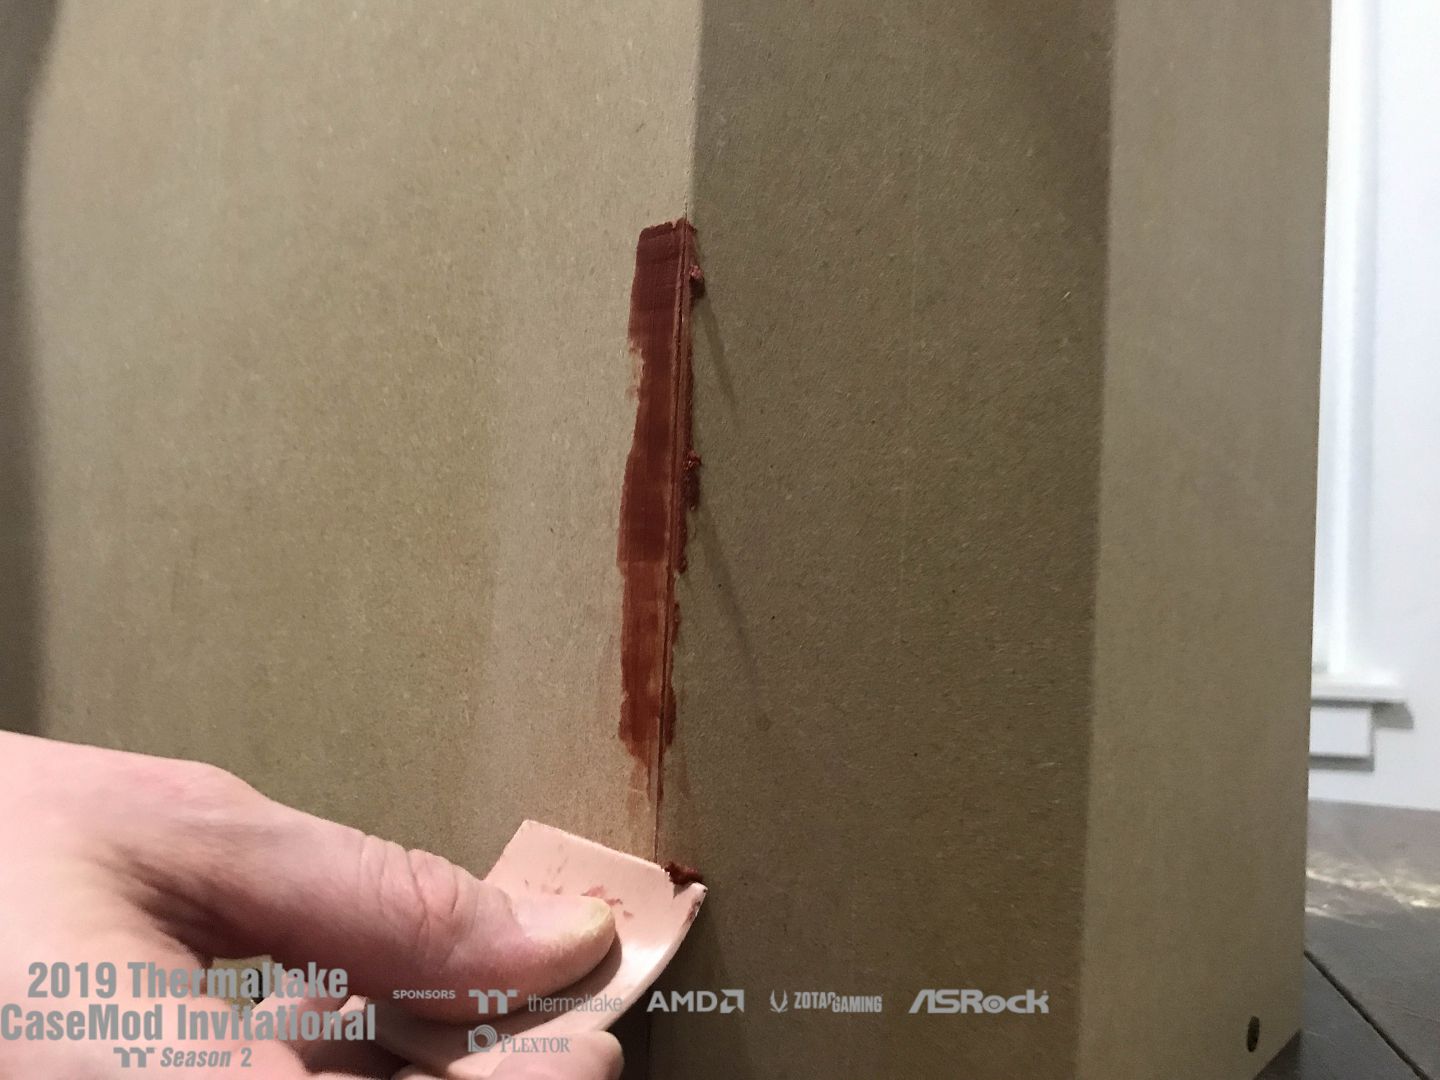
[Canada] Erik Bergwest
LiquidAtoR reacted to Erik Bmods for a topic
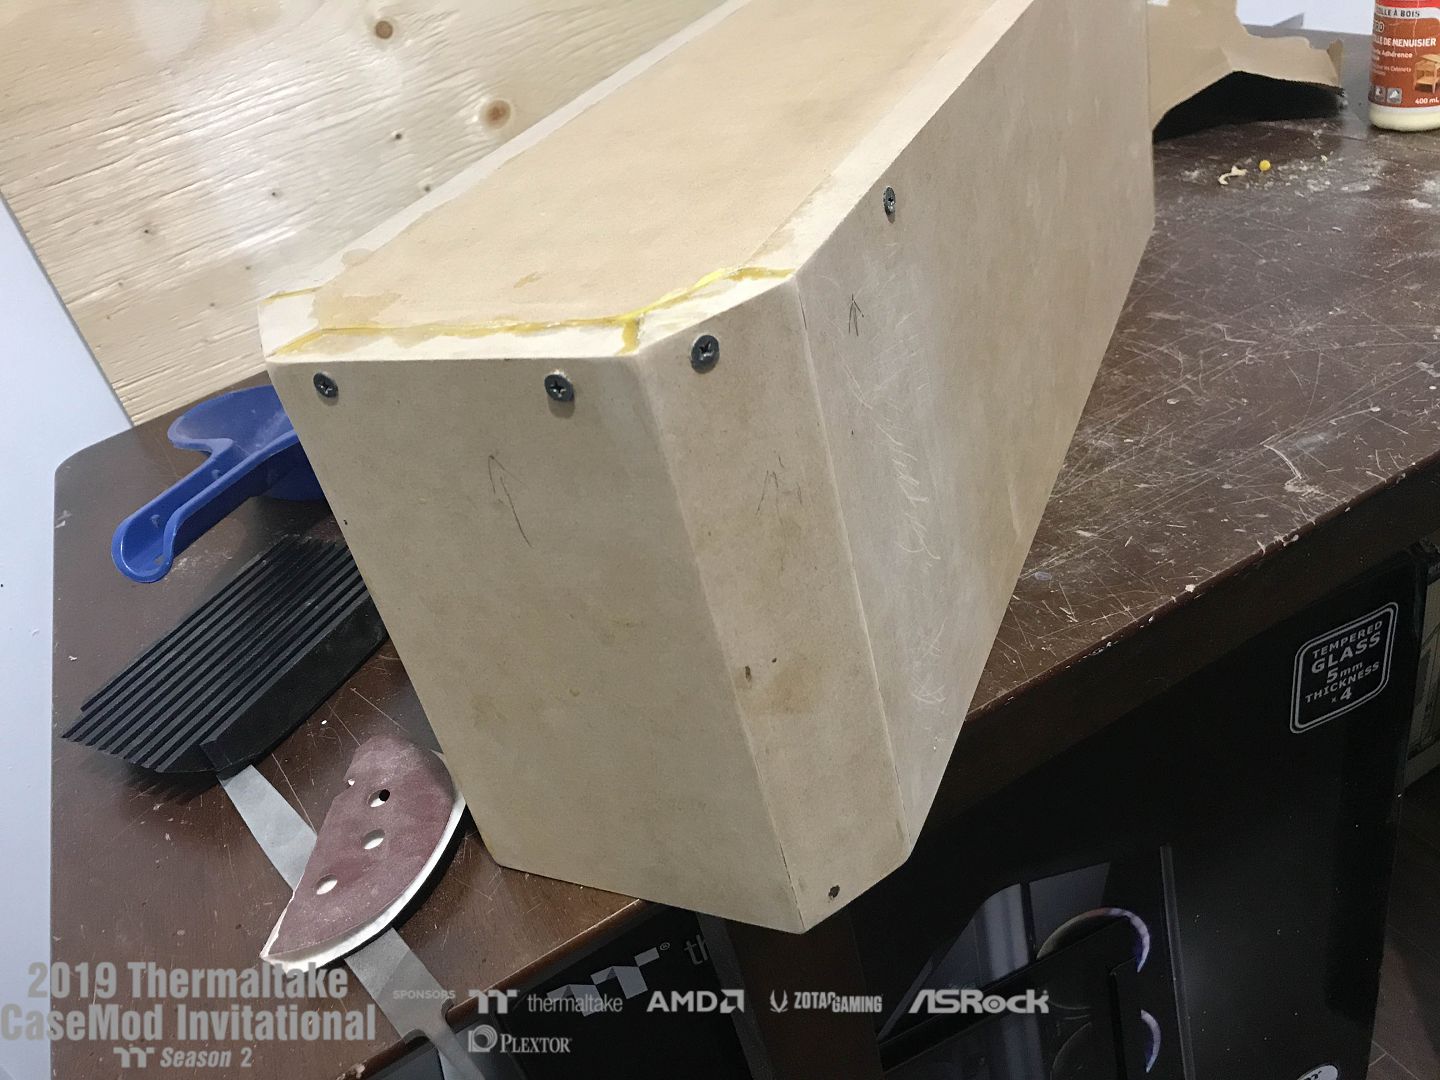
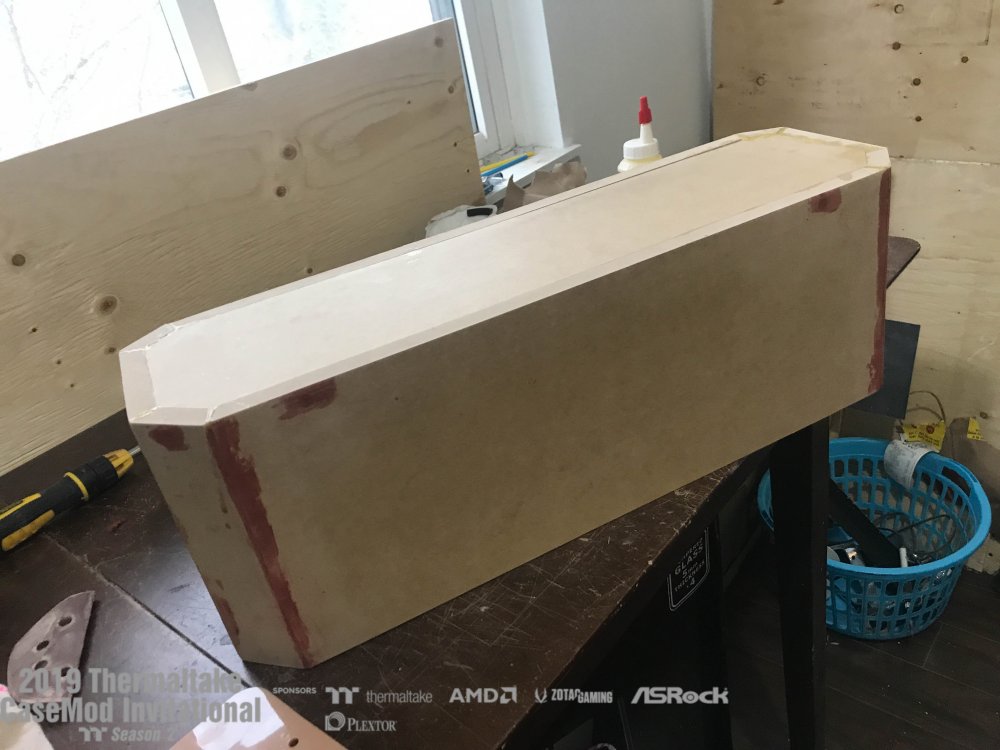
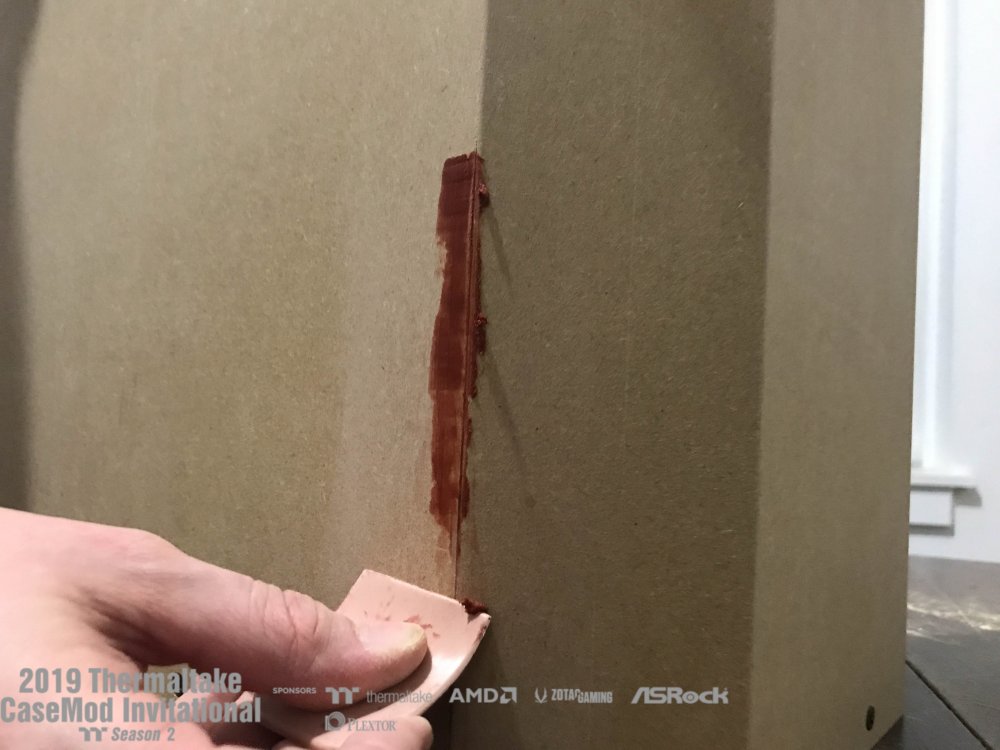
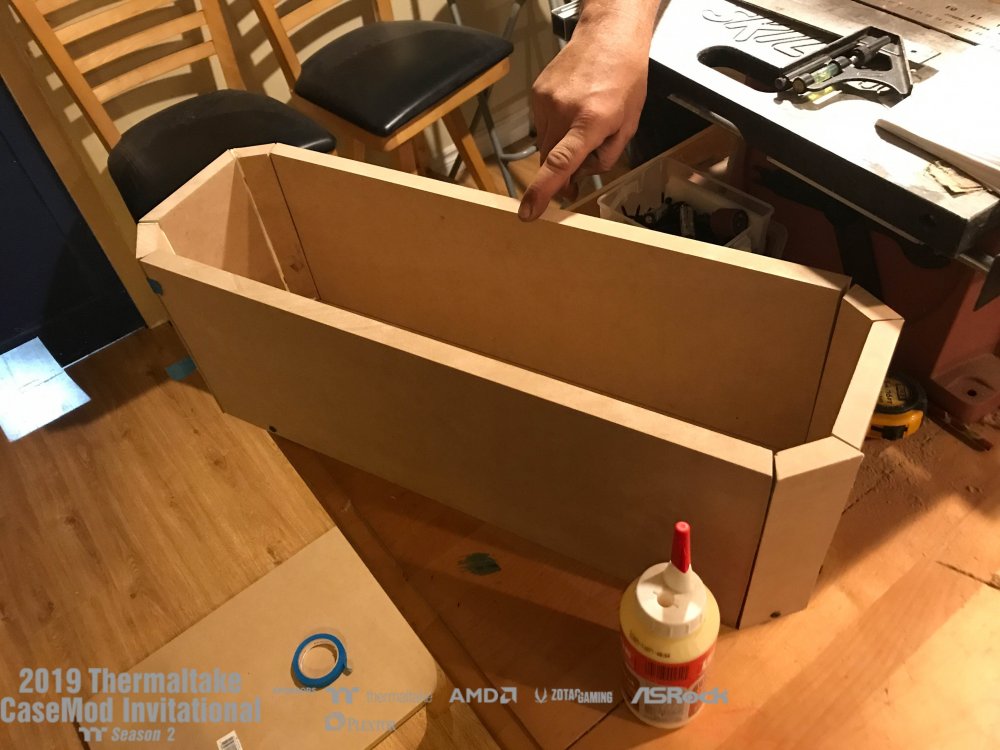
I only have started the top section since it would be easier. Save the hardest for last lol. Still needs some filler and more sanding on some of the seems. Also I need to countersink and putty over the screw heads.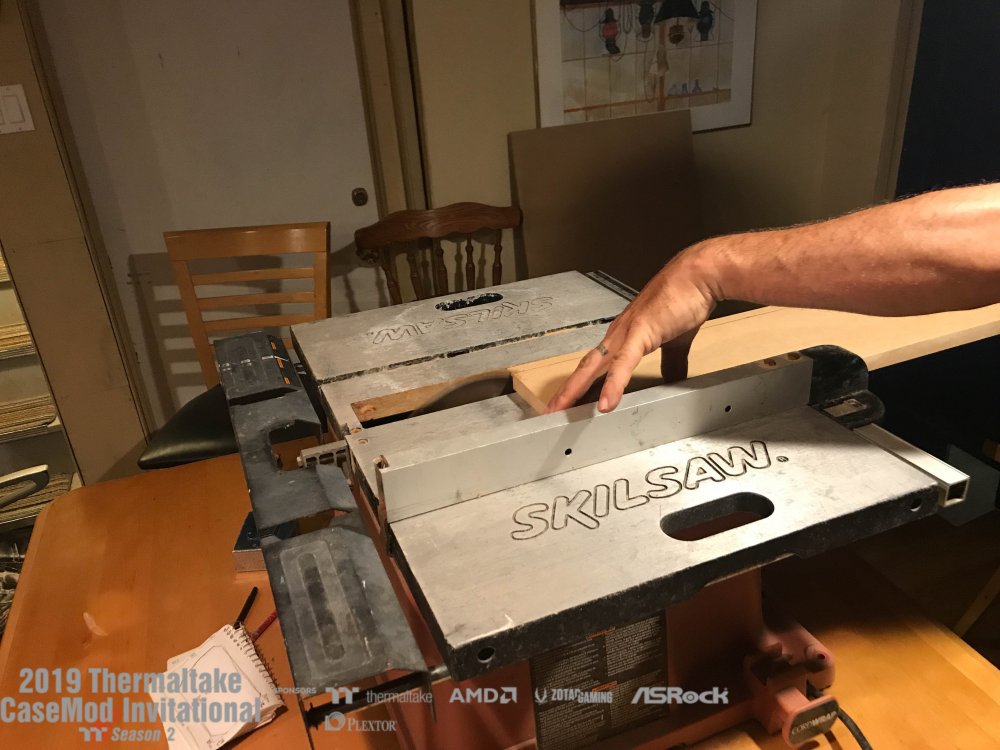


 1 point
 -
[Canada] Erik Bergwest
LiquidAtoR reacted to Erik Bmods for a topic
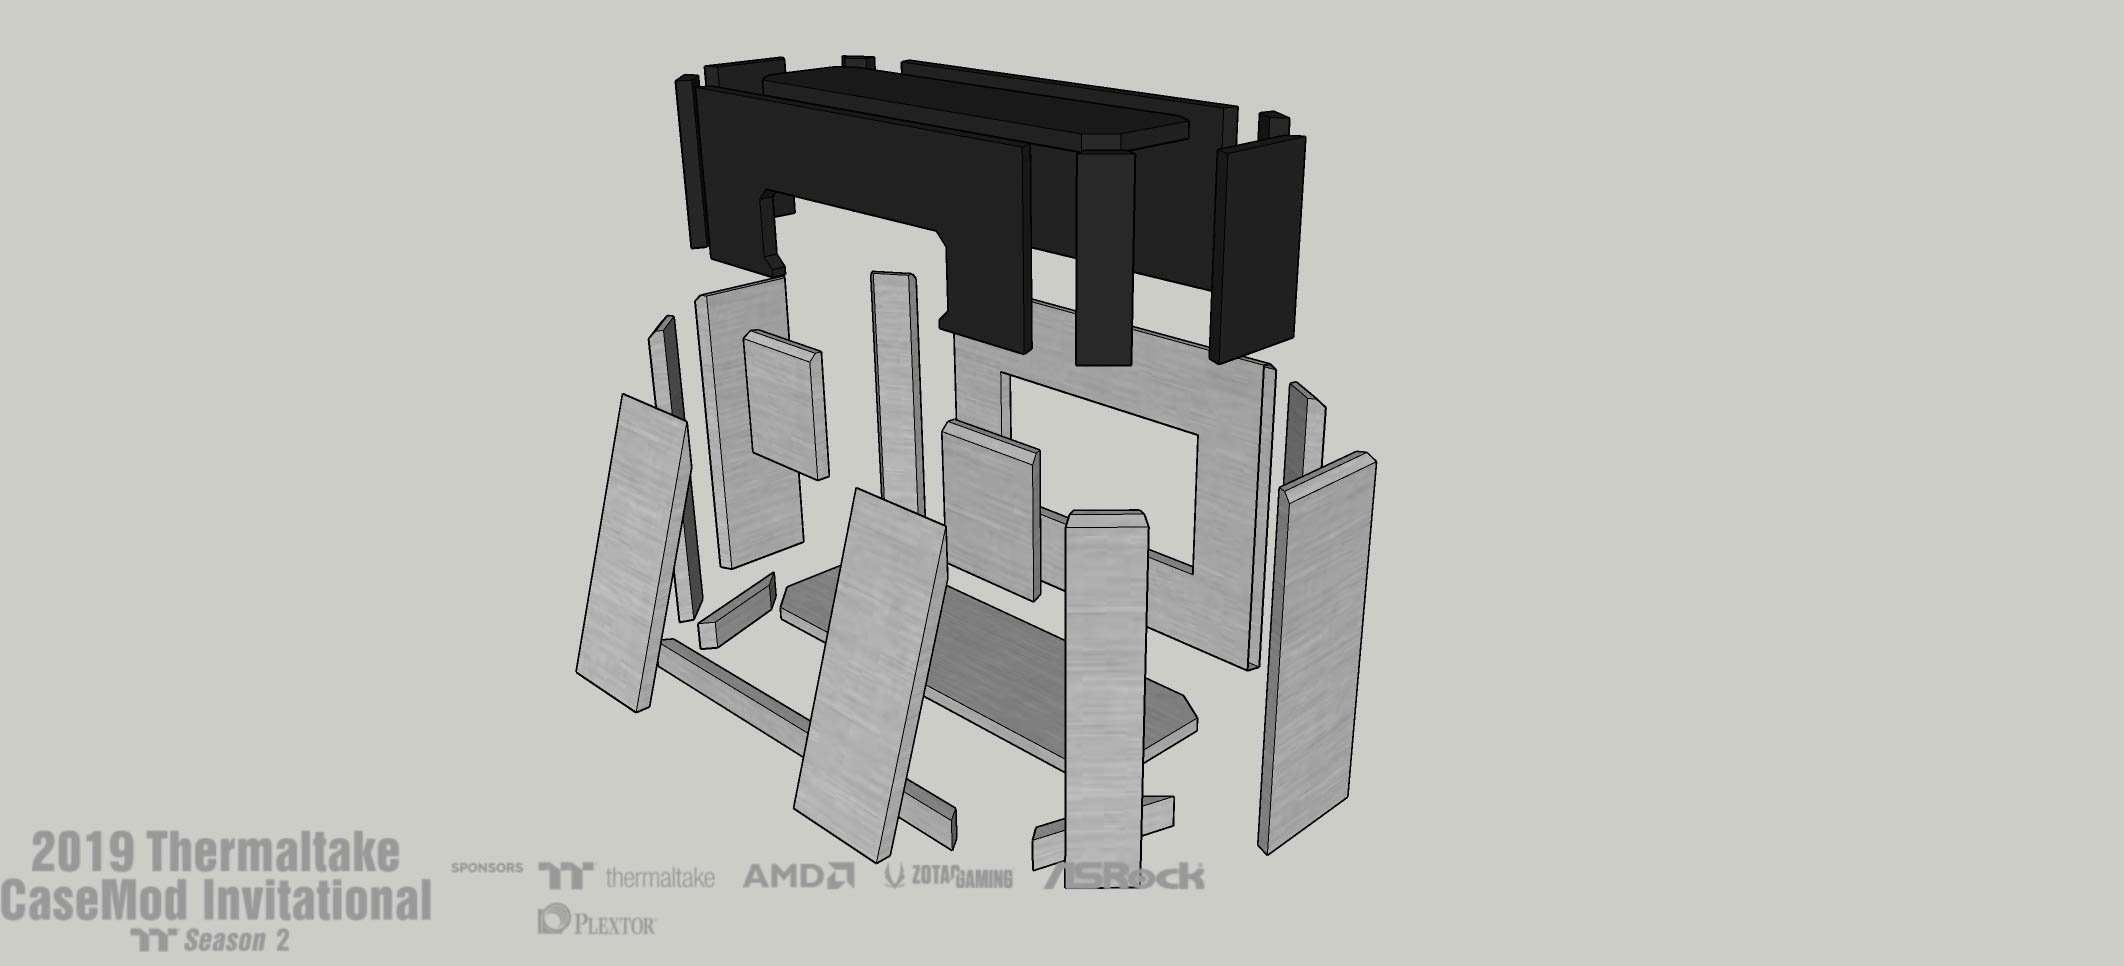
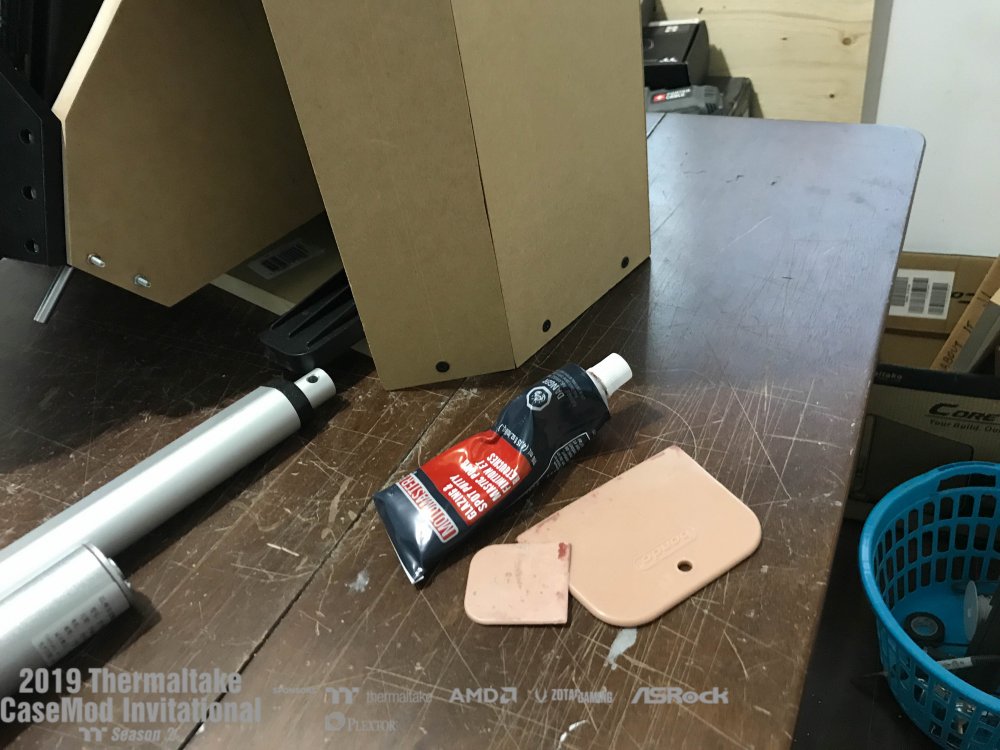
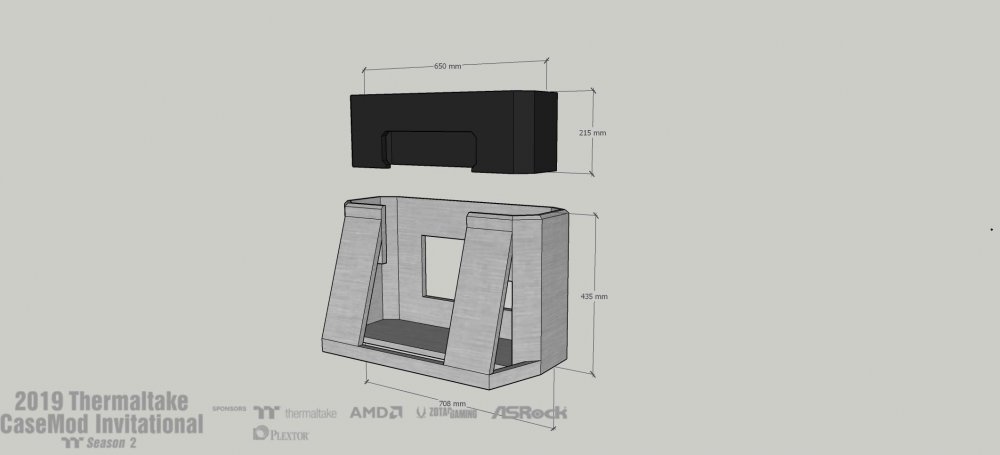
Whats up guys, back with another update. So I have started work on the outer body of the project. My first time doing this kinda woodworking and I had a ton of fun doing it....well maybe not the sanding. First I needed to get all the right dimensions from my design.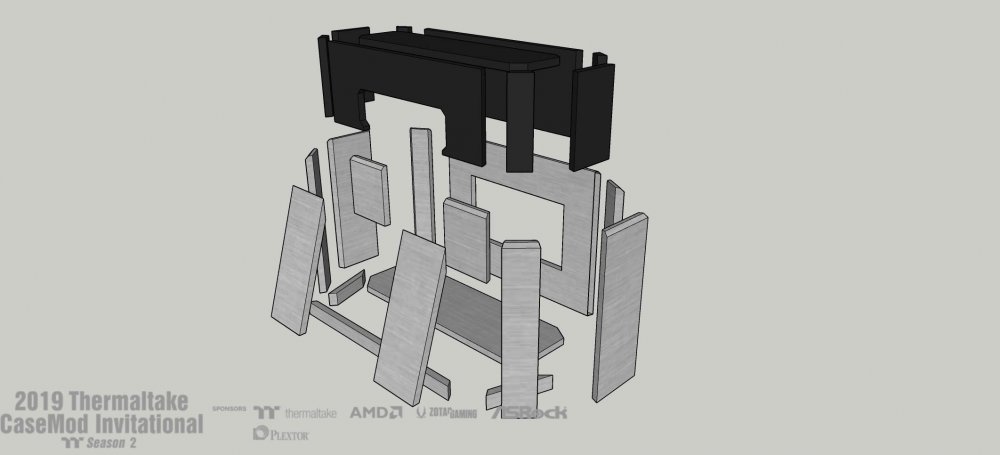
 1 point
 -
[Canada] Erik Bergwest
LiquidAtoR reacted to Erik Bmods for a topic
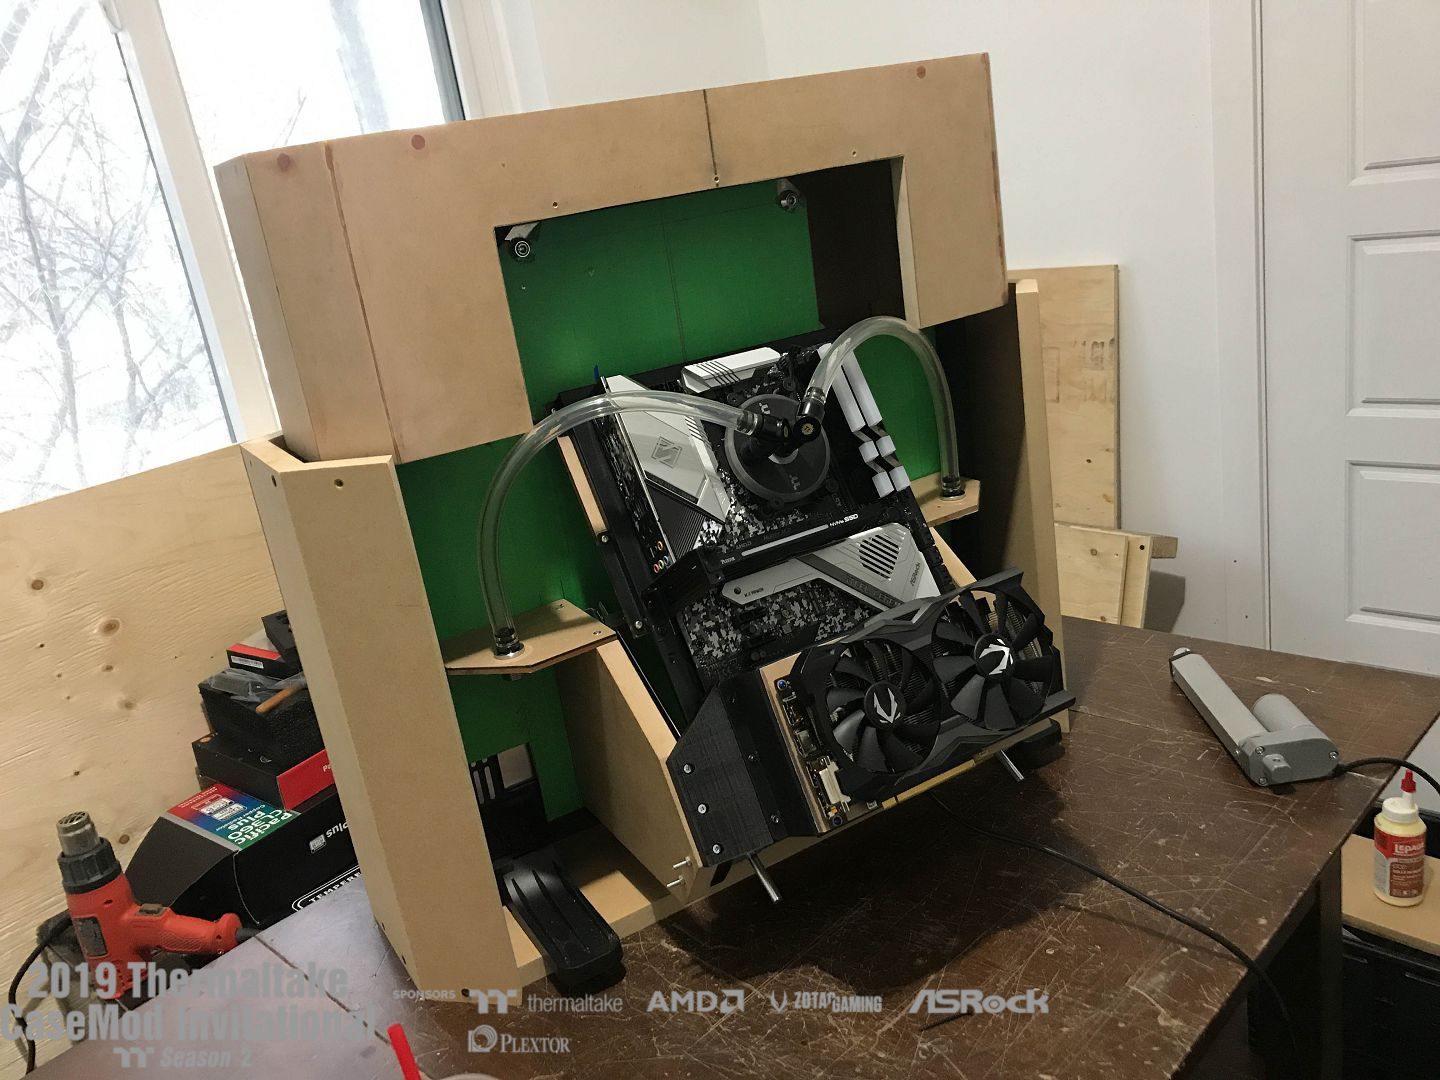
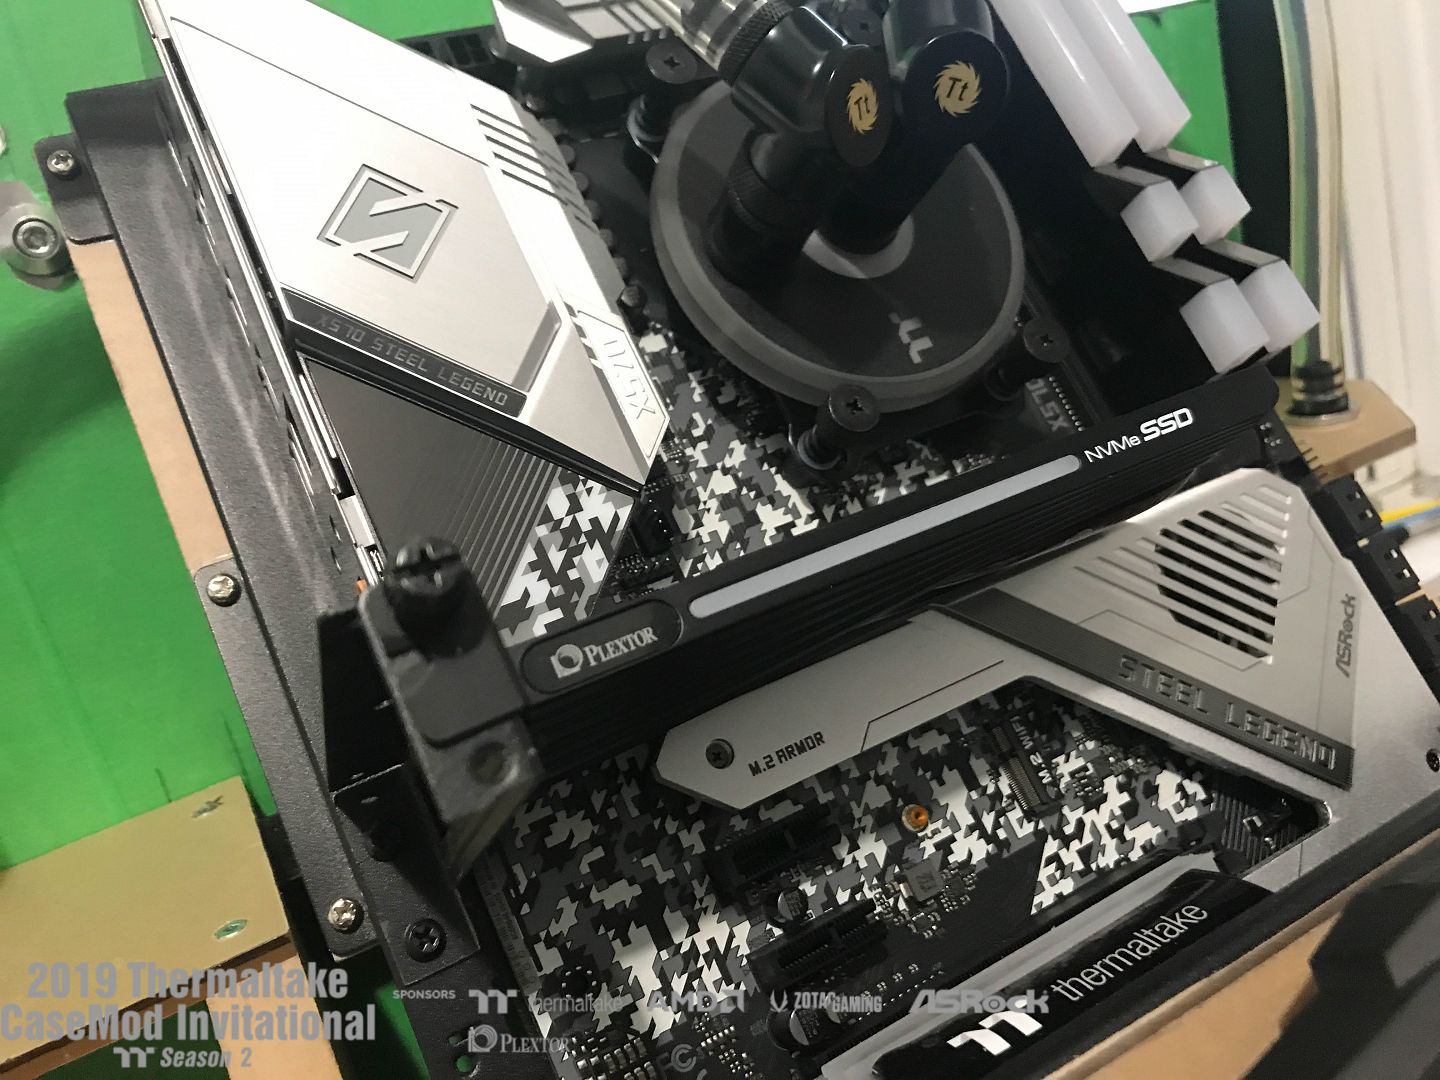
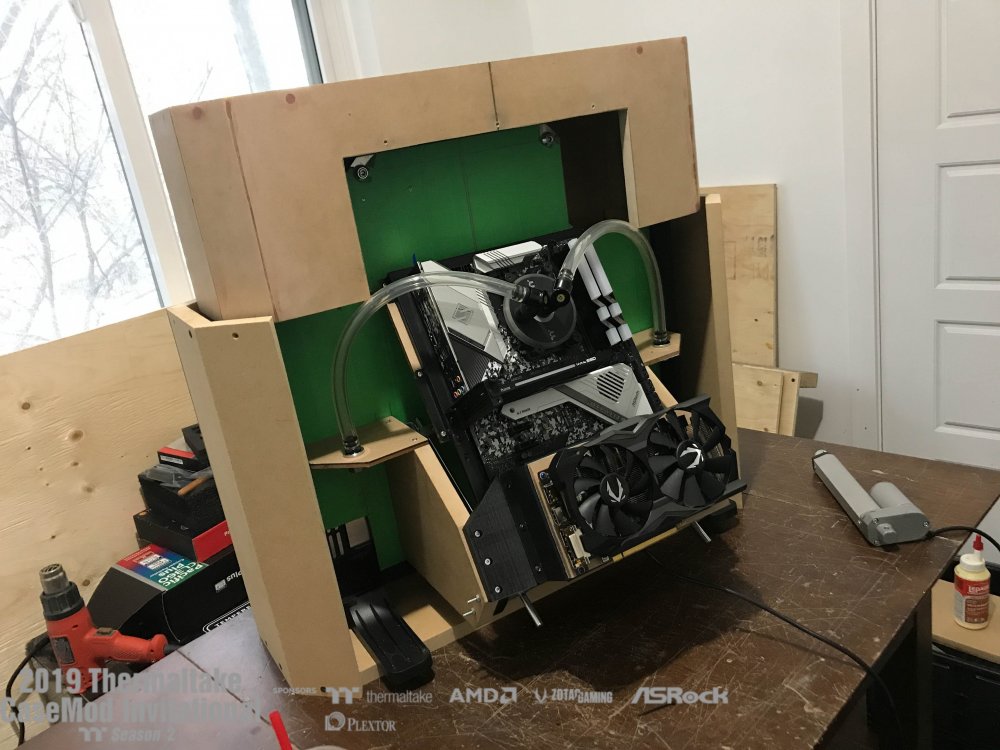
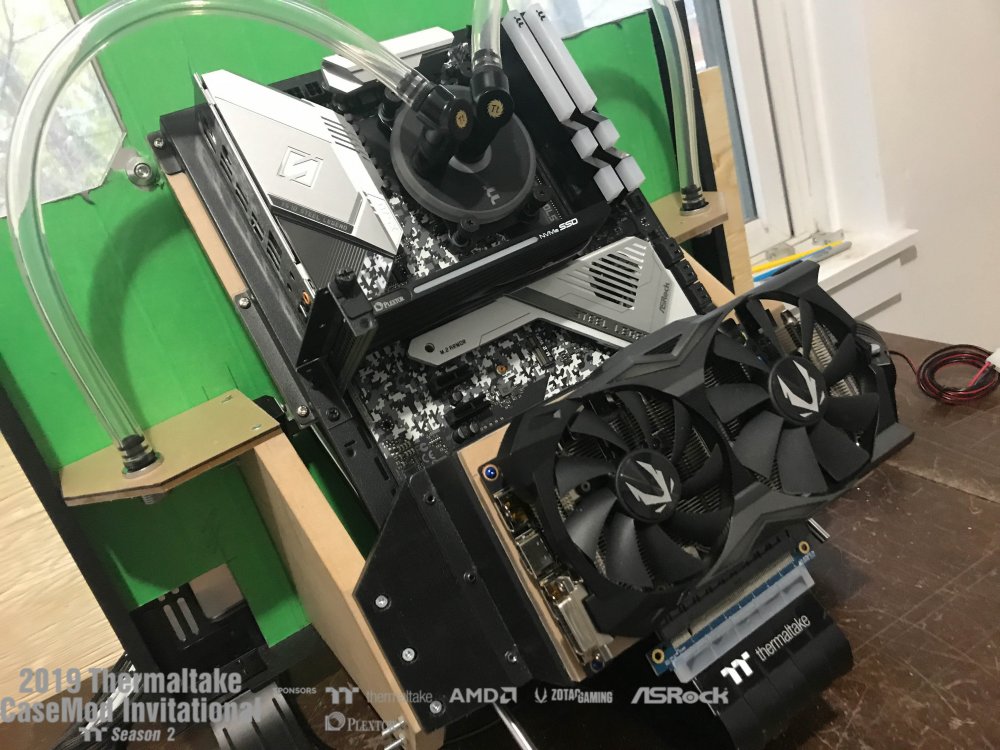
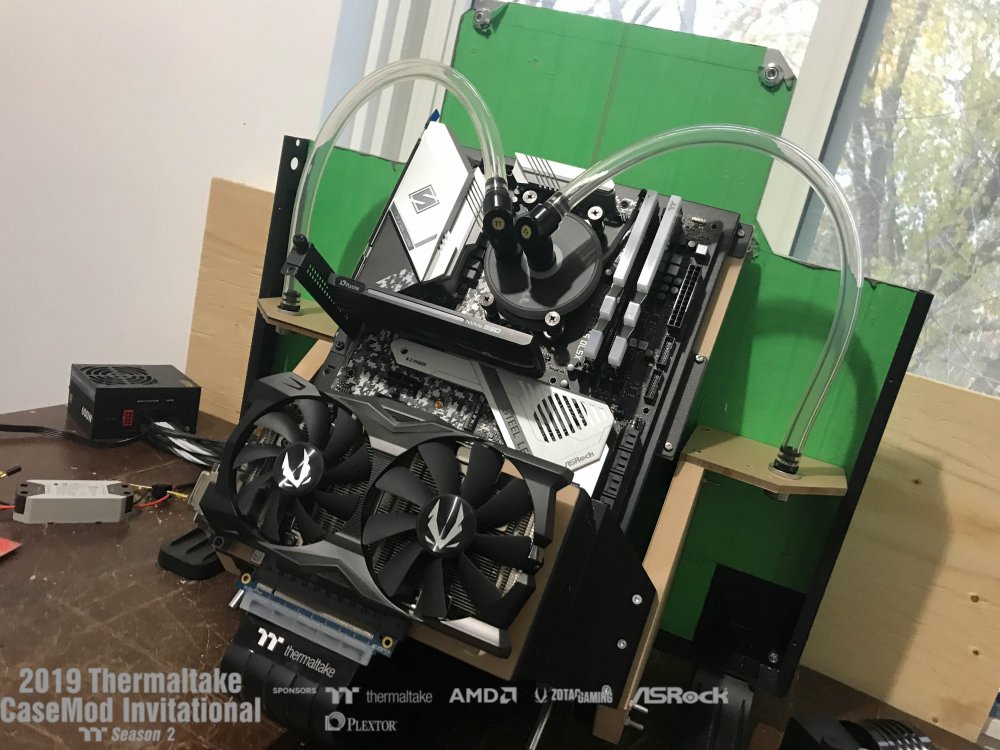
Next I routed the flex tubing for the CPU and tested to make sure none of the fittings became lose from the up and down motion of the mobo and also to make sure nothing obstructed the tubing. I also cut the pci-e support brackets to house the Plextor SSD. 1 point
 -
[Canada] Erik Bergwest
LiquidAtoR reacted to Erik Bmods for a topic
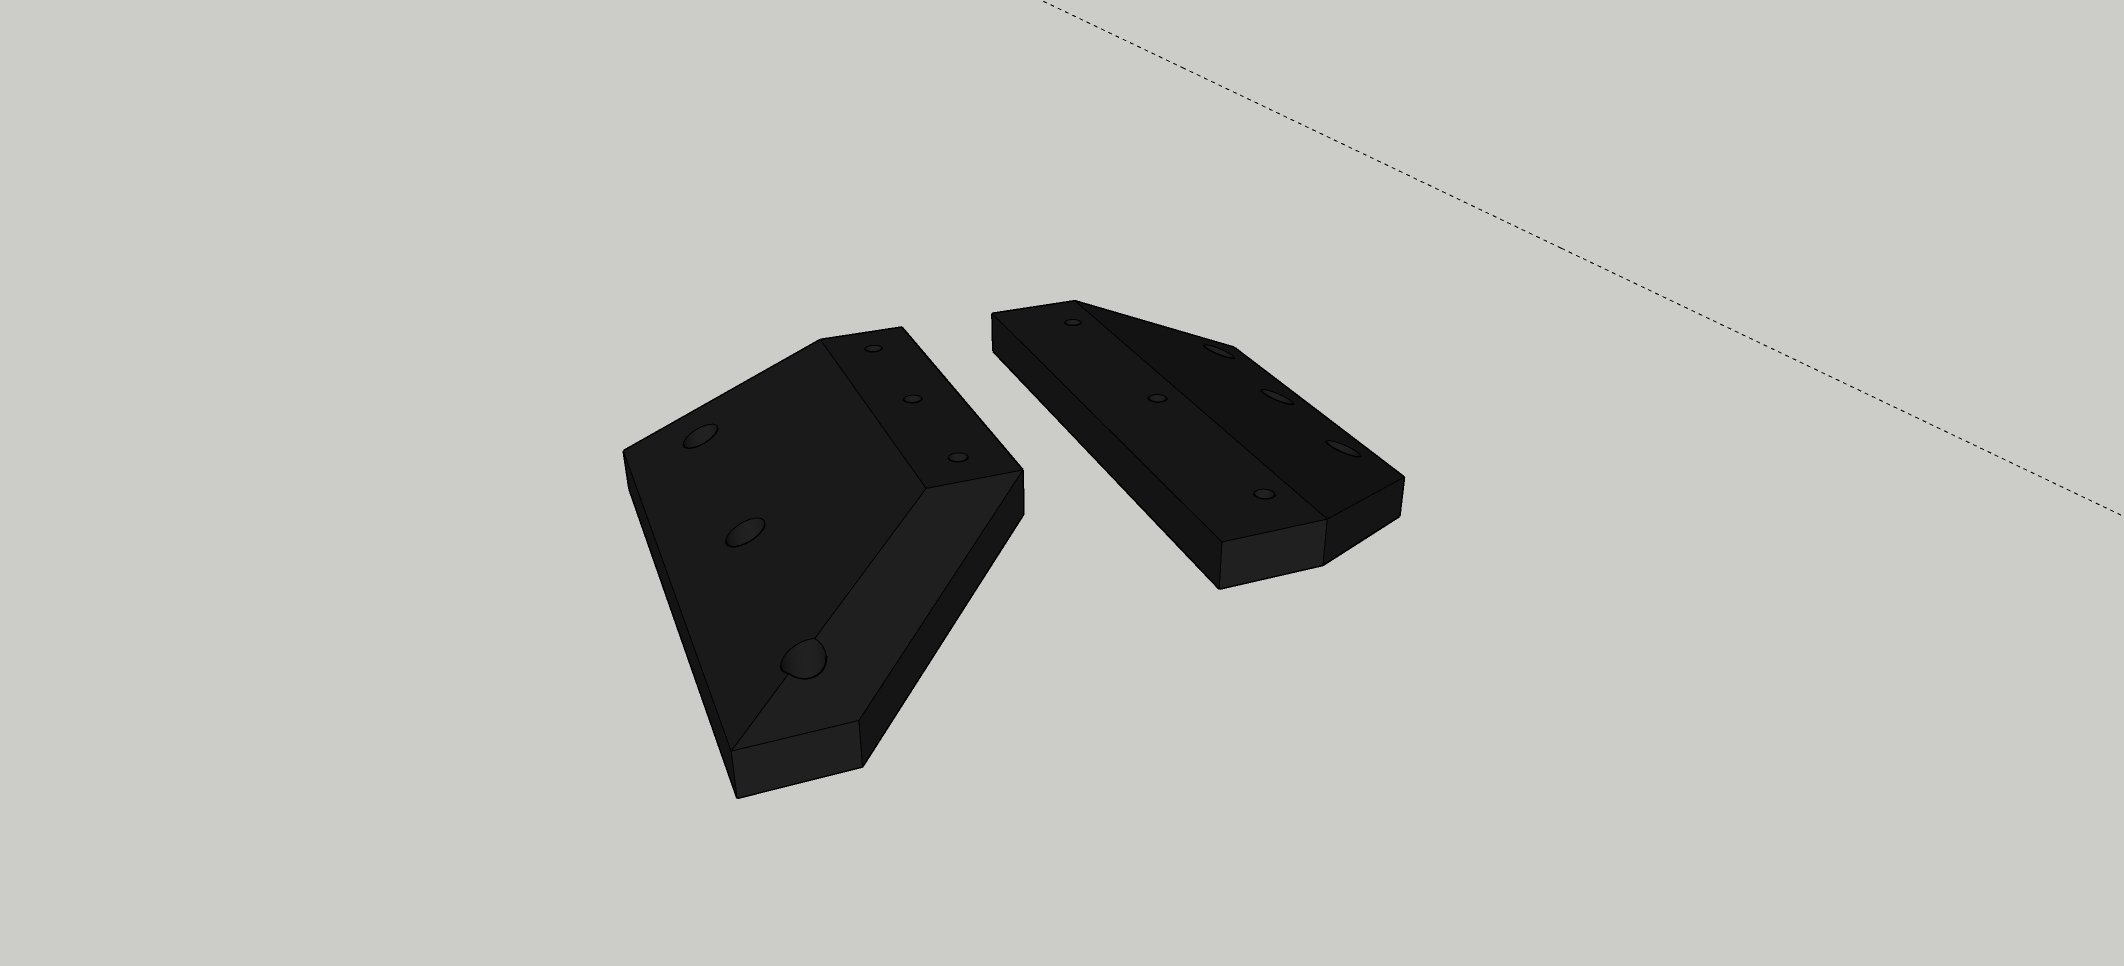
Whats up guys. Back with another update. This update consists of building the GPU bridge and plumbing the CPU block. GPU Bridge: The GPU bridge is a combination of 2 3d printed brackets and the main support bracket from the Core P5 that supports wall mounting of the case. 3d design for brackets that attach the Core P5 support bracket to the case. I also had to keep in mind clearance for the moving mobo tray.
 1 point
 -
[Canada] Erik Bergwest
LiquidAtoR reacted to Erik Bmods for a topic
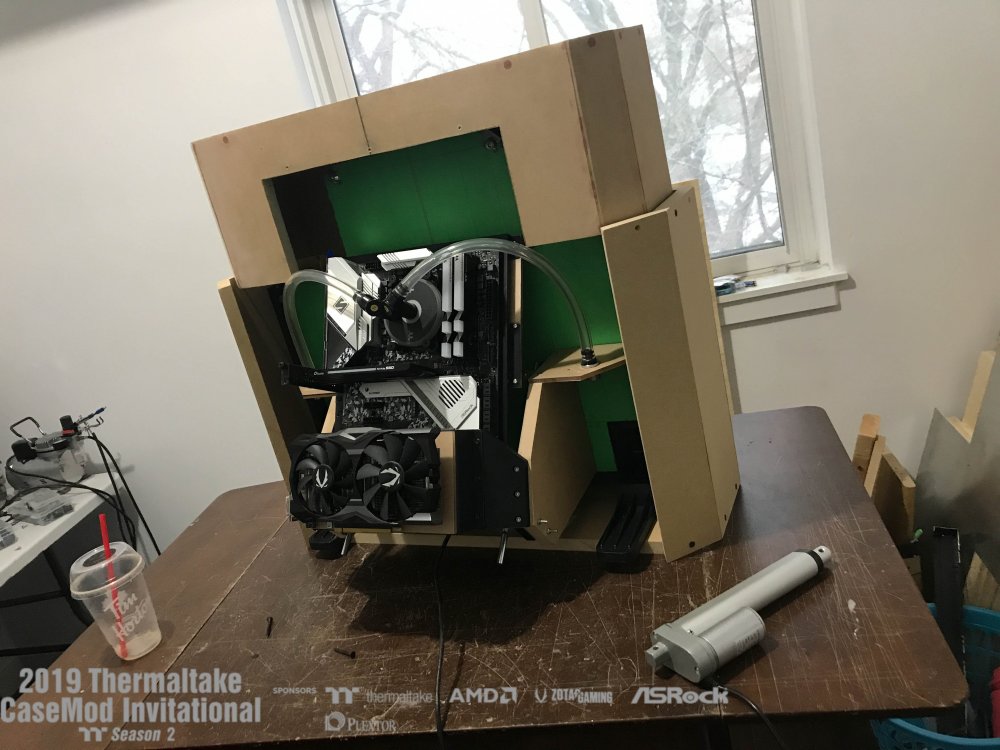
We are back with a quick update everyone. I have been working on the test fitting of the moving mobo tray and the RGB strip that will be lining the top portion of the P5 section of the mod. Moving MOBO Tray: I built this with some guide rails and slides I had lying around from a broken 3d printer and a 12v linear actuator with a 6 inch extension. Keep in mind this is just a test fit to make sure this system worked, I will be decorating the panels the slide rails are attached to so they suit the theme of the mod. RGB Strip: The RGB strip is a 6mm acrylic panel cut to the shape of the previous aluminum panels and lined with a TT RGB plus LED strip. I will do a more in depth post of the assembly of these parts once its more refined. Just wanted to do a quick update. Hope everyone enjoys! EDIT: I cant figure out how to add vids atm so I will uplaod as soon as I can figure it out sorry1 point -

Prediction Voting Event (September 20th ~ October 18th)
LiquidAtoR reacted to Tt Andy for a topic
Thanks guys for entering, we will be releasing the winners soon along with the last giveaway!1 point