-
Forum Statistics
8k
Total Topics53k
Total Posts -
Member Statistics
136,374
Total Members16,800
Most Online


marcam923
-
Posts
52 -
Joined
-
Last visited
-
Days Won
4
Content Type
Profiles
Forums
Downloads
Events
Gallery
Blogs
Posts posted by marcam923
-
-
2 hours ago, random2k4design said:
Looking good so far. Are you planning to install a frontend like rocket launcher/Hyperspin or Lunchbox on it.
This would give the cabinet a much more arcady style
It's actually gonna be custom
")
-
Some more updates for you guys!
First I have created the top portion of the cabinet, had to match the angles appropriately.

I used my clamps to hold everything together while I drilled holes for screws and countersunk them into the cabinet to hide everything.

Next I marked and drilled holes for the speakers to show through.

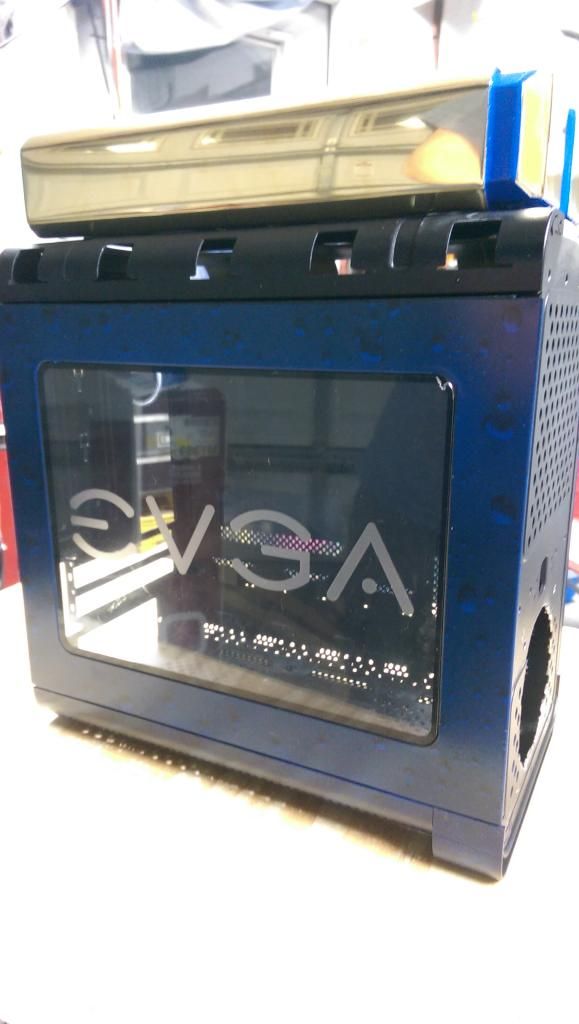
Here you can see some of the edges of the wood rounded, and also the speakers, and tower 900.
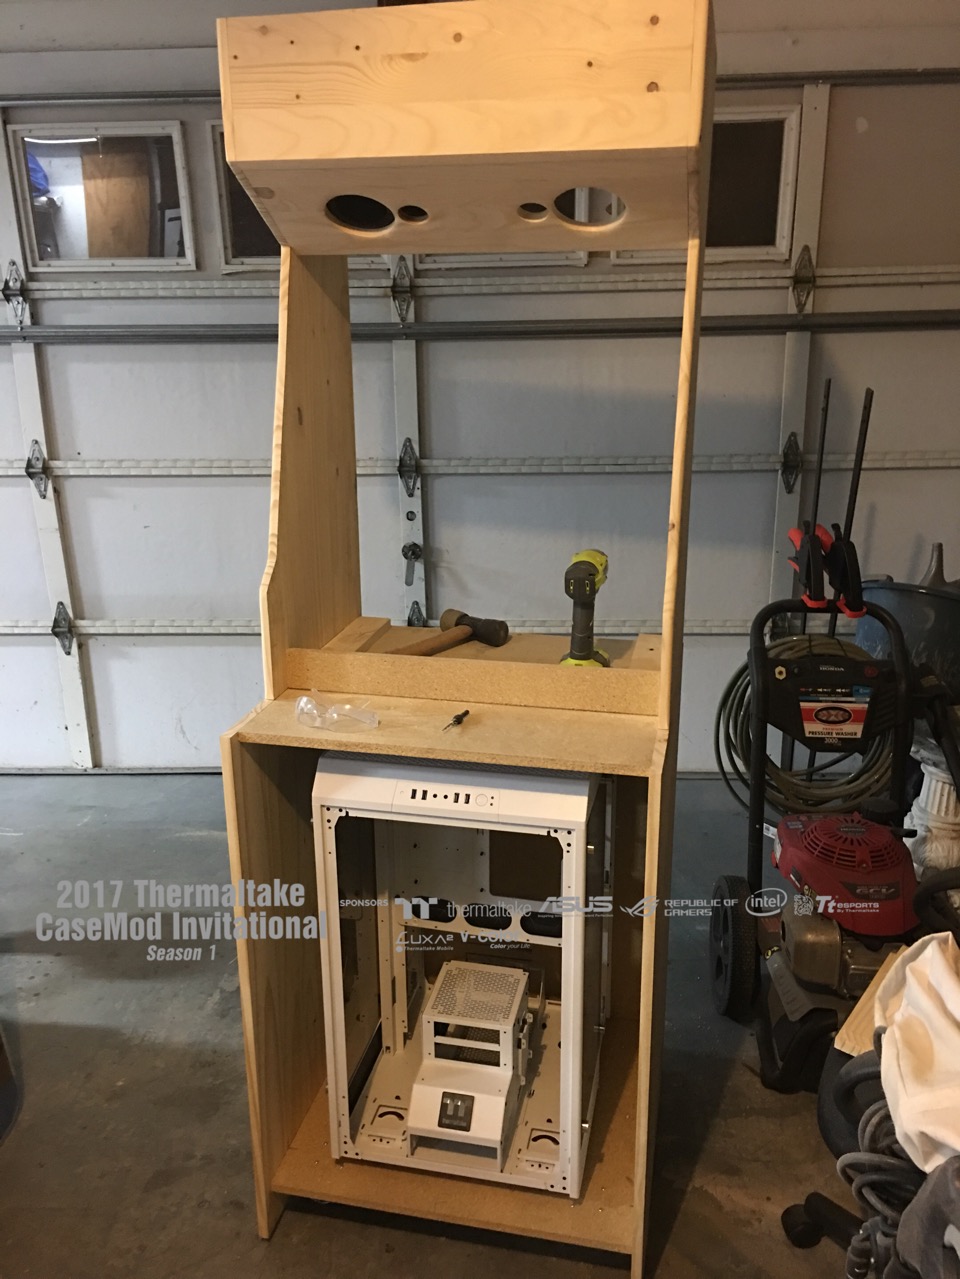
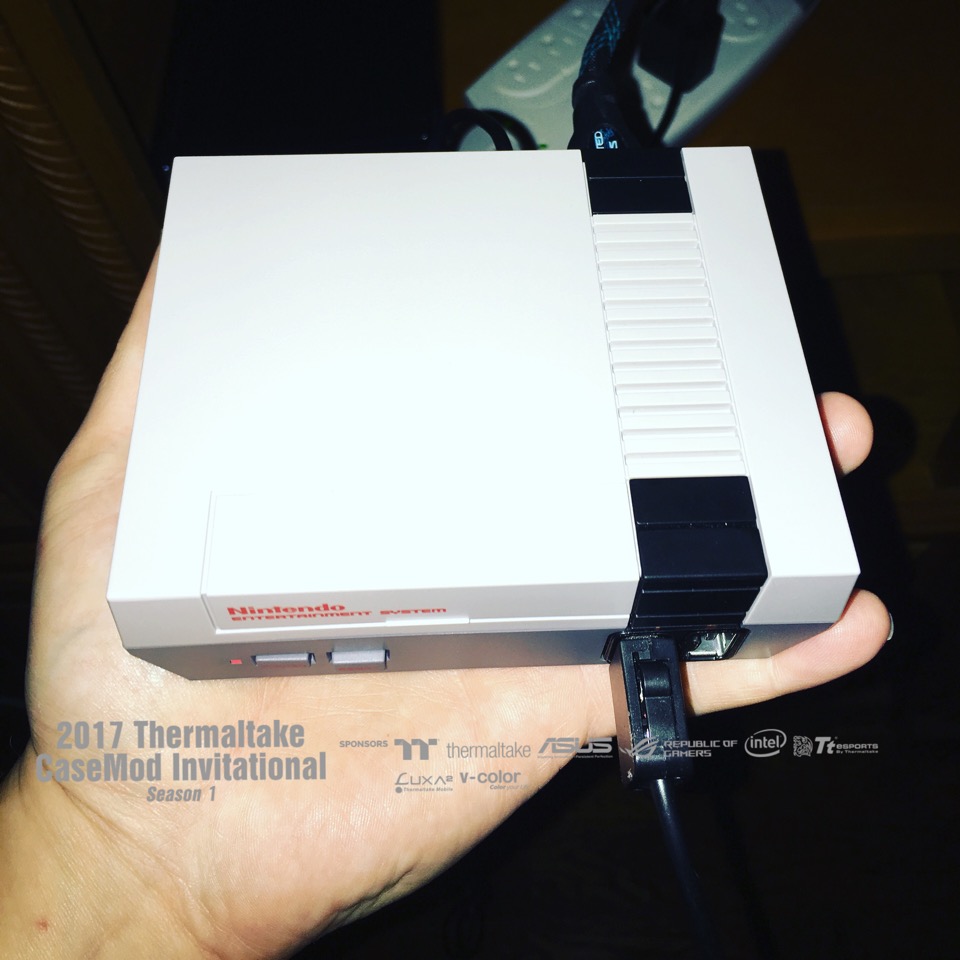
Here we see the mini NES Classic that will be integrated.
And finally we have the monitor mounted inside the cabinet.

Will have more updates soon!
-
Interesting to see how the case will be included here.
Looks like it will be only a 1 Player acrade? Or did you already thought about a button layout. 3, 6 or 8 Buttons?
Stay tuned for case integration.
It will be two player arcade. Stay tuned for controller layout
Nice, keep up the good work, my vote is with you!
Thanks!
it is Arcade?
YESSIR!
Looking good... your garage looks like mine does. Haha - project central.

Yeah definitely lol Thanks!
-
So after some hype on social media, I decided to release my initial idea for this project. I am calling it "the Arcade" !!!
First I cut some wood, and will have a video on youtube showing that process that I will share here soon.
Next step was to begin dry fit assembly so I can take some more measurements.
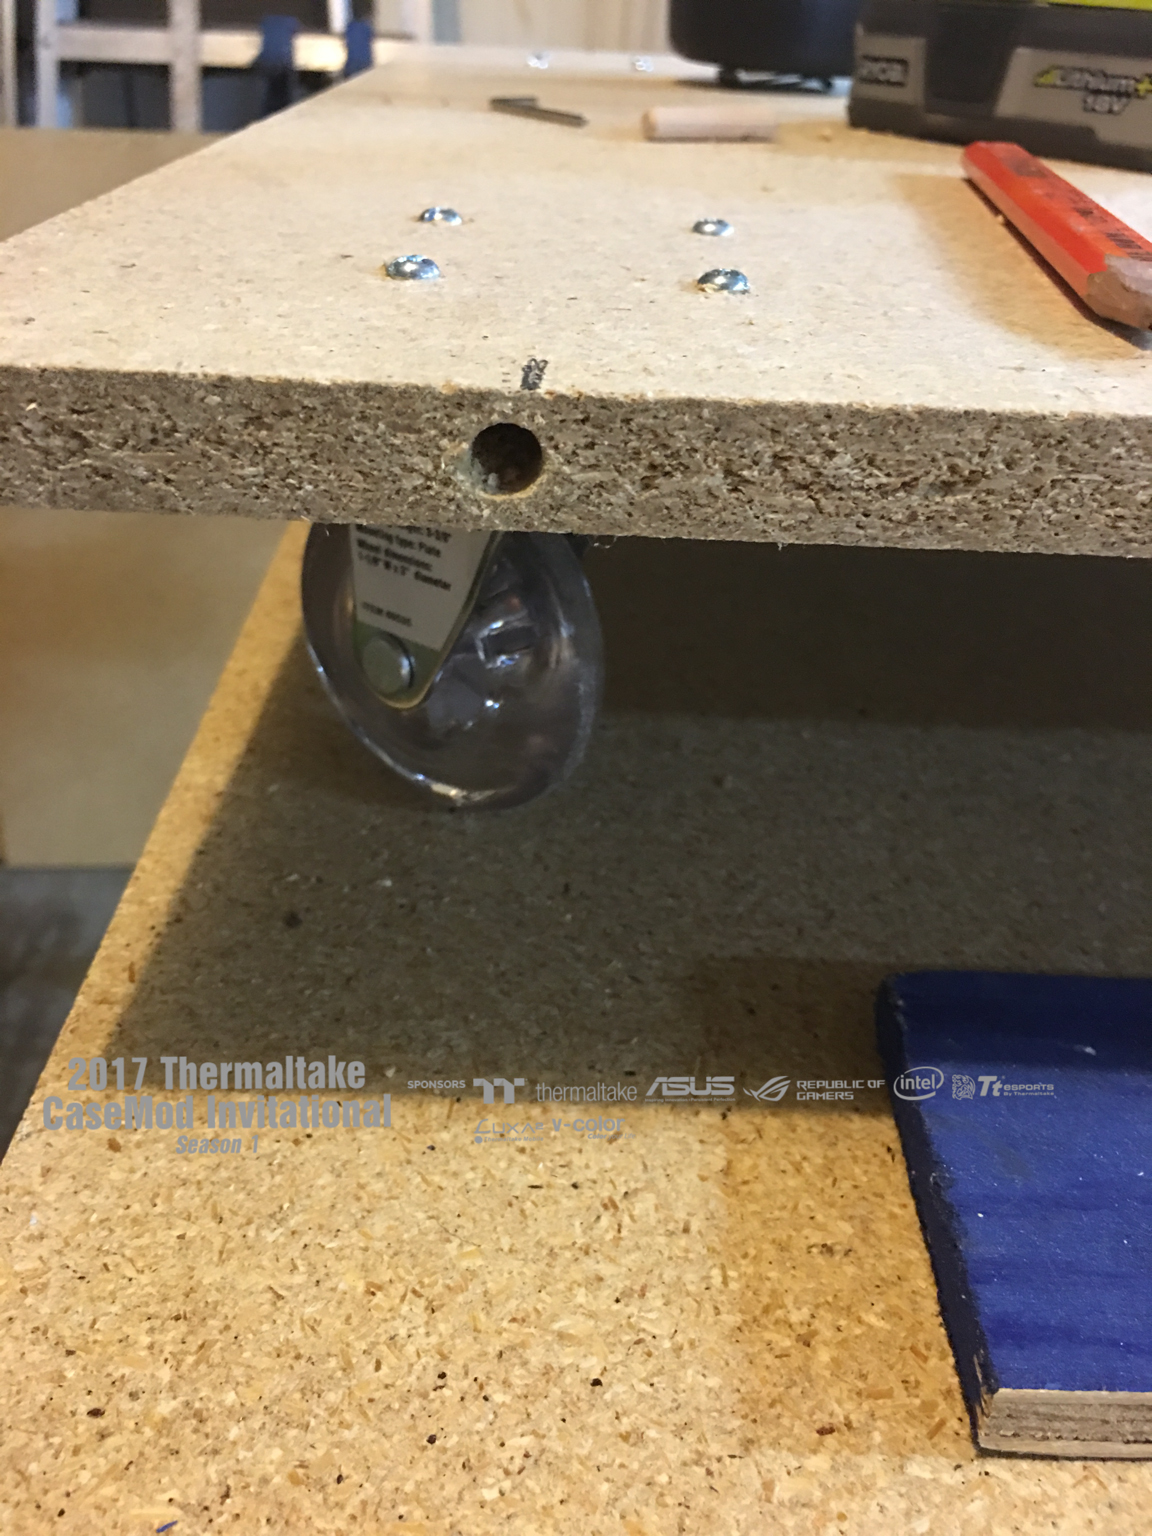
First we create the base, that has 4 casters, two are locking to hold the unit in place. This is very sturdy, each caster can hold 250lbs. I even tested the unit by standing on it like a skateboard.

So I started with my wood dowel bit and dowels that will eventually hold everything together.
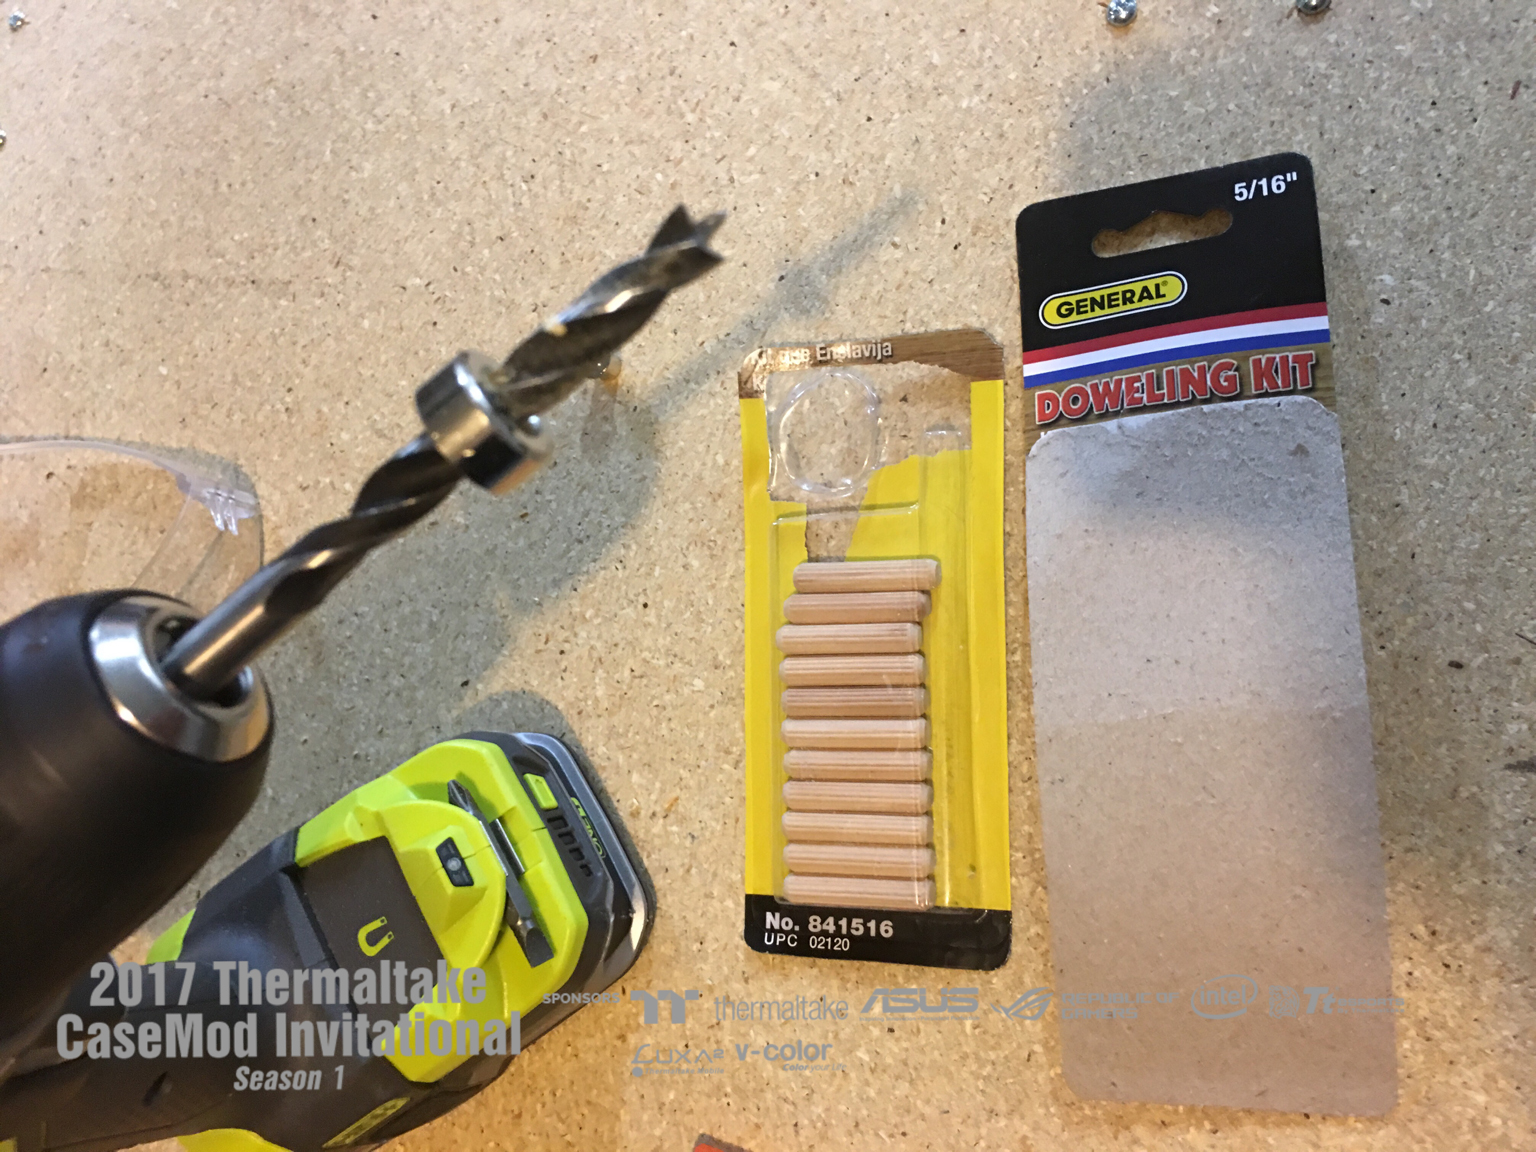
Then we have our holes to insert the dowels.
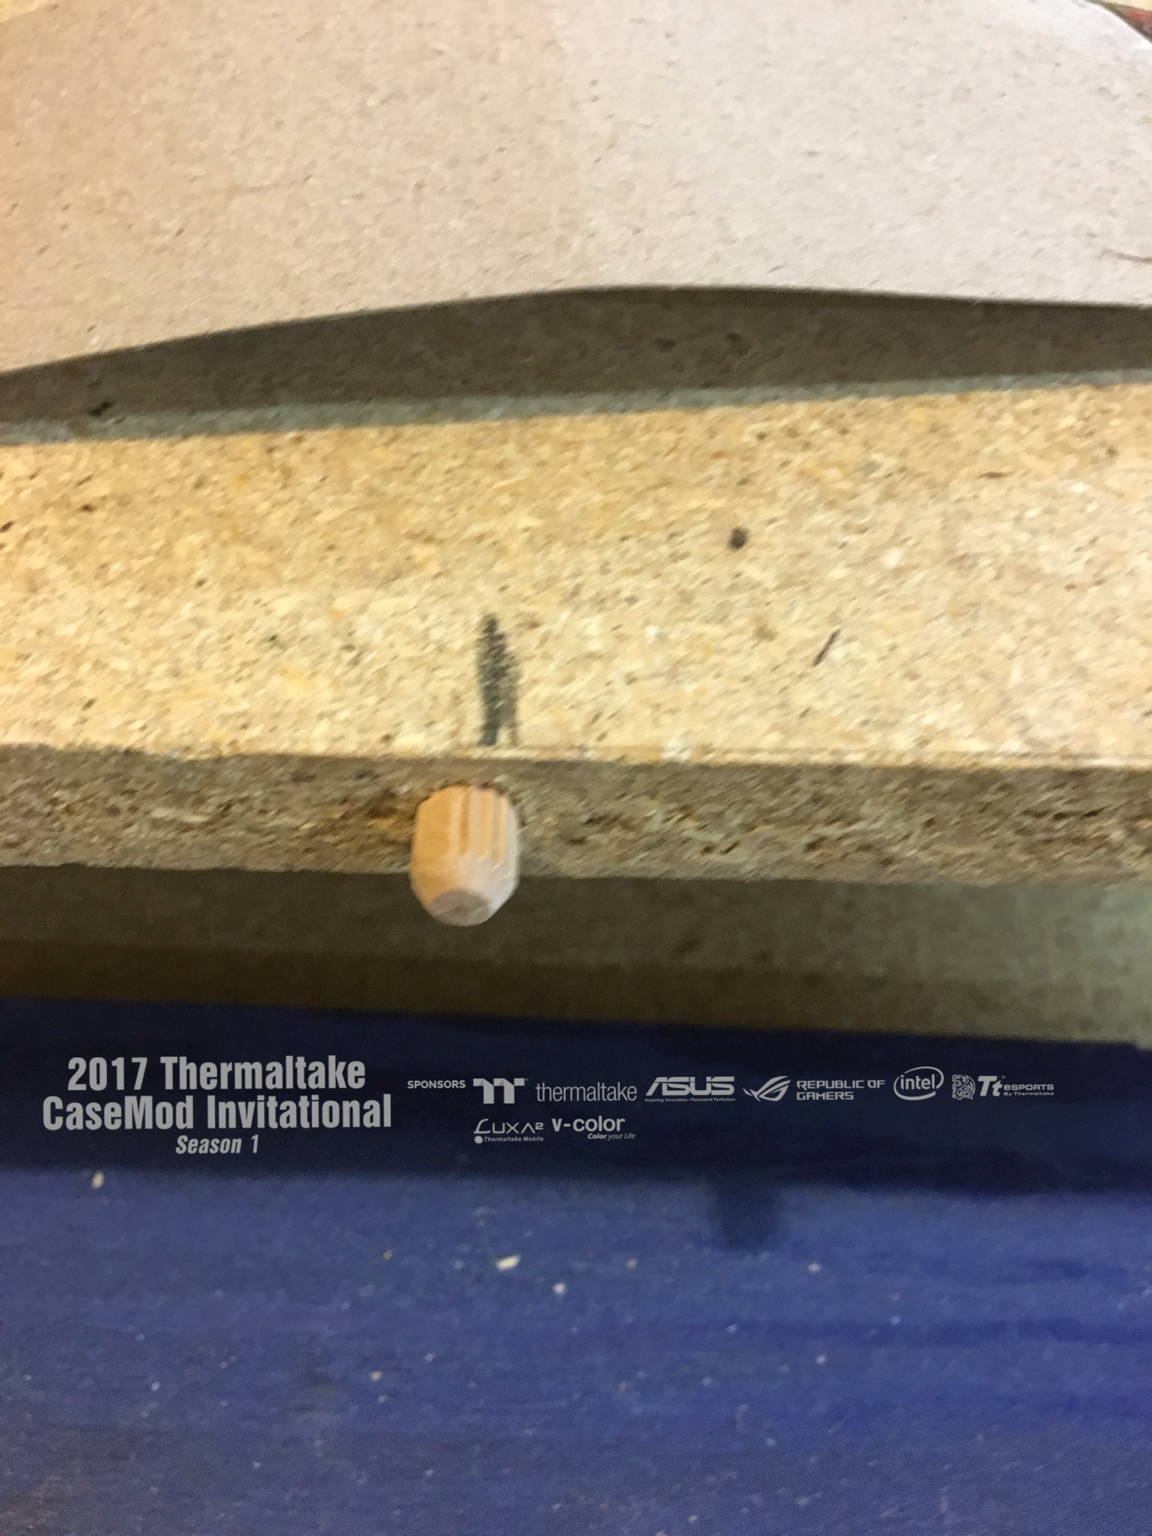
and more dowels

I want the overall look to be clean, but sturdy, so the dowels and a few screws will accomplish this.
Holes line up.

and voila, we have the base cabinet.

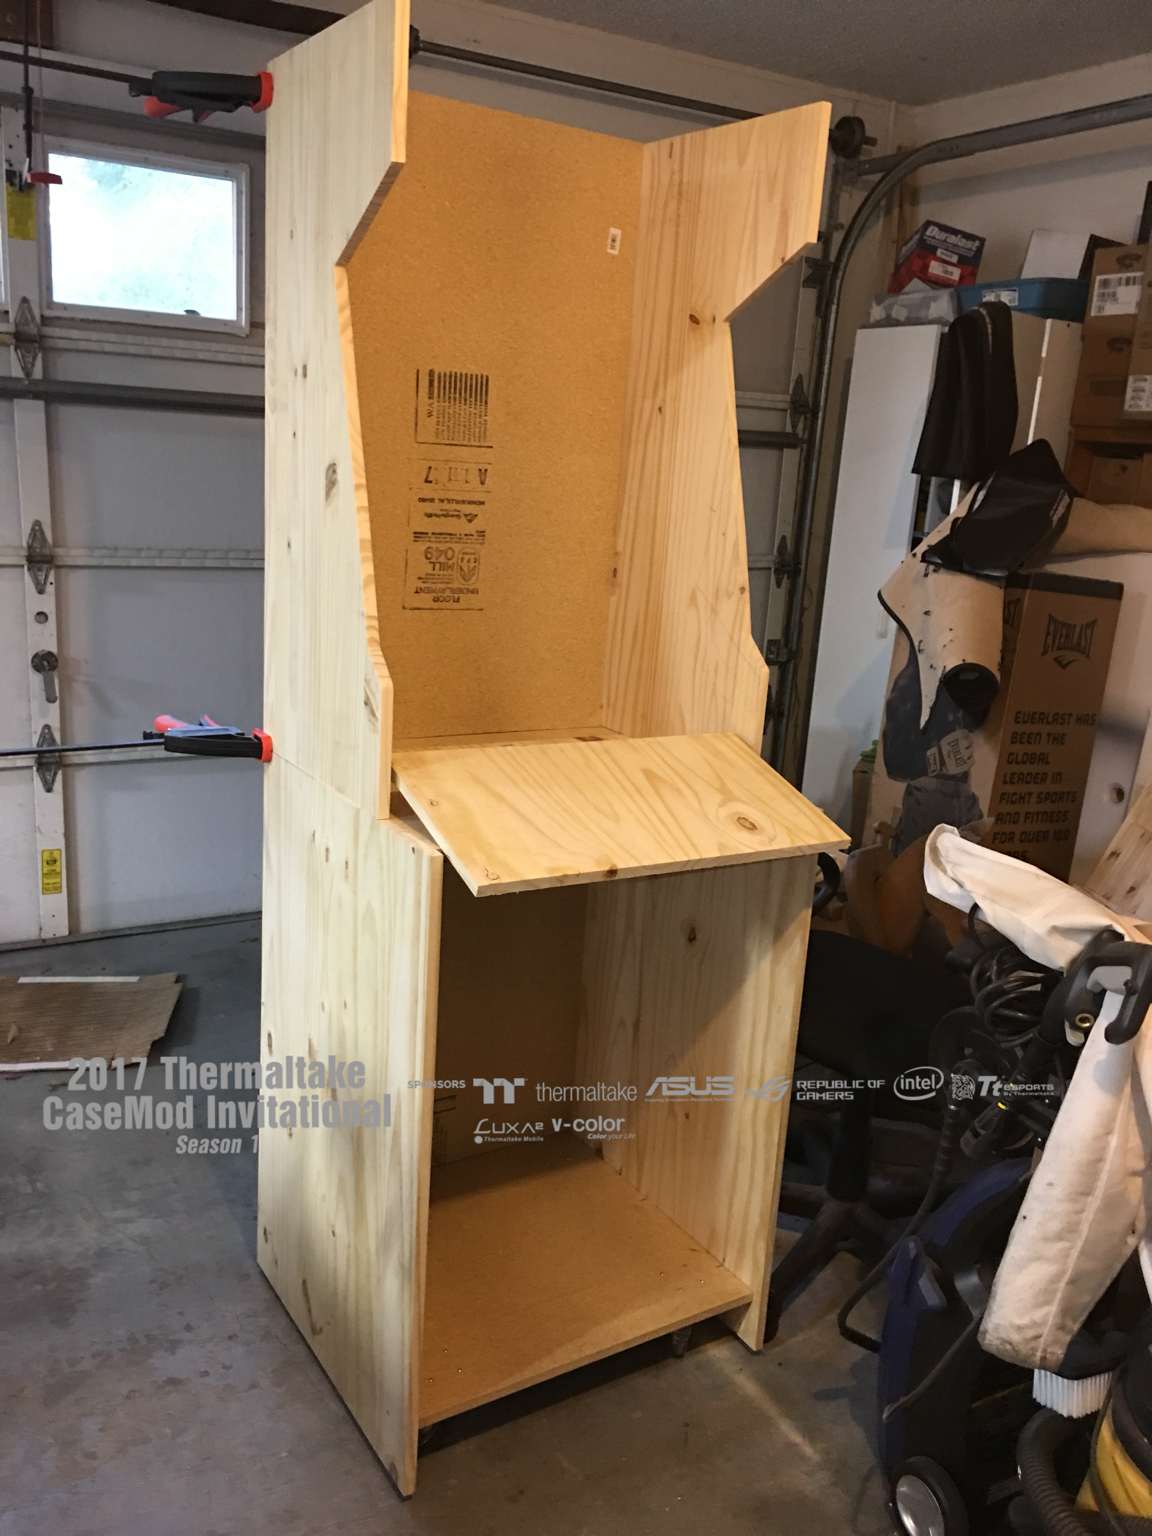
Next I used this countersink bit to hide the screw heads

Then I freehand drew the top cutout. After I was happy with the shape I took careful measurements, and made the lines straight. Then I cut one side, and laid it upside down to trace to cut the other side so they were exact.

I have the top piece resting for now, just held on by clamps so I could take some more measurements and a few photos!
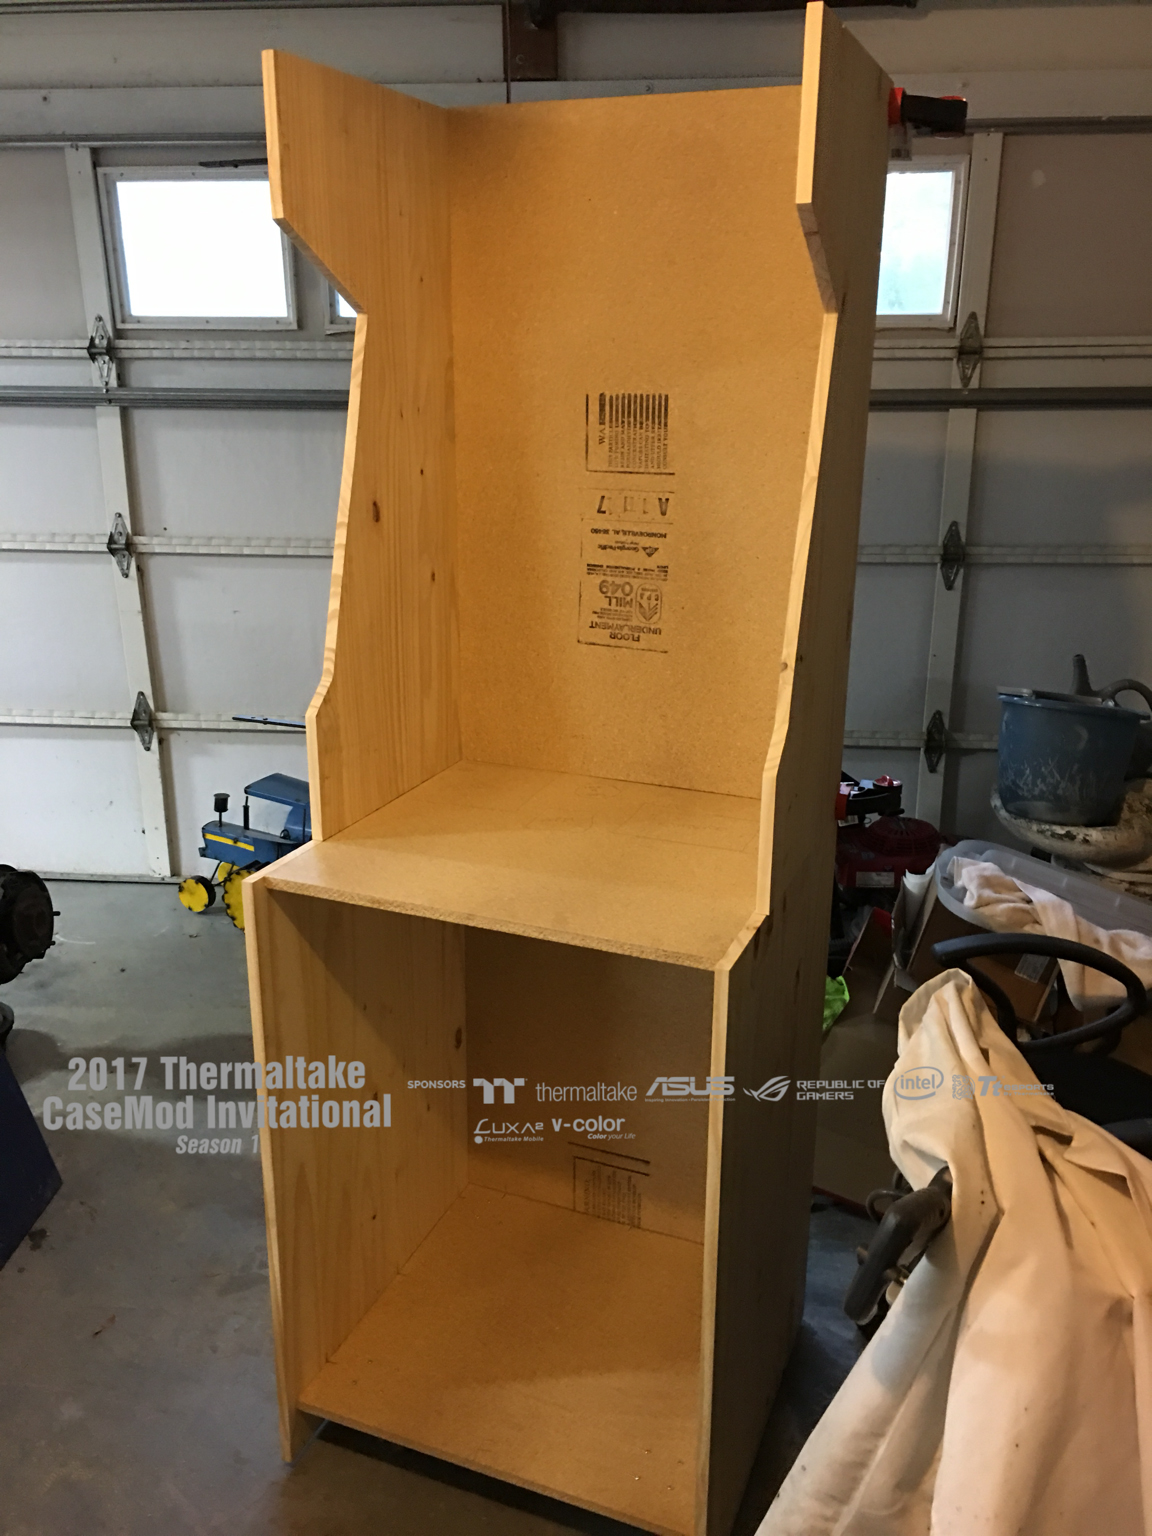

That is all for now, will have more soon!
-
-
Hello everyone.
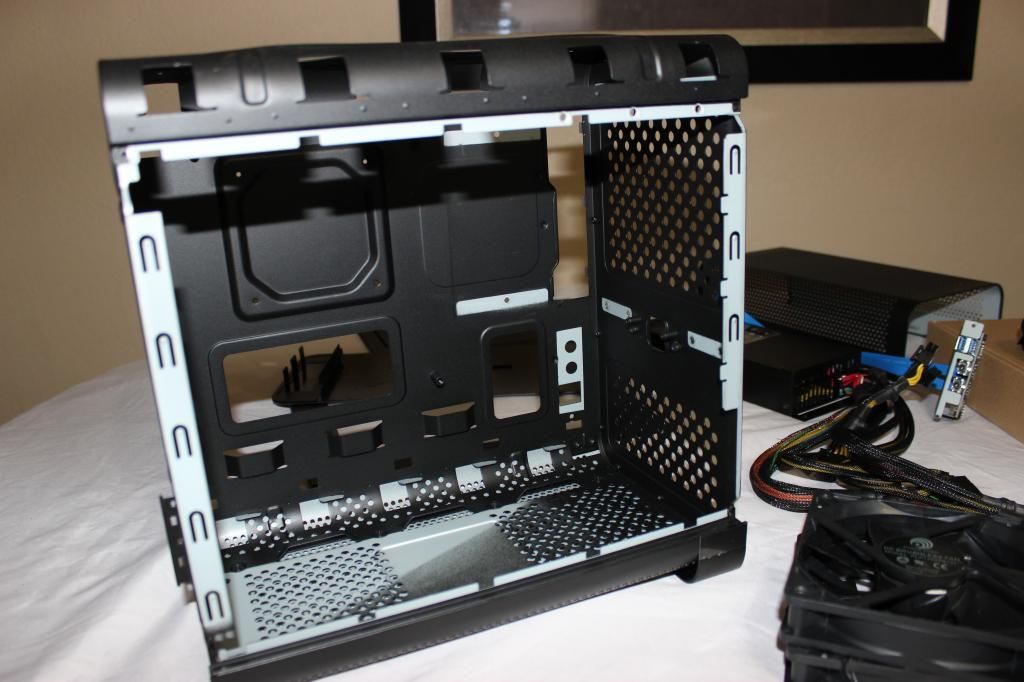
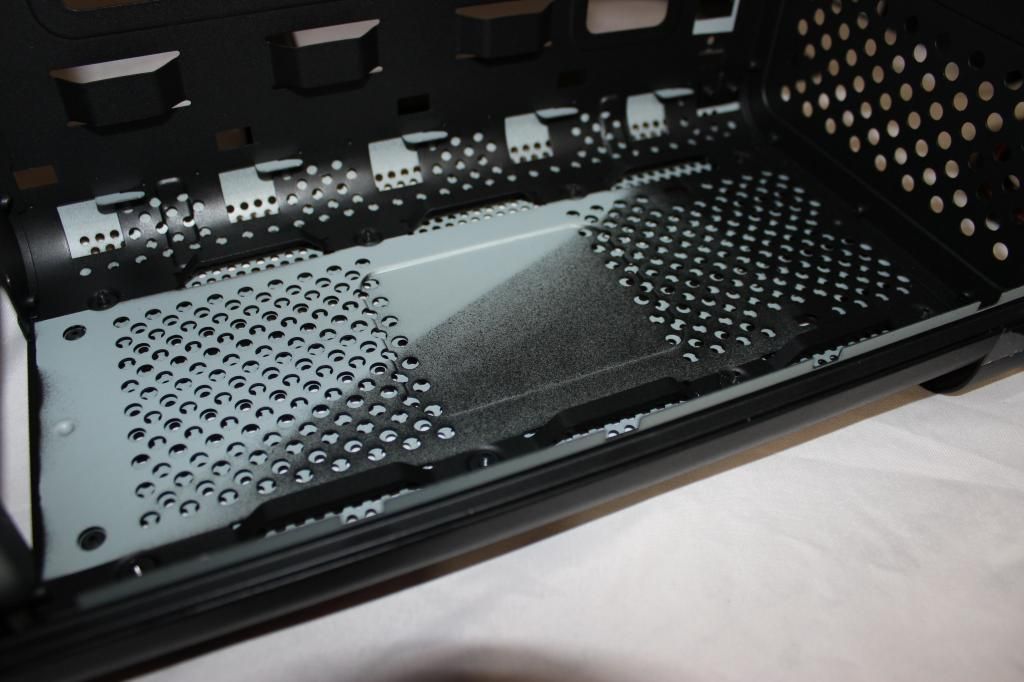
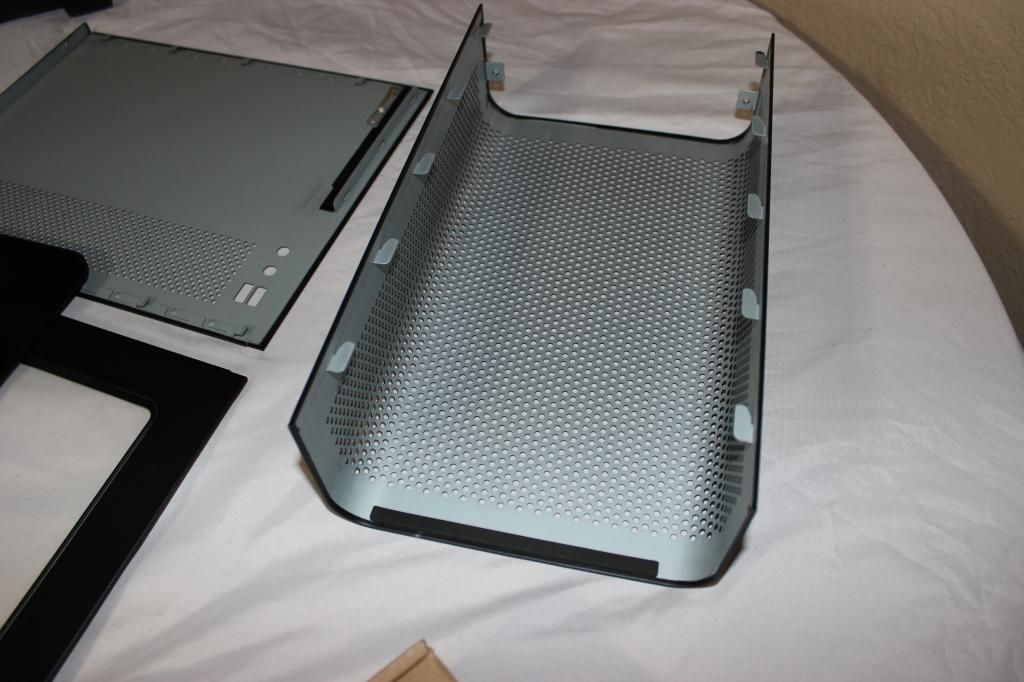
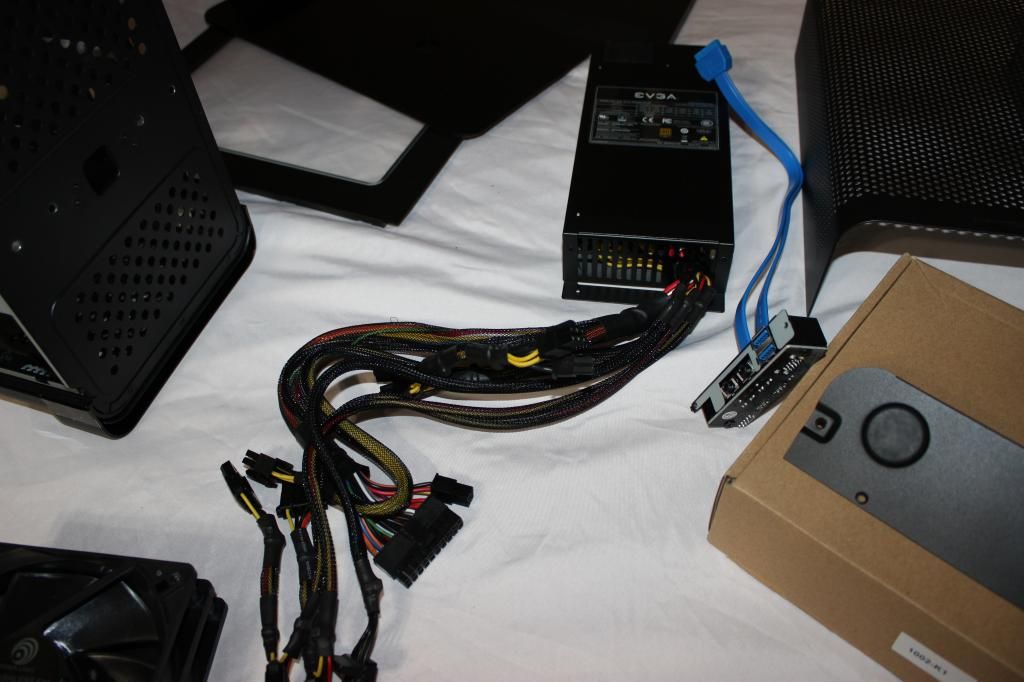
I have a video update #1 here for you as I have started to deconstruct the tower 900 and get some direction on how I want to mod. More coming soon!
-
Hello everyone, really looking forward to this competition.
I will be doing a lot of videos that will be posted to my YouTube and linked here of the modding processes and general ideas that I have.
Make sure to subscribe and stay tuned!
-
Looks great Nick, excellent job!
-
-
Looking great bro, can't wait to see the updates!
-
Nice looking components, can't wait to see the modding!
-
Will have to try for a higher score later

-
Looking Awesome Mike!
-
Thanks Nick, hopefully the final updates to this mod will be coming soon!
-
Looks Awesome Mike! The inside of that power supply is just #### sexy!
Can't wait to see that nice Orange to contrast the Chrome!
-
Only cause you asked for it
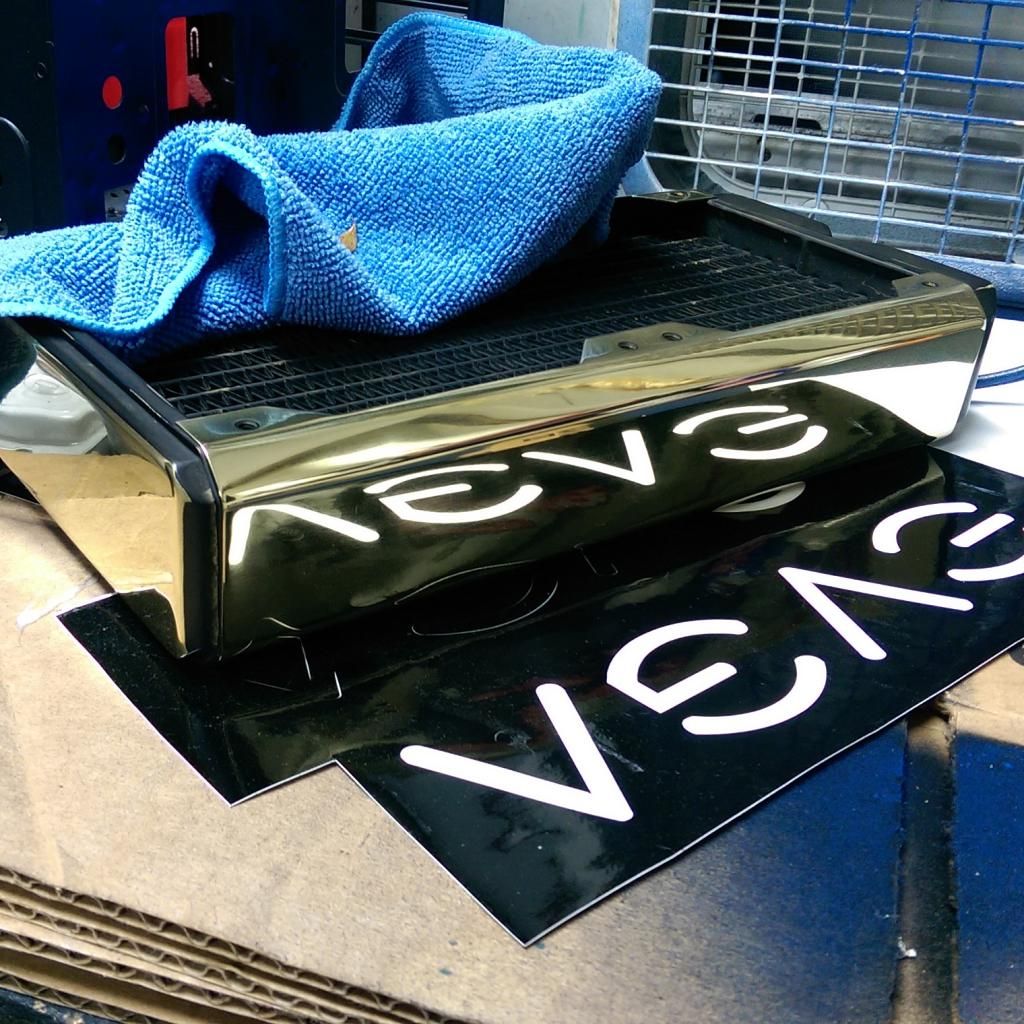
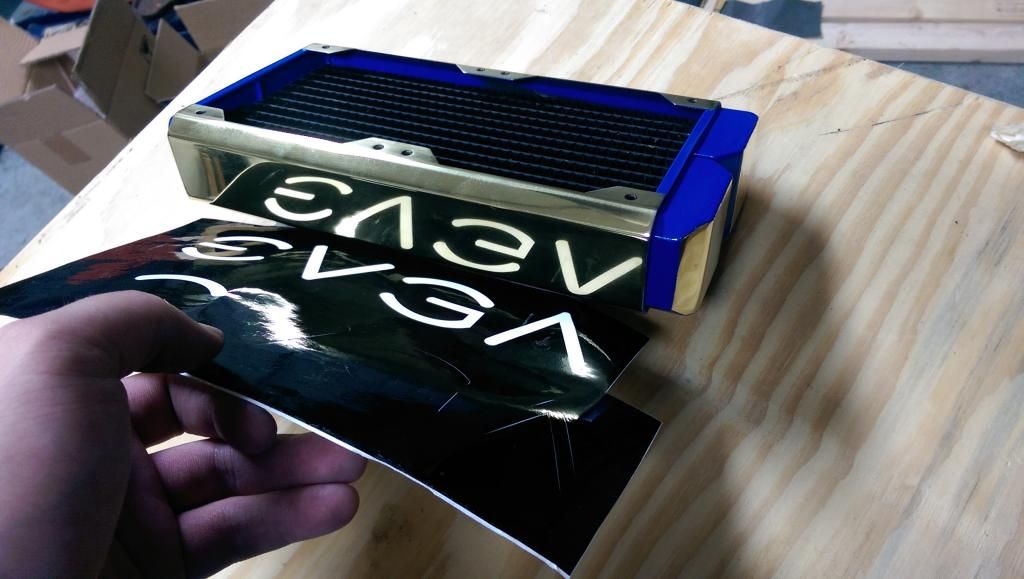
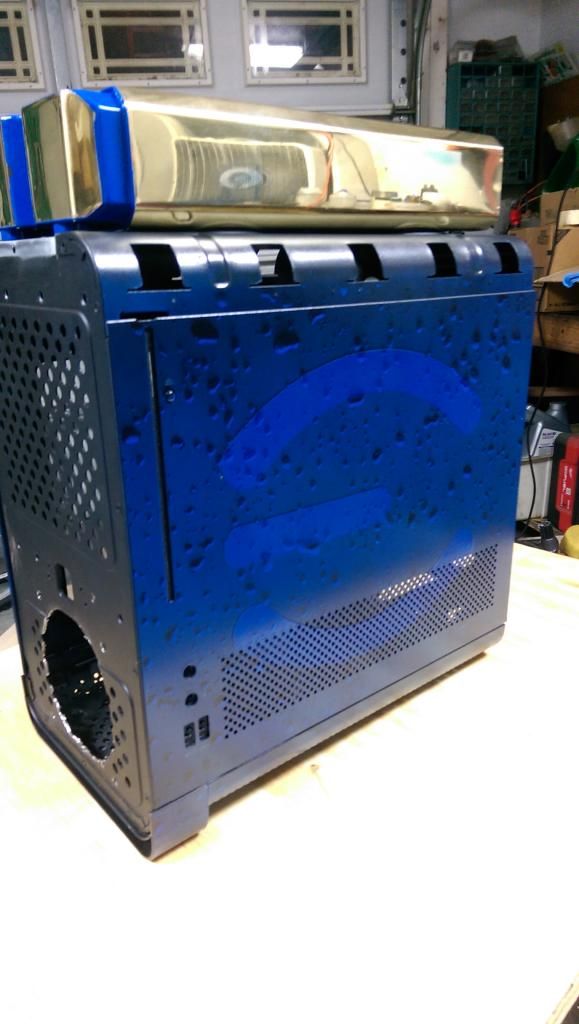
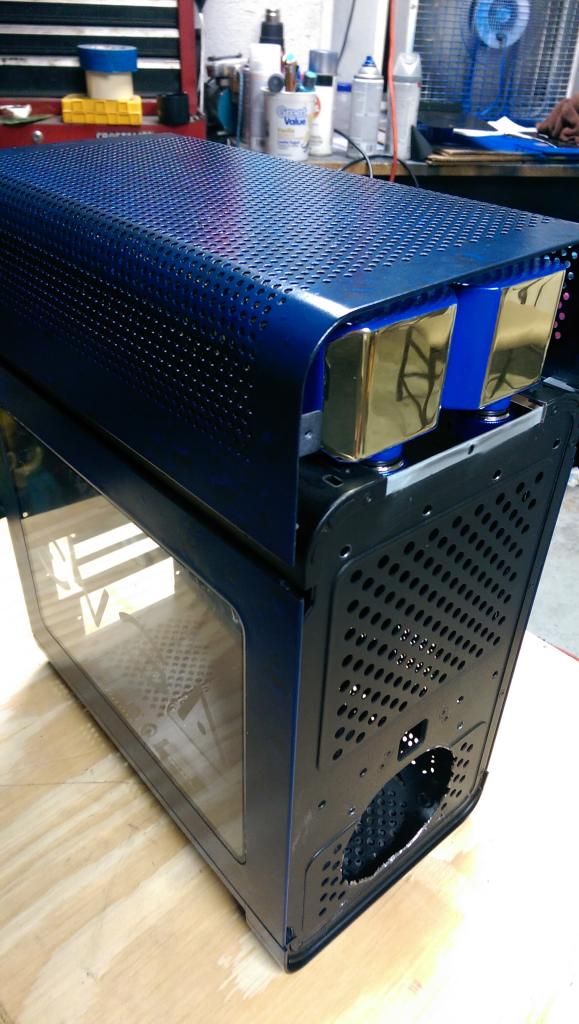
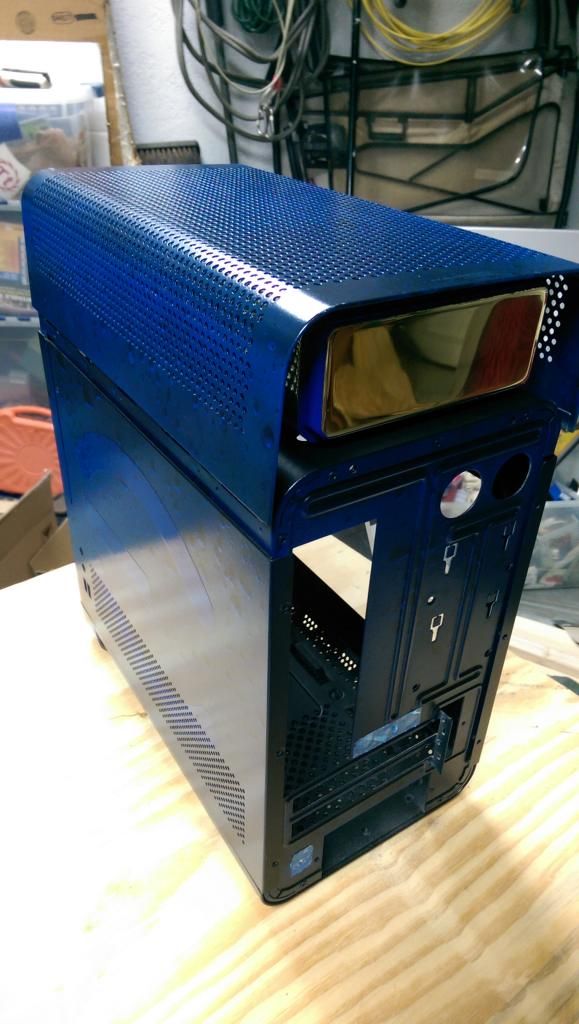
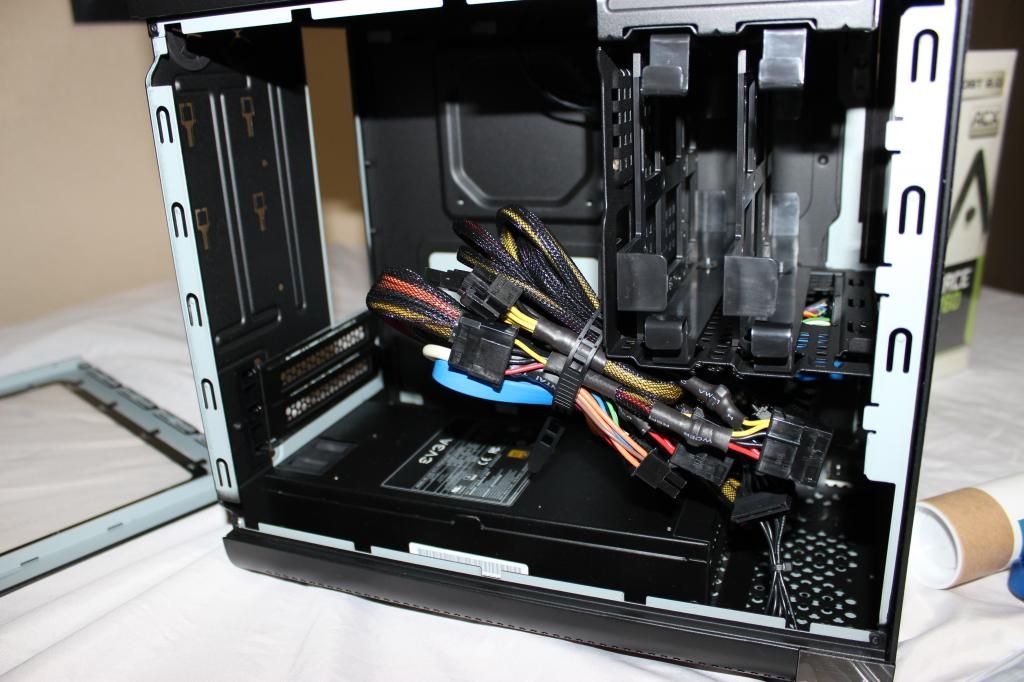
Ok guys, I have been very busy, but have been working on the Hadron and will have it completed by this weekend.
So far, I have done a complete paint job, modded the front, and the top. Custom polished and painted radiator, still have a little cutting left to do to the chassis.
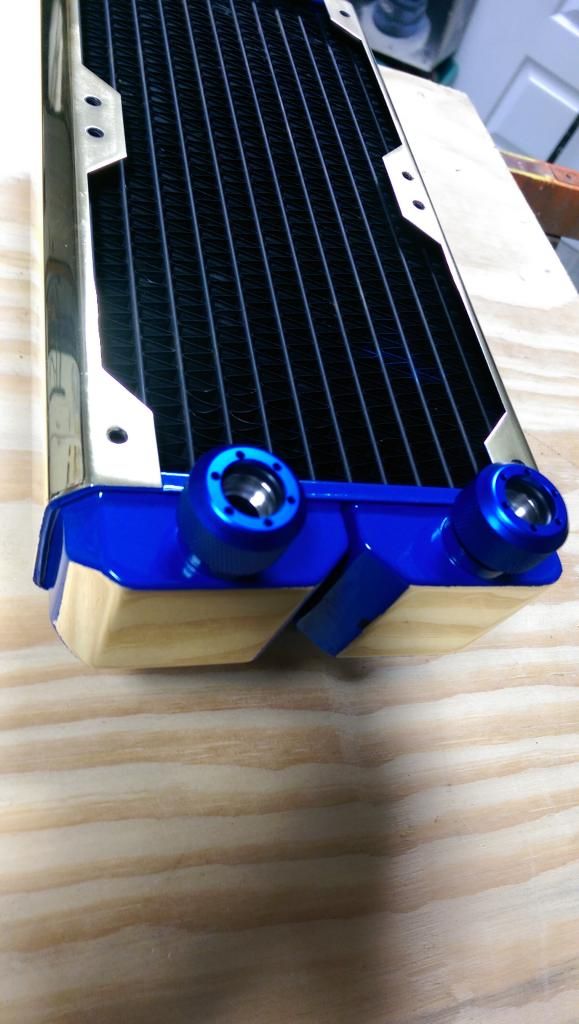
I basically wanted to add airflow to the bottom of the case, the graphics card will be aircooled for now, and the power supply being a 1U unit, only has a very small fan, so the additional airflow should help cool those components.
Also the hard drive cages have been removed, to make way for the watercooling and other modding goodness
Enjoy!
I have more pictures, and also high res shots, this is just a quick update, to hold you over until I can get a better update in! Thanks for watching!
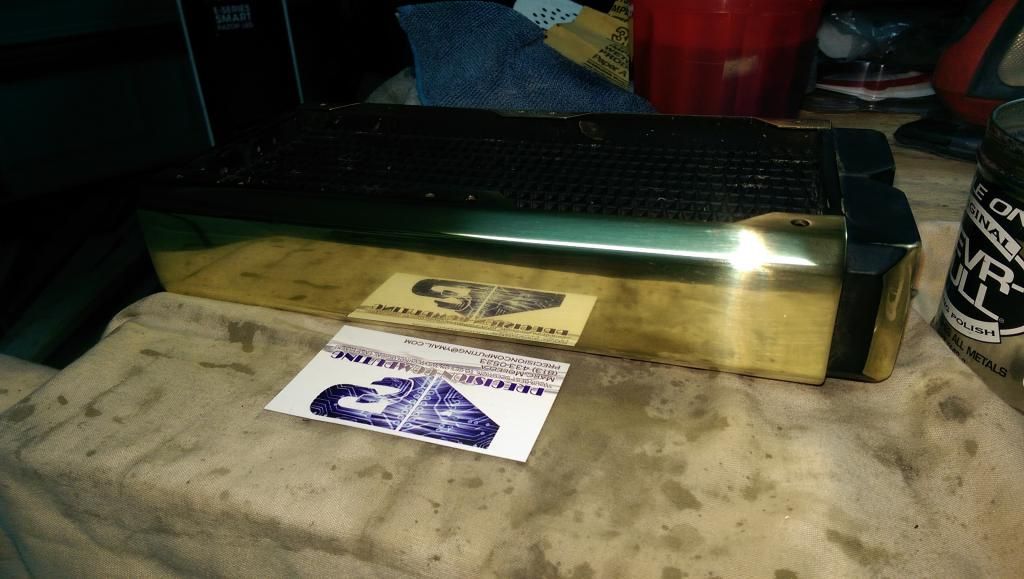
p.s. yes that radiator is polished copper, then painted the remaining blue to match the rest of the fittings and tubing, and it really looks so much better in person!
~Marc
-
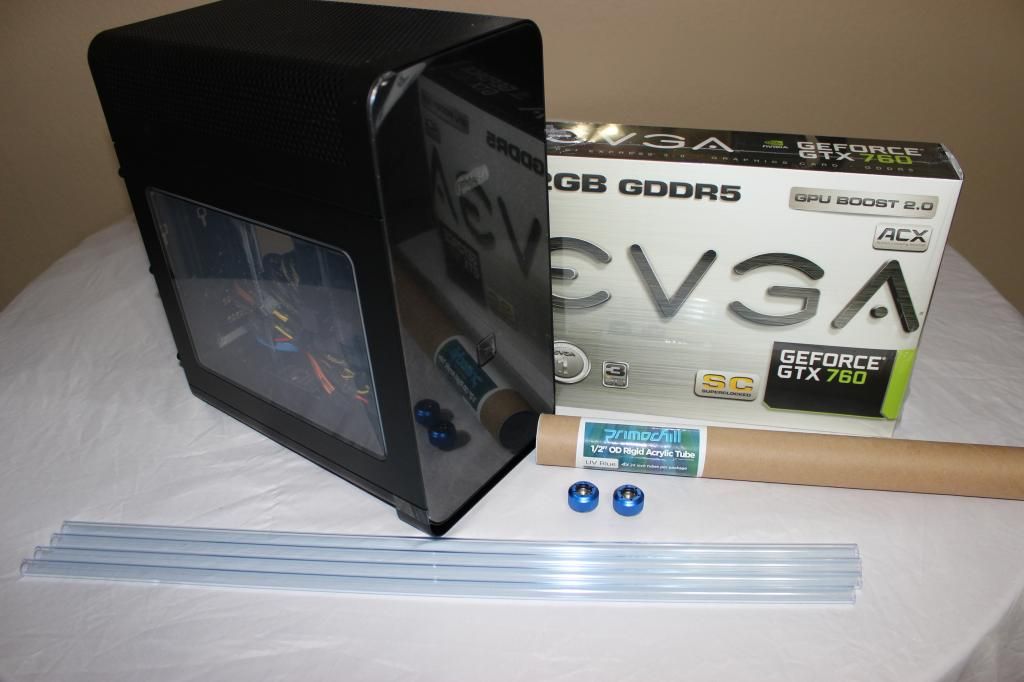
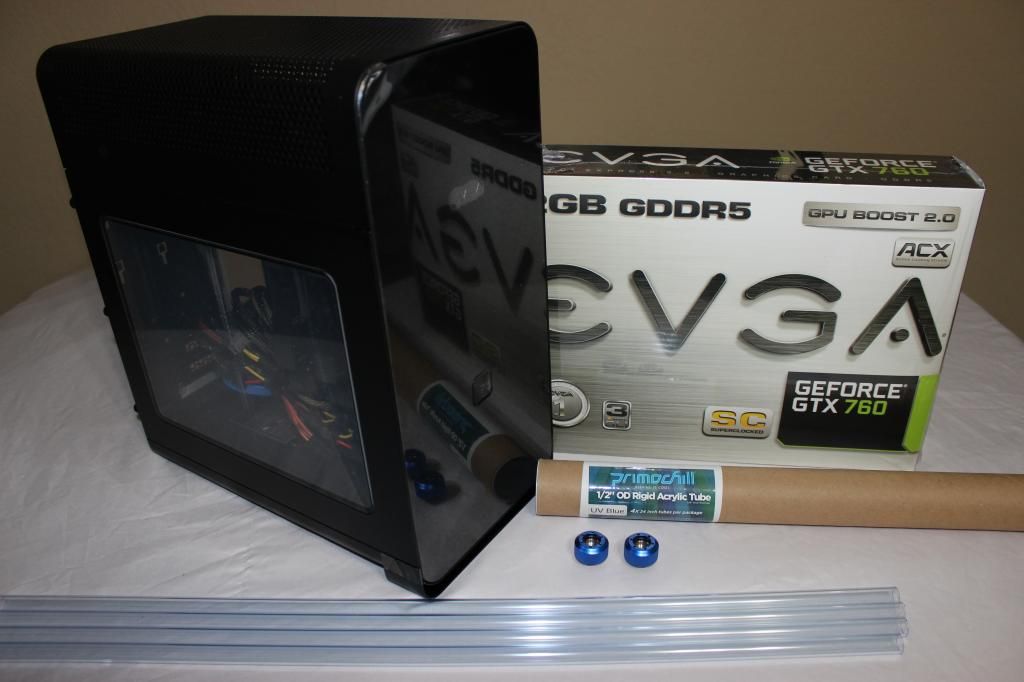
Thanks guys, have another little preview for you
-
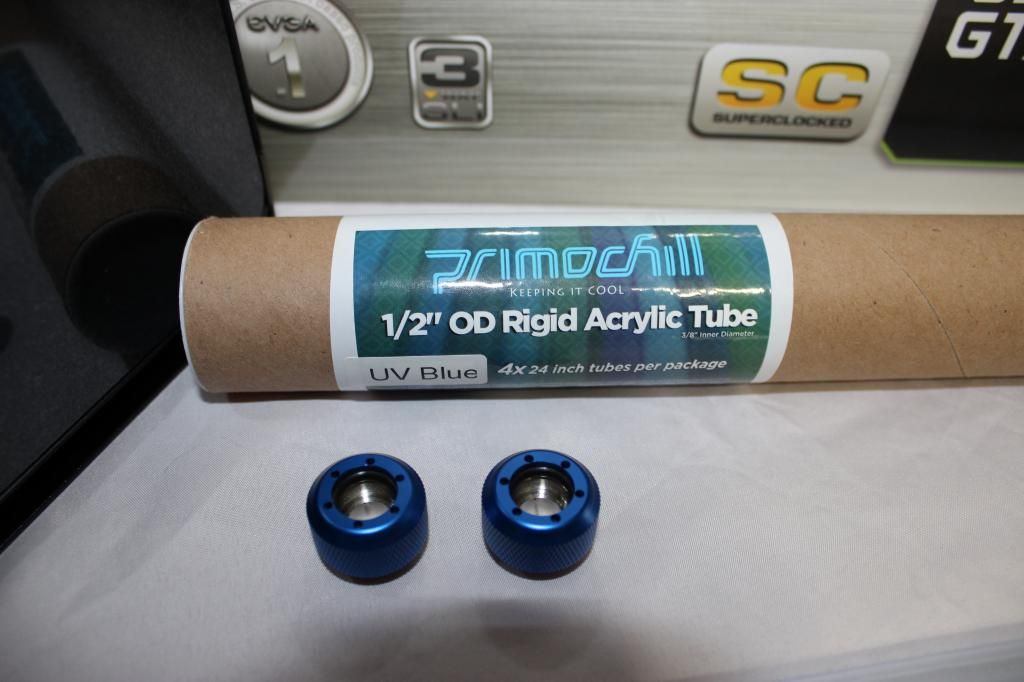
Yay!! I am also a primochill fan.. use their hardware for all of my watercooling builds.
Is this your first hard tubing build? I curious on why you passed up PETG for hard acrylic.
I have used both and PETG is soooo much easier to work with..the bends are very forgiving...the plastic itself is bendable even and I had almost no bubbles. Worth taking a look at if you get frustrated with the hard acrylic..primochill also sells the petg.
Look forward to seeing your build progress!!!
Not the first time I have worked with rigid tubing, will be the first in such a small build. I already had the Primochill tubing, no need to order more
-
Hello Everyone! :cool: So I am starting a new mod project, that should be completed this month.I will start off with a few pictures and add them as I go! Will be doing some video shooting as well through out the log, and definitely a final overview, as well as my thoughts on the case.Hope you enjoy!
 Thank You,Marc


[USA] Marc Molella
in 2017 Thermaltake CaseMOD Invitational Season 1
Posted
Thanks!! Yeah who doesn't want an arcade machine in their house???") In my case this may end up in my garage!
In my case this may end up in my garage!