-
Forum Statistics
93.2k
Total Topics114.2k
Total Posts -
Member Statistics
173,064
Total Members16,800
Most Online

ThermalMike
-
Posts
1,020 -
Joined
-
Last visited
-
Days Won
46
Content Type
Profiles
Forums
Downloads
Events
Gallery
Blogs
Everything posted by ThermalMike
-
Hi! We currently do not offer the Riing Fans with sleeved color matched cables. They do have a black sleeve cover on them already to hide the wire pretty well. It's not to hard to do.. done a couple myself already and you can get the exact color cable you want to use for the rest of your sleeving. Not every red is the same red
-
Project SunkisTt - Chrome Frame, Candy Paint (Completed)
ThermalMike replied to ThermalMike's topic in Modding
Thanks AL! The holes are dimple die'd, you run the panel through a punch or cut out the hole first, then you put it on a press with another die and press it down to give it the dimple effect. I have a car buddy that has the machine and it was just a friendly visit to hang out and then do the work. The Rads have been stripped, sanded and then polished on a wheel to get them where they are in the photos. I still have some polishing to finish, once I get the remaining parts for final photos. Been gaming on it in the meantime XD -
Project SunkisTt - Chrome Frame, Candy Paint (Completed)
ThermalMike replied to ThermalMike's topic in Modding
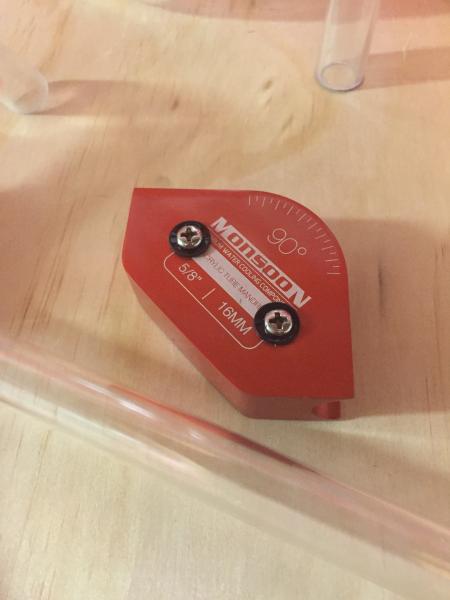
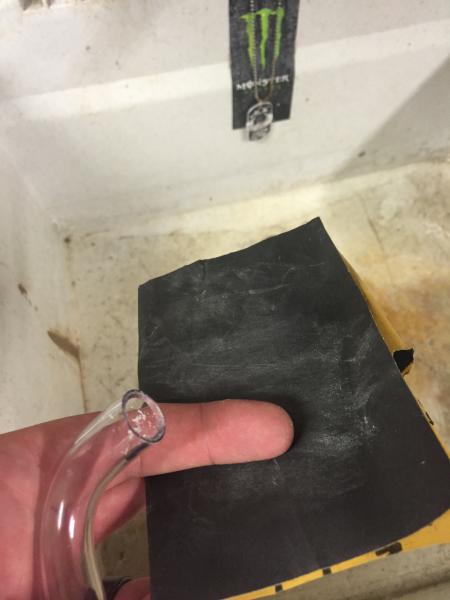
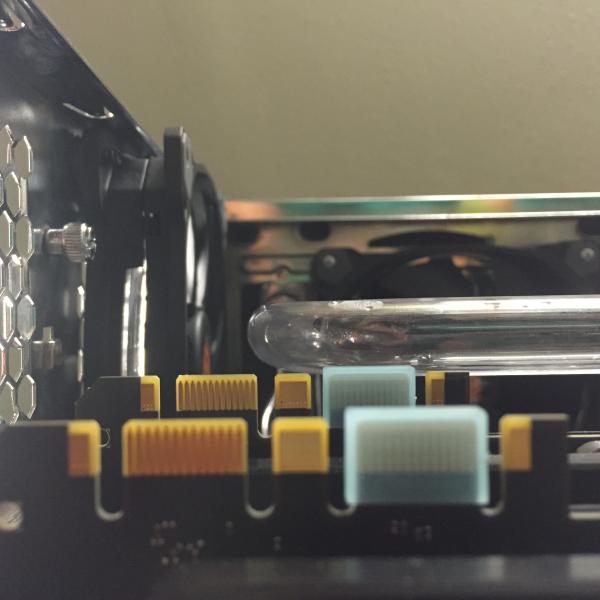
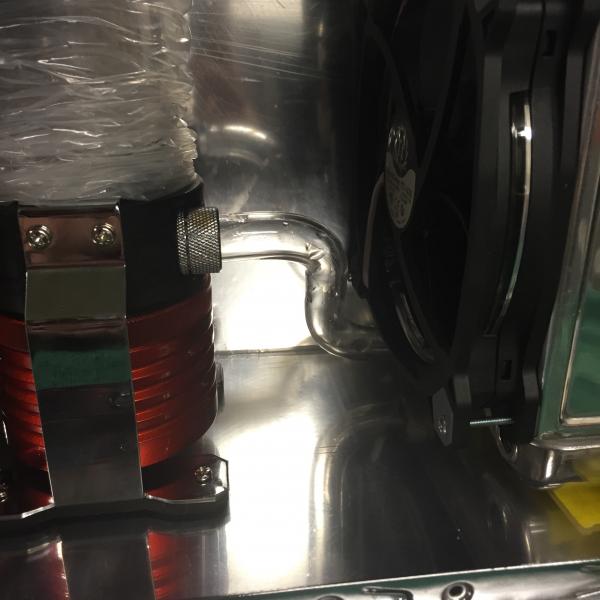
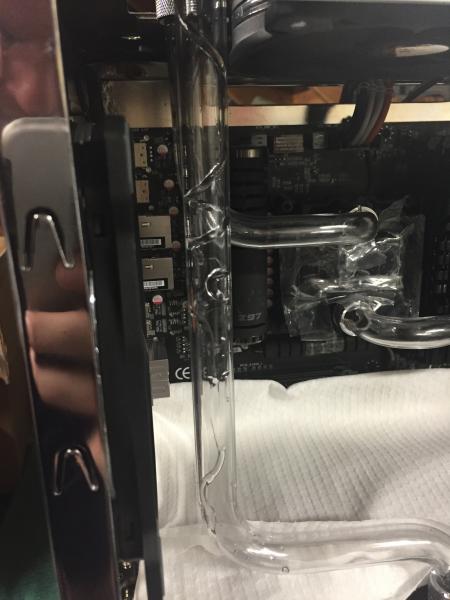
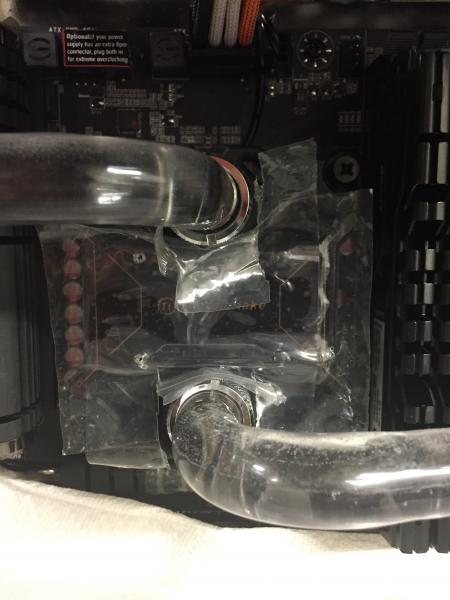
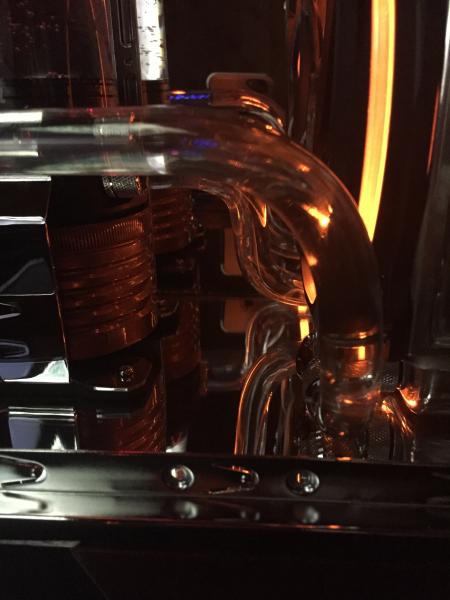
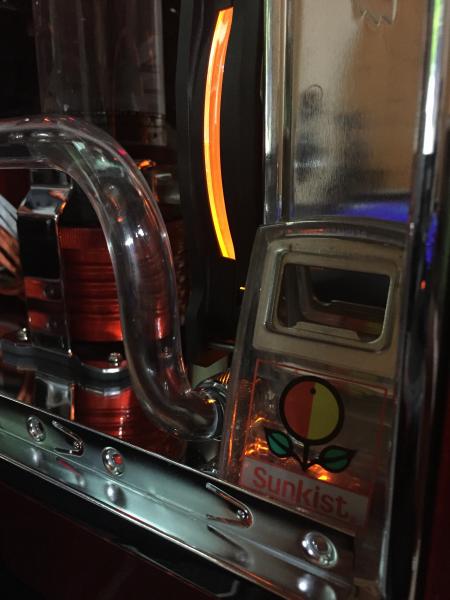
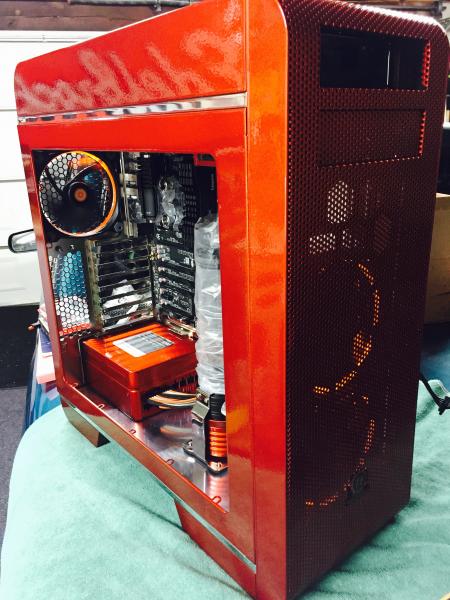
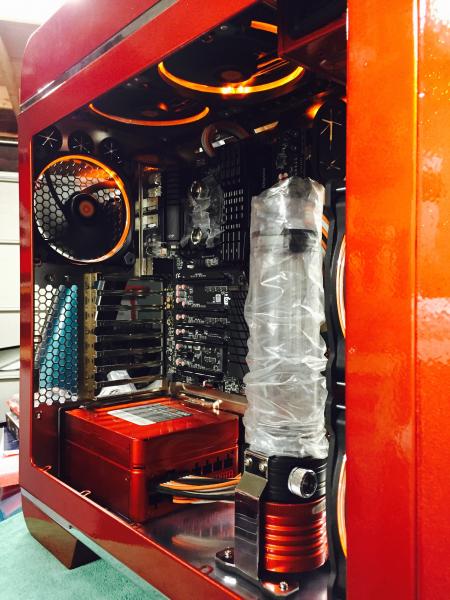
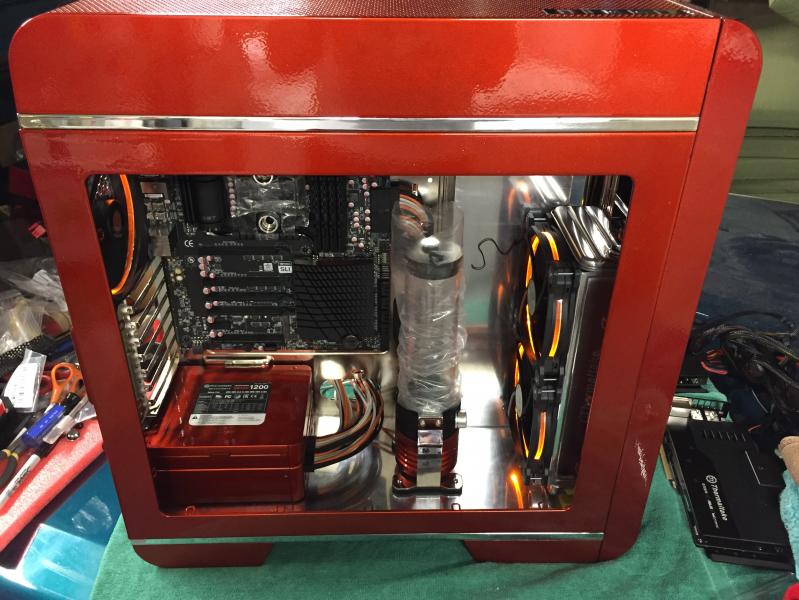
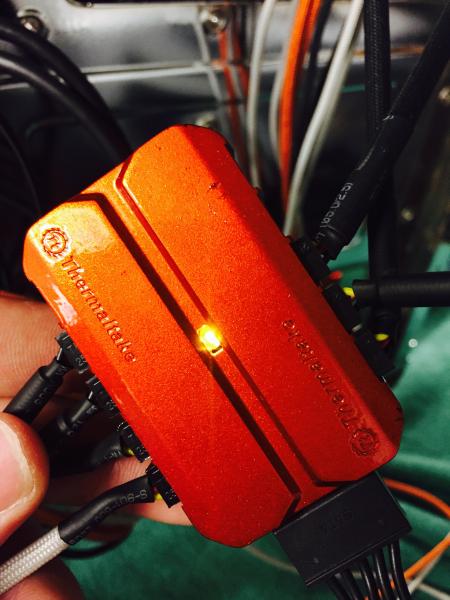
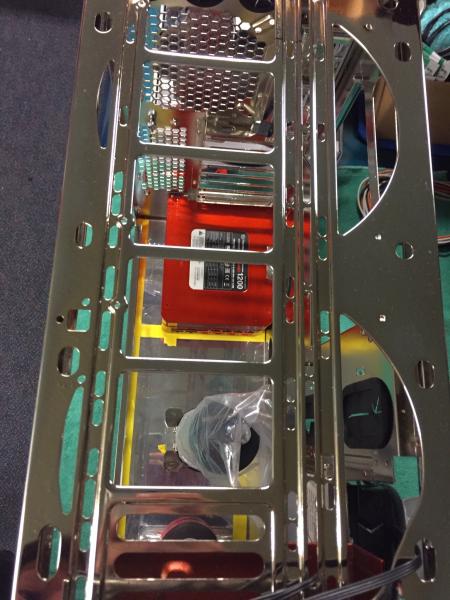
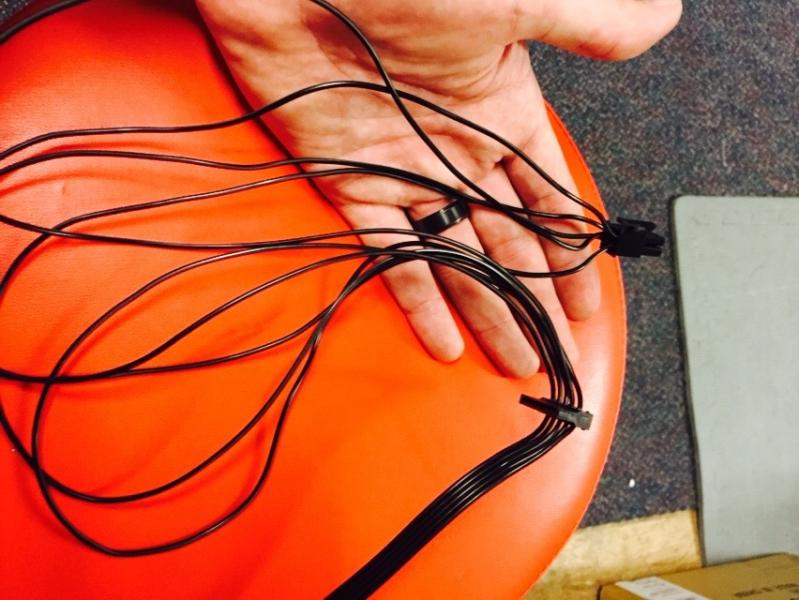
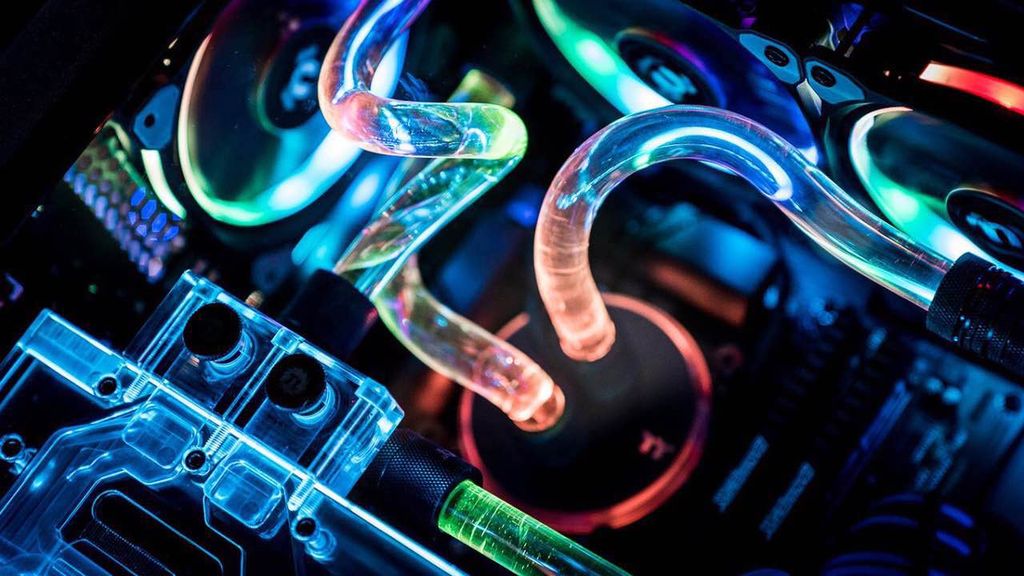
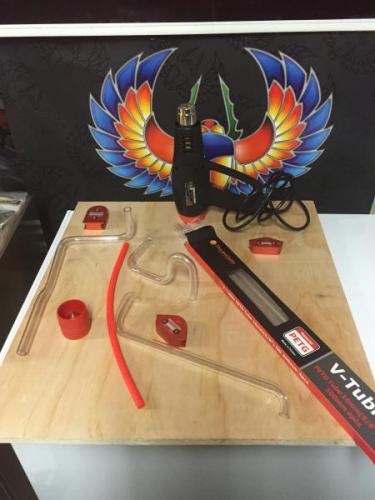
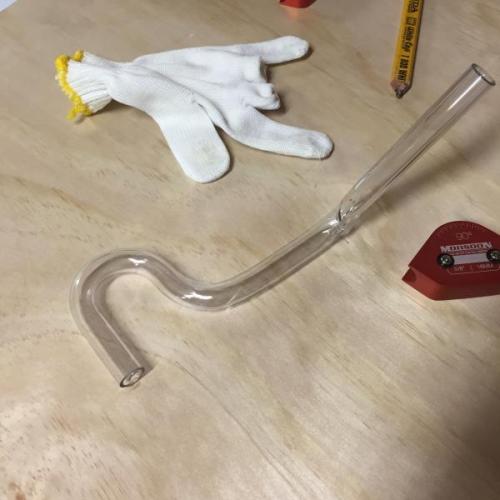
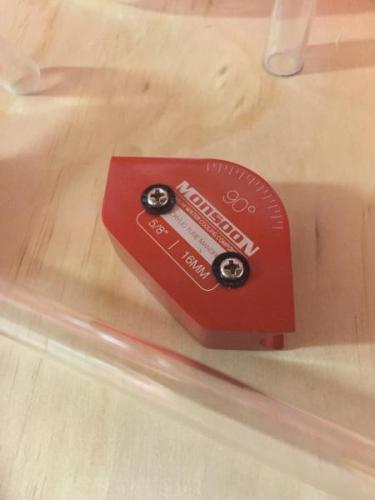
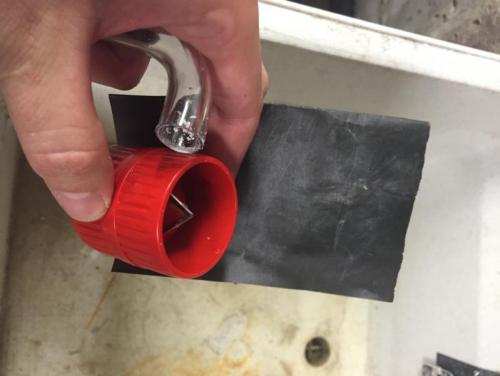
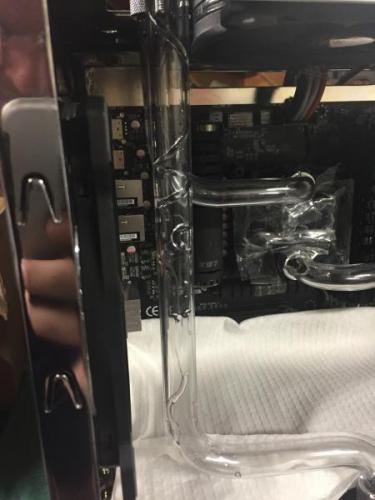
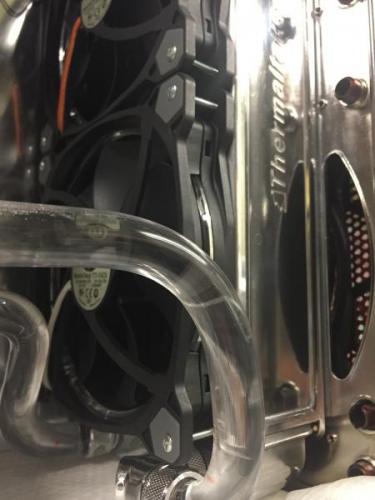
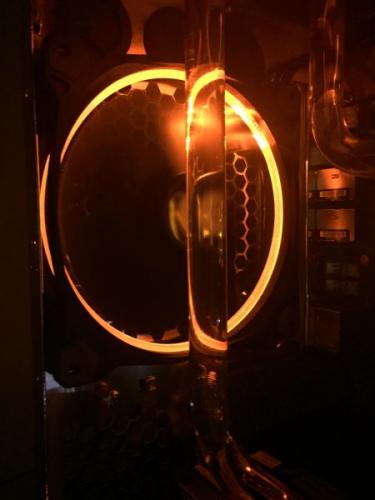
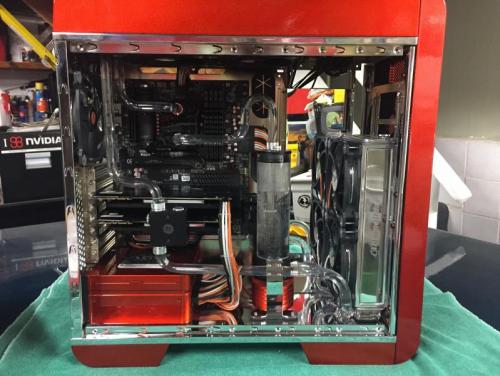
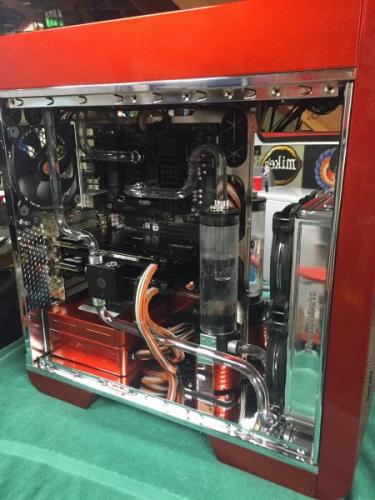
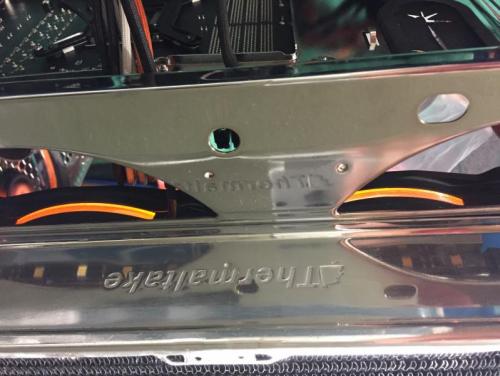
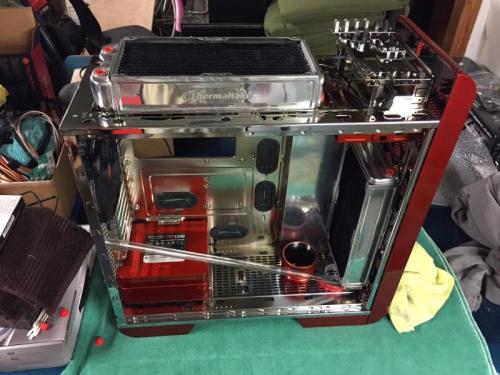
Now for the fun part of this build, Tube Bending!!! I would recommend to look into making a jig for your 45/90/180 bends if this is the road you want to take to get a good bend out of your tubing. Expect to not be perfect every time, here is one of my goofs For each end, you want to make sure to finish the ends properly by reaming and lightly sanding the ends. You do not want to damage your O-rings. Adding the first pieces Finishing up with the rest of the bends, we move on to leak testing. Here is a top shot of the tubing installed with the mirrors now exposed to give the infinity look for the interior components. This turned out just as I expected it to, was very hard on my part to not peel this off sooner! Here is the shorted SATA cable that will power my Commander FX 10-port fan hub. (I also made a custom cable for the SSD's that changed the connector locations on to fit the placement of the (2) SSD's and my optical drive on top) Removed the 6+2 extra connections and shortened the cables Here are some dark shots Wrapping up the bending process and cables, very close now and I can do some "testing" haha Gaming on it now! I left the protecting plastic on for a special guest that is coming by the office soon. HE is the boss after all..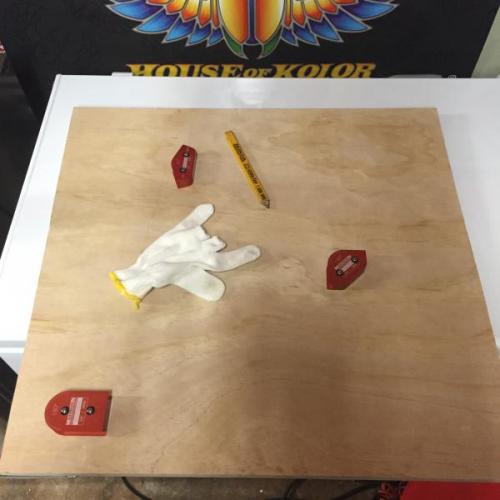


-
Problem with Thermaltake V3 Black Edition front panel
ThermalMike replied to med521's topic in Chassis
Flip the PCB board around? So the USB on the left is now on the right? -
Shasko, Sorry to hear something happened to the mouse. Contact our global support to setup an RMA: http://my.thermaltake.com/ctGeneral.aspx I did want to follow up as I have a Win 10 system here, I plugged the mouse in both 2.0/3.0 USB ports and had no issues. I wanted to also mention to check drivers for motherboard, especially USB for your case.
-
Safemode is done differently for Win 10, check this out: http://www.7tutorials.com/4-ways-boot-safe-mode-windows-10 I was not sure originally if you had tried without the drivers installed, thanks for the update. I am passing this over to our team to review. Does another mouse work if you have?
-
Hi, What Theron model is it? Some suggestions: disconnect > reconnect the mouse in windows Boot into safe mode and uninstall mouse software test in windows and then reinstall software keep us posted
-
Project SunkisTt - Chrome Frame, Candy Paint (Completed)
ThermalMike replied to ThermalMike's topic in Modding
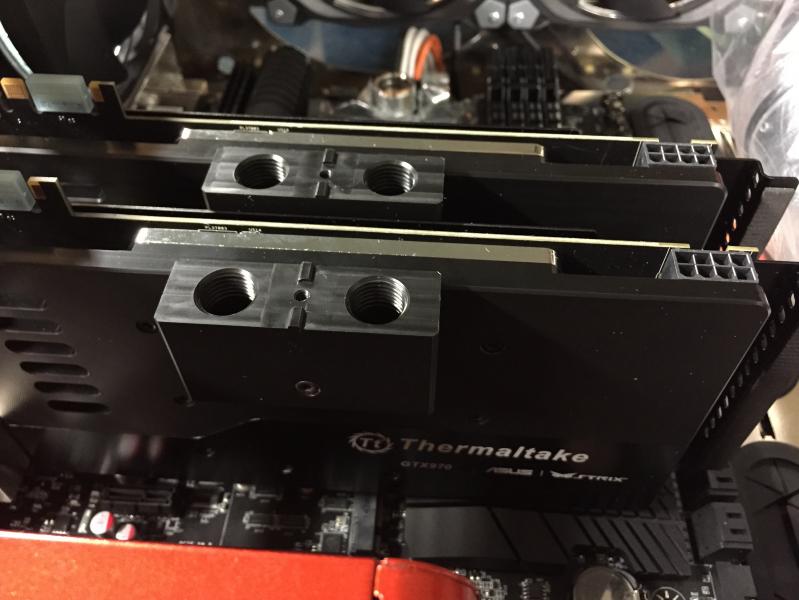
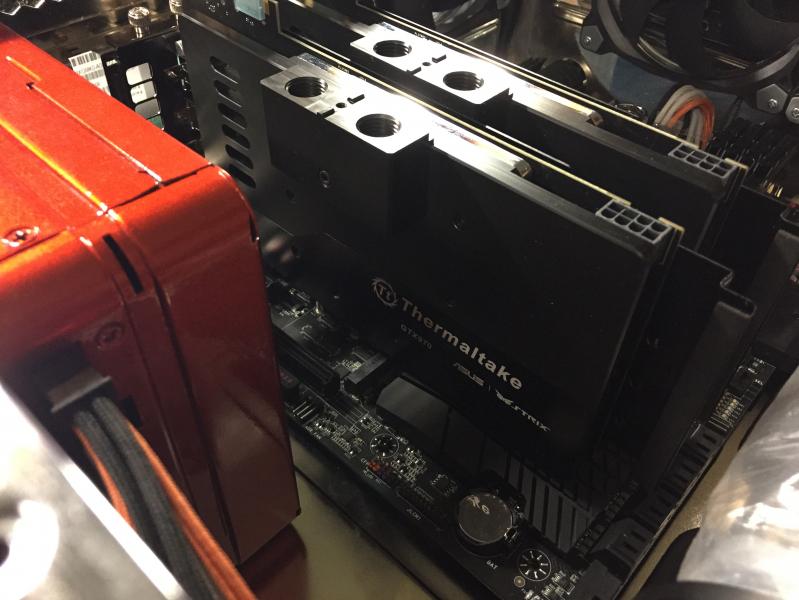
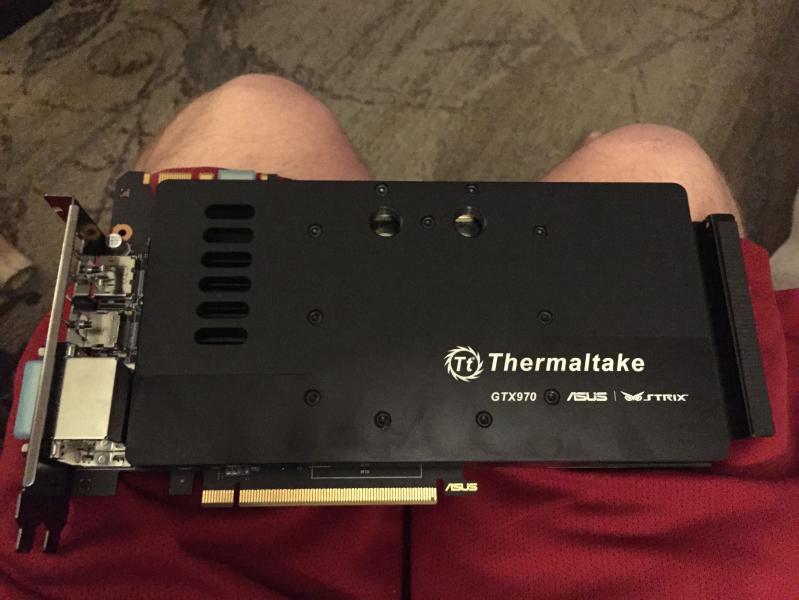
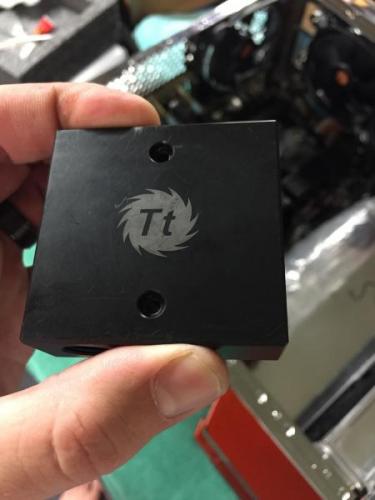
Now that the cards are ready to go in we can set them and get the the water block bridge installed. I am very lucky to have these blocks!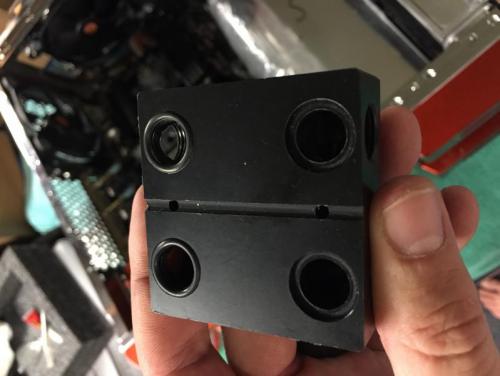


-
Project SunkisTt - Chrome Frame, Candy Paint (Completed)
ThermalMike replied to ThermalMike's topic in Modding
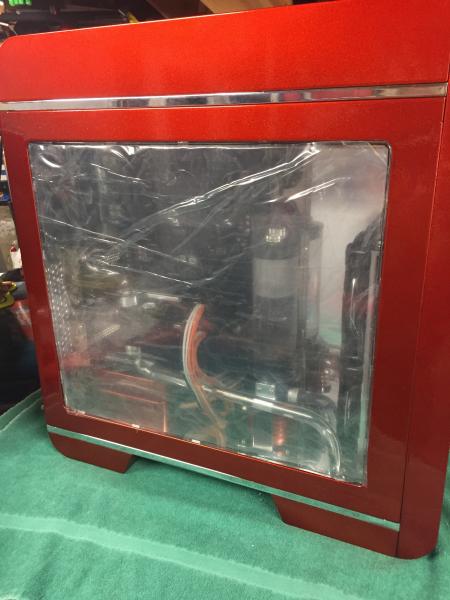
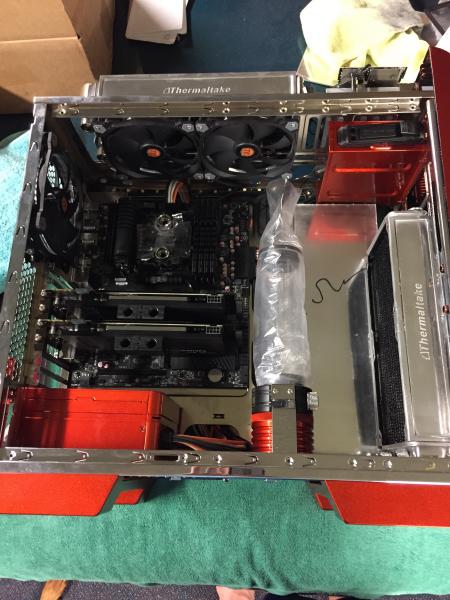
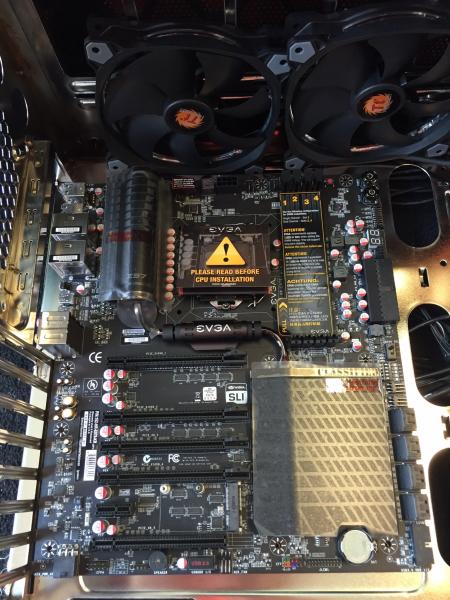
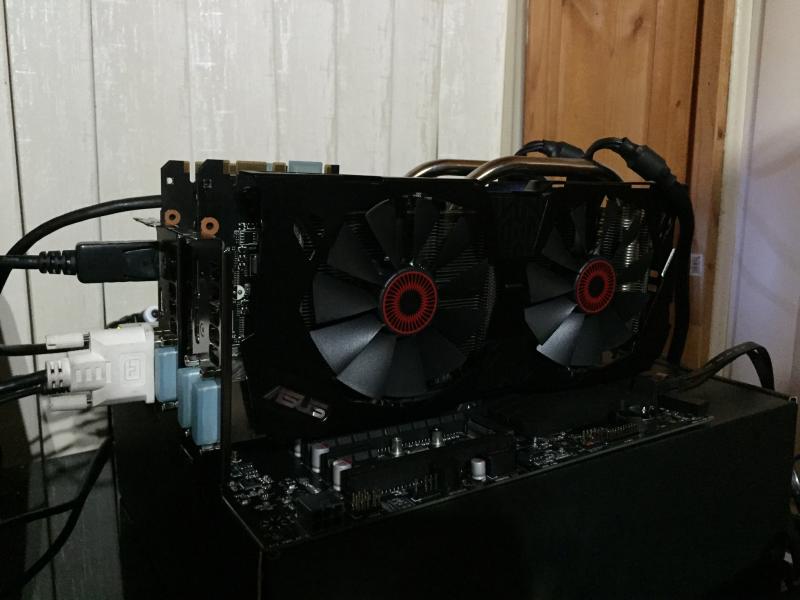
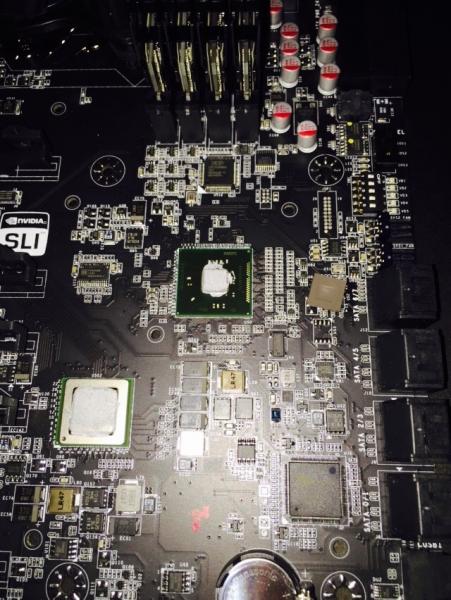
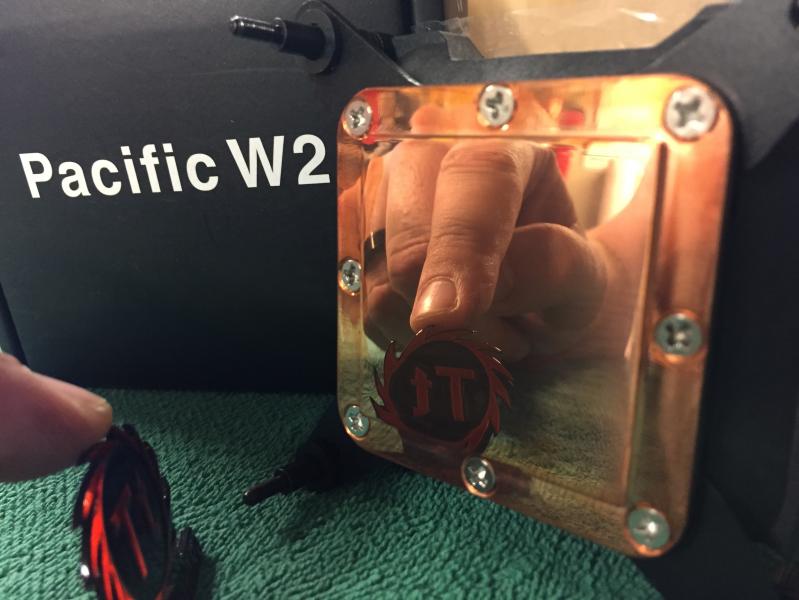
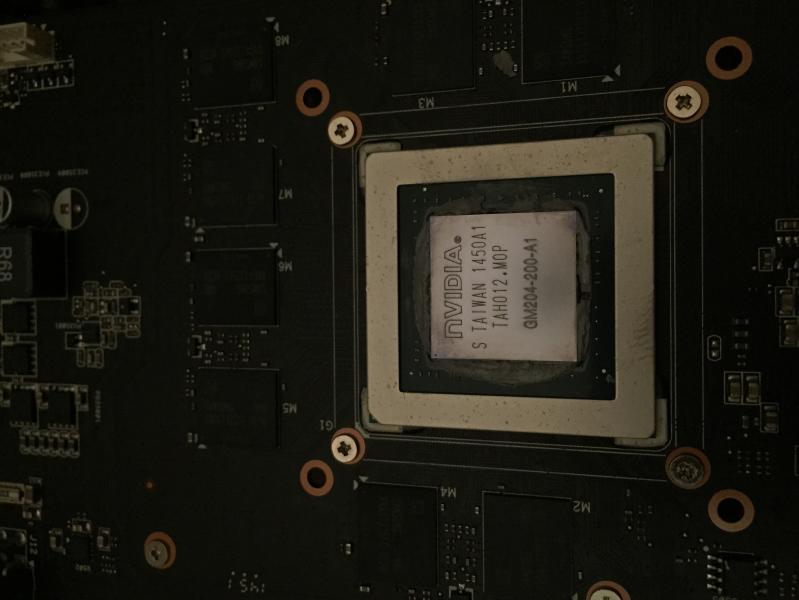
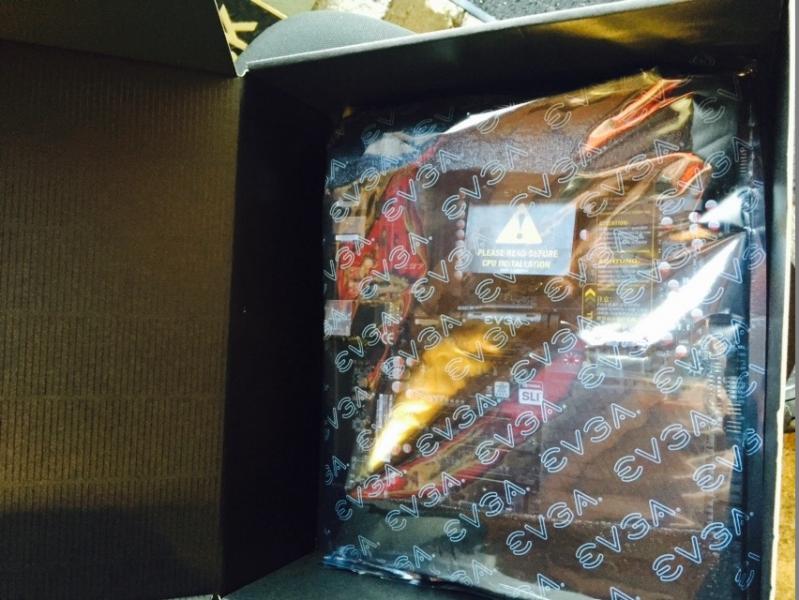
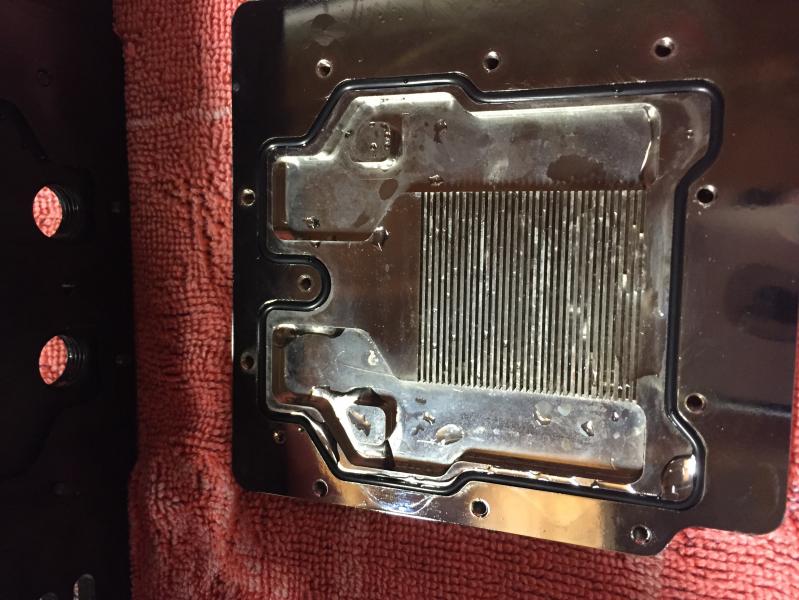
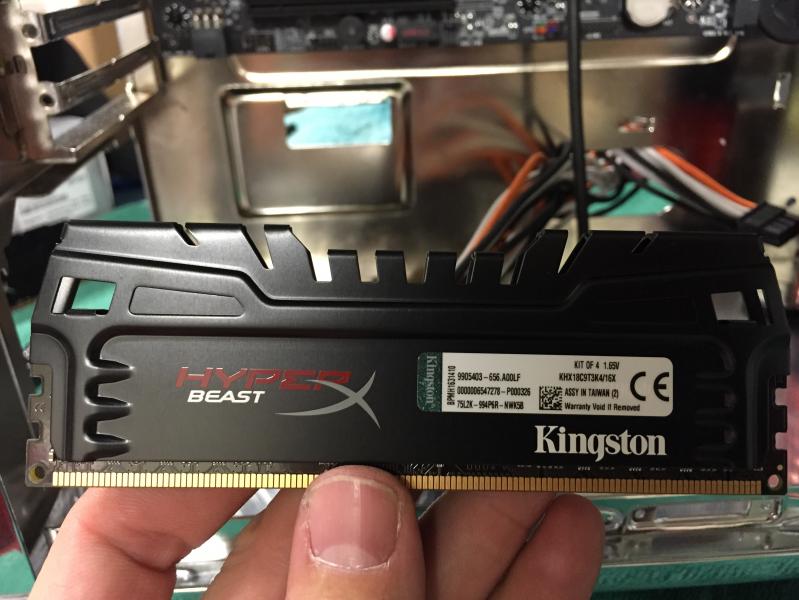
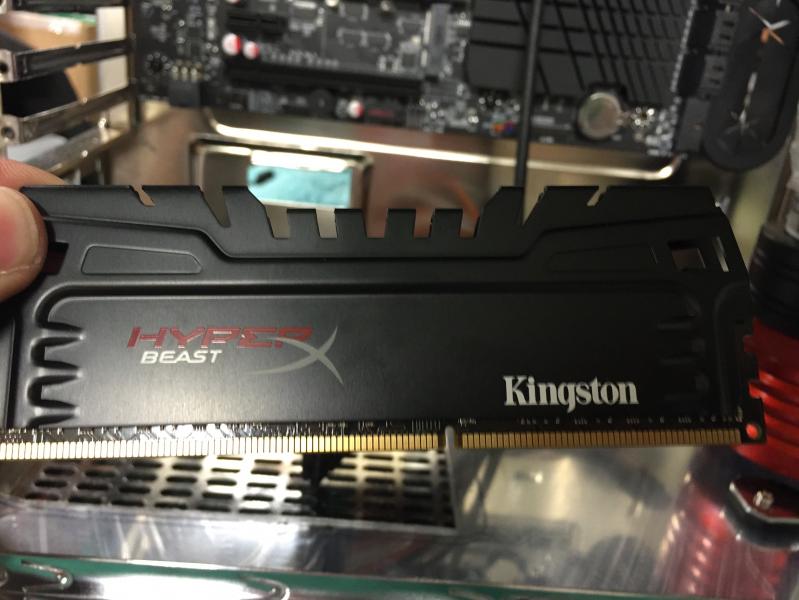
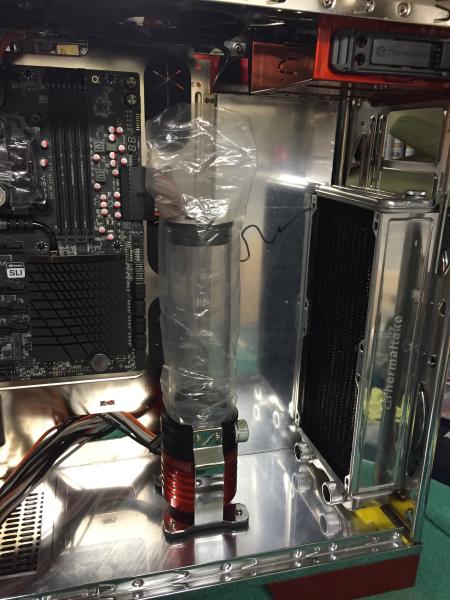
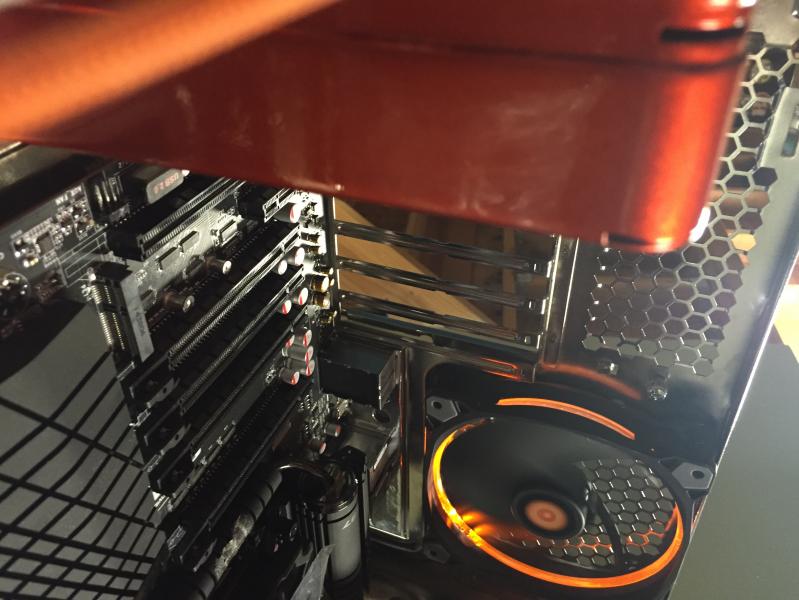
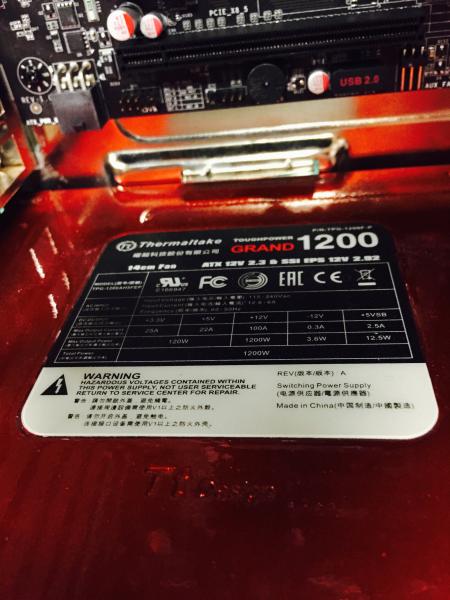
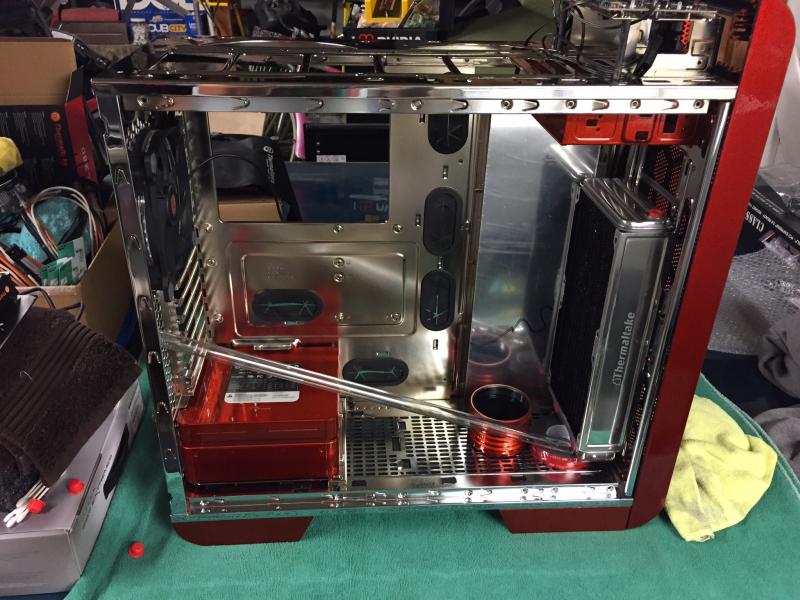
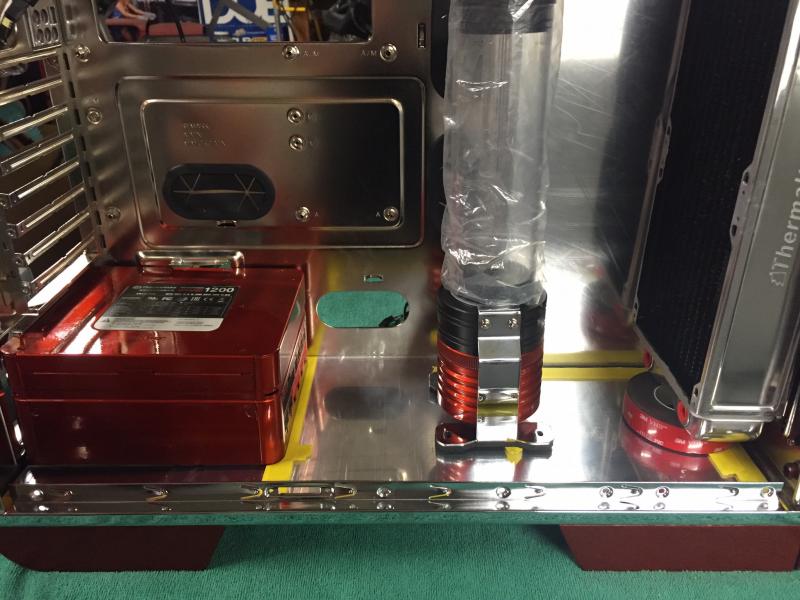
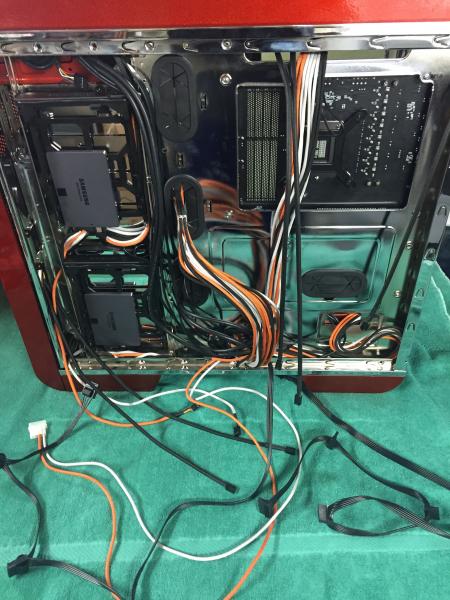
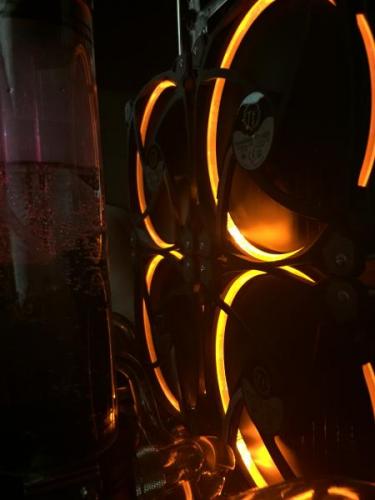
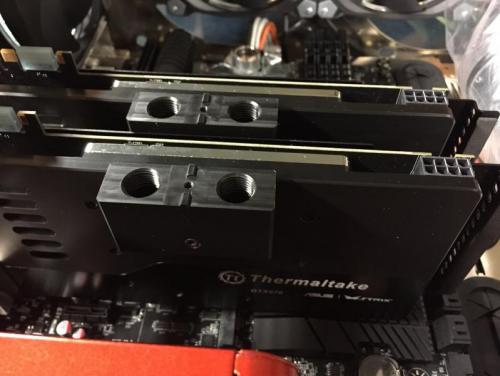
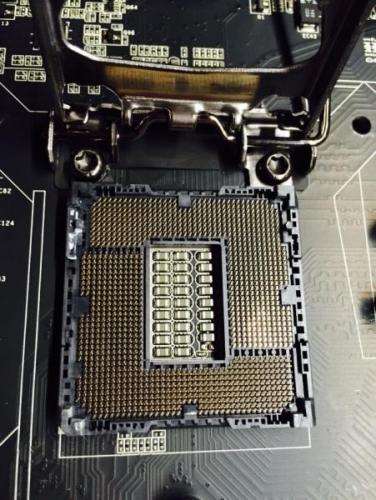
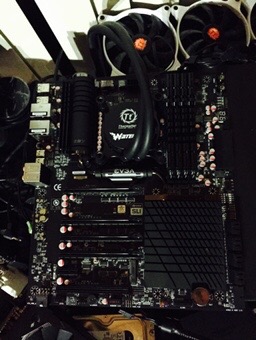
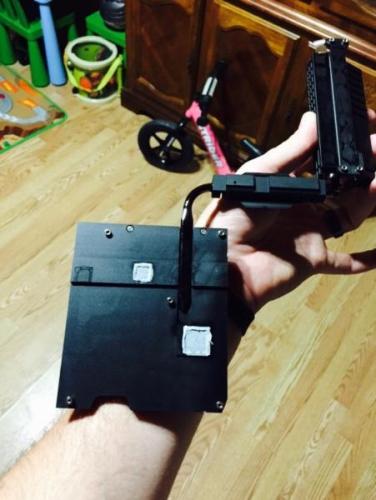
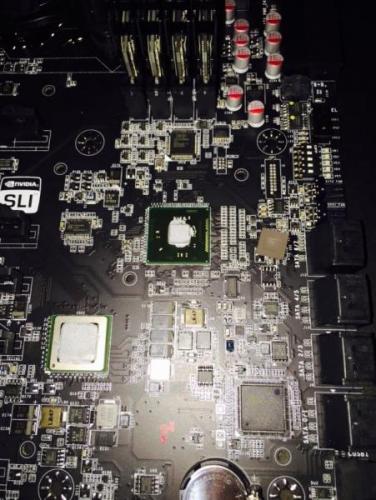
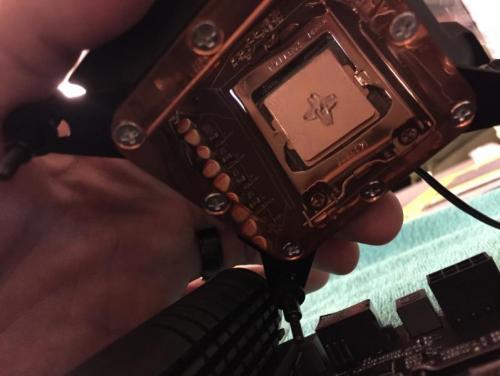
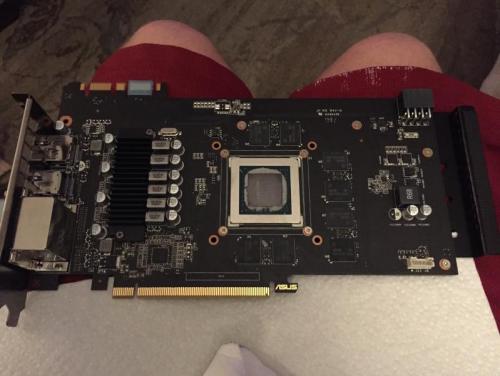
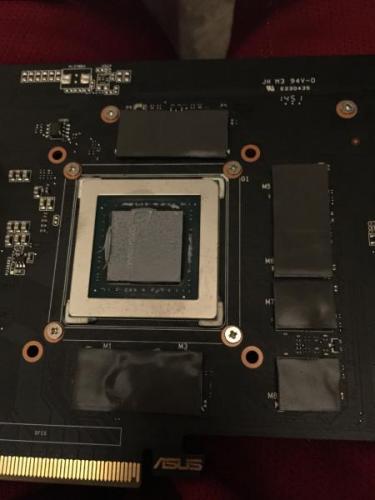
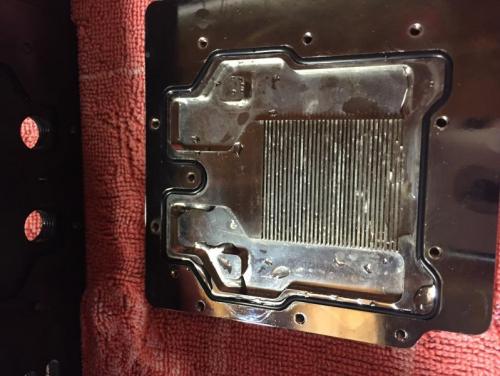
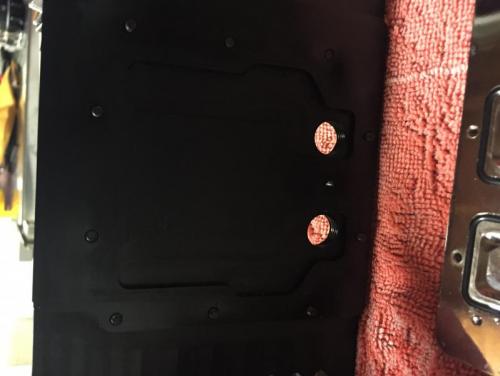
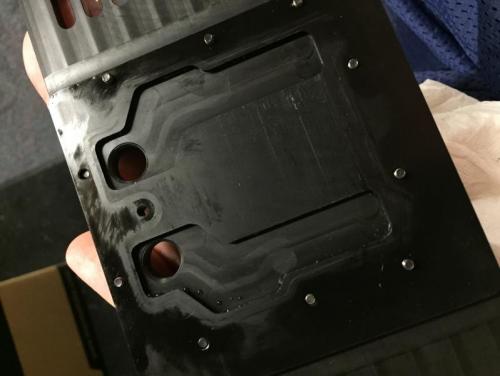
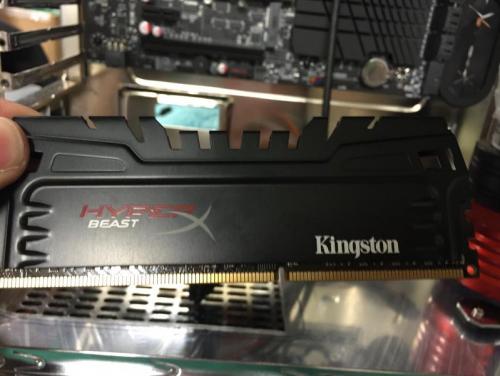
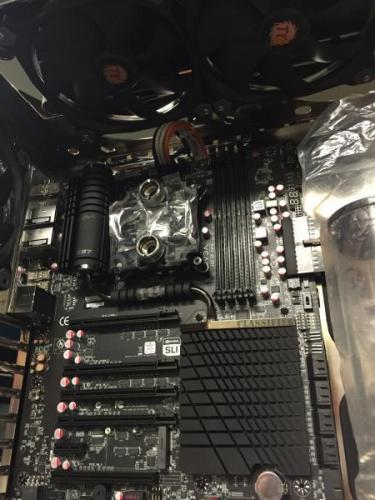
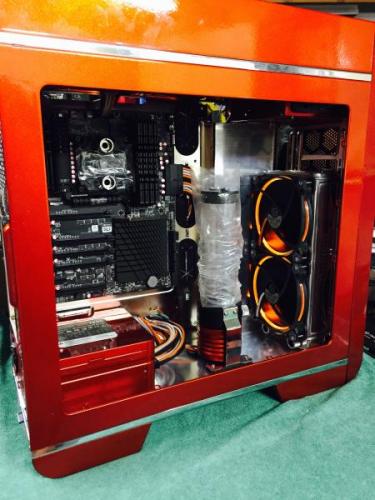
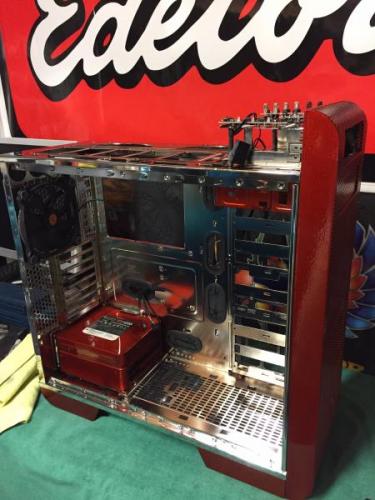
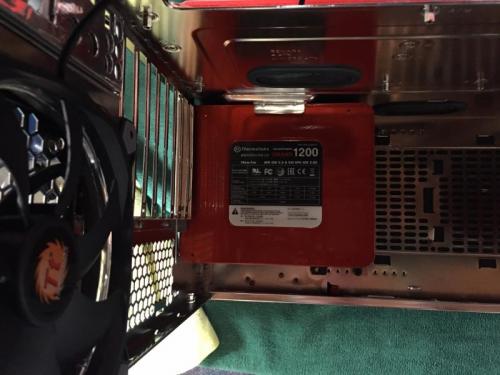
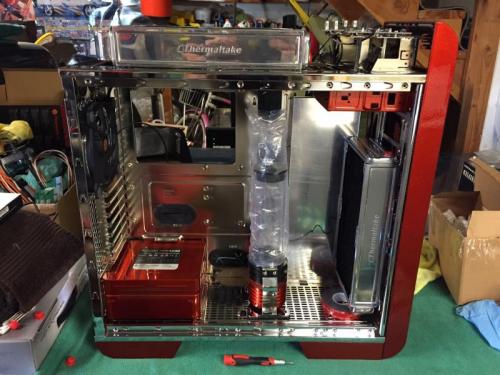
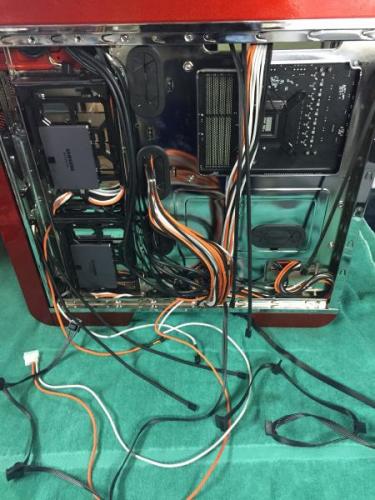
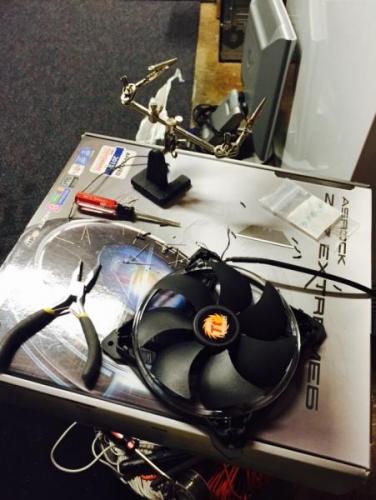
To get this all together I know the right people to get a motherboard from very well so I got the EVGA Z97 Classy to use with my 4770K CPU i have had which has been a nice overclocker for me already with my Z87 I kept it for this. I then took the system and set it up with a Tt Water 3.0 for some burn in testing and to you know.. GAME ON IT FOR A LITTLE BIT XD Started to unpack the W2 CPU block and get it prep'd Moving forward to the VGA block now I took stock coolers off and cleaned up the GPU and installed the waterblocks on each card Some Ram pics! Now I start getting the motherboard installed, PSU back in and cables connected up to see how they fit. Also working on the fitment of the acrylic mirror floor with the reservoir to get that mounted and set. Here is a quick look at what it is starting to look like with the door installed and what we have done so far and to show off the modded Orange LED Riing White fans color!


-
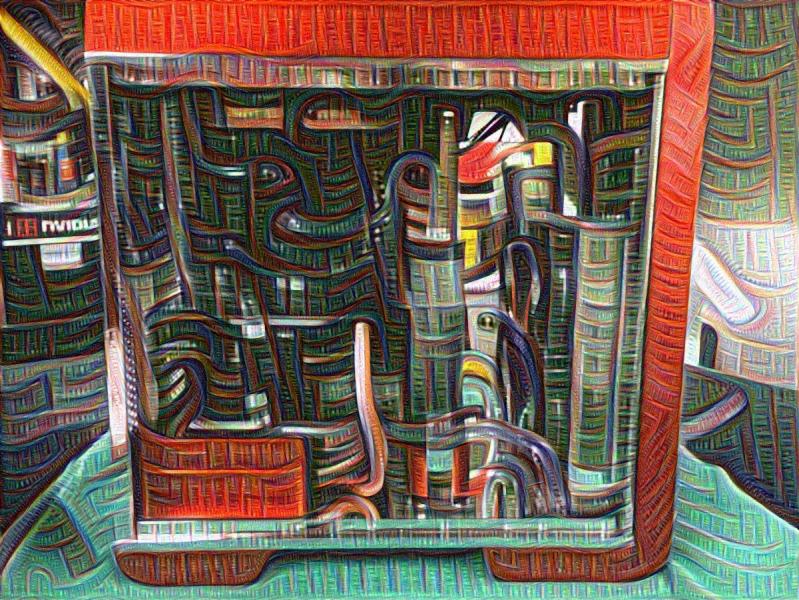
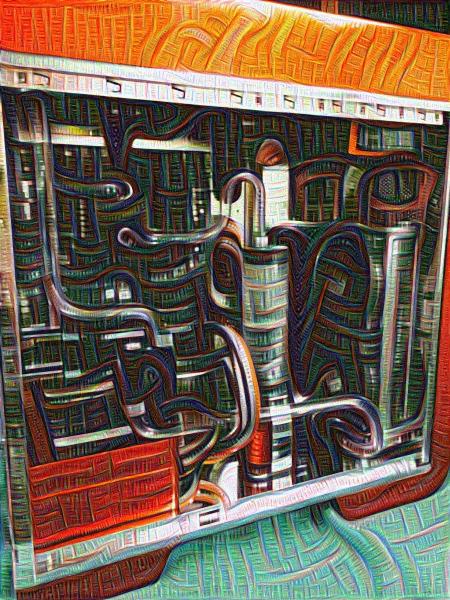
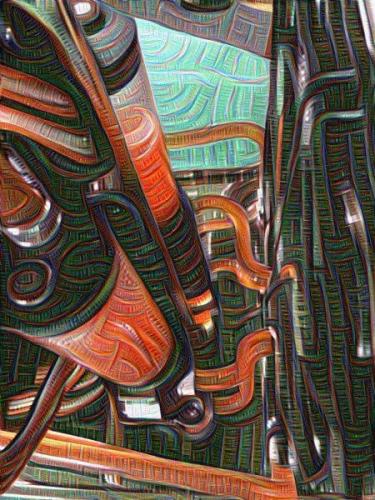
Hey everyone, Working on my new system and ran across this app. https://dreamscopeapp.com Thought it would be cool to see everyone's system dreamscoped! Here's Mine: Here is mine with the new coolant that I just received


-
Nice job on the final shots and video! Looking forward to the new Doom next year as well!
-
WorkLog Thermaltake Core X9 Cape Canaveral GamesCom Mod
ThermalMike replied to EddyKuz's topic in Modding
The thicker wall on the tube really does help to get that perfect bend. I did not mind it and heating it up did not take extra time really from other stuff I have used. look forward to more updates from you -
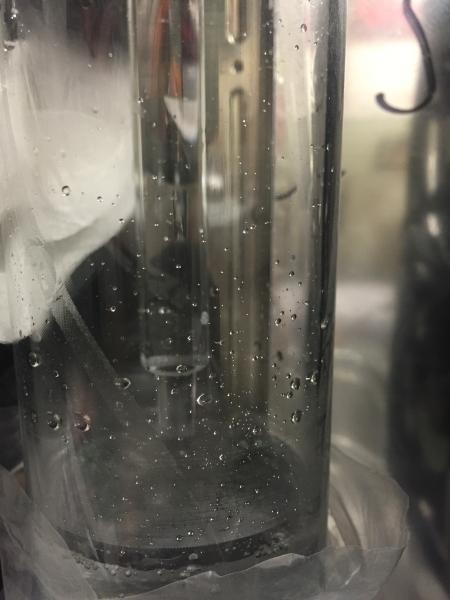
Bobbl, When moving the system around to put in the new fans the radiator coolant moved around some as the closed loop it not completely full inside. There has to be room for expansion from heat so this can happen and it should go away fairly quickly like you mentioned. You should be fine, watch your temps just to be safe, if anything comes up let us know
- 1 reply
-
- 1
-

-
Hi, Welcome to the Tt Community! Give our USA support a call and we can check to see if we have a replacement fan we can quote you on for replacement. Info in my signature
-
Looked great at PDXLAN!
-
LOVE the skulls! DOOM fTw! Nice use of the slim fans
-
Now that's a radiator, I mean radiators XD
-
WorkLog Thermaltake Core X9 Cape Canaveral GamesCom Mod
ThermalMike replied to EddyKuz's topic in Modding
Nice man it is really coming along! Love that PETG awesomeness! -
Project SunkisTt - Chrome Frame, Candy Paint (Completed)
ThermalMike replied to ThermalMike's topic in Modding
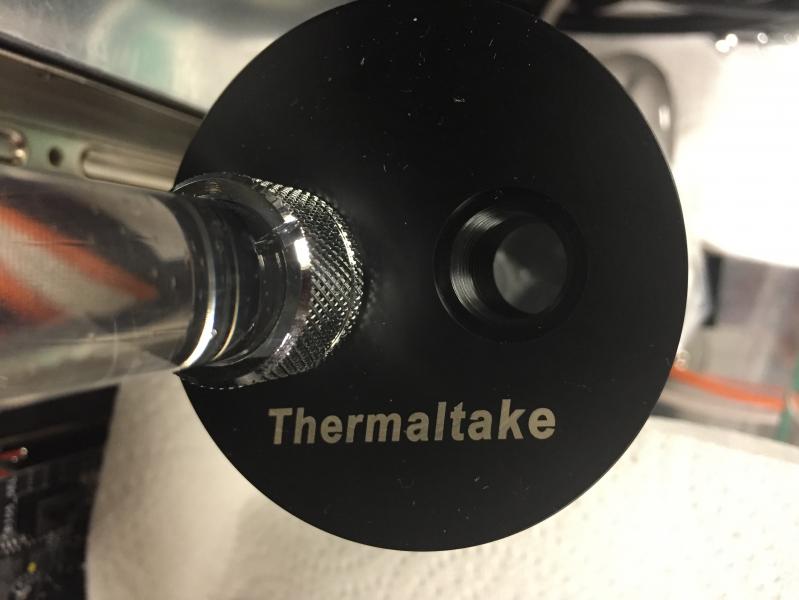
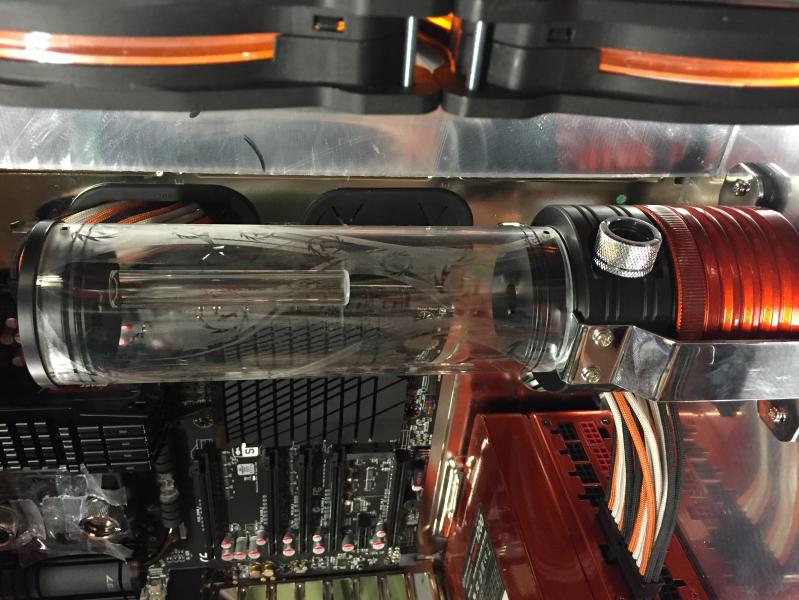
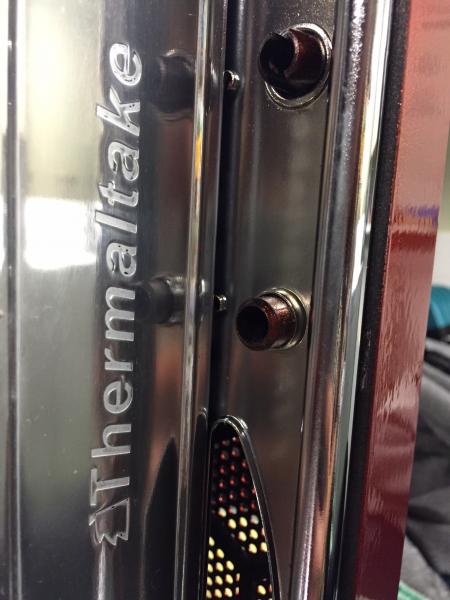
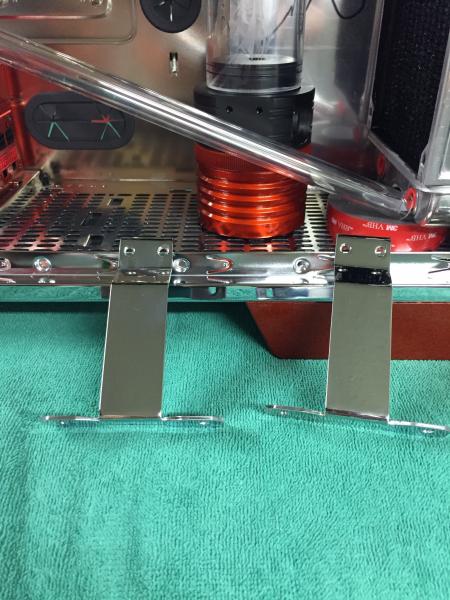
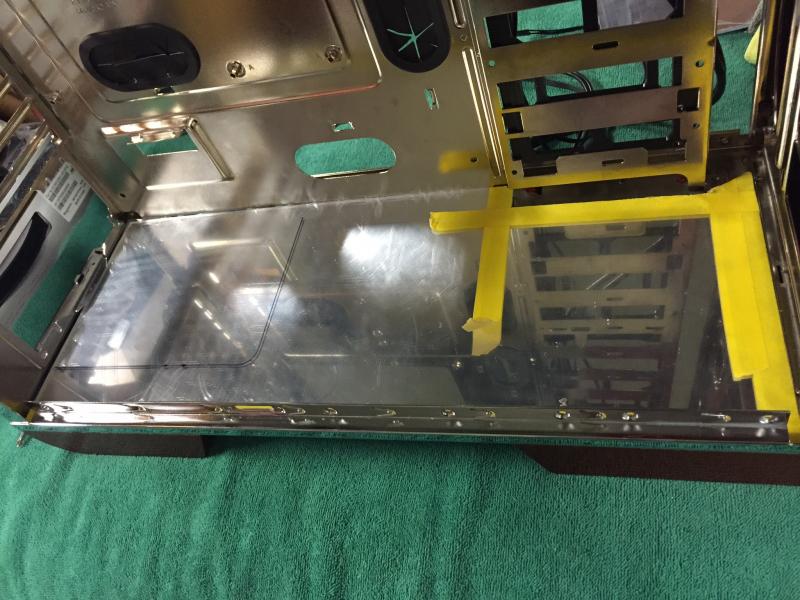
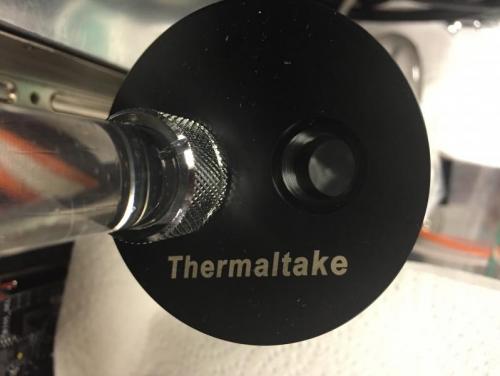
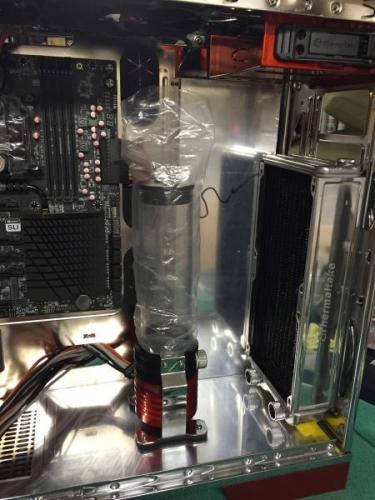
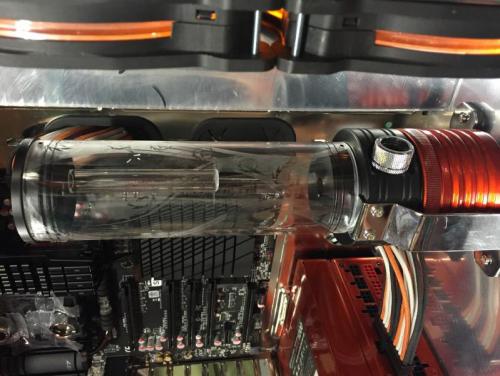
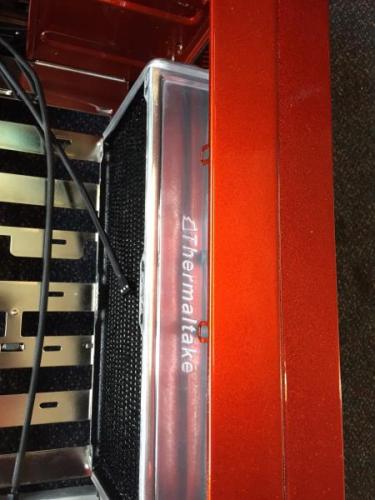
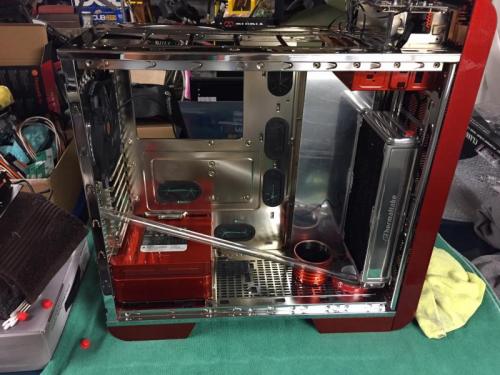
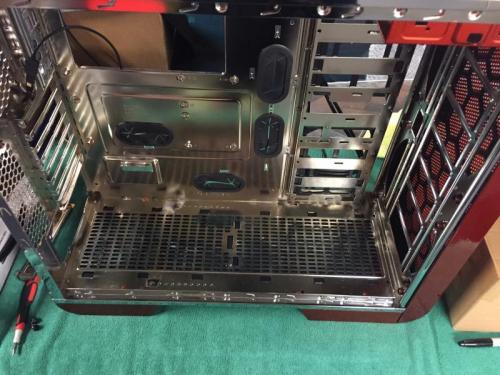
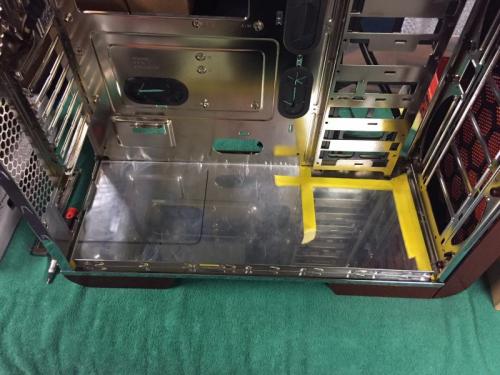
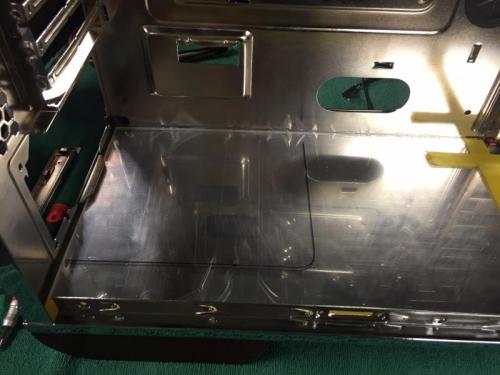
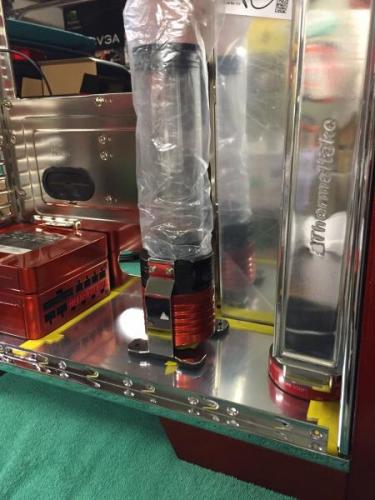
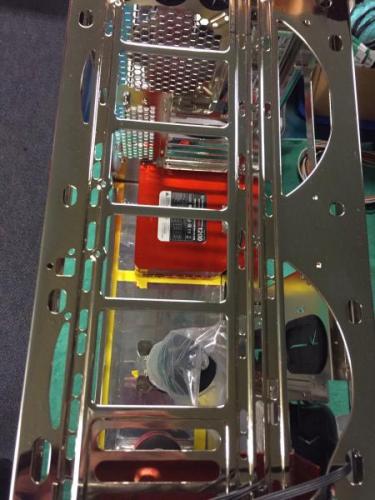
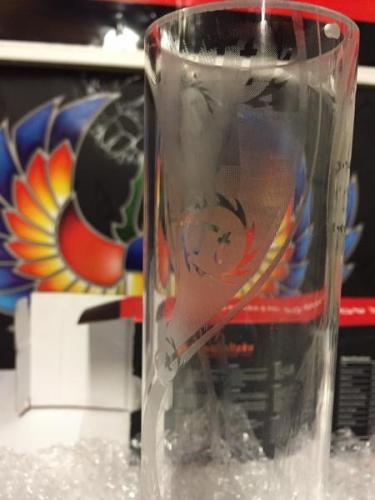
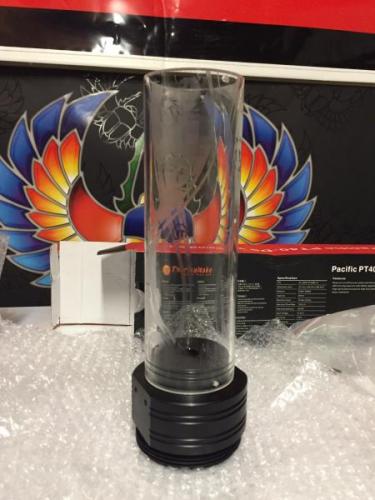
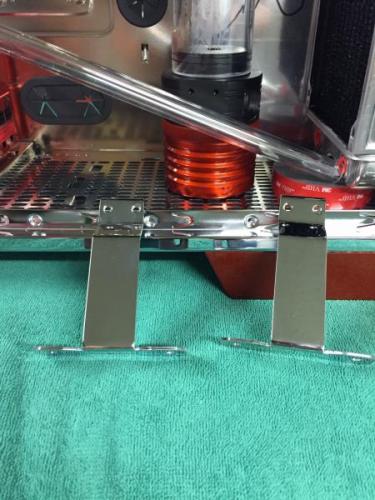
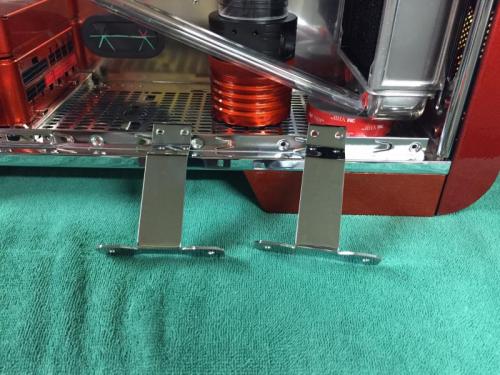
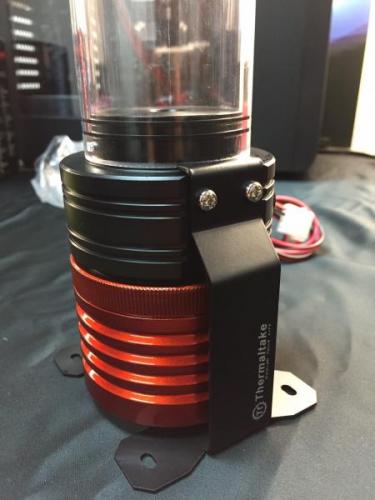
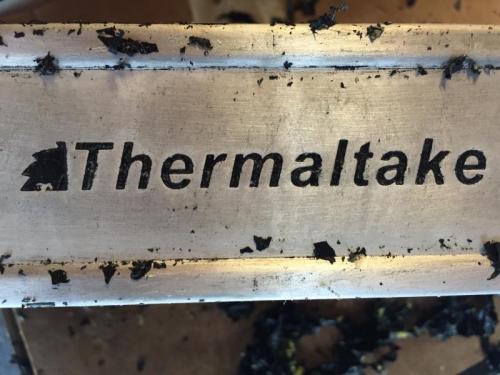
Time for some mock up! Now for the case to really show off the interior, I went with acrylic mirror panels for the floor and back wall of the chassis. Cutting the sections out to fit the floor and allow for airflow on the PSU side. I also want to give a big shout out to Hassan @V1 Tech for helping me with a killer laser etching of Tt logo's on my PT40-D5 res/pump And don't forget the chrome brackets to finish off the PT40-D5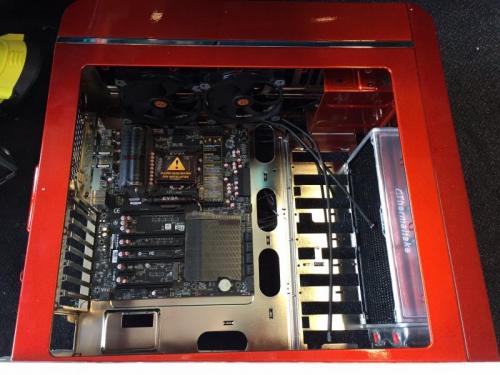


-
Project SunkisTt - Chrome Frame, Candy Paint (Completed)
ThermalMike replied to ThermalMike's topic in Modding
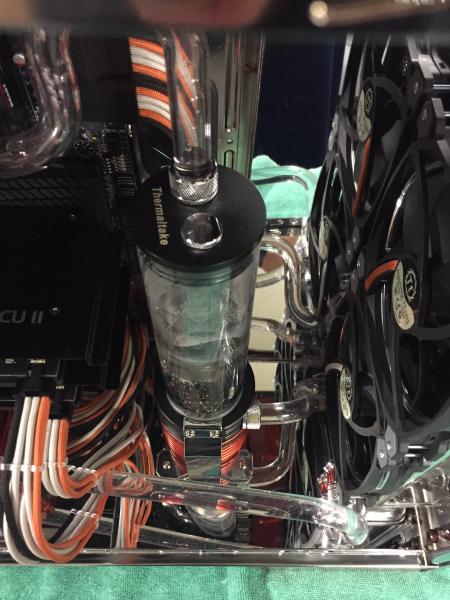
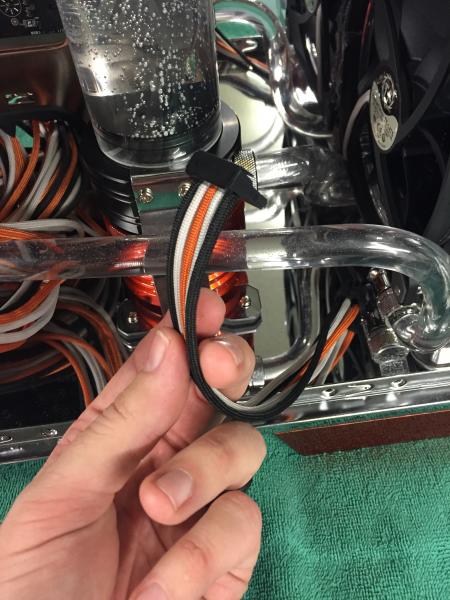
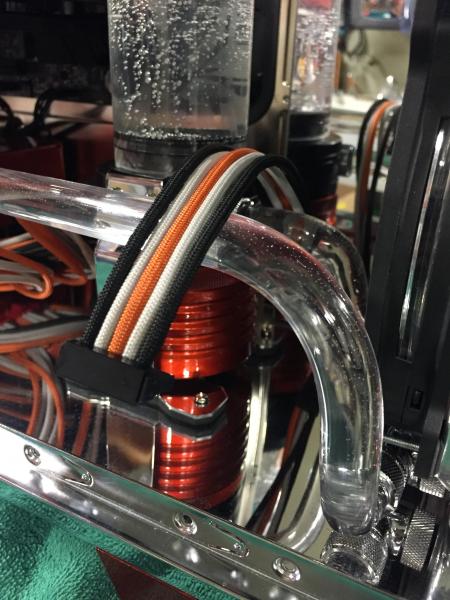
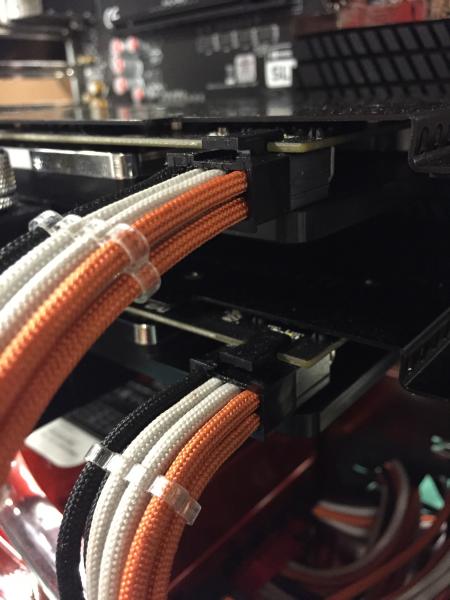
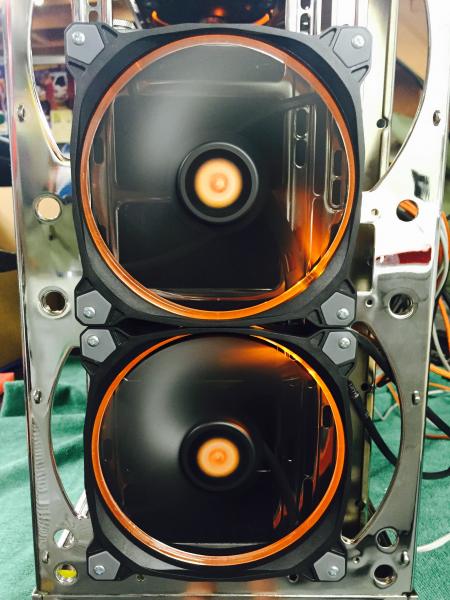
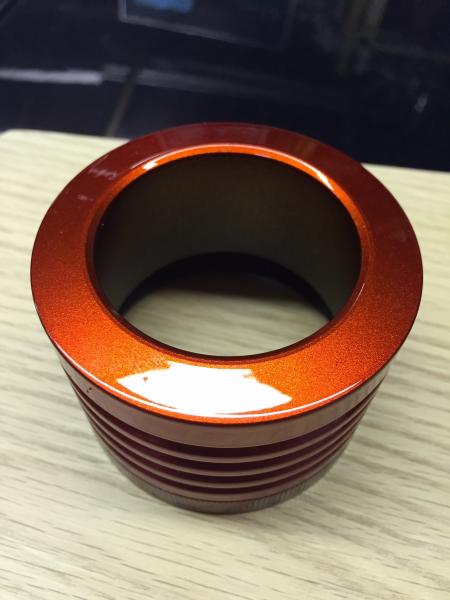
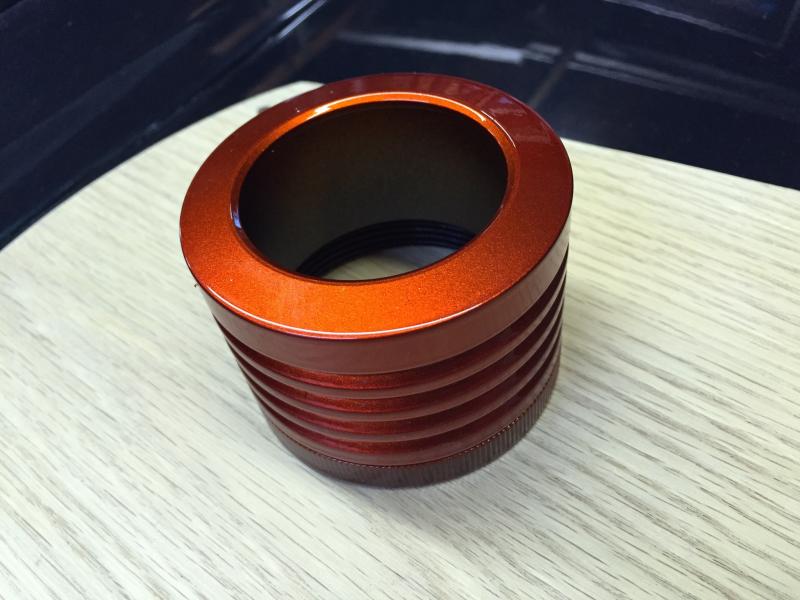
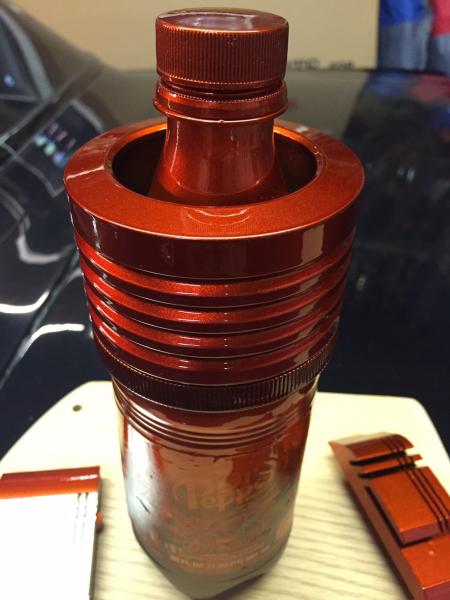
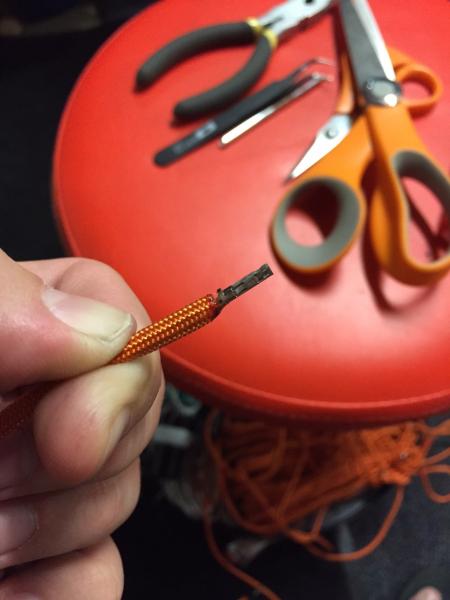
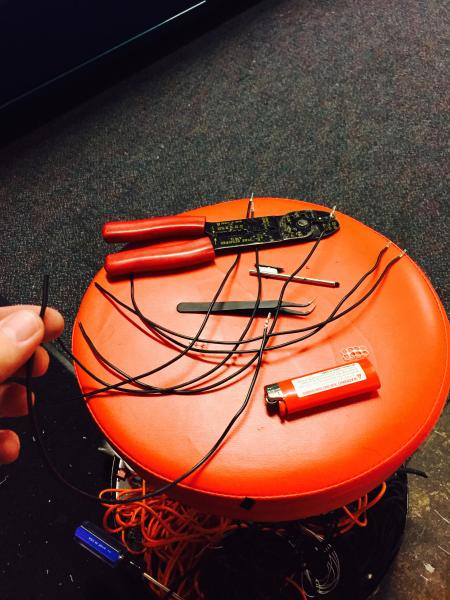
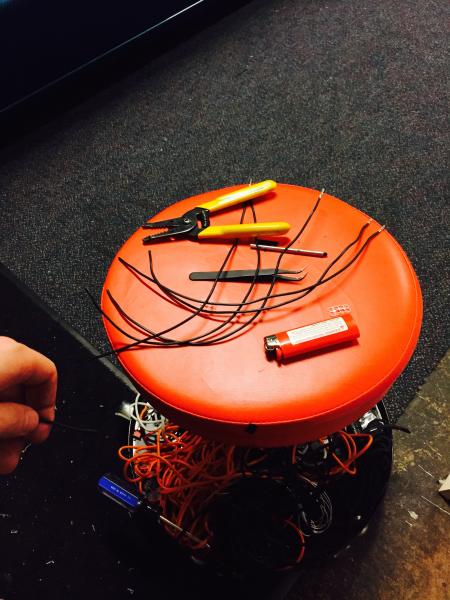
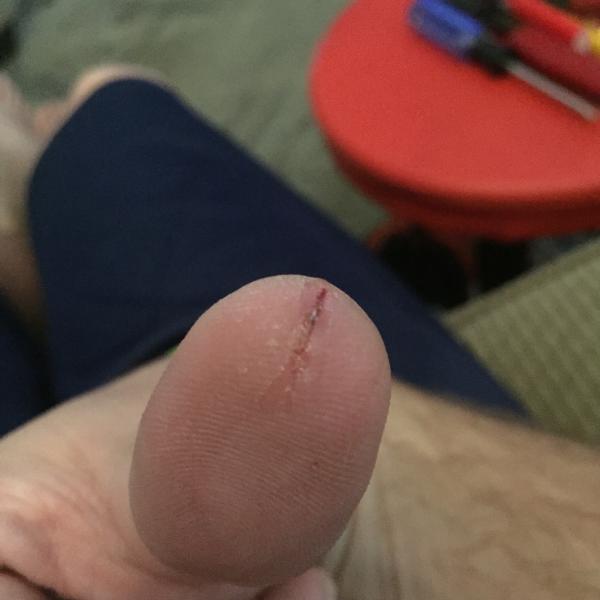
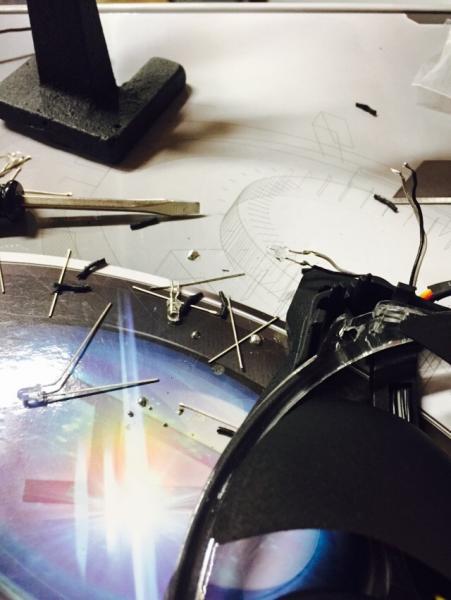
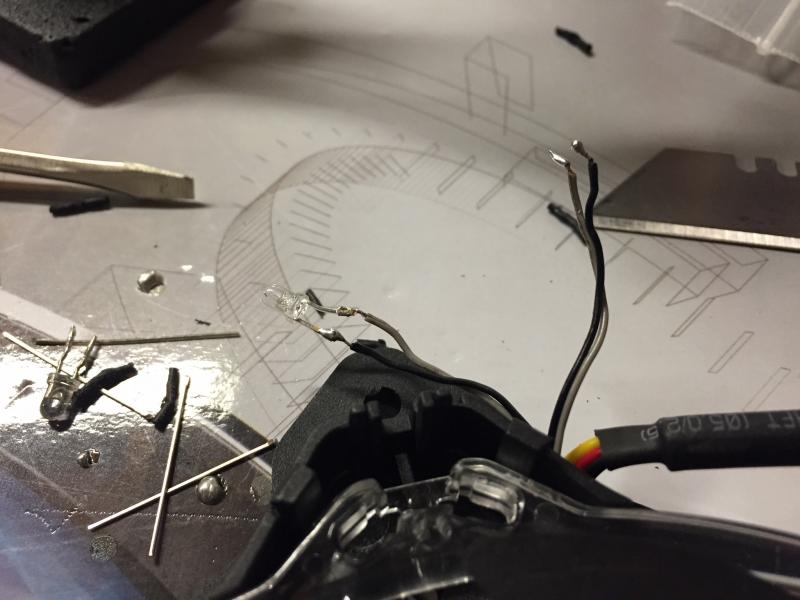
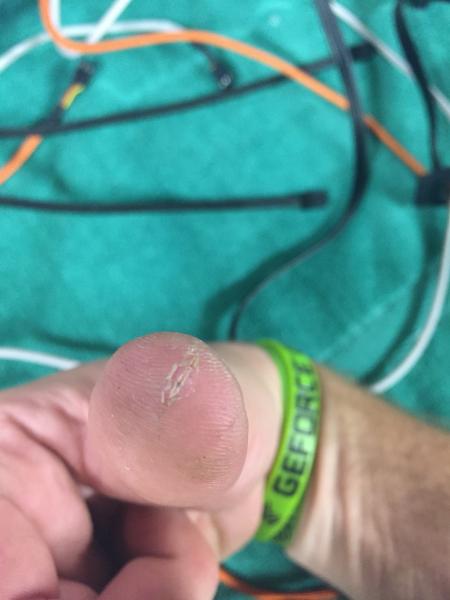
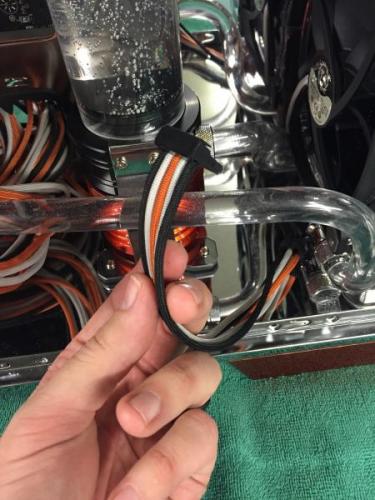
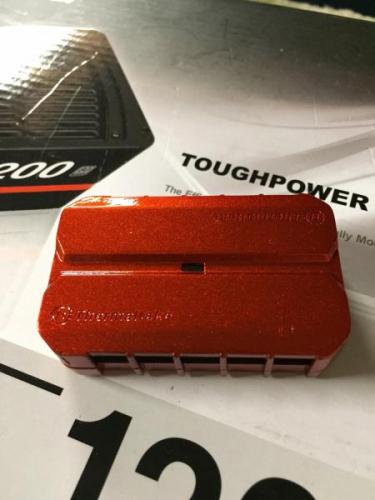
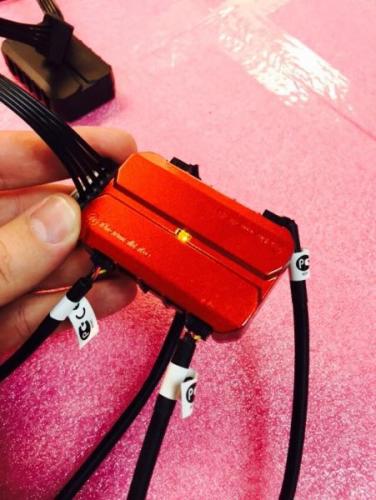
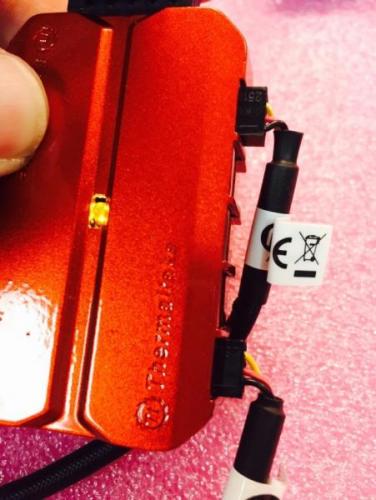
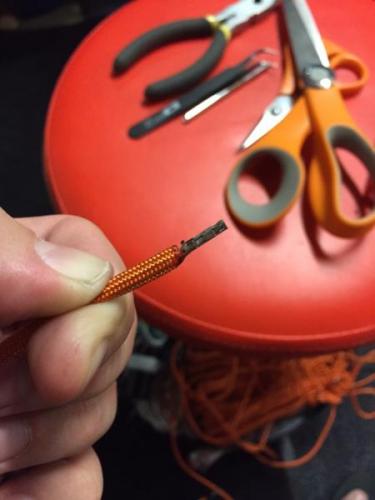
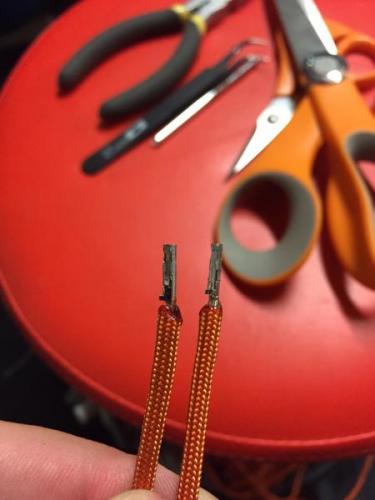
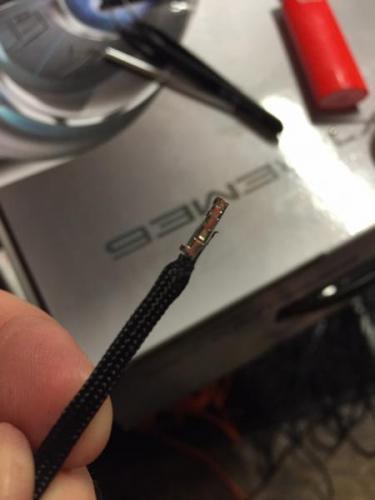
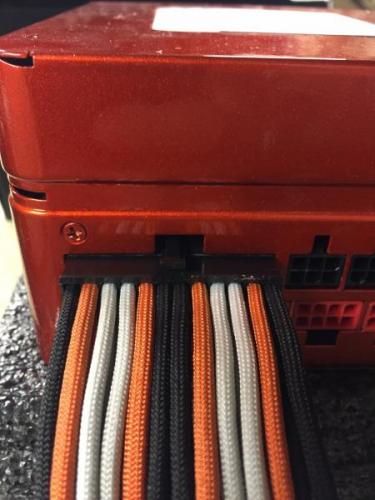
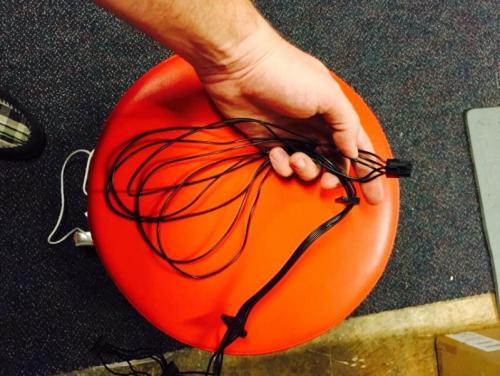
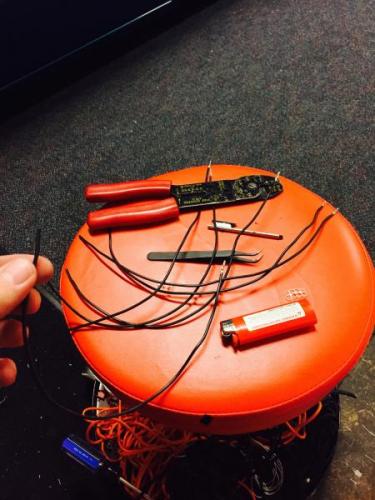
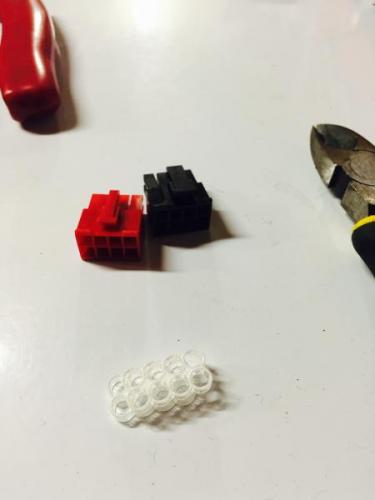
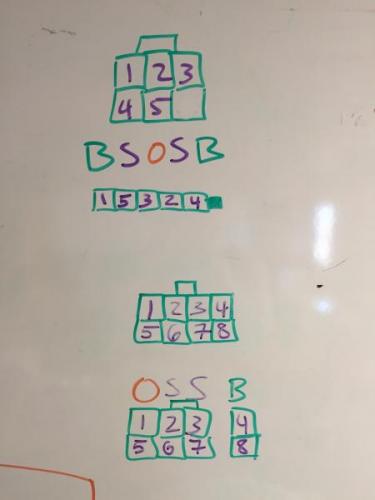
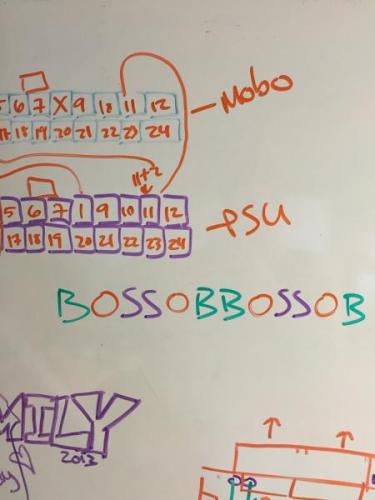
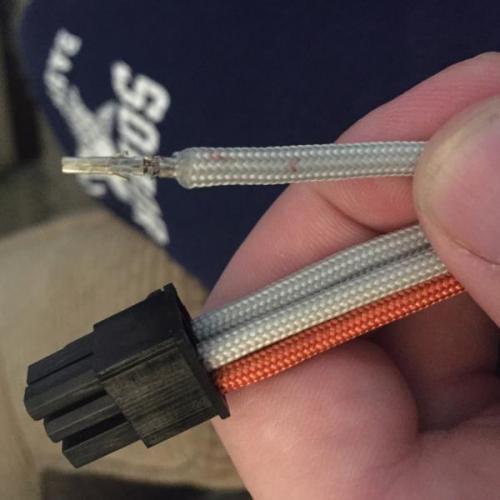
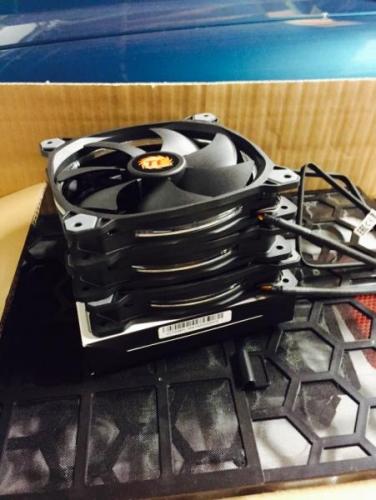
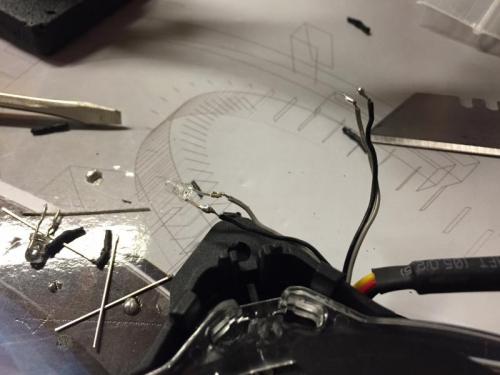
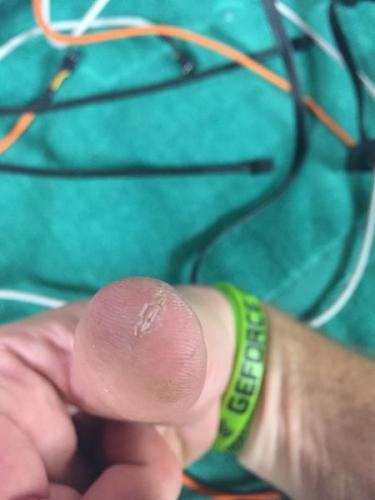
Paint, sleeving and LED swapping! Here is the Sleeve on the PT40-D5 The Commander FX also got a treatment Sleeving took on an adventure, I had never done sleeving to this degree before, using paracord without heat shrink was what I wanted to achieve. This chair is my buddy! When sleeving your cables, first rule of sleeving is to make your pin layouts Sleeving the PSU Watch your thumbs! (Super glue is your friend) Start planning on how you want to run your cables For the fans I used I choose the Riing 14 (Duh!?) and at the time I selected the White LED models as the Orange fans would not be here in time and I thought it would look better on this case to have the grey pads and mess around with some LED modding.


-
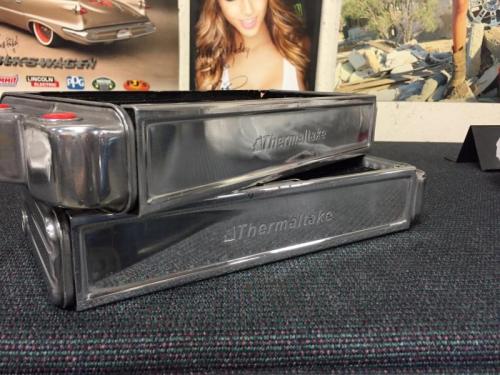
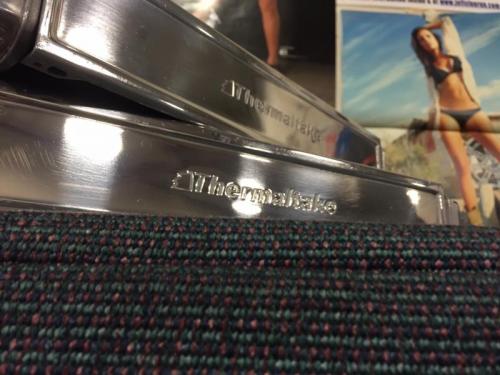
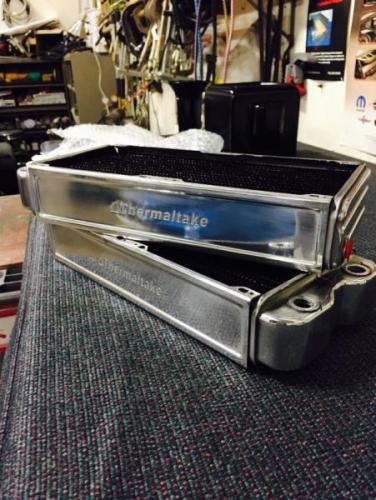
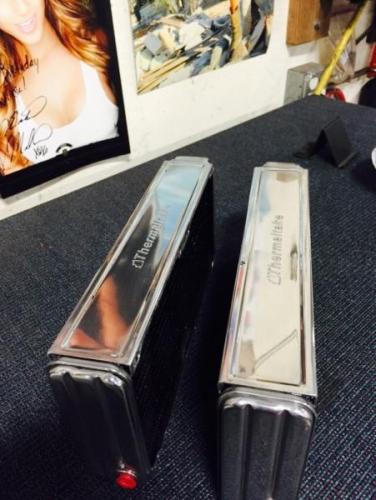
Project SunkisTt - Chrome Frame, Candy Paint (Completed)
ThermalMike replied to ThermalMike's topic in Modding
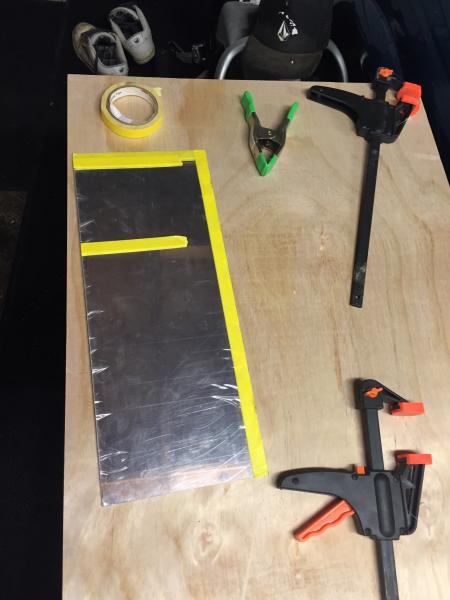
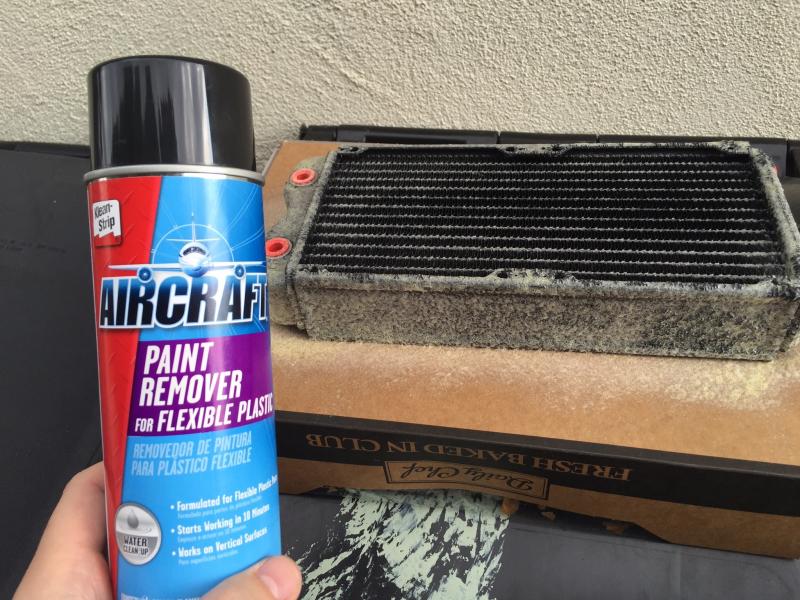
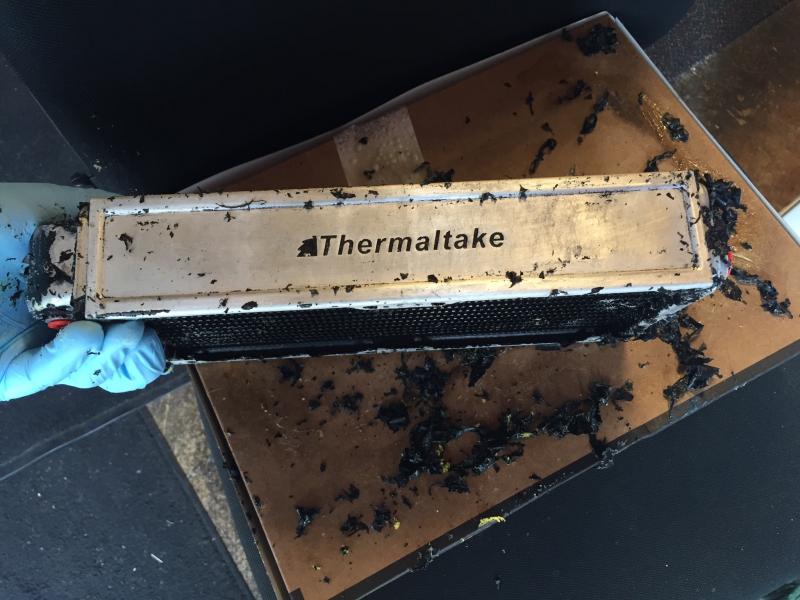
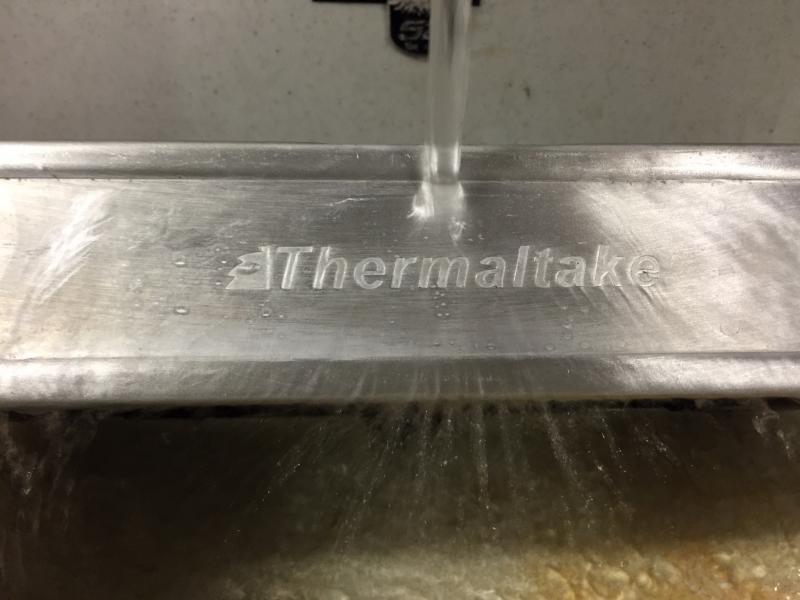
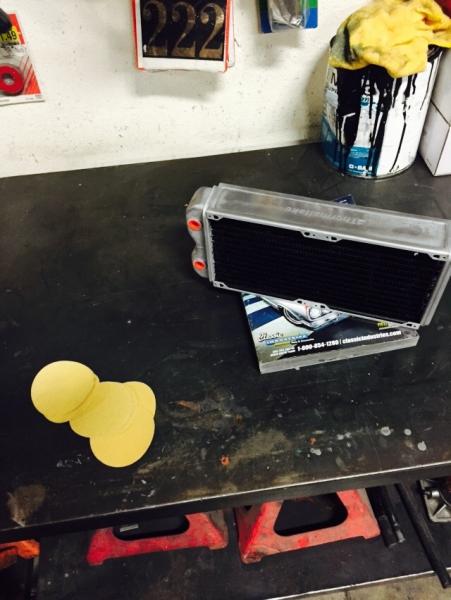
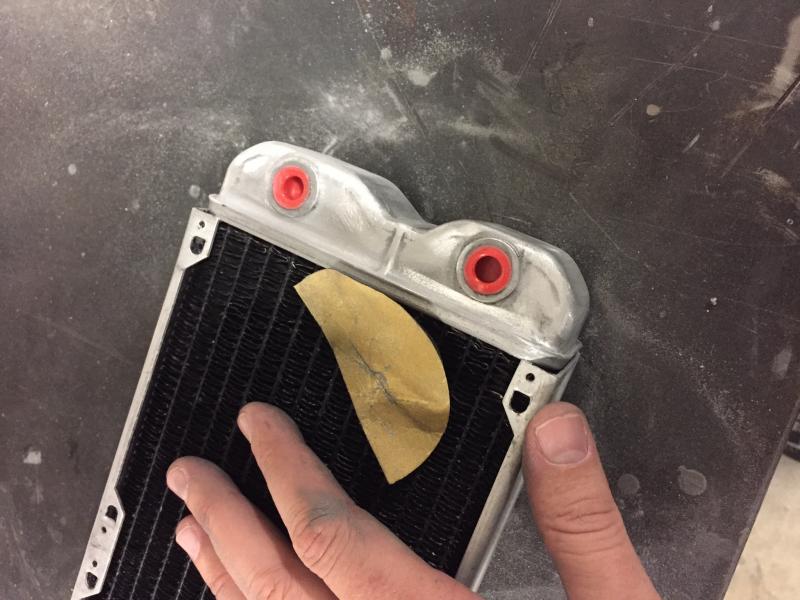
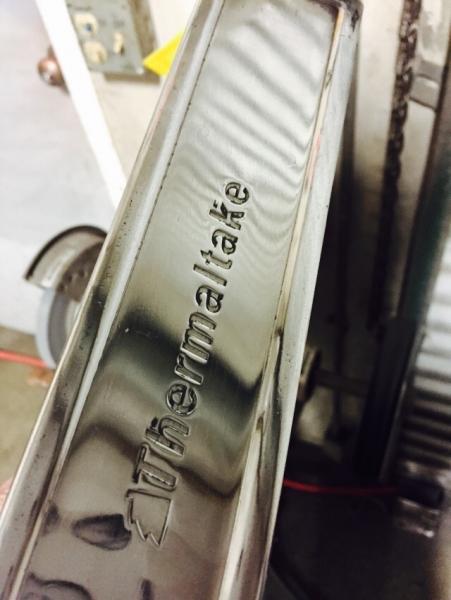
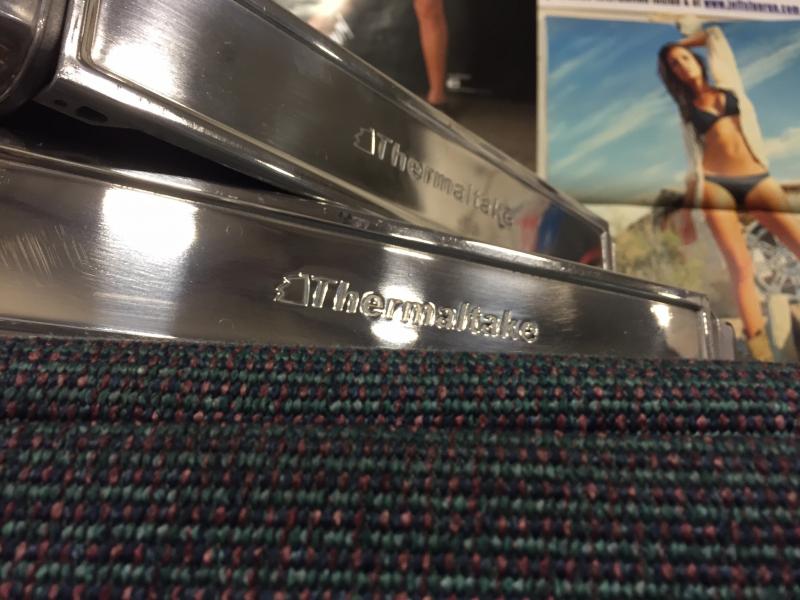
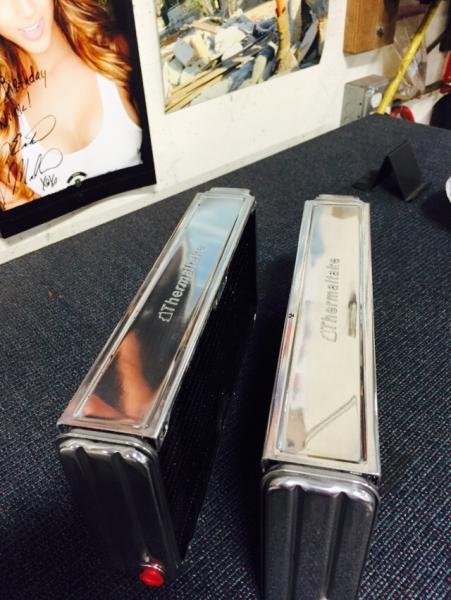
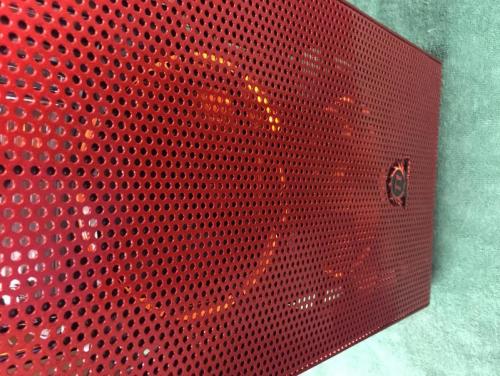
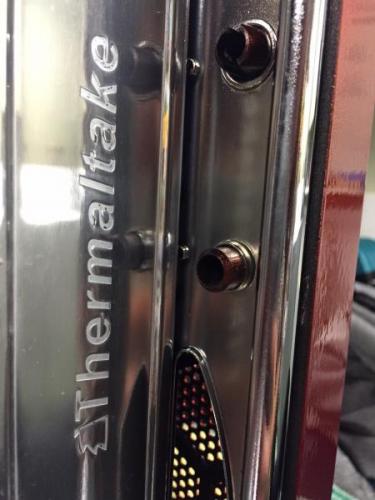
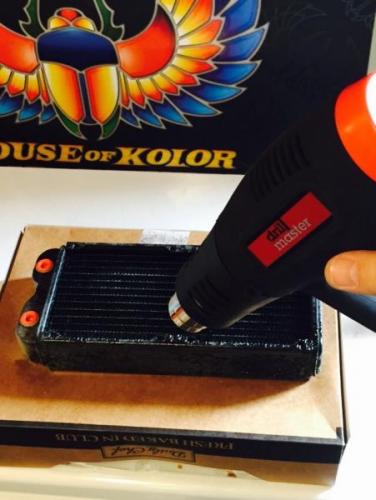
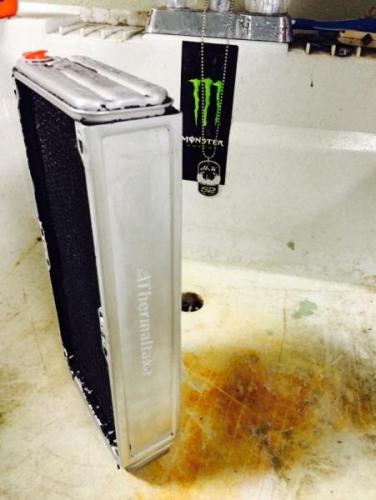
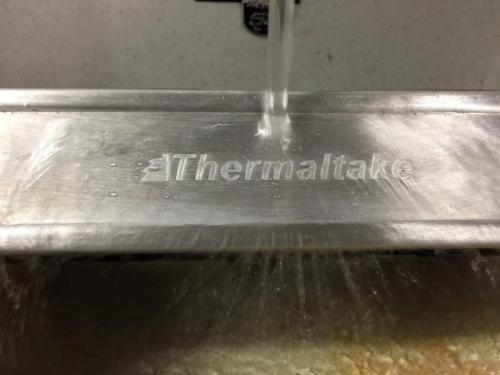
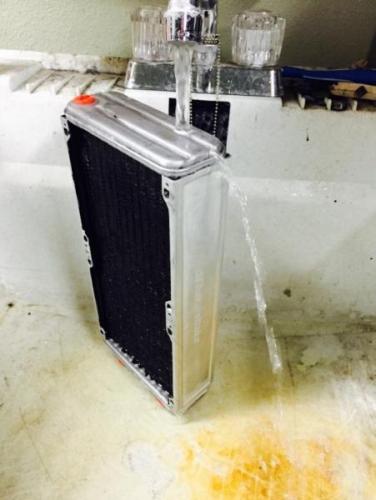
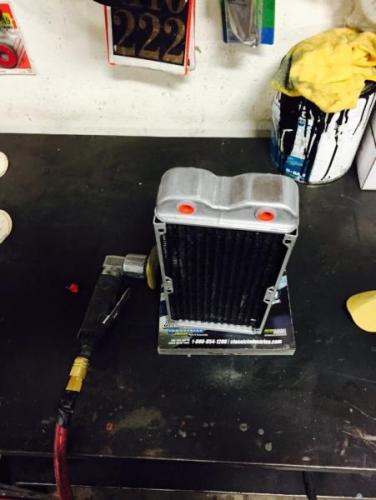
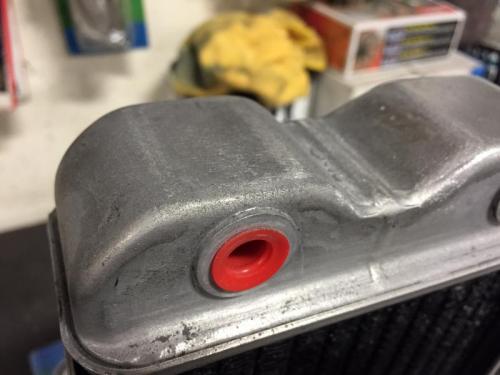
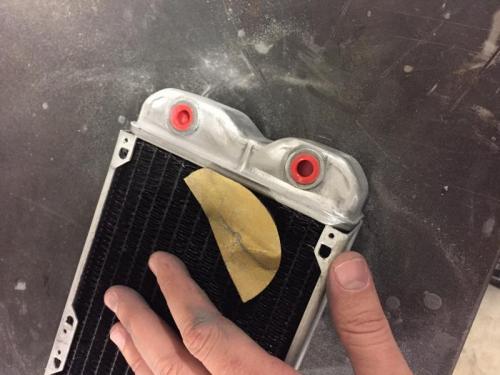
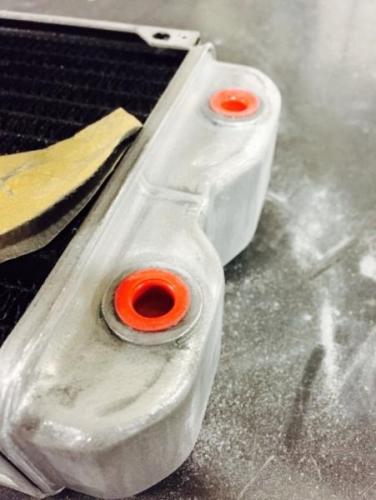
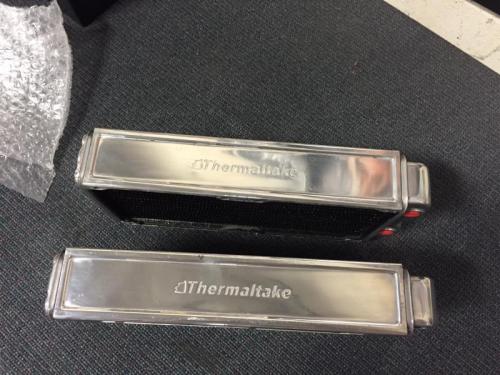
NEW UPDATE! Now for the radiators, I wanted to do something different and really "reflect" the chrome frame, so I got some stripper and took a journey of sanding, polishing and buffing my (2) Pacific RL280 Radiators. Stripping the Rads Clean up Now we get to the fun part... SANDING! Polishing these (2) RL280 rads takes some time and the results are always great to see


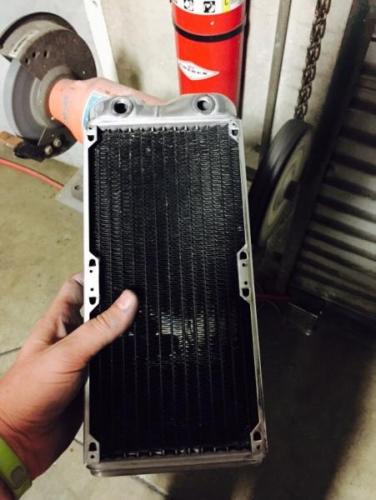
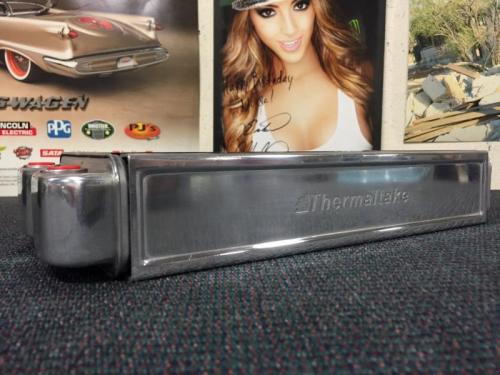
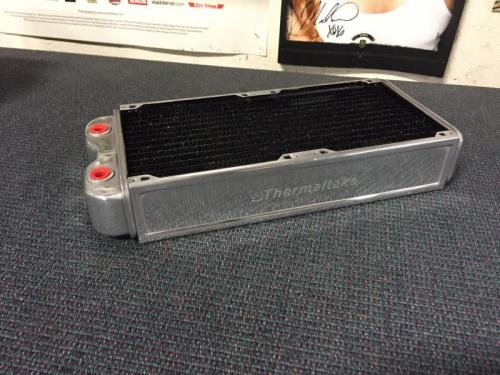
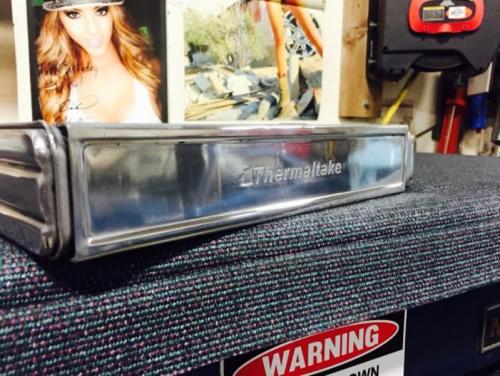
-
Hello, You can contact our global support for help here: http://my.thermaltake.com/ctGeneral.aspx
- 1 reply
-
- 1
-
-
Oh ok I got you then Yea just need to get the spacing setup and get some custom screws
-
GivenXombiE, Welcome to the Tt community! The case does show multiple locations and is designed to illustrate the different configurations that are possible. (Where moving the rails from one location to another is optional) We dont normally carry this part on our online store, but you can call us and we can quote you on some brackets if they are available. See signature below for info
-
Yes, should work as the color shift fan is designed for this controller. Example: https://store.thermaltakeusa.com/inside03.php?s=44&k=204&a=1803