-
Posts
15 -
Joined
-
Last visited
-
Days Won
1
idpcmods last won the day on July 7 2015
idpcmods had the most liked content!
idpcmods's Achievements

Just Getting Started (2/10)
14
Reputation
-
idpcmods changed their profile photo
-
 eqeqeqe reacted to a post in a topic:
PROJECT CORE XD
-

[Closed] Nomination Thread
idpcmods replied to Tt Andy's topic in 2015 Thermaltake CaseMOD Invitational Season 2
Dan woods and peter brands for sure- 161 replies
-
 BlueHorseStudios reacted to a post in a topic:
[USA] Ron Lee Christianson
-

[USA] Ron Lee Christianson
idpcmods replied to Tt Andy's topic in 2015 Thermaltake CaseMOD Invitational Season 2
Looks awesome ron love the theme -
ok so a nice leap and bound later and heres where we are at. 1. front and rear panels cut, shaped, and fitted ( all will be cleaned with files and grinders and sand paper when 100% ready to go of for powder coating) so here are a few shots at various stages of the assembily. so that's the front , rear sides and base done, I have made one edit which you will see in later pics which was to enlarge the side fan holes, the reasons for this will become clearer at a later date. so all fitted together... now due to a glitch on the forum or maybe my pc... copy paste isn't working so imam fast forward for 1 last picture to show where I am at as of today... so to come, - slot the side turn outs to mount up to the side modules - fit inner railings to full cover lid for 6mm toughened glass - await further parts from suppliers so I cant finalise the center module for powdercoating - strip all cases 100% of paint - powder coat all metal parts and prep and spray paint all plastics - await potential sponsor response for now ill leave it at that. hopefully I don't have to manually type everything again.....
- 4 replies
-
- desk build
- modular
-
(and 2 more)
Tagged with:
-
 clinty01 reacted to a post in a topic:
[Closed] Pre Event Prediction Voting Thread
-
ok so as the boss man (kenny) pointed out to me earlier i have been extremely slack in updating the build logs... so here we are. after some considerations about the proposed design of the center piece and talking to my boss at work, i have come u with a newer design for the center module. i also changed the material to a 0.70mm galvanised as it has more rigidity than the alluminium all cut and folded, now all that remained was to measure the new distance between the top and center rail of the case and make a turn out for mounting the center module. once i had that i measured it onto the side walls. and proceeded to cut them out, i included 3 pass throughs per side for the cabling i also had to add a cutout in the base to accept the hard drive mount / ssd mount now some test shots heres as far as im willing to show thus far as i have some more to do before i post the next update
- 4 replies
-
- desk build
- modular
-
(and 2 more)
Tagged with:
-

[Australia] Alex Ciobanu
idpcmods replied to Tt Andy's topic in 2015 Thermaltake CaseMOD Invitational Season 2
Good Luck bro! Cant wait to see what you do -
Put some real shoes on cal Looking good bro! Keep it up
-
sorry its been so long between posts Ok so new update i have decided rather than trying to scratch build the 2 sides modules and center piece to cut down 2 more cases. so i went ahead and started with what i had here. i measured my cuts and then went nuts with my jigsaw (in hindsight i should have used a grinder but alas mine has died... once i had the 2 pieces cut so the spare top piece can be fitted to the side. i then tapped new threads in for the side panel to fit up. here we have the test fit with. i now need to build a couple of plates to fix the 2 halves together.
- 4 replies
-
- desk build
- modular
-
(and 2 more)
Tagged with:
-
 ThermalMike reacted to a post in a topic:
PROJECT STEAMPUNK
-
just a small update from me, Alongside the partial assembilly of the front and rear frames for the center i also managed the bottom plate today. i still need to trim down the side frames which i havent shown as they are too long and wont be done till i have the 10mmx10mm angle needed to fit the top panels. once i have some more time i will be starting on the side panels but not this weekend unfortunatly till next time, Ian
- 4 replies
-
- desk build
- modular
-
(and 2 more)
Tagged with:
-
 nataGomb reacted to a post in a topic:
PROJECT CORE XD
-
 JeremybbName reacted to a post in a topic:
PROJECT CORE XD
-
 Donaldol reacted to a post in a topic:
PROJECT CORE XD
-
 Richardsaky reacted to a post in a topic:
PROJECT CORE XD
-
 LetsGetIt1220 reacted to a post in a topic:
PROJECT CORE XD
-
Build log introduction About the modder and build. Welcome, my name is Ian Duncanson i am a 26 year old modder from victoria Australia i have been building and working on computers since i was 15. This is my third fully custom pc and one i wish to showcase, so lets begin. The concept - Simply with the age of ikea and the ability to customise along side the rise of the desk builds i have decided to design and build a desk based upon one of my favorite cases the thermaltake core x9. Now having built a previous desk before i know to an extent whats needed (my original build was a rush job so i had somewhere to play games and best utilise the limited space i had). The necessary goals to a great desk concept are outlined below and are my goals for this build. Another note about me, im not the best when i comes to 3d drawing and renders so i do the majority by hand its never great but it give me what i need to work with. this space is reserved for our sponsors starting with: Thermaltake, without the faith that quite a few of their staff have put in me none of this would be possible. they have and will be supplying me with cases fans/controllers and watercooling gear Goals: - Fully modular desk solution - core values (moddable, versatile, astetically pleaseing) -light weight but strong. Design- The design is simple, 5 modules (2 x core x9 cases with 3 custom modules forming a desktop) the desk will be constructed out of aluminium and parts of a (few) damaged core x9's the custom parts will he powdercoated white to closely match the original cases. Heres a couple of those sketchy drawings i mentioned disregard the measurements these changed many times upon realising i had inadvertantly rushed my measurements. So we will be begining the construction and finalise the design on the fly. An old war saying is that every plan is a good one till the first bullet flies. But first a very big thank you to some of my friends for the community, the support you have shown even at the early stages has been phenomenal and for that i thank you. My first order arrived from thermaltake australia the other day i posted an unboxing ceremony on my facebook page (http://facebook.com/ianduncansoncomputermods) So i will skip this one as im sure you have all seen this beautiful case before. Ok so maybe one or 2 photos Now as much as i love the front grill design for what im doing its too hard to have replicated locally i was quoted over 300 dollars for material and cutting for a full sheet and i only need less than half of one :/ So another popular idea occured i will still have the front panel as a whole just not the mesh... so instead i have started to organise some dark tint perspex to be delivered for the build. But im getting ahead of myself.. but more to come soon
- 4 replies
-
- desk build
- modular
-
(and 2 more)
Tagged with:
-
 Donaldol reacted to a post in a topic:
PROJECT STEAMPUNK
-
ok so next update, again no images as i havent hadd too much time. so a good portion of my purchases have arrived. i still have 1 more major one to do which is the mesh to remake the front piece as a 1 piece. i've canned the gpu block as it is too large for what i want, so the gou will be air cooled being an msi one the aluminium cooler will be painted black with the copper heat sinks left alone. ive made the psu shroud and tray shroud out of foam board which will be wrapped in the wood grain vinyl i now have to sleeve the 24 pin atx the 4 pin atx and gpu power lines the psu i scored was a semi modular thermaltake 500watt so perfect for the build. and i also scored a 128gtb ocz ssd. stay tuned for the final pics which im hoping arent too far away.
-
Looks awesome richi, cant wait to see the next phase
- 39 replies
-
- Thermaltake PSU
- Thermaltake 240mm
- (and 7 more)
-
Ok so more purchasing. Below are the components list so far both purchased and not... Mobo - egc A960M-MV CPU - AMD Athlon II 3ghz GPU - ATI radeon 4870 PSU - tba hoping for fully modular but depends what funds allow SSD/HDD - AIMING for 2x 120gb ssd's but failing that will get a 500gb hdd. Ram - tba - using gold coloured heatsinks Water cooling - reservoir - Vintage Wine Bottle Tubing - solid 1/4 copper pipe hard drawn Fittings brass 1/4 compresion fittings Pump - 12 volt sle water pump Water block cpu - tba (perhaps a thermaltake w2? ) Waterblock gpu - aquagrafix ati 4870 copper full block Fans - thermaltake riing fans 120mm x4 (waiting on orange to be released but red will suffice) Radiators - 360mm rad x1 / 120mm rad x1 So far thats the list will see if there are any changes but all depends on dollars and any interested sponsors
-
Ok so the mobo has been ordered (egc a970m to be precise) as the build is more and older style minimalist approach ive chosen an matx board that will be surrounded by a shroud /cable mangement cover.
-
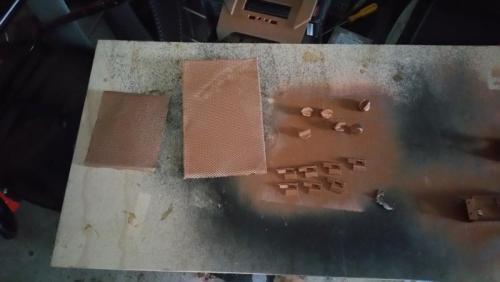
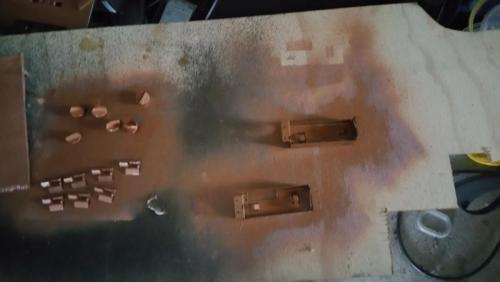
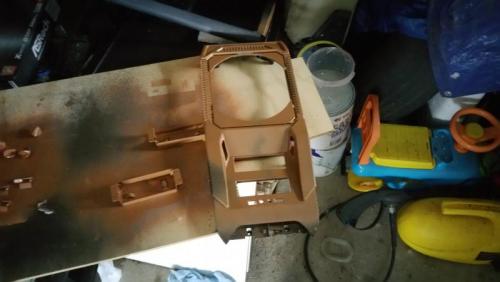
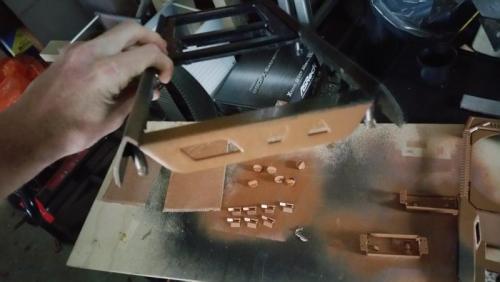
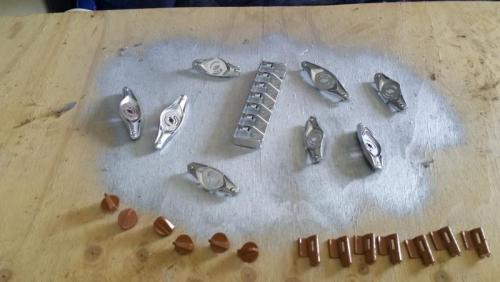
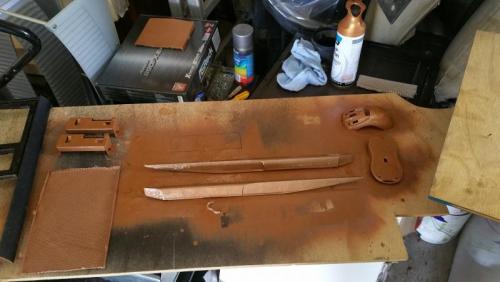
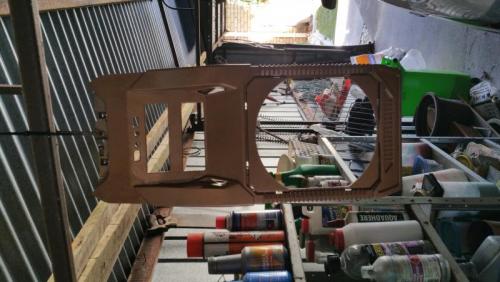
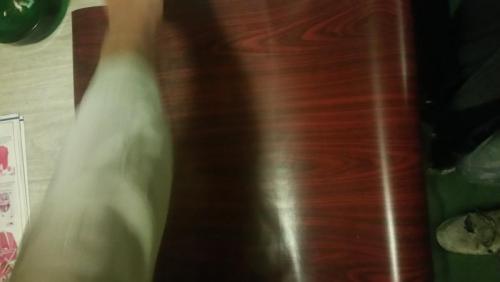
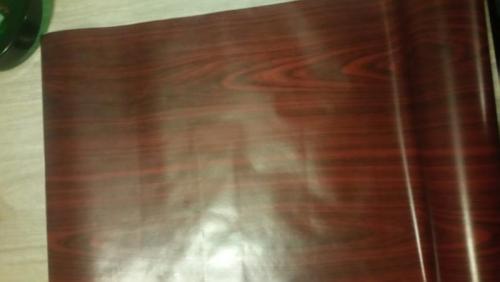
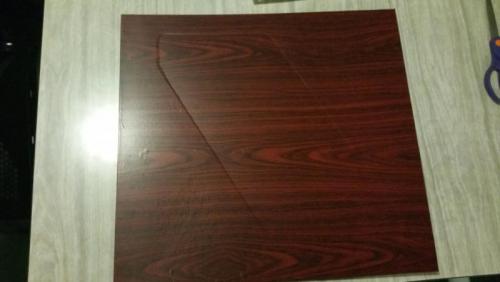
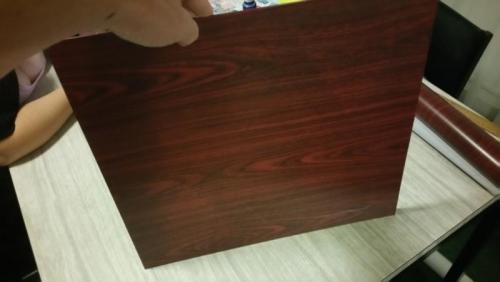
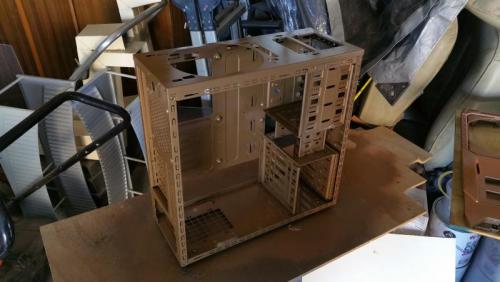
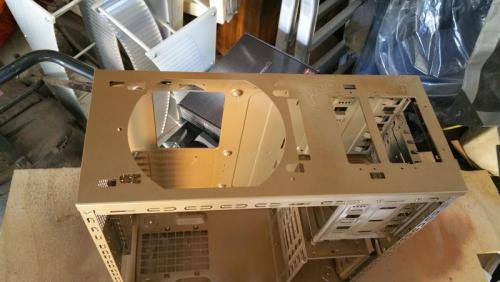
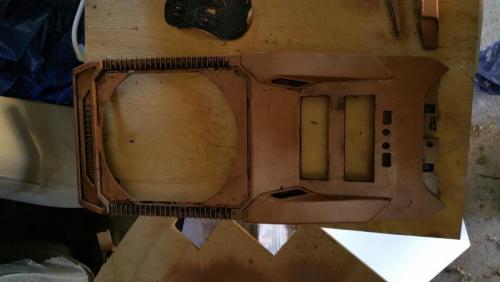
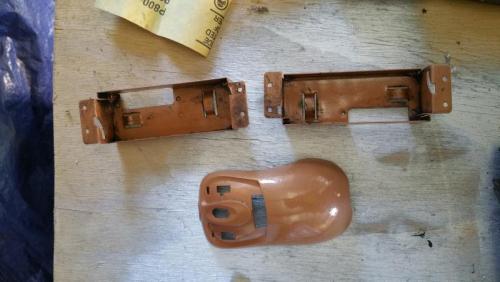
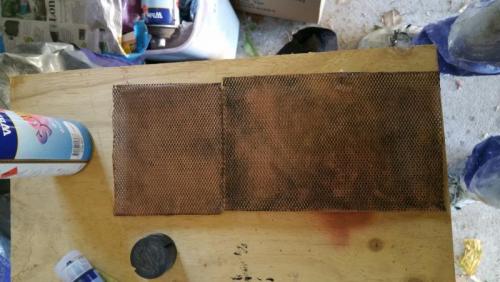
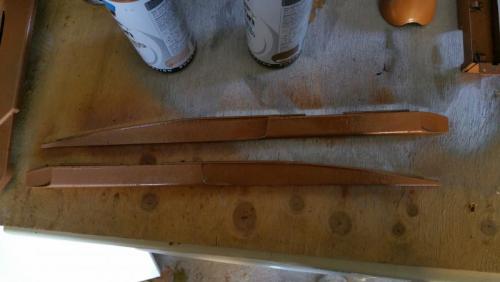
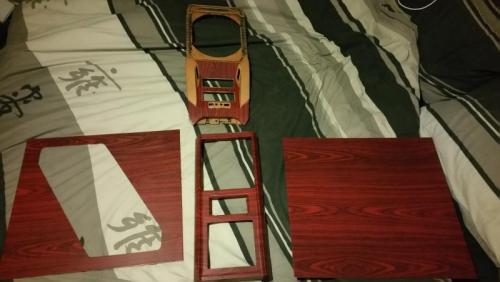
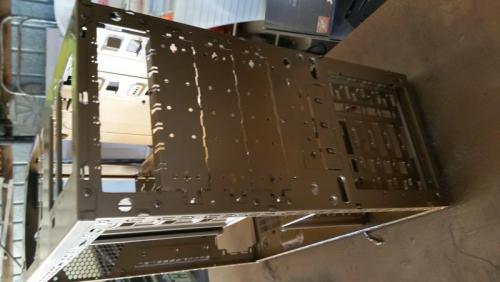
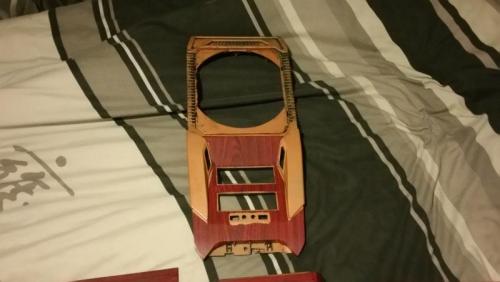
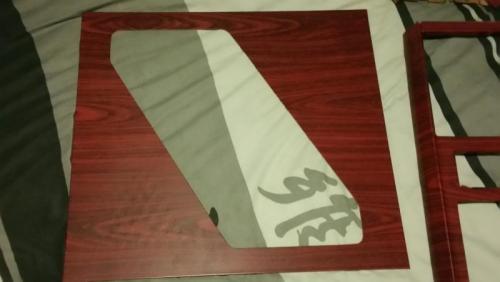
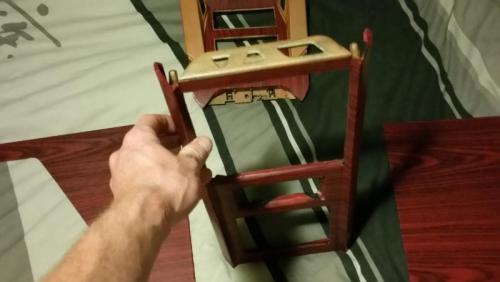
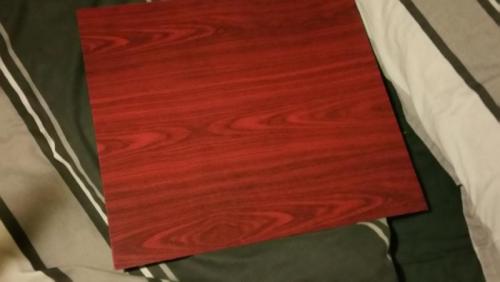
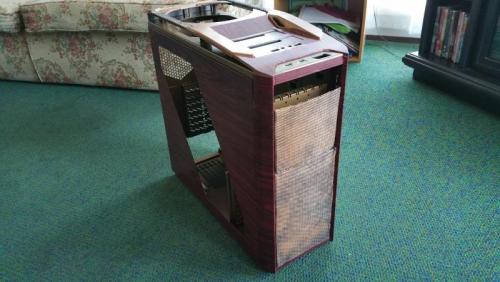
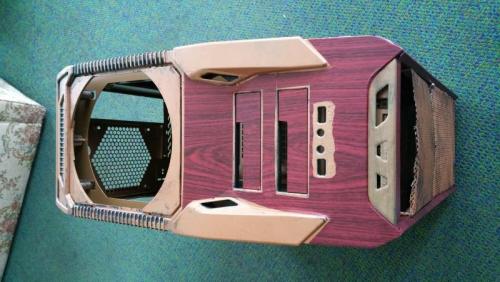
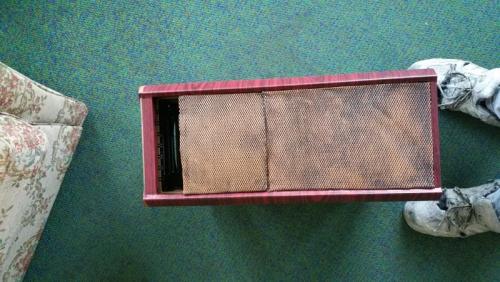
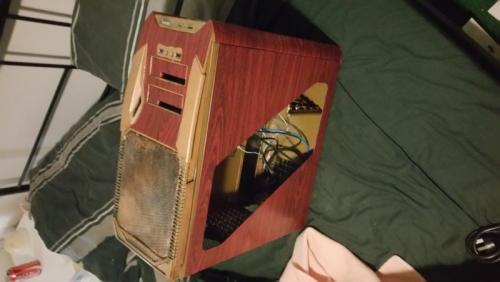
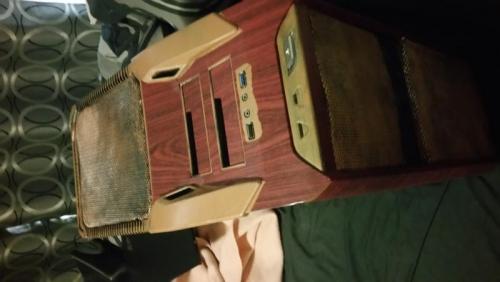
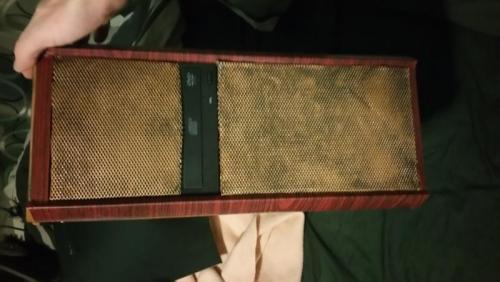
Ok, so this is my first build im doing a complete log for. i hope you all enjoy. this is a steam punk themed mod to the thermaltake v9 black edition case. Ok so to start with ive stripped the case, and sprayed the chassis in a copper/brass base paint. note i will be removing the drive bays for extra water cooling rad in the front. once i had the basic colour on the chassis i moved onto plastic parts that would not be covered in the wrap i had chosen. also an other parts that would be required off the case for basic ideas if needed. (Note alot off these parts are now no longer going to be used. please ignore the mouse.... it was a test pice to see how the beaten copper paint came out on curved and angled pieces looks a bit plain yeah? ok so next was to age it up a bit.. steam punk is a heavily olden appearance aged copper and brasses and woods... so i used black paints and on some copper parts and cerulean wash to age it up a bit... so now we have our plastics and extra parts painted now the wrap heres the wrap i have chosen its a stained rosewood so with that all done i took one look at the original grilles as realised they wont do at all... they look too modern... so.... i made my own... so i made these ones out of metal flyscreen bent into shape over the originals these first ones arent neat as i was rushing, a new single peice one will be made in the near future. now a test assembily here is why i decided to not go with any optical drives... it looks hideous.... now that you have all seen the progress thus far here is a list of the changes that will be made... 1. side window panel is going to be cut so it is only the outside edge to hide the chassis frame so will virtually be and open side. 2. as above the optical bays will be deleted for more watercooling gear to be installed. 3. front grille will be re done as 1 commplete piece. id love to know what you all think. and yes as yet no mention of internals... i have a few ideas knocking around but remember this whole project is fully funded so subject to change based on cheaper and better parts become availble. i will post my ideal list later but most of it is wishful thinking especially with an impending wedding, and my partner and i have a daughter.. so funds are limited.


