Search the Community
Showing results for tags 'asus'.
-
 PLEasant Pera Loan App customer care Number.08369046204√>063013,35340 Call nowPLEasant Pera Loan App customer care Number.08369046204√>063013,35340 Call nowPLEasant Pera Loan App customer care Number.08369046204√>063013,35340 Call now
 -
PLEasant Pera Loan App customer care Number.08369046204√>063013,35340 Call nowPLEasant Pera Loan App customer care Number.08369046204√>063013,35340 Call nowPLEasant Pera Loan App customer care Number.08369046204√>063013,35340 Call now
-
PLEasant Pera Loan App customer care Number.08369046204√>063013,35340 Call nowPLEasant Pera Loan App customer care Number.08369046204√>063013,35340 Call nowPLEasant Pera Loan App customer care Number.08369046204√>063013,35340 Call now
-
(a)JPG.jpg.562ccf8f52aebeb8d595ffaa6698382e.jpg)

-
(a)JPG.jpg.12d75c0b856d4cfddd6e15160e80623f.jpg)

-
(a)JPG.jpg.9f7890ec3ed4b081fb590599726591a6.jpg)

- 28 replies
-
- 1
-

-
- scan computers
- thrustmaster
- (and 7 more)
-
(a)JPG.jpg.5cb59fba8f4c1515f50e8a386275bd9c.jpg)

- 18 replies
-
- 1
-

-
- scan computers
- thrustmaster
- (and 7 more)
-

(a)JPG.jpg.2b07cc6a647a262c1d4a6ced0a0d5dba.jpg)
-
 Well here we go guys... 5 teams, Battle out to be the best in the UK The professional modder and their apprentice. You want more information : https://casemod.thermaltake.com/2024s1ukAcademy/index.html
(a)JPG.jpg.40bf95016192c82002bd0c333f8bb7a1.jpg)
- 4 replies
-
- 1
-
-
- scan computers
- nvidia
- (and 4 more)
-
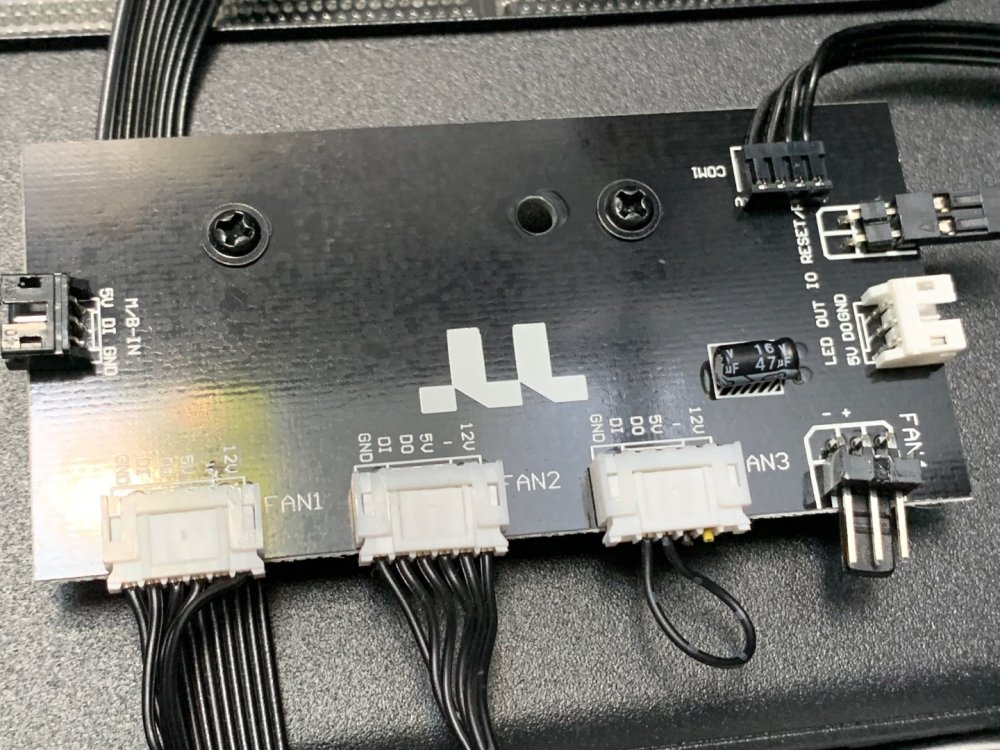
Hello, how to connect rgb coolers in the thermaltake commander c31 case to the motherboard? Do I understand correctly that this will require a splitter in the photo?
-
Hey guys. This is something I've been planning to do for nearly two years now, and it's finally coming to a head. As some of you may have seen, I recently put together a custom reservoir to sit in the window of a Thermaltake Core P5. You can find the thread detailing how that all happened here . So after much debate between choosing X299 or X399, I eventually opted for Threadripper. I wanted a build I was sure would continue to be supported for years to come, and I didn't feel that I could get that out of Intel (Plus I didn't want to delid). So here are the parts! I ordered these during one of Ebay's 20% off sales, so most of them were a pretty good deal. The parts are as follows: Threadripper 1950x Asus ROG Zenith Extreme Strix GTX 1080ti Gaming TeamGroup Vulcan ram (64gb 3000mhz) Samsung 250gb Evo M.2 SSD Thermaltake 850w DPS Titanium (Only PSU with theRiing fan and two EPS outlets) Some Riing fans for the radiator And of course, the Core P5. I'll be using some HDD's from my current computer when it's time to migrate to this one. The first thing I did was put everything together and test the system. I decided to shove the 1080ti straight into my current build and pull the R9 290x out of that one so I could enjoy those high refresh rates straight away. We have ignition! Windows was successfully installed! It was time to focus on the more aesthetic side of things. I figured, if I was going to put this much effort into this build, I may as well have a symbol/logo done up to match the PC's name. I contacted a graphic designer located in Queensland called Sam Johnston (He has a business page if anyone's interested. Would recommend). Within a week I had a fully-fledged logo! I'm lucky that at work we have a laser cutter on hand. Here I am testing a few different power levels before etching the window. And here's the real deal. I decided to etch it backwards so that it would retain the gloss from the front side of the window. And not long after. Here it is after a quick cleanup. And finally after a polish. Not long after this, my water cooling equipment arrived from Bitspower. All bar the pump mount, which I unfortunately forgot. Hello extra $35 shipping. I tell you what, I feel that Bitspowerdon't get the recognition they deserve. Look at the quality of these blocks. Opps, forgot to take a photo of these ones with the wrapping off. While the waterblocks were great, I did have an issue with the radiator. I find it unfortunate that Bitspower stopped producing the single-sided version of the 480 radiator, and have opted for a double-sided model only. This produced a problem when mounting it to the P5 as I'm sure you can clearly see here. The Core P5 is flat on the side I need to mount the radiator to. But I had a solution in mind. Little bit of silicone and they were sitting pretty. Just shove em in. And wipe the excess away! Now I do love Bitspower, but one thing that irks me about them is the fact that all their plexi products have a frosted finish. I much prefer how EK does this with their crystal clear blocks. Thankfully, polishing acrylic isn't something that's particularly difficult. Before: And after: Before: And after: Before: And after: This was by far the worst part. I forgot to take photos of the ram blocks, but I did get a few before and after shots of the ram sticks themselves. At this stage, I ordered some cables fromCablemod. I quite like the scheme I came up with. They arrived not long after. Shortly thereafter, my pumps and liquid metal arrived. Naan Bread always looks at me like I've just asked her to hang out the washing.Unfortunately I didn't order enough sleeving. I sleeved up one of the pumps, but had to order more sleeving for the other. I couldn't find anyone selling Alphacord in Australia, so I opted for a knock-off vinyl sleeve from eBay. It was not good. I'll post photos of that later, but it looks like I'll have to order more Alphacord from overseas. Money money Next up was attaching the monoblock to the motherboard. Not a bad idea, Asus. Liquid metal is awfully pretty. And hard to figure out how to apply for someone who's never used it before. I got there eventually. And that's where I'm up to for now! Looks pretty good I reckon. I've got a few more parts on the way. Not much more I can do for now until they arrive.
-
 Welcome to my Project logs of 'Pocket Rocket' What's the deal ? For this project, i'll be transforming a brand new 50cc mini quad bike into a full gaming/show system. I'll be removing the engine and replacing it with the motherboard and GPU's I'll then replace the exhaust system with reservoirs and tubing. There's still some stuff to figure out, but very soon i'll get the quad and figure out all that. Special thanks to my wonderful partners ASUS Republic Of Gamers UK Thermaltake technology inc. TeamGroup Global Cablemod Specs Intel core i7 7800X ASUS ROG Sytrix X299-XE gaming ASUS ROG Strix 1080 OC ASUS ROG Strix 1080 OC TeamGroup T-Froce Delta RGB 16GB DDR4 Cablemod Custom cables (Pro Kit with aluminium Combs) Cablemod RGB/W Lighting Thermaltake Riing Plus 12 RGB Radiator Fan TT Premium Edition Toughpower Grand RGB 850W Gold Fully Modular 2x Pacific T22 Reservoir's Pacific P1 Black D5 Pump w/ Silent Kit 2x Pacific V-GTX 10 Series Transparent (ASUS ROG) Pacific W4 Plus CPU Water Block Pacific M-Pro G1/4 PETG 12mm Fittings - Black Pacific G1/4 PETG Tube 90-Degree - Black Pacific G1/4 PETG Tube 45-Degree - Black Pacific G1/4 Pressure Equalizer Stop Plug w/ O-Ring - Black Pacific G1/4 Female to Male 20mm Extender – Black Pacific G1/4 Y Adapter – Black Pacific Drain Valve – Black Pacific G1/4 Stop Plug w/ O-Ring – Black Pacific G1/4 Male to Male 10mm Extender – Black x3 V-Tubler PETG Tube 12mm OD 10mm ID 500mm 4 Pack Thermaltake Pacific Hard Tube Bending Kit for ID 10mm x OD 12mm Hard Tube Thermaltake C1000 Opaque Coolant Black Thermaltake Pacific RL360 Radiator Photo's! So... Here's some photo's of the quad, it's due for delivery on monday, excited to start. So the quad measures at 1 meter long, 60cm wide and 60cm tall. (Tons of space!) One of the first things i'll be doing is removing the panels from the quad and spraying the underside of them, hate seeing that white. ASUS ROG UK Delivery. First up: Strix X299-XE Gaming motherboard Strix 1080 OC edition graphics cards ASUS ROG HB SLi bridge TeamGroup Global T-Force Delta RGB kits Will update more as the final parts arrive, this is to be hopefully completed BEFORE EGX!! Insane time frame, but i must try Thanks for looking. Craig.
 -
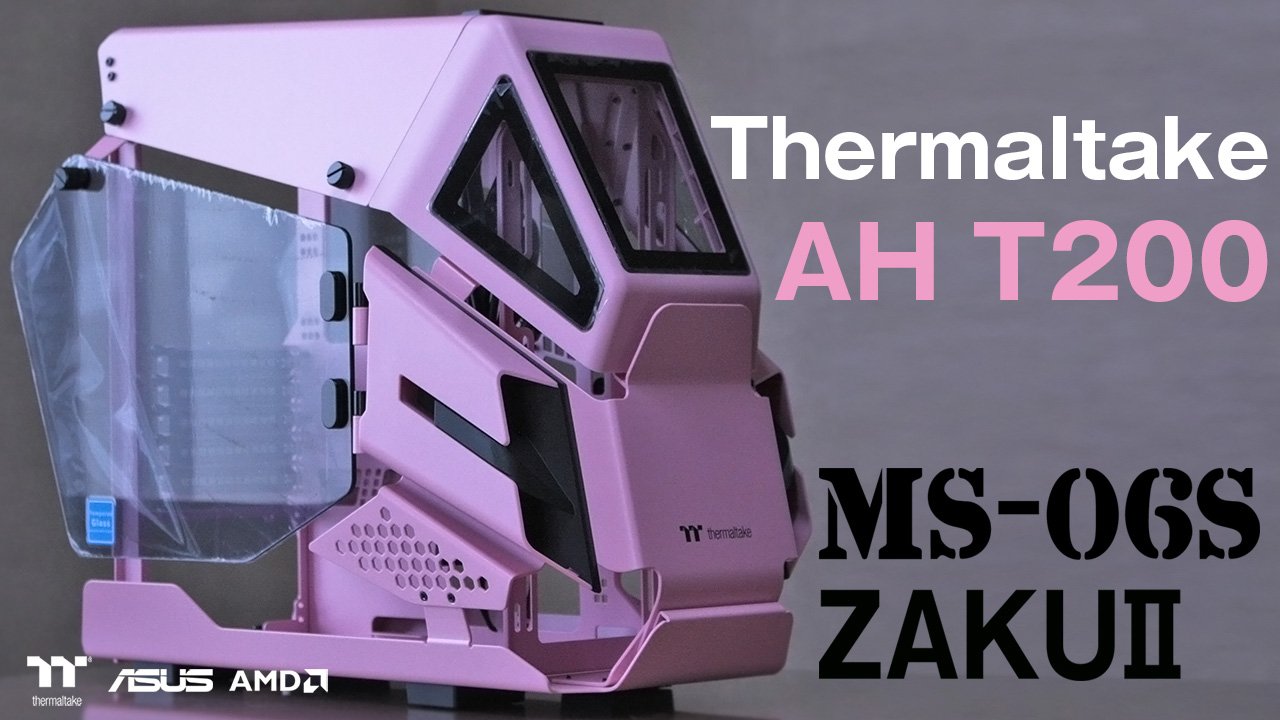
Hello All! 😃 This is a "ZAKU II ザクII " theme custom PC and case mod. and


-
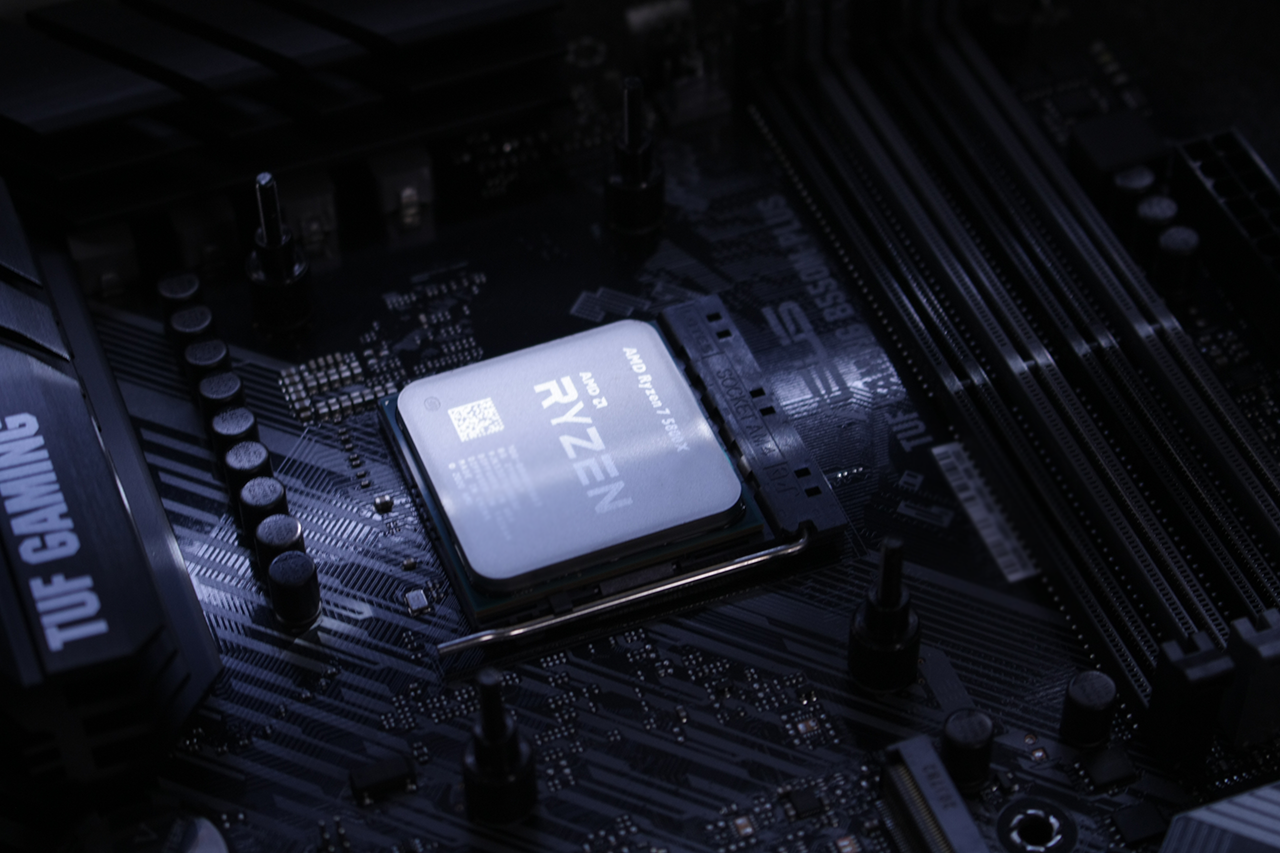
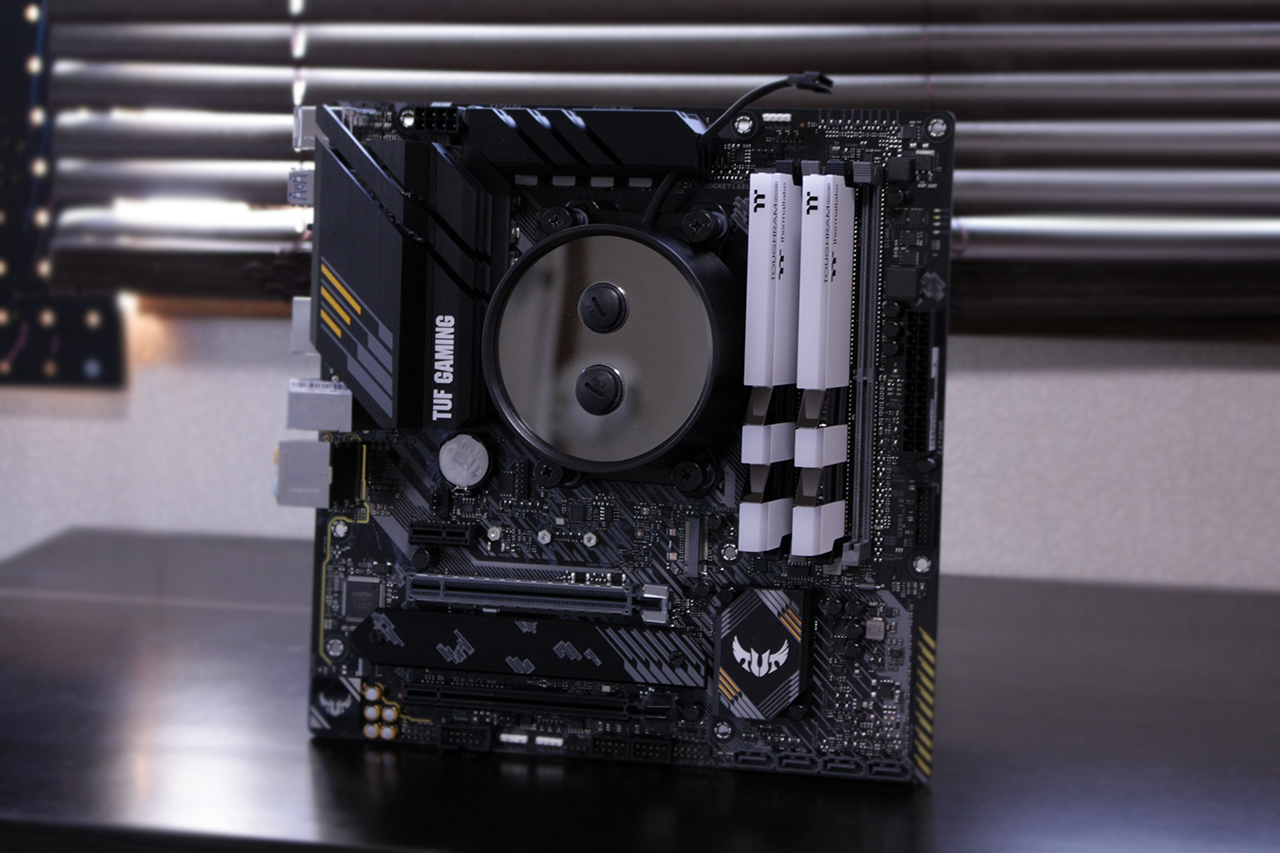
 Hi I'm colin Mcnally from consett in durham. Iv been building gaming PC's for around 10 years when I started sim racing after moving from console's. The last 2 years iv started doing full custom water loops in mine and a few friends PC's. This will be my first themed build so I thought I would include my other hobbie/passion which is motorbikes. Project motogp will include moving parts and a motorbike stand. I'll like to thank all the sponsors for all the hard work in these tough times for making this possible. The first parts from scan arrived yesterday which include ThermalTake View 51 Snow ASUS ROG STRIX X570-F Gaming ASUS Radeon RX 5700 500GB Seagate FireCuda 520 14TB Seagate IronWolf Pro 850W Thermaltake Toughpower GF1 Thermaltake Pacific Hard Tube Water Cooling Kit Thermaltake Pacific V-RX 5700 Series Plus GPU Waterblock Thermaltake Water Cooling Pacific Hard Tube Bending Kit 300mm Thermaltake TtMod Sleeved Cables 300mm Thermaltake TT Premium PCIe Extender With more parts coming soon I'll be starting my build in the next few days and will post as much as I can. Thanks again to Thermaltake Scan computers AMD seagate Asus Ttuk2020casemodchallenge I'll also like to wish the other 4 competitors the best of luck stay safe and have fun building.
- 24 replies
-
- 4
-
-
- seagate
- thermltake
- (and 5 more)
-
Basically the setup I have is 4 x 120mm riing fans and 2 controllers. Each controller has 2 riing fans plugged into it. The controllers are then plugged into 2 separate 4-pin chassis fan connectors on the motherboard (Asus Gene VIII). I boot up and set the fans to a specific colour via the controllers, but next time I boot ,the LED's don't turn on. I have to manually go and set them again. I have made sure all my connections are OK, tried a CMOS reset, updated the BIOS, uninstalled all of the bundled Asus software, yet it still won't behave as expected. So I'm not sure if its an issue with the MB, or my fan controllers?
-
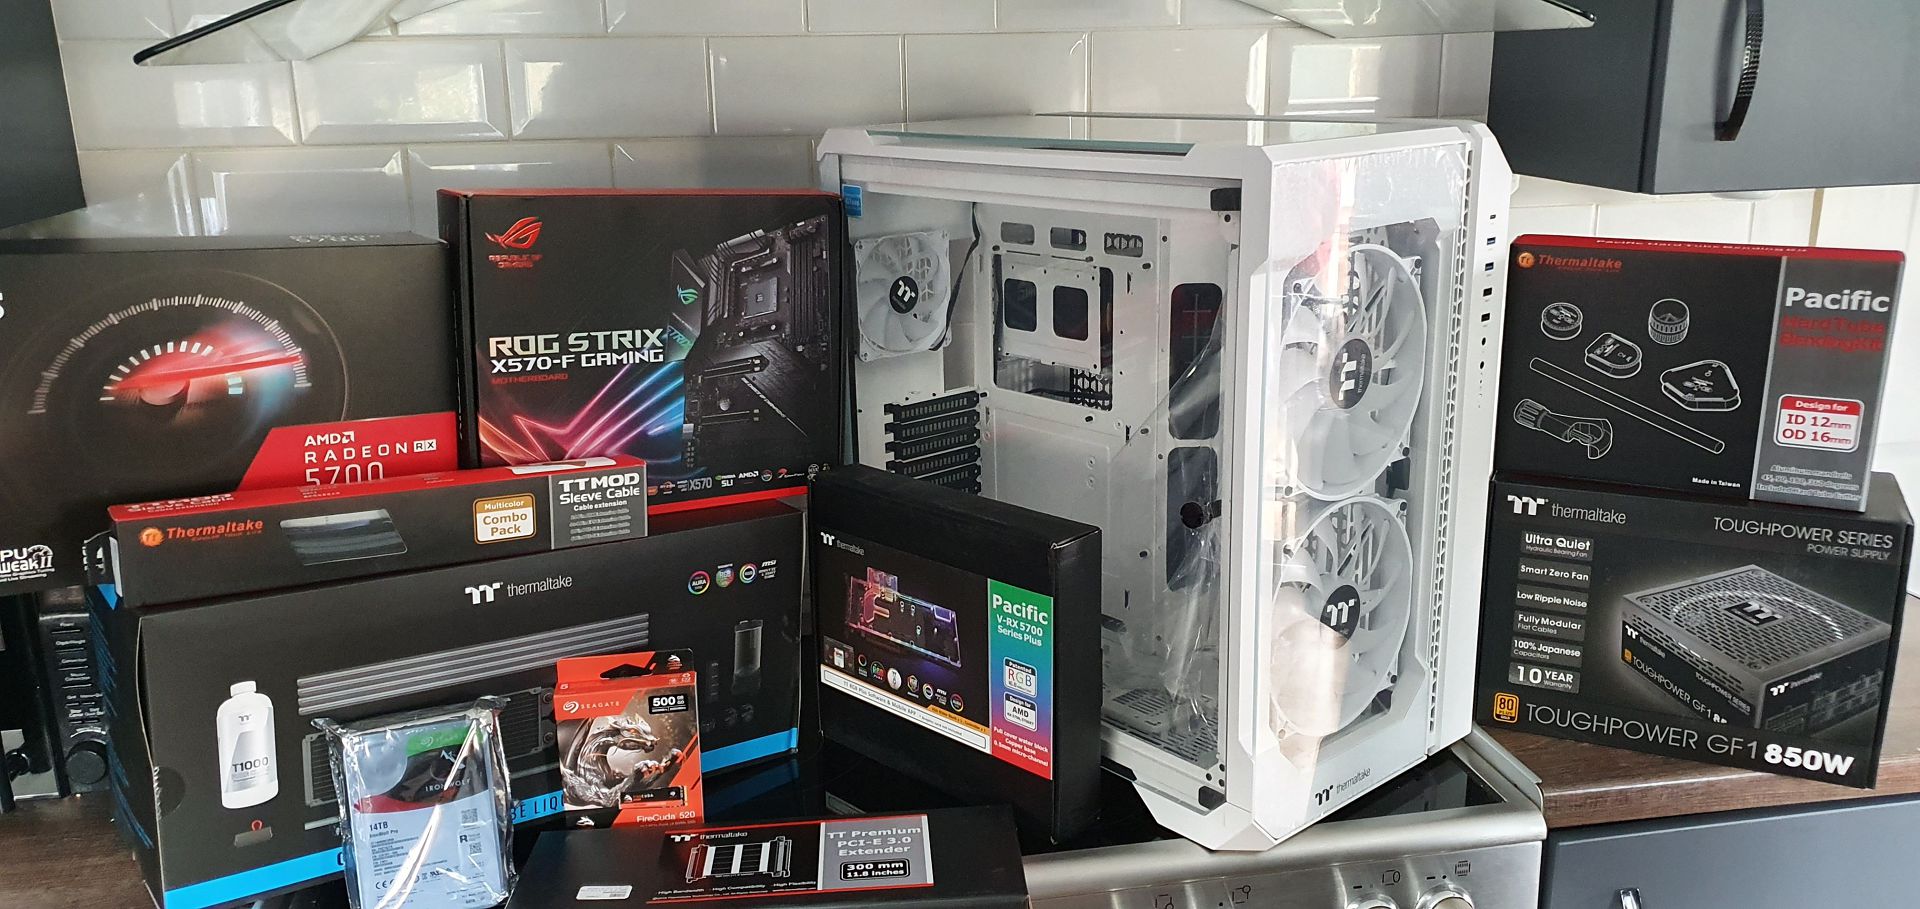
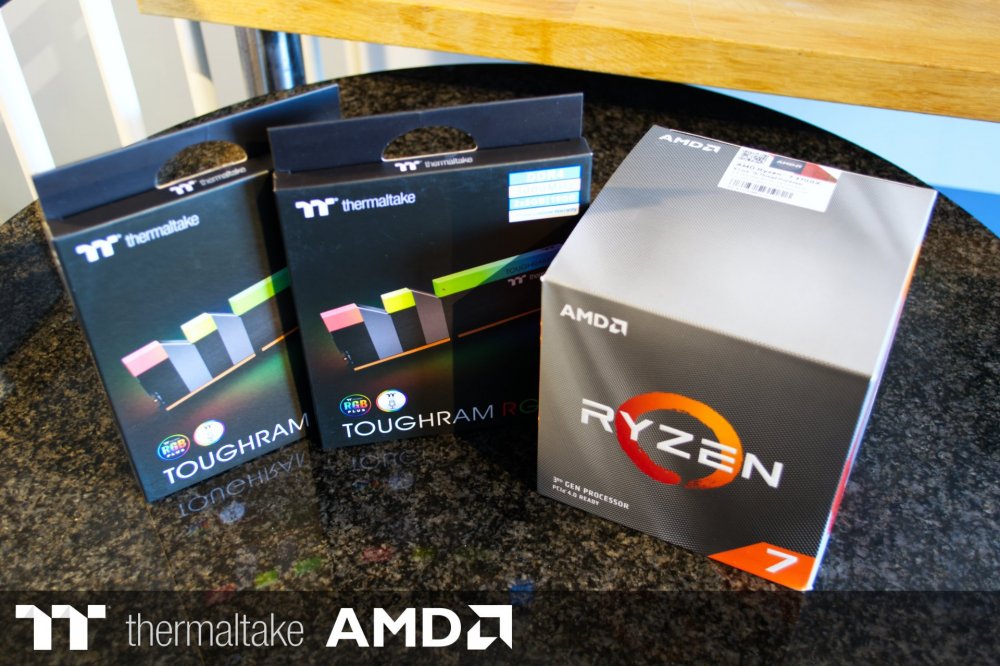
 Hi Everybody, I'm Tom from sunny Birmingham, UK. I work as a software engineer / web developer which I've been doing since university and mainly play PC games and run in my spare time. Been building and modding computers since around 15. My first mod was a side window cut-out and blue CCFL tube lighting, was so proud of that at the time (simpler times). Started water cooling at university on an overlclocked Q6600 which kicked out a lot of heat and kept it up ever since. Current PC is an ITX build with a 280mm and 120mm rad which has been a little workhorse / hotbox for the past year. Onto this considerably more substantial build as a result of being selected for the Thermaltake UK 2020 Case Mod Challenge which has been awesome 😄 and the perfect distraction from current events. Been spending the past couple weeks getting everything together for the planned mods. Anyhow, onto the parts list: Thermaltake View 51 Snow AMD 3700X Thermaltake TOUGHRAM RGB 3000MHz 4x8GB ASUS ROG STRIX X570-F Gaming ASUS Radeon RX 5700 500GB Seagate FireCuda 520 14TB Seagate IronWolf Pro Thermaltake Pacific C360 DDC Hard Tube Water Cooling Kit Thermaltake Pacific V-RX 5700 Series Plus GPU Waterblock Thermaltake Water Cooling Pacific Hard Tube Bending Kit 300mm Thermaltake TTMod Sleeved Cables 300mm Thermaltake TTPremium PCIe Extender 850W Thermaltake Toughpower GF1 A couple photos of all the parts received: Thank you to Thermaltake, AMD, ASUS, Seagate and Scan for sponsoring and who've done a great job at getting the parts together in such trying times. Will be updating this thread over the coming weeks with my progress, at the moment just going to do a quick test set-up and take some case measurements. Best of luck for everyone in the competition and happy building! 😀 Tom
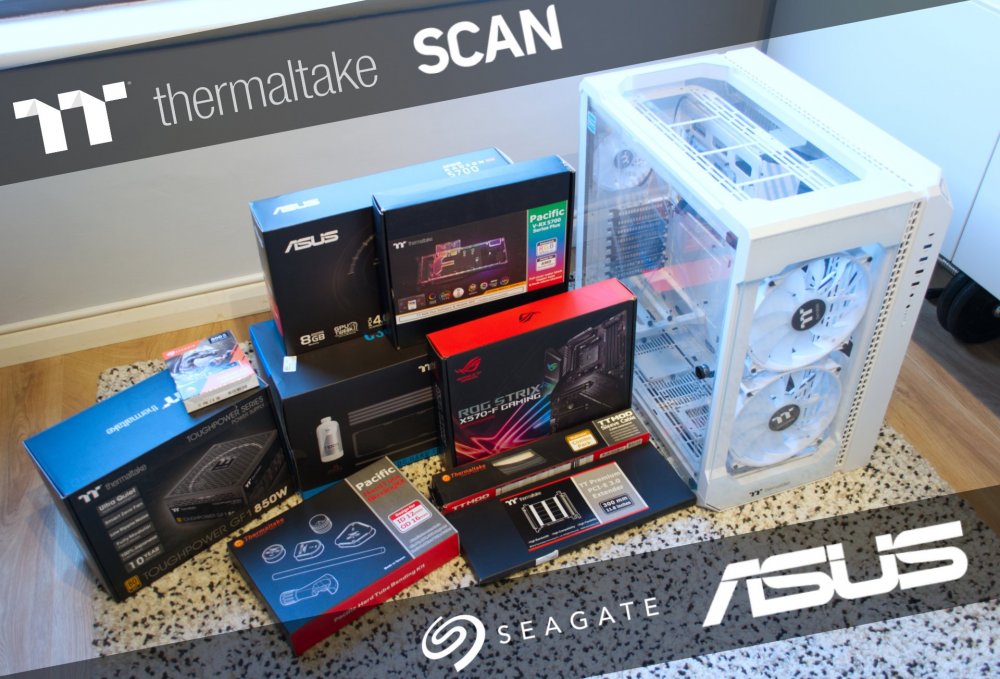
-
Hey everyone, I am back with a quick build log. Antec asked if I could do a build in their new P120 case and this is my journey. The parts I will be using are, CPU - AMD 2700x GPU - ASUS Dual RTX 2080 RAM - 16gb 3200 mhz Thermaltake WaterRam without the waterblock Motherboard - ASUS ROG Strix X470 - F Storage - Adata SX6000 256GB M.2 PSU - Antec 650W high current gamer HCG Fans - Antec Prizm 120 ARGB All the water cooling parts were supply by thermaltake and I manufactured a custom distro with integrated ddc pump for this build. This is the case. I stripped the full case down and drilled all the rivets out as I want to paint the full case a gloss black with red splash. this would be the biggest part of the build. Before, After, Once the painting was completed I needed to test fit all the parts and plan the loop and get the holes for the front distro. This will be my 1st build where I will be using a DDC pump in the distro plate, I was not 100% sure on how to do this but a did find a guide on the bit-tech youtube channel which helped a lot thanks Alex. This is my design for the front distro. Now time to cut the part. Once I cut the part, I needed to test fit the part and leak test it, I couldn't find my leak tester, so I just filled it up. We did have any leaks so it was time to add it to the build and run the tubes. Time to fill her up, Just want to say a big thank you to Antec for letting me build in their new P120 I was really surprised at how much room was in the case and a big thank you to thermaltake for supporting me in this project. Here are the final photos.
-
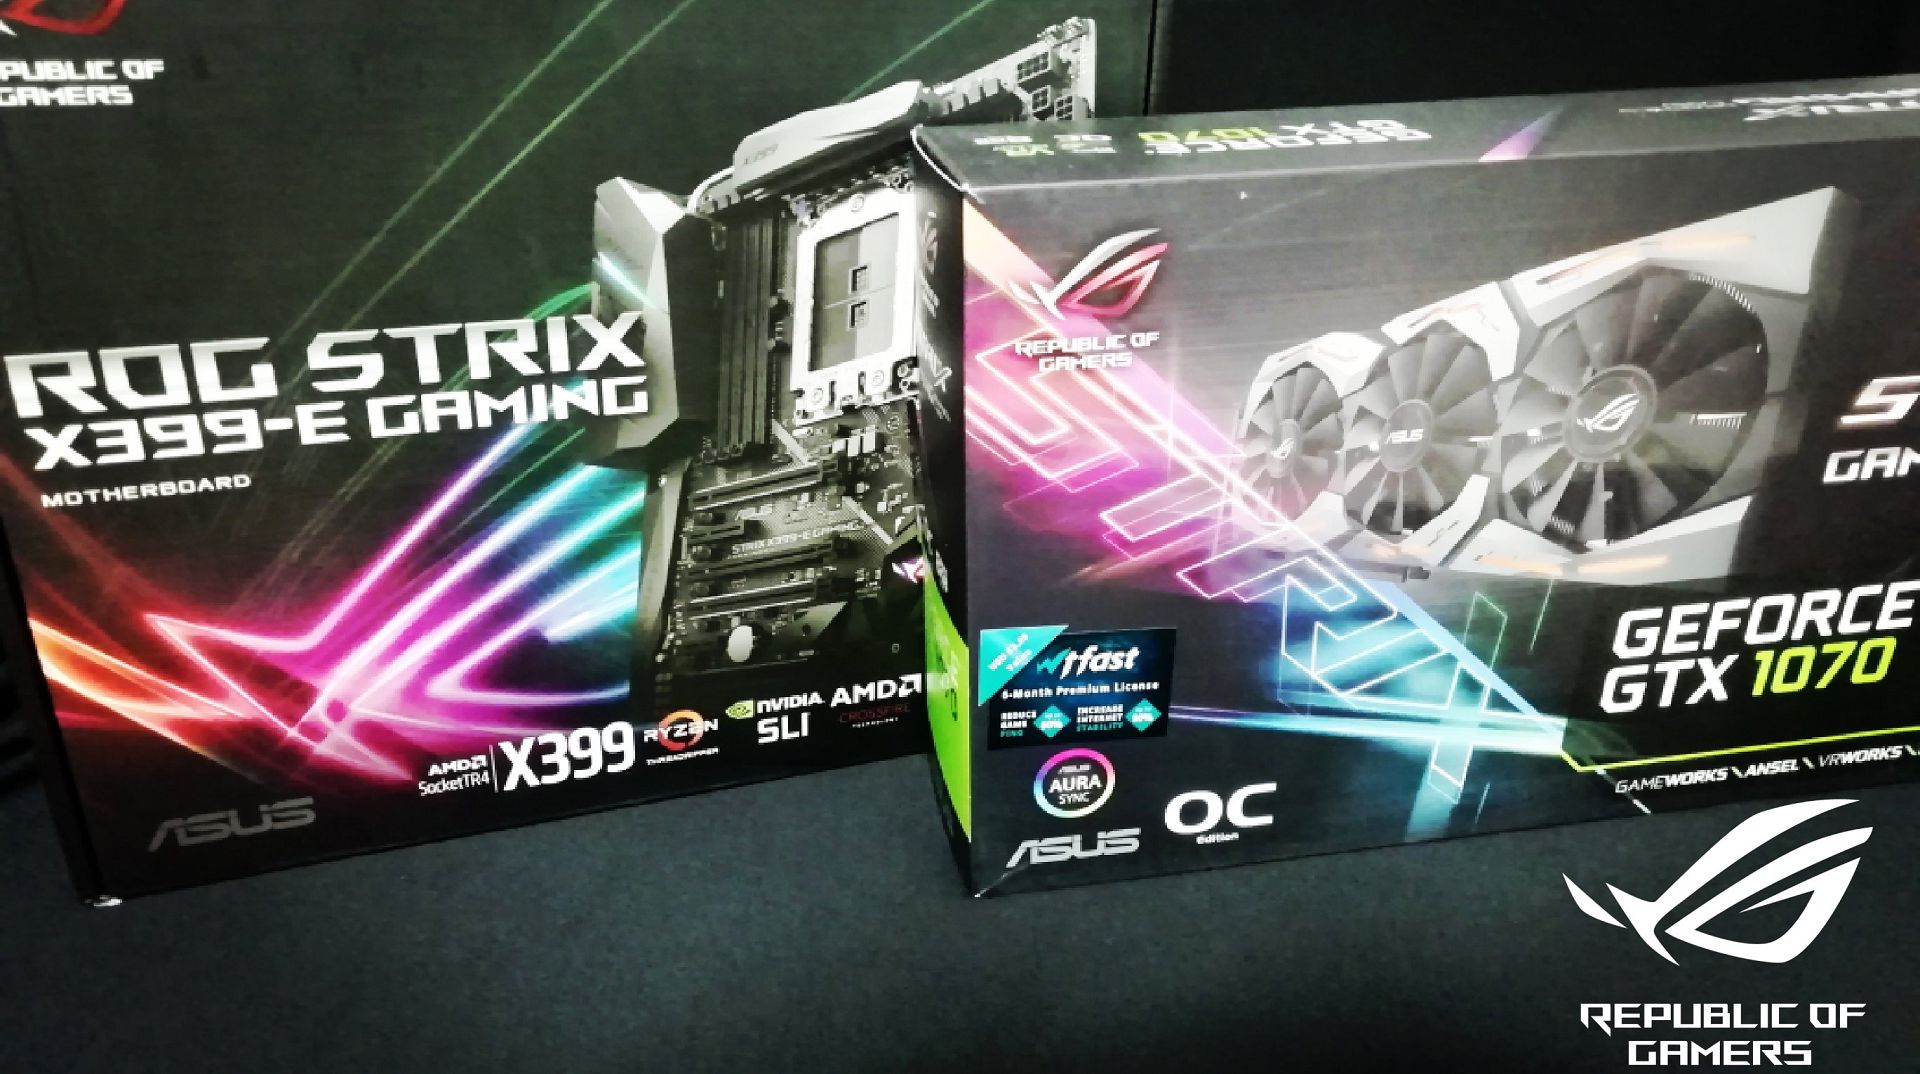
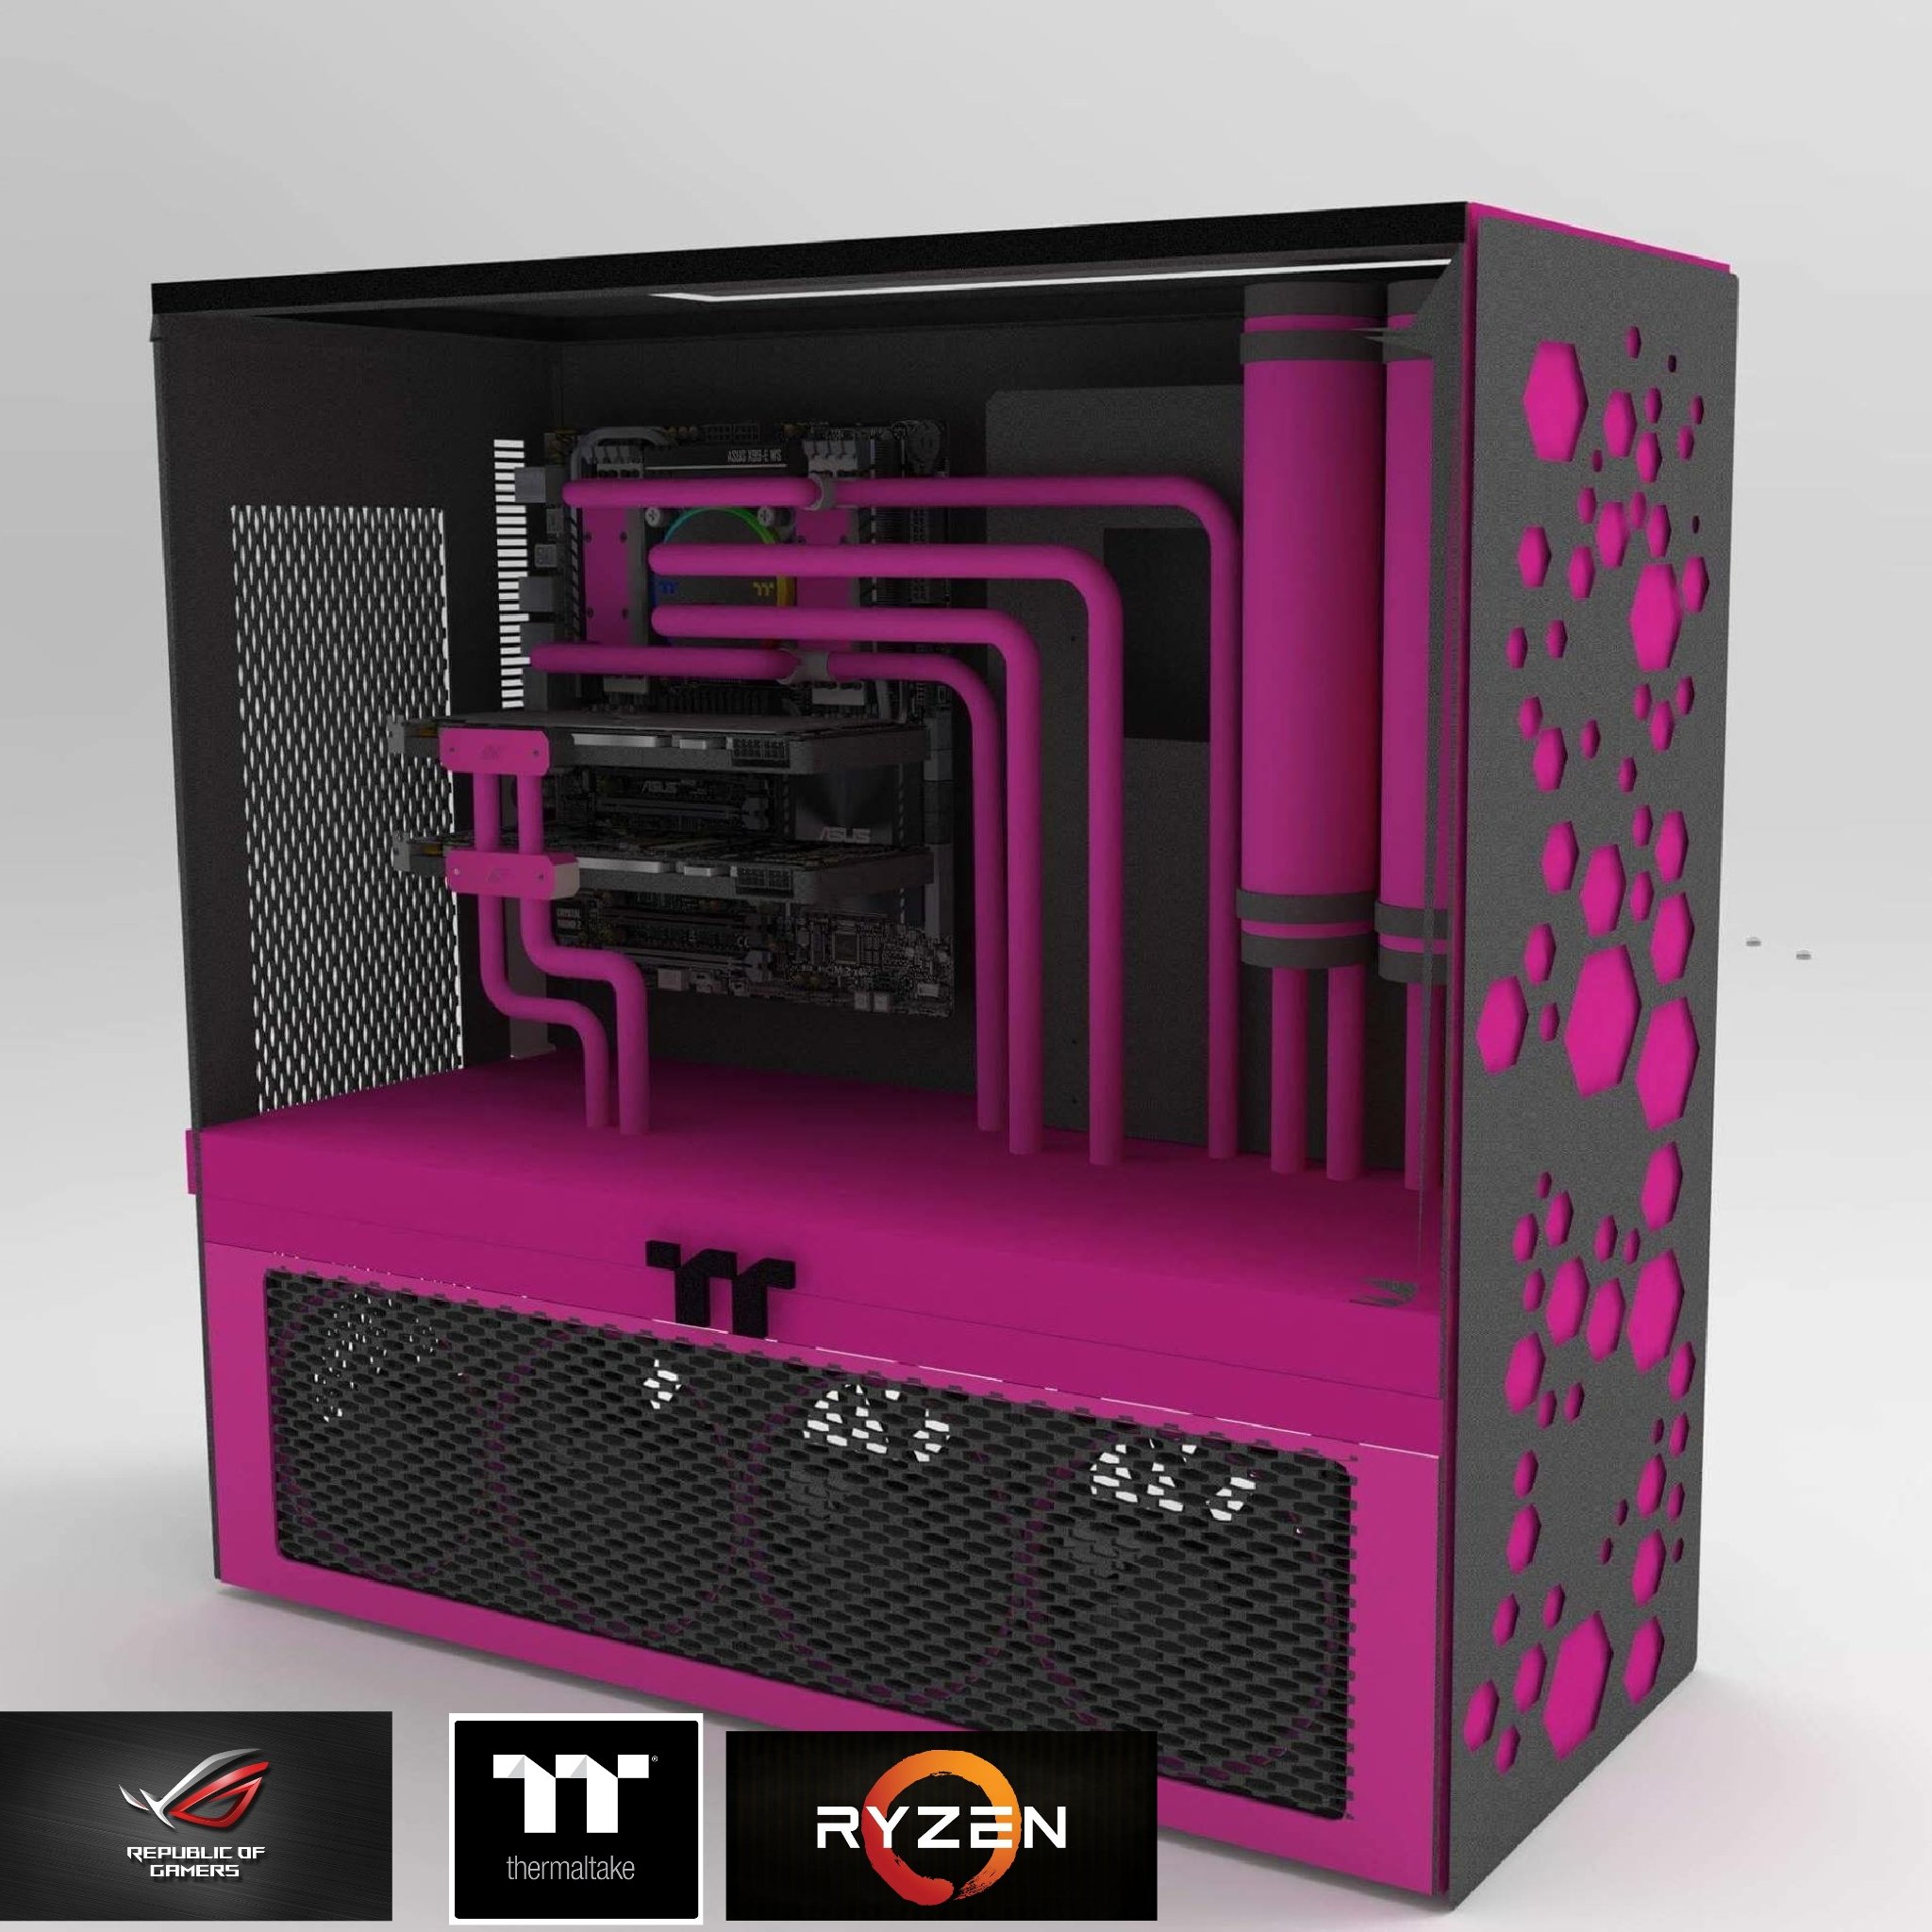
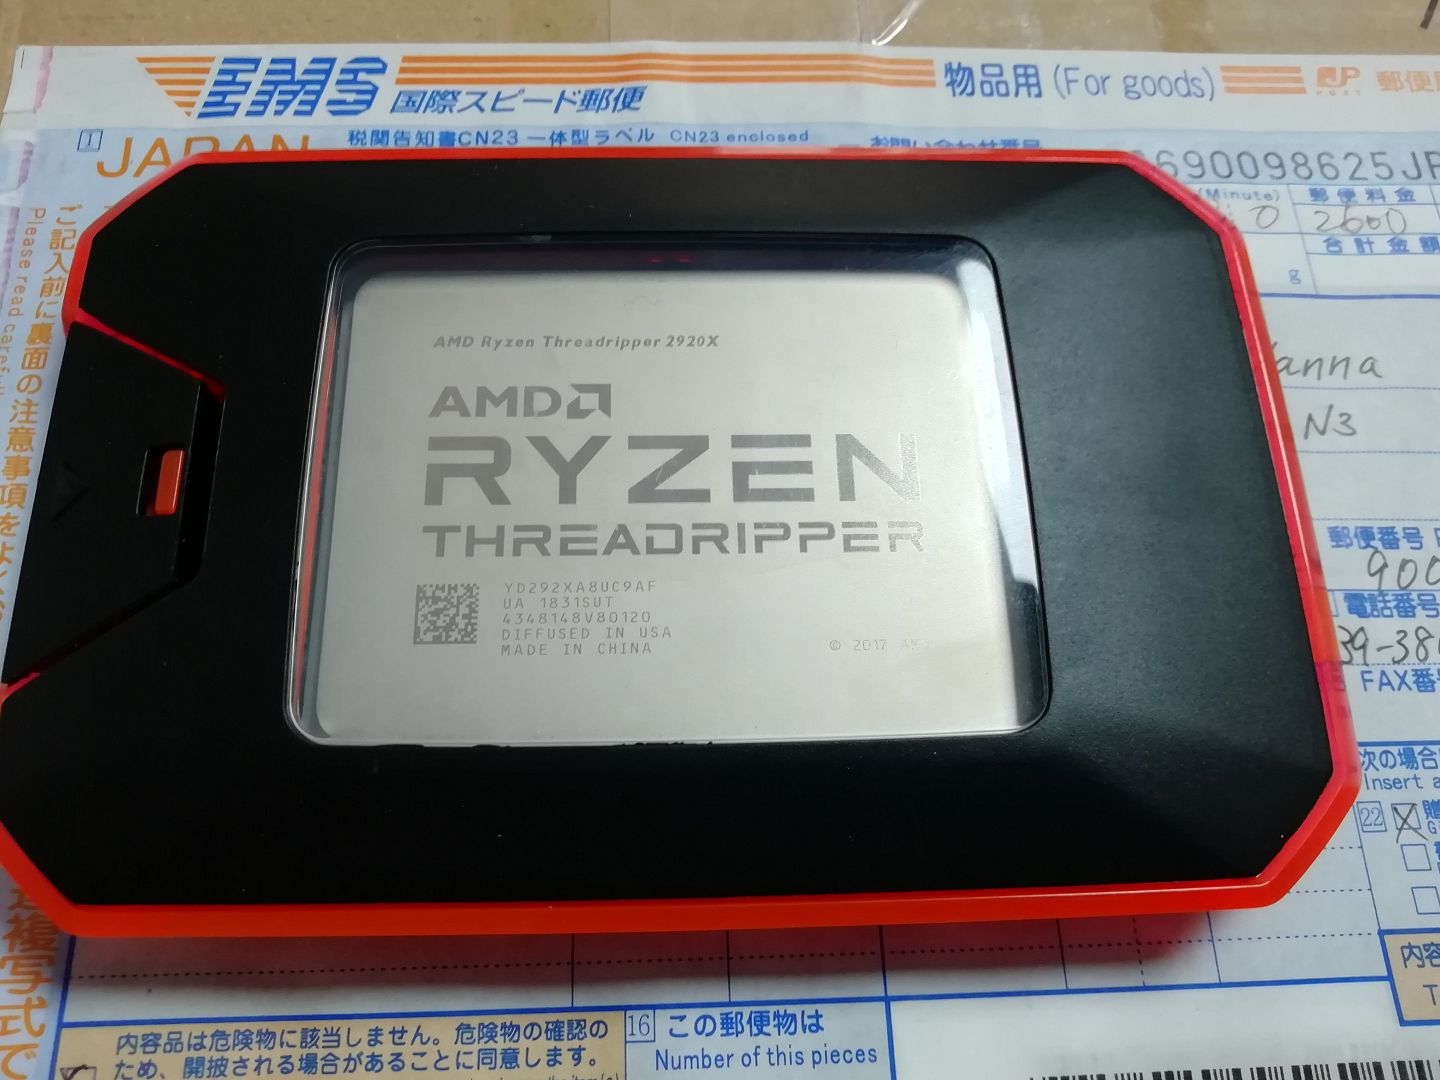
Hi all guys, I'm back to work with the next Octamachine Project. Place the approximate rendering of the Mod, The project will be structured on a Thermaltake level 20 Gt Argb case, I will modify the whole Setting of the case a little, I will use cnc-milled aluminum panels, I will make a backlit Plexiglas backlight and many other changes that you will see Going forward. Sponsors Thermaltake GoodRam Intel Component Case Thermaltake Level 20 Gt Montherboard Asus Rog x399 AMD Threadripper 2920X CPU VGA Asus strix 1070 Ram Goodram 32gb 3200mhz Watercooling Thermaltake


-
I am waiting for the rest of my parts to come in but I am building an Asus rampage 6 extreme core p5 build. I am using Asus thor 850w power supply and i need to find a way to mount it in the traditional way instead of the Thermaltake way fan facing out. Also, I am using an AIO cooler from Asus so there is the mounting bracket issue. I have the brackets and the case. (I ordered the separate 3 mounting brackets) I am waiting for the graphics card, the processor and the cooler and the rest of the ram to arrive. I ordered custom 3D printed brackets for a horizontal (traditional mount) psu mounting position. I am hoping my motherboard is large enough to allow the AIO cooler to mount in the space allocated for the radiator on the case. If not I may get Thermaltake’s P5 pump and do it myself. This is the first time I have ever built a computer so I wanted to keep it as simple as possible and in my skill level. That being said, I read and watched a guy mount the cooler sideways using the vga brackets. (the covers used to cover the spots where the graphics card(s) go. I am not sure of their name) I am hoping to get some help from the community because I am new to all this. Here’s to DIY and community to help.
-
Anyone else using Asus x399-e with Floe Riing 360? For some reason the temps showing on TT Riing Plus software are getting frozen, i.e. 30c, but fans stills working fine.. I can even adjust the speed on the software but doesn't matter what I do, the temps doesn't change... even pushing my CPU to 100%, temps remains the same and fans doesn't speed up! O.O... I need to restart the PC to the readings come back to normal. I've read some other posts ppl saying the x399-e doesn't like to many apps accessing the Super I/O but I dont have I have only TT software and Asus Aura. Anyone found a solution to this problem or have been going throught the same? I ran some tests not using the Controller and TT Software but instead, the Sync Plus connected via RGB header and I haven't noticed the problem which make me believe its something to do with the TT Software. I also did tests: Reseted CMOS and fresh windows install.. I tried with Ai Suit to watch over the readings... also tried with HWInfo64.. neither of them.. just Aura and TT software.. all combinations possible.. temps reading stops and sometimes my AIO pump rpms also freezes... when i have any other software installed apart of Aura and TT software.. the pump also completely stops..not just the readings. I could be using everything via RGB BUT, unfortunately I have TT iRGB PSU (which I badly regret had bought it now) and it doesnt connect throught RGB but USB instead... I lose all my Syncs doing it Please, I'd appreciate any help
-
 Hello, so somehow this novice of a modder has been chosen to be one of the five competitors in this years Thermaltake Modding Trophy! Words cannot describe how much this means to me nor could I tell you the challenge ahead this brings to me as newcomer on the modding scene, I sure feel like I have a lot to prove! My design of course got me in to the competition and that is what I call '20th Century TT' so let me tell you where the idea came from although it's pretty obvious to most. As soon as I heard the competition was Thermaltake's 20th anniversary the 20th Century Fox movie studios came right to me, I thought it was a good idea and what do you know, apparently it is and I can finally show you all the design that got me here. I'm proud to be in this position and to show you all what I can do! The Main Hardware 1 x Thermaltake Level 20 XT chassis 1 x Thermaltake M360 Plus water-cooling kit 1 x Thermaltake 850W Toughpower ‘SYNC’ Edition PSU 1 x Asus Socket AM4 Motherboard (model TBC) 1 x Asus Nvidia-based graphics card (model TBC) 1 x AMD Ryzen 7 2700X CPU 1 x Adata SX600 128GB M.2 SSD 1 x Adata M.2 RGB heatsink 1 x Adata Spectrix D41 3,000MHz 16GB (2 x 8GB) DDR4 At the moment I'm still gathering a few items that I will need and soon discovered that some of the items I originally planned are no longer available so will have to search elsewhere, which isn't as easy as it sounds but not to worry. I'll update again once I have more on the way so this post may be quiet for a week or so, I just wanted to get my head in the door and say hello. First package for the build, we got this on the 28th of September for the opening ceremony at Scan HQ and what an awesome day that was all round! Second delivery was two packages, we got them last week and oh my where am I suppose to put all of this? And what a beautiful case it is! Sorry for stock photo I got excited and couldn't keep it in one piece long enough for a photo. Here's a little progress I've made over the past day, I've taken every piece of metal that isn't riveted away from the chassis and plan to paint it antique gold to help keep in with the theme, I've of course added some glitter to the two large front plastic columns, I couldn't help myself with that! I somewhat feel like it is a part of me now, I've used it on all my builds but none was as over the top as the first but that was for my daughter so was to be expected, anyhow I certainly feel it got my name out there, so less about me and more about the build in question. Not only did I paint all the metal removable but also the dust filters! Albeit a couple of them are on the bottom of the case and won't be seen but I didn't see no reason not to do them, it'll please me at the very least. I''ll have to re-do the motherboard tray as too much spraying has really buggered my wrist, from an old injury so that'll be on hold for the next few days at least, in the meantime I do plan on finding somewhere somewhat local that can supply me some acrylics, it's harder than you think to find antique gold vinyl! I'll also update with some more of the pictures from the work on the filters and such when I get around to finishing the motherboard tray so stay tuned and thanks for looking! Some more stuff came for the build and I managed to finish the motherboard tray this time around but I also had to do the redo the front columns due to an issue with the glitter I was using. Thermaltake M360 water cooling kit & Pacific W4 Plus CPU water block. Thermaltake Pacific PR22-D5 Pump & res combo. Some Thermaltake tubing, liquid, fittings and pipe bending kit, despite this will be my first time water cooling I think I have everything I need. Thermaltake ToughPower Grand RGB 850 Thermaltake Pacific Rad Plus LED Panel & Lumi Plus Oh the glorious Thermaltake Riing Plus fans! Oh what is this... It only the Thermaltake Pacific V-RTX Plus! Last and not least the motherboard tray fitted in the chassis, looking very gold at this moment indeed and there is more to come... I may need to think about how I go about this as it's very reflective. No update just yet but we do have some shots of the beautiful Thermaltake Pacific V-RTX Plus GPU block! Sadly I had to change the colour scheme slightly due to not being able to source any more antique gold acrylic, so now it's just gold! I've also done a little progress too, tomorrow I should get around to putting the block on the GPU! (Should be fun). Anyways hope you like what you see because there's even more incoming, for some it may be a little too much but right now I think it's going to look better than I expected! I got the GPU block on, no issues other than my heart rate was double of what it should of been during the process. Some of you may of noticed the little detailing I've done on the GPU backplate, I'm glad I didn't do more than that, I think it's a nice subtle touch, anything more would of been over the top... If it's not already. Forgot to add an image of the side panel that will be used for the left side of the case and starts to set off the theme I have for this build.
 -
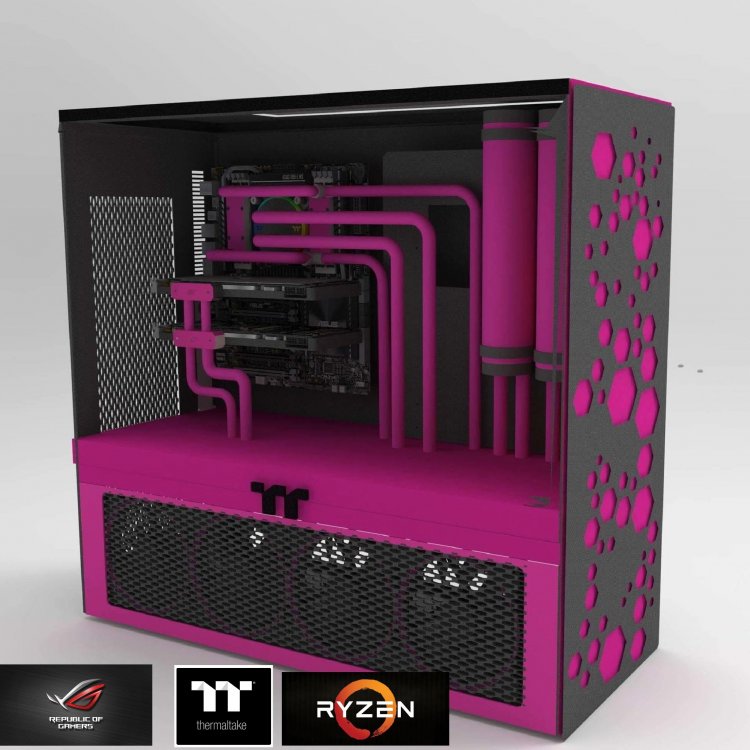
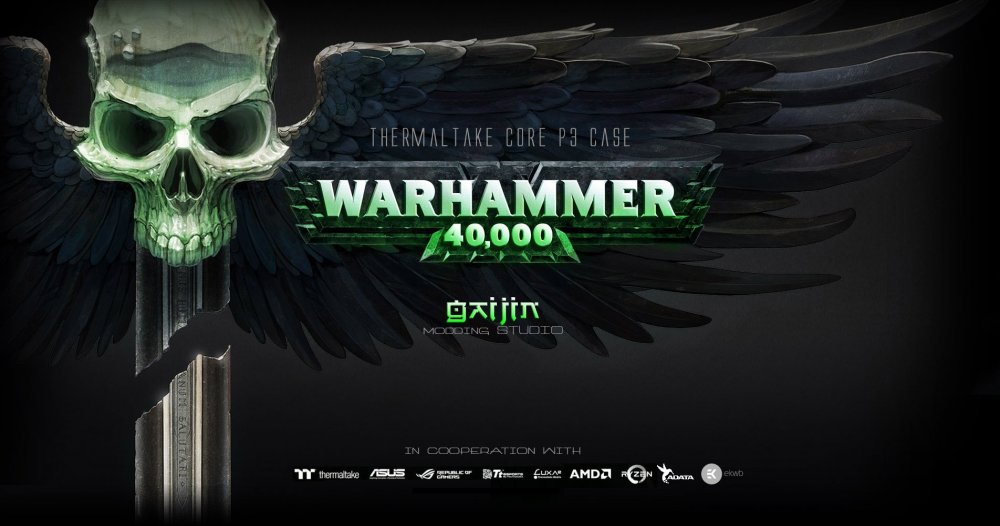
Hello, welcome again.In my new project, I would like to show the wonderful world of Warhammer40K.It will be quite a long project, with a magnified, case-based Thermaltake Core P3.They will not be the same photos from the progress of the work but also a lot of films.I encourage you to subs.Terraform
-
I have these components: Motherboard: Asus Prime x370-PRO RGB CPU: AMD Ryzen7 1700 GPU: ASUS GeForce GTX 1060 6GB Dual-Fan 1806MHz RAM: 32GB (2 x 16GB) Kingston HyperX Predator 3000Mhz DDR4 Hard Drive: Kingston HyperX Savage SSD Sata3 960GB Chassis: Thermaltake Versa H21 (No Window) Liquid Cooler: Yes (Thermaltake)
-
I built a system with a Asus Z170 Pro Gaming motherboard. I hooked power up the power cable for the docking station and ran the sata connector to one of my sata ports on my mother board. The hot swap feature of the docking station isn't working. It will read the drive on a system reboot but no hot swap. I tried sticking the sata cable into one of the sata express ports on my motherboard but that didn't work either. The manual says to activate the AHCI function on my mother board but I couldn't find an option for that when I ran Bios, maybe it comes preset? I am running Windows 10 Pro Full version 64 bit. This was the main reason I chose this particular case and it isn't working. Someone please help me!? Thanks!
-
Hello, my name is DJ Madrid age of 21 and also known as Kryptek PC Casemodz, I am from the Philippines. And also, thanks to Thermaltake my major sponsor for this build project, thank you so much for this oppurtunity, more power! And now, let's go to the build. This project will be named "45Deg" or "45 Degree", the position of the motherboard is something new in our eyes because normally many of the mods today are rotated into 90 degree or 180 degree inverted, so I decided to make a 45 degree rotated motherboard position. I'll be using Thermaltakes water cooling parts, case, power supply and Riing fans. Here is my isometric 3D design using Google Sketchup Pro. Hope you'll like it.
- 16 replies
-
- 1
-
-
- asus
- thermaltake
- (and 1 more)