Search the Community
Showing results for tags 'modding'.
-
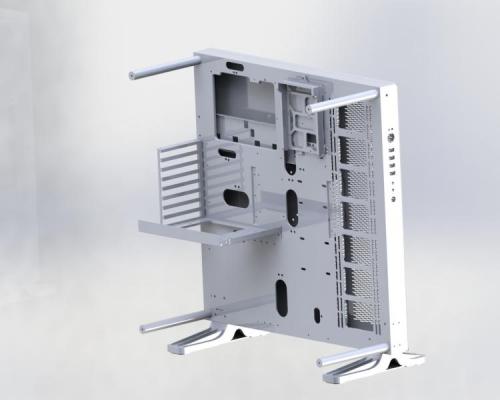
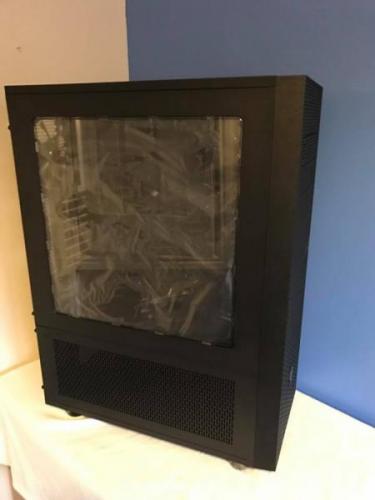
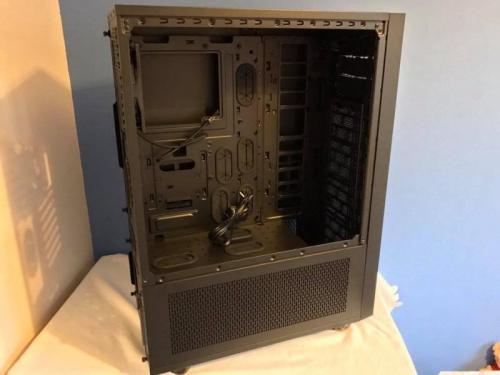
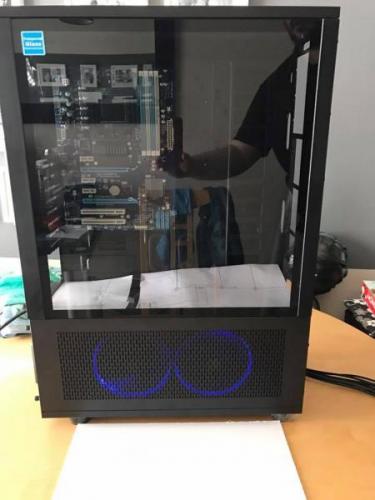
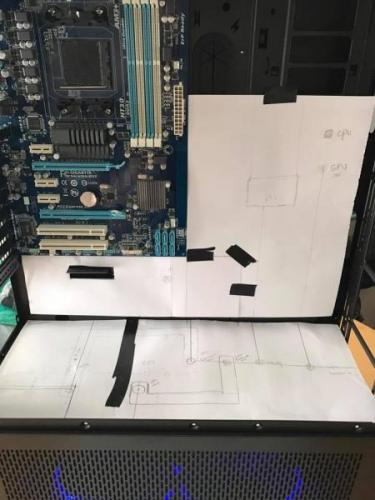
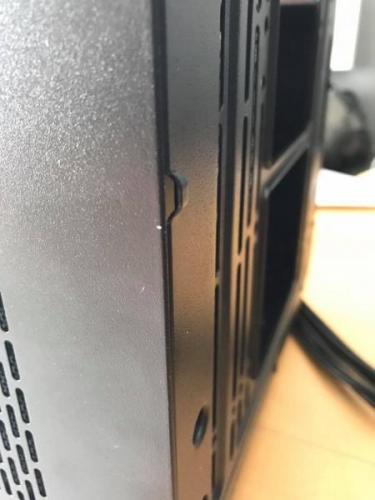
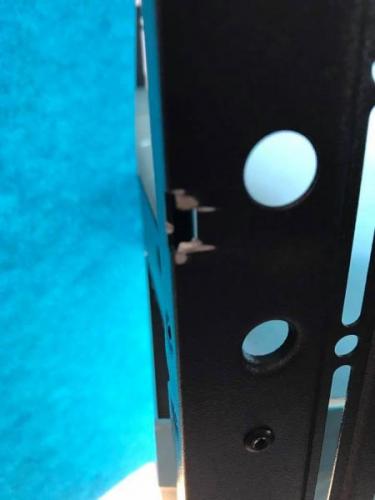
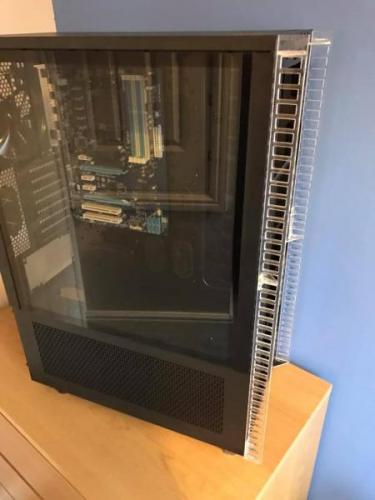
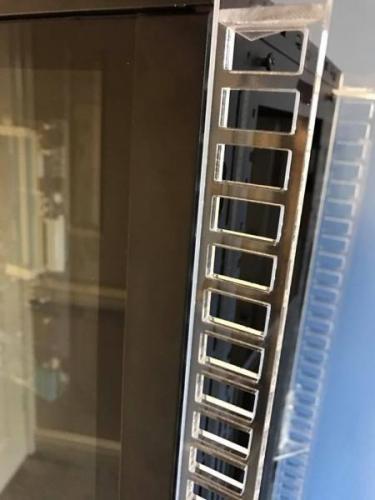
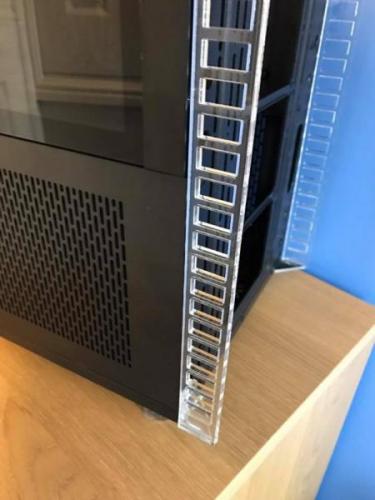
Hi everyone, I recently purchased a Core P5 case and i will be modding this case heavily, so first job was to make a highly accurate model of the case. So i did and i wanted to share this with everyone who feels like building a core P5 mod. I uploaded the files to Grabcad as here i am limited, but you can find it right here: https://grabcad.com/library/thermaltake-core-p5-2 I have worked a serious amount of hours on this model, so please if you use it and you write about it, please mention me somewhere, that would be highly appreciate. If you are going to use the model for milling on CNC than just check the alignment of holes of the pieces you already installed. I am quite confident i didnt miss something but you never know, i will be using this model anyhow to put it directly onto my CNC router. I will be adding a complete build log as i progress, cause now i can finally start building a real mod, the hard hours of design are over Have fun with it. Regards, Stephane
-
Welcome to my latest project (Juggling 4 projects at the same time is fun) This build is inspired by the car from the green hornet movie. Firstly i'd like to thank my sponsors System specs MB - undecided i7 6700k GPU - Undecided Avexir Blitz 1.1 DDR4 Green/Black be quiet! Straight power 10 be quiet! Silent base 800 be quiet! Dark Rock 3 Thermaltake Riing12 and Riing14 fans (green) What the case could look like when finished SO. the first thing i done was change the orange on this To a nice green Removed the front panel Here's some snaps of the fans sent over from the good guys down at the box.co.uk Currently awaiting more parts to arrive for this project. will keep updating as i go.
-
Welcome to my Project logs of 'Pocket Rocket' What's the deal ? For this project, i'll be transforming a brand new 50cc mini quad bike into a full gaming/show system. I'll be removing the engine and replacing it with the motherboard and GPU's I'll then replace the exhaust system with reservoirs and tubing. There's still some stuff to figure out, but very soon i'll get the quad and figure out all that. Special thanks to my wonderful partners ASUS Republic Of Gamers UK Thermaltake technology inc. TeamGroup Global Cablemod Specs Intel core i7 7800X ASUS ROG Sytrix X299-XE gaming ASUS ROG Strix 1080 OC ASUS ROG Strix 1080 OC TeamGroup T-Froce Delta RGB 16GB DDR4 Cablemod Custom cables (Pro Kit with aluminium Combs) Cablemod RGB/W Lighting Thermaltake Riing Plus 12 RGB Radiator Fan TT Premium Edition Toughpower Grand RGB 850W Gold Fully Modular 2x Pacific T22 Reservoir's Pacific P1 Black D5 Pump w/ Silent Kit 2x Pacific V-GTX 10 Series Transparent (ASUS ROG) Pacific W4 Plus CPU Water Block Pacific M-Pro G1/4 PETG 12mm Fittings - Black Pacific G1/4 PETG Tube 90-Degree - Black Pacific G1/4 PETG Tube 45-Degree - Black Pacific G1/4 Pressure Equalizer Stop Plug w/ O-Ring - Black Pacific G1/4 Female to Male 20mm Extender – Black Pacific G1/4 Y Adapter – Black Pacific Drain Valve – Black Pacific G1/4 Stop Plug w/ O-Ring – Black Pacific G1/4 Male to Male 10mm Extender – Black x3 V-Tubler PETG Tube 12mm OD 10mm ID 500mm 4 Pack Thermaltake Pacific Hard Tube Bending Kit for ID 10mm x OD 12mm Hard Tube Thermaltake C1000 Opaque Coolant Black Thermaltake Pacific RL360 Radiator Photo's! So... Here's some photo's of the quad, it's due for delivery on monday, excited to start. So the quad measures at 1 meter long, 60cm wide and 60cm tall. (Tons of space!) One of the first things i'll be doing is removing the panels from the quad and spraying the underside of them, hate seeing that white. ASUS ROG UK Delivery. First up: Strix X299-XE Gaming motherboard Strix 1080 OC edition graphics cards ASUS ROG HB SLi bridge TeamGroup Global T-Force Delta RGB kits Will update more as the final parts arrive, this is to be hopefully completed BEFORE EGX!! Insane time frame, but i must try Thanks for looking. Craig.
-
This Section is for Time-Lapse Videos of Modding, Post Your Time Lapse videos Here! Here is our Open-Frame LCS Wall-Mounted PC closely collaborated with ASUS in dual loops by using ASUS Sabertooth motherboards, ASUS STIX VGA cards, and Thermaltake Pacific Series liquid cooling components. We made a Time-Lapse video to show how we built this awesome Wall-Mount PC!!
-
if anyone could help me find the fan model of the thermaltake massive 20 rgb, id like to find a 200 L x 200 W x 18mm Height fan which has a power connector which is equivalent to the massive 20 rgb (power connector with same number of pins) if this is any help, here is the product page from thermaltake themselves, https://www.thermaltake.com/thermaltake-massive-20-rgb.html the reason i am asking for help on this is, i could not find the fan model when i tried alot of different of search terms. i know that it is replacable/ upgradable because it has screw holes right on the fan, and it has a power connector which is removable.
-
This thread is dedicated for our fans that are keen to share with the community their builds! You can post other DIY Mods you might have come across or you can share something your about to build. Tt Community can offer great feedback and tips!
-
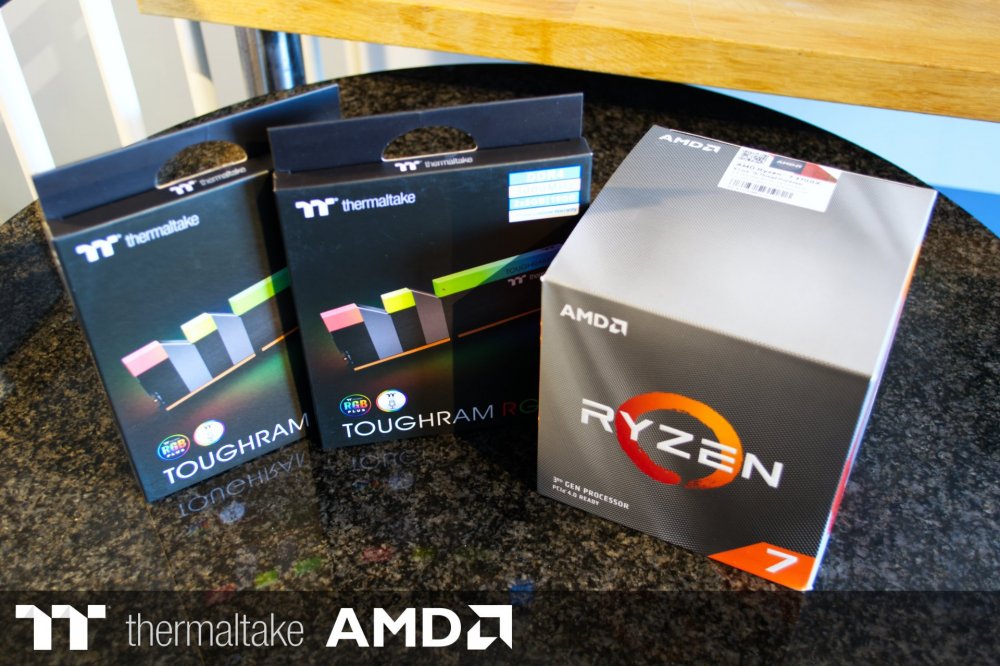
Hi Everybody, I'm Tom from sunny Birmingham, UK. I work as a software engineer / web developer which I've been doing since university and mainly play PC games and run in my spare time. Been building and modding computers since around 15. My first mod was a side window cut-out and blue CCFL tube lighting, was so proud of that at the time (simpler times). Started water cooling at university on an overlclocked Q6600 which kicked out a lot of heat and kept it up ever since. Current PC is an ITX build with a 280mm and 120mm rad which has been a little workhorse / hotbox for the past year. Onto this considerably more substantial build as a result of being selected for the Thermaltake UK 2020 Case Mod Challenge which has been awesome 😄 and the perfect distraction from current events. Been spending the past couple weeks getting everything together for the planned mods. Anyhow, onto the parts list: Thermaltake View 51 Snow AMD 3700X Thermaltake TOUGHRAM RGB 3000MHz 4x8GB ASUS ROG STRIX X570-F Gaming ASUS Radeon RX 5700 500GB Seagate FireCuda 520 14TB Seagate IronWolf Pro Thermaltake Pacific C360 DDC Hard Tube Water Cooling Kit Thermaltake Pacific V-RX 5700 Series Plus GPU Waterblock Thermaltake Water Cooling Pacific Hard Tube Bending Kit 300mm Thermaltake TTMod Sleeved Cables 300mm Thermaltake TTPremium PCIe Extender 850W Thermaltake Toughpower GF1 A couple photos of all the parts received: Thank you to Thermaltake, AMD, ASUS, Seagate and Scan for sponsoring and who've done a great job at getting the parts together in such trying times. Will be updating this thread over the coming weeks with my progress, at the moment just going to do a quick test set-up and take some case measurements. Best of luck for everyone in the competition and happy building! 😀 Tom
- 9 replies
-
- amd
- thermaltake
-
(and 5 more)
Tagged with:
-
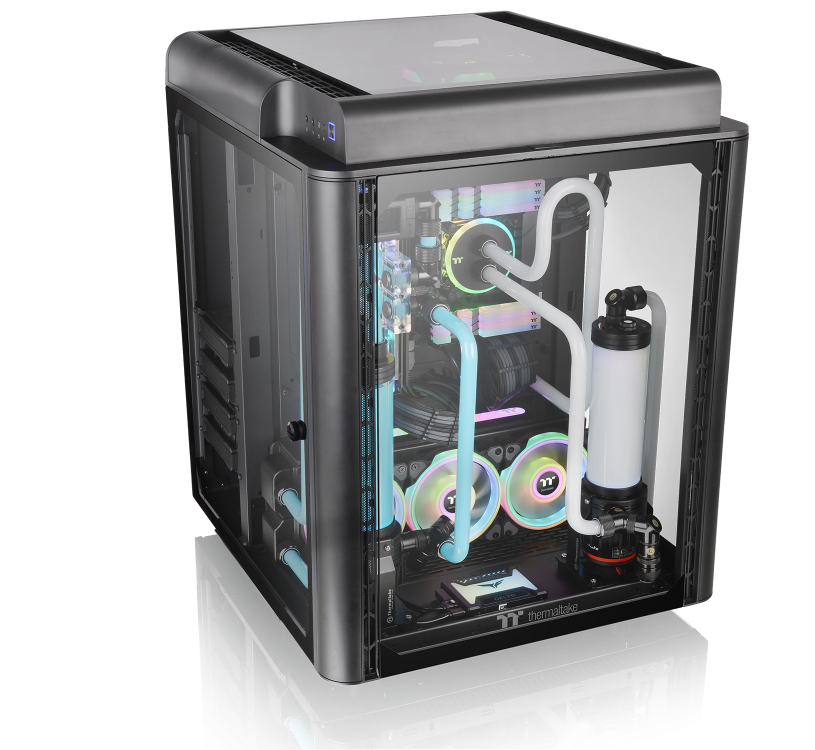
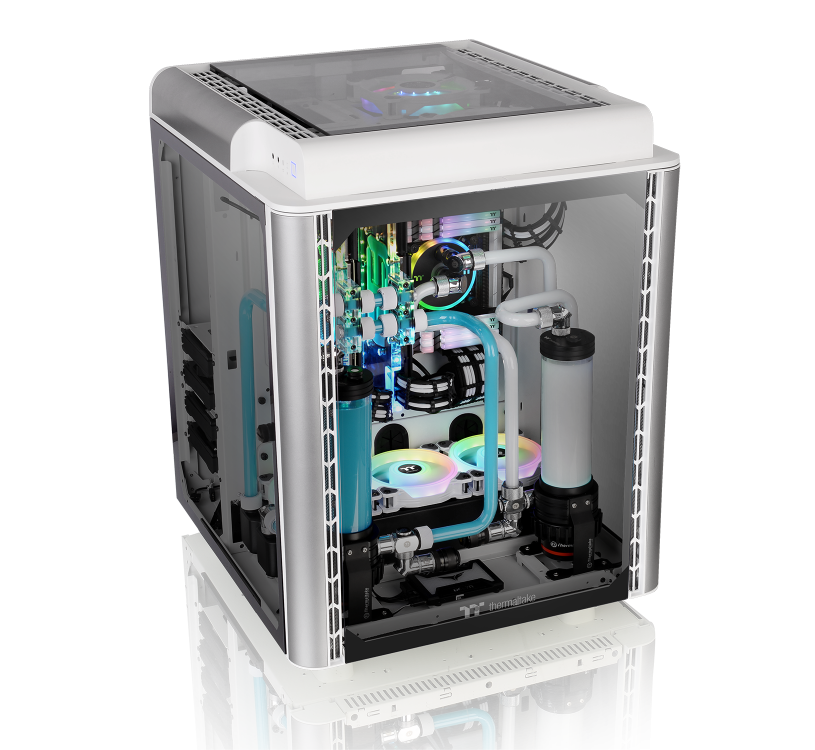
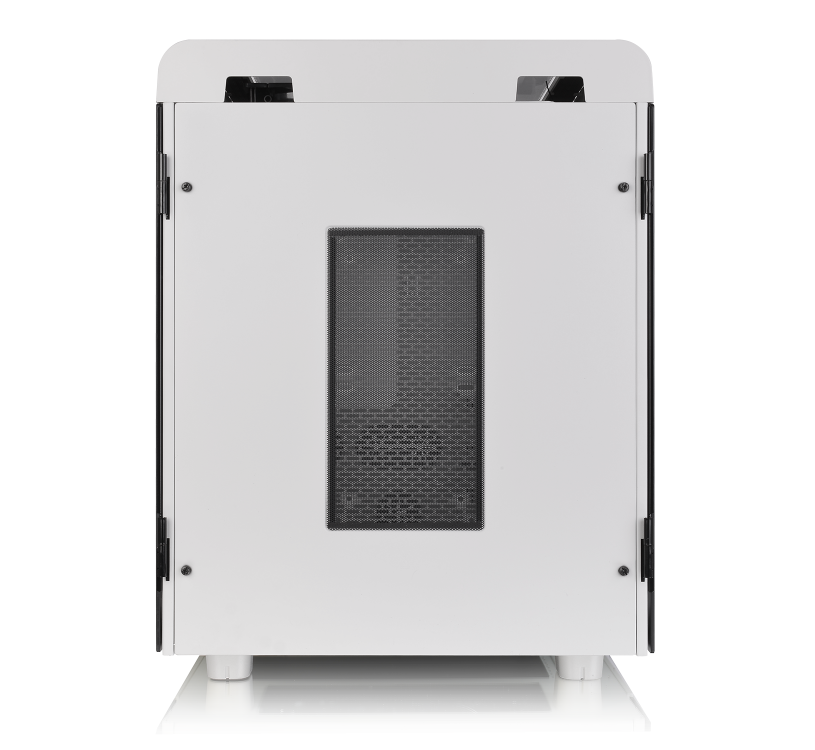
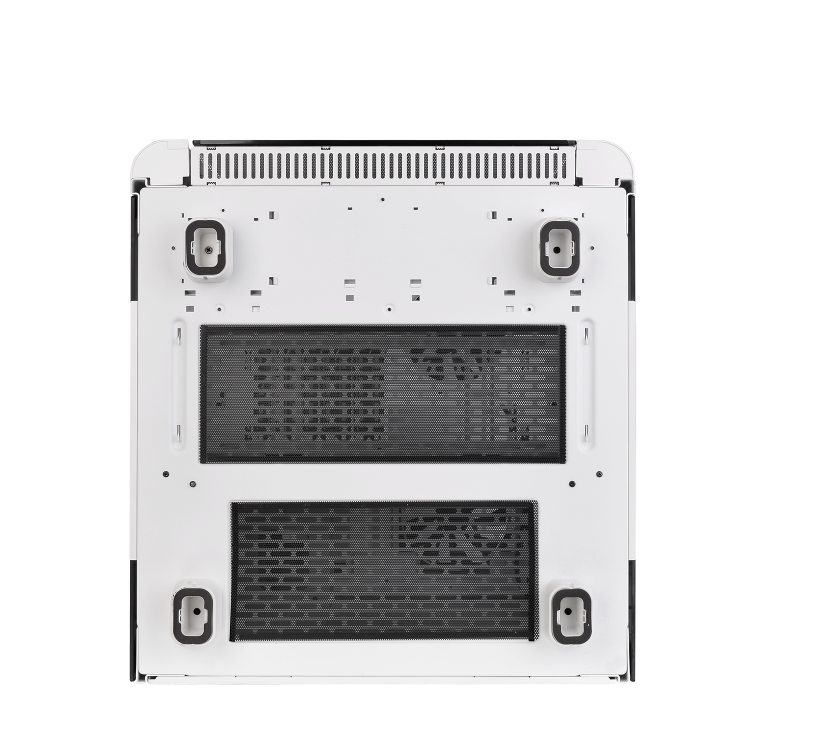
Thermaltake Level 20 HT Full Tower Chassis URL: Level 20 HT: https://www.thermaltake.com/level-20-ht-chassis.html Level 20 HT Snow Edition: https://www.thermaltake.com/level-20-ht-snow-chassis.html Thermaltake Level 20 HT Full Tower Chassis Distinctive from most cases on the market, the Level 20 HT full tower chassis is specially constructed to continue the legend of the Level 20 series case family. It features four durable 4mm thick tempered glass windows, two preinstalled 140mm standard fans on the top, and is designed with outstanding system ventilation. The chassis is a premium choice that inhabits a vertical mount design and expansion capabilities for massive custom liquid-cooled systems. The Level 20 HT takes our latest case innovations and wraps them in an ultra-modern style that’s utterly unique in the case market today. Stand out from the crowd with the Level 20 HT. Tempered Glass Window With Ultimate Viewing Angles The Level 20 HT comes with four tempered glass panels at the front, top and both sides which make it easy to display the internal components. For the front and top tempered glass panels, users can easily unlock by pressing down the locking mechanism located on the top part of the glass, allowing quick and easy access. The left and right hinged doors are also equipped with a smart lock security system allowing you to easily secure the inner components of your case. Dust Reduction Well-designed quick removal magnetic fan filters on the back and at the base provide excellent dust protection and dirt reduction, ensuring a dust-free environment. #For more features & details, kindly visit our official website Let us know what you think about our brand new model- Level 20 HT
-
- thermaltake
- modder
-
(and 4 more)
Tagged with:
-
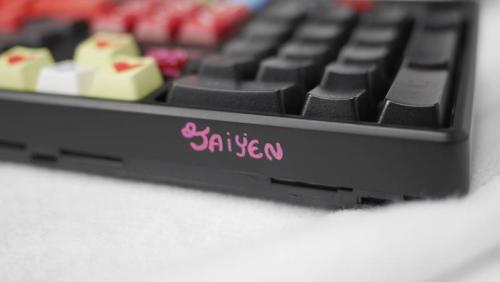
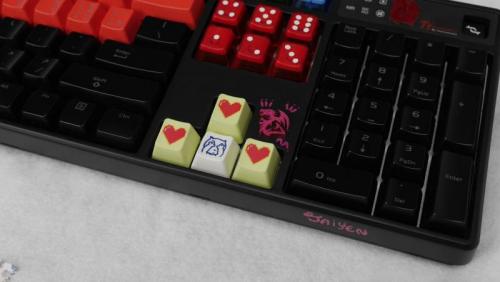
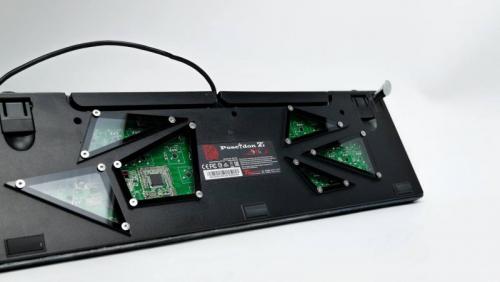
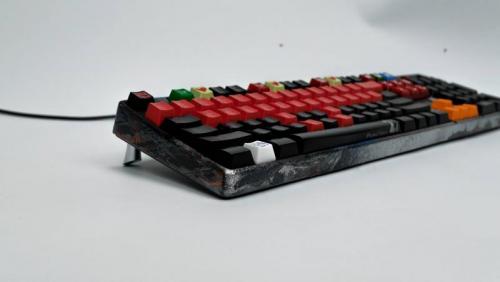
Here we will show you some amazing stuff did by our talented modders from around the world! We will be updating this album whenever we have fresh mods created by our awesome modders! Do you think you can mod the POSEIDON Z RGB too? Show us your creation and your beautiful work might just be included here as well! ‪#‎ttesports‬ ‪#‎poseidonzrgb‬ ‪#‎modding‬ ‪#‎RGB‬ Buy Now: http://amzn.to/1OKaDCr Product Info: http://bit.ly/1Oc0L44 Daniel Woods_Australia Marc Molella_United States Eddy Kuz_Germany Nick Blackwell_United States Ponsarud Romvilast_Thailand Stuart Tonks_Australia Suchao Powphong_Thailand
- 3 replies
-
- modding
- poseidonzrgb
-
(and 1 more)
Tagged with:
-
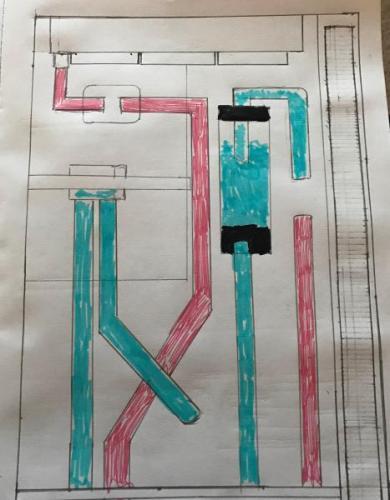
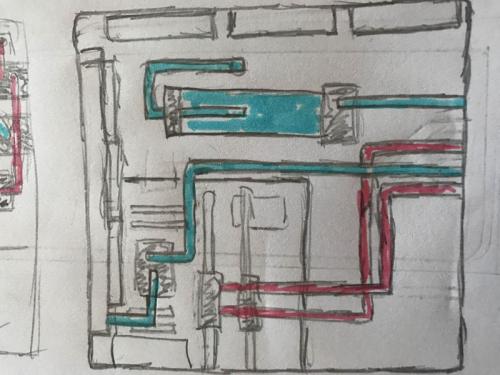
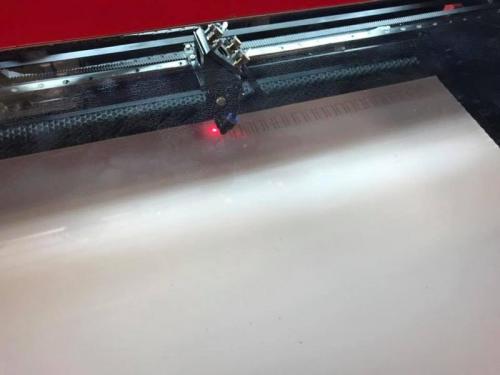
Hi Guy's I am new to this forum. I have started a new project (no name) in the x71 case. I am going to be modding the front of the case and adding temper glass. It will have a dual loop two pumps two Res and two 360 rads, I am looking at replacing the motherboard tray and add my own plus a few little surprise a long the way. Also going to we extending and sleeving all cables. Components. CPU: i7 4770K overclock to 4.6 RAM: Corsair vengeance Ram 16gb GPU: Zotec 980ti PSU: Corsair ax 860 WATERBLOCKS: EK 2x Pump: EK d5 2x RAD: EK 360 FANS: 7x 120 Riing 12 thermaltake RGB FANS: 3x 140 Riing 14 thermaltake RGB FITTINGS : Thermaltake pacific petg 16mm compression. FITTINGS : 3x EK pass through HARD TUBE: Thermaltake Petg 16mm Here are some early drawings X71 case Some of the components. Was not sure if I should use 2x 140 or 3x 120 fans still not sure what do you think? I like to draw out what I want to do and I took size for new motherboard tray. I did draw up some designs for new air intakes then got them laser cut. I had to cut some of the front case for them to fit. These are removable not sure if I am going to leave them clear or paint them. This weekend I am hoping to drill out the rivets and start the motherboard tray. Sleeve the pumps and front panel connectors. Thanks for check out my mod any question or feedback let me know below.
-
The Original CyberMods Halo RAIJIN Build: After finishing our CyberMods Competition build called RAIJIN we wanted to do a new build using the hardware and other parts we had. Clockwerk Industries and I both felt RAIJIN had some really cool hardware and watercooling. It was also my first time using Thermaltake gear in a long time. I liked it so much I wanted to give another build a shot using all Thermaltake Parts and watercooling. Once the rest of the gear arrives I will assemble everything and decide which direction the build should go. I do know there will be some awesome mods, sick hardware and some amazing Thermaltake goodness. Currently we are planning on continuing the RAIJIN case mod in the Thermaltake Core P5 instead of the Core P3 we used during the competition. You'll be able to see some of the mods we didn't have time for as well as some new ones. To make things easy to reference we will call this build RAIJIN V2. CPU: Intel Kaby Lake i7 7700k Motherboard: Colorful IGAME z270 GPUs: Colorful IGAME GTX 1080 Memory: HyperX Storage: HyperX Savage PSU: Thermaltake 850watt RGB Ring Cables: Modular custom sleeved Thermaltake (black and white) Cables Combs: Thermaltake slip on combs (black) Fans: Thermaltake Premium Plus 4 X 120mm Ring Fans CPU Block: Thermaltake Pacific W4 RGB GPU Blocks: Colorful Full Cover aluminum and plexi (un-released) Pump: Thermaltake P1 D5 Radiator: Thermaltake deep 360mm radiator Reservoir: Thermaltake 250mm tube reservoir Tubing: Thermaltake 16mm PETg hardline Coolant: Thermaltake custom mixed color Fittings: Thermaltake 16mm chrome fittings (Possibly Thermaltake RGB fittings) * I will be doing a full custom watercooling loop using primarily all Thermaltake Parts. It will cool the GPU and CPU in a single loop. PWM Cables LEDs: Thermaltake Lumicolor Fan Controller: Custom Mods: Injection molded and acrylic psu shroud with custom paint. Custom Vinyl work Etched acrylic Pacific W4 waterblock mods Custom watercooling loop Thermaltake Core P5 mods 3D Printed Thermaltake accessories Hand made acrylic work 90 degree radiator flip Metal radiator mount Scratch built pump mount for the radiator S
-
Hello im Anyone Mod Monkey, this is my first mod on this community. I want to present this project, Overwatch X71, below the render as you can see the theme of this mod is the last game of blizzard on core x71. changes I'm going to perform are: custom loop, new paint, new front, light box, aluminum logos, lcd with pc statistics, custom tank, and more.. all arrived, soon new updates! Thanks! See you soon.
-
Hi guys! I am Filippo and I am a 20 years old italian modder! Last year I finished a mod with Cooler Master Italy, called Project Alpha, which had a lot of success! Then I had the luck to be invited to participate in a big project for Nanoxia, which invited me to Germany to build a desk pc for their booth at Computex in June 2015! I am going to introduce this new mod sponsored by ThermalTake that I thank you immensely for the support! The Mod, in white & black theme, is based on a Core X9 Snow Edition to which I decided to remove the original front and midplate and to replace them with two pieces of acrylic completely designed by me and made with laser cutting and CNC milling machine! The project includes two liquid cooling loop which will respectively cool the CPU and 2 GTX 970 strix! Each loop has a D5 pump and a 480mm radiator connected by rigid pipes while under the midplate I assembled systems with flexible tubes to facilitate the assembly operations. The threads for fittings mounted on midplate were hand made, and the work was not so easy. The hard part was being able to have a tip that does not split open the plexiglass out of the hole, I solved that problem by bringing the drill bit to changr the cut angle to the company I'm referring to the works in acrylic! All cables are sleeved by me, it wasn't easy since it's the first time i made a full sleeved cable set, but sleeves from Icemodz are amazing, and the will be cool But let me say the components of this mod, which I list below: HW: Asus Maximus VII Ranger i5 4670k 2x Asus GTX 970 Strix Thermaltake Thoughpower Grand Platinum 1200w HDD: 1TB Barracuda Ram: 4x4 DDR3 1600 Avexir Core Red Led SSD: 1x Samsung 850 EVO 256GB Loops: 2x pumps D5 Thermaltake (Pacific P1 black) 2x trays cylindrical Thermaltake (Pacific T22) 2x 480mm radiators Thermaltake (Pacific RL480) WB 2x GPU Asus Strix 970 Thermaltake 1x WB CPU Thermaltake Pacific W1 8x Fans Thermaltake Riing White LED Several fittings Thermaltake Chrome Tubes 16/12 PETG ThermalTake DP Ultra liquid Aquacomputer Aquaero 5 LT Power Adjust 3 Ultra by Aquacomputer 2 Temperature sensor to monitor the loops temperatures. I take this opportunity to thank ThermalTake and especially Andy, who supplied me with such a large number of components to build this mod to re-enter in the world of modding after a stop of some months. I also thank Mundi from Icemodz.com who provided me all the material needed to create my sleeved cables! I leave you to the photos of the progress! Filippo Thanks: Photos:
- 11 replies
-
Hello, my name is DJ Madrid age of 21 and also known as Kryptek PC Casemodz, I am from the Philippines. And also, thanks to Thermaltake my major sponsor for this build project, thank you so much for this oppurtunity, more power! And now, let's go to the build. This project will be named "45Deg" or "45 Degree", the position of the motherboard is something new in our eyes because normally many of the mods today are rotated into 90 degree or 180 degree inverted, so I decided to make a 45 degree rotated motherboard position. I'll be using Thermaltakes water cooling parts, case, power supply and Riing fans. Here is my isometric 3D design using Google Sketchup Pro. Hope you'll like it.
- 16 replies
-
- asus
- thermaltake
-
(and 1 more)
Tagged with:
-
Hi all.. I have begun a new build, and its my first build since the 90' ... Its a replacement for my old Apple Mac Mini, that died on me some weeks ago. Then I look a the prices, and went for a HackInTosh build. (And there went my savings for the trip to New York) Its a workingstation build, not a gaming rig, for that I have my consoles. Here is some specs: Intel Core i7-6700K 4.0GHz Quad-Core Processor Enermax LiqMax II 240 AIO Liquid CPU cooler Gigabyte GA-Z170X-UD5 TH ATX LGA1151 Motherboard G.Skill TridentZ Series 16GB (2 x 8GB) DDR4-3200 Memory Corsair RM 550W 80+ Gold Certified Fully-Modular ATX Power Supply Thermaltake Core P5 ATX Mid Tower Case I finish the first stage: Assembly of the Core P5 chassis, that will be the main platform. ATM I'm installing the main hardware, so we can make the first boot and do some testing. When its up an running, I have to do the planning of: Where to mount my drives, and how. Where to install the Raspberry Pi. ( more on the Pi later) Where to install RGB leds. Water cooling design and mount. You can follow my build, and join in if you want. Everything is shared on BitBucket. Pictures, more info and progress comming soon.. Best regards Bjørn Christiansen ChrisB Bredstedgade 6 st th DK5000 Odense C Denmark LTE : +45 2266 6693 Email / Messenger : bc@chrisb.dk Web / Skype / Facebook : chrisb.dk Twitter : chrisb_dk LinkedIn / Instagram / Pinterest : chrisbdk
- 1 reply
-
- build
- raspberry pi
-
(and 3 more)
Tagged with:
-
Hello, my name is DJ Madrid age of 21 and also known as Kryptek PC Casemodz, I am from the Philippines. And also, thanks to Thermaltake my major sponsor for this build project, thank you so much for this oppurtunity, more power! And now, let's go to the build. This project will be named "45Deg" or "45 Degree", the position of the motherboard is something new in our eyes because normally many of the mods today are rotated into 90 degree or 180 degree inverted, so I decided to make a 45 degree rotated motherboard position. I'll be using Thermaltakes water cooling parts, case, power supply and Riing fans. Here is my isometric 3D design using Google sketchup Pro. Hope you'll like it
-
- Thermaltake
- Watercooling
-
(and 5 more)
Tagged with:
-
We had a lot of cool and exciting builds displayed at our past exhibitions, write a comment below on which one you think is best and why for a chance to win a GOrb II !! Entries will close on 2015/03/02 Note: There is only 1 entry per Tt community account, multiple posts will be removed from the event.
-
Hello, my name is Dustin Porter. I have been building and modding pcs for about 7 years and I love every bit of it. Back in july of 2014, I built a desk from the ground up I call REDLINEelite. Im new to this forum and I hope you all enjoy my build. I apologize in advance, I lost some pictures so bare with me. http://www.techpowerup.com/forums/threads/redlineelite-desk-pc-mod.206797/
-
Hello guys, my name is Allyson Carneiro and i'm from Brazil. I'm coming to show you my new project (Captain America The Winter Soldier project) The project is sponsored by Thermaltake Brasil and Gigabyte. I will use the Tt Core V71
- 10 replies
-
- captainamerica
- tws
-
(and 1 more)
Tagged with:
-
I think that this is perhaps the best area for this topic. - Show us your Thermaltake System Many of us are not only proud Thermaltake employees, rather also Thermaltake supporters and fans of the products. Who owns just one mouse, or one keyboard---- a little bit of blue or red light, modding in top form? Come on.....anybody can do that. Or can they? Are you a REAL Thermaltake fan? If yes, then prove it Take a couple of shots of you system, maybe as you are playing - or whatever it is you do with your Thermaltake gear, and post it here. Cheers Tt Earl Ps: I see that my colleagues have also put up a similar set up in the modding department/System Build - but they only asked for the chassis. Let's see if this can go one step up.
-
Hey guys whats up I'm Nick from Dirty South PC Mods. We were given this awesome Core V1 Mini ITX Case to Mod by the generous folks here at Thermaltake. This one is going to be called "Dexter" First up I would like to thank my sponsors and supporters Thermaltake You can see more awesome Tt stuff here http://www.thermaltakeusa.com/ LutroO Customs Check out all the awesome sleeving gear here http://lutro0-customs.com/ Specs Case - Thermaltake Core V1 ITX Mobo - EVGA Stinger Z77 ITX CPU - Intel 3770K /w EK Block Ram - 8Gb (4Gb x 2) G.Skill 2133Mhz /w EK Block GPU - EVGA GTX 660Ti 2Gb /w EK Block PSU - Thermaltake Toughpower Grand 1050W PSU SSD - OCZ Vertex 4 120Gb Fans - Thermaltake Luna 20 LED 200mm x 2 and Thunderblade Rv2 80mm x 2 Phobya 200mm Extreme Radiator Magicool 160mm (80mm x 2) Radiator Swiftech DDC Pump /w Bitspower Pump top Primochill Flow indicator Monsoon Econo line Rigid fitings Monsoon Blood Red PMMA Rigid Tubing First up doing a quick dry fit to see if all the parts I want to use will fit. And it looks like they will. The 200mm Radiator however will need a bit of coaxing. Ok so now that I know that the parts that I wan't to use will fit. Drilled out the rivets that hold the Mobo plate in place so I can mod it to fit the 200mm Radiator and to prep it for paint. Using a Right angle grinder with a cut off wheel to remove the small part support on the left so the Radiator will fit. Luckily the HDD drive cage will make up for the lack o support there. After that was cut off we switch to a Flapper Wheel on the grinder to smooth out the edges. Once that part was removed the 200mm Radiator will fit with enough room to do a push/pull fan setup Oh man that is a super tight fit..Running that 24 pin is going to be fun Alright time to get this bad boy ready for paint. When sanding your case for paint. There is no need to go all the way down to the metal just take the shine off. And there we have a white Core V1. Now we need to get the Thermaltake Toughpower Gold 750W PSU headed in the right direction. There we go much better. Painted the SSD/HDD Caddy with Banner Red. Thermaltake was gracious enough to send me two of the 200mm Luna Red LED fans. Thanks guys All the Hardware (minus the 160mm rad it is drying its paint) Having a bit of fun with Tt Dude . Going for a blood splatter effect I think it came out rather well. check out the reflection off of the mirrored floor. With all the hardware crammed in there you can bet it was no easy task to get that hard-line in there. After a successful leak test here we go. Had to get the rigs all shined up for a Local Rock show. Had the Thermaltake Core V1 "Dexter" and Urban T-81 "Man of Steel" folks were really digging on the Core V1. Still need sleeve the cables and do some detail work on the inside to get it ready for HorrorCon
-
Urban T31 - Brazil2014 Fifa World Cup Mod by MooZ Facebook link: https://www.facebook.com/MooZModZ To celebrate the 2014 Fifa World Cup, Modder MooZ created a masterpiece out of the Urban T31 Chassis! This mod is off the hook, with its cool looking exterior to its integrated football field cover on the PSU, click the video link and see for yourself!
- 4 replies
-
- Enthusiasts
- Modding
-
(and 3 more)
Tagged with:

